-
Posts
49 -
Joined
-
Last visited
-
Days Won
7
Everything posted by psathyrella
-
[TR] Mount Higgins - From the South 02/06/2026
psathyrella replied to JasonG's topic in North Cascades
Holy `@#%@#$!` the detail in these pictures is freaking amazing. -

best of cc.com [TR] East McMillan Spire - North Buttress 09/24/2025
psathyrella replied to psathyrella's topic in North Cascades
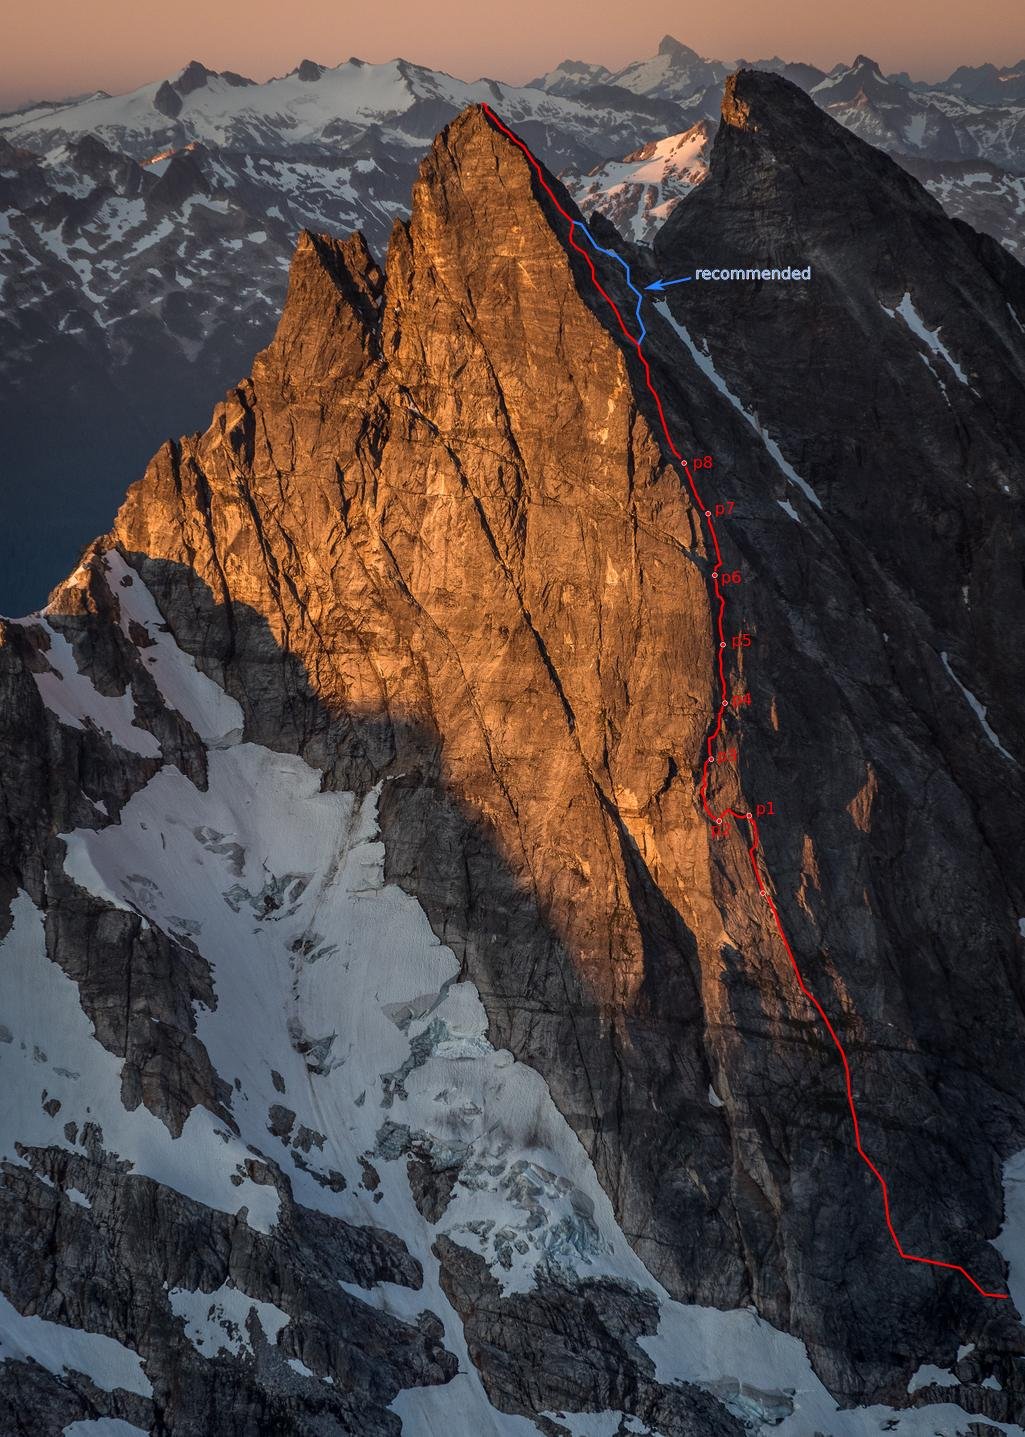
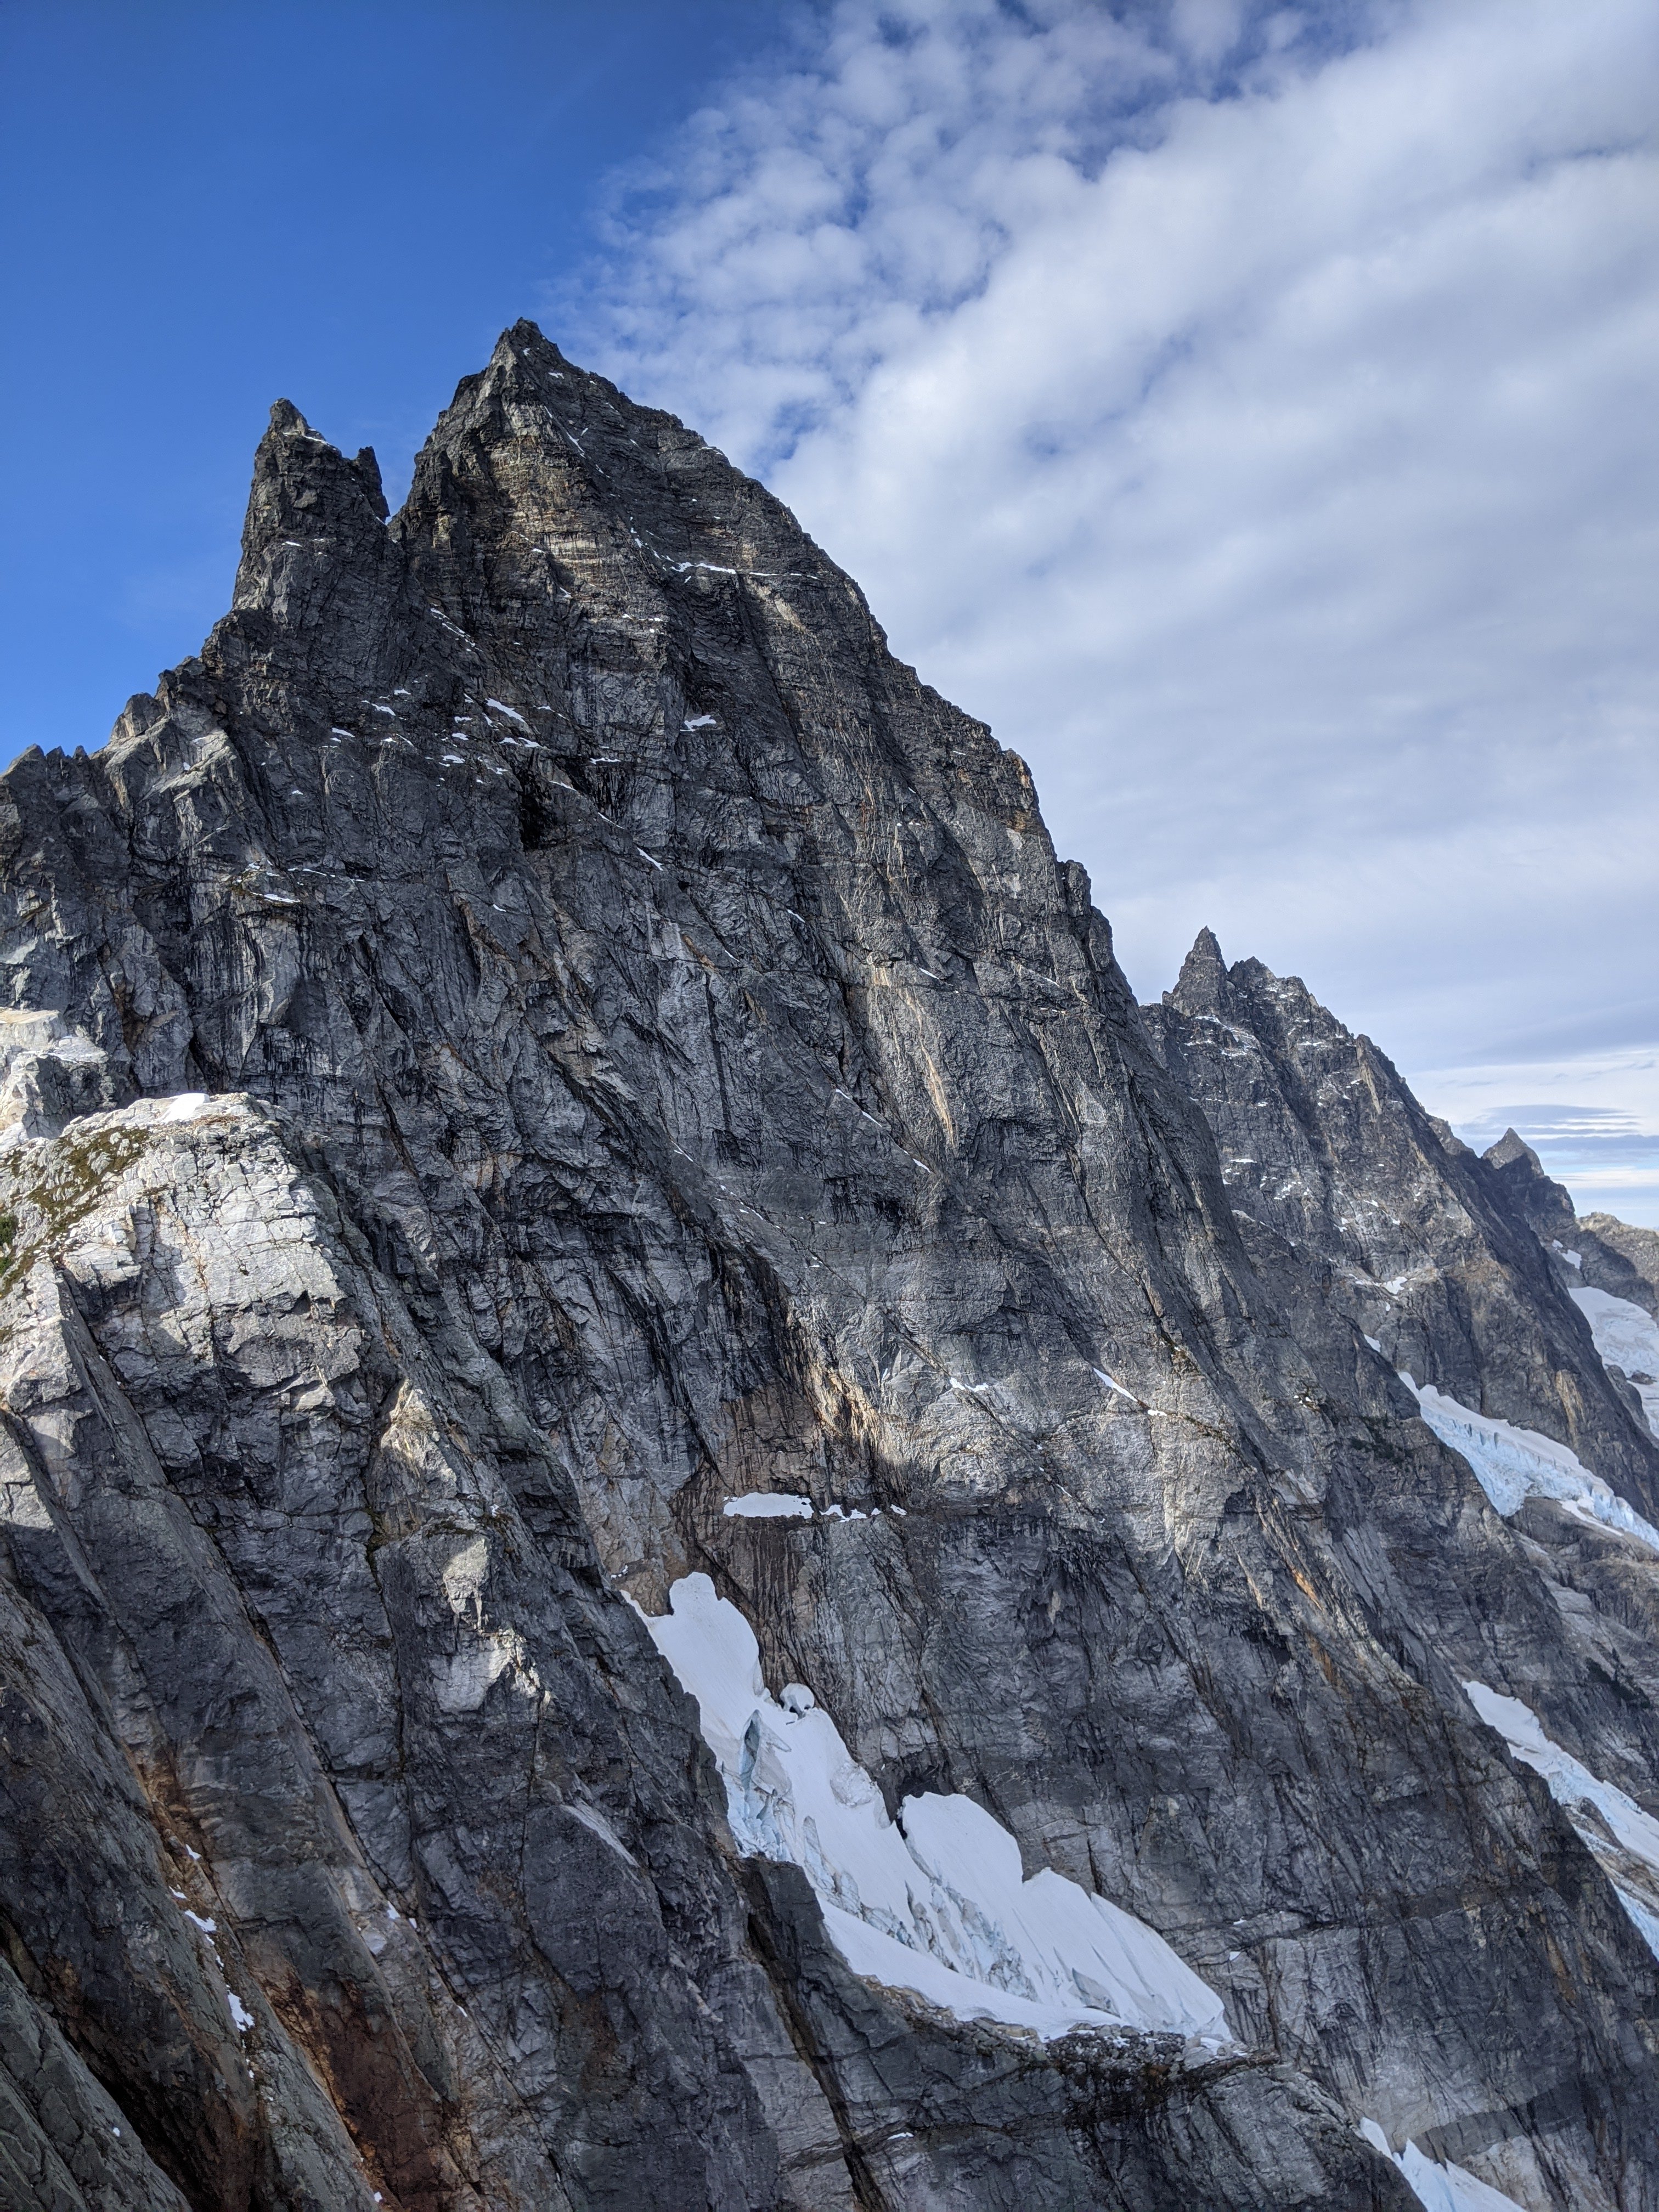
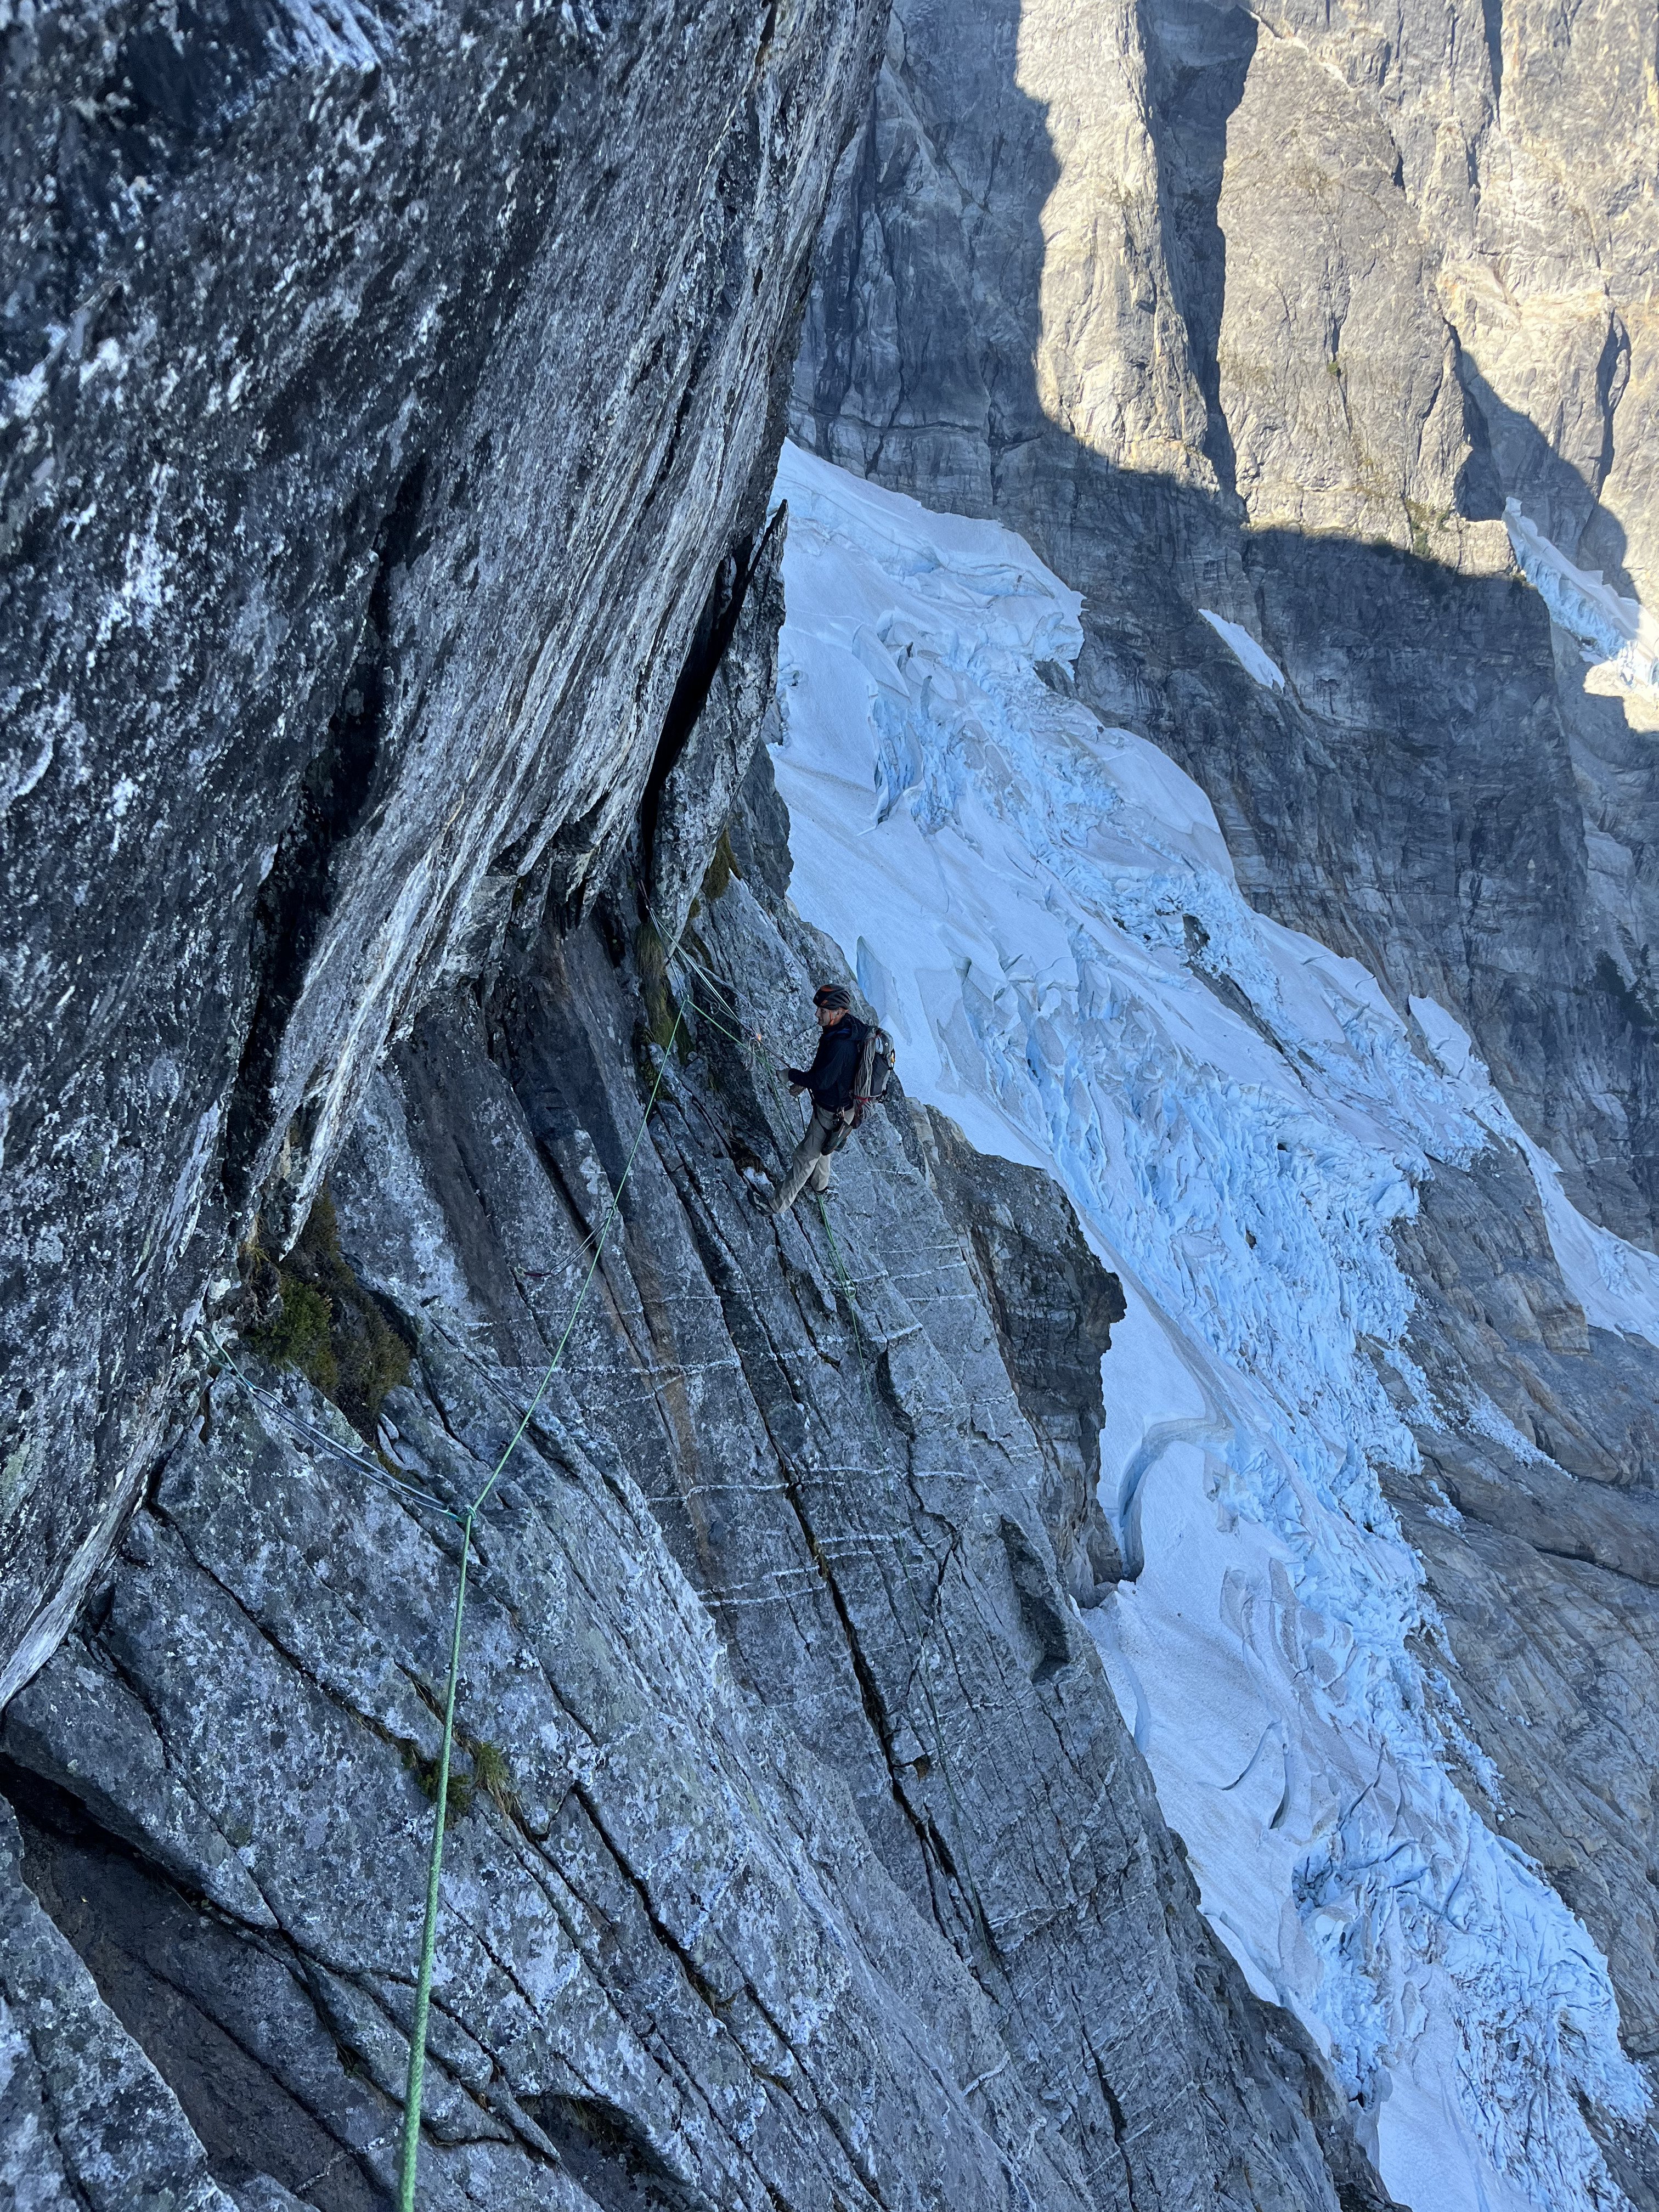
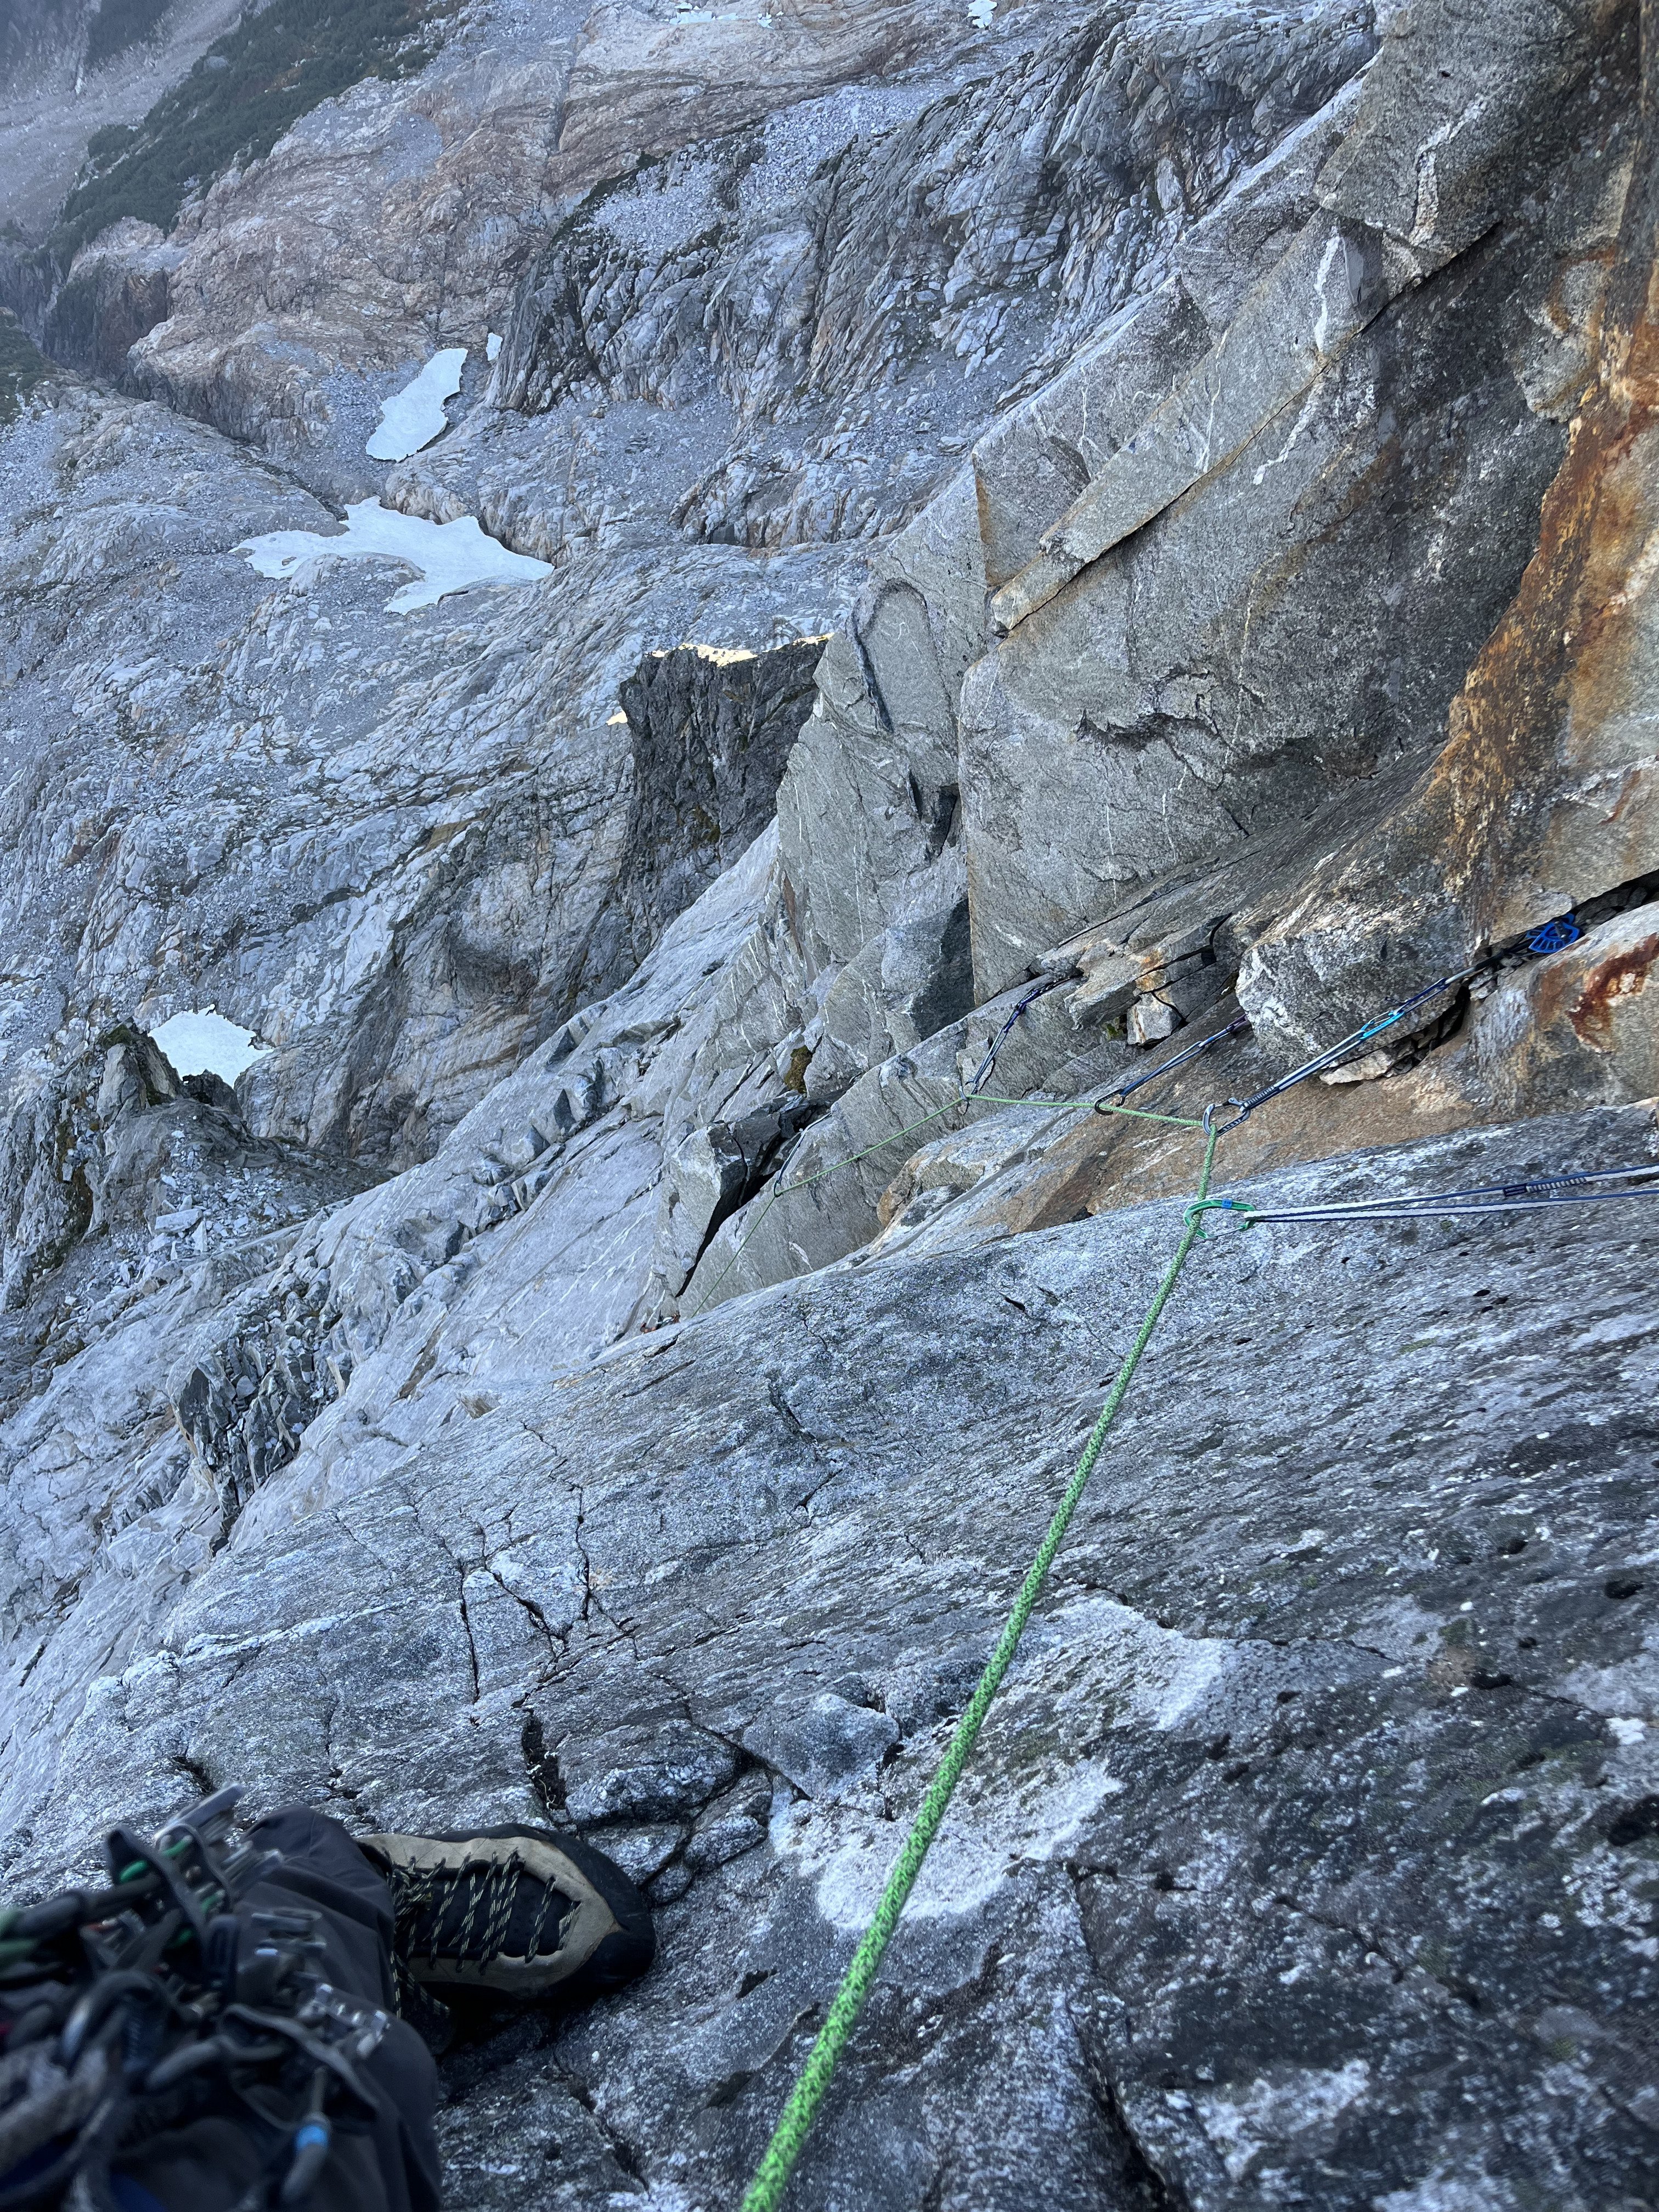
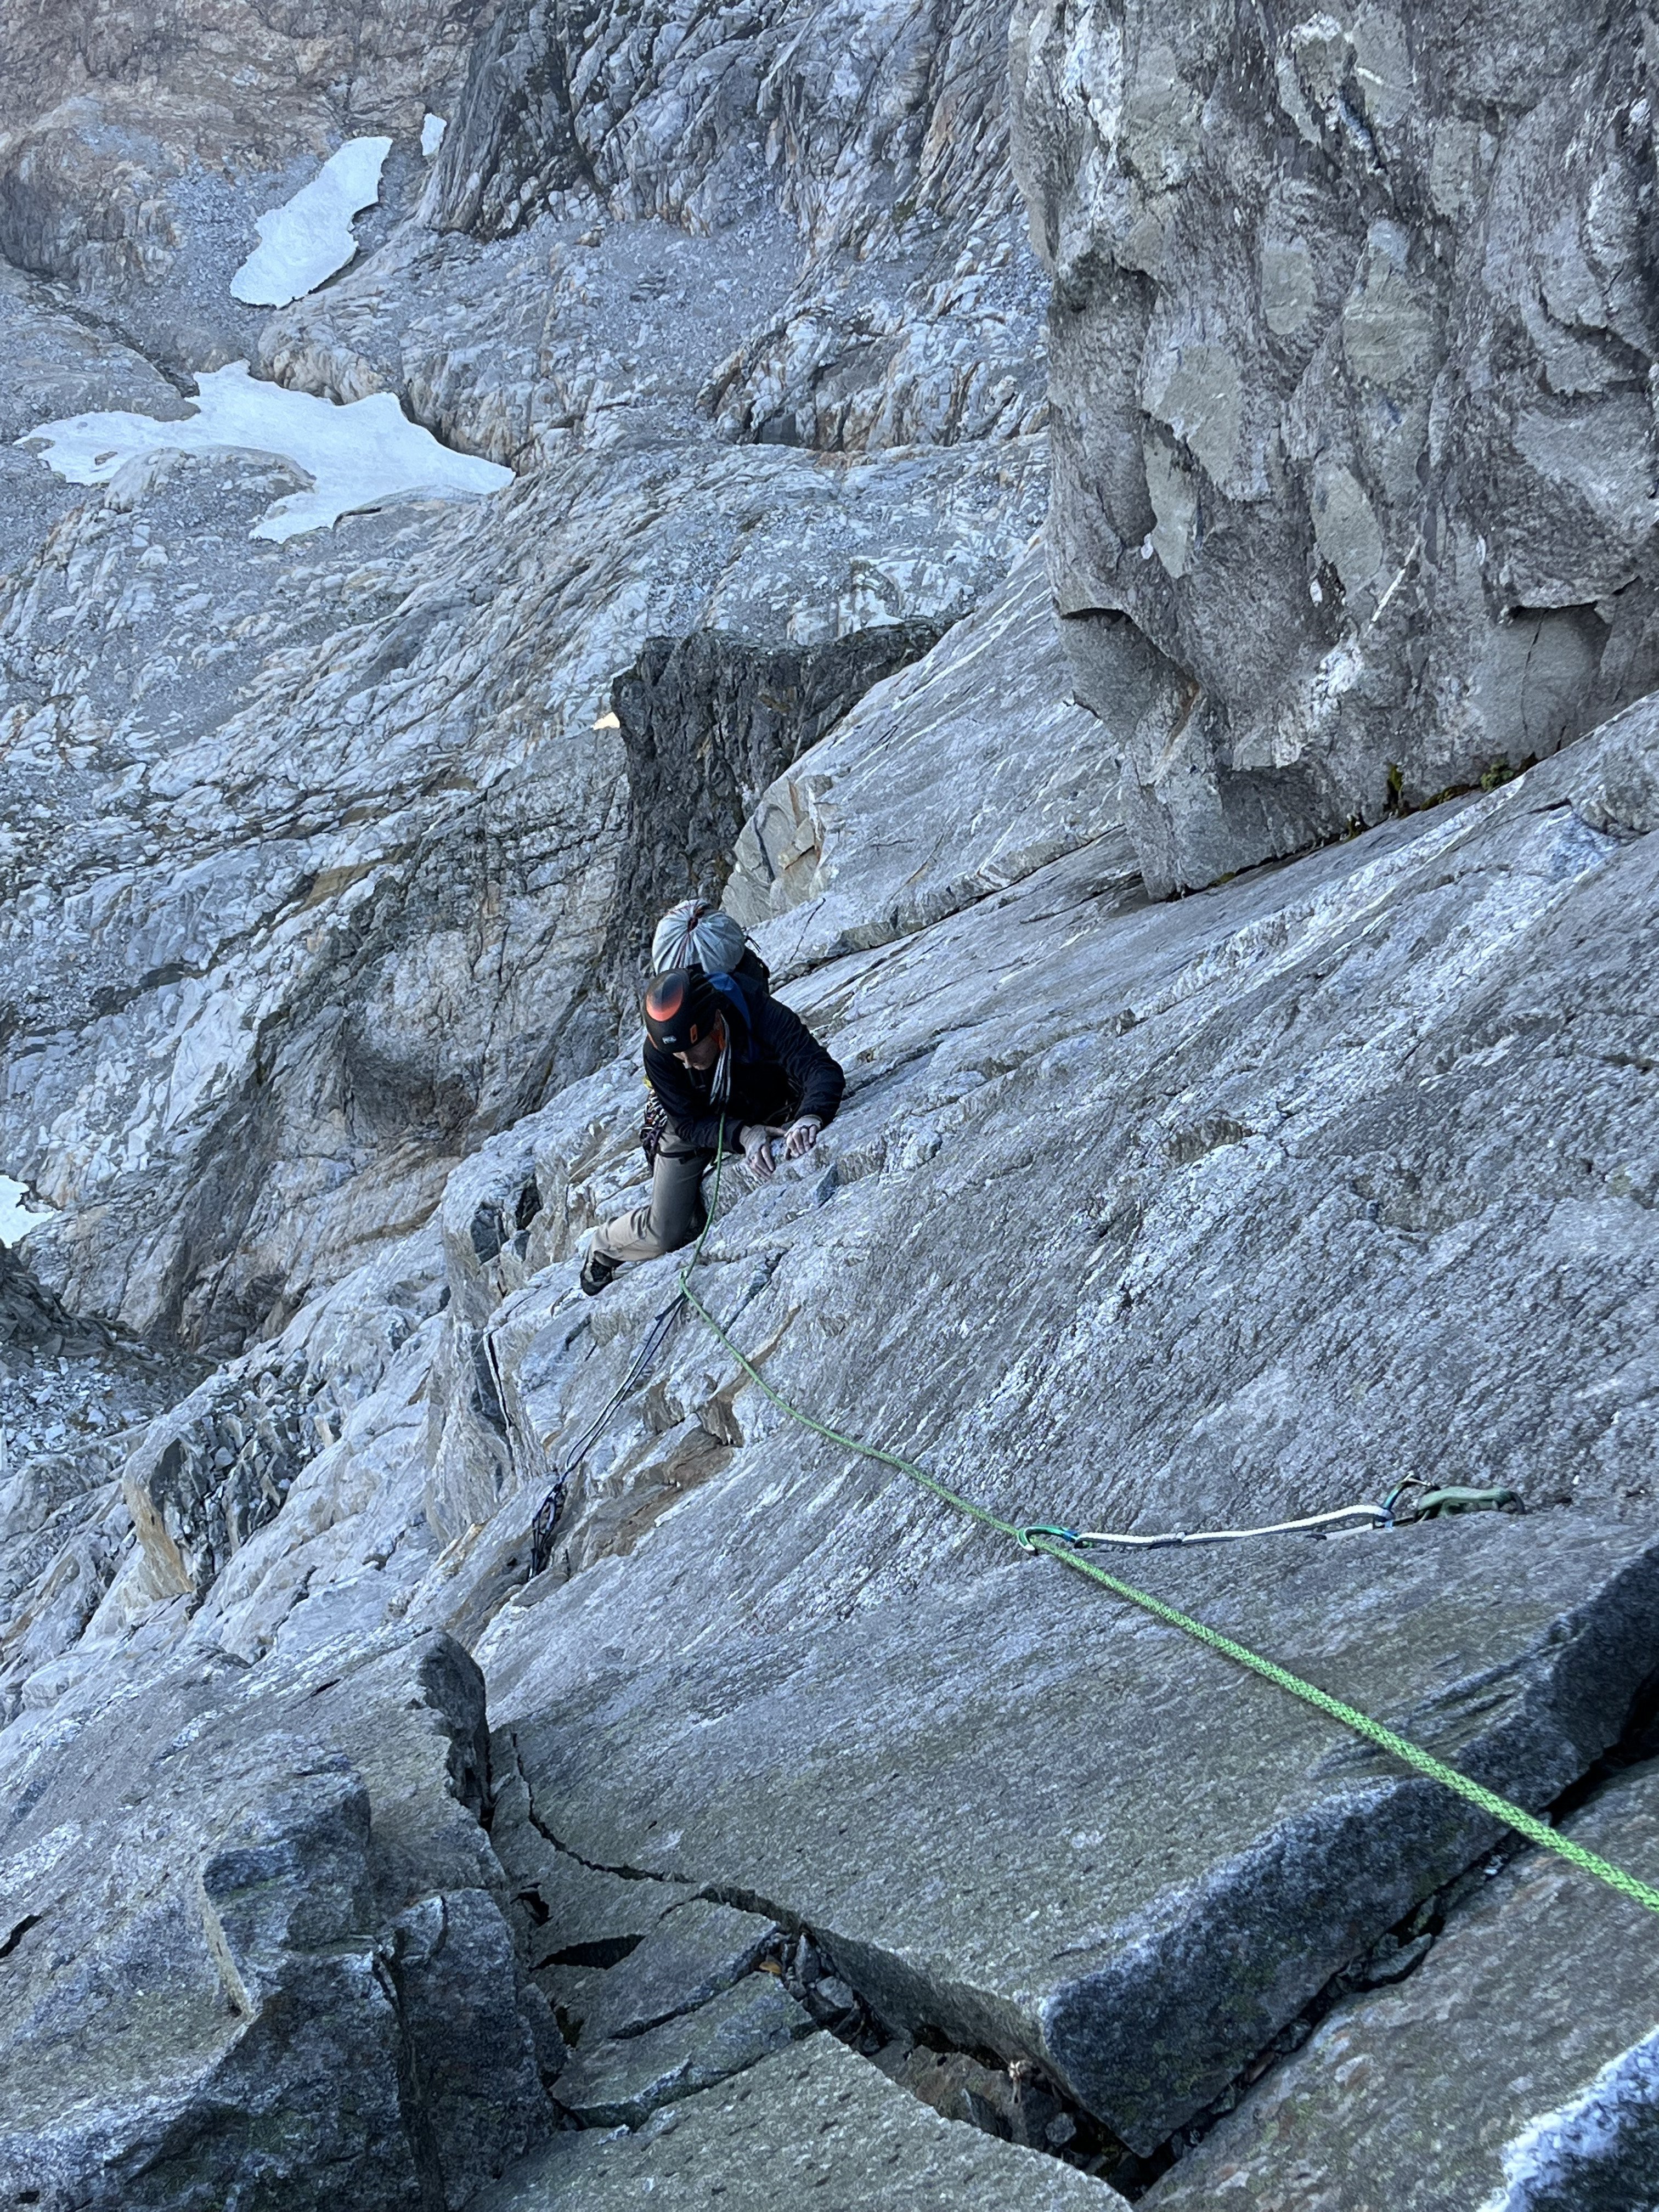
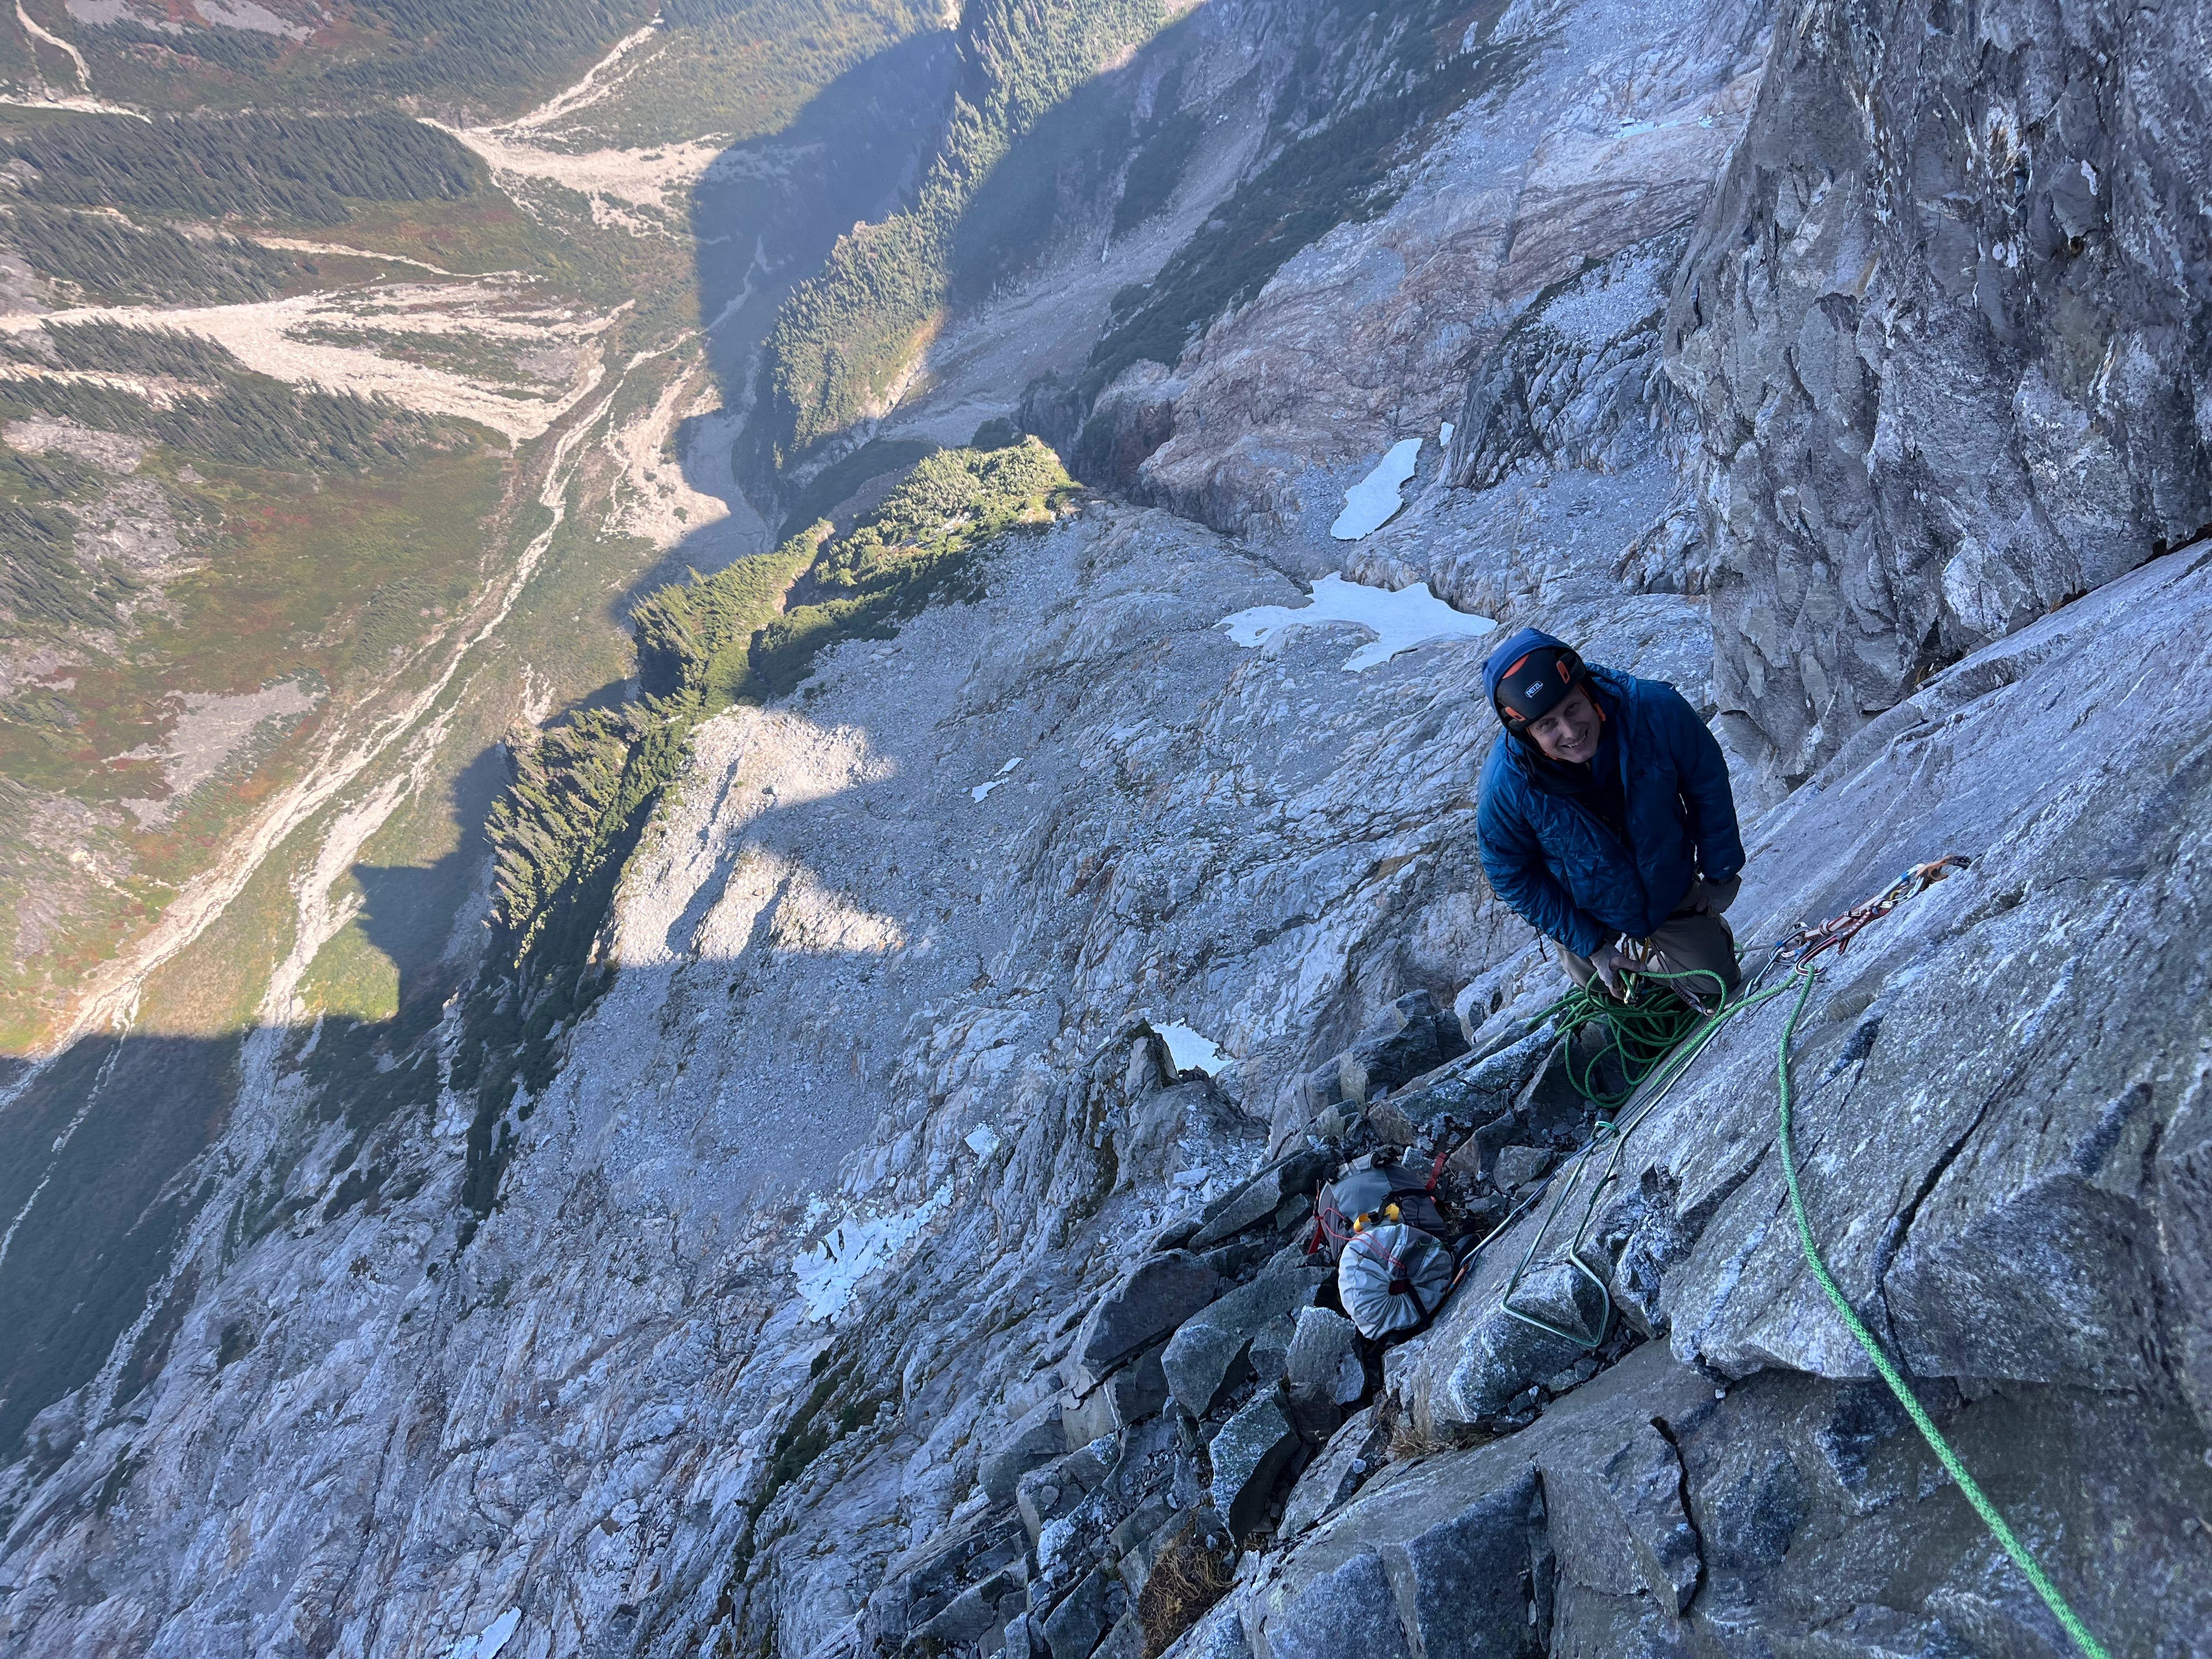
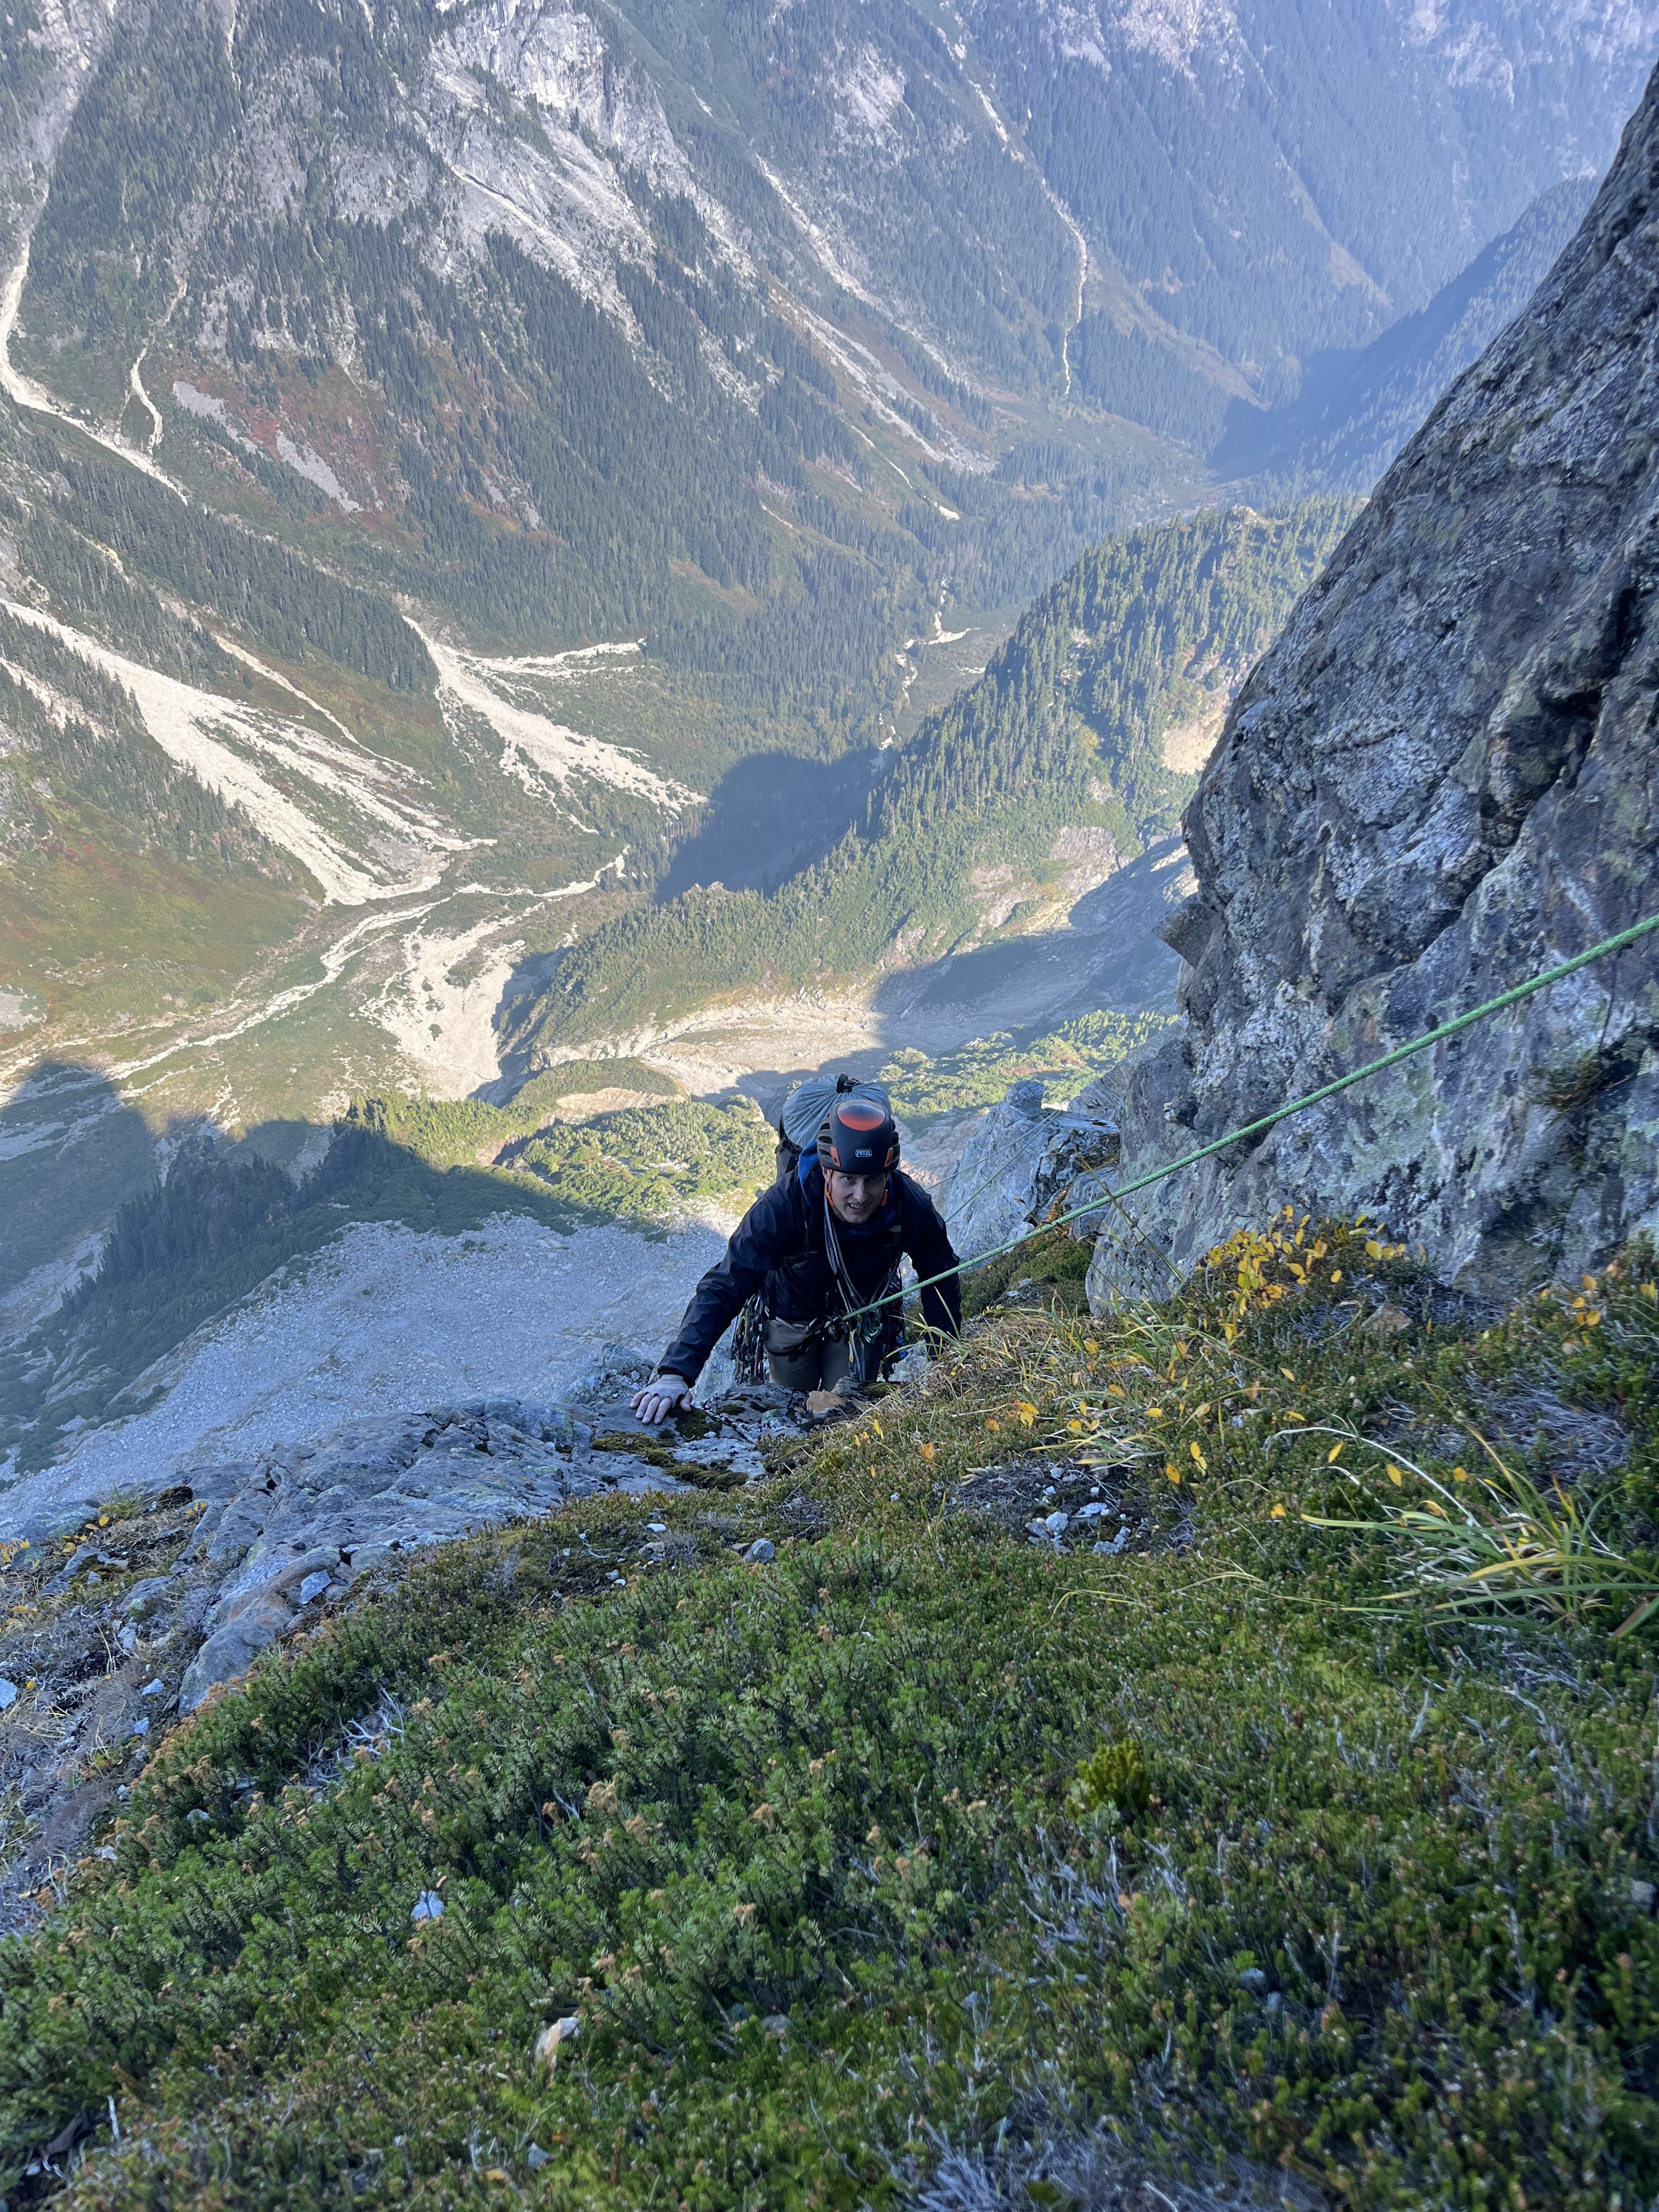
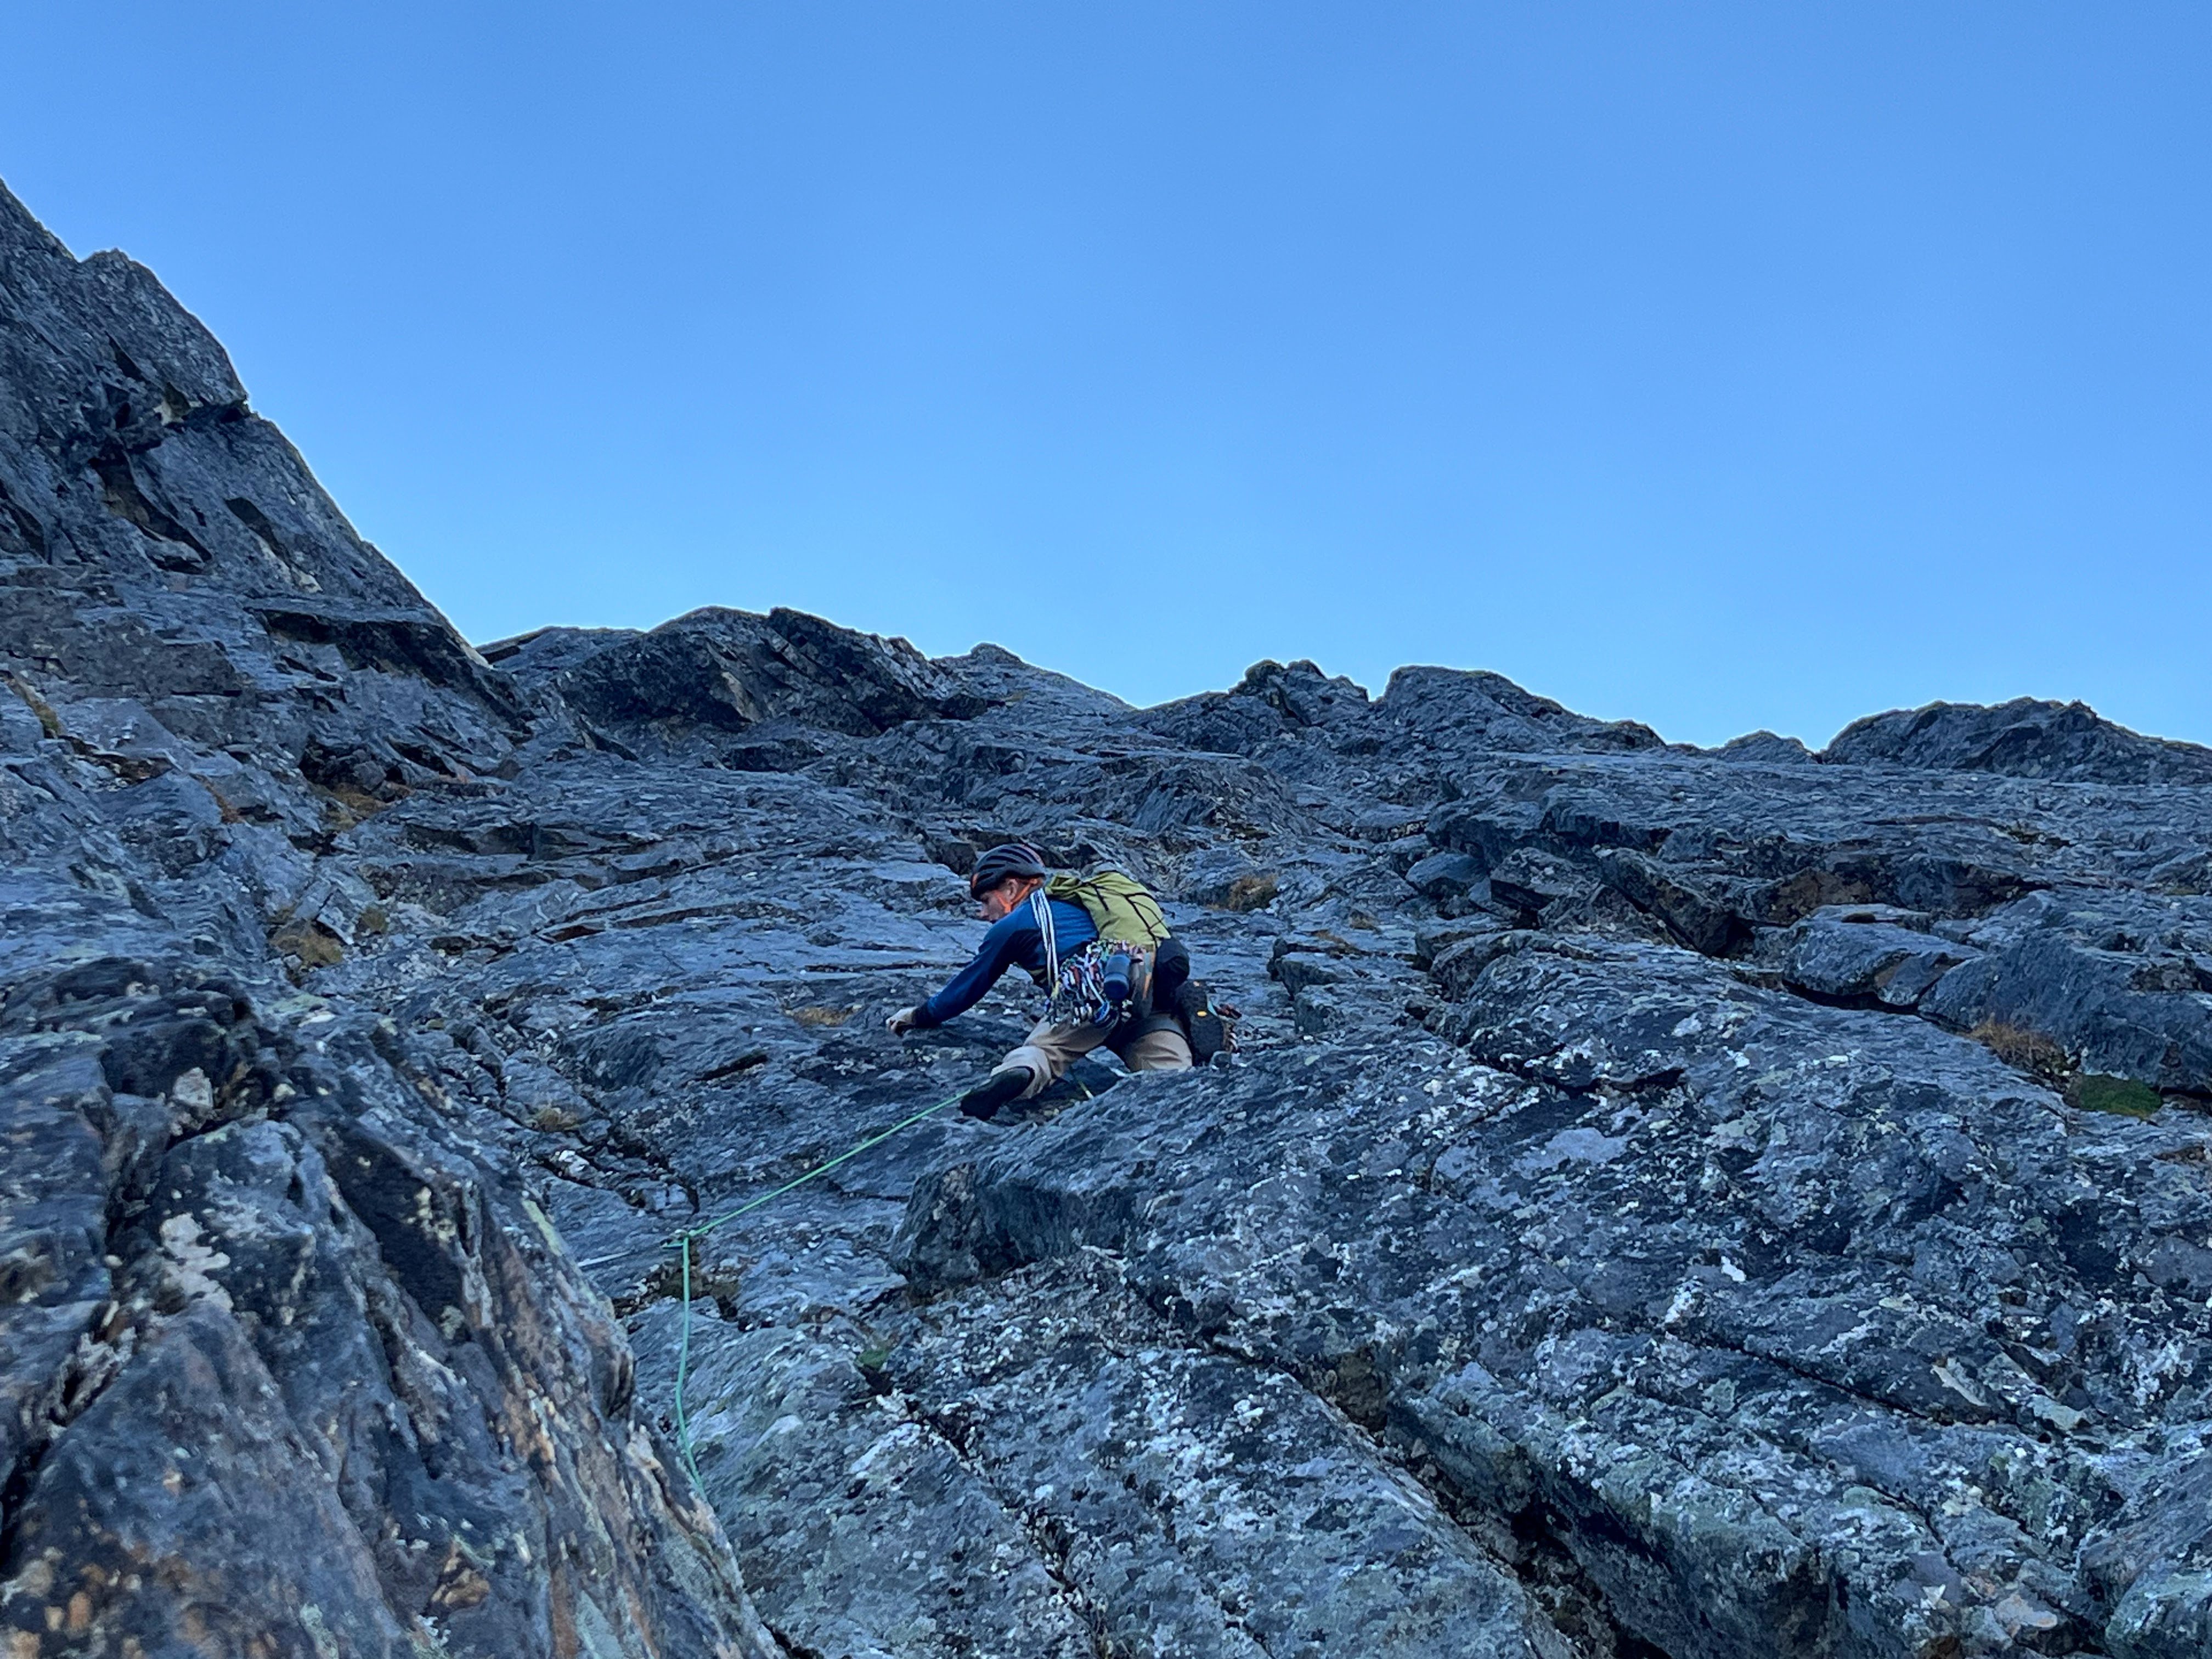
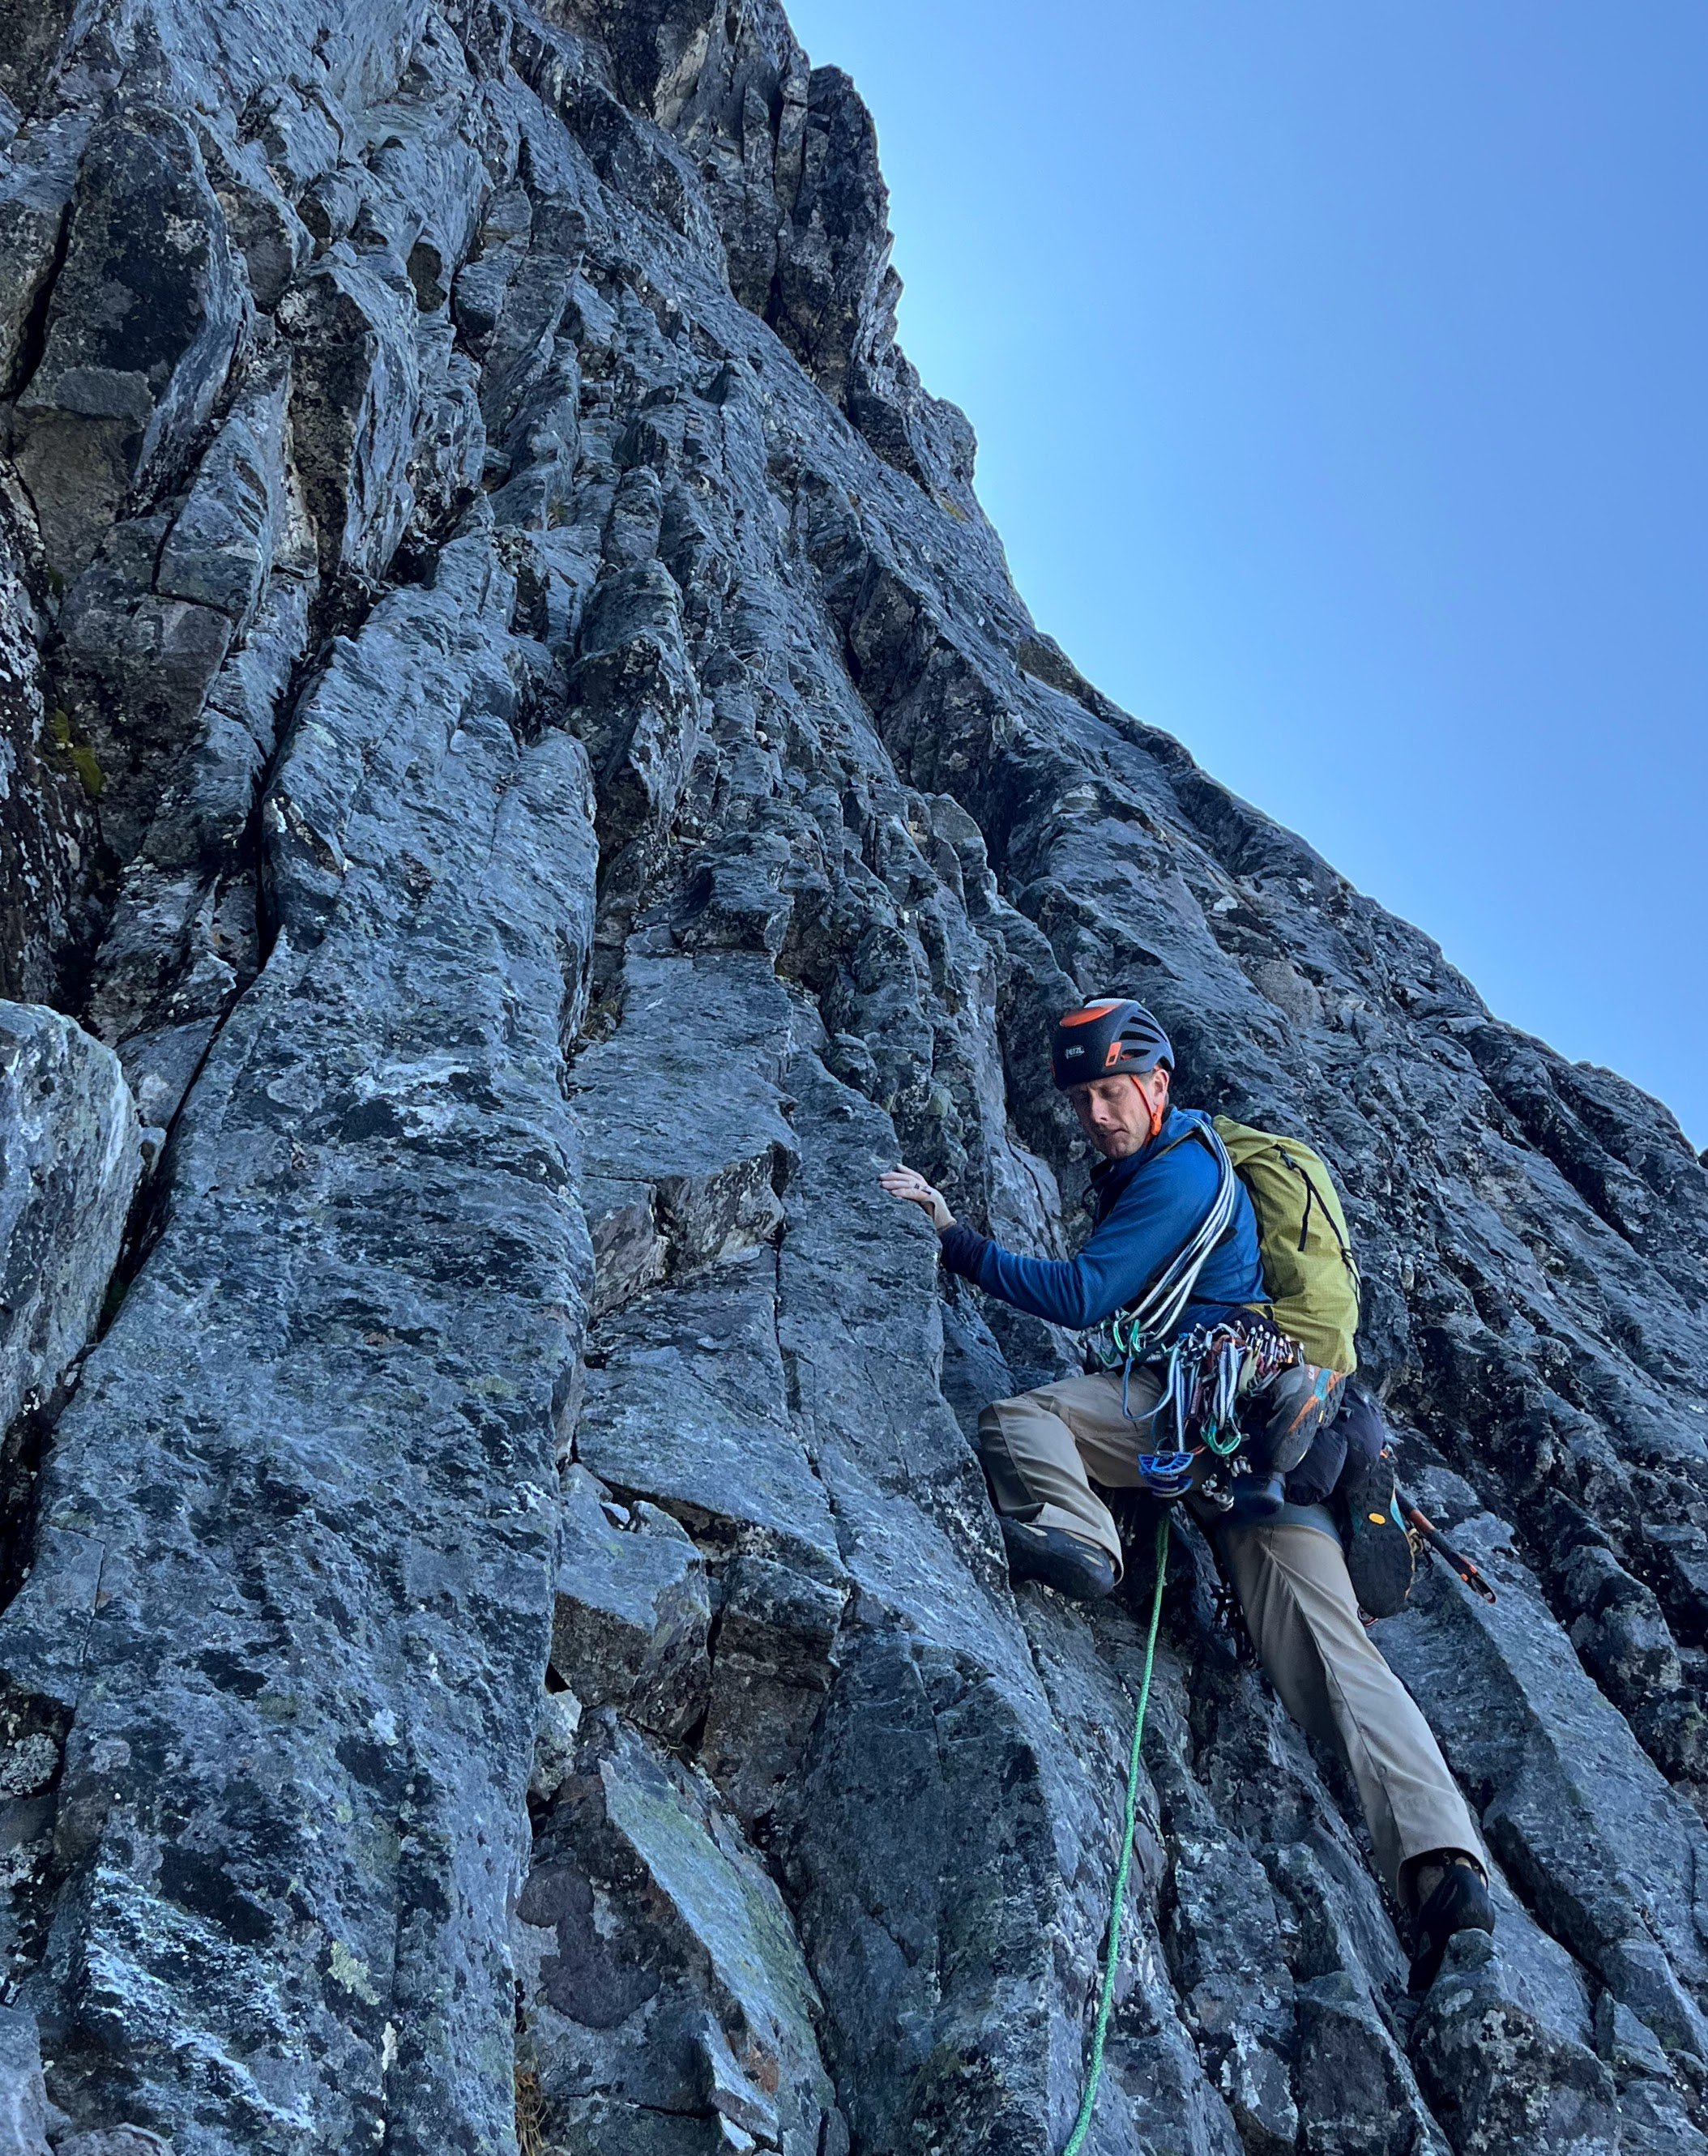
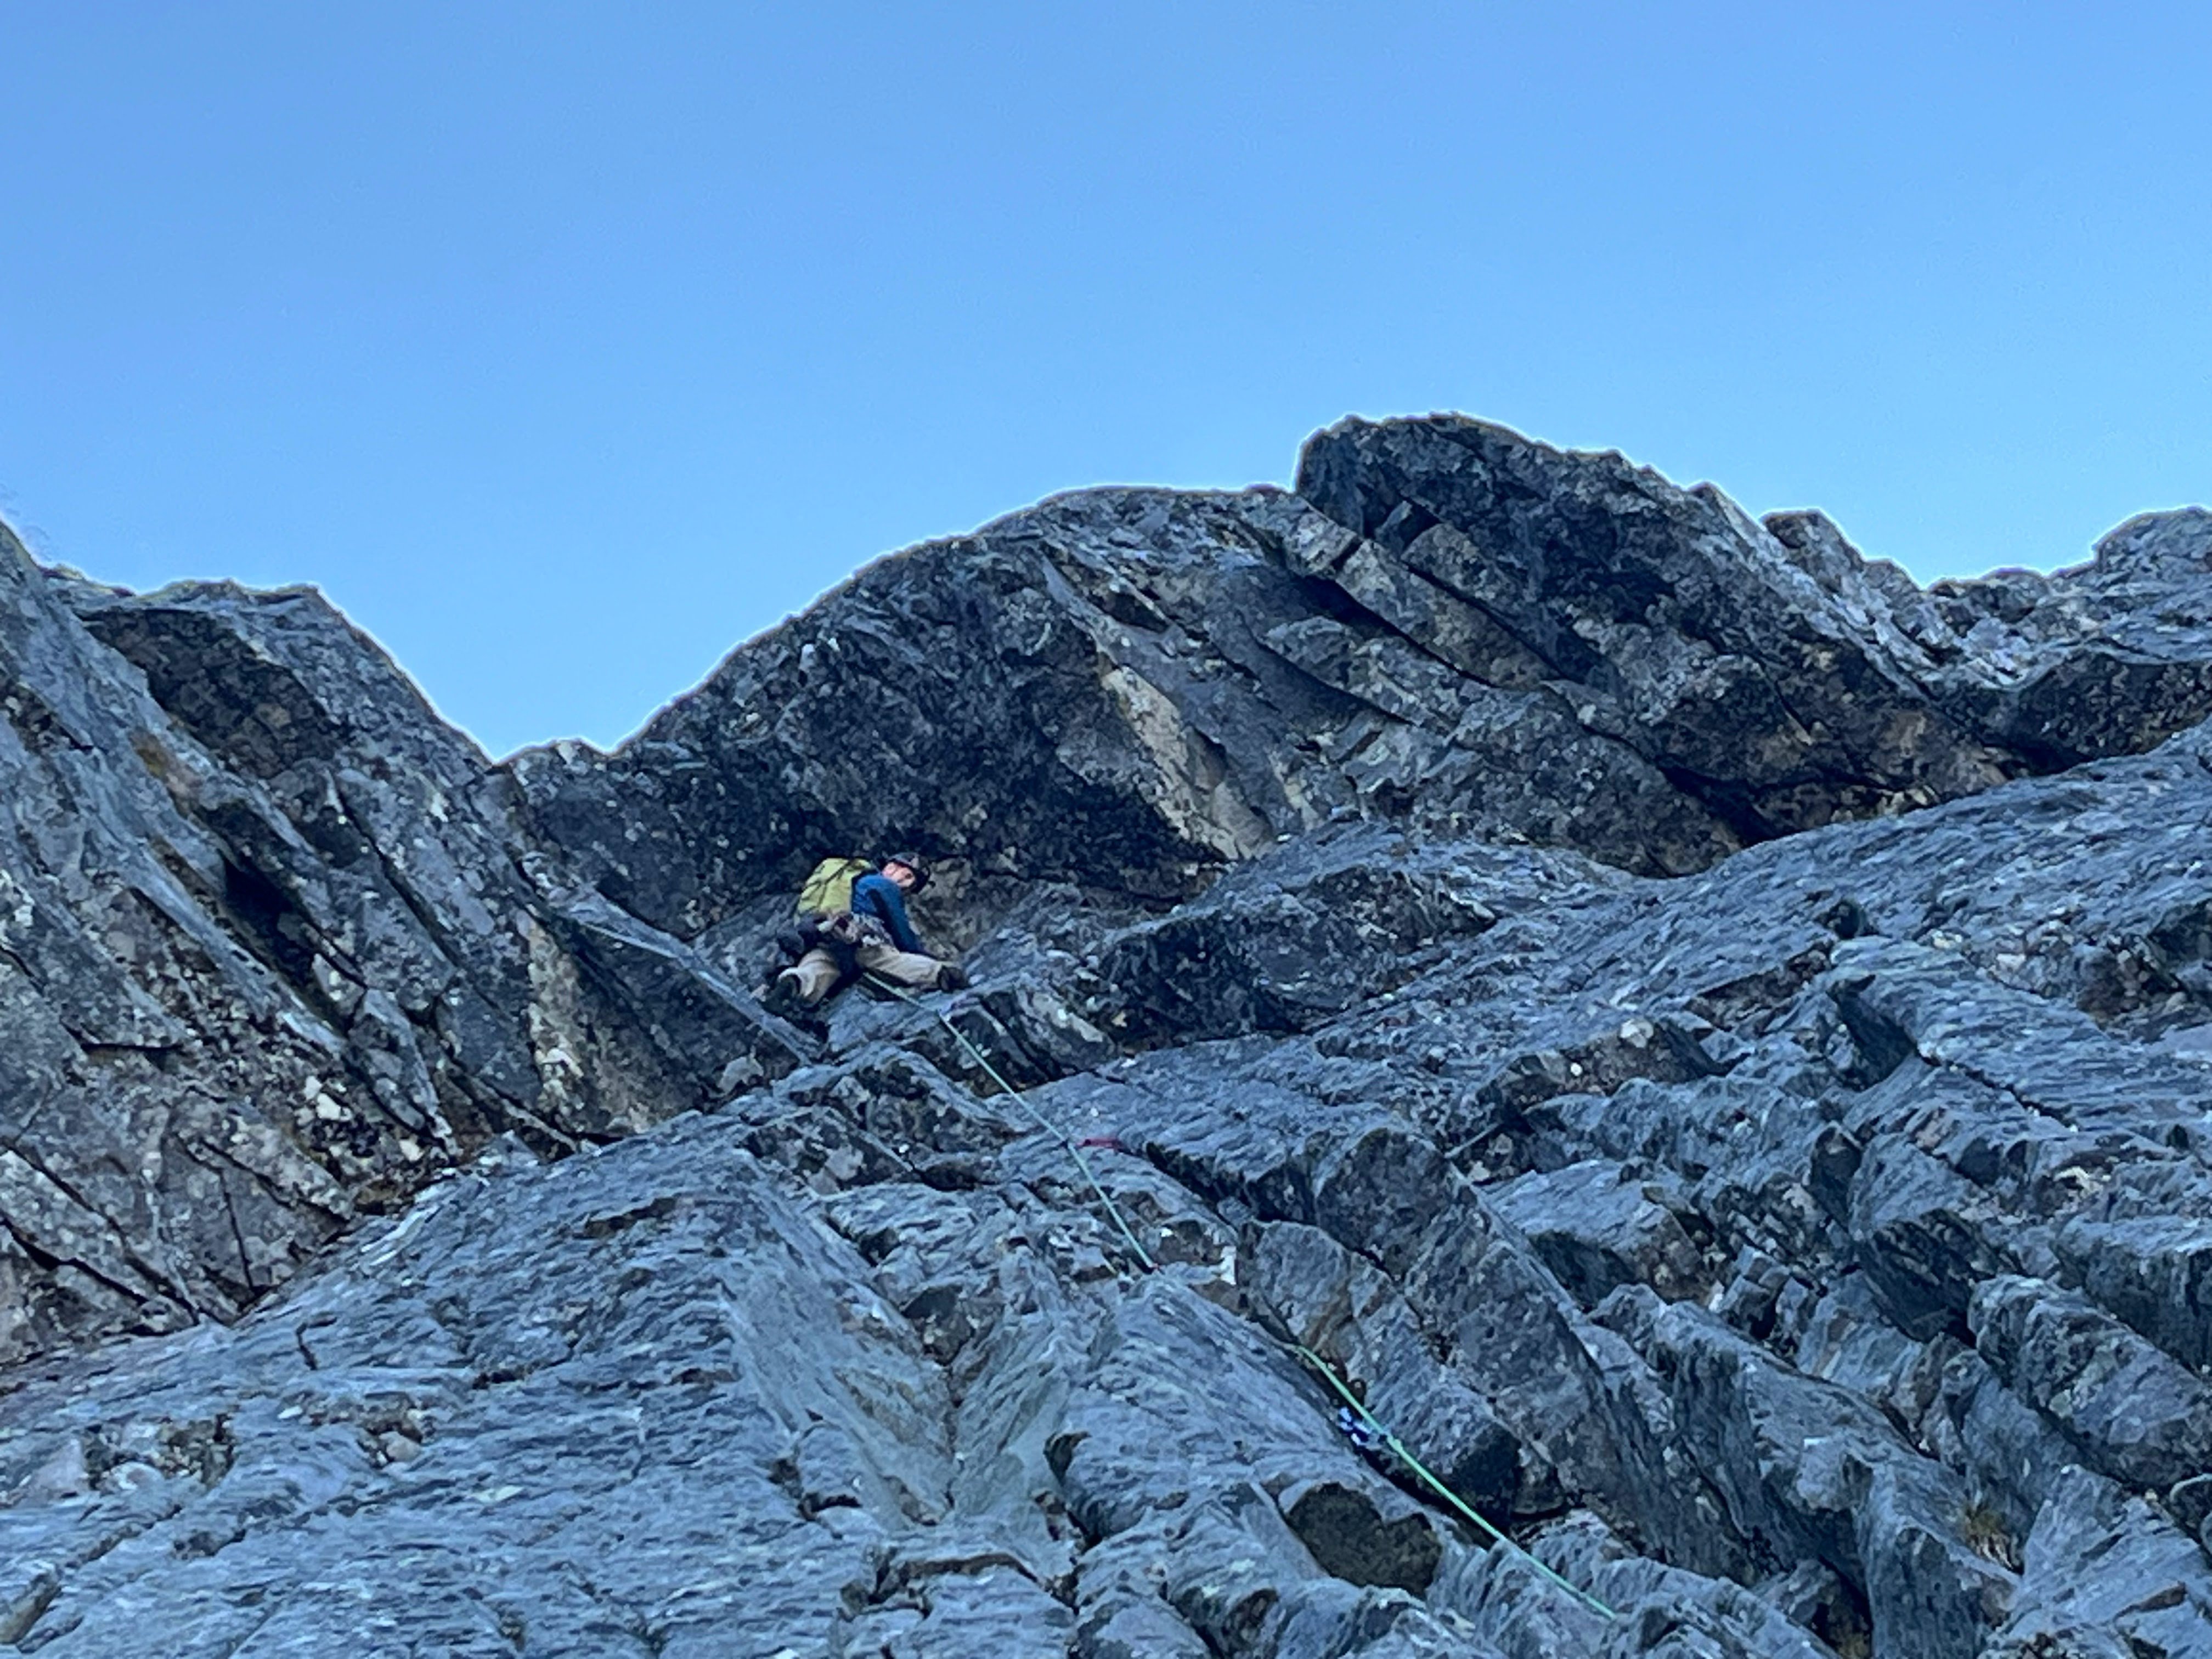
Thanks for the kind words. And yeah, it was way more casual than I expected. I figured there was a decent chance we'd climb through the night. But, nothing went wrong (mostly, we didn't blank out and have to pendulum). Also, while I expected decent rock compared to the Pickets reputation, the rock was vastly better than I'd dared hope. Like, legitimately good. I could list a lot of local granite routes with similar or worse rock. I mean, this is obviously an extremely serious route and environment with some loose, wet, and vegetated rock, and a slight deviation from our path could yield a very different experience. Bailing would be spectacularly unpleasant and expensive. But it's also a much more pleasant and, yeah, casual route than I would have ever expected. And right, re: snow on the approach: the 76/86/08 parties encountered substantial difficulties with glaciers/ice blocks. I also know someone that recently tried to traverse under the McMillan cirque North faces from Stettatle Ridge in late spring, and was turned around by some weird messed up crevasse situation with what seems to be a seasonal glacier (following roughly the Volken ski approach). But, I think they were lower than you'd be to approach the buttress, so maybe it's not a big problem these days. These glacial remnants seem to always be gone by Sept, and we just had one short section under some mildly threatening blocks where we felt the need to scoot (similar to approaching Triumph NE ridge). Here's some more detail: Approach: from the Terror basin bivy, walk/scramble up slabs diagonally toward base of Little Mac. There are bivy sites with year-round water around 6400-6700ft below/S of Little Mac. Find a narrow ledge below Little Mac to access the NE trending ridge toward Elephant Butte. Scramble NE along this ridge for 10-20 minutes, finding a slung boulder about 50m before the first low point/col. Make four 45-55m rappels starting from the boulder, at first in the corner. After the second rappel, walk 20m skiers right on a ledge to find another slung boulder. The fourth rappel finishes over a rotten, red overhang. From the base of the rappels, walk/scramble to the base of the buttress, continuing around to the right/W side, and scramble up and back left toward the crest. In late season (Sept) there will likely be no need to cross snow (although plentiful flowing water), with one area below broken up ice blocks where you’ll want to scoot with some urgency. Early season, though, there may be a seasonal glacier with substantial crevassing that could hinder access (a la Slesse). Route: When the buttress steepens to fifth class, simul climb for 200-300m until a ledge where it steepens further and the pitched climbing begins. Looking up, you will see the buttress crest on your left, then to its right a right-facing corner (2008 route, we think, we climbed this), a rotten looking roof, and further right another weakness/corner (1986 route, I think). Belayed pitches range from perhaps 5.8 to 5.10-, and it’s hard to give per-pitch grades, but p3 is the mental and physical crux. p1 (50m): Begin in the corner directly below the rotten roof (to the right of the upper, left-hand R-facing corner that you're aiming for). When the cracks become wet and filled with moss, traverse a couple of meters right to a cleaner corner, and belay just below the rotten roof. Note: this is what we did, but it may be better to take the next corner left, which aims you straight toward the left end of the chossy looking roof, and thus avoid the traversing pitching. p2 (20-30m): Traverse horizontally left, out from under the chossy roof, passing below another crackless roof/overlap, aiming for the solid/clean rock near the crest. Belay near two rusty pins. p3 (45m): From the old pin anchor, go up and left into the solid corner with clean cracks, passing an ominous looking fridge-sized block that, once you reach it, sounds solid enough to (gingerly) climb on. Continue up placing gear behind surprisingly solid flakes to pass a small roof, emerging on a slab that provides entry to the large R-facing corner at which you've been aiming. Climb the slab up and into the corner on solid rock, but at times little gear, until you can step right onto a pedestal belay. p4 (50m): Climb up from the pedestal toward the left side of the mossy, chossy-looking roof; but traverse right just under the roof on solid, clean face holds, using the roof only at its solid right edge. Emerge onto a large grassy ledge, climb up solid blocks/boulders into a steep, splitter thin hand/finger crack leading to another, larger but sloping grassy ledge. Continue up the grass/heather slightly rightwards to belay at the base of a corner. p5 (45m): Go up and right on the face R of the corner. There are numerous options but they all deposit you on a small sloping ledge where the face converges below the main corner. p6 (50m): Climb up cracks and grooves on the right wall of the corner, aiming for the right side of an overlap below a larger roof. After placing gear in the roof, step left above the overlap and continue up to belay in a small sloping alcove. p7 (50m): Climb rightwards out of the alcove, passing a small roof on its right to emerge onto a rightward-sloping ledge. Walking right will lead to bivy sites; but if not bivying, continue straight up into a steeper, shallow corner with several cruxes (one just off the ledge), belay when you find a good stance. p8 (50m): Climb straight up in a slightly easier corner/groove, stopping to belay when the angle eases. You are now in the schist band: rock quality deteriorates. Simul climb for 50-60m, straight up a broad depression, exiting on steeper, splitter cracks slightly rightwards leading to lower angle slopes facing more westward. We continued simuling, aiming for a steeper ramp 30-50m right of the crest, which had a fixed pin, but was the only bad/scary/chossy pitch of the route. Not recommended. Instead, after exiting the steep cracks, stay low and traverse harder right toward the E Mac-W Mac col, until you reach a broad depression leading straight up (3rd class) to the summit. Descent: Downclimb SW toward the E Mac-W Mac col (2nd-3rd, one 4th move at bottom). Continue downclimbing the dirty gully S for 50-100m, looking for where the left wall of the gully becomes less steep/flat (i.e. creates a small shoulder), where you will find a slung boulder. Make four 45-55m rappels roughly straight down off slung horns/boulders to reach lower-angle slopes. And a route line on a gorgeous picture by @JasonG (happy to pass along higher resolution, just ask): And finally views of the upper and lower buttress, and the rappel corner, from a little past the rappel point: -
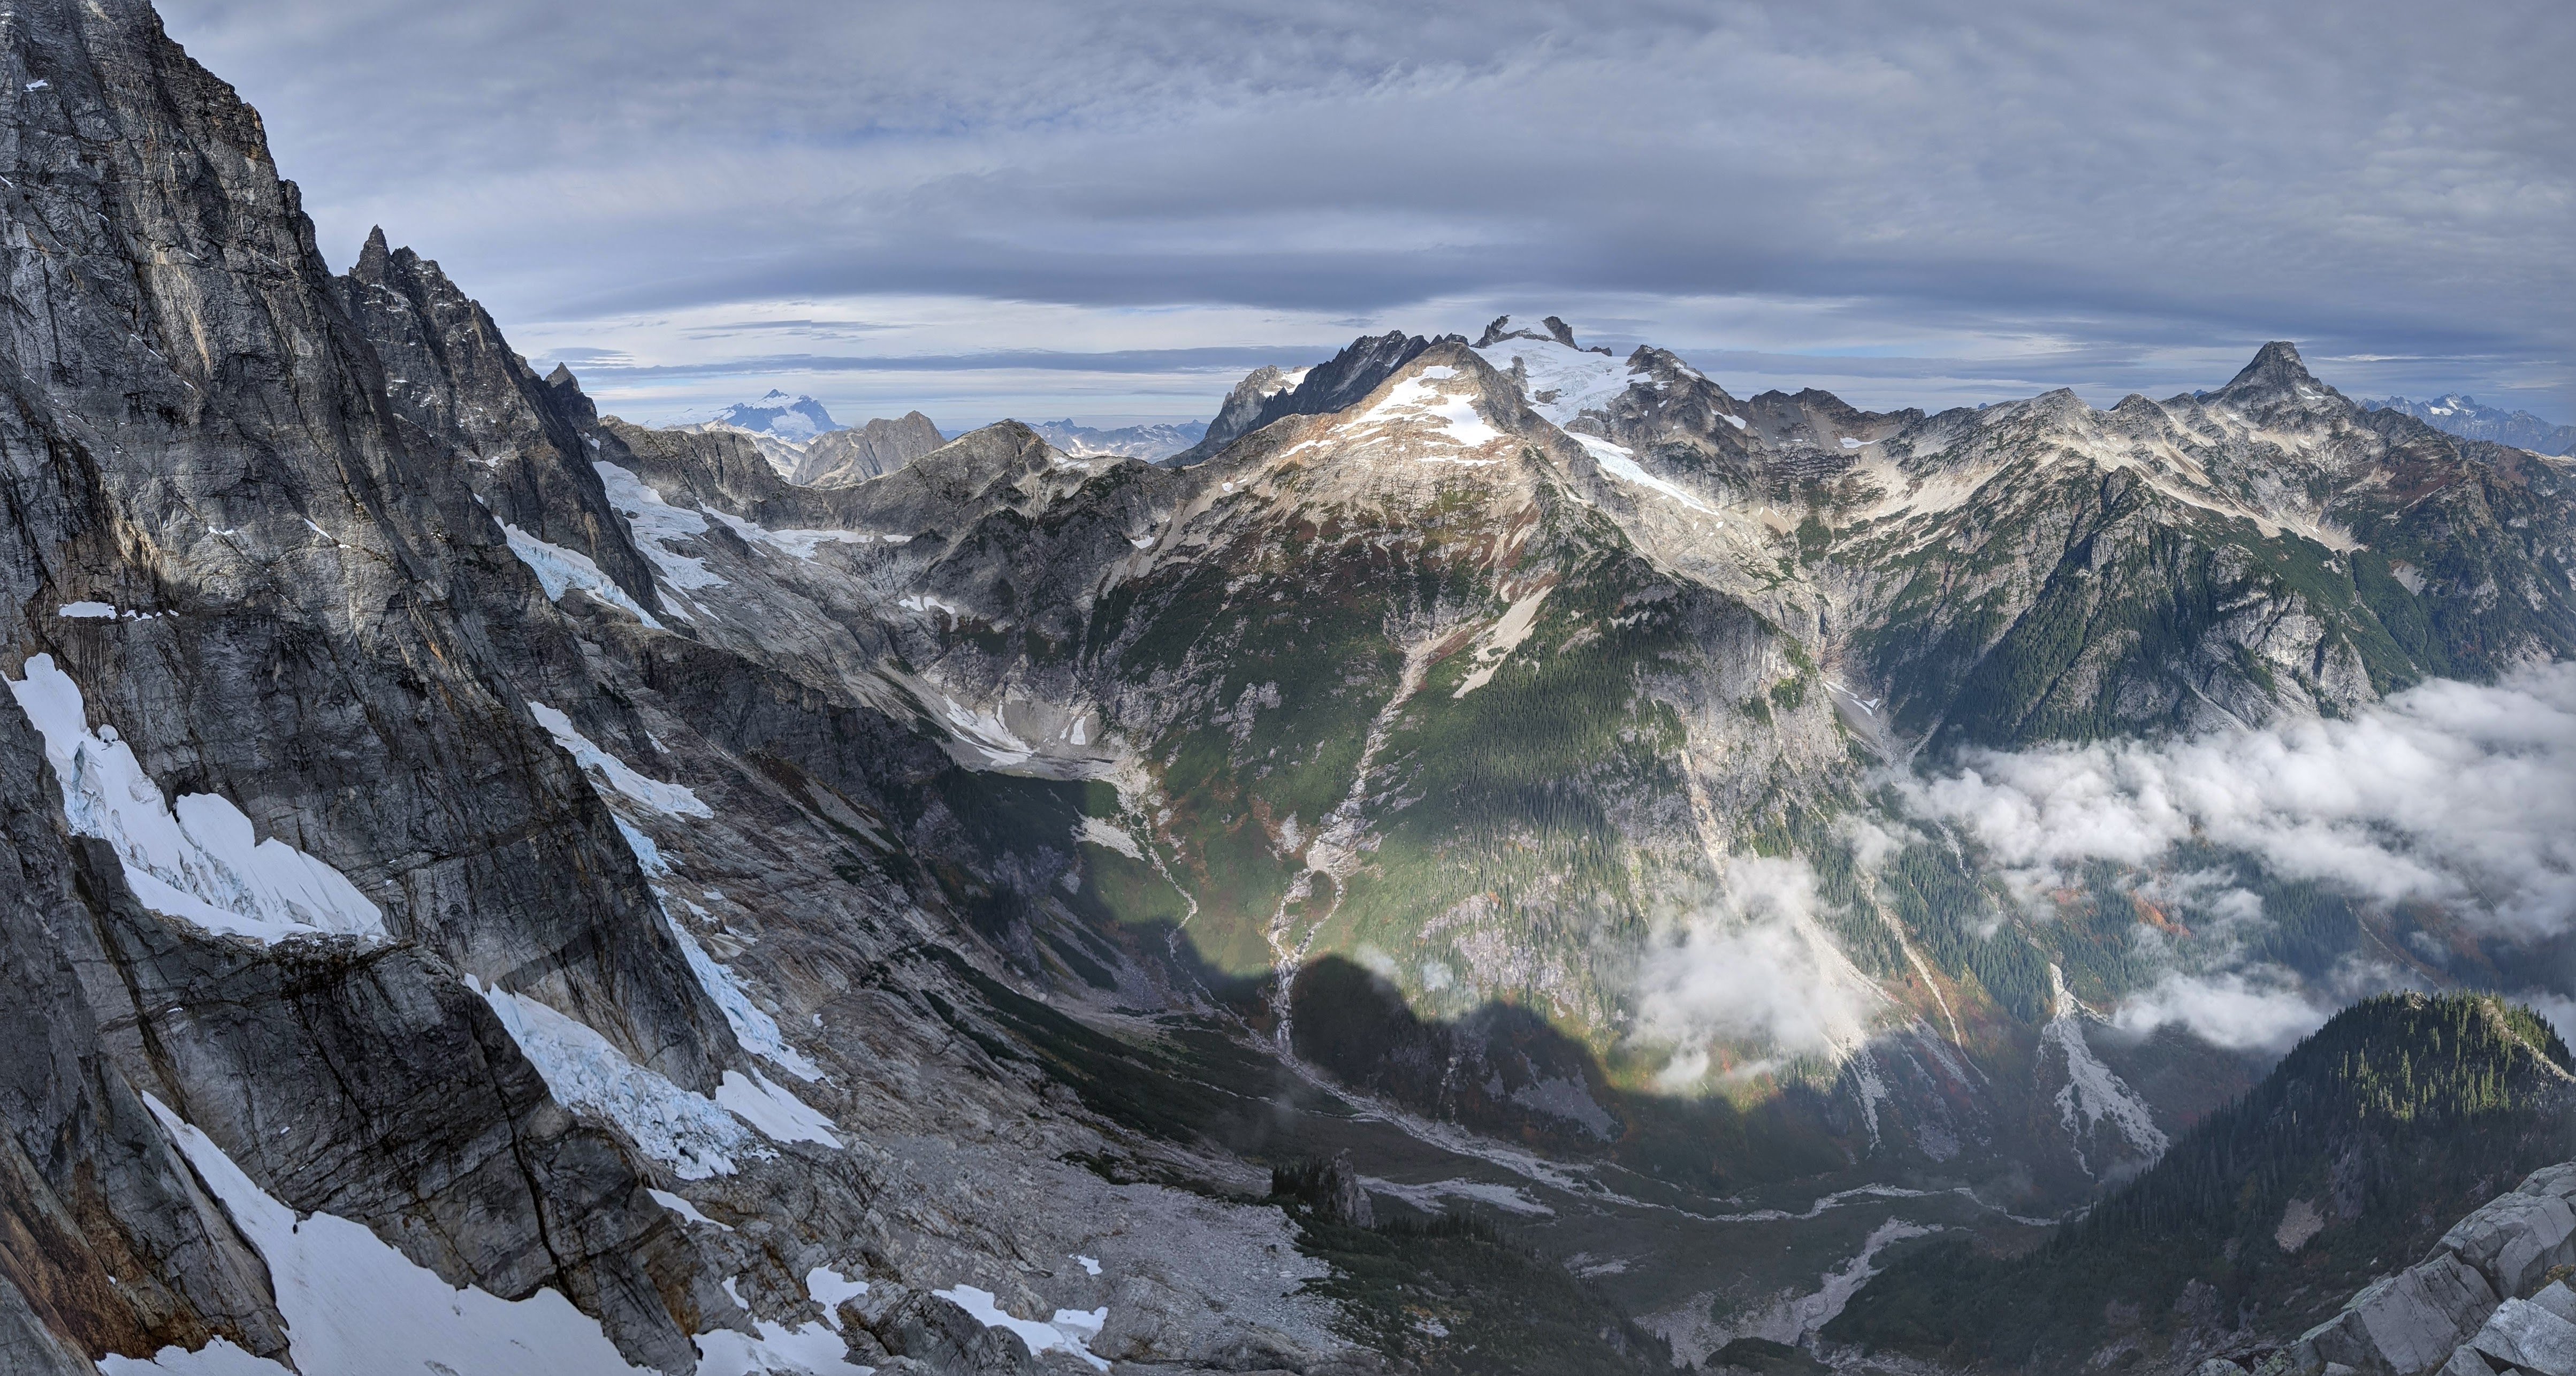
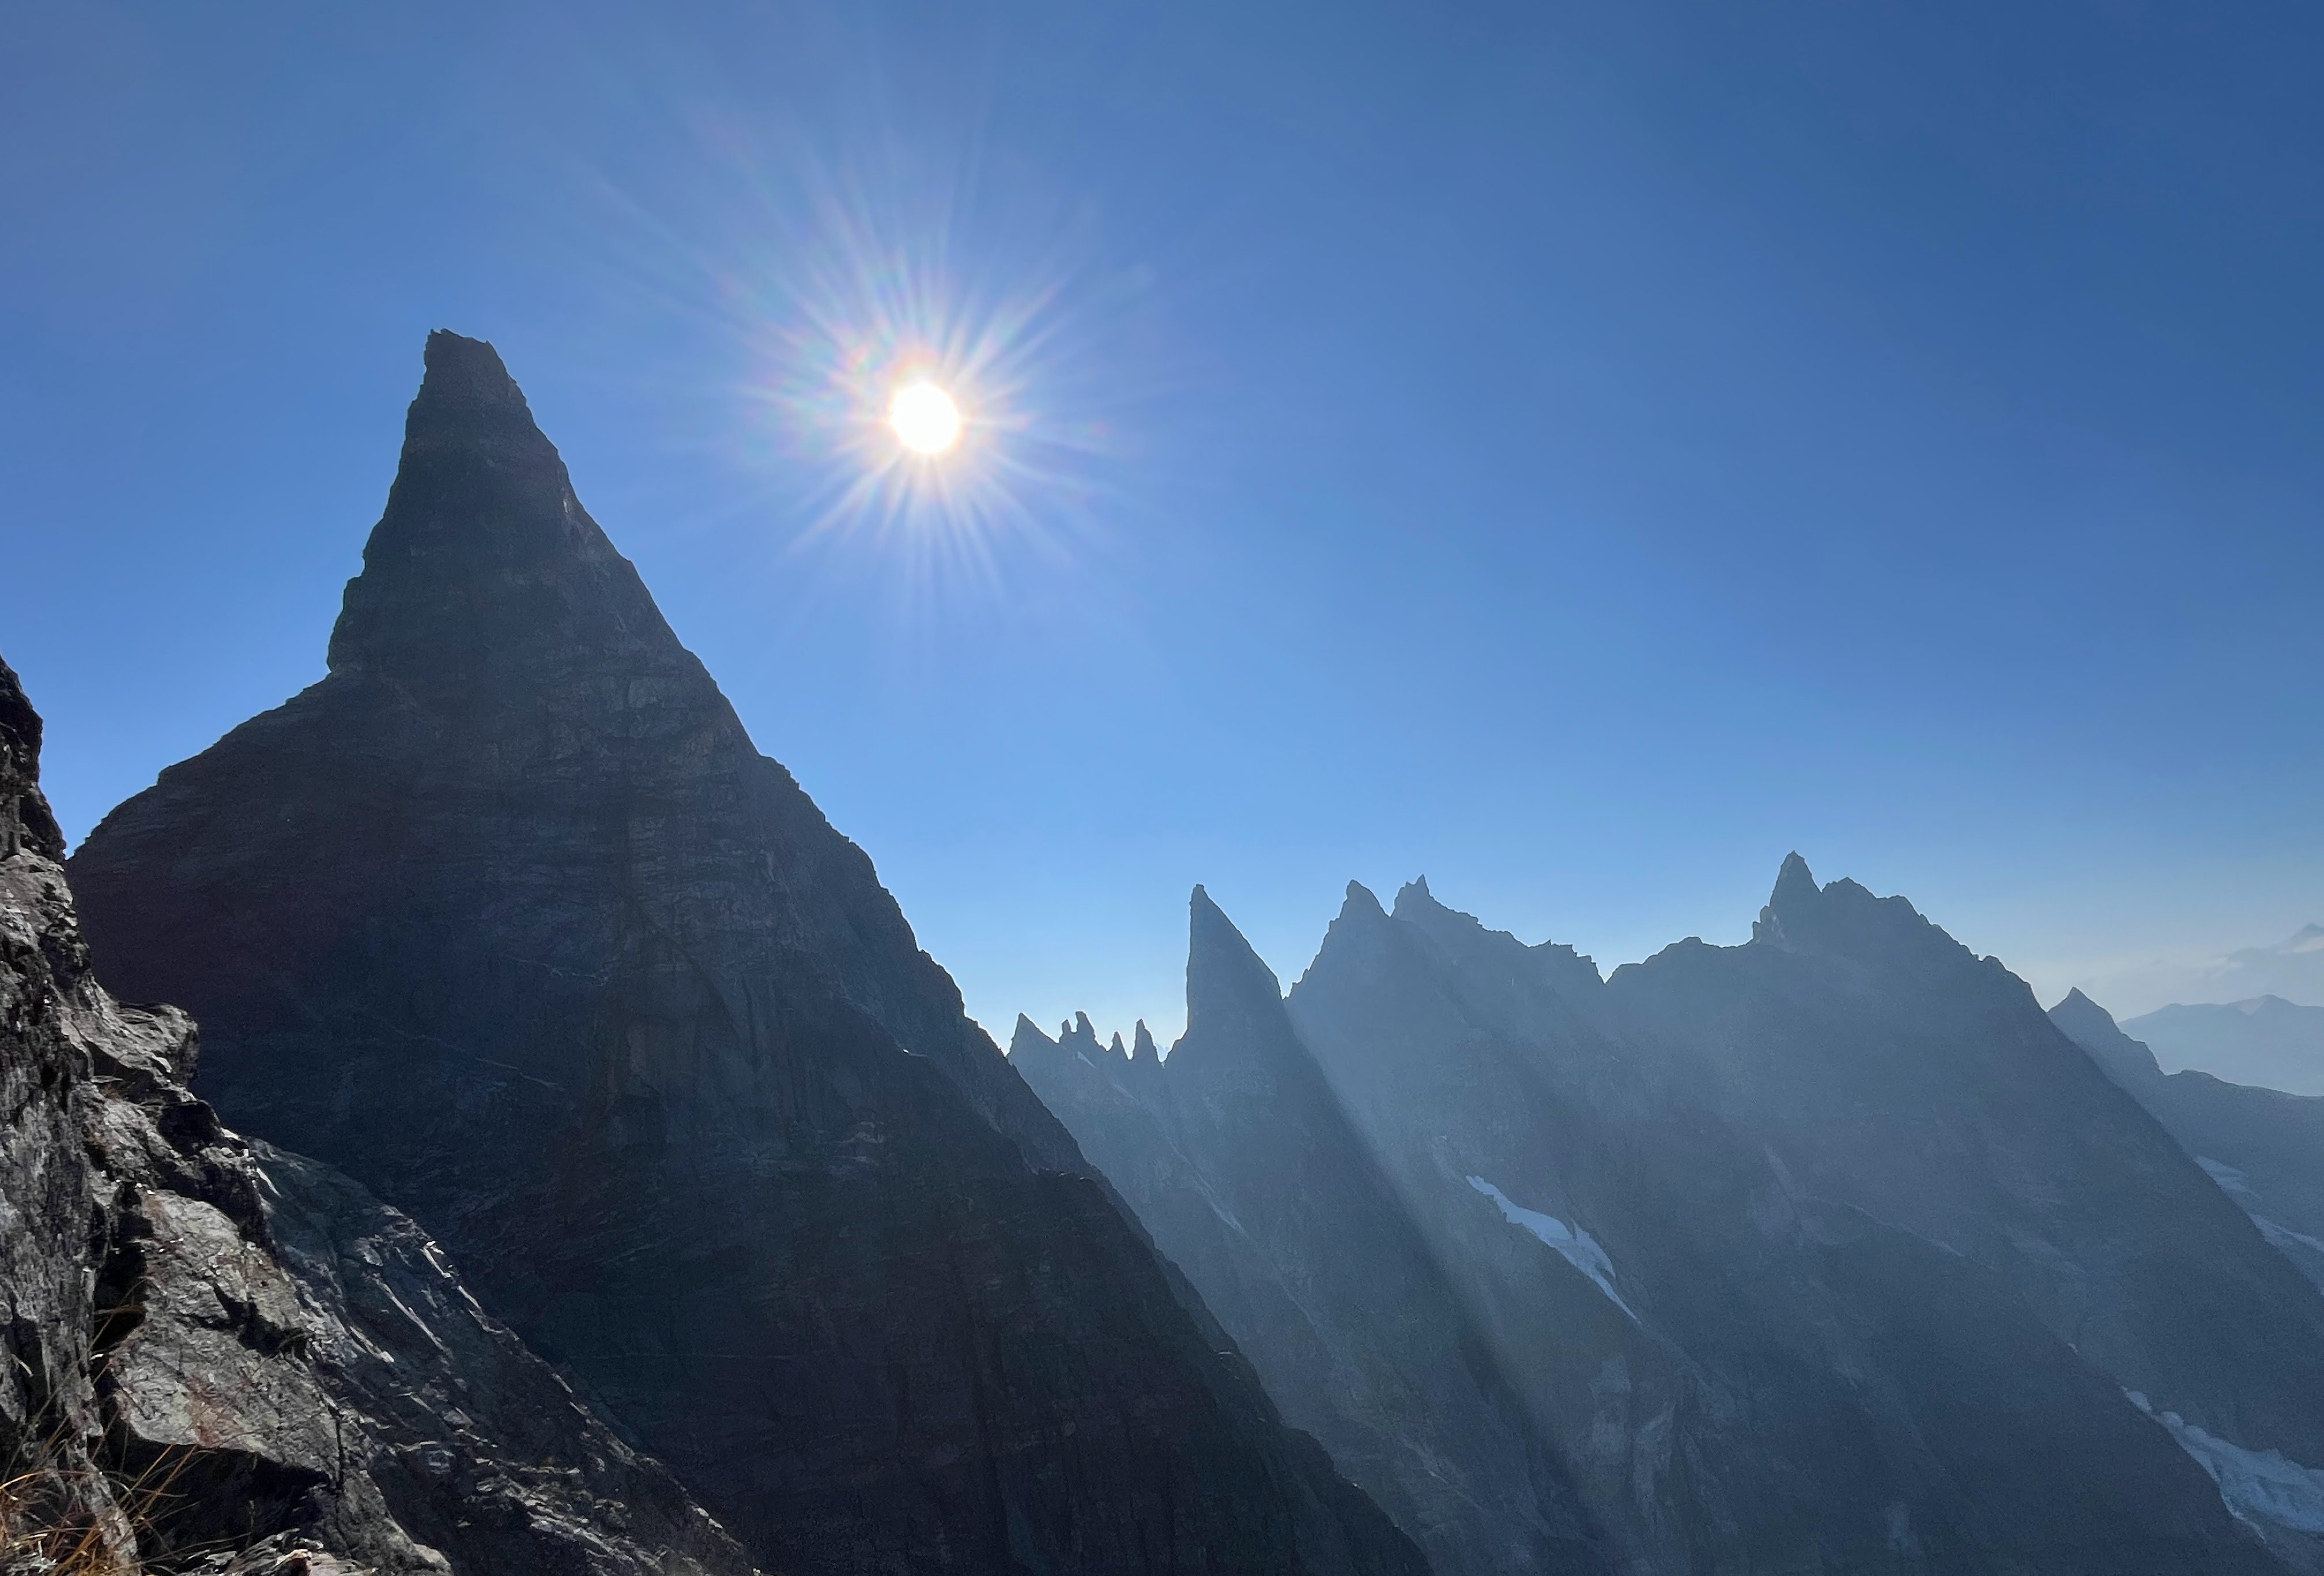
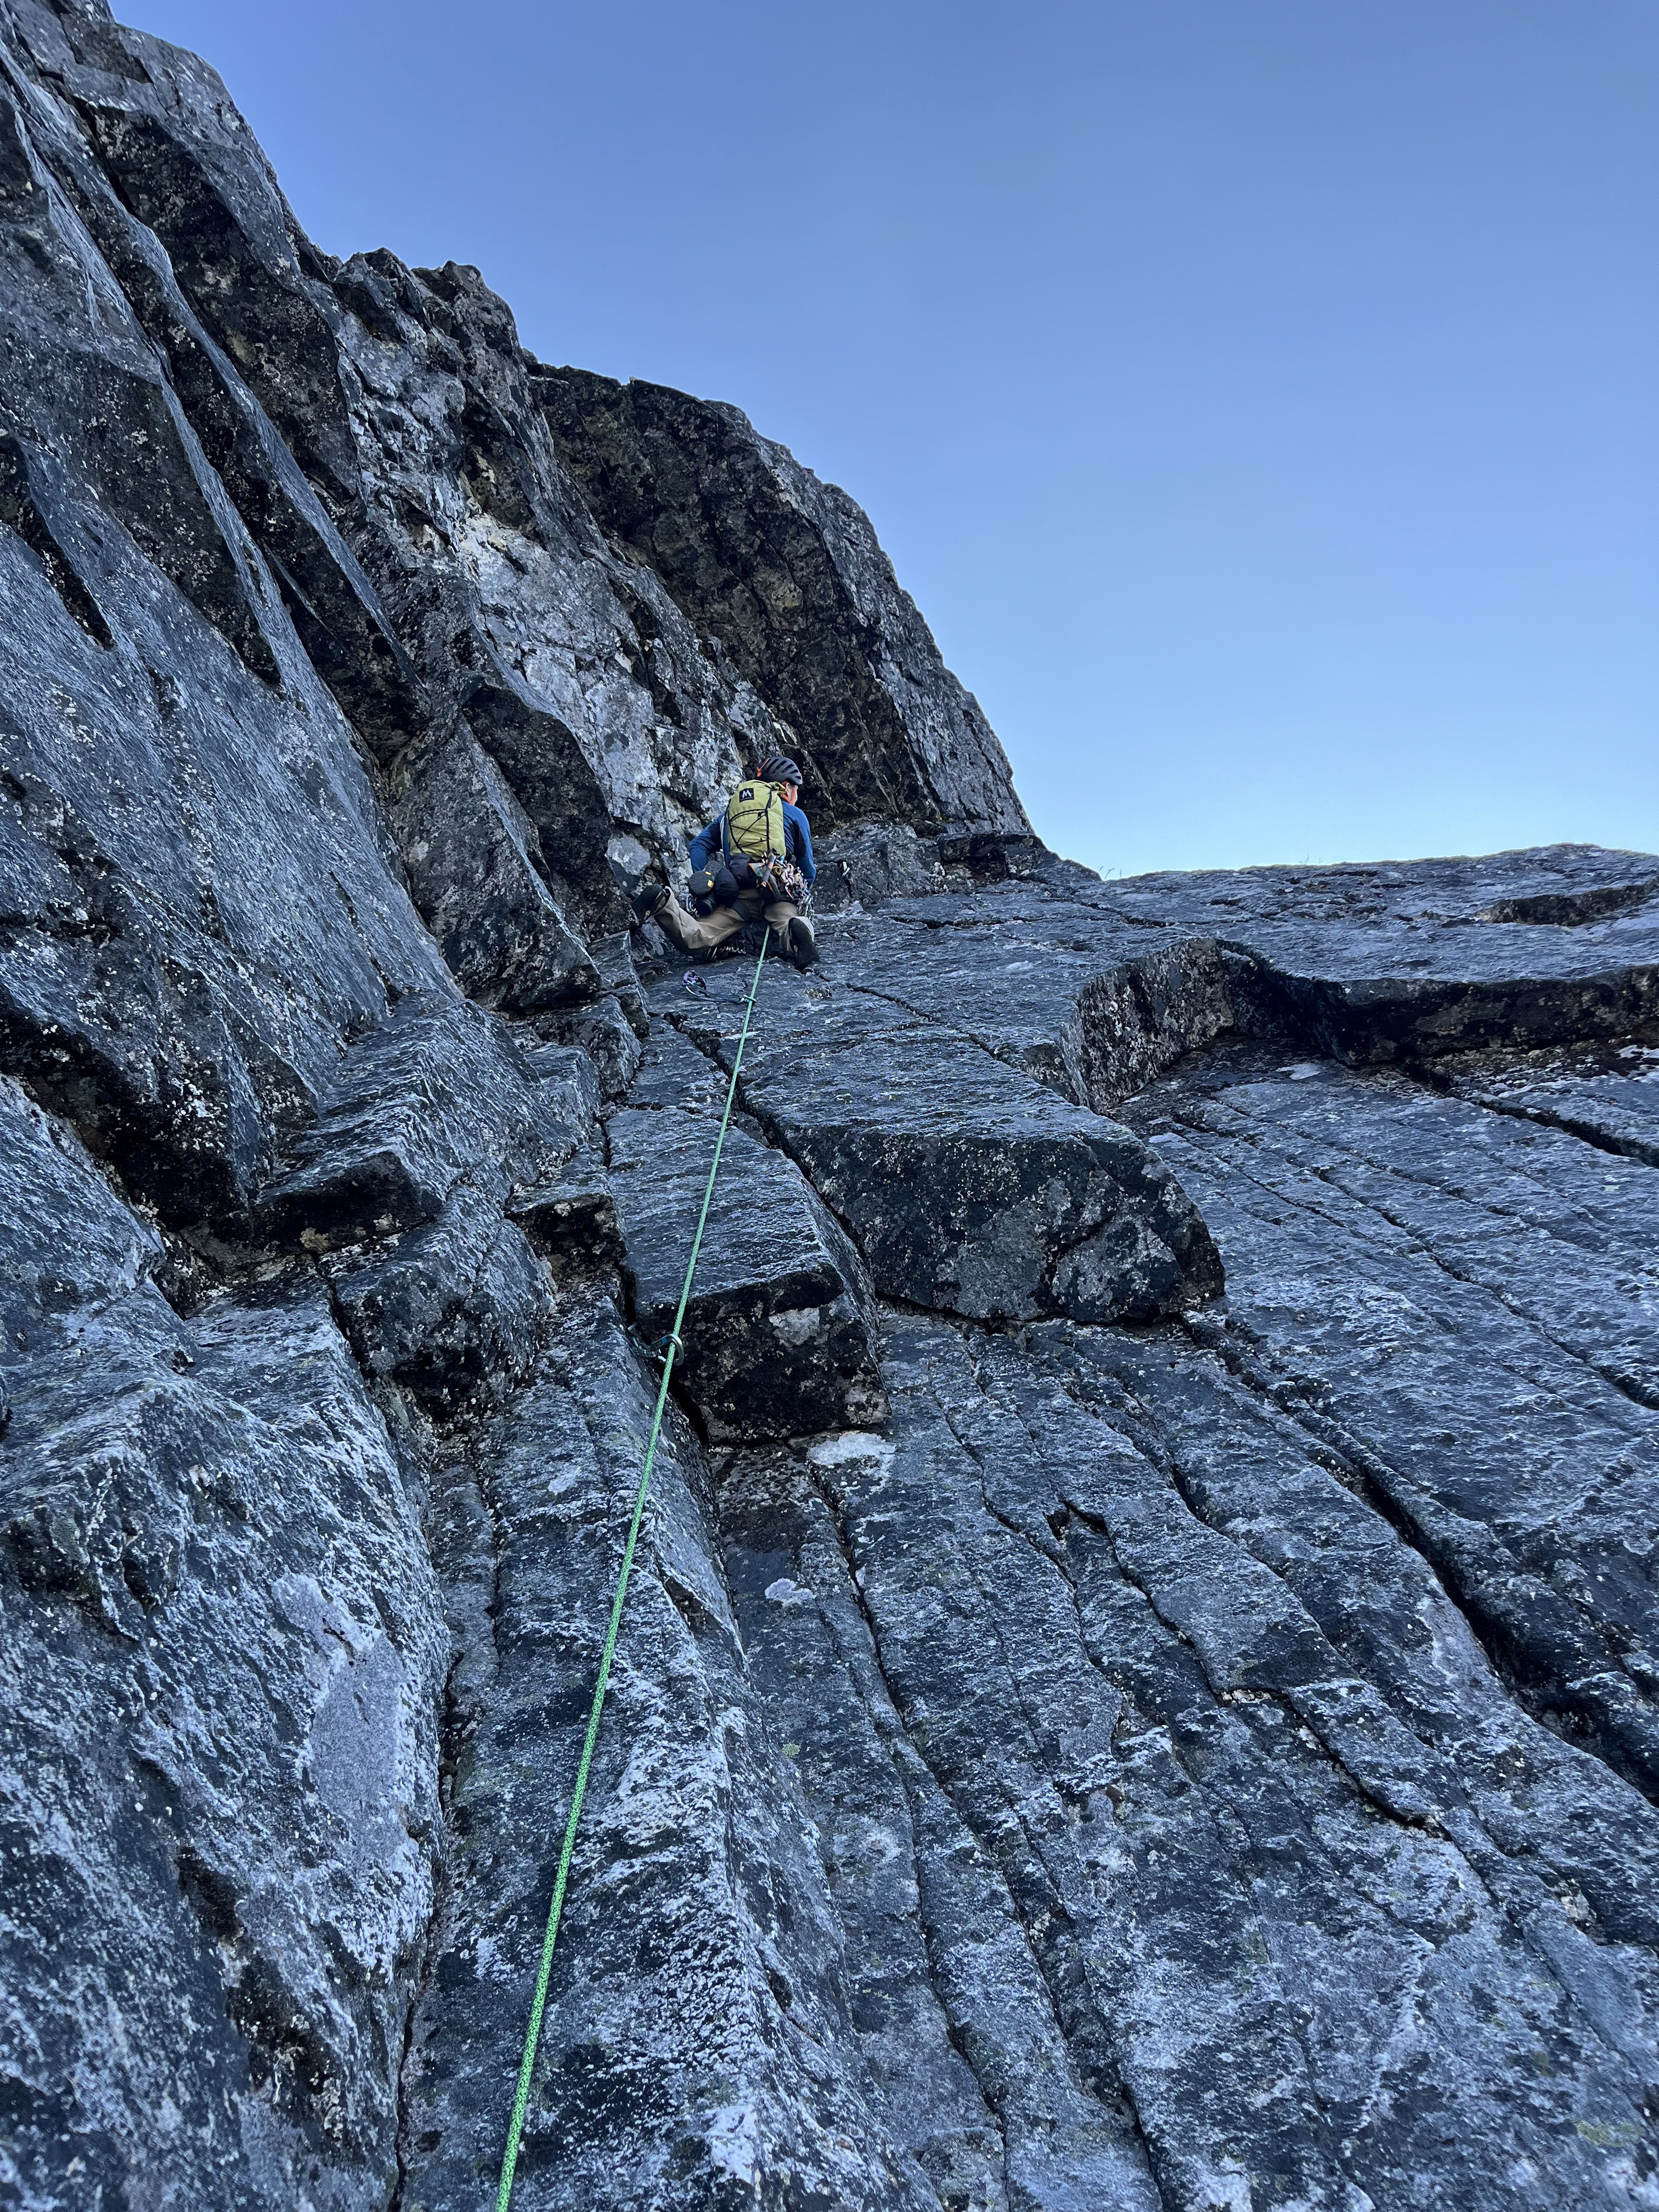
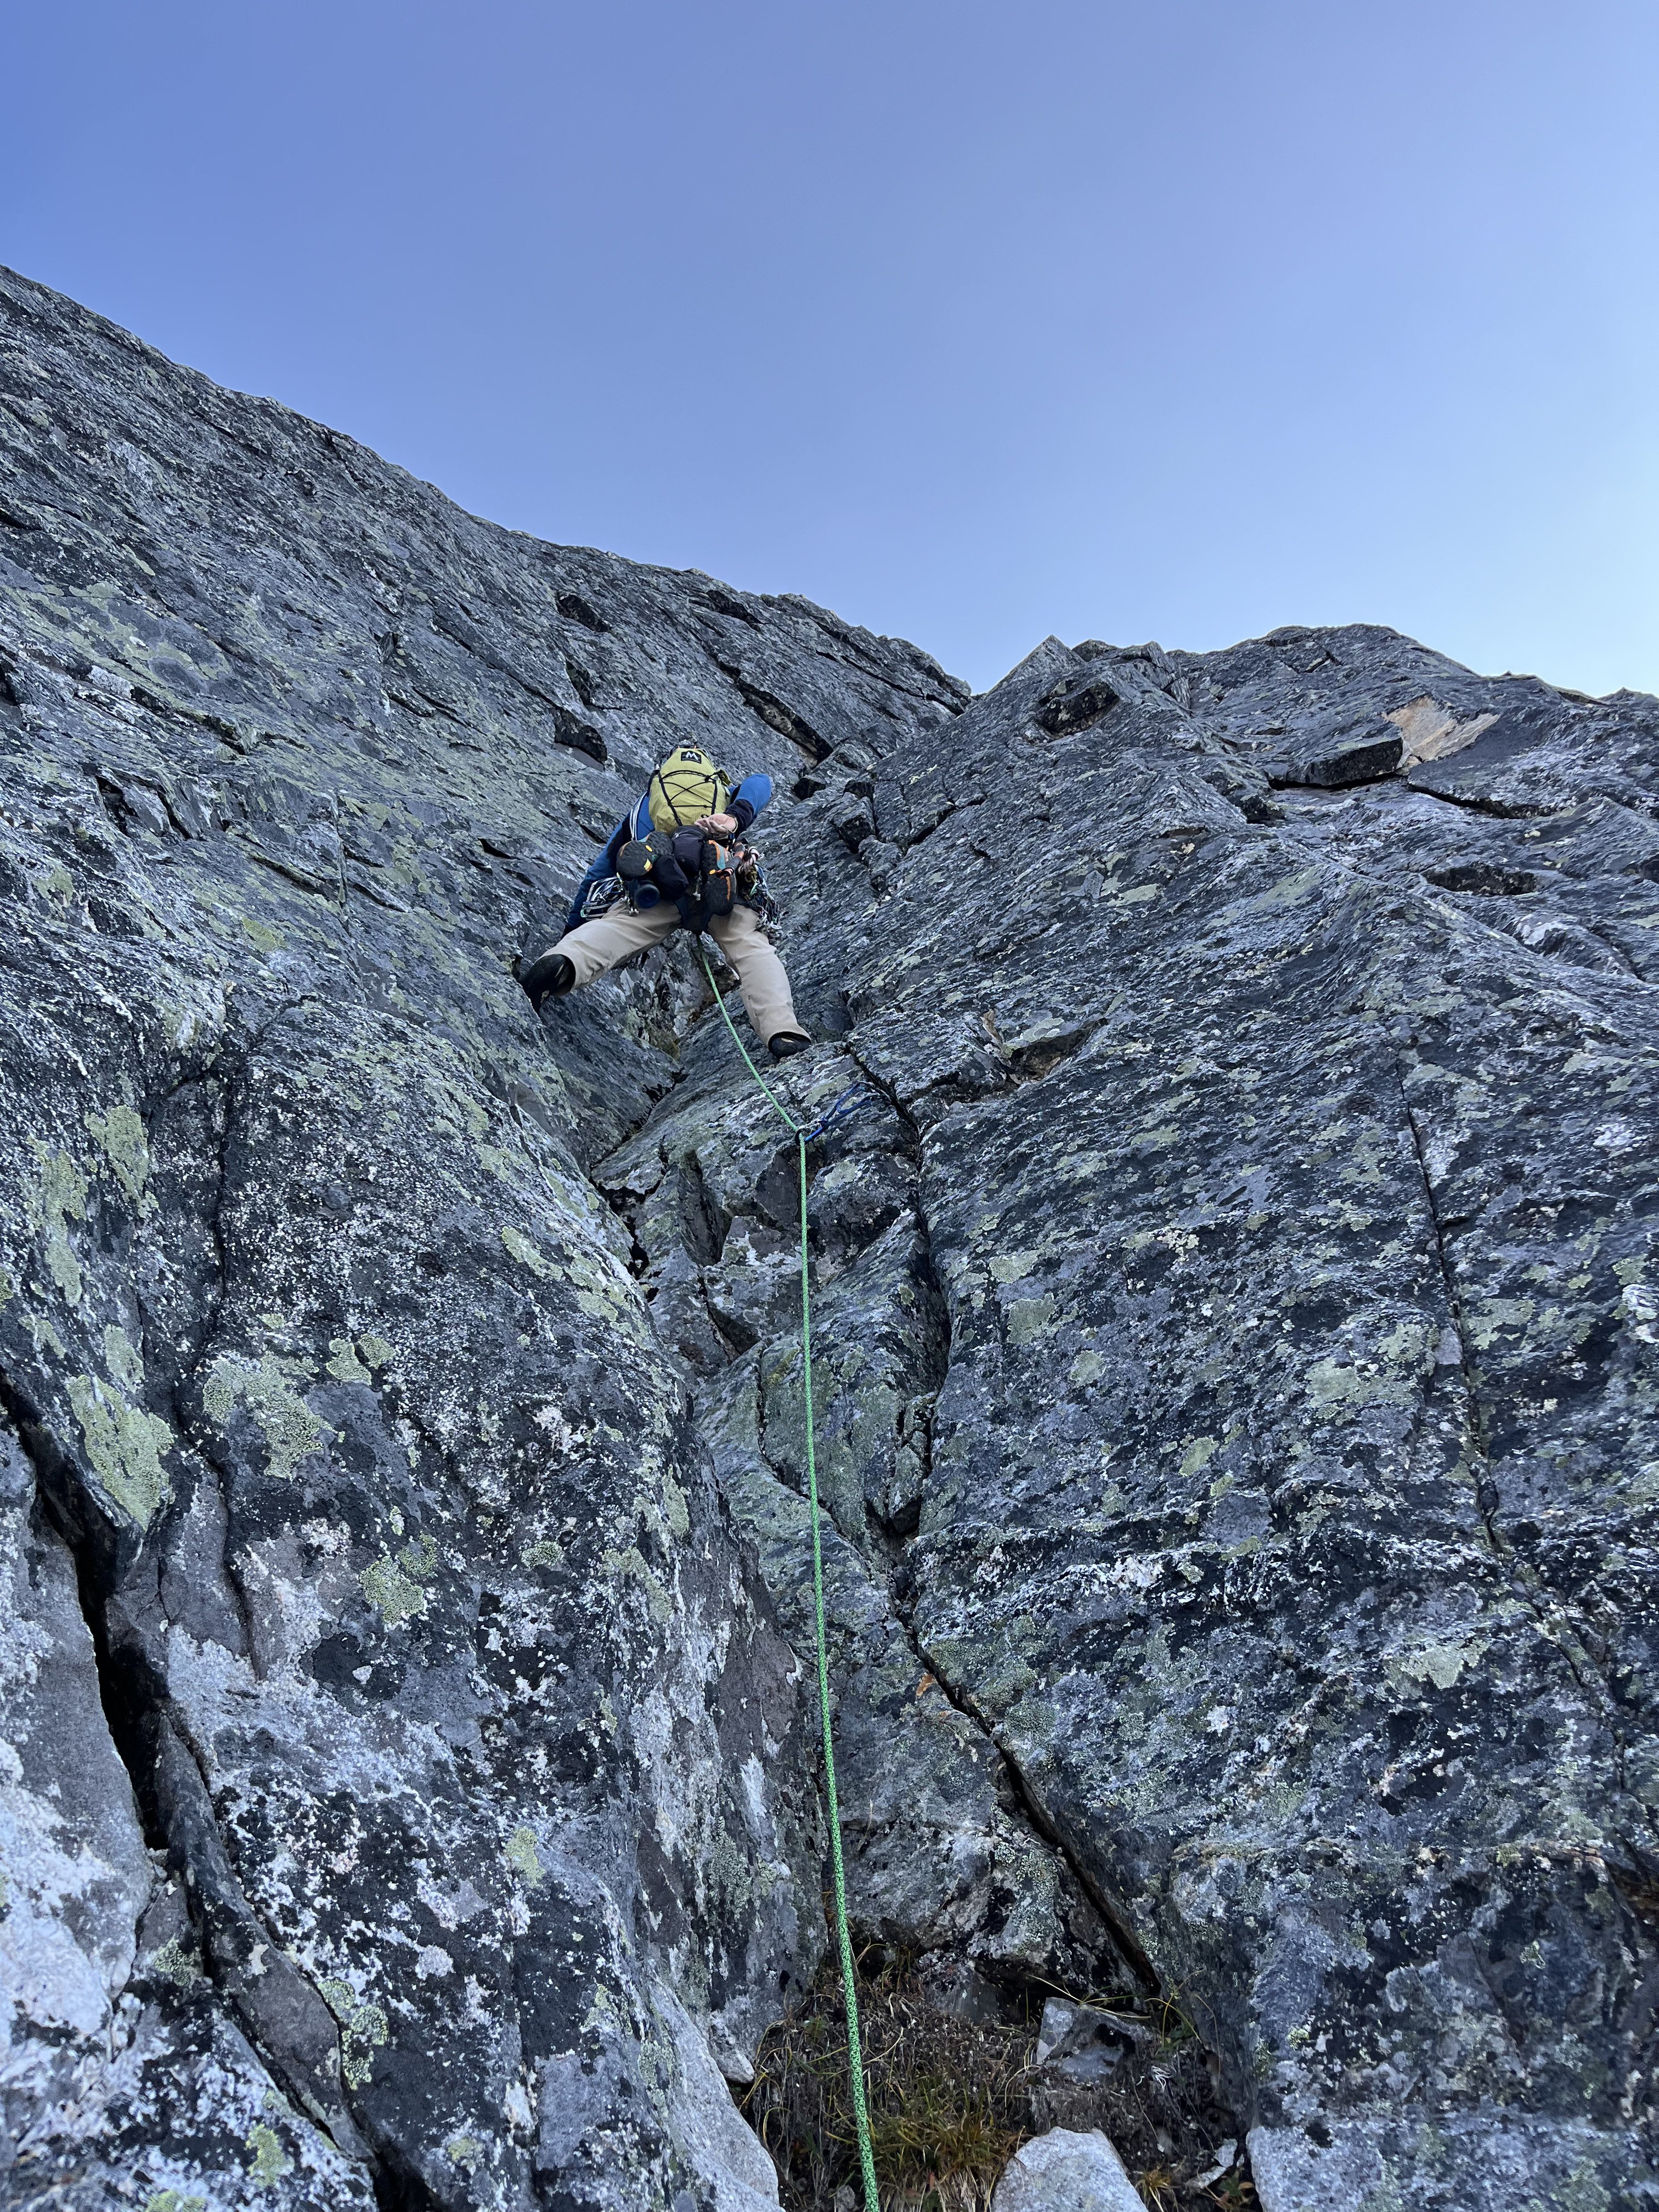
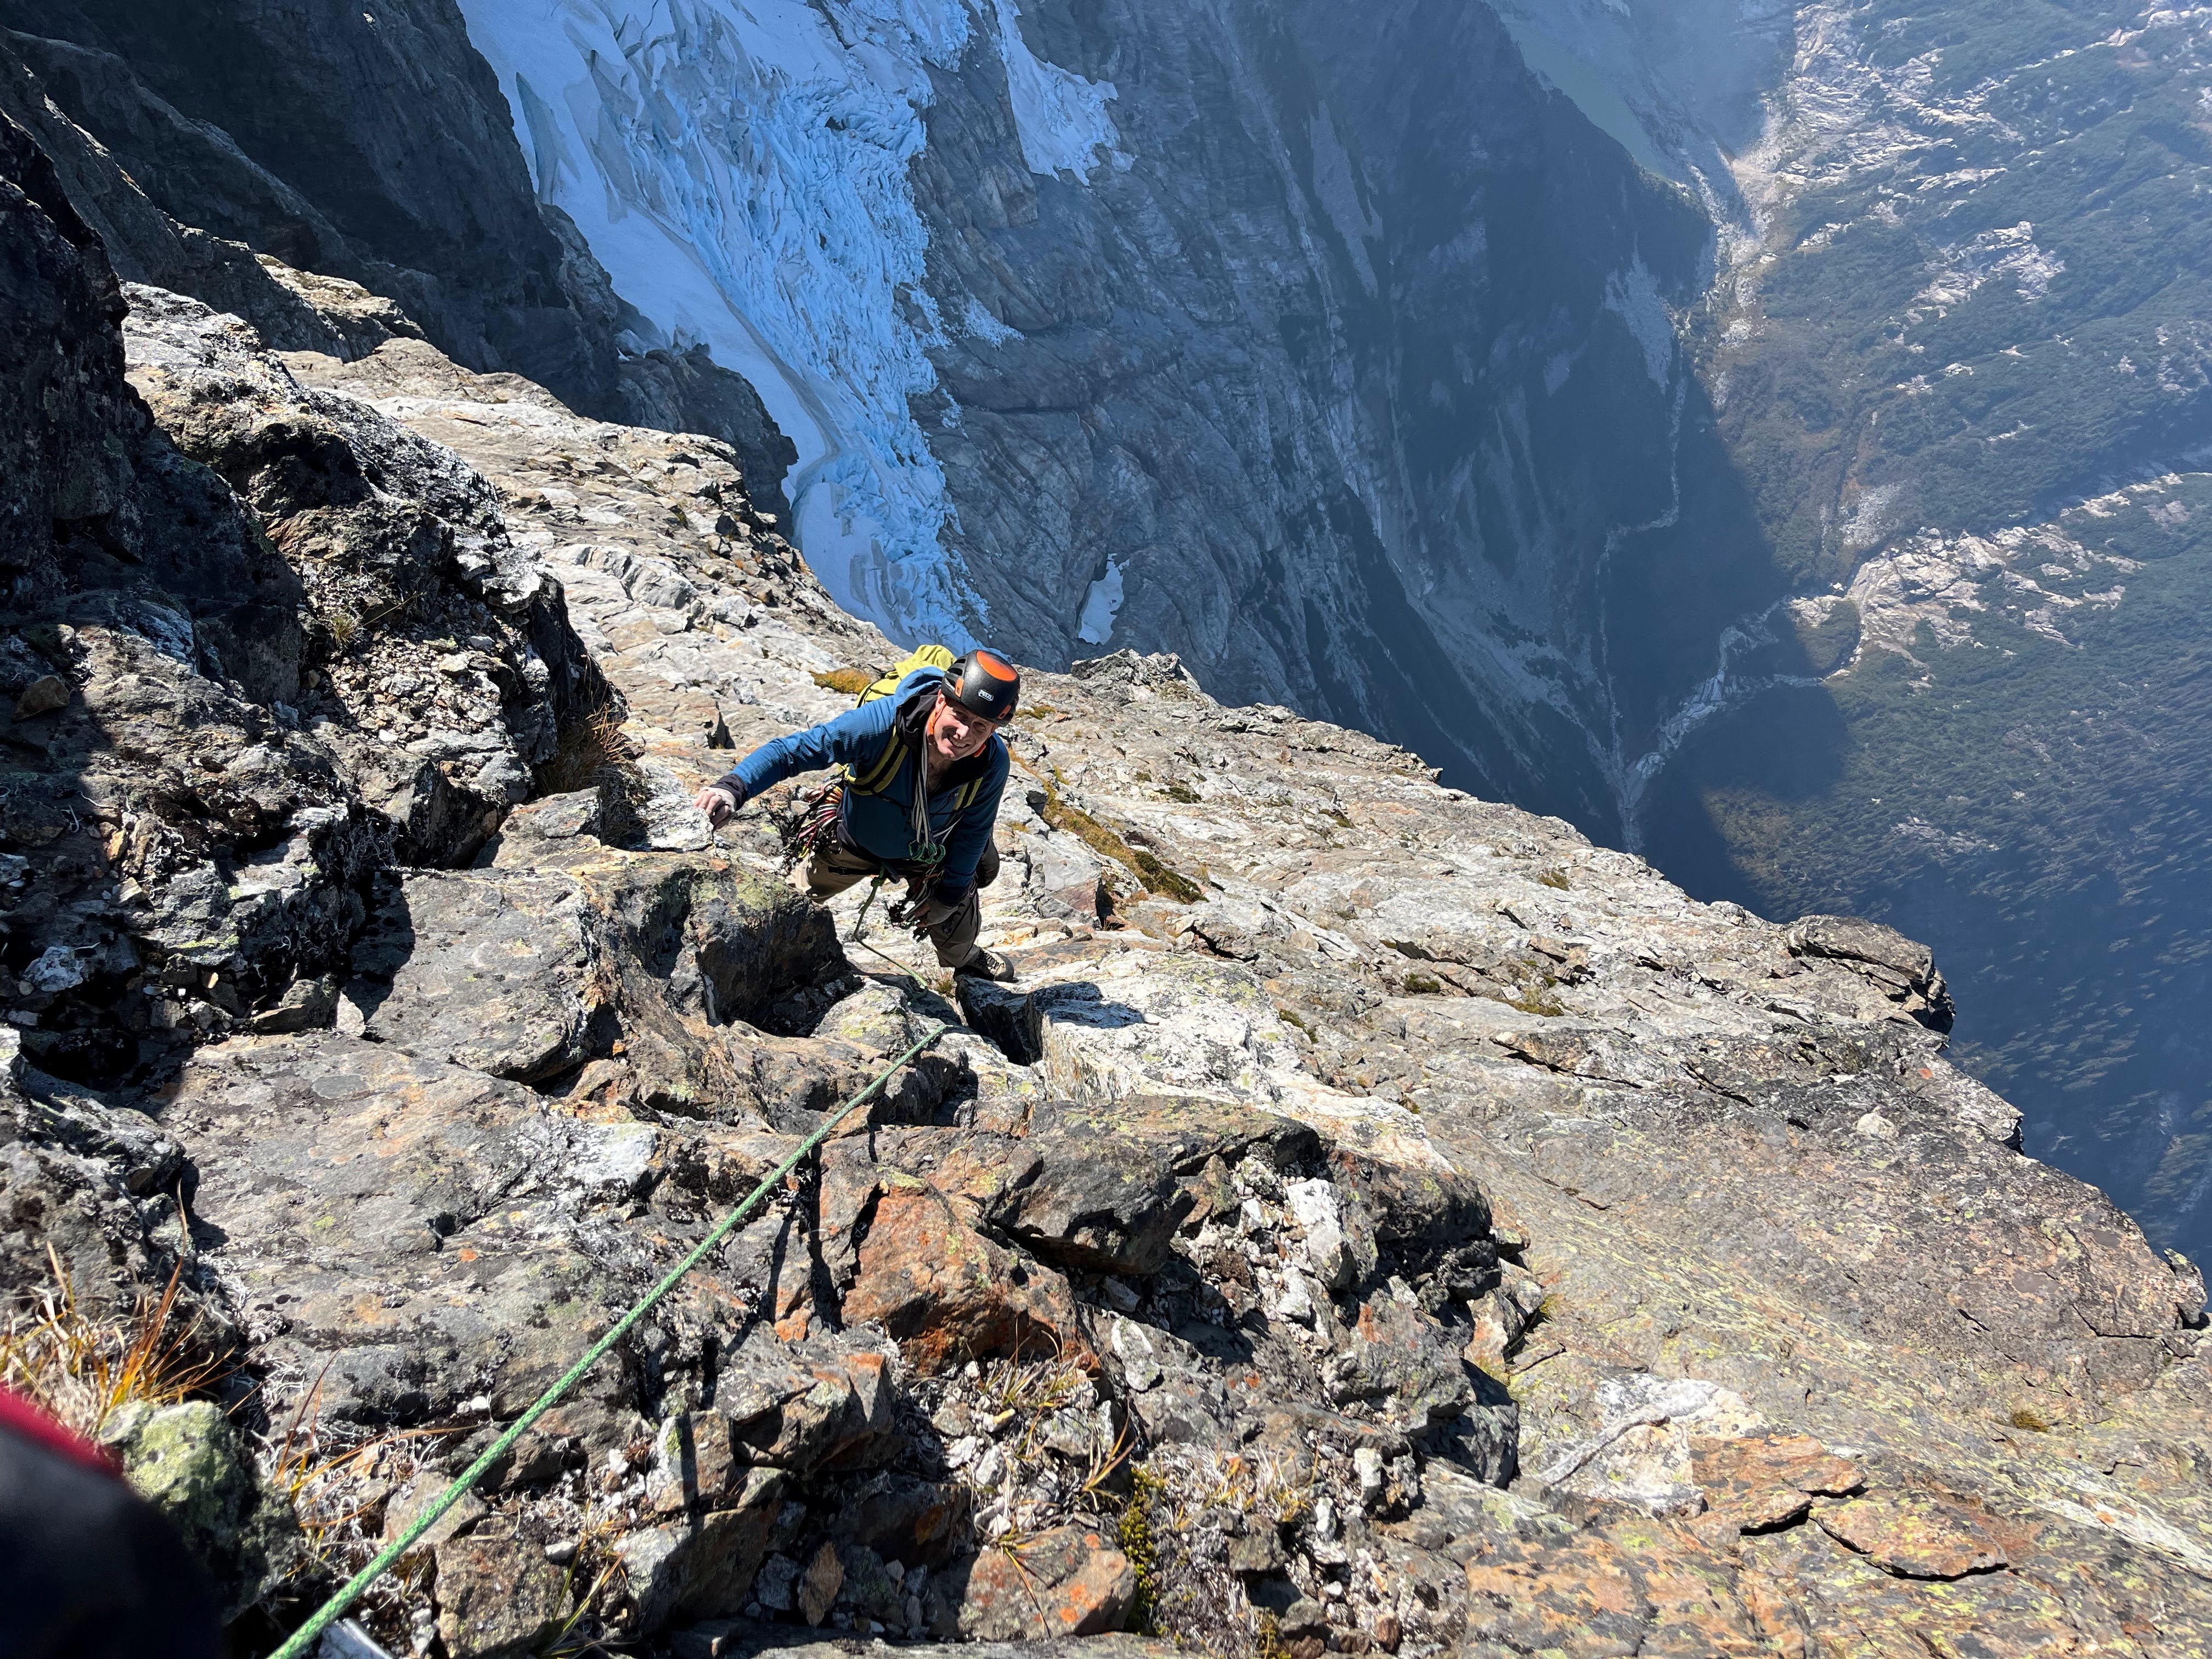
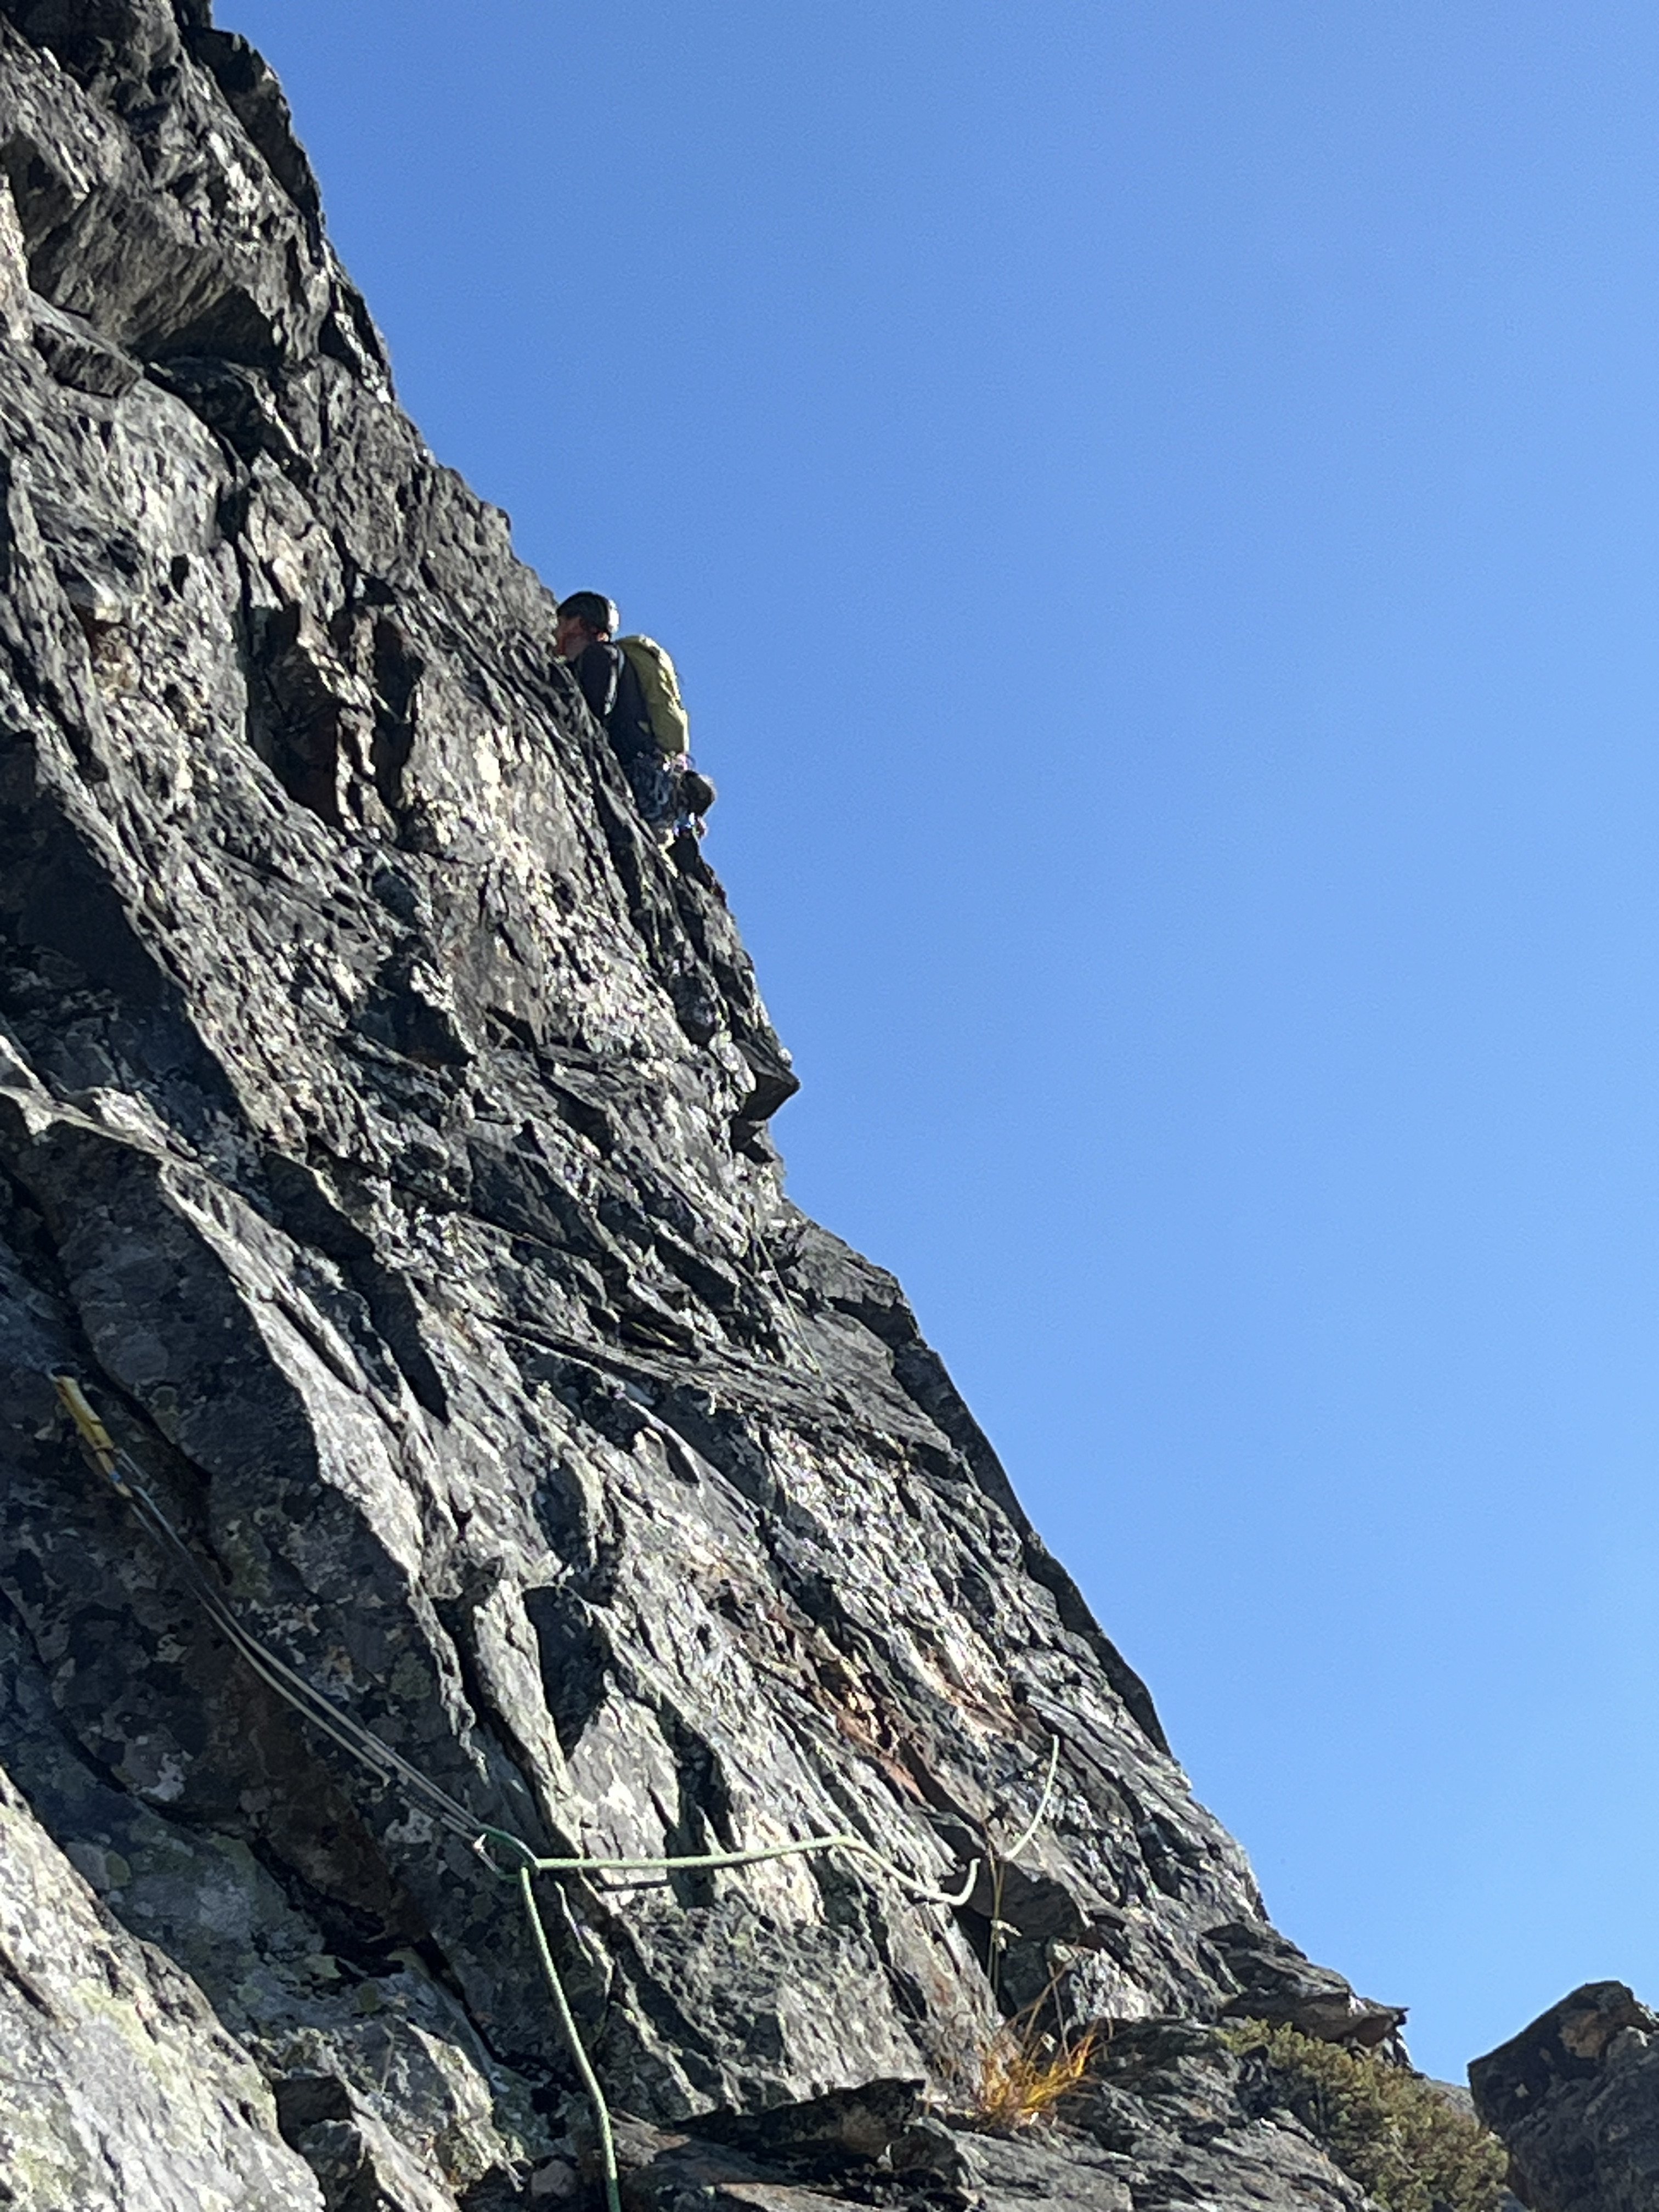
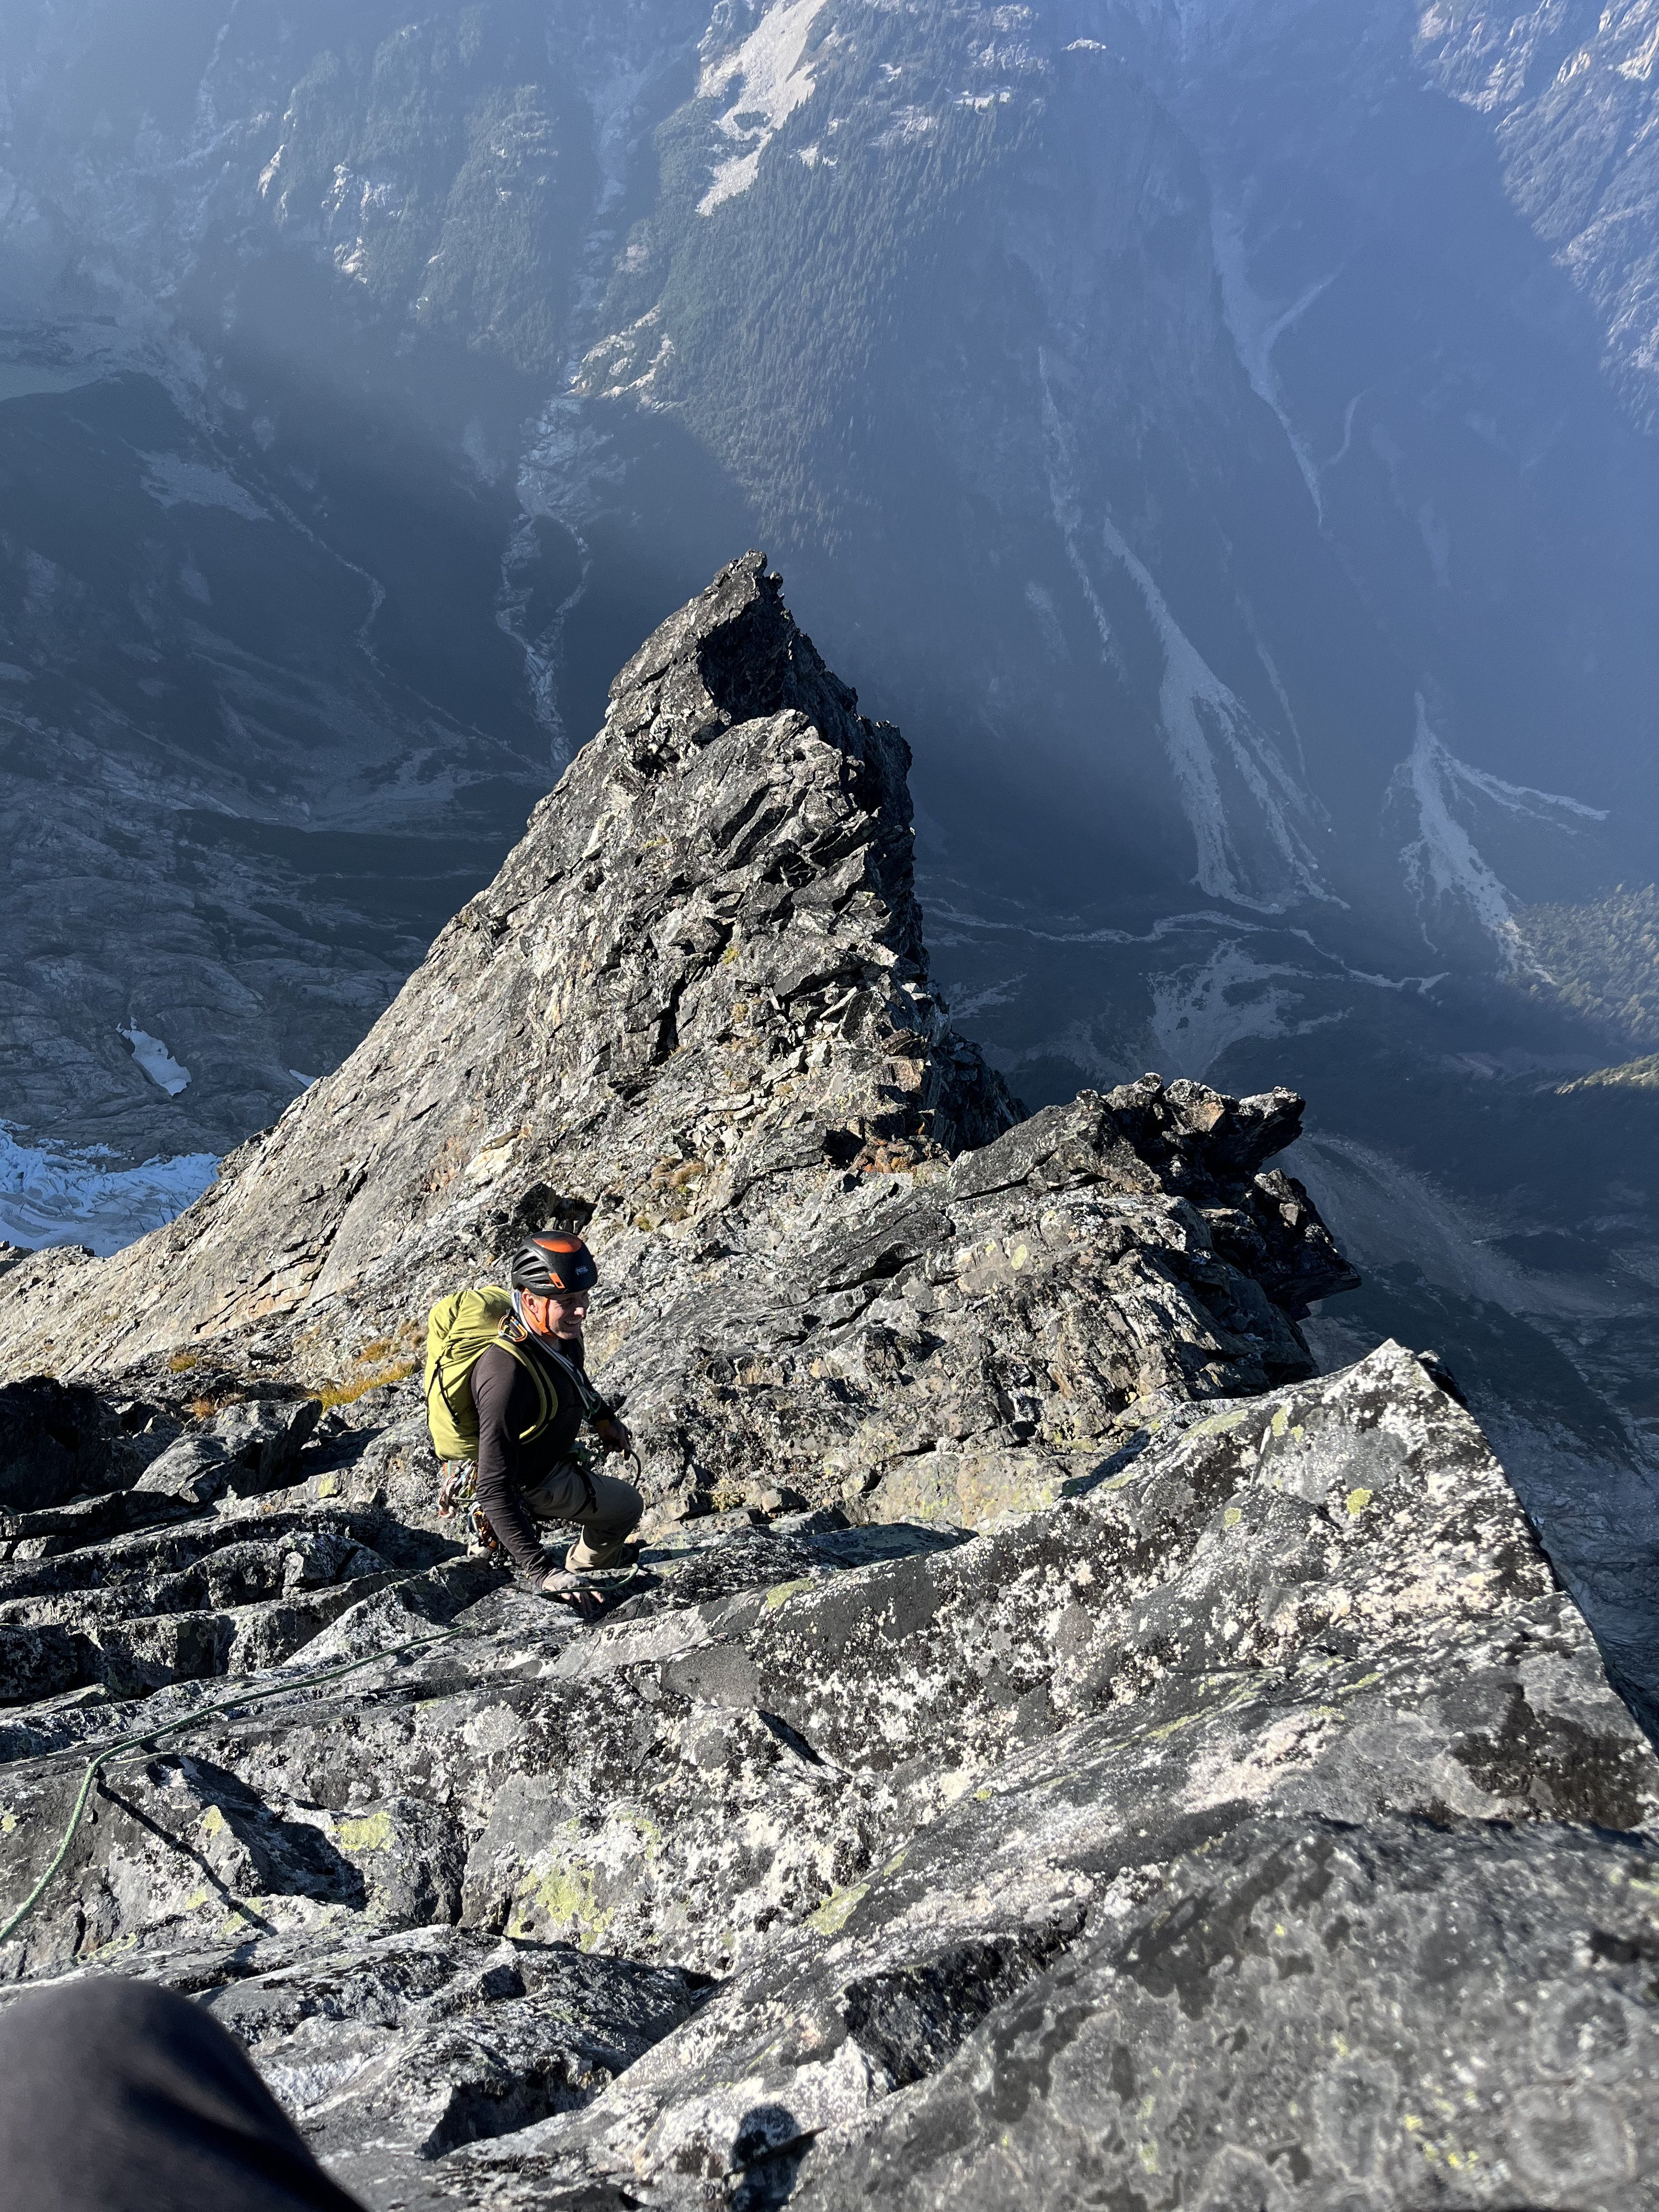
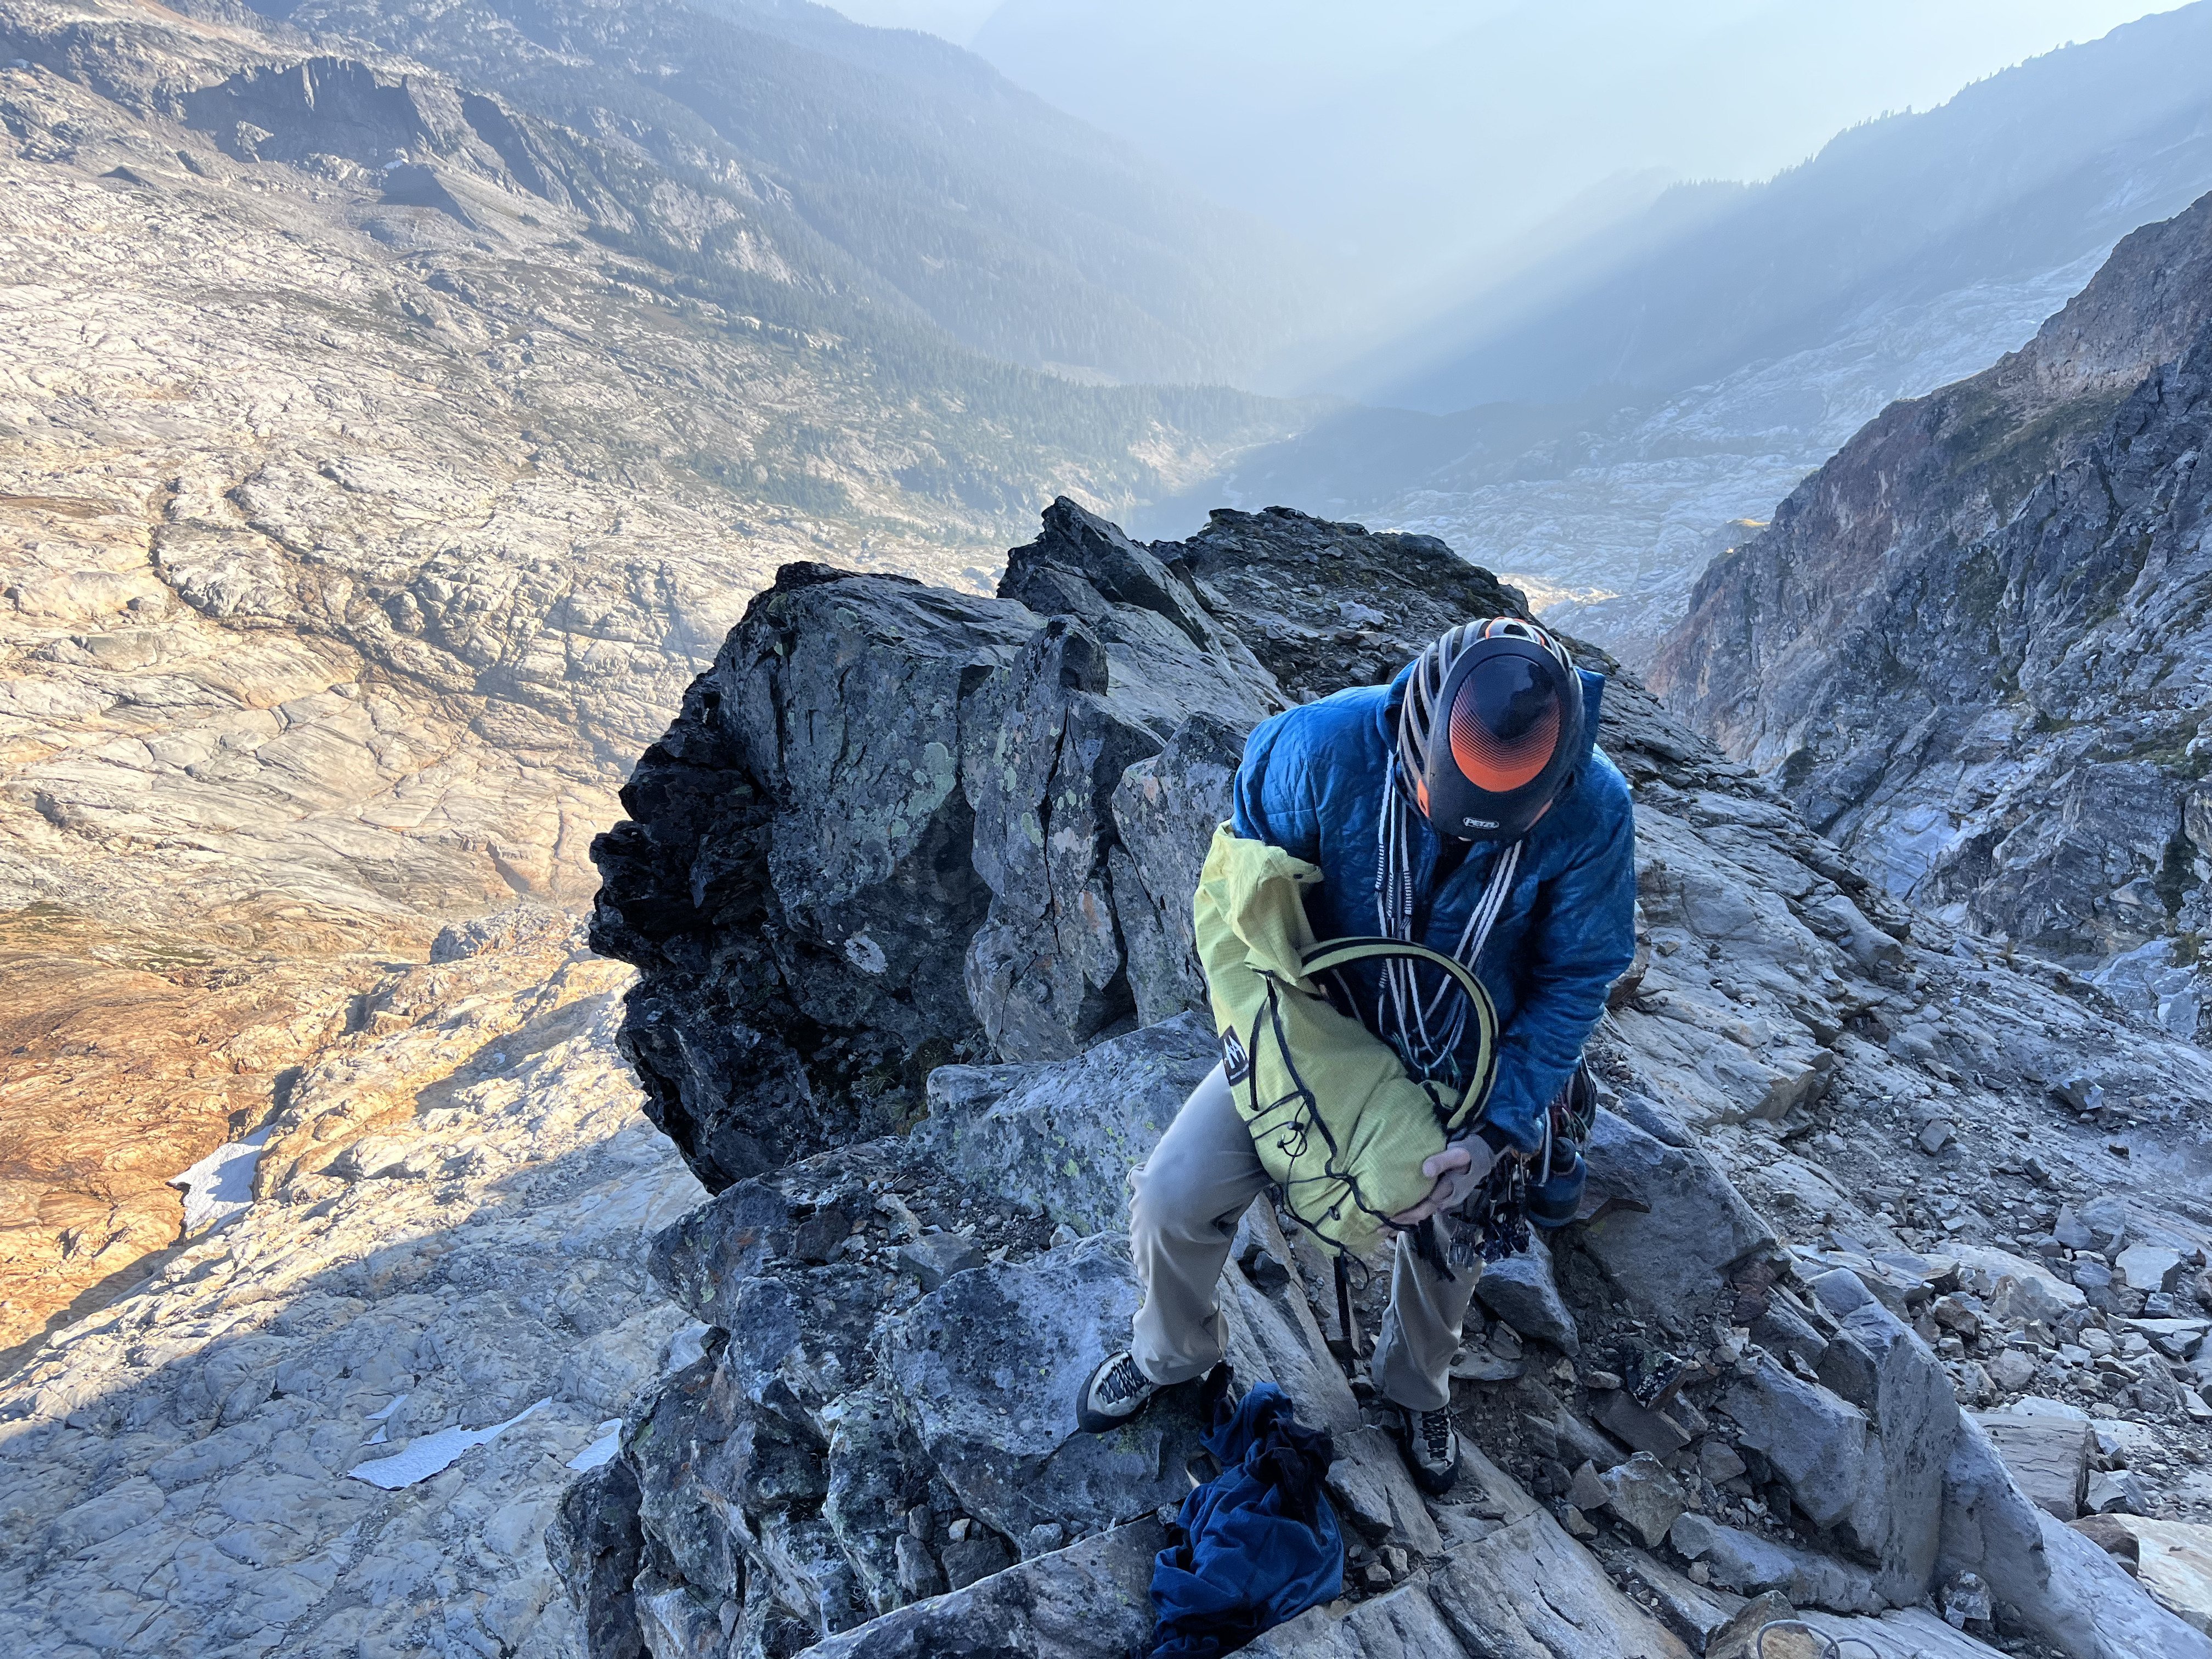
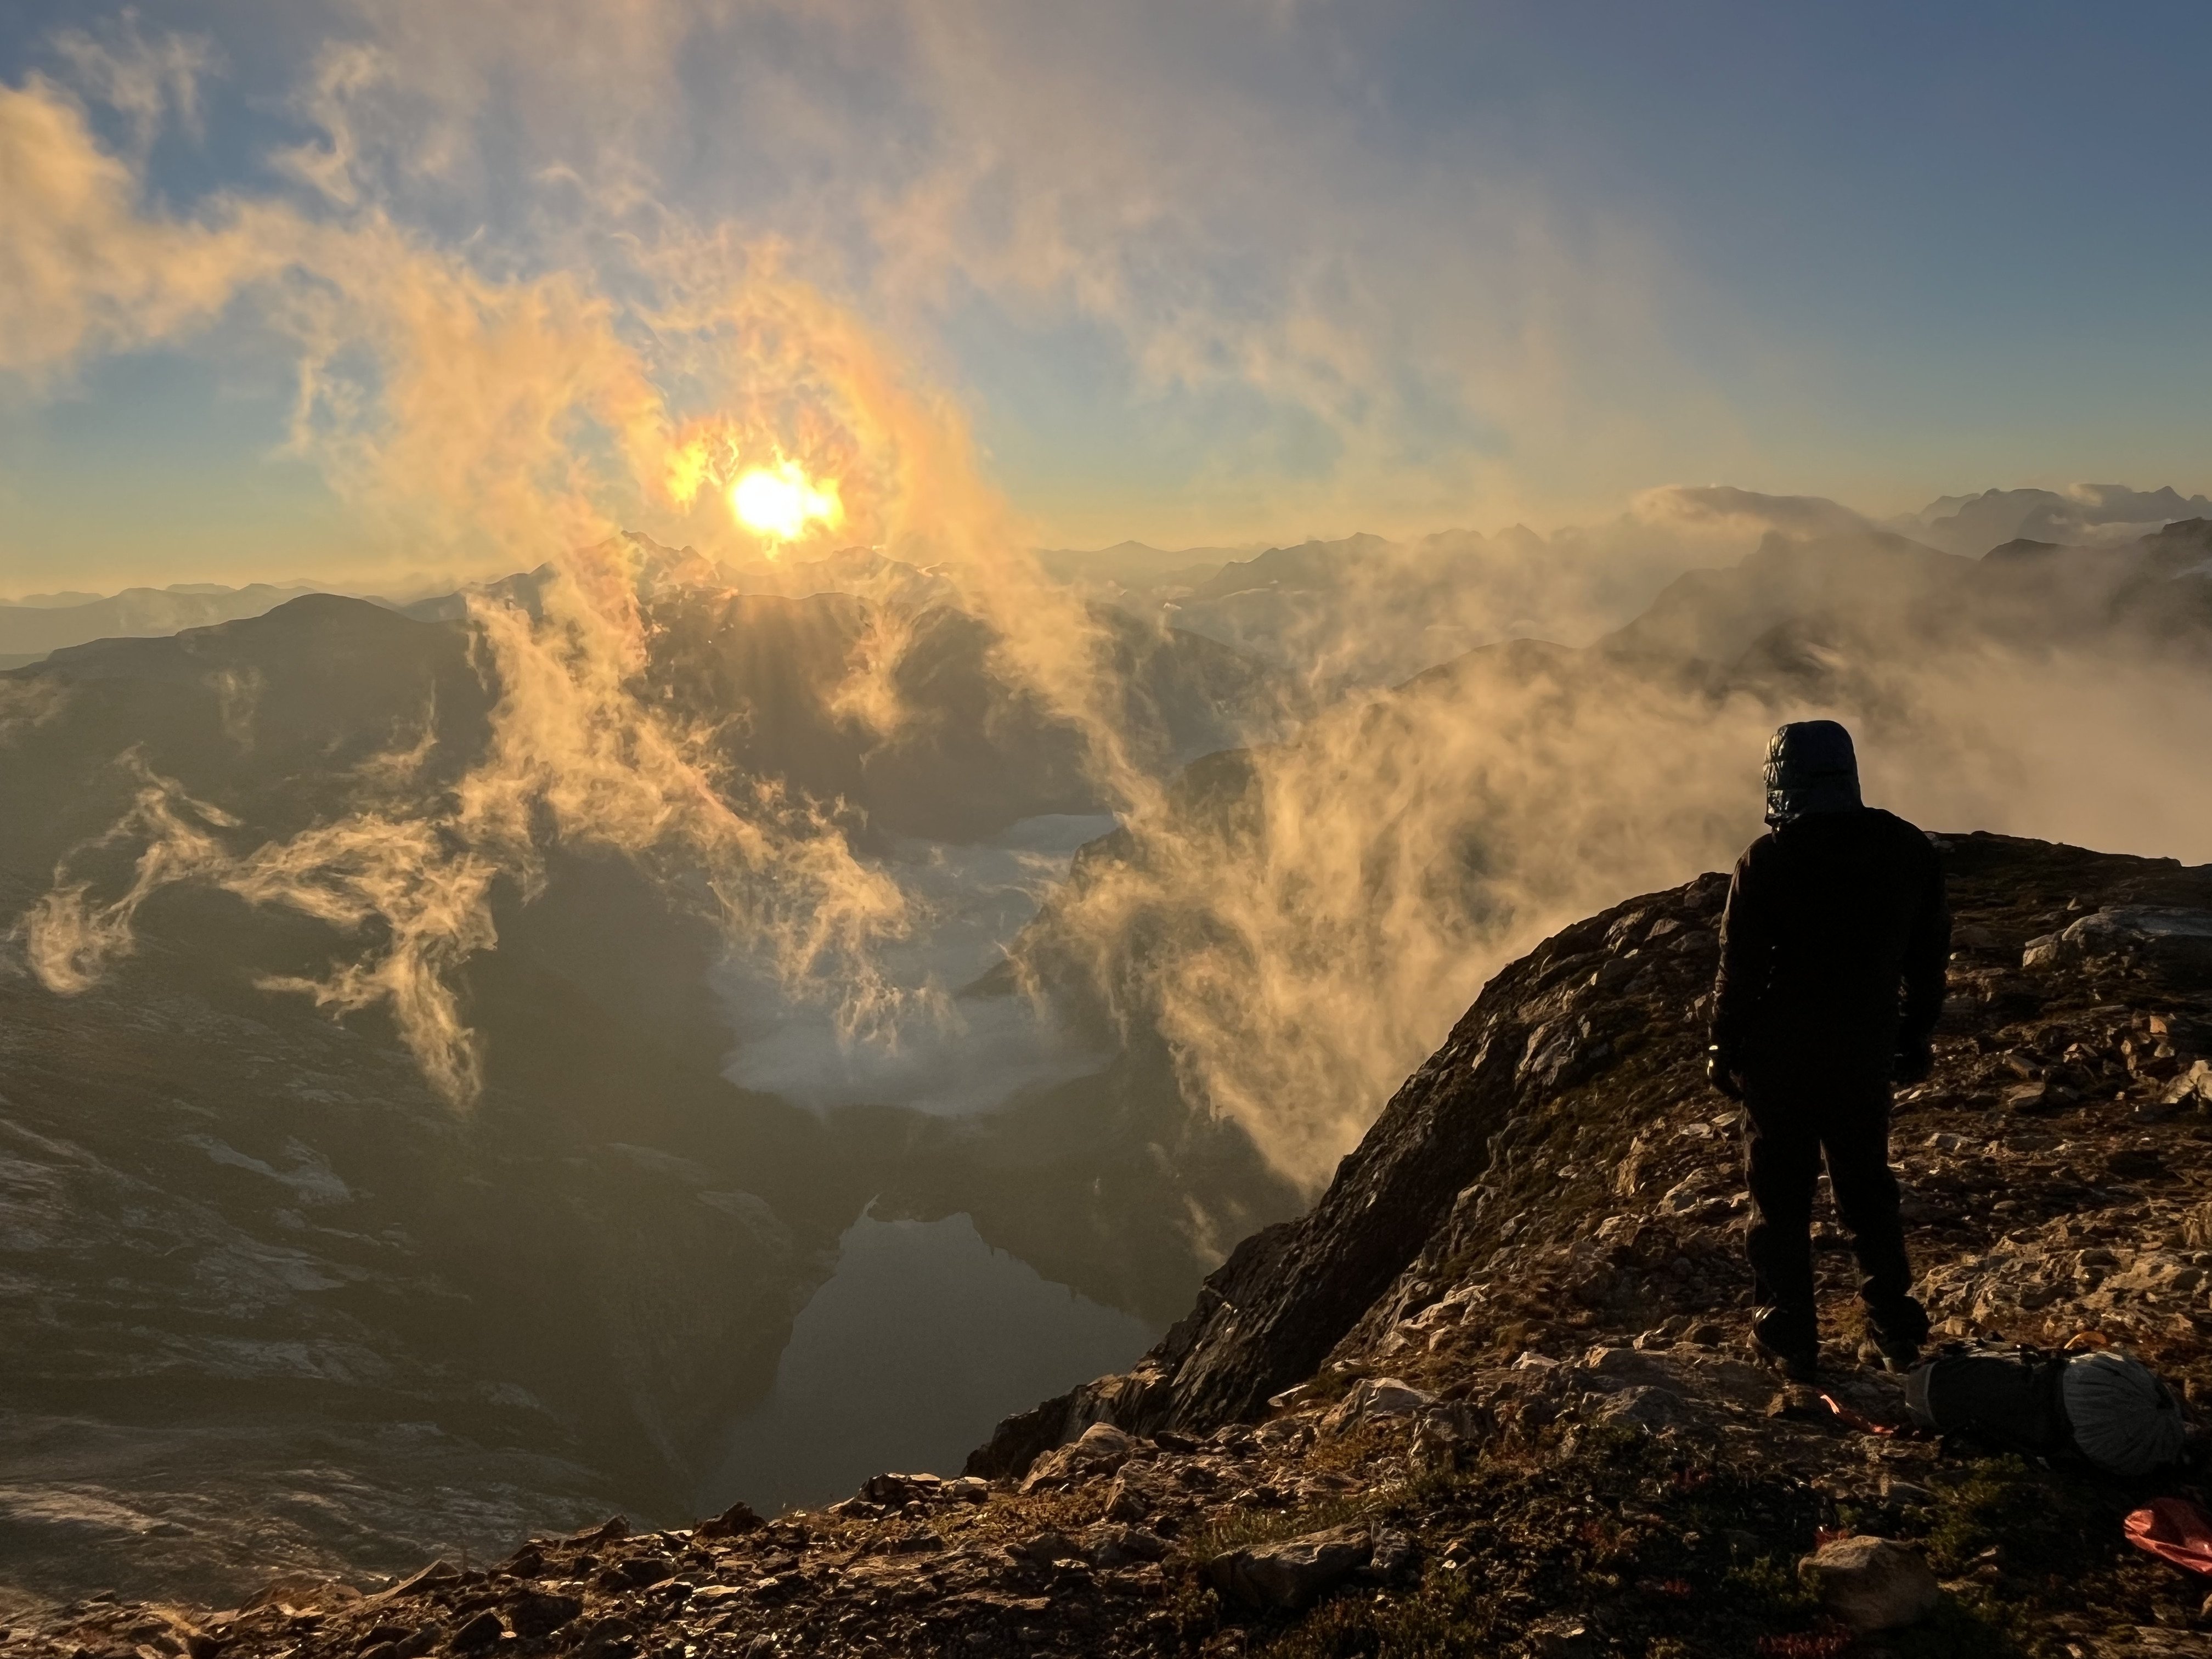
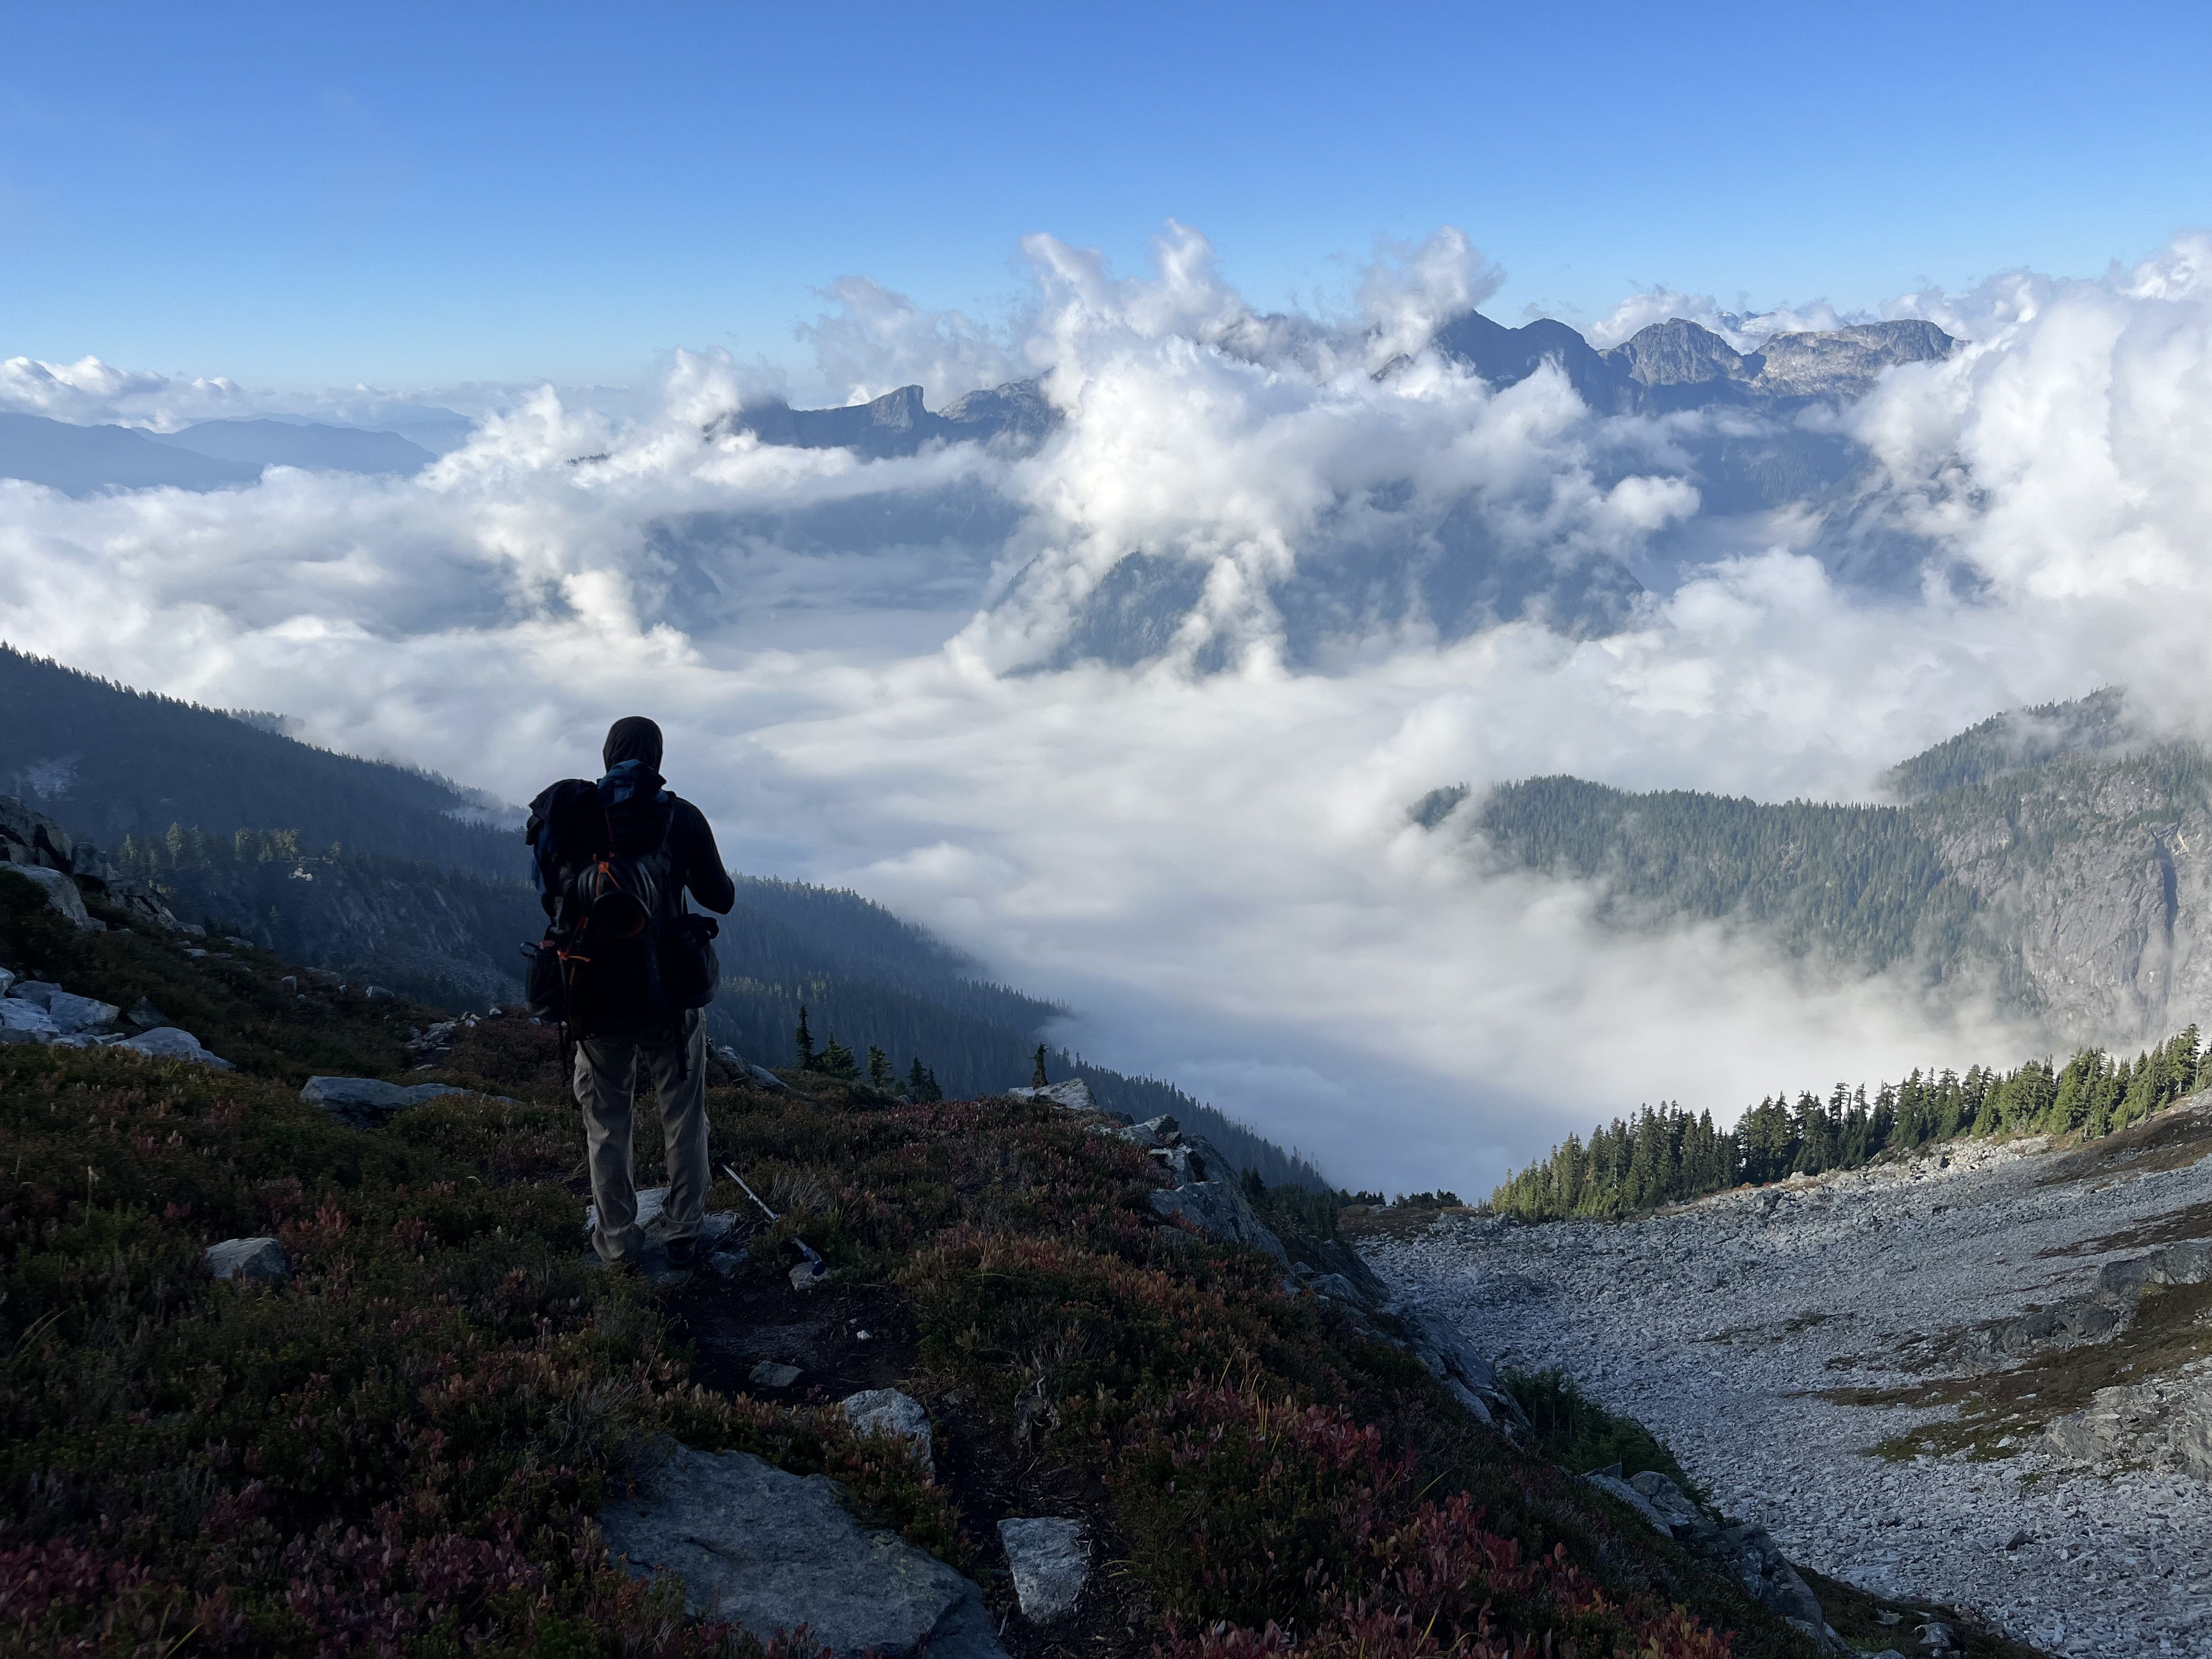
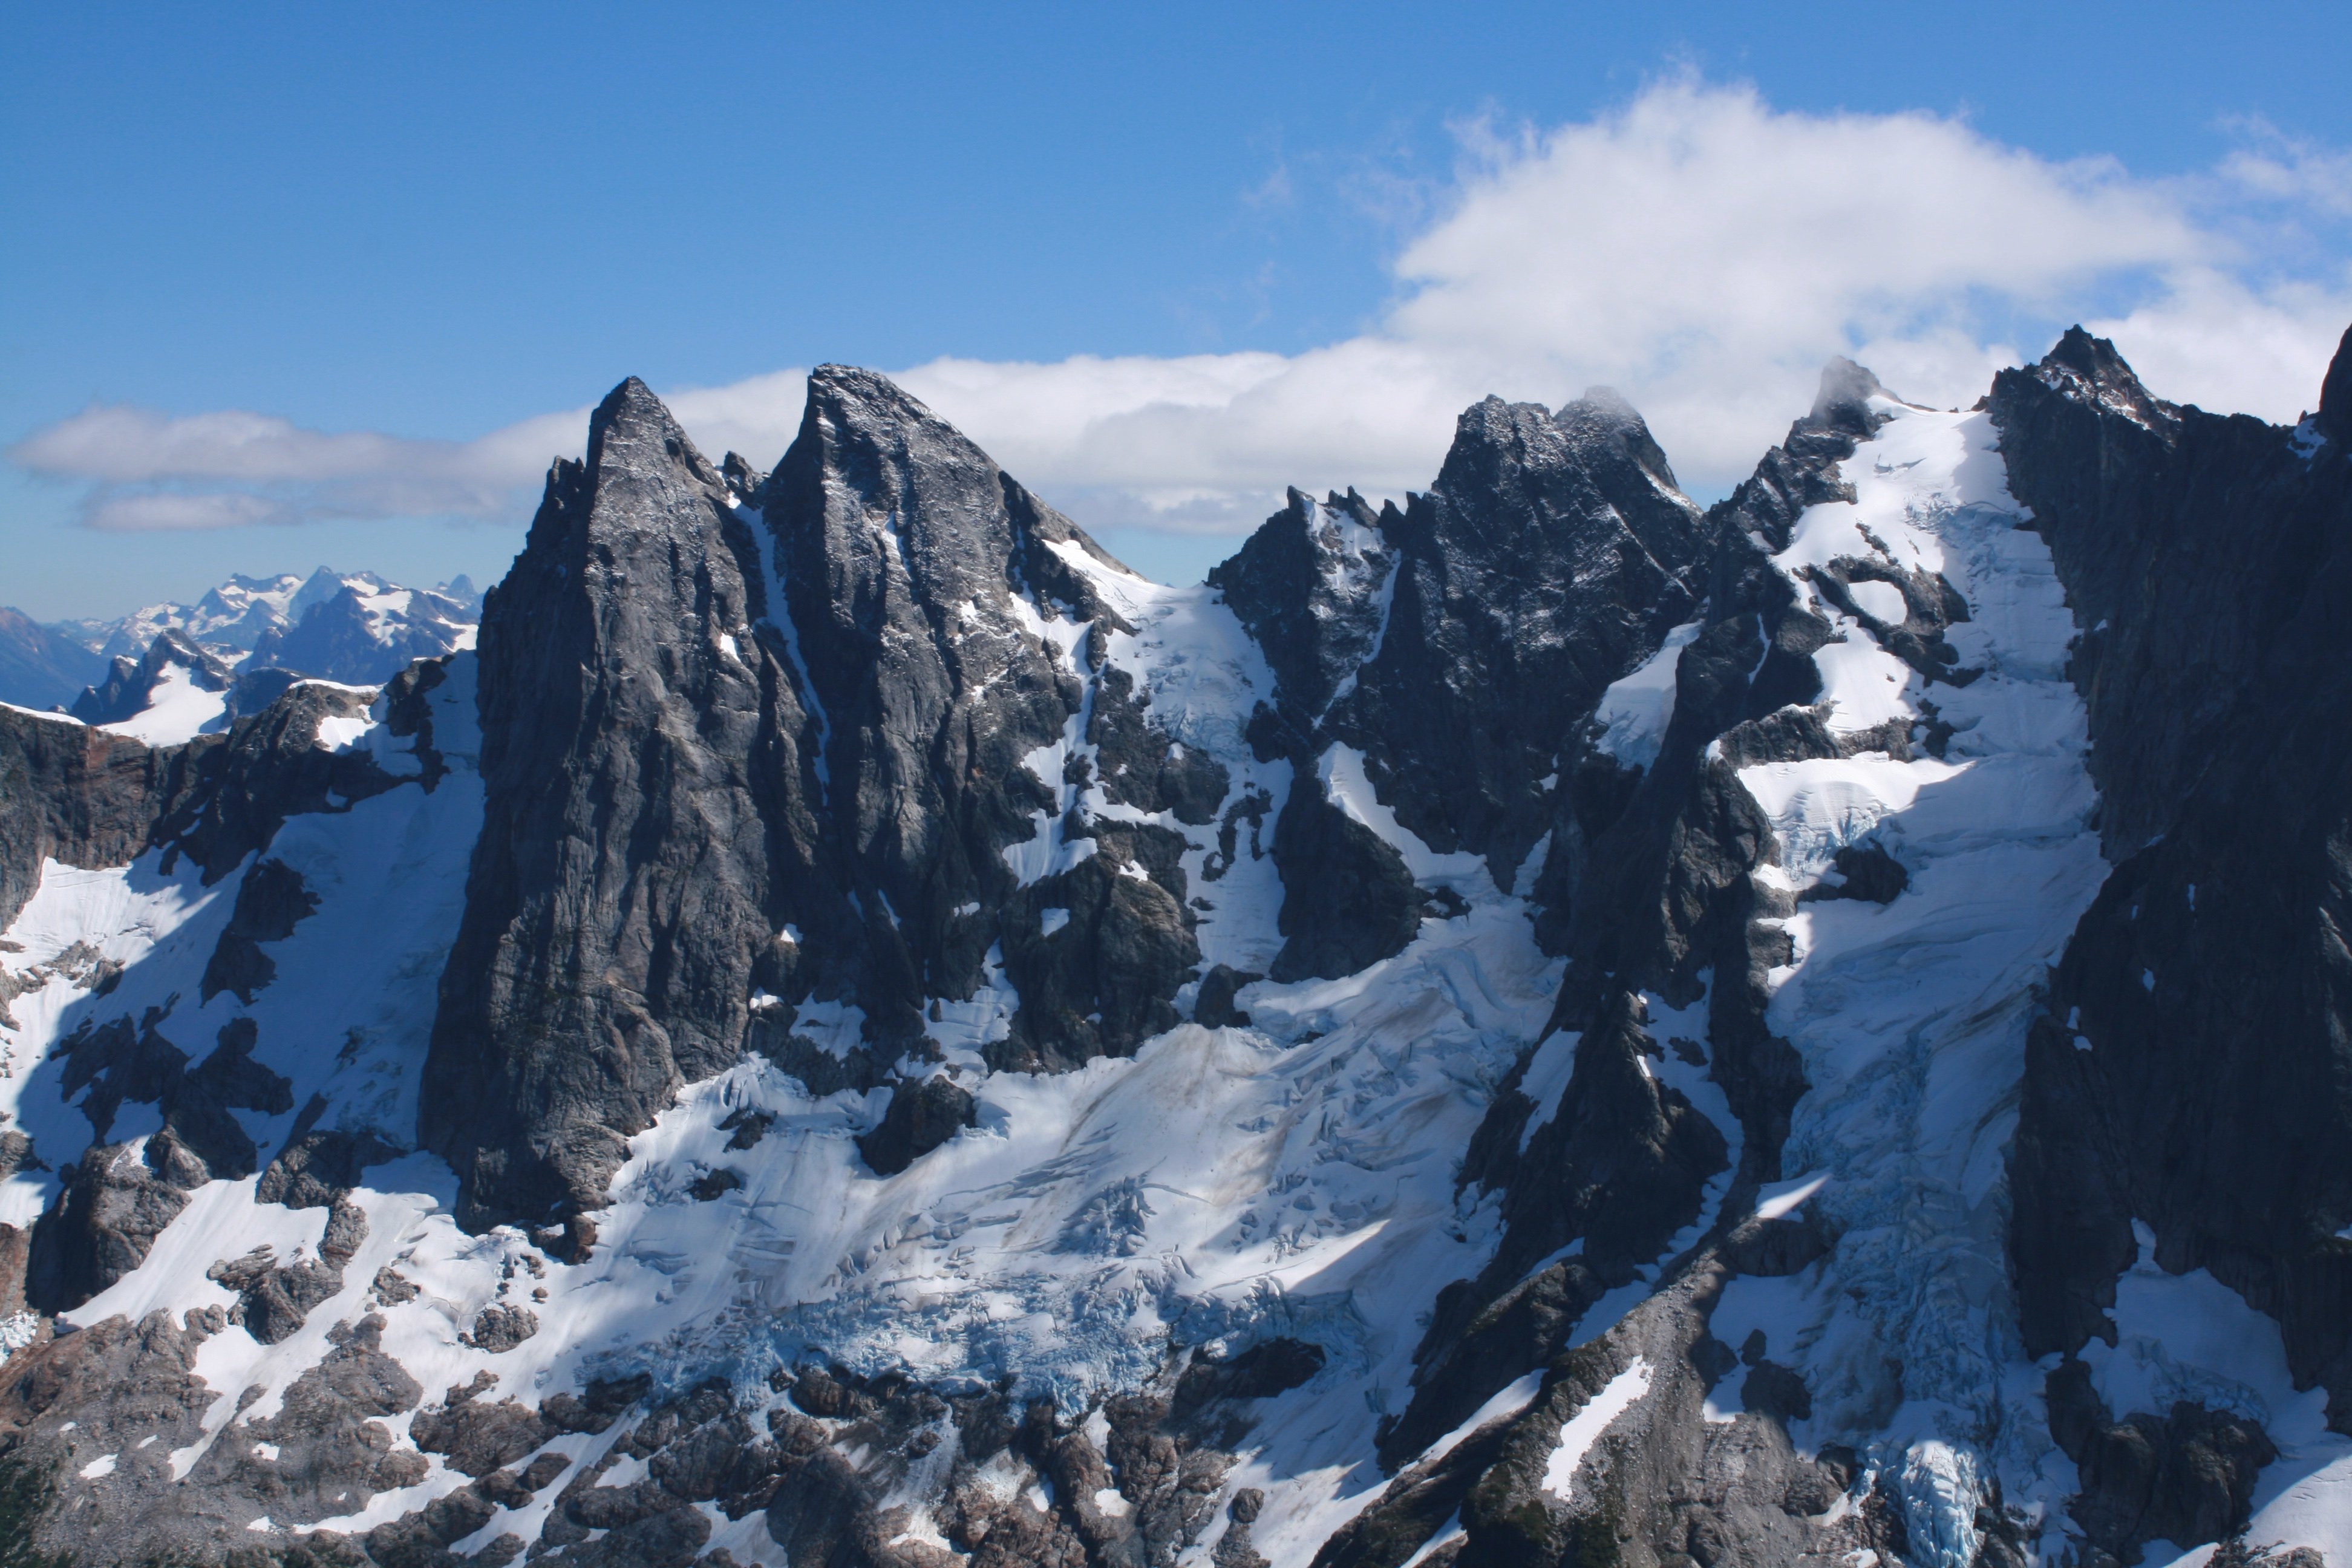
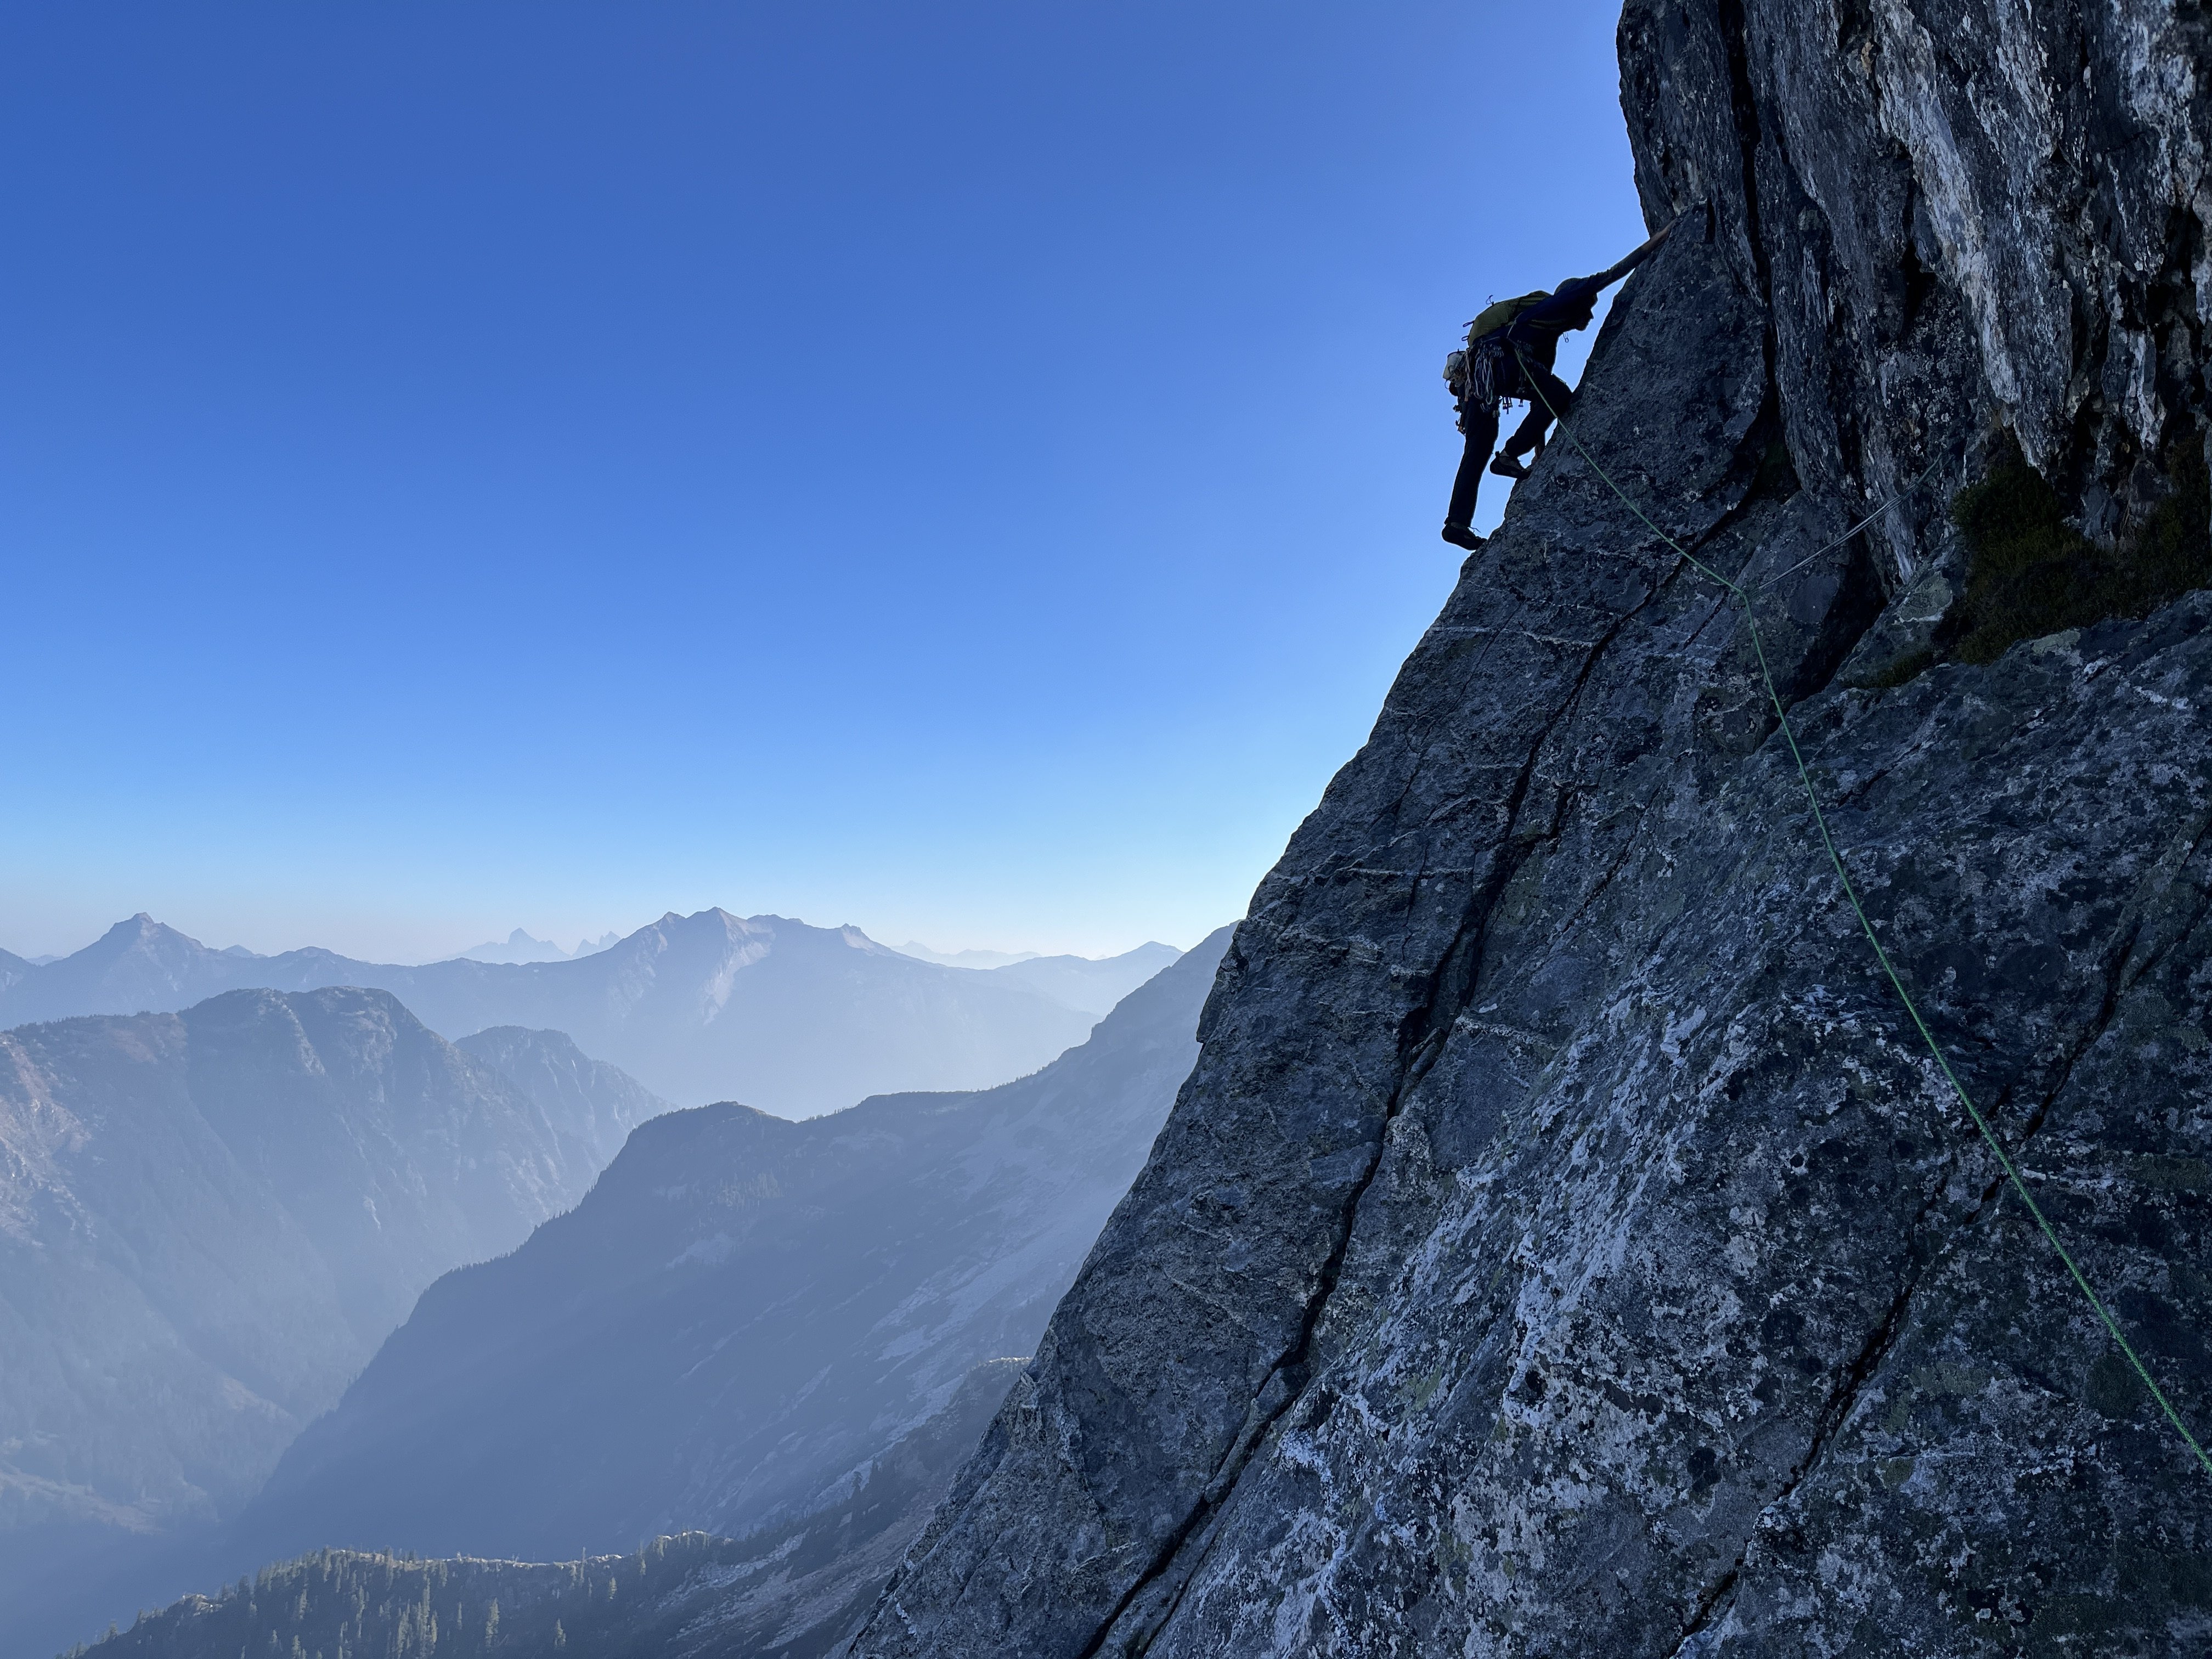
Trip: East McMillan Spire - North Buttress Trip Date: 09/24/2025 Trip Report: As Blake seems to speculate in the back of Cascades Rock, this is a legitimately high quality route. While the rock is of course worse than Index or Supercave, it is better than the E ridge of Inspiration or Stoddard Buttress on Terror (and much better than Megalodon). It's also less vegetated than the E face of Triumph or Sloan SW face. There was only one pitch we wouldn't recommend (up high in the schist band), but it can and should be avoided. The steep middle section is characterized by thin parallel cracks, highly textured ripples, and shady climbing with a shocking lack of lichen. When you emerge onto the slightly more West facing schist band for the last few hundred meters, lichen becomes tiresome as the angle eases and rock deteriorates. There are absolutely a couple of serious runouts, but they occur on clean, solid rock. From camp on a small heather patch a few minutes below Little Mac, we approached via a ledge just below Little Mac that accesses the NW trending ridge toward Elephant Butte. We made four rappels beginning at at an old station I had found during a recon trip in October 2020. This seems likely to be the rappel used by the 1986 party, maybe also the 1976 party, and I think @rat has also mentioned climbing the buttress, so perhaps used it as well. The 2008 party (AAJ, NWMJ) approached via Stetattle ridge. After four 45-55m rappels, we walked and scrambled easily to the base of the buttress. We simulclimbed 200-300m on the lower buttress, then belayed eight ~45-50m pitches (5.8 to 5.10-), then simulclimbed (interrupted by one belayed pitch, which we would recommend avoiding) to the summit. For the central, steep section we wanted to climb near but right of the buttress crest, which except for pitch 2 (a horizontal leftward traverse) yielded a logical path almost directly upward. Looking upwards from low on the buttress, two corners right of the crest (separated by a chossy roof) seem to provide the obvious options into the steeper middle section. We aimed for the left corner (which we presumed was the 2008 route), and thought the right corner was probably the 1986 route. We encountered many pieces of fixed gear throughout the route (mostly knifeblades, with a few nuts, a hex, and a rigid stem friend). Since the 2008 party rappelled the face (!!!), presumably close to their line of ascent, we think we followed large portions of their route (Come Over to the Dark Side). That said, I haven't really managed to match the route lines in either the NWMJ or AAJ to our experience (at least at the resolution I can manage to download). From the summit, we downclimbed SW to the col with West McMillan, then continued downclimbing S in the gully for a few minutes. When the gully's left wall flattened, we slung a boulder and made four 45-55m rappels to reach low angle slopes and walked back to camp, arriving about 15 hours after leaving that morning. West McMillan, Inspiration, The Pyramid, Degenhardt, and Terror from high on the route: From left to right: E McMillan, W McMillan, Inspiration, The Pyramid, and Degenhardt. The route goes just right of the sun/shade line on the leftmost peak. The approach rappels start down a relatively solid corner just right of the low point on the left). Photo by Steph Abegg: First rappel into McMillan Creek cirque: Racking up before the first simul block: Marlin starting up the first simul block: Marlin at the top of pitch 1: Partway across the pitch 2 traverse (photo by Marlin). There was a fixed two-pin anchor at the end of this traverse that may be that in the 2008 NWMJ "Erik starts the crux" photo: Looking down partway up pitch 3. This section had some blocks and flakes that looked ominous from below, but sounded and felt solid on closer inspection: The upper part of pitch 3. This was probably the most runout section of the route: Looking down the start of pitch 4: Marlin at the top of pitch 4: Marlin starting up pitch 5: Marlin starting up pitch 6: And navigating the roof on pitch 6: Starting pitch 7: And pitch 8, which should have been the last belayed pitch: Simuling in the schist band: Marlin leading the very-not-recommended lichen covered, loose pitch in the schist band. Go right before here, toward the E Mac col, to keep it scrambly. There was a fixed pin near his feet here, so we weren't the first to get suckered into it: Belaying on the summit. The buttress crest in this section is stacked, lichenous blocks that seem to overhang the impressively steep East face. You want nothing to do with the crest here: Setting up the first rappel out of the E Mac-W Mac gully: Impressive ambience the next morning, looking toward Azure lake from camp: Hiking out, looking toward Triumph: And a friend from the start of the schist band. It was still solidly placed and easily removed after, probably, 17 years (although could use some lube): Gear Notes: Modern gear made a huge difference on this route, especially microcams (compare the 2008 party's rack in the NWMJ pictures), microtrax simuling, and fix-and-following. We took a 50m lead and 65m tag line (we didn't haul), ~5 kbs/lost arrows, at least triples to fingers with offset aluminum and brass nuts, doubles to #1, single #2 and #3, and four microtraxions. Our smallest cams (purple C3 and green/#0 Z4) were used in several critical placements. Approach Notes: Goodell Creek to Terror Basin, then up slabs toward Little Mac.
- 9 replies
-
- 15
-

-

-
-
Trip: Reconnoitering Tower Mountain - None Trip Date: 09/12/2023 Trip Report: Tower mountain, like Mt Baring, has an impressively steep face whose profile tends to taunt from a variety of easily accessible viewpoints. After years of staring at its leaning silhouette, I had developed a minor obsession. To my knowledge, attempts at the central part of the NE face have been ended quickly by poor rock quality. But, I thought, perhaps an approach less focused on going ground up and boltless might yield some decent climbing? There is, after all, a third class gully to the top. Encouraged, then, by a friend's gorgeous aerial photos, I finally schlepped my way in (twice) this Summer. The first view coming down Hardy shoulder, with Tower's tower obscured: Looking back at the business side of Hardy: not as steep, and by reputation just as chossy, as Tower: Tower's normal route goes up to a large cave on the west side, then traverses to access a west-facing couloir. It's straightforward (albeit with some steep loose dirt) to keep scrambling at this level all the way around to the SE-pointing shoulder/arm overlooking the NE face. All the blocky south- and west-facing terrain under which you pass here seems to be composed of solid granite with amazing splitters. You also pass a glorious bivy site: The SE-pointing shoulder/arm has a nice vantage point for the wall, accessed by a few moves on absolutely classic Wa Pass kitty litter. That vantage point, amazingly, has a survey marker, which must have been... interesting to place, with tremendous drops on all sides of a barely larger than butt-sized summit: At this point, you have to understand I'd built up quite a lot of excitement to finally see the face. Unfortunately this evaporated entirely within seconds of actually seeing it up close, along with any desire to actually lay hands on the rock. It's hard to appreciate at the image quality of my ancient (but pleasingly teansy) climbing phone, but the face just looks like... all loose blocks. There's tons of cracks, but I don't think I saw a single one that looked solid enough that I'd want to plug in a cam without a fat bolt a few feet below me. But I mean, hey, I could be wrong; here's some pictures to motivate someone else to go in and check it out. Or to avoid it, ha ha. Here's the upper and lower face, presumably you'd start with the steep bit off the frightening-looking ledge: And a few binocular shots. The solid/splitter granite that predominates on the West/South aspects disappears almost immediately on the NE face, although if you squint, the tippy top of the wall doesn't look so bad (I've got a lot more of these, of the whole face, if anyone's curious): But it wasn't so bad. Just as I was going to sleep a coyote-like wail pierced the nearby air, solidifying the wilderness experience. And I was treated to sunrise on Black Peak and its neighbors on the way out: Finally back at swamp creek near the highway (it's not swampy here -- what's it like higher up?) after several thousand feet of largely face-in heather descent: Gear Notes: Shoes, poles, and binoculars. Approach Notes: Having gone in and out both via the PCT and Hardy shoulder, if I went in again I'd try swamp creek. The PCT is straightforward, of course, and probably the easiest and least technical way to access the face is by leaving the PCT at the 6350ft col a mile or so past Granite Pass. This SE/NW trending arm has a short bit of screescalator but no real scrambling. The Hardy shoulder approach is overall much more direct and much much faster (coming in this way you'd want to access the face by traversing past the W face cave), and if you stay well left on the way up to avoid a burn scar there's almost zero bushwhacking. But the traversing below Hardy near 7200ft is steep, loose, and unpleasant, and the efficiency with which you gain elevation going up Hardy is less enjoyable once you remember you're gaining an extra 1000 feet that you'll then have to lose compared to swamp creek.
-
A friend and I had designs on this last weekend, it's an amazing area and I'd highly recommend the Columbia scramble even late season, but I wouldn't be tempted to go back without substantial snow cover. Unlike, say, the (WA) Sisters, where lack of snow just adds some inconvenience to accessing a lot of good scrambling, it seemed to me in the Monte Cristo area that snow covers up a lot more super steep dirt/scree gullies that become quite challenging without snow. Here's a picture of the diagonal ramp that I think was used to access Kyes, it looked pretty dire (although this is the closest we got to it). The geology is *really* cool -- lots of different rock types smooshed up against each other. The S ridge of Columbia looked to have a ~50m band at the top of splitter cracks in corners (sandwiched among layers of multicolored, featured, choss).
-

1 broken bone and it's a doosy
psathyrella replied to Lostbolt's topic in Fitness and Nutrition Forum
That's great to hear, sounds like you're doing really well. I just started touching trail, I should be up for scrambling in a month or so, I'll PM for your info. -

1 broken bone and it's a doosy
psathyrella replied to Lostbolt's topic in Fitness and Nutrition Forum
Hey that's rad! That's really impressive. You've leapfrogged me, I'm walking a lot around town but haven't graduated to rough terrain yet. PT is getting more exciting though, and being stuck in a regular gym for quite a few months yet at least means I should come out of this a lot stronger than before. -

1 broken bone and it's a doosy
psathyrella replied to Lostbolt's topic in Fitness and Nutrition Forum
Hey! Glad you're doing well. That's awesome you got out, and the one nice thing about crutching is it's freaking exhausting, eh? After two wonderful months of fighting insurance I finally had surgery this week, so in bed 23 hours a day at the moment, and on crutches for a month, but psyched to be finally moving in the right direction. -

1 broken bone and it's a doosy
psathyrella replied to Lostbolt's topic in Fitness and Nutrition Forum
Well, a week after posting upthread I wrecked my knee coming back from the grocery store (brakes didn't work on one of those little electric scooters), so when all's done it looks like I will be joining you in the full year off club. Although probably with less impressive scars! And my shoulder is now finally back to normal so, while I'm going to have to take up (flat!) kayaking I can also be hate*!@%ing my hangboard. Also PM me if you want to kvetch, my wife at least is probably a little tired of hearing about injuries ?. -
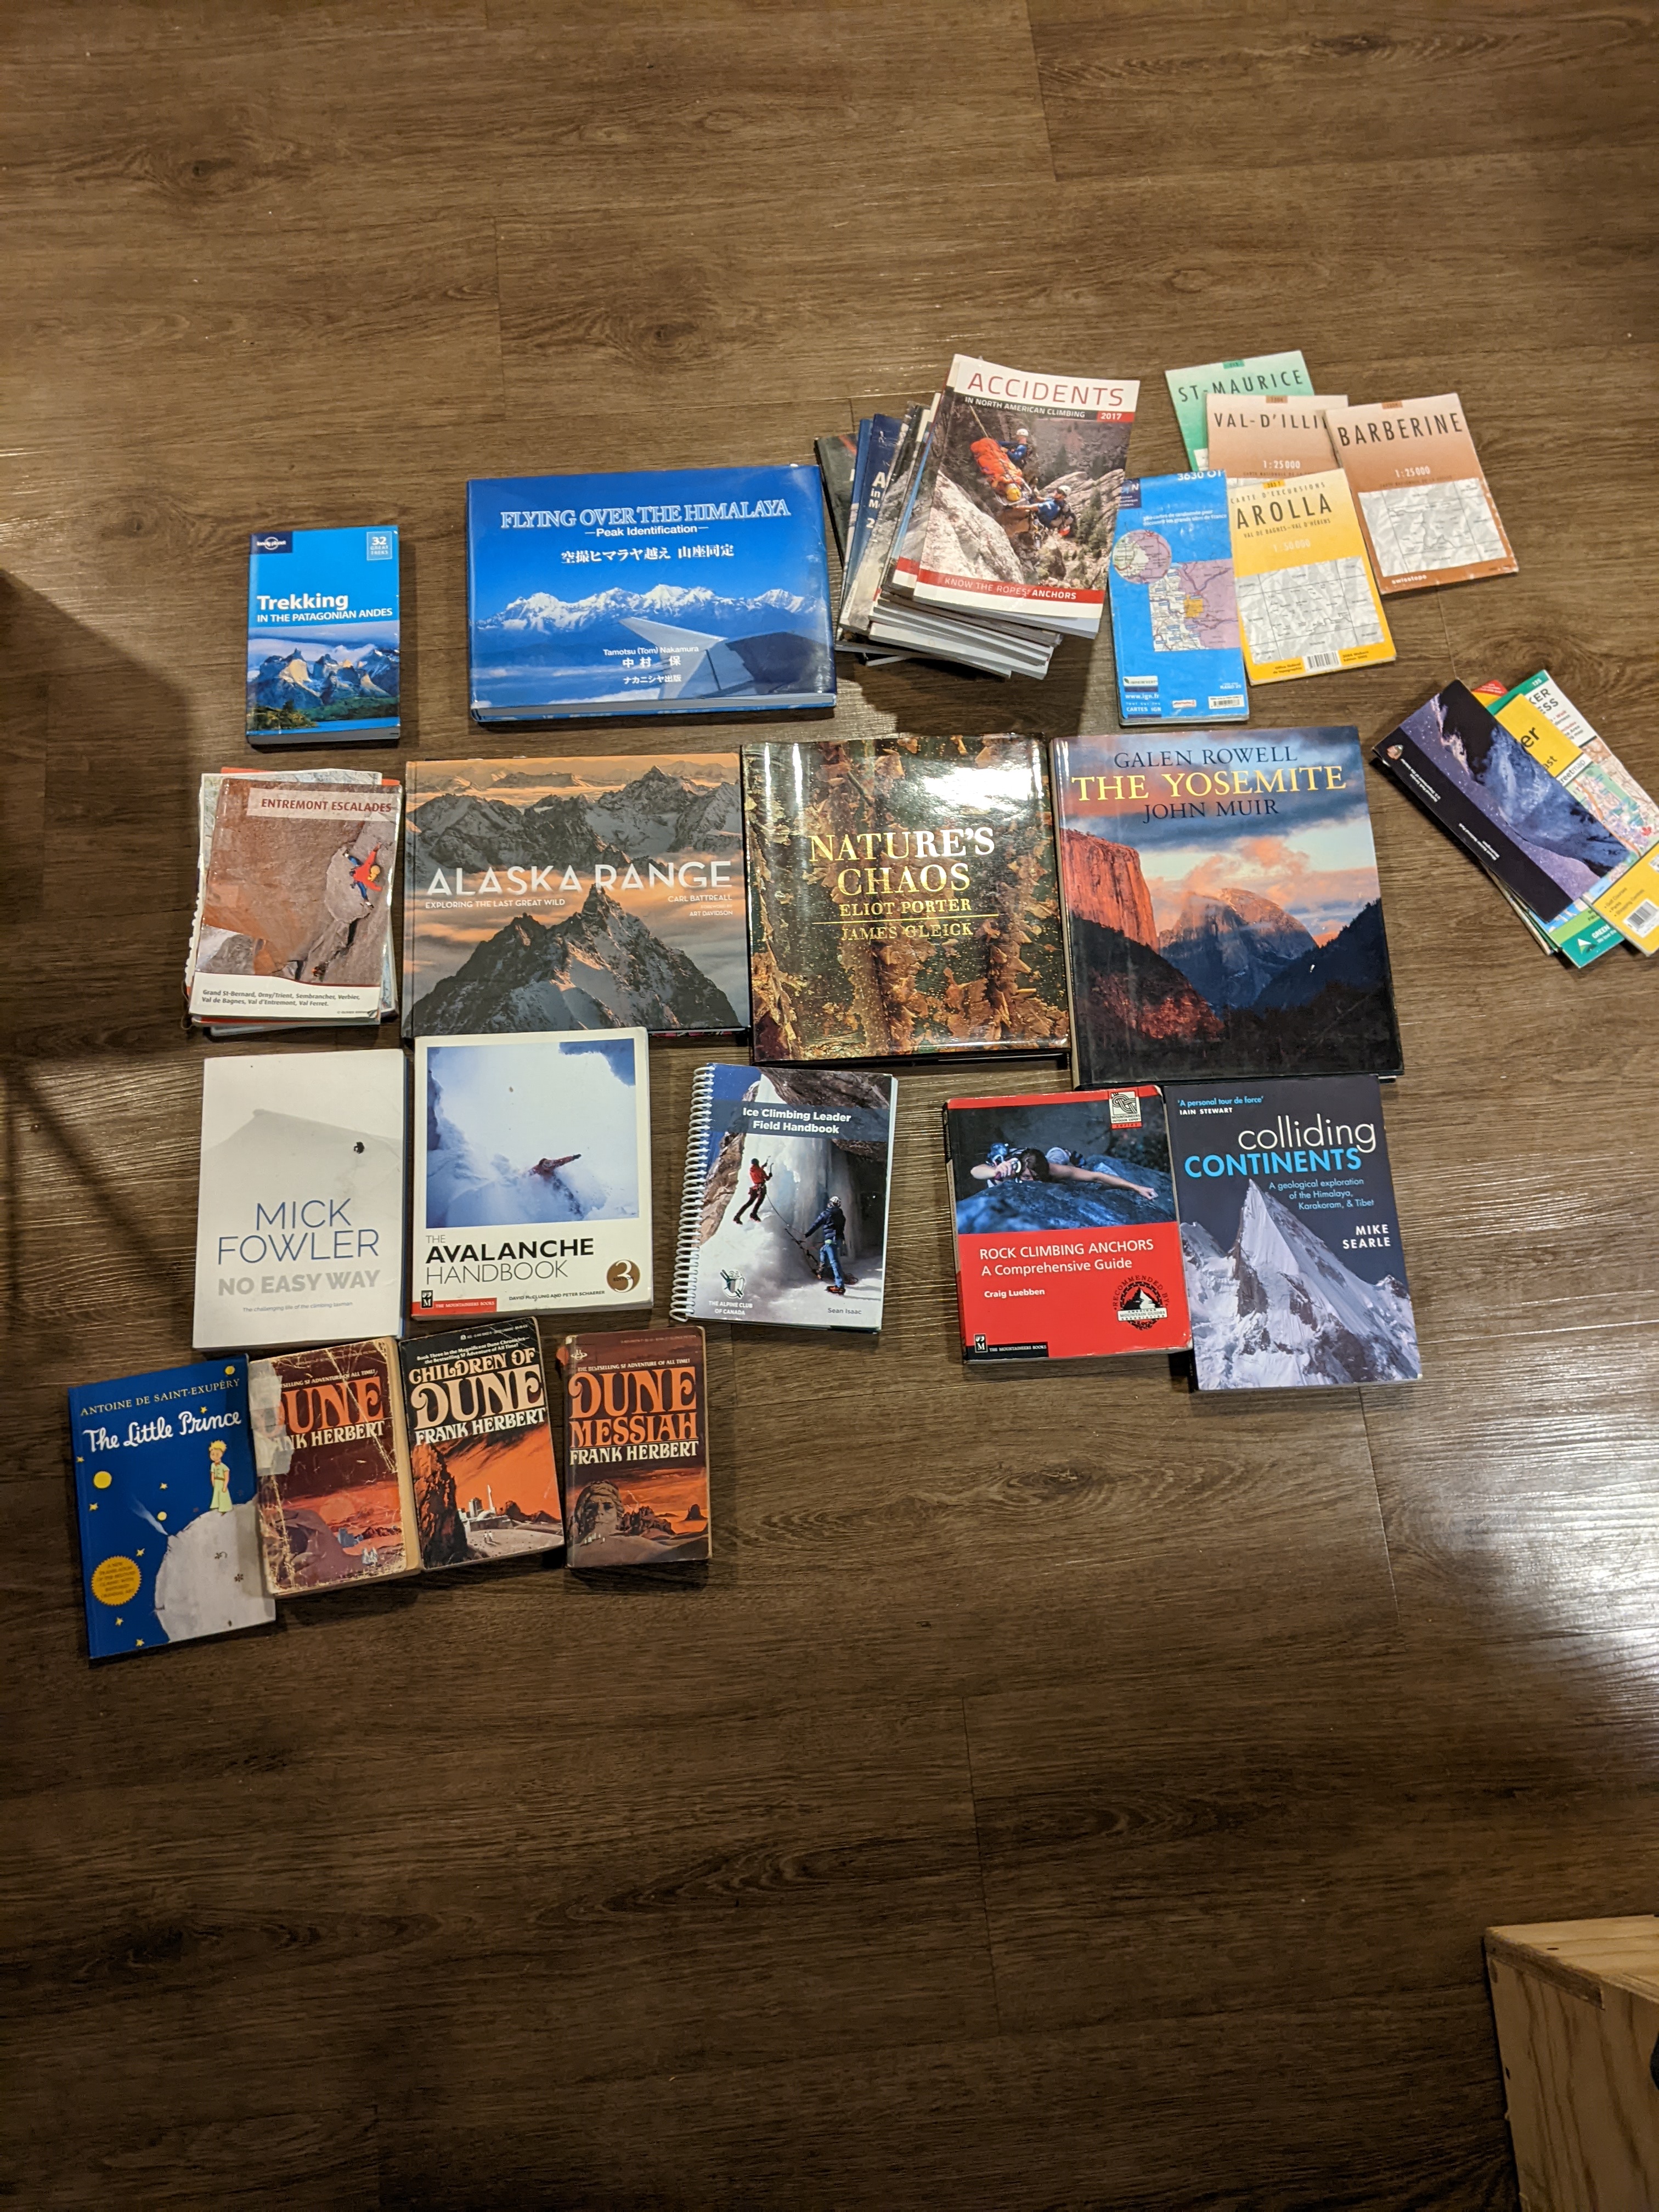
Mostly climbing related, plus some maps (swiss/french). "Accidents" are a mix from early aughts to present. Priority given to anyone that'll take all of them. I'm sure you could sell some of them for a bit of money.
-

1 broken bone and it's a doosy
psathyrella replied to Lostbolt's topic in Fitness and Nutrition Forum
I am only a few years saltier than you, but jfc man that fucking sucks. I luckily haven't had that level of traumatic injury, but I just started treadwalling this week after four months of no climbing after a shoulder surgery, and have cumulatively missed much more time in the past to various other injuries. The first month after surgery can be rough -- if you need the meds to sleep, you need them, but they are as addictive as all fuck and get off them as soon as you can. After that, figure out goals and hobbies and things to work toward. Having a spouse/partner helps a lot. Patience is key, so this is way, way easier at 40 than at 20; months pass so fast now. If your lower body is messed up, obsess on training your upper: hangboard, pullups, etc. Dive into the Anderson bros book and the New Alpinism. Oh, and physical therapy is *magic* if you are diligent. -

[TR] Idaho - Heart of Diamond, Milwaukee's Best 09/15/2022
psathyrella replied to psathyrella's topic in Idaho
I think it depends partly on your preference for what fraction of moves should be near your limit -- do easier pitches add to the experience, or detract from it? El cap is obviously much, much taller; but like squamish and the bugs, yosemite granite is so smooth that you're mostly limited to continuous crack systems. This makes the grade more dependent on crack size than wall angle, so there are many easier pitches. For instance taking a cursory look at a salathe topo, if you ignore everything easier than, say, mid .11, you get I think around four pitches of .11+, four of .12, and two of .13. Personally I'm probably more of an alpine dork than a sport climber on most days, and lean toward the more-total-vertical end of the spectrum, but on lots of other days, climbing stacked difficult pitches seems more appealing. I think the effect is pretty similar whatever the top grade you're climbing -- adding mid-fifth-class pitches to a 5.10 route in many ways feels similar to adding 5.10 pitches to a 5.13 route. -
Trip: Idaho - Heart of Diamond, Milwaukee's Best Trip Date: 09/15/2022 Trip Report: I've spent chunks of the last two Septembers helping some friends scrub, trundle, and bolt on a unique 800 foot granite wall on a subsummit of Storm Mountain, north of McCall, Idaho. At least for the time being, we're finished, and would love for folks to get on the two resulting routes to get some traffic and confirm grades -- everything about them is geared to optimize the experience of subsequent ascents. The wall has an extraordinarily consistent angle at just under vertical, and is littered with overlaps, layback flakes, and small roofs, which together create routes that are extremely sustained and with varied and high quality movement. It's just the right angle, and has just enough edges and dikes, that it is almost never slabby, and also almost never requires cranking on micro edges. While covered in cracks, many of them are too shallow, flaring, or fragile for bomber gear (but are great for climbing), resulting in routes with around a third natural protection and two thirds bolts. It also tends to excellent free climbing conditions, facing northeast (so warms up quickly before going in the shade) at around 8000 feet in a relatively dry range. Last year started by pushing a route ground up, since that seemed like an important thing to do. It was hard, scary, dangerous and required lots of aid and drilling on lead (not by me), and would have (as is) resulted in a route that was very poorly suited to repeats. So, from that point, we went top down and focused on making quality routes. For instance, much of the wall is initially covered in loose potato chips, which make free climbing ground up extremely challenging (and not very fun), but scrubbing invariably reveals bomber edges, divots, and dishes pointing in wild directions to create interesting boulder problems. As far as protection -- if there's bomber gear, you place it; but if it's questionable we put in a bolt. You can expect sizeable (but safe) whips at cruxes, but will always have confidence in whatever you're whipping on (well, except in a few .10 ish bits), and everything should be both clippable for short folk while still protecting talk folks' ankles. Last year's route, "Milwaukee's Best" (MB, nine pitches, with two options for the last pitch), mostly tries to follow cracks on the left side of the wall, and is sustained at .11 to .12, with one pitch of .9 and one of .10. The two easier pitches are meh (easy .9 slab, somewhat fragile .10 cracks), but every other pitch is really good. This year, we had figured out that the climbing is often better if you avoid the big, obvious crack systems, and "Heart of Diamond" (HoD) zig zags right up the middle of the wall. Of the seven pitches, one (p5, a leftward .12 ish traverse) is perhaps a bit forgettable, but every other pitch is extremely high quality, with sustained and varied movement. There's one or two pitches of .11, two or three of .13 (so I'm told -- I can mostly do the moves but do not send that hard), and the rest some flavor of .12. Also worth saying -- these are real YDS grades, not Washington grades -- for instance I had little input, since my diet of index and ungraded bouldering gyms, and weird body proportions, mean my opinion isn't very transferrable. Michal wrote up an excellent description on mountain project: https://www.mountainproject.com/area/123065053/storm-dome, so I'll just dump some photos here. Northeast face of Storm Dome: The NE aspect enforces the pleasure of relaxed mornings, during which you can explore the variety of shapes into which wood can burn. Maybe these holes were woodpecker homes: MB pitch 3 before the roof: MB pitch 3 at the roof: MB pitch 3 after the roof: MB pitch 7: MB pitch 8, before the groove peters out: MB pitch 8, right where the groove peters out: Through the roof on MB pitch 9a (right option): Starting rightward on HoD pitch 4: Continuing rightward on HoD pitch 4: Starting the journey on HoD pitch 6: Near the top of HoD pitch 6, hanging in a hueco: Immaculate, perfectly sculpted and oh-so-crucial dual pinches on HoD pitch 6: Topo for MB and HoD: Smokey sunrise from camp, which is a pika-filled meadow between the lake and the wall: Gear Notes: Light rack and draws (see MP link for details). Approach Notes: 7 miles, 2800ft, 4-5 hours in, 2-3 hours out, see MP link for details.
-

[TR] Mount Triumph - Memento Mori 08/29/2022
psathyrella replied to Michael Telstad's topic in North Cascades
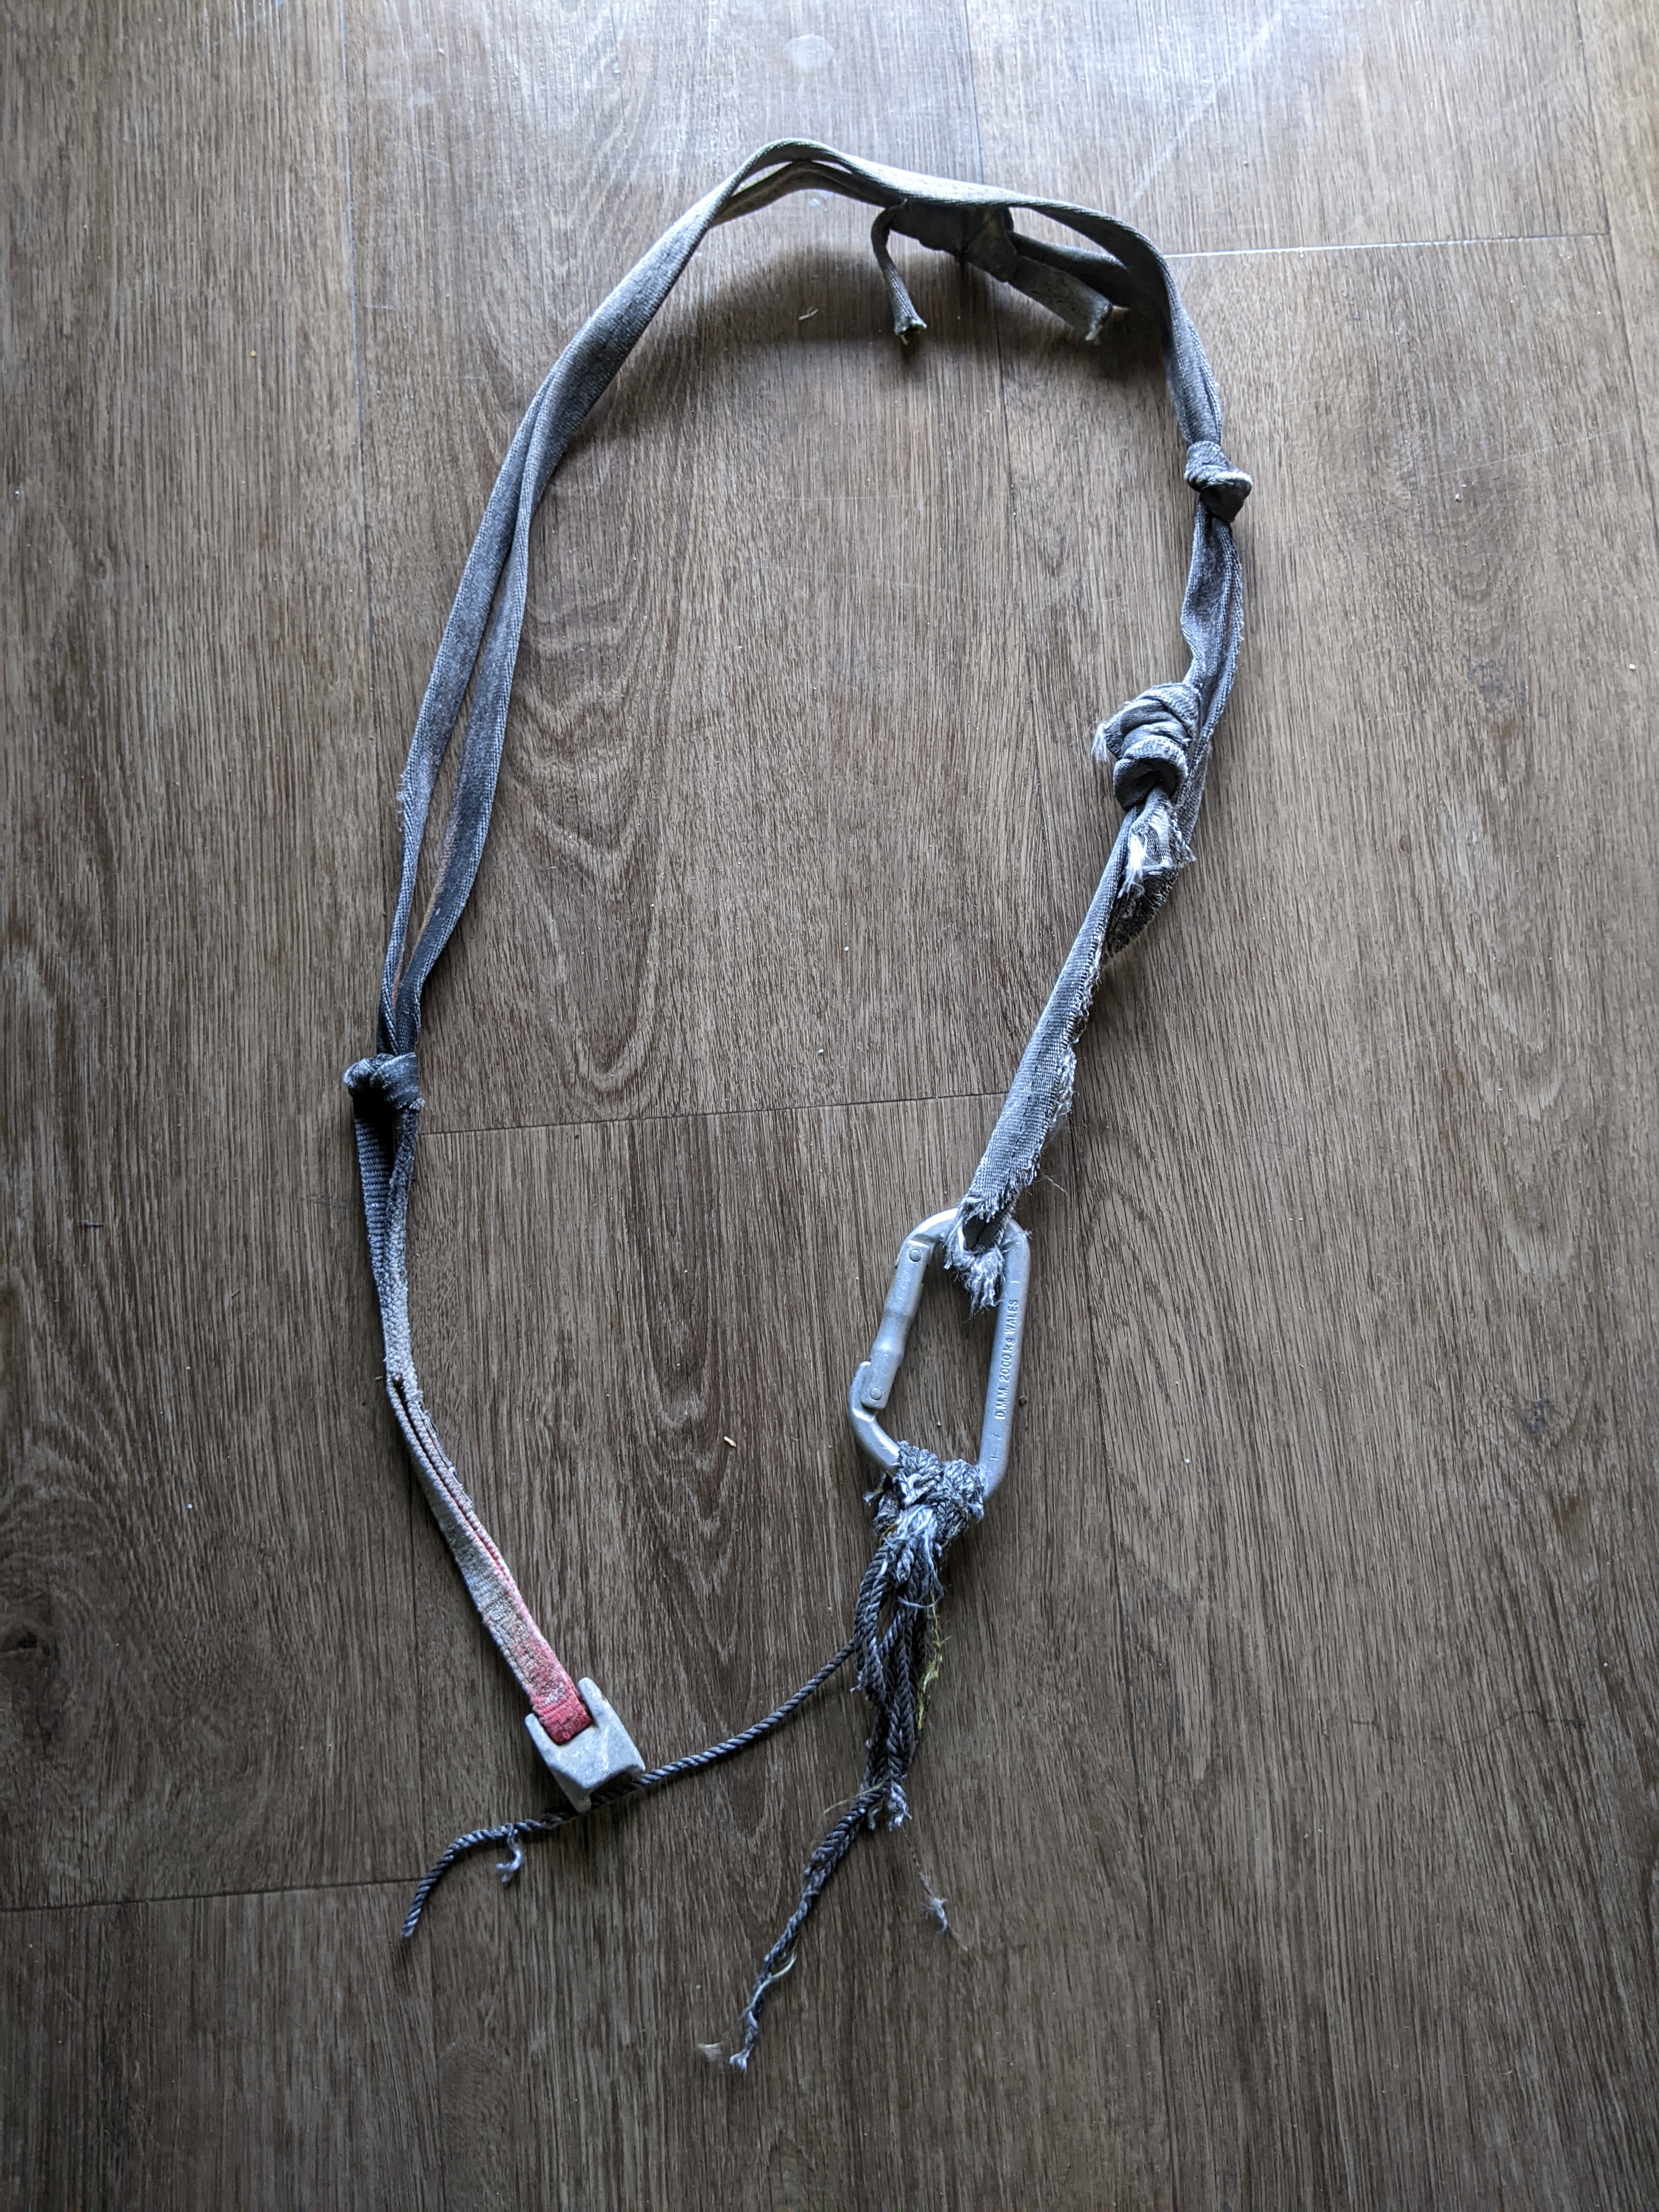
First of all -- descriptions of grades, pitches, and overall character of the route were very accurate. Thanks for a quality experience. One of my first thoughts on topping out was now I'm *really* psyched on "after hours". Overall, I thought "memento" was quite reminiscent of "fire on the mountain" -- lots of steep featured gear-protected face climbing, some poor rock but mostly pretty decent. The face that "memento" climbs is, overall, much steeper (sloan has lots of ledges), while "fire" involves pulling harder (but seemed less sustained). The gear from the accident -- a pink tricam in a marginal placement in poor rock, girthed to a few feet of webbing with a biner, on which was cloved a few shreds of rope -- was in a roof/overlap below two side-by-side corners just above the [eric/rolf] belay at top of pitch 4. It seems possible that the decades of rockfall and avalanches that shredded the rope also degraded the tricam placement (and/or removed anything else that was in the belay). If anyone with a connection to the deceased would like them I'd be happy to pass them along (@Skeezix?), I just felt it better to clean up the mountain. I believe I ended p3 5m or so higher than the fa, at the top of the vague pillar/face you've been climbing, belaying on a slung block + #1. I'd recommend this to avoid the semi-hanger. As mentioned above (sorry...), I didn't read the p5 description carefully, so was just looking for a corner when ending p4. When you pull onto a slab at end of p4 (25ft below where the tricam was), there are two side-by-side corners above you: left looks good, right looks shitty and mossy, I incorrectly belayed under the right corner (good #4 + ok #1, just above where tricam was) to set up to climb the left corner. The correct way, I believe, is to belay as soon as you're on the slab, and then traverse pretty hard right above the roof to begin p5. Which at least to us looked quite improbable (steep face with little obvious gear) but gear tends to appear in this rock as you get closer. So now that the old gear is gone, I'd amend description to: pin belay on slab below two side-by-side corners (p5 goes to right of both corners). And yeah, on the last pitch we did climb the distinctive rock-scarred corner with decent rock, so were probably in the same place. The short offwidth to right (picture above) seems like a good idea for the start of that pitch, although we didn't climb it. The cutest little chipmunk came over and hung out while I was belaying here. Rack seemed good. The pins (+ northwall hammer + msr tent stake hammer) seemed somewhat optional to me, but otoh I wouldn't be brave enough to launch up a route like this without them unless I'd done it before. -
For me a good heuristic is just that it's good when nwac is greenish (sometimes their low yellows are clearly more like green based on probability/size info), and of course temps/sun exposure/intensity are such that nothing is melting or falling on your head. This doesn't really prioritize ensuring enough water ice to make steep climbing easy, but I at least find that that is not really practical to accurately predict (although I'd love for those ^ guys to contradict me). As long as things are consolidated enough that nwac is near green, rock will be bare enough that it's not too miserable to climb, and if nwac is issuing reports then you're in mid winter so there will be some ice, just hard to know how much. If ice conditions turn you back on something steep, have a backup low angle ridge scramble in mind. Maybe in another ten years we'll all be more relaxed about bolts and there'll be some cool steep routes on the many many many amazing features up there, but until then I think it's knifeblades and not falling, i.e. slab practice.
-

[TR] El Dorado - NW Couloir (Attempt) 11/21/2021
psathyrella replied to Grant789's topic in North Cascades
The base is super thin (3mm?) plywood wrapped in shiny silver metal tape, with two elastic loops sized to loop over the valve of either size of cannister. I copied the base from a backpackinglight post, although I cant' find it atm. And yeah plain aluminum foil wrapped many times, and don't try to tape or glue it together it'll burn into a sticky gross mess. It actually turns out that bpl is where the real stove nerds are, and they mostly use non-integrated stoves (e.g. pocket rocket deluxe), which work surprisingly well these days unless you're making water in a gale. This article: https://backpackinglight.com/canister-stove-fuel-warming-techniques/ has a huge rundown of different methods, I've been playing with the heat reflector/wind screen recently, it works surprisingly well. -

for sale Ice Screws: Petzl Laser BD Express , New, Never Used
psathyrella replied to IPY7702's topic in The Yard Sale
PMd- 1 reply
-
- ice screws
- express
-
(and 5 more)
Tagged with:
-
No this is awesome, keep it up. Fiery, fiery, fiery death.
-
au contraire, thanks for being the admins ;-)
-
Yeah I would imagine cc has been flagged as a quite spammy domain since the hacking. Besides the front page ads about which we won't speak, the p0rn spam in my email increased 10 fold right when it got hacked. :-( Which, yeah, would be sad if it continues since fb is cancer that can never replace many of the functions of a real forum.
-
"9 out of 10" is amazing, for me it's been worthwhile rereading every few years. I definitely have tried to follow the recommendation about lots of easy mileage to improve technique, although I don't keep track of individual pitches -- partly laziness, but mostly I do a lot of bouldering. I guess one thing I would add is that for me it's really a cycle between strength training and technique training (which Dave Macleod calls taking time to apply a new level of strength to the rock). For me a new level of strength enables technique practice that would've been impossible before. I also feel like the rock angle is maybe more important than the grade for technique practice. If I split climbing technique into two parts: 1. moving limbs and hips to allow easy upward progress vs 2. attaching feet and hands to the rock, then for 1. there's very little common technique between a 15 deg overhanging route and a 15 deg slab route, or even a vertical route. On the other hand, routes at the same angle require largely the same limb/hip (1.) technique regardless of grade -- the holds mostly just get smaller. Rock type is also important, though I think less so -- the biggest effect of rock type is perhaps getting used to granite (& others) often not having actual holds. Before I started serious hangboarding, I was basically plateauing around granite .10. But after just my first hb phase a whole new world of technique practice became possible: to me there feels like a qualitative change somewhere between mid .10 and mid .11 on granite. You go from making your feet stick to the wall mostly from gravity (with your hands sometimes pulling you on a little bit), to sticking your feet to the wall mostly with counter pressure from other limbs (pulling with fingers on vertical, pushing with palms or feet stemming or chimneying, heel hooking around an arete). Without a certain level of finger strength:weight ratio, you just can't hang around long enough on vertical terrain to learn how to make your feet stick. And if you're born with typical levels of finger strength:weight, you'll need to start hangboarding more around .11 (anderson bros) than .12 (josh w), .13 (dave m), .14 (sonny trotter), or .15/never (tommy caldwell). Climbing with crampons is trickier, it's just vastly more time consuming (and dangerous) to get a given amount of mileage than it is with rock shoes. And as yall are saying, mixed crags tend to be developed with the goal of pulling hard on good pockets, whereas alpine climbing is more standing around and pulling lightly on teensy edges. I do think that climbing similar-angle routes in rock shoes is great technique learning for alpine crampon climbing -- it only address limb/hip technique (1.), but "onsighting vertical terrain" has lots of skills that are the same whatever your footwear. The crampon/tool interface with the rock (2.) still has to be layered on top, but that's much less time consuming than having to work on both. The difficulty of ice climbing, on the other hand, is almost entirely in attaching your fingers and toes to the wall (2.) -- pure ice uses only an extremely limited repertoire of different climbing moves. More directly related to your counting question, while I just try to maximize number of moves rather than keeping track of individual pitches, I guess you could say I "keep track" of whether I should be focusing on technique or strength based on which I feel is causing me to fail at my goal routes at a given point in time. Right now it's super clear to me that I fail at granite onsighting, which is my main rock shoe priority, because of route reading ability -- where to switch from stem to layback, where to place what gear, etc. This is the complete opposite case to where I was a few years ago, where I'd usually find close to the best way to do moves at my level fairly quickly, but would pump out. On ice I'm in a similar technique-limited boat -- I'm comparatively bad at understanding and trusting how pointy bits penetrate ice. The nice thing about this place is that onsighting lots of stuff is waaaay the fuck more fun than hangboarding, ha ha.
-

[TR] Strobach - Strobach D Approach Pitch 02/09/2020
psathyrella replied to OlympicMtnBoy's topic in Ice Climbing Forum
Approaching strobach will always be a bit of an ordeal, but if you hew closely to the attached .gpx there is almost zero bushwhacking or blowdowns. It follows the route we flagged a few years ago (2015?). I think the main key is that if you go directly from the road to mother lode, you encounter a ton of blowdown, but this gpx track swings to the right, generally onto a berm/ridge on the climbers left edge of a large boulder field, and provides much easier travel. I was in there in early January this year, and was surprised that almost all of the flagging was still there. It's not that much help if there's any snow on the trees/bushes, since you can't see most of it until you're right on top of it, but you're never more than twenty meters or so from a piece of orange so you can use it to verify that you're on the right track. strobach.gpx -

best of cc.com [TR] Bonanza- NW Ridge via Dark Pk. (IV 5.8)
psathyrella replied to Blake's topic in North Cascades
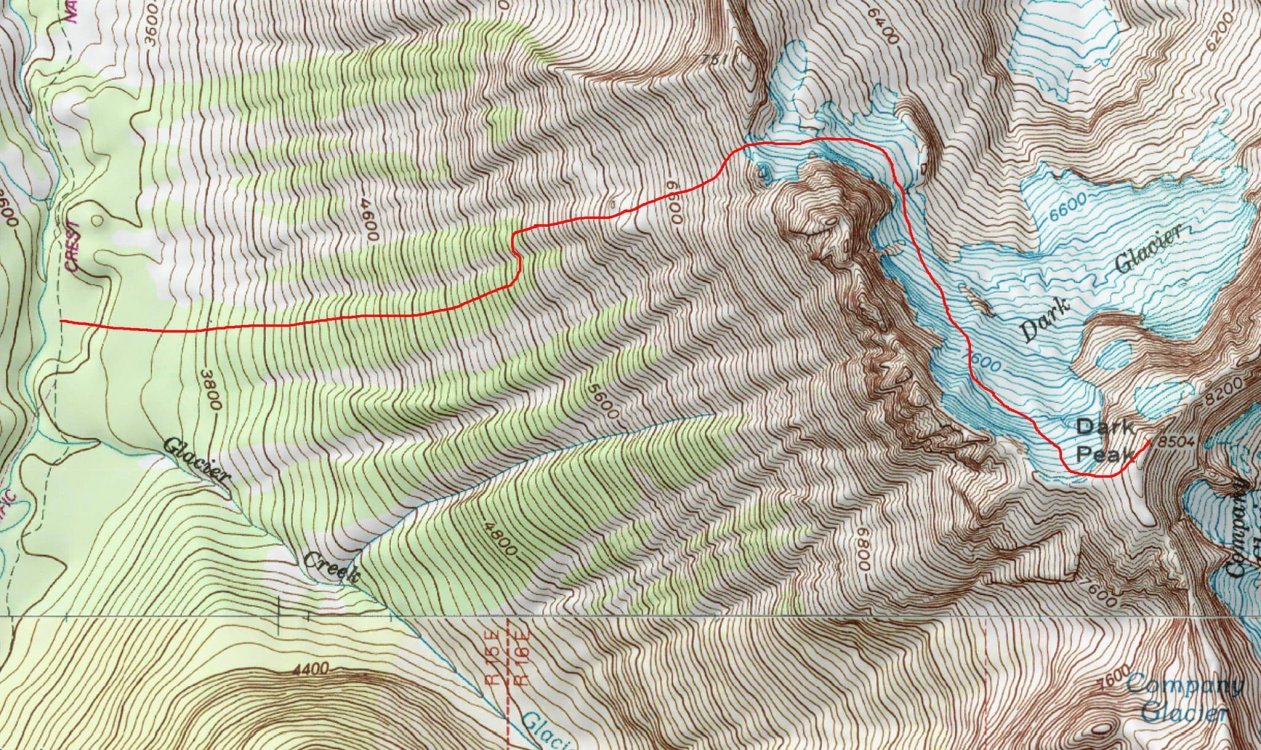
For the sake of future googlenauts, I thought I'd bump this with info on an alternative approach (not discovered by me) that avoids the swamp creek schwack, and is thus strongly recommended. The attached picture is really all you need, but: continue past swamp creek for a few miles, turning left off trail at a distinct opening/flat spot where the trail abuts the river at a gravel bar, with many very large chainsawed logs strewn about, and a very large boulder on the right (river) side. Head more or less straight up hill, following your nose and sticking to the largest trees, and there's essentially no bushwhacking or scrambling (the red line is approximate). Upon reaching the col you could presumably cut left in order to start at needle, as above ^, but I can't say for sure.


