needtoclimb
Members-
Posts
256 -
Joined
-
Last visited
-
Days Won
2
Everything posted by needtoclimb
-
This forum is pretty dead. It's main use anymore is the trip reports. Lots of great beta you won't find anywhere else.
-
Trimming the inventory. Both jackets are in excellent condition with no holes or tears. Both jackets are size Large. For size reference, I am 6 foot tall and weigh 190 pounds. All prices include shipping to the lower 48. Arcteryx Dually Belay Parka size Large. Great for ice climbing as it is synthetic and rain/wind resistant shell. $350 (Discontinued. Originally sold for $479.) Arcteryx Nuclei FL $200 (Sells for new for $300) Outdoor Research Foray 3/4 Zip pants size Large. $90. (Sells for new for $180.) I am a 33 waist/32 inseam and these fit great. I have a pair of full zips so I don't need two pairs of rain pants. No holes or rips. Black Diamond first generation Couloir Harness. Size L/XL. $20 (enough to cover shipping and my time to the post office.) I upgraded to a newer model. I hate to throw this out and hopefully someone getting into mountaineering can use it. It is too big for my size 33 waist. It would fit a size 35 or larger.
-
Looking for a pair of Forty Below Fresh Tracks size large. Not looking for purple haze or K2. If you have a pair laying around, i'd be willing to buy or rent them from you for a Denali trip in May. Kevin
-
I read Noah's blog and its pretty good. I like the detail, the photos', etc. It is his blog so he is entitled to his opinion. He sounds young and I remember being young, invincible and judgmental too. 25+ years of climbing experience changes a person's perspective so while I may not agree with everything Noah writes, I understand why he is writing it. I can't necessarily disagree 100% with his perception of guides. A few years back I was leading a group of inexperienced climbers up Rainier and leapfrogging a RMI group as we took breaks. After one break, we were moving slow and one of the RMI teams decided to pass us by cross through our rope team! Yup, crossed his entire team right between my 2 and 3rd person, with all his clients stepping on our rope. When I called him out, he challenged me to a fight at 12,000 feet. After the climb I had a long discussion with RMI managers back at their HQ's and they knew exactly who I was talking about since they have had issues with him before. That being said, I having nothing against RMI. I first climbed Rainier with my dad in 1996 under RMI's tutelage, and I still remember the trip and the really good guides we had. There are good guides out there and bad. But many of the guides I have come across are just tired of dealing with climbers trying to either mooch free training/advice from them or just follow in their footsteps. I was at Camp Sherman a few years ago on an independent climb and a guide was sitting among the rocks talking to his clients. I sat back just to listen to him and gleam any insights he had on the route conditions. Independent climbers kept coming over and asking all sorts of technical/weather/stupid questions. The guide gave them very curt replies and continued to advise/train his clients. I didn't mind his attitude at all. His clients paid for his services and independent climbers were trying to get it for free. So it really does go both ways: prick guides and prick independent climbers. Noah is a little harsh on the "Take your money" thing so either he had a bad experience with a paid guide or never had a good paid guide. A good guide is well worth the money, a bad one should be left in a crevasse with nothing but a bottle of hot sauce and a box of toothpicks. Anyway, enjoyed your write up Noah. And just to add to this thread, I am interested in Denali this year. I am not getting younger so I am reaching a now or never stage. If anyone is still looking for partners or teams, give me a holler at kevindenali2019@gmail.com. (Had 2019 plans fail when my partner had to call it quits a month before our climb due to family issues.)
-
Are you still active on this forum? I sent you a PM.
- 1 reply
-
- ojos del salado
- aconcagua
-
(and 1 more)
Tagged with:
-
[TR] Buck Mountain - Northeast face 08/11/2021
needtoclimb replied to seano-'s topic in North Cascades
My dad's axe? I have an axe like that in my gear room and its not my dad's, its mine! Jeesh. Young whipersnappers. -
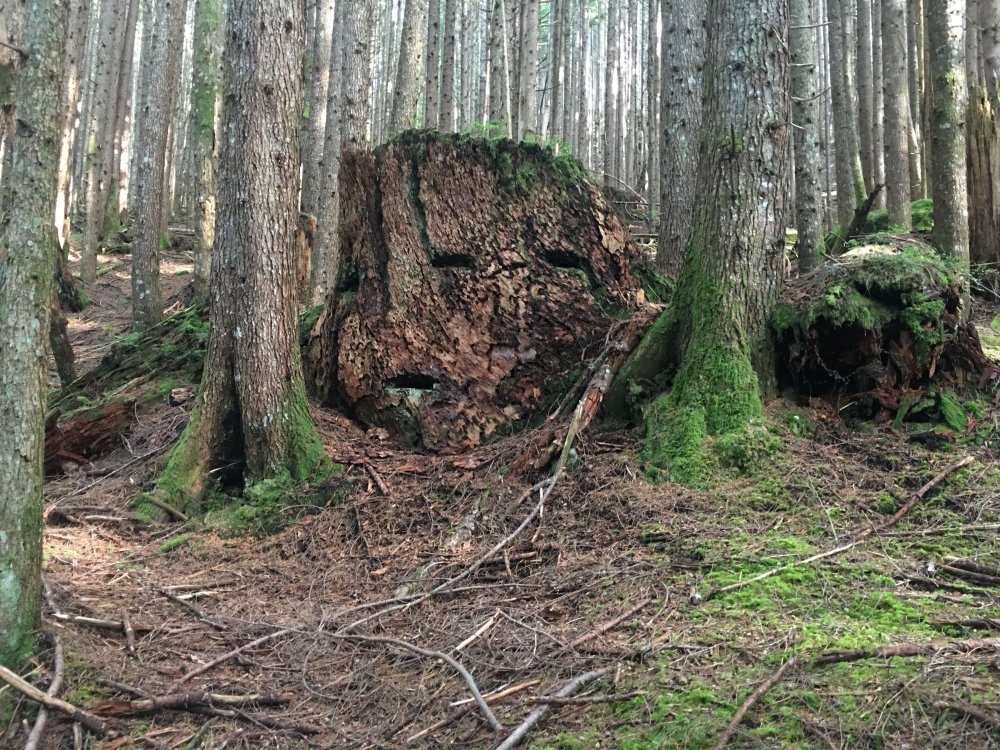
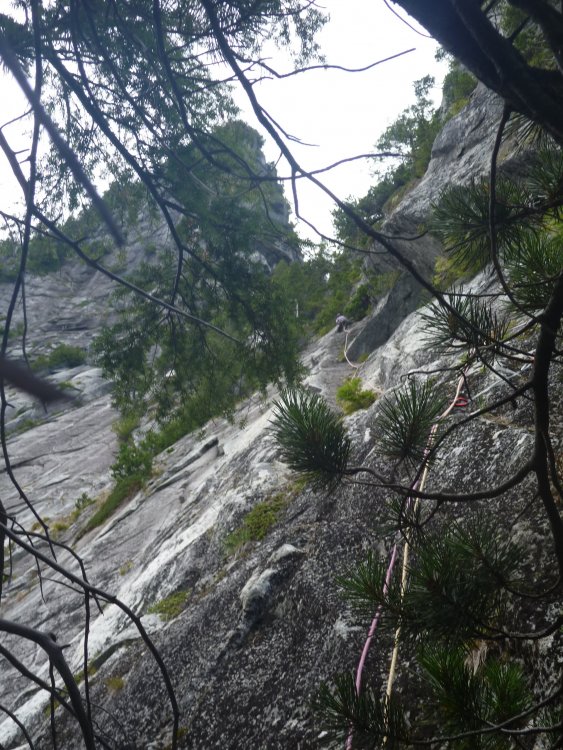
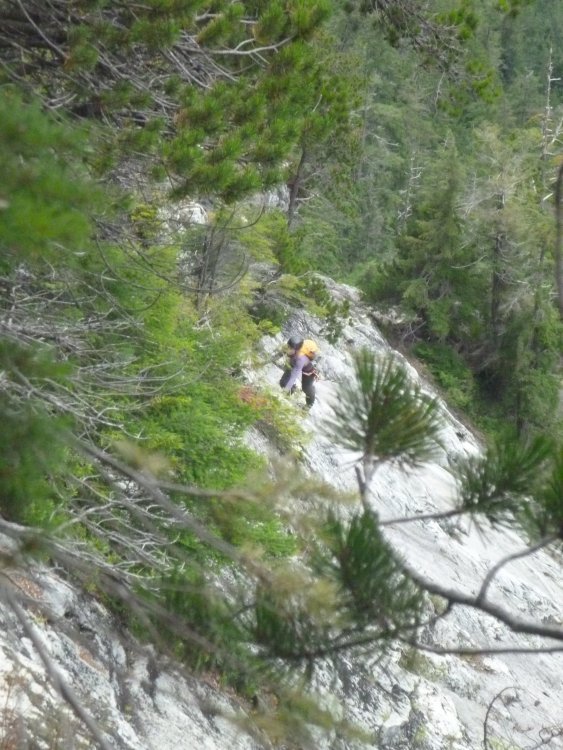
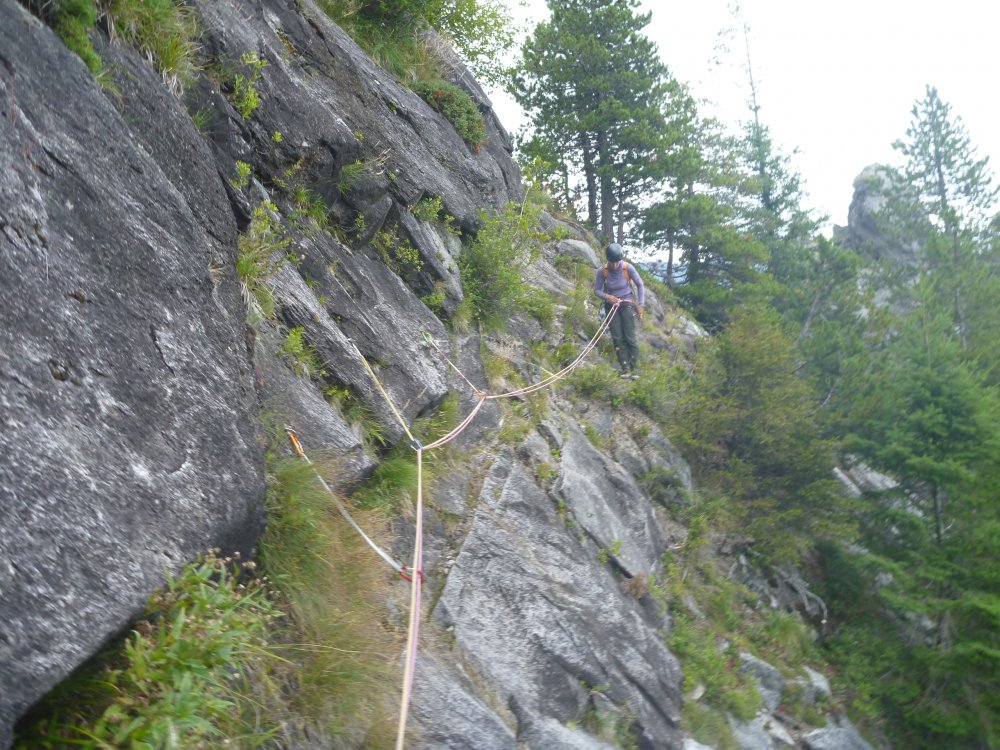
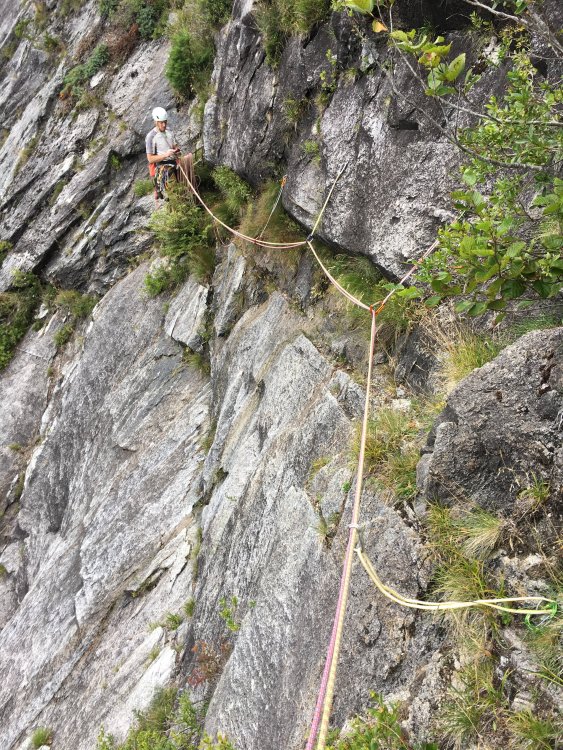
Trip: Quartz Mountain - Training Day Trip Date: 08/24/2019 Trip Report: After reading through Kurt's new book "Snoqualmie Rock" Training Day stood out as a climb to do. I convinced my wife to climb, found some friends to watch our kids and off we went. Unfortunately, we went 2 miles down the wrong path before realizing our mistake and turning around. Note: When parking at the CCC trail pullout, DO NOT START HIKING ON THE TRAIL FROM THE PULLOUT! My wife and I were just chit-chatting away, oblivious that the book said hike 100 meters up the road to the trail, and oblivous that we were walking away from the mountain rather than to it. After 2 miles, we realized our mistake and backtracked. 75 minutes lost, but we just chalked it up to an extra warmup. The approach description in the book is spot it. Here is the bridge with the step. Walk a couple minutes past the bridge and turn left (uphill) at this log. You should see a pink ribbon up the hill. The trail heads up, up, up. Keep following the flags (half of which are now on the ground) and the faint climbers trail as it appears and disappears. Pass Face Stump and keep going up. The trail gets into the overgrown wash and follows some cairns before entering several hundred meters of pure sticker-bush wacking. Finally we reached the base of the climb. The book says the rappel is just uphill. It is 200 meters of uphill bushwacking. We left our packs at the base but carried our approach shoes on the climb for the wack back. You can bushwach back in your climbing shoes, but that just sounds painful. Start of the climb. It goes at 5.6 and was easily protected. After the roof, go right of the small Go right of the trees above the roof on easy low-5th terrain and scramble to the belay. It if wasn't for this start, the first pitch can be easily scrambled without rope. Looking up at pitch 2. 2nd pitch is also a scramble. Could be combined with a 1st pitch simu-climb if not for that start. Teresa starting up pitch 4. Book says it is 5.9. Maybe one move of 5.9. It wasn't hard at all and very well protected. Heading up pitch 5. The anchors are hidden behind the bushes and it is 62 meters. Teresa had to come off the anchor and climb a few feet so I could get to the anchors. Teresa heading up pitch 6. The slab below the bush is clean but no bolts. We had to go left into the bushes which was dirty and wet. One bolt halfway up the slab would have made the start of this pitch really nice instead of dirty and wet. Pitch 7. The money pitch. 22 bolts of 5.10a slab. It is very well protected and one can aid through it quite easily. I ended up skipping 5 bolts or so, especially near the top where the bolts are next to a beautiful flake. I jammed the flake and passed three bolts before I knew it. The top of the pitch is the infamous tree grab. Looking down at the bush dive. I didn't enjoy this at all. The limbs are small and felt like they would rip out of the trees and any moment. I agree with other posters that a few bolts on the slab would have made this so much better. Pitch 8. Great climbing to the arete. Then the route goes up right through some dirty and trees. Going left leads to beautiful, clean slab and a couple of cracks. Not sure if left would go without needing a bolt between the blank spot between cracks, but it looks so much cleaner than where the route went. No pictures of pitch 9. It leavings a hanging belay over a couple small roofs. The roofs were dirty. Two bolts protect the move and it looks fun if clean. I ended up pulling on the bolts to get over the roof as the lichen and sand kept slipping under my feet. The rest of pitch ten is dirty and easy 5th, slinging a tree and climbing some loose blocks to the belay. There is a bolted belay, or a beautiful shade tree to belay from. I climbed under the tree onto a small ledge and belayed from there. To be honest, the climb could easily end here. Rapping down from the anchors would be a great climb. The last three pitches are low-quality, dirty, and scary, and didn't really add anything to the climb. That's my opinion at least. Teresa heading out on pitch 10. The moves to the detached flake and just beyond it were okay, but very dirty. Sand and lichen accumlate on this low-angle slab making it feel harder than it should have. Past the flake there is a section of unprotected, dirty slab moves to the anchor. One more bolt would have made this much safer and a quality pitch. Or even clean slab would have made this a quality pitch. Runout 5.8 on clean slab is fine. Runout on pine-needle covered micro-ledges is terrifying. Looking back at pitch 11. This pitch was horrible. If it was 20 feet lower on the clean slabs it would have been amazing. Instead it followed dirty, broken underclings with exfoliated rock, over a couple of trees, and across an unprotected finish on pine-need and dirt ledges. I couldn't see the last two bolts as they were hidden in moss, so I went straight up for a bit and saw I was clearly off route. I lowered off a sling (don't follow up to the blue sling!), kept traversing and found the two bolts. Funny thing is that there are two gear placements right above these two bolts, while there is no gear or bolts for the remaining 30 feet of unprotected 5.8 dirt slab. I found the biggest tree to belay from and brought Teresa up. Teresa took pitch 12 to the notch. It was easy 5.0 and she slung one tree. No issues, and she belayed at the biggest tree on the notch. Pitch 13 was harder to find. I thought it would go up the clean, black slab above the tree but it didn't. I took about 10 minutes of searching to find the bolts. The bolt I found was actually the third bolt, the first two being hidden in grass and moss. From the tree, go directly left on the small ledges. You will see the bolts. The belay tree is directly above her head. The first bolt is hidden at her feet. The second is hidden in the grass a few feet in front. Looking at pitch 13. It is wet but easily aided using the bolts. This is the start of the rappels. 8 full-length rappels got us down. They are full 60 meter rappels. Two are on tree stations, the other 6 are on bolts. The rappel route looks like an amazingly clean slab climb. Looking up from around rappel #4. All in all it was a decent outing. 14-hour car to car (including our 75 minute wrong-way hike.) I can't really recommend the last pitches unless you like run-out dirty slab. However, the first nine would make an amazing day on their own. This route needs to see more people to keep it in shape. Get out there and do it! Gear Notes: Rack up to 3". We brought nuts but never used them. We used maybe 10 pieces of gear on the whole route. Green and yellow alien, .4 through #3 BD would be just fine. Lost and lots of alpine slings. You don't need 22 slings though. On the 5.10a pitch, you can reach down and unclip the sling below you so you can get by with about 12 normal slings and 4 double slings. Approach Notes: Long, steep and spikey. There is a faint climbers trail, but it needs more feet to create a path through the bush-whack top.
-
Looking for suggestions for a new camera for alpine/mountain climbs. My old one is taking crappy pictures now days (probably too many times being dropped), and I tried my phone a few times but don't really like it. While normal pictures on the phone are fine, I recently found out that most phones don't actually zoom. They just crop and expand the picture, leaving you with a very blurry picture. Any suggestions for a fairly rugged, light-weight camera?
-
There ya go Joe. Grab the rope to start out. Can't beat free and will get you through glacier climbs. As you can see above, ropes are like footwear and underwear. Everyone has their own style and preference. Get out with more experienced climbers, see their style, and find one that suits you best.
- 9 replies
-
- mountaineering
- glacier travel
-
(and 1 more)
Tagged with:
-
Just saying that most newer routes are put up with 60m ropes. Steve House and Vince Anderson are in a different class than someone who has taken one course and it asking about his first rope. You also have a lot of experience to go with a 50m so can "go back" to it. Trying to give the guy advice so he only needs one rope and not having to worry about if his 50m rope is long enough to get him down on routes that are mainly put up with 60's now days. I'd rather see someone new carry a little bit extra weight than rappel off the ends of their rope or have to simul-climb a bit. With experience comes the ability to go lighter and faster. "Worthless" may have been a bad choice of words though. A 50m isn't worthless, you just need to know when to use it. In this case, based on his question, he doesn't have the experience yet when to use it other than glacier travel. A 60 is simply more versatile for one all-around rope is all I am saying. I would recommend if you are going to get one rope to start with for multitude different climbing styles, it would be one 60m mid 9mm rope. It will do glacier, alpine and cragging. For only glacier, a 50m, 8.5 would be my choice. On my 8.2mm, prusiks suck in trying to get bite but the Sterling Autoblocks work great and grab very well. Microtraxion also grabs the 8.2. Perfect world for me (The diameter listed below is a ballpark.) 40M 8mm glacier rope for two or three man travel on smaller glaciers. It would also work for ski mountaineering or scramble routes where you are not sure if you will need a rope, but want one in your back just in case. Double 60m 8mm ropes for wandering alpine routes or double-rope rappels are mandatory. Use one for larger glacier parties or where crevasses are bigger (Rainier.) 60m 9.5mm for alpine routes where single rope rappels will get you down and for shorter crags. 70m 9.8mm for longer cragging routes This I did not now about diameters being off. Thanks. I also started when a 50 was all I could buy. Then 60's, now 70's and even 80's. When is the madness going to stop? Who the heck wants to carry an 80 meter rope?
- 9 replies
-
- 1
-

-
- mountaineering
- glacier travel
-
(and 1 more)
Tagged with:
-
I use one an 8.2mm dry rope for all my glacier travel. 60m long. It is 60m as it is part of my double ropes for alpine climbing. It weighs 5.5 lbs. I could chop it to 40 meters and save 2 pounds, but then I would need to buy another rope for my doubles. I don't mind the 60 as that lets me put 3-4 people on the rope with some room on the ends. When I go with just one person, each of us has enough coils to perform a rescue. Remember that for a two-man team, each person needs coils that are just longer than the span between them to be able to drop the other end down. You will see a lot of two-man, and three-man teams tied into the ends of a short rope but that gives them nothing extra for rescue. 50m would be long enough for a 2-3 man as well. 50m is almost worthless rock climbing or in the alpine though as most routes are 60. Your 50m rope would be dedicated only to glacier, while a 60 can do both. Also, if you get into where you cross glaciers then onto rock, a thin rope can be folded over and then used as a double for the rock climb if the pitches are short or you are simulclimbing.
- 9 replies
-
- 1
-

-
- mountaineering
- glacier travel
-
(and 1 more)
Tagged with:
-
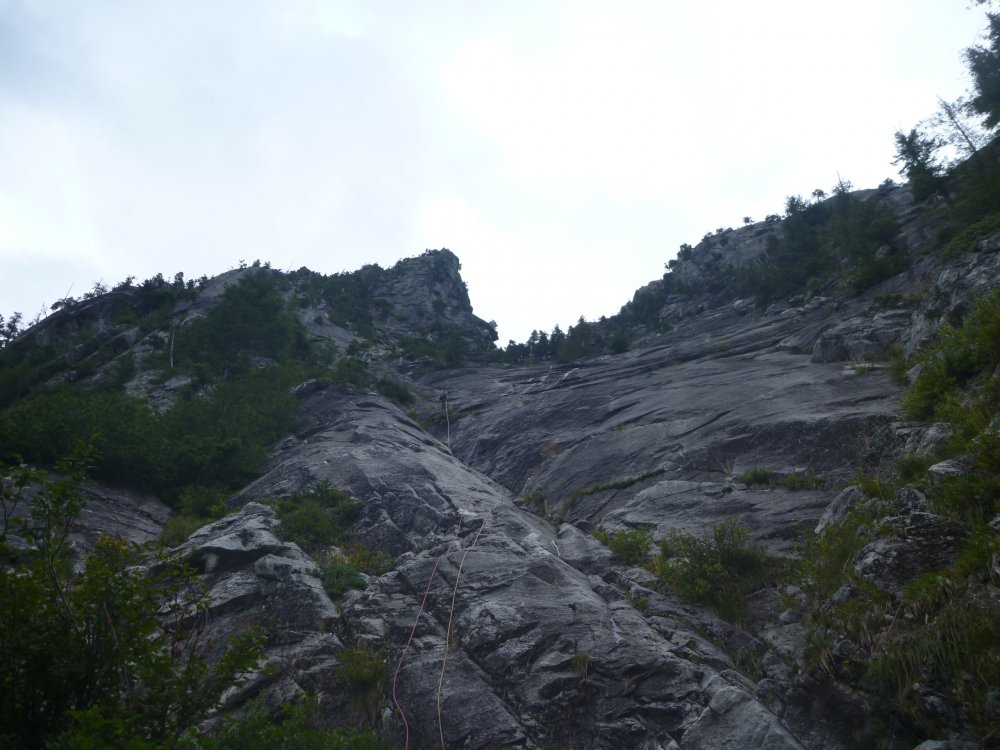
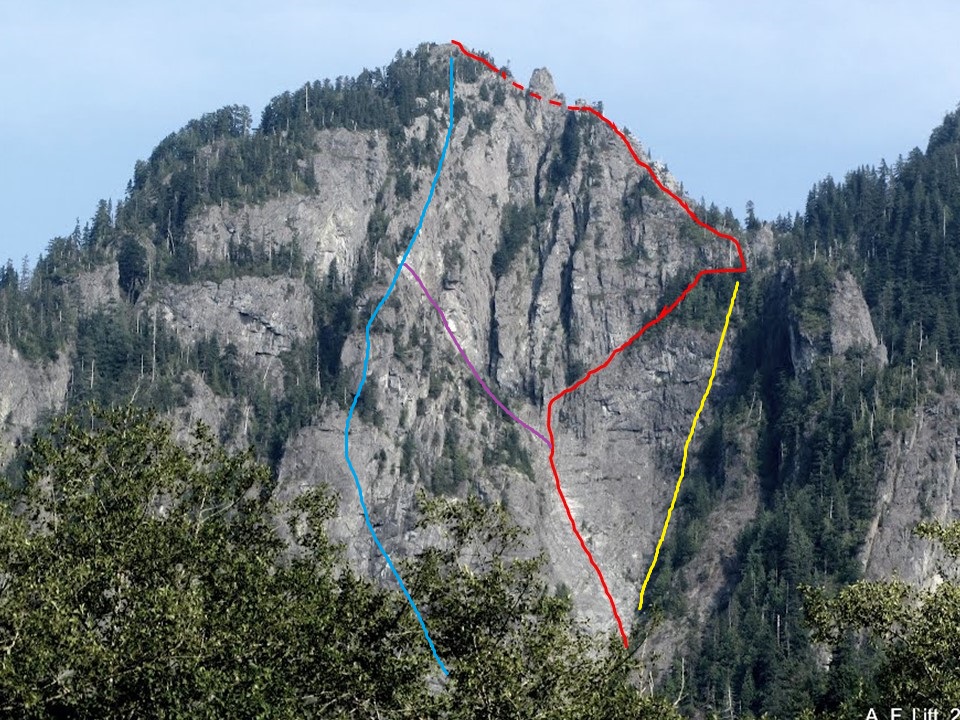
Has anyone done any more work to this route? It looks like a great route, except for the lack of real descent. No descent will keep most people away from this route, and it will quickly grow into obscurity. I wanted to climb it this weekend with my wife, however, the potential of being benighted on the rappel leaves a lot to be desired. What do you think of the below lines for a possible rappel? Blue will take you straight down from the summit and looks like half of the stations could be tree belays, with just a few bolted stations lower down on the blank wall. Would this take you all the way down without any bolted stations? Purple is a cutoff to get back to the route. That would require that the lower route has bolted belay/rappel stations. Yellow would require tree rappels down the ridge (or downclimbing) then bolted stations. It would drop you right back to the base of the climb. Having not been there, looking for some insight before heading up to explore the area and search/build a better descent.
-
Just came back from there. Tons of bugs in the parking lots and on the approach. None once at the rocks. (Did both Kangaroo Temple and Liberty Bell,) No snow at all on any approach. Snow level is pretty sad.
-
I just climbed Adam's Glacier with David. He's a solid guy. Very willing to learn and very competent. I'd do more climbs with him but I've used up my yearly allotment of "away from family" days.
-
I noticed the same thing when I was at Index the past few times. The parking lot was packed, the campground lot was packed, yet I was able to walk up and get on Godizilla. It was an hour or so before another party came by to climb it. With the amount of cars there, I wasn't sure where everyone was. What I have noticed is that many climbers go in large groups now. When I started, it was just 2-4 people. Now, 8-10 people will go to an area, hang one or two ropes, then everyone gets a lap. Which works out fine as those 10 people are really just confined to a couple of climbs.
-
I've been watching the weather and canceled a rainier trip this week because of it. Reading the forcast discusion, the low pressure will be pushing east on Friday, so it looks like Friday will be partly cloudy, Saturday much better. I agree with Jason, not enough accumulation to worry about slides. Smaller cracks might be thinly covered though with the wet snow, so be wary about that.
-
[TR] Mount Baker - North Ridge 06/15/2019
needtoclimb replied to Ian Lauder's topic in North Cascades
Nice work ignoring the social media group-think and heading up to figure it out. -
No one wants to climb one of the "50 Classic Climbs of the Southern Cascades"? I'll even buy you a beer at the end.
-
Looking for a partner or two for Kautz or Adams Glacier either June 18-20 or June 25-27. Those are hard dates for me, as my wife works Mondays and Fridays and I have other commitments on the weekends. I am 45 years old, been climbing in the Cascades for 15 years. I move slower than I used to, so if you are 25 years old, just expect to walk a little slower than you are used to. Have done Emmons, Gib Ledges, ID and DC routes. Give me a shout if you want to go so we can talk logistics and plans.
-
Here is a picture of June 14th, 2010. What a difference in snow levels. Below is the ice stop. It looks like the ice step has lost about five feet of ice. That right variation didn't exist nine years ago.
-
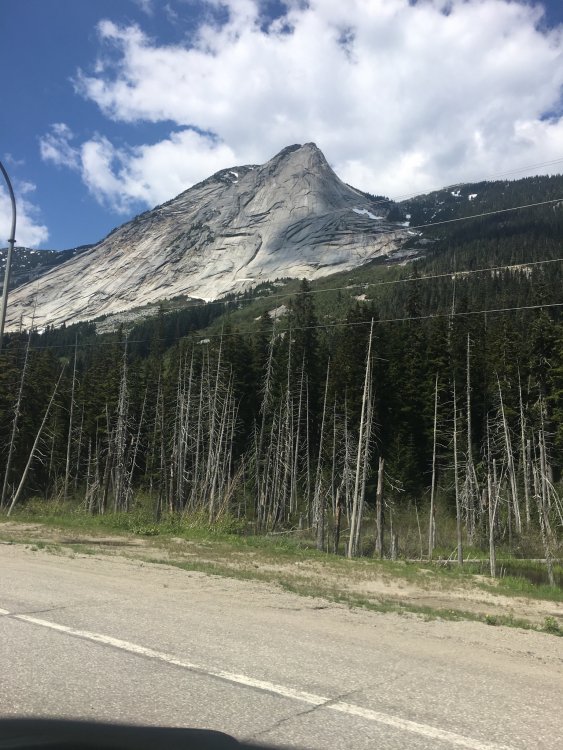
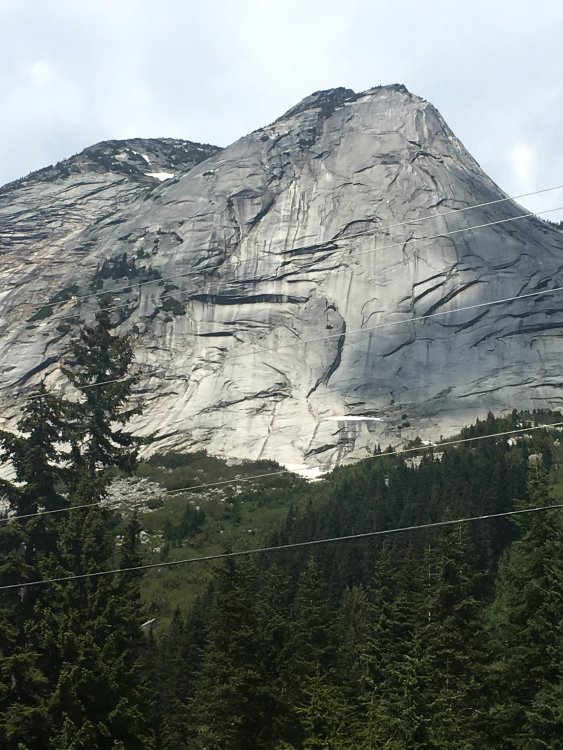
Just drove by it on Monday. Some snow on the south face with water streaks. Not much, but enough to be noticeable while driving by at 60 mph (or is that 110 kph?) Not much snow up on top either. I bet a few more days of sunshine will dry out the south face.
-
I just made a google doc sheet with all names and e-mails, etc. If you didn't get an invite, PM me with your name, e-mail and phone number to add you.
-
Thanks. Good info. For Mexico, I wouldn't want a guide. Looking for more of a logistical planner. I sent Servimont an email regarding that. Thanks for the tip. After researching Ecuador, guides are required. They won't let you climb without one. Still very much in planning phase and cost. Mexico is cheaper, but less "real mountaineering" other than altitude. Equador seems more expensive but appears to be more glacier climbing. At the end, it will come down to cost vs reward. If anyone has an ecuadorian guide company they recommend, please share. No way am I going with an American one like RMI. The prices they charge are outrageous, and I dont meed or want the pampering they do.
-
Looking to head south this winter for a week. Haven't decided on the Mexican volcanoes or Ecuador. I would want to hire a local guide to handle logistics, lodging and transportation. Any recommendations for either location, and any recommendations of a local guide? Anyone else headed down this winter with room for two more (me and my wife), or anyone looking to go that want to join us? I figure prices get cheaper the more people you have. Thanks.
-
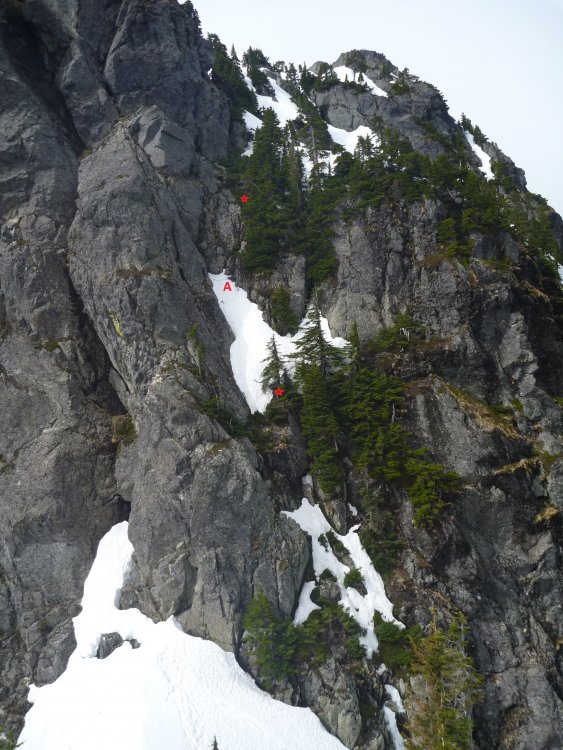
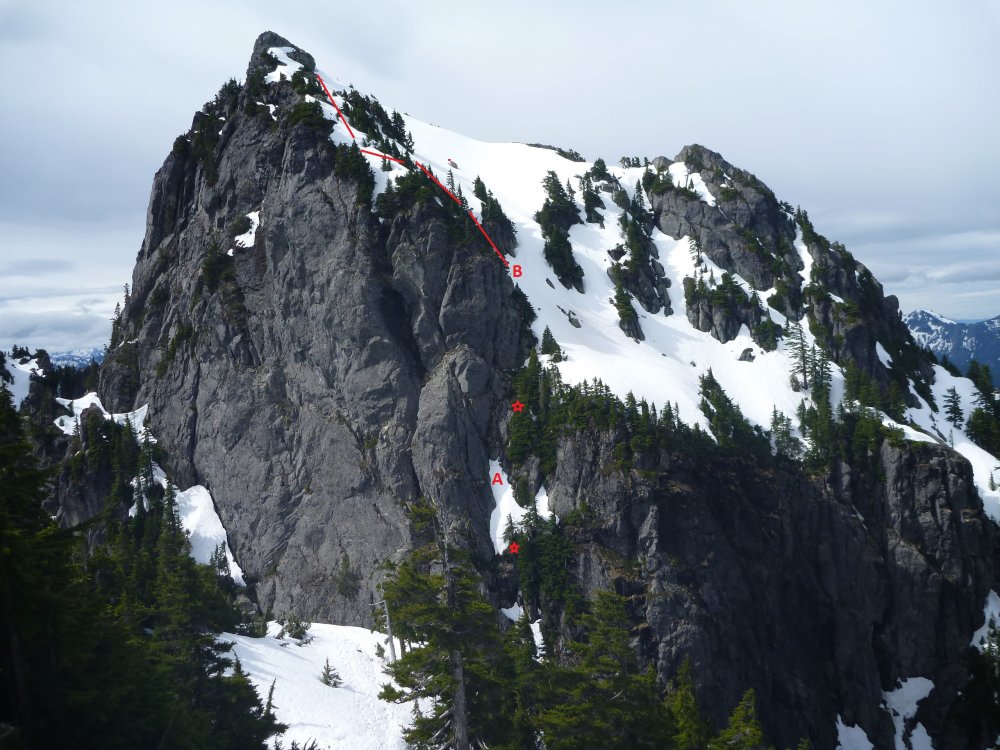
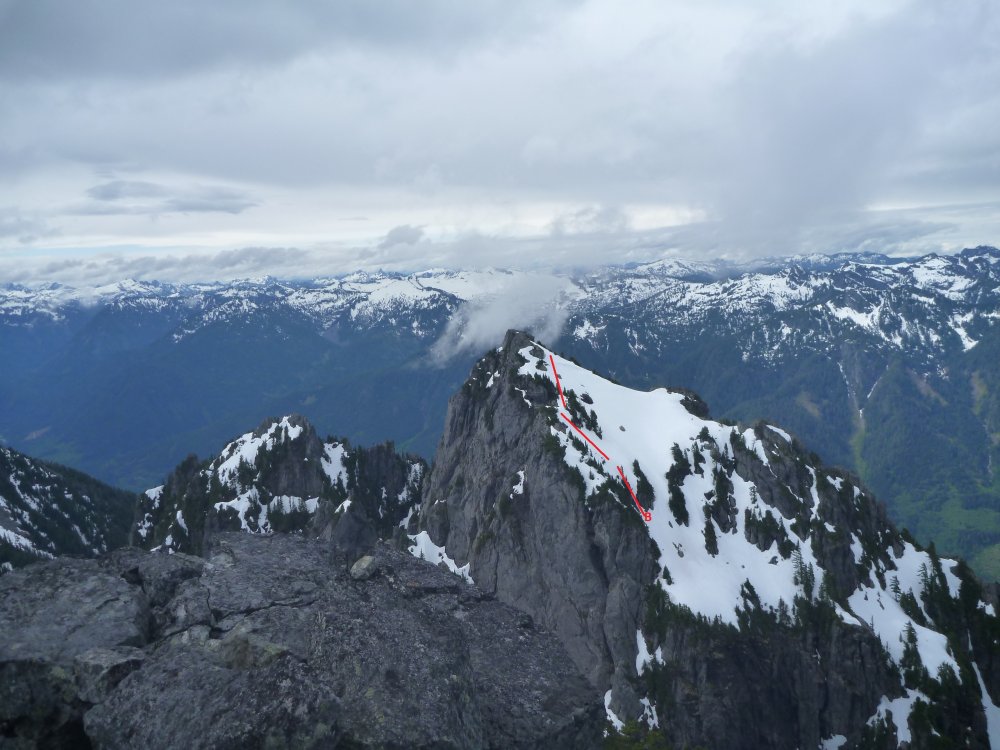
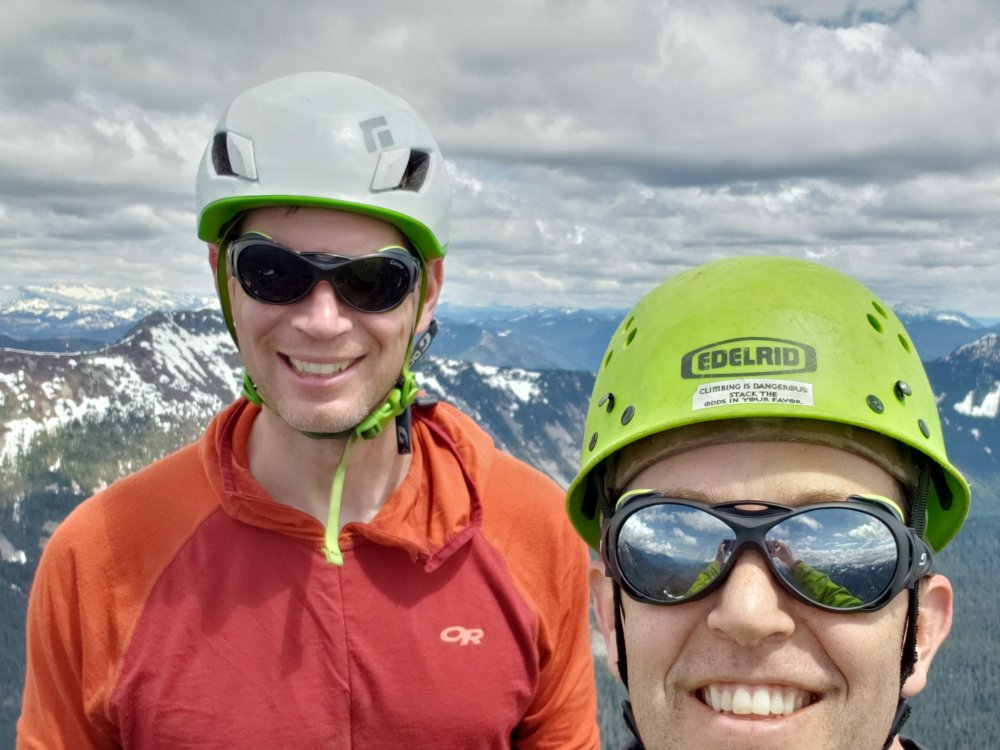
Trip: Mt Baring 2-fer (north and south peaks) - Standard Trip Date: 05/19/2019 Trip Report: Chris and my original plan was a ski ascent of Baker, but with changing weather coming in over the weekend, we decided to do something lower and less likely to be in the clouds. We chose Baring Peak for a day outing. Having hiked Baring before, I wanted to spice it up by climbing the rarely-summited south peak as well. We came prepared for any conditions with two axes, pickets, crampons and rock pro. Some people call it overkill. We called it training weight. We reached Barlcay Lake trailhead and started up the trail. The approach was still as steep as I remembered, reminiscent of climbing trees in my childhood. It is more root than trail. We made snow-covered gully without incident and headed up. The snow was perfect for kicking steps and we made the notch easily. Snow gully. Baring on the left, south Baring on the right. We scouted the south route, which comes right out of the notch. It looked very doable with a couple snow patches broken by a couple rock steps. We couldn't see above the rocks steps though, so we hiked Baring proper to get a good look at the whole route. Baring was still all snow, but again solid snow that allowed easy steps. We headed down and geared up at the notch. We brought a single 8.2mm twin rope and folded it over. With the amount of trees and possible meandering, I didn't see the point of trying to pitch out 200 feet and deal with the rope drag. I offered Chris the leads and he offered them right back to me. I guess I was leading. The first twp pitches were muddy rock and thin snow without much protection other than slinging trees. The rock horns were loose and the snow too shallow and soft for pickets. It was easy climbing though, something like higher-upper 4th class. ( I want to call it low 5th for egotistical purposes, but it wasn't.) The route from the notch. The stars are the belays. Each belay had good tat with a newer rap ring around a solid tree. The letters line up with photos further down. Chris following the snow finger marked A. The upper route. We chose a narrow chute between two rock outcropping. It was steep and rather thin snow coverage. Going climbers right would have been safer but longer. We rapped down the chute. Chris climbing the snow chute marked B on the above photos. Obligatory summit photo. We hiked down the upper snow and did three raps to get down. The trees ate the rope like a lion with lollipop, so the descent wasn't much faster than going up. The way out was steeper than the way up (I don't know the physics behind it, but somehow the approach trail got steeper) and my knees screamed and almost quit. I gave my knees some pep talks, and they carried me down the root trail and back out to the car. It was a fun trip, but not something I ever need to do again. Gear Notes: ice axes, lots of long runners. Did not use crampons or pickets Approach Notes: Steep. Very very steep. Make your knees cry steep.


