Leaderboard
Popular Content
Showing content with the highest reputation on 08/05/22 in all areas
-
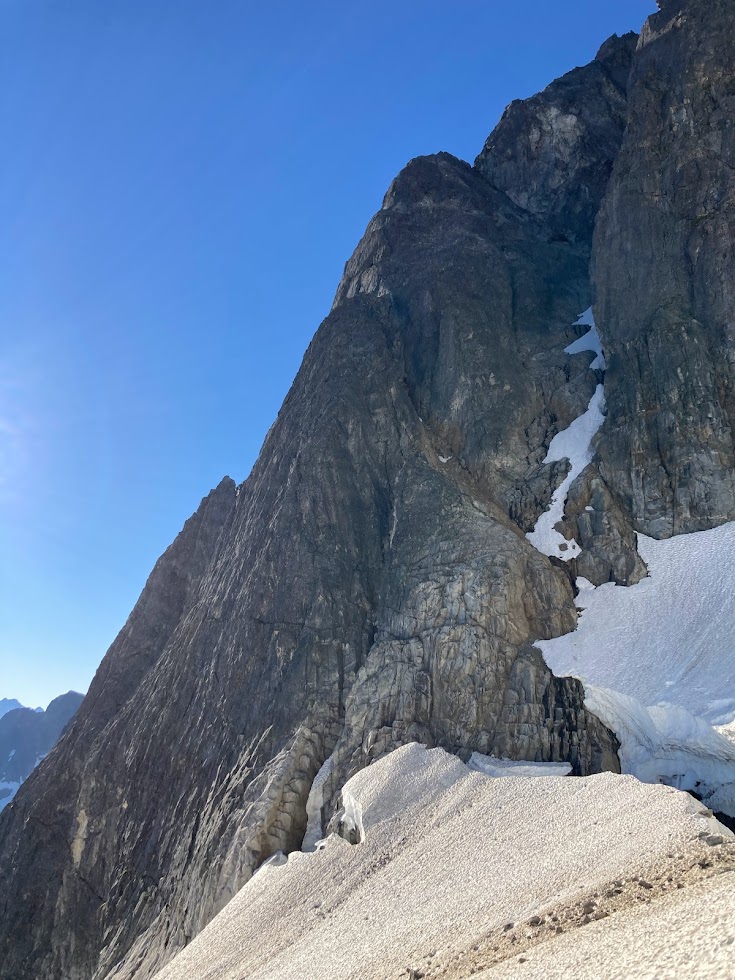
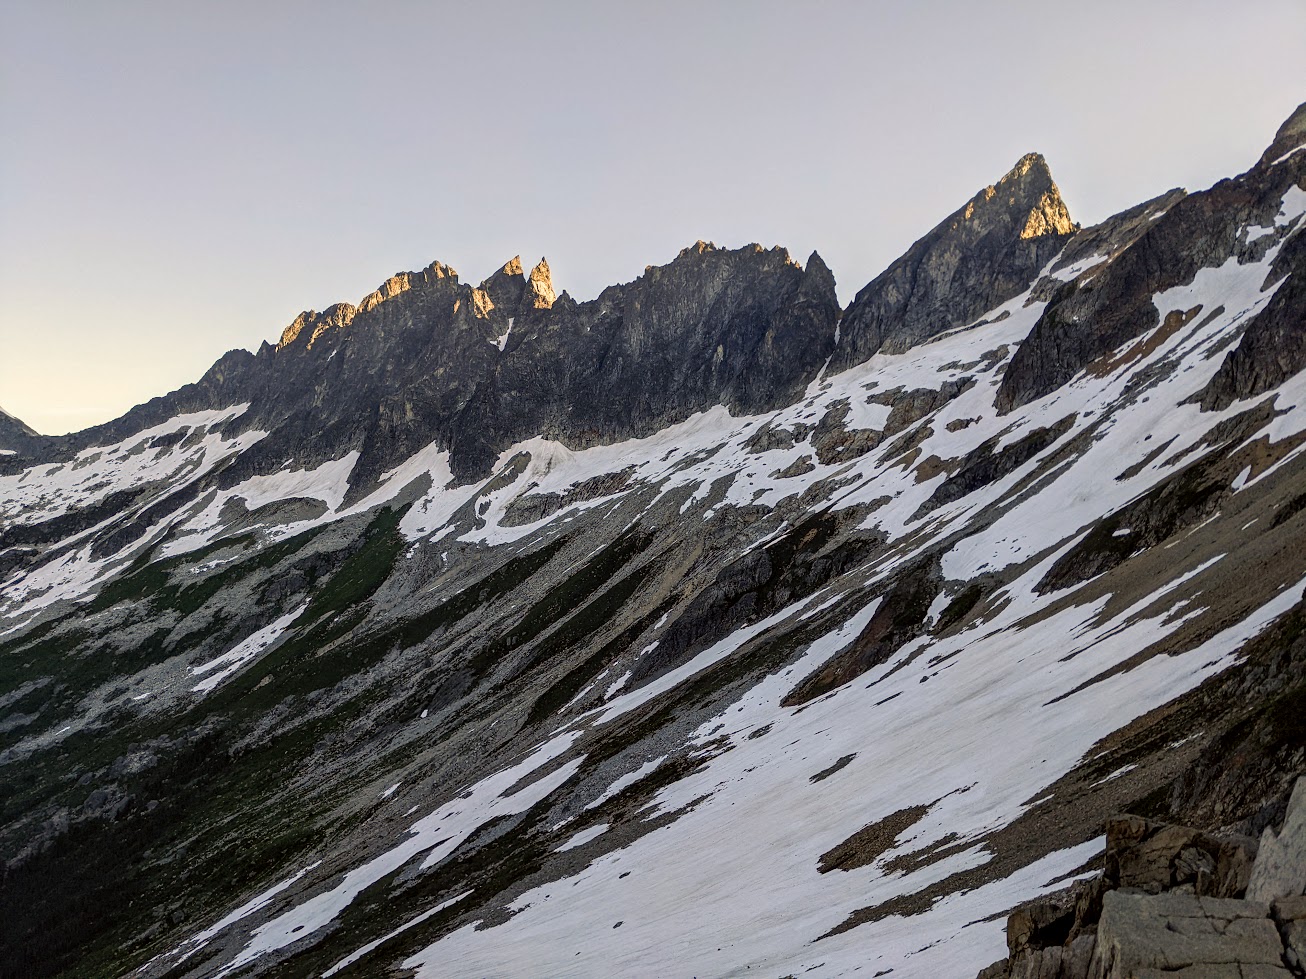
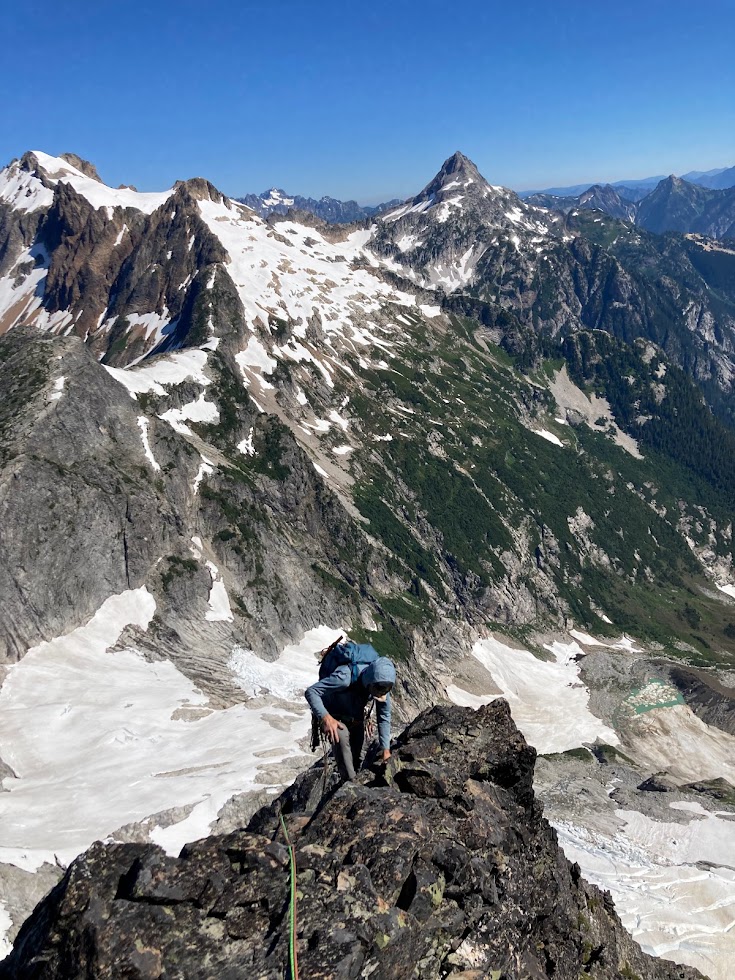
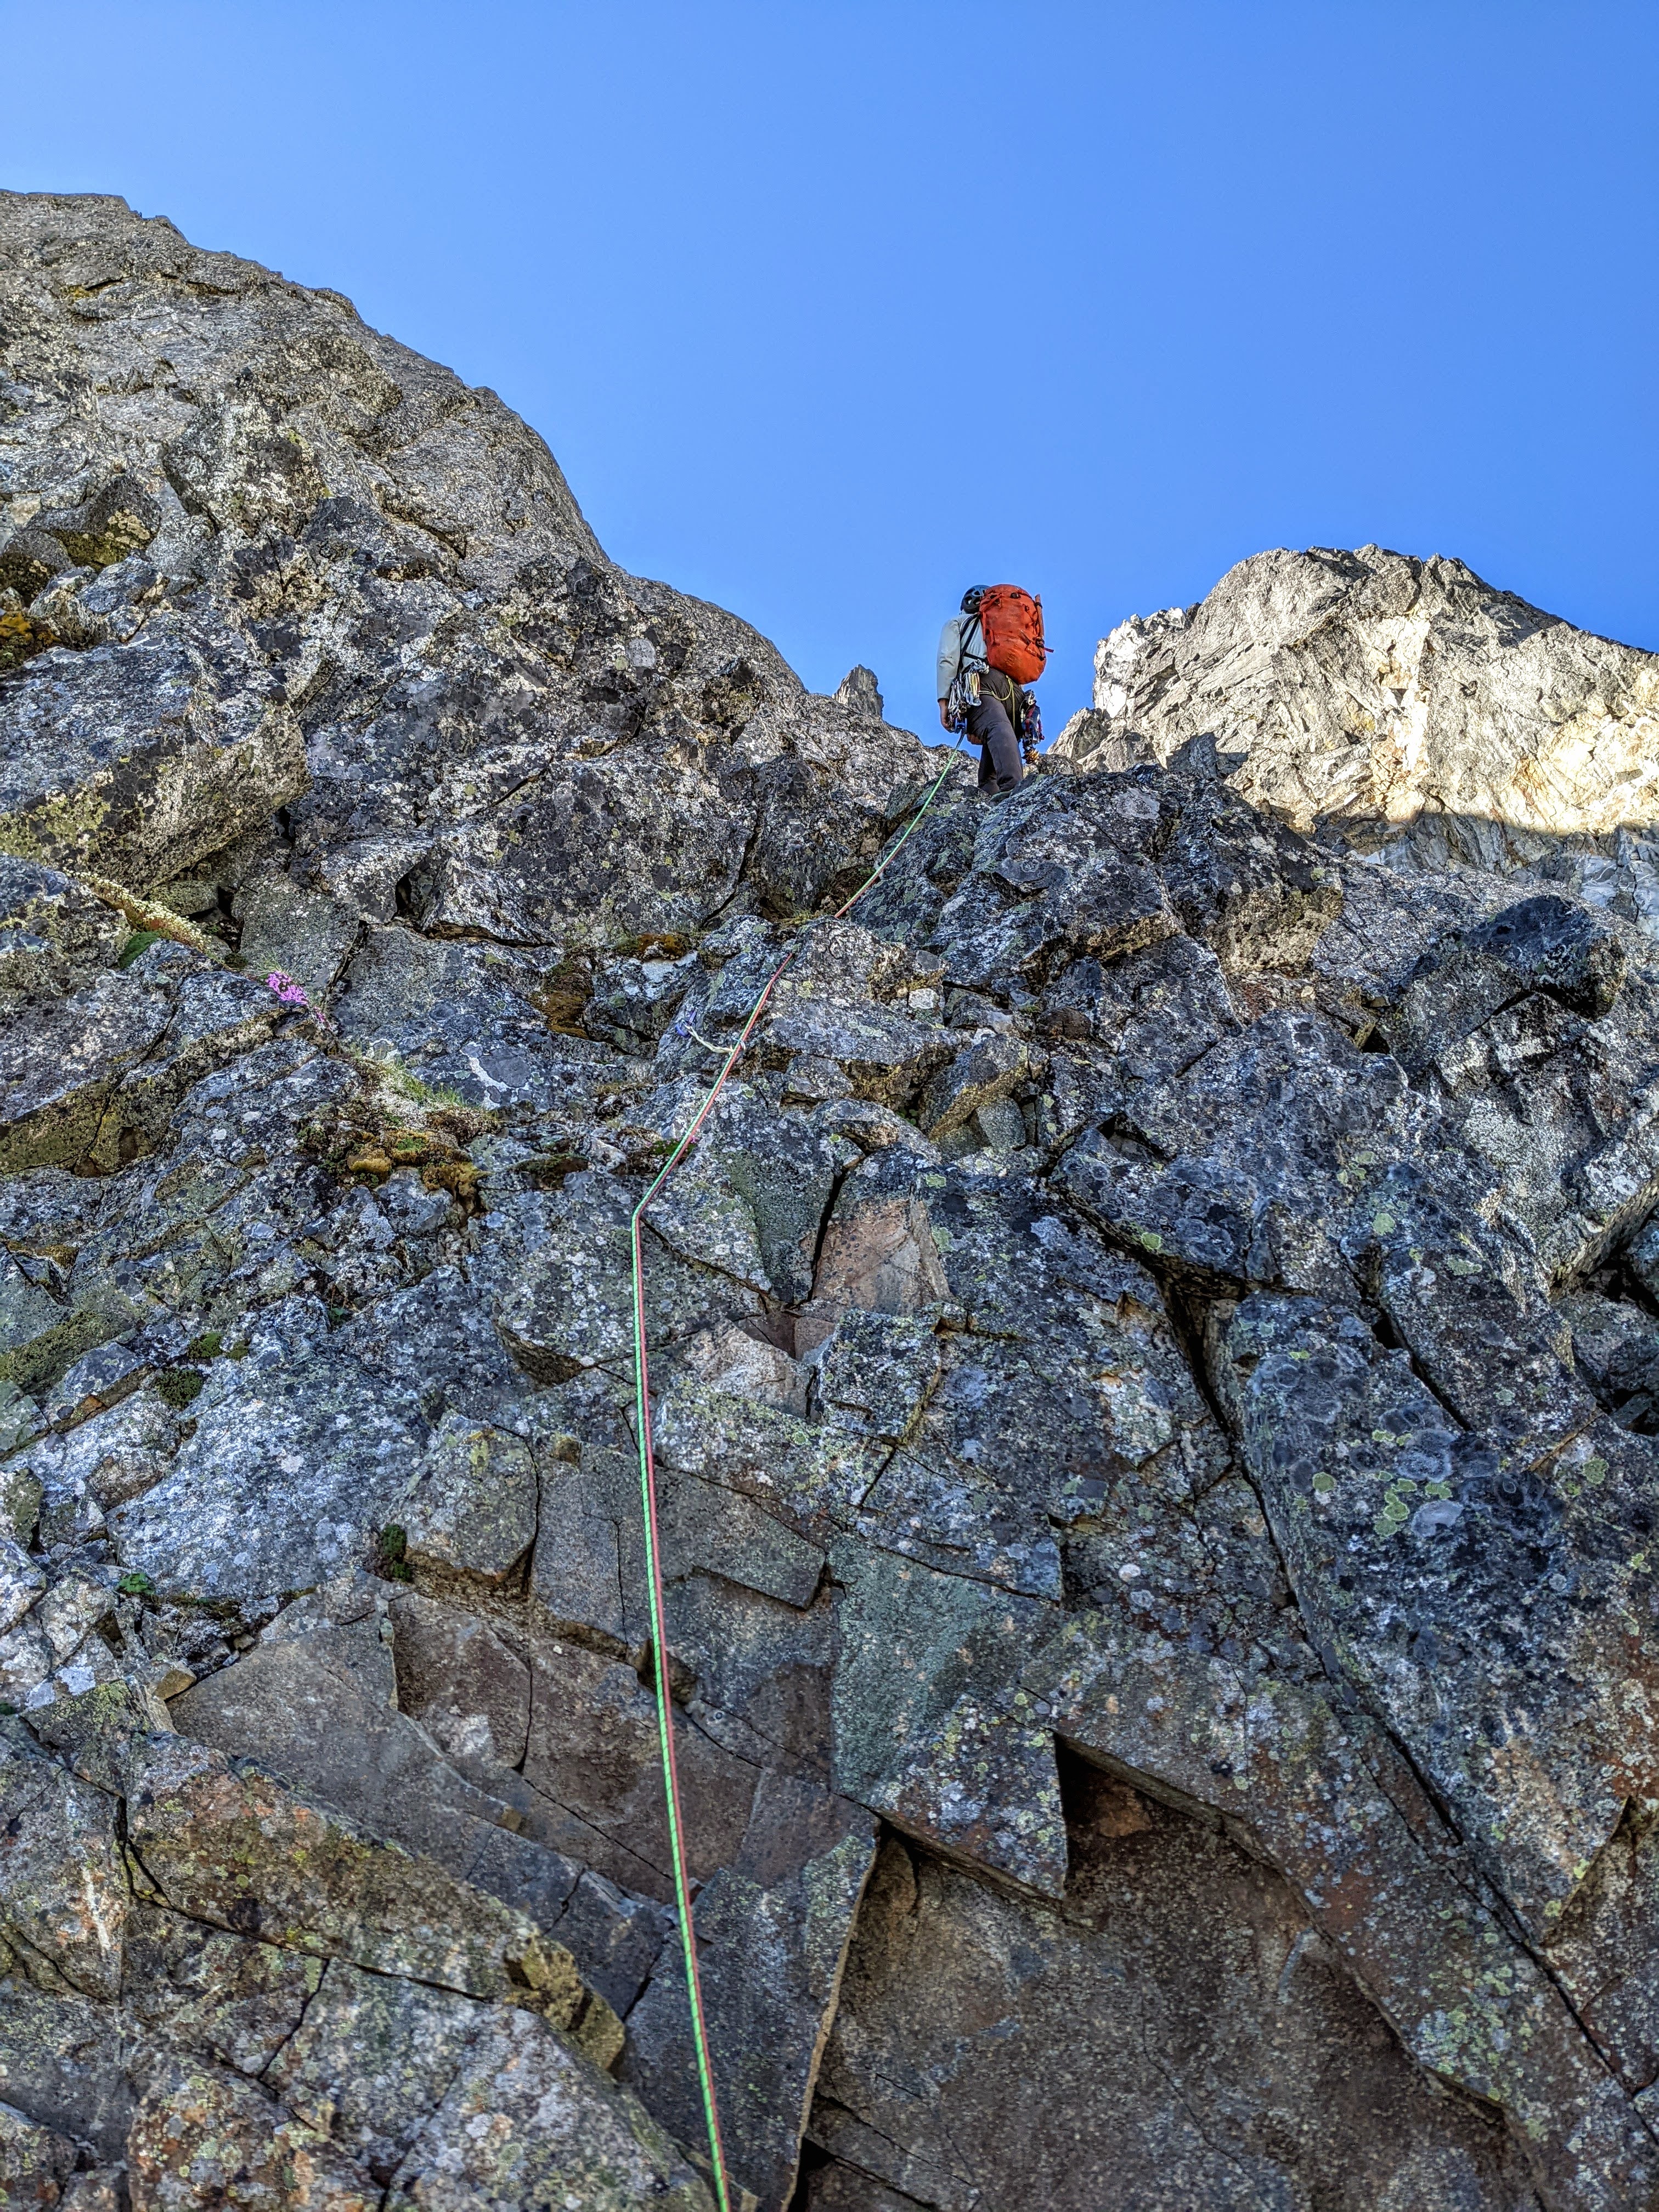
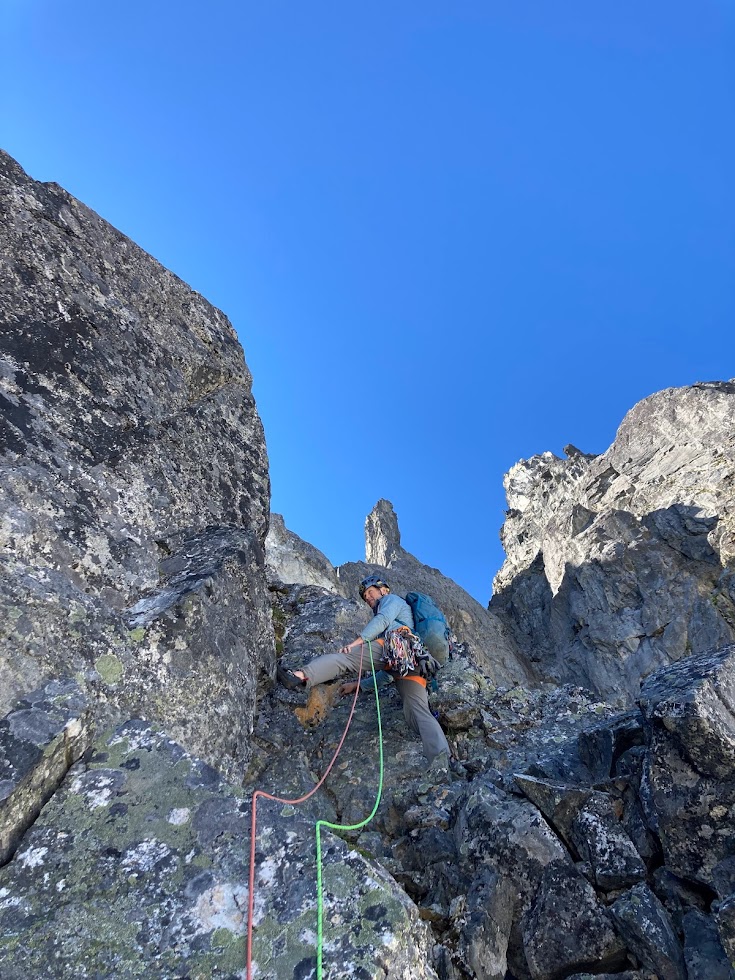
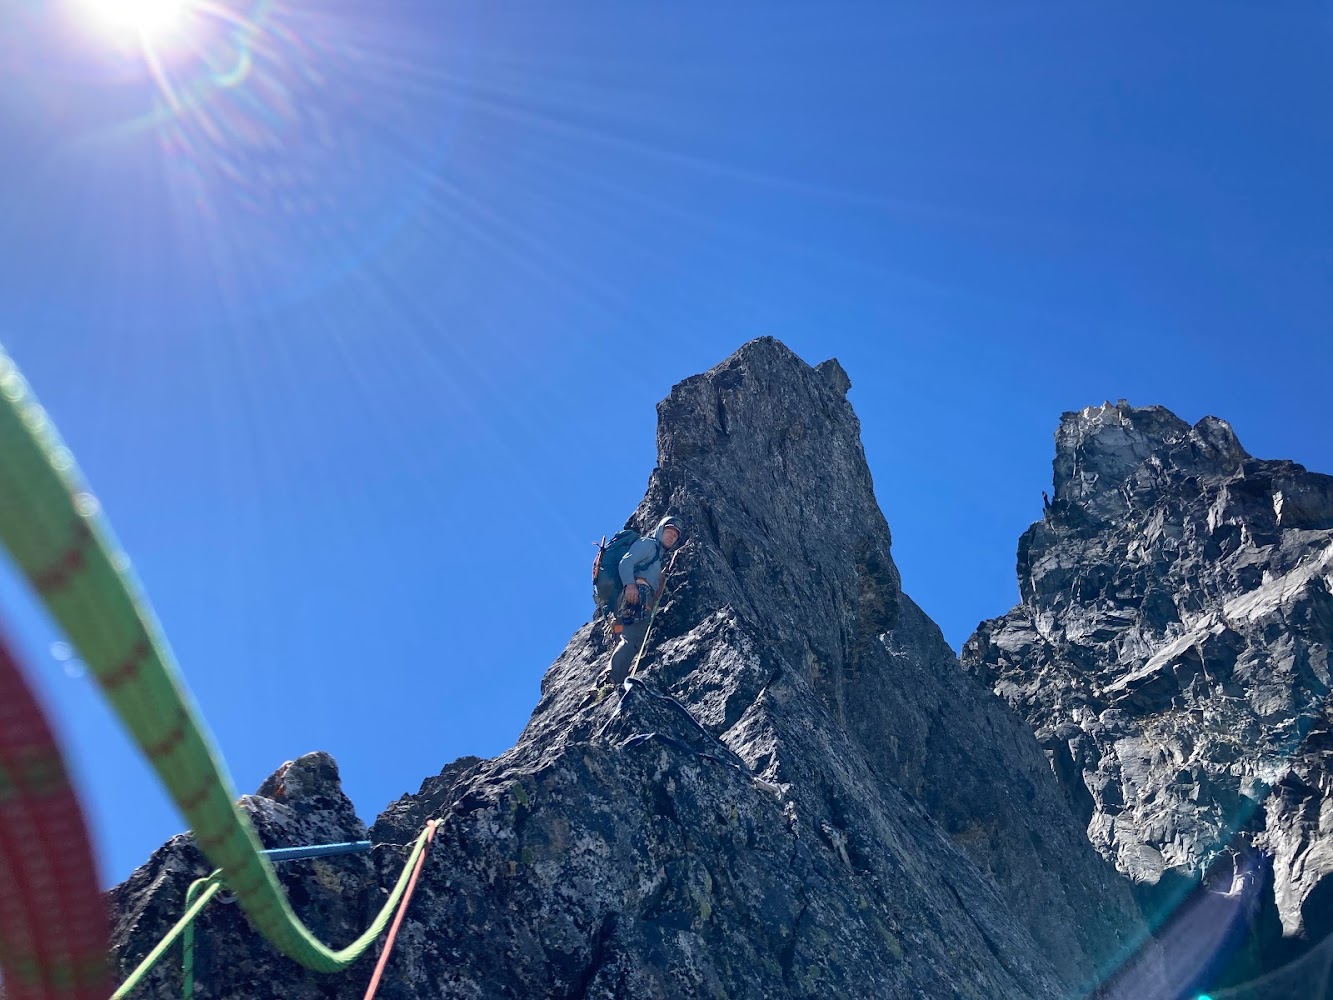
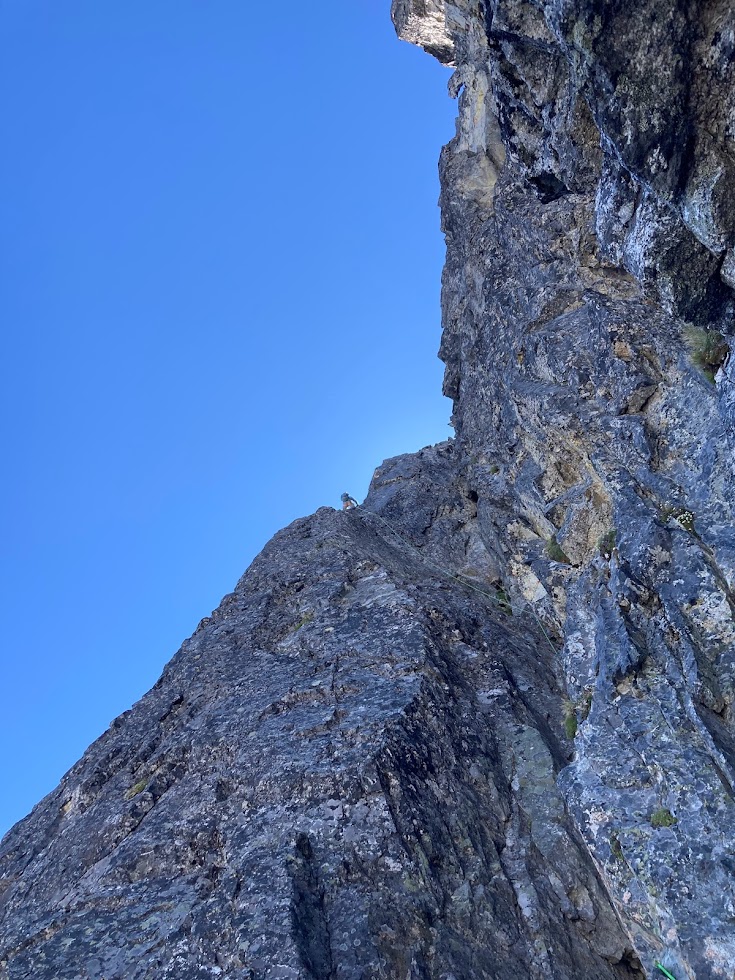
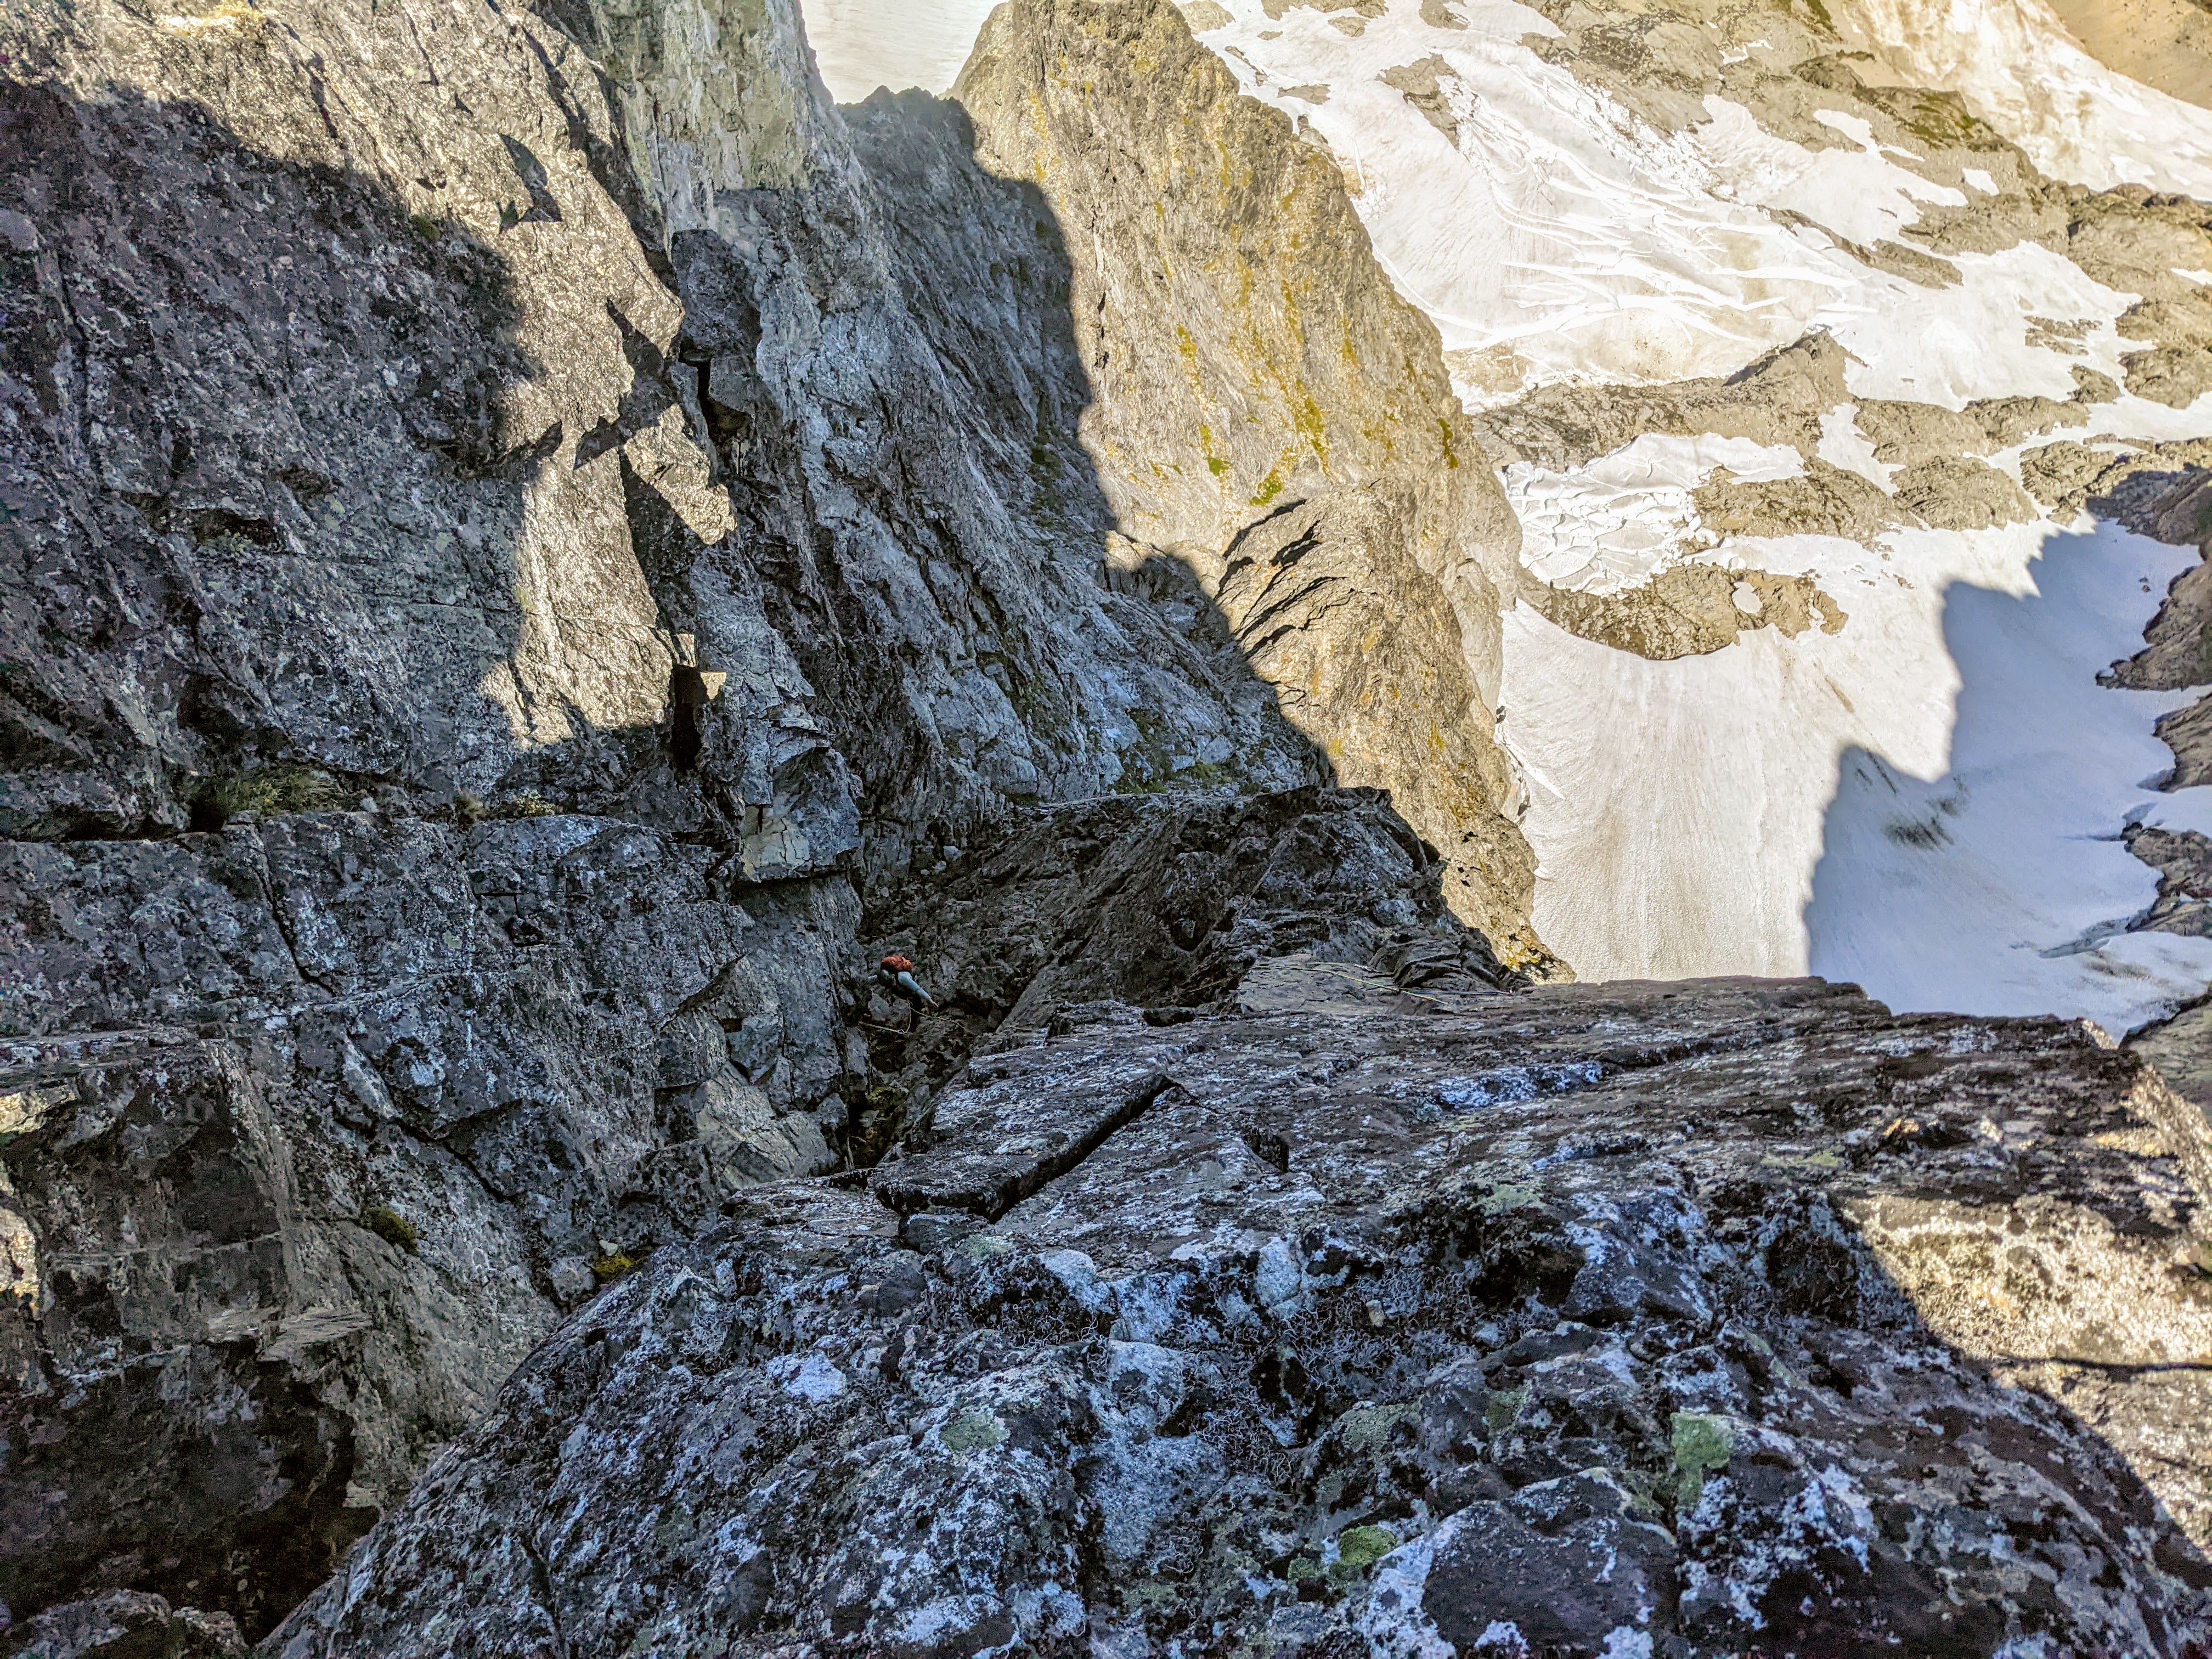
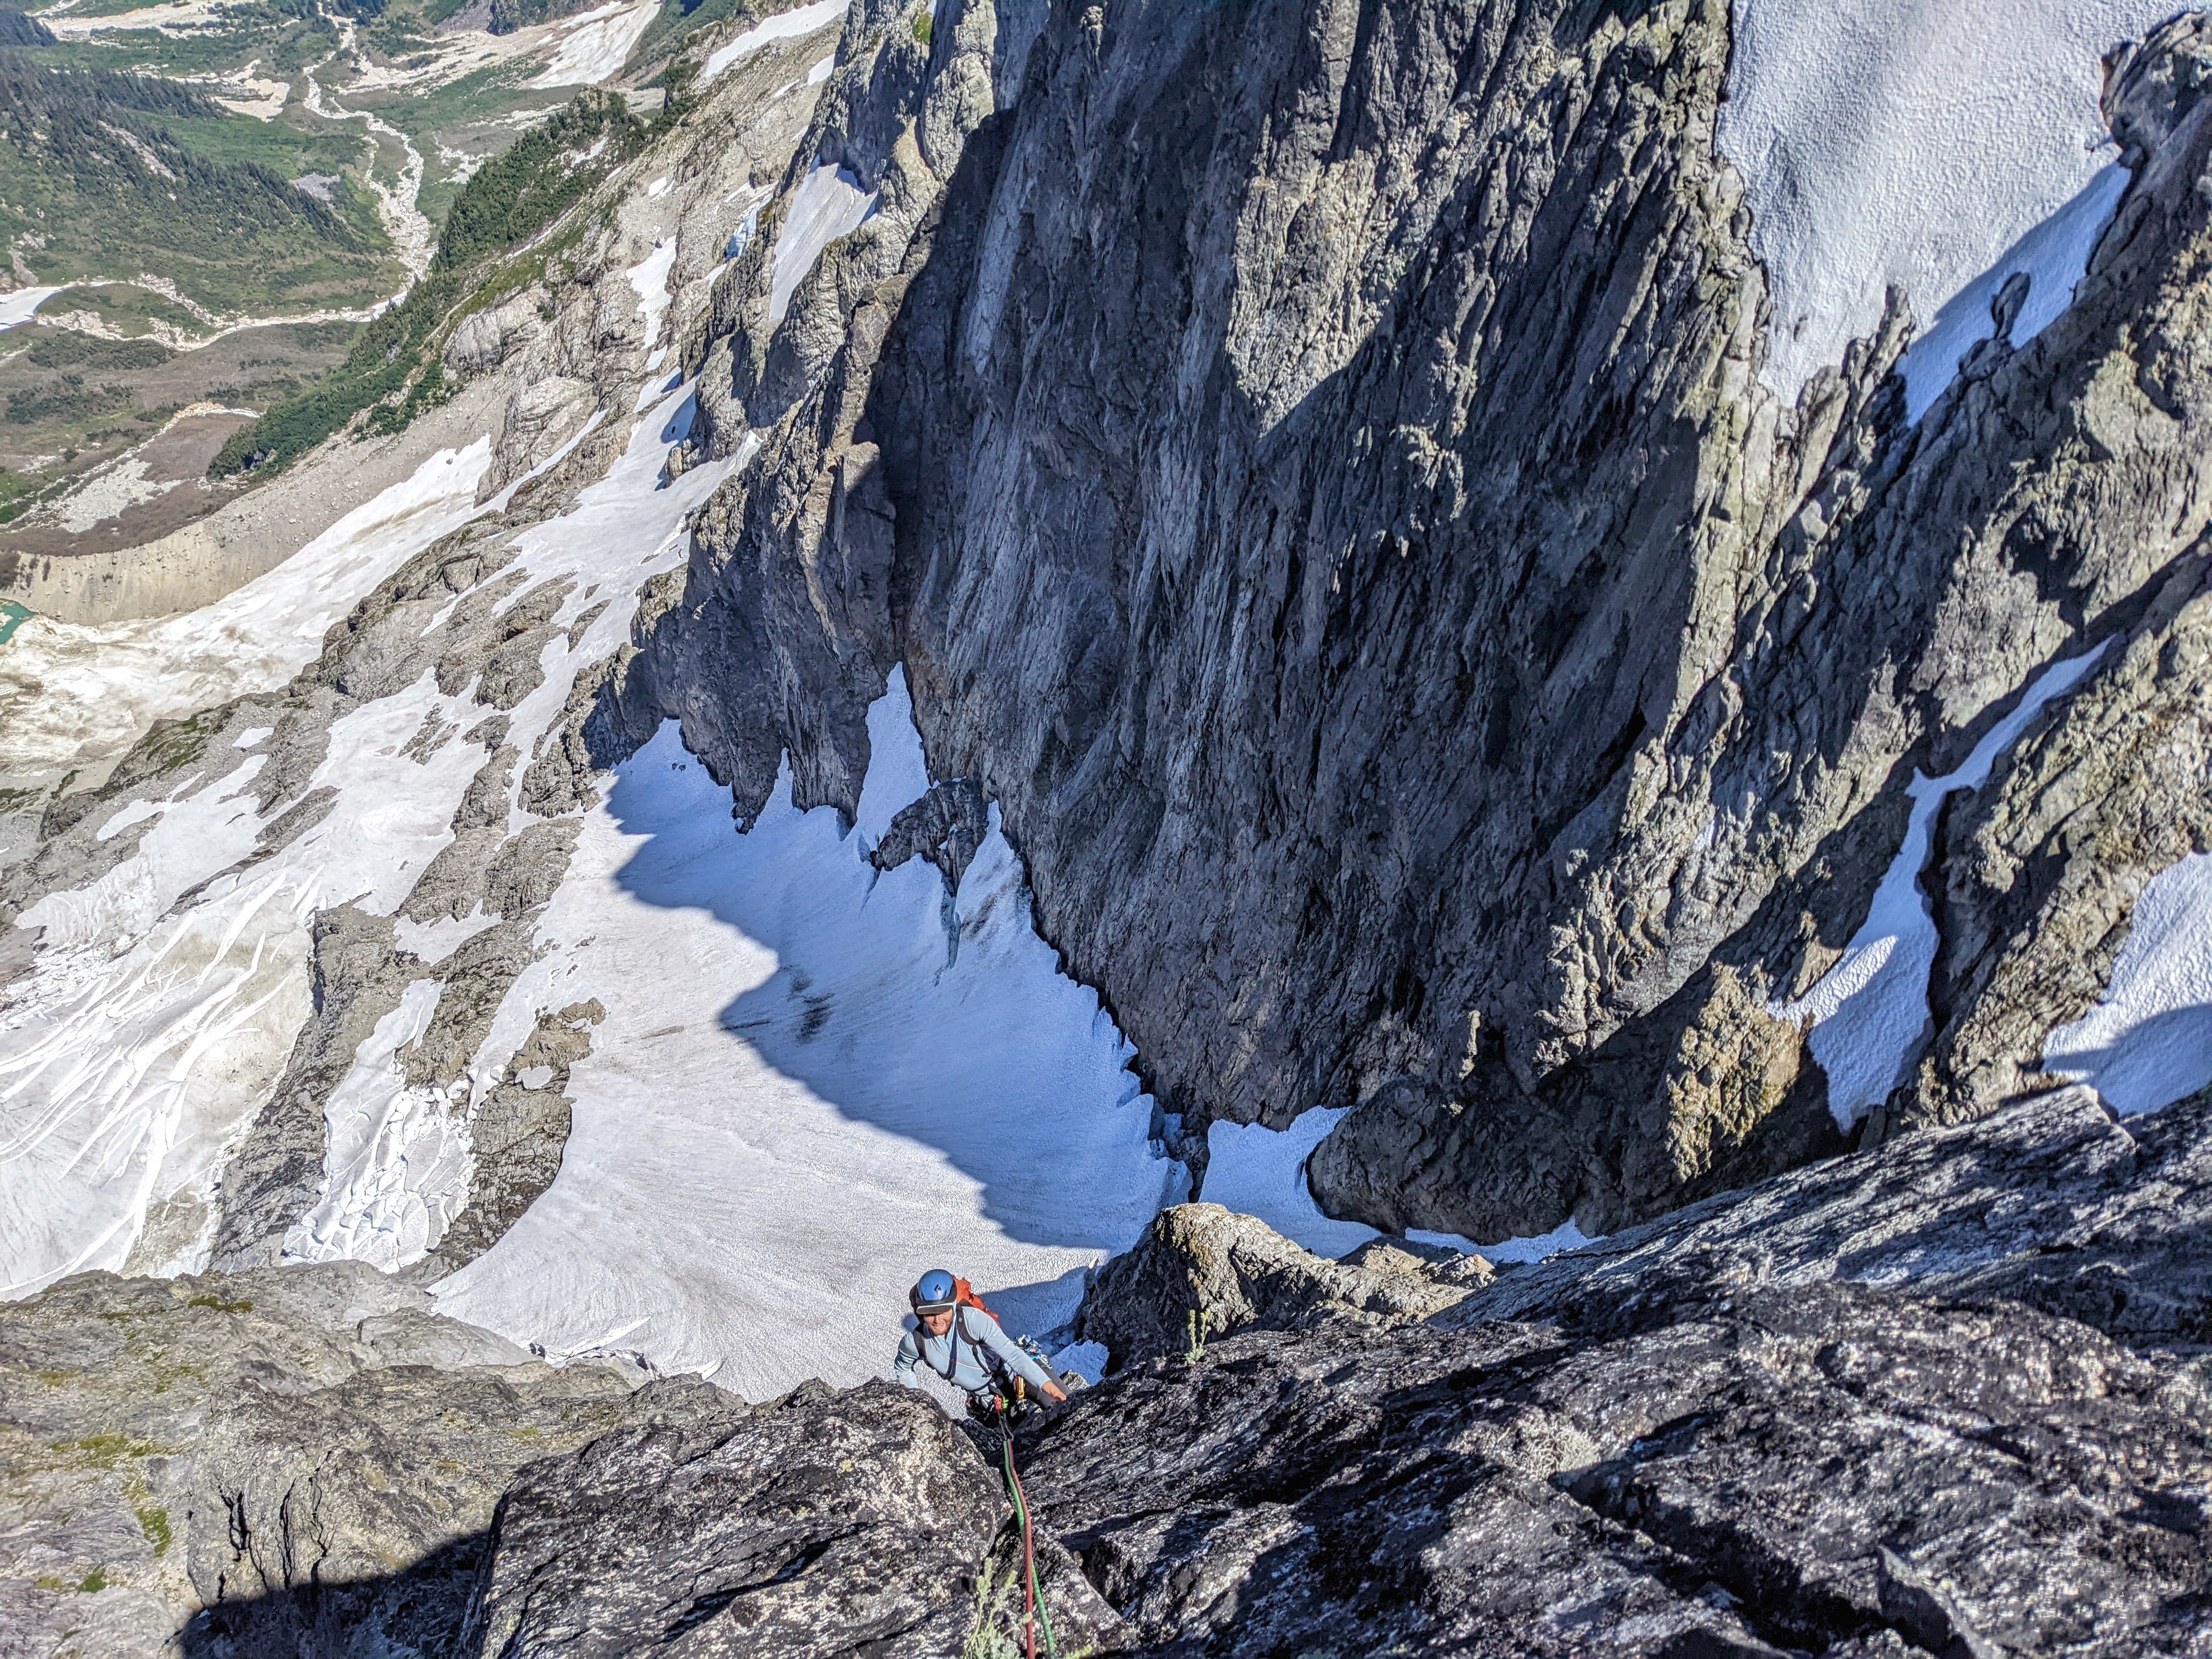
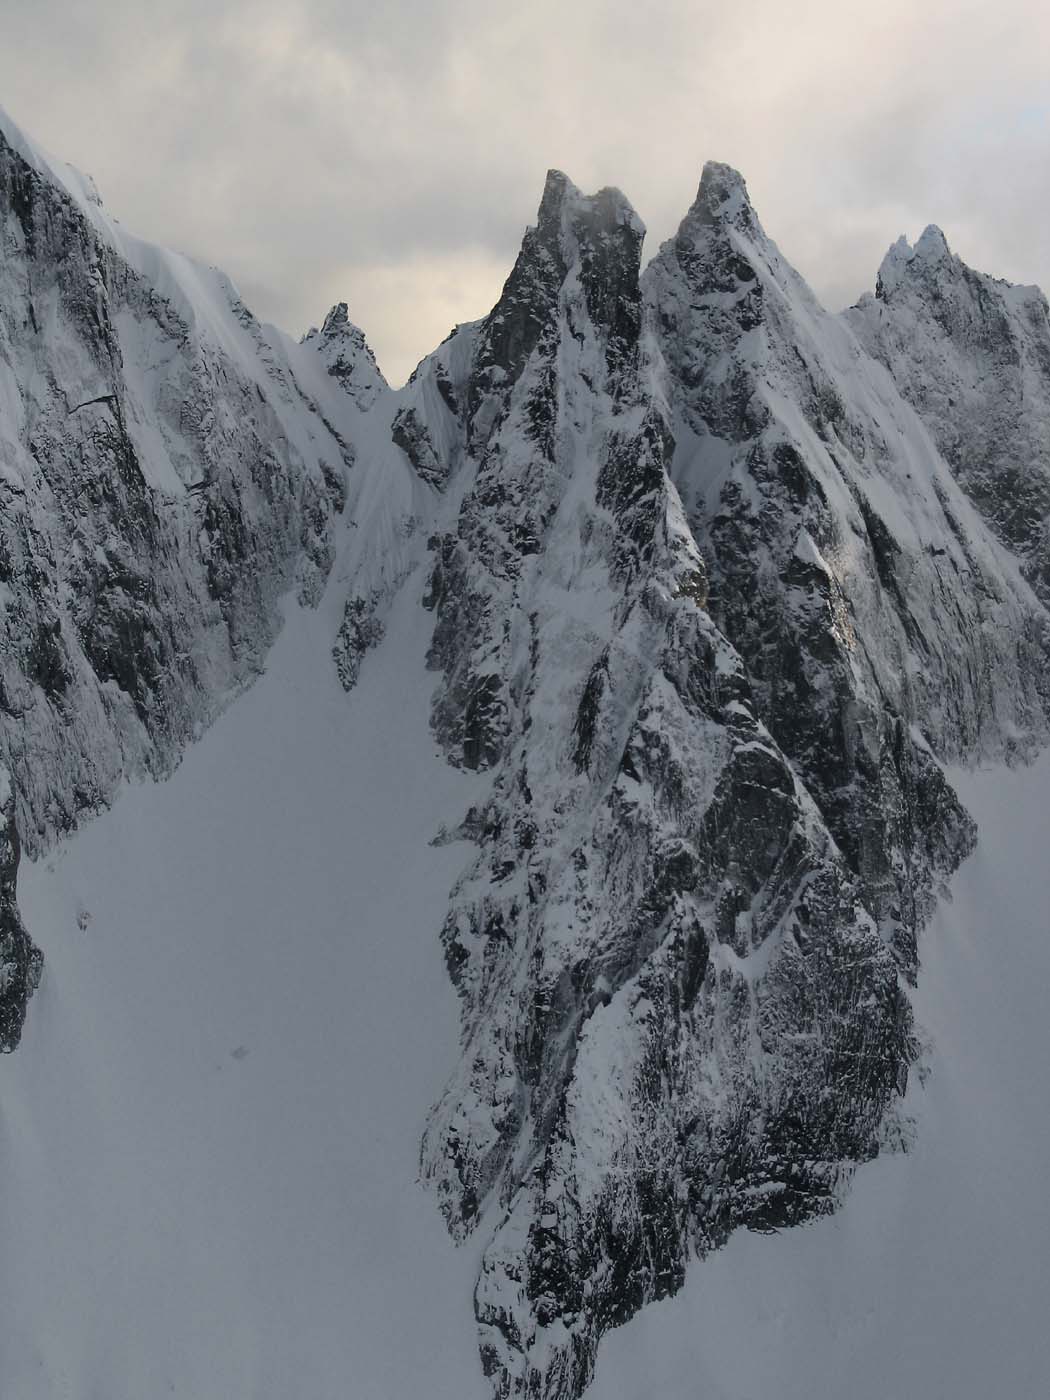
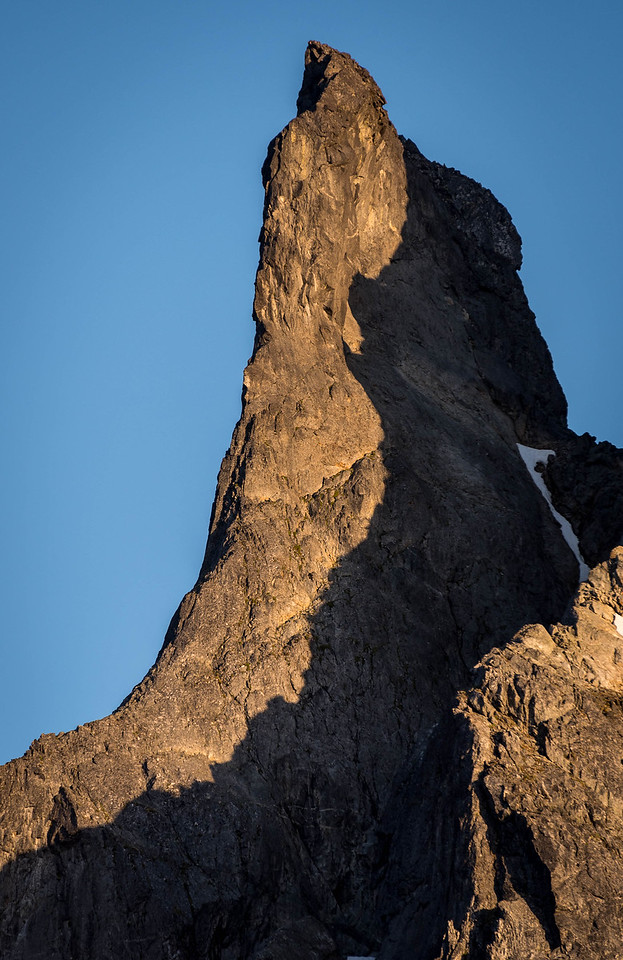
Trip: Crescent Creek Spires, Southern Picket Range - East Twin Needle - North Buttress 5.9 D+ 2,000’ Trip Date: 07/31/2022 Trip Report: Sam Boyce and I climbed the North Buttress (aka the Thread of Gneiss, as coined by John Roper), on July 31, 2022. The buttress rises 1,800 vertical feet and our route took 9 pitches, the majority of which were ~250’ due to simul-climbing–we estimate around 2,000’ feet of roped climbing. Some of you might be curious about this (probable FA) given there are no reported ascents, although a couple parties have reportedly tried. I had tried and failed on this line before, and it had really got under my skin. This time Sam and I started the line in a more sensible place, and it went smoothly. Here's some art by John Scurlock showing the E and W Twin Needles from the north. Our line begins lower right and works its way up the north buttress trending left, eventually squeaking by the sub-summit spire on its left to hit that highest left skyline: The lingering snowpack made the approach relatively easy, for the Pickets. From our camp near the Chopping Block, after traversing the snow, slabs, and talus of Crescent Cr basin, we cramponed up to Otto-Himmelhorn col. From there, the descent of the Mustard Glacier required only one single-rope rap from an established station ~150’ below the col. Gawking up at the very steep and intimidating looking summit spires, we figured that we would need a lot of time to reckon a way to summit. As a result, our route-finding choices generally favored efficiency, as we wanted to be as expedient as possible to save time for expected difficulties up high. As it turns out, our concerns were largely needless. We started climbing a little below the outlet of the gully splitting the E and W Twin Needles (aka, the Thread of Ice), gaining E Twin Needle on its right-hand side, not far up from the buttress toe. A pitch-plus of glacial-flour-covered mid-fifth was followed by a pitch-plus of nasty gully travel with some mid-fifth work-arounds, and that landed us at a notch above the first pillar/tower on the buttress. Future parties should take the rib to the left of the gully on pitch 2 for better climbing, and top out on the pillar—an approx. 20’ rap to the notch might be required, but this would be much better than the loose gully. Our start, from near the buttress’s toe: In the above pic, we gained the rock left of the gaping 'schrund, up to the brownish left-slanting gully, up that thing to the notch between the indistinct pillar and the next tower at the sun-shade line. (Again, likely better to stay on the rib to the left of the gully.) From there, Sam led through some blocky 5.7 terrain that backed off to more low-fifth scrambling. For pitch-plus 4, I continued on pleasant rock at low-fifth class, nearly to the top of another gendarme. For pitch-plus 5, Sam then easily gained the next notch and continued on some solid and fun 5.8 that relented to mid-fifth. For pitch 6, I led an airy 5.7 traverse left of another tower. This was one of the few pitches that did not stretch beyond a rope length. Going up and over this tower would probably be just as fun. Sam’s lead of pitch 7 was a long simul affair involving grassy ramps for about 400’ with difficulties up to 5.7. He finally pulled up to belay at a spot that gave us options for tackling the summit block. My lead of pitch 8 involved a chimney, a leftward-rising traverse of a face, and then working around and up an exposed and somewhat insecure arête to near the summit. This long pitch was the proverbial sting in the tail, requiring some careful and sometimes licheny 5.9 moves. Fun and spicy. (There were certainly more spicy options to gain the striking sub-summit, but we leave that for future parties and variations.) From my belay Sam scrambled to the summit, at perhaps 5.6. Descent: We descended the south face. From the summit, there is a short down climb to an established rap station with a fresh sling from the Wrights’ traverse a few years back. This was a full 30M rap that took us to Eye Col (the notch between E and W Twin Needles). From Eye Col we scrambled down the main south gully, exiting rightward when it got steep and traversing skier's right over 2 or 3 minor ridges to find easier terrain to down climb. After a bit of sandy 4th class, we identified a convenient point to rappel from (cord now in situ) that landed us back into the main gully with its (currently) hanging snowfield. This was a full 60M rap. After downclimbing and traversing right off the snow, we found ourselves at a notch that splits the two main gullies described in the Beckey guide. We decided the gullies looked unpleasant and scrambled the ridge between the two, trending rightward as we went down–our route traversed above the skier’s right gully. This was straightforward 4th class. When the ridge got steeper near another notch we made another rap. This was another ~60M rap down lower angle terrain, which could probably be downclimbed somewhat reasonably with a couple steep steps. From here we continued downclimbing to the moat below the ridge. There was not a comfortable-looking transition to the snow so we rigged one more single-rope rap to clear the moat and get back onto the snowfields in Crescent Creek basin. Once in the basin, it was a quick romp back up to our camp at the Chopping Block col. A handful of pics: Sam on pitch 3, E Twin Needle's sub-summit spire lurking behind immediately left: Me on pitch 4, with the Eye of Sauron menacing behind: Here I'm following pitch 5, Fury and Luna background: For pitch 6, at this point I decided to head left for an airy traverse versus the up-and-over (that's W Twin on the right): Sam shot this pic of me on pitch 8, about to swing around to the exposed arete: A couple of Sam following, first the chimney, then on the arete, obviously having fun: Sam and I really enjoyed this climb. While Sam had impressively climbed three Pickets routes in under two weeks, for me it had been too long since I'd climbed alpine rock, and this was a much-needed alpine shot in the arm. Except for the uncharacteristically somewhat-heady last pitch, we'd recommend this as a "Pickets moderate". Parties comfortable with alpine 5.9 should take a ride on this climb. The Crescent Creek Spires from our camp; the Twin Needles are the pointy ones next to last on the left, and the upper gully snowfield that we rappelled and downclimbed as part of the descent (before veering looker's left on a ridge) is visible dropping down below Eye Col: Gear Notes: Double cams fingers to 1", single 2 and 3, supplemented by tri-cams and nuts. Double/twin 60M ropes. Approach Notes: Crescent Creek basin approach to Chopping Block col.3 points
-
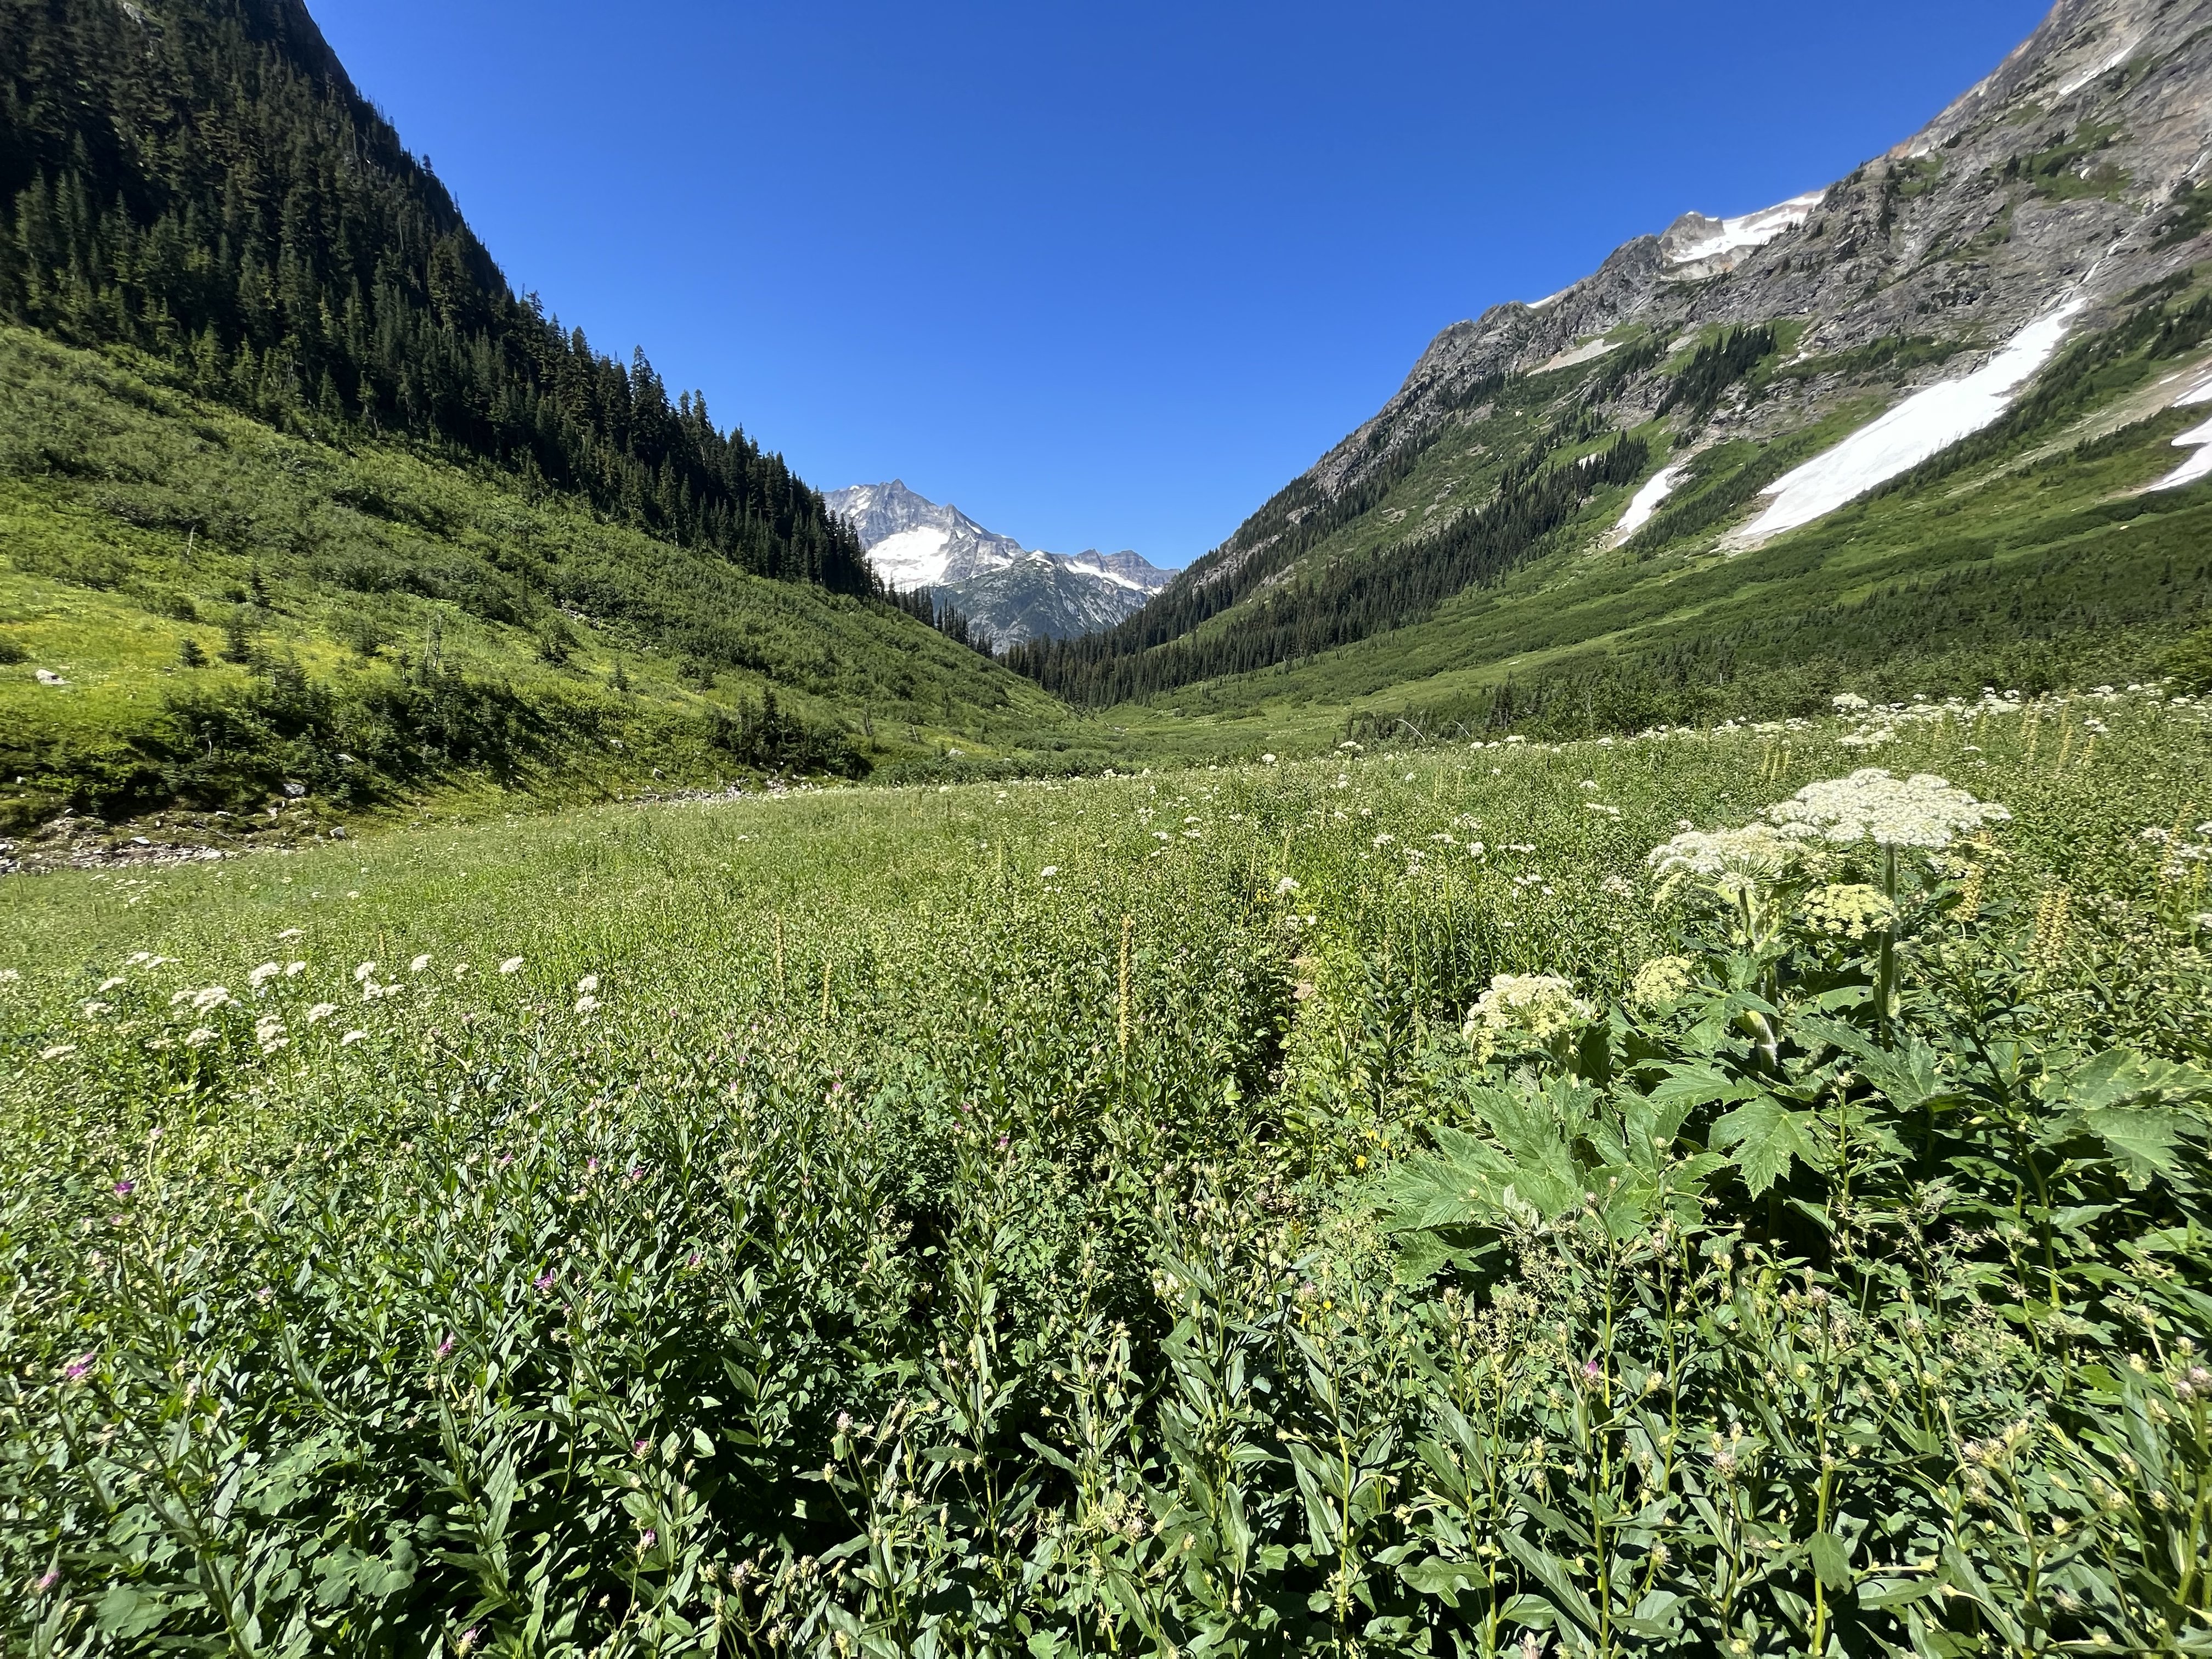
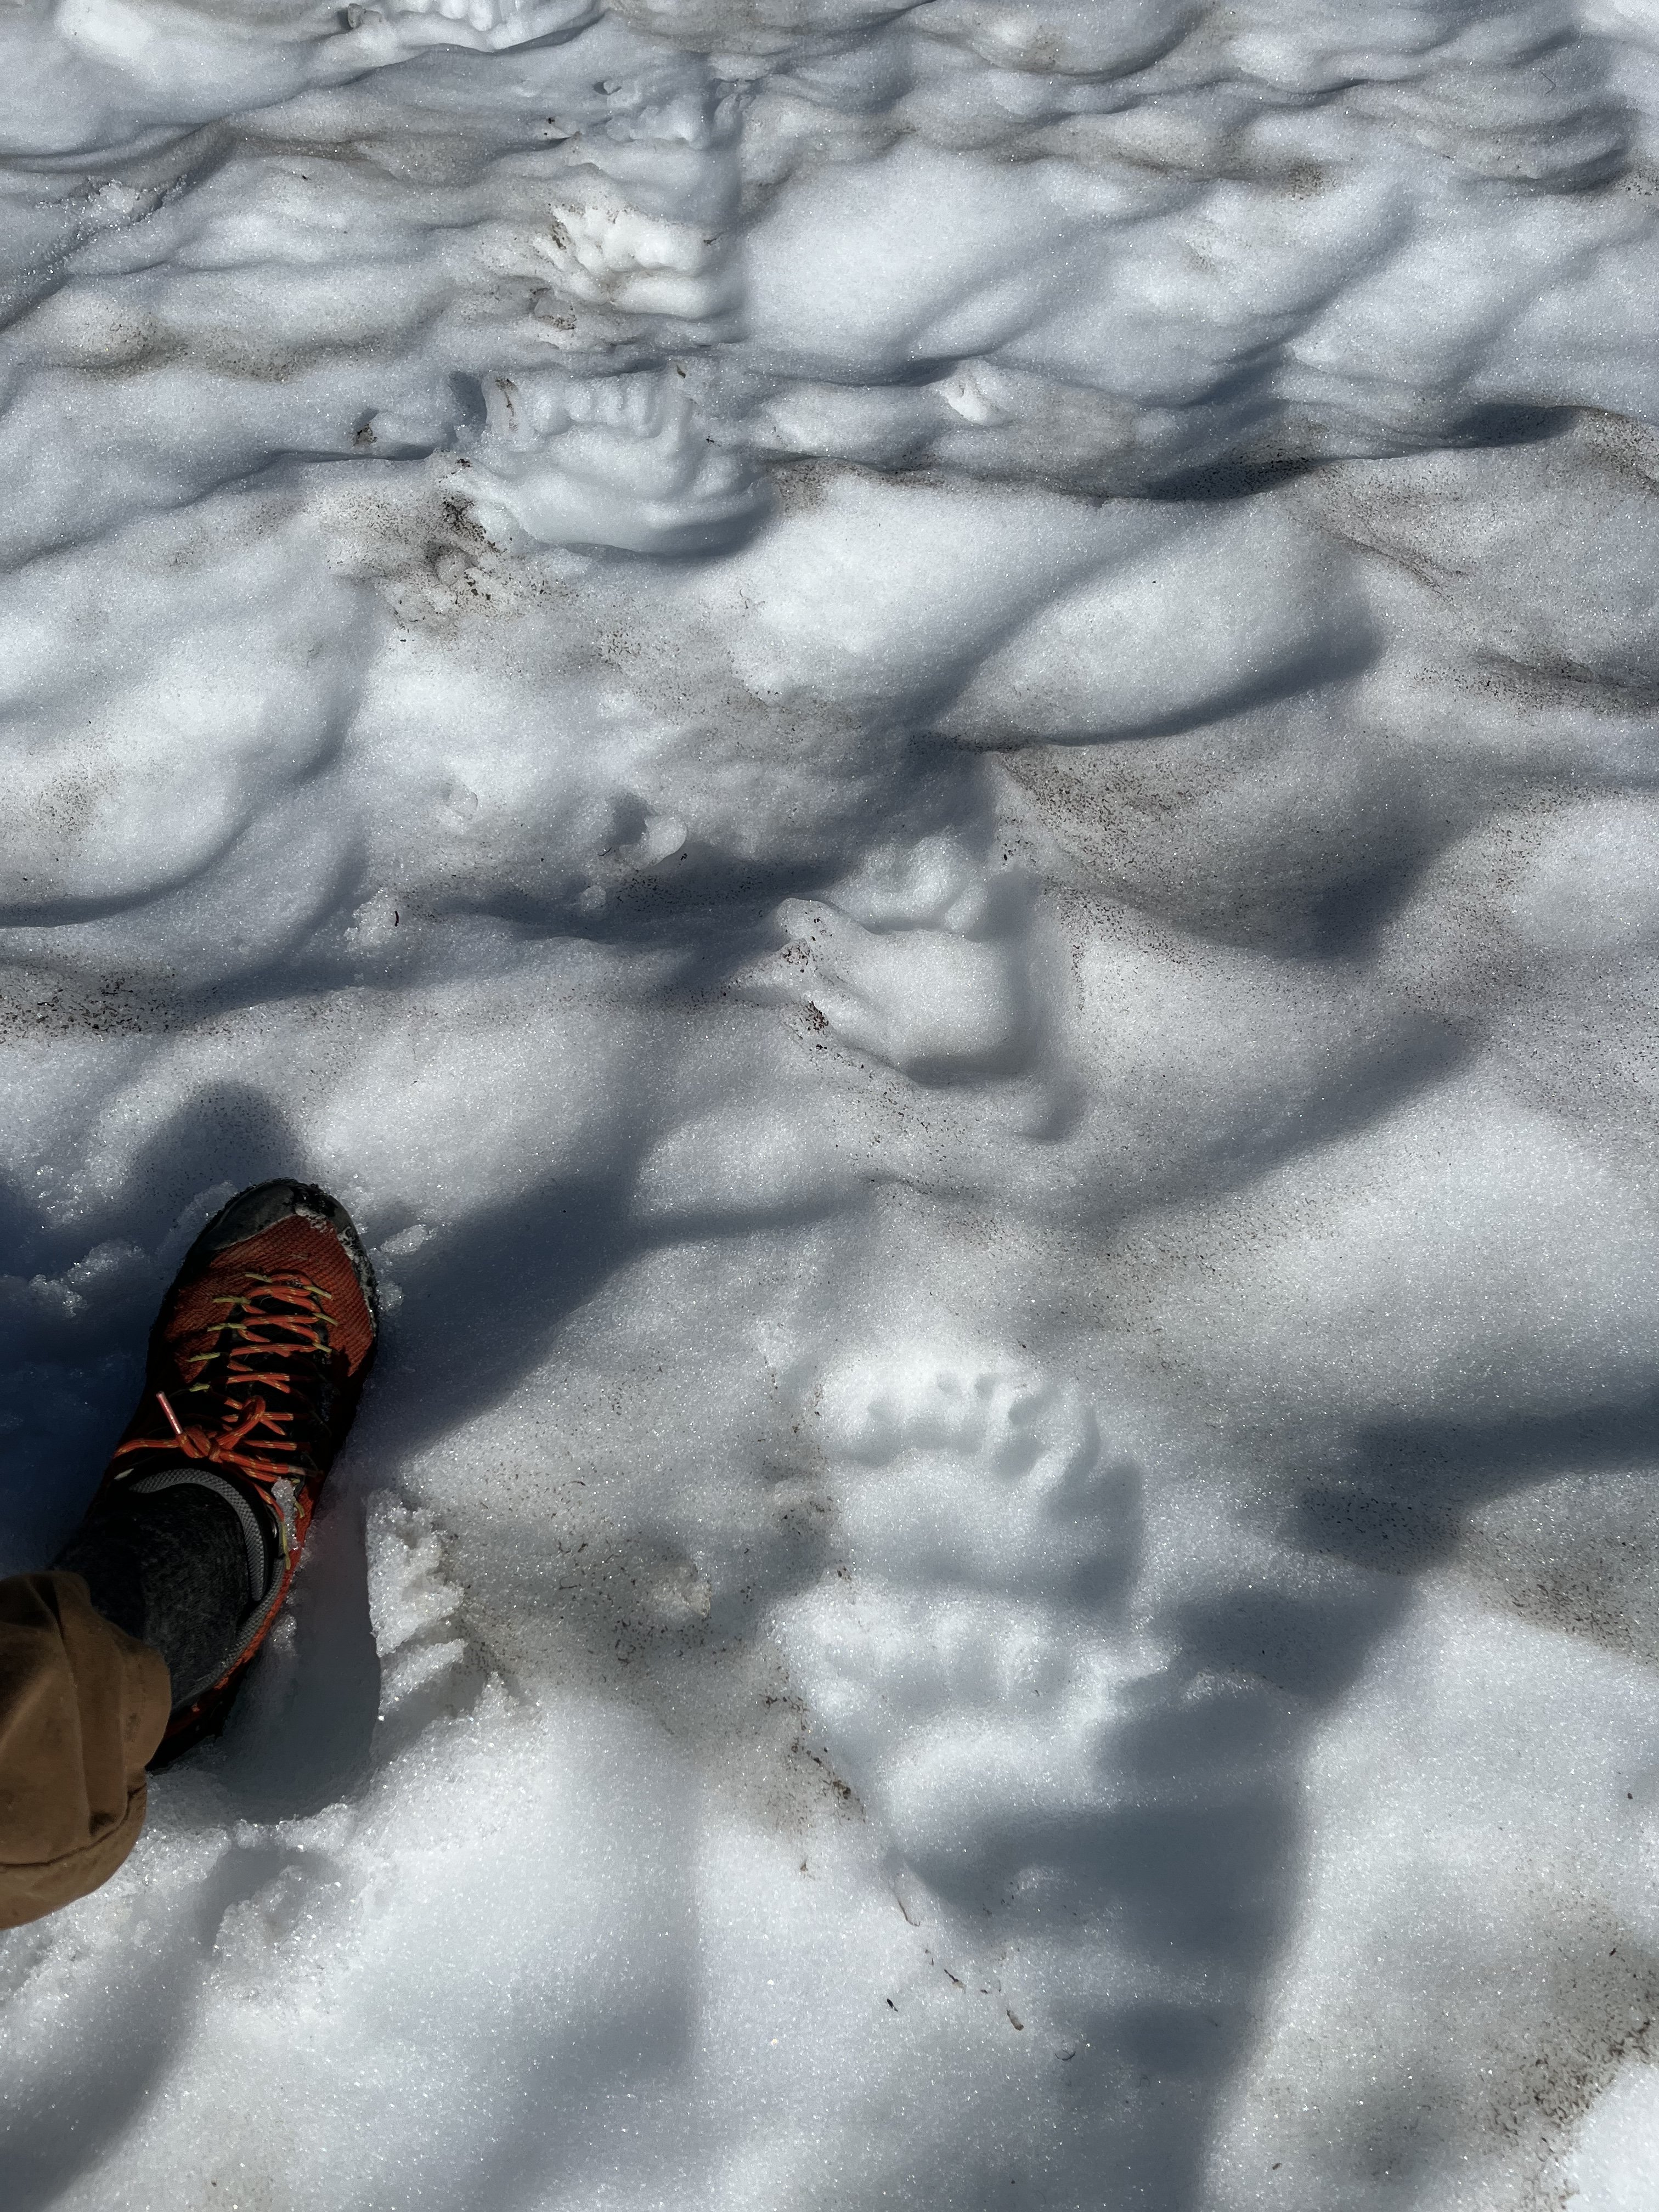
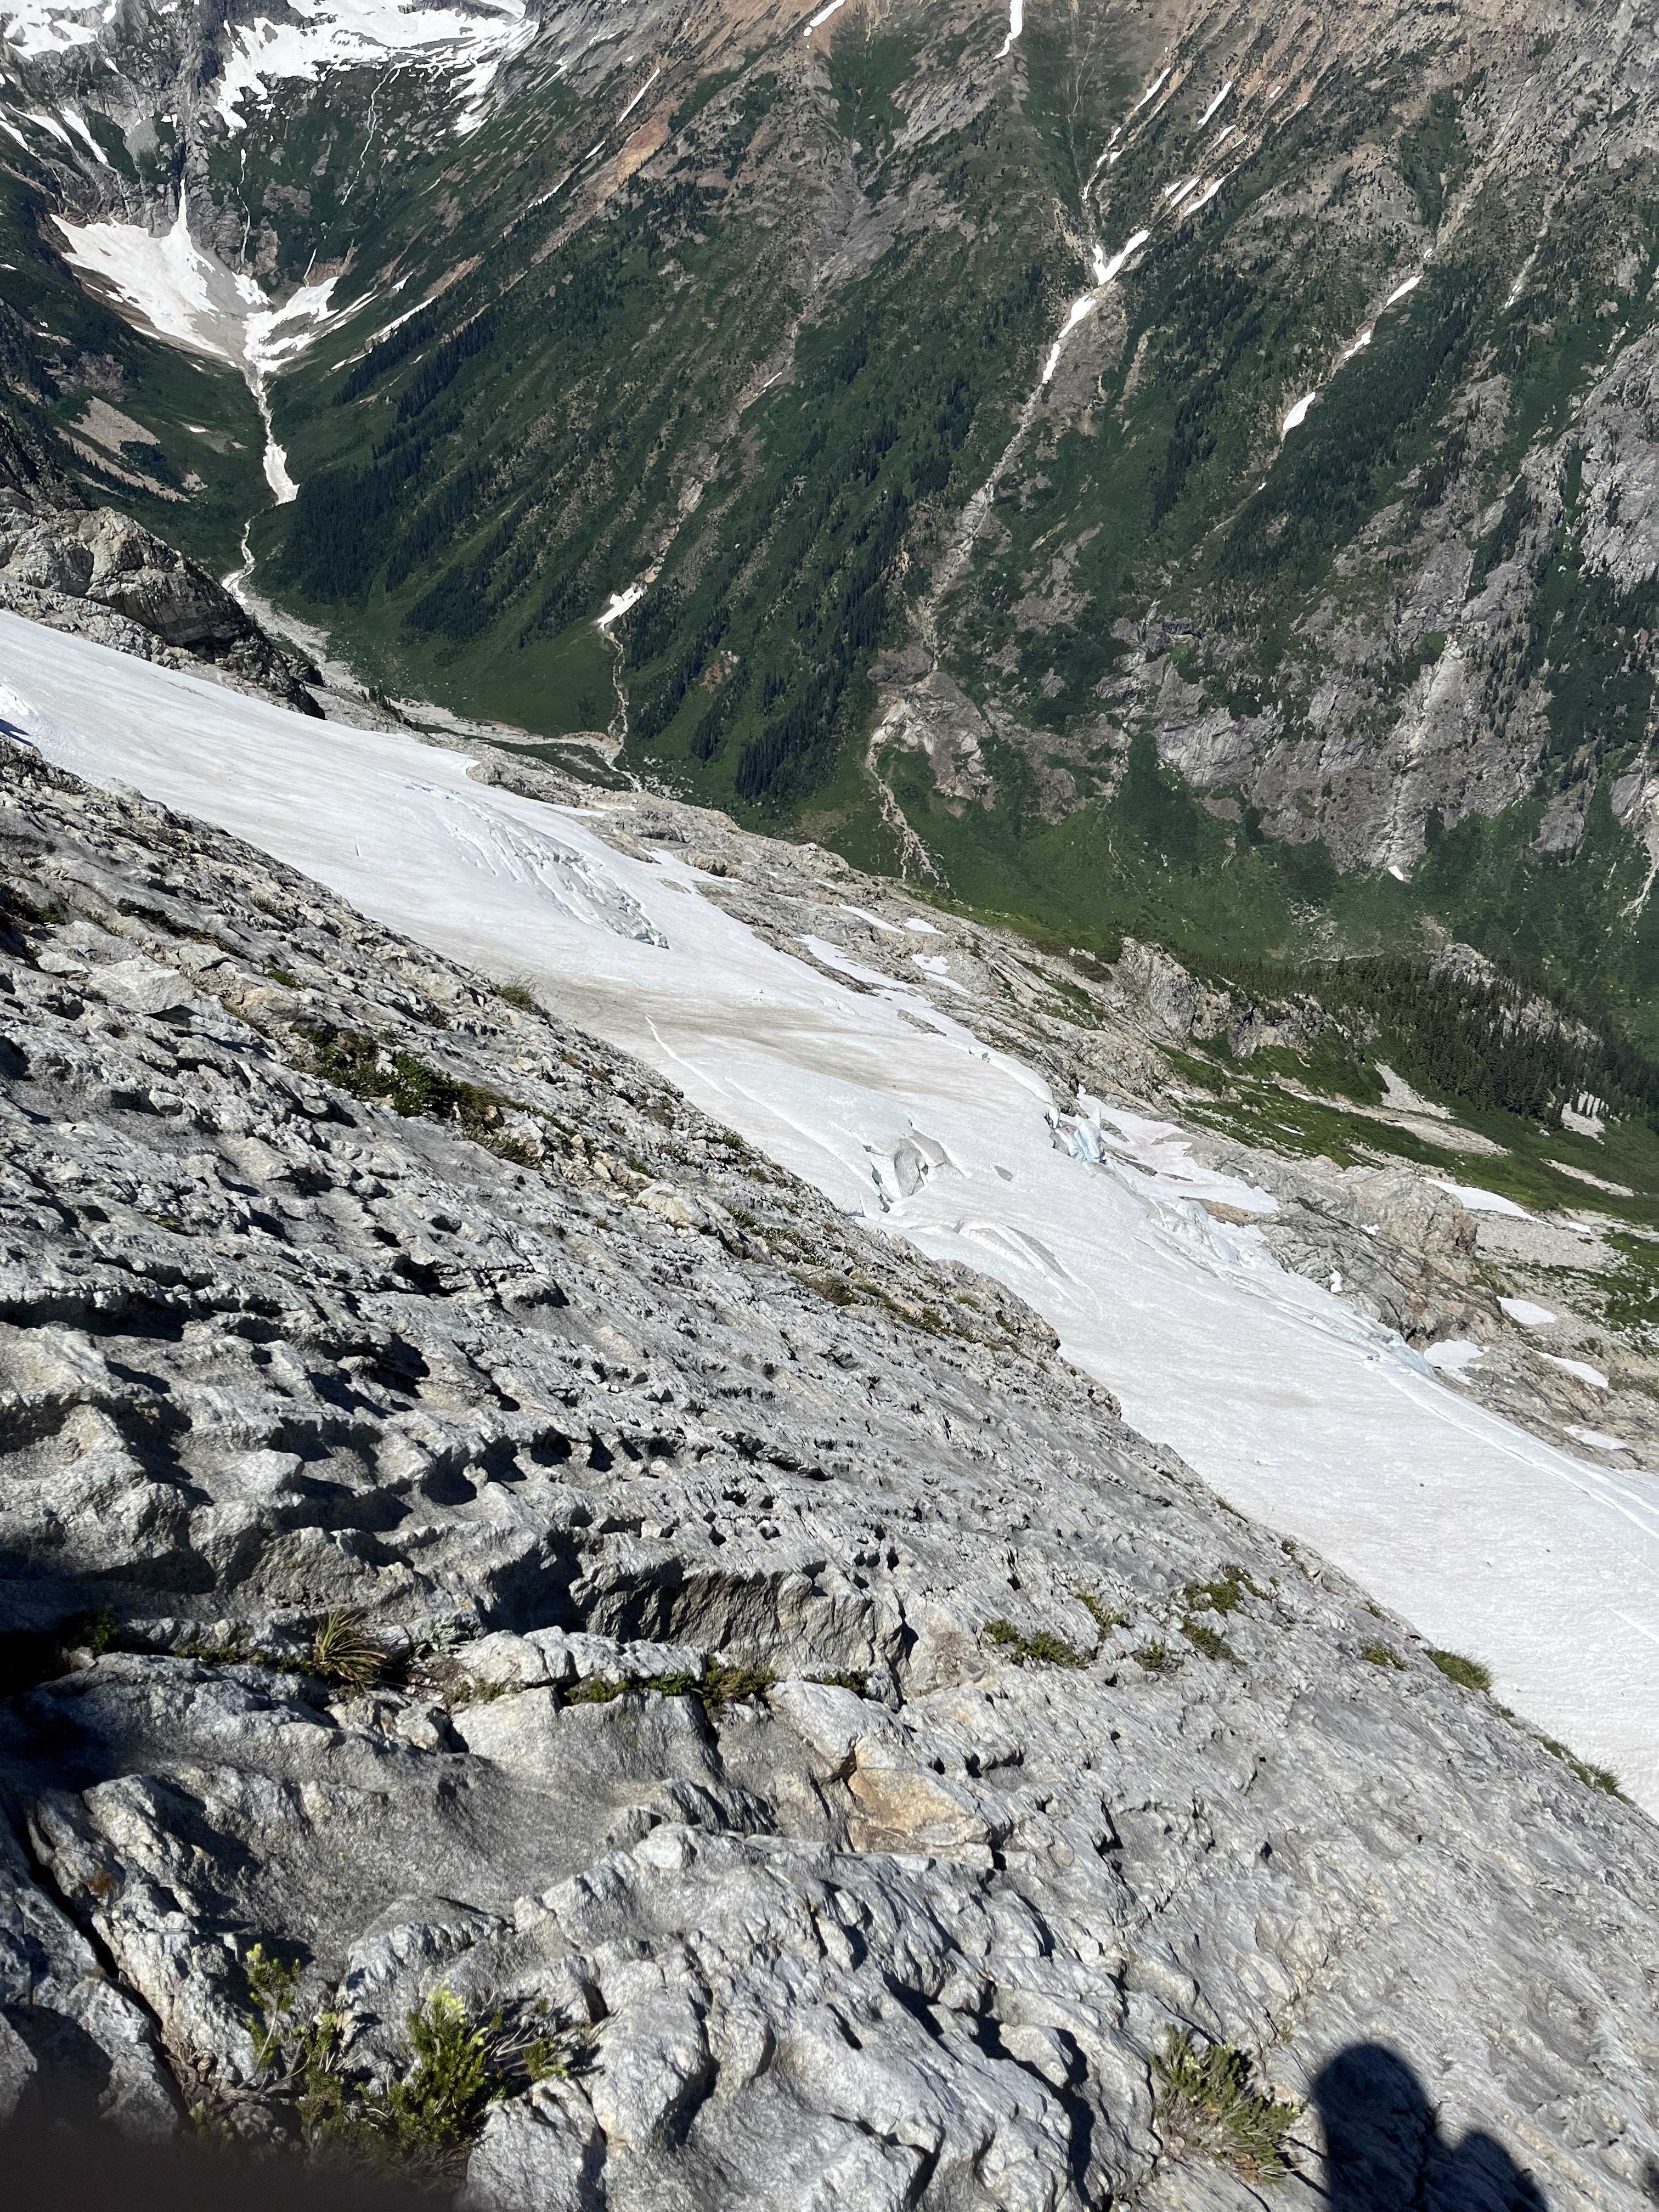
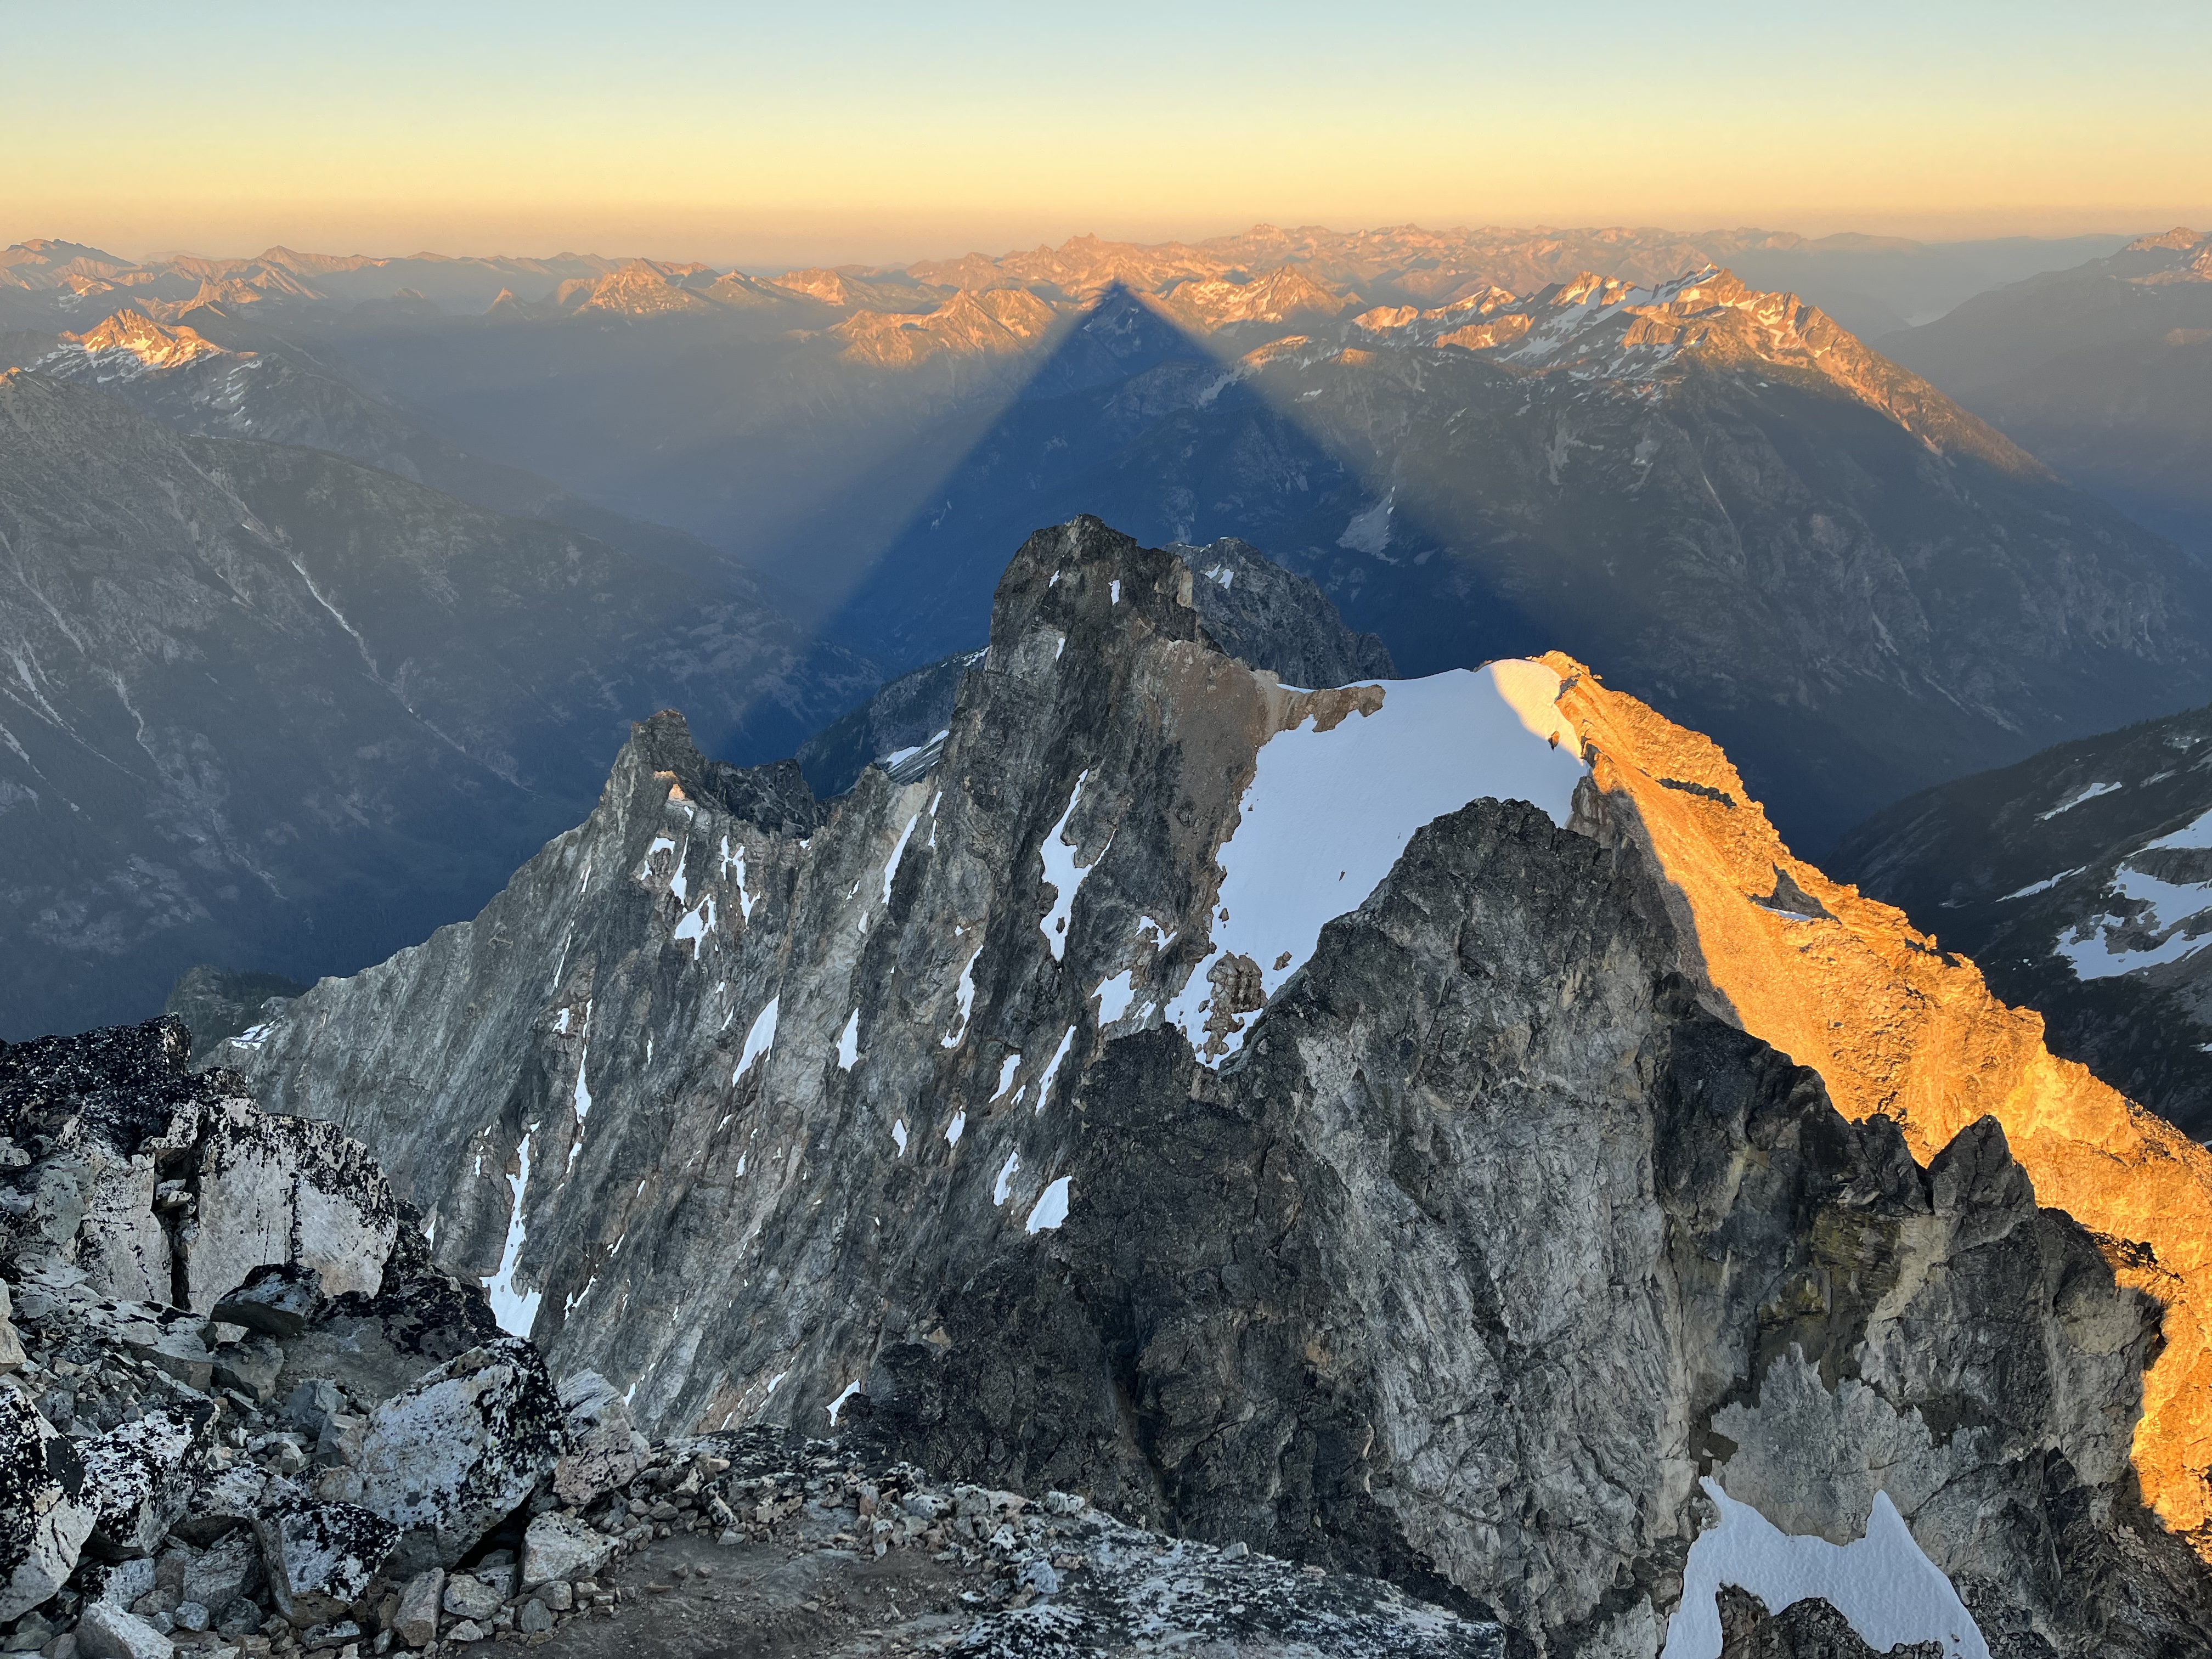
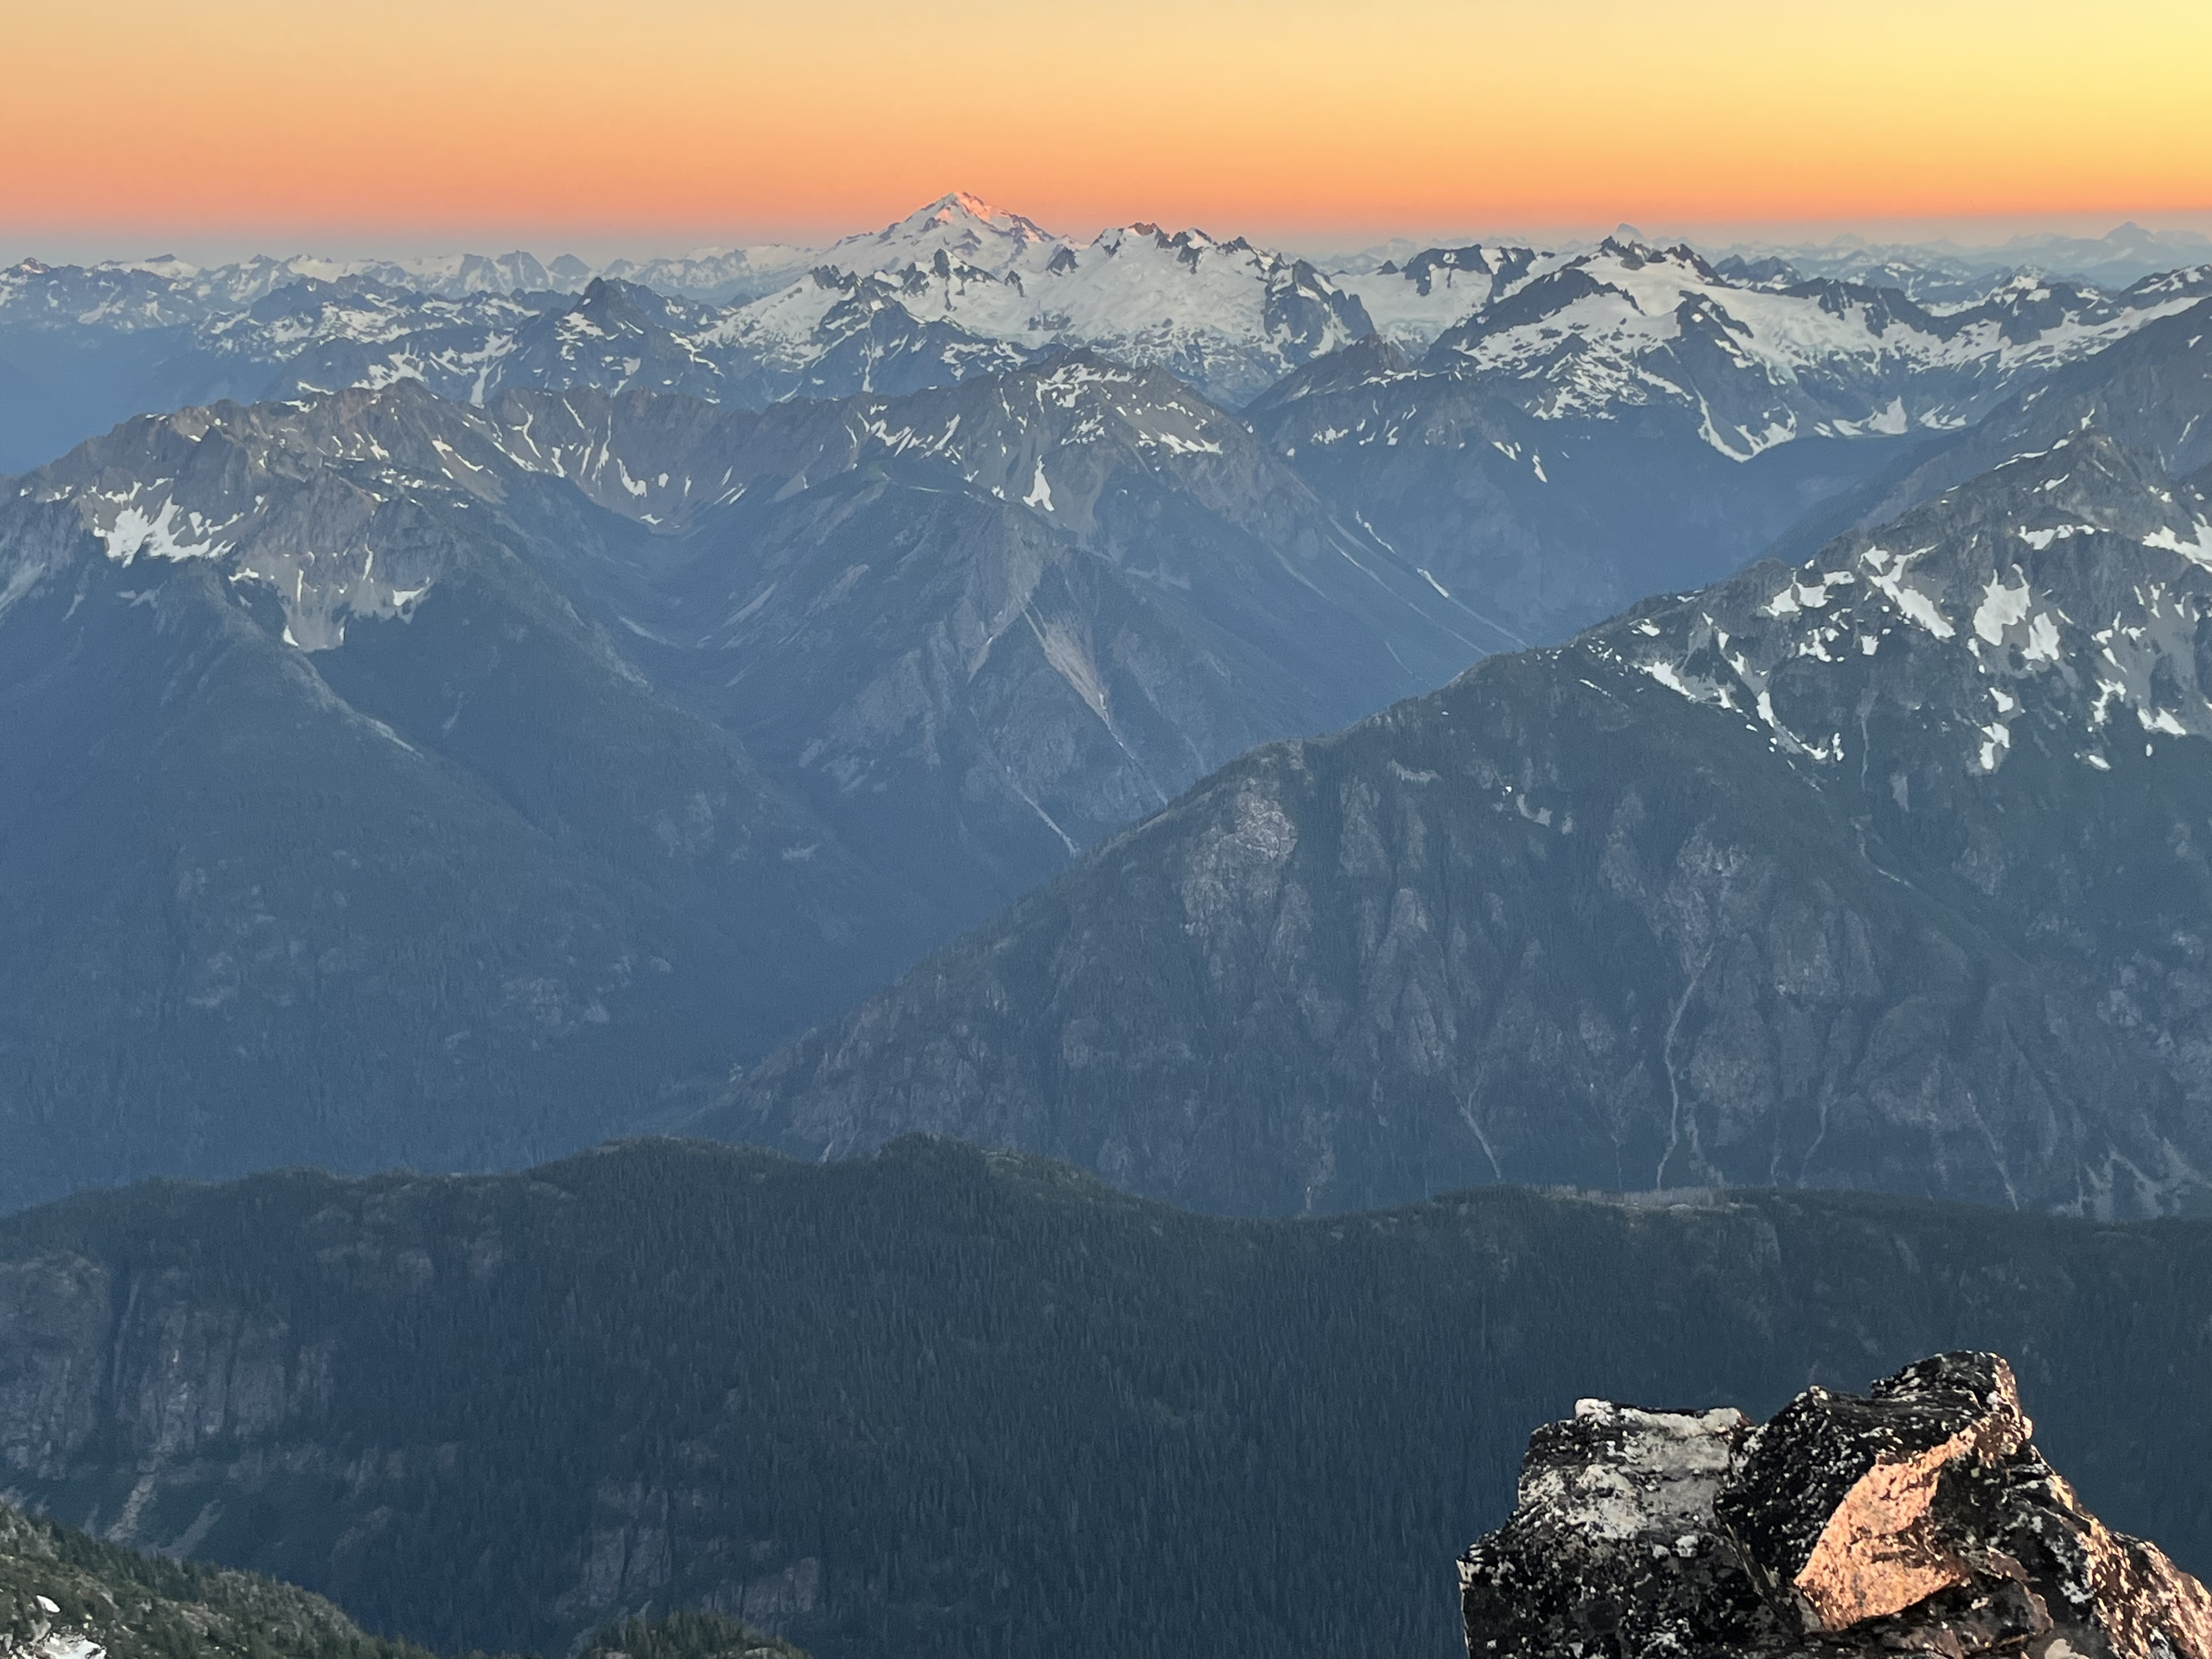
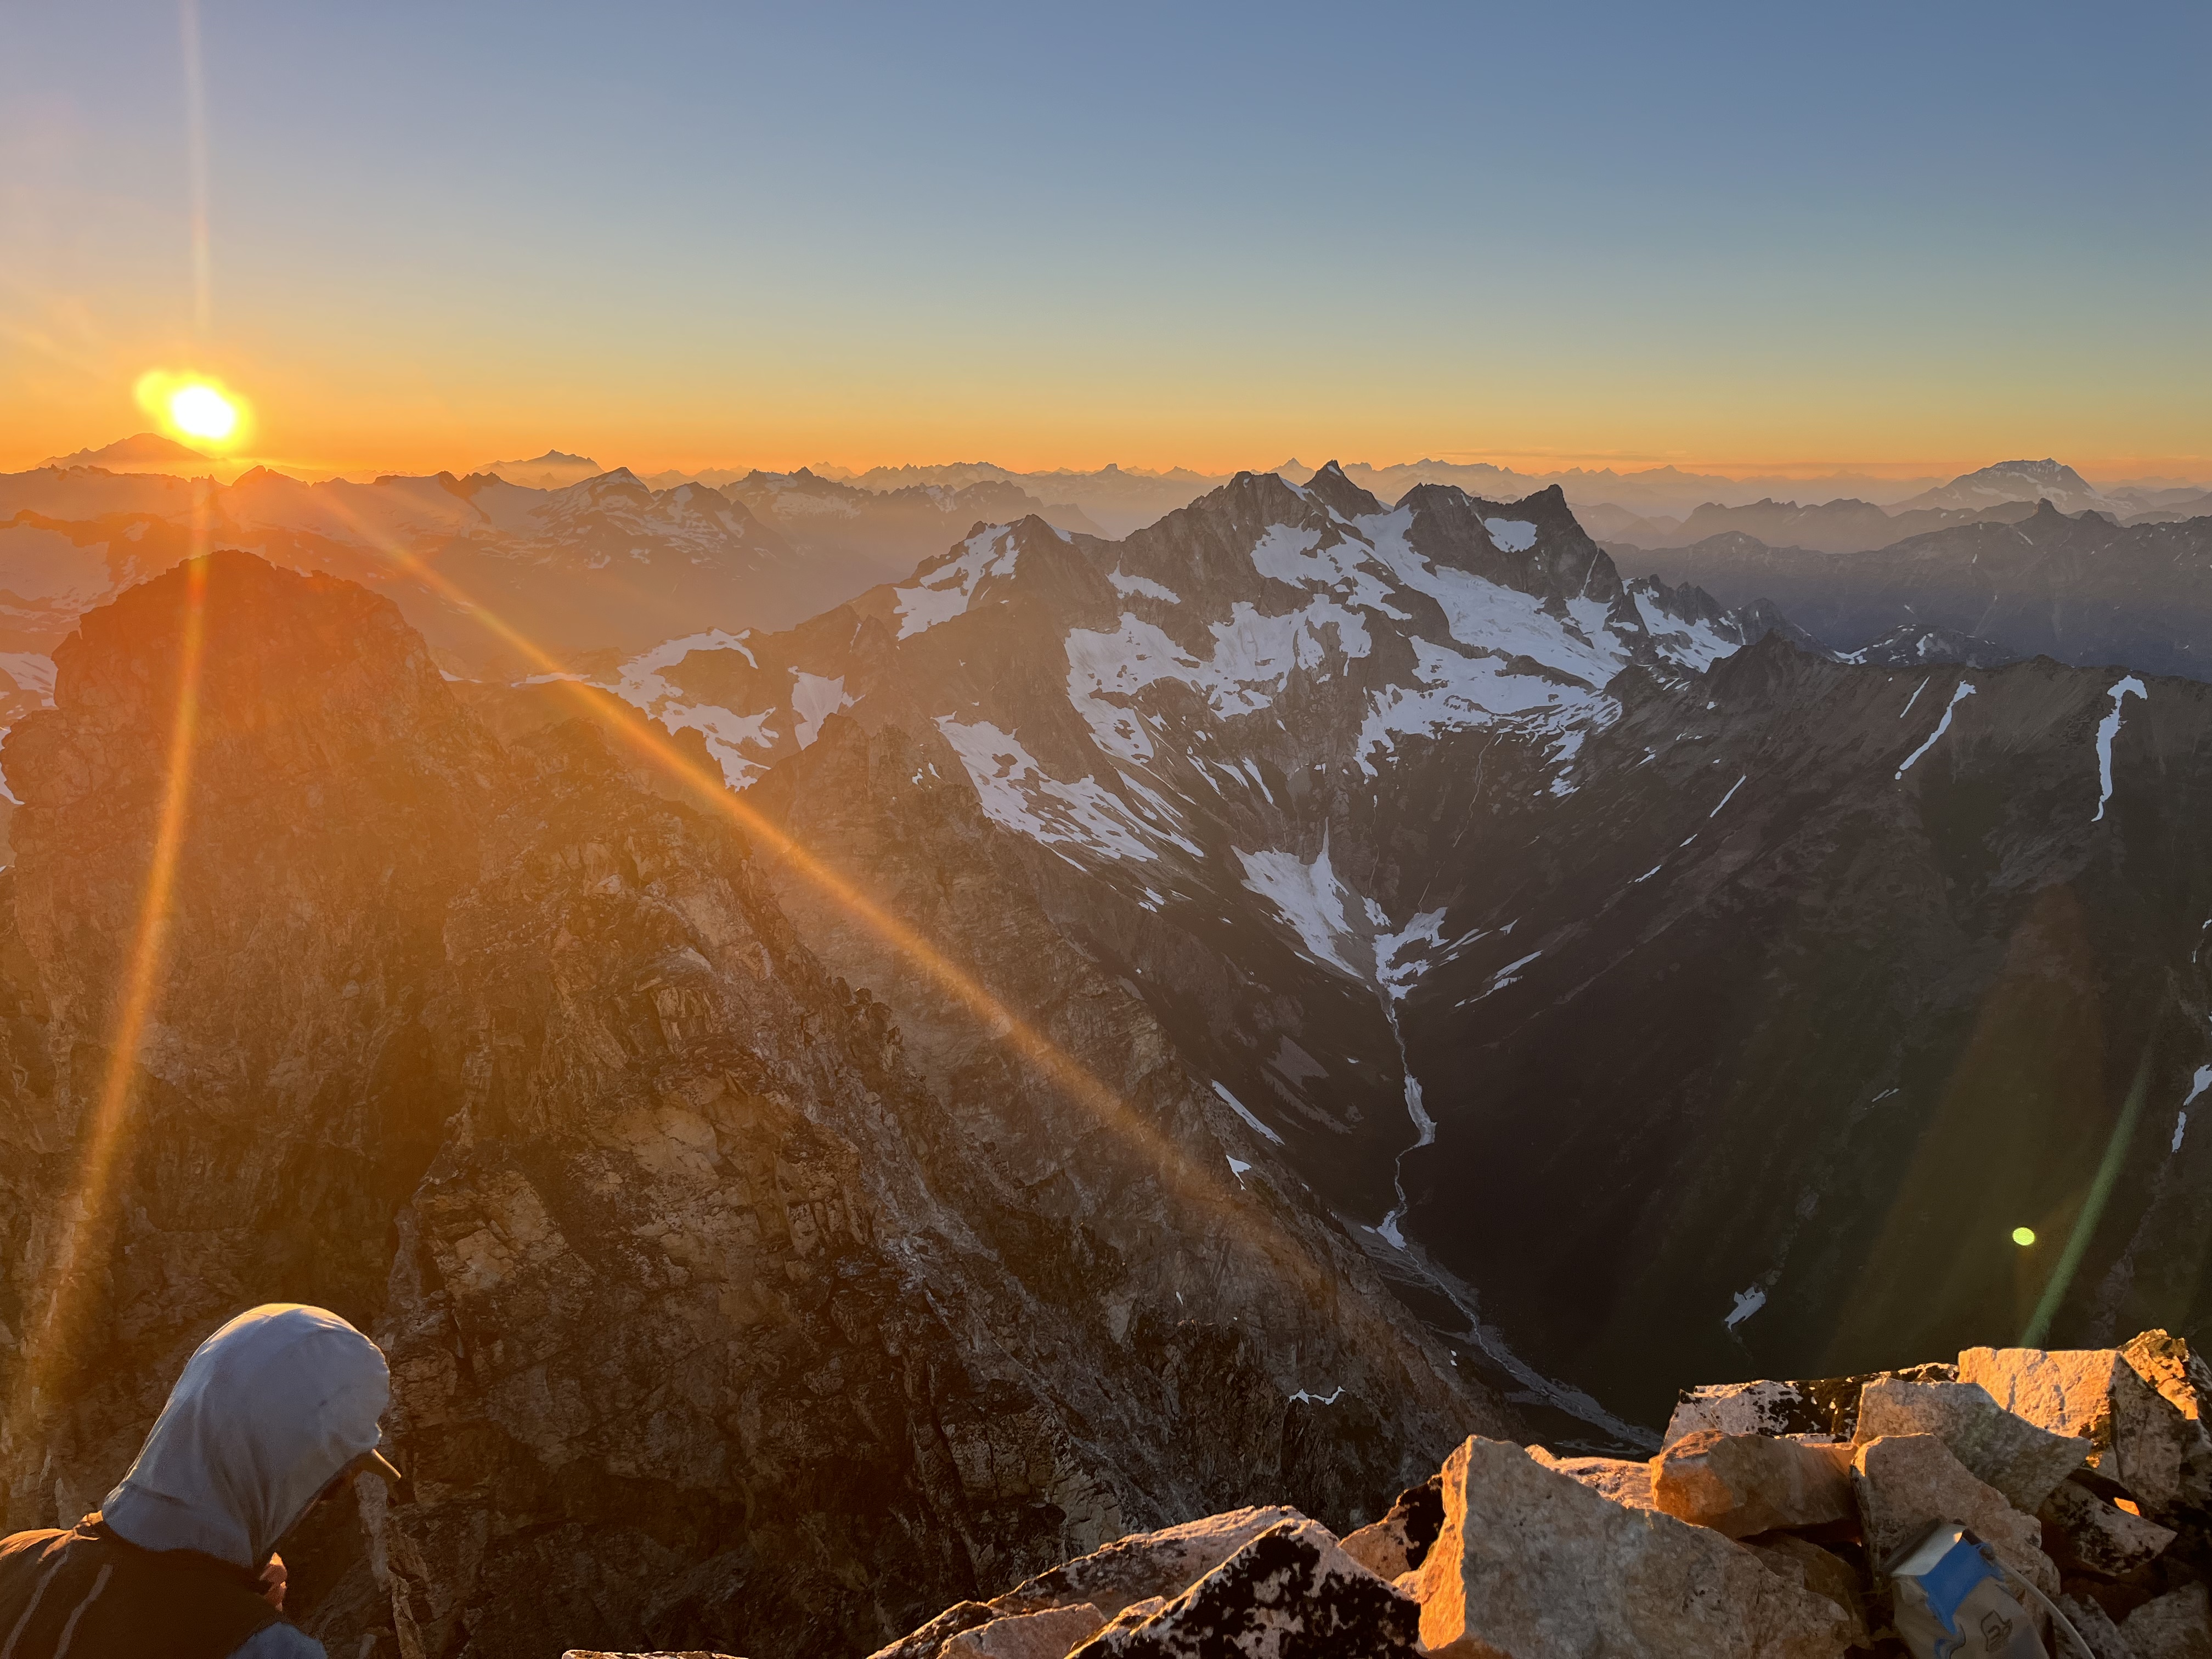
Trip: Logan and Goode - Douglas and NEB Trip Date: 07/29/2022 Trip Report: I wrapped up my 37th orbit with a loop from Easy Pass to Bridge Creek trailheads, climbing Logan via the Douglas and Goode’s NEB. Storm King was a low priority option going into the trip and didn’t make the cut. I had the pleasure of excellent conditions interspersed with horrible shwacking and a death march to conclude it. In many ways the timing couldn’t have been better for me. I sprained my ankle less than two weeks prior on the way to Fury. In the first hour afterward I was worried that most of my summer masochism would need to be cancelled, but hobbling back towards Luna camp, with vitamin I kicking in, I started to suspect the injury was not that bad. It swelled more like an orange than a grapefruit. I was game for Jacobs Ladder on Prophet the next day, which was welcome consolation for missing out on what I’m guessing was an awesome day for the NE Buttress of East Fury. Fast forward to a few days ago, I haven’t tried foot jams yet, and would like to avoid them, but walking feels fine. So a route with endless blocks and ledges sounds like just the ticket. Just needed to not twist it again in the many miles of trail-less travel. Besides my ankle I was also concerned about the heat. On the one hand I got away with not taking a sleeping bag. I always travel with a puffy and wool hat. I supplemented this with long johns and was just barely warm enough at night on a mat in a bivy sack. On the other hand, the heat obviously made things kinda brutal. For beta and inspiration for this loop I used Hiking down easy pass to Fisher was pure joy. This was the location of one of my first hikes in the N cascades, probably 12-13 years ago, getting my denim soaked in the brush. It’s actually more breathtaking than I remembered, was great to be back. The fisher creek crossing was briefly disorientating because there’s more water than land in the zone, with pools and twisty side channels everywhere. I gradually found my way moving south along the east side of the creek feeding into Fisher (presumably Douglas creek? I don’t see a name on the map). The ground was dry and relatively open and easy. There’s lots of huge erratics in this area. As I approached the the “pill box” from the summitpost description I chanced upon dry stream beds that I followed upwards. The maple+alder made for good hand holds without getting in the way of my feet. I thought this might have been a shortcut vs the TR I referenced, but after topping out on the other side I found very thick and young evergreens and chest high brush. Progress was slow here but at it was another beautiful scene down near the creek. It’s hard to say whether or not I found the path of least resistance. Finally free of the brush, I headed up snow and rock, trending right. I came across bear tracks in the snow and filled up at the last spot for flowing water that I could see. I arrived at the bivy col at about 6pm, which was later than I liked. But it was a good thing because it meant shadows were now extending down the Douglas, cooling it down. Some of the crevasses are quite large. But there was a fairly direct path through them and I felt good about the firming snow conditions and the gentle angle (<30 degrees?). The swale at the top of the glacier is a really cool feature. Looks insurmountable at first, but I found an easy way on the right side. I then cut back left above one more crevasse to gain the ridge (a little steep here, don’t fall in). The scramble to the summit is pretty fun, good rock for a Cascade scramble. The views speak for themselves. I slowed significantly near the summit both ways due to some really stubborn cramps. I carefully followed my ascent path on the way back down to the col, getting there just before headlamp time, with incredible purple views of Goode. It was a 12 hour day. Two pairs of eyes were reflected in my headlamp as I got ready for sleep, but they were far enough away that I couldn’t tell what they were. I left the col a little after 6am the next morning. The TR I linked earlier had me expecting smoother sailing than the day before. That turned out to not be the case. Descending the basin above North Fork wasn’t too bad, though I don’t know if I was always on the easiest path. I wonder if the ‘magic staircase’ was flowing instead of dry, because I don’t think I found it. The worst part was lower in the valley. I could find bits and pieces of a trail, but it’s very faint and overgrown. Occasionally I’d lose it and end up in the worst shwacking I’ve ever encountered. Walls of alder with a foot of water underneath. Feeling actually stuck. The other TR doesn’t mention this at all, so maybe better route finding makes this avoidable. I don’t think I lost more than an hour here but it was certainly terrible. The north fork ford was only knee high but very swift, wasn’t easy. The route up to Goode glacier looks improbable from below. Pretty cool how it comes together. The snow-rock junction is in good shape at the start of the NEB. It’s exposed and dirty getting up to the notch (took me a while to find a safe way) and the stone was burning my hands. But from the notch to the summit is awesome, and pretty well shaded. There’s a super knobby slab at the start. Unfortunately it doesn’t last long but what comes afterward on the ridge proper is solid, blocky steps as far as the eye can see. I was reminded of a slightly less steep version of the upper half of the NW face of Forbidden. As I climbed I couldn’t help thinking how surreal it is to be in the exact moment that you’ve thought about for years. The ridge steepens at 8400’ and I hit one dead end, with about 10 feet of rock that was too steep and featureless for me to solo safely. I backtracked down the steep face to the left and found a bypass that allowed me to regain the ridge. As is so often the case with ridge climbs, there are occasional dirty ledges that can make sections easier, but the best climbing is on the ridge crest itself. Aside from this one bypass, I stayed true to the ridge the entire way to the summit. I passed a party of two maybe ½ way up the ridge and other party of 2 just before the summit. I got there a little before 5, for a 10.5 hour day. The next party arrived shortly after and later in the evening the lower party arrived. Everyone was nice, we chatted about climbing and spent the time pointing at and naming all the crazy stuff you can see from Goode. We squeezed all 5 on the summit that night (one of the spots looked pretty gnarly, 5 is a tight fit). I heard there was a guided party that day too, so 7 people in all on the route that day. I started to feel sick when I arrived at the summit. I think it was mainly due to the heat. This was a bummer but I gradually improved and took in the sunset, then the new moonset, headlamps down in the valley SW of Goode (night hiking?) and a couple of fuzzy shooting stars. The notions of up and down that climbers obsess over started to lose meaning while staring into space with hypnogogic mind setting in. The next morning we all got a leisurely start. I started my day popping my head up for a view every few minutes in between a few last sips of sleep. I left the summit at 7am, just after one party started rapping. I downclimbed (5.4?) to the highest snow patch (plenty of snow on the route right now BTW) as I had run out of water. I melted some for a freeze dried breakfast then made my way skier’s right up a ramp leading to the notch. It was here that I got to really test out my lightweight rappel system that I assembled after some online research (I did a short sanity check in town earlier). This was <$100 and shaved 3 lbs and I didn’t die. The second rap got me a ways into the firm snow finger on SW side of Goode. I used my light axe with a good bite (found on Quien Sabe some years ago), crampons strapped on to approach shoes, and my pole in the other hand. It was face-in downclimbing to some gross dirt-choss, then more face in walking backwards down steep snow. I paused to look at Storm King and estimate time. I guessed that going for it would mean getting back to the trailhead around midnight. Realistically, if I wanted to climb it, I would have had to do the Goode descent the day before. But it was more important to me to enjoy the summit of Goode than to tag another choss pile, so I was happy with my decision to skip SK. Maybe I was jaded from the shwacking the previous two days, but the way down the burn wasn’t as bad as I was expecting. I had downloaded somebody’s GPX and it was pretty helpful. I think this is another section that’s only semi-intuitive. I thought I would find running water on the other side of Goode, but didn’t. I descended the burn around noon with temperatures soaring and my water run out. Probably downed a liter in couple minutes at the first stream back on trail. I didn’t keep track but I’m guessing I drank about 2 gallons of water throughout the day. I also had less than 1000 calories because my body wouldn’t tolerate the bars I had remaining (again, likely due to the heat). At the end of the day I think I counted 4000 uneaten calories in my pack (that should have been eaten). I guess I need to revise my nutrition strategy for trips like these. The hike out is a blur given my nausea and the heat. Dipped at park creek (delightful!). The bridge at Bridge creek is another fantastic scene. One of many in this loop that I wish I had more time to savor (honestly, 4 days would have been more fun, though any exit from Goode seems inherently awkward logistically). I also remember one giant cedar on the trail, some cool bluffy terrain, and the suspension bridges were a fun surprise too. On the rare occasion of a cool breeze, I felt like I was drinking water through my skin. I filled up one more time at the last major creek >8 miles from the road and met up with one of the parties I shared the summit with. Together we blasted out the next 5 miles, took a short break, then made one more push for the car. Even in my approach shoes my feet were just starting to get medium rare by the time the hike was finally over. I had a bike at Bridge Creek TH and a bike light, but since it was getting late (finished at 9pm for a 14 hour day) and I was depleted, I happily accepted their offer to drive me back to Easy pass. Thanks Hank and Steve! Gear Notes: Approach shoes, crampons, one axe, one pole, and a rappel setup worked for me, but this means unroped glacier travel and low 5th soloing. Approach Notes: Hard to say1 point
-
I know of a fun ride that circumnavs White Chuck. Lots o' big cedars. https://ridewithgps.com/routes/281507361 point
-
1 point
-
Trip: Mount Hardy (8038') & Golden Horn (8366’) - Swamp Creek to Snowy Lakes Trip Date: 07/30/2022 Trip Report: Mount Hardy (8038') & Golden Horn (8366’) – Swamp Creek Approach – - JULY 30-31, 2022 (Sat, Sun) It was going to be hot as hell over the weekend, a good excuse to get up in elevation and enjoy the mountains. Mount Hardy & Golden Horn are in the Wilderness area and not in the National Park, so no bullshit permission slips needed to use MY forest. It’s the way ALL forests owned by the people should be. Saturday: I started from the Swamp Creek Turnout past the Easy Pass Trailhead off Hwy 20 at 10:00am. I walked down Hwy 20 past Swamp Creek and started up the hill toward Mount Hardy. The bushwhacking started out very pleasant, with open easy travel through the forest. I knew the longer it stayed pleasant the steeper the upper bushwhack was going to get. You hit a wall of steep thick baby trees around 5200’ and you don’t come out until about 5900’. After 5900’, you come into a burn area with a clear line of sight to the summit of Mount Hardy. The rock to the summit is mostly class 2 with a little class 3 here and there. The challenge is in the elevation gain over the short distance to the summit. I was on the Mount Hardy summit at 2:45pm. A new summit registry was placed on July 24th . There is no water between Swamp Creek and the Mount Hardy summit, so water up at the creek and carry all that you will need until the Pacific Crest Trail. I headed down from the summit and followed the ridge to Methow Pass off the Pacific Crest Trail at 4:45pm. I headed down the trail toward the Snowy Lakes arriving at the Upper Snowy Lake camp at 6:00pm and called it a day. The bugs are out in force around the lakes area right now. Bring your bug repellant and a head net unless you like breathing mosquitoes. I really wanted to swim in the lake to cool off, but I would have come out looking like a pin cushion with a skin tone a shade of grey from all the blood loose. I brought a tarp to sleep under and I was wishing I had lugged up the extra weight of a tent so I could hide from the buzzing swarm of mosquitoes. A beautiful area nonetheless. Sunday: I was up and moving at 5:30am. I headed for the ridge of Golden Horn instead of going through the middle and dealing with all the loose rock. The ridge was nice. I summited Golden Horn at 7:45am. I climbed an extra ridge of 4th and 5th class rock thinking it was the summit. The actual summit requires about 30-40’ of low 5th class to get to the top. The final section to the top was a 6’ vertical section that I pulled myself up over. There is a rappel sling setup off the top if wanted. A 30’ section of accessory cord would probably do the trick if you wanted to go light. I worked my way down back to camp arriving at 9:15am. I went down through the middle, in the loose rock, as it was nice on the feet. I was back to Methow Pass at 11:30am. I climbed up to 7500’ on the side of Mount Hardy to cross back over to the route down to the parking area. I was in this area before and I decided to go straight across from the end of the nice ridge from Methow Pass, probably at around 7000’. That sucked. I ended up hitting a few gullies full of steep loose rock on top of slick rock. It took a long time and one slip would have meant having my ass belt sanded for 100’s of feet. So make sure you cross at 7500’ or higher on the side of Hardy. I made it back to the parking area at 3:30pm. The climb down the steep baby tree section was just as hard going down as up. I could see better going up even though it was more effort. It was a fun trip overall, nothing too technical, beautiful scenery, and most importantly NO BULLSHIT from the green gestapo. Some Tips and Notes: 1. The route going up to Hardy is on the West side of Swamp Creek and splits away from the creek after a little while. 2. There is no water between Swamp Creek and the Snowy Lakes area so plan accordingly. There is snow to melt on route if needed in a pinch. 3. Cross the side of Mount Hardy at 7500’ or higher to avoid nasty gullies. 4. Bring bug repellant or a blood transfusion. Travel Time for reference: Saturday: Trailhead to Hardy Summit to Upper Snowy Lake Camp (6600’) – 8 hours. Sunday: Camp to Summit of Golden Horn & back to Trailhead – 10 hours. Total Mileage: around 12-14 miles Total Elevation Gain: around 7300’ Gear used: Trekking Poles. Mount Hardy from the Swamp Creek Turnout parking area. The views start really kicking in at the burn area. Golden Horn and Tower Mountain from Mount Hardy Summit. Looking back at Mount Hardy on the way down the ridge to Methow Pass. Start of Snowy Lakes Trail from Pacific Crest Trail. Snowy Lakes Area. Sunrise on Mount Hardy. Golden Horn Summit. Final section to Golden Horn Summit. Summit view from Golden Horn, Mount Hardy in the Middle. Gear Notes: Trekking Poles. Bug Net. Approach Notes: Swamp Creek to Methow Pass to Snowy Lakes1 point
-
Last year, we had a kerfuffle in the same area - off the glacier but not around onto the ridge crest. Spent almost two hours going up and down choss, looking for a reasonable line. I finally committed to a footless mantle, but a tricam on the rack I was carrying lodged into a crack at my shin and prevented me from pressing it out. I had to reverse, clean the damn cowbell, and do it again. Grrrr. My partner started slightly dehydrated and deteriorated when we went up and over the top. There was only one small snow sliver to melt on the upper mountain - and it was full of worms. We melted, filtered through a shirt, and drank it anyway. Almost tossed it back up again. The next day, my partner was stumbling from dehydration/heat exhaustion in the burn zone as we approached the Park Creek trail. So we loaded all of our gear on my back for the final miles down to the Park Creek campground. Of course, it was littered with deadfall that hadn't been cut yet. Good times! Sounds like you had an excellent Cascades experience.1 point
-
Great trip Report! The "figure it out as you go" climbs are the most memorable and make you a better climber.1 point
-
Trip: Logan-Goode-Buckner Traverse - Date: 8/3/2012 Trip Report: In early August, Keith Daellenbach and I completed a four day traverse of Logan-Goode-Buckner (almost kinda completely) beginning on Hwy 20 near Easy Pass and ending at Cascade Pass. Although a traverse of these three peaks have been done before (I think), our specific route may be unique and since I have gotten a surprising number of email inquiries about details of the route, I’ll post some route beta here with emphasis on the less-traveled sections between the peaks. This specific route was Keith’s brainchild and he pre-plotted the route perfectly. If any of the mileage or elevations listed in this TR are inaccurate, blame him! This is a cool, one-way North Cascades traverse that summits three 9,000 ft peaks in the heart of the range. There is relatively minimal bushwacking even though only a few sections on are on actual trails. It is an enduro trip that requires good route finding skills with not much technical climbing. After the first day, each day will be well over 12 hours of constant movement. Very classic - a must do for adventure alpinists (for real adventure, do not read this write up – written during a three hour layover which meant I had lots of time to pile on details). I vote this traverse be included in Select Volume III or maybe IV… Route map: Leave a car at the Cascade Pass TH and drive a second car to Easy Pass trailhead at 3,716 ft on Hwy 20 (about 7 miles west of Rainy Pass). Day 1: Hike uphill on the Easy Pass Creek trail 3.2 miles to Easy Pass at 6,524 ft (gain: 2,808 ft). From Easy Pass, continue hiking on trail, down, down, down the Fisher Creek valley to 3,871 ft, at ~7.3 miles from start (loss: 2,653 ft from Easy Pass). Leave hiking trail and cross Fisher Creek on one of several large logs. Keith crossing Fisher Creek: Bushwack ~1.9miles/1,130 ft up south/left side of “Douglas Creek” valley (not actual name, unnamed) leading to the Douglas Glacier cirque. Start in an old growth valley that is mostly flat with little underbrush, as the valley narrows and steepens (~25 mins from creek crossing), the valley pinches down with Douglas creek on the right and a steep hillside on the left. Still in the forest, ascend away from the creek up left to avoid some devil’s club-style shwacking. After breaking out of the forest into the alder/boulder open basin (with the Douglas Glacier and Mt. Logan seemingly so close and straight ahead), move left heading to the lowest timber on the hillside above the alder/boulders in the bottom of the basin (it is possible to proceed directly straight up the basin but it is harder shwacking with lots of water crossings). Move through the timber on the left hillside for easier travel and leave the timber on the upper end and bushwack right across the basin to a mostly bare patch/slabby strip descending the wooded knob in the center left of the basin (see pic). Ascend the strip to its top and traverse right to reach snowfields in the upper basin right where the creek exits the snow and below the cliffs beneath the Douglas glacier. That concludes the majority of the trip’s bushwacking. Looking up Douglas Glacier cirque/basin: There are two options to gain the Douglas Glacier: ascend out of cirque via the far left side (approx. 9 o’clock) to avoid the cliff band (orange line); or head around 1 o’clock up a snow fan and climb some dirty slabs for about 100M (dirty, up to 5.7, no protection to gain the glacier terminus – very approximately shown with blue line). The latter approach is faster but sketchier. For climbers comfortable with runout/dirty climbing, the direct way saves at least an hour, probably two (that was the way we went on a prior trip). The easier way heads far left up a watercourse and then contours back right across snow fingers and slabs. Either way, the glacier terminus is gained at ~6,000 ft. Note – you can/should get water near glacier terminus about 1,000 feet below the bivy col, before getting onto continuous snow; or melt at col (on our first trip we found some melt runoff on the south side of the col but on the second there was none). Ascend Douglas Glacier and camp at 6,928 ft at the Douglas Glacier col above the North Fork Bridge Creek divide on slabs/gravel. We got here in about 11 hrs from Hwy 20 going the longer/easier way. There is enough time to summit Logan on Day 1, but the heat of the afternoon made summiting on Day 2 seem like a better plan on our trip. This is a scenic bivy with the NE Buttress of Goode looking all proud and defiant to the southeast. Day 2: From the bivy col, climb to the Douglas Glacier/Banded Glacier col (easy snow) and then up the final west ridge to the summit pinnacle of Mt. Logan (9,087 ft) which is steep snow followed by several hundred feet of 3rd/4th class. (2,159 ft gain from bivy col). Pic of Keith ascending Douglas Glacier: Descend back to col, pick up bivy gear and drop over into North Fork Bridge Creek drainage. Looking from col down into Bridge Creek drainage, Goode in distance: Drop southward into the North Fork Bridge Creek drainage to ~4,116 ft on south side of headwaters of North Fork Bridge Creek (down 4,971 ft from Mt. Logan summit). The way is snow at first to a glorious alpine meadow (pure Sound of Music stuff). As the slope steepens traverse left to reach a “golden staircase” to avoid brush and cliffs that the fall line route would encounter. This staircase is mostly 3rd with a little 4th on nice yellow/red rock and deposits you onto snow in the lower valley. Looking back up valley towards Logan and the bivy col: Cruise down valley on snow which bridges over Bridge Creek most of the way until close to where you pick up the North Fork Bridge Creek trail on the left (south) side of the creek. Easy snow travel over Bridge Creek: When the snow ran out and the creek downcut into some steep banks, we climbed out of the creek valley up and left and then a quick, steep shwack back down to the creek. Pick up the trail (faint at first) on the left side of the creek around 3,800 ft. Note – do NOT cross the creek around 3,800 ft to access the Goode glacier (per Beckey and Nelson) since this is way too high but the basin looks like it would lead to the NE Buttress. The correct basin is about a mile further down the valley. Continue down the valley on the trail and ford the creek (up to thigh deep wading) around 3,400 ft with the NE buttress directly above. Keith fording Bridge Creek: Aim for a talus strip that extends down to the creek bank. This strip leads to the “watercourse” you will climb up (on right side), which is the first real drainage with running water looking left to right at the basin. There is one dry drainage on the left of the basin which is not the one you want. I took the pic below from the creek bank with Keith just starting up talus strip and the watercourse to aim for directly above his head: Ascend up the northeast basin of Goode through a lower cliff band (short 4th class to maybe low 5th), continue up through brush and scree/snowfields and bivy at around 5,400 ft below the glacier terminus. There will be almost no shwacking up to the bivy except for some short sections about half way up. Easy travel just below the Goode bivy: This is an awesome bivy site! Flat sites for about three people and running water about 100 yards west. Day 3: From the bivy, head straight up slabs to gain the Goode Glacier. First head east (left) towards a nunatak to avoid ice cliffs and crevasses near the glacier terminus and then cut right to the lower, east side of the toe of NE Buttress. Note – some may want a screw or two to protect some crevasse crossings later in the season since we did encounter some water ice in early August. Moving through crevasses on Goode glacier: Gain the toe of the buttress from the lower east side. For us, the first pitch was about 25M of dirty (untraveled?) 5.6ish and felt like the only real “mid-fifth” we found on the route. Earlier in the season, I assume you access the buttress higher and avoid our first pitch and access the 4th class part directly. Getting off the glacier and onto the buttress was more difficult than any of the rock climbing since the glacier was overhanging and detached from the buttress (in early August). Ascend the NE Buttress to the summit of Goode at 9,200 ft (up 3,400 ft from bivy and ~2,500 on the buttress). Endless 3rd and 4th (loose) to about 8,100 feet. At 8,100 on the ridge crest, we belayed one pitch (5.4?) then simuled several hundred feet of lower 5th. There will probably be a snow patch (with bivy sites) for water near the Black Tooth Notch a few hundred feet below the summit. The summit is several hundred more feet up and diagonally right of the snow patch area. The position of the route and the summit views are spectacular but there is no really memorable climbing. A bivy on this summit would be unbeatable. Keith on Goode summit: Three 30M raps descend from the summit to the ledge system leading to the actual Black Tooth notch (the ascent route does not cross the actual notch). Down climb about 100 feet toward the west and make two single rope raps (slings) down to the very loose SW Couloir (5.0). Continue southwest down into Park Creek drainage and look for climber’s trail (faint at first, we failed to stay on it) until hitting the Park Creek trail at 3,968 ft (5,232 feet down from summit). Hike northwest up the valley on the trail up towards Park Creek Pass. When the trail leaves the creek and begins climbing up towards the pass, leave the hiking trail at ~4,086 ft and cross the creek (log) to the left side and continue up Park Creek cirque on mostly talus and snow (easy cross country) - eventually gaining Buckner Glacier. It would be best to camp near the toe of the Buckner Glacier and even better to bivy at the Booker-Buckner col. We underestimated the time Goode would take and climbed too casually and lost the descent trail, and ended up camping at 5 Mile Camp about one mile up from where the Goode climber’s trail hits the Park Creek Trail. Day 4: Head up the Buckner Glacier until two couloirs are visible. Climb the left of two couloirs that access the Booker-Buckner col at 7,365 ft. Pic looking up the left couloir: Watch out for the snow bridges across the crevasse that cuts across the upper couloir since in August 2012 the one I used completely collapsed within minutes after I crossed and seconds before Keith was about to cross, leaving us on opposite sides of the crevasse and forcing Keith to cross the remaining, much thinner bridge on the right side: From the Booker-Buckner col, traverse at generally the same elevation westward across numerous ridges. When you get an overview of Horseshoe Basin, down climb the west side of a steep ridge several hundred feet (looks harder than it is but tricky route finding, a few low 5th class moves) to about 6,700 ft and head towards the middle of the basin to gain the Southwest Route of Buckner. Disclaimer – it started to pour on us at this point with some lightning thrown in so we kept traversing and skipped the summit (lame, put an asterisk next to this TR). The Southwest Route ascends about 2,300 ft of snow and 3rd class to the summit of Buckner (9,080 ft). Traversing Horseshoe Basin in the rain: Descend Mt. Buckner via the ascent route (probably can traverse skiers right on the way down and shortcut out a little so maybe do not drop your pack until halfway to summit?) back down into Horseshoe Basin, skirt below Davenport Glacier to 6,369 ft to cut below the toe of Sahale Mountain’s Southeast Ridge. Ascend out of Horseshoe Basin on a snow couloir, then a 4th class ridge, then a little more steep snow to cross over to Sahale Arm above Doubtful Lake at ~7,516 ft (1,147 up from Horseshoe Basin, last climbing of the trip). Depending on how you are feeling, a bivy here may be desirable (do not bivy here without a permit, backcountry rangers are always present on Sahale Arm). Since we skipped the Buckner summit we had plenty of time and energy to get to the car but there is a lot of trail, switch backs and elevation left to lose to the car. Descend Sahale Arm on the incredibly scenic trail to Cascade Pass (5,395 ft). From Cascade Pass, hike several miles and 1,904 ft down, encountering countless switch backs, on a hiking trail to Cascade Pass TH at 3,491 ft. Drive car A back to car B trailhead while contemplating which sport crags have the shortest approaches for next weekend… Gear Notes: Light 60M rope (we used an 8.1mm, doubled for climbing) 12 middle-sized nuts (for Goode) 2 pickets (2 screws would probably be good) Super light crampons and ice ax Additional gear notes: Since I love, love, love when climbers include their special gear secrets in their TRs, my gear MVPs from this trip were: 1) Cytomax. Gatorade is good but Cytomax is much better because of the carbs it includes. I have gone for hours and hours on Cytomax only without bonking. 2) FiveTen Insight hightop approach shoes. I love FiveTen approach shoes (especially the rubber) and really like high tops (either the Exum Ridge or Insight) for North Cascades adventures. The high tops keep out scree and snow and provide comfy ankle protection. I can climb steep snow and rock up to 5.8 in them. I would recommend against carrying rock shoes for Goode since the climbing is easy and the hand/foot holds are abundant. For climbs of this grade, I would suggest that sticky rubber approach shoes or the same as, or better, than “real” rock shoes. With Adidas’ recent purchase of FiveTen, I would assume a GTX high top with Stealth rubber is soon-to-be realized. 3) One trekking pole. Over the past decade, I went full cycle from using trekking poles to approach the liquor store to never bringing them at all anymore. Luckily, Keith brought poles two and I “borrowed” one for the entire traverse. This trip would have sucked with only my ‘lil Fischer Price ax for support. Approach Notes: See above1 point


