Search the Community
Showing results for tags 'first ascent'.
-
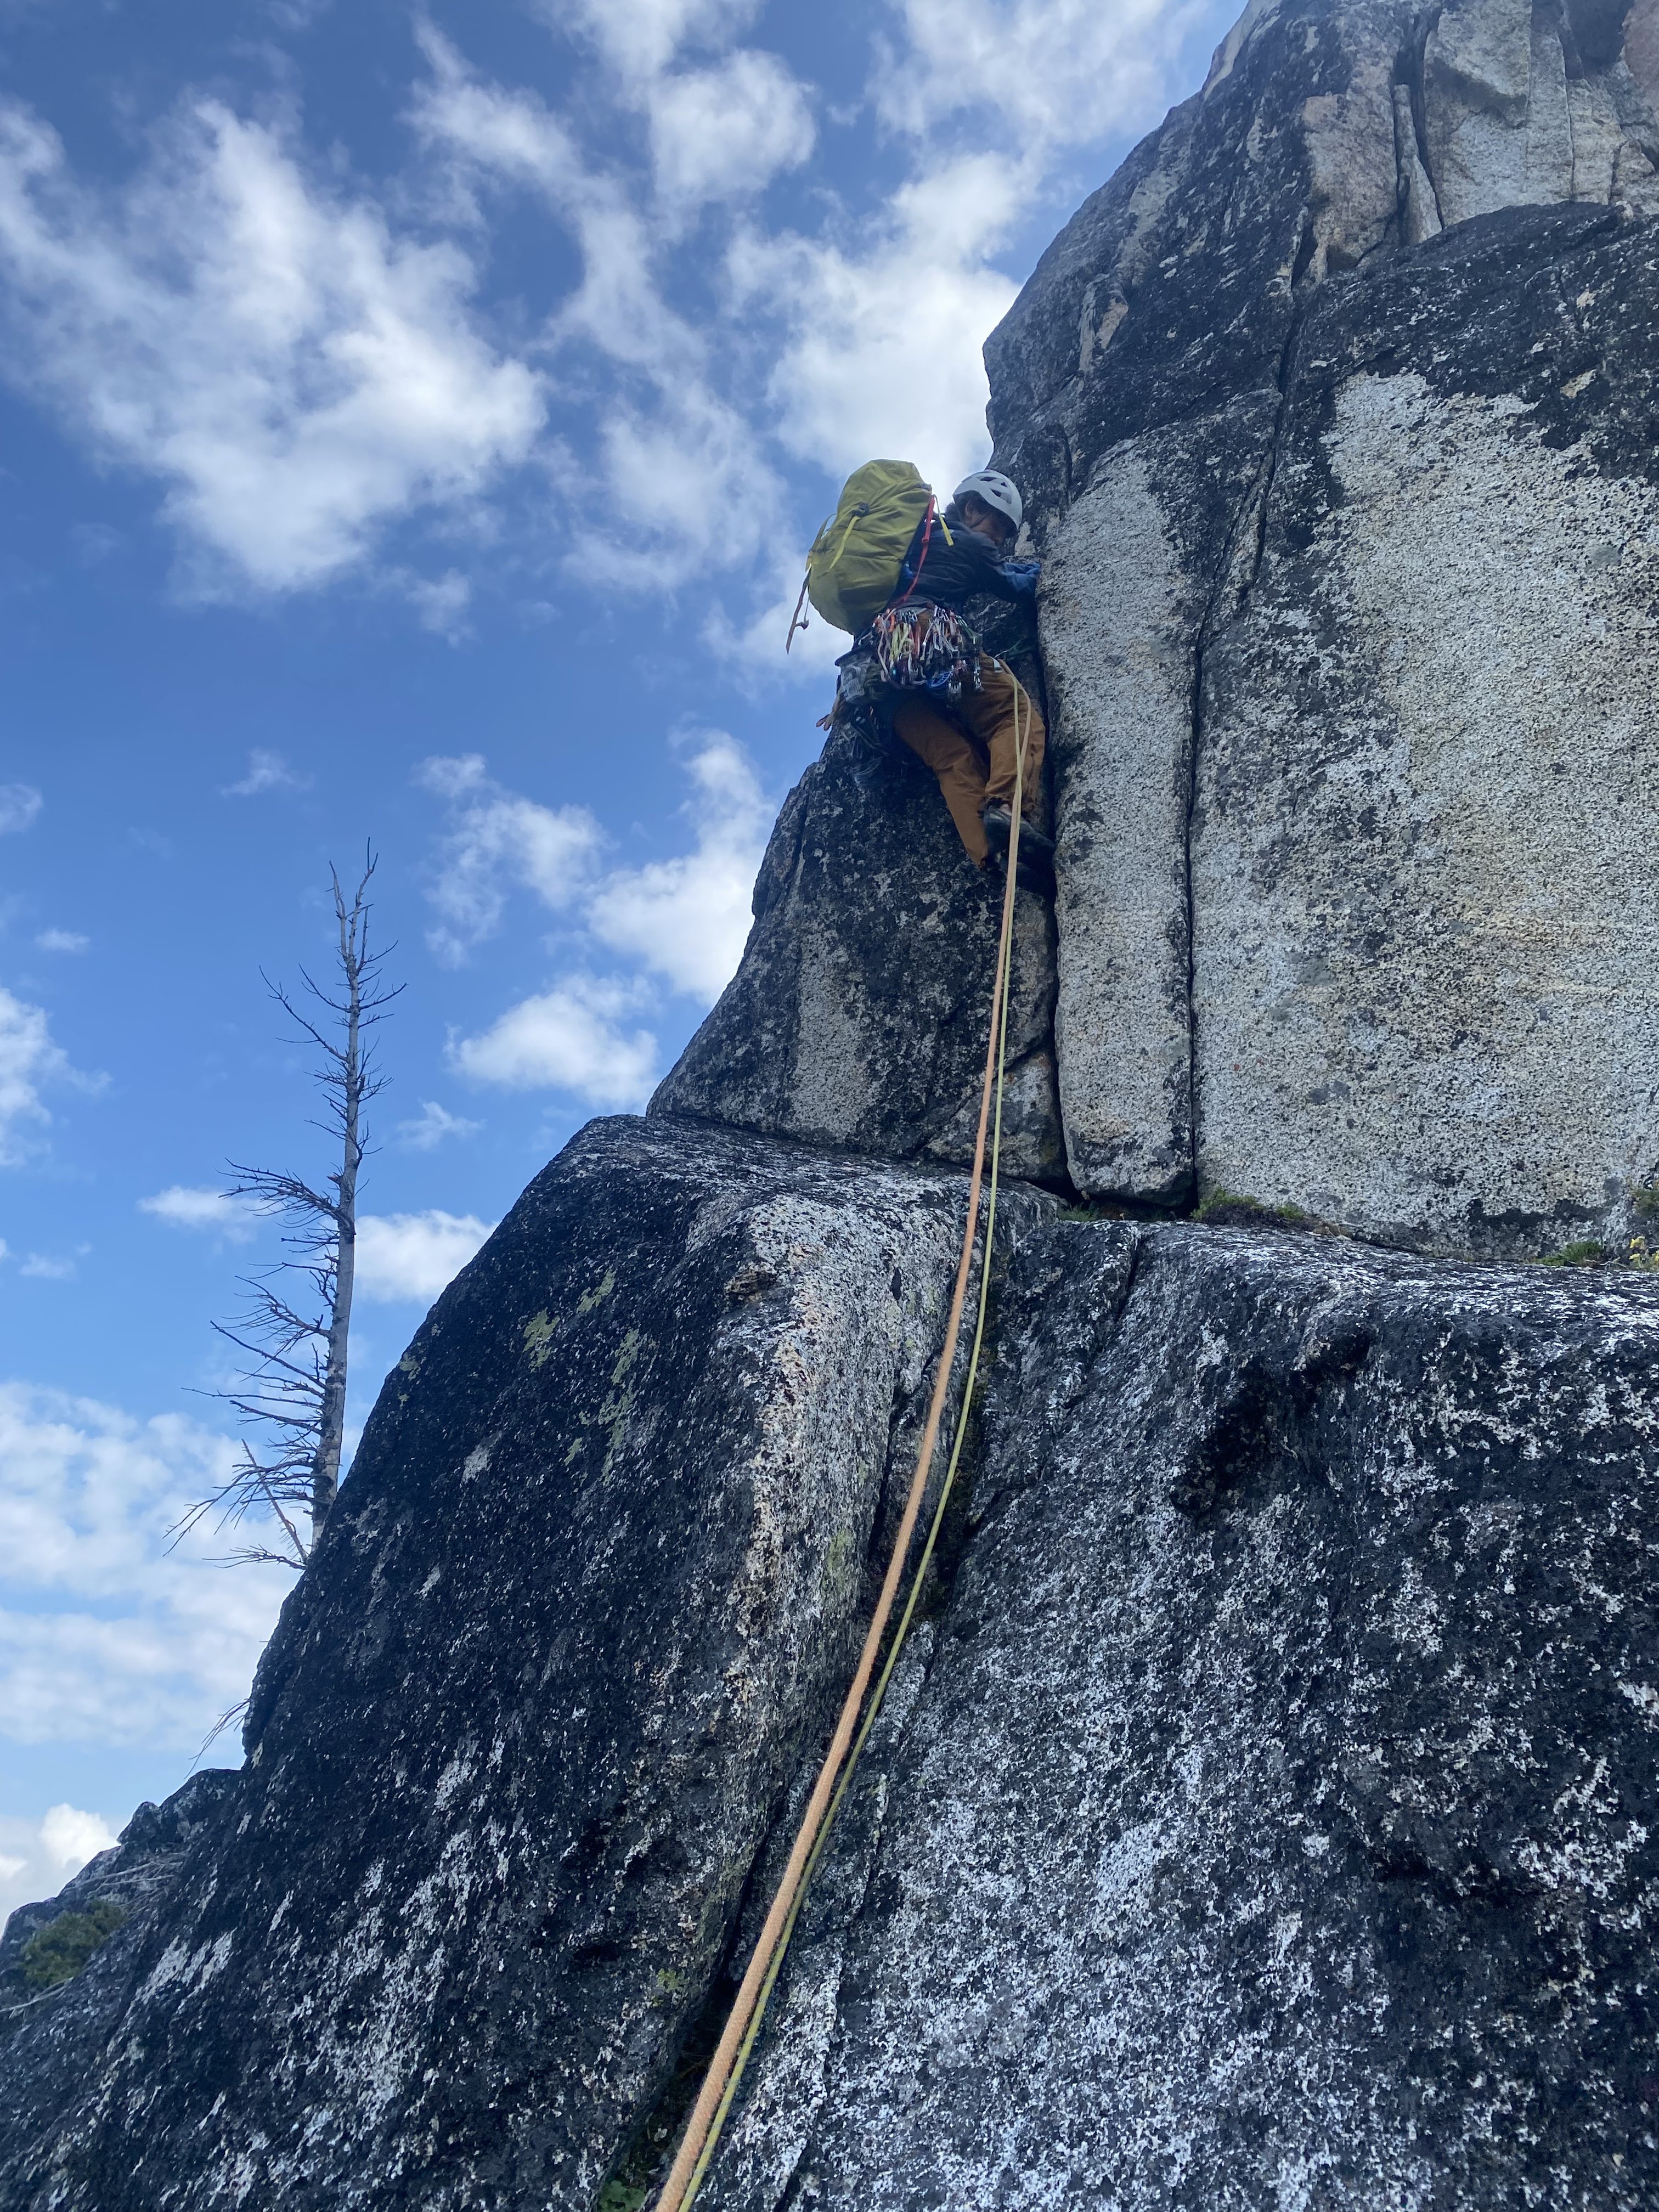
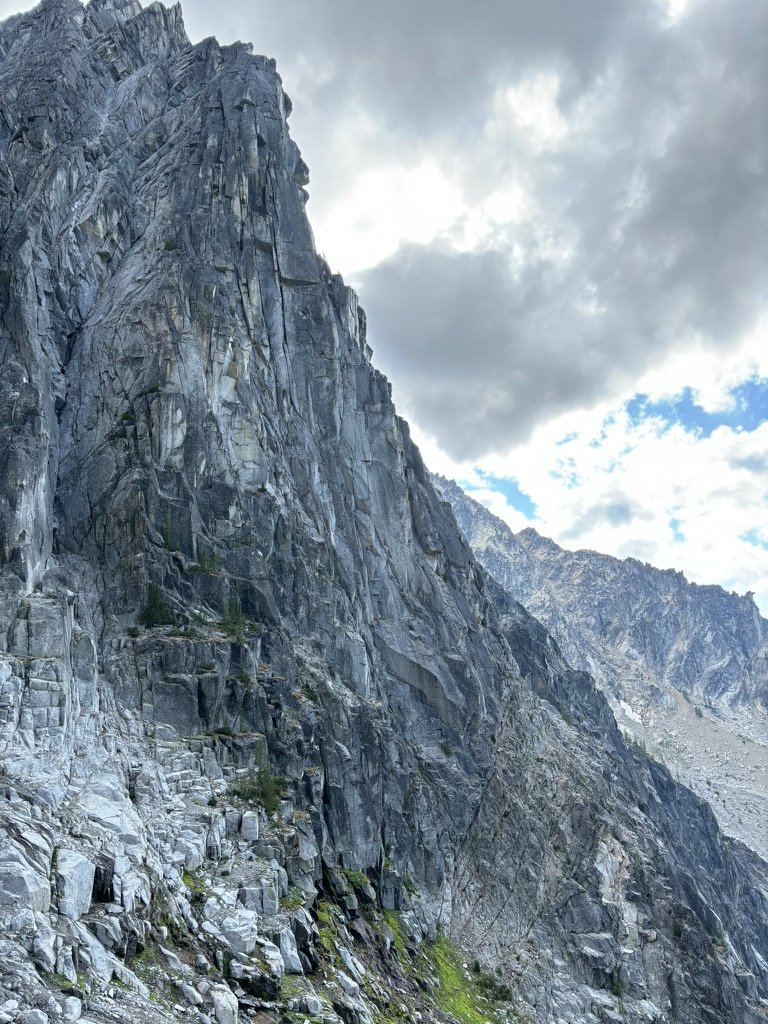
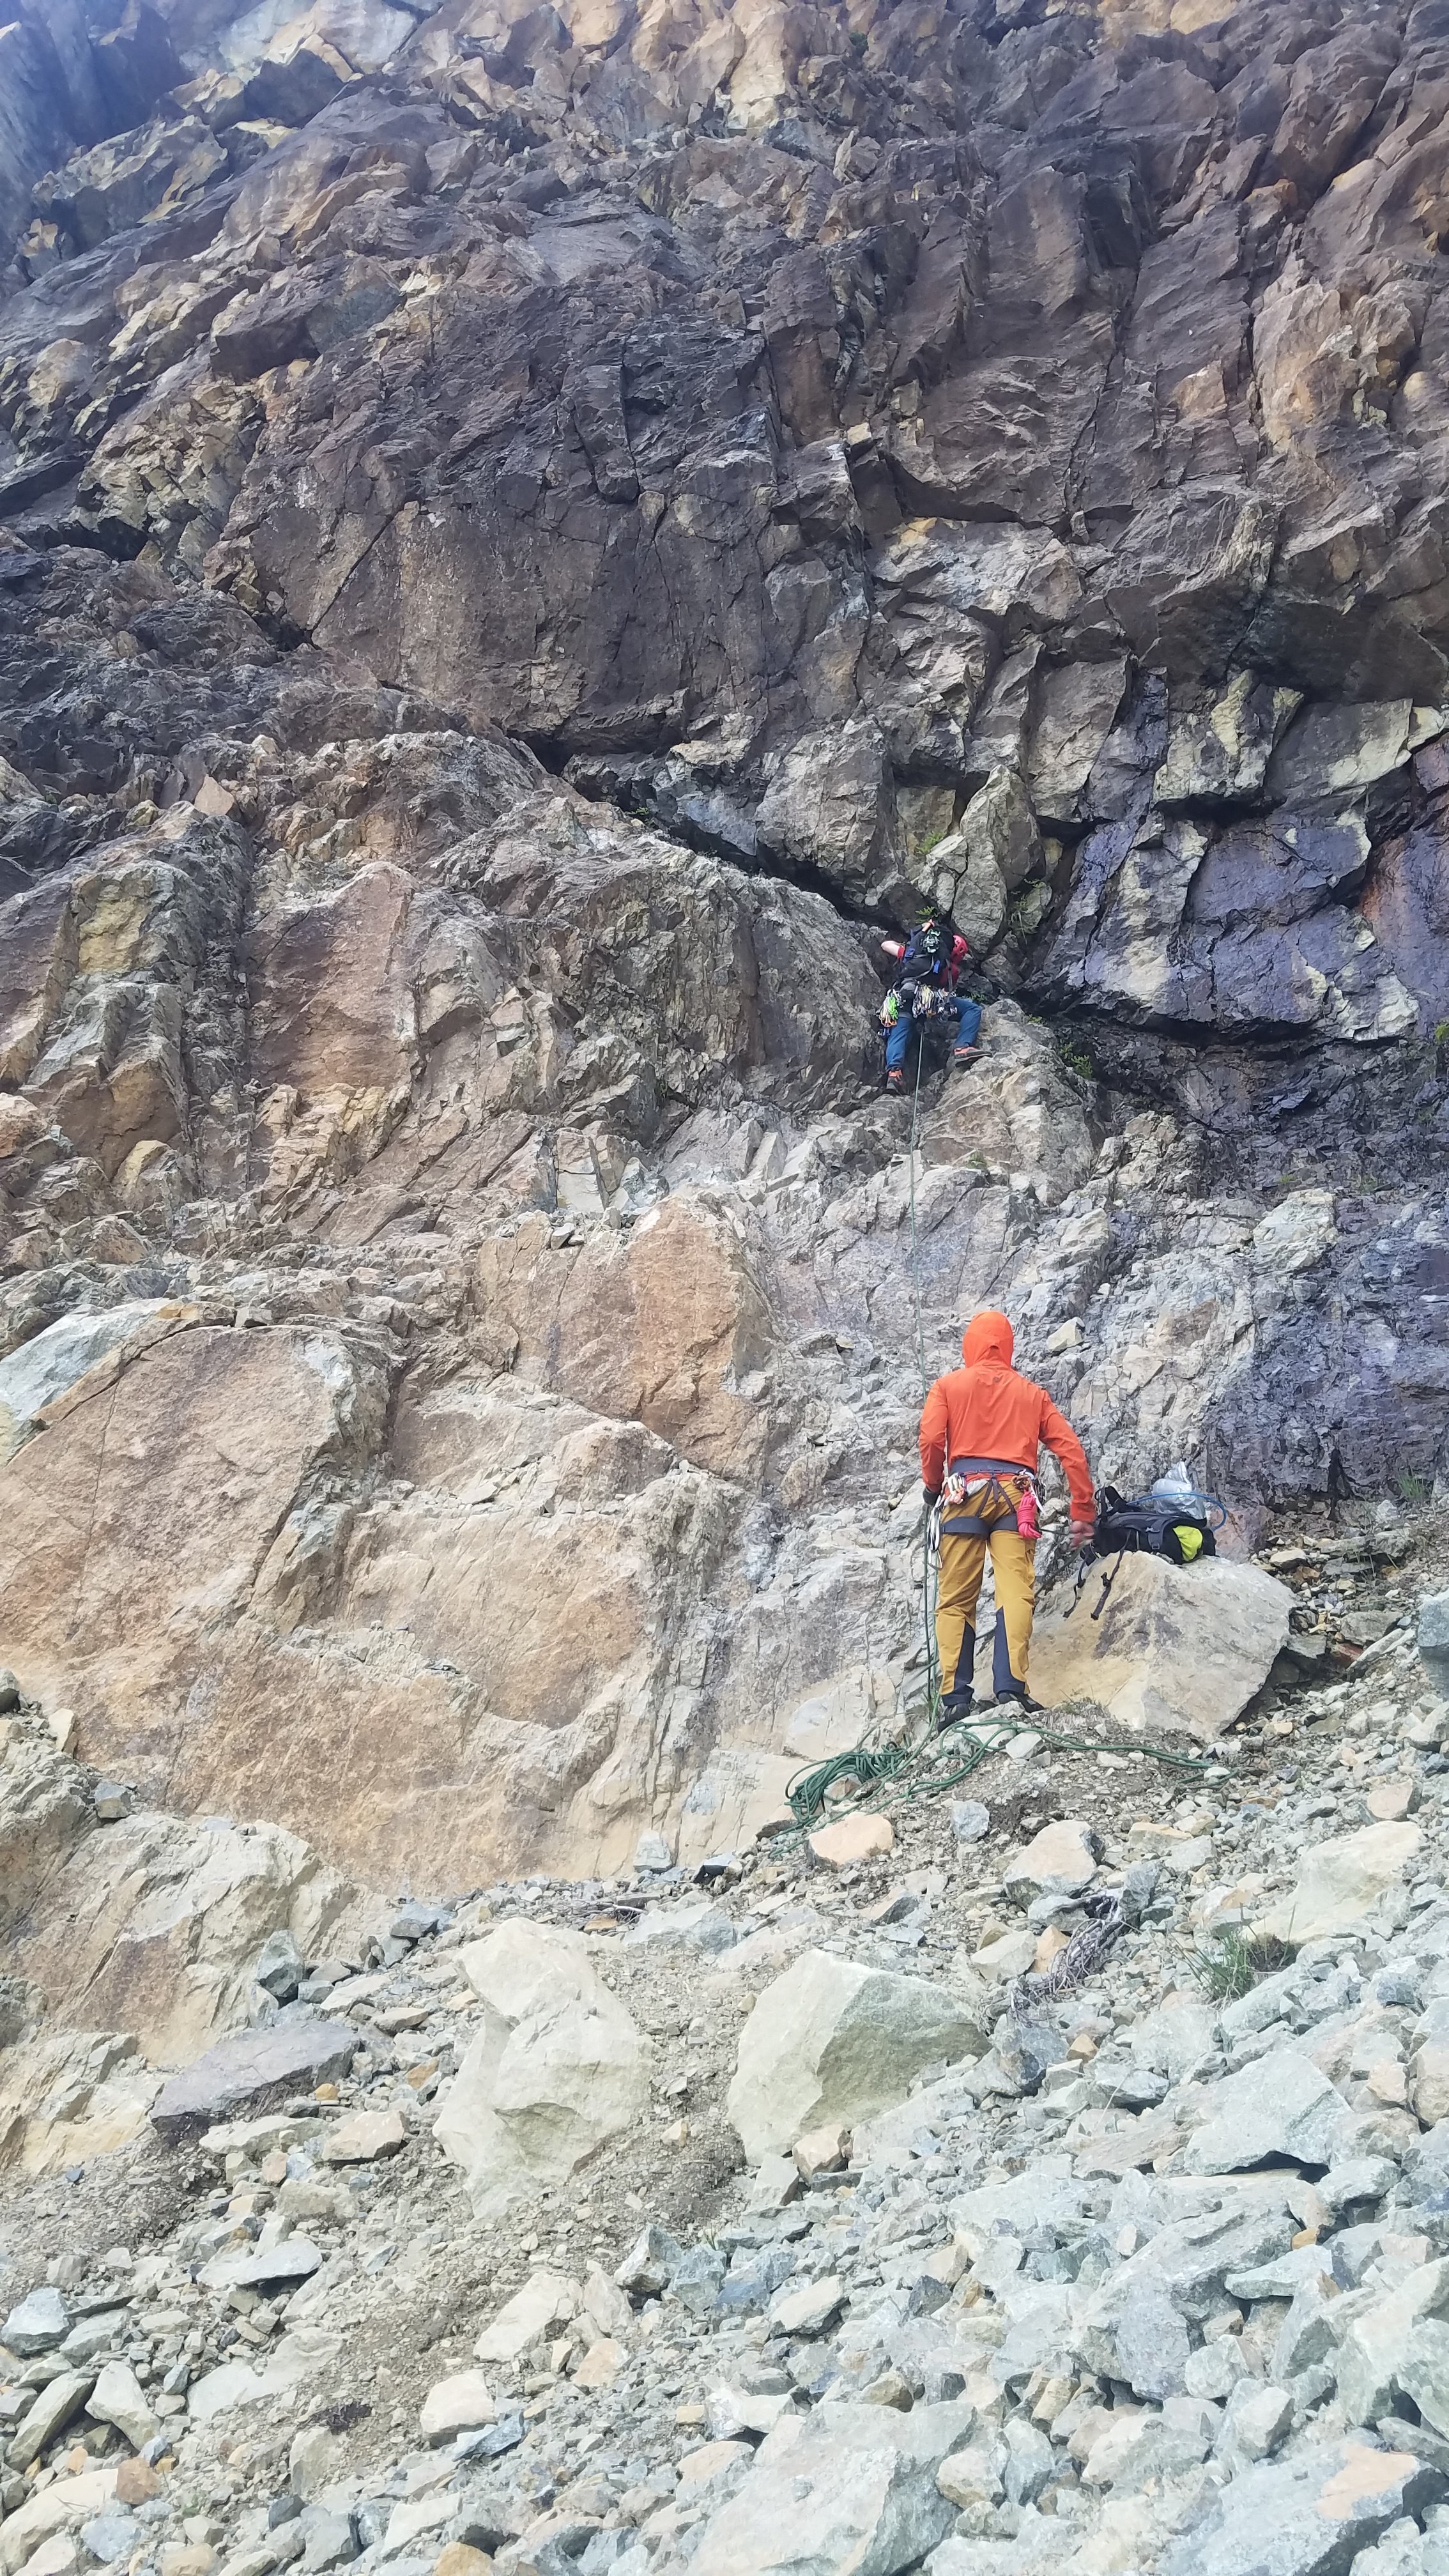
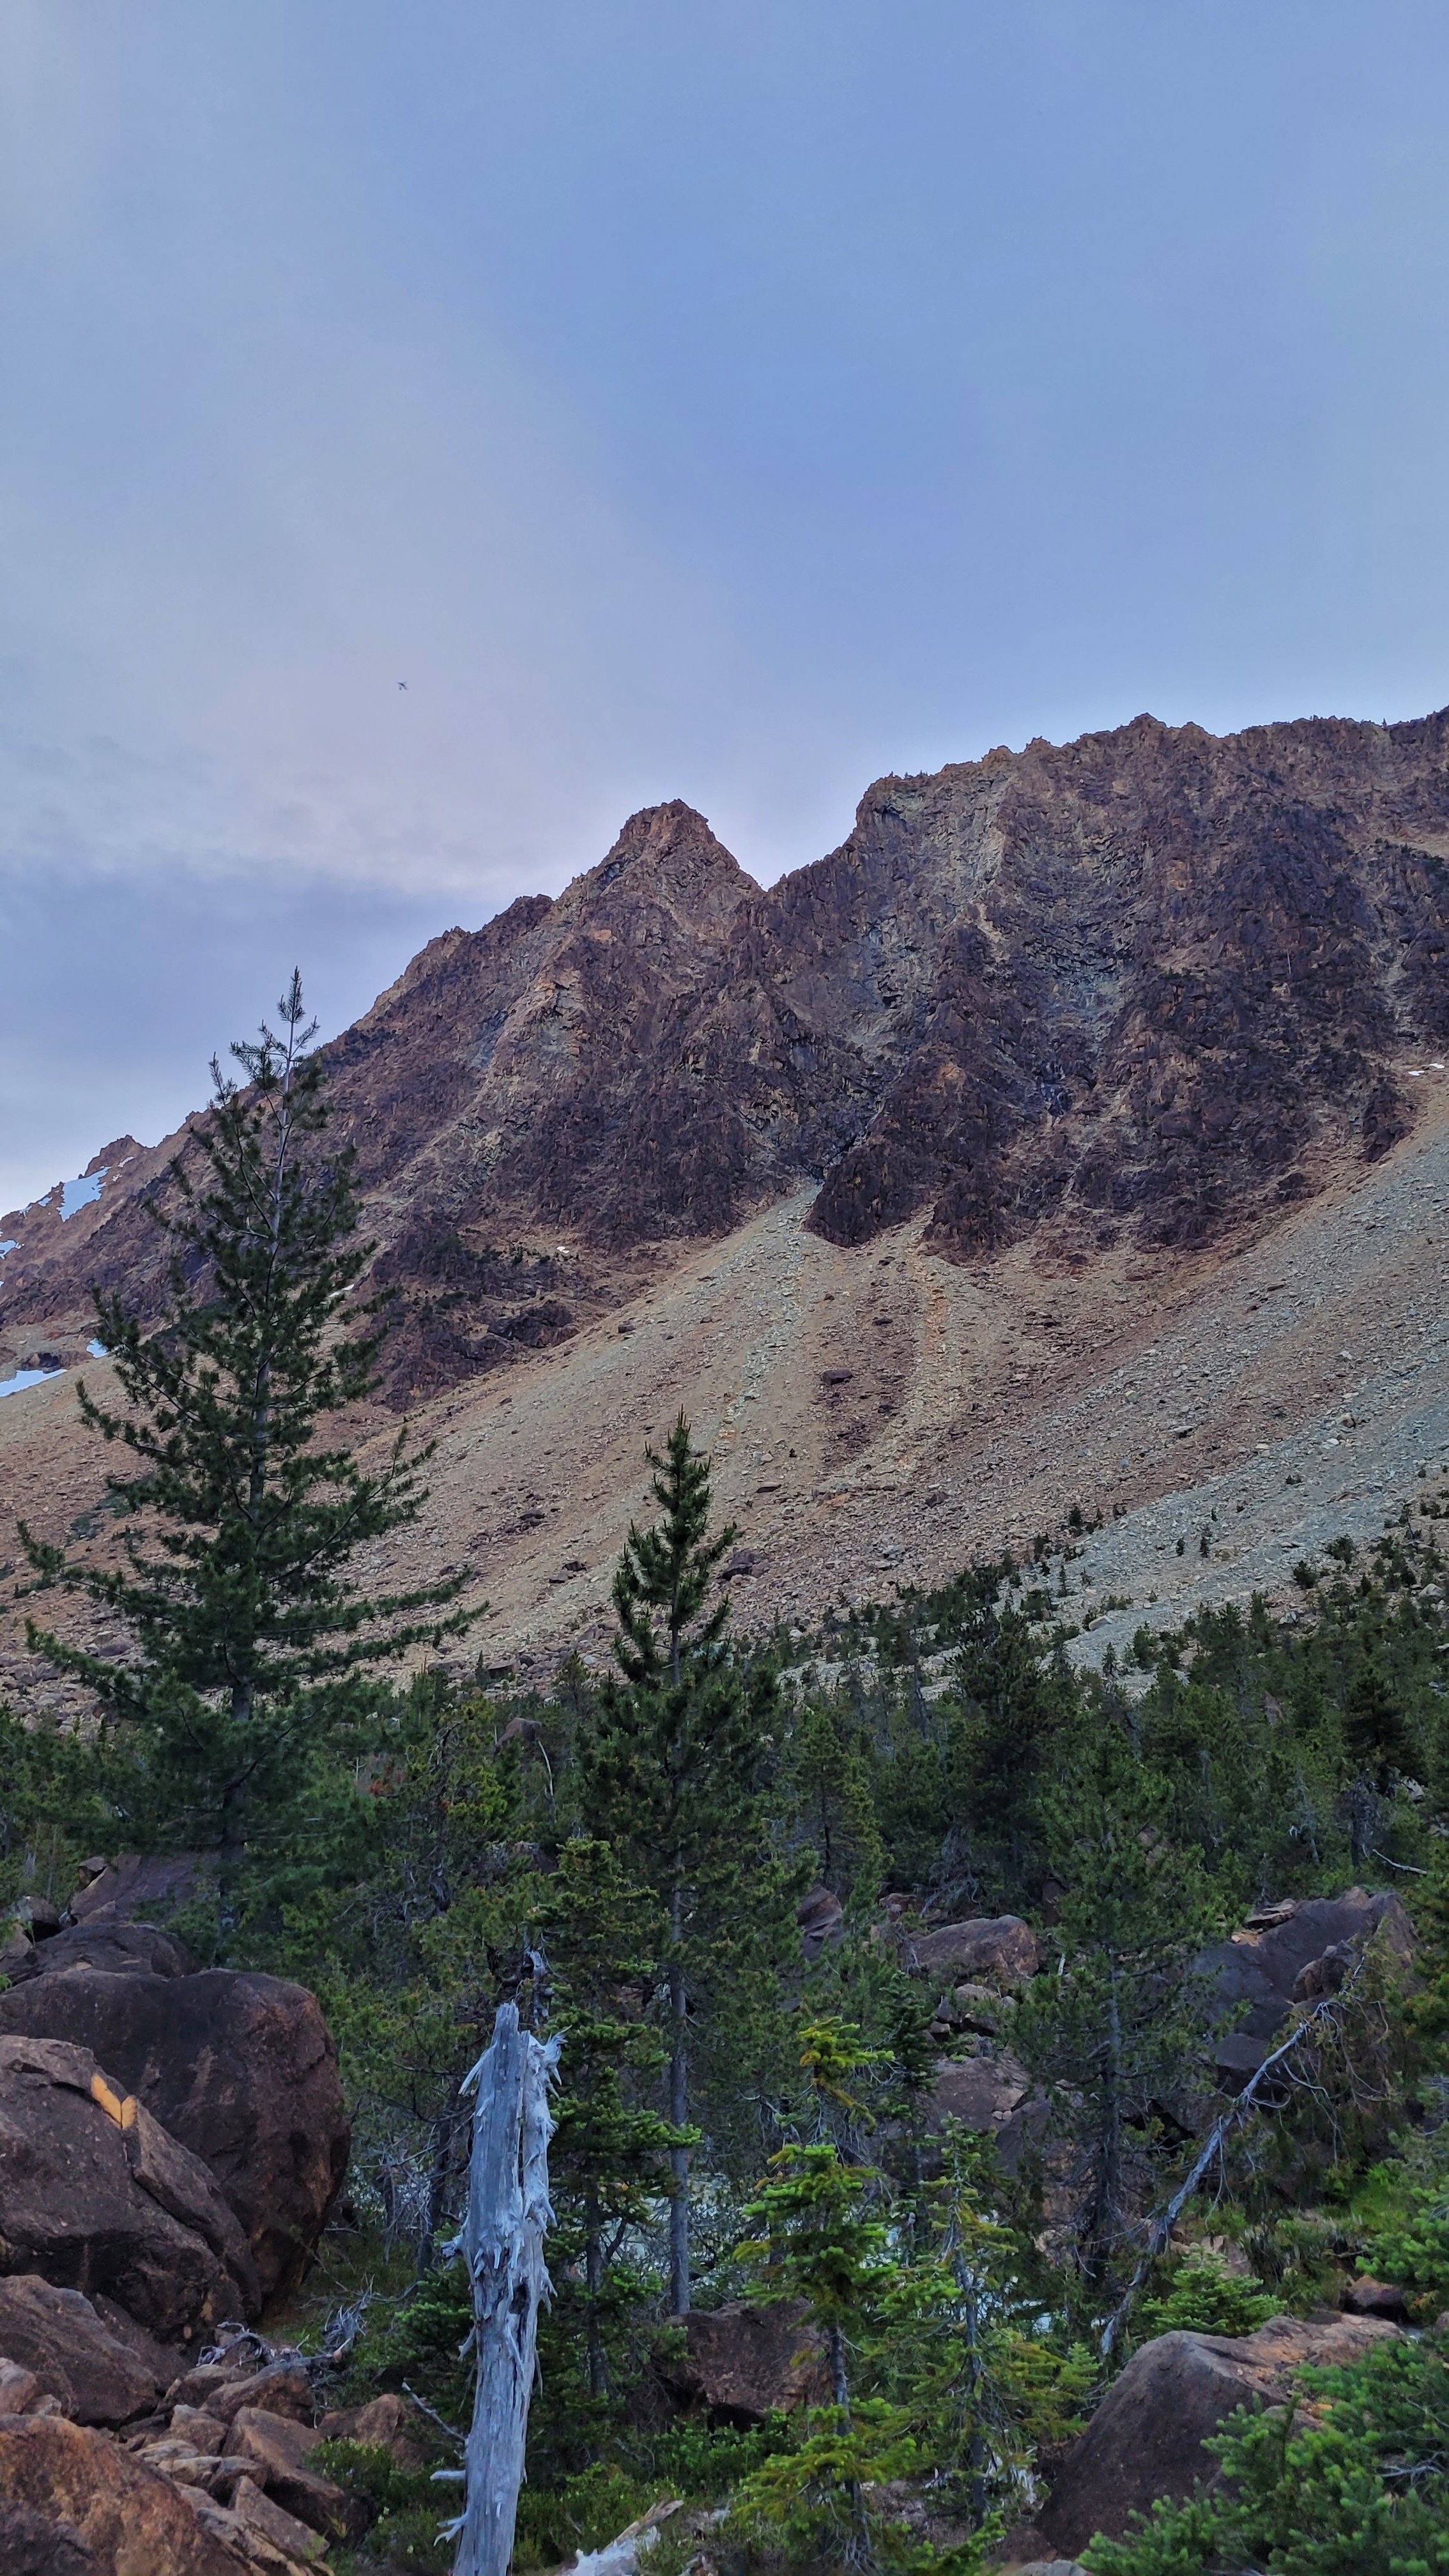
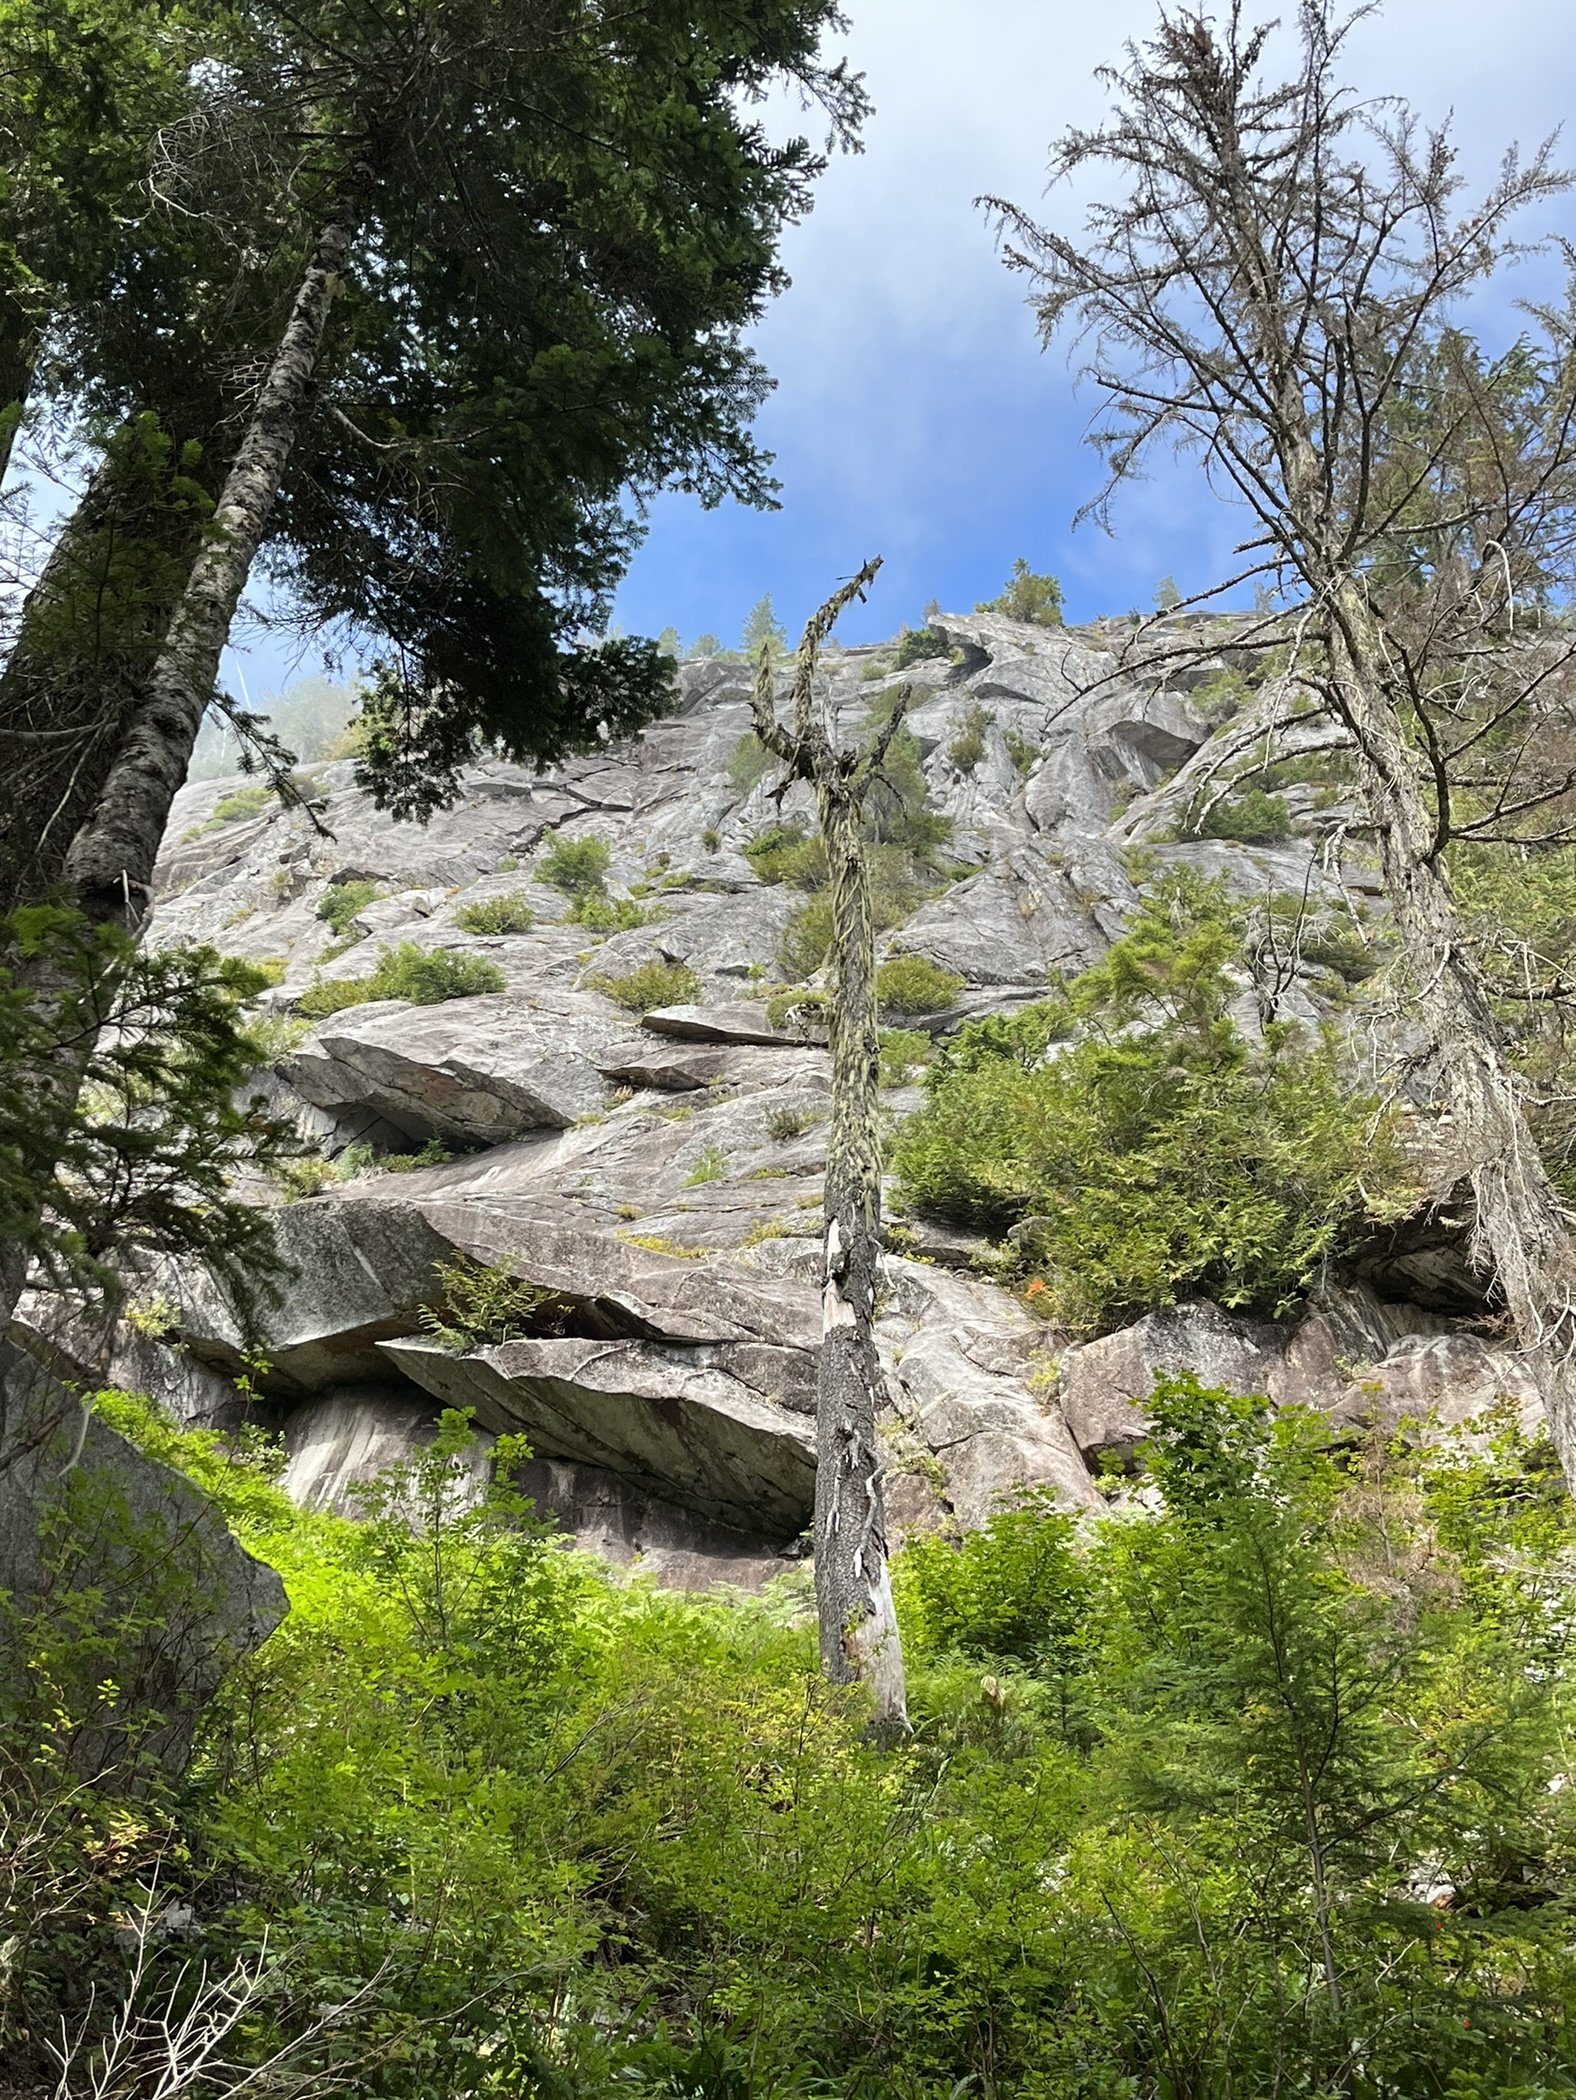
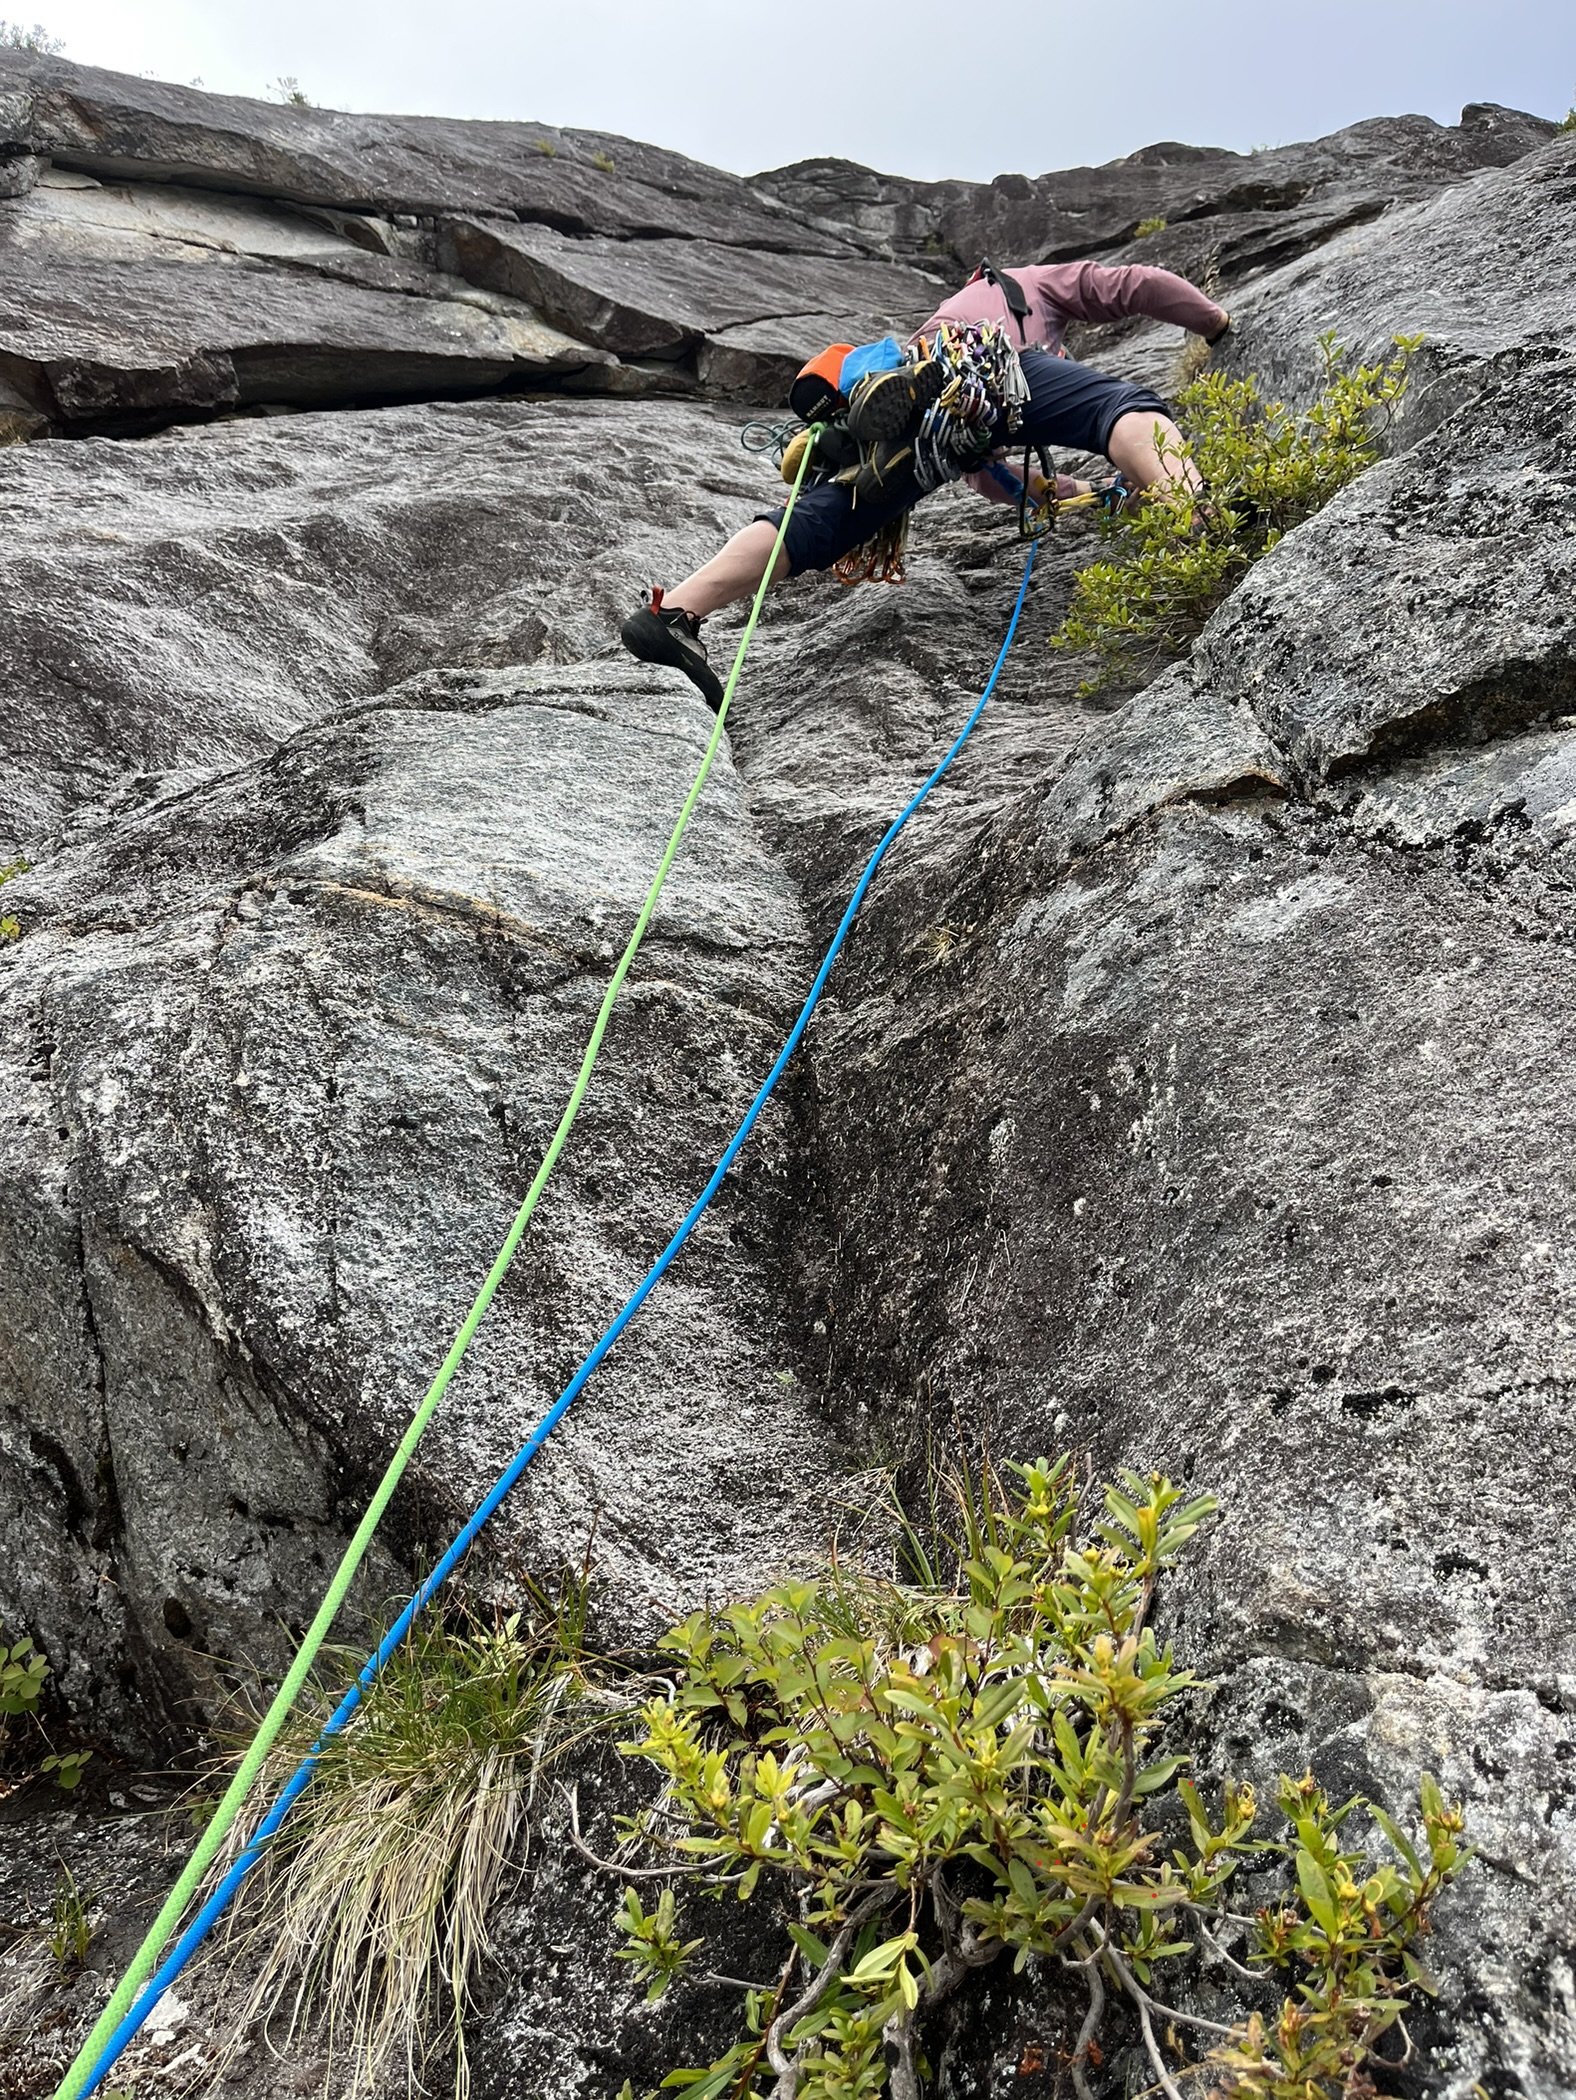
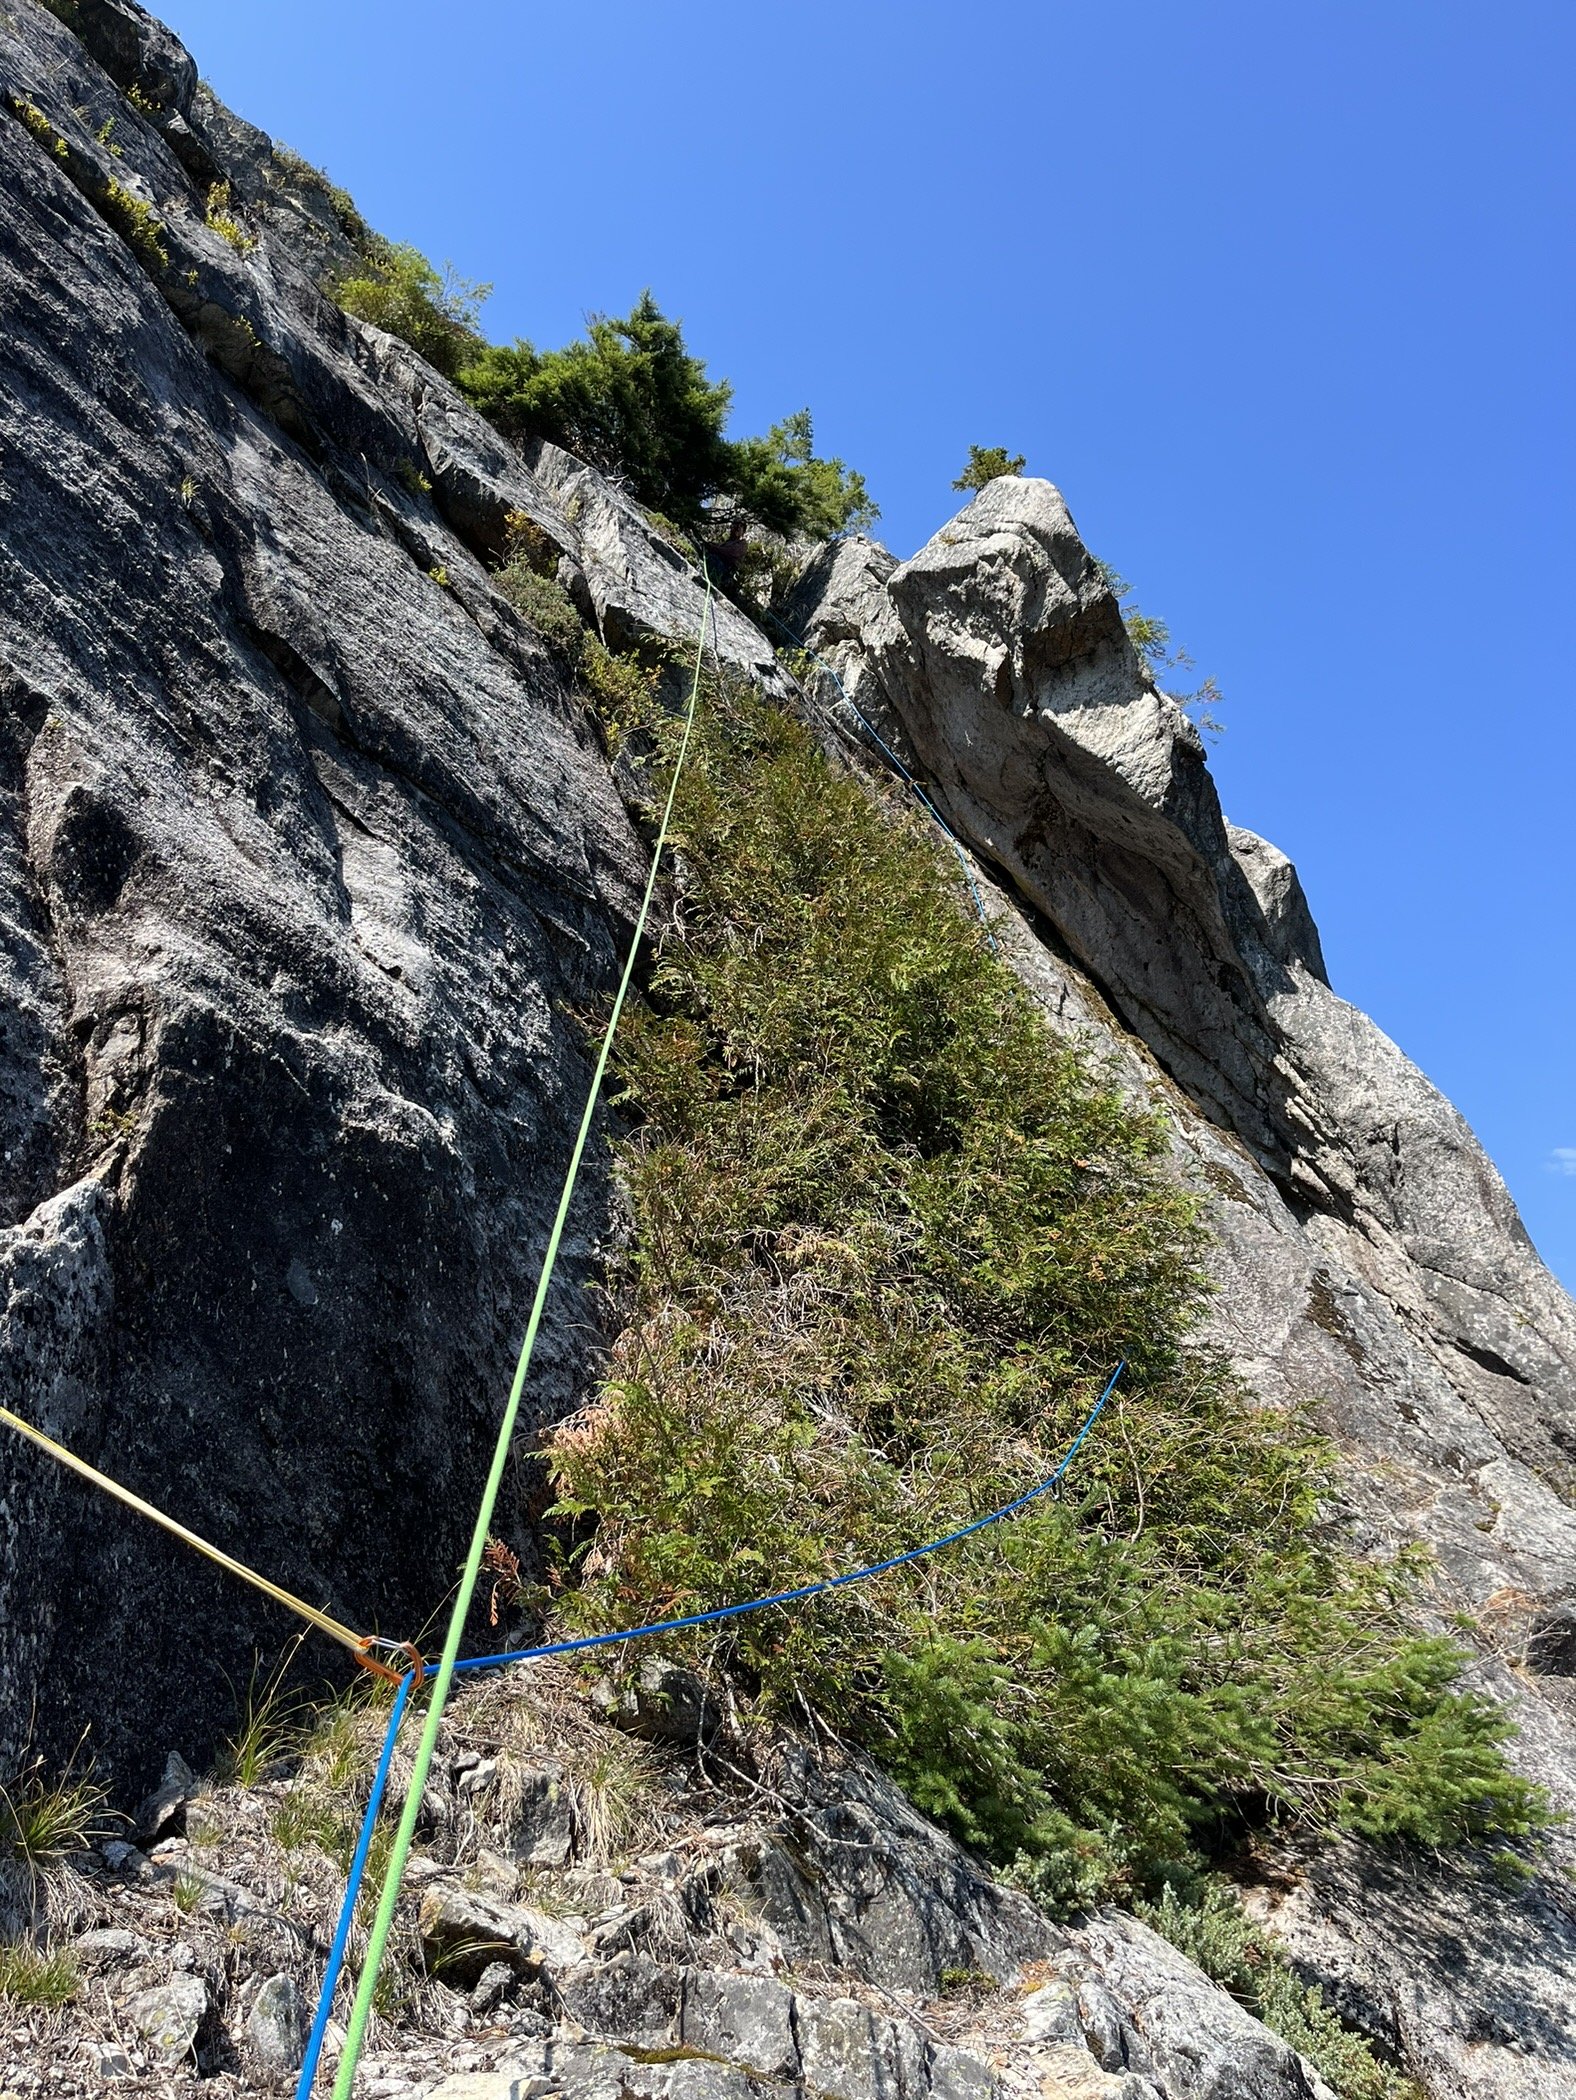
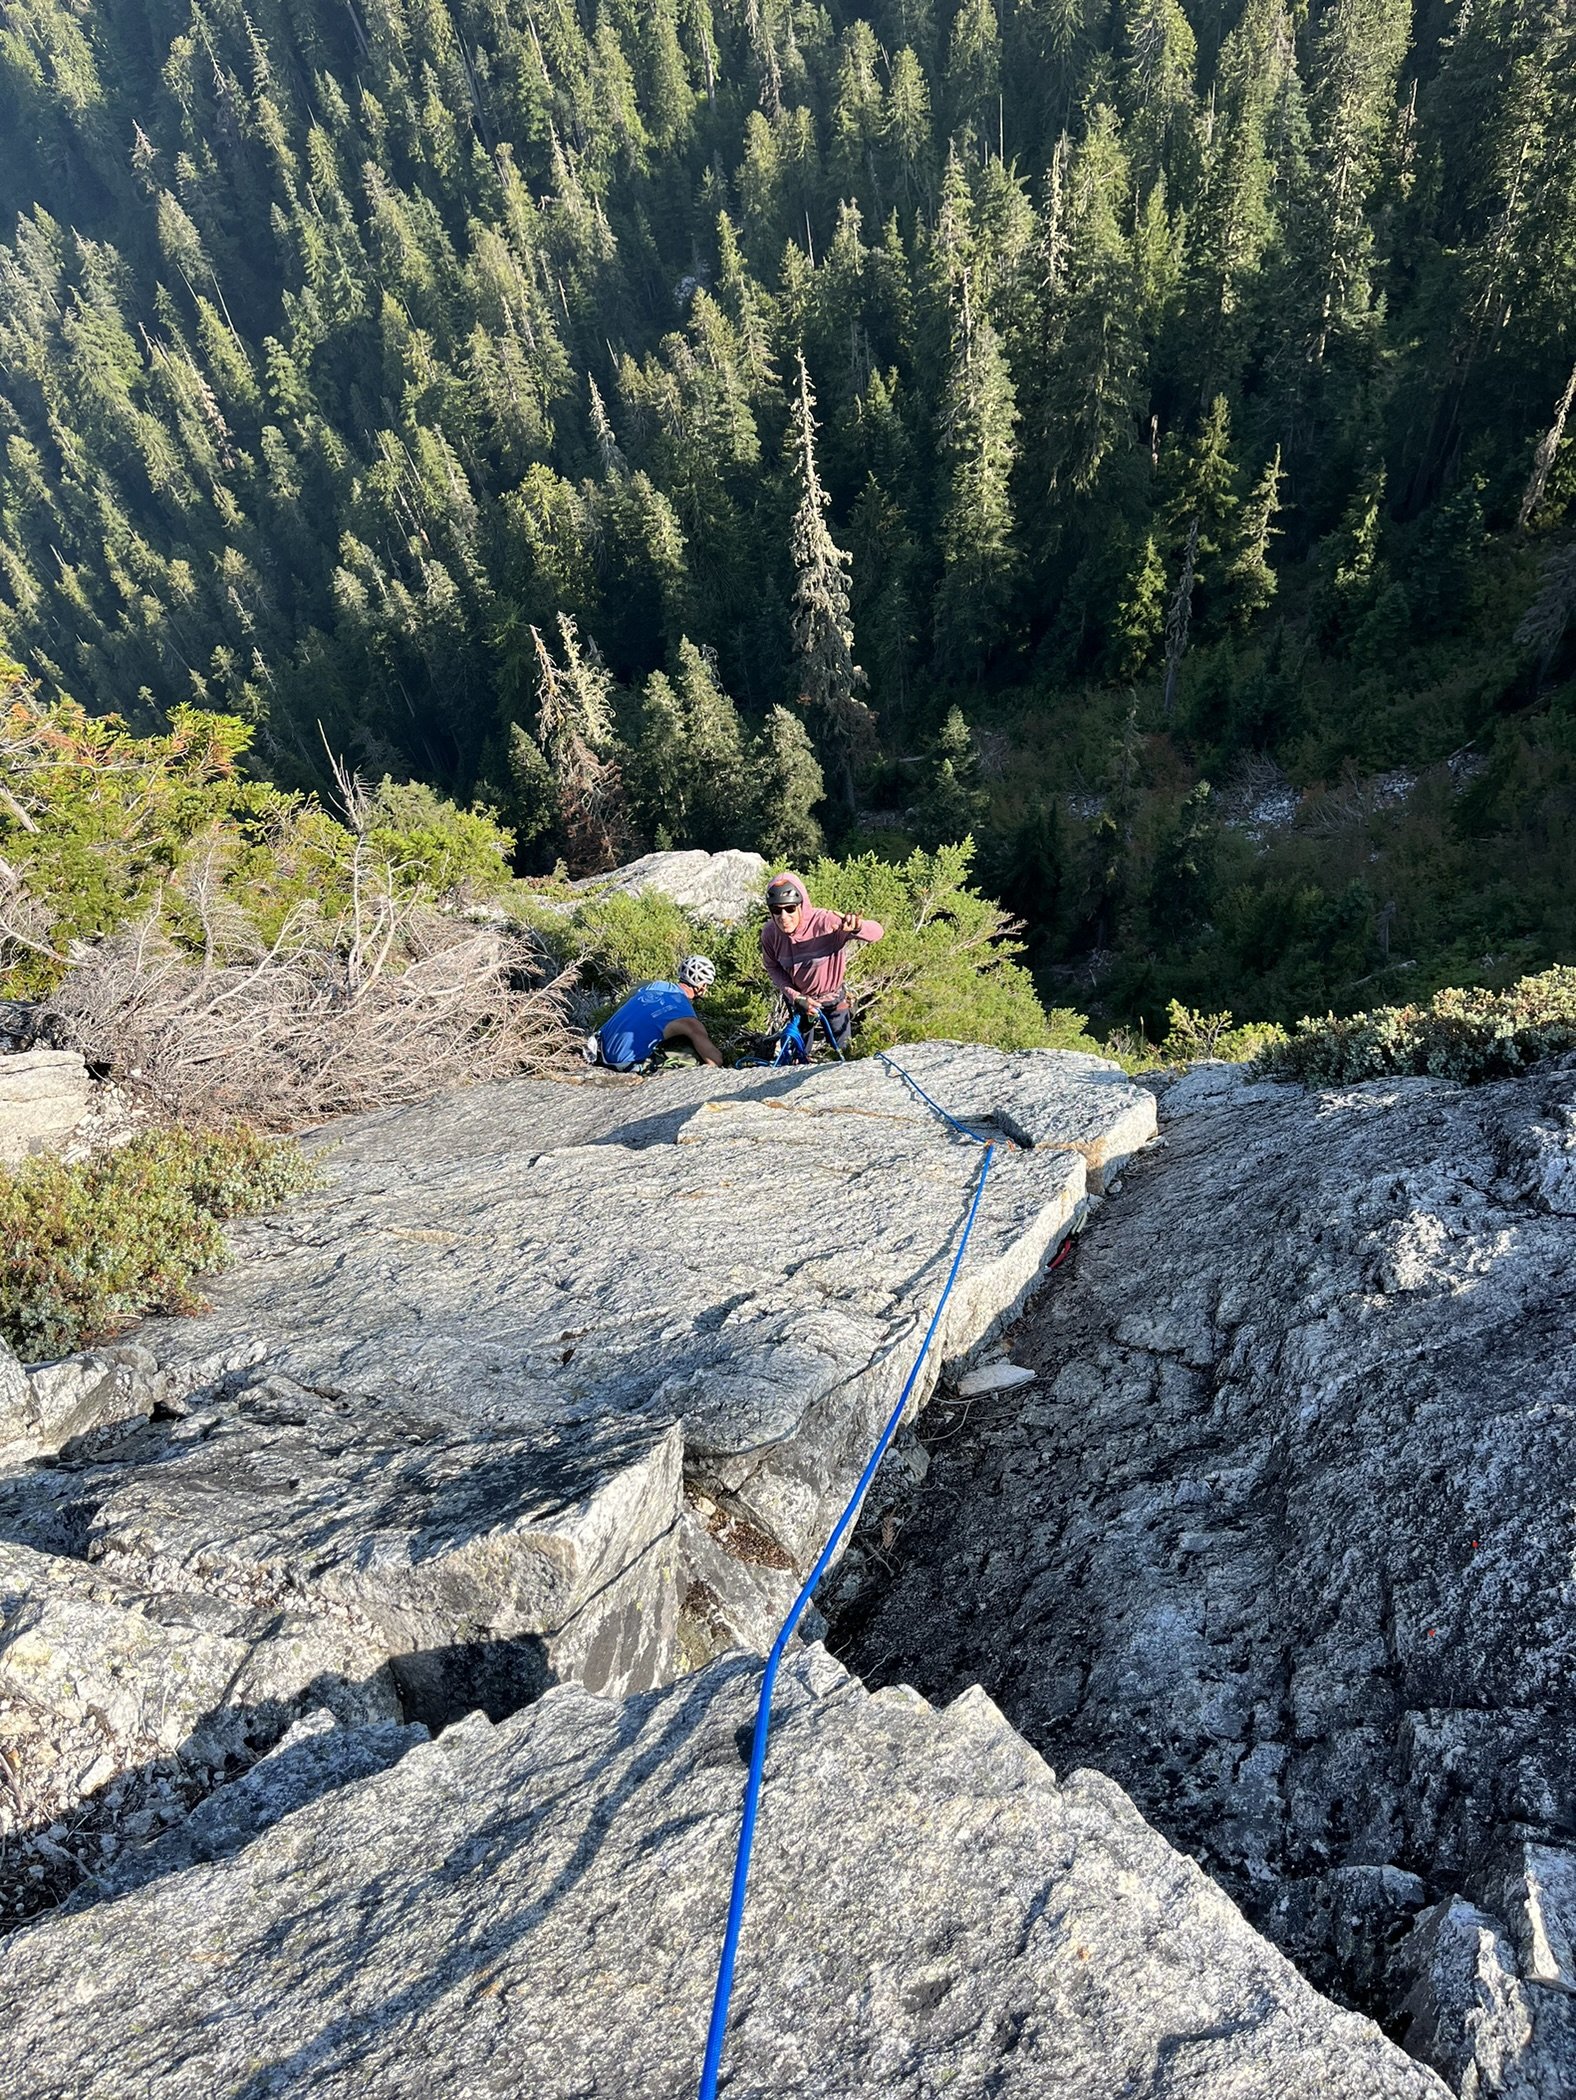
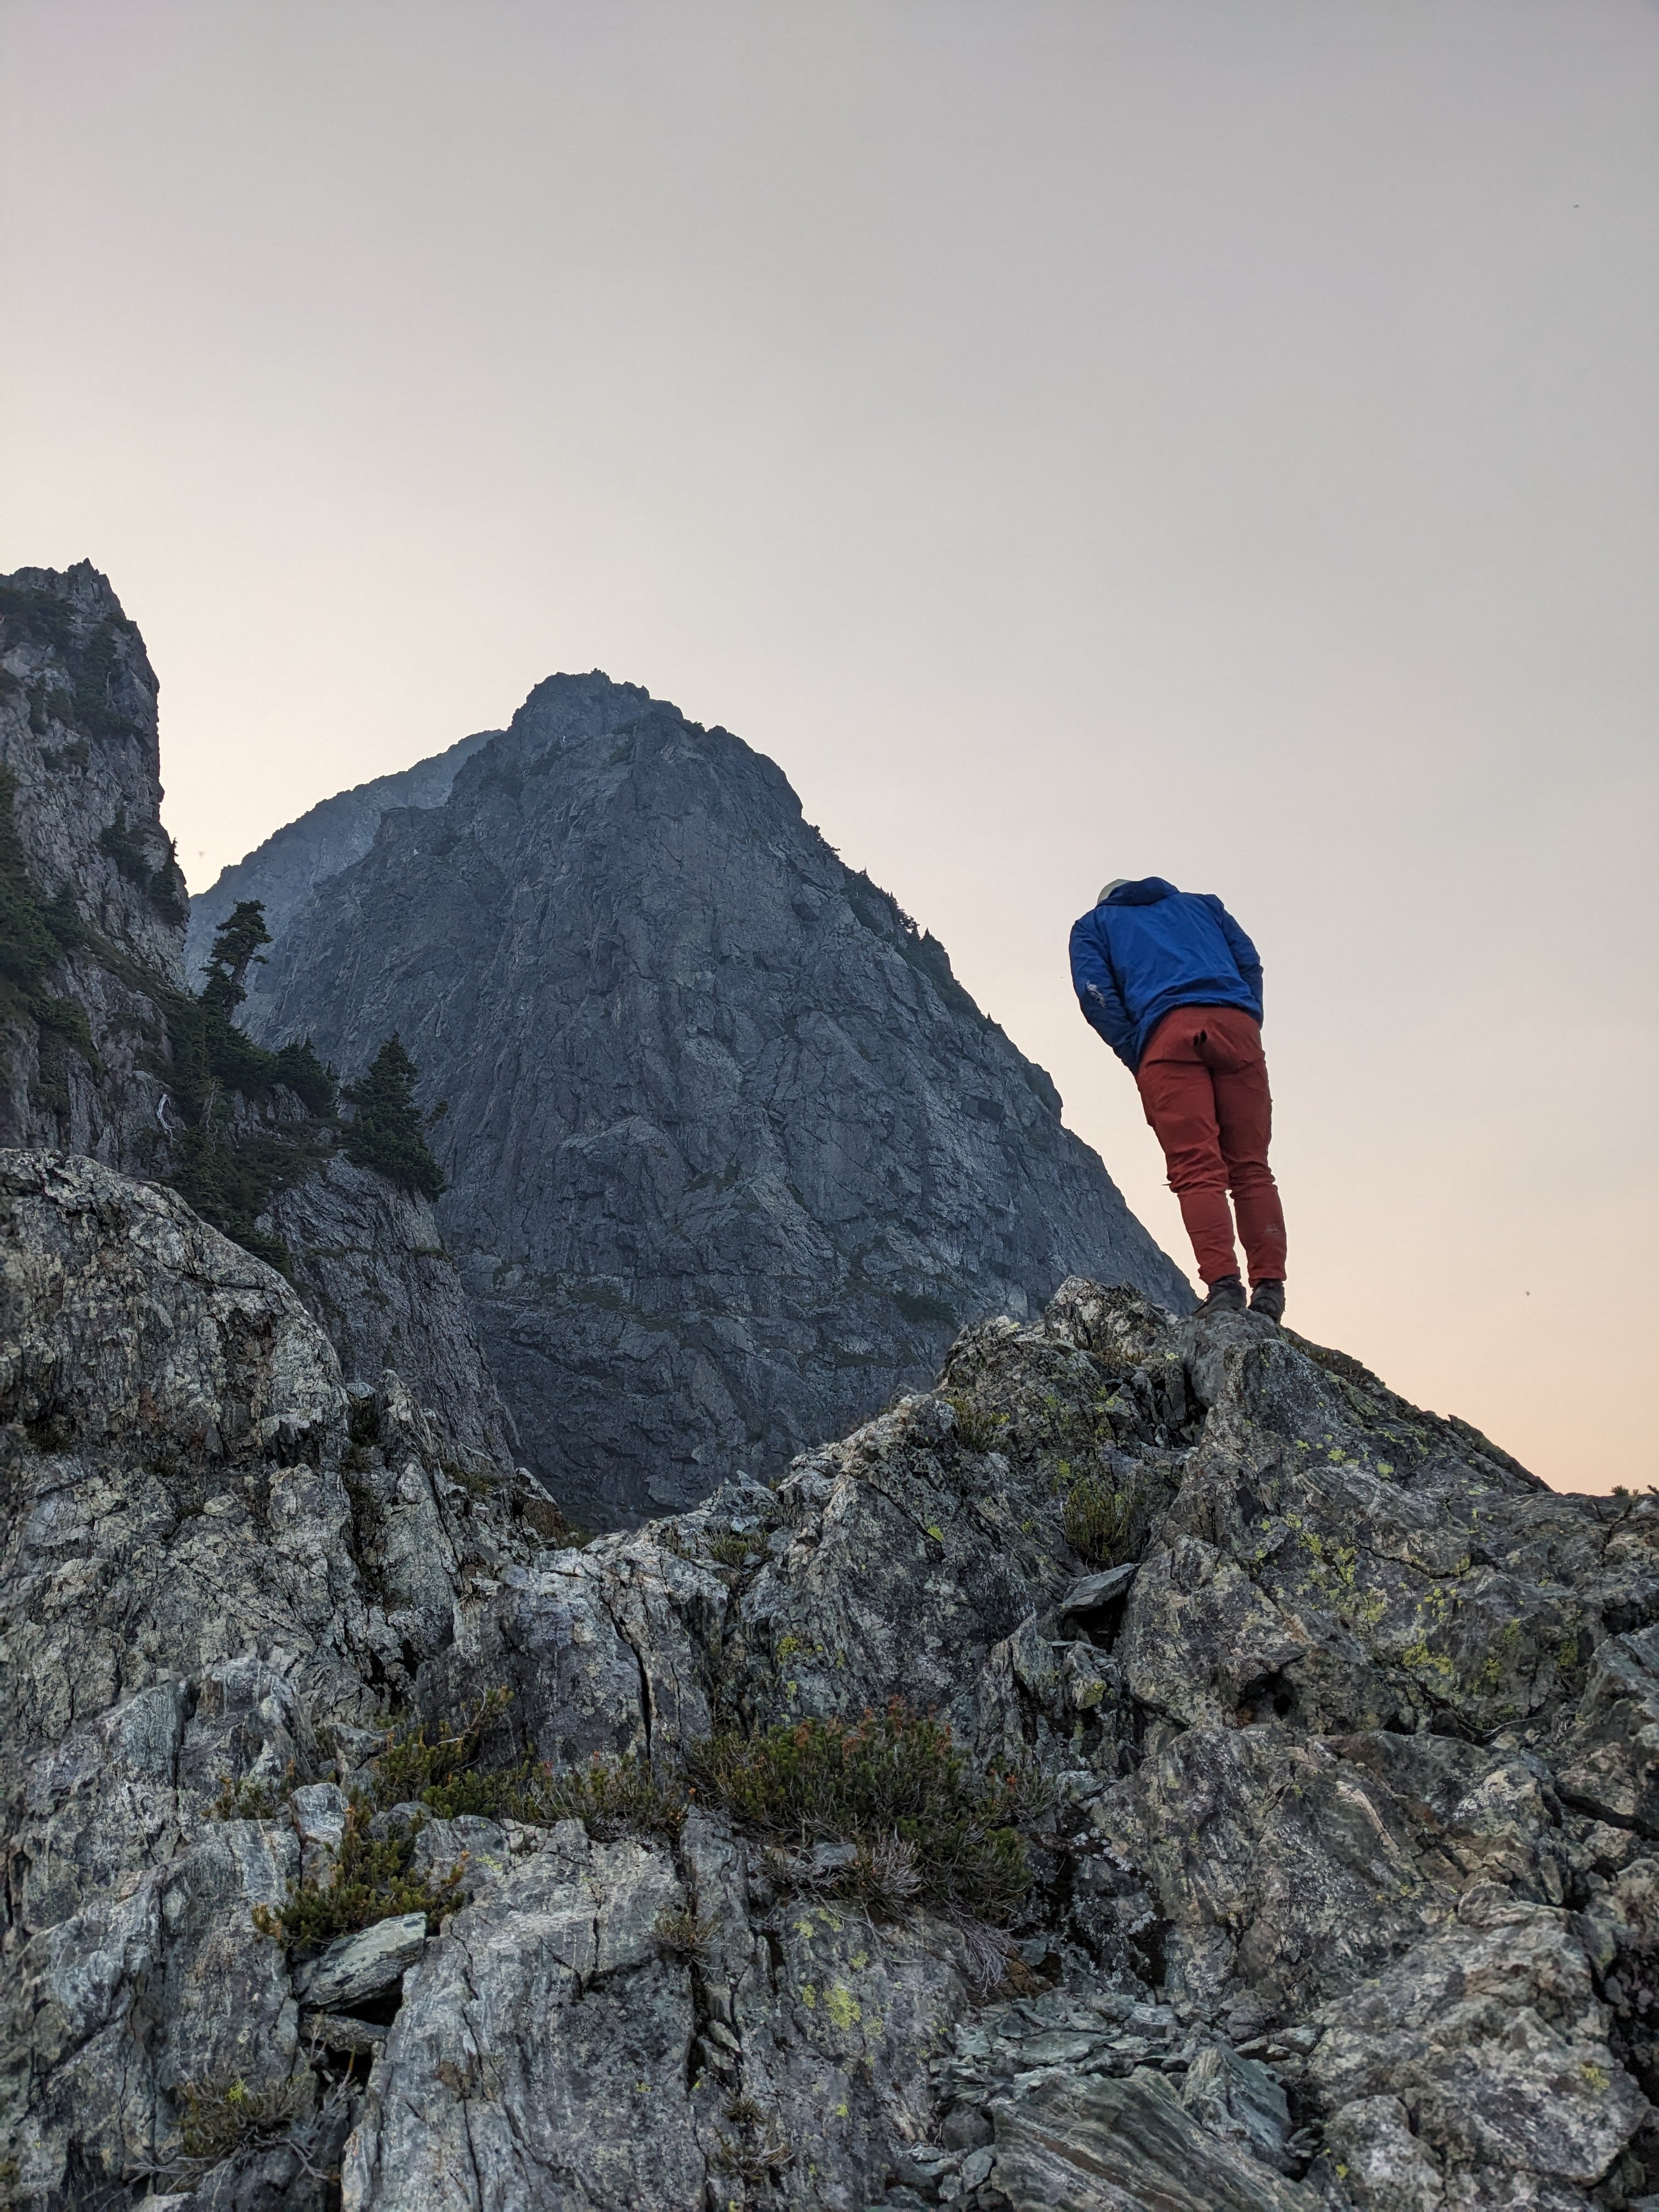
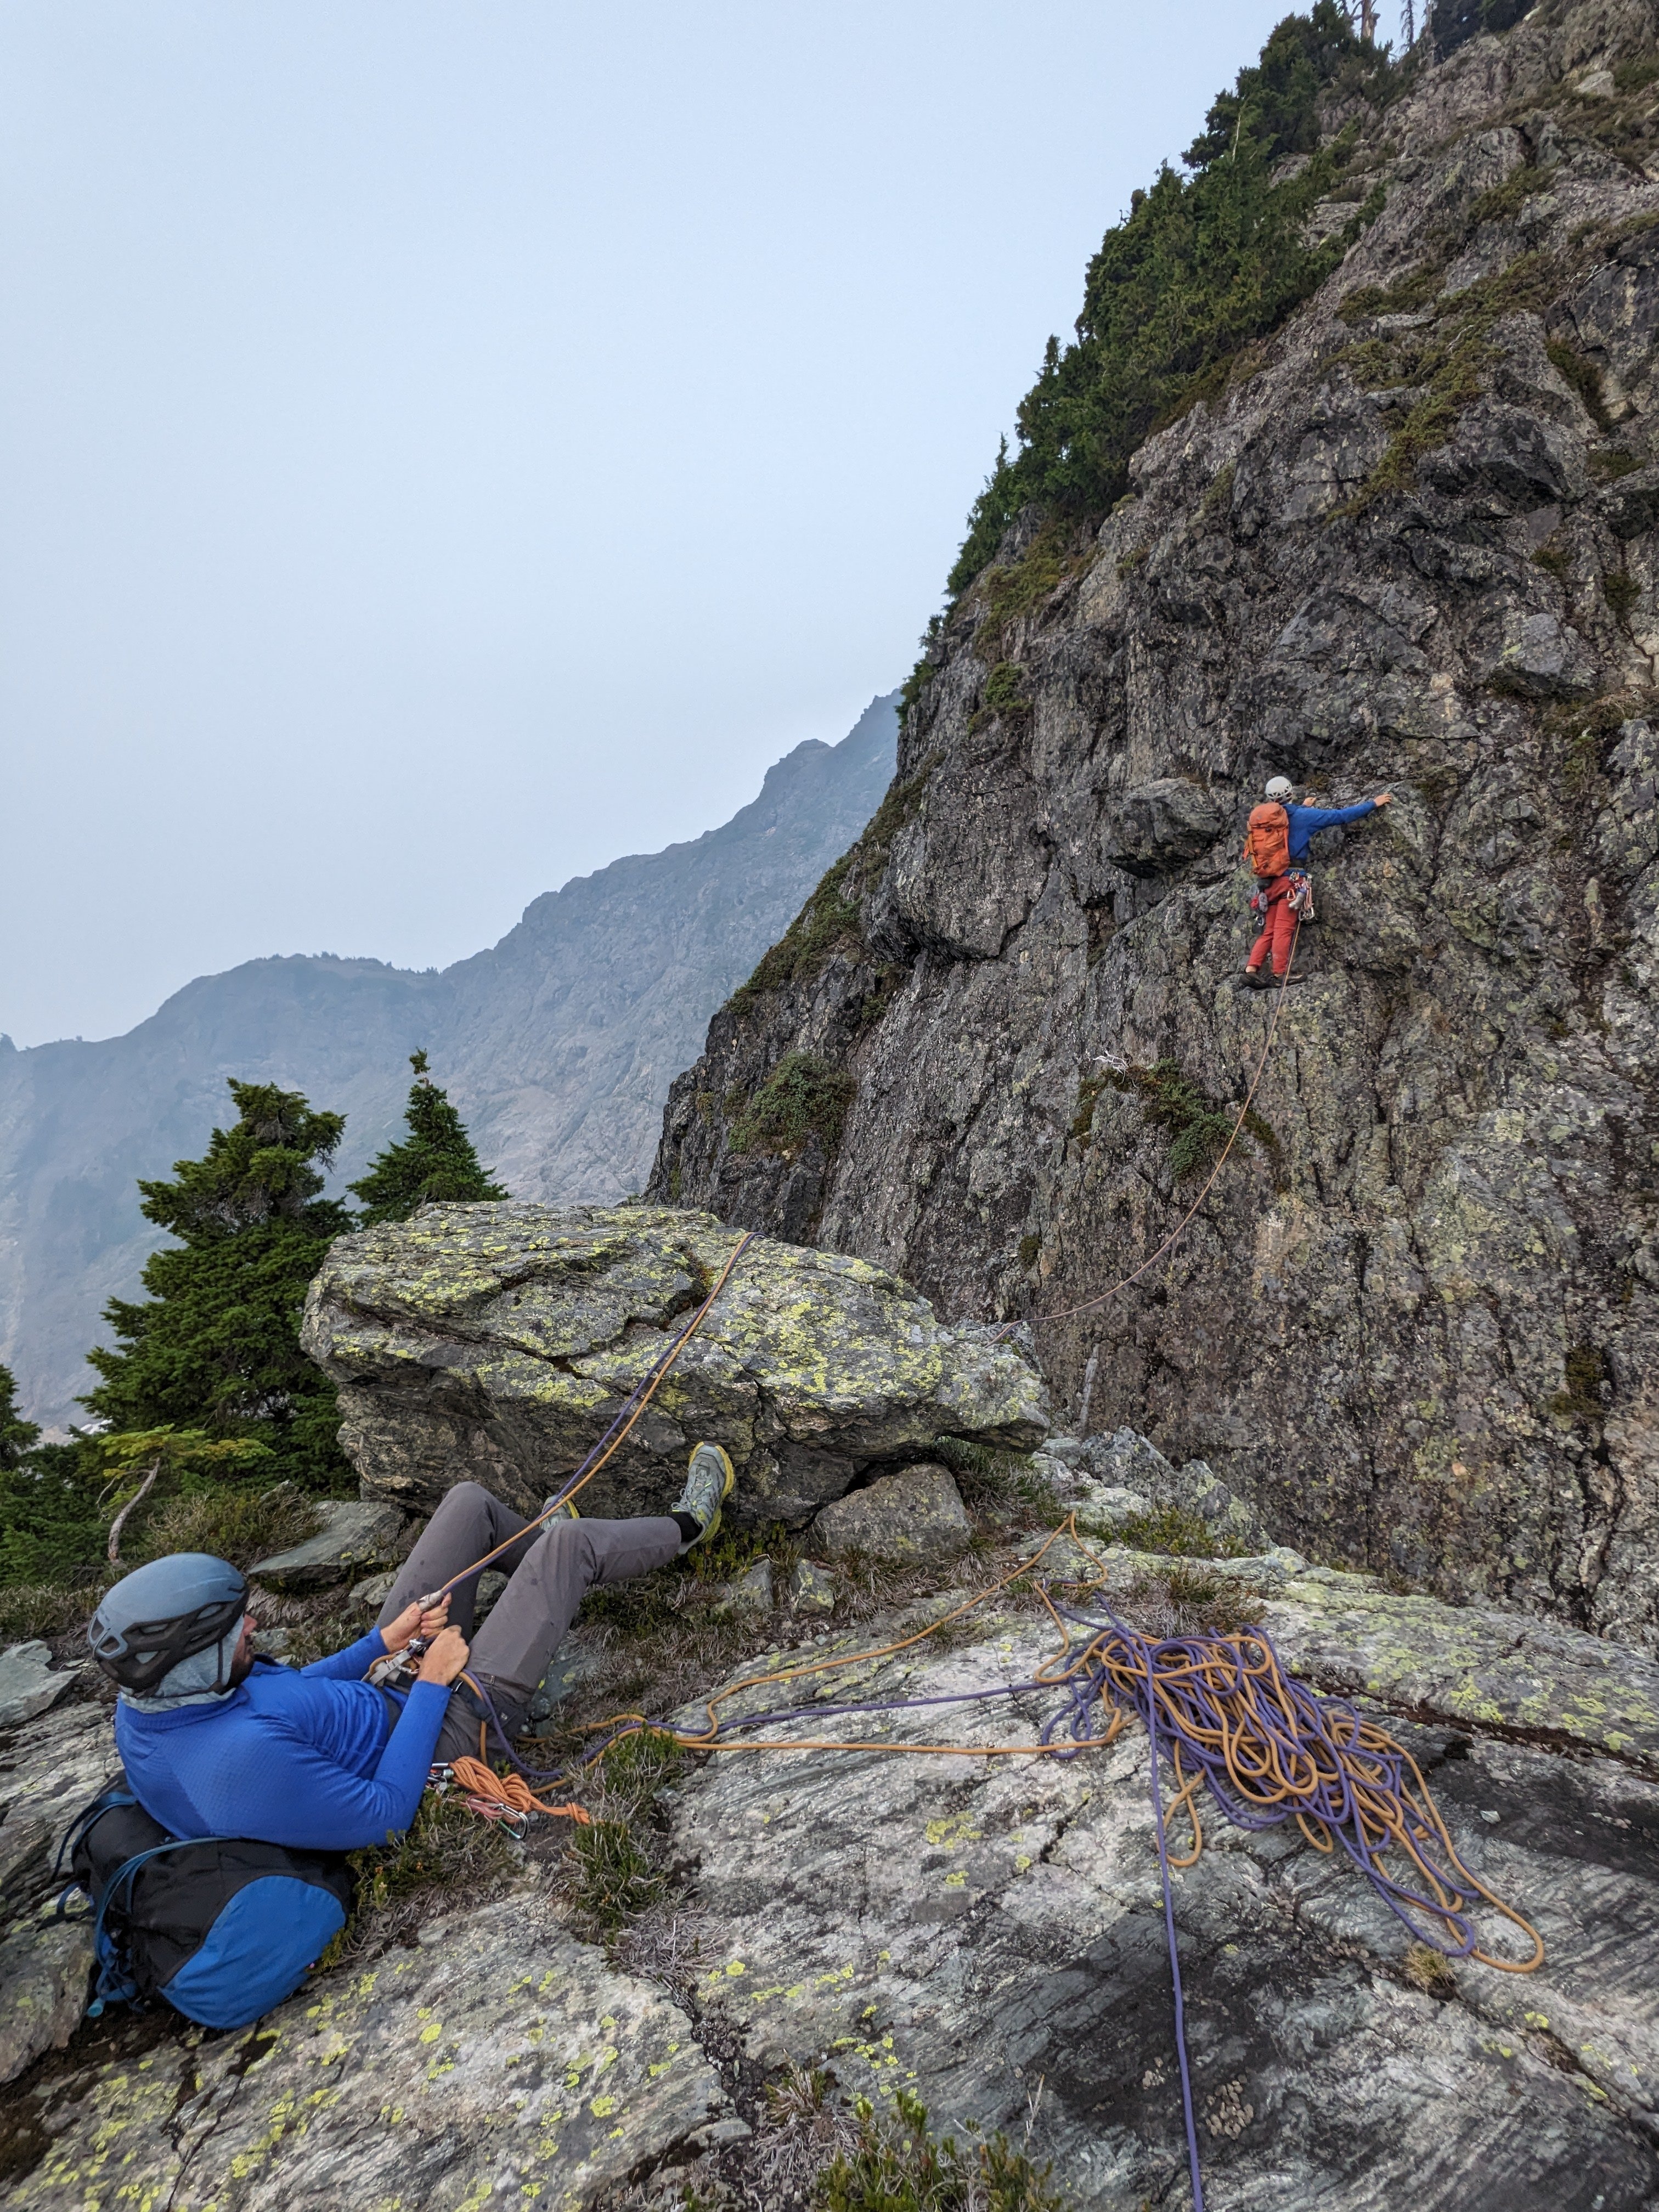
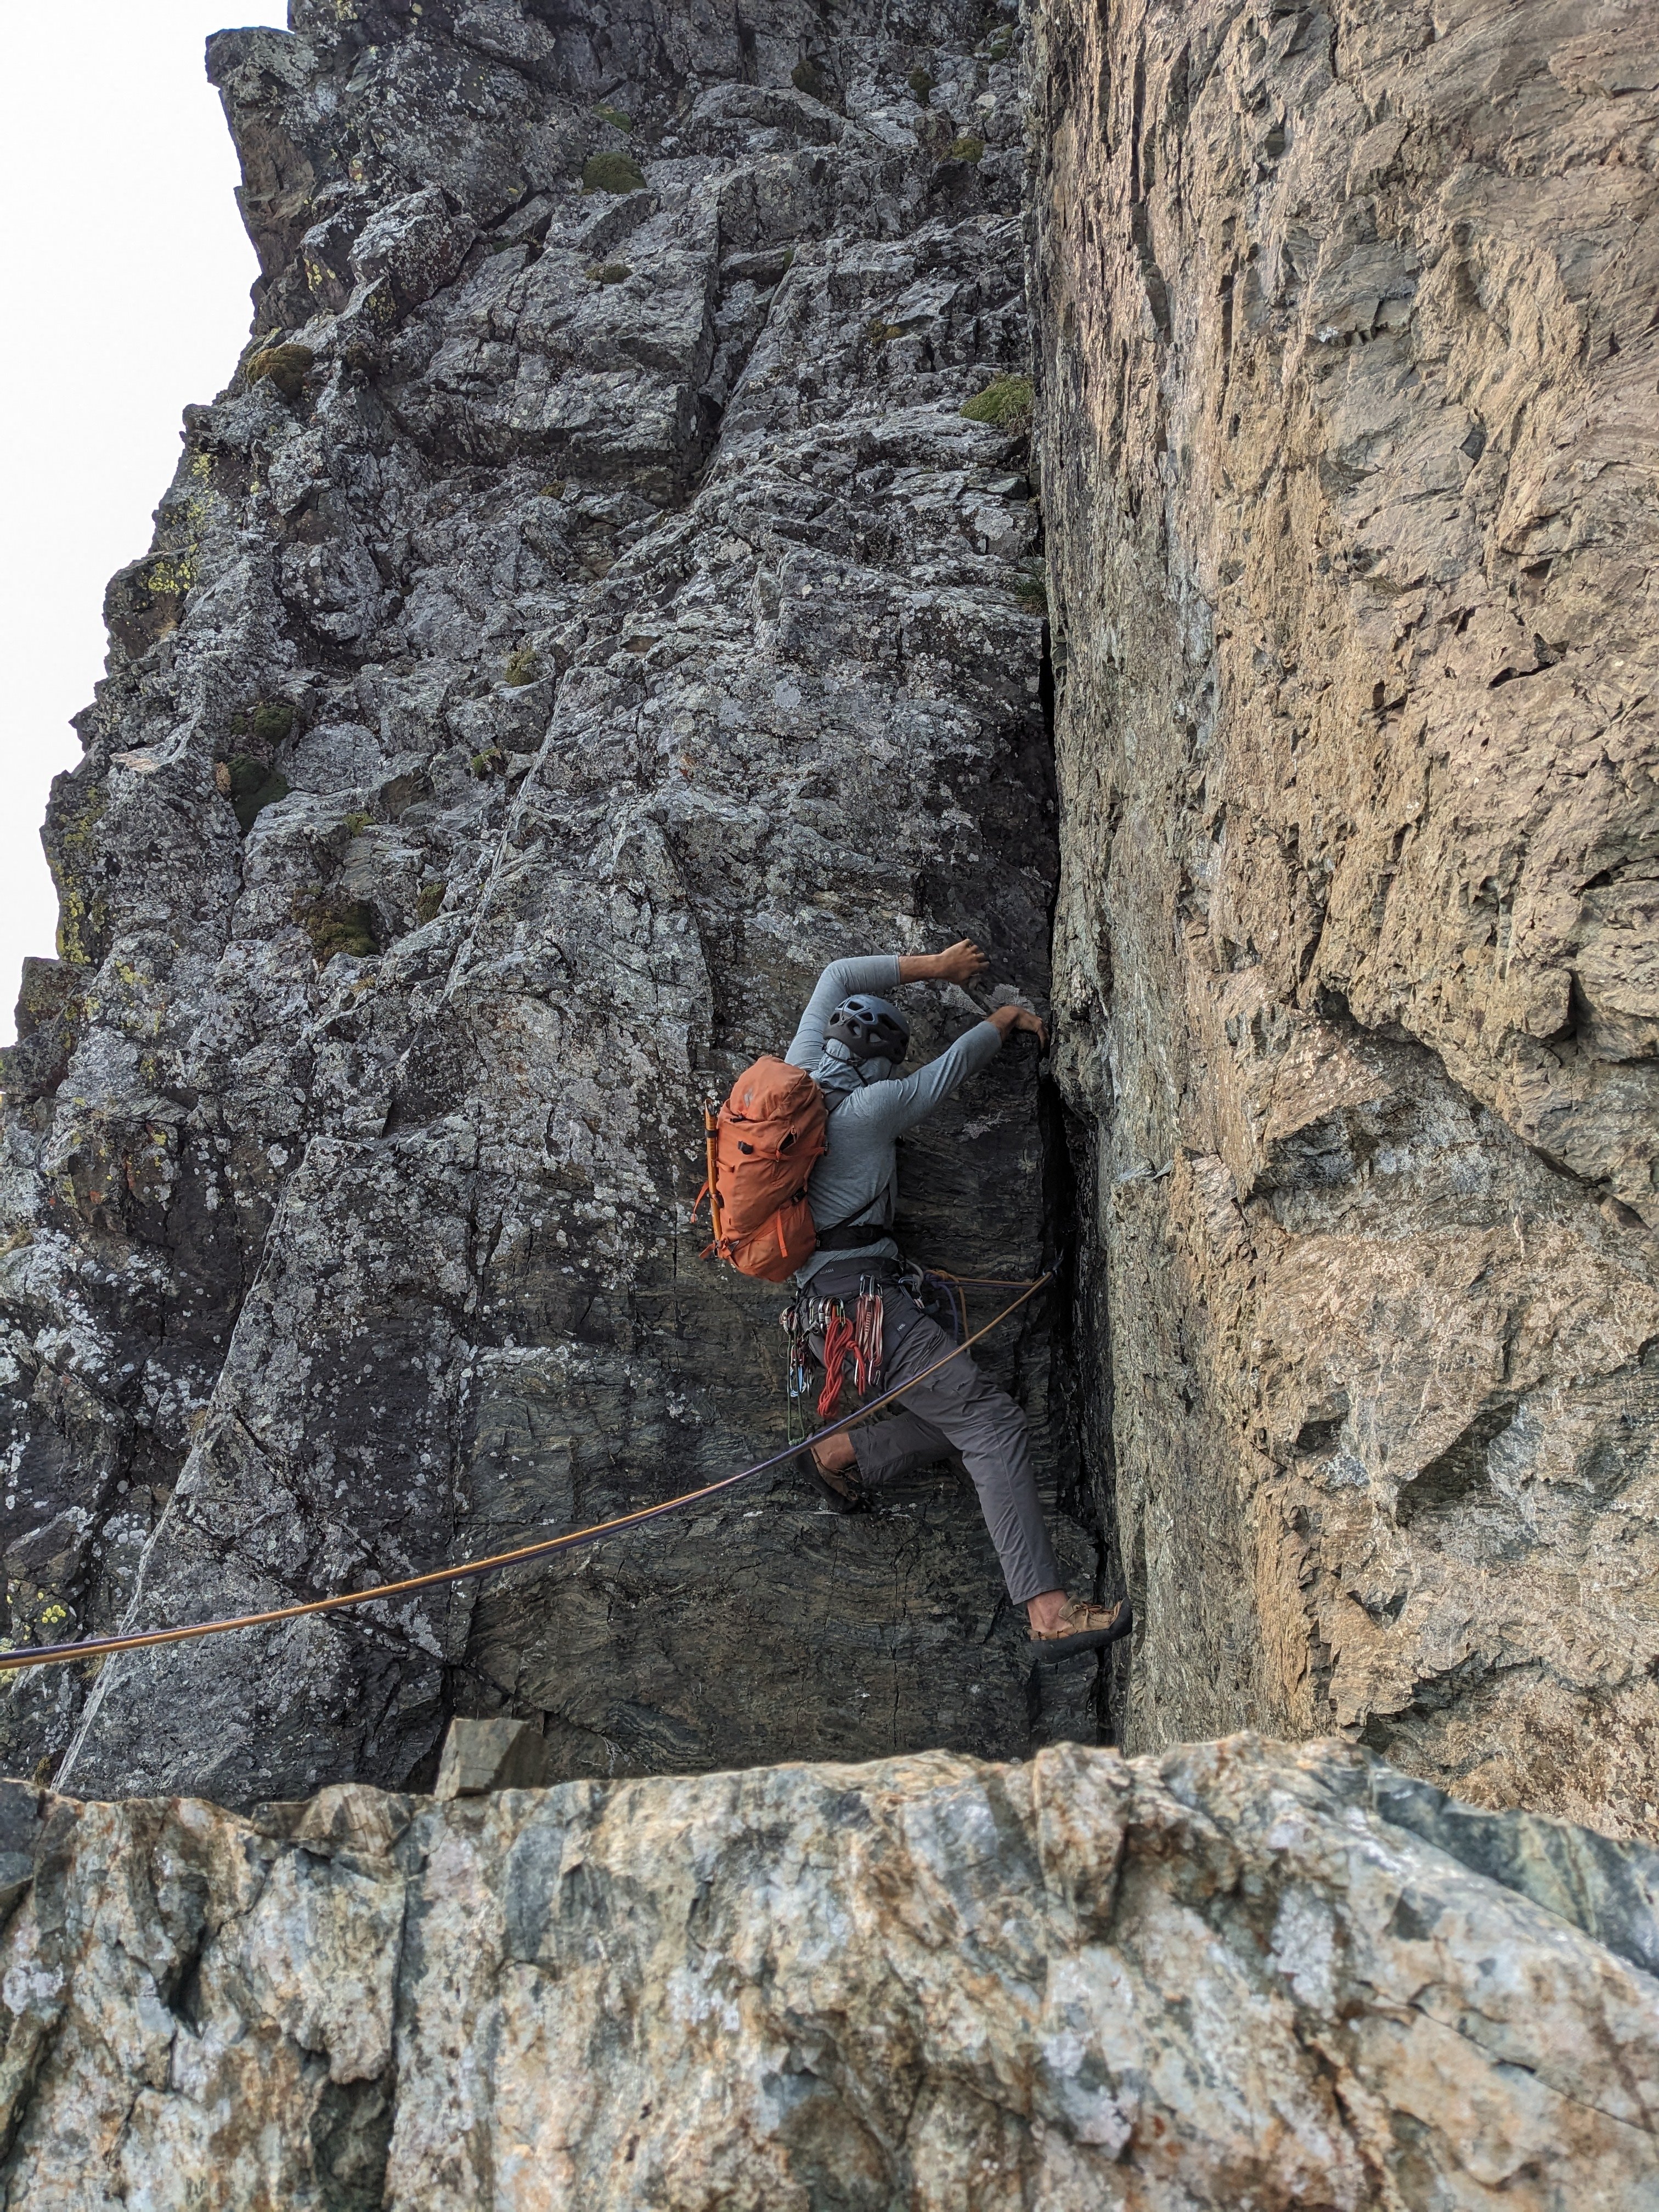
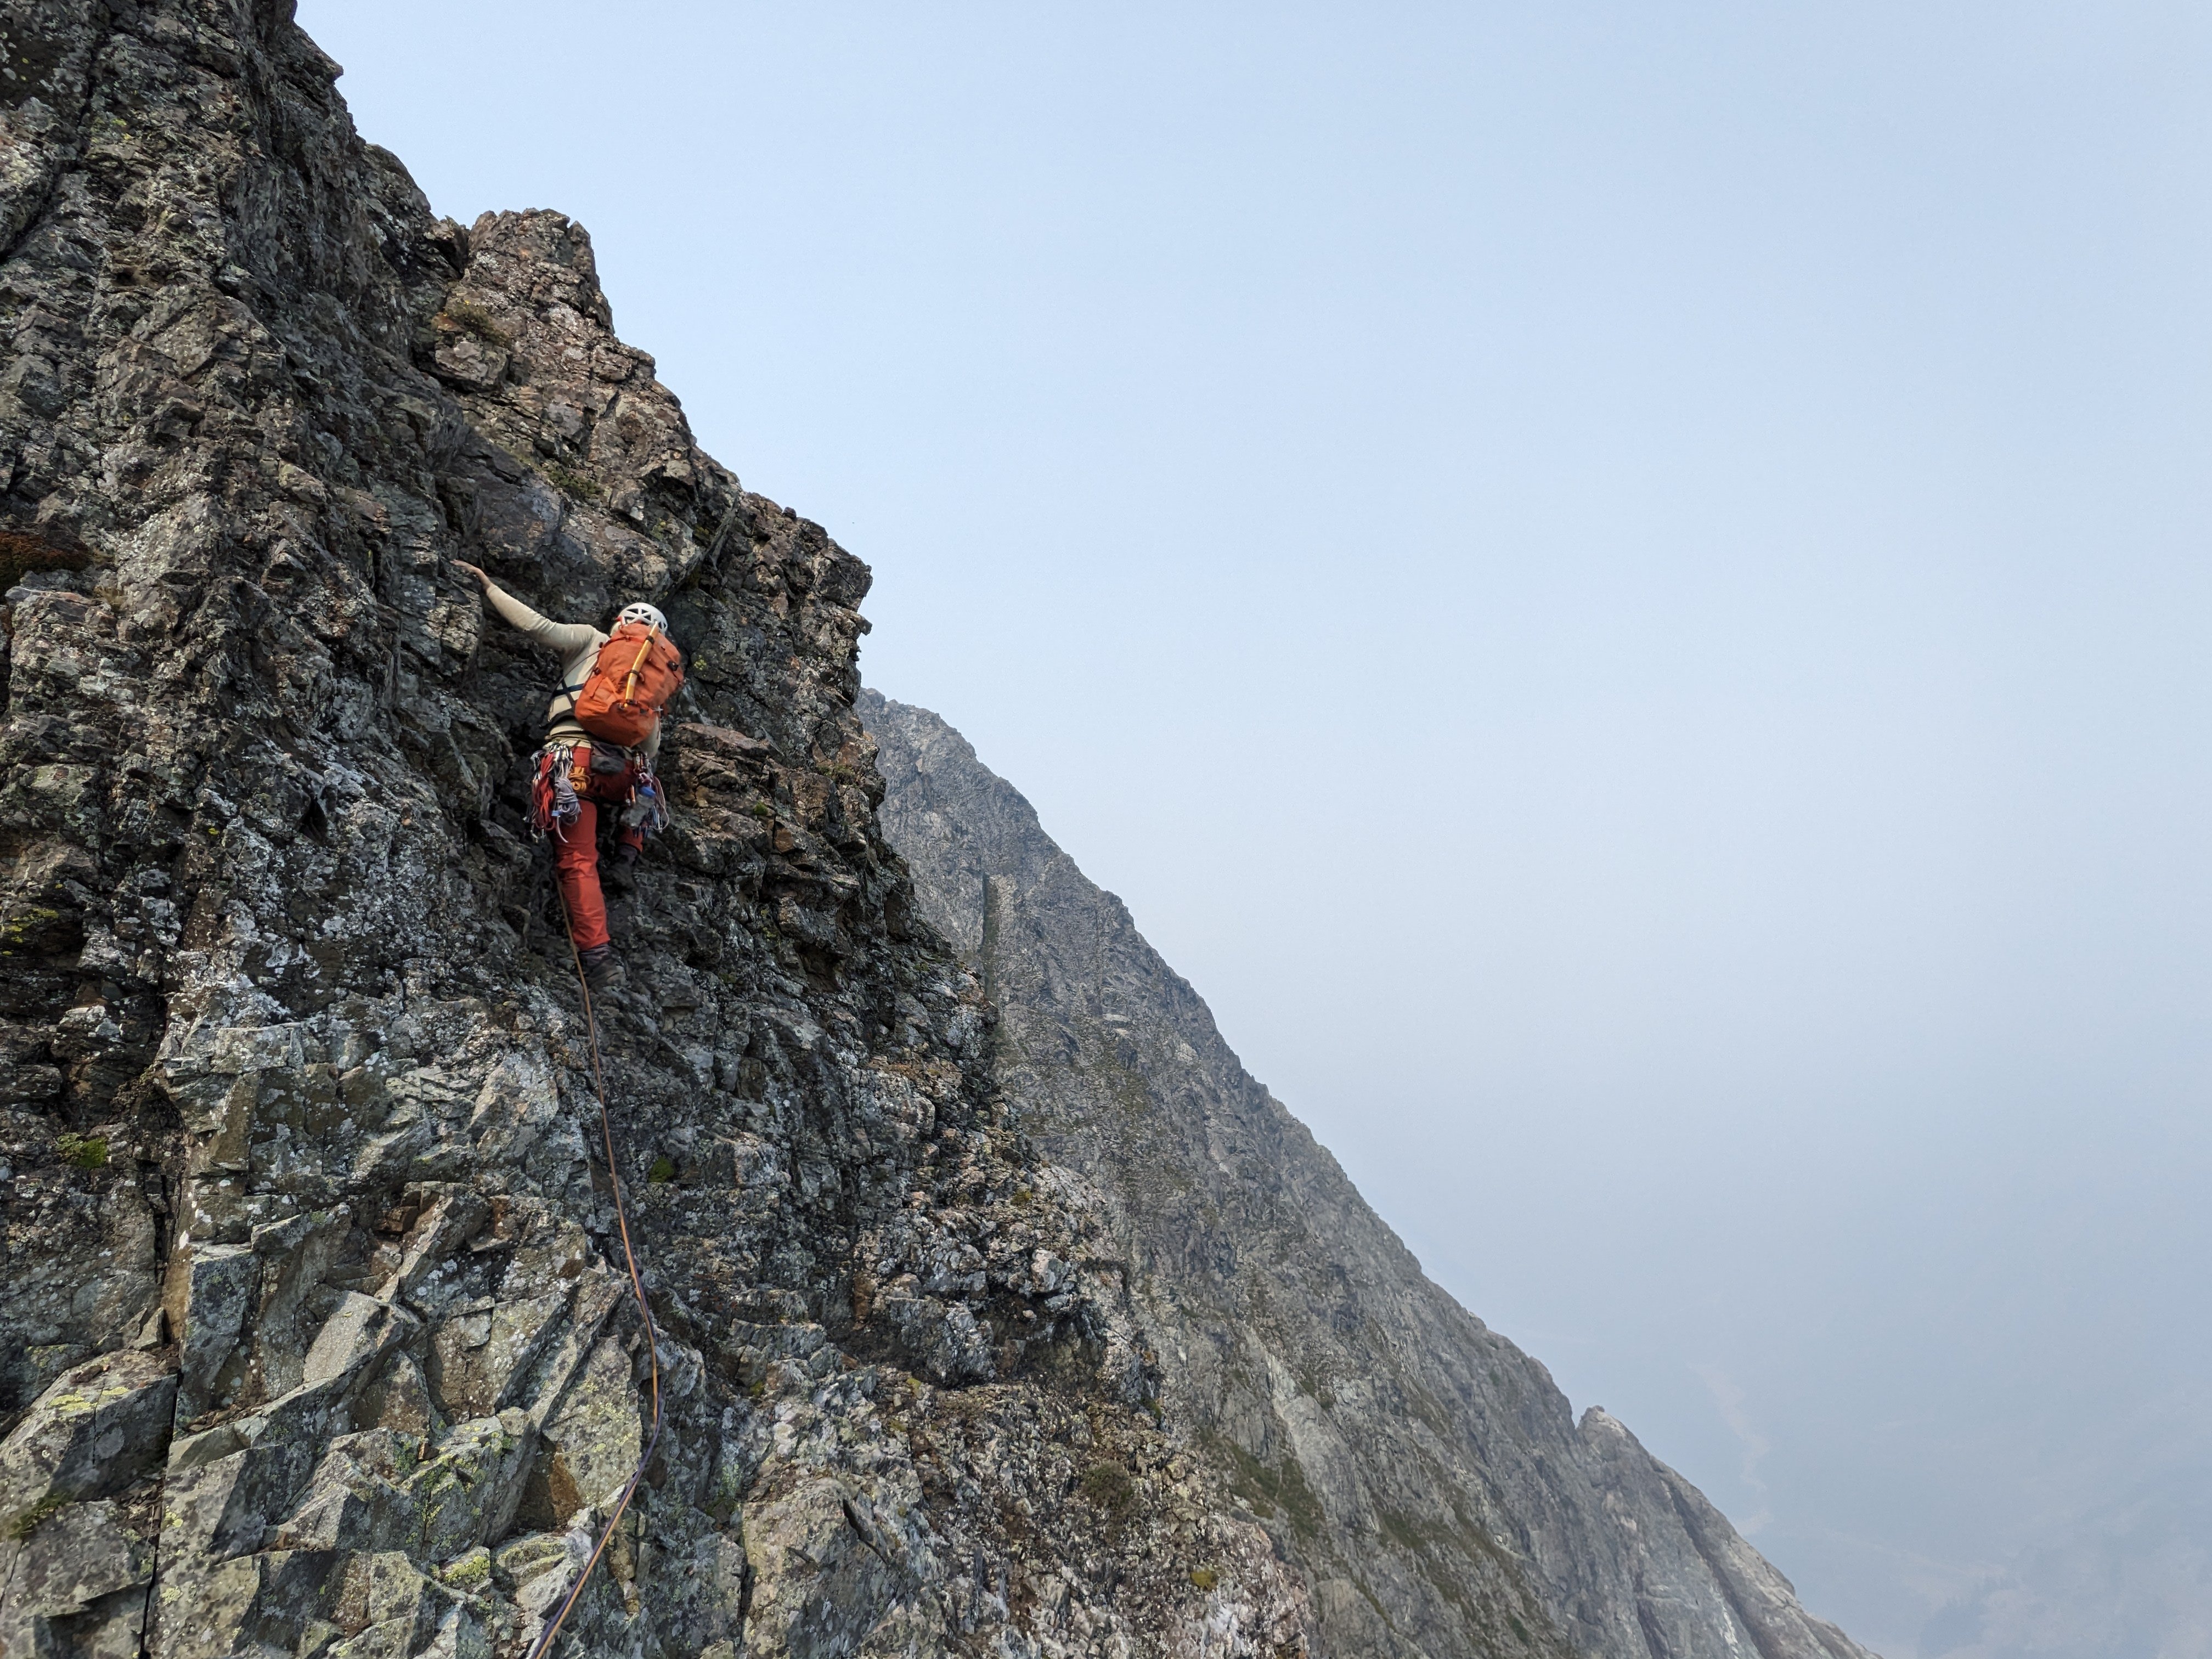
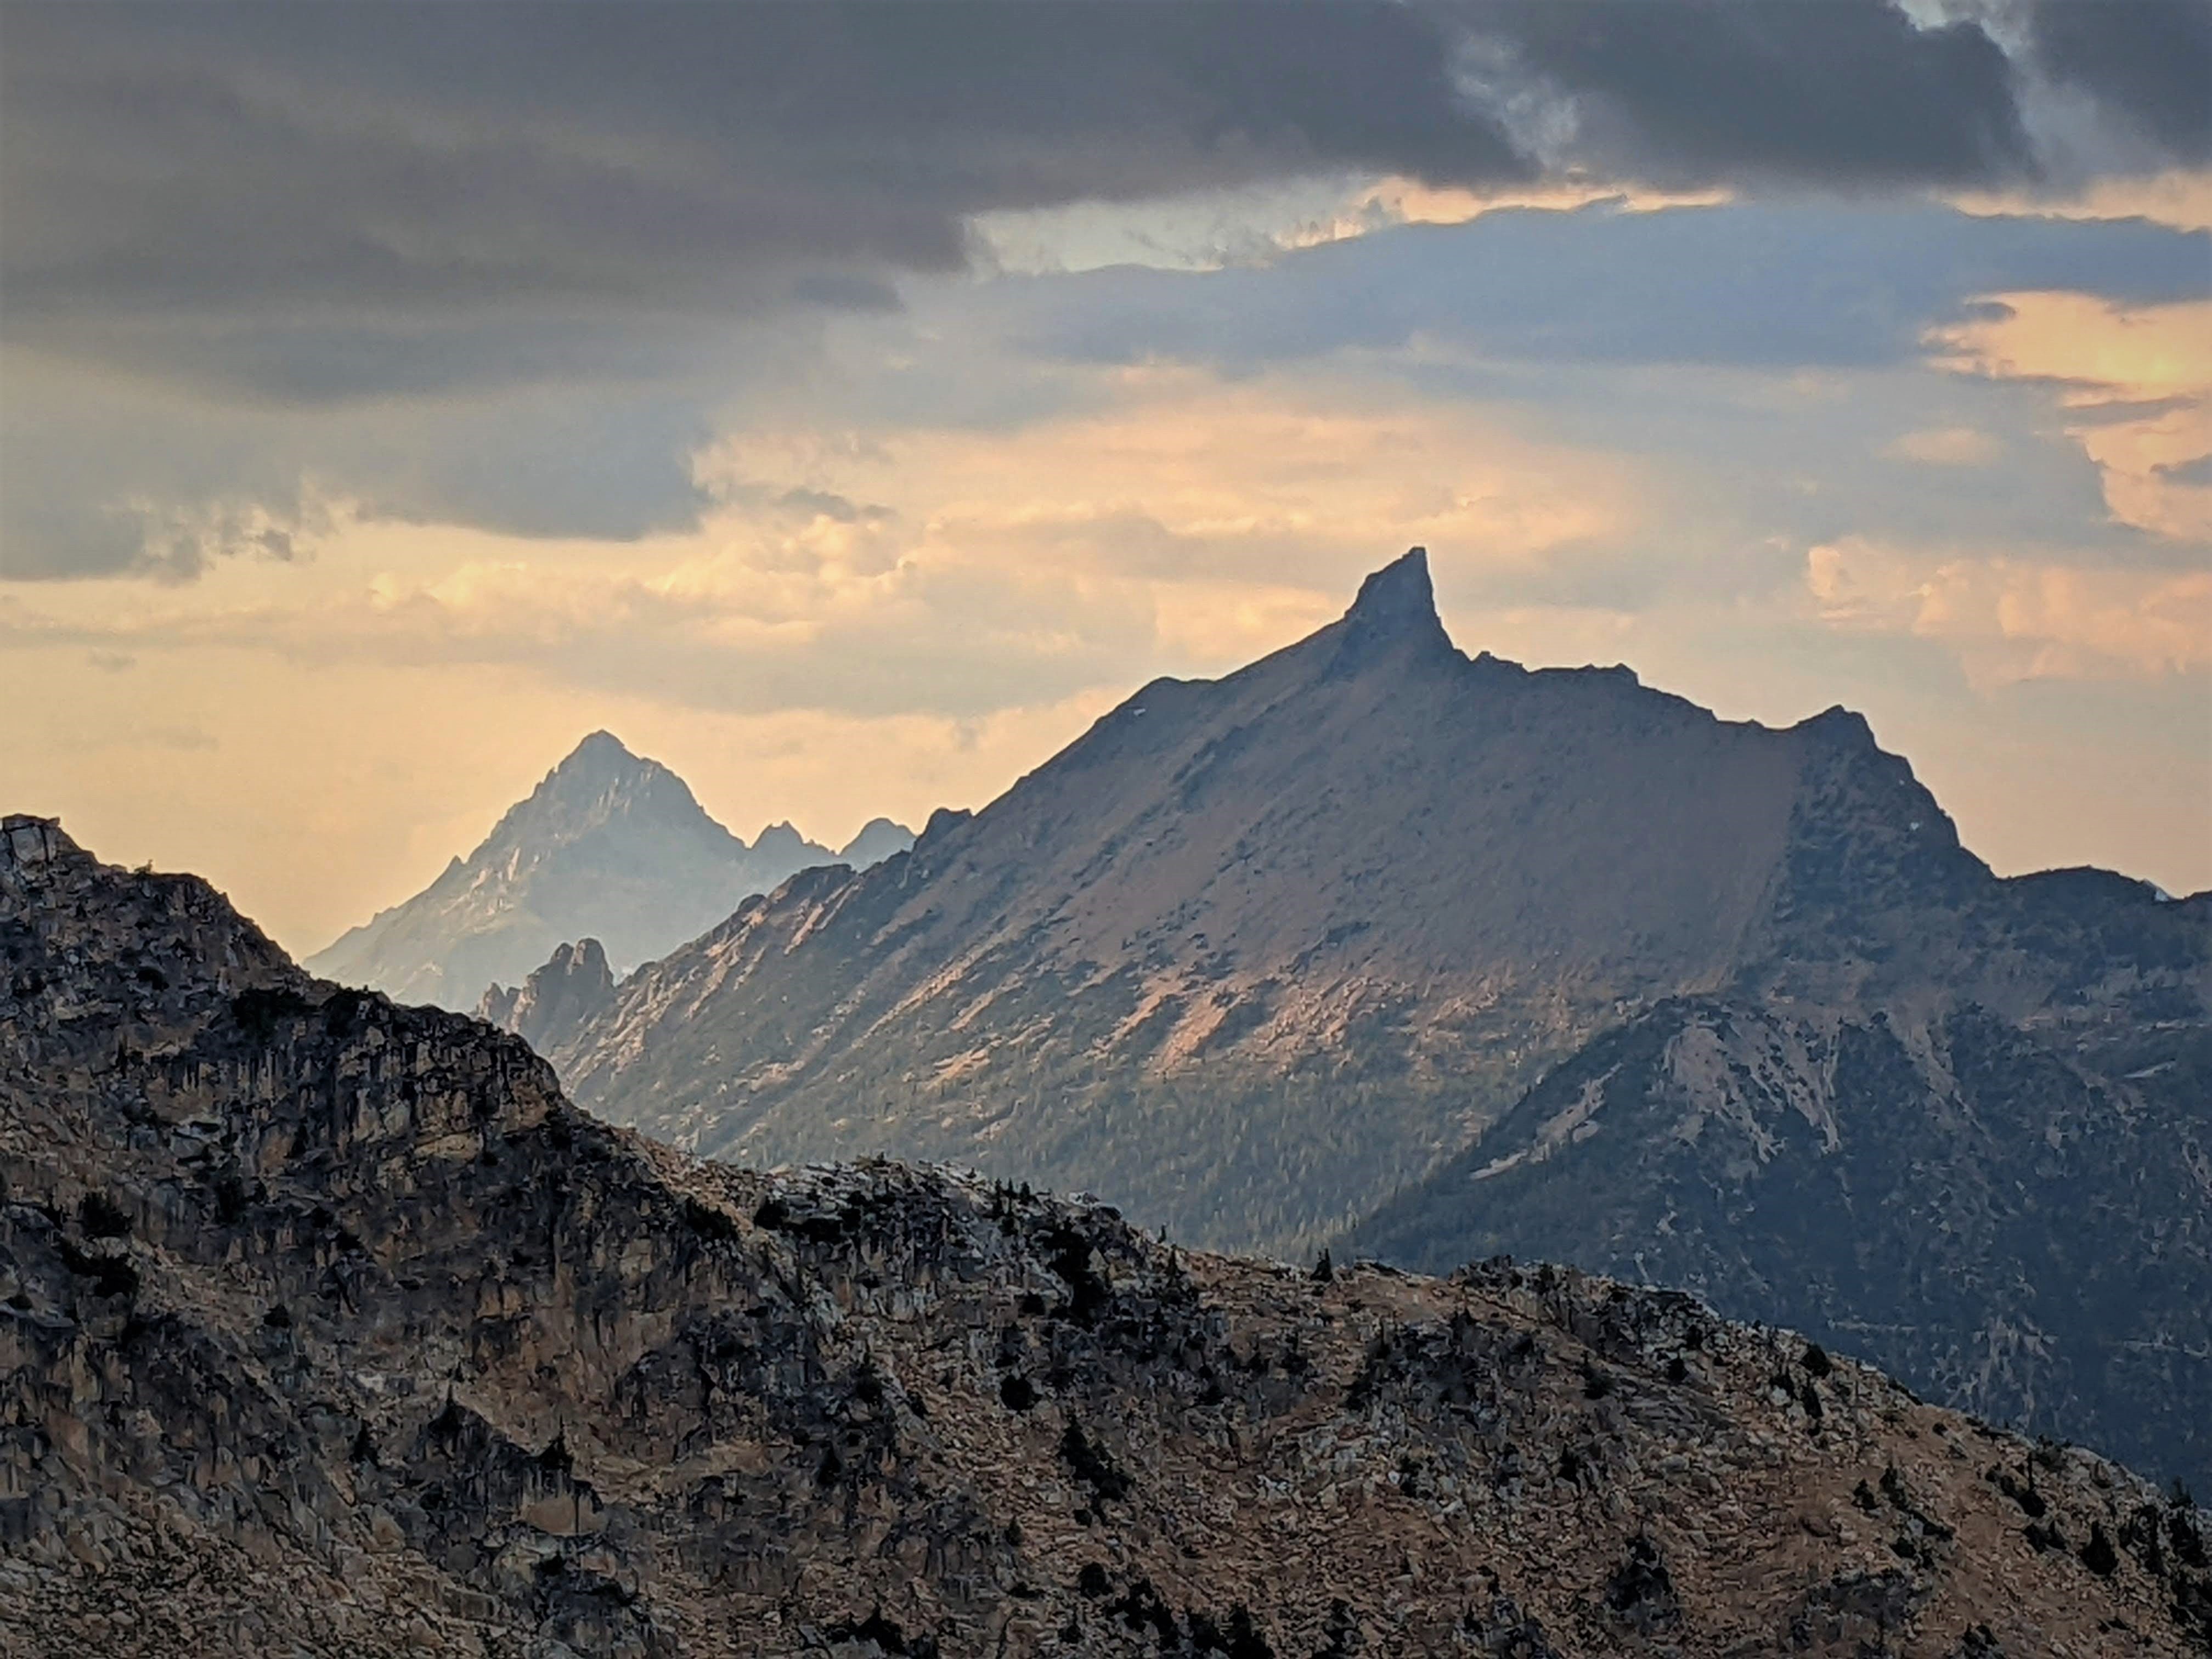
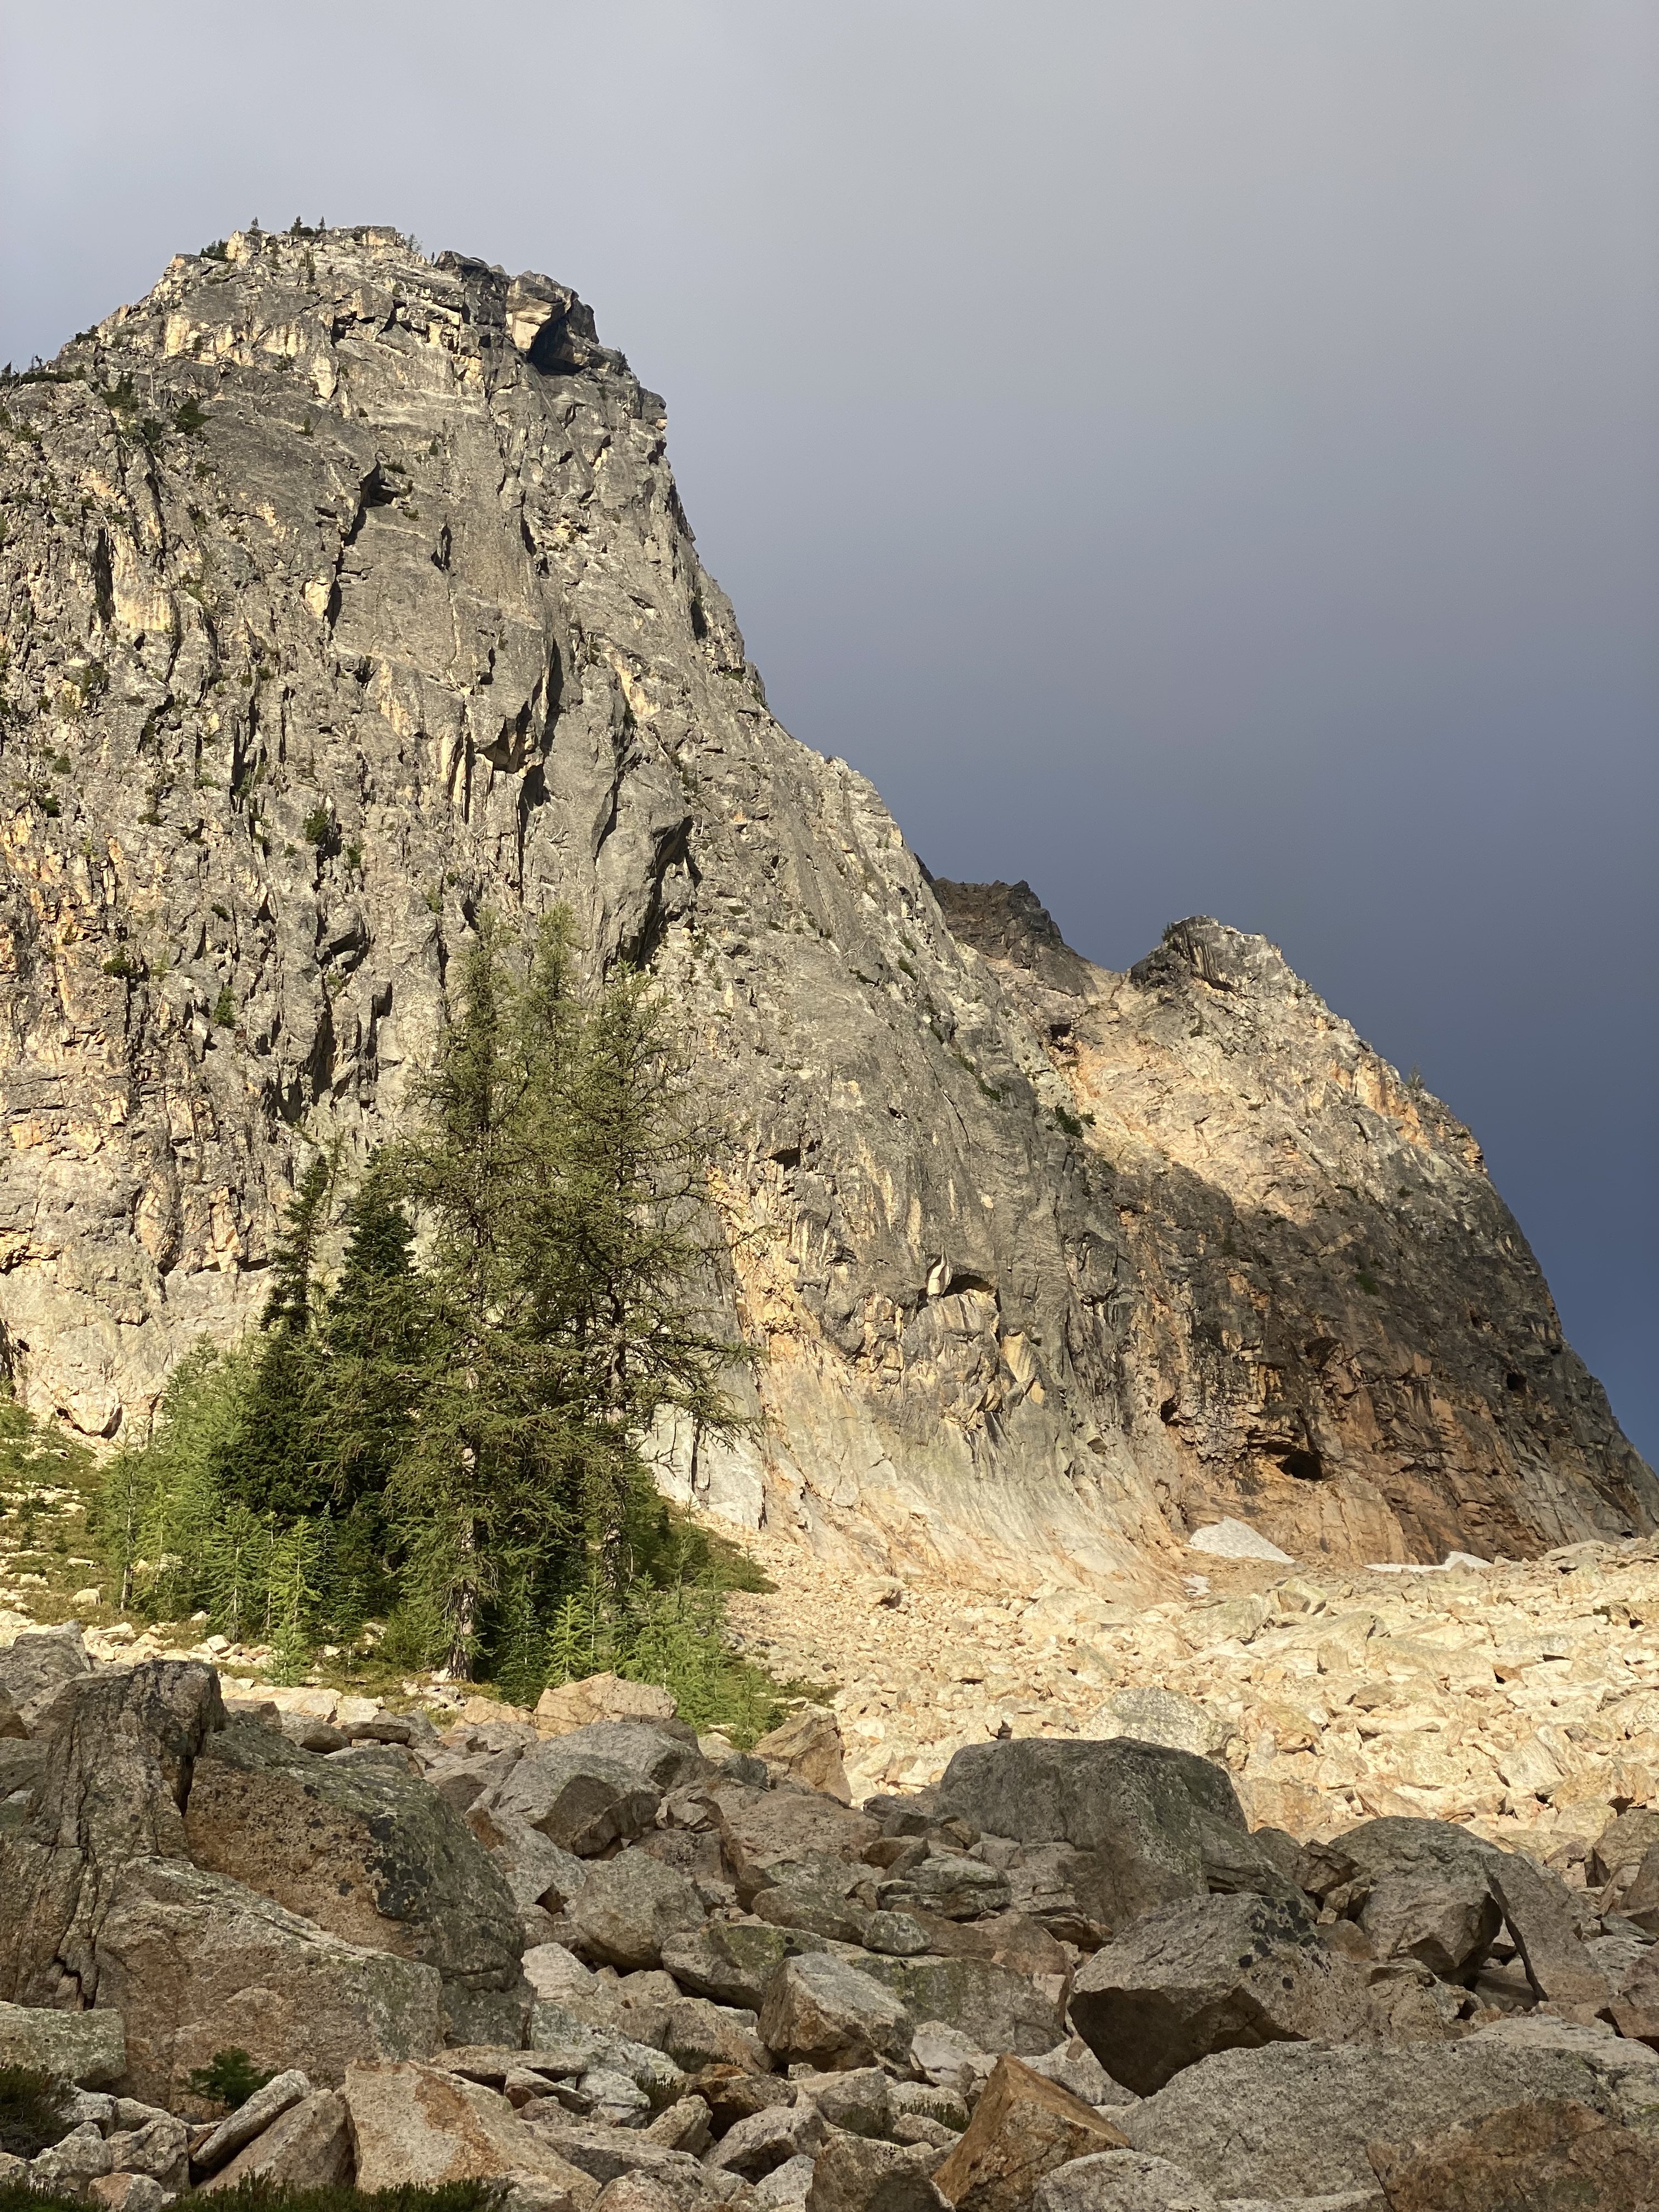
Trip: Diptop Peak - South face/rib route - FA - 1,000’, 5.8 Trip Date: 09/27/2025 Trip Report: The complex south (or perhaps SSW) face of Diptop, Jason Hummel photo: “Not too bad for a couple of old guys.” “Not too good either.” The statement and its rejoinder were uttered upon arrival at the truck -- just after dark -- and ended 14 hours of moving, including pioneering a route up (with benefit of hindsight) a questionable objective. Apparently one person’s idea of a good time is another’s idea of a bad time. The exchange echoed an earlier sentiment: “One person’s inspiration is another person's embarrassment”. Diptop is just north of Mt Daniel, and just south of the insta-famous Jade Lake. Rolf sketched our approx route below, fairly borrowed from a Wikipedia image (in turn apparently derived from a pic by Martin Bravenboer): Our "meandering-like-a-drunk" route gained 1,000 vertical feet, and entailed 6 roped pitches (the last one v. short) and a fair bit of soloing. Photos from afar inspired hope that 1. we’d be climbing on granite, and 2. there would be appealing lines on the central buttress of the expansive south face, or on the face itself. Upon closer inspection: 1. the rock was granitic, but one might say it has exfoliated "in an unfriendly manner for free climbing." And 2., while there were cracks and attractive features, it was difficult to ascertain if the seemingly discontinuous lines could be joined. We leave that to more competent and/or bolder parties to figure out. The route was reasonably solid for the alpine, and had its moments of fun. It was mostly scrambling, though it had some contrived steeper climbing and some required steeper climbing. Rolf drew the short final bit -- arguably the crux -- to the ridge crest, not far from the summit. On some of the best rock of the route, although with limited pro, he made a couple of sporty moves with a Vlad-the-Impaler flake threatening his nethers: Despite a "limited alpine skill set", perhaps indeed an “ordinary person accomplishing extraordinary things” is possible, if by extraordinary the speaker meant finding an ignominious way up a fractured granitic face. Maybe they were just “projecting insecurities", since this venture was their pet project. We might have been mildly disappointed with the route, but random insults like “twee”, “cloying”, “piker”, and various vitriolic un-printables kept the mood light. And the surroundings weren’t half bad. A couple more photos below. First roped pitch, after several hundred feet of soloing up to 5th class: Relatively high on the route: An oblique look at the central buttress from the summit area: We approached from the Tonga Ridge/Deception Cr cutoff trailhead. This much shorter approach from the north (vs coming from the south) does require travel up/down some steep timber, duff, and a bit of brush, but offers scenery, solitude (until arrival at Marmot and Jade Lakes), and berries. A little off the optimum route on the last steep stretch of the return, while monkey-bar-jungle-gyming from tree to tree down pine-needle covered duff, someone might have mumbled “we can always rap”. I’m happy to share our approximate track if you’re interested in approaching the scenic lakes without the trail slog. More photos here: https://photos.app.goo.gl/H1e1ExQ1PTVEohUE8 And more about the rock in the area here (courtesy of Rolf: https://bluemarbleearth.wordpress.com/2024/09/16/tuck-lake-and-jade-lake-geology/ Gear Notes: Took a standard double rack, but a single would do. Approach Notes: See above. To access the south face, wander down from Diptop Gap.
-
Trip: Banks Lake - Spice Rack M10+ (a Salt and Pepper direct start) Trip Date: 02/17/2025 Trip Report: This line struck me the first time I visited banks. By no means an original thought, every mixed climbing pervert who ever drove by also looked at it and felt their pants tighten. How we got so lucky came down to three factors: great weather, getting passed over on a trip to the Rockies (I’m over it now), and JJ’s advertisement of his OnlyFans during a UIAA comp- resulting in a season ban. Looking for a cathartic substitute we pivoted to suffering upward. For the uninitiated, Salt and Pepper is the existing WI5 line conventionally approached via a short 5th class traverse from the left. This direct start provides two amazing mixed pitches and 15-25m of bonus ice depending on the main dagger's condition. Weekend 1: @ColonelCrag aka Christian Junkar, and JJ, aka Jedrzej Jablonski began this attempt’s reconnaissance in early Feb, aiding the start of pitch 1 to assess feasibility, then rap bolting an intermediate anchor at the dagger, along with a few permadraws in the roof. I joined for a caffeine induced day trip from Seattle, attempting to lead from the bottom. Several whips and rock releases later, the drill came up pitch 1. With dwindling sun, the p1 highpoint was fixed with an orange rope. Salt and Pepper’s main dagger was the biggest we’ve ever seen, adding 25m of ice climbing to the standard route. Weekend 2, Day 1: (More Development) Government Worker's Weekend (previously known as Presidents’) provided an ideal weather window with a cold snap in the single digits followed by several days of stabilizing temps. As expected, the dagger snapped. Left, right and middle towards the wall cleaved off, leaving just the optimal contact area at the wall and a thin curtain with a shower in the middle. Maybe 10m of bonus ice disappeared, forcing the line to continue further up the p2 rock roof, gaining the ice with several overhanging moves. The fixed orange rope had been buried by the breaking dagger, with perhaps 15m of it claimed by fallen ice. The visible rope was cut, leaving the buried rope to be fished out from the fall’s pool in summertime. We continued the development with Tom bolting bottom up and leading some sections, JJ bolting top-down, we met at the p1 anchor… dodging icefall from the roof releasing throughout the day. Typing this a week later, I still feel my back from top-stepping aiders while bolting overhead in the p1 roof. Meanwhile, Christian was rewarded for his patient belay with a micro-trax solo of the first two pitches on a fixed line and cleaned as much as possible with the given daylight. Day 2: (Send day) We slept in and began around noon. Christian led pitch 1 and easily danced up the pitch while tossing loose rocks over his shoulder. Having recently competed in finals at the Ouray Mixed Comp, his base strength and finesse made it look much easier than reality. JJ followed, while clipping a second single rope for me as the third, allowing us to “siege” or “caterpillar” the line. We opted for two single ropes as opposed to twins, for the ease of manipulation in the p2 roof. In retrospect, either method would work fine- though a twin rope might have too much give if you fell while following in the p2 roof to get back on. The pitch 1 dagger and subsequent traverse remain exposed to falling rock and ice and act as a decisive hazard crux following the technical crux. At the p1 anchor, we hauled a pig via tag line on the last climber. (The pig rested on the far right side of the anchor ledge, waiting to be tagged up to the p2 anchor belay cave. This pig contained water, snax, and normal boots and pons for JJ and CJ, who opted to wear comp boots for p1 and p2. I opted to wear normal boots and my standard 1100g development pons, and was not prepared for the resultant level of suffering.) JJ boldly led out p2, with delicate feet and only minor grunting in the power crux (a full stretch stein to v-notch). Leading the final 15m of ice in comp boots and no secondaries must have been terrible, considering the ice required heavy cleaning. JJ might have placed a single screw in the ice, then levitated to the belay cave on the right side. Once we gathered at p2 anchor, the pig joined us, only getting caught briefly on the dagger. With happy feet we finished the ice pitches about 4:30pm, the only snag being a brutal 3-man rope pull from the ground. The intermediate anchor needs improvement as noted elsewhere. Beers and ice cream followed, celebrating both the send and our luck. Route P1 M8+ 30m 8 bolts, 2-3 screws, 2 knife blades, .2-.4; belay from a bolt and ice screws on the ledge to the left of the first bolt. 10’ of choss gives way to better rock and generous bolts, then gains the left side of the dagger to the shelf, going right to one more bolt and connecting ice blobs to the upper shelf. Stubbies or knifeblades would be helpful in the upper ice. Bolted belay ledge includes a rap ring for bail. A single 60m can rap to the ledge, walking / downclimbing the rest of the way. P2 M10+ 30m 4 screws, 10 bolts, 7 permadraws… so bring 2 draws for hangers without permas, and draws for screws. We placed 2 screws and used 2 at the anchor. Climb rock for a move or two up towards the first bolt until you can step onto the dagger left. Traverse daggers for a couple of moves (screw optional) and then enter the roof following bolts leading to the upper dagger. Recommended to go left on the dagger and then back right to belay in a cave on the right of the main flow. This route could be aided after the starting dagger. P3 wi5 main flow P4 10m wi4 3min walk to the back of your lazy susan where the forgotten spices and flours remain untouched. Rap: V-thread from the top of P4. Bolted anchor on top of p3 to the right side. Double 60 to intermediate rap chains (located where p2 gains ice on the right side of the flow. This anchor needs fixing… the 6mm chain was too short and makes for high friction pull (3 men, 1 rope). Second ascent party should add quick links compatible with 6mm chain and rap rings. From here, a double 60m rap easily touches down. Gear Notes: Screws, KBs, .2-.4, draws, double 60m. Approach Notes: Start at the back of the cave, expect ice/rock shedding until at the start.
-
Over the last 3 days, Lani and I climbed what we believe to be the FA of the North Ridge of Redoubt. This is the long, NW trending ridge that looms over the North Face glacier route. The route was actually quite classic and comes with a high recommendation. It is by far more enjoyable than the standard route scree encountered on the descent. The route was primarily low fifth class and fourth class scrambling and we roped up for roughly 1100', though snow coverage and comfort sloping may drastically impact this number. The ridge gains a bit over 2000' over around .5 miles of horizontal. The name is inspired by the little ball of fire, Calcifer, from howls moving castle, as we watched the Perry Creek fire grow in the distance. Day 1 We approached and bivied at Ouzel lake. A bird tells me the Depot Creek "trail" is in particularly excellent condition, requiring NO bushwhacking, and they said handlines are even avoidable. The same bird mentioned that current logging roads take you all the way to the border, making the approach to Ouzel Lake 4.5 miles. We bivied all the way up at Ouzel lake as we were initially planning on climbing Spickard the next day, but growing smoke from the Perry Creek fire changed our minds on that plan. There is also an excellent potential camp at the top of Depot Creek falls, potentially allowing for a direct approach, though this would require bushwhacking of unknown taste... There are also potential bivy options on route to help facilitate a 2 day itinerary. Day 2 From the lake, we made a long contour on talus, loosing only around 400', once near and below the objective, we made our way up talus and slabs to the toe of the ridge. Excellent running water out of the toe of the glacier. We initially attempted the cracks smack on the toe of the ridge, I bailed around halfway up after encountering some 5.11 tips and entering unpleasant looseness. There is an obvious corner left of the toe that potentially holds a very classic potentially moderate direct start. The unsent directismo After bailing off the toe, we looked to the right and zig-zagged up ramps to gain the buttress crest. Snow coverage will drastically impact your experience here. Once on the ridge crest we found thousands of feet of enjoyable scrambling on mostly sound rock. Lani compared it to the NE buttress of triumph but with mostly better rock. We roped up for the occasional pitch, but mostly soloed. There is a broad saddle at 7600' where things begin to steepen subtly. This would also make an excellent bivy with a permanent snowfield for water access. Above the notch, the climbing steepened and we climbed a few back to back pitches until we were below a prominent gendarme. Unsure what the top of the gendarme would be like we traversed into the chossy gully to climbers left and climbed a short, overhanging pitch of surprisingly solid shist. After topping out the gully, we found the descent off the gendarme would have been chill, so Future parties should consider a direct line up the cracks on the gendarme for a more classic finish. Once at the notch in the ridge we met up with the large talus fields that define the slopes on the south summit. The traverse over the sub summits to the true summit was generally easy but involved a few sections of fifth class. Once on the summit, we began the "joys" of doing the standard route late season. Lani in the canonball hole Once at the base of the gullies we encountered awful scree, one could only imagine how much more awful it would be to go up, so there is that... The entire day we had been watching a fire grow in the East. Seeing it expand so quickly and already beginning to envelope spickard in smoke we decided early on our descent to forgo spickard and plan on hiking out the next day. Mordor to the East Day 3 Hike out, blueberries... Suggested Rack Single Rack .3-1, optional 2; full set of nuts; we had a single 60M rope, but it could be done with a 30M line to save weight.
- 6 replies
-
- 10
-

-

-

-
Trip: Squire Creek Wall, South Face - Nature's Way Trip Date: 09/05/2025 Trip Report: I was joined by Rob Stephenson on Sept. 5, 2025 for a climb of the newly prepared route, Nature's Way. This is a three pitch route on Squire Creek Wall's South face, located just right (East) of the route Concerto in C for Drill and Hammer. p1: From the two-bolt anchor at the base, walk up granite ramps and blocks to a prominent V-gully. Ascend the gully to find good pro cracks at its top sides. Step out left to an easy mantel move on the slab. Climb up easy blocks to a large ledge, 5.5. p2: A series of ledges cut the wall into five or six distinct problems, each protected by a bolt or two. The crux is at the fourth bolt, where a rightward slanting seam forms finger edges leading to a nice face hold to the ledge above, 5.8. Then a final 5.8 move in a shallow dihedral passes two bolts to a helpful tree/bush providing balance holds to the anchor. p3: The obvious hand crack soaring above is the route objective. It may look intimidating, but there are good pro options for cams all along its length. With lieback moves or stemming at first, gain the only big knob on the wall. Hand jamming for a couple of moves brings one to a restful patch right of the crack. Prepare for some undercling moves and fire out to a foot edge on the left wall with a useful sharp-edged finger crack for resting. Another ten feet of undercling leads to the top of the flake with a blessed hold at the end. Small pro can be plugged in here, protecting the high step move onto the narrow ramp to the chains, 5.9. Route history, timeline Yale Lewis spotted the "curvy flakes" of pitch 3 in September of last year while we were finishing up a climb of Miracle Ramps. The idea percolated all winter, and we drilled the bottom anchor on May 25, 2025. On June 15, Yale opined that one pitch would reach the curvy flakes. When he climbed the first pitch we were halfway there; there was some foreshortening involved. He drilled one anchor bolt at the big ledge. I climbed the second pitch by going wildly left into the trees whenever it looked hard. But I made it to the goal, the bushy ledge at the base of the curvy flakes where I drilled the two-bolt anchor. Later in June, on a solo mission, I placed chain anchors on p1 and p2. On June 29, we made the first attempt at the big flake crack. Yale led over to the crack and placed two cams, but could not move up as the crack bottomed out. He backed off and tried climbing around the flake to the far left and placed a couple of bolts. These bolts will have to be removed as they are way off-route. We descended. In July I went up for two days by myself and finalized the second pitch, placing six bolts at the interesting spaces between the ledges. I cleaned the pitch with the wire brush and some trundling, all good fun. On August 10, I made the breakthrough on pitch three. I knew the crack would have to be cleaned before I could free it, so I would have to use direct aid to get on top. With new energy from Linnet Vacha and Sam Pickel, I got on aiders and gardened pockets every five or six feet. Feeling like I was on a big wall again was so great! I had assembled a double rack of cams between blue TCU and yellow Camalot, and I placed 21 of them. I drilled the top anchor, avoiding some very loose surface flakes, finding solid rock up high, and fixed a static rope. On August 22, I returned by myself for three days. I jugged up to the top a p3 and rapped with the wire brush. I got the lichen off all the foot smearing within three feet of the crack. Then lower down, I got out the ice axe and dug out the dirt from the hand crack section! So satisfying. On August 5, I teamed up with Rob Stephenson for the free climb. Overcoming the weakness of mental negativity, I found enough rest spots to get it done clean with ten cam placements. Rob opined that a confident, strong leader could do it safely with five placements, and I now agree. Special thanks to Yale Lewis, Linnet Vacha, Sam Pickel, and Rob Stephenson. Photos by Rob Stephenson. Topo by Bill Enger. Gear Notes: Double rack between .3" and .75", and one 2". Strangely, no No. 1 (red Camalot) was needed on any pitch. Specifically, used on the FFA: One blue TCU, One yellow TCU, One blue Totem, One .4 Camalot, One yellow Totem, One .5 purple Camalot, Three .75 green Camalots, One No. 2 yellow Camalot. Approach Notes: From the well-known "paradisiacal grassy saddle" bivy area, cross the wide granite apron and cruise past the start of Concerto in C to the opposite wall. See the two bolts with ring anchors, installed to provide a descent option in case of bad weather.
-
Trip: North Cascades, Arches Peak aka Little J-berg - North Face Central Buttress, 10 pitches plus soloing, ~1,600 vertical feet, 5.6/7ish Trip Date: 08/03/2025 Trip Report: A couple of weeks ago, Rolf Larson and I climbed a probable* new route on this peak. Anyone cresting Easy Pass has been greeted by the big north face of this peak. There is one reported route on the face from the late 1970s; the party climbed the left-hand "Plumb Line Buttress" 2,700' from the valley floor to the summit, which clocks in at 7,945'. They reported loose rock. (See photo of register page in the album linked below, the AAJ, or Beckey guide.) Of three relatively prominent buttresses, our route climbs to the western false summit (circa 200' west of true summit) via the central buttress -- the most prominent one lit up (furthest left) in the photo below. We believe the 1977 line appears in this photo as a nondescript buttress in the shade further off to the left. Our route wends up the gneissly-featured buttress on pretty good, pretty clean Skagit rock--we began climbing behind the third snow-patch from the right on that prominent shelf, directly below the toe of the sunlit buttress. (Also available here: https://photos.app.goo.gl/BV3itCHmqcoo7qL38) We had fun on this route, which thankfully was in shade while we climbed. Didn't take many climbing photos, but snippets of conversation went like this: "How'd you like that section of hand crack?" "I preferred my section of laser-cut finger crack." "Yeah, I went Squamish style and laid it back." Here's Rolf putting in a piece at perhaps mid-height on the face (the rope is out of view, off to the right): The first pitch was probably the steepest and most sustained, fwiw, and had a 5.6 or maybe .7 move. A couple of steep mini-headwalls were also climbed in that range of difficulty, but a person could avoid these if willing to take looser rock. We unroped for a few hundred feet of mellow scrambling after the first pitch or two, but some steeper terrain compelled us to again rope up and resort to pitching and simul-climbing on fourth and low-fifth terrain. The climbing is moderate, but generally solid and fun, with adequate protection. *As you will see in the summit register pics, Roger Jung soloed a route on the north face, but it's hard to say if he took our route -- there is certainly latitude to wander on that big north face. The photo album, which includes some pages from the register: https://photos.app.goo.gl/4JU83LgK6XKFdbSA7 We descended via a walk off to the south and east--no crampons required. The short-ish approach, moderate and generally solid climbing, and straightforward descent (not to mention the blueberries!!) might make this climb more appealing than some of Rolf's and my other routes. I'll wait for Rolf to correct me on any details (which are already fuzzy), downgrade the level of difficulty (as is his crusty wont), etc. etc. Here's an early musing about Arches from the cc.com archives: Gear Notes: Standard rack with emphasis in finger-sized pieces; tri-cams were useful Approach Notes: Via Easy Pass, drop to and cross Fisher Creek, find your way up through the lower cliff bands, wiggle-chimney between moat and rock to the start
- 14 replies
-
- 11
-

-

-

-

-
FA - Helms Deep - The Stairs of Cirith Ungol - 6 pitches, 5.11c Since I stumbled on Helms Deep back in 2021 I always wanted do a route up the most continuous section of the wall. In fact I was looking for a wall on which to establish a multi pitch when I found it, not necessarily steep single pitch sport climbing which is what HD seems to have gained the most traction with. A lack of experience, partners, and general sense of fear kept me from taking any action. Fast forward to August 2023 and I had worked up an extra bit of development experience establishing 4 easy multi pitch routes on the neighboring Spouse Wall and numerous single pitch routes in the Snoqualmie Valley. I also had some time off work. Day 1: I made plans known to my rock climbing / route-development group-text and Trevor agreed to come along, I think mostly because he felt bad for me. We met at the Pratt Balcony Trailhead each with two 60m+ ropes, a drill, 10+ bolts, and more in our packs. We made the 1.6mi/1500ft approach at the slowest pace of the summer but we were in good spirits. The climber's path to the base is beat in and, as usual, we saved some weight by filtering water at the creek crossing around 2000'. At the base of the wall we took a quick break then began a torturous shwack, contouring climbers right towards the top of the wall. Eventually, we hit the top of the rightmost end of the cliff-top, but given the shape of the outcrop we were really only ~1/3 of the way up. The ground is far from flat up there. We worked our way back climbers left, squirming up exposed 50+ degree Salal bushes. All with drilling gear and ropes on our backs. There were some moments fear and danger up there but we pushed through. We eventually cliffed-out and threw on our harnesses. I placed a bolt and started self belaying up and out on to the face. Once I got a few bolts ahead of Trevor he started jugging behind me. I think he spent a lot of time untangling the 3 additional ropes we had as well. I made it to a point where I was on the line I wanted to establish but about a pitch from the top. We decided to save topping-out for another day and began the process of rappelling, bolting, and fixing lines. Things from here went pretty smoothly, especially with Trevor handling tangled mess of ropes and passing me additional gear when I needed it. The rock ended up being relatively steep and overhanging places. I like steep climbing but cleaning and bolting is a bit more annoying when things are overhanging. The upper pitches were very clean already but there was a fair number of loose blocks hanging around lower down. We found ourselves back on the ledge earlier in the day than we thought we would, but too tired to climb so we hiked down. Days 2-6: Over the next few weeks I spent another 5 days jugging lines, bolting, and cleaning; all pretty much solo. On Day 2 I jugged to our high point and bolted what became pitches 4 and 5. Jugging 140 meters with bolting gear sucks but both pitches were mostly clean already and have great rock. On Day 3 I bolted p3 and p2. These pitches needed a bit more cleaning so I spent some time doing that as well. On day 4 I decided push the route to the top. The climbing up there is really easy but I wanted the satisfaction of topping out. This meant jugging 140 meters to our high point again with my heavy-ass bosch drill. Once at the high point I put on some climbing shoes and self-belayed with a gri gri as I made my way up what became p6. I hadn't really bolted from stances on lead before but it went well, kind of like placing ice screws ?. Day 5 I spent cleaning the lower part of P3. I noticed one of the fixed lines had begun smelling like rodent feces and I dubbed it rat piss line. The lower part of p3 had some washing-machine-sized stacked blocks. Pulling on them with a hammer I couldn't get them to move but on Day 5 I brought a crow bar and was shocked at how easily these things slid with pressure in the right location. Fortunately, the climb is far enough left there really wasn't much risk to climbers doing the single pitch routes at HD but I put up flagging tape and a sign anyways. Sending these huge blocks down into the gully below HD was pretty awesome but as I rapped down at the end of the day I had a sort-of near miss. I was just about at the bottom of the route and was shouting over to some friends when suddenly the end of the rope was in my hand. The line had been cut a good 25 feet from the end by trundles. If I had been paying less attention I would have fallen into the gulley. Fortunately my feet had just touched bottom and I had been paying attention, but it was certainly sobering. Day 6 was spent bolting and cleaning P1 which I hadn't really figured out yet but finally seemed to come together. Day 7 (the actual "Free Climbing FA"): At this point it was late September. There was a long stretch of rain in the forecast and I convinced Trevor to climb the route with me, while Daniel wanted to jug the lines and shoot footage of us with his early 2000s camcorder. Conditions were overcast and cool as we started out. Myself leading odds and Trevor leading evens. P1 starts out with easy climbing up a corner but gradually gets harder (5.11-) near a roof. I realized I hadn't cleaned this pitch nearly well enough and got pretty flash pumped below the roof but managed to grunt my way out on to the face. P1 continues on the face above with some easier climbing and it was fun but it was like dancing on choss with all the loose stuff around. Trevor followed quickly behind and arrived at the belay looking like he'd been mildly inconvenienced. He charged up p2 (5.10) as I laughed about the fact I'd barely cleaned the pitch. I launched into p3 a bit nervously because I knew it was the crux. I'd removed the death blocks and cleaned the holds just enough for it to be climbable. The bottom climbs fun laybacks in a corner to another shallow roof with some cruxy smearing (5.11-). Above this I arrived at nice ledge where I took my sweatshirt off. From here the rock quality improves but the wall also gets steep. The next 4-5 bolts are the crux of the route (5.11c) and hold some fun pumpy climbing on pinches and positive edges. Staying on brand, I got super pumped and red-lined my way to the slab above. Trev followed with one quick fall then joined Dan and I at the belay. P4 might be the best on the route, Trevor led it, muttering about how it was some "index shit". I think that translates to technical face climbing. After I followed I linked P5 and P6 together. P5 is also fun technical climbing similar to P4 only a bit more short-lived. The fixed lines only went to the top of P5 but we had Daniel tie in on a bite so he could join us at the top. It felt pretty good to finally climb this thing after all the work we'd put in (and just before the rain). Day 8-10: While I had a great time climbing the route, the amount of loose rock and dirt on P1-P3 made it feel unlikely others would want to do as well. So in early 2024 I spent three more days with a wire brush, crow, bar and leaf blower cleaning up the bottom 3 pitches (also nourishing myself in the aura of rat piss line). P3 mostly just needed a leaf-blow, P2 ended up being pretty solid and really just need some light brushing. P1 took up a good chunk of time as there were some stubborn loose blocks, but I got it done. At some point I convinced my buddies Chris and Andrew to climb the route and I went ahead of them, TR soloing on the fixed lines. On this trip I made sure all the anchors had rappel hardware, and I added two stainless steel permas to the crux. We also removed all the fixed lines on the way down. Closing: I'm optimistic with a bit more traffic things will shape up nicely. If Heaven's Gate / Golden Road at Index UTW are in your wheelhouse then this climb is too. Consider checking this thing out for a unique adventure! Gear: At least 12 draws and a handful of runners, full 70m rope Links: - mountainproject: https://www.mountainproject.com/route/125001449/the-stairs-of-cirith-ungol - youtube video we made from Dan's footage:
- 4 replies
-
- 5
-

-

-
- first ascent
- middle fork
- (and 8 more)
-
Howdy friends, it's my pleasure to present you all with the newest Washington classic - Negligence located off the Hannegan pass trail. This is a stellar line that links up several crack systems to access a shield about halfway up the large buttress seen across the valley. We spent most of the spring/summer of 2025 developing and cleaning this line and would like nothing more than people to get out there and climb the thing. Approach - From the Hannegan Pass Trailhead, hike Hannegan Pass Trail past the first two switchbacks about halfway to the campsites. Shortly after the second switchback, drop down the open talus field on your right. Continue down the talus almost to the creek, cut right into the woods, then make your way down to the creek from there. Jump from a large log across the first narrow creek band and you’ve found the tunnel through the slide alder. Be bear aware here, we found multiple fresh signs of them (probably due to the golfball sized salmon berries). Follow this until the major creek crossing, then cross the creek. After crossing, head through the trees directly towards the nose of the buttress, hopping another small creek braid before entering into the talus for the final approach. Follow cairns up the talus, then follow the path (likely overgrown) through the underbrush to the base of the wall. The route is located a couple hundred feet to the right of the nose. In total, the approach is around 2 miles, but tends to take around 45 minutes, give or take. Climb - This route takes a series of remarkable crack systems 400 feet up the Hannegan Buttress over four pitches. Protection is traditional, styles vary from off-width to tips, and all anchors are bolted for ease of descent (316SS all around). Each pitch ends at a conferable belay ledge. Pitch 1 - Depending on snowpack, either hop right into the offwidth start, or cross a deep snowfield to dig right into the rest of the pitch. A long continuous crack system varies from tight fingers to the wide stuff, favoring tight hands and good feet. This pitch reminds me of a steeper version of the Apron with lots of flared hands, sustained 5.9 climbing with several good rests. The bottom wide bit is a little dirty and will probably remain so since it gets buried under the snow pack, but it quickly cleans up. This pitch would be a classic all on its own. (5.9+) Pitch 2 - Amble up from the belay towards a notch gully in the leftward wall, clipping in a pin down low, then placing a bit of gear before firing a few fun moves to gain the gully. Make your way up the 4th class to a great ledge to top out this short pitch. (5.8) Pitch 3 - Step left from the belay and begin climbing up a wide box. Tread lightly on the red stone before pulling into the right-facing dihedral towards the alcove. Exit the alcove on thin tips, and continue upwards until bomber hands placements allow you the confidence to trend left in the flake system. Follow the flakes until the roof, then brace yourself for a thin, thoughtful, arching crux protected by small gear as you pull out onto the Shield. Save a .2 and your smallest cam for the business. The crux of this pitch is short and sweet. Its probably easier for folks with thin fingers or long arms and can easily be pulled through on gear. (5.10d) Pitch 4 - This one's in the money for best pitch in all of Washington! Climb the stupendous splitter to the top of the Shield. It is as good as it looks. Some finger crack moves will take you past a loose book size rock (never fear, that thing isn't coming out) to glorious hand jams. It gets a little steeper at the top so be sure to take in the scenery and catch your breath a bit. Top out on a large ledge. (5.10b) Descent: Rap with a single 70m rope. Use the intermediate anchor on the ledge climbers left between the P1 anchor and the ground. Otherwise, just rap the route. Gear - 70m rope Double rack .2 - 3. Singles of 4, .1, and a purple c3 (or equivalent tiny cam, or trango gold ballnut… the best option) to protect the crux. Wires, all sizes. Consider triples in .4 and .5 for the long first pitch and a 5 if offwidths make you shake. Background - The vision and much of the labor for this route came from Nate Fearer with additional help from myself, Neil Miller, Spencer Moore and Alex Pederson. The route name comes from the fact that Nate started this project while on paternity leave and completed it within the first four months of his son's life (he really is a good father and loving husband). The route was established ground up as an aid line, then dug, cleaned, and scrubbed. Then scrubbed, then scrubbed, then scrubbed. Further ascents will clean it even more. Also, we found some evidence of prior development out there including a bolted (2 pitch?) line left of the nose. If anyone has information on this route please let me know.
-
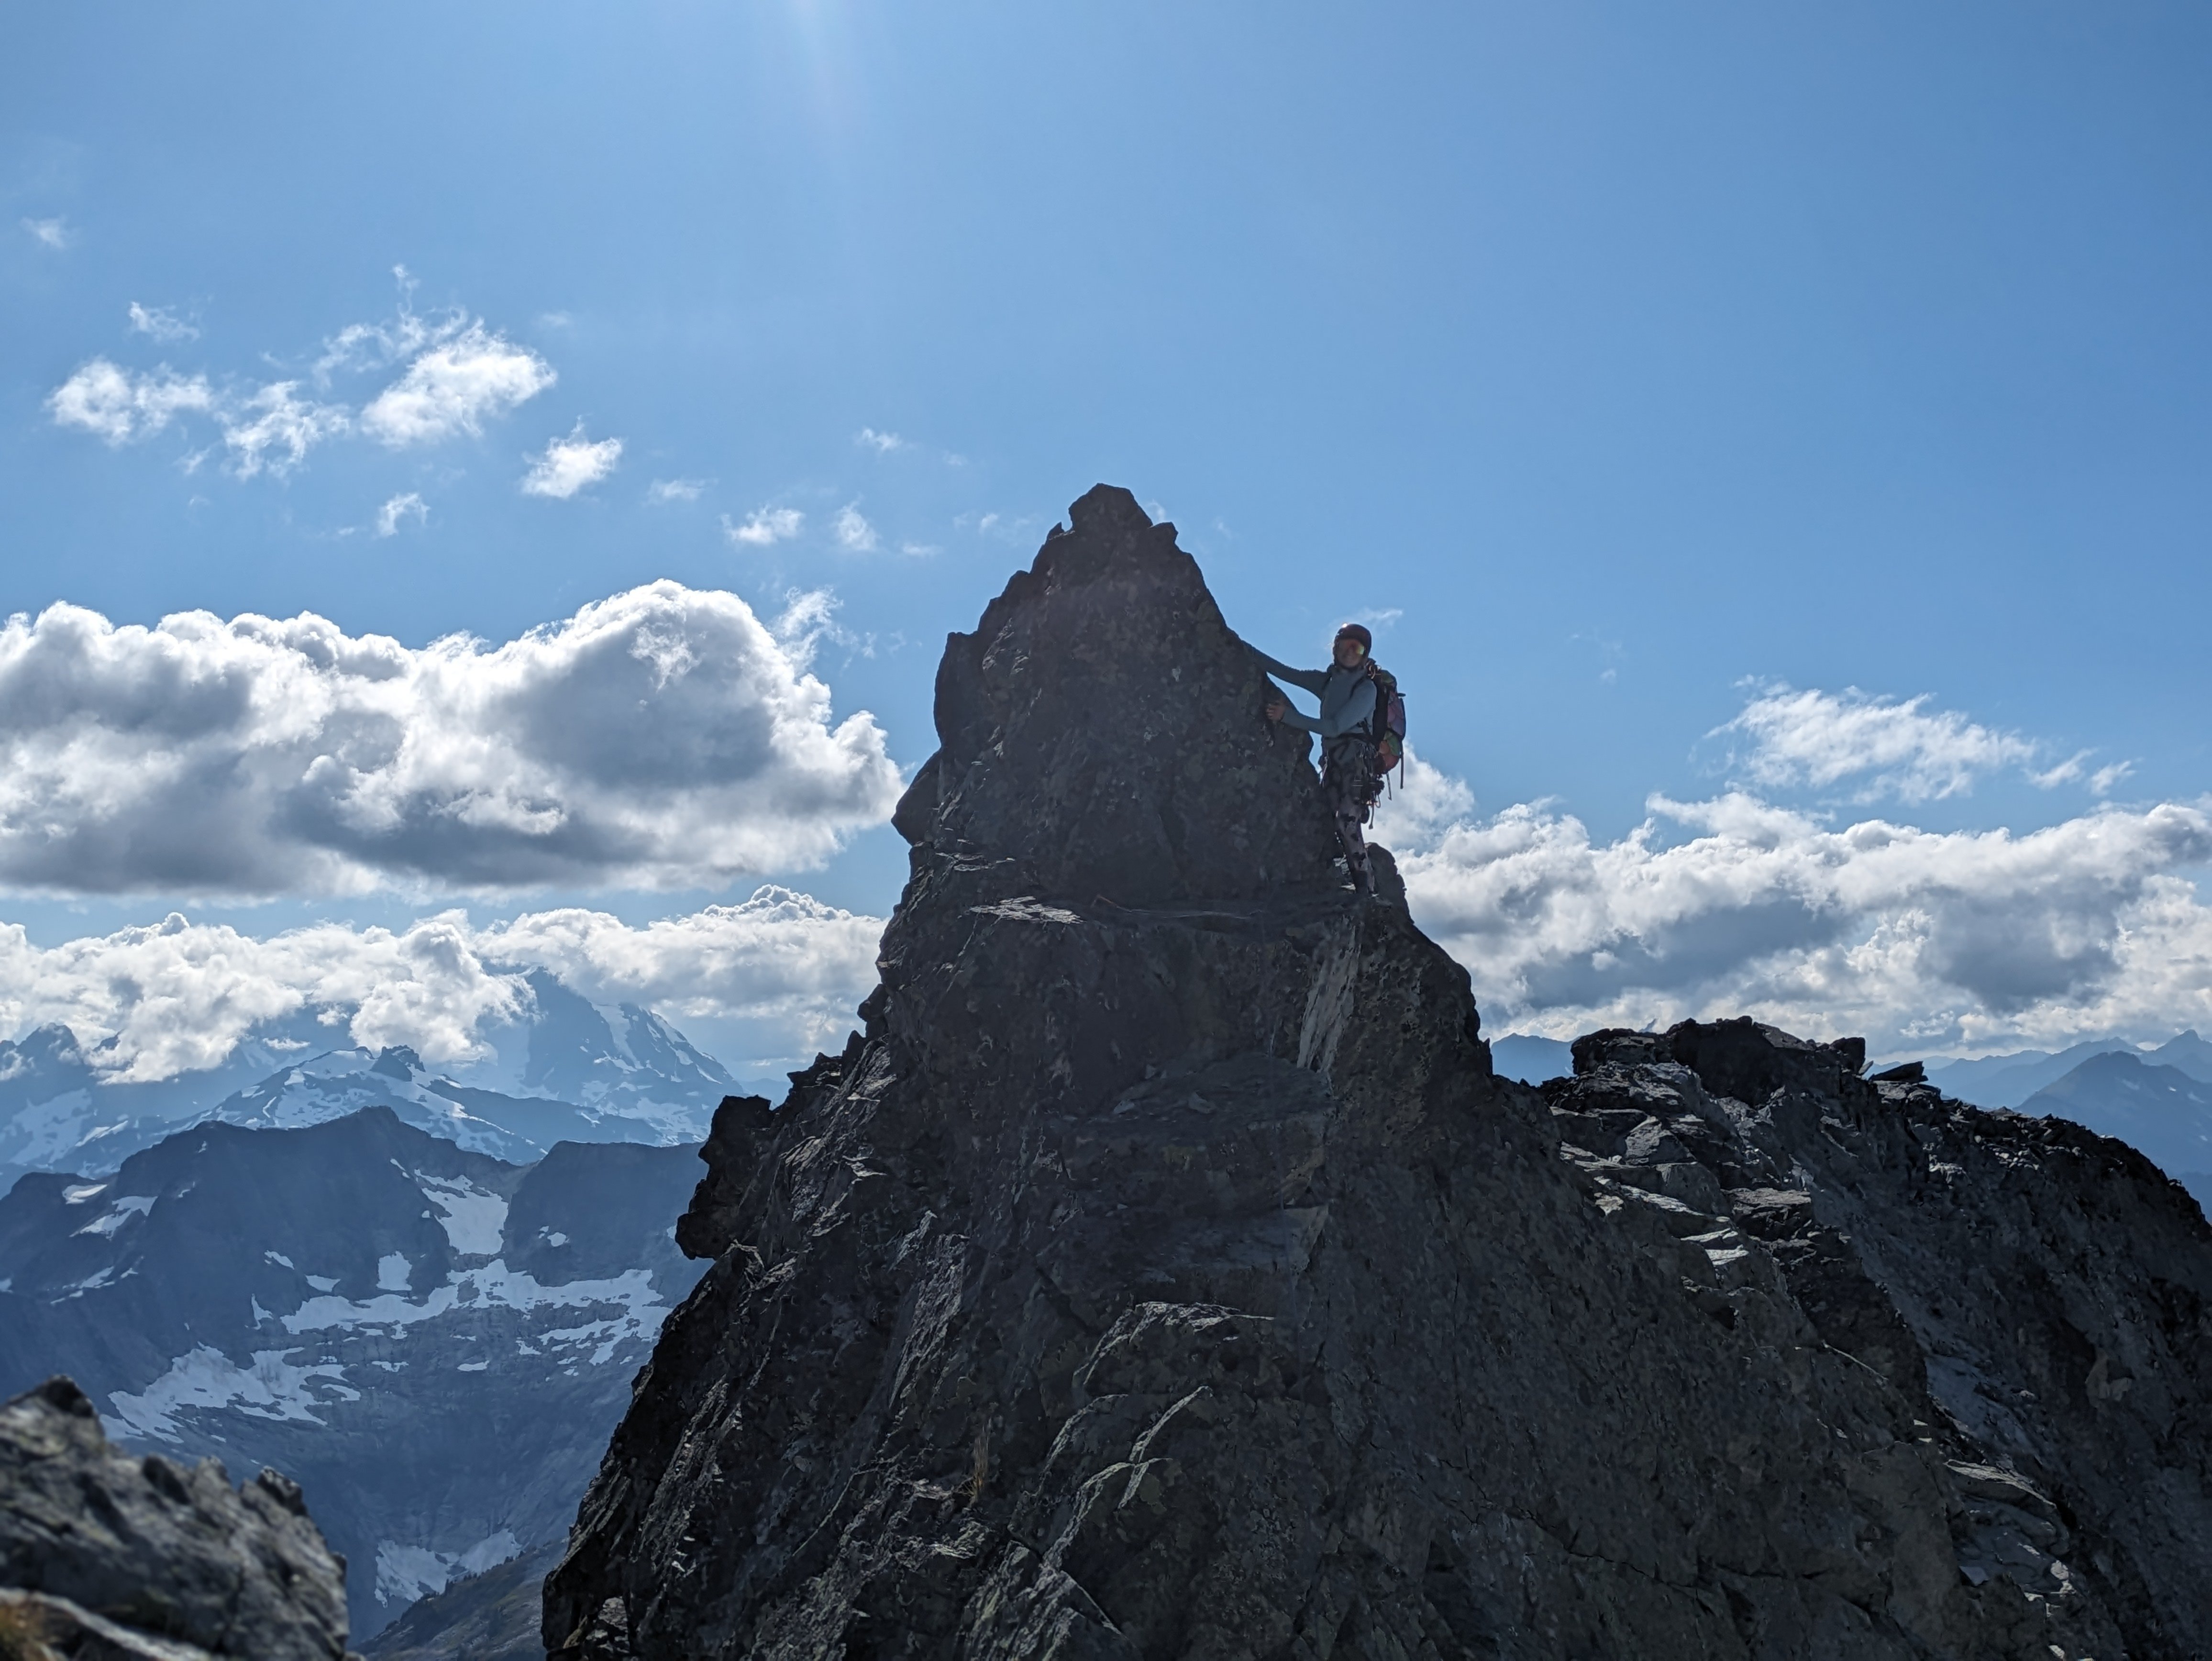
From July 25-27, Lani Chapko and I climbed the SW ridge of Whatcom peak. This is the large, two-tiered ridge that, at its toe forms the imperfect impass. The ridge gains 2400' with 3000' of roped travel. The ridge is generally not very sustained with the upper half being mostly low fifth class. We did it in 14 pitches or simul blocks. The route climbed on generally very low quality shist and required care and deliberate, slow movement the whole time. Protection was surprisingly good through the lower, challenging climbing, but non-existent at times higher up, forcing very long simul blocks to locate anchors. The route follows the skyline Day 1 We left the Hannegan Pass TH around 2pm and hiked to a camp on the summit of easy peak. Day 2 Finish the easy ridge traverse and drop down to the toe of the ridge. We started just left and uphill of the toe on an obvious ledge. Climb then return via easy pass/imperfect impass back to a camp on the summit of easy peak. NOTE: I bolstered the rap anchor above the second pitch of the impasse and added new tat. There is now a small nut and good KB in addition to the sketchy horn that people had been using. Please do not clean this anchor, this section is about 5.5 and often seeps for long after rains. So it can be nice to have the option to rap. Day 3 Wake up late, and hike out, eating copious berries and taking longer than the approach ?. Here's some photos of the climb Lani starting up the first real pitch Climbing on one of the lower 5.9 pitches Short overhanging crack crux The broad notch halfway up Easy scrambling above the notch Some cool ridge climbing up high A near gendarme towards the top Another view One more view of the ridge, following the skyline. Gear; Single Rack .1 to 3, doubles .3 to .5; small set of nuts and 3 KB's (used extensively). As always, here are my pitch notes, though id hardly recommend this route. In all seriousness, Castle in the Sky is a bonefide modern classic Cascades alpine route, so if you want to do something technical on Whatcom, you should really just do that! P1 100' 5.3 Climb water polished slabs and grooves to a massive ledge (easy solo). Move (or establish) belay to far right end of the ledge P2 200' 5.8 climb a runout mossy dike to a poor belay stance. P3 200' 5.6 Continue up the moss dike to a big ledge system. Traverse the ledge to the right anc belay just before the massive cleft. P4 100' 5.9 Traverse into the gully, climb the sometimes chossy gully and belay below an overhanging OW in a forming cave. P5 100' 5.10a Steep moves to the right exit the gully. Then steep chossy, but well protected climbing gains a ramp then a ledge to belay. P6 100' 5.10+ Trend up cracks to a tree. Awk moves through the tree gain a small ledge. The crux crack lies above. Steep pumpy climbing with barely ok gear leads to a sloping ledge to belay. P7 200' 5.9 Surprisingly techy climbing above the belay relents to chossy low fifth class on the ridge. Stretch your rope and find a belay. P8 200' low fifth Scramble the ridge to some trees. Scramble a few hundred feet to the base of a gendarme P9 250' 5.5 Scramble up a grassy ramp on the right of the gendarme. Belay at a small saddle. A few hundred feet of 4th class through a massive notch in the ridge. This is a possible bivy site or bail point. Several hundred more feet of scrambling up to low fifth leads to a small notch. P10 300' low fifth Scramble a loose gully to where you can find gear to belay. P11 200' 5.5 Continue up the gully to where the ridge knife edges out. P12 200' 5.4 Climb the knife edge ridge to the next notch. P13 600' 5.5 Continue along the ridge to the base of the summit headwall. P14 200' 5.7 Climb the left side of the headwall to a spot just below the summit, then scramble to the summit.
- 6 replies
-
- 10
-

-

-

-

-
Trip: Tower Rock - FA - Rapunzel's Back in Rehab - C1 Date: 7/15/2015 Trip Report: The Beast - don't be fooled, them thare are full-grown trees Tower Rock, 2 hours from everywhere, appears oddly neglected - Brown Beckey's got the tiniest blurb of the single route up it done in 1982 (anyone know of a second ascent? i can't find anyone who's tried it) but no picture n' no topo - tim olson's oregon rock guide has some more detail than beckey, but still the vast monolith appears to have continued unloved tower's just south of randle, an unladen swallow's flight from the cispus river - the face is gigantic,something like 1200 feet tall - the rock is basaltic, according to beckey, but like nothing i've seen - like over-baked brownies, it's composed of a hodge-podge of components - incredibly solid and compact, it's cross-hatched in all directions, crackless, and crumbles into bricks and blocks of all conceivable sizes - the tower looms over it's talus field, fiercely steep, it's upper-wall reminiscent of the right side of el cap, incredibly bulging and over-hanging tower is composed of two giant faces seperated by a ledge/fault system that was the path taken by the first team to climb the face - currently, after 7 days of effort, our route climbs the lower wall - it'll be just as much work to finish the upper wall, if the rock quality holds as it currently exists yeah, there's a lot more to go, but as it stands, what's there is 600 feet tall and a great day-tripper's aid adventure already - i figure the worst that can come of telling folks about this now before it's complete is that some other sad fools can go do it for me trip the first: fuck, this happened so long off i wonder if my recollection's right at all - me n' bill n' ben in the late winter - a burr up their bespectacled asses about a mythical 10-pitch free route up a largely untouched tower - the plan to hike to the top then set a rap-line down the likely route - out of town on a friday night to the frightful fall of rain - ghetto camp before the gate in gales of damnable damp - the roar of frogs - the next morning the most sordid thang - endless hours uphill w/ drill n' bolts n' chains in the continuous cloud-fuck n' frenzied chilly breeze - near the summit gob-smacked to gain a blazed trail barely a mile from a seasonal road - the top a huge disappointment, it characterized by clouds and beaming rainbows and rock so rude they rarely accoladed the attribution - soon there after the weekend righteously concluded and me around for the sweet family on the sabbath trip the second: on the reconnaissance earlier, dejected at finding a kitty-litter summit, we'd paused after a tortuous overladen descent on the boulder field and pondered on future options - a man w/ an aid-climber's conscious could do a take on "infinite bliss" and find a bitching way up the crazy big blank face - it was sure to take a mort of mortal work, but bill n' geoff are true gentlemen all measured and solid for this kinda goofy shit - we banged up from p-town on a friday night and made camp up at the turn around on the forest road - stumble-fucking up the forest we arrived amazed and ready to ramble on - many mozzies n' deer flies this damned trip - pitch 1 went quickly between geoff and bill, the later bounding up free on low-angle stacked mossy talus to make an anchor atop tier 1 - me i got tier 2 - all bolts at first until i no longer feared the ledge, then lotza 2-hook moves in a row until reaching the top of the tier where i left a fixed hook to protect a low-angle romp to the second anchor - we retired to camp n' soggy fires n' fulsome screeching music - day 2 we jugged to the top of p2 and bill and geoff got up a ways before yielding to me, whereupon i drilled n' hooked to a high point we marked w/ red tat before descending and returning to our troubled and lonely little lives - i recollect getting a true n' glorious drunk on in the passenger seat n' slumbering back to vantucky geoff putting up the first pitch on the scrubby, compact low-angle first tier the artist as a young asshole ascending the second steeper tier geoff workign on pitch 3, the first steps onto the very steep lower wall trip the third: lovely ospreys n' robins round the lake - pete n' pam play camp hosts - camp weddings n' nightly fishing sheenaningans - muskrats n' pond-skimming swallows - bastard mozzies n' mean biting flies, mostly in obeisance for the first couple cold days, but growing in malevolence as the weather waxed towards wicked hot - the sweet ne face of Tower almost totally shade-soaked for the mid-morning riser - kids n' retirees n' rv's n' jumping trout n' tame dogs - the listless routines of an aimless life - awake w/ the sun - fresh shits n' dewy breakfasts - a short but grim uphill grind through steep forest w/ plentiful windfall, shirt soaked through by the time we hit the sunny talus field at the base but soon blessed w/ shade - warm juggy work to start and then to the serious business - fear frenzies despite being armed w/ all the wonderful war machines of modern man - a long time of terror n' toil - the day dispatched, we make a rapid descent, each time by a different winding way - beer n' stripping soaked clothes off at the mercifully close car - me auolde yosemite food bin rummaged through for a desperate dinner, usually of beer n' tobacco n' pringles n' whatever benevolent bill threw my way - an hour or so of bird-watching n' binge-reading on maggie thatcher's frigid teeming fucking bush - to sleep at the post-gloaming in a grand 6-man tent alone, racked out on a queen sized inflatable air mattress, wrapped in down and dozy drunkenness - the night passed moaning to sore muscles as i twist n' turn until the dawn drags me to my addled senses, then it all runs off the reel much as it reckoned the day before... first several days of murmurings n' mumblings w/ just me n' bill (me a damn baby in comparison to my venerable and august elder - that baby weighing in at a mean 250 bare-nekkid pounds and a coward to boot of course) - bill a bastion of genteel sincerity that must sadly have bitch-left this world many generations ago - me strangely silent of song for days - my mind scrambled and saddened by the robust requirements of 6-weeks of family-left sorrows gone off in the valley - eventually songs to lift my times and shape my senses - "mining for gold" by the cowboy junkies running on an eternal loop in my mind - long after-shocks of "burn down the mission" caused by geoff for sure after 3 days of toil we grow weary and call in the cavalry - the silverman boys gonna come down n' save us from our misery - we make a rest day out of walking the mountain side w/ them, then retiring to the big boulder to pound pbr's n' provide Adult Supervision - they lounge around camp afterwards, contemplating on crashing the redneck wedding well under-way - we smoke bales of weed n' cackle n' cough n' find high times are treasure enough in this wicked world - eventually all good things must get on the bus w/ gandhi though and they roll off into the night in the hms revenge, ready i hope to return for more the last day done-off as surely as a band-aid - after a fearful arduous jug up the wild steep fixed lines ole bill baits the question ("good news or bad?" - which would you take?) - - dedication to a last day of determined work - 5 hours of bolting and hooking on endless steep traversing ground until i was gut-wrenched at what it was likely to take me to get get back to bill - epic amounts of gear left as i rapped into the void and quickly grew dependent on bill to reel me back in - the retreat then fully declared we rapped n' ruminated n' laid our plans like parchment paper, all of it ultimately putting us on sweet terra-firma w/ a fuck-load of gear to get off - surprised by bill's pronouncement of this day, i had no proper pack to cram all the crap into eventually we ambled on down the way, me overloaded like a gypsy carnival-whore w/ rope-bags aplenty such that i swooned on multiple occasions as the straps cut into me wind-pipe and i passed yards off unyielding to gratuitous thoughts, my mind in a true and lovely gray place - the last night spent in part w/ militant california-paul, such as exemplar of that shakespearean clap-trap about sounding of fuck-all and negative fury, yet yielding nothing our objective from the relative sanity of the rv park n' its teeming trout pond white-boys jugging the first 2 tiers - at this angle the lower wall takes up most of the entire frame, but the upper wall's just as big n' steeper 700 feet of ropes n' route-making machine just starting the second pitch bags of bolts n' drills n' bullshit - starting to install pitch 4 geoff at the top of p4, kyle jugging up to the mid-pt anchor closing thoughts: happy to share the discovery w/ the nw brethren - leave yer self-righteous bolting morals at home w/ yer bitches - the place went unloved for a reason - the only cracks evident are where awful rock-fall is just a geologic fart-in-a-stiff-wind away - if intending to push the route higher (what's there is plenty for a day-tripper), please let me or bill or geoff know so one of us can come along - perhaps a dozen separate lines could be pushed to the top in the same style, each likely to take weeks n' 1000$ to put in place - recon trip to the top found almost no real rock up there - at some point all lines must turn to awful kitty litter, but maybe it'll go anyhow? topo as it currently stands - hope to see this fucker get taller in the fullness of insensible time Gear Notes: - up to 30+ draws if clipping all bolts - 2 bathooks (talons can work, but they risk blowing out the drilled holes) - ideally 2 70 meter ropes, but 2 60'S can work if careful - cheater stick not bad idea, as many of the bolts were installed by a fear-fucked orangutan at his max reach - lower off tat or quick-links/biners for follower at traversing parts - helmets essential - much potential for rockfall of all sizes, especially if hauling or jugging - base area very dangerous in strong winds or if below climbers on first 2 approach pitches - upper pitches largely protected from natural rockfall (be careful up there ) Approach Notes: Exit 68 off i5 - east on 12 to randle (about an hour) - right (south) turn at randle (follow signs for tower rock RV park) - quick left about a mile south of randle, then another turn right about 6 miles later - rt turn at tower rock RV park/cispus learning center signs - left onto logging road (75?76?) just a 100 yards before rt turn to tower rock forest service camp (or straight for another mile to the RV park) - forest road is closed at gate near main road during winter/early spring - about 1 1/2 mile up road (stay on main road at split a 1/2 mile up) there's a turn around (about .25 mile past a steep switchback) - from there you can continue in car but there's no turnaround - walk or drive 1/4 mile to road-end - at wierd stone-forest-altar begin hiking up steep forrested slope - about 45 minutes to base - occasional game and human trails, generally trending right and up - copious windfall in middle section of trail - steeper for last 1/3 of trail - idea is to skirt talus field on right and join base from tree at right edge of wall - 1st bolt is just 5 feet off ground near clump of trees about 50 feet above a huge lounge-like boulder that is a great/safe observation spot descent: currently rapping from top of p5 to top of p4 is extra-ordinarly hard - in the future ideally there'll be a rap line straight down through p5 - for now be prepared to leave a fixed line to get back to the top of p4 and for the first rapper to have to haul the second back over - descending from the top of p4 requires 2 70 meter ropes or a stop at the mid-pt anchor (no rings) - the rap overhangs but you just barely touch the wall at the mid-pt anchor - use terrain to help you rap in the right direction
-
first ascent Sloan Peak - [FA] Borrowed Time (WI5 M7)
Michael Telstad posted a topic in North Cascades
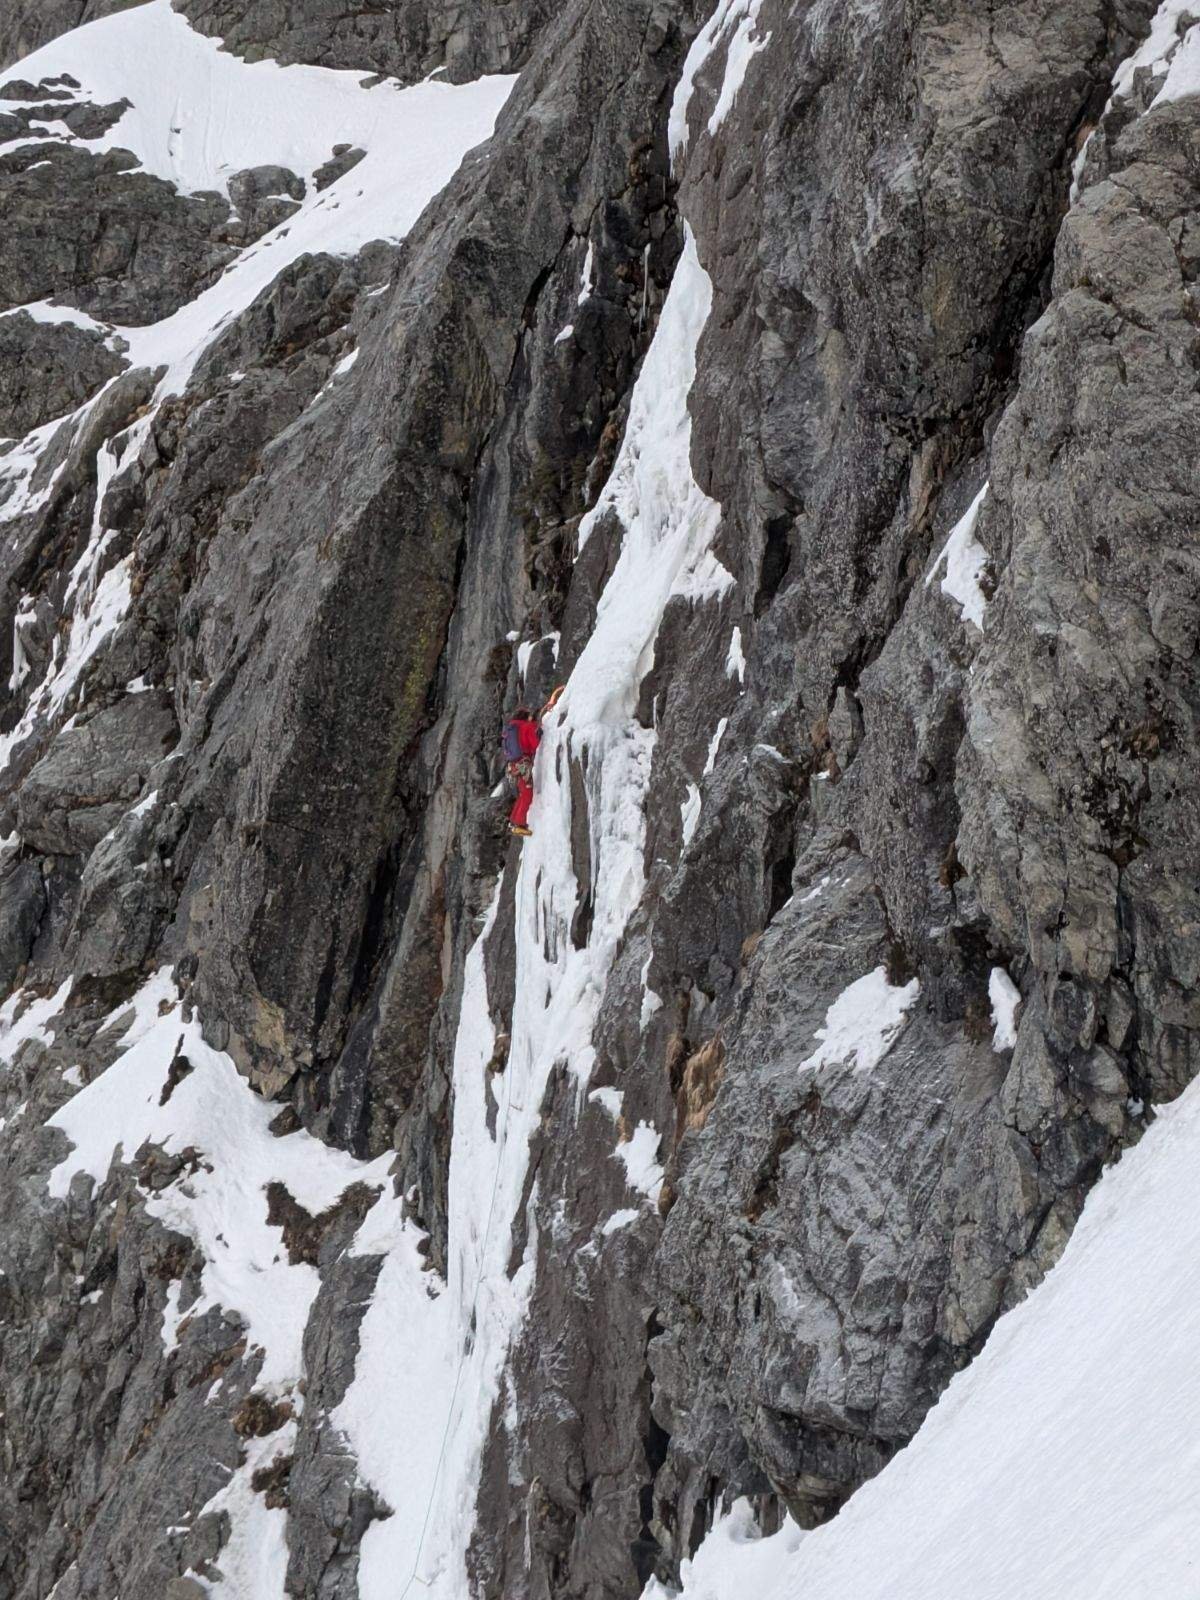
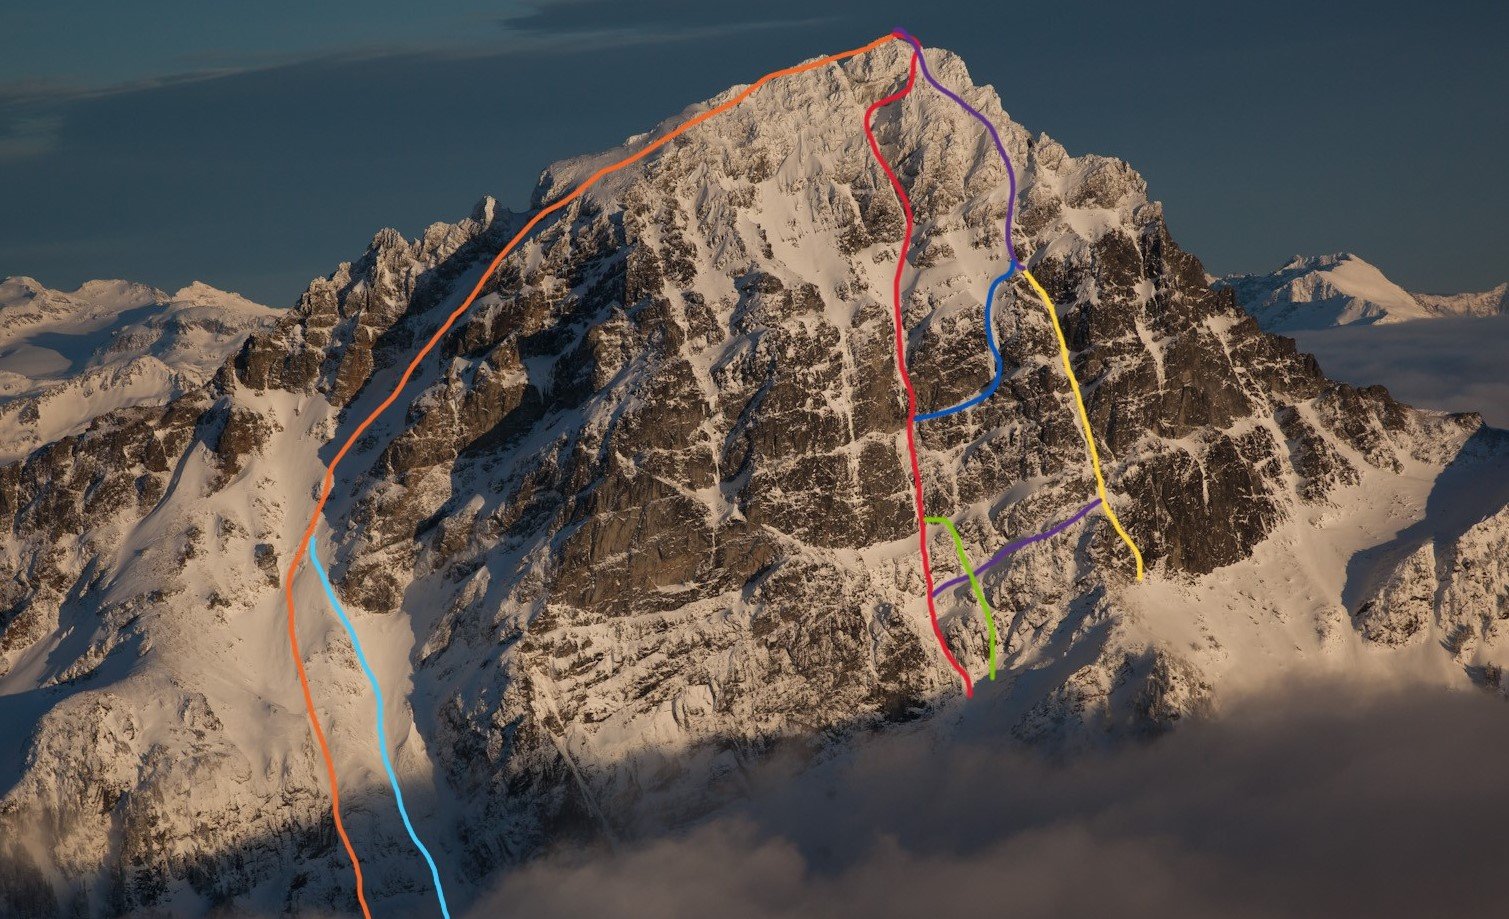
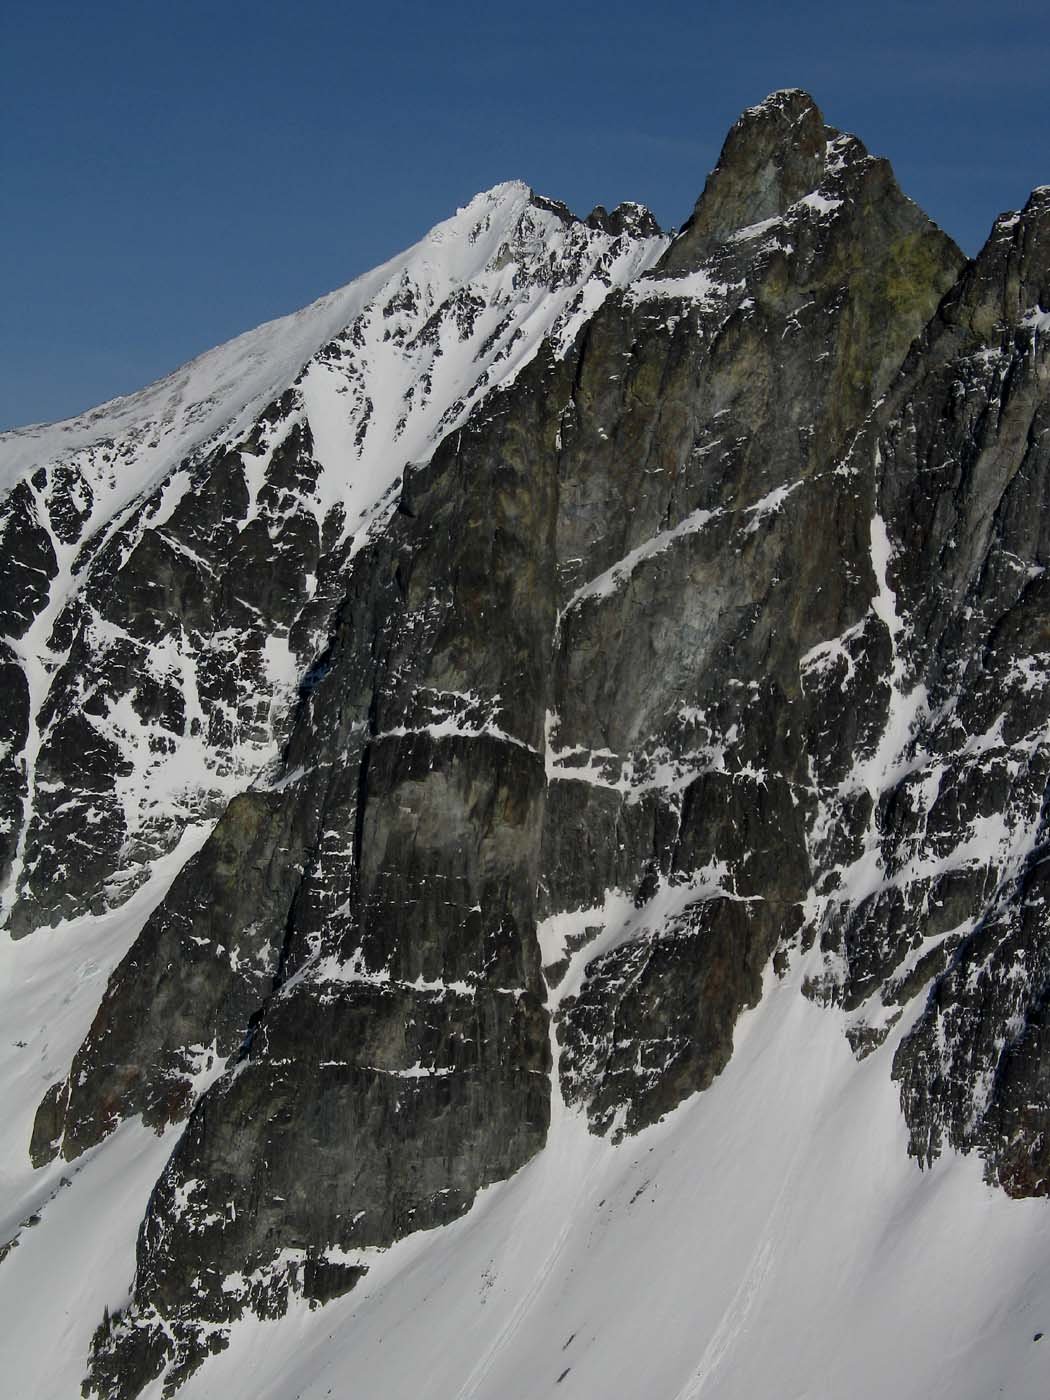
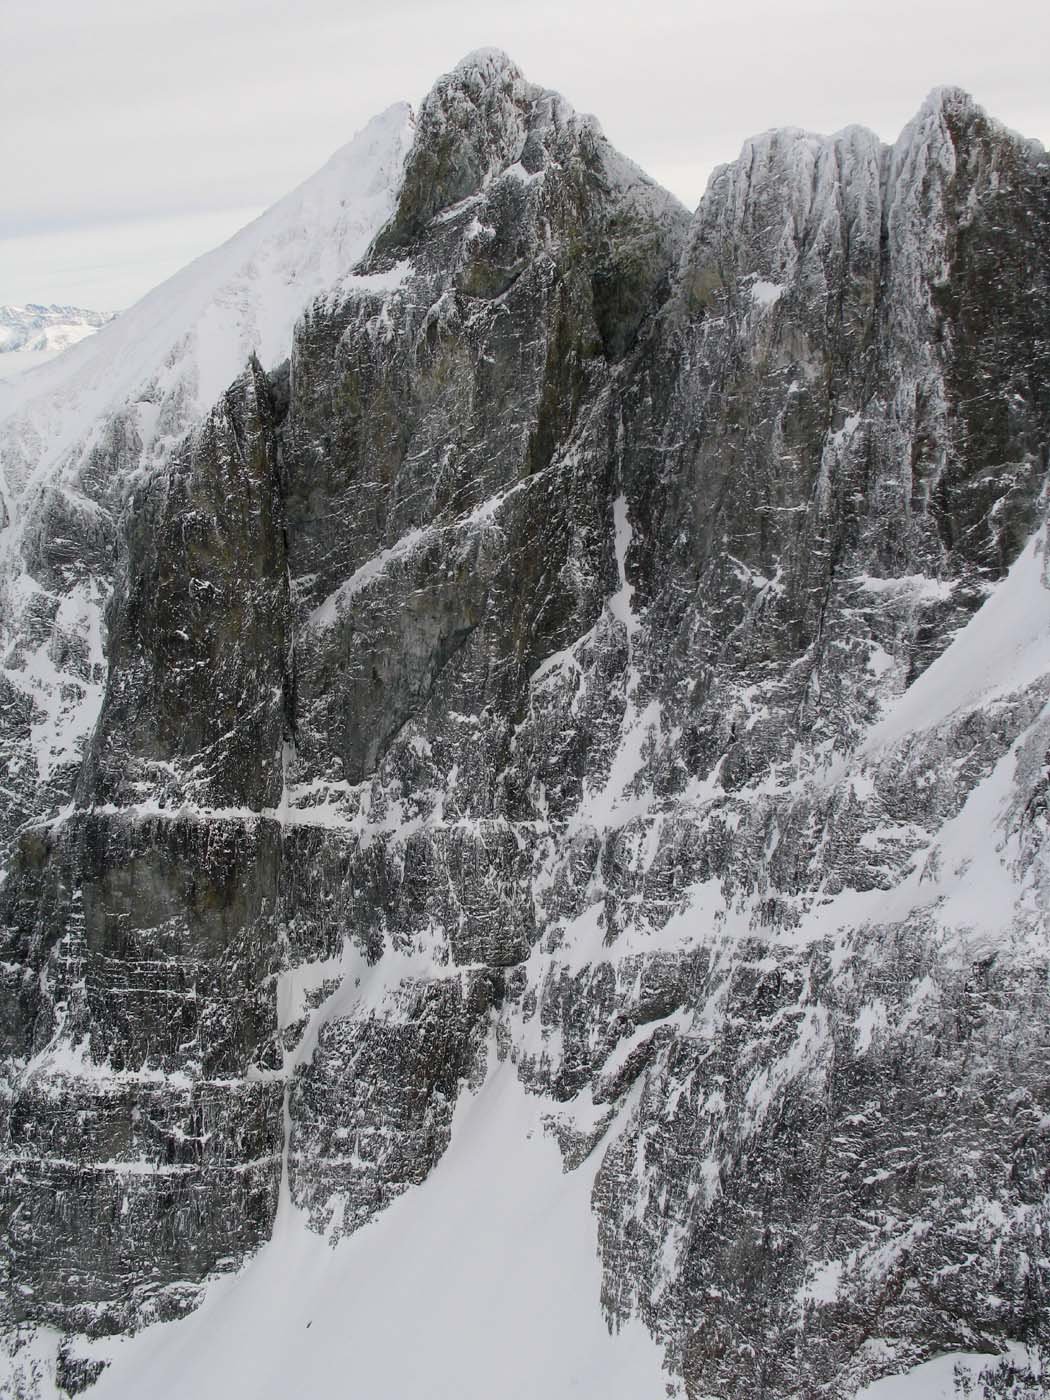
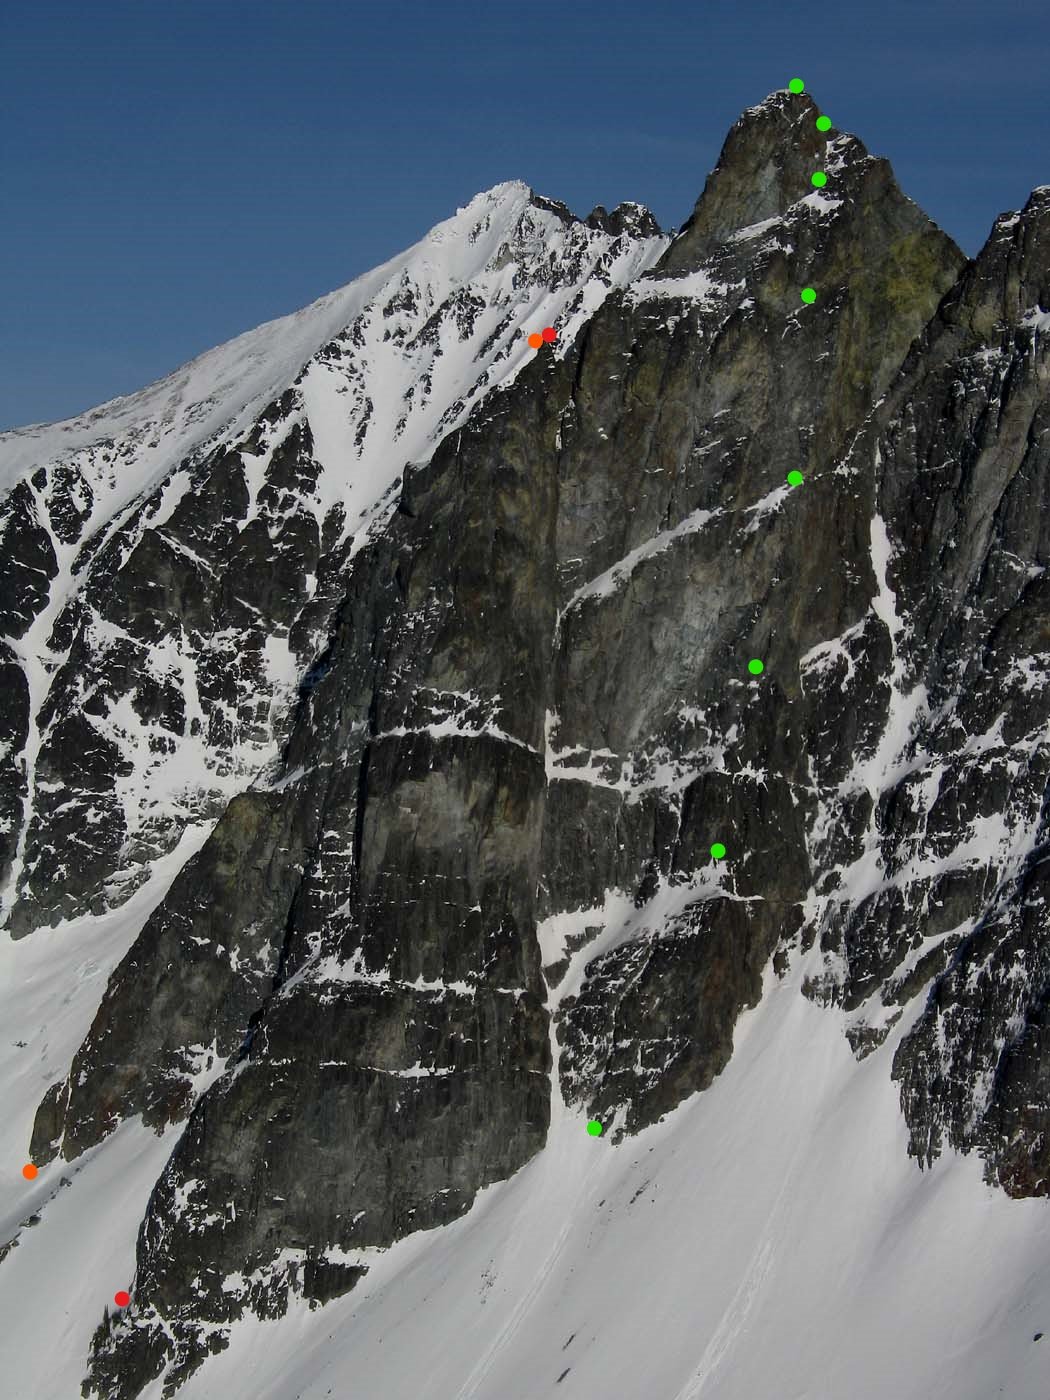
The often-discussed west face of Sloan has been in the forefront of my mind for about as long as I've been winter climbing. When I first came across the stunning Scurlock photos of the face, I was blown away to learn that there had been no successful ascents of any of the major ice lines. Rumors of poor-quality ice came with every attempt up until Kyle and Porter's climb in 2020. I'm not going to lie, I was somewhat disappointed when I heard someone got to it first, but it was only a matter of time. A few weekends later I skied in with @sfuji to try and take their route to the summit. Weather changed rapidly and we spent the night in the basin listening to avalanches rip down the face as it continued to snow. We skied out the next day after some consolation pow turns. My attention then turned to the prouder lines on the main face. Still not yet entirely sure I was ready for the direct line, I set my eyes on what would become the Slither (Merrill-Minton). When that high pressure system hit in late Jan 2023, I knew it was the perfect window for the face but had committed to some other obligations. When I got a text from Tucker asking if I thought their line was previously unclimbed, I felt that same pang of disappointment mixed with the psyche for my friends. It had taken a while, but the plums were slowly getting picked. At this point I knew I had to make this a priority, If the window showed up, I had to at least try. In the summer of 2023, I went out and climbed the SW face rock route Fire on the Mountain. It was my first time actually touching the peak, and I was impressed by the rock quality. This gave me hope that the pitch up to the dagger would be possible but might need a few bolts. It also gave me the opportunity to experience the upper mountain and SE shelf descent. Fast forward to about two weeks ago when this massive high pressure system rolled into the forecast. A brief but deep warmup followed by a long stretch of cold high pressure. THIS was the system I'd been waiting for. Bozeman and Patagonia had stolen the majority of my go-to alpine partners for the winter, so I quickly exhausted my list of regulars. I began reaching out to friends of friends who I'd never climbed with before but seemed up to the task. Finally, I convinced Justin Sackett, a guide based in Portland to make the drive up for the weekend. On Wednesday the 15th I woke up in my car along the Mountain Loop and began pushing my bike up the Bedal creek road. At the time, there was a large tree fallen over the road that was impassible in a car, not that my Prius would have made it much further. I hiked in with a tag line, some pins and a small hand drill bolt kit to stash below the face. Along the way I cleared some branches and did my best to establish an easy to follow boot pack. It also confirmed that skis would not be worthwhile to bring. I snapped some photos through my binoculars and booked it back down trying to get a few hours of work in that afternoon. Scoping the dagger. The Slither is also fat for anyone keen on taking this one to the summit. That day I posted trying to get someone to go chop down that tree, and to my surprise @Manheartmountain was already on his way out there to do the work. This saved us about an hour on either side of the day, and a good bit of suffering. Our alarms blared at 2:40 am on Sunday, early enough that my body hadn't quite realized I was sleeping. We crawled out of the car and set off a little after 3am. The Redbull, gas station muffin and last night's Chipotle fought for dominance in my stomach. The approach went smoothly with the refrozen snow surface, and we found ourselves in the basin around 5. Here we ran into Rob who was planning to make a solo attempt on Superalpine. We shared trail breaking duty up into the lower gulley of the face. Below the first ice step we stomped out a platform and pulled the rope out, after taking a short break Rob continued out right across the ledge towards the Superalpine gulley. Described as WI3 in Tuckers Slither report, our first pitch involved a heinous aerated delaminating pitch of WI5. This was by far the hardest pitch of ice we climbed. It can be bypassed by walking around to the left, or possibly the ramp to the right climbed by @Marcus Russi on his 2017 attempt. It also looks like a good pitch of M5-6 climbs just parallel to our ice smear connecting at the top where the ice is better. Lots of options here, we don't really recommend climbing the same pitch as us in the conditions we found. Photo courtesy of soloist Rob. Justin on the first pitch. Deceivingly steep. The rock on the left looks very climbable, or you can just walk around. I took over for the second pitch and found the start of this pitch to also be aerated shampoo ice at the very bottom. I placed a beak and made a few rock moves to establish on the good ice a few feet up. From there a WI4 groove took me to the top of this step where I made a good screw anchor. The aforementioned beak was unable to be cleaned so it's still in place. I'd like it back if anyone else goes up there soon. Another pitch of harder than reported ice, either we had more different conditions or Tucker is a sandbagger. Likely the latter. Looking up at P2. Once again, we swapped and Justin Lead a pitch of WI3 up through a groove and out onto the onion skin cone below the dagger. Not a whole lot in terms of pro here, but incredible one swing hero ice for the follower. Now below the dagger, we took a short break and got prepared for battle. When racking up in the basin I chose to leave the bolt kit behind. This route deserved an honest attempt on natural gear before being sieged. After traversing back and forth a few times I finally chose my line and started climbing. The rock on this portion of the wall is highly featured, but extremely compact. Due to it being wet so much of the year, every crack and seam was full of frozen moss. This made climbing easier in some ways, but finding decent protection a real challenge. I slowly picked my way up, getting gear wherever I could. The terrain was pulling me right, but I eventually needed to cut back left to access the ice. Once a decent option showed itself, I made a hard traverse towards a hanging face under a roof. Finally getting a piece I was really happy with, I plugged in an additional garbage cam for good measure and committed to the steep footless traverse under the roof where I got myself a bit overcommitted. With my last pieces below my feet, and an arm wrapped around a small spike, I made a last ditch effort to press onto and sit on the thing the best I could. Barely getting enough of my mass onto this perch to go hands free, I pounded a KB into a seam right in front of my face. Finally able to relax a little bit, I knew that if I could keep it together just a little longer, I'd be on the ice and home free with the onsight and both my ankles intact. The final traverse went smoothly and I made it into the belay cave just before the sun peeked around the corner. In the warmth of the sun, I was able to revel in what I had just accomplished while Justin followed the pitch clean, securing our team onsight. The Beartooth Alpine picks still climbing ice well after a long game of "turf or rock" The gloves had to come off for this one. Unbelievably psyched. Also the point I realized I forgot sunscreen. The actual dagger ice pitch ended up being quite moderate. A steep traverse on fantastic quality ice took me to a WI3 ramp. If your biceps aren't cramping by that point, a stunning direct pitch of WI5 can be taken instead. It looks like in some years, a tunnel forms behind the pillar allowing for you to cut through, instead of around to access the easier climbing. From there we unroped and slogged up the snow slope up into the major corner at the top of the face. The occasional step of easy ice, and some snow offwidth climbing in a runnel took us most of the way up this feature. Near the top, the corner chokes down to a squeeze chimney directly up to the ridge, or you can cut right up easy snow and scrambling to gain the summit from the south ridge. I started up the chimney dreaming of the super direct but was turned back by BS sugar snow caking one side of the chimney. A fun challenge any other time than now, I backtracked and opted for the path of least resistance. We arrived on the summit at 3:45. Mooses Tooth or Sloan? We started down the corkscrew a few minutes later, and finally had the sun set on us near the bottom of the SE shelf. The diagonal steep snow downclimbing seemed to drag on forever, but we eventually made it down to walking terrain and slogged our way back around the mountain. We got back to the trailhead at around 8:20. Back at the car. Rack: 8-10 screws, handful of KB's, beaks and at least one small angle. Nuts, Single rack .1-2 (doubles would have relieved some stress). 60m rope & tagline was great for hauling the packs on the crux pitch. All the winter routes and variations I know about Photo credit: John Scurlock Orange: Full Moon Fever (AI4R, 5.8, 50deg) Crux pitches out of view Light Blue: NW face ski line Red: Borrowed Time (WI5 M7) Green: 2017 attempt Blue: Merrell-Minton AKA Sloan Slither (WI4) (AAJ) (CCTR) reportedly a sandbag by Aaron. Yellow: Superalpine FA w/out summit Purple: Superalpine with summit and better access ramp Not Drawn: Corkscrew route & Ryan Hoover's attempt to just below dagger.- 19 replies
-
- 16
-

-

-

-

-
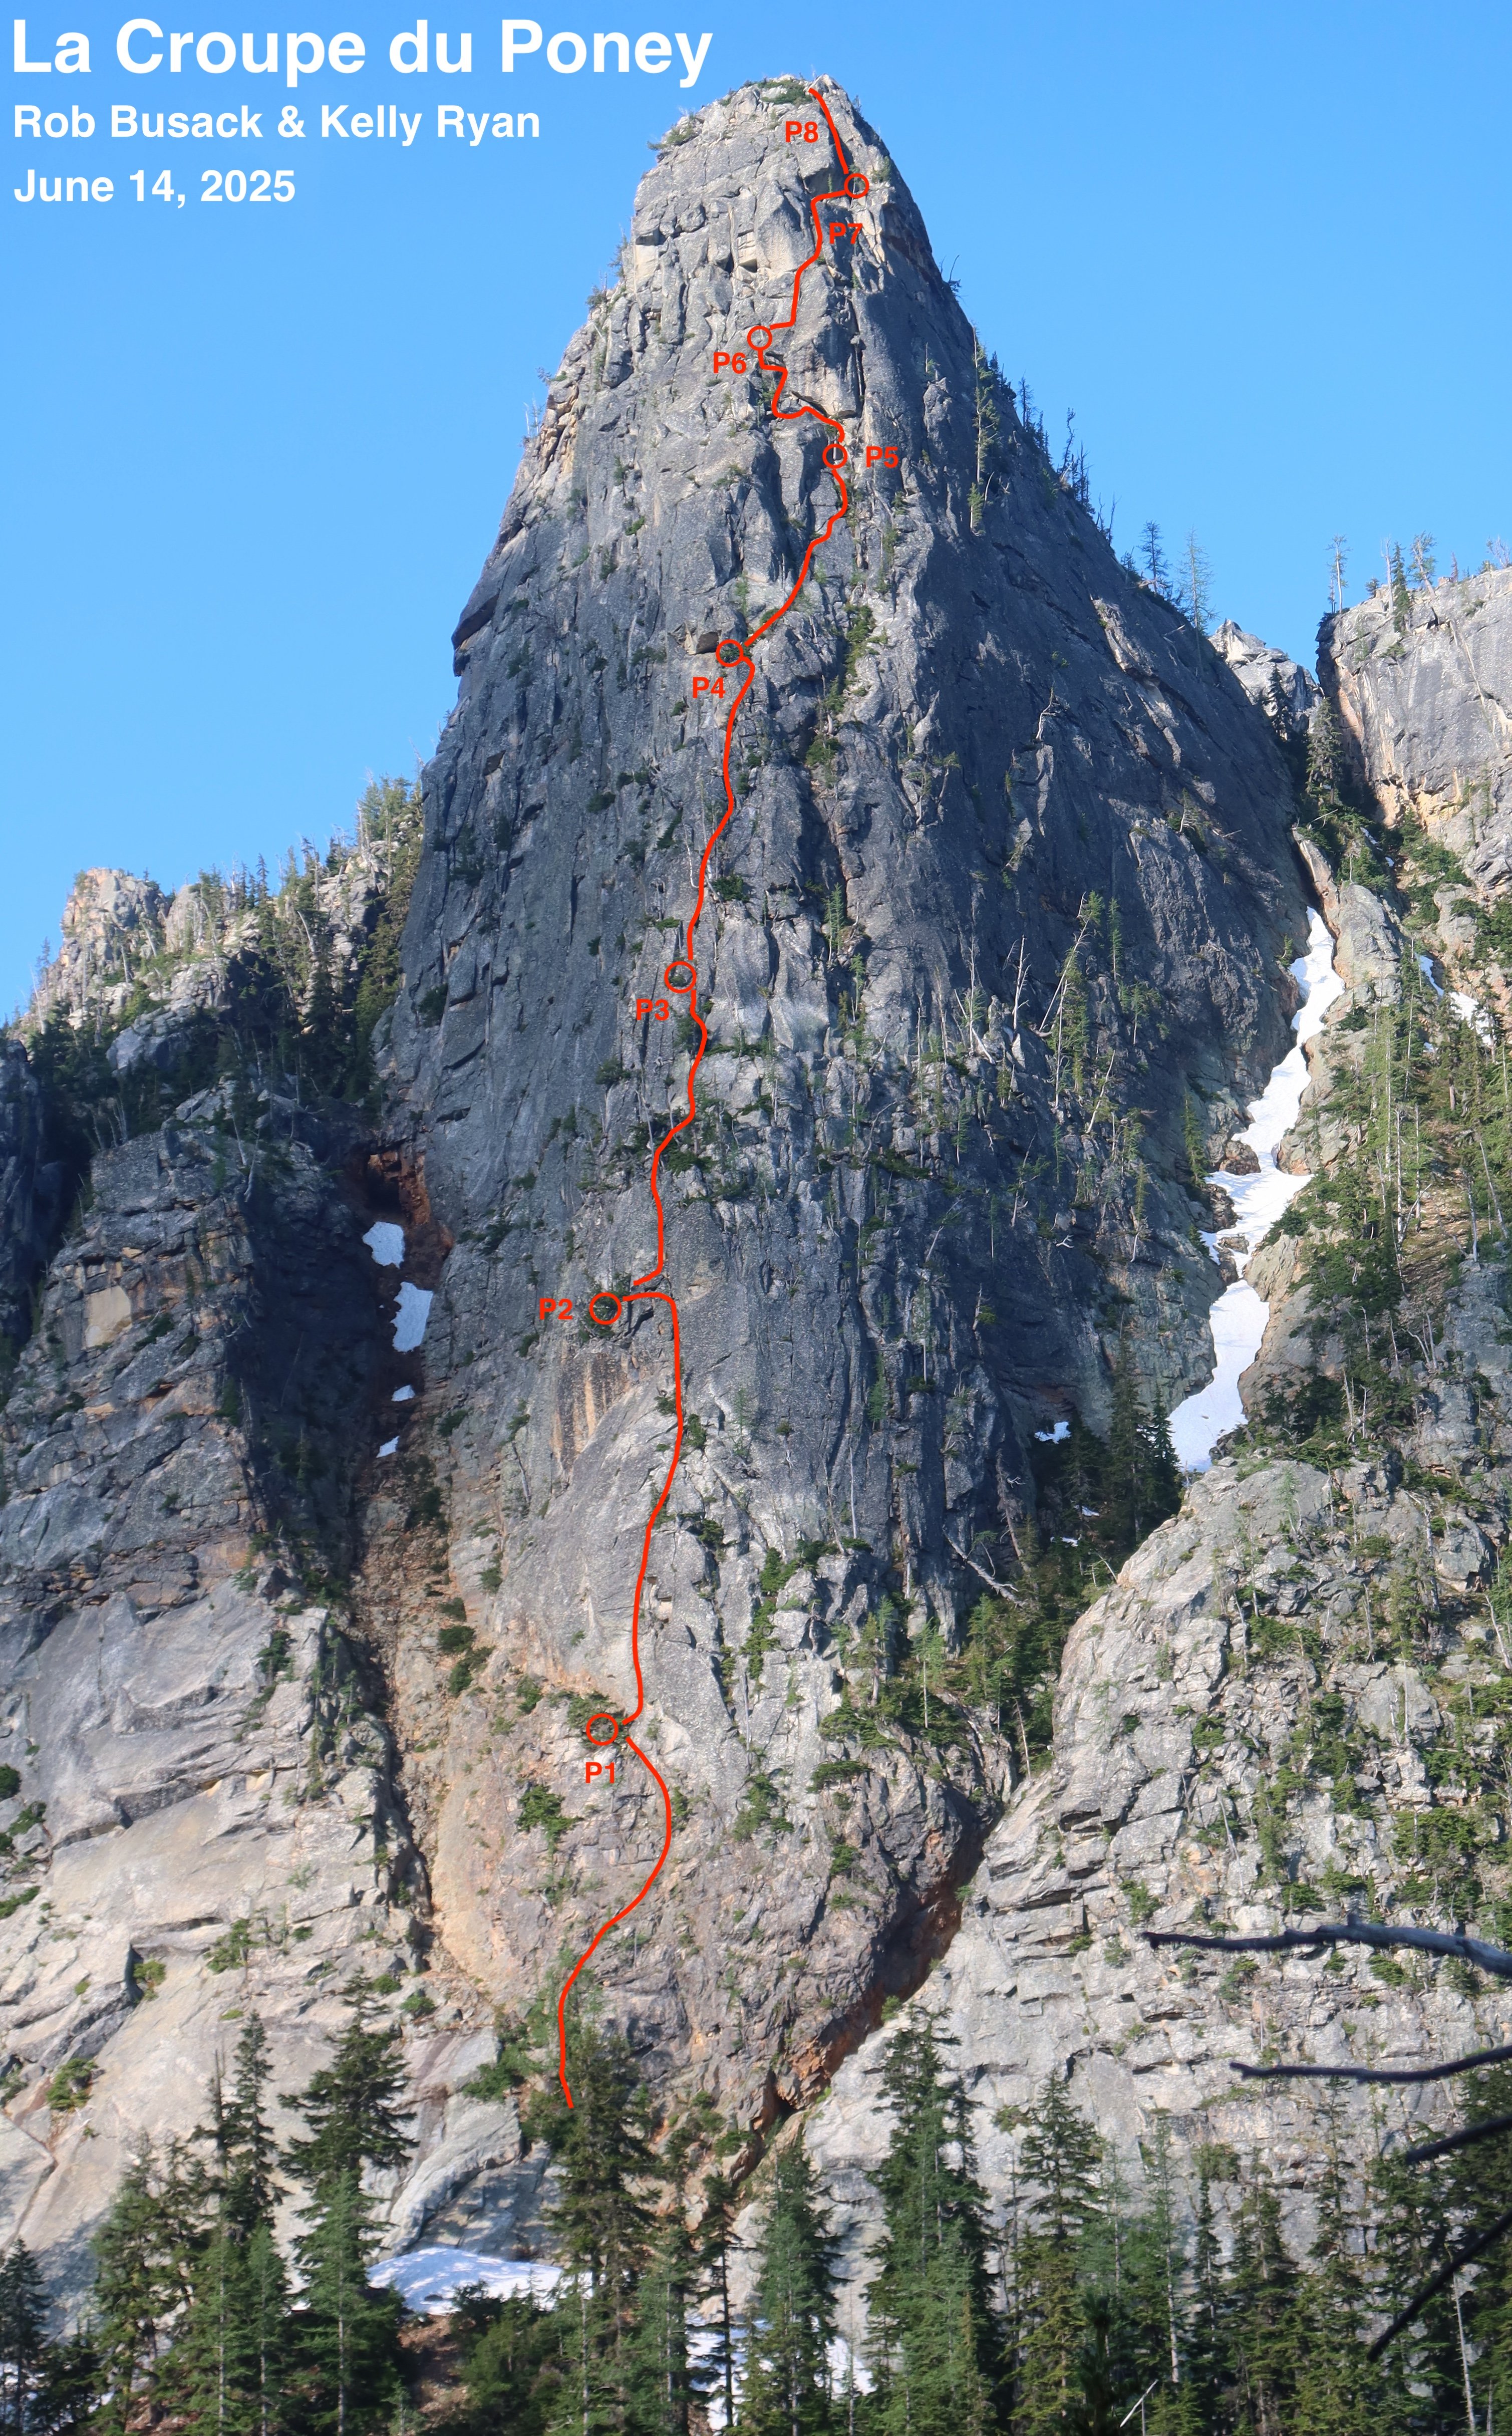
On Saturday, June 14th, Kelly Ryan and I climbed a rock buttress in the Washington Pass area, based only on photographs I had taken of that rock buttress a couple of weeks prior. It has 1000′ of mostly moderate and enjoyable granite climbing, with trees available for almost every belay station. The route is solidly Grade III in size. We swung leads for eight long pitches, where I led the odds and Kelly led the evens. We estimate that maybe one pitch was 5.9, and a number of others were 5.7 / 5.8, but there certainly were factors that could have led us to over-estimating difficulties at the time, so it's possible those difficulties will get downgraded upon the arrival of more opinions. There is a walk-off from the top, which returns to the route’s base. We took a lot of extra time dealing with the details of the unknown here, but with the beta now known, I imagine par for the course could be 12 to 13 hours car-to-car for this moderate route. It's hard to know if this is a new first ascent or not. We definitely climbed it in the style of a first ascent; and despite a lot of searching, I've yet to find conclusive proof that the particular line we climbed has been previously climbed in its entirety. Whatever the case may be, I'm rather proud of our little effort here! More details in this write-up: https://rocknropenw.com/2025/06/17/la-croupe-du-poney/
-
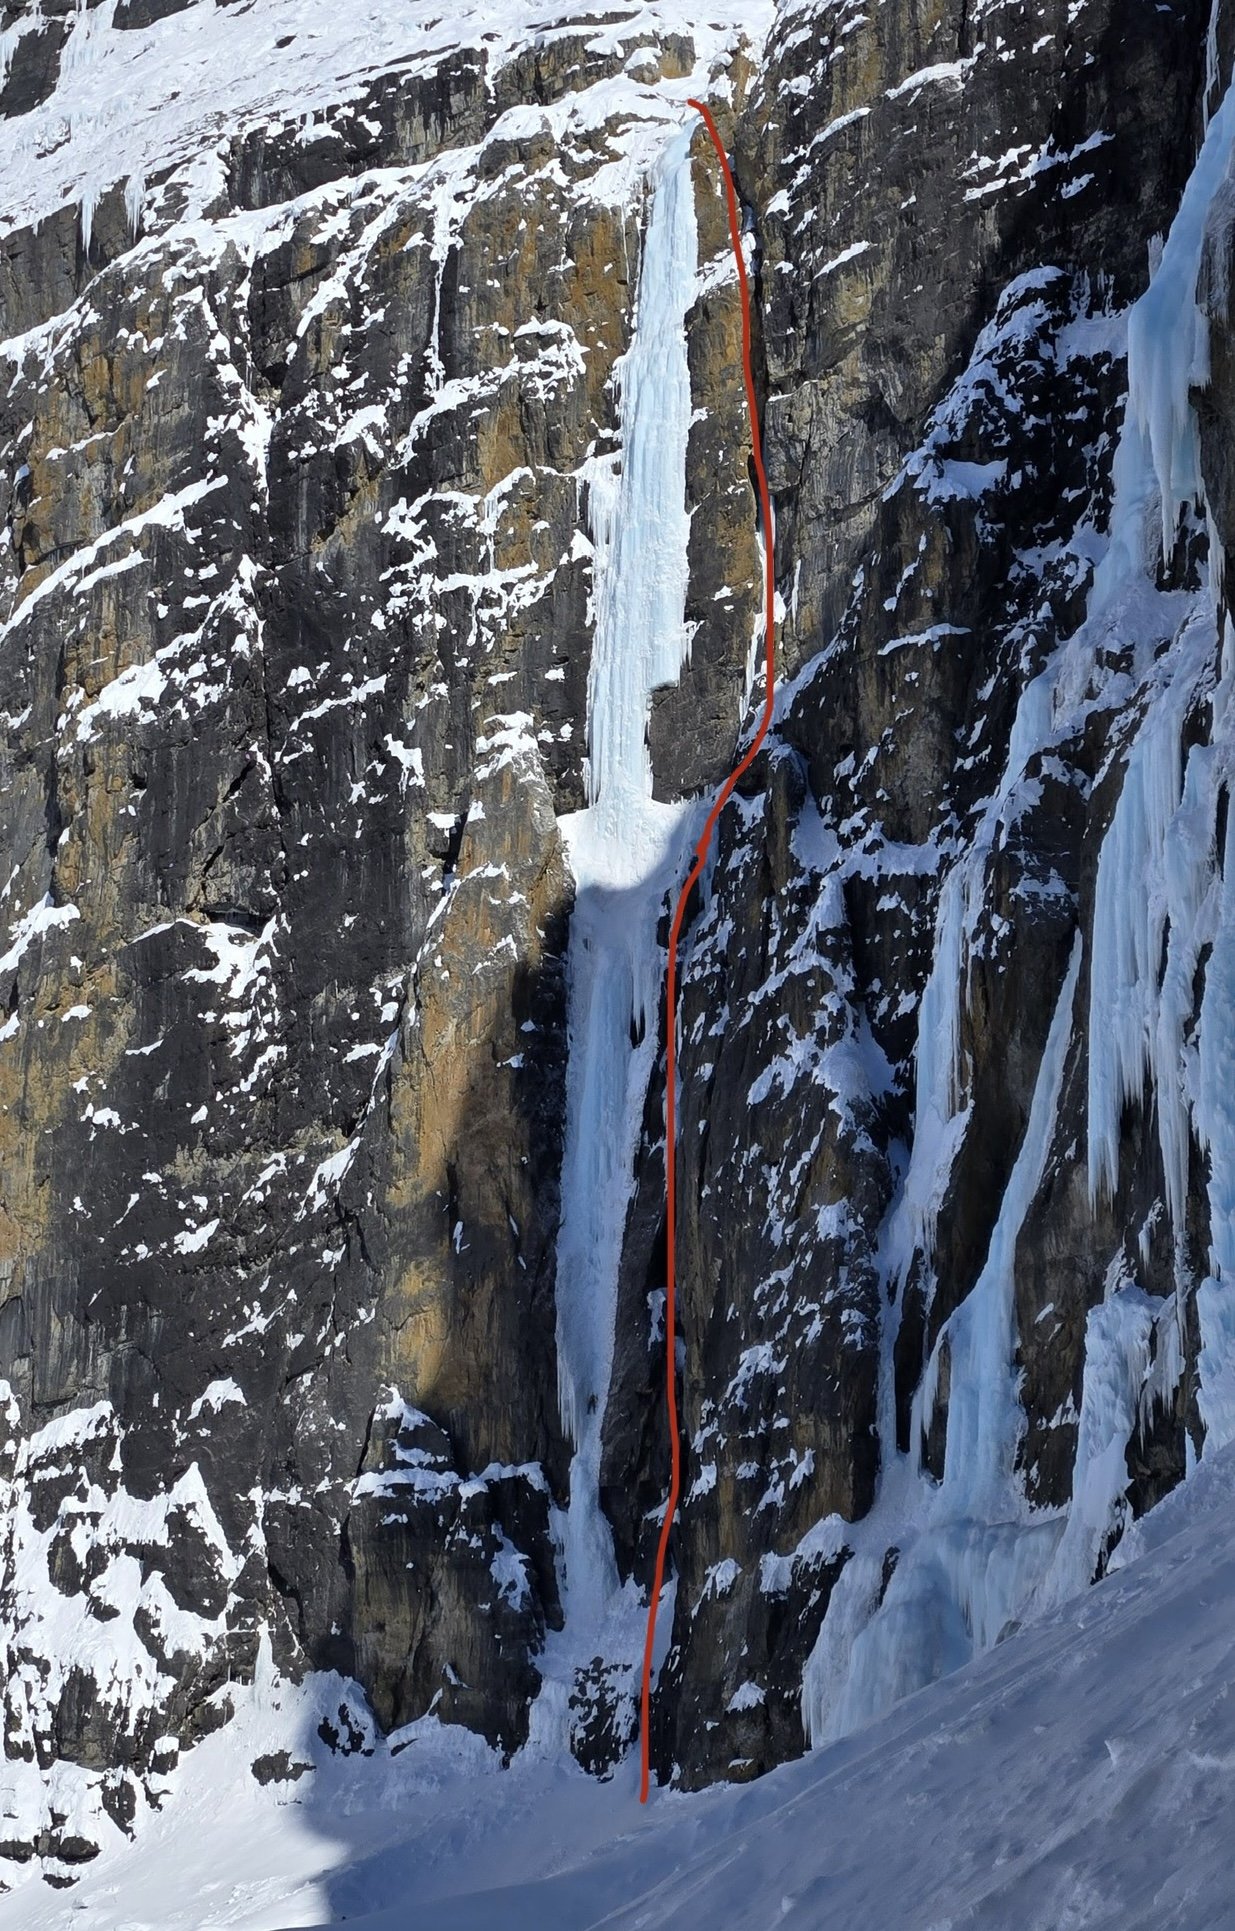
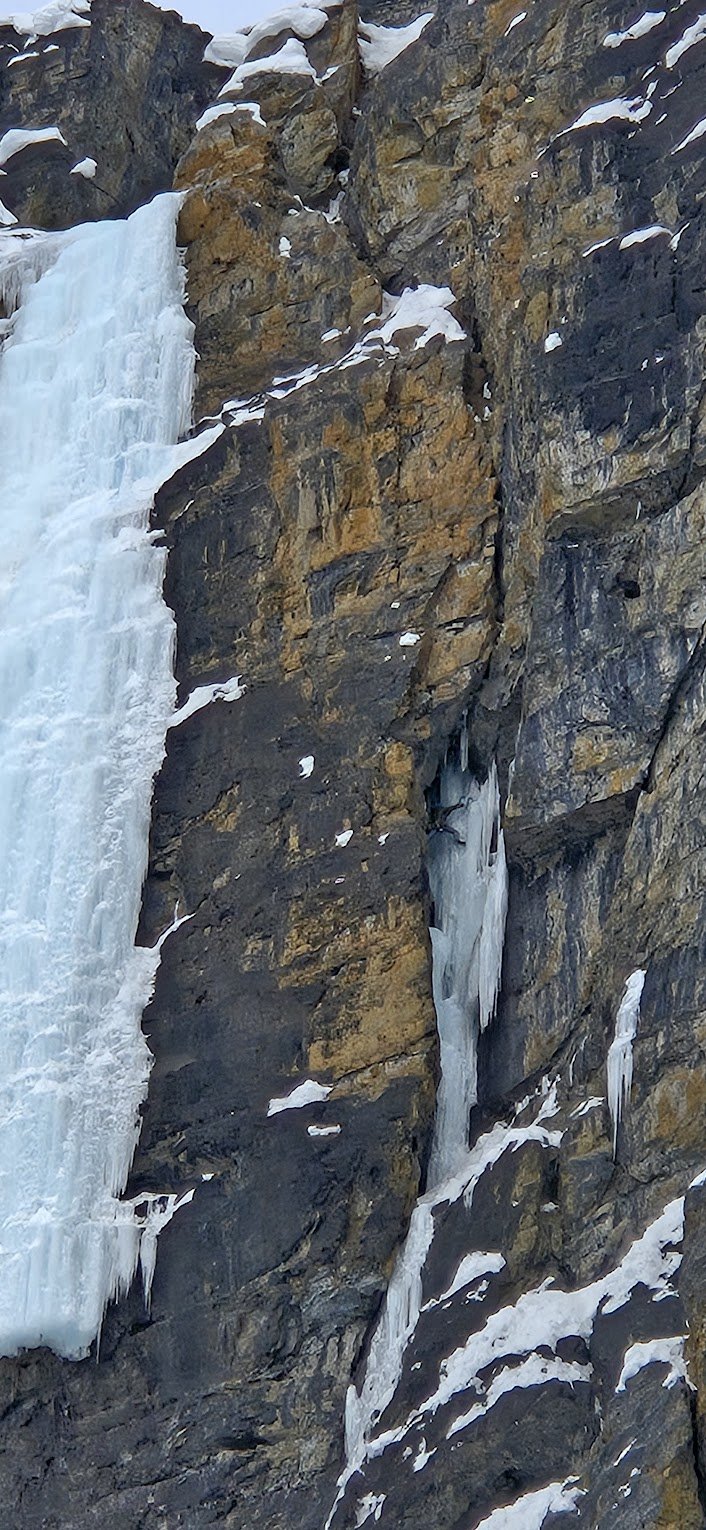
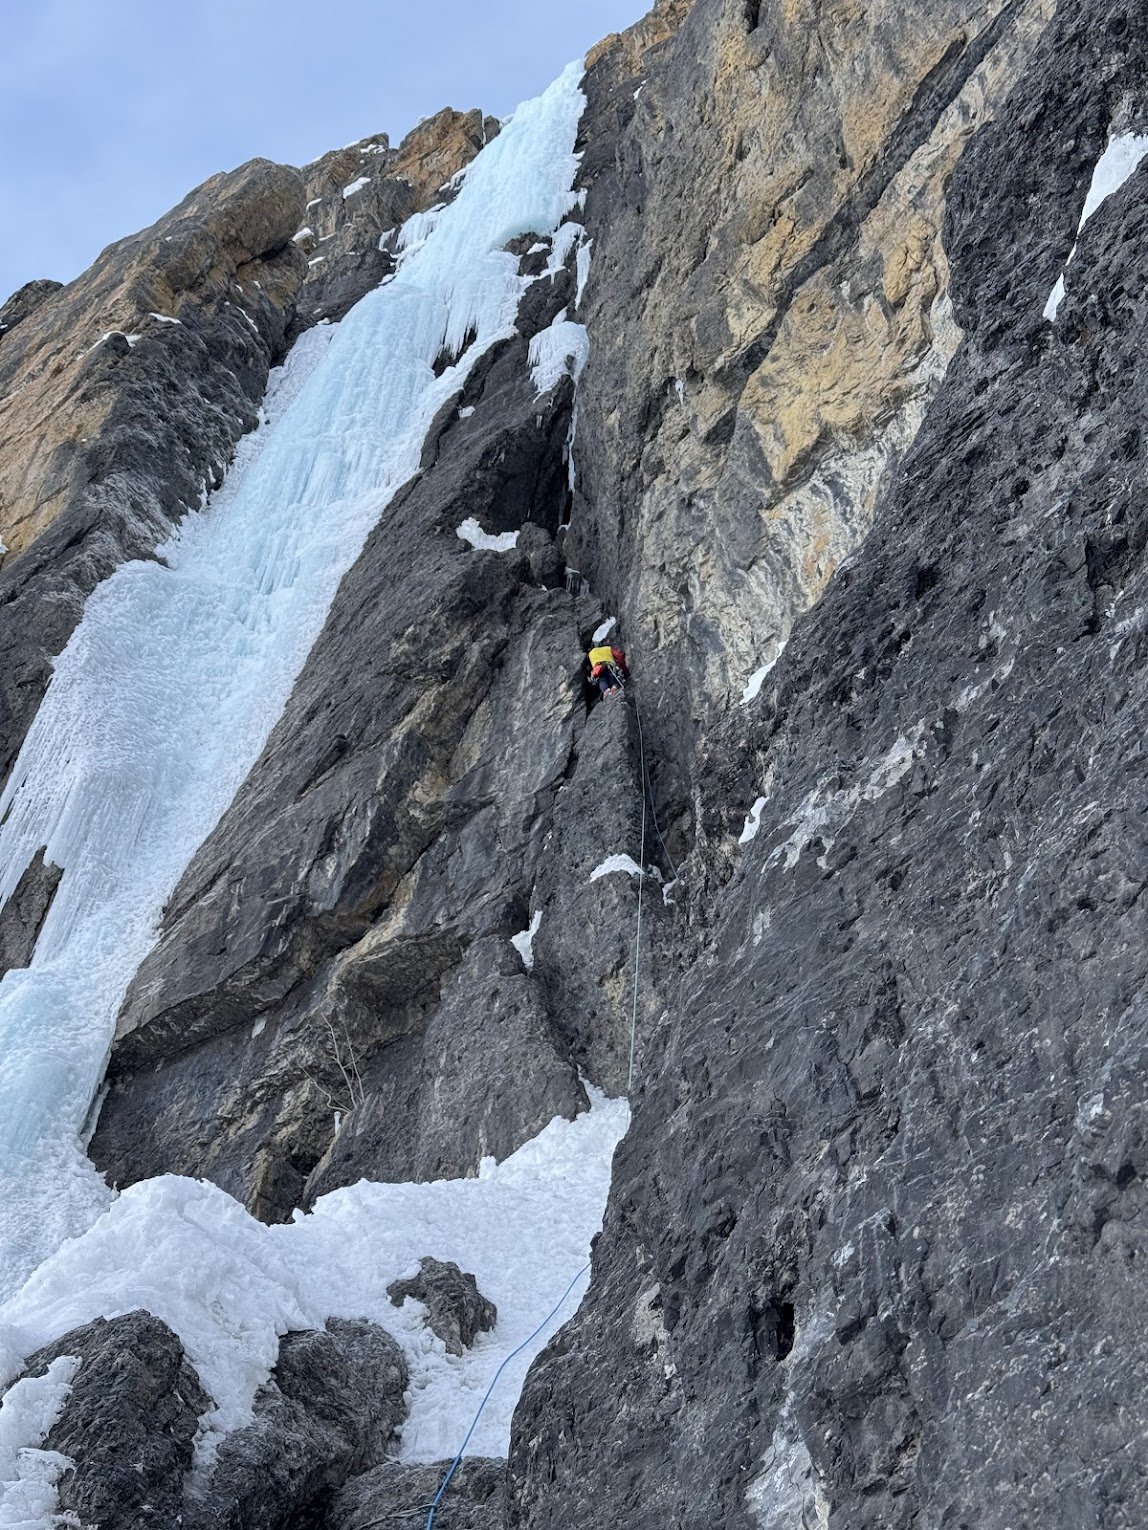
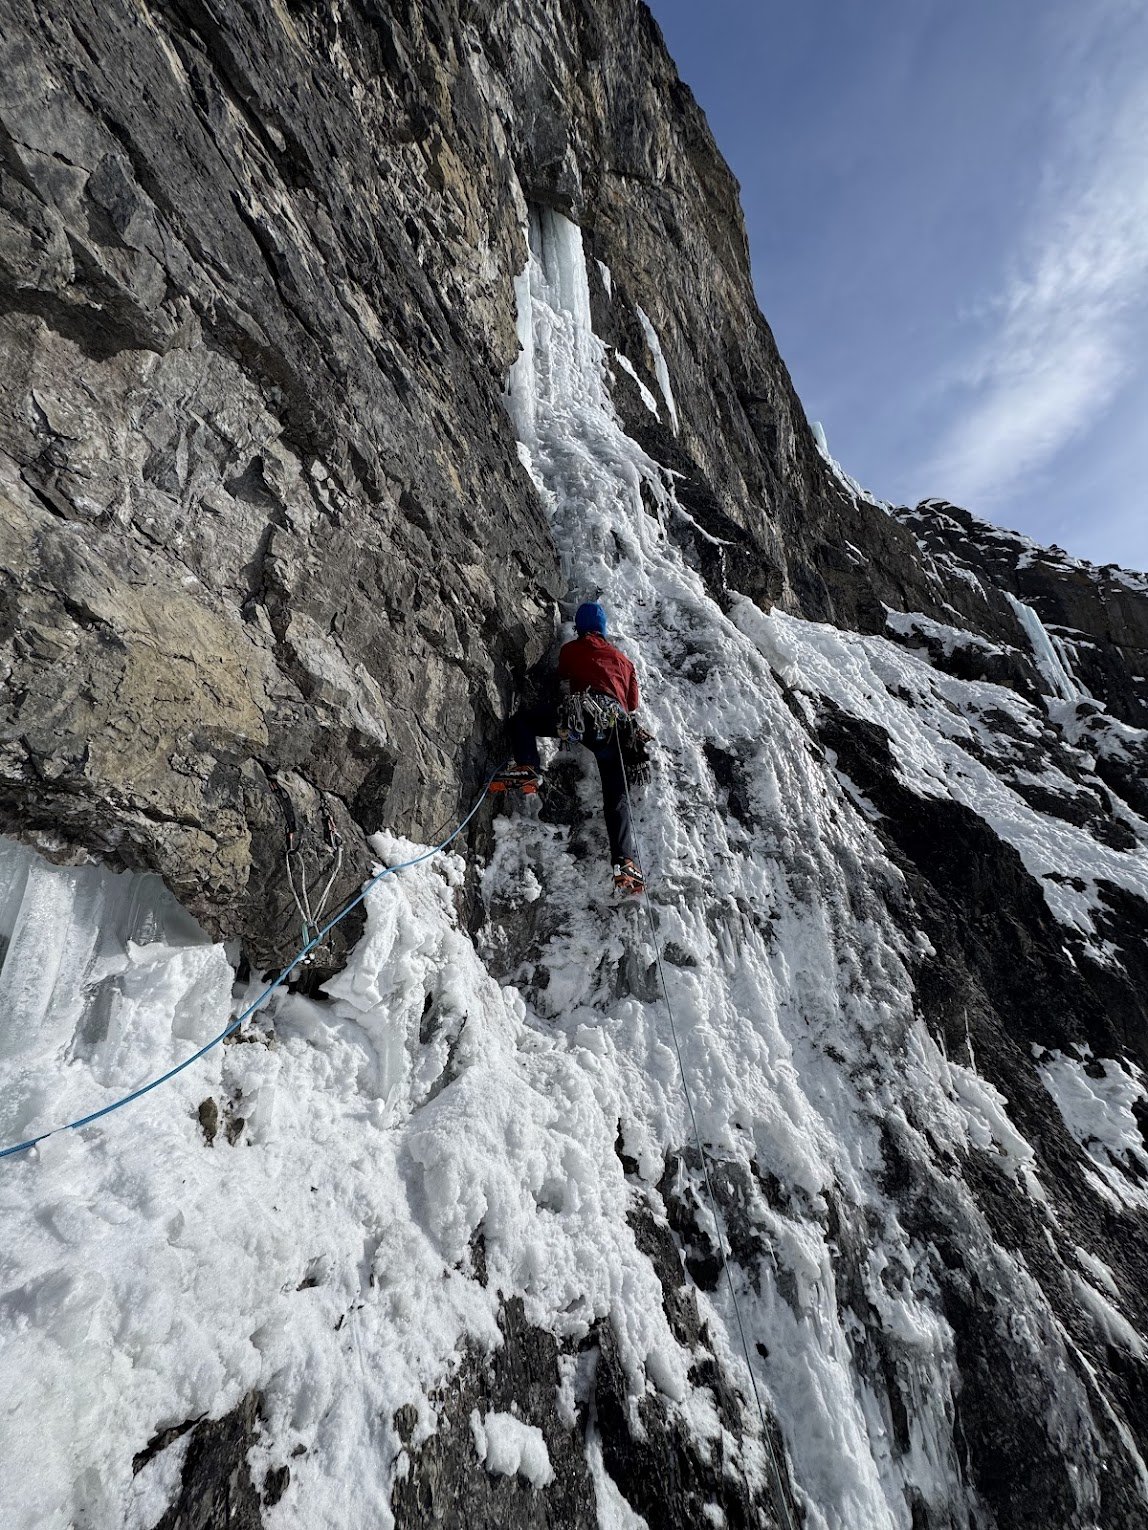
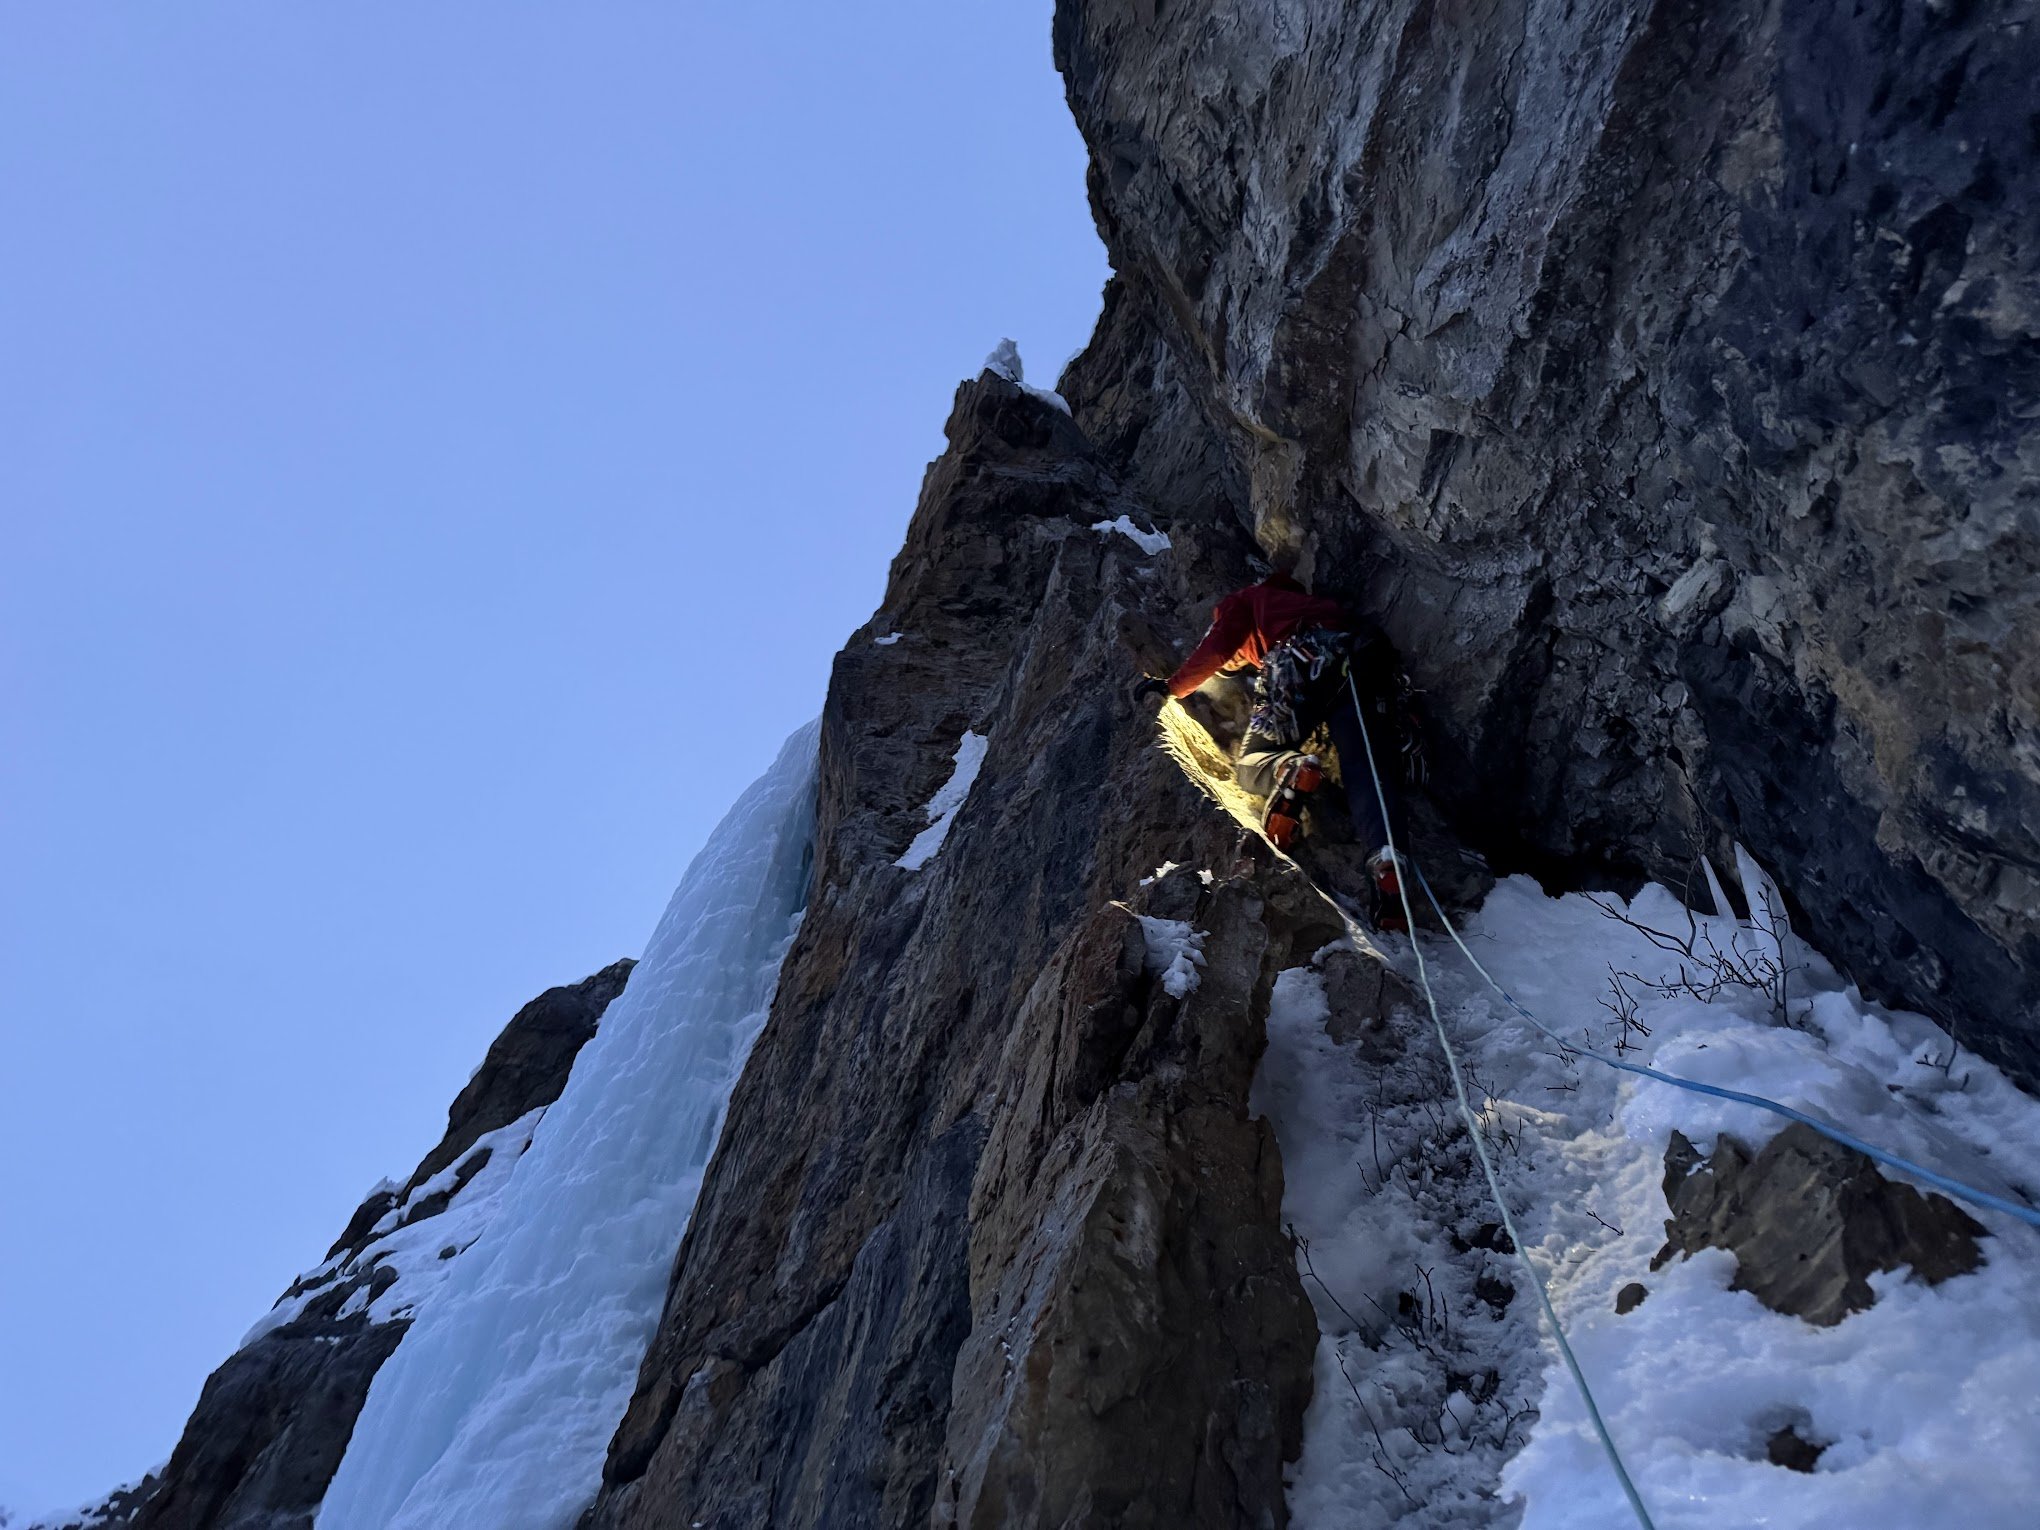
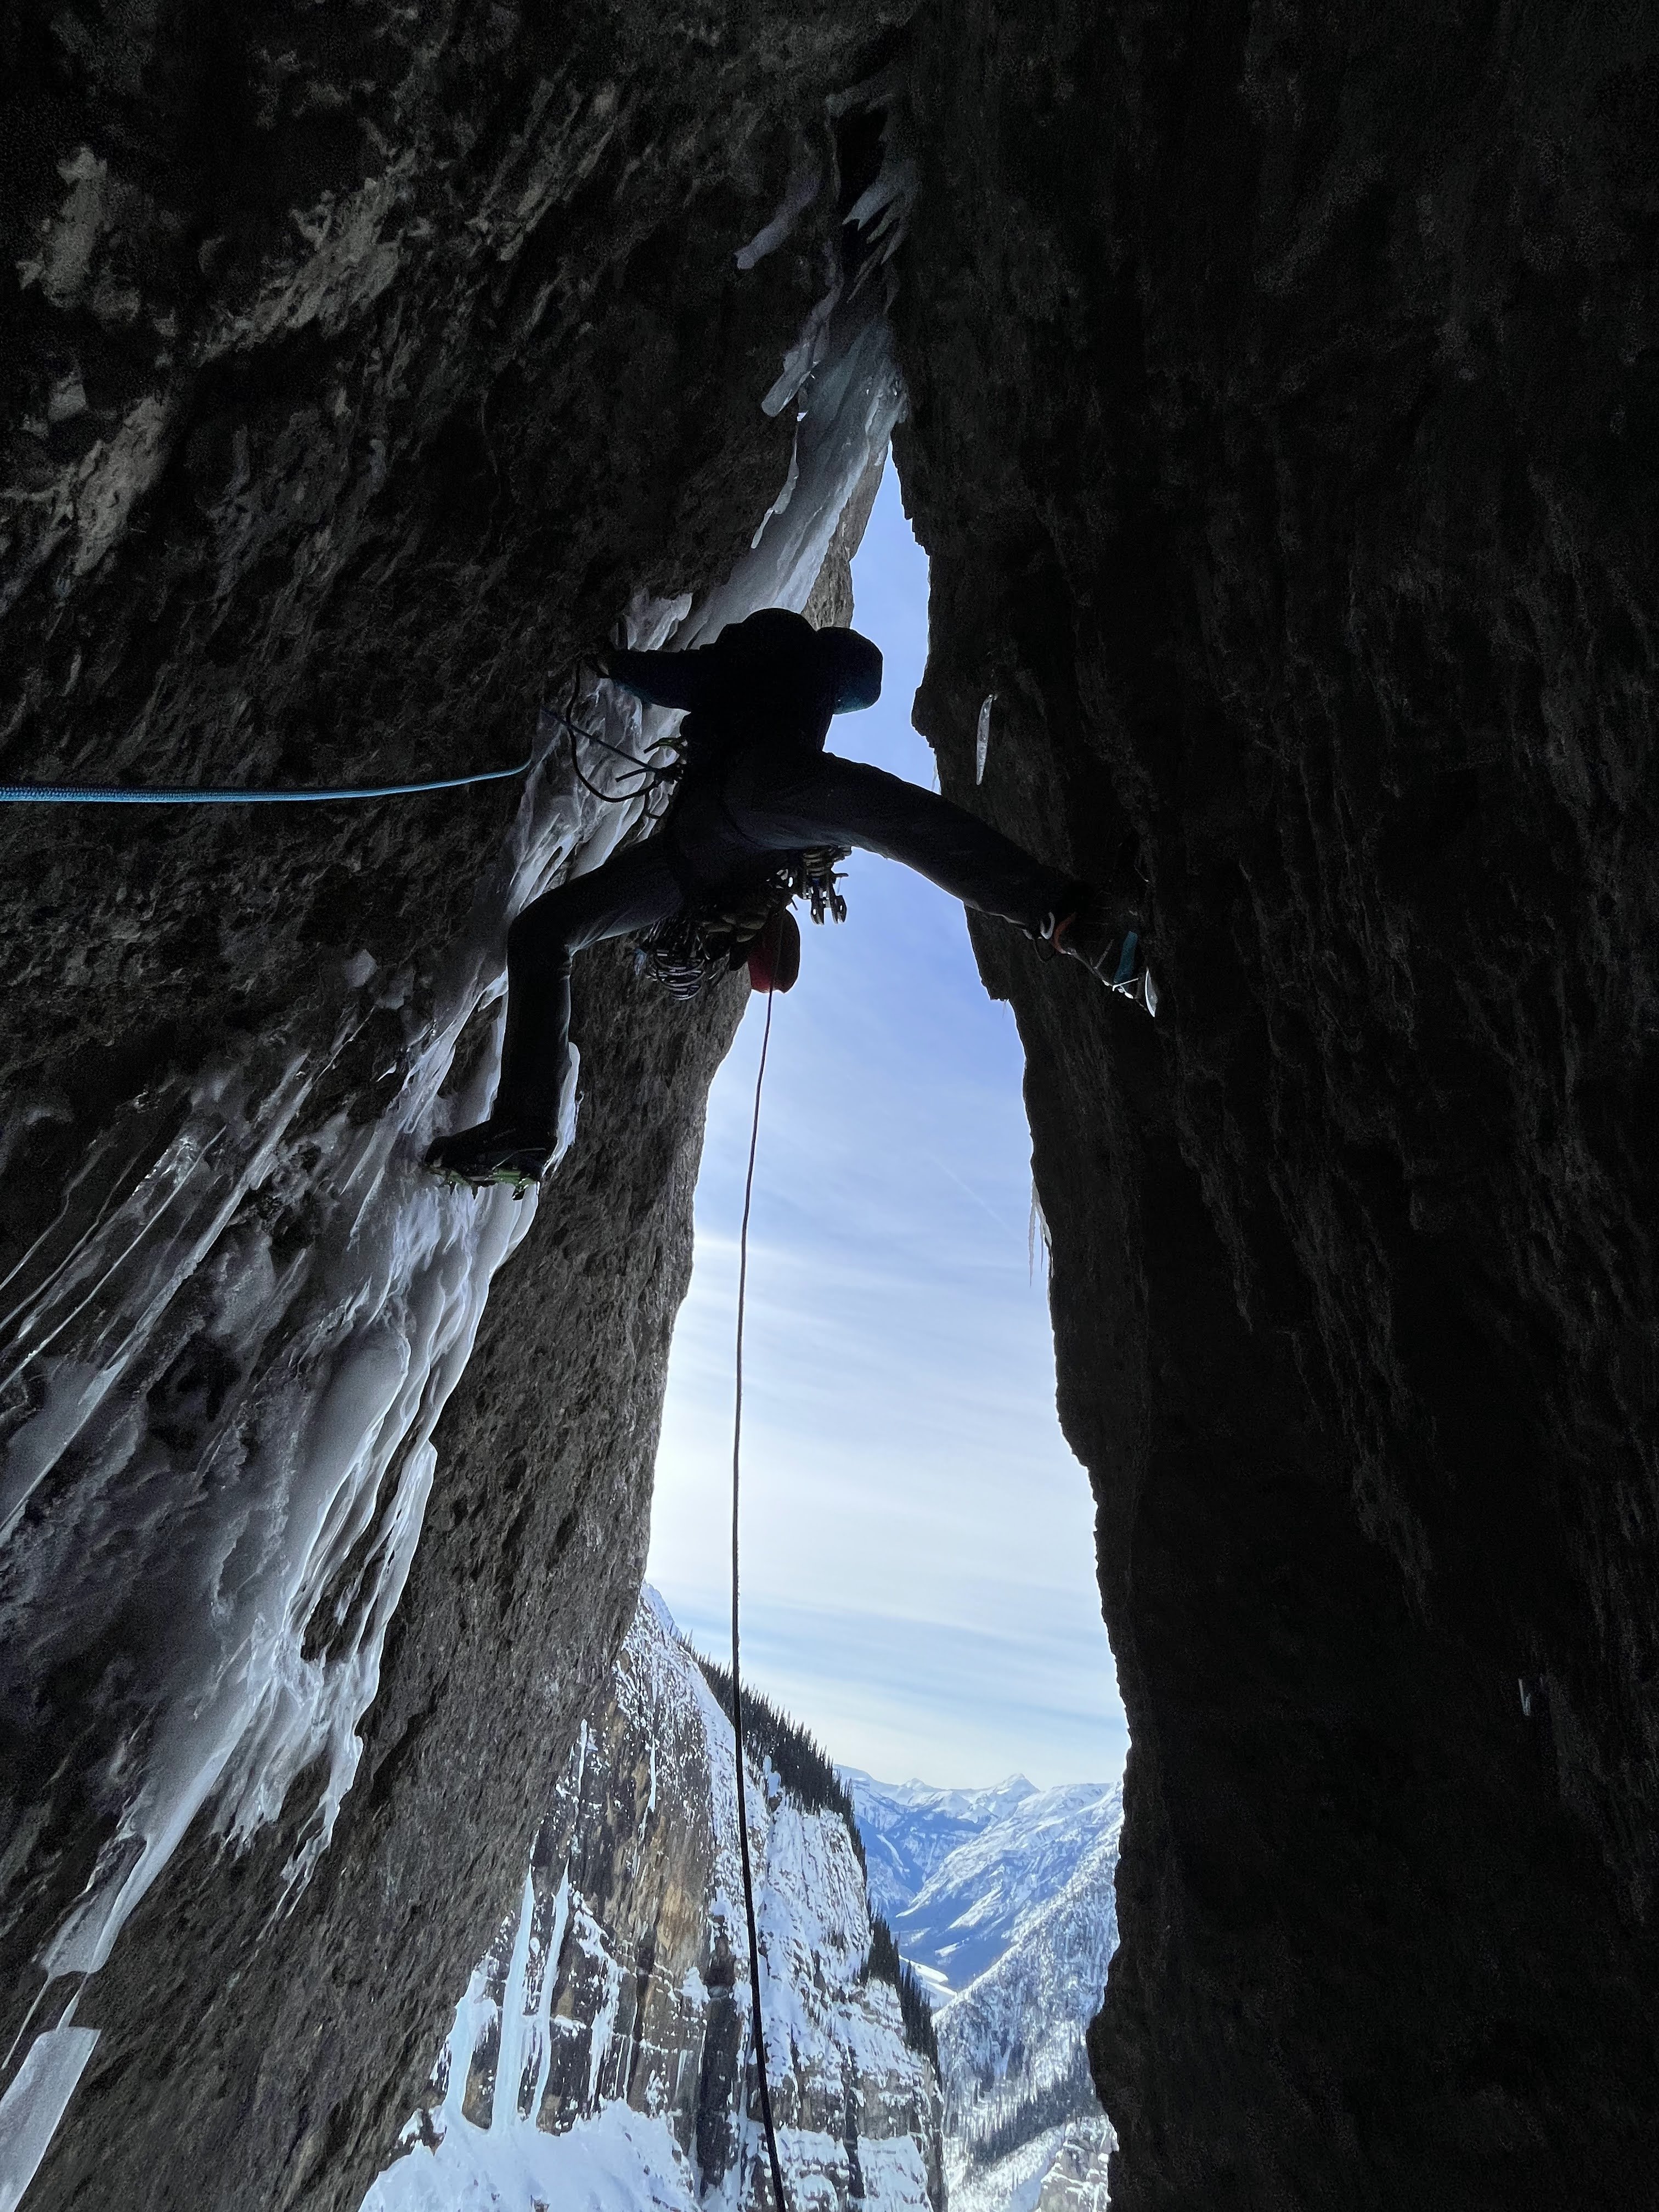
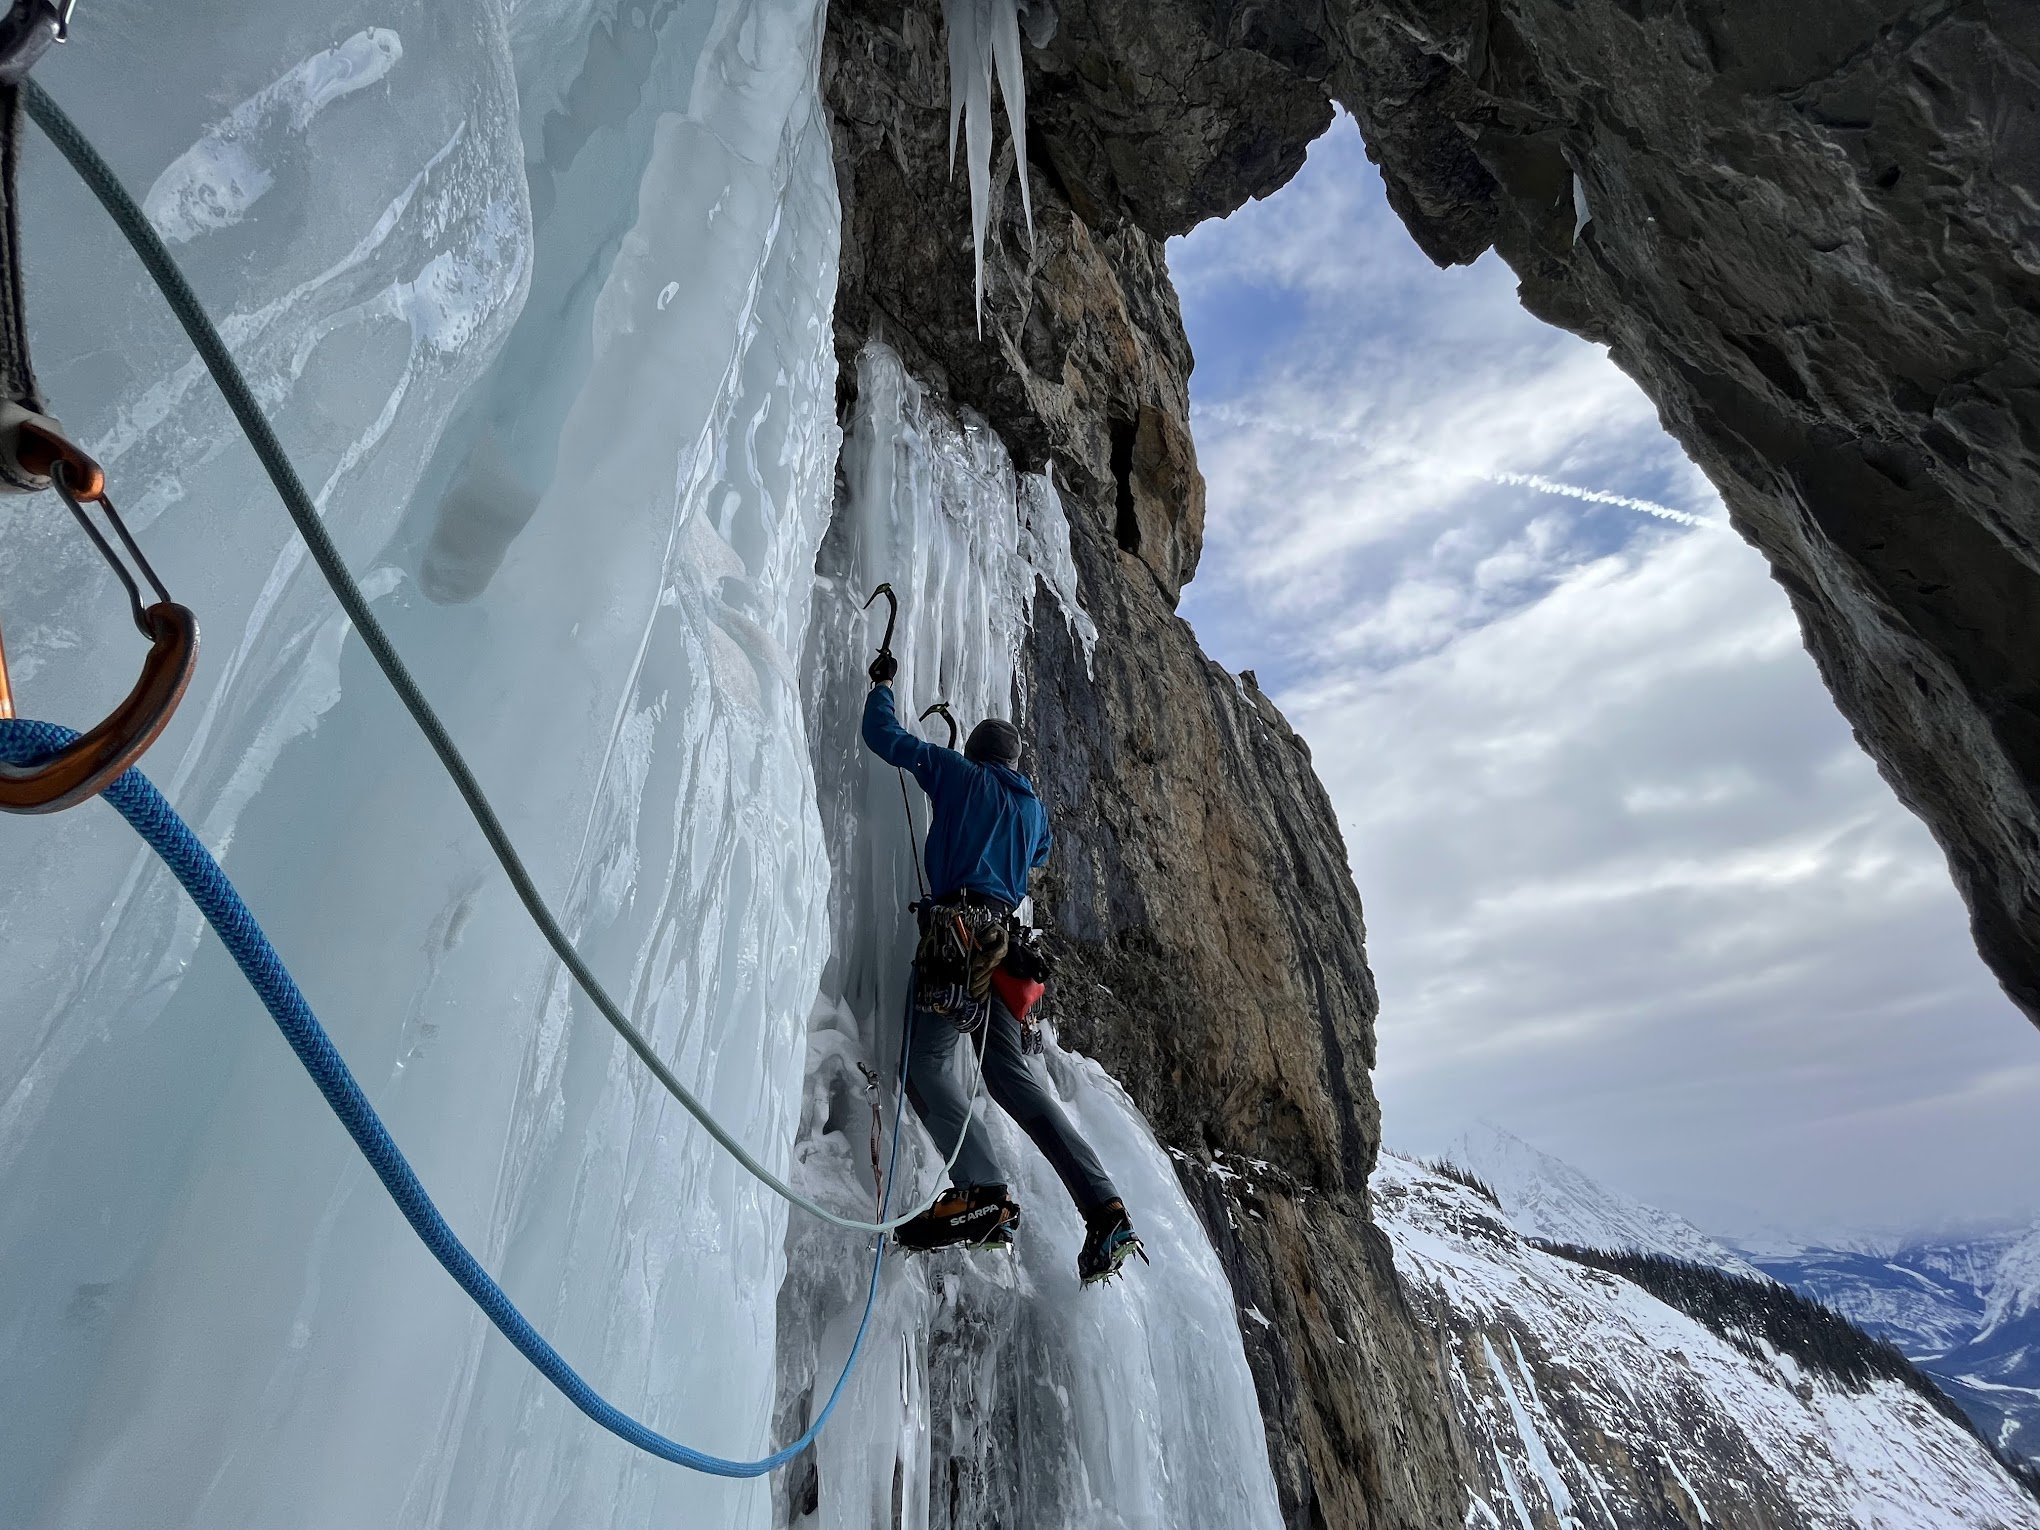
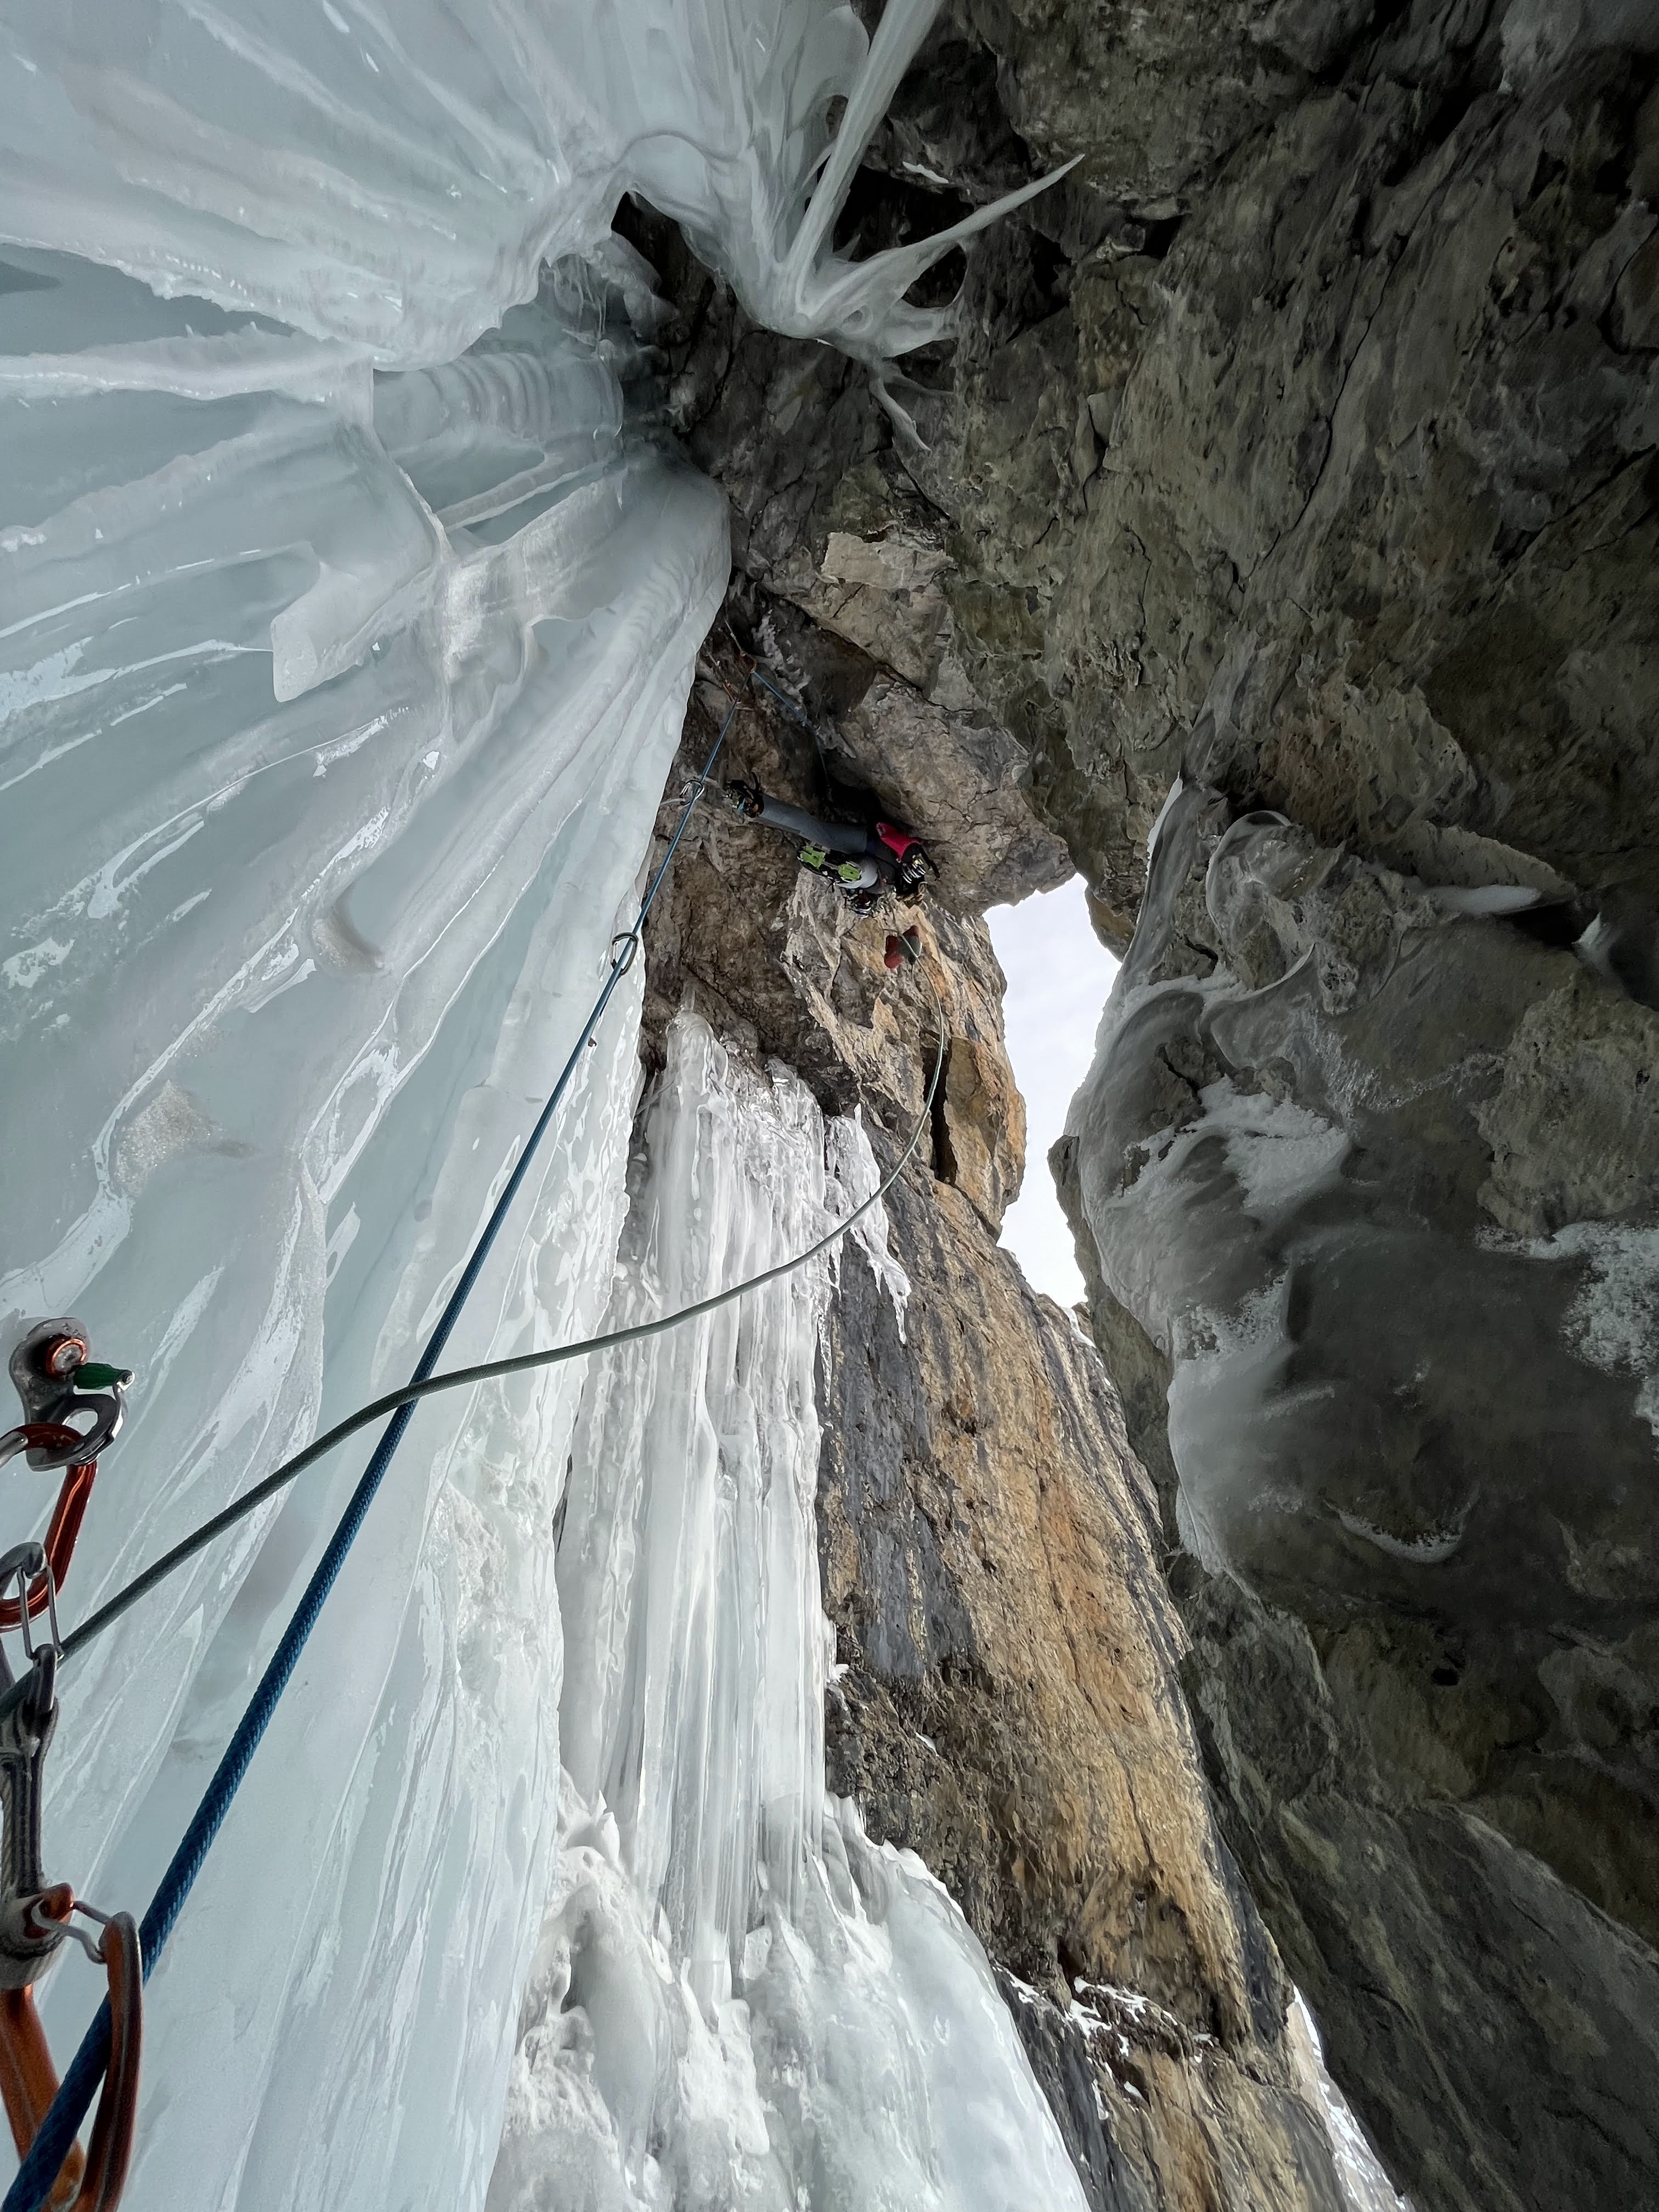
Last month a group of 7 friends and I went on a trip out to the remote Icefall Brook. An otherworldly cirque in the mountains north of Golden BC, housing likely the highest concentration of big ice routes in North America. While out there we climbed several of the classic ice lines and one new mixed route that we think was pretty classic. The new route we climbed parallels Fossen falls for five pitches up to M7 WI5+ with an A1 roof crux that we did not have time to try and free. It probably goes free somewhere around M8 or 9. Overlay of the route. You can see Doug near the bottom of Fossen falls for scale. P1: Our first pitch followed an obvious chimney system up into a cave below the beginning of a steep flare. Protection was decent, but the rock quality wasn’t the best. The cruxes consisted of a few bulge pulls with poor feet and decent snice sticks. P2: The second pitch was absolutely classic mixed climbing. The ice on the right wall was barely thick enough for good sticks, but stemming, chimneying and good rock gear eased the stress as the ice got steeper and fatter. A tunnel and a bunch more rock gear protected ice took us up to what is essentially the top of Fossen falls second pitch. P3: From here, I stepped out right and tiptoed my way up a barely-there smear aiming for a short but steep pillar above. Again, gear was hard to come by, but when I did find something it was usually good. More incredible ice and mixed took me to another protected comfortable belay stance in the back of the main cave. A scary, but spectacular pitch. Kurt said following it was one of the best pitches of mixed climbing he’s done. P4: Now under the crux, it was Kurt's moment to shine. He started by trying to climb some thin glassy ice out to the right in order to skirt the roof but backed off when the rock above looked downsloping, loose and generally really hard. Instead he opted to take the roof straight on, tagging up the drill and placing 3 bolts with a few pieces of intermittent gear. Once at the lip, he sent the drill back down and started free climbing again. As he climbed out of sight things got slow and quiet. Standing in my cave I watched rocks rain down into the abyss as a combination of snow and down plumes floated in the air from Kurt's shredded down jacket. Eventually he called off belay and I also aided my way through the roof to save time. The climbing above proved to be hard, grovely, runout and wide. The upper part of this pitch was bone dry and entirely chossy. A less classy crux than we had hoped for. The first attempt going out right that we backed off of. Kurt approaching the roof, I'm hiding in the back left corner. P5: One more pitch up a slick ramp took me up to a pedestal just above the top of Fossen falls. With no suitable cracks for an anchor, I hammered my tool into a deep pocket and tagged up the drill, drilling the only bolted anchor on the route. From there we rapped onto Fossen and took that the rest of the way down. Slogging down to the hut, we were welcomed by some cold dinner and the rest of our group already asleep upstairs. We called our route “Jumping for Joy” (M7 WI5+ A1). A phrase that Kurt's late father used often, for the simplest things in life. Rack: Double rack .2-4, handful of pins and ~10 screw including several stubbies. 2 70m ropes for rapping, but 60's are fine for the route.
-
Trip: Seton Lake - FA-Lieutenant Dan's Aquatic Death Ride - 450m 4+ Date: 12/16/2022 Trip Report: Ice climbing around Lillooet has been on my to do list for a few years now. Just needed the right conditions and a stoked partner. This December it came together. Doing some research on the area, Zach Krahmer and I saw that an epic looking and unclimbed line had come in at Seton lake and it seemed too good not to take a shot at. We'd be there Thursday night, and Friday looked to have the best weather conditions to go for the route. The West Coast Ice guidebook advises climbers to “canoe down the lake about an hour to the climbs” on Seton Lake. Jesse Mace and Bruce Kay used a canoe, but recommended a row boat in their report for the FA of Piss 'n Vinegar. Jesse highlighted a few concerns with a canoe including potential capsizing in choppy weather and damage to the boat while climbing (from falling ice, and hitting the cliff if winds picked up as you climbed). Coming from Oregon, we looked into canoe rentals near Lillooet and found none given the season. After almost giving up due to feasibility concerns, a friend of Zach’s offered to loan us a rowboat style 2-person raft made of ripstop material. Not only would it fit in the car on the drive up, but it might be more stable in choppy water, and once we unweighted it to climb, it would be less likely to be damaged by contact with the rock cliff. On the face of it, there seemed to be some sensible advantages over a canoe. However, an obvious question remained → how to start ice climbing with crampons from an inflatable raft in an ice cold lake surrounded by steep rock cliffs? Would there be a place to safely step off the raft onto the climb without crampons that wouldn't result in a slip into the frigid water below? Jesse's trip report mentioned (jokingly) that a gun might be better than a life jacket if one were to fall in. It was hard to tell from the compressed pictures we’d seen online to know what would be waiting for us. We arrived in town Thursday evening and Zach drove us straight to the lake knowing that we might be paddling back the next night in similar conditions. The waves were nearly non-existent and the water almost completely calm. Checking the forecast we saw the next night's forecast was similar, which gave us what we needed to make a decision. We decided the next morning we would paddle out and see how the raft to climb transition looked. We hoped for the best, but knew very well we might be paddling right back to where we started. Prepping the boat in the early morning hours Ready to disembark The next morning we arrived in the dark after checking forecasts again. We inflated the raft and launched into the calm water. It was a peaceful paddle and we saw four eagles on the way out, one of them diving into the water for its meal. We took note of the other climbs that were coming in nicely this season. Looking back 2 km to our put in from aboard the raft. Comedy of Errors | Deliverance / Squeal Like a Pig | Fishin' Musician Fishin' Musician on left with Winter Water Sports in the distance. The climb! After 5-6 km of paddling, we neared our objective. We were dismayed by what we saw. The wall was far too steep to step onto safely without crampons. We paddled past the climb for a new perspective in hopes of seeing something nearby that could get us established, but found nothing. Passing by again, we took a longer look at the thin layer of ice that came down close to the water's edge. The ice nearest the lake water was partially delaminated from the rock, but seemed to be solid just a little higher. We devised a plan. With Zach holding dynamic tension from a cam at the rear of the boat, I would reach over to the sheet of ice and place ice screws, attach slings to those screws and then step into the slings with cramponless boots. This would get me high enough off the water, and far enough from the raft, so that I could attach crampons and get moving. Because the ice closest to the water was questionable, I knew I had to get a screw as high as possible. I leaned over kneeling carefully and started to place the first 10 cm screw. After just a few turns, the screw bottomed out onto the rock below. Damn. Surely I’d just hit an unlucky bit of thinner ice. “How easy this all would be if I just had my crampons on!” I removed the screw and placed it again, once again hitting rock after a few turns. Not willing to take a chance on such a marginal placement, I reached as high as I could while Zach steadied the raft. From this precarious stance, I managed to get a screw about 7cm into the ice. Knowing the failure mechanics of partially driven screws, and knowing I would be delicately standing in the sling rather than taking a dynamic fall, this seemed adequate to get started. I clove-hitched into the first screw to safeguard a higher reach and placed another screw. It wasn't great either, but deep enough! Using my tools I carefully stood up in the raft and got a foot into the first sling. I gently weighted it and saw no sign of failure. I stood up, and placed my foot into the other screw’s sling. With all my weight now on the wall, I reached higher to thicker ice. I fired in another screw and clipped into it. Now I was far enough from the raft to put on crampons safely. It ain't easy touching your toes while hanging off a screw and wearing a life jacket, but after a few minutes of uncomfortable gymnastics, the crampons were on! Now that I was properly ready, I shot up to a position above an overhanging cove where we would stow the raft. I built a v-thread to attach the raft and belay Zach up. Moments later we'd hauled up an array of “oh shit” gear (hot broth, food, bivy gear, dry clothes, warmers and anything else we might need if the boat failed) that had been stowed in waterproof bags in the raft. Zach cleaned the boat and made his way up to join me at the belay. We were finally ready to climb but the extra care we'd taken in exiting the raft had used up a considerable bit of time. Weighing the various risks, we'd prioritized fastidious attention to detail during this tricky and unfamiliar portion of climbing instead of schedule, and it showed. We were starting the climb at 12:30pm. We discussed and agreed - we weren't sure how far we would make it before we ran out of daylight, but the first half of the climb had looked relatively easy, so maybe we could make up time? I started up the first pitch which cuts over and then up a small section of ice that spills over and connects the starting cove and the primary flow of ice above. This first section turned out to be excessively wet, chandeliered ice with no real options to avoid the flowing water. I did my best to move quickly, and soon enough I was above the cove, an anchor was built and Zach was brought up. Above us was a long stretch of multiple 70m pitches of WI3 before steepening into the main headwall. We had twin 70m ropes so I knew I could cover a fair distance with each pitch, just had to move smoothly and efficiently! I took off. Although often wet, the climbing was straightforward, and soon enough I was 70m above Zach ready to set up a belay. “At this rate we stand a chance to make up time!'' I thought. But my hopes were quickly dashed. As I built the anchor and started to pull the weight of the two 70m ropes, I found we’d encountered an unfortunate new challenge. The rope was completely saturated and freezing in the cold temps. Not only was this creating a massive amount of resistance to pull the rope through my device as it sheared off the thick ice, but since the ropes were so coated in ice they were nearly impossible to grab with my glove, often slipping right through as I tried to pull in slack. I worked hard to use whatever tricks I could think of, but I was not able to pull in slack quickly, slowing Zach’s progress substantially. Finally Zach was at the belay and I started up the next pitch. On lead I was able to move relatively quickly, but at every belay the icy rope recoated, and seemed impossible to pull though the belay device. It wasn’t getting any better as we continued on, and it was taking a toll. The belaying was literally harder than leading the pitches! Around halfway up the wall the sun began to fade, and we knew we'd have to make a decision on whether to continue on or descend to our vessel. Winds were non-existent and temps were comfortable as night fell. The biggest challenge continued to be the icy belays, but conditions were downright pleasant, and route finding with a headlamp was going well so we decided to continue upward. The main headwall is a series of roughly pitch length ice steps, that each obscure the step above (probably exacerbated by the limitations of our headlamps). So at the top of each step we'd be sure we were on the last pitch, only to find another full rope length of climbing above. Slowly but consistently we checked in and continued on. The late night and cool temps brought some neat Hoarfrost. Similar to this branch, the hoar frost binded horizontally to many of the ice pillars on the upper portion of the climb. Way behind schedule but in good spirits, we topped out and built the first v-thread, preparing to descend. It was a beautiful night, and surely raps couldn't be as hard as the guide mode belays! Late, but in good spirits! Descending was relatively smooth with the exception of the rope freezing to the cliff a few times and a route finding error where I went too far to climber's right and ended up in the wrong drainage. Accidents seem to happen on the way down when people start to lose focus or rush, so we did our best not to do either, slowing and safely working our way down the wall. Before too long we were back at our stash of gear, drinking from Zach's thermos and eating snacks, our raft floating safely in the protected cove below. So far so good, now we just needed to get back into the boat and paddle out! We could hear the sound of waves below us, sounding larger than what we’d experienced on the way in. We tried to make out the lake conditions with our headlamps, but the dark water seemed to reflect almost nothing. We’d taken far longer than we’d anticipated to get to this point, and now the sun would be up soon. Feeling warm and good, we figured we might as well relax for a minute, taking our time to eat and drink, as daylight would make navigating the lake easier. Shortly after sunrise, as we prepped for the last rap into the raft, Tyler Creasey arrived transporting another party in his boat. From his boat, Tyler offered for us to come aboard to relax and enjoy his heated cabin for a few minutes once we got off the climb. We’d spoken to Tyler the previous week and ran into him the night before at the Cookhouse–awesome honey garlic wings by the way! Tyler is offering his services to climbers for the first time and we’d recommend connecting with him if you are interested in his boat. We removed and safely stowed anything sharp, put life jackets on and rappelled into the raft. We’d intentionally left the boat under the cove to protect it from ice fall, but this also meant that it was partially below the wet ice flow. I was in the boat first and found everything in good shape, but some water had accumulated in the bottom of the boat. Not enough to impact travel, but enough to slosh around and get my boots wet. “Oh how pleasant” I thought. Zach cleaned up, rappelled into the boat and we were off, leaving behind only the v-thread. Although I was anxious to get back to the car, we agreed it would be fun to take up Tyler on his offer and relax for a minute on his boat. Tyler was hanging out at the base of Winter Water Sports, occasionally trolling eastward toward the parking lot to prevent the wind from blowing him too far west. After we boarded we got to benefit from one of these trolling sessions, as we sat chatting with Tyler for about 15 min. Before long, Tyler reached the furthest east point he planned to troll to and let us know this was our stop. We climbed back into the raft and started paddling again. It was 9:59am as we pushed off from Tyler’s boat. We’d been advised about the risk of winds picking up around 2pm, which would have left us plenty of time, but as we paddled towards the car our luck wasn’t so good. Winds were increasing and our forward progress began to slow. As more time went by, the wind increased, we slowed and the cycle began to reinforce itself. It seemed our progress would eventually be stopped if winds continued to increase, so we opted to cross the lake and travel on foot the remainder of the way back. A railroad track runs the north side of the lake. We knew dragging a boat wasn’t going to be easy, but at least we wouldn’t be at risk of being blown further west, away from the parking lot. We arrived at the far side of the lake and pulled the raft onto shore. The boat wasn’t light, but slid along the tracks quickly. Just before the parking lot there is a narrow channel of water separating the railroad tracks from the dock about 55 meters across. We approached the channel and assessed the best place to put in and cross (taking care to stay west of the dam inflow). At this time, Tyler’s boat drove back to the docks, only to quickly turn around and head back up the lake. Tyler’s boat turned again and headed straight toward us. I figured Tyler was going to take the opportunity to bust on us for doing things the hard way before heading back to check on the other climbers. Instead, he conveyed a message that immediately crushed me. Someone had called search and rescue on us. I was in complete disbelief. How did this happen? We’d literally just been hanging out with Tyler on his boat joking a few hours ago and in good spirits and he is the guy that does SAR on the lake. Later we would find out that when SAR called Tyler after we’d departed his boat, he told them he’d just seen us, and if they waited we’d be back to the dock soon. While I am frustrated they didn’t heed Tyler’s recommendation, I understand why. I know SAR is under significant pressure in circumstances where a rescue is potentially needed and choosing not to take action always has some risk that a negative outcome will result. We both have a strong opinion regarding SAR calls. Specifically, we believe SAR should only be used in cases where death is imminent or long lasting bodily injury is otherwise inevitable. I despise an attitude amongst some that seem to believe that SAR is who you call when you get tired, or things get hard. If you don’t have high confidence that you can get back or get down, then you don’t have business pursuing that objective. Upon our return to the base of the climb, if the boat had been destroyed, and we had no other way across the lake, we would have climbed the route again, connected to Seton Retask Road and hiked the 27km back to the car. It wouldn’t be easy or pleasant, but harder things have been accomplished by people who’ve set their minds to them. I don’t see the world of adventure as a theme park where I can hit the big red EMO switch on. And yet here we were, standing in front of a uniformed Canadian police officer, requesting that we get on Tyler’s boat to be escorted across for the remaining distance that I could nearly throw a rock across. We reluctantly complied and soon enough we were back at the car. We talked with the SAR members to understand what had gone wrong so that a similar mistake would not be repeated. We’d thought we were doing things right. We had met with Tyler the night before and discussed communication during the climb. Zach had been communicating with Tyler (the very person who would have been called in a SAR event) during the climb, providing him with updates on our progress and general wellbeing. Zach had an inreach mini that we could have used at any time if a real problem had arisen, which we thought would prevent a loved one from thinking a call like this would be necessary. Zach’s loved one did not know we were communicating with Tyler and was unfamiliar with how to initiate a garmin message. Ultimately because of our slower progress and the coming cold front, a call was put out in the last hours of the trip. This call emphasizes the importance of establishing expectations with loved ones at home about communication before heading out. We both truly regret that SAR was incorrectly called. Besides that unfortunate mistake (and although everything took longer than planned), the trip went quite well, particularly considering the challenges involved. We climbed an unclimbed ice route on a frigid lake from an inflatable raft without a single "close call". Research shows accidents are most likely to occur not when carefully pushing limits, but due to complacency. Feel free to think it's stupid or crazy, but just remember those are subjective concepts that we often manipulate to justify our own actions and condemn the actions of others. Regardless, if you're hankering for a little aquatic adventure (and maybe a little suffering too! lol) Lieutenant Dan’s Aquatic Death Ride will be out there waiting!
-
I’ve had little to no motivation for TR writing this last year, but figured I should try and get this story out into the world before I forget some of the fun details. Last April Eli Spitulnik and I flew onto the Ruth Glacier with about five weeks of food. We hoped to stay there until it warmed up, then bump to the Tokositna to do some climbing on Huntington. We got deposited right next to a very cold and dejected Brit and Slovene. The winter cold was still holding on strong, with nightly winds burying our camps regardless of how recently it snowed. Tom and Gasper had been there for about a week already and spun tales of vertical sugar snow and towering snow mushrooms. Their attempts on Blood from the Stone, and the direct start to RGG were valiant, but fruitless. Huge thanks to basecamp gear sponsor Kurt Ross. Chamonix style storm day skiing with Tom and Gasper. Who needs a pack anyways? Scouting. After almost two weeks and various attempts on other routes, we began skiing towards the SE face of Bradley at about 3 in the afternoon. Along for the ride was 3 days of food and a rack suitable for El Cap. Our intended line would start on Vitalogy (Zimmerman/Allen 2010) to gain the hanging snowfield in the middle of the face. Once there, we would climb more or less straight up the center of the face intending to finish in a couloir that would take us to the summit ridge. Day 1.) Following the same night climbing method as Graham and Mark, we hung out below the face as it went into the shade. Watching and listening as it calmed down for the night. Once things fell quiet, we began up the approach ramp. At the end of the ramp was a cave guarded by a 25ft tall overhanging mushroom. Still in simul mode, I fiddled in a small nest of gear and began pulling some steep mixed moves to surpass the overhanging portion of the shroom. From off to the side and around a corner 60m away, Eli heard a faint “watch me!” as I hung my pack off a beak and committed out onto the face of the shroom. Kicking myself for leaving the picket at camp, I beat the mushroom into submission until I was able to flop over and into the cave. Downclimbing from a gear cache on an early "false start". The weather changed and we decided to retrieve our rack the next morning and pivot to a different objective. The start ramp continues out left. Eli mantles onto my pack before stepping out right onto the mushroom. The next few pitches were some of the most brilliant mixed climbing I’ve done outside of a crag setting. A perfectly splitter slightly overhanging #4 crack, and short pendulum took us out towards the lip of the cave, where ice blobs allowed for an easy exit. A pitch of junky slush and a short traverse (dubbed M5R in the Vitalogy topo) took us to the M6 turf flakes pitch. A wonderfully long series of dirt filled grooves and flakes just frozen enough to get good sticks. By the time Eli made it up to the belay it was officially dark. Eli pulled on his rock shoes and took the lead. He took us out right up a well protected corner that gained a pillar, then up and right out into the slabs below the snowfield. Following in my crampons, I scratched my way up to the most heinous hanging belay. Balancing on crystals in my mono points I belayed as Eli swapped back into boots and began a long extremely runout traverse crossing fingers of barely refrozen snow over slab to gain the snowfield. Desperately sliding out of glassy fists. Delicious blobs Glorious turf At one point while readjusting to keep my legs from falling asleep I turned around to see the sky erupting in green and purple stripes. I shouted into the darkness to look at the sky. A distant hoot followed a moment later and I began lowering out the bags. The rest of the night was a blur of unprotected wallowing up crusty sun-baked facets in an attempt to reach the prow bivy before sunrise. Staring at the rope snake off into the darkness I weighed my options of preparing to unclip in the event of a fall, or try and catch a 120m whip. We arrived at the bivy just before sunrise. My perception of time is beginning to slip. Day 2 After a restless few hours festering in the tent listening to wet slides, we began prepping for another night of climbing. This time we would be leaving behind the comfort of previously traveled terrain and entering an unknown world. Bailing from above the snowfield while likely not impossible, would have been a bad time. More sparsely protected snow climbing took us up to a flared and wet crack feature that Eli dispatched fairly easily in his rock shoes. From there a few pitches of engaging mixed climbing took us to what I expected to be the crux of the route. From photos, a large snow plastered double corner system seemed to be the most obvious way, but it would likely involve some gross aid climbing tactics. We arrived below the feature in fading light as night two began. It looked so much worse up close than from afar. In a last-ditch effort to find an alternative, I traversed left looking for anything else. As I swam my way around the corner, a pillar revealed itself with a perfect wide crack and thin seam alongside it. It didn’t entirely look like it went all the way, but it was a good next step. With high hopes I began trying to free climb my way to the top of the pillar. The climbing was wonderful, but as soon as my feet began to skate off the sloping edges, all style went out the window. I took my crampons off and went full aid mode. From the top of the pillar, the seam kept going as the angle lessened. A mixture of direct aiding off of my tools and free moves on massive granite jugs took me to a generous belay stance. We were likely through the hardest pitch, but still had a lot of mountain above us. Some slab climbing in double boots took me to a delaminated slabby smear of ice. I equalized two garbage beaks and put my crampons back on. Despite my best efforts at being gentle, my beyond dull picks threatened to send me, and this detached smear down the mountain as every kick and swing bounced off. The next several pitches were a lesson in route finding as Eli took us up down and around to the main gut of the face above. I still don’t know where the best way to go was, but a diagonal rappel and some faff took us where we wanted to go. The sun began to rise as we entered a massive funnel that was invisible in the pictures we had. Afraid we’d be swept away if we lingered too long, we shifted into gear and made it to a semi protected bivy before anything had a chance to warm up and start falling. The massive snow choked chimney is visible in the background. When in doubt, traverse. Another restless day of napping came and went without any surprises. At this height, the mountain was much quieter and felt less affected by the sun. At some point in the day, Eli was awoken by a loud rumbling from over in the direction of Mt Wake. He mumbled 6/10 and rolled over back to sleep. A shovel would have been nice. Day (night?) 3 We started climbing at about 5:30 with several pitches of quality mixed and neve climbing. At some point I was pounding a pin when the hammer of my tool snapped off and flew into the abyss. Mildly perturbed I shrugged and continued bashing the hopelessly bottomed out beak with the back of my tool. All around the same time, the sun set, the snow began to fall, and the trenching began. Juuuust enough ice. After a long cold belay, I took over the lead and made one of the biggest rookie mistakes. I had just followed the previous pitch in my down parka but was still chilled, so I chose to start leading the next pitch with it still on. It was some of the most awful steep snow climbing I hope to ever experience. As the snowfall picked up, so did the spindrift. It smacked me in the face and dumped down the back of my parka, melting against my back and freezing the down solid. I was in no position to stop and take my pack off, so just suffered until I could get a belay out of the firing line. One block later we made it to a sheltered flat spot and decided to call it a day. We knew the storm was going to be short lived, so opted to wait it out and continue when we had a better idea of where we were on the mountain. Beginning another pitch of trenching Spindrift avalanches lulled us to sleep as they scraped over the top of our tent. After about ten hours, the storm seemed to be subsiding. Slightly worried about our skis getting buried at the base, I texted Tom asking if he could go check on them for us. WET Day 4 Two long simul blocks took us to the summit, where swirling clouds gave us brief glimpses over towards Hunter, Huntington and Denali. In an attempt to investigate how overhung the summit cornice was, I tiptoed my way around on relatively flat ground until I could see the other side. I must have taken one step too far, because the next thing I knew I was in freefall. I came to rest about 25 feet down in soft powder with snow filling my glasses. Unharmed, I frantically clawed my way out of the maw. Once free, I damn near fell back into the thing crossing back over to uphill side. Once in earshot of Eli I shouted over to him that I was okay. He just looked at me with a confused gaze that told me he had no idea I'd just fallen. There was so much slack in the system at that point that he didn’t feel a thing. Now I know that summit crevasses exist. Big D showing off. The "let's get the fuck out of here" thumbs up. After a few celebratory summit photos and facetimes with Eli’s family and my partner, we began down. The descent was supposed to be easy, but we knew of a few parties who had epics getting down. It proved to be mostly walking and easy downclimbing. A few easy rappels got us to, and down from the Bradley-Wake col, where we slogged back to our skis at the base. Where's Waldo? How not to back up a V-thread. Upon arrival at our skis, we were greeted with an unexpected sight. ONLY my skis, poles and one skin were stuck in the snow surrounded by evidence of extensive digging and stomping. A ziplock bag with a few jelly bellies and a twix bar were stuck in between the skis. Mildly strung out despite our long sleep the night before, we theorized what could have possibly happened and messaged Tom. 6/10 While repacking, I stumbled across one additional ski buried under the snow, followed shortly by both of Eli’s poles. It wasn’t going to be easy getting back, but at least it wasn’t going to be awful. We limped back into camp at 11:50pm. Happy and ready to lay down for a while. We named our route "sports" due to the ridiculous grade that the route got. Rock climbing, mixed climbing, ice climbing, aid climbing... snow climbing. All the sports. Not to mention the equally ridiculous song "Sports" by the Viagra Boys that kept making an appearance throughout the trip. 3 days later after plenty of rest, we bid Tom and Gasper a farewell and skied over to search for the missing ski and skin. We found the skin nearly 100m down glacier, the ski itself had been blown almost 30 meters from where we left it. Gear drying Style Eli scavenging for leftover food. The lower face had already melted out considerably in the days since we were on it. I'm guessing our traverse to the snowfield on the first day was likely gone the next. That same evening there was an accident on Mount Johnson. The next morning, we woke to the sound of a helicopter and messages from Kevin explaining the situation. We packed up for a rescue, not knowing what would be needed and began skiing down glacier. Clouds were threatening to thwart the helicopter rescue. By the time we got there, Kevin and Louie were already on their way down. We helped coil ropes, feed them and carry back the other party's gear. During our time before Bradley, we attempted “On the Frozen roads of our incertitude” on London tower. Mildly gripped Bailing We successfully climbed “Freezy nuts” to the summit of London Tower First tunnel of the trip Summit of London tower Attempted “Shaken not Stirred” on the Mooses Tooth in a push from our basecamp below Bradley. We made it one pitch from the col but turned around because of continually horrendous snow conditions. 24hrs camp to camp. Crux pitch. Felt like M7 conditions. Ropes going everywhere you don't want them to. Getting psyched to ski back down into the Ruth. After Bradley we flew to the Kahiltna and made a half assed attempt on the Bibler-Klewin on Hunter. Great conditions if you don't mind having no pro. Climbed “It’s Included” on Radio Control Tower 1.5 times. Digging the tunnel through the P2 cornice that was used for most of the ascents throughout the season. A solid 2 hour lead. Weather became continuously poor at the beginning of May, so we escaped while we still had a chance and became the bunk house locals until we could get a ride back to Anchorage.
- 6 replies
-
- 11
-

-

-

-

-

-
Trip Report: written by Sam Allen While moving off to university I decided to finally complete a write-up of an amazing summer adventure. Homesickness is real and I am so grateful to have grown up in such an incredible state. *Disclaimer: A bit late to the Jabberwocky party, a similar line up the SW spur was completed by David Wood and Eric Koch a few weeks prior. While unknown to us at the time, all credit and the FA of pitches 1, 4, and 7 should be attributed to them.* Now to the story… After his FA’s of Solid Gold and Dragons of Eden, what’s one more slog up Colchuck lake to help finish Wayne’s incredible Enchantments trilogy? The idea began earlier in the summer while suffering through sweaty jams in a Squamish heatwave. Meeting briefly at a crag, he shared a quick photo of the inspiring ridgeline of Jabberwocky tower, stories of solid rock, and a potential line. How could I say anything but yes? SW Ridge Jabberwocky Tower Fast-forward two weeks later and we were on our way up to the lake to check the line out. Equipped with minimal bolting gear and expectations of a quick mission, we flew past the day-hikes and began approaching the climb. Immediately we realized the entire tower is an undertaking way beyond our time-limit. From the lake, 1300 feet of broken enchantments granite is littered with tree ledges, overhangs, chimneys, slabs up to an imposing summit block. “Definitely a sting in the tail,” Wayne remarked. Spotting a hanging forest leading to the SW ridge, we began cutting a pleasant traverse through some small patches of slide alder, giving ground within a few minutes of the hand saw. Jabberwocky Tower blending in beneath CBR After some typical cascade jungle climbing and scree wrestling, we had reached a fairly prominent (SW) ridge. After walking about and pointing at things above our heads, the ridge proper was the obvious starting point. “Imagine if we can stay on the ridge proper!” Wayne casted up the first pitch, chucking pebbles over my head into the lake already hundreds of feet below us. The rock was good! Hand cracks were everywhere promising fun moves and great gear. After some problem-solving and block-wrangling, the pitch was slayed in great form and Wayne brought me up to gear belay. Pitch 2 went down with similar speed and enjoyment with fairly easy climbing leading to a fantastic ledge stance. Pulling the last few moves, I took my first look above the belay and laughed out loud! The rock pulled back into an overhang, cleaved by a perfect crack. Wayne looking up at the start of P1 and the ridgeline As cool as the feature looked, however, it wouldn’t come for free. Loose blocks peeked out above the lip and there was no way of knowing whether a key chockstone would hold any weight. It was already getting late in the afternoon, but the pitch was too tempting and Wayne decided to gear up. Bolting with some fantastic scenery… Wayne launched up the crack in incredible style, maneuvering over microwave blocks right at the physical top-out. My huddled belay offered little protection had he trusted a wrong foot. But by the time he turned the lip and moved out of sight, half-rope was creeping up and the way down was going to be complicated. After leaving some gear and lowering, our first high point was established. Two more raps and we were back at the base, ready for our hike out. Wayne reaching for the top on P2 Time back at the car: 8 PM Hikes commenting on “suspicious rockfall”: 3 Enjoyment of the hike out: 6/10 Trip 2 A few changes were made for the second attempt, the most important being Jenn coming along! The small delay in belaying a team of 3 was worth it ten times over by the rest afforded and shared gear. Two ropes allowed us to pitch out full rope-lengths and retreat, creating efficient and calculated belay stances. The first two pitches of our original attempt were combined, and we were back at the now-called Bandersnatch crack (the true Jabberwocky poem offers endless names). Slightly cleaner this time, the pitch was serious as Wayne boldly locked rattley hands up into the perfect summer sky. The continuation of the pitch turned into a fantastic knife-edge as well, a fun au cheval treat to rest the feet. Jenn cruising above Colchuck Lake P3 was a puzzle, seemingly luring us to a sloping ledge belay underneath the reaching gendarme. New to the whole route-development style of climbing, I was thrilled with the opportunity to chuck spare rocks off into the gully, adding excitement to anyone’s Aasgard Pass day hike. I took the lead for P4, a short step up to the ridge proper and then a traverse to the base of the next tower. Cresting the ridge, I probably spend more time staring back at Stuart than any hand or foothold. Quick belays and we were ready for a late afternoon layback. Myself leading back up to the knife-edge on P4 Wayne resting on some gear to get the excavation psych back! On top of the second gendarme, the sun was beginning to get too close for comfort above the Stuart skyline. To our right, a sheer granite face stretched down to the gully, with a perfect rap tree at the top. After some good luck rituals that the double rap would touch, Wayne descended first off what would be an incredible rappel, overhung and 60m exactly. A long hobble down the gully in climbing shoes led us to our bags and, once again, the amazing hike out. Hikers scared of rockfall: 1 Beta sprayed to anyone with a helmet on: 3 Time back at the car: 11 PM Trip 3 By this time we were determined. I was leaving Washington soon and the memory of the dusty trail and late-night drives back were becoming a little more long-term. This time, we finally dusted off the overnight gear and drove out the day before. Starting at 6 the next day (woken up to minivans of through-hikers…) we beat the heat of the day and were racking up by the time we would have normally started. The first 5 pitches flew by in record time, stopping only to trundle a few huge blocks we had skipped over and taking the time to slot and glue in the crucial chockstone from the first overhanging 10b step. These pitches were already cleaning up nicely and the climbing was smooth and fun as we launched up to the summit tower. Reaching past our previous rappel spot, we anchored in for the final two pitches. Wayne after some tough thin gear A series of clefts, cracks, splits, and ledges, all perfect hand size, made up pitch 6. The movement was incredible and secure, with jams leading everywhere in hands reach. Staying true to the ridge offers increasing views of the Enchantments core and the ant trail leading up. Reaching the belay, however, offered a more imposing mood on the team. Above was another reaching overhanging crack, both longer and wider then the first. The rock was speckled red and orange, and the top was just out of site above. The pitch was the true sting in the tail we had seen from earlier and no easy let-up to the top. Wayne racked up the big gear and took the first steps across to the base… Watching the lead was inspiring. The size in between hands and fists is always a weakness of mine and Wayne made it look easy, bumping cams and reaching high until the top jug. Just like that, he crested the top! After falling off (read: flailing) on the crack, I finally pulled up the last few handholds to the summit block. Continuing on, I pulled a step, walked a few feet, and reached the end! Looking across to CBR and the slopes beyond was a fantastic feeling that definitely fuels my passion for years of Cascade adventure. A quick tree belay and all three of us were on top smiling. Everyone on the top! After installing a rap anchor, we left via the backside and the CBR approach trail, circumnavigating the entire lake in our day. This was way faster and a lovely way to walk down with the evening light. Maybe it was the feeling of accomplishment but I didn’t even mind the dusty trail this time, thoroughly fulfilled and energized from the amazing peaks we spent so much time on. Climbers told to “Get on it!”: 2 Time back at the car: 9 PM, but a quick overnight allowed for a luxurious and slow breakfast stop the next day. Happiness: 11/10 Lastly, I really want to thank Wayne and Jenn for letting me help out with the vision and all the climbing mentorship over the years. I can think of many of my friends who are fueled by the psych and knowledge Wayne brings to the community and hope to one day pass that down again. Climb Notes: We have cleaned the route fairly well of any dangerous blocks and dirty cracks. Lichen is already worn off many holds. We installed around ten bolts, mostly around belay stations, but the route protects very well with gear. For more information visit MP https://www.mountainproject.com/route/126723752/song-of-the-summer
-

first ascent [TR] Vesper Peak - The Ragged Edge 8/18/2013
dberdinka posted a topic in North Cascades
Trip: Vesper Peak - The Ragged Edge Date: 8/18/2013 Trip Report: Back in August Gene Pires and I wandered up to the north face of Vesper Peak to check out the steeper and much neglected eastern half of the face. We managed to climb the obvious exposed edge along its right-hand side. The position and the underlying rock quality were generally fantastic but the climbing itself was horrible due to a thick layer of lichen, heather and dirt that covered the face. Rock cruxes were protected by beaks, belays tended to be marginal and the actual crux involved mantling across a series of quivering hummocks. A good time was had by all (I think) but it sure as hell wasn’t anything you’d recommend to a friend. So when I finally finagled two days to myself rather than hang out with friends, or go somewhere new or actually get in some pitches I carried a 70 pound pack of bolting, cleaning and bivi gear back to the summit of Vesper Peak. A dozen retro-bolts and fifteen hours of scrubbing later the end result is a potentially enjoyable six-pitch 5.6 or 5.7 rock climb in a stellar setting. The rock is excellent, the climbing is sustained at a very moderate grade, the position is spectacular and the protection and belays are solid and well situated. It’s pretty easy to overestimate the quality of your own routes but this has to be one of the better moderate and accessible alpine rock climbs on the west side of the Cascades. I should point out that what we did was essentially a series of major variations to the “Center Route” established in 1969. The fourth pitch was shared in common and probably the first pitch of the original start otherwise we had stayed further right near the edge. Pretty bold climbing they did back in the day. Until nature gives it a solid pressure washing the grit left behind from cleaning will inevitably collect in some of the cracks and edges I scrubbed. If someone heads up there this year consider bringing a small stiff bristled brush or at least a nut tool to clean off some holds. Would be psyched to hear feedback if anyone climbs it. Click image for larger version Approach Description The trail fades out as you enter the basin between Vesper and Sperry Peaks. Cross the outlet of the lake and follow an obvious talus ridgeline up to a col between the peaks. The climb is accessed by a ledge system that cuts across the north face of Vesper at about 5800’ elevation and begins at a small notch overlooking the Vesper Glacier. Allow 3+ hours for the approach. Walk out the ledge on steep exposed heather (snow until mid-late summer?). When you can’t walk any further either (A) scramble up over an obvious chockstone formed by a large, thin flake to a belay ledge or (B) as a variation backtrack a bit and figure out an exposed 3rd class traverse down and around the toe of a buttress before scrambling back up to an obvious and clean 5.6 layback crack (better start). The 3rd class slabs at mid-height on the first pitch could easily be accessed after climbing the lower half of the north face as well. Route Description: The ratings below are potentially soft. Bring a full set of nuts small to large and a single set of cams from #0 TCU to #3 Camalot with extra #0.75 and #1. Original Start - Red Line P1) Climb approximately 60’ of low-5th terrain to 3rd class slabs. Continue up the obvious flaky gully and arrange a gear belay just below a short overhanging wall (low-5th 170’). P2) Traverse right on a long, thin ledge then a short gully to a fixed belay on the skyline (4th 60’). Slightly contrived variation start with better climbing - Blue Line P1) Climb a nice layback flake then a low-angle groove to 3rd class slabs. Traverse hard right then follow the highest grassy ledge system approximately 40’ to a gear belay below a faint white dyke splitting a slab (5.6 160’). Note that you can also reach this belay from the original start as well. P2) Climb the dyke past three bolts to a thin ledge. Traverse right and up a short gully to a fixed anchor on the skyline (5.7 90’). P3) Step right then traverse back left on positive edges towards the skyline. Find a bolt then continue up a nice arête protected by fixed pins. Arrange a gear belay atop a heather ledge (5.7 95’). P4) Step right and climb steep, stacked blocks. Easy zig-zag cracks above lead to a fixed anchor. I aggressively trundled loose and semi-loose blocks off this pitch but some caution is still advised (5.7 95’). P5) Step right again and climb straight up in an exposed position. At the second bolt traverse right 50’ to a fixed anchor on the skyline (5.7 80’). P6) Follow the nice arête to a final touch of heather and the summit. (5.5 130’). Walk off to the southeast. A lot of the greenery in the following three photos is now gone. Never heard good things about the lower wall. Maybe a direct starts needs a scrub-down next year. -
Dragon's Jaw FA 9/2/2024 by team: Alan Kwok, Chris Borg, Edward Toumayan I've just led a party of 3 up a line on the NE Towers of Dragontail I've been eyeing for a few months now. It runs about 700ft and shares a top out with Dragons of Eden but is totally independent. Based on looking through every available guidebook, MP, and CascadeClimbers, it appears to be an FA. I think this could shape up to be an incredible climb with some traffic. So get on it! Here's the full story: During a hike up to Asgard pass in 2023 I happened to take a picture of Dragontail. As this year is the year of the Dragon in Chinese Zodiacs, and it happens I was also born on a Dragon year, I looked up all routes in WA and OR containing the words "Dragon" and put it on my list for this year. That said, "Dragons of Eden" is one of the routes on my list, and as I went back to my photos to ID the route, this other line appeared (the square roof in the center drew my attention), and so I made plans to check it out on 8/12/24. At the last minute, I couldn't line up climbing partners, so I decided to rope solo the low angle terrain until it was too sketchy or time ran out. I really wanted to see the roof up close, and the twin cracks below it, too. I ended up starting at a tree that appears to be a rappel station for DoE, then traversed my way across the big slab and eventually up the twin cracks. It was mega. Although I wasn't too happy about all the traversing down low, the twin cracks were promising - splitter, wide, steep. And the roof appeared perfectly doable. Between some gardening and a lot of exploratory climbing, it took 6.5 hours to get to this point. So I put in some pitons and rappelled. Then I made a questionable decision on the ground - to complete the through hike. It ended up being a 21 hour day, with a fortuitously swift hitchhike at midnight to shuttle back to the Stuart Lake TH. I returned on 9/2/2024 with Chris Borg and Edward Toumayan on a successful ground up, onsight attempt. Chris and Edward both fell at the crux, but I ended up leading every pitch clean. We were stoked to find that the pitches linked up very naturally, the climbing was engaging and clean (but still alpine), and belays were natural and punctual. Additionally, we found an alternate start that was slightly more vertical though slightly looser. Route description below: Inspired by the hanging teeth-like formations throughout the route, Dragon’s Jaw is located on a steep section of the northeastern-most buttress of Dragontail Peak. If you are a jack-of-all-trades climber, this is for you. The route consists of face climbing, fingers, perfect hands, perfect fists, squeeze chimneys, roofs, underclings, laybacks, and stems in sustained moderate sections guarded by brief but powerful cruxes. It shares a top out and rappel with Dragons of Eden. To get there, hike to Colchuck Lake and ascend towards Asgard Pass. Cut right to cross the stream about 100 ft below the first set of cliffs on the trail. Aim for the scree hill to the right of the mossy stream beds. 3-4 hrs from Stuart Lake Trailhead. The route is between the starts of NE Buttress and Dragons of Eden, about 100ft to the left of the latter. For protection, bring doubles from .3-4 with an optional addition of 1, 2, 5. Alpines at least 4x 60cm and 1x 120cm. Pitch Breakdown P1 - “Approach Pitch” 5.9+, 45m: Follow a broken, but generally left trending, wide crack (5.7) that sits on low angle terrain directly below a prominent overhung slab, aiming toward a ledge on its topleft. Make an airy (5.9+) move right onto the ledge, then build belay with small gear. P2 - “Leaning Cracks” 5.10a, 35m: Head up the corner system, deviate left onto a rail feature 25ft up, and reenter the corner to meet two prominent cracks that are leaning “away” (5.10a). At the top of the hand crack, gain the ledge and immediately move left onto the face to follow a left-trending shallow crack until a fixed nut. Belay at the large ledge to the left of the fixed nut. The anchor takes .5-2. P3 - “Belly of the Beast” 5.10b PG13, 35m: Scramble up and make an unprotectable move (5.9 PG13) to gain the ramp at the base of the twin cracks. Then unload your entire bag of wide tricks through the cracks and a chimney, which protects within. Make a heroic exit by surmounting the “dagger”, a glorious protruding chock. Take a picture to send to mom, then move up and left to belay on small gear and pitons directly below the large roof. P4 - “Gaping Roof” 5.11a, 35m: Head straight up the right corner (5.9) with sinker fingers and good feet right where you need them. Place a piece out on the roof, shake out, and punch through this short but powerful section. Dance your way up another 20ft to a ledge and belay here. P5 - “Hands” 5.9+, 30m: Get into the rightmost crack above by stemming and reaching. Belay on a slabby ledge below a right facing corner. P6 - “Finale” 5.10b, 40m: Enjoy an easy corner crack to a ledge, then commit to the final crux - a well protected layback above and out right. Cracks on easing terrain lead to the rappel anchor of Dragons of Eden. Build your own belay anchor here as this route has a different direction of pull. Descent Rappel as for Dragons of Eden (double 60m ropes) or continue to the top of Dragontail Peak via Northeast Buttress. Misc Photos Start of P1 is about 10 ft to the right of where this photo was taken. (Notice the #6 - I used it on the solo run, but wanted to see if we could avoid using it on P3 - turns out, it's fine without a #5 or #6) Looking up at P2. In the twin cracks of P3 (having a yellow totem here saves on big gear). Chris on the "dagger" of P3. It's really solid! The Gaping Roof, P4, is the crux of the whole route. The right dihedral turned out to be the perfect line. The left dihedral would have led into quite a bit of meandering, and the right splitter crack (not pictured) has maybe a V6+ move to get into it - a different proj for a different time. Belaying from the top of P5. (Yes, you can sit at all but one of the belays!) Looking up at P6. The final route crux is right where the rope disappears. Topping out P6. The boys are happy about the dirt shower being over. Incredible lighting on the hike out. There were storm clouds to the west that just managed to let a slice of light squeeze by.
- 3 replies
-
- 4
-

-

-

-
- first ascent
- dragontail
-
(and 2 more)
Tagged with:
-
“Missed It” Wall 5.9 PG, 5 pitches, II, 6/22/24 Alex Pederson, Zack Williams, Spencer Moore What is the difference between a first ascent and a wildly preventable navigation error? Intentionality I suppose. Due to indifference and blasé attitudes towards where a route starts, what transformed our “off route” miscalculation into a full day of adventuring is a commitment to the joy of uncharted terrain. It seems as if this route is new, but in the style of the times I am going to spray about it on the internet and hope no one climbed this in the 70’s. I would hazard a redefinition of traditionalism in the 21st century is to keep the “fuck it we ball” attitude and check with the grey haired locals just to be sure. Hoping to capitalize the long days of the solstice, Alex Pederson, Zack Williams, and I decided to jaunt around the green creek circuit. Late Friday after a roofing gig in Acme, I rushed over to the trail head and ditched my tar stricken denim for soft shells. We bounced down to the river and crossed over the log bridge with what I must say is probably the best tensioned hand line I have ever encountered. Whoever did that, bravo. We chatted about old growth, scifi books, and climbing plans all the way through the second crossing and up to the river. It was a little past 9pm and we had taken just under two hours to get to the cairn that marked our final river crossing. We navigated upstream to a calmer section of the creek and waded knee high water to the other side. After a particularly fridged barefooted river crossing in Cody in January, snow melt rivers felt cute in comparison. I still yelped at the sensation of water that was probably snow 45 minutes earlier. Barfie toes are barfie toes after all. At camp we hunkered down for a leisurely wake up time of 4am, and drifted off to sleep after some celebratory beers cooled off in the creek. The forecast turned from rain on Sunday to rain on Saturday. We weren’t really sure if we could complete the circuit given the unpredictable weather, but we decided to see how far we could go until things didn’t make sense any more. We scrambled up the gully to the start of the Mythic Wall. There was a fair bit of snow at the base of the route, and we made a plan to start left and then traverse right into the route after avoiding the worst of the wetness. I opted to take the first lead by tying in and stealing the rack from Alex’s pack while throwing him a bight of rope. Even though you could probably hang one-handed on the grippy dunnite even if coated in Vaseline, something about wet rock triggers the instinct to go somewhere else. To put it succinctly, I went too far left; Like way to far left. I went so far left that I was closer to the Green Creek Arête than the Mythic Wall. Whoops. When Alex and Zack met me at the belay, they raised their eyebrows in disbelief at my route-finding choices and handed me the two cams back that I had placed in a full 65m pitch of low fifth. I was basically told to “try again” and just go as right as possible and see where we ended up. After 10 or so meters of traversing I met a flake and finger crack that led to a ledge just big enough to mantle onto. Pounding each hold with my fist, I ripped out what choss I could and plugged a small nut and a black totem into the wall and sacked up for the moves. Some finger locks, a layback series, and a heel hook mantle proved to be the physical crux of the route. As I followed a hand and fist crack to the right, I gardened blocks and flakes from sections of the wall by either ripping it out or watching it crumble as I tested each move. After an inspiring serpentinite bearing crack system, a foothold blew on my final mantle move and I lost any confidence in slicken-lines and fault scour. I found a belay out left on more solid dunite and brought up Zack and Alex. As Alex led the next two pitches, Zack and I talked religion, machine extruded Mexican food, and literature. Alex took off on a #2 crack that bore some interesting stemming and jamming, and ended at what amounted to a perfect tree anchor. We seemed to be lucking out on ledges big enough for a party of three. His next block also started with excellent jams, leading to a precarious tombstone shaped stack of loose flakes the size of flatbed trucks. He shouted “don’t touch anything to the left of the #2!”, and jutted right to a ring lock sized crack that took excellent nuts and small cams. A tricky high foot and a crimpy rail led up left to yet another mantle, and a fantastic belay ledge. We were 15 meters below the fourth class section of the Green Creek Arête leading to the 5.6 headwall. I opted for the last lead and stemmed up a chimney with excellent jams and one memorable offwidth move. There was a great #1 sized crack to finish topping out, and a convenient tree to belay off of. We topped out, ate a quick snack, and carried the rope over to the start of the 5.6 pitch of the GCA. A party of two was rapping down as we flaked out at the base, and we exchanged pleasantries during their descent. Non sequitur: We found a pin anchor midway up the pitch for a rap station in an absolutely unnecessary location no more than six feet away from a visible tree anchor with tat. While I am not above placing pins in the alpine, I do so pretty sparingly and only when there is no other option. With ice and mixed climbing, I keep a few small pins and a pecker for iced up cracks. These pins were placed poorly in a very haphazard fashion out of the way of the line of descent next to a crack that could have taken nuts just as well as the tree that was already slung. We found another pin anchor backing up a 1.5ft diameter tree that was slung too high and choking out some branches. I don’t want to throw shade at anyone because people make mistakes and placing pins is somewhat of a lost art, but for real please pick a choss heap that is on the ground to practice hammering iron, and pack some extra nuts and tat if you are really trying to beef up an established rap station. We removed the loose pins and replaced a bunch of sun bleached tat on the tree anchor. Ultimately I don’t want to make people feel bad for ethics in climbing, I think it is a better approach to gently bring them into the fold. If the people who ended up placing those pins ever read this, the super popular route that you are climbing probably has established rap stations, and if you can’t find those stations please use pitons literally as a last resort. /endrant Zack, tired of riding the middle, sprinted up the 5.6. Alex and I topped out just as the clouds started looking evil. We hesitated before dropping to the saddle heading towards the South Twin. The snow was soft and saturated. With each step closer to the South Twin, we grew increasingly less enthusiastic about being up high. Passing squalls peppered us with rain, and we finally paused halfway to our purported link up. Examining two cornices on the S Twin, we hesitated further. Turning toward Baker, we watched a lenticular cloud at the summit succumb to grey blankets of overburdened cumulus. All across the valley we watched patches of rain sweep the range. We had a lot of time left in the day to tag the twin, but the super wet snow gave us bad impressions of the cornice hazards. A wet slide by Cinderella sealed the deal to go down. We opted for a leisurely lunch before our retreat, leaving the epic for another time. Bursts of rain peppered us as we began our first rappel. We admired Blake Harington’s line adjacent to the Mythic Wall and undid the aforementioned pin nest on our way down. After a second rap, we downclimbed the 3rd class ledge ladder as the rain shifted to the south side of the valley. Boulder hopping and generally avoiding killing each other with loose blocks gave way to our camp, where we rehydrated and snacked while packing up. As god has no small sense of irony, instead of cutting myself on the razorblade rocks we had been palming all day, I slipped on a wet root and an errant branch sliced a section of my palm open on the way down. As we made our way back to the car (and as I grumbled about how this kind of shit never happens when you go sport climbing) we looked back to the range, now certain that a bail was warranted for the traverse. In dripping glee, we made our way back to the trailhead and crossed our final log of the day. We celebrated with a staggering order of Taco Bell – which arguably is the most hazardous terrain we encountered that day – and deliriously gorged ourselves on extruded Mexican food, extoling the virtues of long days in the mountains in good company. Route Description: P1: 4th to low 5th class. Simul climb 65m of choss ramp moving left to 5 meters of a baggy finger crack around 5.6 P2: 5.9 55m. 10m of blocky climbing traversing right to a finger crack. A small downward sloping triangle block guards the only feet before the finger crack. Two hard finger moves lead to a layback and mantle, protected with a black totem and small nut. Move up and right to a hand and fist crack containing smooth serpentinite and fault scour. Pull through a small overhanging move and mantle again. Trend left to another hand crack nestled in a right facing corner for a decent gear anchor on a ledge with a small bush. P3: 5.7 30m. Follow the hand crack at the base of the belay ledge to a small tree. Move right and up a blocky crack system to a bigger tree with a good belay stance at the base of yet another hand crack. P4: 5.8+ 30m PG. This is probably the most fun pitch of the entire route. Great movement off the deck leads to a crack system that narrows as it moves up. The flakes peter out to a crimpy rail with slopers, with a committing mantle move for a finisher. Halfway up the pitch are three truck bed sized flakes loosely stacked on top of each other. Careful, these are widow-makers and will absolutely kill your belayer if disturbed. P5: 5.7 15m A fun stemming corner and offwidth lead to a roof with thin hands. Protects well with some ringlock to hand sized pieces. Top out at a slung tree that marks a rap station for the Green Creek Arête. P6: 5.6 finish with the 5.6 crux of the Green Creek Arête Protection: Double rack to 2, healthy nut rack with some hand size hexes thrown in for good measure. Location: Go to the base of the Mythic Wall and get off route by moving too far left.
-
On April 13th Koby Y and I climbed what we believe is a first ascent on the far-left side of the Black Spider. We humbly submit this report for the historical record and for review by the fine netizens of cascadeclimbers. If you know of this line being climbed before, please let me know and I'll PRINT this trip report and then EAT IT (and appropriately redact our claims here). This route is labeled "waterfall" on the hand-drawn topo, left of the "waterfall" that later became the Fric-Amos route: Here's the route from the side, photo taken from the base of Cooper Spur in December (side note: despite looking fat in this photo, Fric-Amos was 100% unprotectable snice): This is a bit of a "lite"/"diet" Black Spider route, not tackling the entire face but rather topping out onto the Newton Clark Headwall about halfway up. Despite this, we did about as much technical climbing as on the neighboring Fric-Amos route and found it surprisingly engaging. It's a bit tough to grade as the ice was quite thin but we'd say it goes around WI4 with a couple M3-4 moves thrown in. I assume that like other routes on the Spider it could become easier and perhaps go entirely at WI3 in fatter conditions. On to some photos of the climb. Here is the face from below with the Arachnophobia second cliff band looking quite fat for April. Our route (which you can't really see as it's tucked in the corner) above the arrow: Next photo, approaching the route. There's currently a LOT of snow over there so the first steep bit visible in the side view above was totally buried. We just walked up into the little snowfield though there were a couple patches of low-angle water ice. Koby coming up into the snowfield: At the top of the snowfield we built an anchor and pitched out the rest of the climb. Here's looking down after the initial steep bit (WI4-ish?) of pitch 1: A couple photos from higher on pitch 1 below. Somewhat tricky climbing up a series of brief vertical steps with some thin/snicey/delaminating sections: I only led about 25 meters before building an anchor, as there was a patch of fat blue ice, a decent pin placement, and I guess I had already used all but one of my screws, sewing it up out of fear in my typical style. Here's Koby leading out above the anchor, about to do perhaps the hardest move on the route involving a brief torque in a horizontal crack to reach the good ice up above: Above this was mostly mellower, typical Mt Hood WI3-ish: Pitch 2 ended up being about 35 meters before joining the Newton Clark Headwall. In reality, we may have been able to squeeze all of our serious climbing into 1 60m pitch, though in more typical conditions (less snow) it looks like gaining the snowfield could require a bit of ice climbing, so it seems reasonable to expect to do at least 2 pitches. We simuled up the rest of the headwall, climbing one last short bit of WI2 between two gendarmes to join the upper Wy'East route to the summit: A couple final notes: First, thanks to Zach and Artem for trying to get this done with me the week prior. The wallowing was, unfortunately, insurmountable: Second, we did have one scary rockfall encounter that I feel obligated to mention. While belaying Koby on our second pitch, shortly after he topped out, a microwave-sized block spontaneously detached in the bowl above me and narrowly missed my head (I ducked), instead hitting my pack and ripping out the picket I had racked in the side pocket. A good reminder that climbing on the Spider sucks and to put the belays in more sheltered spots. This is really my fault for putting the anchor right in the fall line, I thought that we were much closer to the top of the route than we were in reality and that there wasn't that much overhead hazard. Thankful to emerge unscathed. Picture of the rock below: Thanks for reading.
-
28 Aug 2023 @Tom Beirne @Doug_Hutchinson Jason Niebler A survival climb, with interesting moves masquerading behind a feral crag, unwilling the be tamed. You can go in with all the iron and cams you want, but the flakes will flex and handholds turn to kitty litter. We were lucky to depart the falls before dusk, when it's rumored that Tin Cup Joe emerges with hatchet in hand and menaces trespassers. This rock appeared visually the cleanest in the area, especially compared to the rock immediately above the lower falls. The higher we trespassed, the lower the quality. This TR is intended to serve as a placeholder for the curious, and in our case, the stupid. This applies to the visible cliffs above the first falls all the way up to the upper slabs: don't bother. Picture below: first rock cliff above Tin Cup, lookin' sus. Approach. Don't approach. Turn around, do something else. Take the standard trail shown on Gaia up to the falls, then cross just prior to the first falls. A very faint trail can be barely followed left of the falls for a few hours. Cross both falls climber right and head towards the upper slabs, which you glimpses of during creek crossings. P1 5.7 40m to gear anchor belay on decent ledge. Begin up easy 5.7 slabs, through some shrubbery, and turn the lip of an awkward layback to the belay. P2 5.9+ 40m to hanging tree belay. Move belay to on top of tree with #1,2,3 crack directly above. Trend up and right through balance ledges through the green patch, and into the chimney for fun short boulder problem. Protects well in the chimney. P3 5.6 30m left trending diagonal traverse to visible tree. Couple pro options down low, none after about 15m. Mind the house of cards. RAP: Two Successive double 60m raps, each from stalwart pines. Apologies to the mountain gods for this transgression, we will seek absolution through worthy missions ASAP. Ps, Happy Birthday Jason, hope you liked your gift.
-
Trip: Bonanza Peak's Southwest Summit, West Face - Cascadian Route V 5.10+ Trip Date: 08/26/2023 Here's a couple obligatory John Scurlock photos of the western aspect of Bonanza's Southwest Summit: Trip Report: Summary: Sam Boyce and I took a 3-day weekend to climb a new route* on the West Face of Bonanza’s SW Summit. The Cascadian Route (V 5.10+) ascends Bonanza’s intimidating western wall. Our line gains >2,000 vertical feet over 16 pitches and 2,800’ of climbing. For context, our route is off to looker’s right of its neighbors to the north, the Soviet Route (1976) and the Oregonian Route (2013), both of which ascend the Northwest Buttress (previously also referred to as the "West Buttress", and in 1976 "the North Face") of the SW summit. In a marked up version of Sam's photo below: The approx. Cascadian route in green (each dot approx 3 pitches); the Soviet and Oregonian routes off to the left meet near the 8,700’ subsummit pinnacle on the skyline (red point), before ascending mellower terrain on the peak’s more-northern aspect (out of view; parties apparently traversed left under red roofs of the summit block): On the Scurlock photo, same color scheme (Soviet red, Cascadian green), but with the Oregonian start indicated by an orange dot: From the 9,320’ summit, we descended the Isella Glacier, which (as can be seen on satellite imagery) is split at approx. mid-height by a magically continuous undulating walkway. We were able to walk and downclimb (one low-fifth crux) to roughly 6,900’ without rappelling or touching snow, then used a notch/gully to drop through the peak’s south ridge before circling back up to our 7,000’ camp near the North Star – Bonanza col. Near the col above the bivy, there remains a small snow patch that provides water, even near the end of this hot dry 2023 summer. Report: Several years ago en route to climb Dark Peak with my friend Jon, we crossed (interminable and uniquely annoying scree) under Bonanza’s SW summit and gaped up at the expanse of rock on its western flank. I made a mental note to explore new routes if given the right conditions. Thanks to Sam’s can-do attitude and vision, and the forecasted wildfire smoke that ruled out other candidates, this was the moment. On Friday 25 Aug we made the time-consuming approach (car, Chelan-Lucerne ferry, Holden bus transport, many miles of walking); Saturday we finished the approach, climbed and descended to camp (15 hours, dawn to dusk); and early Sunday boogied out to catch the 10am Holden to Lucerne bus, then ferry, etc., etc. Would you believe the route looked this good all the way up? (Above: Sam follows the pleasurable 5.10a pitch 8, sends a sweet 5.10 corner on pitch 9, and earns his kale on the 5.10+ pitch 13 overhang) That would be a mistake: (Above: Eric confronts the heinous choss band of 5.8+ pitch 4, and the tricky steep delights of 5.10R pitch 12) While there were enjoyable stretches, there were also satiating portions of choss. Roof systems, particularly a large one that spans the west face feature near the top, provided few weaknesses and narrowed free-climbing line options to 1 or maybe 2 in places. We were both concerned about passage near the top, as bailing would be fraught and difficult. The technical highlights were five pitches of 5.10; three of these (pitches 8, 9 & 13) sported steep and fun climbing, but another two (pitches 11 & 12) were horsepuckey. For much of the climbing on these two steep 5.10R puckery pitches, literally not a single hold was loose; nah, haha, two or more were. While the featured rock inspired a kind of upward hope, protection was occasional, creative, and even whimsical—bring your bag of tricks. These pitches offered quality terror-tainment (@rat ©). This was a no meat-rain zone. The rest of the route predominantly ranged from mid-fifth to 5.8 on similarly varying rock quality—any given hold might be probably portable, or revealed as a solid protrusion of the mountain, eternally nonmoving and crank-able. Climbing of this sort can be extremely engaging and stimulating, and while Sam and I enjoyed moving up the route, it might not be to others’ tastes. For interested folks, he took concise notes on the pitches, and will hopefully chime in here with that info. * I encountered a 2.5” Trango Flex-Cam in a crack with a ‘biner attached on pitch 4, after the first heinous choss band but before the most technical climbing. This late-‘90s/early-aughts era cam was in a textbook placement and easily removed. The sling is weathered, perhaps had been sitting there for 10-20 years (hard tellin'). Anyway, given no evidence of passage in the pitches above, we surmise that perhaps this was used for bailing. A search for attempts or climbs of this feature has not borne fruit. However, if anyone knows better, please advise. Here are a few more photos. They don’t really do the route’s position and exposure justice, but they do serve to highlight the area’s rock/choss quality variability. (Above: choose your own adventure, then call your mom) (Above: In a move that typifies much of the climbing, Sam stems out in search of better rock) (Above: Eric following the overhanging section of 5.10+ on pitch 13) Here's an album with more pics, including descent: https://photos.app.goo.gl/8qAiXj6o4BfRSGJm9 Gear Notes: Lots of small gear was helpful, a bag of tricks (ball nuts, tricams) useful, and we also used some pins at belays. No need really for anything larger than a #3. 70m rope. Approach Notes: There are many ways to get there, but we took arguably the easiest starting via the ferry to Lucerne. Good bivy sites just south of the North Star – Bonanza col, around 7,000'
-
From Aug 20th to 24th Lani Chapko, Nick Gonzalez and I did the first ascent of the direct SE ridge of Seahpo Peak. The SE ridge gains roughly 4400' over around 1.5 miles of horizontal. Jagged Ridge adds roughly another 1.5 miles of ridge traversing. We climbed roughly 30 pitches on the SE Ridge of Seahpo with another 6-8 or so on Jagged Ridge. I would consider the SE ridge a Grade V as a stand alone if a team were to descend the standard route, and while maybe controversial, consider it a Grade VI with its continuation through the Jagged Ridge (Grade V 5.6). We had 18 hours of climbing time on the SE ridge and around 12 hours of climbing time on Jagged, totaling just shy of 30 hrs of climbing time over the course of 3 long days. Lani and I's climbing time on Mongo Ridge was around 17 hours and our non-speed-climber NIAD time last year was 16 hours. While not really relevant, these seem to be common benchmarks that people like to compare to. Photo I found last year from the summit of Icy showing the entirety of the ridge (sorry i don't remember who took it...) Early Attempts: I first spotted the line last year when Joe and I went in to do Spectre. It is a sneaky ridge that is only visible from a fairly narrow window of the North Cascades. We both agreed it looked massive and epic. I convinced Lani to give it an attempt late September. This was a couple weeks after a bad ankle sprain on Jo Berg. We ended up bailing after around 800' of climbing because of extreme heat, dry conditions and mild hallucinations from intense smoke. We approached via the Baker River and Crystal Creek. This year in July we had a window and decided to give it another go. We figured the Baker River approach would not go smoothly so we decided to try a high route approach via the Ruth-Icy traverse. Once at the Icy-Seahpo col we dropped down the head of the Crystal creek cirque and tried to find an access point to the ridge from the north. The climbing looked like 5.10X with minimal anchors, so we ultimately bailed out with the knowledge that we would have to repeat the heinous munge we found on the ridge last year. Day 1: We knew we were heading into dry conditions, so we sought out a third person to join the party to help distribute water weight on the harder climbing near the toe of the ridge. We reached out to Lani's friend Nick the morning of to see if he would be down, and he somewhat reluctantly joined knowing he would be procrastinating some work. The last minute shuffle meant we were in for a bit of a long packing session and late start. We got to the Baker River Trailhead in the mid afternoon and started our approach around 3PM. The approach went smoothly as the Baker River was super low and the crossings were super chill. We again picked up the old trail up crystal creek. We were initially super confused about the existing trail until we consulted with Eric W and learned that there used to be a trail up crystal creek. We got up into crystal creek basin right as it was getting dark and decided to set up camp in the trees just after crossing crystal creek. Near the end of our approach, Nick got stung by a ground wasp and started developing some full body hives. He had previously never been allergic to any kind of stings so this was a new development. Luckily we had just added some Benadryl to the first aid kit. He reacted well to the Benadryl and the hives subsided after around 20 min. Day 2: We started out the day finishing our approach up the crystal creek basin. This involves some mellow, but overhead grassy bushwhacking. When we were here in 2022, there was clear evidence that a ton of bears had trampled the valley. Adding a very eerie feeling to the endeavor. We felt like we were being taunted by Tanuki, hence the name. The climbing on the ridge starts around 2900-3000' depending on how your device is feeling. Once at the base of the ridge again we were back in familiar terrain. Ignorance may have been bliss... The first 1000' of the climb involves some substantial, runout and sometimes challenging munge-a-neering. Lani following one of the 5.9 munge pitches on the first attempt Looking up at the crux munge pitch after bailing on attempt #1 After reaching our high point, we continued questing upward. We had a hunch that we were through the major difficulties of the lower ridge on the first attempt, and luckily that prior assumption was true. 1000' more munge led us to the summit of the first major tower. This tower rises over 2000' over crystal creek basin and feels like a major accomplishment in and of itself. Lani and Nick Following near the top of Tanuki Tower Looking back down at the long scrambling section in the middle of the route After reaching the summit of the first tower, which we later dubbed Tanuki Tower, the ridge eased back for a massive, long section of 3rd and 4th class scrambling, separated by the occasional pitch. We were able to make good time to the base of an obvious gendarme to camp at 6900'. When we arrived at camp we were able to locate a 3rd class access ramp that allowed for access to the glacier on the south side of the ridge. This allowed for a much needed water top off. Future parties could consider gaining the upper (more classic) ridge via this hanging basin and scrambling access ramp to avoid the munge on Tanuki Tower. Looking up at the upper ridge from camp. Day 3: We started by climbing the obvious Gendarme above camp and traversing to the main summit massif and upper ridge. Classic moderate climbing on the Gendarme above camp The upper ridge provided a ton of clean, moderate ridge climbing with a bunch of awesome position and good climbing. Nick leading the upper crux, a clean 5.8+ lieback After a bunch of false summits, gendarme traverses and generally entertaining ridge climbing, we finally found our way to the summit of Seahpo. Stoked on our success we started the debate about continuing. We all had trail runners and light aluminum snow gear. After an hour long debate we decided thin conditions meant we could work around the snow and manage the little that we had to, so we began our committing raps off the summit of Seahpo. We started off with the moderate snow traverse across the glacier to regain the ridge. Conditions were super firm, so while only being around 30 degree traversing terrain, we ended up pitching out this short section. Looking out from the start of the Jagged Ridge Traverse Clean Rock on Jagged Ridge Once back on the rock, we were able to make super quick progress soloing a bunch of 4th class terrain to near the mid point on the Jagged Ridge traverse. There were minimal opportunities for bivies, but we found a reasonable, albeit exposed ledge near the ridge crest. If we would have been able to continue for another 20 min, we would have made to to a kush ledge on the north side of the ridge that would have been sheltered from winds. A nice ledge amongst the choss traversing near the end of Jagged Ridge Day 4: The remaining part of Jagged Ridge was honestly kind of awful without snow coverage. Very loose compact dirt and unstable talus traversing above big exposure. There was the occasional pitch but mostly scrambling. We ultimately made it to the final group of towers that define the exit to the ridge. We didn't really find the "lethal choss chimney" described in other reports, though there was a low angle choss gully with a 5.6 boulder problem around a chockstone. The final pitch to exit was the definitive crux and decent climbing, though a bit steep and committing for 5.6. Once off the traverse, we realized our mistake in equipment selection. It was clear that heading up onto the crystal glacier with so much blue ice exposed would be an awful test of our mediocre snow gear. That and a whiteout shielded the bergshrunds from our vision, so we didn't have a clear view of our exit. Our original plan was to head up and maybe tag the summit pyramid, though we decided to bail onto the slabs below the crystal and sulphide glacier. There was a level of uncertainty with terrain and overhead hazard, though the seracs looked quiet enough to feel comfortable with the traverse. The 2 mile long slab traverse took what felt like days, but we were able to link into the sulphide route right at the standard sulphide camp, avoiding all of the steep exposed ice. We took the slabs just below the snout of the crystal, then back up the rocky passage on the Sulphide Typical terrain on the slabs after a waterfall crossing A quick jaunt down the shannon ridge trail got us back to civilization, but not out of the clear... as we opted not to spend the time to set up a car shuttle. Nick in all of his glory had volunteered to run the shannon ridge trail and road all the way back to baker lake trailhead to shuttle the car, for a total of an 11 mile run to finish off the trip!! Overall, this was a grand journey up one of the largest technical features in the lower 48. I would recommend the whole ridge as an awesome cascadian, blue collar route! Rack: Singles Single Rack to 3 with doubles up to .75, optional KB's, Single 60M Rope A rough track showing our approximate route TH to TH A Close up showing our rough track on route Potential alternate approach tracks; Green showing an early season approach via the Icy-Seahpo col, this route may require some rappels down low angle slabs. Purple being a potential high route that would require a bushwhack up the ridge to the left of Crystal Creek. And Red showing a technical track up low angle waterfall slabs that would access the hanging basin to bypass Tanuki Tower. The two access points (red and purple) seem like equally easy and viable ways to access the ridge.
-
Trip: Uzbekistan - Alpomish - New Highpoint of Uzbekistan Trip Date: 08/23/2023 Trip Report: Alpomish (4668m, IV, 7 pitch 5.8), Highpoint of Uzbekistan, and Khazret Sultan (4643m, III, 2 pitch 5.7), Second Highest Peak in Uzbekistan Aug 21-26, 2023 Eric Gilbertson and Andreas Frydensberg First Ascent of Alpomish Andreas near the summit of Alpomish Aug 21 – Taxi to Sarytog village, hike in Aug 22 – Hike to base of Alpomish Aug 23 – Climb Alpomish (7 pitch 5.8) Aug 24 – Hike to base of Khazret Sultan Aug 25 – Climb Khazret Sultan (2 pitch 5.7) Aug 26 – Hike out, taxi to Dushanbe Until now it was widely accepted that Khazret Sultan Peak was the highest peak in Uzbekistan. I’m working on climbing country highpoints so it was on my list to climb. On this trip we discovered that Alpomish, a previously unclimbed peak, is in fact the true Uzbekistan highpoint. Khazret Sultan is located on the border with Tajikistan in the Gissar Range and is not a popular peak. It was most likely first climbed by Soviet mountaineers in the 1930s or in 1961, possibly a surveying team. It was first named Peak of the 22nd Party Congress, but this name was dropped after Uzbekistan gained independence. The peak was next climbed in August 2005 by Ginge Fullen and Tajik guide Tolic, climbing the northeast ridge from the Tajikistan side. This was Ginge’s third attempt to climb the highpoint and he discovered extremely valuable beta about the route and logistics. This would make it much easier for future climbers like me. The route On the summit they found the cairn left by the first ascent team. At that point the peak was officially unnamed and just referred to by its elevation, Peak 4643. This was the elevation measured on the most recent ground survey, the 1981 soviet topographic map. Based on the 1981 soviet topographic map, the most accurate map of the area, this was considered the highest peak in Uzbekistan. There were no higher peaks on the map and no subsequent ground surveys after 1981 of the area. In June 2010 a team of Uzbek climbers climbed the peak also from the Tajikistan side and later gave it the officially-recognized name of Khazret Sultan Peak. They officially recognized it as the highpoint of Uzbekistan. This unfortunately has led to a bit of confusion because there was already another peak named Mount Khazret Sultan in Uzbekistan at an elevation of 4083m. That is considered a holy mountain and is frequently climbed by pilgrims. It is not the country highpoint. Since 2010 there was one other known ascent, by Pat Bauman (solo) in August 2018 via the northeast ridge. Pat gave me excellent beta, saying the route was mostly 4th class with one or two pitches of 5.7 (which he soloed up and down). He also gave me a few GPS coordinates of key locations on the route. The 1981 Soviet topo map. Khazret Sultan is labeled 4643.3 but Alpomish is not surveyed I’ve been planning to climb Khazret Sultan every summer since 2019, but it never worked out. I always planned to tag it on at the end of another expedition but usually ran out of time. Finally in 2023 I again planned again to tag in on at the end of another expedition. I would climb my remaining snow leopard peaks Korzhenevskaya and Kommunizma in Tajikistan, then afterwards if I had time I’d go in with Andreas to climb Khazret Sultan. Since I’d already be in Tajikistan and the best route was from the Tajikistan side it should be straightforward. Before the trip, though, Andreas noticed open street map showed a peak called Alpomish with a higher elevation about 6km south of Khazret Sultan on the Tajikistan-Uzbekistan border. I found Gaia had similar results. I researched all topographic maps based on ground surveys of the area and purchased the relevant maps from mapstor.com. The 1981 soviet map was the only one with enough detail to show both peaks and appears to be the last ground survey conducted in the area. Interestingly, while the map had a spot elevation of 4643m on khazret sultan, there was no spot elevation for Alpomish. The topo lines for Alpomish showed it slightly shorter. But with no spot elevation for the summit that means the summit was not directly surveyed and the topo lines for the peak are just approximate. We then looked at satellite based measurements (SRTM) from google earth. The highest elevation points on each peak were exactly the same to the nearest meter. SRTM can have high errors up to 16m or more on sharp peaks, so this meant the two peaks were within error bounds of each other based on SRTM. Google maps terrain view had both within the 4600m contours but Alpomish was within a bigger contour. That usually, but not always, means the peak is taller. I believe the open street map, Gaia, and google terrain elevations are using digital elevation models (DEMs) to approximate elevations in between point measurements taken by satellites. They use different models so get slightly different elevations. The problem with the DEMs is that they are just approximations. Unless the satellite measurement sampled the exact summit of alpomish (very unlikely for a sharp peak), then there will always be unknown error in them DEM elevation. This seemed like a very interesting problem to solve. Which peak – Alpomish or Khazret Sultan – is the true country highpoint of Uzbekistan? Based on all existing information it was too close to know for sure. I could think of two ways to figure out the answer. The first was to fly a plane over Alpomish taking Lidar measurements which should be accurate to the nearest foot. That flight is unlikely to ever happen. The second is to go in and take ground measurements of alpomish. That I could do. Over the past year I’ve been acquiring survey equipment and skills that would be perfect for such an expedition. Just this july I finished an extensive survey project to find the true 100 highest peaks in Washington (results available at https://www.countryhighpoints.com/washington-top-100-peaks-updated-list/ ). I’ve conducted over a dozen ground surveys using sight levels, a theodolite, and a survey grade differential gps unit. I could apply those same skills and equipment to survey alpomish. My plan was to bring the differential GPS unit and sight levels to the summit of alpomish. The theodolite would be too heavy. The gps with a one hour measurement should give me an absolute elevation accurate to the within 3cm. As a backup I would use my 5x and 1x 10-arcminute sight levels to measure the angular inclination or declination looking from alpomish to khazret sultan. I could find the horizontal distance between them from Google earth and use trigonometry to find the relative height. I could then add the relative height to the known soviet-surveyed height of khazret sultan to find the absolute height of alpomish. To get more measurements to increase confidence I would then climb khazret sultan and repeat the whole process. I’d take an absolute height measurement with the differential GPS and also take angular measurements from khazret sultan looking back to alpomish. I could again calculate a relative height and use this to find the absolute height of alpomish. Also, if there were any intermediate locations of known elevation from the topo map I could use the sight levels to measure angular inclination up to alpomish and again find an absolute height. Finally, I would bring my handheld garmin 62s GPS for another independent source of height measurements. This has higher error than the differential GPS but could help increase confidence in whether alpomish is taller than khazret sultan or not. Ideally all measurements would agree. The more measurements I take that all agree the more confident I am in the final result. I usual am only comfortable if at least three independent measurements all agree before reporting a summit elevation. This was all a nice plan for surveying alpomish, but the more difficult part would likely be actually climbing it. I spent a lot of time trying to research if there had ever been previous ascents and I couldn’t find any information. We even had russian friends search in russian databases and they didn’t find any reports of ascents or attempts. This was intriguing. The peak had apparently never been surveyed accurately enough to know if it was the country highpoint and had never been climbed. This expedition sounded like true exploration. For better or worse with no beta or even pictures of the mountain I decided to come prepared for the worst. I would bring a full climbing rack with doubles of the intermediate pro, rock shoes, 60m rope, crampons, ice ax, and screws. I knew khazret sultan had a bit of rock climbing and was nearby so it was a good guess that alpomish might also involve rock climbing. We could make out glaciers at the base of alpomish from the satellite images so there was a good chance there might also be snow and ice climbing. Satellite images couldn’t really show if the peak was technical or not, though. With so much uncertainty in the route we decided to build in quite a few buffer days. We decided on one day to circumnavigate the peak to assess the best route and two days to climb the route. Then we gave ourselves two days to climb khazret sultan in case that had difficult route finding. We knew from Pat’s beta the best way in to khazret sultan was starting in sarytog village. However, it was unclear what the best way was to get from there to alpomish. I researched that there exists a trail over Mura pass nearby. That connects to an adjacent valley which would eventually lead up to alpomish. But it was very indirect – about 20 miles from khazret to alpomish. I played around a lot on Google earth and it looked like there was another option to climb up to a glacier up the valley from khazret sultan and cross a pass above that. Then we could try to stay high and cross one more glacier pass to get to the base of alpomish. That route was half the distance but there was more uncertainty in whether it would work. We decided to go for it, though, to save time. We probably had enough technical gear to make it work. So the full itinerary with all the buffer days added up to nine days. With all the climbing gear, survey equipment, and nine days of food that would make for very heavy packs. To help a bit we planned to climb alpomish first and cache extra food on the way in at the turnoff for the khazret sultan valley. I would bring an ursack so animals couldn’t get into our cached food. I liked going for alpomish first because it was the biggest prize, was the main objective for the trip, had the most uncertainty, and was the farthest away. Thus it made sense to prioritize. If we managed to climb alpomish, then khazret sultan would be easy to finish on in comparison. With the trip fully planned we started out on our primary expedition to finish the snow leopard peaks. We started by acclimating on Bazarduzu, the Azerbaijan highpoint, then flew to Tajikistan and moskvina glade basecamp in late July. Over the next few weeks we successfully climbed Pik Korzhenevskaya and Pik Kommunizma/Ismoil Somoni, finishing the snow leopards on Aug 16. Pik Kommunizma/Ismoil Somoni, Tajikistan highpoint and final snow leopard peak The next helicopter out of basecamp wasn’t scheduled until aug 26, but it turned out a group of climbers had arranged for a medical evacuation flight on aug 19. One of them had taken a fall and needed to go to the hospital. Helicoptering out of basecamp They were nice enough to let us squeeze on the flight, though we had to bribe the pilot to accept (even though the flight was completely paid for by the climbers’ insurance). We were lucky enough to fly all the way to dushanbe on aug 19, a full week ahead of schedule! This gave us plenty of time for our bonus objectives of alpomish and khazret sultan. The climber ended up being ok after visiting the hospital. Back in town with internet access we bought flights home for early september and took a full rest day to buy food for our next trip and repack. Then we were ready to go. Aug 21 After two nights at the Green House Hostel we left our extra gear stored and headed out in a taxi at 8am. Lucky for us our trailhead town Sarytog is located near Iskanderkul, a big lake in the mountains that is a popular tourist destination. So transportation would be easy. We paid $80 for the ride which went due north of dushanbe into the mountains. We stopped for an early lunch of sashleek along the way and made it to sarytog by noon. The road on our intended route appeared to continue past the village, but it was rough and our taxi driver was not interested in proceeding. So he dropped us off at the edge of town. We took down his WhatsApp number in case we wanted to call for a ride back, but didn’t want to arrange anything in advance. There was too much uncertainty in the trip timing. We could get lucky and finish early (unlikely) or need more time and stretch our food and get back late. We figured most likely we could just ask around in town whenever we got back and someone would be happy to make some extra money and drive us to dushanbe. Andreas stashed some flip flops in the bushes (a good idea I should have also done) then by 1230pm we started walking. For the first hour we walked along a gravel road out of town along the south side of the Capomok river. The road would be passable to a normal car most of the way. Halfway we passed a set of buildings and volleyball net that was labed Camp Archa the meadows on Gaia. I think this is a popular weekend destination for campers from Dushanbe. Hiking up the valley from Sarytog The road ended at the confluence with the Mura river and we stayed on the east side going up river on a decent trail. It got narrow in a few places on steep side slopes but was generally very good. We stopped for a brief break at the small village of Sarikhodan. This was at the turnoff for Mura pass. The village was only six small rock structures and I think the villagers are mostly shepherds in the area. From there we continued on good trails on the east side until we reached the dikondara confluence. On our map it looked like the west side was easier travelling, so we decided to cross. It wasn’t too bad – we just took of our shoes and waded through the shin deep cold water. Crossing the Dikondara river On the other side the river edge cliffed out but we hiked high on sheep trails and mostly had easy strolls through meadows. After the cliff section I noticed a wood bridge down at the river. We would keep that in mind for the return if needed. We continued through easy meadows on sheep trails until 6pm when we reached our planned cache location at the turnoff for the khazret sultan valley. There we waded across to the south side of the dikondara and found a good boulder to cache our food under. It would be easy to identify since there was a sheep carcass next to it. We continued a little farther to a nice flat meadow and pitched our tent there for the night. I boiled water in a tea kettle we’d bought in dushanbe since our reactor stove had gotten left at moskvina basecamp. The evening was surprisingly windy and we hoped it wouldn’t be like that for the summits. Camp at the turnoff for the khazret sultan valley Meteorologist Chris Tomer was continuing to send us daily forecasts to my inreach as he had done for korzhenevskaya and Kommunizma and it looked like the next few days would be good summit days. Aug 22 Our objective for the next day was to make it to the base of alpomish, about 10 miles away. It didn’t seem like a long day so I didn’t set an alarm. Around 7am we were woken up by a big dog poking his nose inside the tent! He soon left and I stuck my head out to see a shepherd on a donkey heading up the khazret sultan valley. He soon tied up the donkey and continued on foot. I suspect he was checking on some cows that we would later see grazing up there. Hiking up to the grassy cirque above camp He just happened to tie up the donkey next to our cached food and I was a bit nervous the dog might smell it and dig it out of the rocks I’d piled up. So I walked up there and moved the ursack to a different boulder closer to our tent. I figured the shepherd would assume it was related to the people in the tent and not mess with it. We soon packed up and continued up the valley. We followed sheep trails into a big basin with glaciers visible above then headed steeply up the right side. We found as long as there was grass there would be trails to follow, so we stuck to the grassy slopes as much as possible. We eventually ran out of grass and followed talus to the toe of the westernmost glacier in the basin, closest to the Uzbek border. The pass above the glacier is labelled pass 2 on gaia (but in russian/cyrillic). The glacier crossing to access the next valley The glacier was low angle enough and the ice/snow soft enough that we were able to continue all the way to the pass above around 4000m without putting on crampons. Interestingly I saw what looked like old sheep poop in some places and the pass had a small cairn. It appears shepherds must occasionally use that pass as a shortcut between valleys without needing to go all the way down to Mura pass. That’s pretty much exactly what we were doing too. It was very satisfying that all my research on Google earth had been accurate and the route had worked to the pass so far. The other side was low angle as I expected and we easily descended the scree and talus slopes to the next basin below. From there we traversed around the base of a ridge on 3rd class ledges to gain the next basin to the south. We crossed talus fields there to reach the toe of the largest glacier on the west end of the basin. The next glacier pass to cross This glacier was a bit steeper than the previous one and would likely require crampons to walk directly over. But there was a scree slope on the right side that looked doable. I was a little lazy about putting on crampons so opted for the scree slope. We made good progress and were soon at the pass. Surprisingly there was another cairn there. Perhaps shepherds use that pass too to get between valleys. We took a break at the pass and I noticed a formidable looking peak looming above to the southwest. It was composed of four steep spires like fingers sticking up from a hand. It was in the general direction of Alpomish. Andreas was skeptical that it was alpomish and I was hopeful it wasn’t since it looked really hard. We decided to get to our planned basecamp before worrying about it. From camp we could be certain which peak was alpomish. First view of alpomish From the pass we descended scree slopes then traversed around the ridge extending east from alpomish. We crossed some talus fields and eventually reached the small tarn at 3975m I had planned as our bacamp. The camp was perfect, and one of the most scenic I can remember camping at. The toe of a glacier ended in a tall ice cliff with waterfalls pouring into the tarn. The tarn had icebergs floating inside and was surrounded by boulders except for the southwest side which had a sandy beach next to the outflow. We pitched our tent on the beach by 6pm. Above us loomed Alpomish at the head of the unnamed glacier, as we verified on our map. For better or worse it was the same four-finger mountain we’d been intimidated by before. Now it looked even steeper. At basecamp for Alpomish It reminded me a lot of the east face of Mt Whitney in the Sierra nevada mountains of california. There was a huge granite face for each of the four spires. The left most (southern most) spire clearly looked the tallest, and I verified this with my sight levels. There was no obvious easiest way up and I was happy to have brought all the climbing gear. We would certainly need it. The next day was a planned scouting day and I hoped we could find some weakness in the peak once we walked closer for a better look. It was too late in the day to get any meaningful scouting in before dark though. But, I could get our first altitude measurement. I knew the altitude of the tarn from our topo map and could calculate the distance to the peak from gaia. Nice campsite by the tarn I measured angular inclinations using my 5x and 1x sight levels and got consistent results of 19 deg 50min. I calculated that alpomish was then between 4660m – 4670m tall. (There was a bit of uncertainty in the exact distance to the peak based on the topo lines on the map and this translated to uncertainty in altitude). That was significantly taller than khazret sultan! It was an intriguing result and already consistent with altitudes on gaia and open street map. I hoped I could get more measurements to increase confidence in the results. Sunset soon came and we went to bed. The forecast was for a sunny morning but slight chance of afternoon snow showers the next day, so we see our alarms to get up early. Approaching the east face of Alpomish Aug 23 We were up at sunrise and moving by 6am, ready for a potentially big day. The official plan was to do a scouting trip circumnavigating the mountain to look for a good route up. But we would bring all our climbing and surveying gear just in case we saw a good route to try that day. From camp we immediately got on the glacier and started walking towards the peak. As we got closer the features became easier to make out. The direct east face looked like good rock with cracks but would be very long. A gully went up to the left skyline which might work. There was a saddle to the right we could possibly use to get around to the back side of the peak. The rightmost spire looked like the easiest and maybe we could traverse from there to the summit. But that would require climbing the two intermediate spires which looked tough. Looking back towards camp There was a big gully leading up to the notch between the summit and the next spire to the right. From the notch to the summit looked short and doable. If that gully was scree or third class maybe the peak actually wouldn’t be too tough. We decided to go for the gully since it seemed like a reasonably high chance of success. Of course there could have been an even better way on the back side but we decided to gamble and try to go for the summit then instead of continuing scouting. This also had the advantage that we wouldn’t have to sneak over to the Uzbek side of the border, though I’m pretty sure that part of the border doesn’t get patrolled. Looking up at the east face We found an icy snow ramp at the base of the gully and cramponed up until the snow ran out at a slabby construction. We made a somewhat sketchy scramble up to scree slopes then traversed left onto third class blocks. The gully wrapped around to the left above us and we thought it looked all melted down to scree, so we ditched crampons and ice axes there. We continued up on third class blocks on the left side then met chossy scree up higher. We soon met a split with the left gully blocked by a huge chock stone. I guess that wasn’t too surprising in these kind of gullies. A right gully looked open and it was tempting to think it provided a way around the chockstone, but in my experience I judged that extremely unlikely. That gully most likely just led up to the notch between the next two spires. Climbing the east gully We climbed up to the chockstone and I saw light underneath, but it was too small of a hole to wriggle through. We would have to climb around. I changed into my climbing shoes and stashed my boots and poles and racked up. Luckily there was a crack on the face to the right that looked doable. Andreas belayed me up the face as I zippered it up with gear. At the top it turned into an overhang and I traversed left delicately on a steep slab to at last reach the top of the chockstone. I continued a little higher on scree to build a good anchor on the wall on the right. The pitch was about 5.7. Looking down from above the chockstone pitch Andreas didn’t bring rock shoes so climbed in hiking boots. I think the traverse was a bit trickier but he made it up fine. Above us we scrambled a little ways up chossy rock then encountered a constriction with a small waterfall in the middle. That was nice there was water to drink, but it meant there was probably ice and snow above us we hadn’t planned on. The constriction was steep and exposed so we decided to pitch it out. I led up again, managing to mantle up on the right side of the water to stay dry. Above it I climbed another small steep bit to an anchor on the left wall where the terrain turned back to scree. The pitch was 5.7. I belayed andreas up and then we noticed above us was a huge mass of ice filling the gully all the way up to the notch. If we could reach the notch the summit looked attainable. But we had ditched our crampons and ice axes. We would have needed technical tools and technical crampons and more ice screws anyway to make it up that. Ice leading up to the notch We optimistically scrambled up to the base to get a better look anyway just in case we could climb rock on the edge. But it was no use. We’d have to find a different way up. It looked like the only option was to move onto the face on our left and climb the remaining distance. Fortunately the rock looked protectable and climbable. Climbing the east face We descended back to my previous anchor on the left wall and I started up. I was able to follow ramps and ledges up to a nice ledge above for a 5.4 pitch. Andreas soon followed. Above that I tried to continue on ledges facing the gully but they got steeper and I needed to make a few stemming moves with an overhang to my left. I surmounted the overhang but then opted to traverse left to a ridge crest with a good belay ledge. That pitch was 5.7. Climbing the east face It looked like staying on the rock facing the gully was not going to work and we’d have to move farther left onto the main east face. The next pitch would be the crux of the route. I climbed a steeper 5.8 crack directly up the ridge crest. I poked my nose over to the right but it looked tough. So I instead made a delicate traverse left into a cleft. Shortly below me the cleft led to an overhang with extreme exposure but above looked doable. I made a few more moves to a ledge and belayed Andreas up. I think the delicate traverse was again tricky in hiking boots. Starting the final pitch From that belay I could see the summit, but the direct east face looked smooth and tough. I continued up the cleft and managed to cross back right to the rock facing the gully. There I found nice ledges and ran the rope out to its end for a 5.5 pitch. Finally the summit looked attainable! From that ledge I climbed directly up to the summit ridge behind a spire and crossed to the other side. I wove the rope around horns and followed the final knife edge ridge to at last reach the summit at 4pm. The final pitch was 5.5. Andreas on the final knife edge ridge to the summit I tagged the summit, which was a sharp bit on the knife edge. Then I downclimbed to a small boulder notch below. I slung the boulder and belayed Andreas up. Our route up alpomish Miraculously the predicted afternoon snow never materialized and we were treated to partly cloudy skies, warm temperatures, and no wind. It was a perfect summit day. We took a bunch of pictures and I looked over to the west side of the peak into Uzbekistan. Interestingly, it looked like glacier ice extended all the way up to the notch from that side. The rock between the summit and notch just looked like a few pitches and not too steep. So in theory if climbers came early season from the Uzbekistan side maybe they could just walk up snow to the notch and climb a few rock pitches to the summit. On the summit I soon brought out the survey gear and started setting up. I first made a quick verification with the sight level that all nearby spires of the peak were shorter, which was indeed true. We were definitely on the highest point. Then I got out the tripod, mounted the antenna and plugged in the differential GPS. I had a bit of trouble mounting the antenna somewhere so it could stand vertical and i eventually put it as high as I could between a boulder and the knife edge ridge. It needed to stand vertical for ideally one hour, so it didn't make sense for me to just hold it. I started logging data but it had trouble acquiring satellites for some unknown reason. I turned on my garmin 62s handheld unit and it was able to acquire satellites in the same location. Perhaps the boulder obstruction was an issue, but there weren't many options up there for mounting the device. Setting up the differential GPS unit near the summit I played around with settings a bit and finally decided to just let it take whatever measurements it could and I would try to process them later. I cursed myself for not taking test measurements on the way in, but it had worked fine on my last trip in Washington. It's possible the issue was related to me being outside the US. I was happy I had backup measurement equipment though, which would still suffice for measuring the altitude of alpomish in case the differential GPS didn’t work. I then took out my 5x and 1x sight levels and pointed them towards khazret sultan as verified by gaia. With each sight level I measured 10-20min angular declination looking down at khazret sultan. Clearly khazret sultan was shorter. Andreas on the summit I also noted altitude measurements from the garmin 62s and from my garmin fenix 6 watch after gps calibration. We hung out on top until 5pm taking measurements but then had to get down. I hadn’t found any evidence of anchors or cairns or any human presence so it seemed very likely we had made the first ascent of alpomish. Anyone else climbing such a technical peak would likely have rappelled off, but we saw no rap anchor evidence. I had come prepared with a lot of rap gear, though, and was experienced making rap anchors from my big wall climbing expeditions in the northwest territories, canada. View from the summit I slung a rock horn near the summit, backed it up with a cam, and started down. We only had a 60m rope so would need to make a lot of rappells (I wished then that we’d brought twin ropes, but that would have been heavier to hike in with). I planned to rap directly back into the gully since that would be shorter than our ascent route and hopefully require leaving less gear on the mountain. We couldn’t rap directly to the notch, though, since it looked too sketchy to then get down the steep ice without crampons. So I planned to do diagonal rappels until we were clear of the ice, then rap straight down. It’s a little bold to rap down a face we hadn’t climbed up, but it looked featured enough that I could probably make enough anchors. Looking at khazret sultan I rapped down diagonally and found another good horn at a good ledge to sling. I built the next anchor, then Andreas followed. I again made another diagonal rappell on ledges and again found another good horn to sling. Horns are great because I just have to leave some cord as an anchor. I’d brought 30m of 5mm cord for this purpose and it was relatively cheap. Unfortunately one problem with diagonal rappells on loose non vertical terrain is the rope pulls aren’t always smooth. On that pull the rope got caught on a rock and when I yanked it the fist sized rock dislodged from about 20ft above us. It grazed Andreas on the rear end but he said he was ok. Rapping down I next rapped into an icy gully and over to a ledge on the side. Unfortunately there were no horns. My second choice rap anchor is a two-nut anchor. Nuts are cheap – about $10 a piece – so it’s not too bad to leave a few. And they can be very solid. We were still over the ice so did another diagonal rappell on ledges. Again there were no horns so I had to leave another two-nut anchor. Finally we appeared to be nearly clear of the ice. I next rapped straight down to a ledge just above the ice and found a good horn to sling. Andreas joined and by then it was finally dark enough for headlamps. I think we were pretty efficient at 30min per rap. At the last rope throw the ends reached the bottom of the ice and we were soon safely back on scree in the gully. But we werent quite off the technical section yet. We walked down to the top of the waterfall pitch and I slung another horn. That pitch had seemed long, but by rapping directly down and relying on some rope stretch we just barely reached the scree below the waterfall. Rapping down the final chockstone pitch We then walked to the chockstone and slung a boulder above. That had been a long and indirect pitch too. But, by rapping directly over the chockstone we again barely reached the scree below. Finally by 9pm we were off the last technical section. I switched back to boots and we carefully hiked and scrambled down the chossy gully. After retrieving our stashed crampons we decided to try to avoid down climbing the sketchy slabs to the snow ramp. We instead continued scrambling down the blocky 3rd class stretch. It eventually cliffed out, but we were able to traverse onto the snow ramp at a safe spot. From there we cramponed down in the dark following our ascent route. We finally staggered back to camp at 11pm for a long 17 hour day. Last view before leaving basecamp Aug 24 We were several days ahead of schedule, but Chris forecast bad weather coming in Aug 27 that might leave a foot of snow on the summits for a long time. So we didn’t want to take any rest days to delay things. We allowed ourselves to sleep in, though, and were up and moving by 10am. The goal for the day was to move camp to the base of khazret sultan. All measurements had so far indicated alpomish was significantly taller, but we still wanted to be thorough and get final measurements from the summit of khazret sultan to be absolutely certain with our conclusion. View of alpomish from the hike out. Summit is the left spire We followed the exact same high route crossing the two glaciated passes. At the last pass we started getting snow flurries and by the time we reached our food cache at 430pm there was intermittent drizzle. We were very fortunate that hadn’t happened the previous day on alpomish. Crossing the first glacier pass We took a short break, got a little but of food out of the cache, then started up the khazret sultan valley at 5pm. We had earlier seen the shepherd go up the left side of the river so we stayed on that side too. The trail started good but soon deteriorated. We made slow progress along the steep sidehill full of talus. The light rain made the boulders slippery and we had to be extra careful. Finally we were able to cross to the right side and travel eased. We hiked a chossy slope up to an upper basin then hugged the right side on cow trails in the grass. Ascending the valley towards khazret sultan We reached the end of the grass by sunset and pushed on to a small tarn at 3970m a little farther up where we leveled out a campsite. I had hoped to reach the basin at the base of the khazret sultan route that day so we could scout the route, but it didn’t make sense proceeding in the dark with unknown water source locations. So we slept there for the night. Aug 25 The next day was forecast to be sunny until 11am then increasing chances of snow up to 1 inch on the afternoon. We expected khazret sultan to be mostly 4th class so would hopefully go much faster than alpomish. Starting up the valley at sunrise We were up and moving by 6am, and unfortunately the rocks were all icy. The evening rain had frozen on the rocks overnight. We hoped the sun could de-ice the route by the time we got on it. At the base of khazret sultan We hiked up talus to eventually reach the basin at the base of the southeast face of khazret sultan. From there Pat’s route was to hike up a gully to gain the east ridge, the follow that to the northeast ridge, then follow that to the summit. Hiking up to the northeast ridge This looked pretty circuitous and the ridges looked tough from below. But we optimistically trusted Pat that it was mostly 4th class and went for it. (For reference, Pat has free-soloed big wall routes on half dome in yosemite, so I suspected his 4th class was a bit stiffer than mine). I racked up at the bottom of the gully and we hiked up easy scree and talus to a big notch on the top. From there we turned left and continued up another wide choss gully all the way to a col at the intersection with the northeast ridge. I was amazed how much progress we could make on easy terrain and still not need to do any scrambling. That was not at all obvious from below. Good ledges on the north side. Summit in background We peered over the col at the northeast ridge and were met with a big cliff dropping of to the north basin. The route definitely didn’t go there. Staying on the ridge crest looked technical so we dropped back 10m and traversed across a good ledge below the ridge. We could soon scramble back up to the ridge crest. The crest looked 4th class from there so we scrambled a bit along it. We then moved to the left side and had to wriggle down a chimney to some dirty ledges that dead ended. Looking back along the ridge The terrain looked steep above but that was the only way forward. I switched to climbing shoes but this time kept the boots, crampons, and whippet. I didn’t want to get turned around by snow and ice. I ended up placing just one cam, then crossed the ridge and found a huge ledge system. I belayed andreas up and we packed up the rope. The crux technical section up from the notch From there we scrambled either on ledges to the right of the crest or exactly on the ridge crest. Any rock in the shadows was a bit sketchy since the ice hadn’t yet melted off. So we had to be very careful. We eventually reached a deep notch in the ridge and the terrain above looked technical. The right side of the ridge looked loose, chossy, and icy. I chose to climb directly up the crest from the notch. It was technical but at least not icy. Looking across the north basin I climbed some loose rock below then made a few low 5th class moves to a nice ledge. I noticed a slung boulder there so it appeared we were on the same route others had taken. I don't think this peak sees many ascents, though. I only know for sure of four ascents. I belayed andreas up then started up the next pitch. There was a piton down low, then I climbed a fun 5.7 corner. I eventually pulled myself up onto a pedestal and clipped an existing rap anchor that was a big black 11mm static line. This may have been left by Ginge. Climbing along the northeast ridge at the top of the 5.7 pitch That was the last technical section out of the notch. Andreas belayed me farther on 4th class terrain until I reached a chossy ridge. There we put the rope away and descended slightly to another notch with some snow in it. On the broad foresummit I switched to boots and we continued up choss, then talus, then 3rd class blocks on the other side. We eventually walked up loose slopes to a broad summit. A horn was slung and a sign saying Ucell and a bunch of Russian text hung from it. Slightly farther along the ridge we saw a huge cairn with a bamboo pole sticking out. That looked like the summit. Unfortunately it was along a technical ridge. So I put my rock shoes back on and Andreas belayed me one more pitch to the summit, which I reached by noon. Our route up Khazret Sultan I built an anchor, belayed him over, then we stopped to take in the view. Glaciated rocky technical looking peaks surrounded us. Far below were grassy valleys where sheep likely grazed. It was very scenic. The final pitch to the summit of khazret sultan I looked over towards alpomish and the four spires were meshed into one ridge because of the angle, but the peak location was obvious. I took out my sight levels and measured 10-20 minute angular inclination up to alpomish. This was exactly consistent with my previous measurements and confirmed alpomish is indeed taller than khazret sultan and is the true country highpoint of Uzbekistan. Taking sight level measurements from the summit I also took measurements with my Garmin 62s handheld GPS and my gps calibrated garmin fenix 6. Both measurements had khazret sultan lower so all measurements (ten in all) were consistent that alpomish was the true highpoint. Both on the summit I hadn’t bothered to take up the differential GPS since i hadnt been able to figure out which settings to change to allow it to start acquiring satellites. And khazret sultan already had a very accurate ground survey elevation from the 1981 soviet map. The next spire along the ridge that is the true summit I next took sight level readings of the different spires in the summit area and noticed the sharp spire with bird poop on top farther along the ridge was perhaps a few inches taller than the cairn summit. We each went over to tag it just to be sure. Hiking back from the summit After taking all the measurements and writing them down in my field notebook I belayed andreas back across the ridge. I had instructed him to leave all the pro in on the way over so he could easily reclip on the way back. I changed back into boots and quickly started back down the route. We could see rain in the distance towards Sarytog and a few snow flurries were starting to hit. This was just as Chris had predicted. I knew if the 4th class rock got wet it could get sketchy so we needed to get down asap. Rapping down the notch We scrambled down to the snowy notch then up the choss on the other side. This time we continued scrambling the fourth class ridge along to the top rap anchor. I backed it up then rapped down to the intermediate ledge. We then used the existing anchor there, backed up, and rapped to the notch. It was so much faster with these existing anchors than it had been descending alpomish! Scrambling back along the northeast ridge in deteriorating weather At the notch we packed up the rope and started scrambling. Luckily by then the ice had melted off the rocks on the north side so it felt a bit more secure. But the snow and wind started picking up and the rocks started to get wet. We got to the end of the fourth class section and I built an anchor to rap off the first bit we had pitched out. With the wet rock I decided to pitch out the final fourth class section also. I climbed up the chimney, across the steep ridge, and was finally back to a third class ledge. Final scramble section I belayed Andreas up and we finally packed up the rope for good. It seemed like we’d gotten off the steep part of the route just in time before it got wet. From there we descended easy 3rd class ledges to our stashed hiking poles then scree surfed back to the basin below. We hiked back on talus, reaching our camp by 430pm. The clouds looked very dark down towards Sarytog and it looked like we’d missed the brunt of the precipitation, but the summit still looked windy and snowy. Good views of the dikon glacier below We quickly packed up and headed down. This time we stayed on the left (north) side of the river and were able to follow nice animal trails down. We actually saw a few cows grazing up there. By 7pm we waded back across the river to our previous campsite. We picked up our cached food, set up the tent, and were asleep by sunset. Hiking back to camp Aug 26 The next morning by 630am we waded back across to the west side of the river and followed our ascent route down. Progress was fast and this time we used the bridge to cross back to the east side among a herd of cattle. We had to wade across a few tributaries but mostly followed good trails. At one point a shepherd caught up to us and he seemed amused we were walking instead of riding horses. Camp down in the lower valley He turned off at Sarikonda village while we continued back to Sarytog by 11am. We found the Dornish Guest House there that fed us lunch and one of the owners was able to provide a taxi ride back to Dushanbe. We made it to Dushanbe that afternoon and returned to the Green House Hostel. I was glad we had made it out ahead of schedule since all the next day it rained and thunderstormed in town with widespread flooding nearby. The power was out and running water cut off to the entire city! I heard in the mountains they were getting a foot of snow! The routes up alpomish and khazret sultan probably would be out for a while. Hiking out I later processed my measurements and, based on the angular measurements I took and the known distance between alpomish and khazret sultan, I calculated alpomish is 25m +/-8m taller than khazret sultan. So given khazret sultan has a surveyed elevation of 4643m from the soviet map this means I measured alpomish has an elevation of 4668m +/-8m. This is consistent with the measurements taken from the tarn. This means Alpomish is the true country highpoint of Uzbekistan. After we got back to Dushanbe we had just barely enough time to climb Ayrybaba, the Turkmenistan highpoint. This completed our five-year project to climb the Highpoints of the Stans – the country highpoints of Afghanistan (Noshaq 7493m), Pakistan (K2 8611m), Kygyzstan (Pobeda 7439m), Kazakhstan (Khan Tengri 7000m), Tajikistan (Ismoil Somoni 7495m), Uzbekistan (Alpomish 4668m) and Turkmenistan (Ayrybaba 3139m). Link to more pictures: https://www.countryhighpoints.com/alpomish-uzbekistan-highpoint/ Gear Notes: Standard rack to 3", doubles of intermediate sizes, 60m rope, lots of tat and nuts for rap anchors, glacier gear, survey equipment Approach Notes: From Sarytog village hike up Dikondara river, cross two 4000m glaciated passes near Uzbekistan border, access valley east of Alpomish.
-
OVERVIEW This is an overdue report for several FAs. There certainly are other lines with potential and lots unexplored. Like most new routes, the rock here can vary in quality, though consistently solid granite. The vegetation has filled most cracks and lichen abounds. However, we did climb many stellar pitches without cleaning, and some with light excavation. Thar be lichen, wear some sunglasses for the overhanging cracks. Recommendation: Climb Ant and the Eel through Elevator Shaft roof for full value linkup. Whale and the Worm for a day 2 climb before heading home. APPROACH Ingalls Creek Trailhead, (see WTA), mile 8 or 9. There are maybe 2 or 3 nice creek camps between miles 8 and 10. On the way in, looking north (right) you should be able to spot the Elevator Shaft and roof, they stand out even in the ocean of of granite slabs. This is the crag. Once directly below the Elevator Shaft head ~45 minutes uphill total through brushy deadfall and talus, maybe 10 min to the talus field which you can follow almost all the way up. Either continue up to the wall then traverse right (some down climbing), or traverse through alder past a small waterfall just before the talus stops. Note there is a steep draw in this upper section, don't fall in while negotiating slide alder. These routes are listed left to right. ROUTES -Elevator Shaft, 11 something -Whale and the Worm, 10a/b -Ant and the Eel, 5.9+ The Elevator Shaft, 11 ? 2021 Sean Fujimori & Tom Beirne The stellar pitch is the 11a, which starts at the Big Ledge. You can get there via other routes, which we recommend. Seconding this route were Christian Junkar and Emma Sando, though they had more common sense than us to bail when the sun set. P1/P2 solo 5.6/5.7 slab with a view of the shaft roof. P3/P4 5.8 (broken up for rope drag) 5.8 corners ending at huge ledge. This was several years ago, but close enough to correct. P5 11? money pitch, Left facing corner, ~15-20' horizontal thin hands roof crack. Pull layback lip to a mellow slab and tree belay. No pictures - whipping on lichen ain't fun, so I was busy belaying. Sun set as I climbed, Emma and Christian bailed to camp. Sean - any pics of the roof? RAP: Short rap to fir tree 15m down and 10m climber right. Double 60m rap to elevator ledge, and from the last slab tree: double 60m to base. Whale and the Worm, 10a/b 2023 Tom Beirne, Sean Fujimori, Lydia Filipe Starts in the protected grove of the overhang with several rock benches and a large tree. Finishes on the Big Ledge connector. P1, 5.8 20m, Start on the right side of the diving board and diagonal traverse on top of the board into sideways squeeze chimney. Very strange, cool. Alternate direct start up short steep finger crack. Don't fear the drips, or the wet moss start. It gets better and remains dry afterward. P2, 10a/b 30m, Left facing corner crack, stay left at the split (two crack options, the right goes through a nootka rose). Fist crack trends left after the mantel to an overhanging hand/fist crack. Belay at the top to reduce rope drag. P3, 5.6 20' Traverse up and left through blocky 5.6 to the top slab. RAP: Small rap 10m to small pine at edge of slab, then double rope rap to base. Ant and the Eel 5.9+ Sean Fujimori, Tom Beirne, Lydia Felipe Start far right, walk a short 10m thru the greenery along the wall to a cave. P1, 60m, 5.9+. The Money Pitch! 3-star finger and hand crack, start at the entrance to the cave and follow crack up and left, when the crack transitions to fingers, reach far right for a jug ledge and mantel to continue the next crack system. Slab feet needed in crux mantel, very tricky if raining! This ends at the Big Ledge, so you can choose other routes from here. P2, 5.9+, 30m. Hand crack thru ocean spray bush with thoughtful mantels and slab feet with great hands and fingerlocks to bouldery top out. Belay at pine or dead tree. P3, 5.8 30m. Continue 20’ left past dead tree to wavy finger-eating crack, then traverse right in a nice finger crack under a small overhang. Pull onto ledge with some finesse. P4 5.7 70m, or break up into two pitches. Up the blocky slab, follow the veg direct via double chicken wing crack, to filled in finger crack and suffer or take the slab for an unprotected 15-20m runout. Over the small 5.6 roofs to a pine. Rap 1 From top of p4 pine, double 60 skier right to fir tree, 10m left of fall line. From fir, belay or walk down skier left 10m to next fir tree. This is the top of p3, dead tree left and pine on right. A double 60 could probably make it to the BIG LEDGE, BUT for rope pull ease and to reach the lowest pine on the edge of the slab for the final rap (which is a full double 60 to ground) we opted to: Rap2 30m to skier left or walk around low 5th moves to 15’ pine. Rap 3 Double 60 off pine to BIG LEDGE- to short pine skier right to fir on distant slab. Rap 4 Full double 60 to ground. Saddle bag and stay climber left of fall line ~5m going over the roof to prevent being in the tree. Free hang rappel to ground. Easy to get rope stuck in the tree, maybe worth trending climber right to avoid.
-
Trip: Porcupine Creek Wall - Salad Days III 900' 5.10+ Trip Date: 08/20/2022 Trip Report: It did not go unnoted when Eric Wehrly moved to town. While our more noteworthy first ascents may be of a…umm…slightly different style, in my mind’s eye I generally enjoy any adventure far from the road particularly if it involves unclimbed terrain. Finding like-minded folks at a similar point in life, that is old, is not easy. So I assumed at some point we’d tie in together. It did not happen quickly. While phone numbers were exchanged and talk of getting out occurred, the years passed by. Maybe I came on too strong. During Covid there may have been a day at Mount Erie where I loudly berated Eric to be my “New Best Friend!” as he TR-soloed nearby. Clearly, I needed a better incentive than that. Halfway up the Pacific Crest Trail between Rainy and Cutthroat Passes a large wall of granite stands proudly above the trail. I first walked by it eighteen years ago with my then girlfriend. From a distance it had the obvious geometry and tone of good rock. A friend and I almost went to check it out but we made other plans and the idea was largely forgotten. This summer I strolled by it again, with my now wife and our two teenage children. Still there, still grey, still splitter. A week later I spent a solitary day circumnavigating Porcupine Peak. The summit was eventually attained, and, on the descent I found myself beneath this wall I had considered for decades. Carefully glassing it I became discouraged. As I walked away I thought “almost but not quite, the start may not go and the rest is just a bit too dirty and discontinuous.” However, it’s amazing what some grainy iPhone photos and a bit of selective memory can do. Furthermore I finally had the sort of incentive Eric might respond to. On Saturday August 20th we stood below “the start that may not go” and sure enough it didn’t. As this had been my idea, I felt obligated to get us rolling so I began a long circuitous pitch climbing easy terrain off to the side before a long downward traverse led to a committing mantle onto a vegetated slab above. Struggling with massive rope drag from the severely Z-shaped pitch, I encountered a recurring theme of frantically hacking away a clump of heather to find a small cam placement. Eric quickly downrated my estimated grade and then scrambled up more heather covered corners to the base of a steep, relatively clean layback flake. Perfect edges made the otherwise intimidating flake go quickly. Unfortunately, the intended route up a long “hand crack” above the flake turned out to be 100 feet of 4”-6” offwidth. The scale of the wall was turning out to be a bit larger than anticipated. Instead, Eric made a delicate leftward traverse before committing to a steep, broken crack formed in part by some precariously hollow fridge-sized blocks. Easy terrain led to the base of what had appeared to be a splitter from the base of the wall. Above I could only see a slammed shut seam covered in a thick crust of lichen, moss, and dirt. Eric proclaimed it to be a finger crack. I was highly skeptical. But on new ground there’s nothing worse than being the person who forfeits your partner's last proud lead by bailing off into indirect, unappealing terrain. I spent several minutes pawing at the start, muttering random negativities. After a few minutes I finally committed to the initial moves into the corner then rapidly hung on a nut. But it was started and despite my deep pessimism about there actually being a climbable crack under the filth I found myself inching upwards. Sand and pulverized lichen poured into my eyes, my nose, my ears, and my shirt. Aiding up in 8mm dyneema slings progress was dispiritingly slow as I cleaned out every single placement. Time oozed on and hours later I finally pulled the singular hand jam at the very top of the 150-foot crack and flopped onto a good ledge. Now relatively cleaned out, Eric rapidly followed the crack free proclaiming it 5.10+. Having climbed three pitches in five hours and 45 minutes, simple math suggested that our rate of ascent was significantly slower than the sun's rate of descent. While I did not yet suggest bailing, I did point out this obvious observation. Yet Eric confidently proclaimed that the “walk off” would in fact be a walk and that we would only need headlamps once we were within spitting distance of our packs. Regardless of attitude at this point, the wall kicked back a bit and the next pitch looked easier. No reason to bail yet so Eric headed out, moving quickly across a thankfully clean hand crack before moving out of sight into the corners above. Progress slowed, the rope stopped moving, I almost nodded off. The clouds continued to build as the rope made halting progress. A random inquiry on my part was met with a stern “Not Now”. Eventually Eric reappeared above having navigated some sketchy 5.10 face climbing to avoid an impossibly munge-filled corner. Moving left and right, up and down he eventually retreated to a blocky alcove from which we could reappraise the options above. With the rack refreshed the obvious direction was through an overhanging V-shaped corner. Chimney moves, flared jams, wide stemming and possibly some tension left me once again above my gear, hanging off a sloping rail, feet stemmed out on small dishes, surrounded by thick mats of grass and heather pasted in corners. With my ancient Chouinard north wall hammer wedged into a hummock, a brief struggle ensued between which would be pried off first, the hummock or myself. Thankfully the hummock released, revealing a perfect hand crack. The climbing relented and the rate of progress discernibly increased. As I neared the end of a lead the sky finally cracked open with a brief squall and a lovely rainbow filling the valley. Despite the weather I finally felt committed to the climb. Going over the top was now the path of least resistance. Almost every challenging climb you undertake has that beautiful inflection point, when hours, days or even years of uncertainty just melt away leaving you relaxed and in the moment. Eric climbed another beautiful corner with sustained finger cracks under the hummocks and dirt. The final pitch was a perfect finale. Shockingly clean granite with delightful climbing up to and around a large roof followed by easy, clean slabs to the top of the wall. The Cascades were bathed in a beautiful soft glow and views extended from Dome in the far distance to the sun setting off the shoulder of Mesachie Peak. The walk off was anything but, and had it been dark we would have been in for a genuine epic. Yet much as predicted headlamps only came out as we finally exited the talus onto delightful heather meadows not far from our packs. If you're familiar with Eric’s and Rolf’s first ascents on massive walls of less than stellar rock I’m sure you’ve wondered what makes them tick. My simple observation would be an extremely positive mental attitude with a surprisingly conservative aversion to potential loose rock. My successes have largely been built off an ability to separate the negativity of my dumb brain from the mechanical motions of moving upwards. It’s worked but doesn’t seem nearly as efficient as Eric's approach. I’d like to think I might adopt some of his positive mindset in the future. That said I’m pretty sure we influenced each other, as we headed out down wet talus with heavy packs Eric could be heard muttering “If you added a few bolts...”. Hour and twenty minutes from parking Lot Enter the Drag-On (forever) In my happy place (after the rain) Exiting the wall Views South and North Old Dirty Bastard and Mr. Clean Postscript After Eric graciously spent another day of his life reclimbing and fixing the first four pitches with me I went back for the Labor Day weekend and put in thirty hours of cleaning, creating fixed anchors and adding several variations to avoid indirect, loose or excessively dirty terrain. Rock is excellent and clean throughout. Rappelling is quick and efficient vs. the unsavory walk off. There is a pile of good climbing up there.
- 18 replies
-
- 12
-

-

-


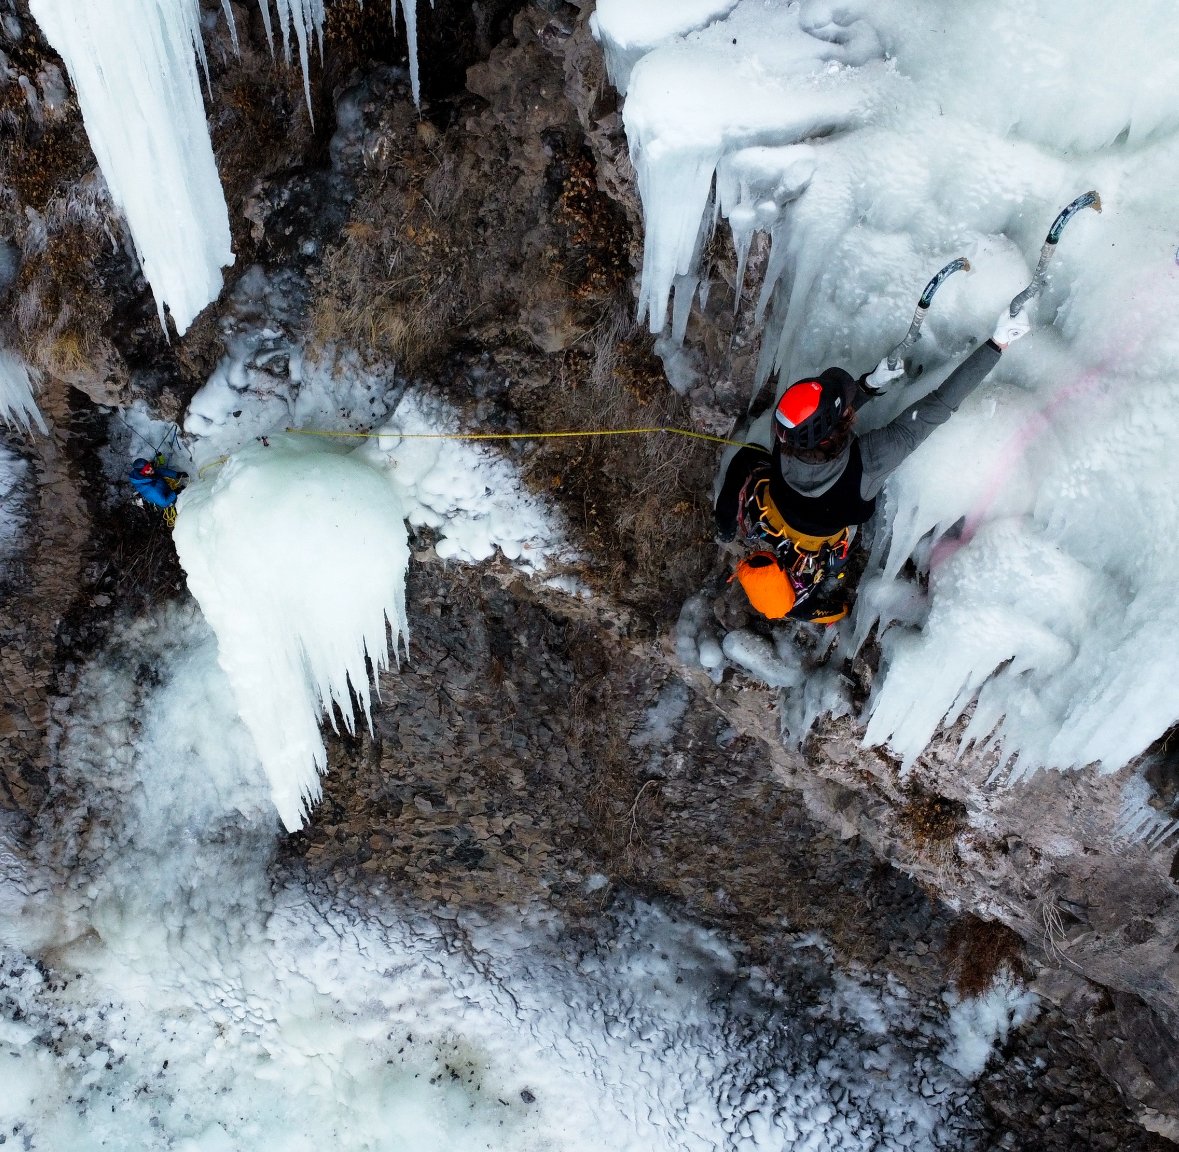
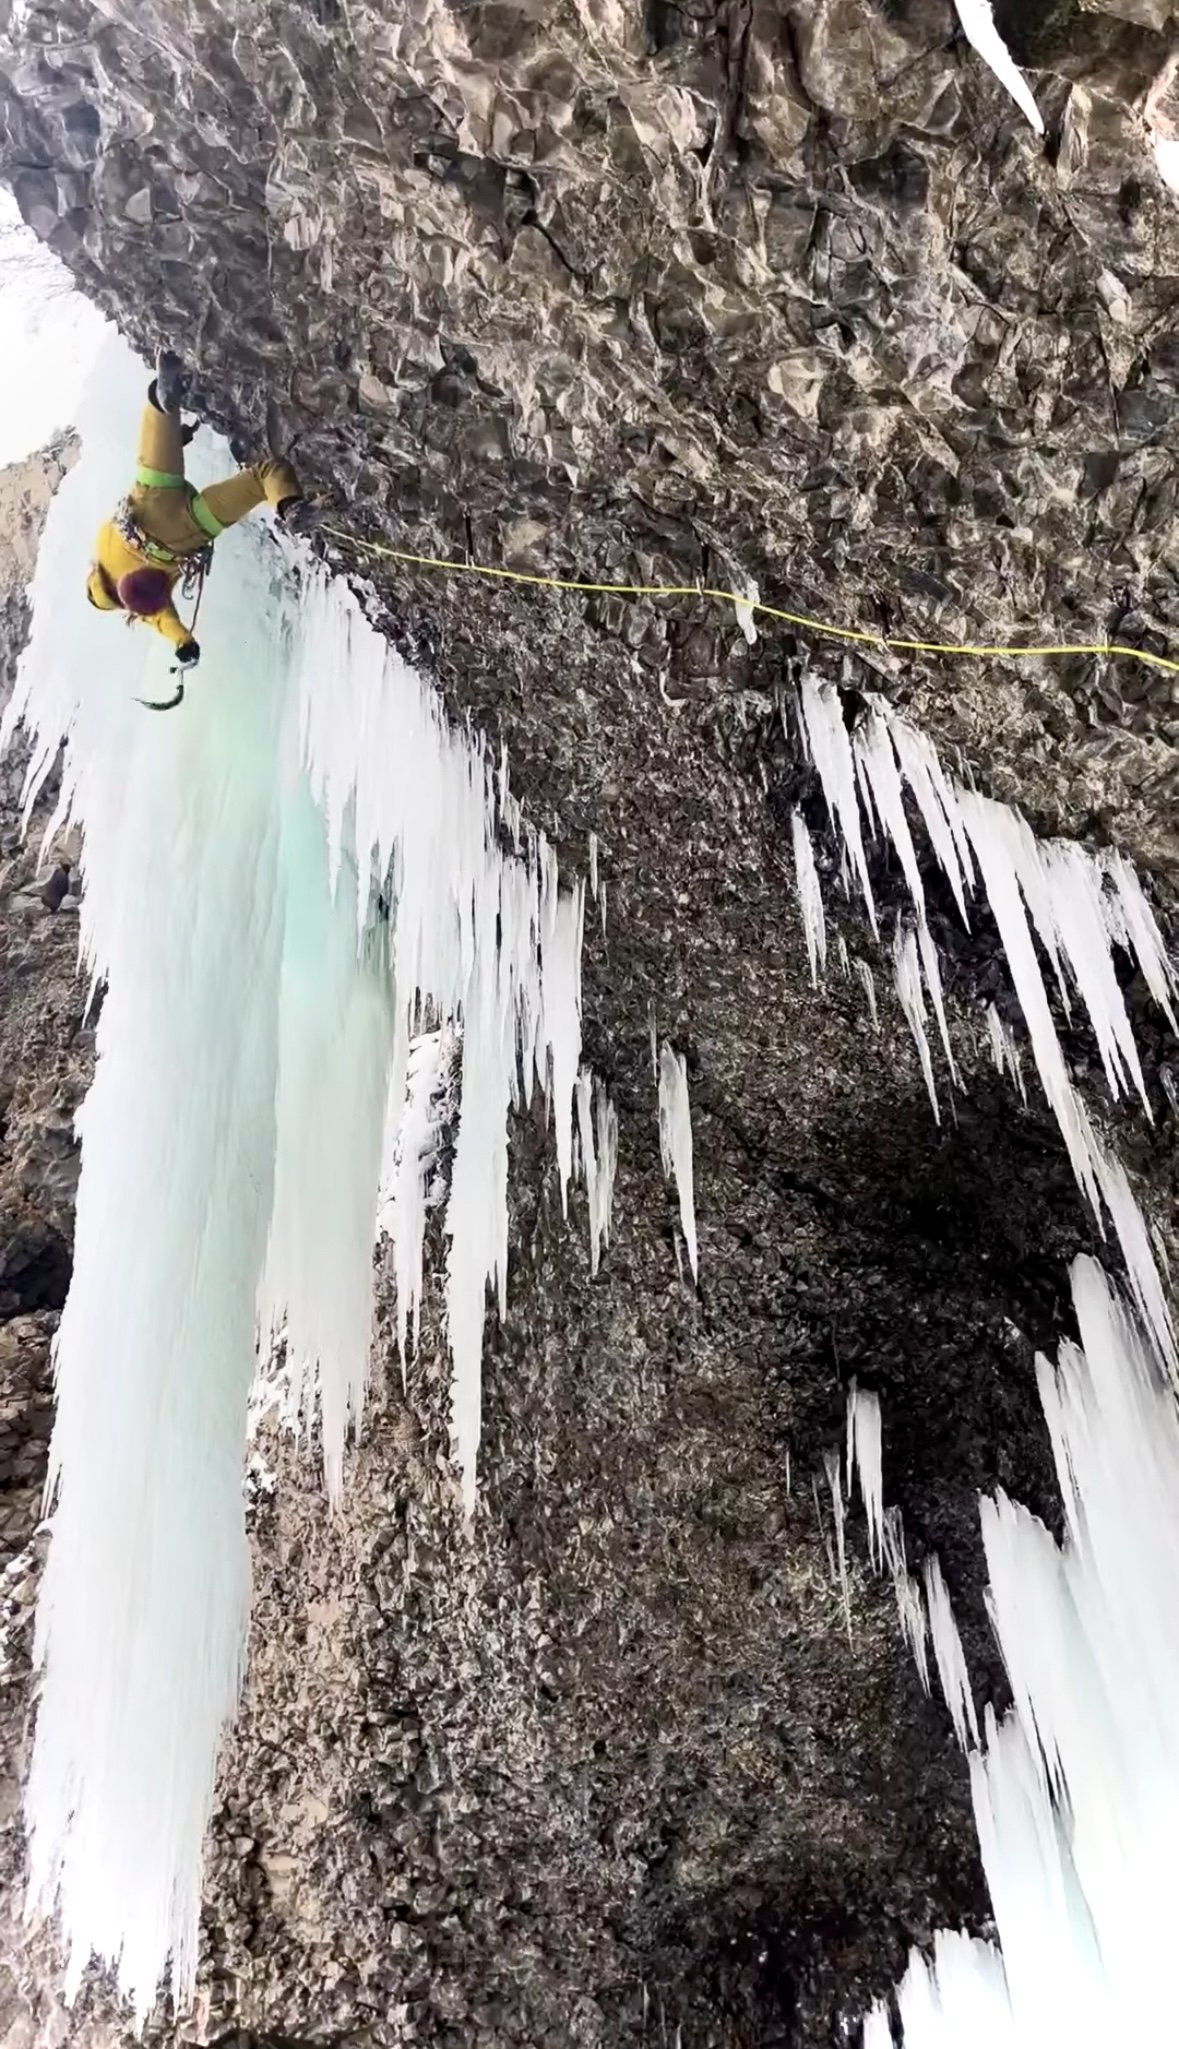
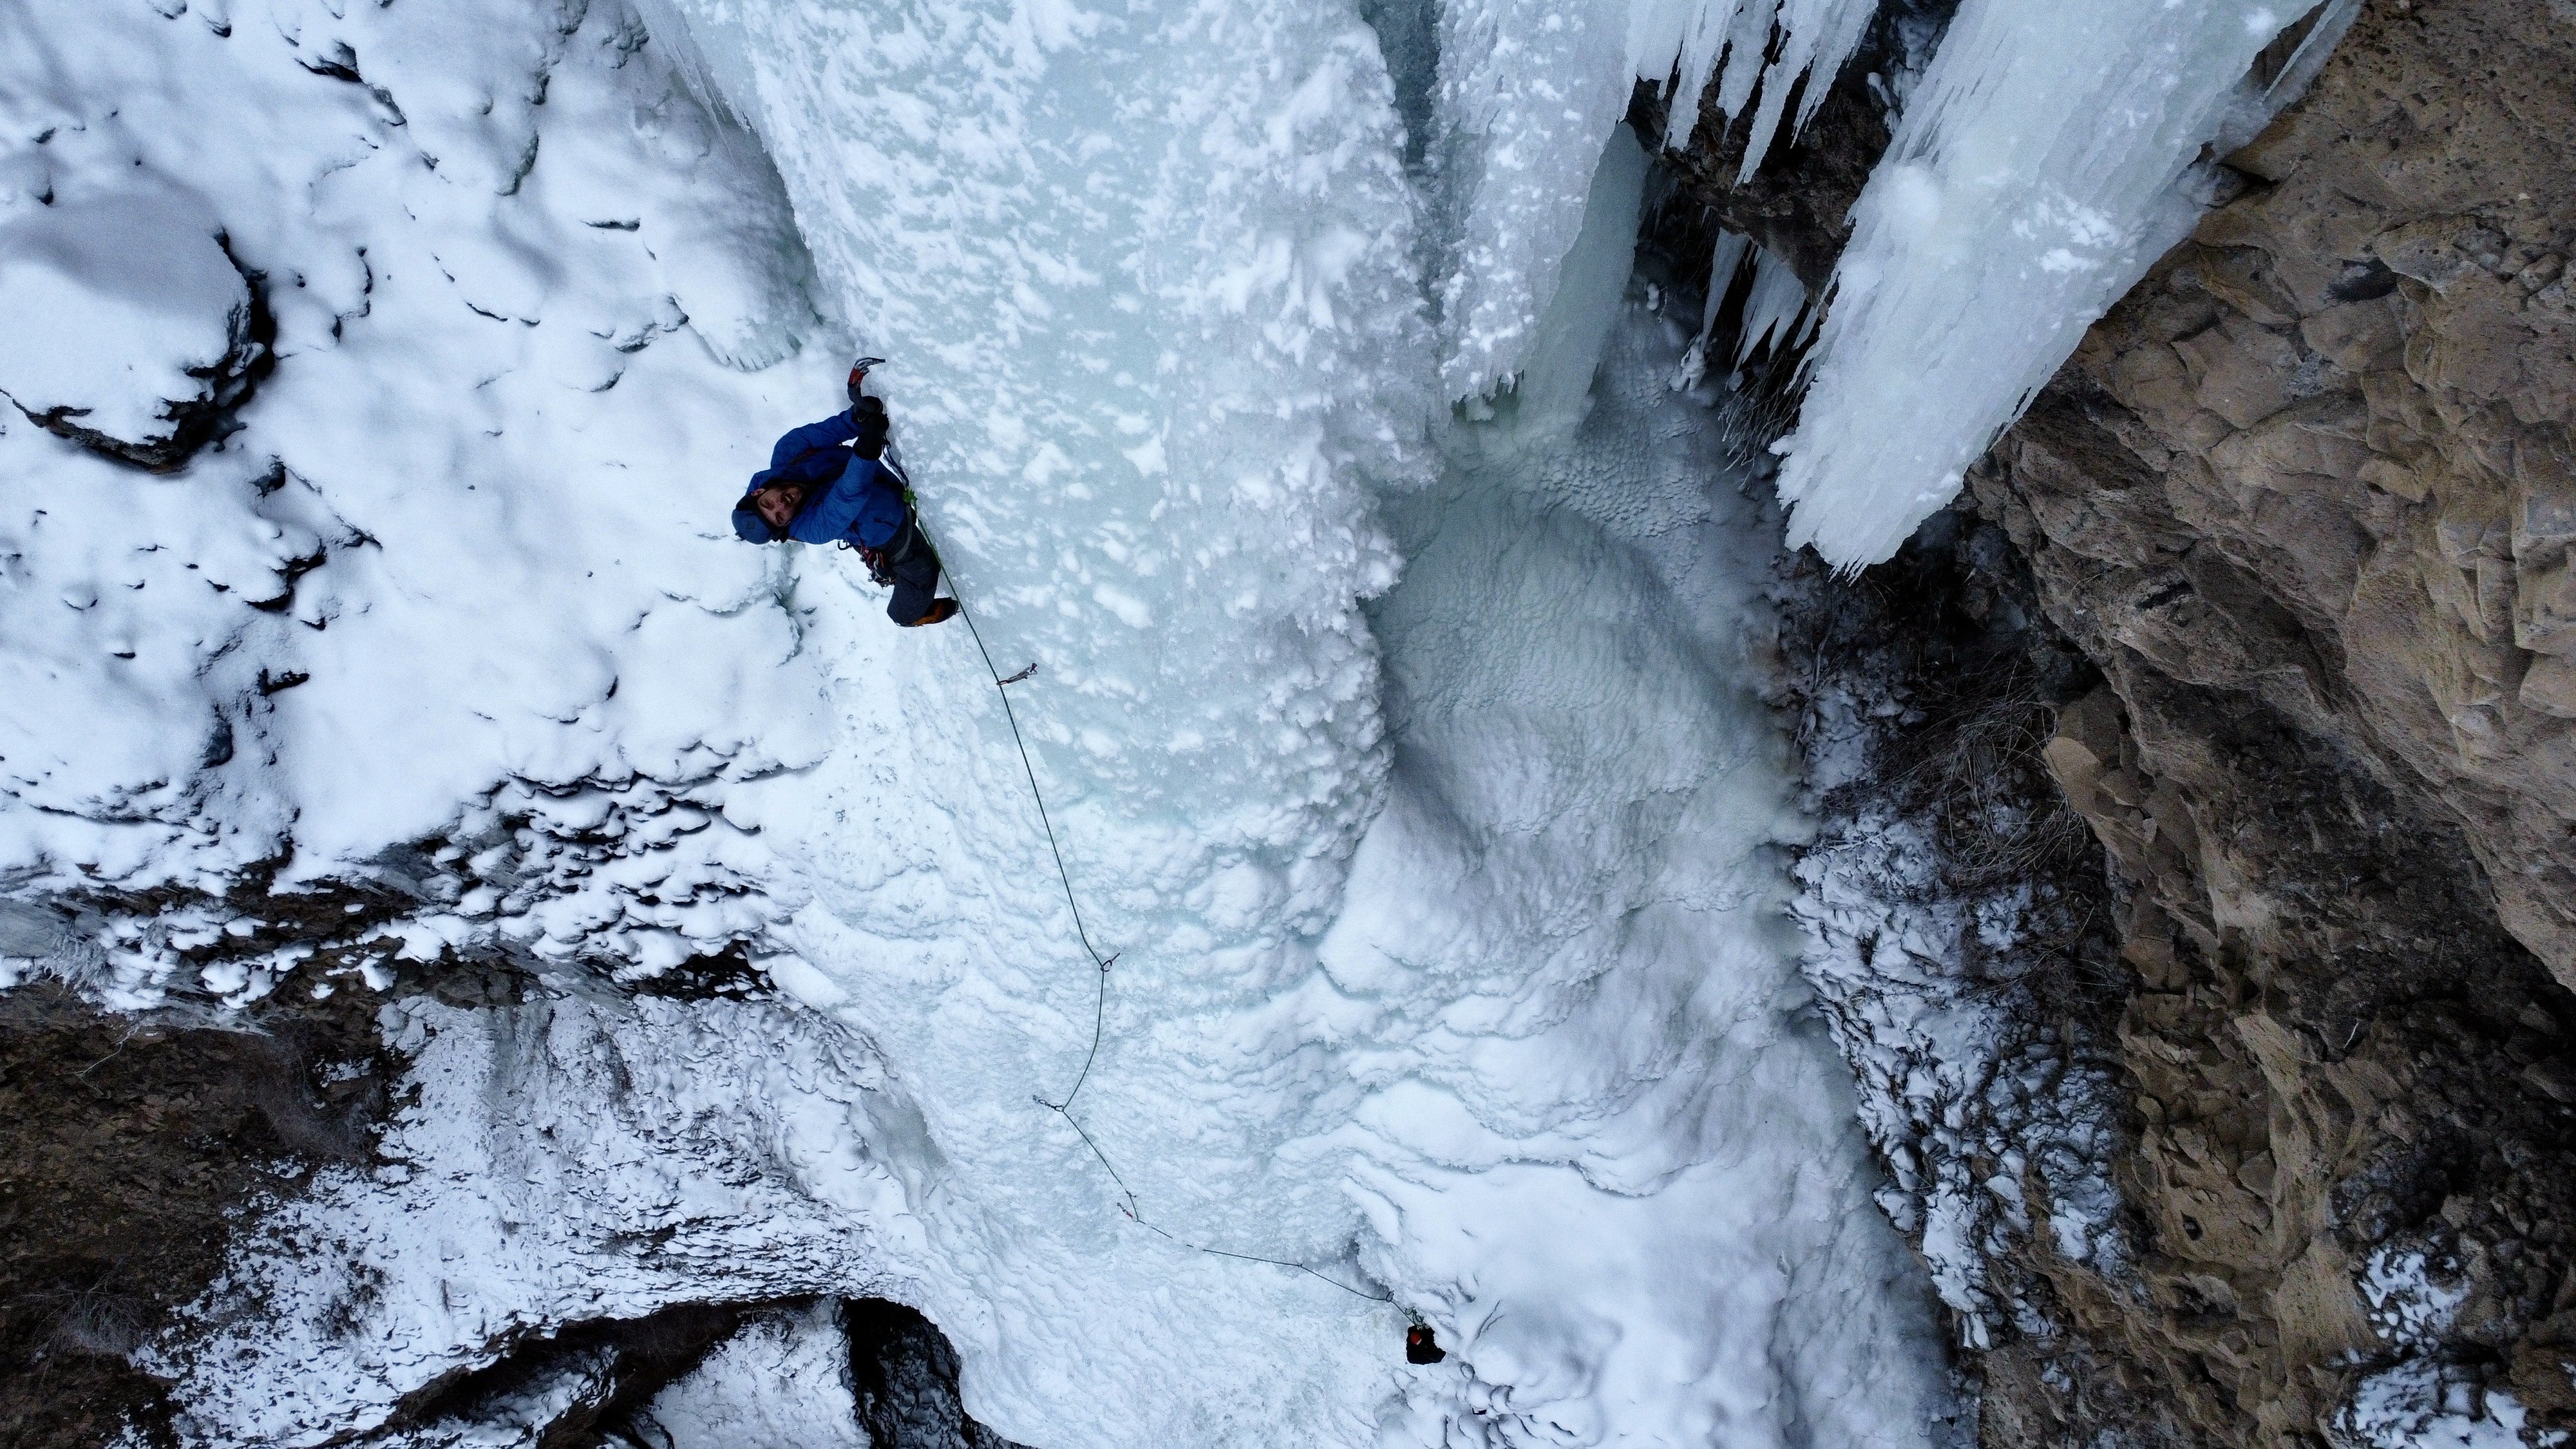
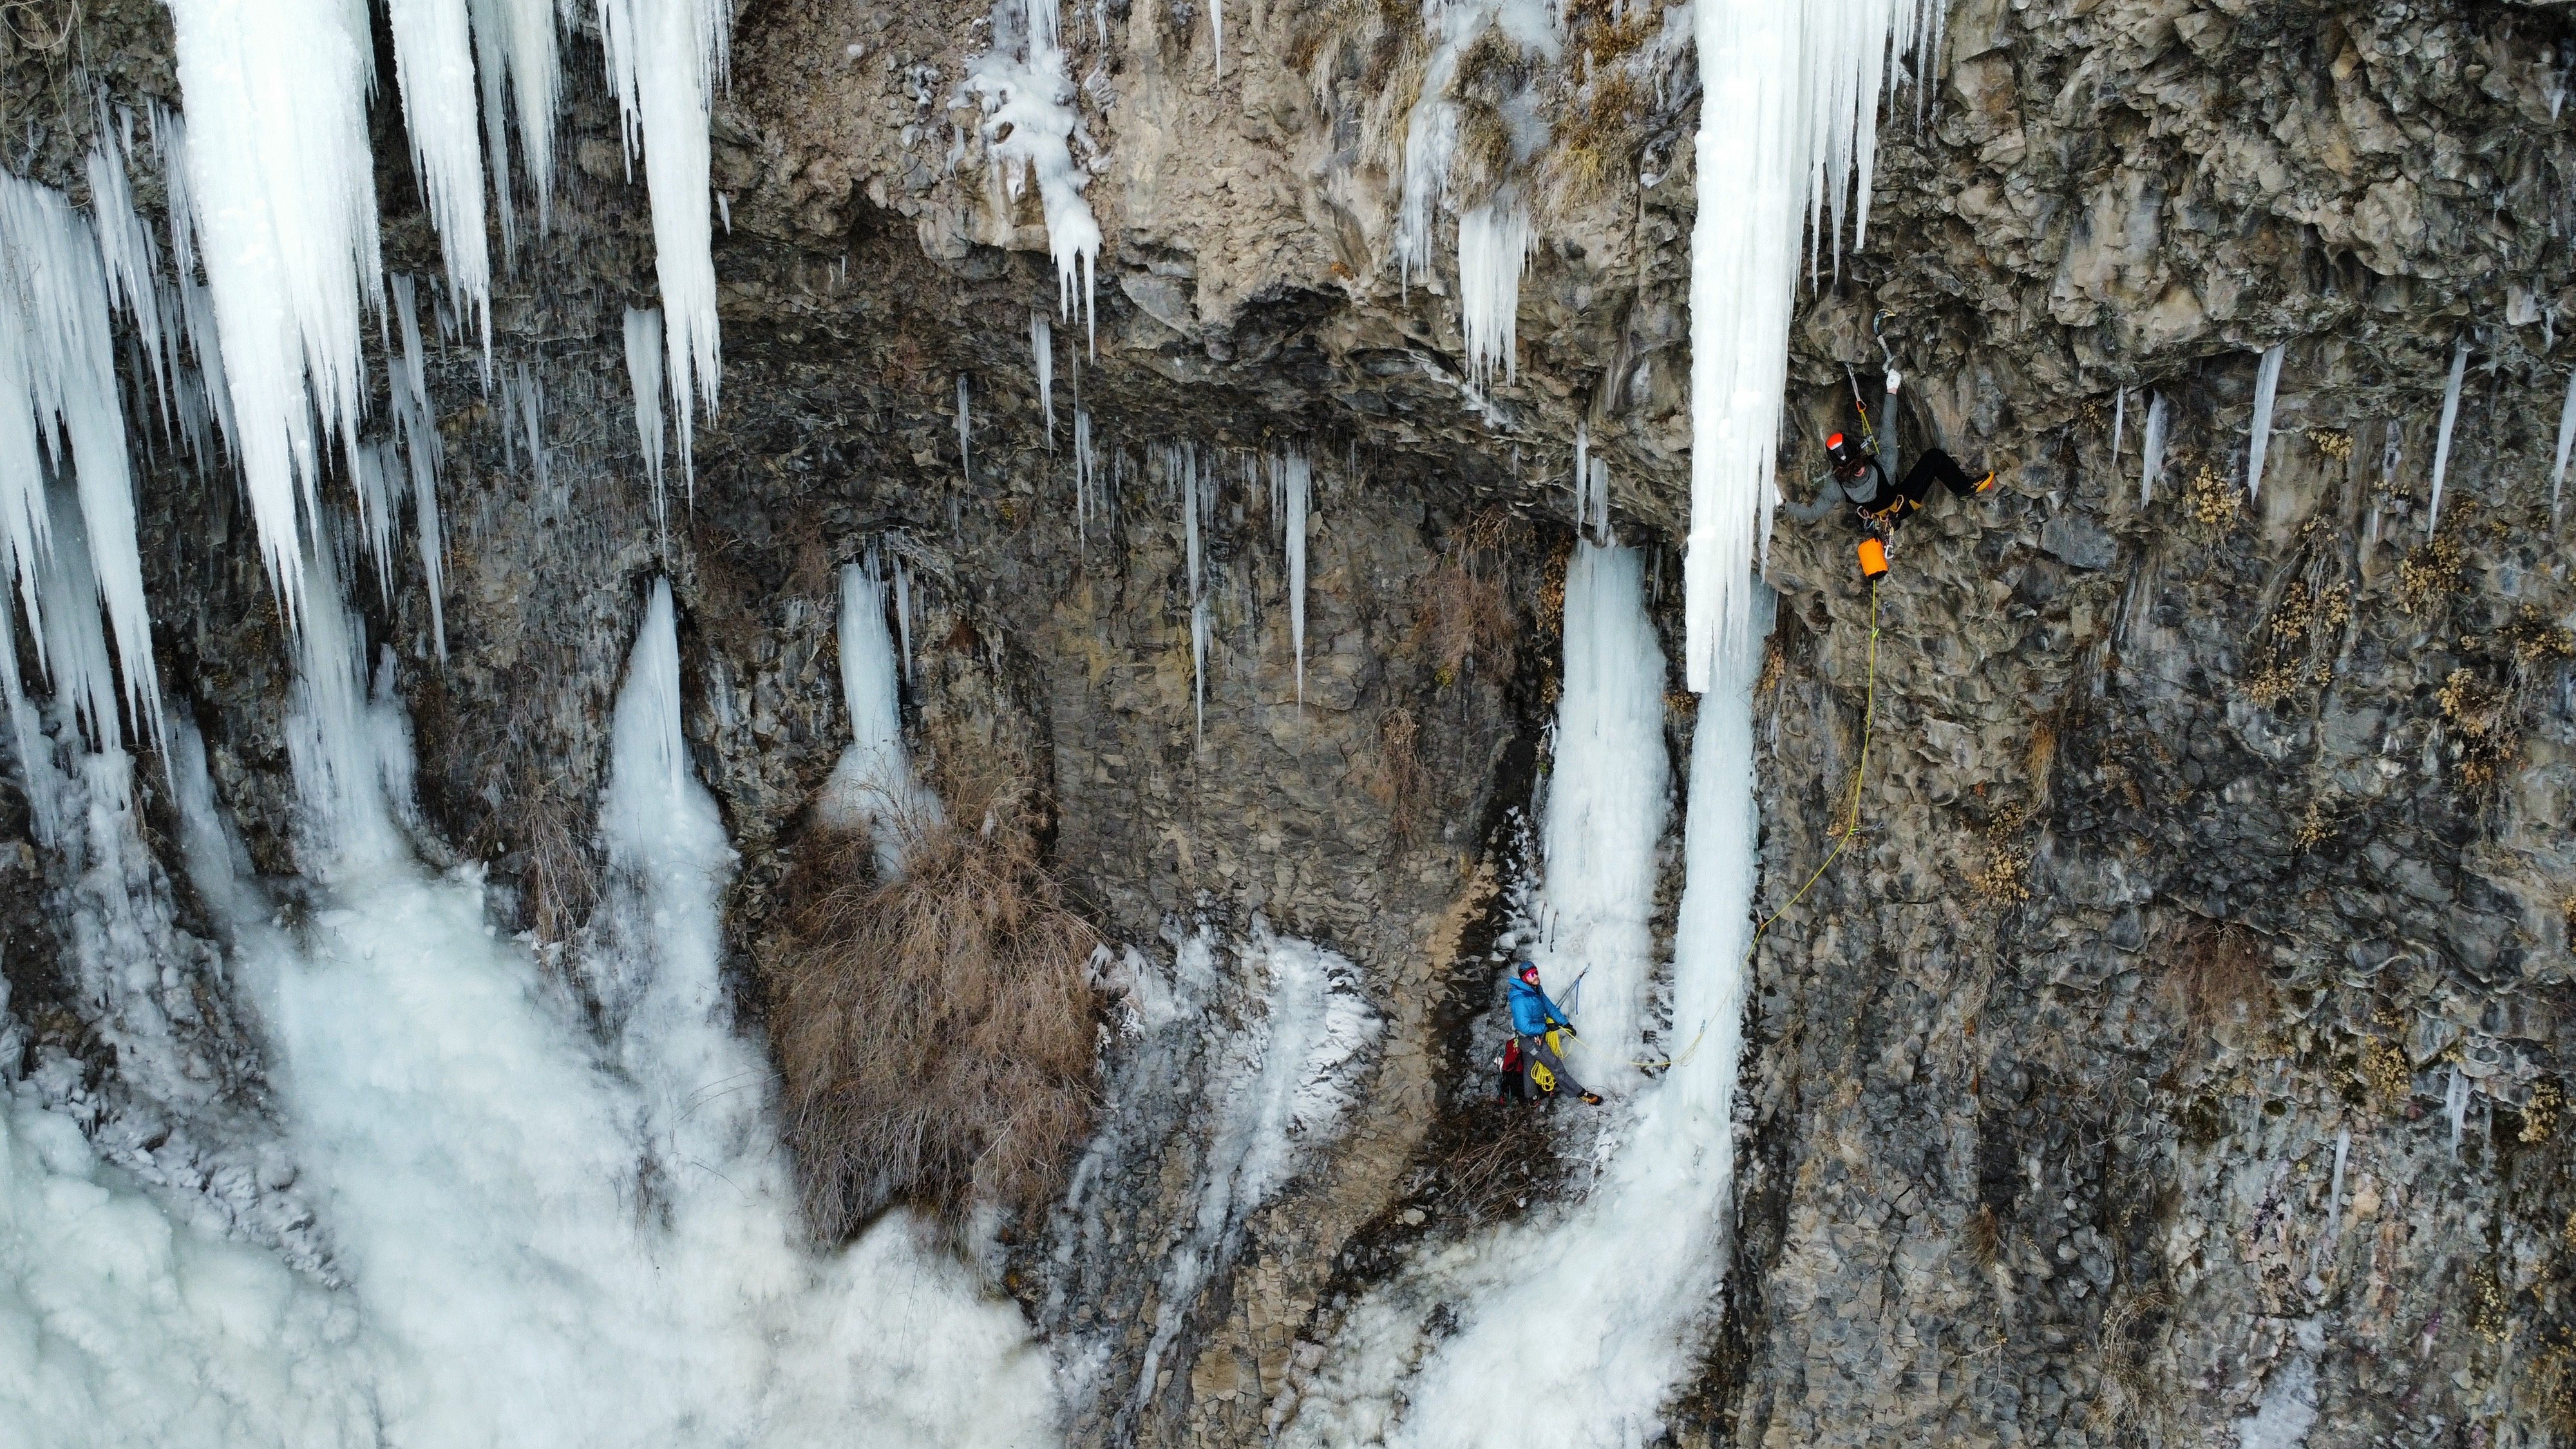
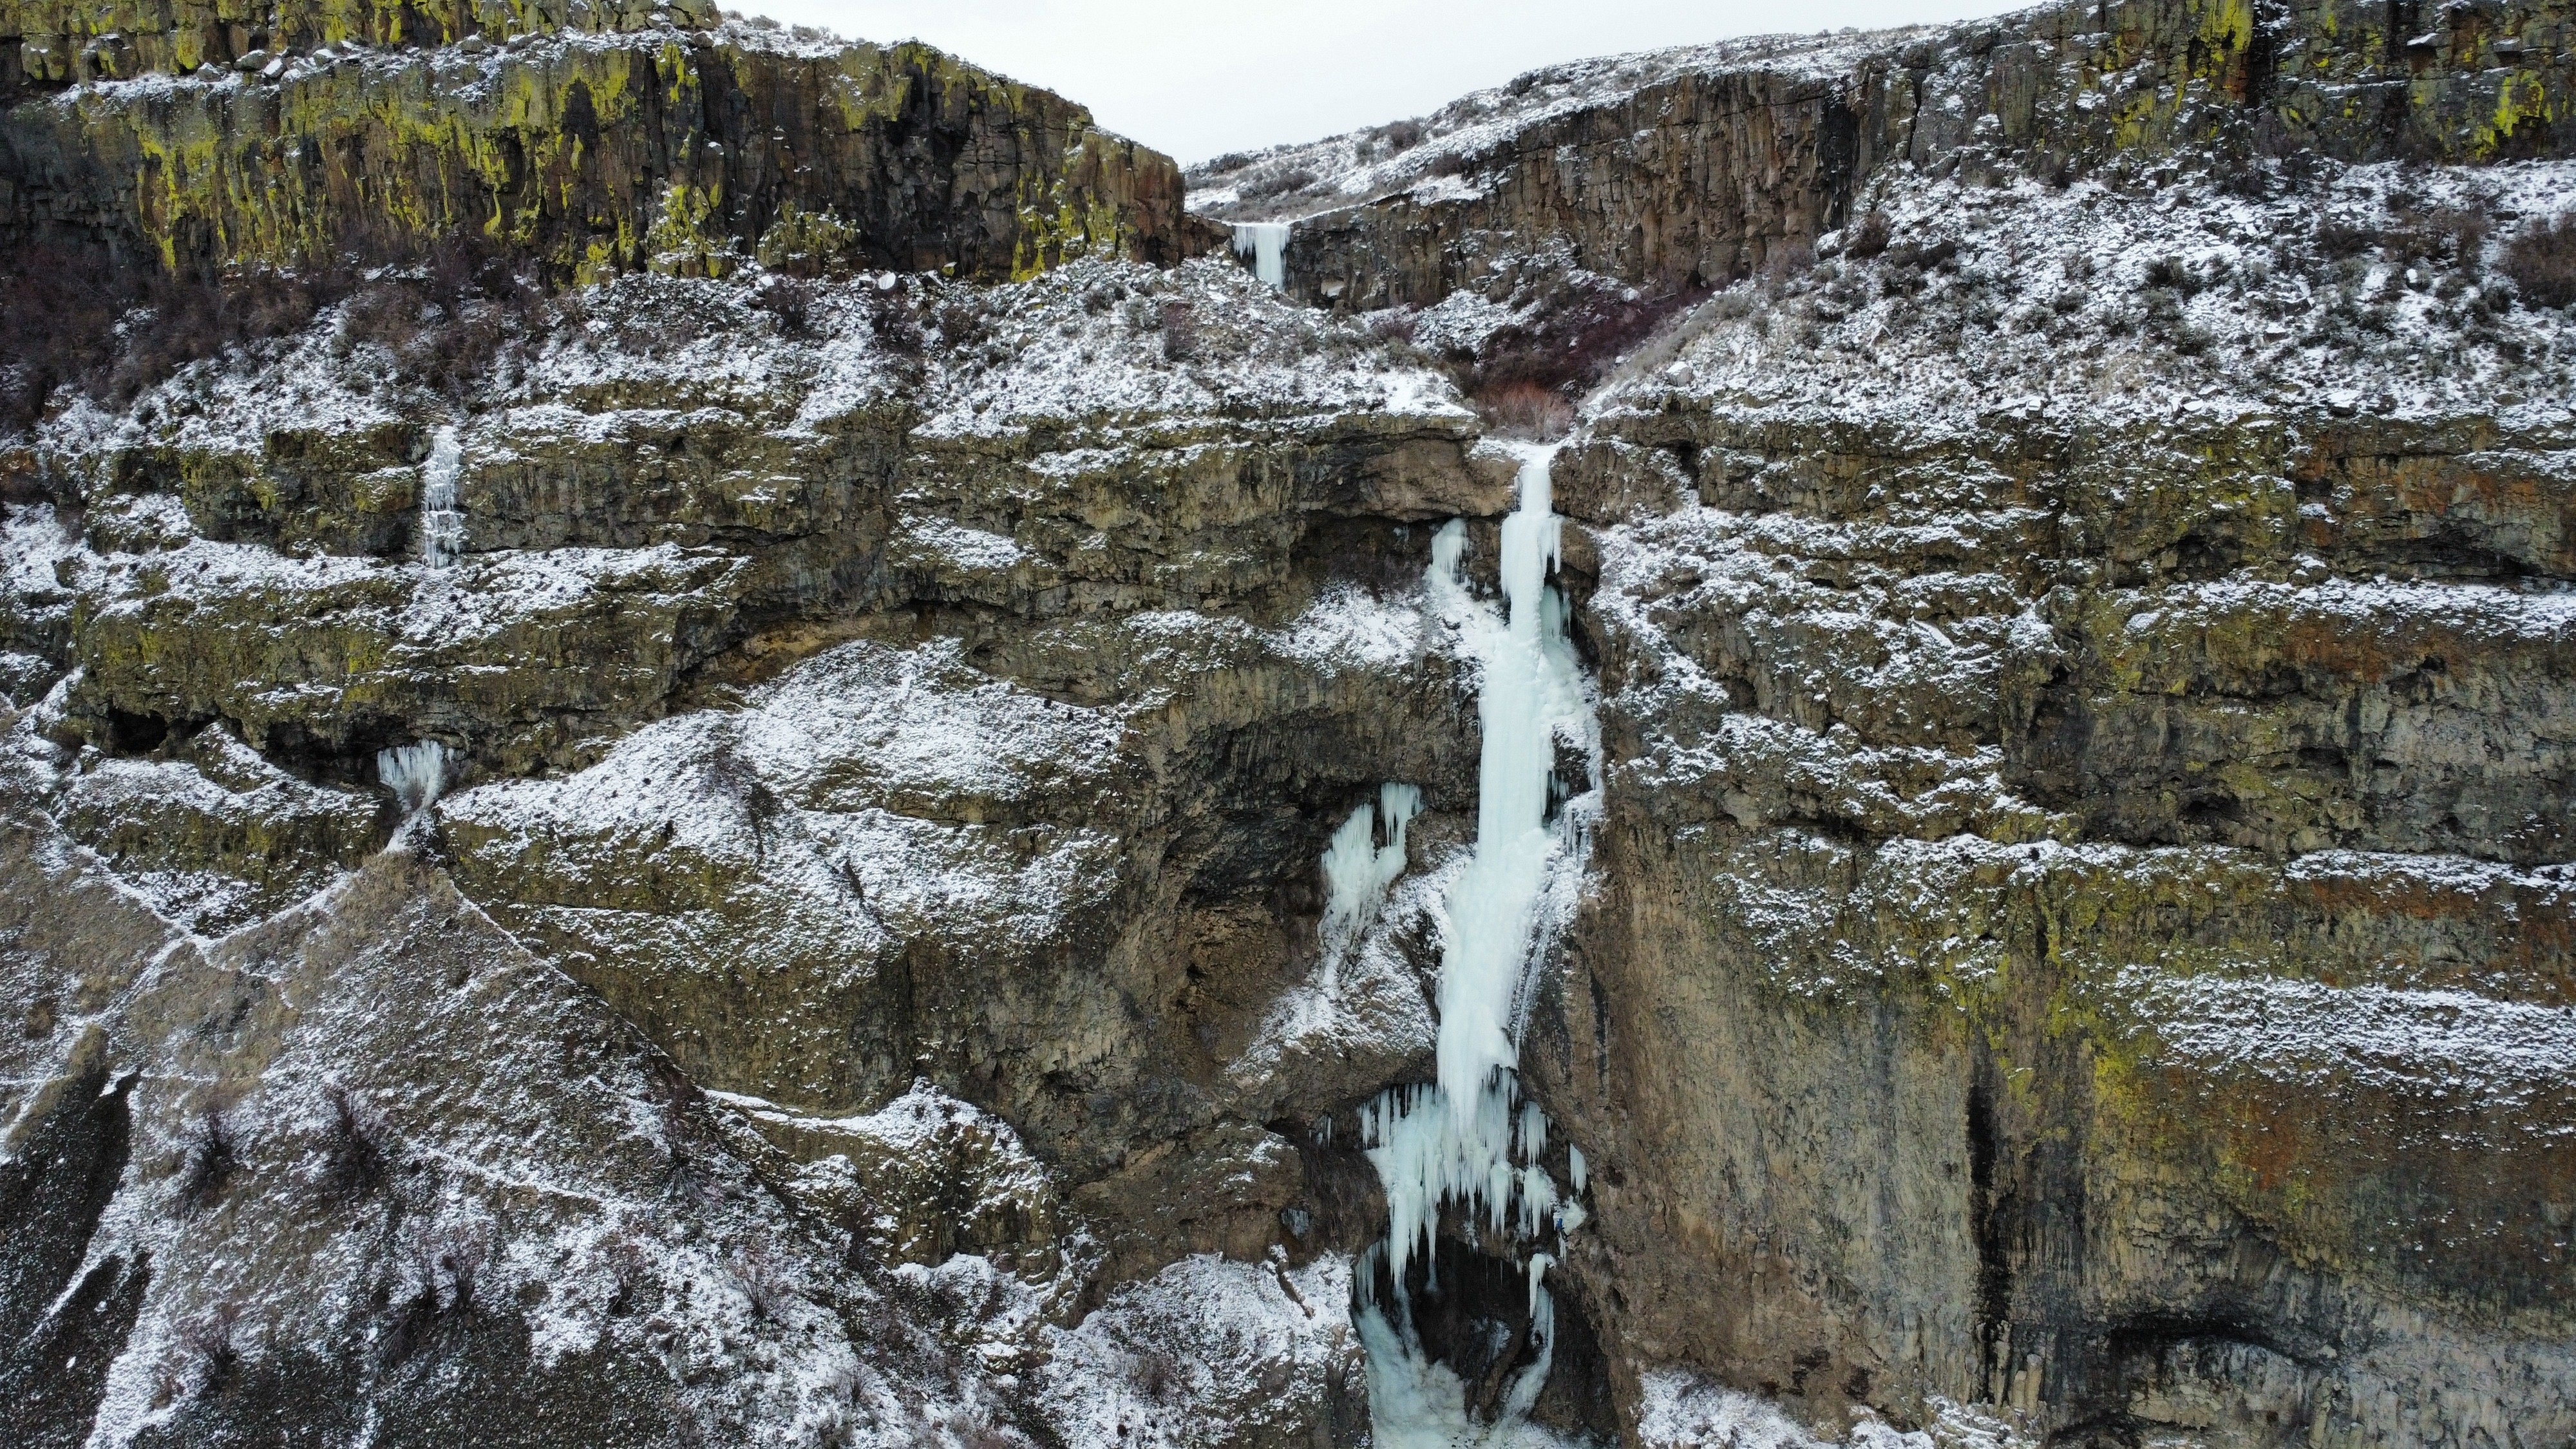
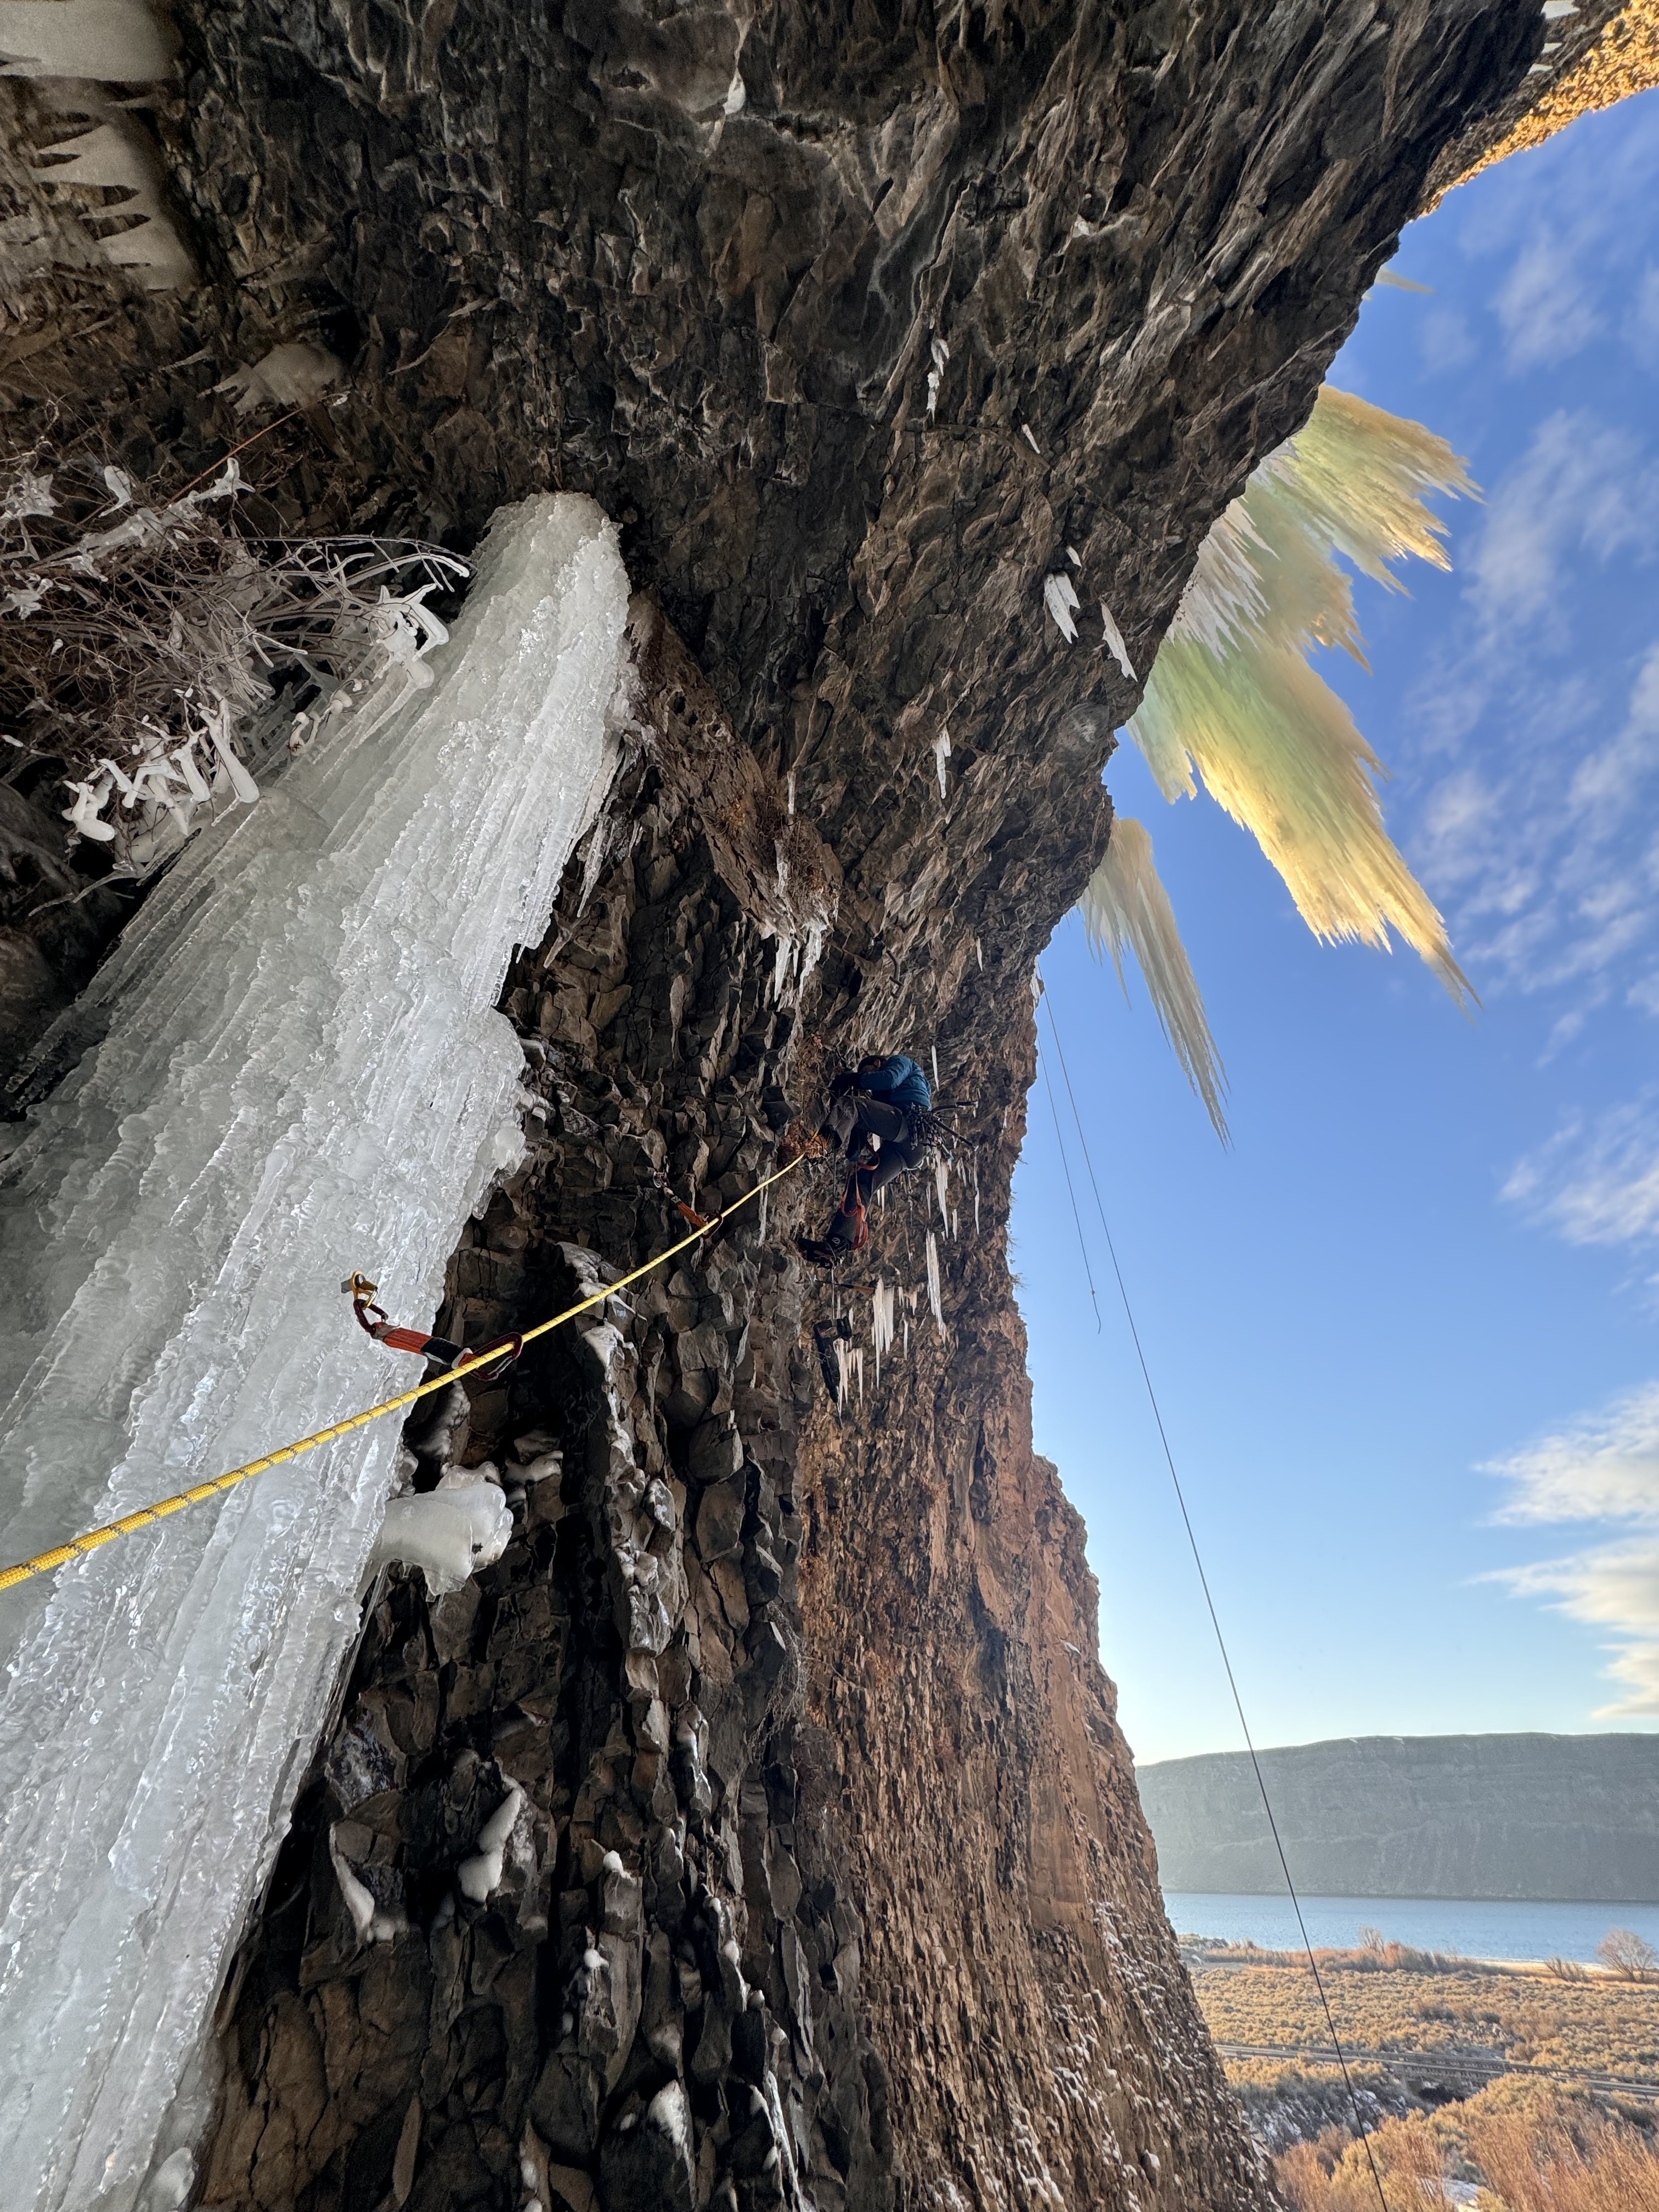
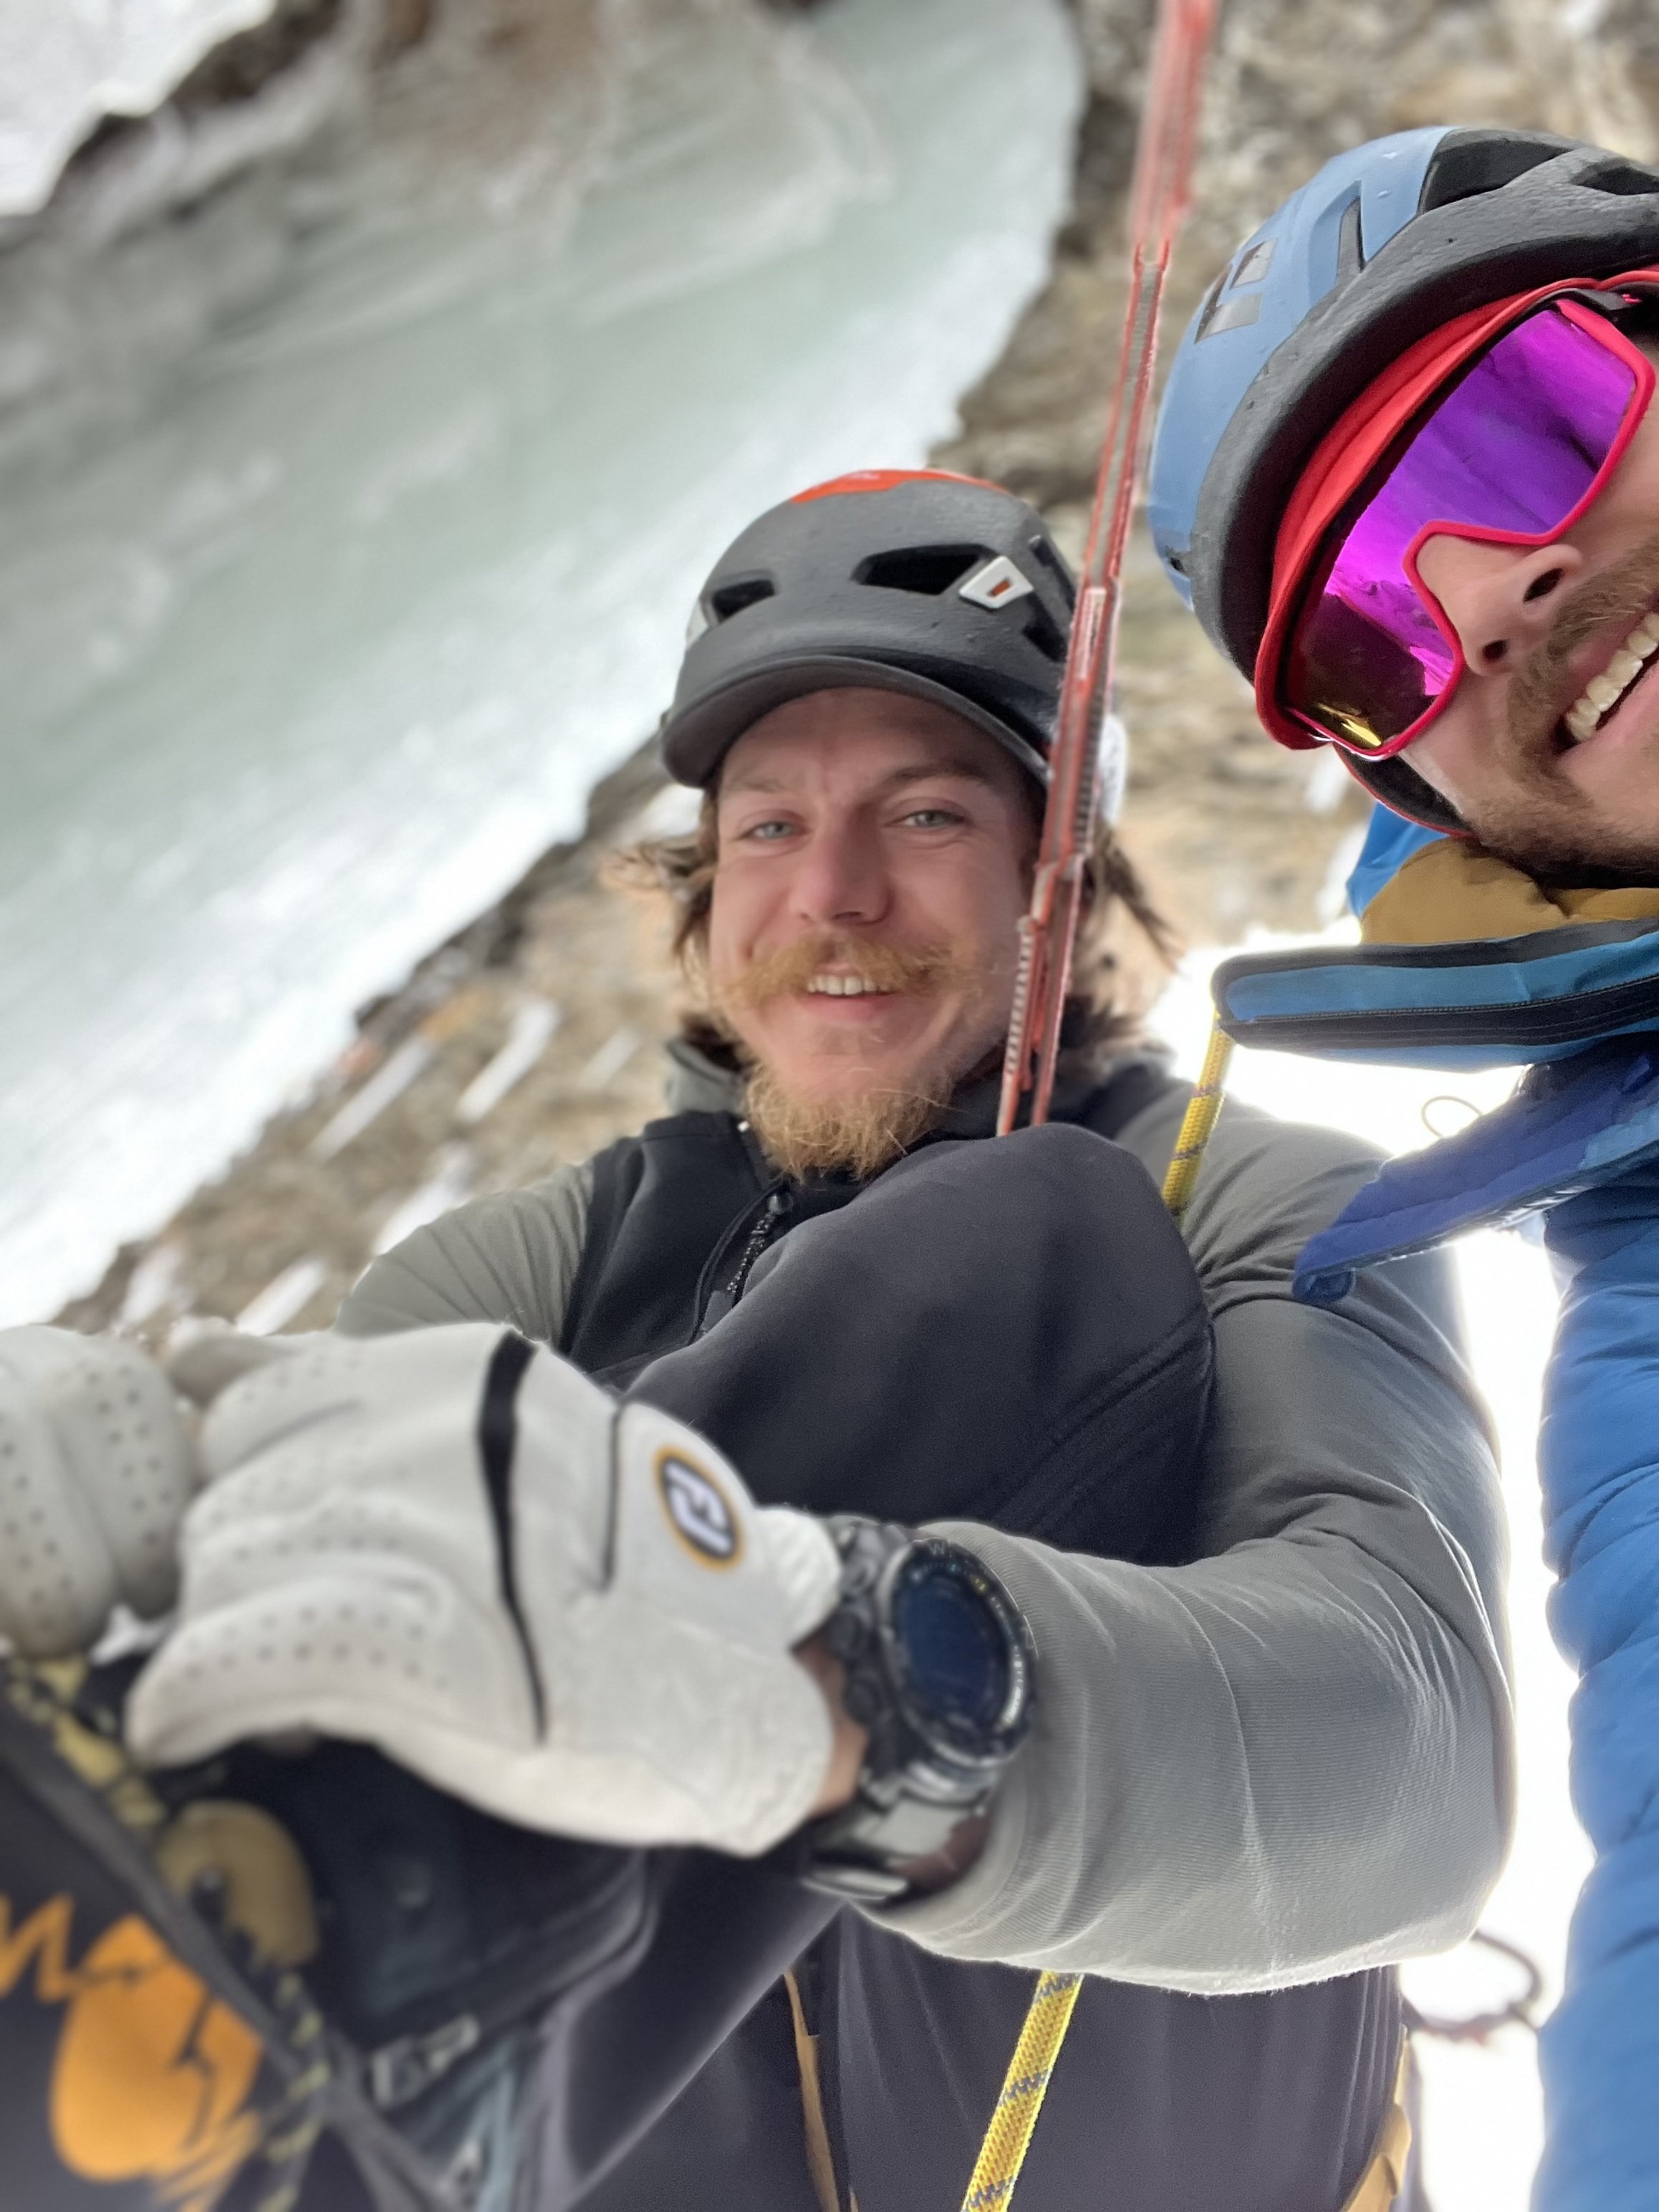
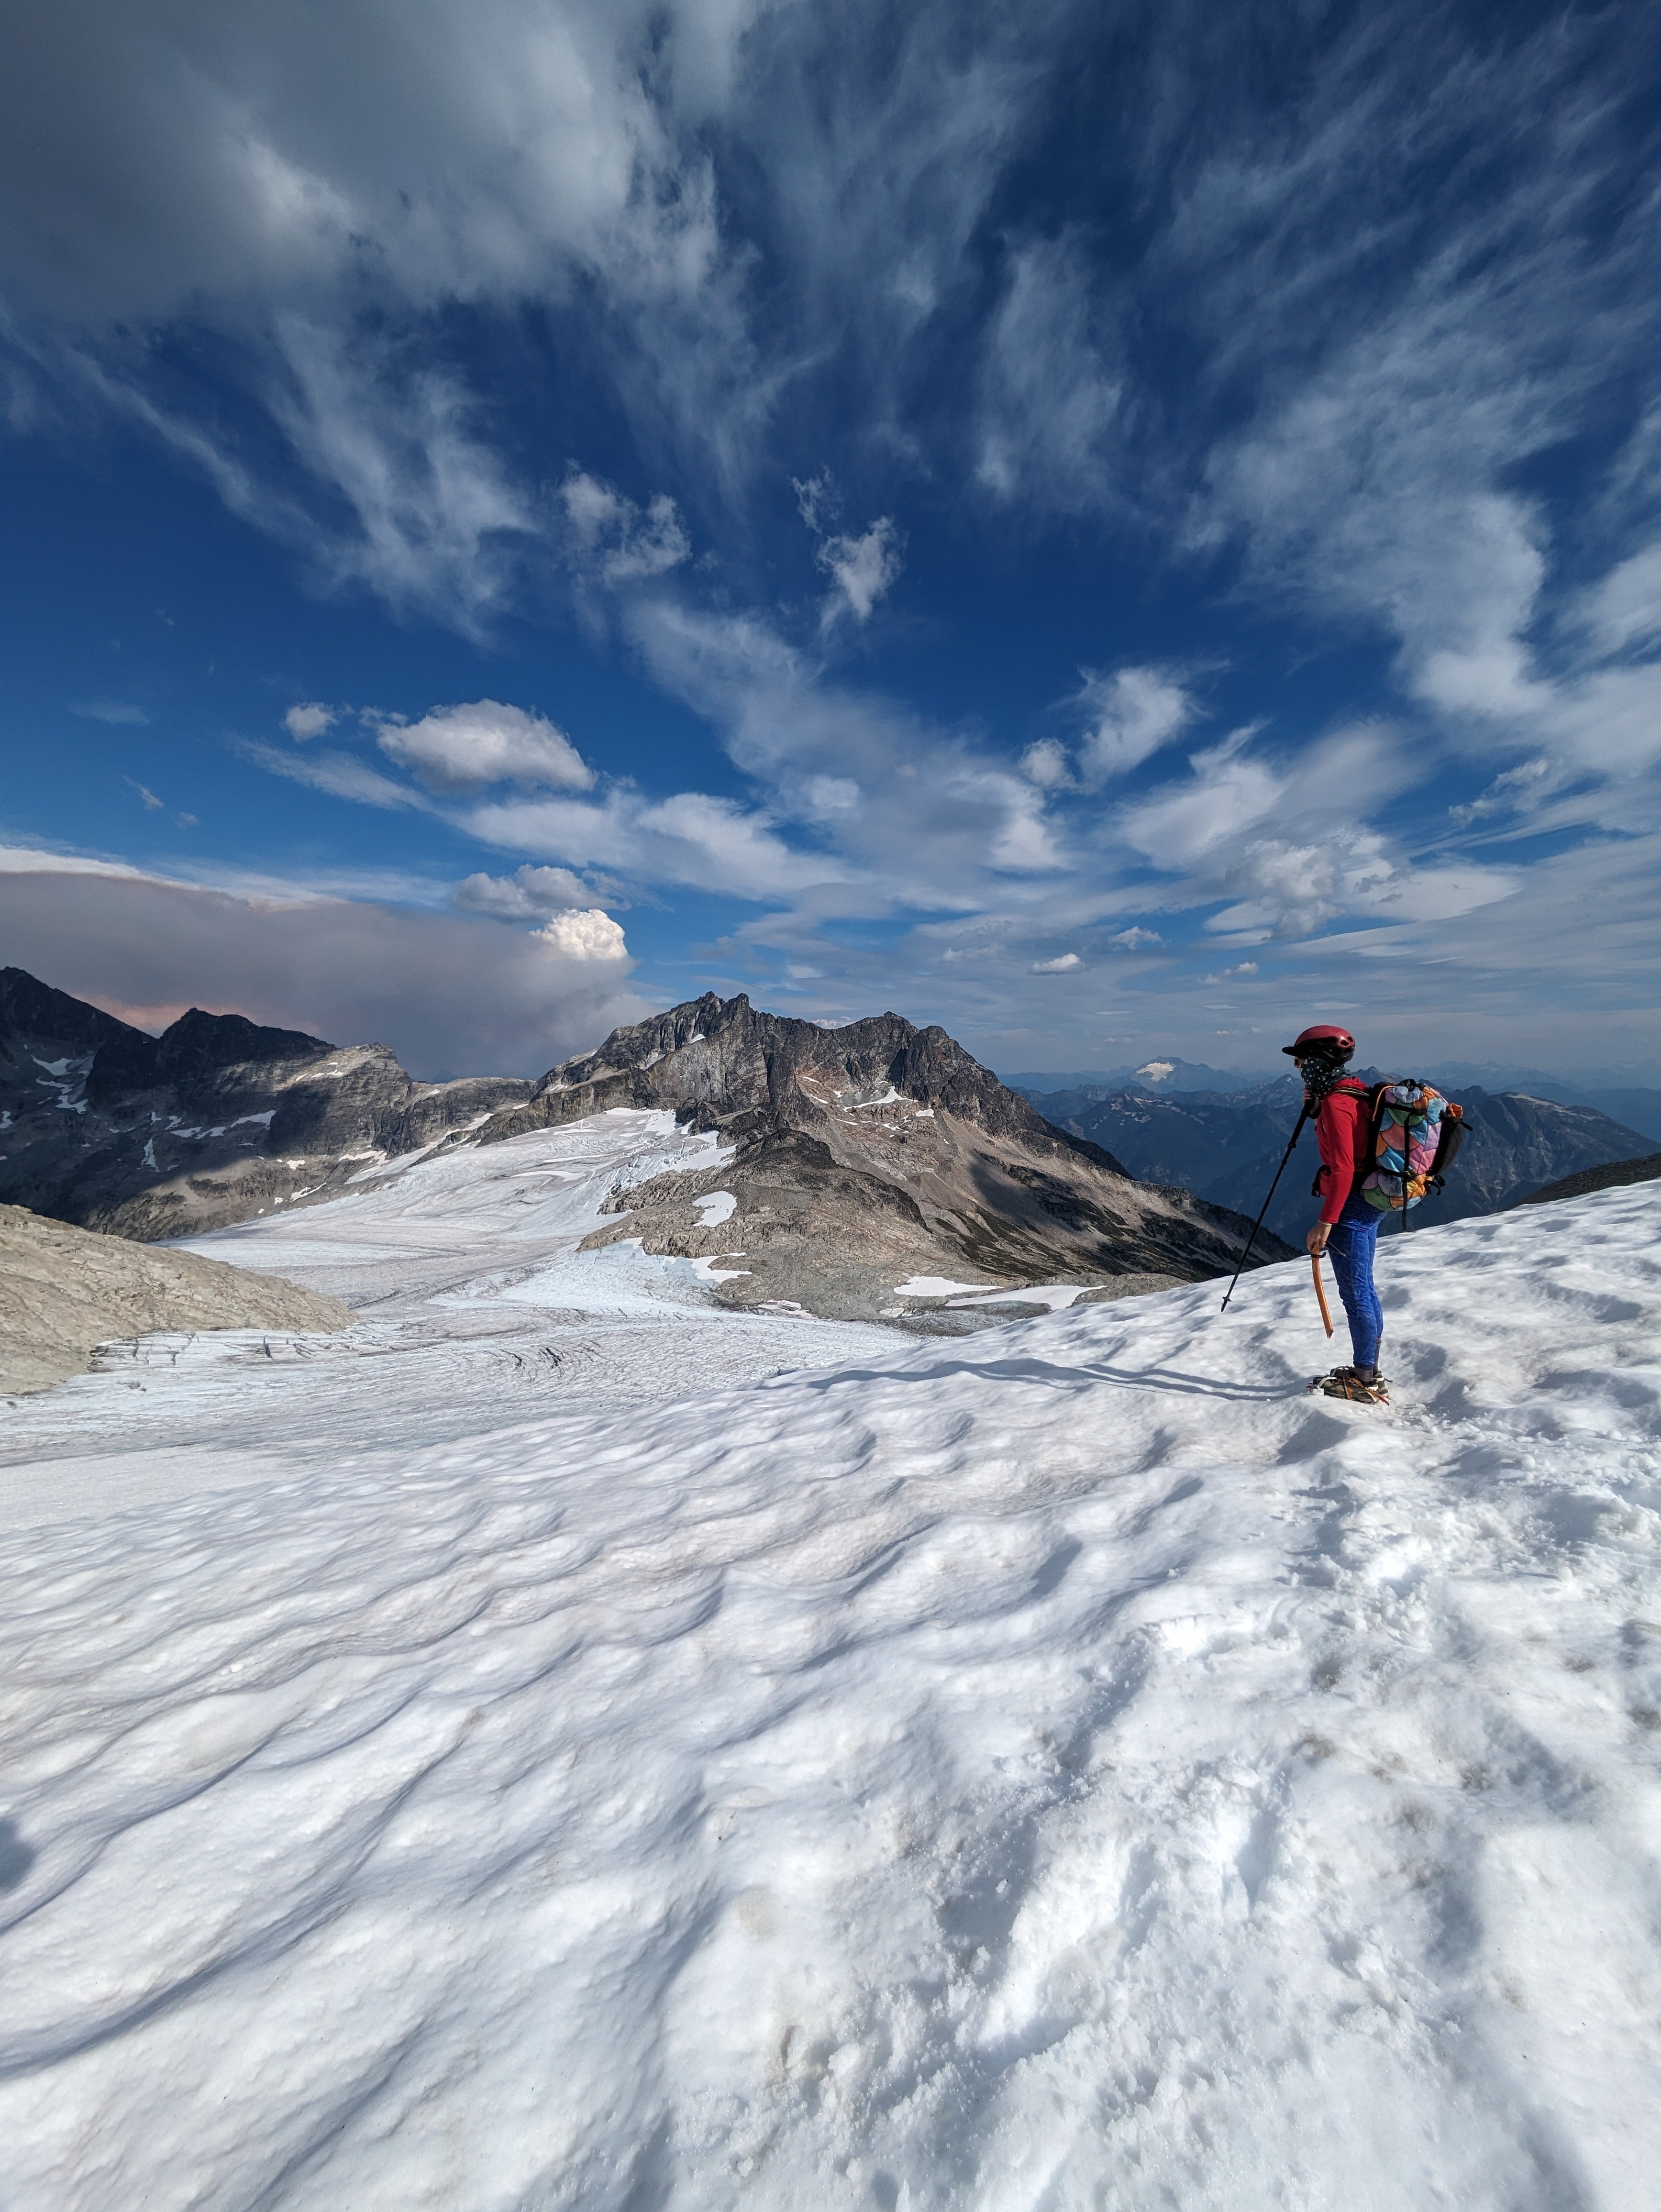
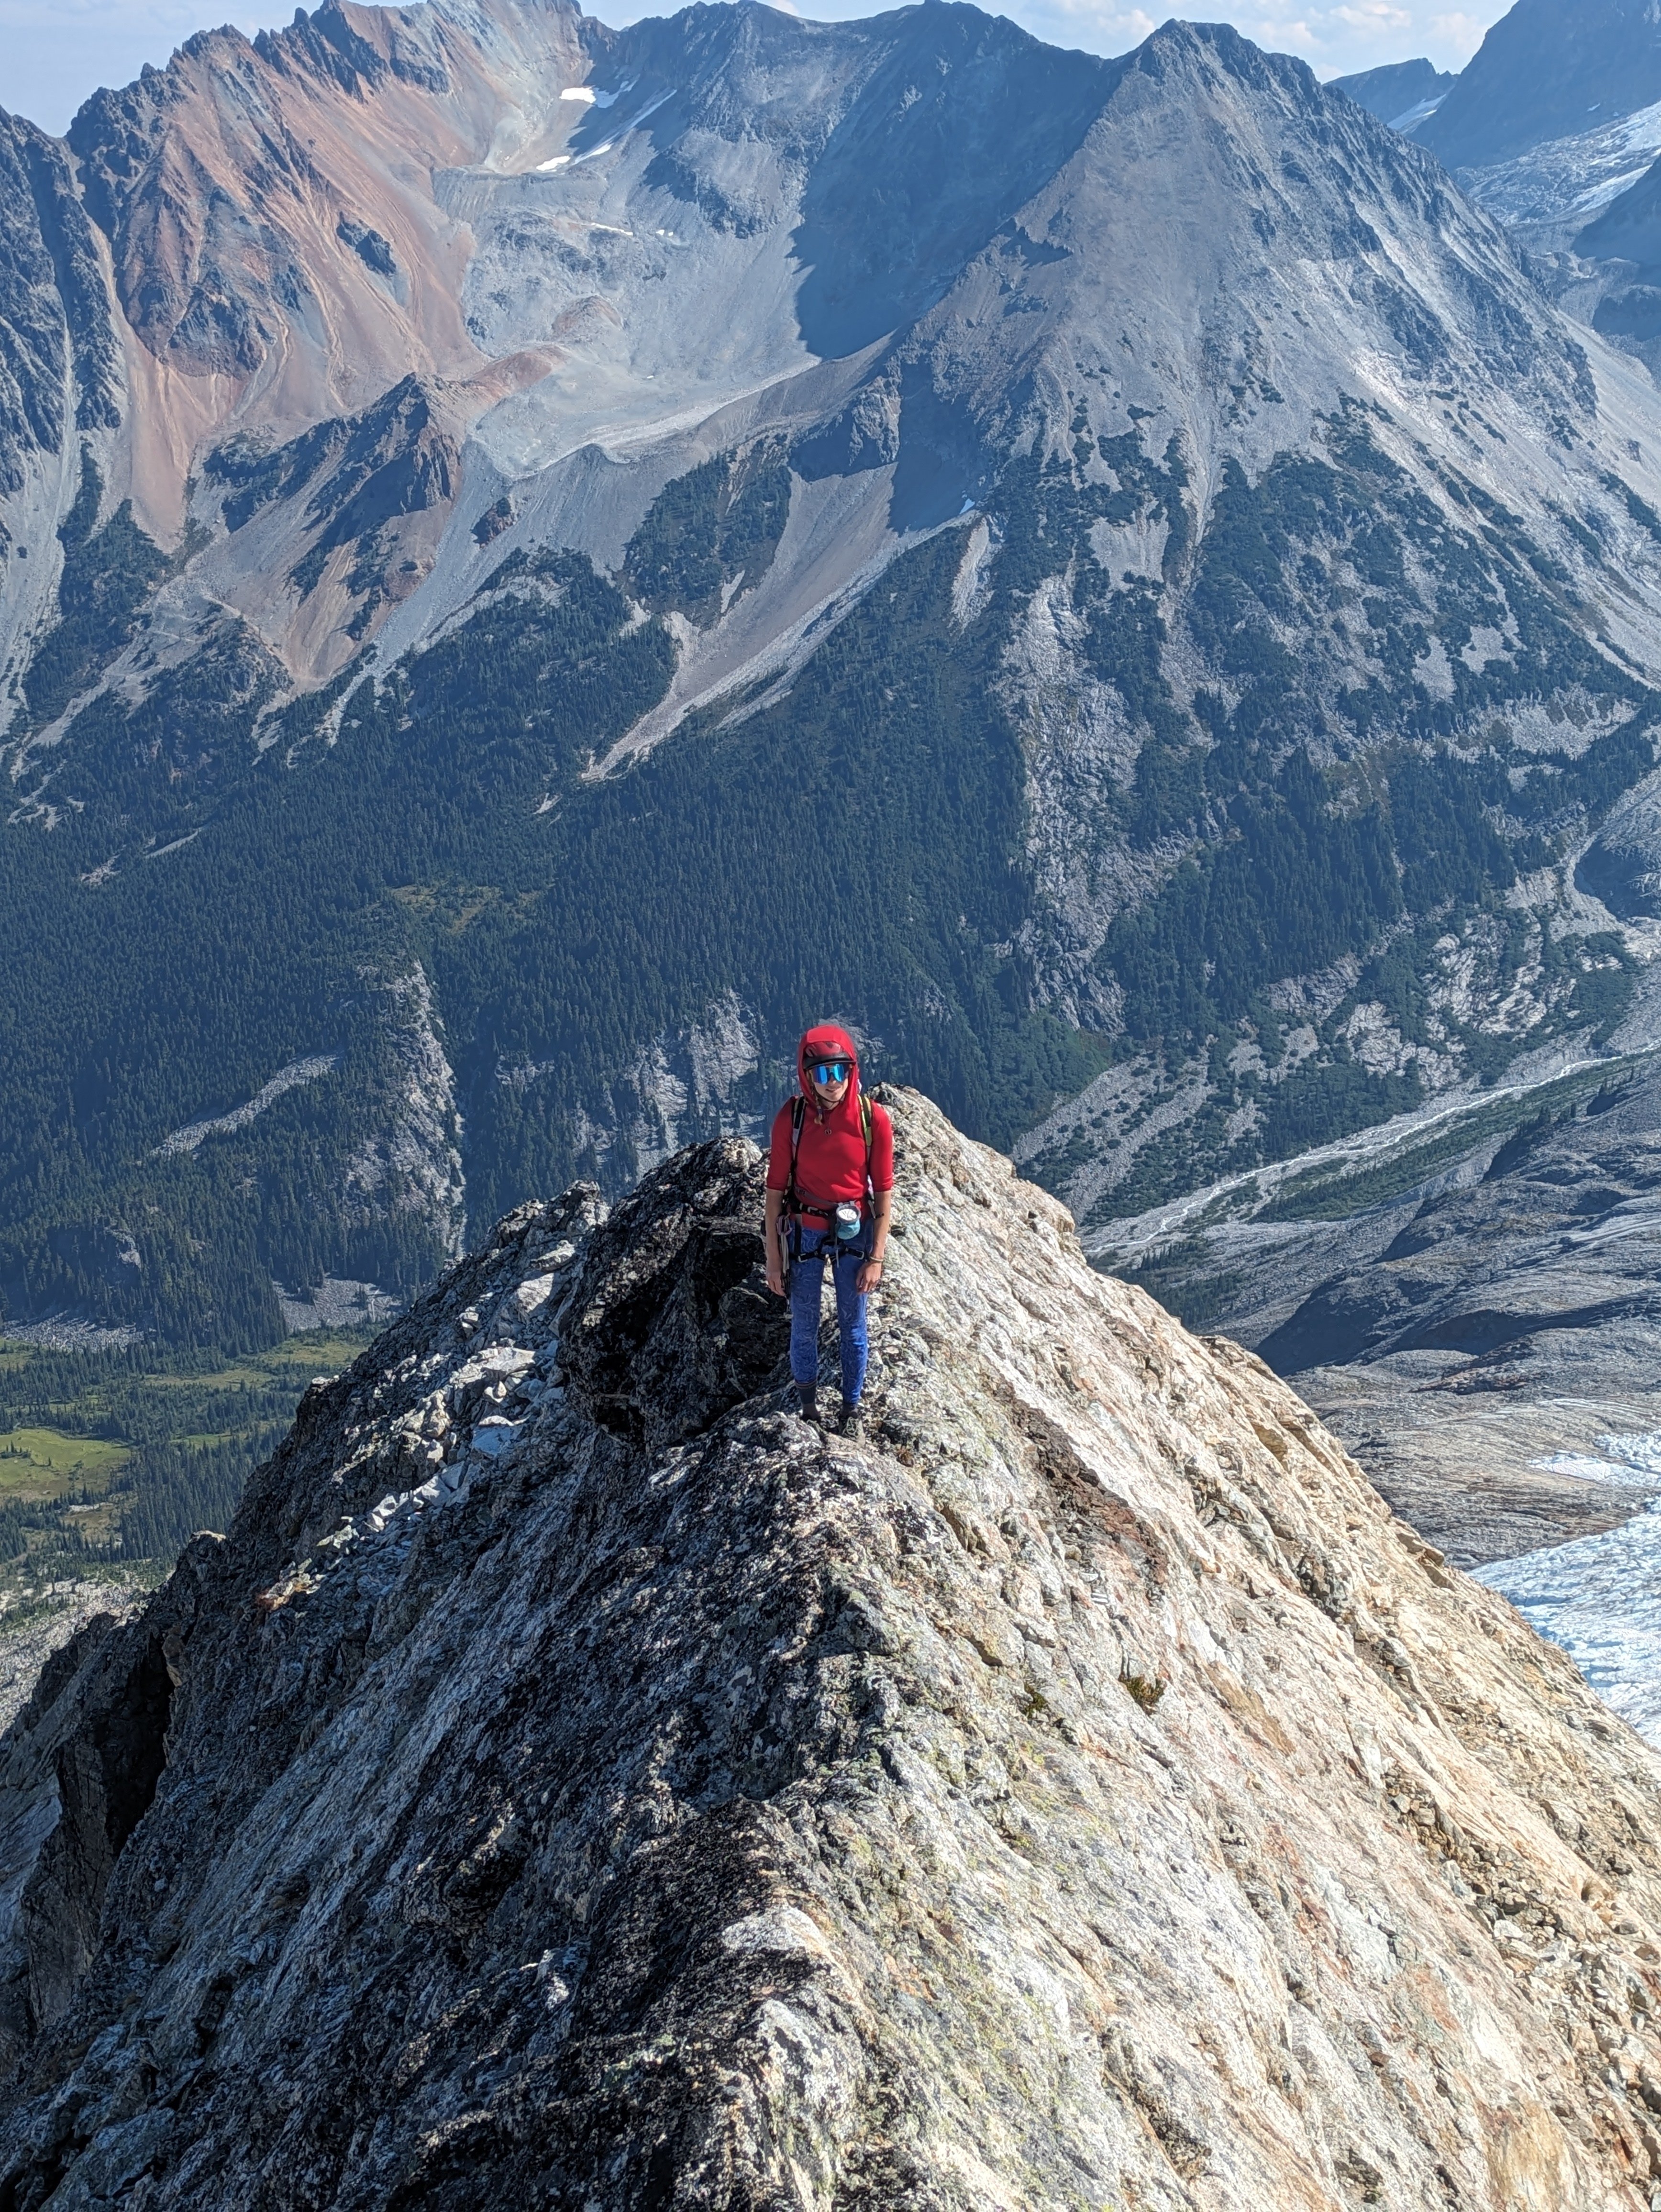
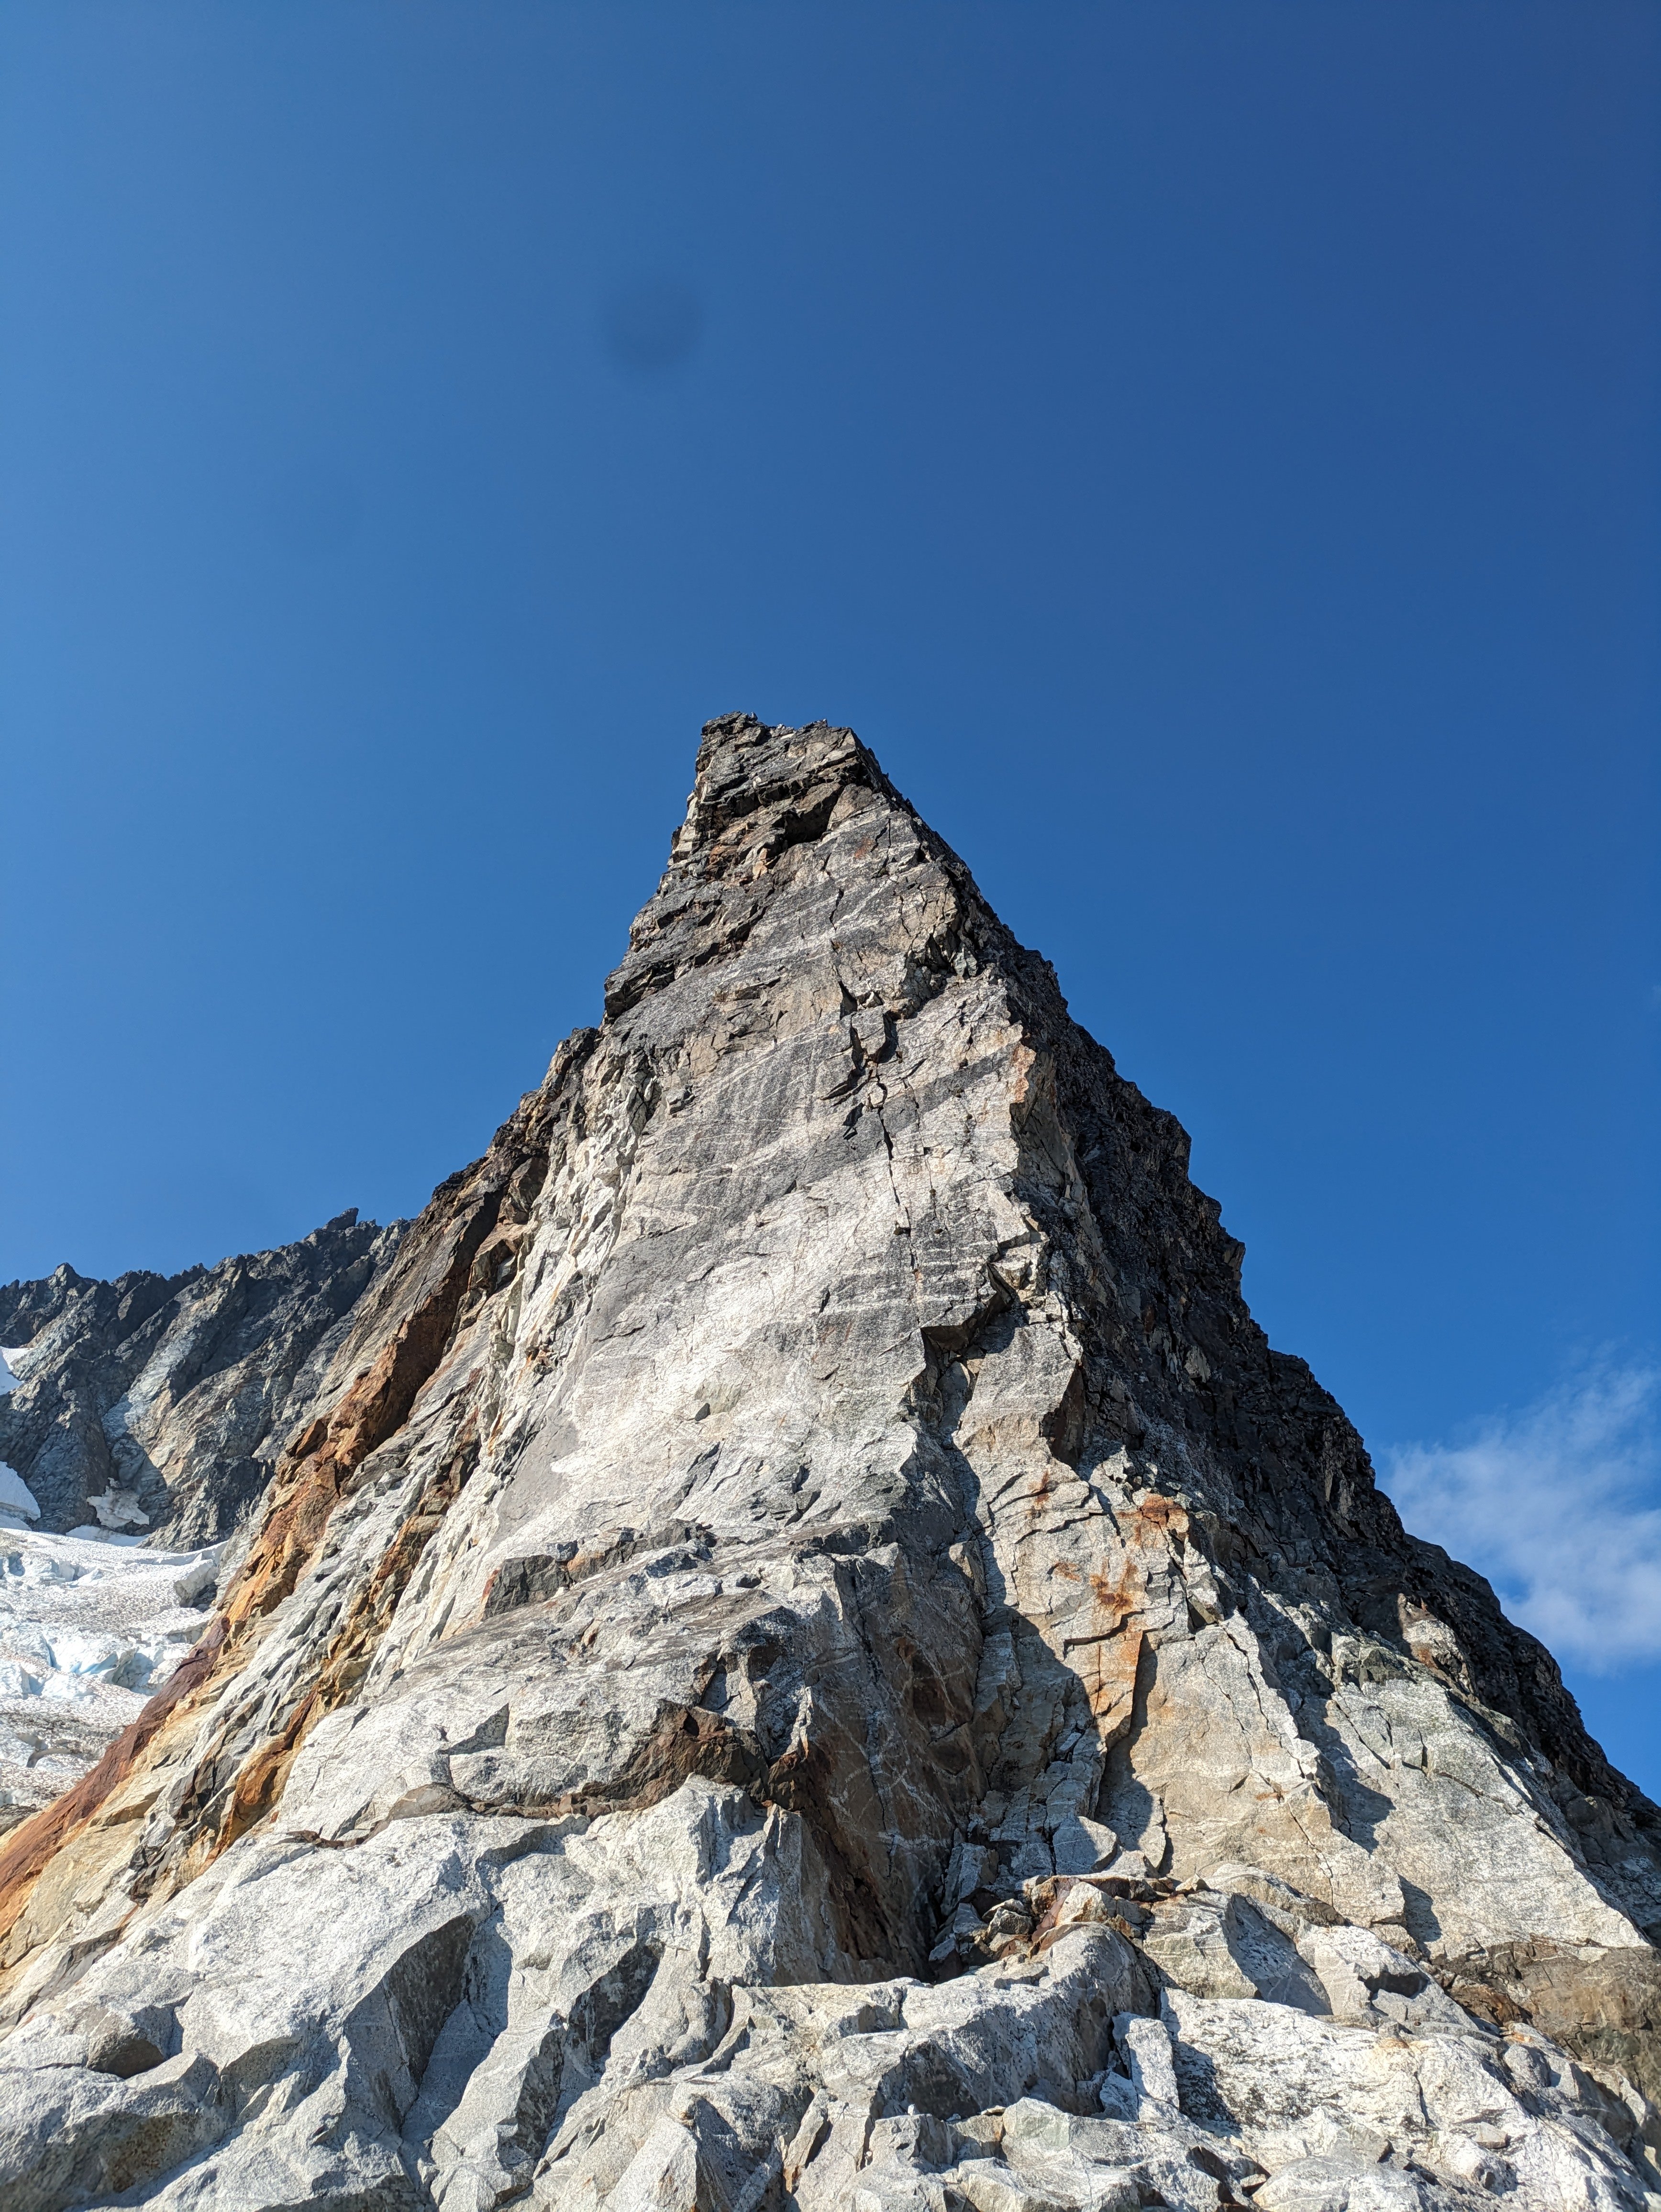
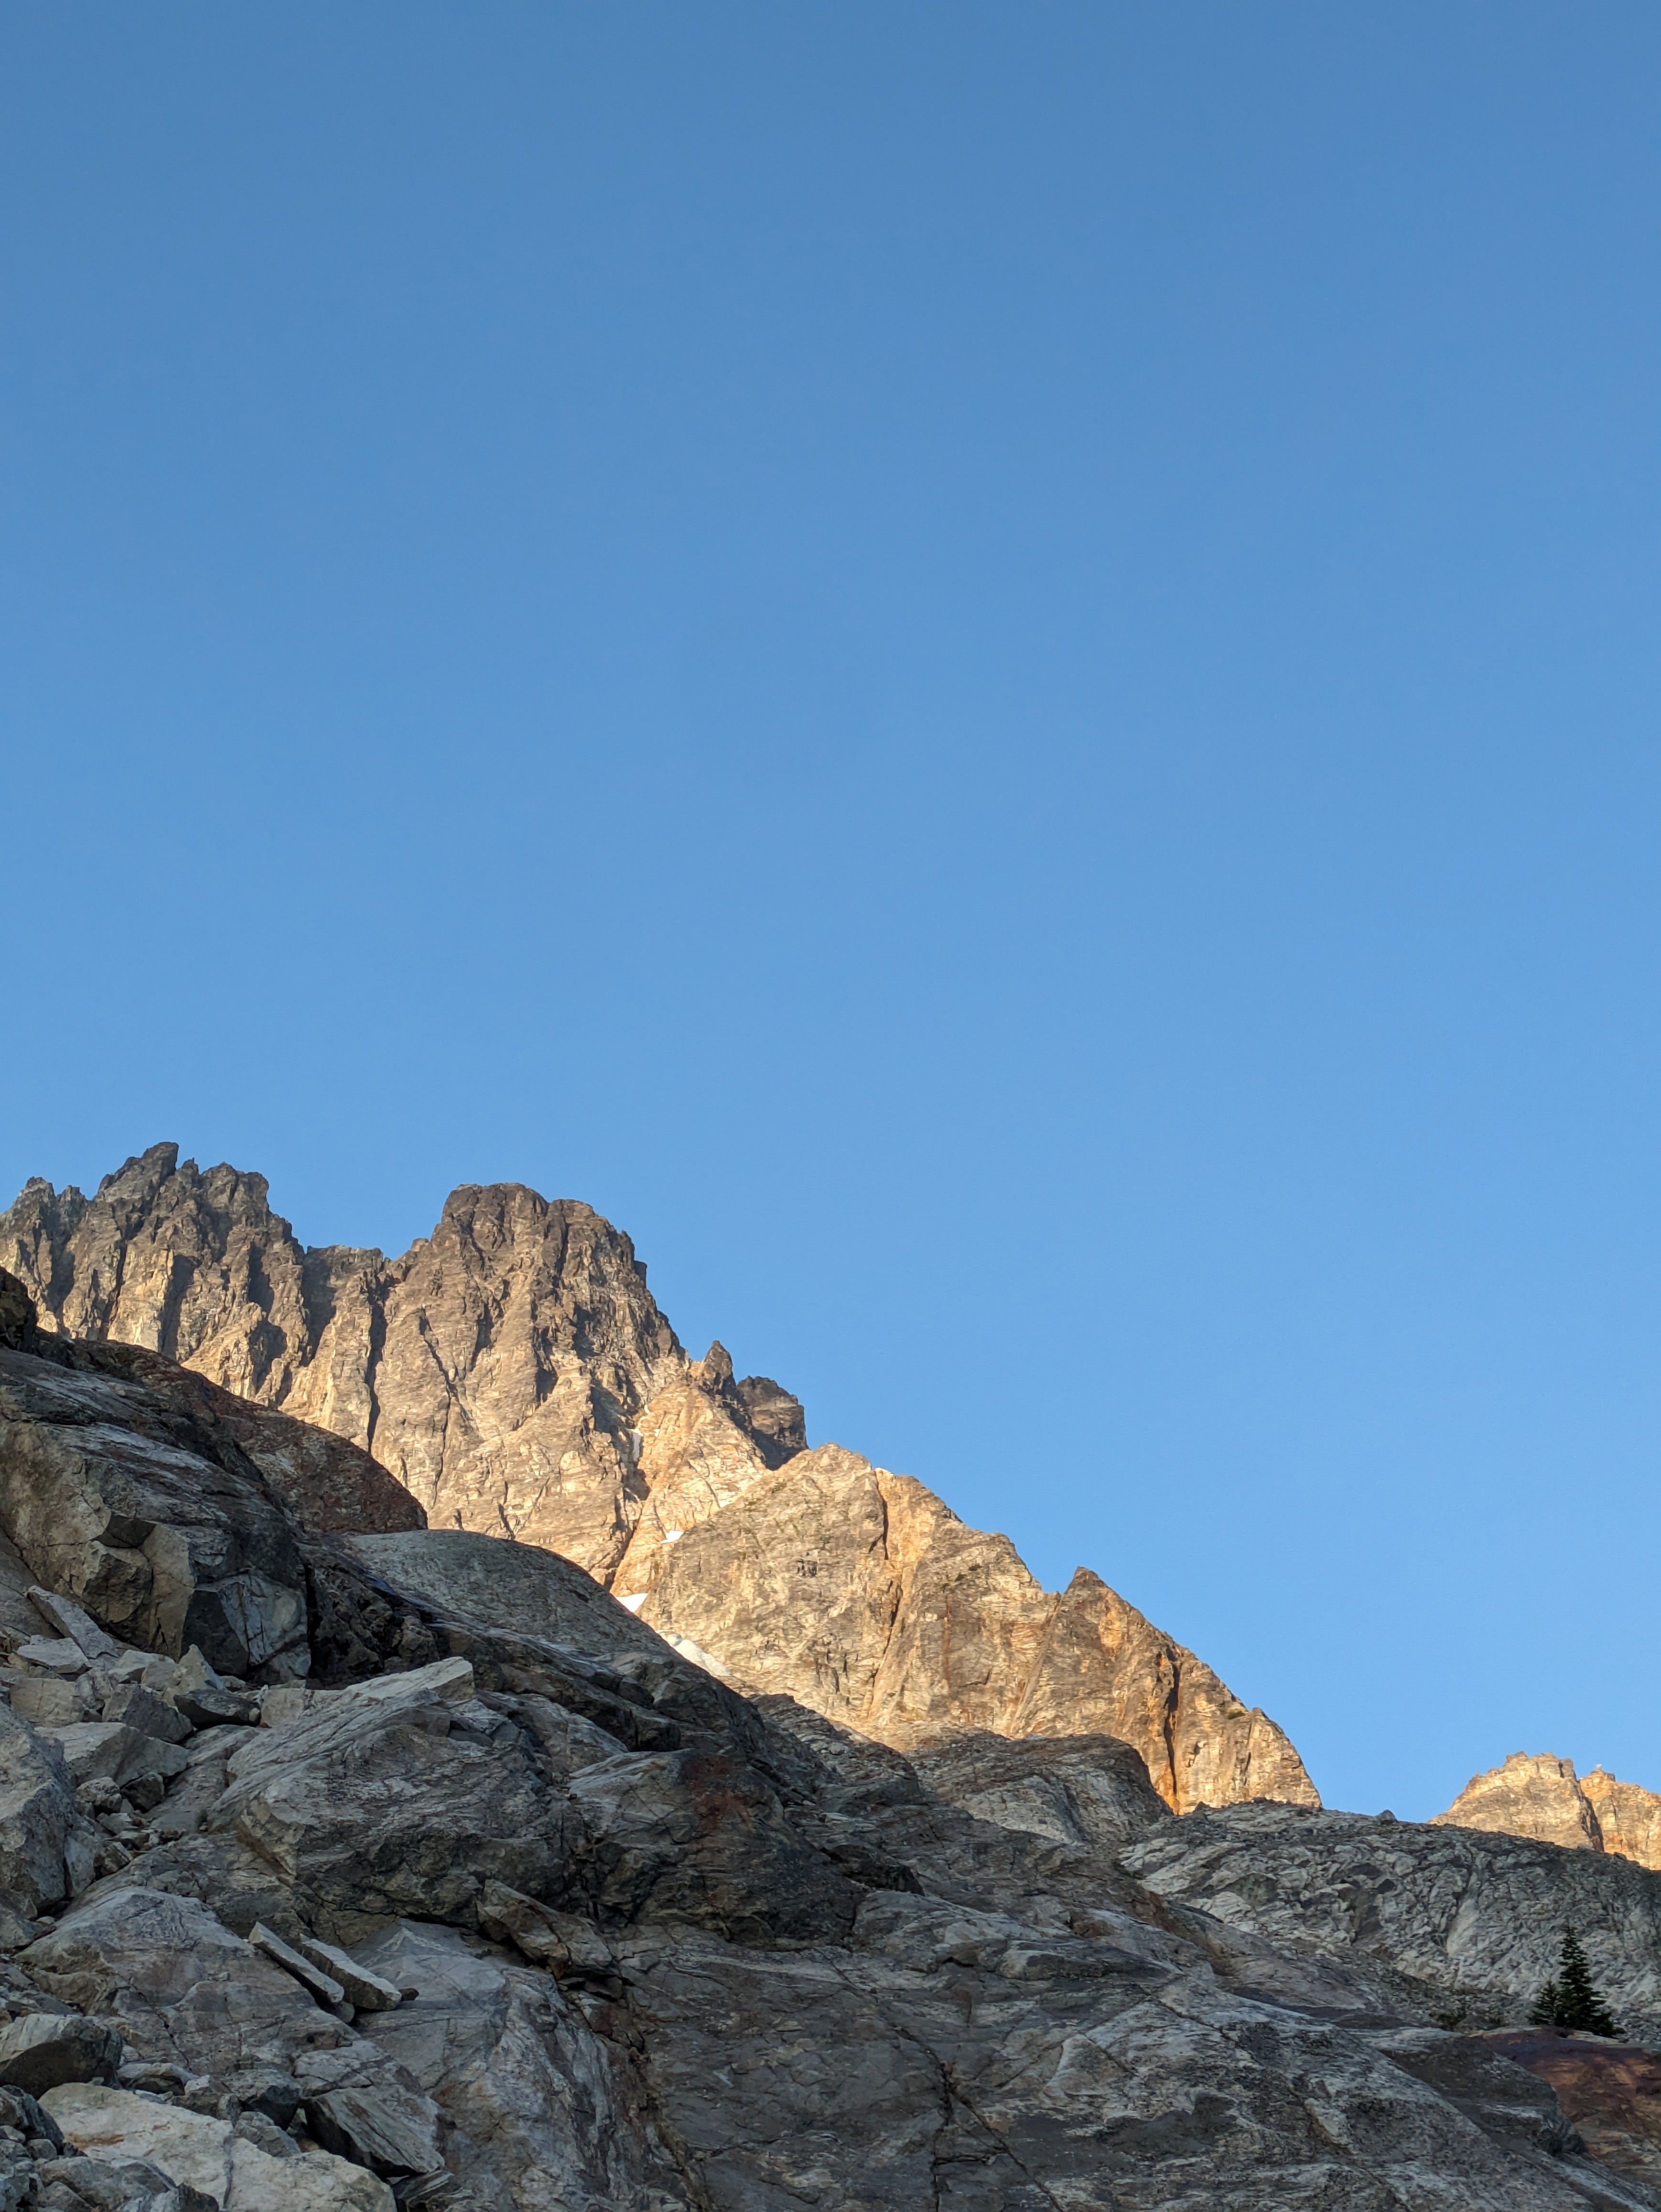
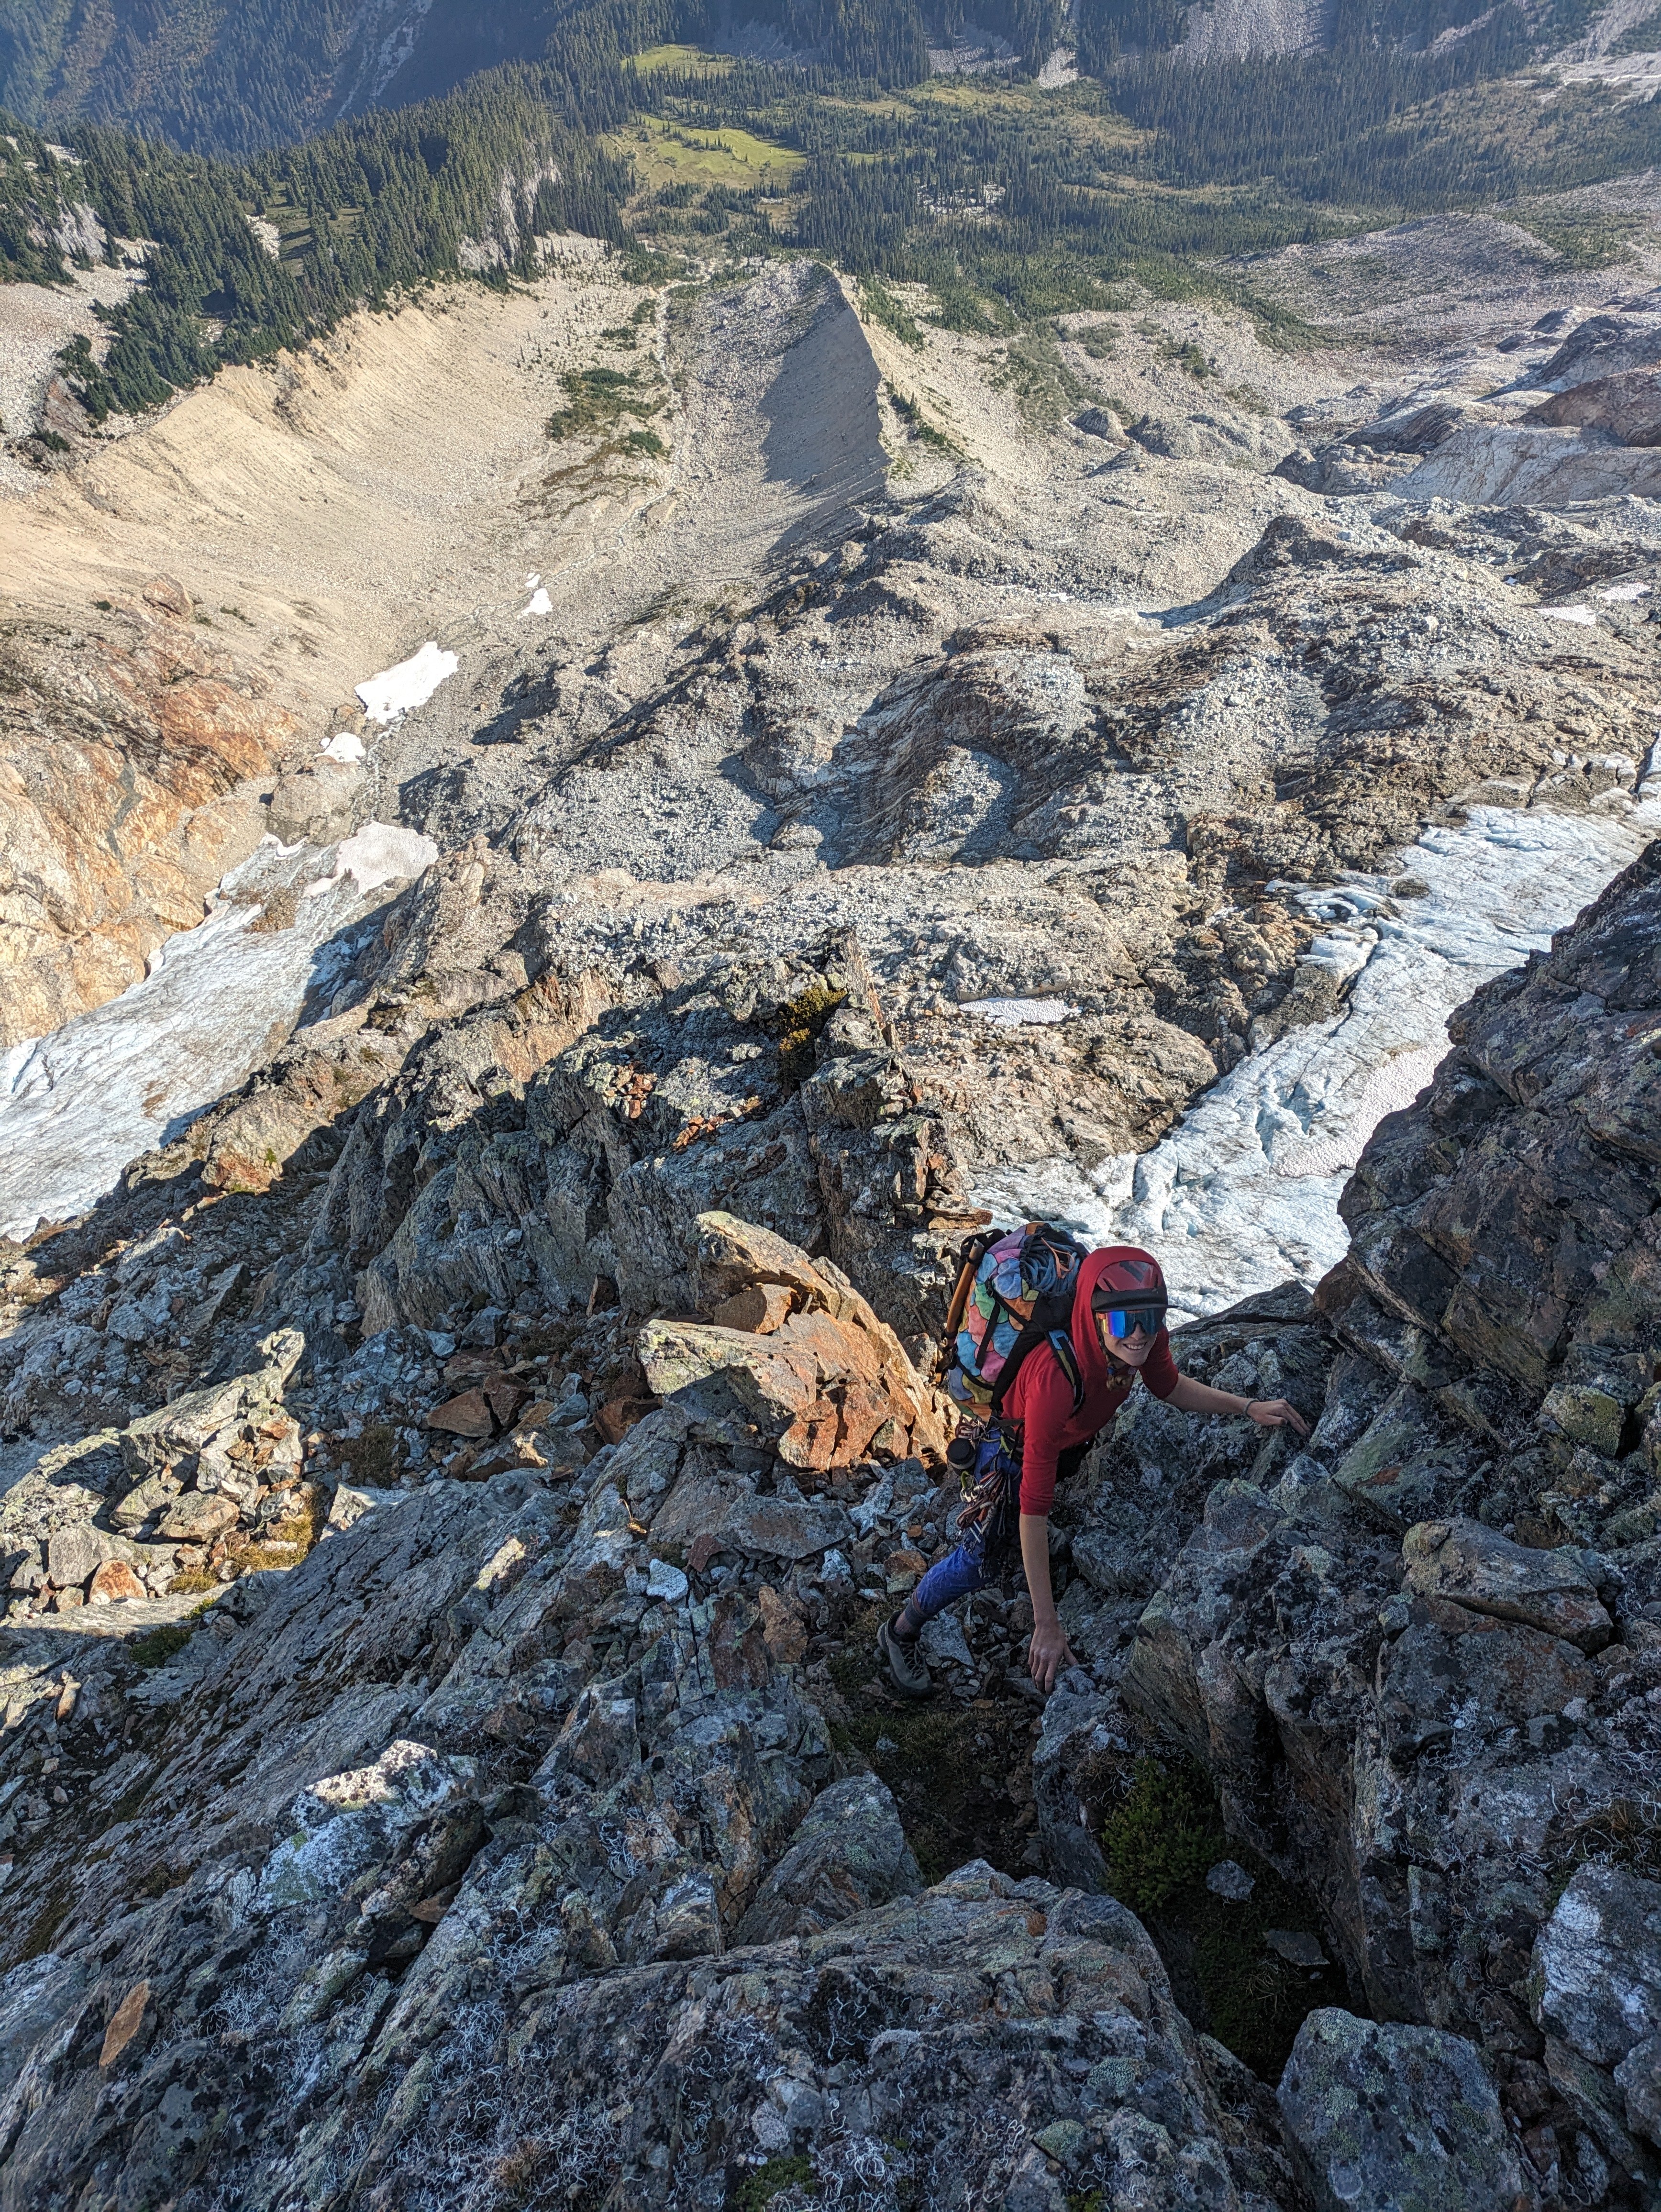
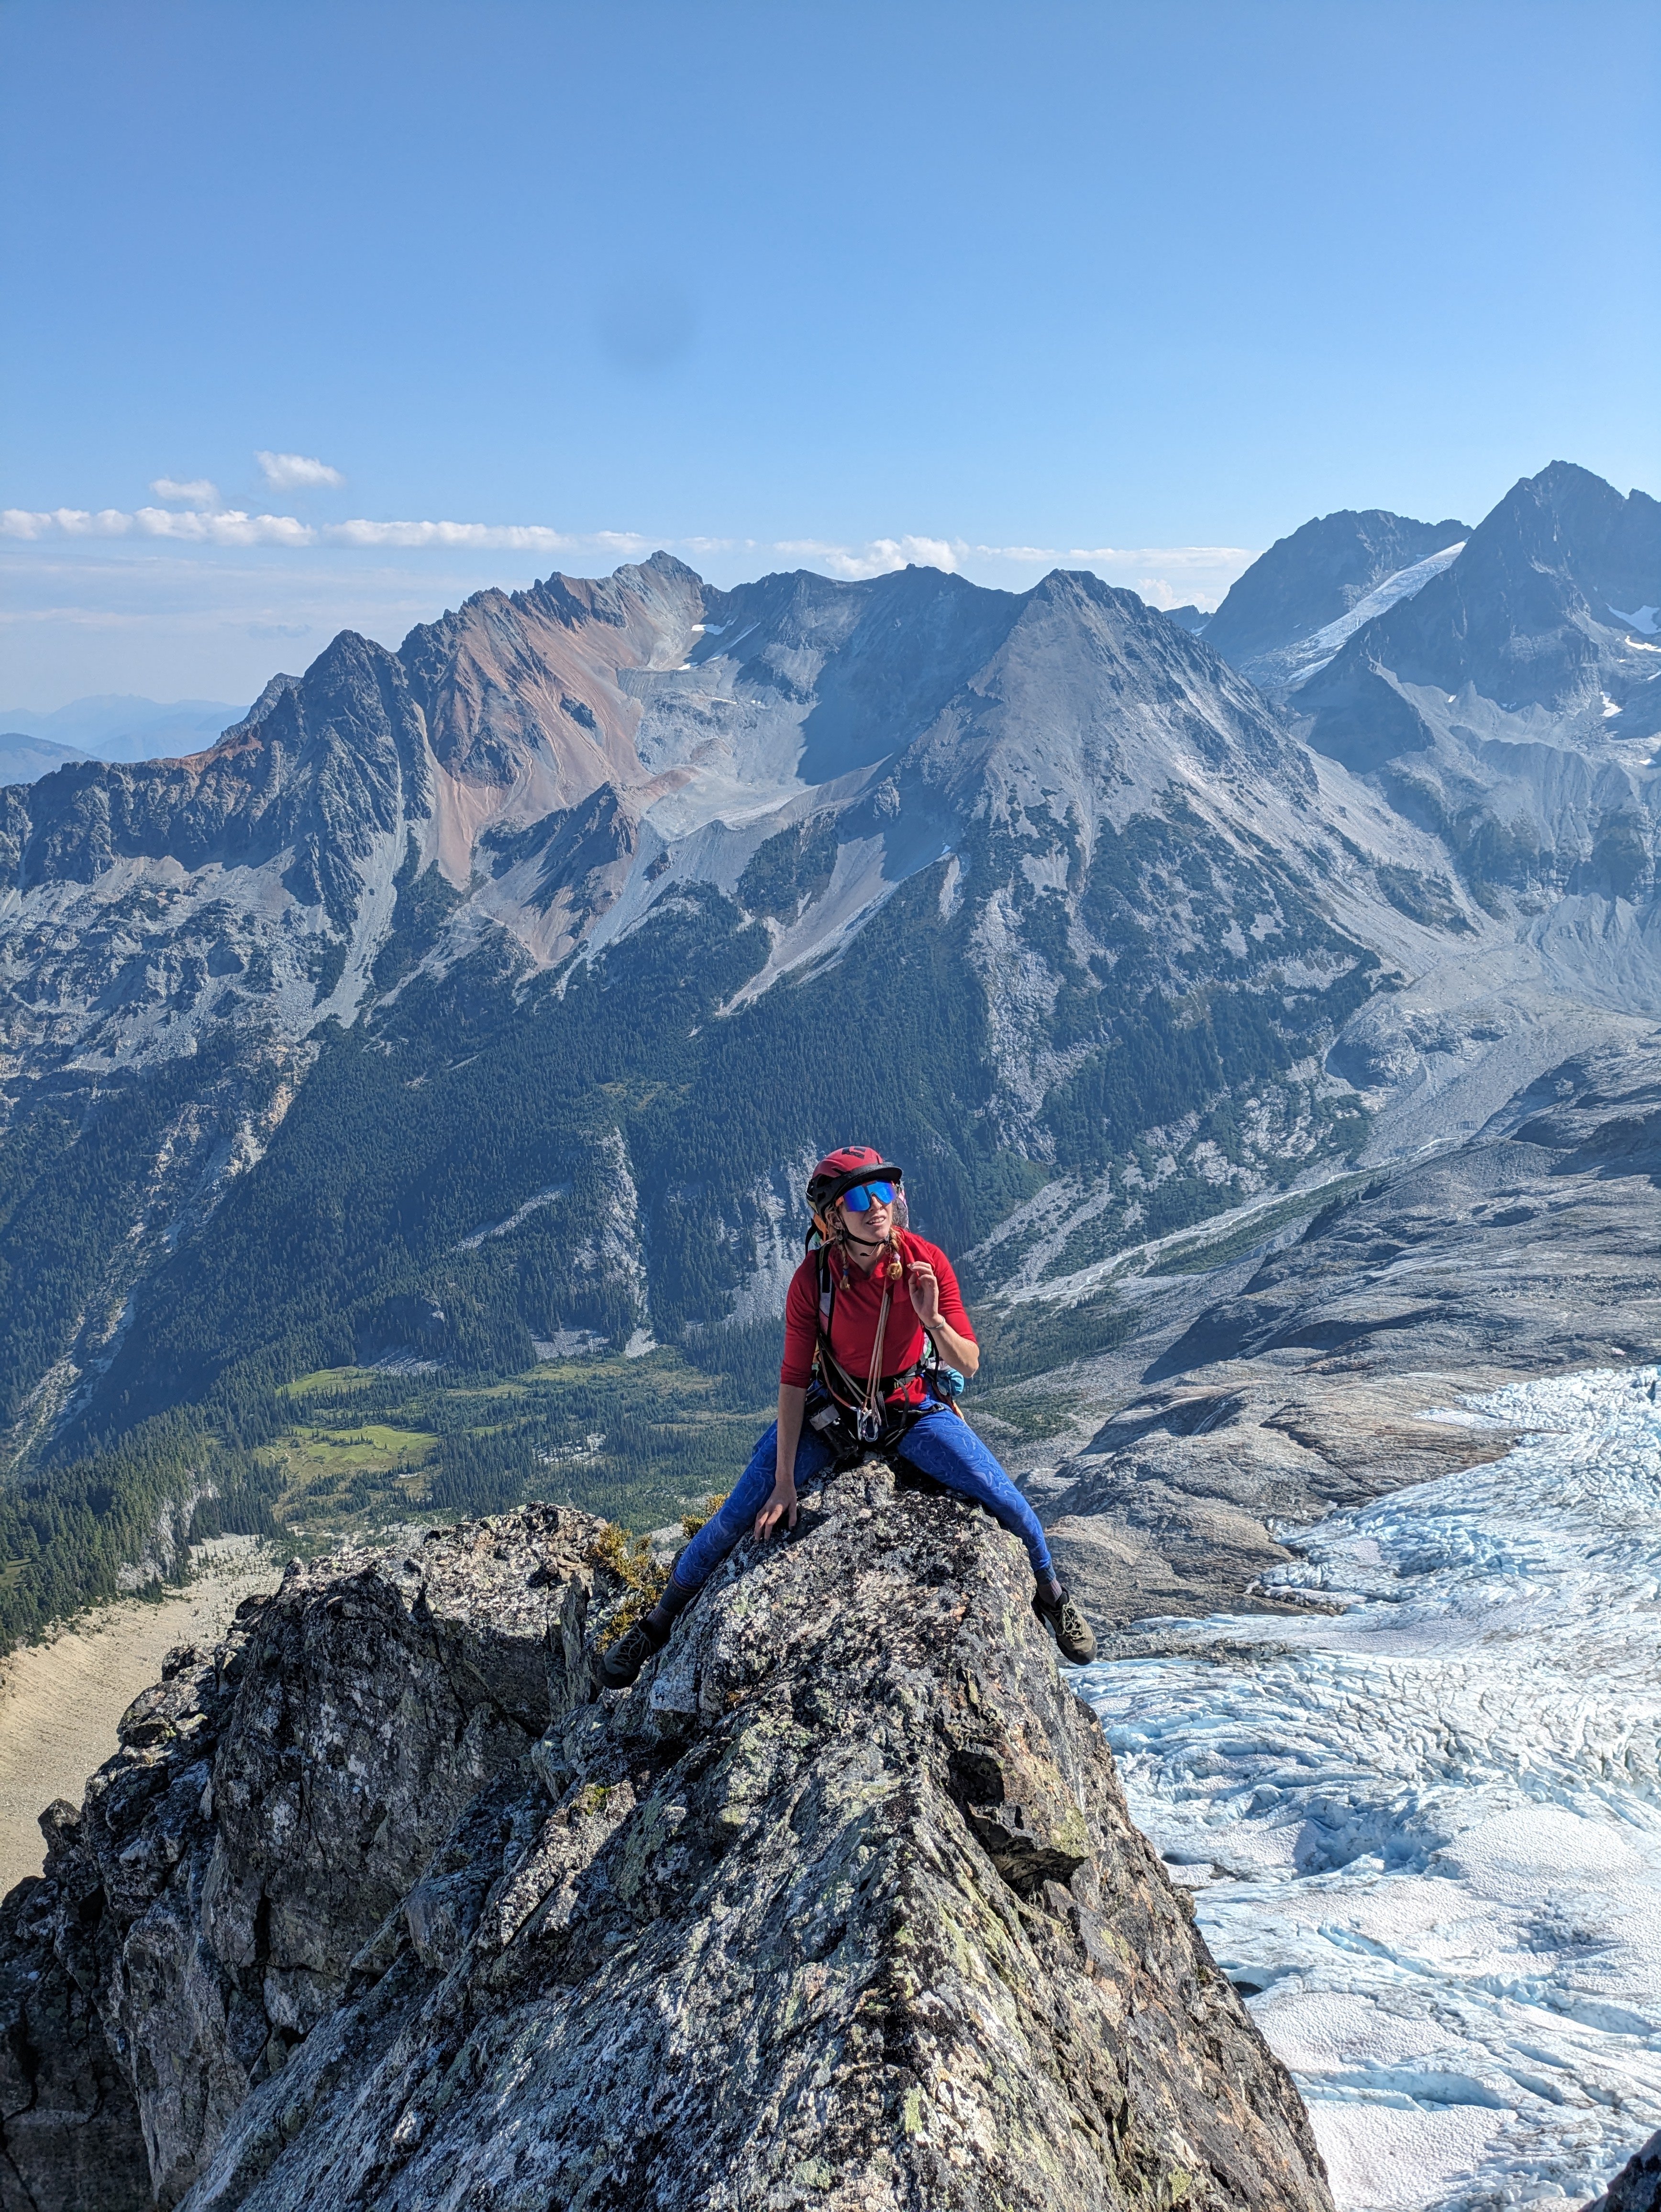
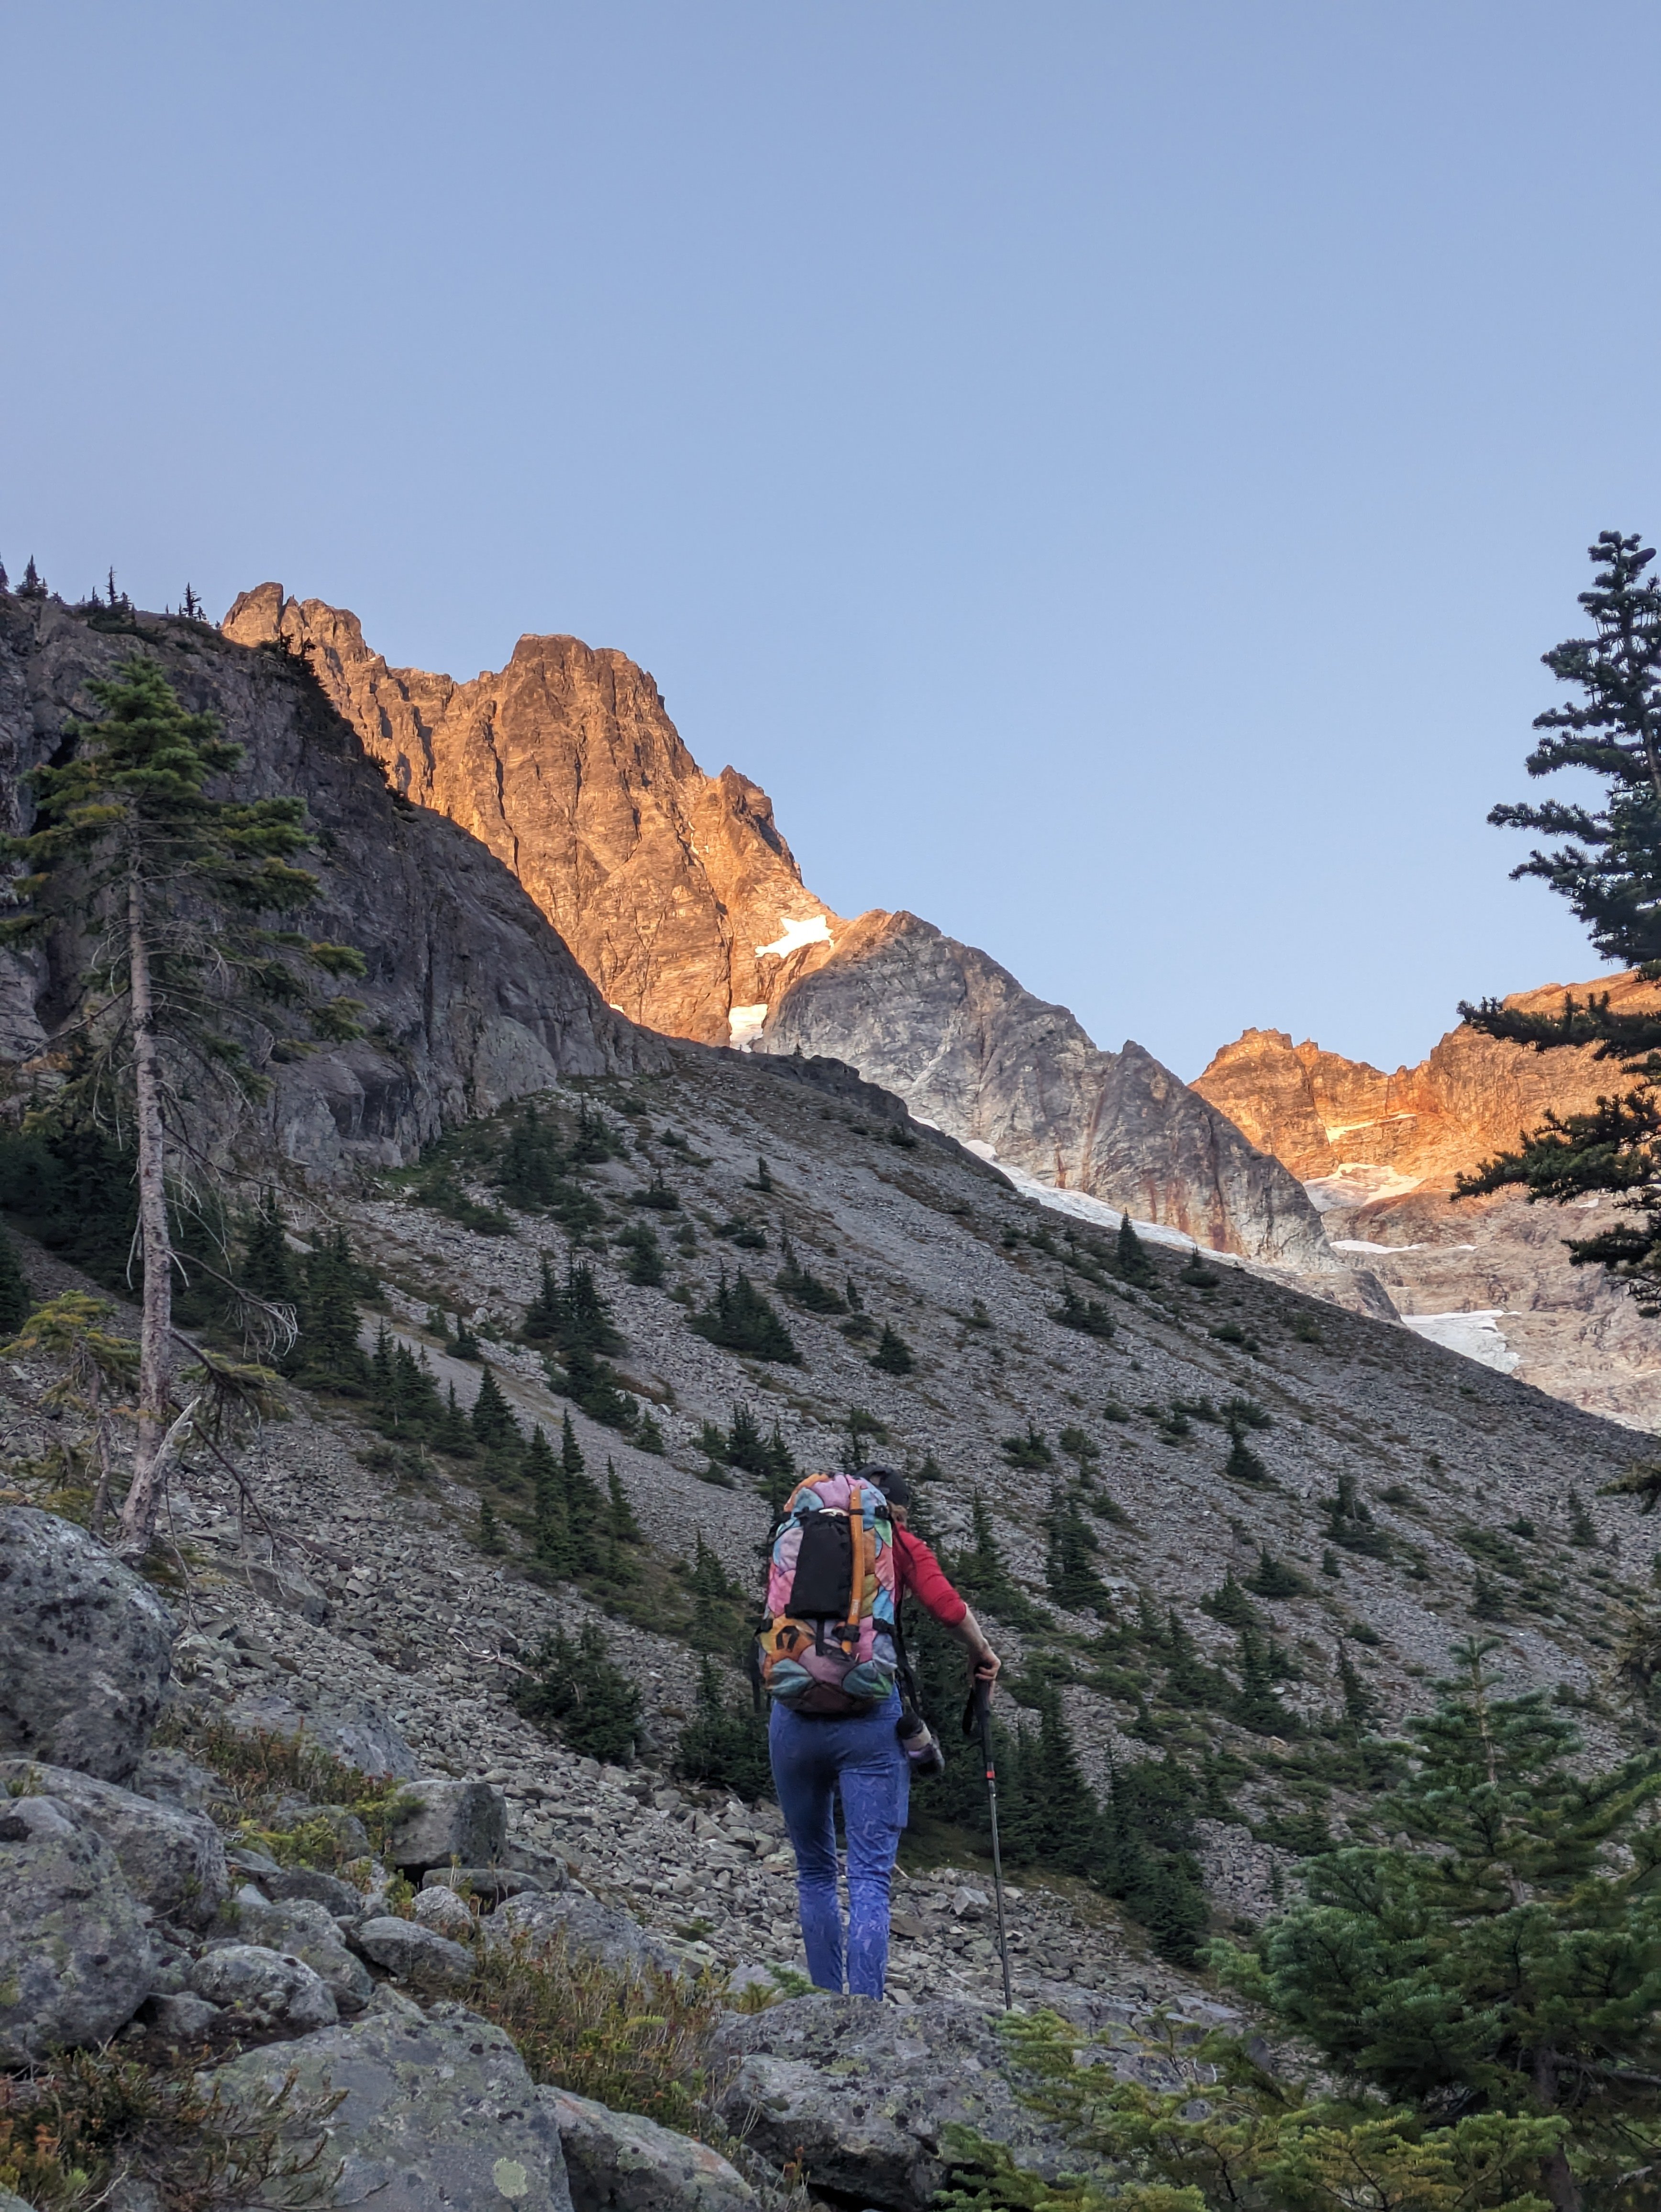
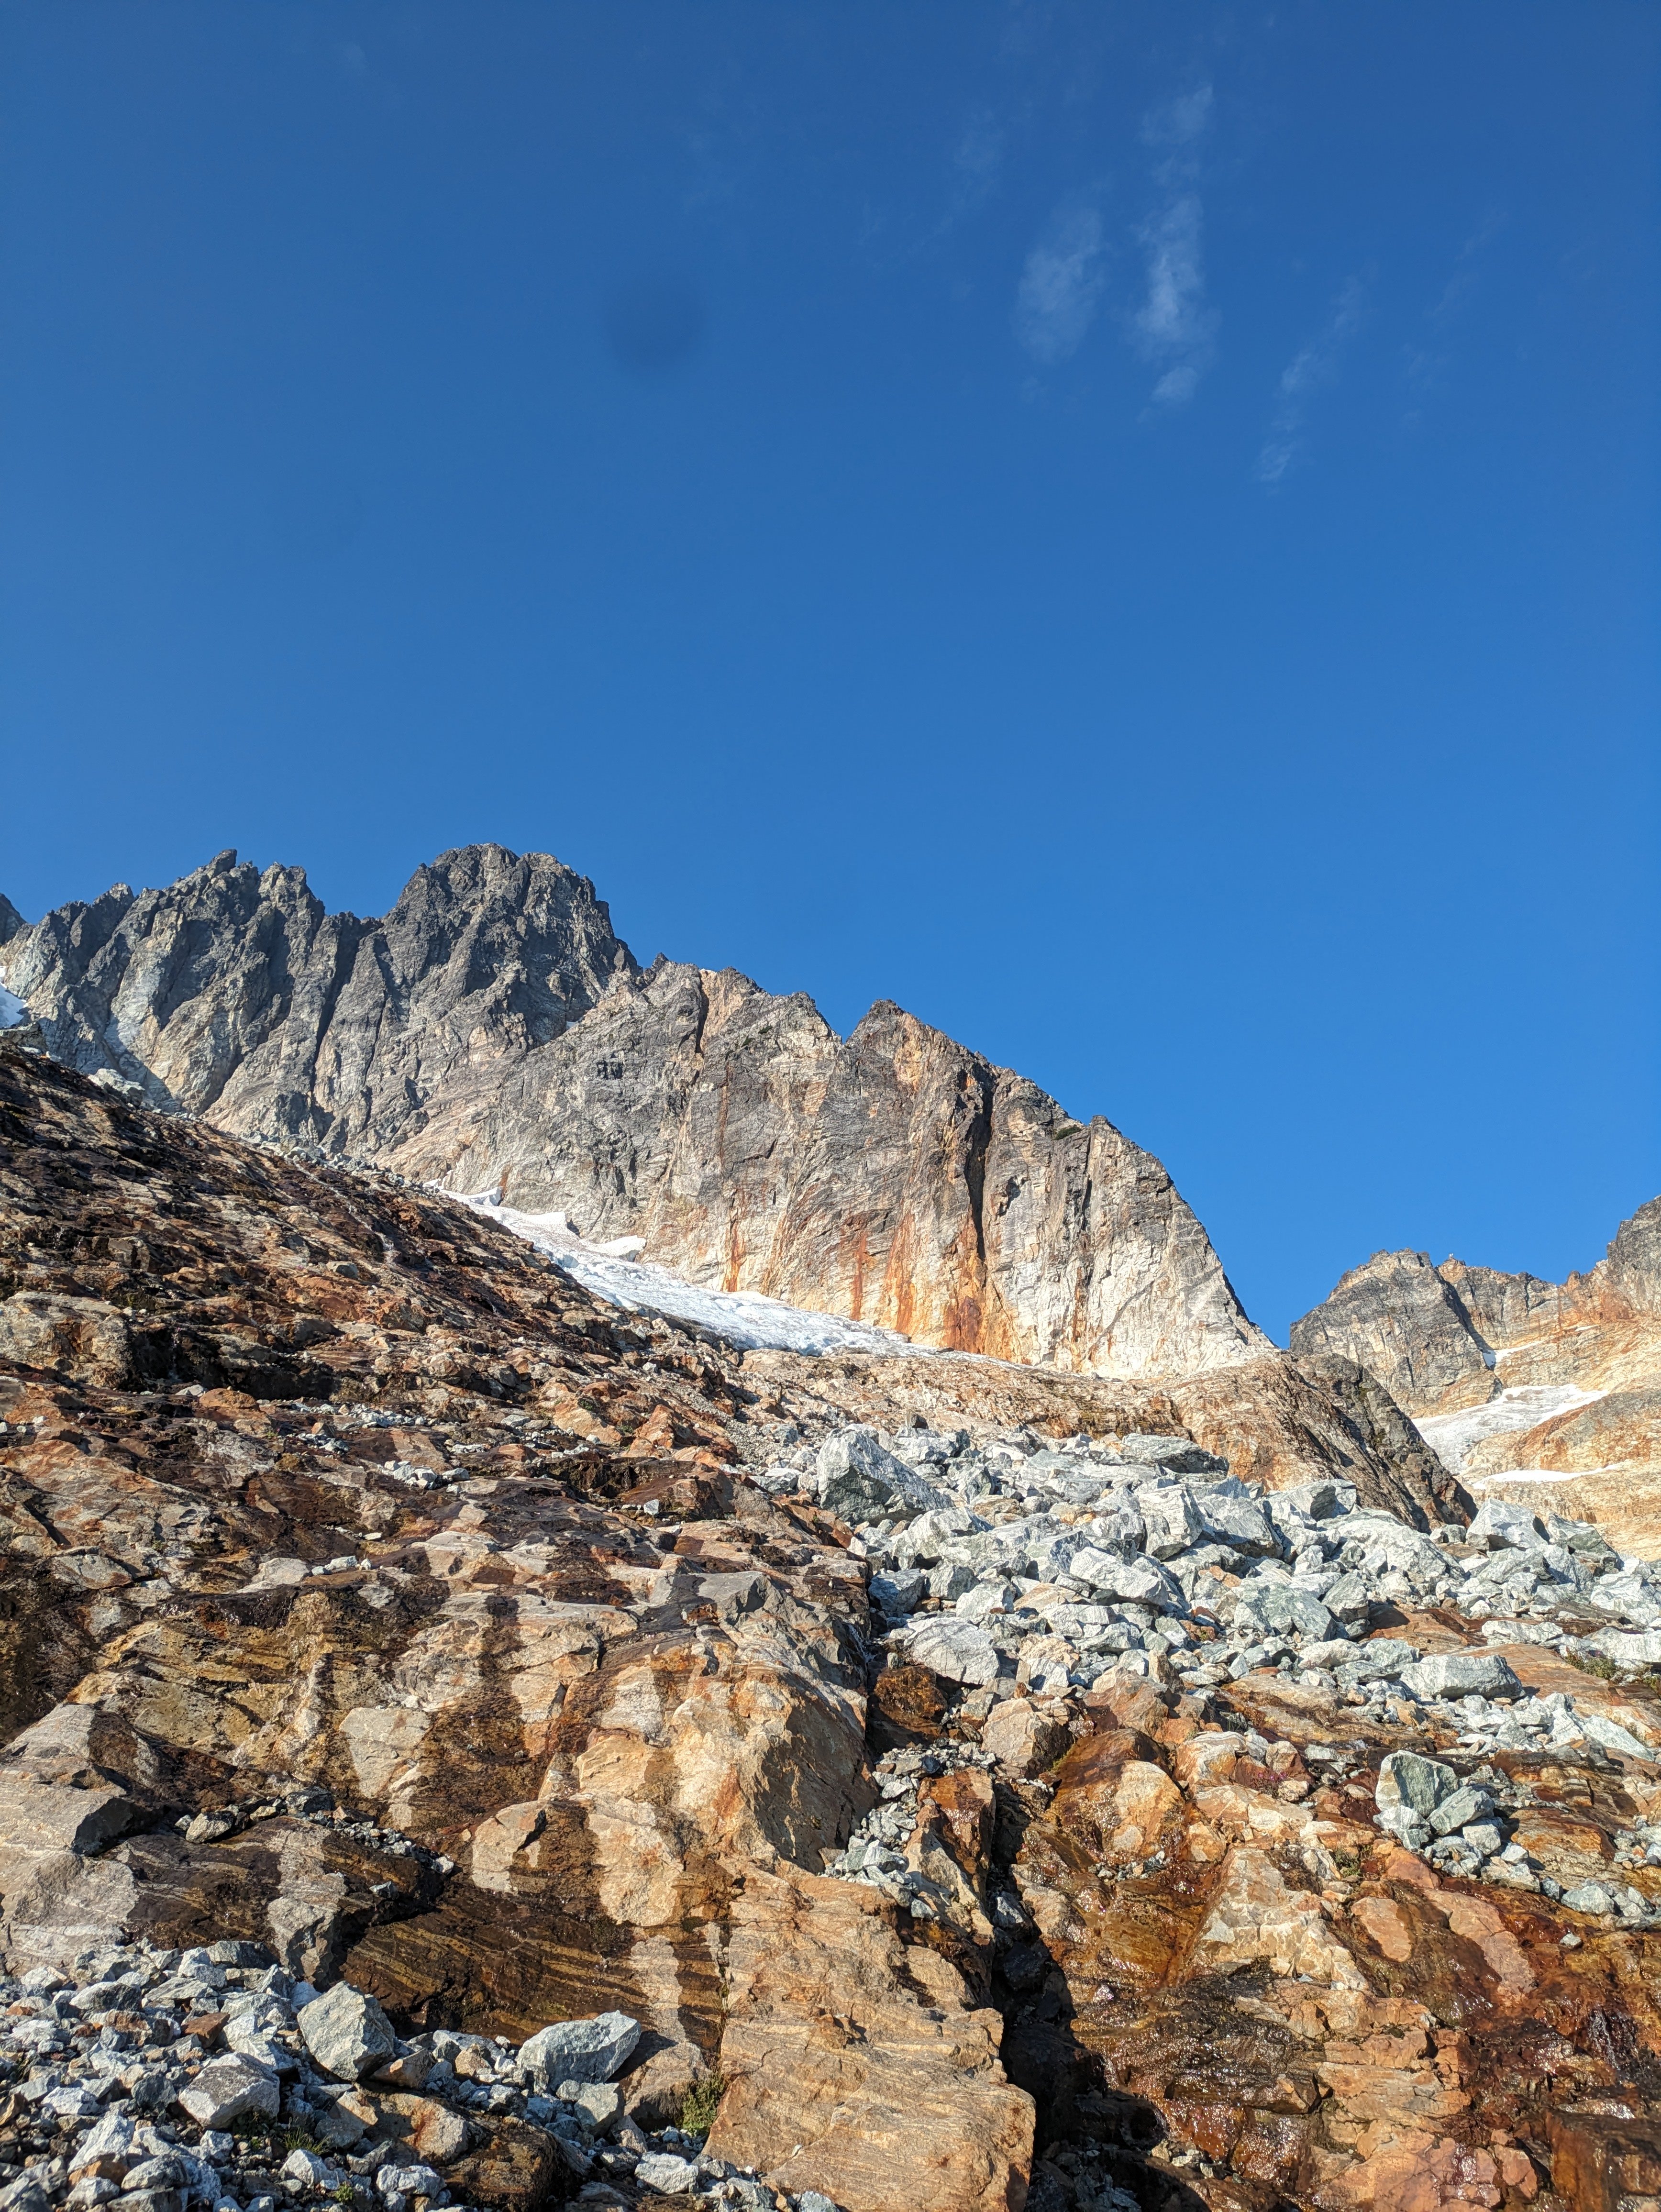
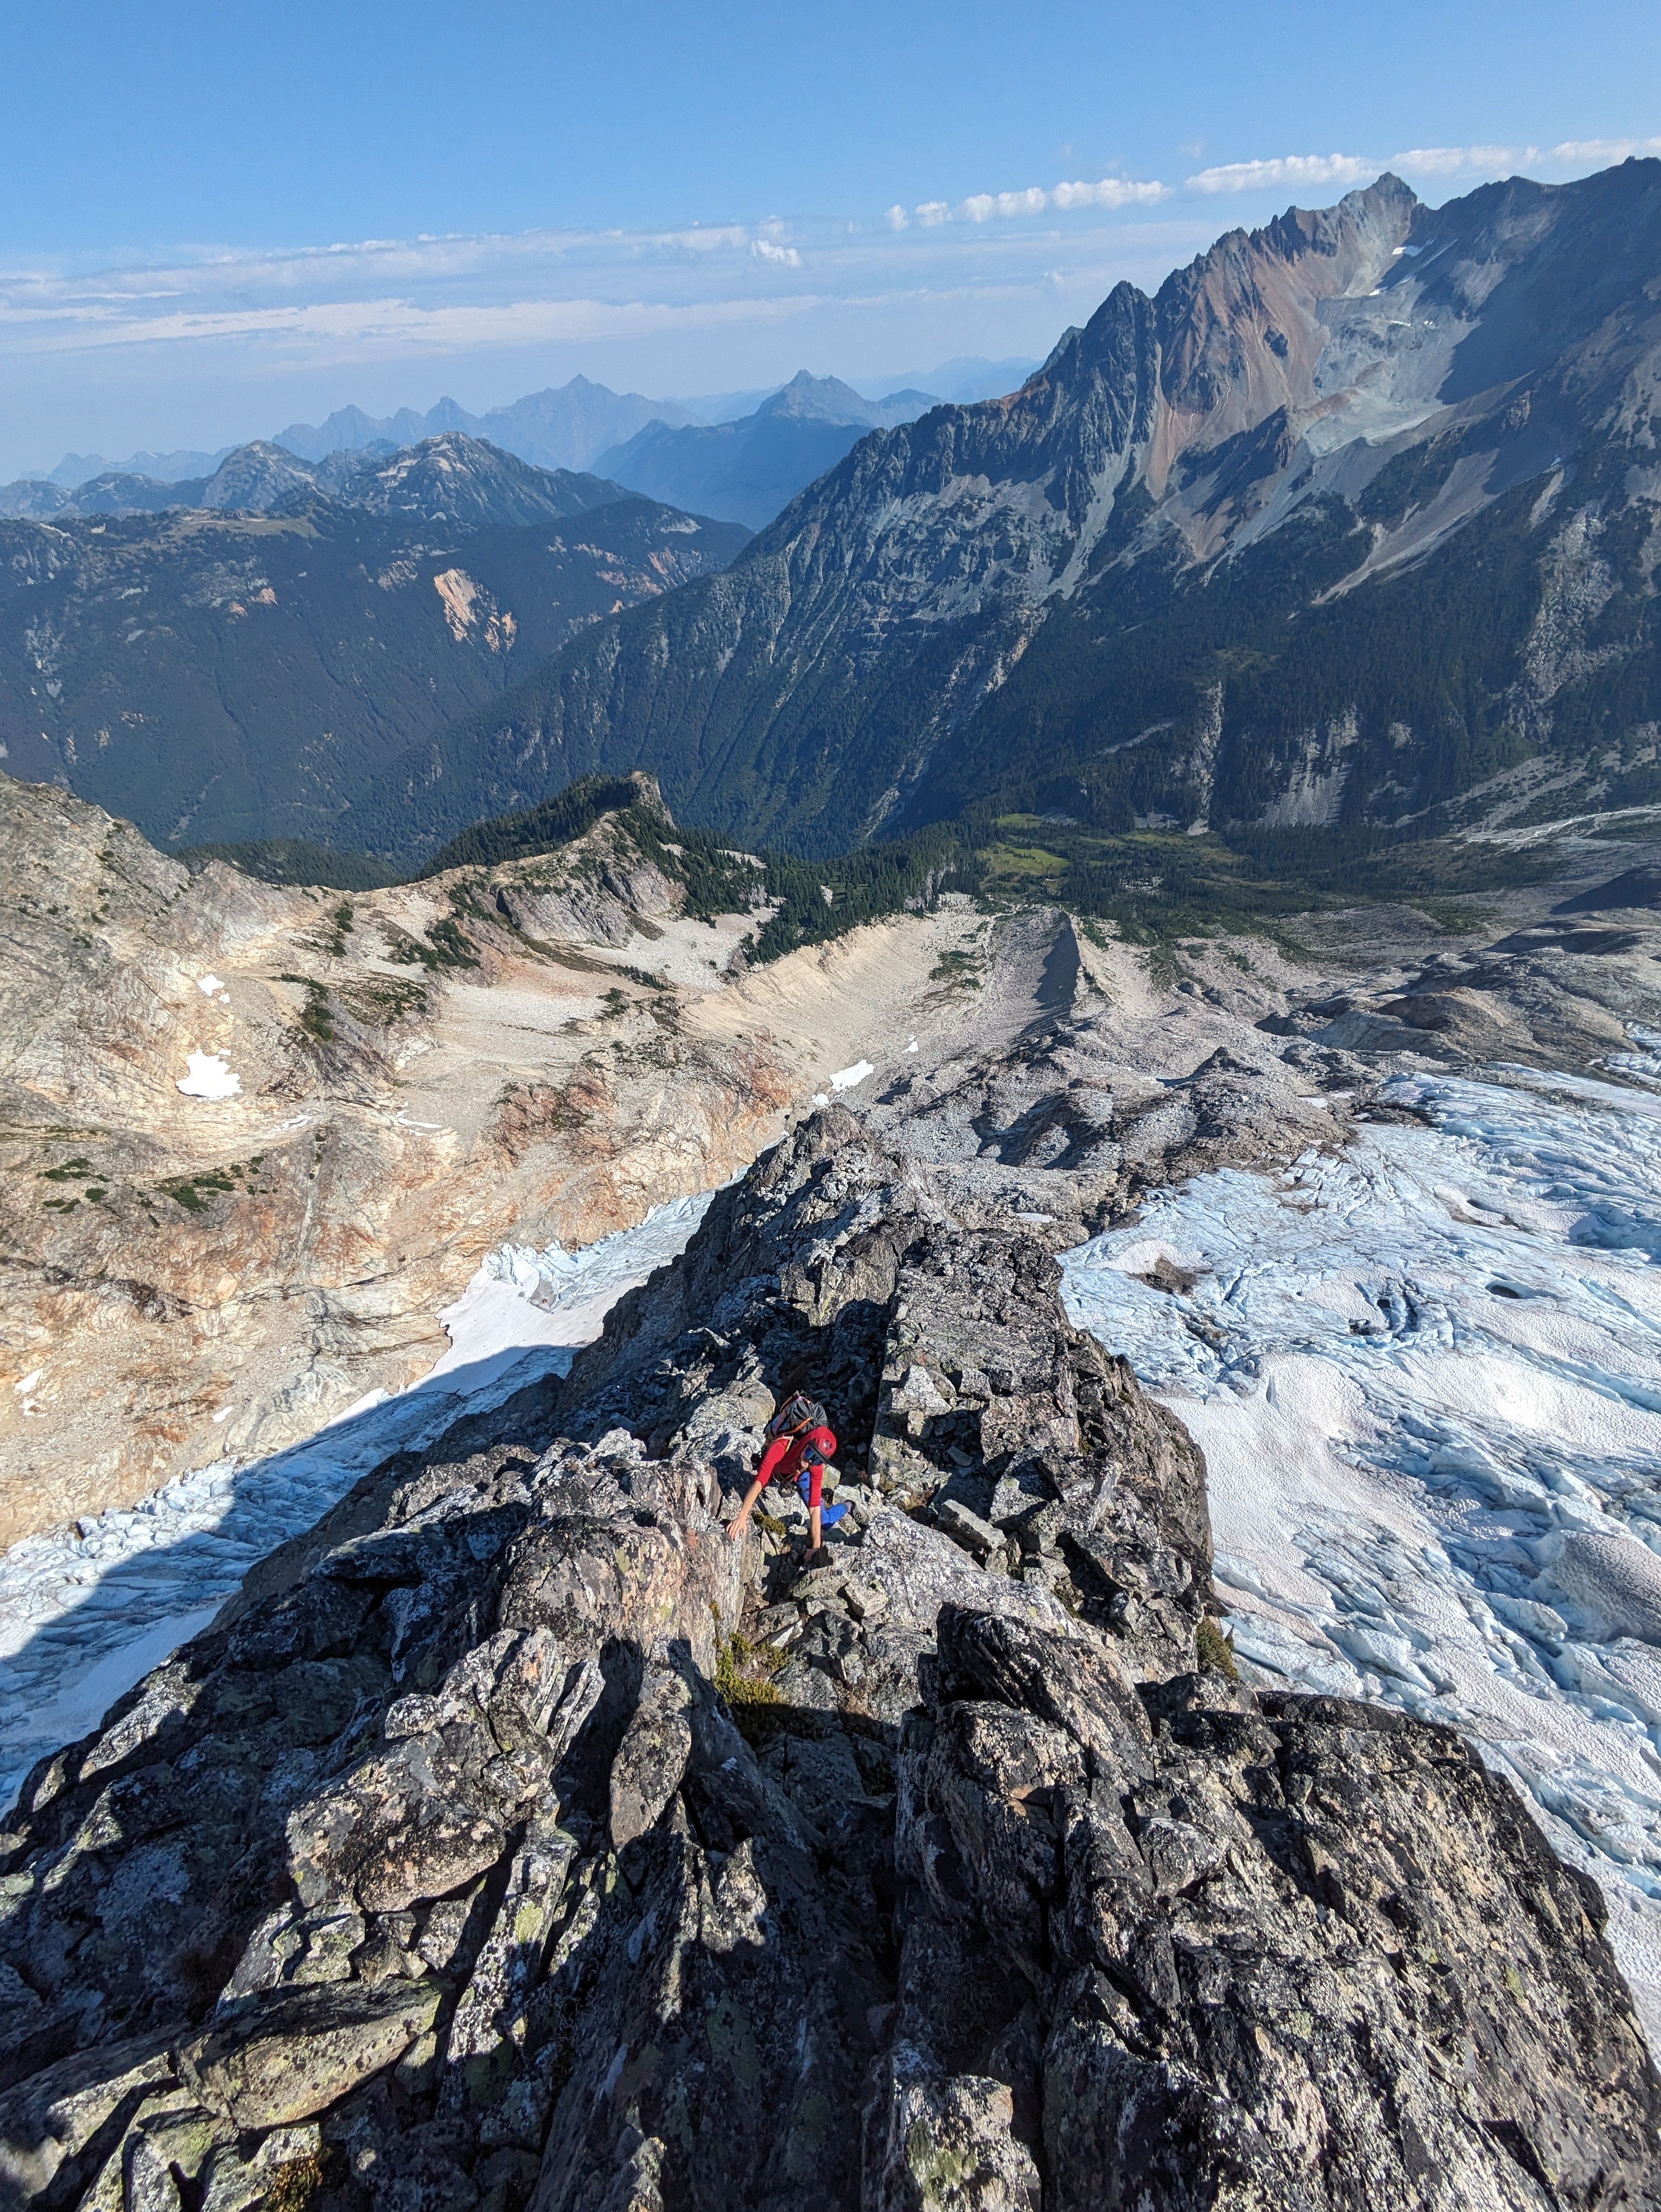
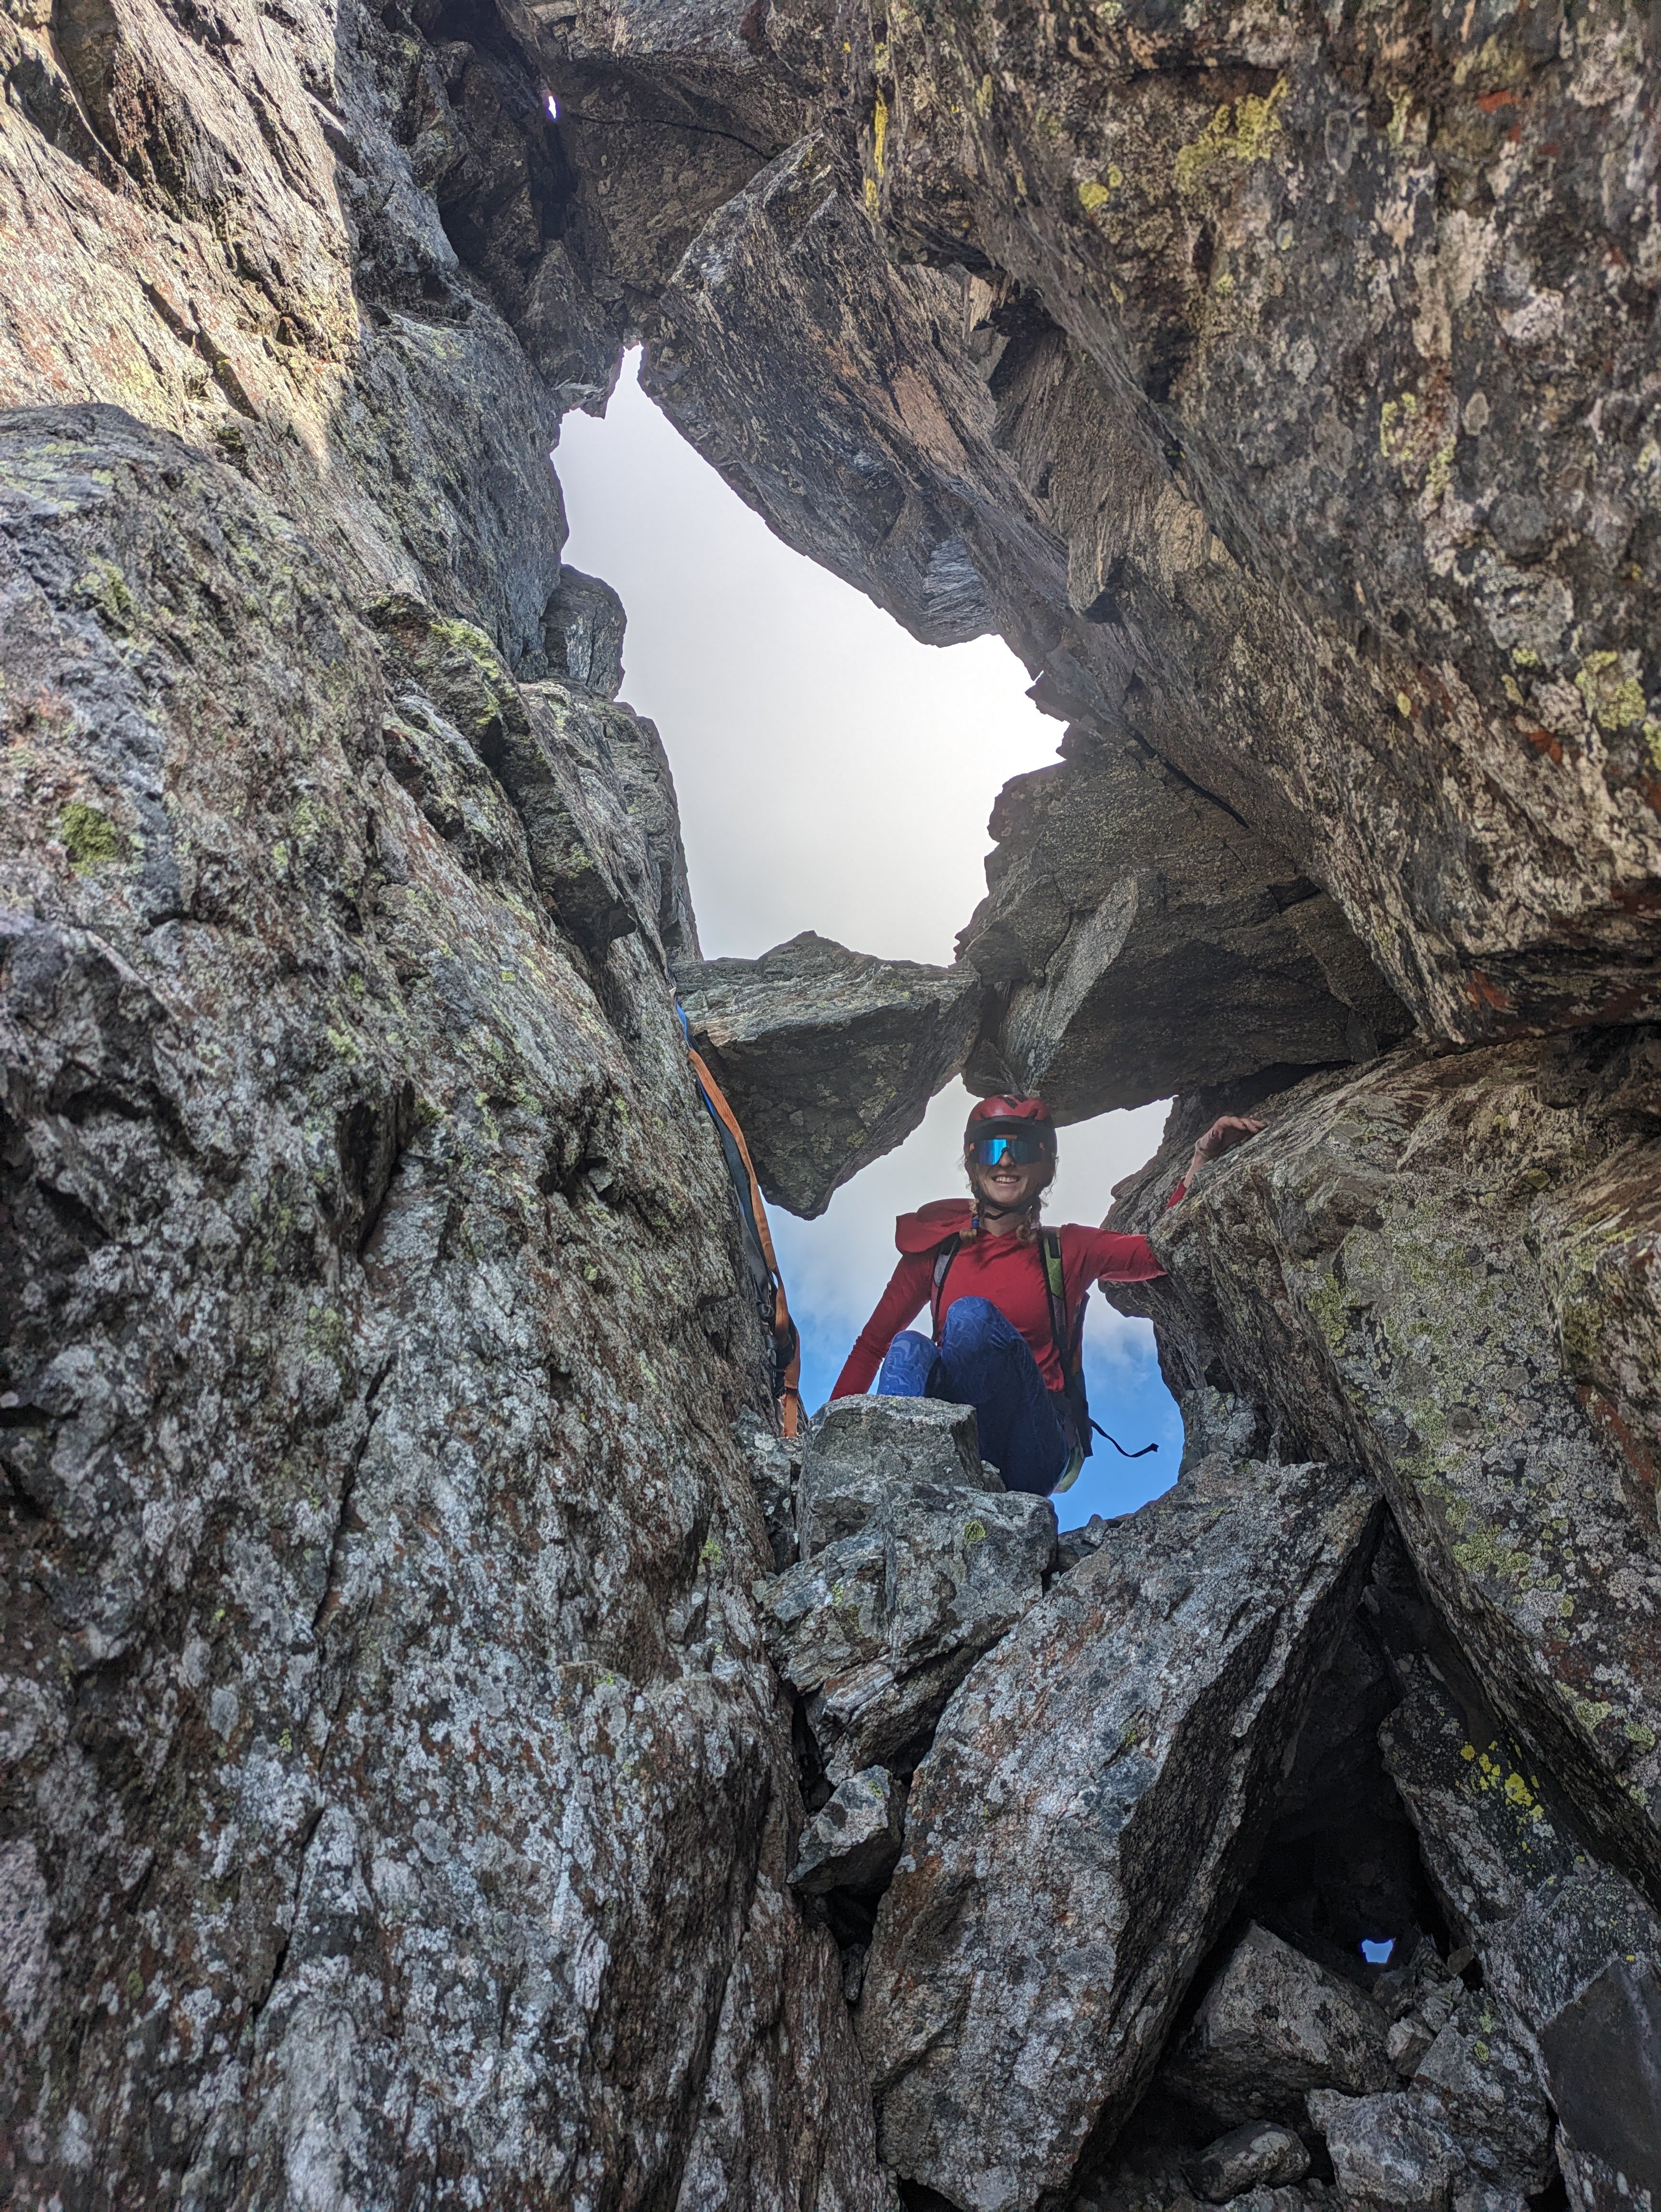
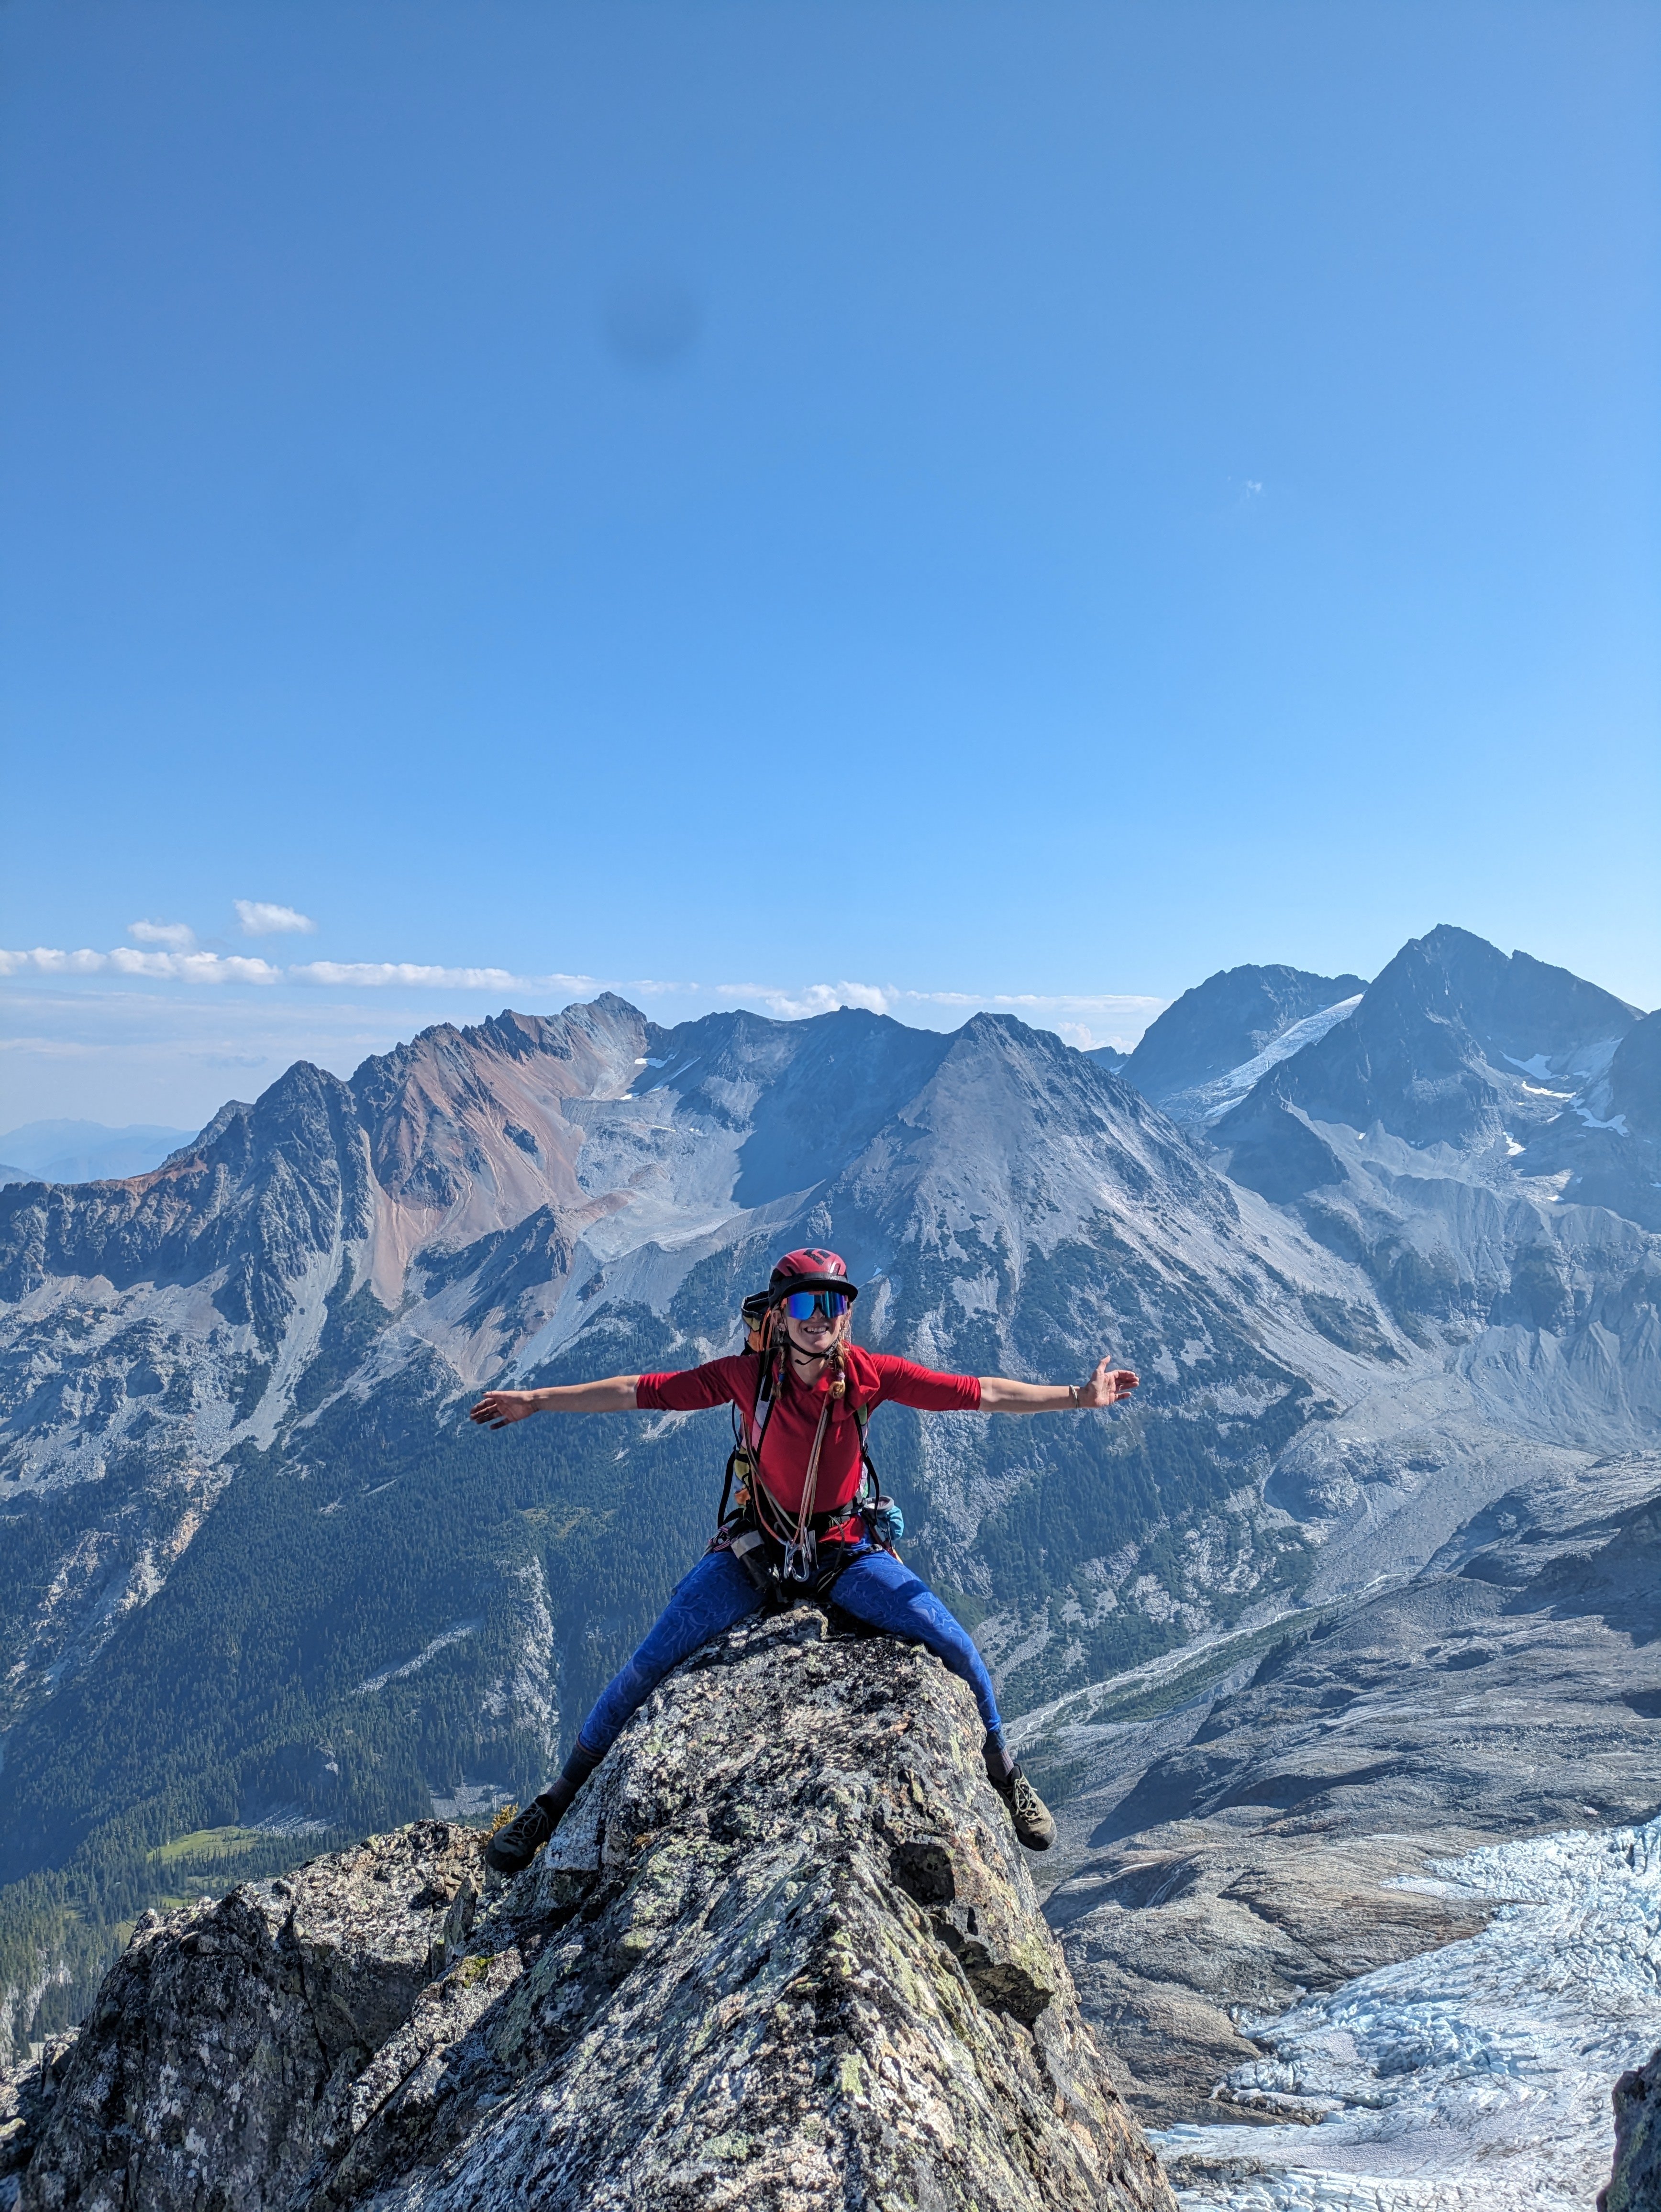
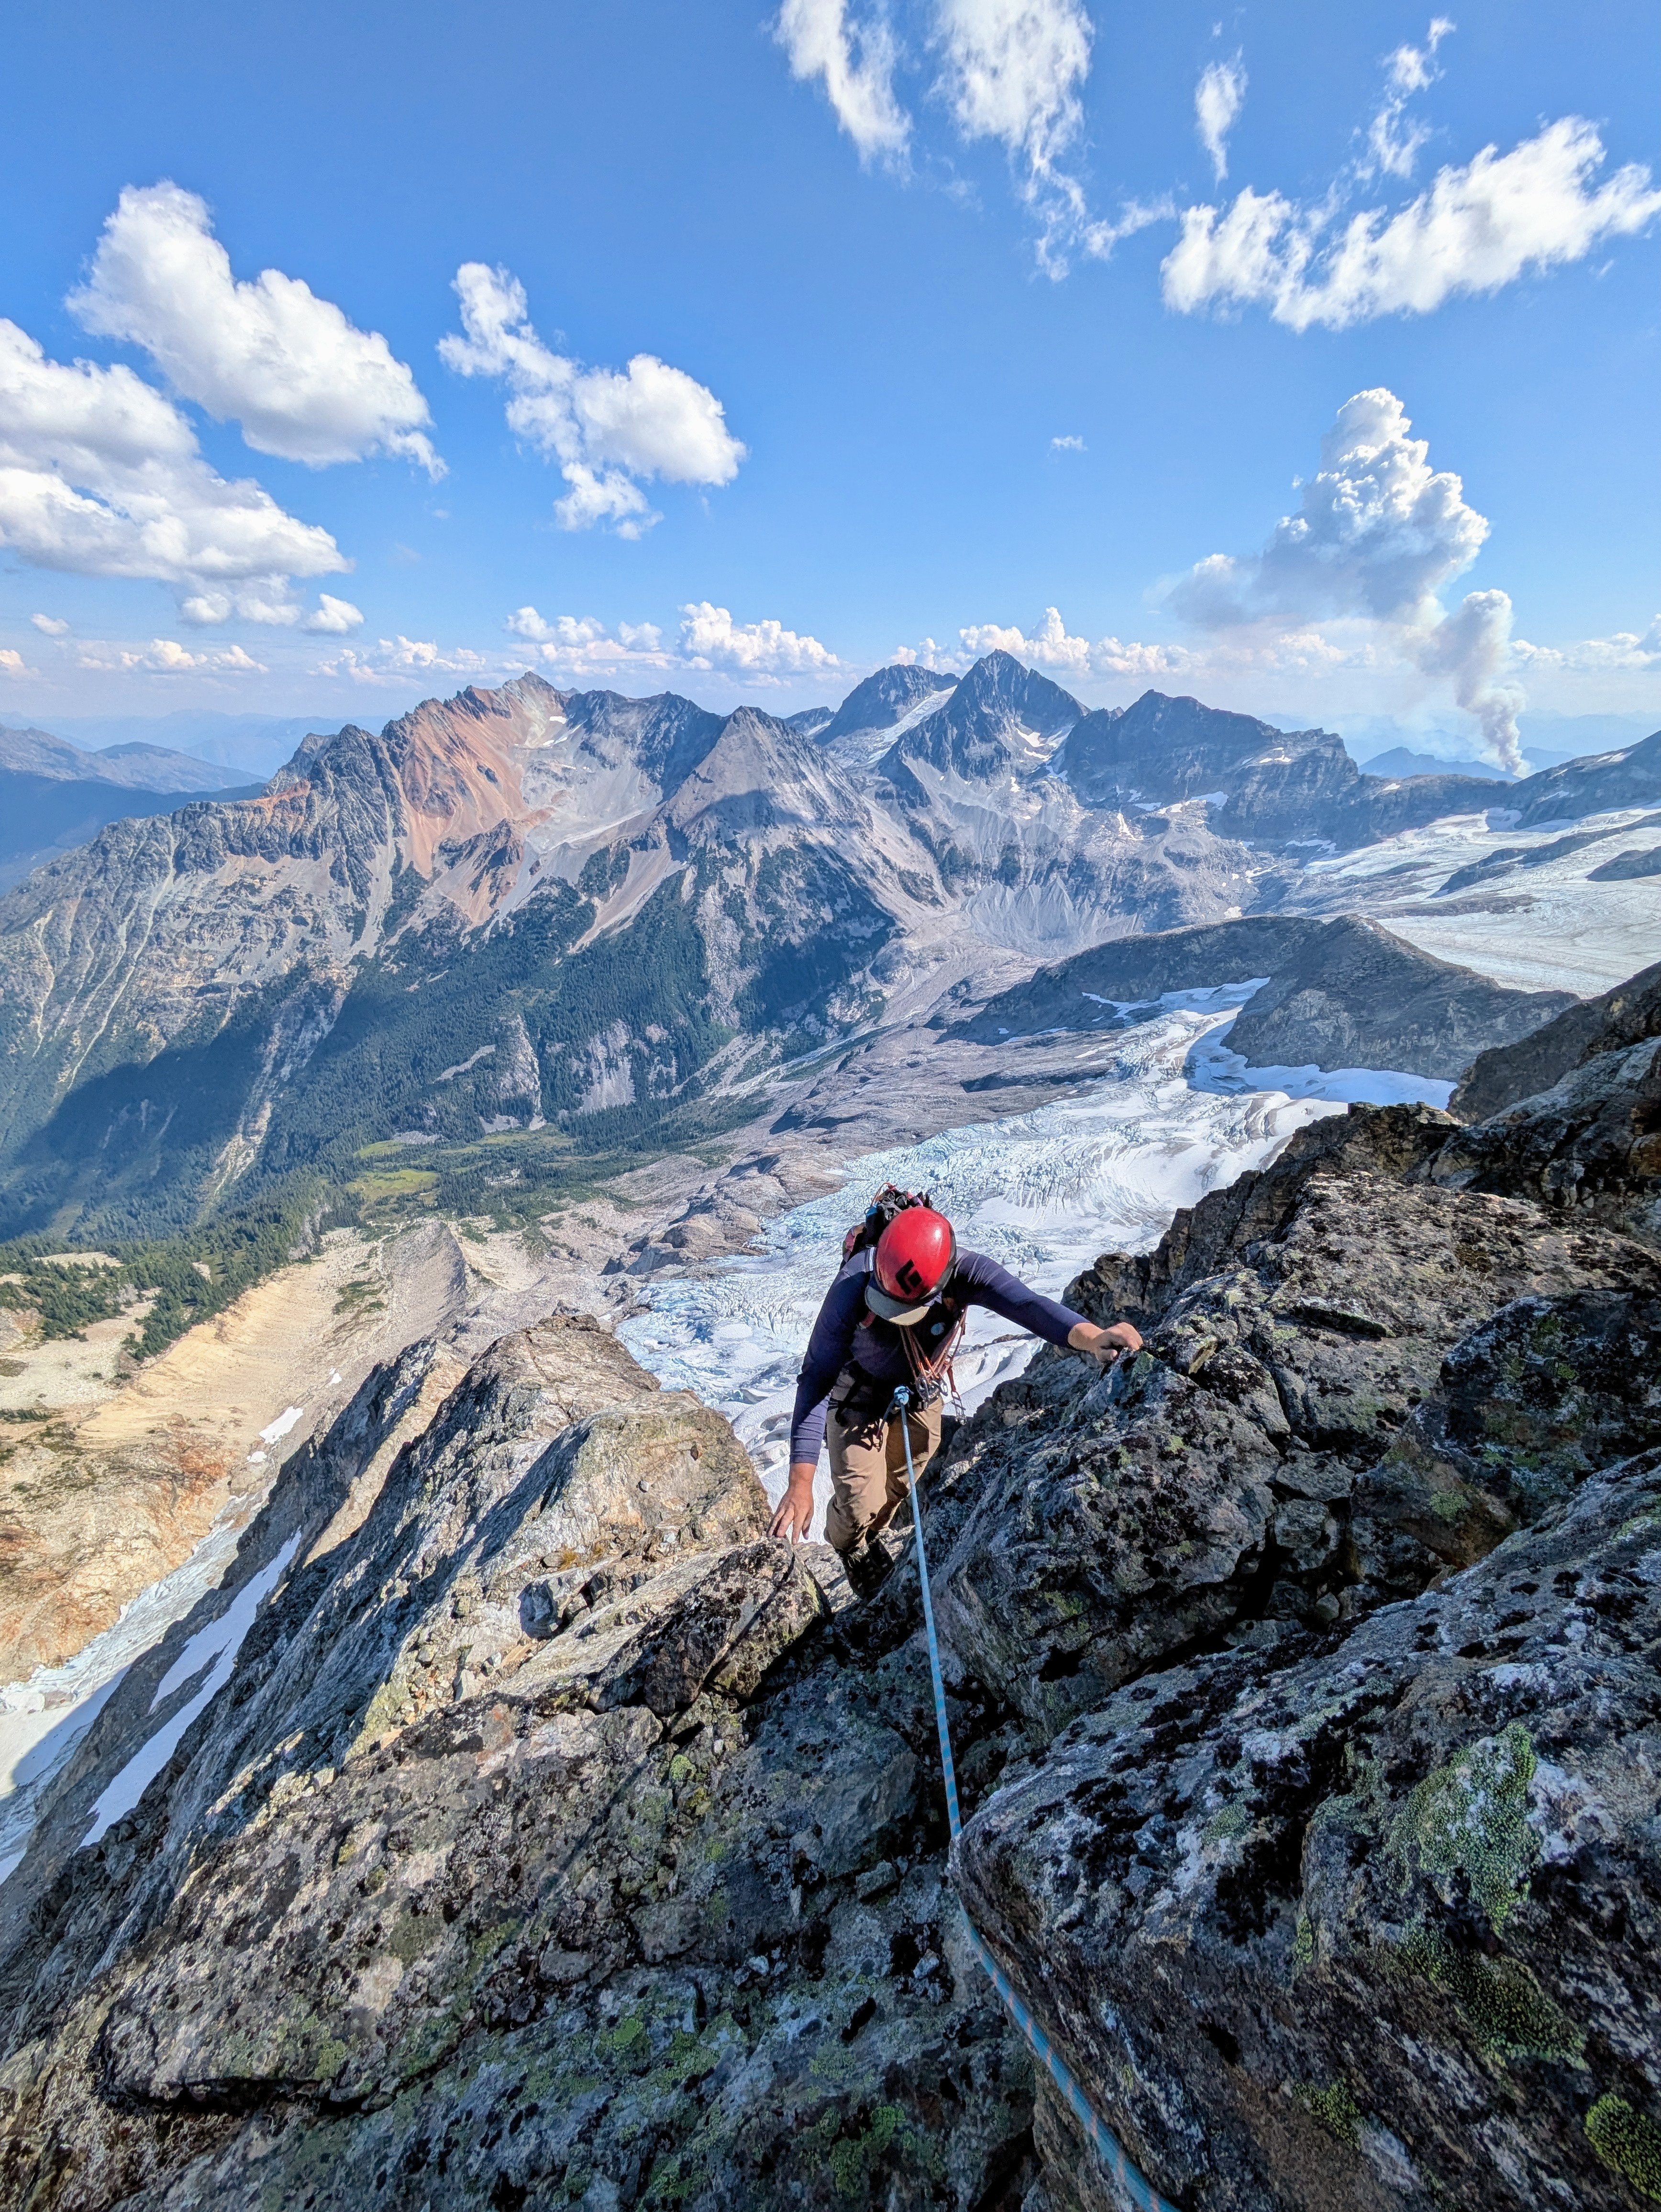
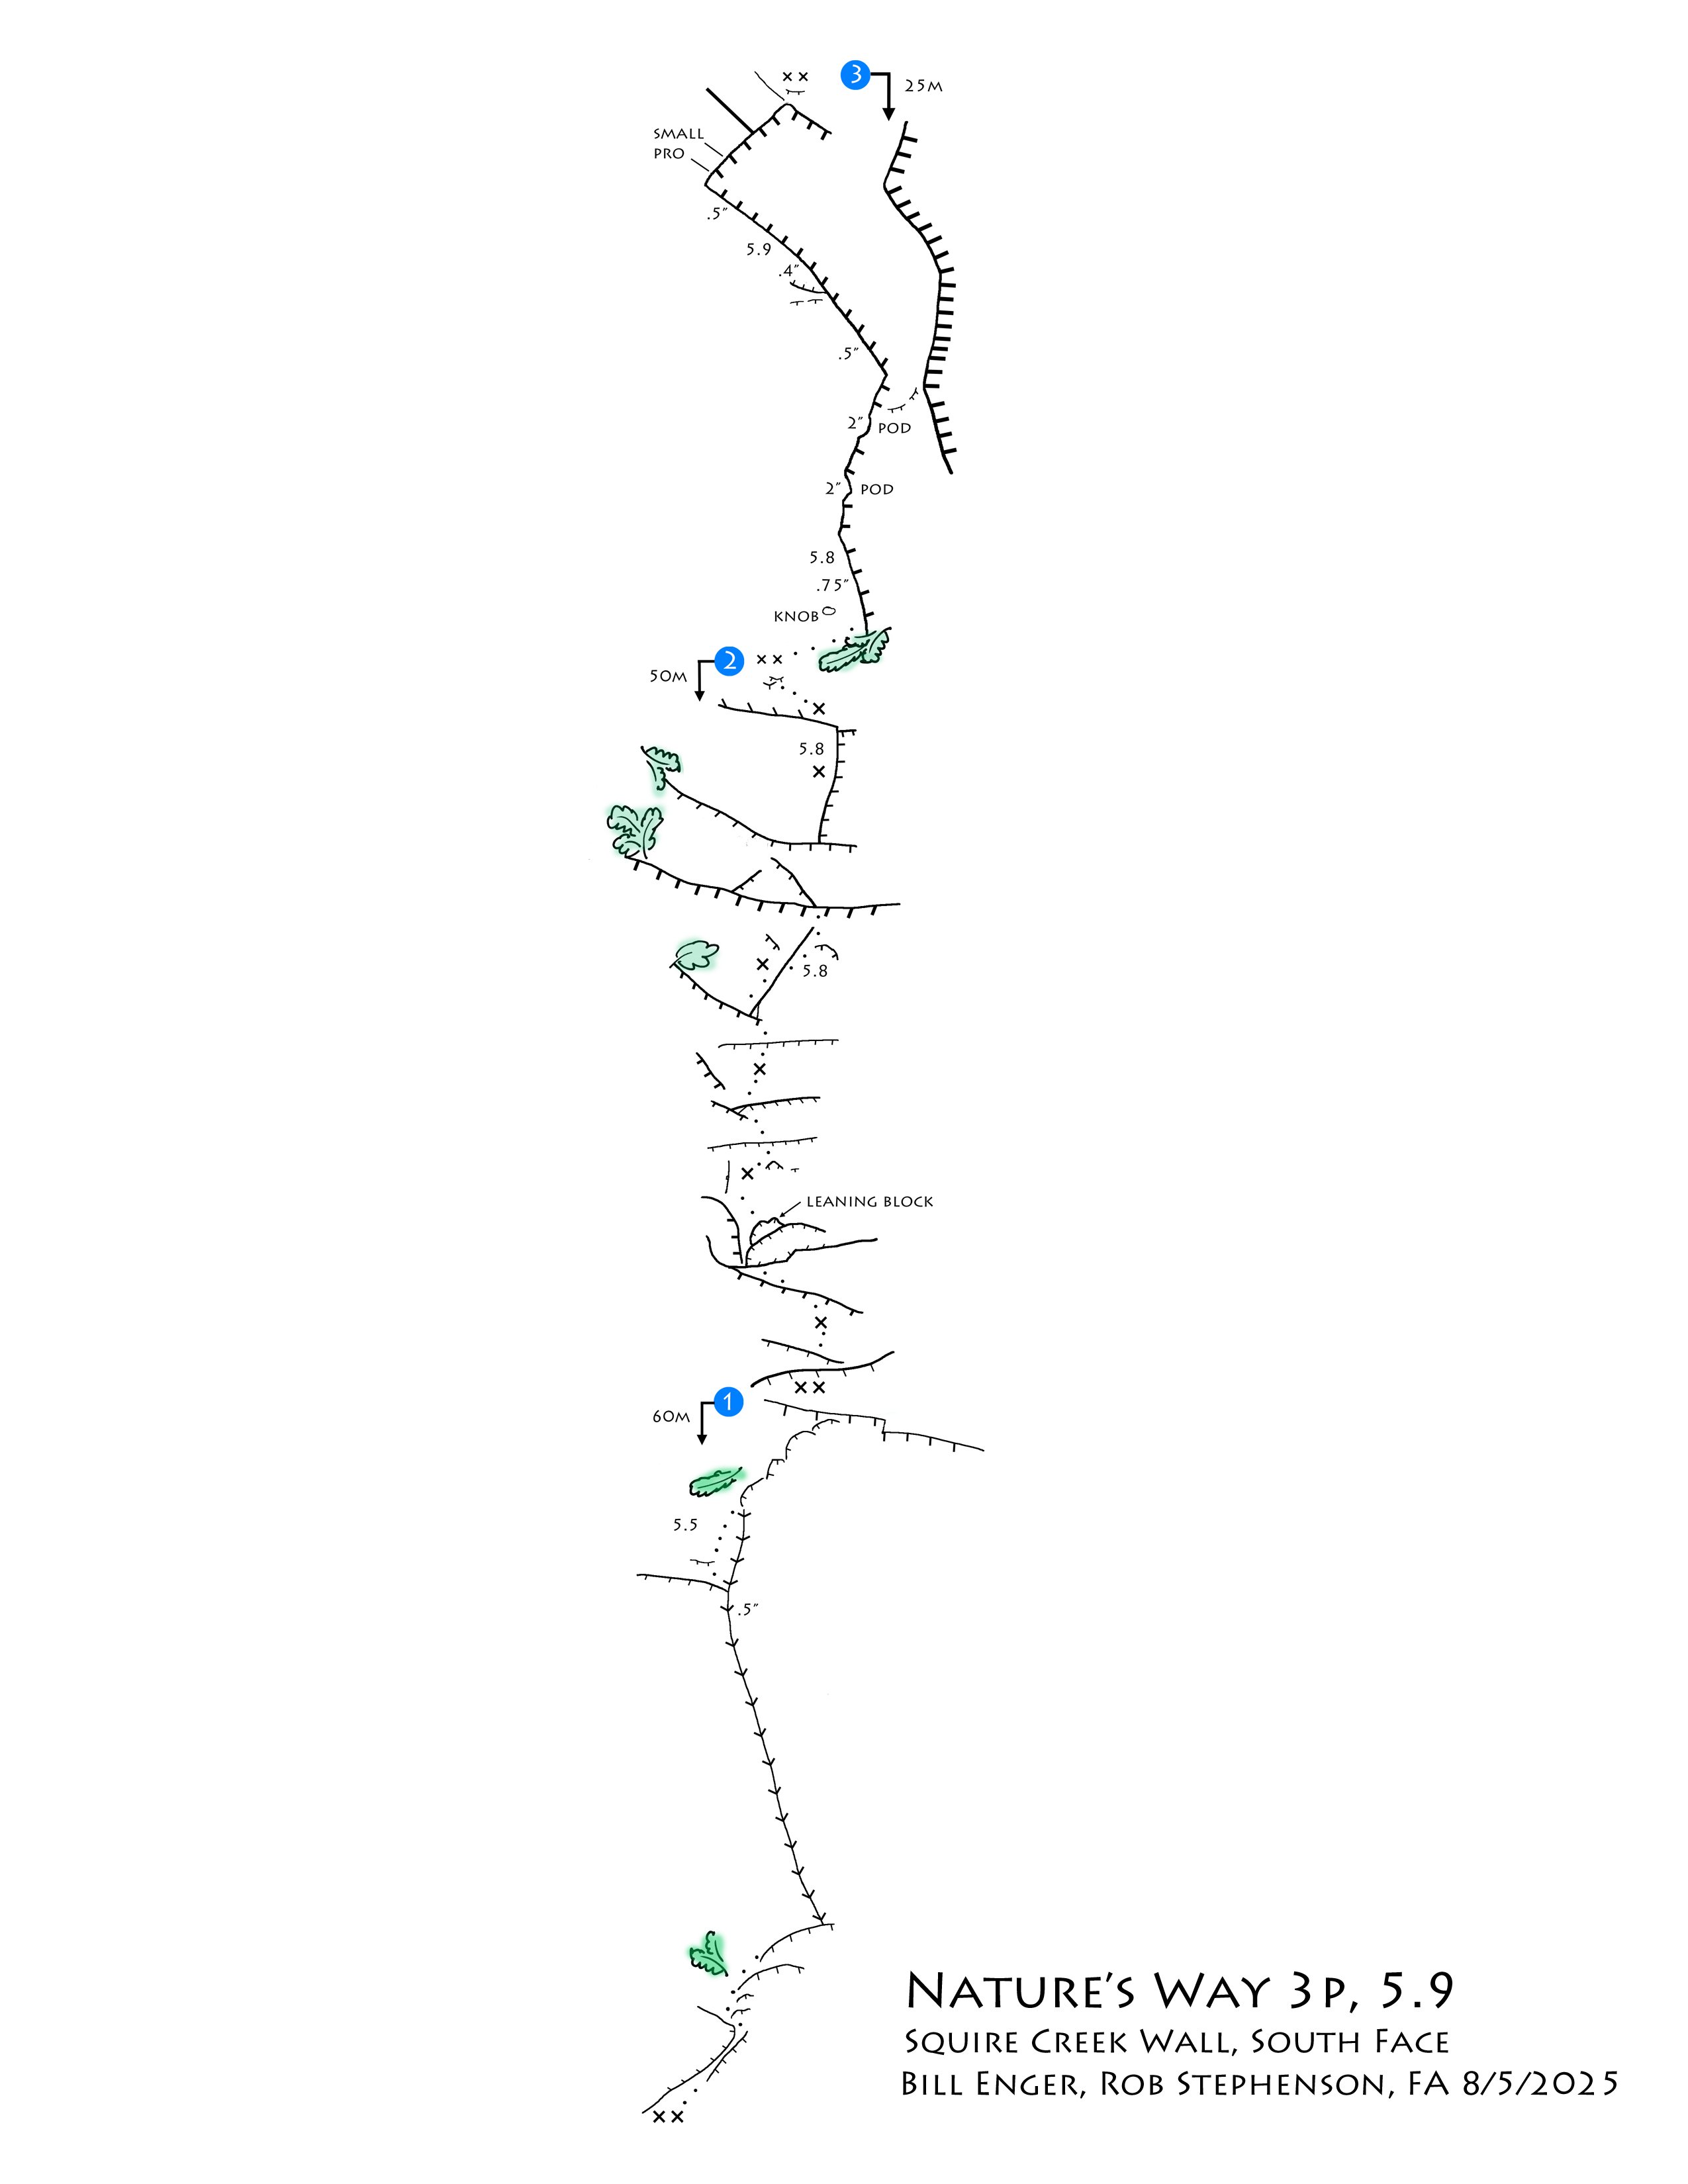


.jpg.f0693157194133943095b6dabe2c2866.jpg)
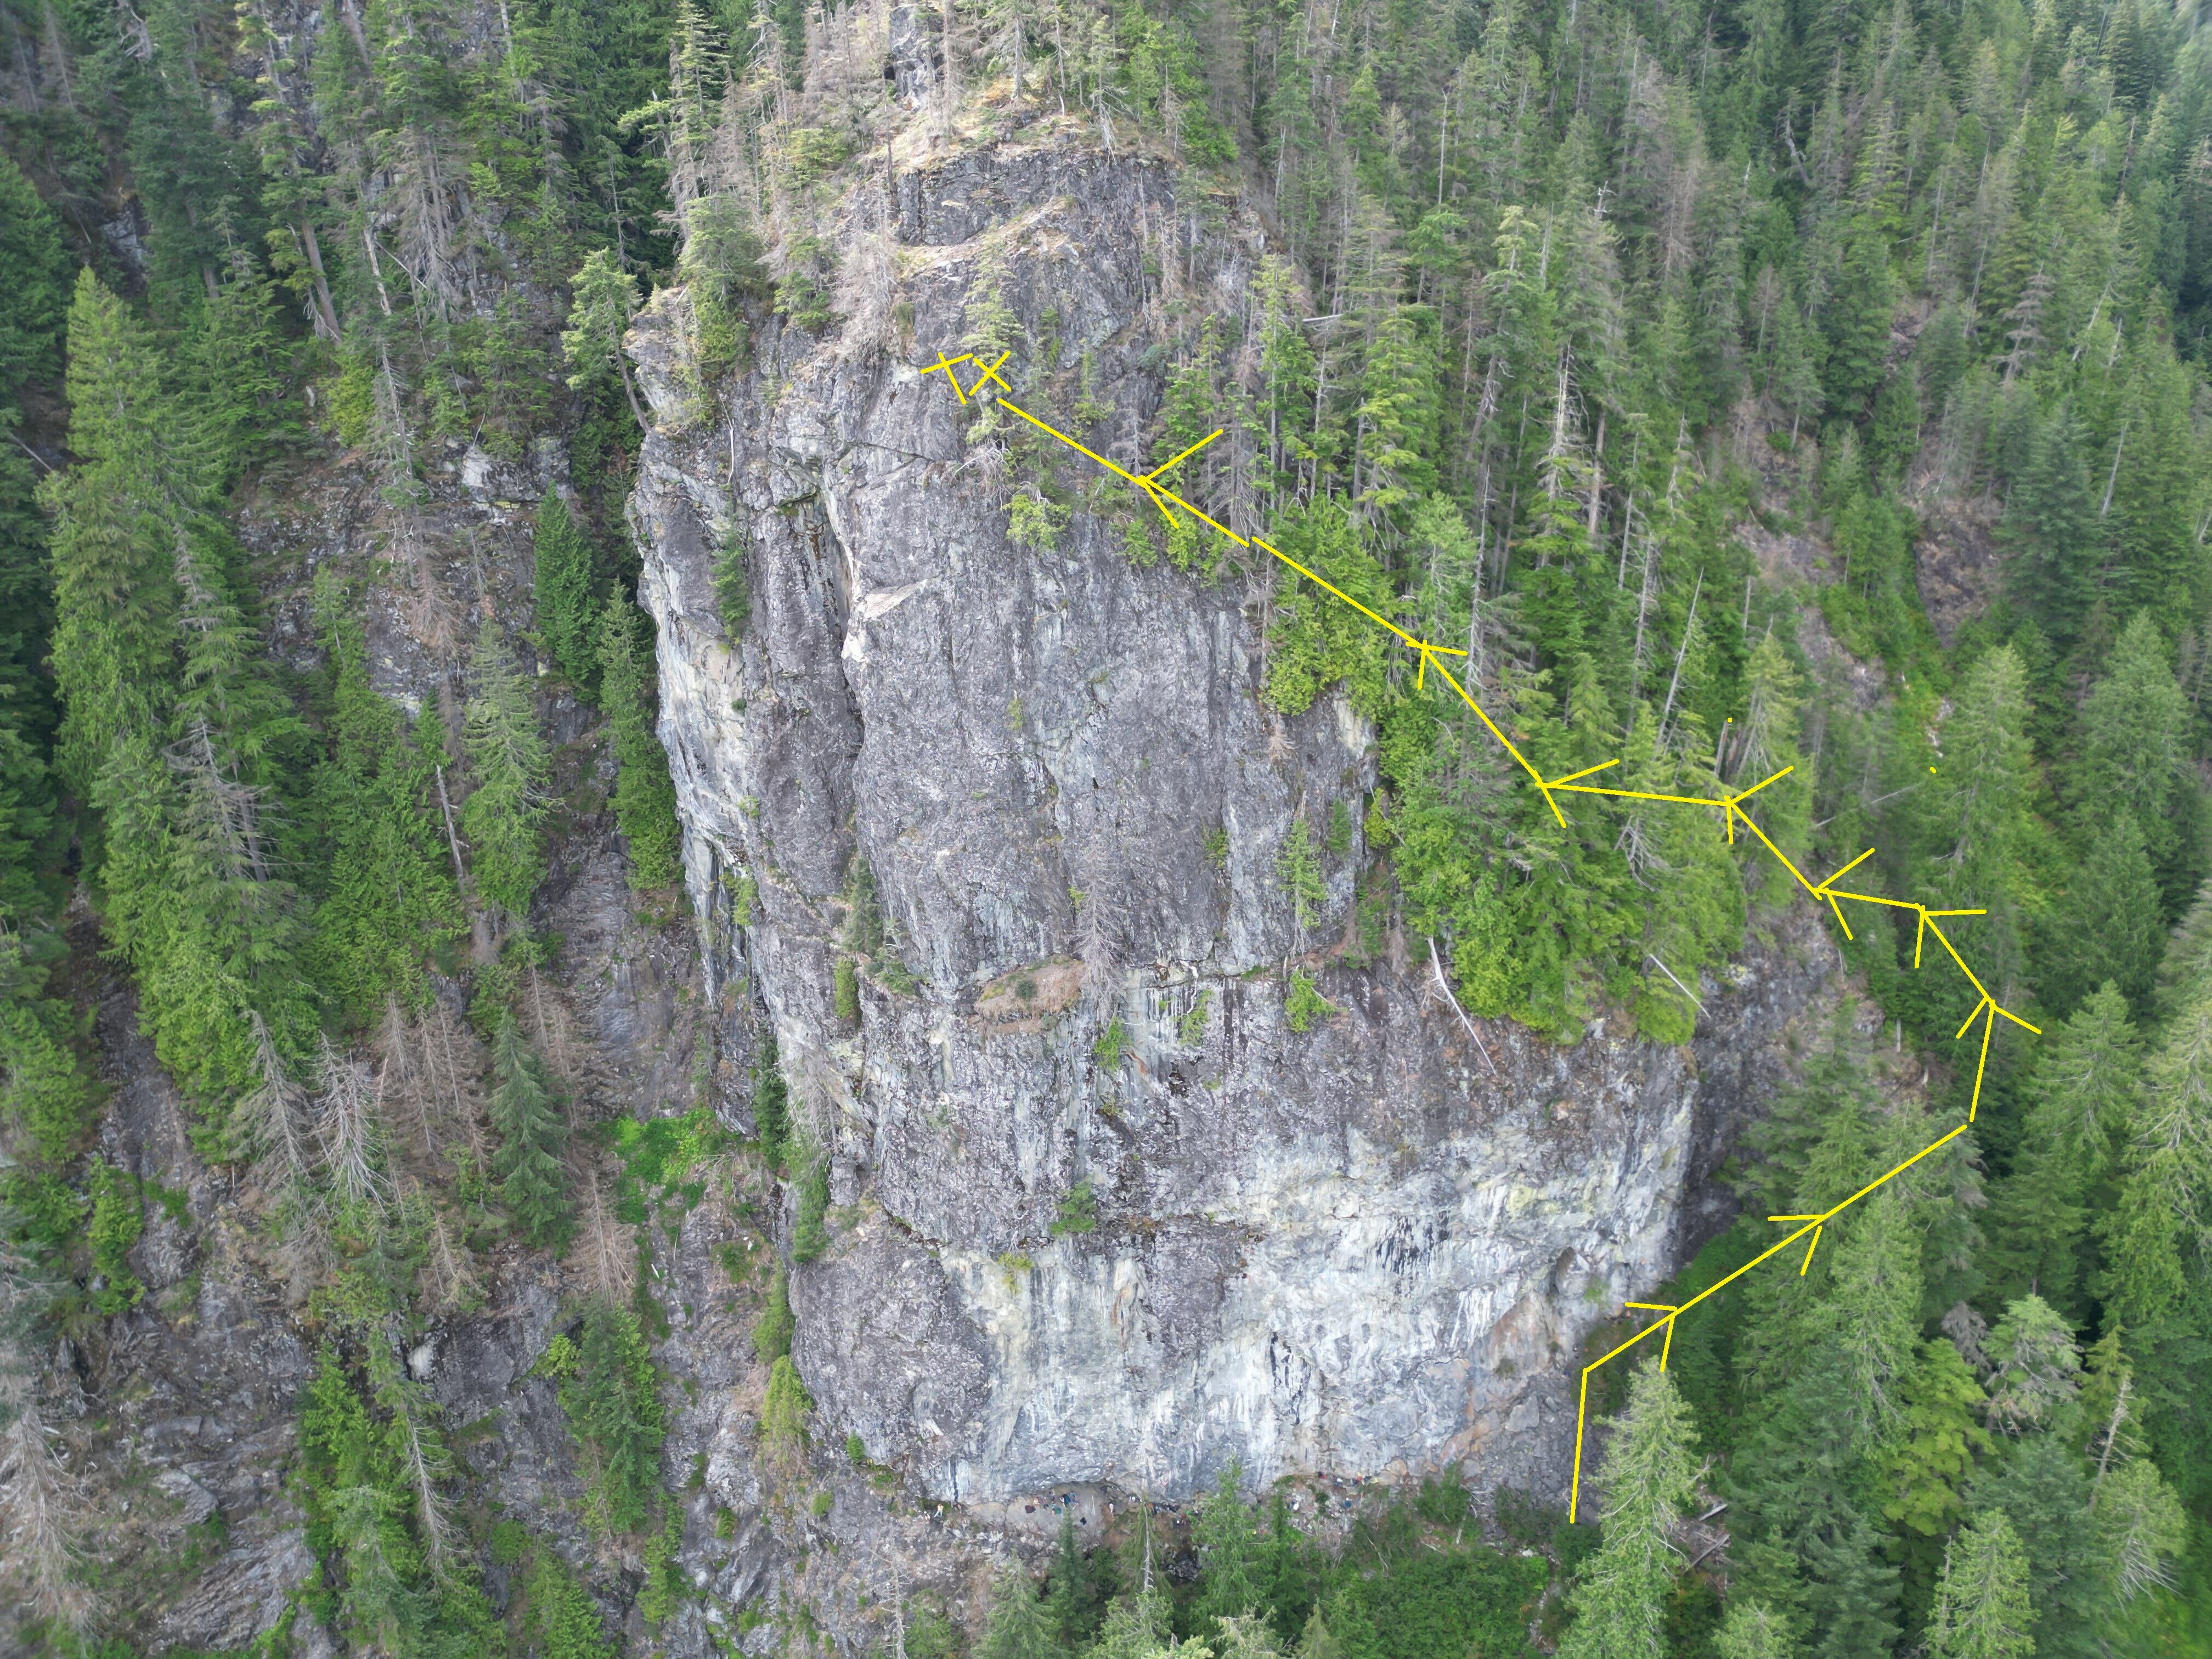


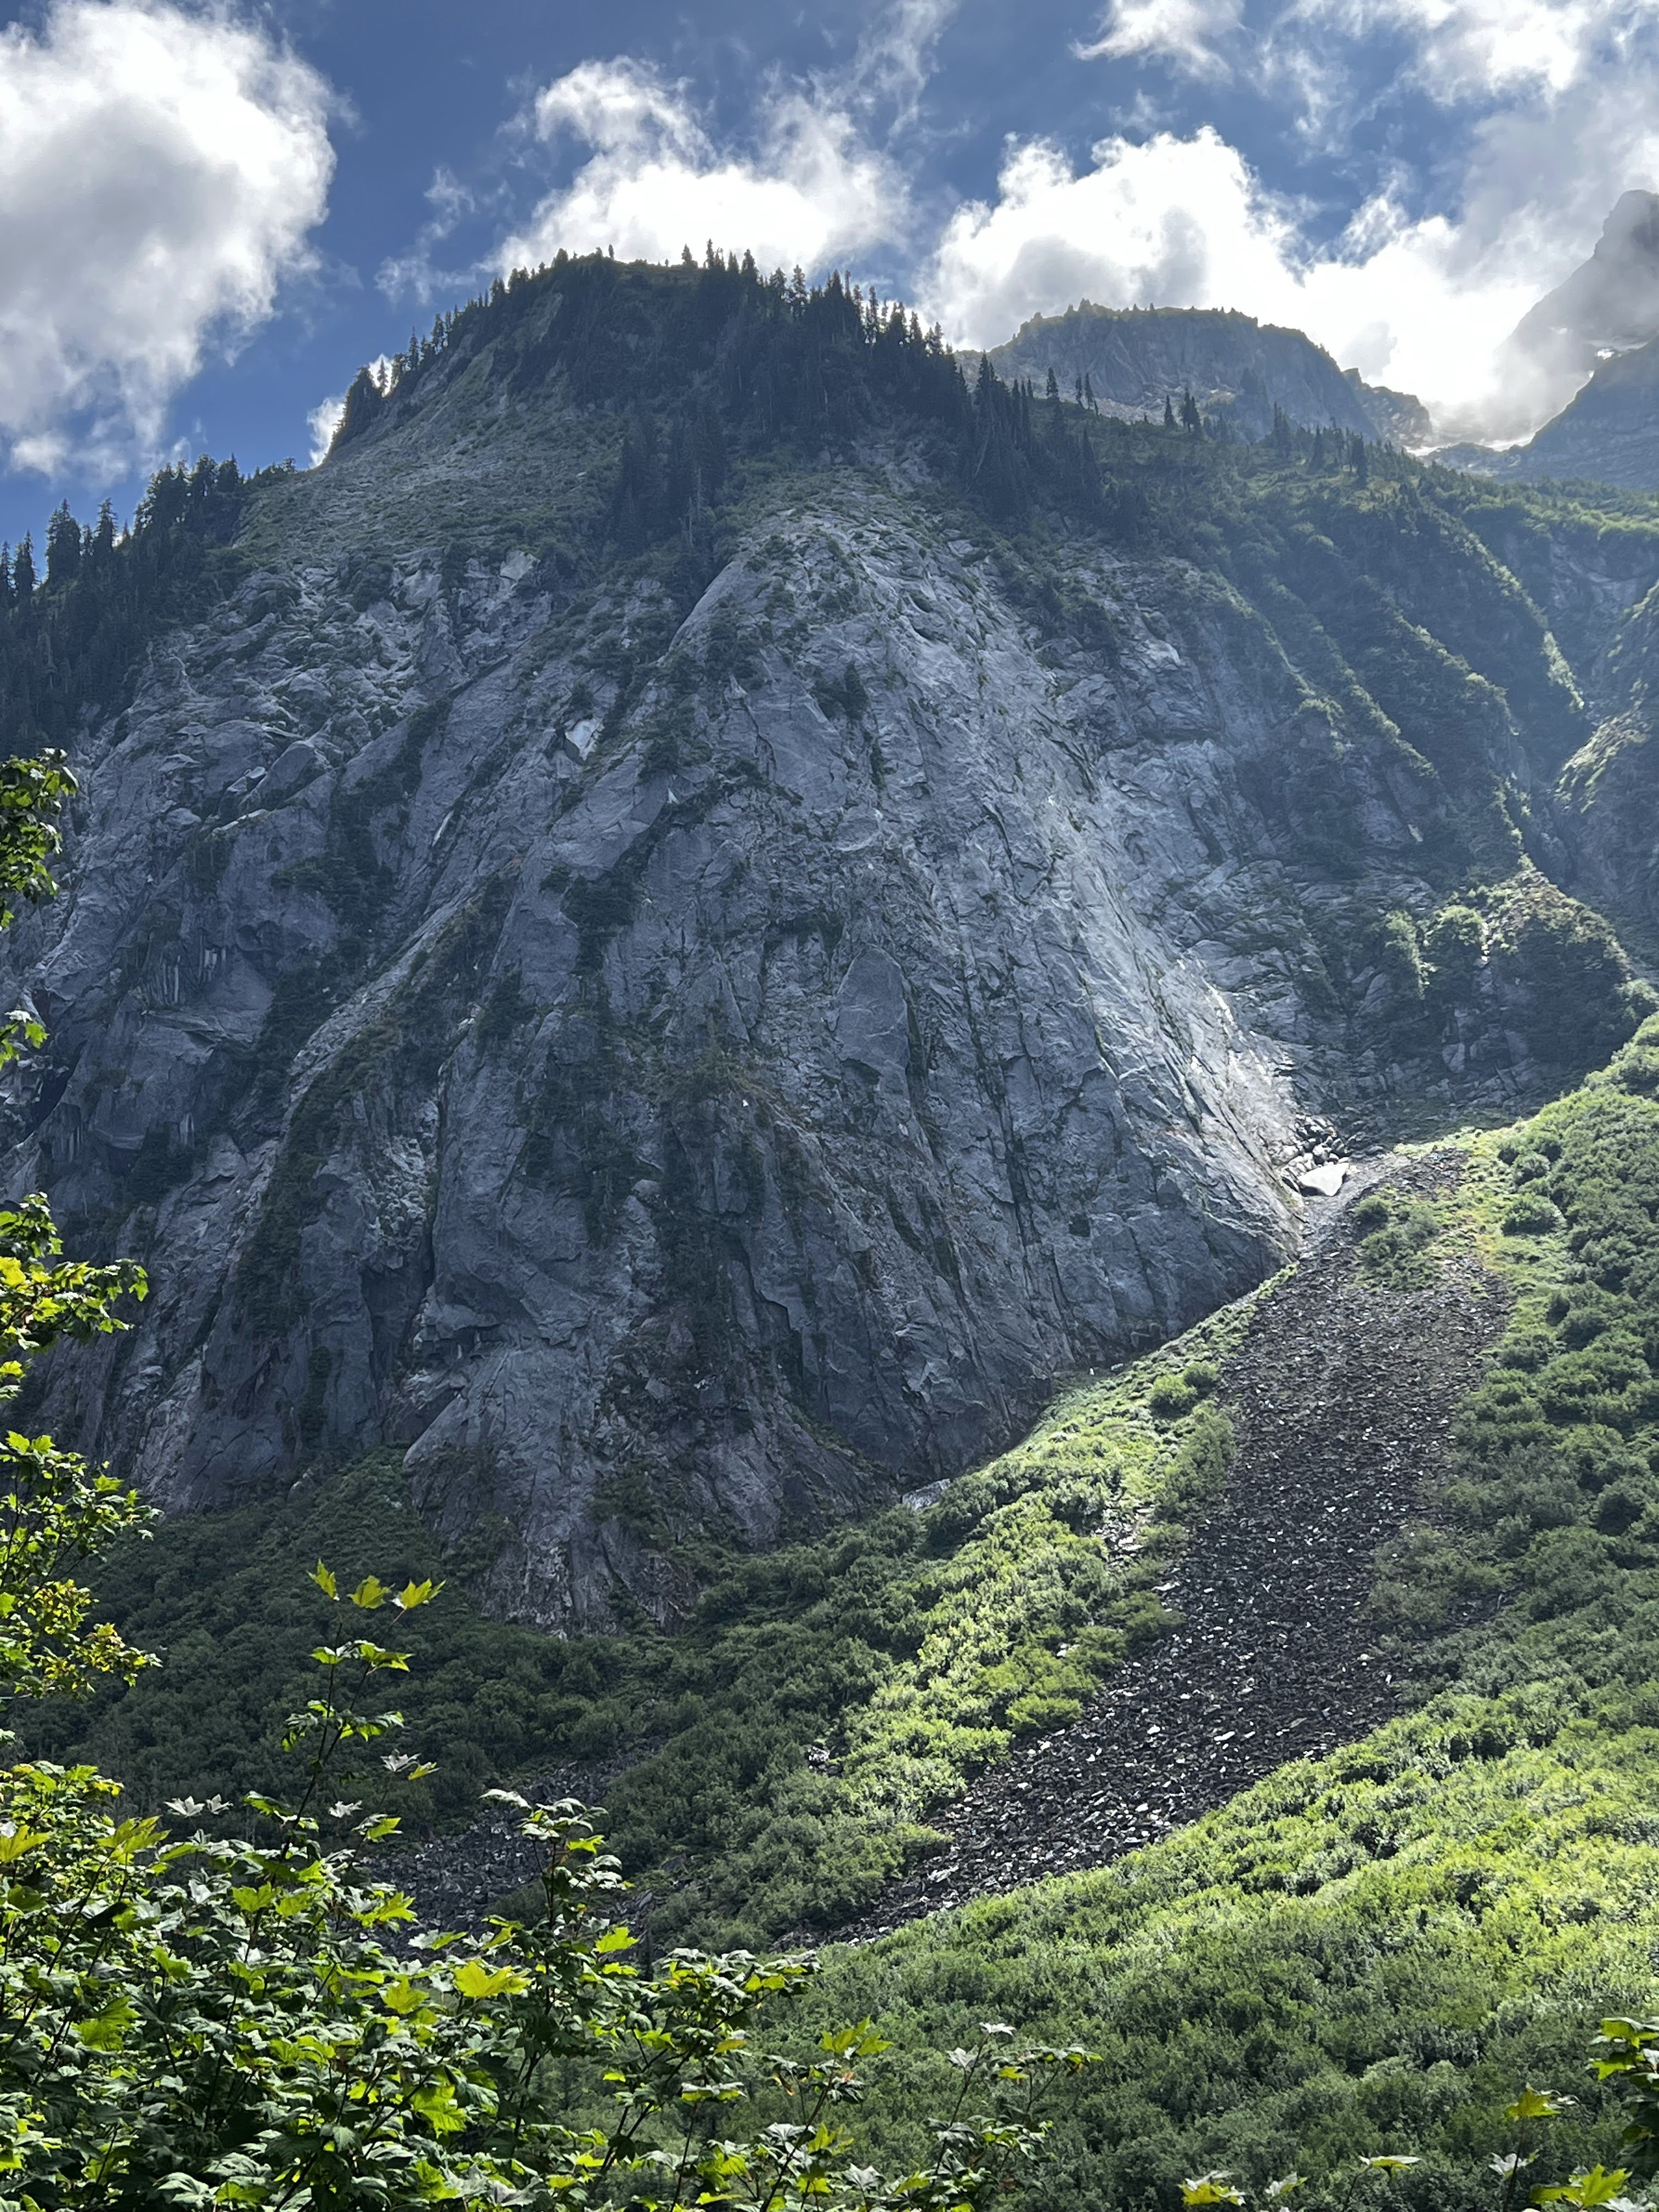
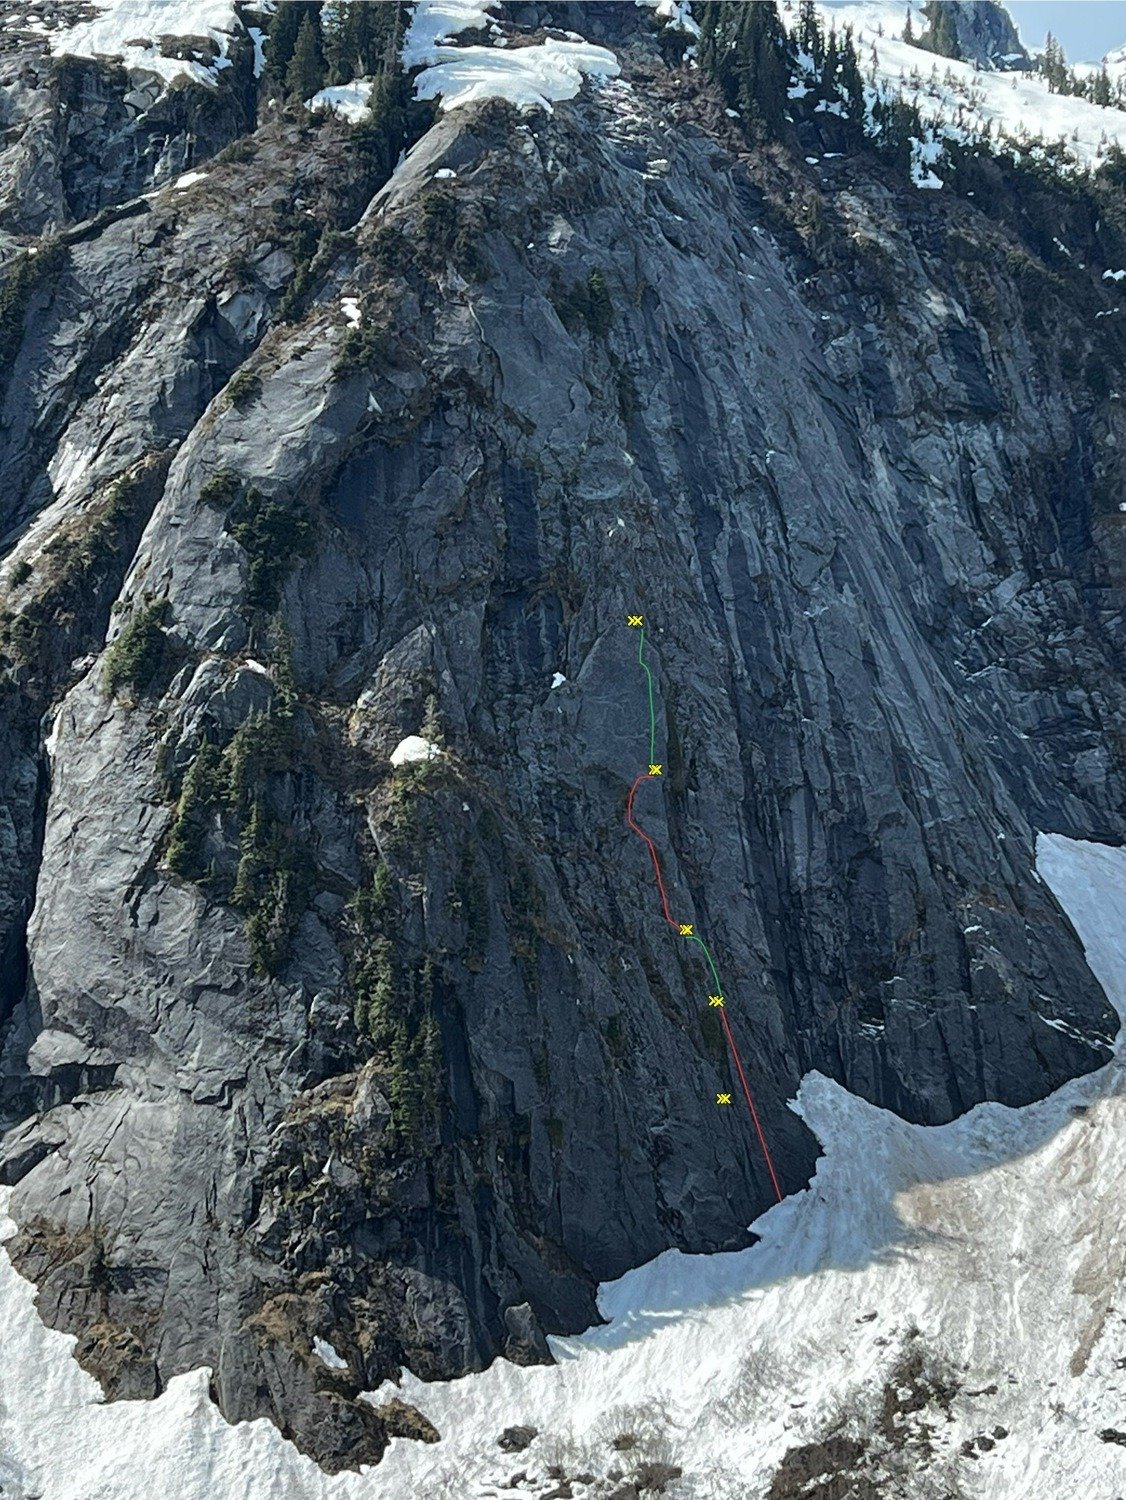
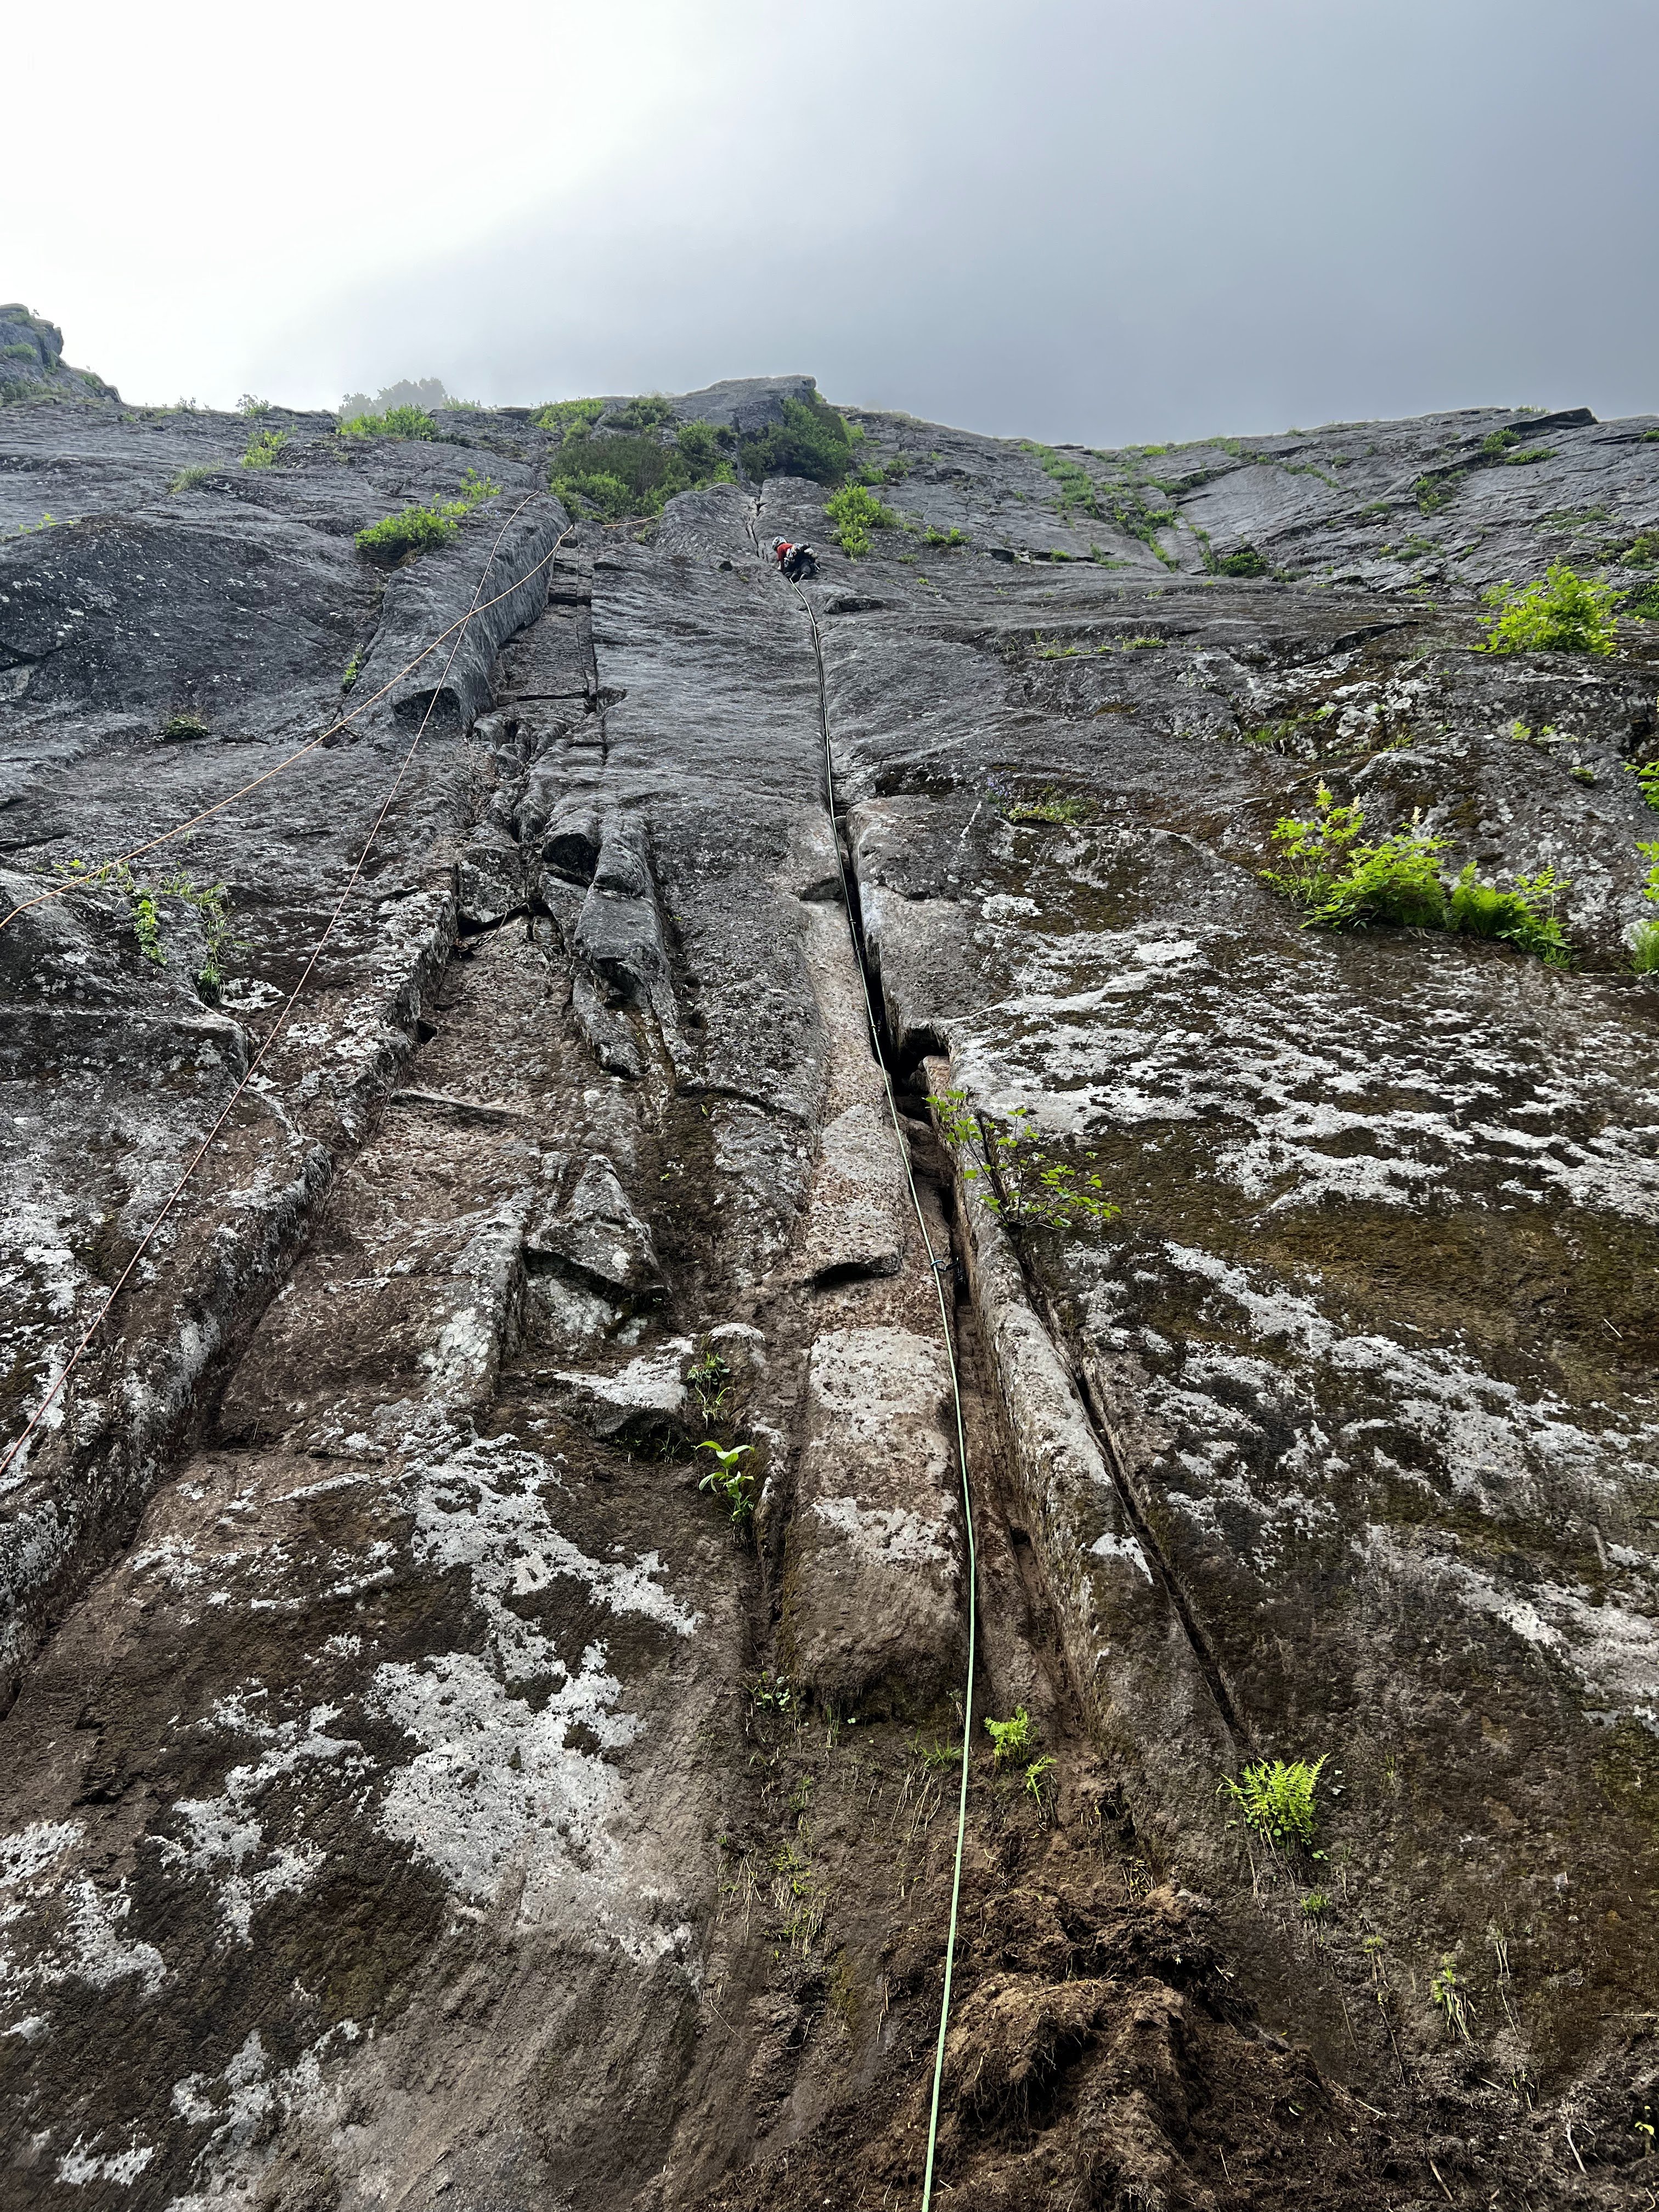
.jpg.2b582877bdbee4a7e892f3bb36fd185c.jpg)
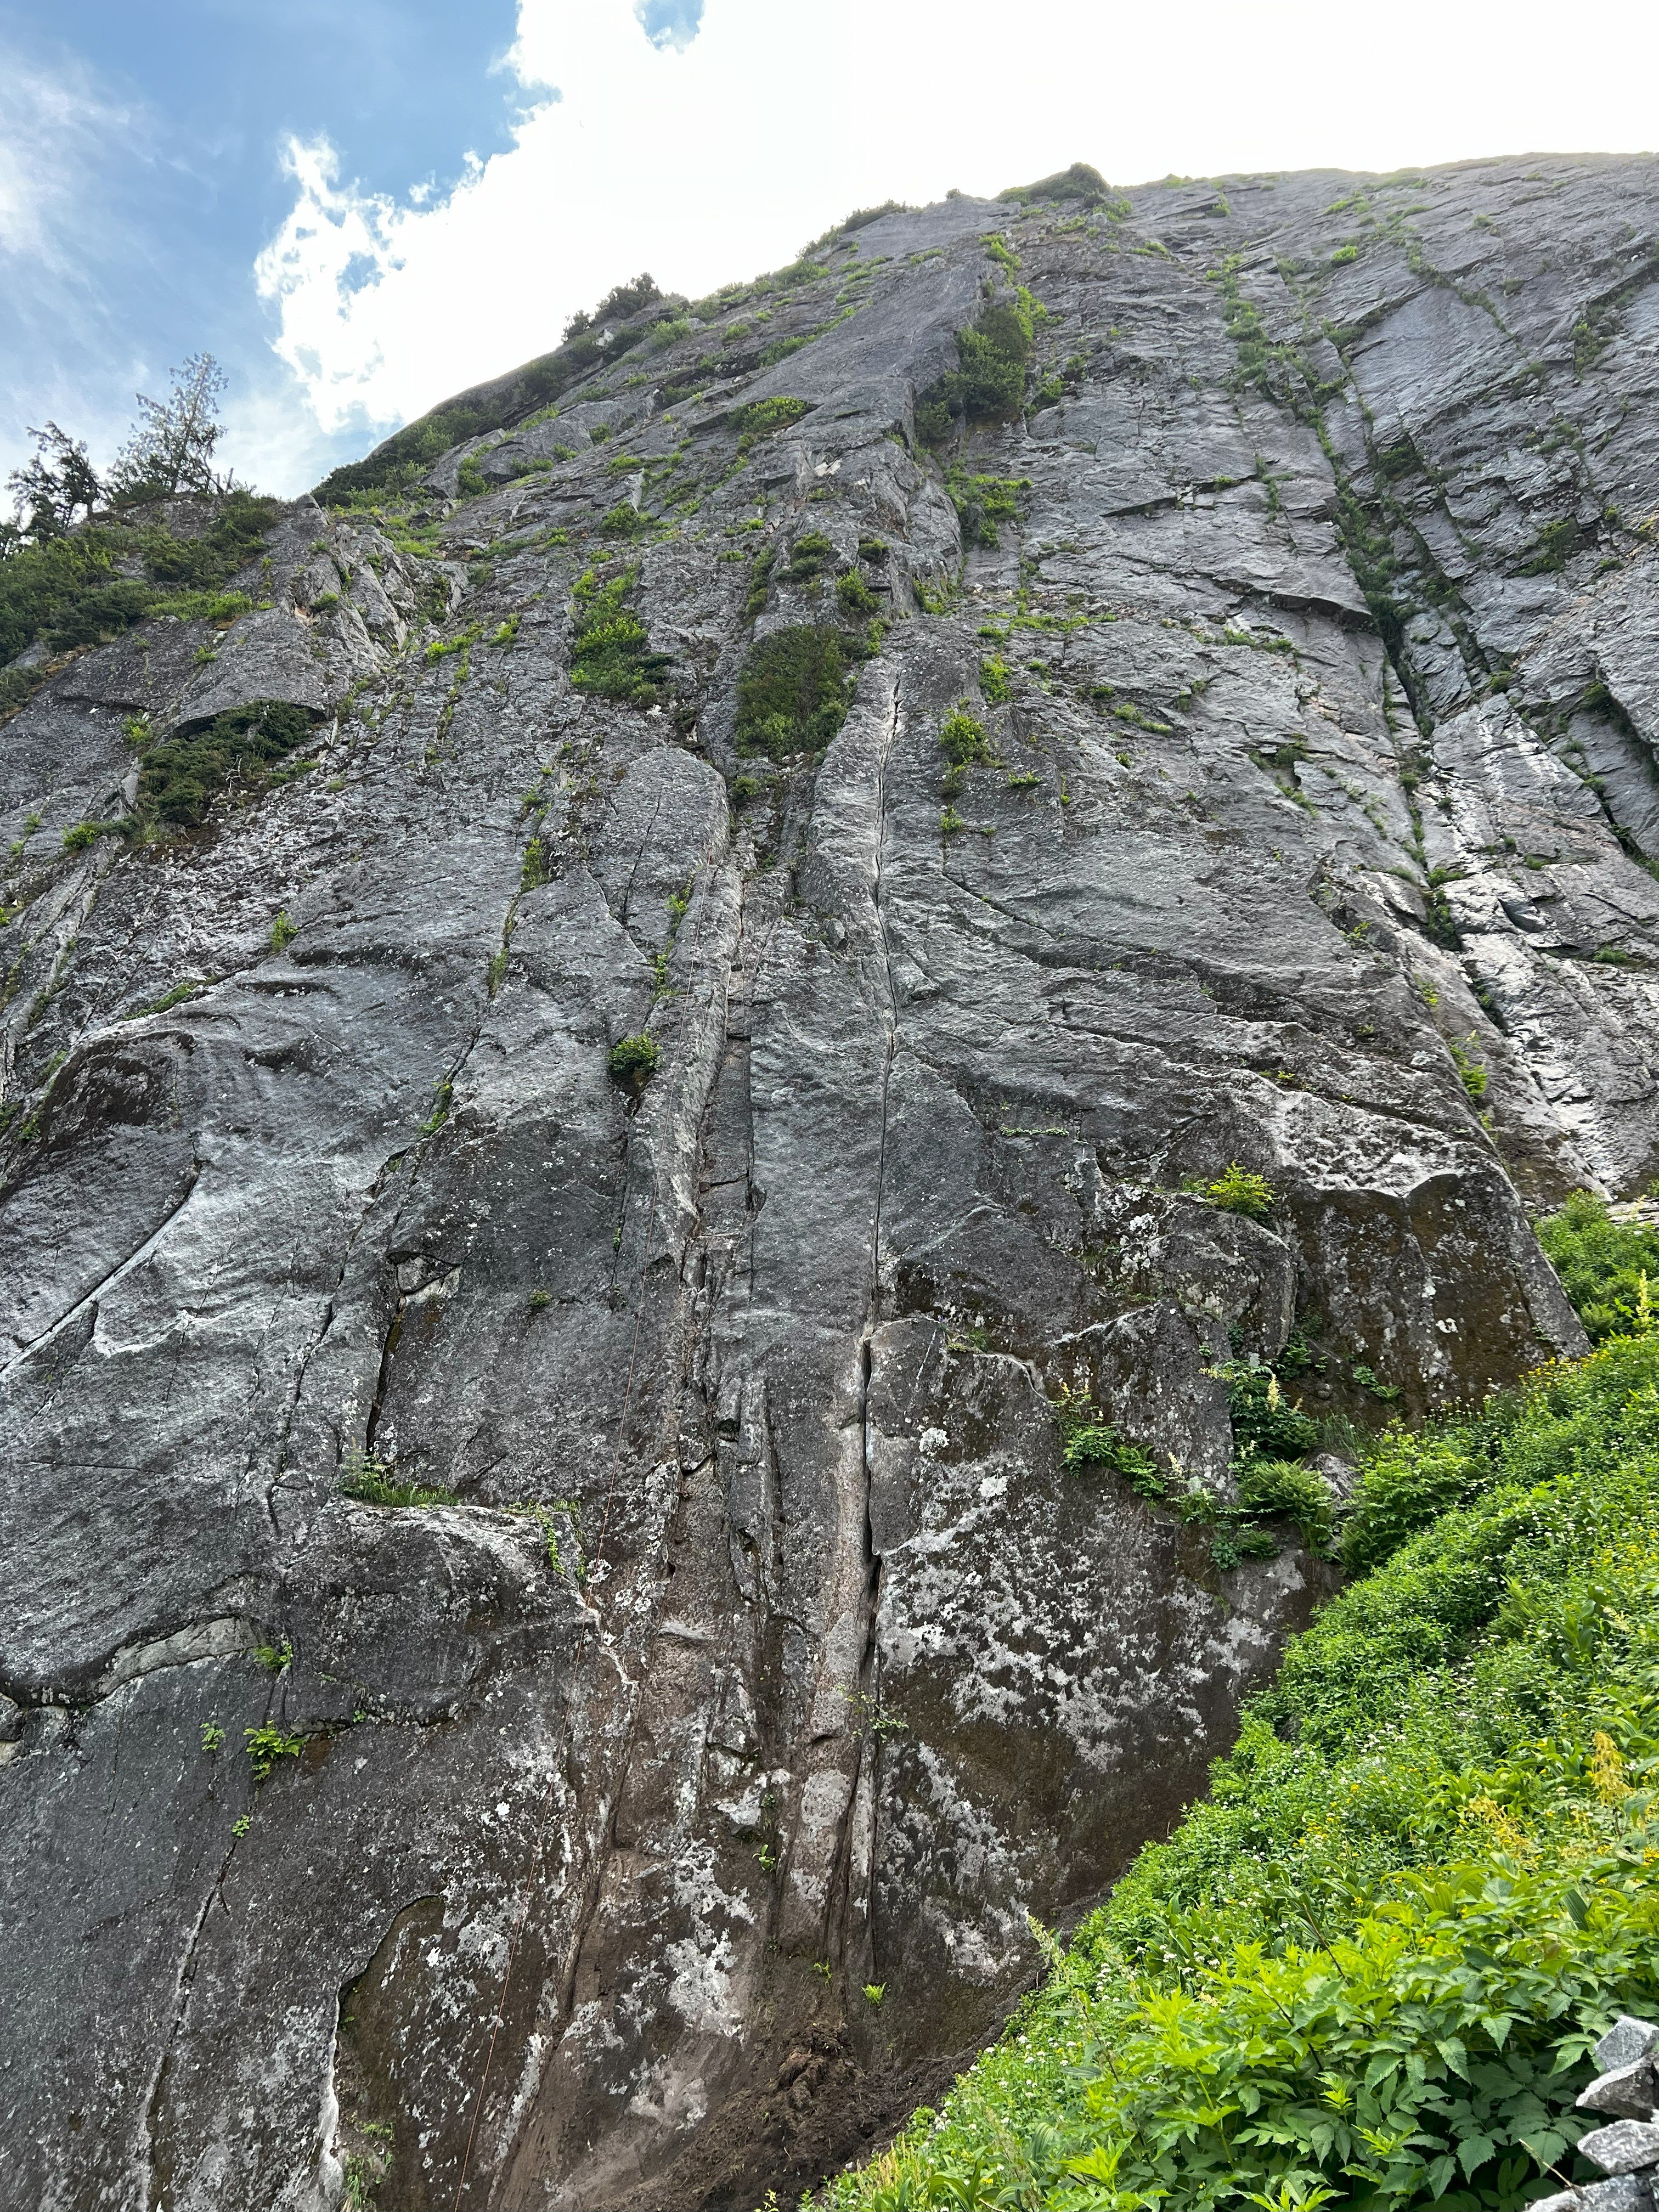
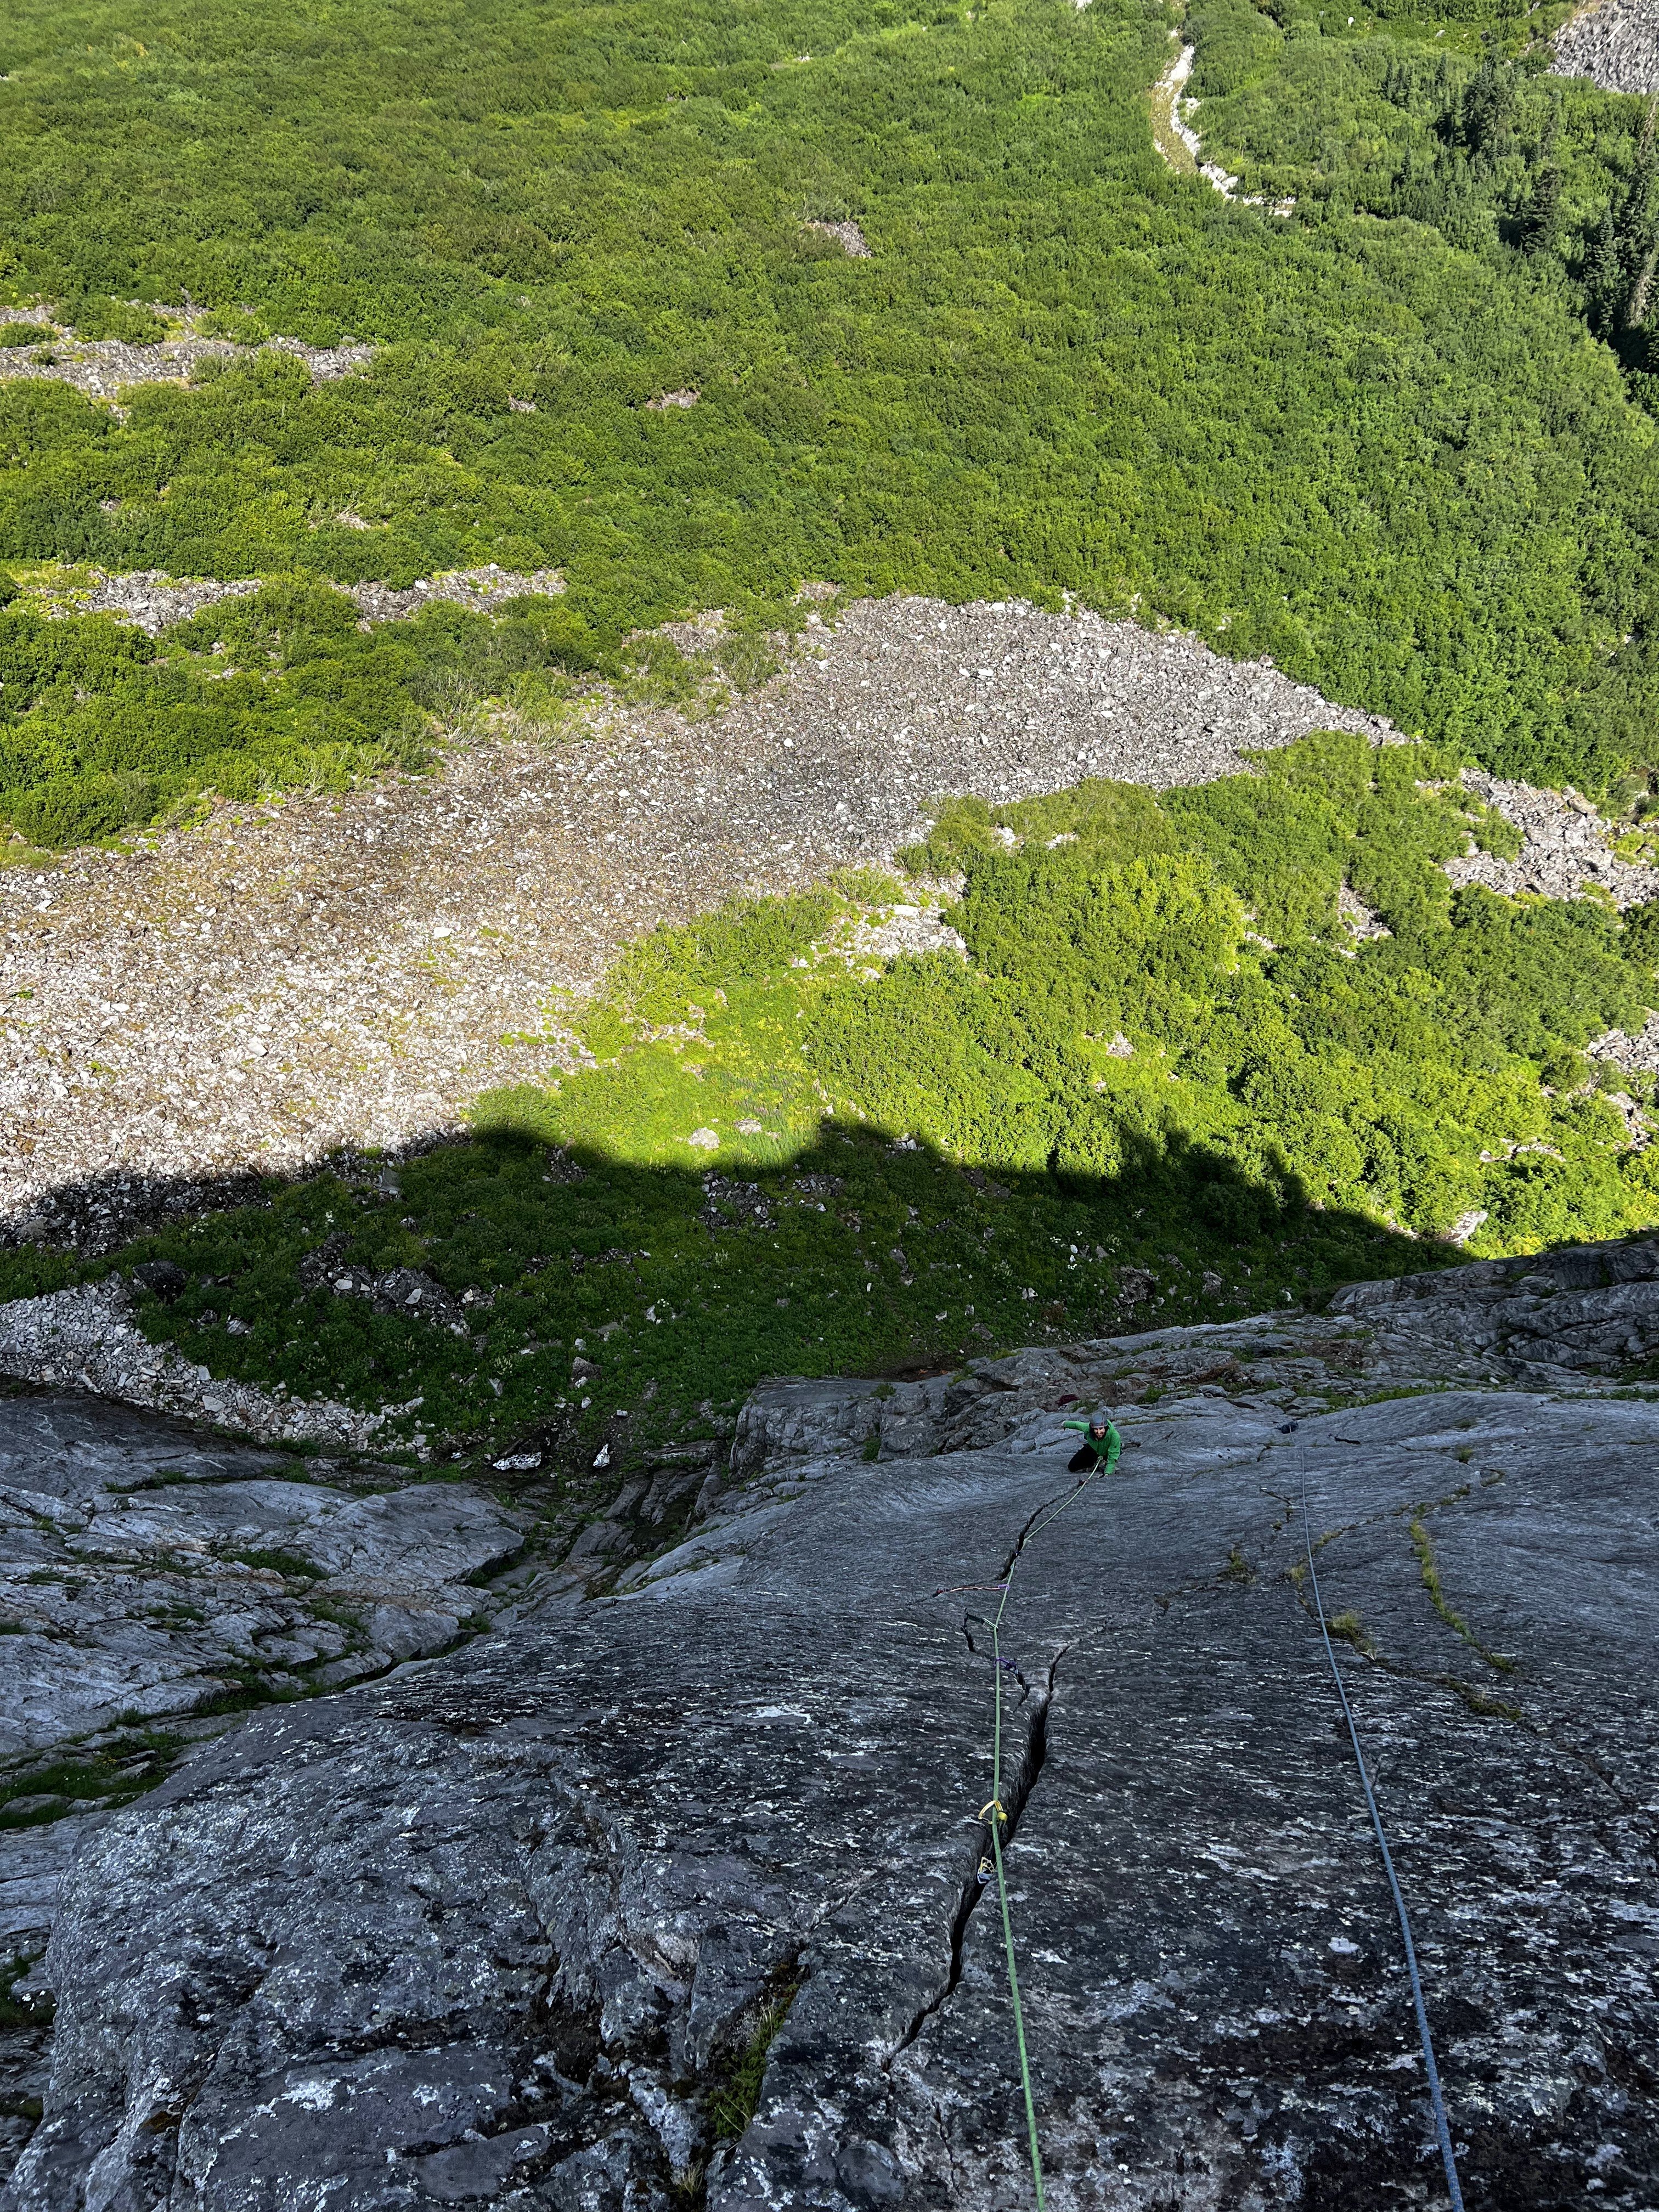
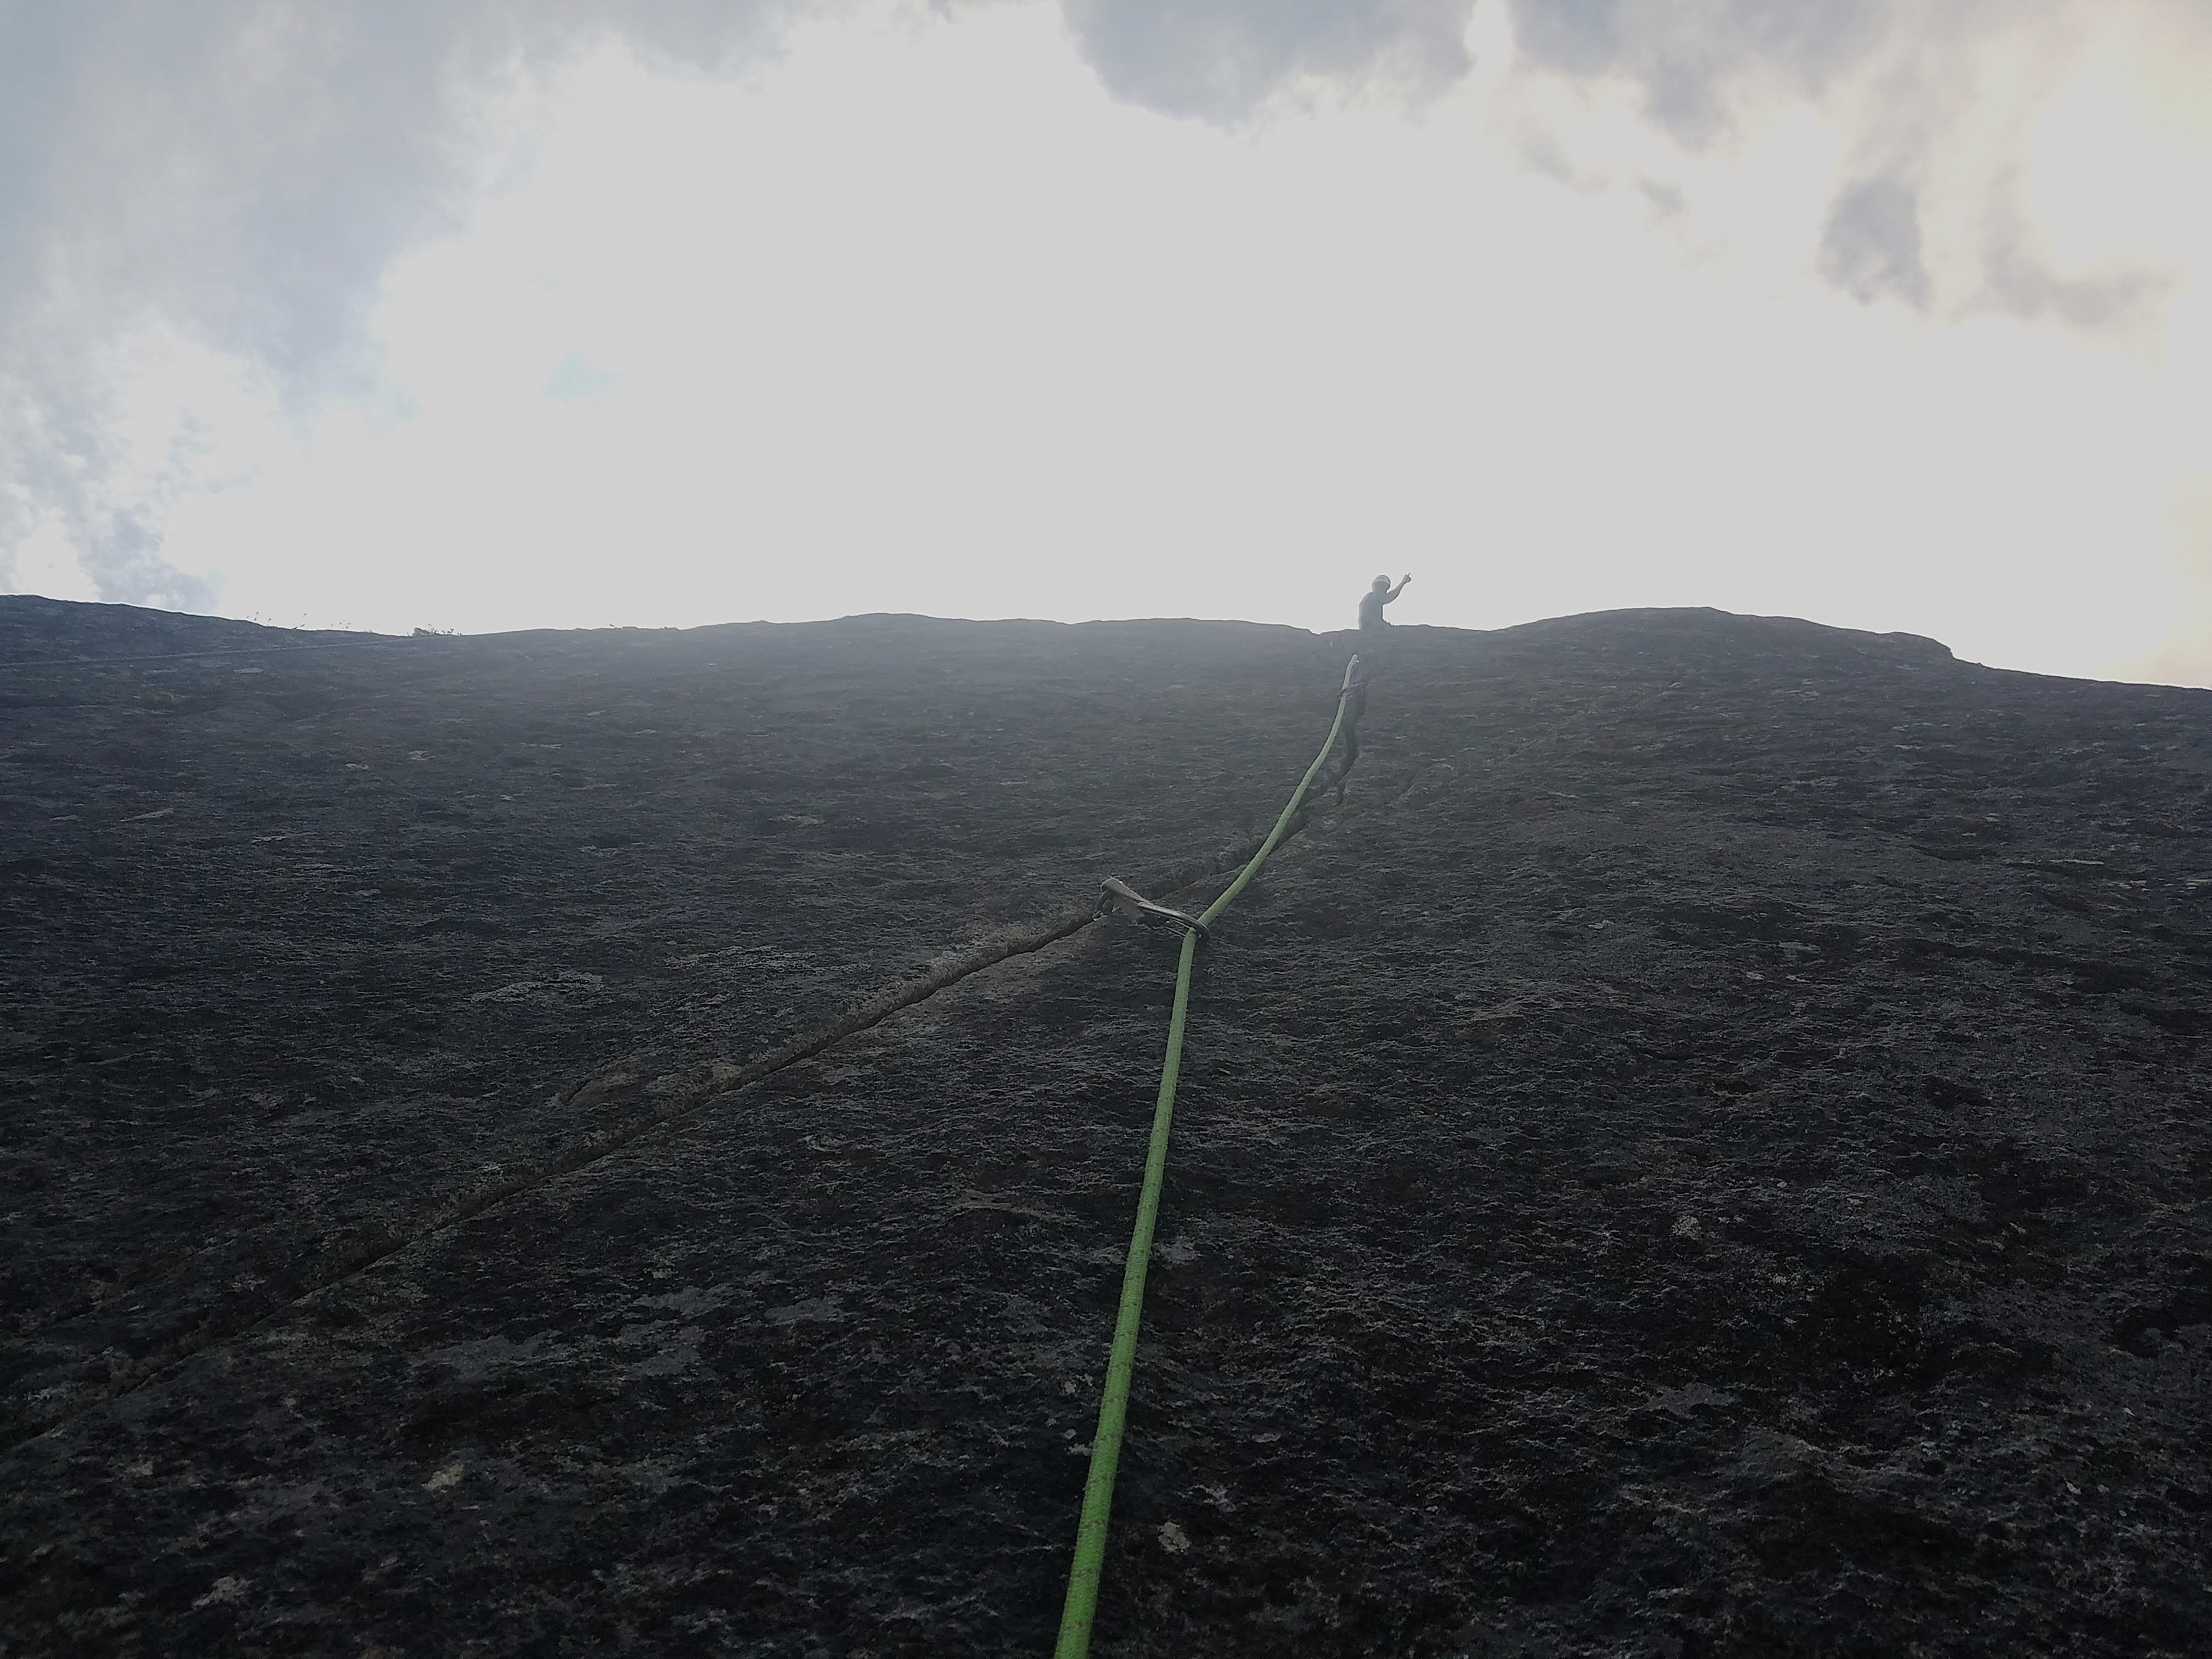
.jpg.bdabd6c4d8ebc9668d06dd06dc2df6a7.jpg)
