-
Posts
137 -
Joined
-
Last visited
-
Days Won
51
Everything posted by Michael Telstad
-
[TR] Sloan Peak - Superalpine 03/15/2020
Michael Telstad replied to PorterM's topic in North Cascades
Good work once again! Is there a reason you guys decided to fuss with the tricky ridge again rather than take what you pointed out as the "Optimal Approach?" -
@DPS If you go up there before this weekend I'd be very interested in hearing how far you can get.
-

[TR] Sloan Peak - FA: Superalpine (WI3-4, 1000') 02/28/2020
Michael Telstad replied to Kyle M's topic in North Cascades
@Kyle M I think we tried to force it this time around. We should have known it wasn't gonna go after hearing that baker got a surprise 2ft of fresh the day before. Going forward I'm definitely gonna wait for firm safe conditions and a bombproof weather forecast. -

[TR] Sloan Peak - FA: Superalpine (WI3-4, 1000') 02/28/2020
Michael Telstad replied to Kyle M's topic in North Cascades
My friend Sean and I went for the FSA (First Second Ascent) this weekend the slow and heavy way, Unfortunately the weather gods had different plans. When we got to camp in the basin it had snowed more than expected, and kept snowing hard through the night. We called it as we were going to bed to the sounds of large natural slides ripping down the north and west face. Luckily I brought my fat (read only) skis and we got a few laps of knee deep powder in the basin before skiing out. I had been looking at your guys line earlier this season as the obvious line of weakness up the face but I lack the motivation to venture that far into the unknown. Thanks for dreaming big and I hope you heal up fast to get back out there this summer! -
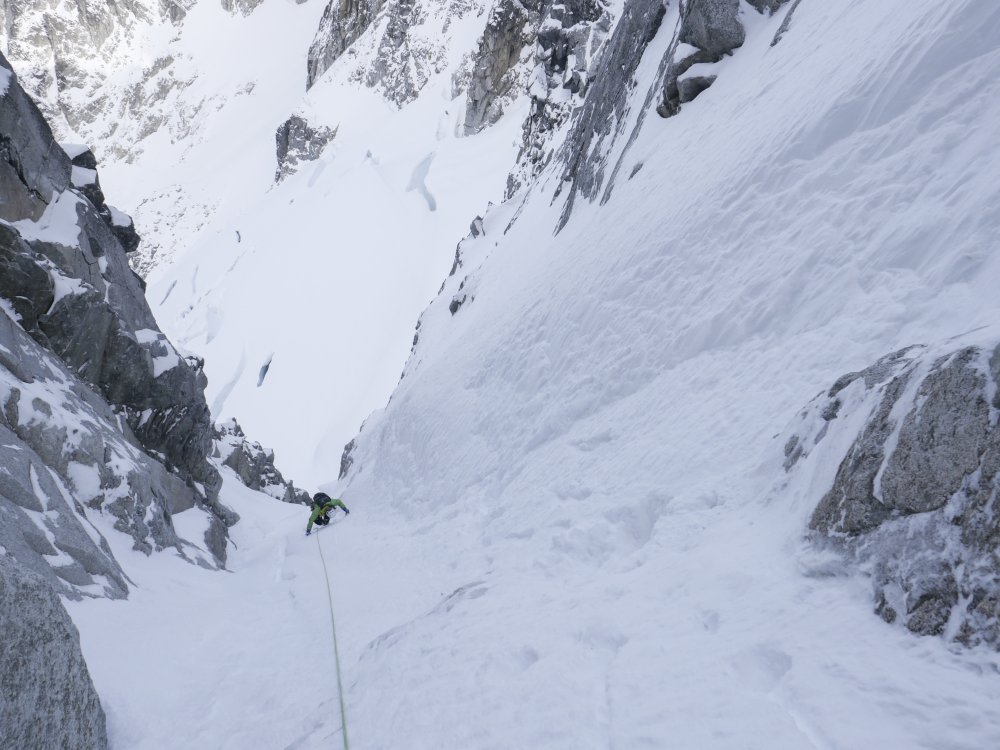
The rain then freeze cycle last week made for some good alpine ice conditions at the pass. NW Butt on Chair was in cruiser condition yesterday. Would likely be hard to protect per usual. The upcoming snow fall will likely make it wallowy again. Hard to tell if routes on Snoqualmie are in or not. Someone should go check out NY gulley. Had to chop out the cornice.
-
Trip: Chair Peak - NE Buttress Trip Date: 12/09/2019 Trip Report: Went out to Chair peak yesterday in search of mixed conditions and found exactly what we were searching for. We couldn't have asked for a nicer day, but would have preferred a few more clouds to shade us and the route from the blazing sun. Overall I would describe the route as "in" mixed climbing condition. Out as a snow or ice climb P1: We took the right variation. Very fun and good mixed climbing practice. little to no ice but I did place one 10cm screw. P2: was a simul block across snow covered slabs and ledges over to the base of the ice step. Not many options for belays but it's hard to fall with much force on those slabs. P3: Sweet neve up to the narrow, thin and unfortunately short ice step. The step consists of a narrow column just barely wide enough to both protect and climb. I placed two rater than one stubby to help protect the belay anchor. I placed my spectre for fun in some turf after the step and belayed off two pins and a slung pinch point up and right. P4: cruiser snow simul to the top. Sean slung a tree for pro. Both rap anchors for the couloir rappel are currently out of reach. In order to reach the bolts I had to stand on my toes and hook the bottom rap ring, with my tool, then do a pull up and clip in direct to my tool in order to thread the rappels. The piton rappel is another 20ft higher. I'm 6'2 and could barely reach, anyone shorter would likely need to tie their tools together or use a probe. The skis pictures spent the day under a tree somewhere on the approach. Gear Notes: Gear we brought: Cams .4-1, many nuts, 1 Spectre, 4 kb's, 2 10cm, 1 13cm, and 2 16cm screws, 1 picket, 9 single slings 2 doubles. Gear we used: all the cams, the KB's, the 10cm, 13cm and one of the 16's, 6 singles 2 doubles. Approach Notes: Currently the summer approach seemed to be the best option. Pray for snow.
-
Some ice is coming in around paradise at the lower elevations. This is a flow off the NW face of Eagle Peak north. Looks a little out of my pay grade, but I think it would go.
-
I've walked by it plenty and stared at it. It looks pretty grimy but shouldn't take too much work.
-

[TR] Eldorado Peak - NW Ice Couloir 11/06/2019
Michael Telstad replied to Kyle M's topic in North Cascades
Climbed it yesterday and found slightly different conditions. Due to Tuesdays precip, there was a fair bit of mostly well bonded wind blown snow on the glaciers, this made for slower travel. The route got a lot of wind transfer, and most of the cruiser neve for other folks was deep wallowing and for us. The ice steps were still tons of fun with the occasional spin drift to the face. Dare I say the thing was picked out. I figured instead of writing yet another NW Couloir TR I'd just comment here... -
Does anyone have any pictures of Aasgard Sentinel in the winter? Asking for a friend.
-

Yosemite Valley September 21- October 10th
Michael Telstad replied to Michael Telstad's topic in Climbing Partners
Partner found! -
Hey Folks, I'm gonna be down in the valley from about Sep 21st- Oct 10th and am looking for partners for some of the time. I'm looking for folks who are solid 5.10+/11- climbers but are up for trying something like the Rostrum. Ideally I'd like to go home having done at least one El-cap route, but I'm definitely not just going down to aid climb. Shoot me a text at 206-641-1920 and we can see if our ambitions align. -Michael
-

Ride of the Valkyries @ Purina
Michael Telstad replied to Michael Telstad's topic in Rock Climbing Forum
I've been cleaning it up lately and it seems totally safe. No pins in the roof (1 oxidized fixed nut) and plenty of gear opportunities made it an easy aid solo to get the rope up. All anchors have been replaced but i'm still waiting to get my hands on some chain. I'm gonna give it some more scrubbing and a free burn on Tuesday. I'll also be taking my rope down then, sorry about the eye sore. P1 is more or less good to go but still needs chain on the anchor. I may also do some work on the other routes that you access from the alcove. -
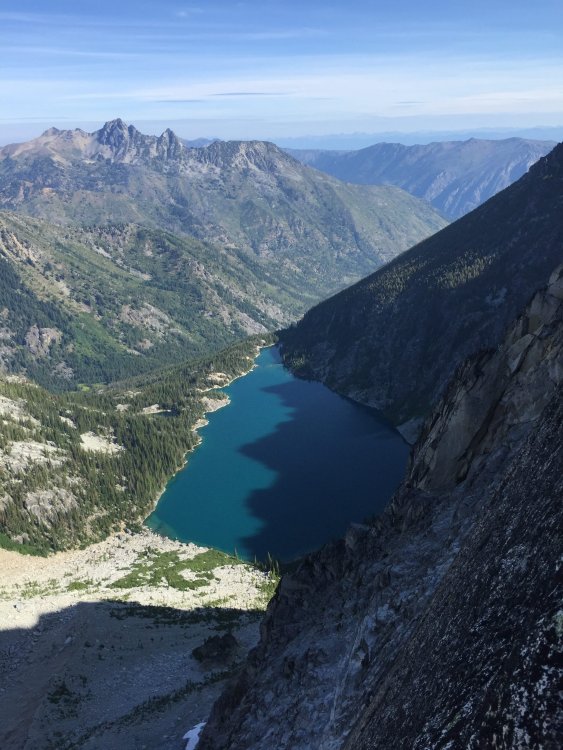
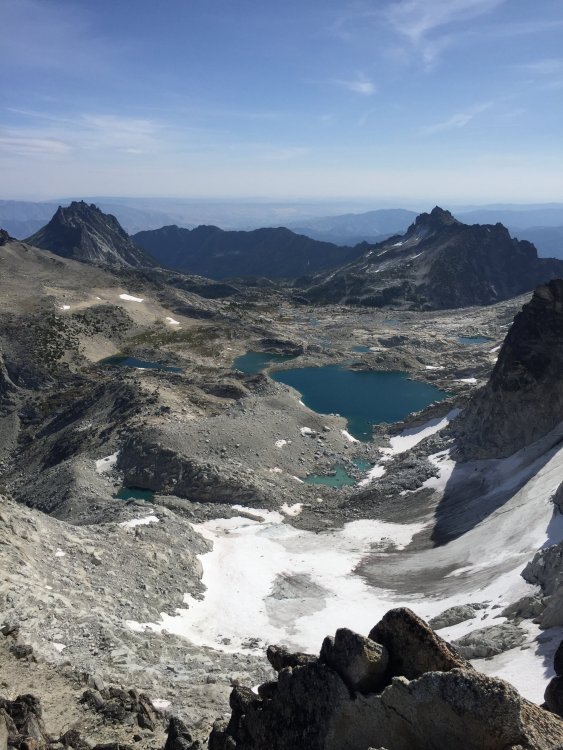
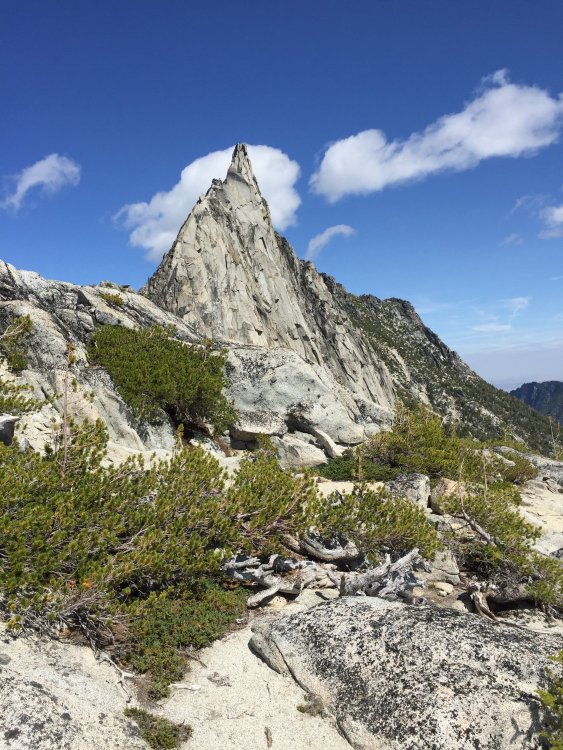
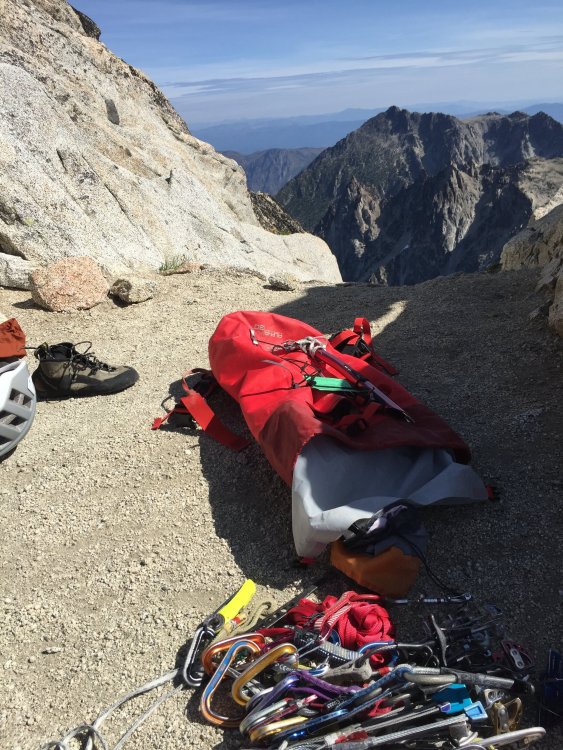
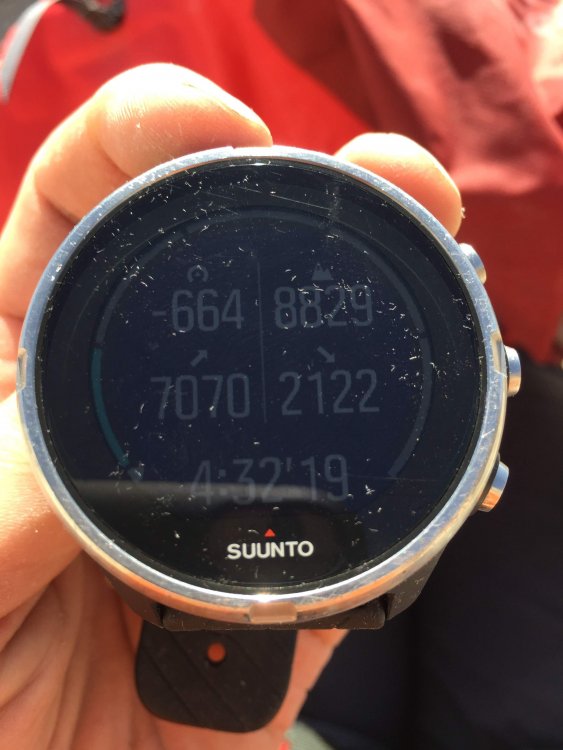
Trip: Stuart Range - Enchantment Linkup Uber-Lite Trip Date: 08/16/2019 Trip Report: Thursday morning came around and I still hadn't found a partner or a plan for my one day "retail weekend" on Friday. Bummed, I resolved myself to going solo and started making plans to go climb some stuff around the Kangaroo temple area at WA Pass. As they day progressed, the idea of getting off work at 8pm and driving the four hours up to the pass started to seem less appealing. I had remembered reading a FB post of Shane Markus rope soloing Prusik in something like 9 hours C2C and thought that sounded like good fun, though I was looking for a little more adventure. Having already climbed the W-Ridge, I started thinking of other longer routes that I hadn't already done, and Serpentine came to mind. After a little beta gathering, I was sold. Figuring I would only have to pitch out the two crux pitches I made a mental gear list and patiently waited till I got off work After getting off my shift of slinging sleeping bags I rode home, frantically repacked my bag and started the "much shorter than Wa Pass" drive over to L-Town. The next morning since my 92 Honda Accord doesn't seem to like washboard roads, I hitched a ride up to the Stuart Lake TH, and started hiking around 6am. My pack weighed down by a few beers and a left over breakfast smoothie which I promptly stashed in the creek. Feeling spry, I launched up and around the lake. Having neglected to research where the cutoff up the moraine is, I found myself deep in a fistfight with some slide alder. Arriving at the base of the route 2.5 hours from the car I was feeling great! Racking up and repacking I started up the route. Before I knew it I turned the corner to find myself below the crux pitch. "That looked way harder in the pictures" I thought to myself and started padding and jamming my way up the slab cracks. Confident that if anything started to feel hairy I could plug a few pieces and pitch out the rest of the crux. Luckily it only got easier and more secure, and in no time I was well through the crux and weaving my way up the blocky ridge, lungs burning and psyche high. Arriving on the summit 4.5 hours from the car I was ecstatic, soaking up the sun and giving my legs a rest. That's when I started thinking It would be a shame to waste my day off by getting back to the car at 2pm and I might as well tag Prusik while I'm up here. Unfortunately I had only brought enough fig bars for one route... Strapping my girlfriends fancy UL crampons to my approach shoes, and whipping out my axe I scampered down the icy snow behind D-Tail and straight lined it in the direction of Prusik. Next time I'll definitely ditch the snow gear opt for the snowless witches tower roundabout. The jog over to Prusik was beautiful as always with goats and ultra vest clad "runners" keeping me company the whole way. The W-ridge went super fast. I brought the rope up in case I wanted to rap the slab, but never ended up pulling it out. The top chimney is indeed easier to slither down than up, and the slab didn't feel much different either. Getting down to the base I thought to myself that I should go rope solo OS as well, I had the time and the energy to complete the triple linkup. Though looking at my dwindling food supply and my small rope + rack I thought it may be a bit more out there than I wanted, plus the day had already gone so well. Reserving myself to the softie linkup, I started my slog back up to Aasgard pass. The trudge back was pretty average, and my stashed chocolate smoothie was a life saver as my food rations were long gone. Again I got an easy hitch down to my car and feasted on a well earned sausage in town before driving back to Seattle that evening. There is something much less satisfying about a double linkup over a triple. I'll be back for that some time soon. Trailhead to Trailhead time: 12hrs Thanks Croft and Plotz for the inspiration and psyche. Final push up the moraine Looking down the two good pitches Chillin in some poor saps bivy spot Looking over at a very sad Colchuck glacier Time to Summit Pack explosion on the summit, showing the small rack that I didn't ever use. Where I'm going The likely better crampon free descent is visible I didn't get any Pictures from Prusik since my phone was dying, but I got one on my hike back! The worst part of these solo trips is the before and after when you don't have anyone to shoot the shit with. Gear Notes: Not used, but carried: 35M rope, Half rack, self belay device (Grigri), extra tat in place of cordelette, R1, Hudini Used Gear: Helmet, Rock shoes, Chalk bag, Water filter, UL axe and Crampons Approach Notes: Don't cut up the Moraine too early and enjoy the views.
-
Trip: Dragontail Peak - Dragons of Eden Trip Date: 07/19/2019 Trip Report: Sean and I have been having too much success lately. So we decided to step it up a little bit and give DOE a go yesterday. We promptly got our asses handed to us, but made it up in reasonable time. Taking our time on the approach due to a nice morning rain, we made it to the base in 3ish hours. I will say that this route has one of the shortest approaches in the range. The first pitch is properly dirty and harder than it looks. Looks like 5.8, feels like 10- dirty. The second pitch is so sweet! but like the rest of the route, needs some more traffic to make it even more enjoyable. There is a guillotine flake at the start that looks bad, but is solid, this is kind of a theme of the route. I linked this into the 5.9 pitch and belayed from below the crux on a big fat ledge. Sean coming up to the pitch 2 belay in the sun! This wall is COLD and doesn't get any real sun until late in the day. This was the only sun we got all day. From there we rested up and Sean gave the crux a solid effort, no send but that pitch is really fun and you're more likely to hit the pedestal as the follower unless your belayer isn't paying attention. Looking up at me on the headwall. The whole headwall seems to be comprised of scary hollow sounding tombstone flakes. They are solid for now, but it still made it feel pretty heads up for me. The position is all time exposed if you build a belay in the middle of the pitch, which is what we did. The second headwall pitch is hard and scruffy. Still a little crumbly, but takes great gear. I can't believe that Jens onsighted that pitch before it was properly cleaned, so awesome! Sean trying to untie his knot. Psyched on life and ready to start the scramble up to the summit. Can you spot Sean in his granite colored jacket? We soloed the NE buttress until this spot. I had read in Steph's TR about how loose the notch was, It is indeed absolutely horrible. The first hold that Sean grabbed in the gulley proper tore loose and triggered a big slide below him. To get around it he went up and right, then down-climbed to the rap station. We flicked the rope down and I TR'd directly up the notch. I can't stress how gross the rock is, but I guess it could be worse. We brought a tagline to bail and haul a pack. This allowed us to make one full 60m rap down the other side. Still more loose rock but a pretty straightforward rappel. From where the route drops you, you don't need snow gear to get down. Some fun scree and snow skiing took us down to Aasgard and the usual jarring hike down the pass brought us back to our packs. Overall it's a great route! Too hard for me to give a good RP attempt from the car right now, but I now have something to train for. Like others have said, with some more traffic this route would clean up well! I even think the average 10+ climber with some alpine aiders and a slightly bigger rack could have fun on it. Next time I come back I will probably rap the route. It was cool for both of us to top out since it was our first route on D-tail, but the NE-Butt is mostly just exposed loose walking and not a good route. Gear Notes: Doubles .3-3 and Triples .4-1 12 alpine draws Small set of nuts 60m 6mm Tagline Approach Notes: Around the lake and up to the base of the waterfall, then right over the waterfall and up some loose 4th class to the base. If you're gonna leave gear at the base, hide it under a boulder before you cross the waterfall.
-
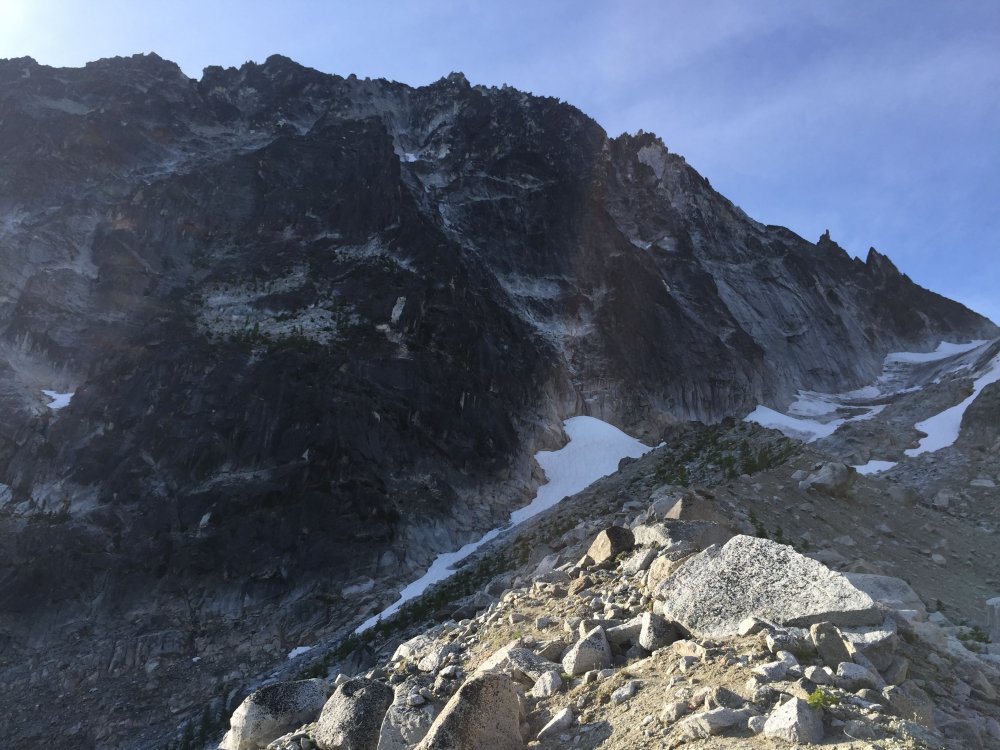
Trip: Colchuck Balanced Rock - West Face Trip Date: 06/23/2019 Trip Report: Some people use the solstice for really long days from sunrise to sunset, getting in as much adventure as possible. We used it to sleep in and still get in a full day of awesome climbing. Leaving the trailhead at 9am we made quick work of the hike up to the lake. From there it was uncharted terrain for the both of us. The climbers trail was way easier to follow than we expected, very well cairned and worn down. The wall looking very very good Two guys crushing Let it Burn. They looked very cool from our route. Such a cool looking route! The corner had one serious wet patch that thwarted my OS. Not bad at all though. I got very cold at the belay under the corner, making for some numb tips on the traverse. Sean about to onsight the freaking crux! Unfortunately I got no photos of the chimney. I thought it was fun. Sean did not. The descent to the base was pretty cruiser. About 50/50 kitty litter to snow. A fall on the snow could be pretty bad if you don't stop but definitely not worth bringing an axe on route, just be careful. There are currently no bugs at the base or on route. Overall the route is in great condition. Only one small wet patch up near the top of P4 and the only fixed gear is the nuts and pins at the top of P4. I cleaned a fixed nut out of the crux thinking my partner had placed it. It came out very easily. Our time came in around 11.5 hours C2C giving us enough time to go get some dinner in town. Gear Notes: Double rack .1-2 single 3&4. A bunch of slings and a single rack of nuts, mostly small. There is no longer a fixed piece at the crux. Sorry. Approach Notes: All snow free and in good condition.
-
Some folks have been doing work on the hardware up there lately. Give it some time and some of those routes should be all shiny and clean again.
-

[TR] Prusik Peak - Stanley-Burgner + Solid gold 05/29/2019
Michael Telstad replied to Michael Telstad's topic in Alpine Lakes
Yup. I'm hoping they take it down once the snow melts as it does have potential to create a decent amount of trash. Especially if they continue to do it every season. -
Just repeated the route last Sunday. Stellar line and definitely has real free climbing potential on that second pitch, though currently a bit out of my pay grade. I'm curious if anyone has tried trundling the scary block on the last independent pitch. It adds some unneeded stress to a pretty low stress route, and seems like it would go pretty easily, either via crowbar or un-expecting leader.
-
Trip: Prusik Peak - Stanley-Burgner + Solid gold Trip Date: 05/29/2019 Trip Report: AKA the "It could be worse" road trip When weather in The Valley, Red Rock, Moab, Tahoe, City of Rocks ect. looks heinous for the week you have off, what do you do? You stay close to home and go for some earlyish season ascents of some of the cascades best alpine rock routes! The original plan: Spend a few days in Trout creek waiting for weather to improve. Get a permit for the core, plan for 2 days up there climbing Solid gold and Stanley-Burgner one day, Valkyrie and Acid Baby the other. People said we need snow shoes, but we'll probably be fine. What we actually did: Hike up to Colchuck, hang out under your fly waiting for the thunder storm to pass. Talk to some guys who tried Valkyrie, turns out the route is wet. Rad. one route off the list. Post hole the shit out of Aasgard pass and keep post holing your way through the core in some of the worst spring snow conditions I have personally experienced. Wake up late the next morning to find splitter weather and already slushy snow. Post hole your way over to Prusik. Start up the first pitch of Solid Gold only to find the crux soaking wet, and water dripping down onto the belay. Lower off the spooky chock stone and move over to Stanley-Burgner. Post hole your way up to the base of the route in rock shoes. It seems like some fluffy clouds are starting to form. What did I read yesterday about the warning signs of t-storms? P1/2: Mostly dry except for the crux. Awesome. P3: Mostly dry except for the crux. Cool. P4: Mostly wet except when I try to climb around the wetness and get off route. The added lubricant probably made the squeeze a little easier. P5: Mostly dry except for a few wet jams. At the crux. P6: Pretty damn wet and now there is a full fledged thunder storm baring down on us. Layback around some sketchy new looking loose blocks as it starts to rain. Good thing the route is already wet. Pull up onto the normally awesome summit block only to have my ice axe and entire rack start to buzz. Flip my shit and throw my pack across the summit. Hop over the other side of the summit and start belaying my partner up in a full on vertical sprint and the longest six minutes of my life. There is now a BD .4 on that pitch if someone wants some easy booty. Get the hell off of the summit. Get our rope stuck. Clean it and continue to rap. Post hole our way through very wet waist deep slush over to the base of the west ridge. Run down to lower ground and laugh about how its already sunny again. Try to dry out our gear in camp and decide that this weather cycle is not worth climbing tomorrow. Hike out and get a burrito at South. Drive home and start repacking for WA-Pass. I still have three days off of work. Now for the photo dump. No more pictures till we were back to the base and the storm had passed. Gear Notes: Double rack .2-2 single 3 and 4. Hand full of nuts Approach Notes: Post hole your way up Aasgard pass and down through the upper core. Snow shoes probably aren't worth it.
-
The real plum is an E face route on each formation in 24 hours. If it has ever been done I'd love to hear about the strategy.
-

[TR] hubba-hubba hill - the funnel 03/15/2019
Michael Telstad replied to montypiton's topic in Ice Climbing Forum
Shit! Climbed the main flow on Thursday and everything seemed solid but HOT! Nothing falling off and the snow seemed very consolidated. I guess pushing my partner to bring avy gear was the right move. If not to just find our bodies. The Funnel lives up to it's name! -
Use the anchor for Tommy's Sandbox. Be very careful not to knock anything off the top, it'll land right at the base of godzilla. Also if you choose to do it on a weekend, which I don't recommend, be quick and don't take over such a popular route. I personally try and only TR solo more obscure routes as not to get in the way, the exception being empty days in the winter or iffy weather days when no one else is around.
- 1 reply
-
- top rope solo
- index
-
(and 1 more)
Tagged with:
-
Trip: Juno Tower - Clean Break Trip Date: 07/30/2018 Trip Report: It seems like Gabe and I have had a track record this season of finding the most marginal weather in the state, then choosing to go for it anyways. From plenty of wet and cold days in vantage last winter to an early season one day climb of prusik in a Blizzard, and a very cold and rainy day in the liberty bell group. This climb was no exception. On Sunday we drove over from Seattle and after cragging a little in the shady icebox canyon we stashed a bike and some Gatorade just off the road at the wine spires pullout. On our drive down to Winthrop for dinner we stopped by the Cutthroat lake rd to chat with the ranger who was stationed there. He informed us that the fire was under control and that it likely wouldn't impact our climb the next day. The next morning we woke up at 3am and left the car at 3:30 in an attempt to get to the base at first light. With a weather forecast of 90 on the summit of Silverstar we knew it was going to be a hot one. It was. Gabe trying to get us un-lost on the approach. The route basking in some nice alpenglow as we cross some slabs below the base. The first pitch is the stellar tight hands splitter on the right side of the blank wall. We got up to the base by scrambling up the chossy gulley to the left of the snow. There was an exciting 5th class mantle at the top that some might want to rope up for. No need for snow gear! I quickly learned on the first pitch that 1.)over 3 liters of water is heavy. 2.)warming up on 10c with a heavy pack is hard. And 3.) it's already damn hot and i'm sweating a lot. Somehow I managed to pull off the OS and was glad to have triples in .5 & .75. The rest of the route went pretty smoothly despite feeling like shit while baking in the sun. Luckily our packs were getting lighter really fast! Gabe styling the 10a roofy slabs. Gabe fighting with a tree on the 5.6/5.8 traverse pitch Pretending to be having fun while trying not to vomit from heat exhaustion. Moments before Gabe threw a hissy fit because our friend Jeff told us we didn't need a 4 for this pitch. The perfect rack would be one 3 and one 3.5. We had 2 3's and the crack gets wider than a 3 at the lip. Gabe didn't like that. Some of the first shade encountered on route. Trying to use the cold rock to cool down. More shade on the big ledge before the simul block to the summit. This was a real life saver though a big time suck. You're apparently supposed to stay right of the ridge crest here for more enjoyable climbing. I think we passed the only spot to get over so were forced to climb the lame sandy gullies to the left. Can't say I recommend them, but they get you to the summit. Summit stoke! We topped out at 1pm for a time of 9:30 C2S. Not too bad for how crappy we were feeling. Looking up Vasiliki ridge. One hell of a traverse! The descent follows the "obvious gully" then traverses left and down A LOT back to bench camp. There is plenty of kitty litter on slab skiing along the way to keep it exciting. Overall Clean Break is a stellar route with high quality rock and not a whole lot of routefinding issues to be had. This makes for a relatively fast 15 pitch 5.10 in a rad location. We really learned our lesson not to climb big routes on such hot weekends, and to bring a filter, not iodine if we end up doing it anyways. Half an hour is far too long to wait when you are that thirsty. Gear Notes: Rack: Doubles .2-3, Triple .5 & .75, A few nuts, 2 microtraxions. Either replace the second 3 with a 3.5, or just bring a 4. We brought 4 liters of water each. We should have brought a filter, chugged water at the base, filled up 3L, then refilled at bench camp. 2 UL poles, no axe Approach Notes: Silverstar creek trail is not super straight forward to follow in the dark so I definitely recommend having a GPS track on your phone to follow, it helps speed things along a bit. Same goes for the descent.


