Leaderboard
Popular Content
Showing content with the highest reputation on 08/26/19 in all areas
-
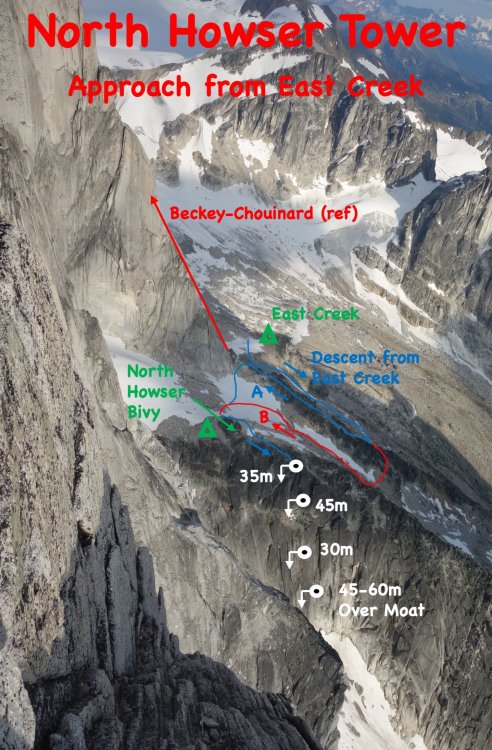
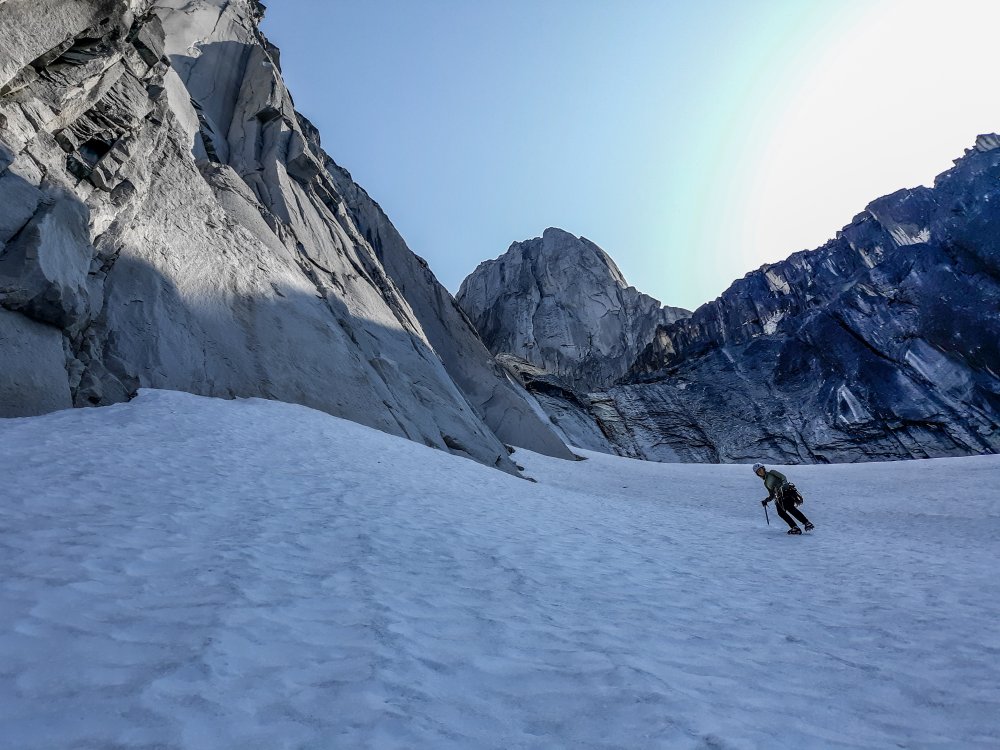
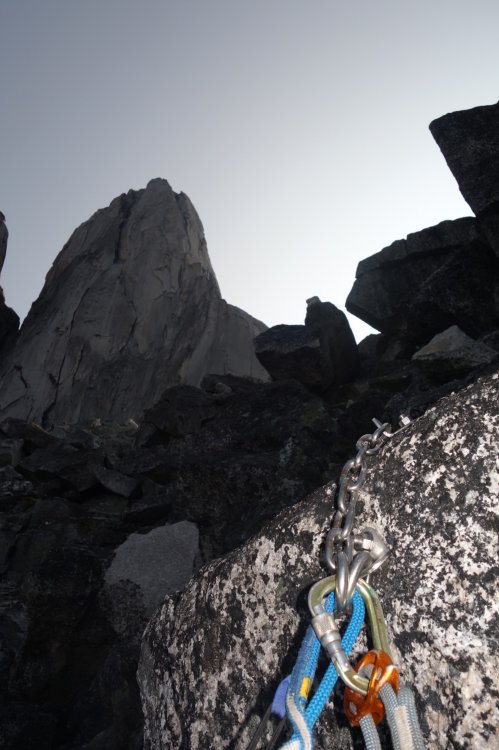
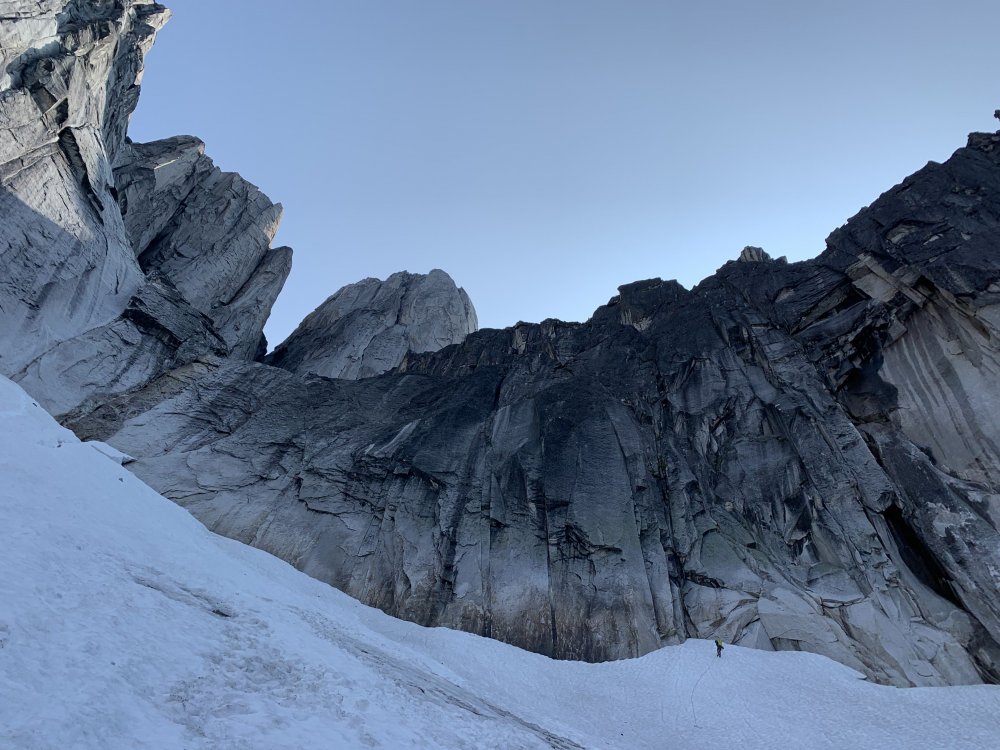
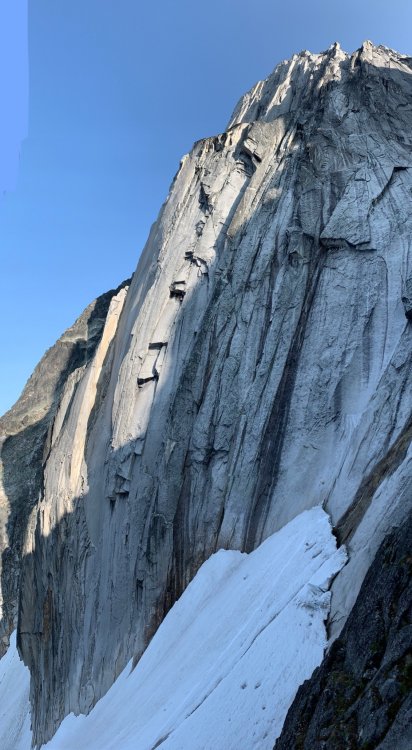
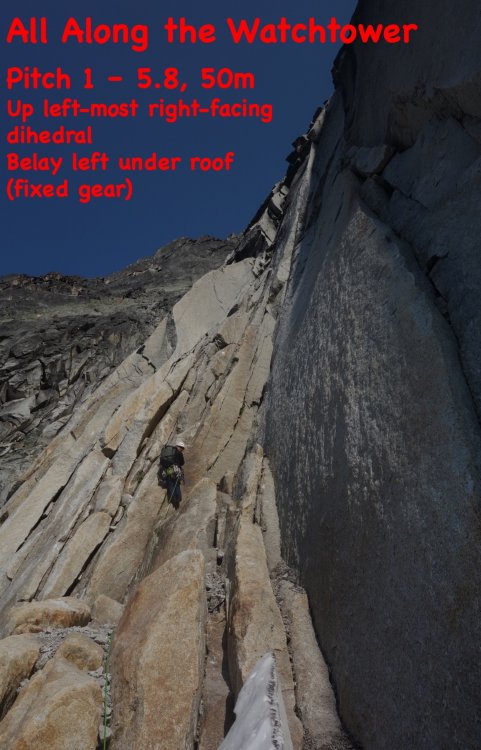
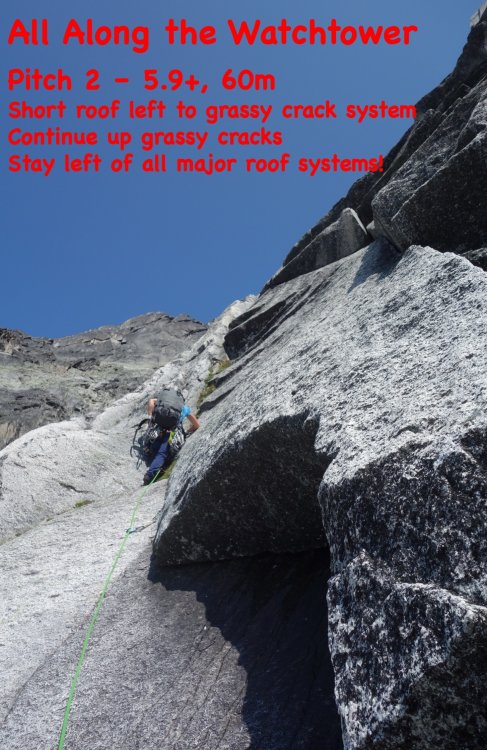
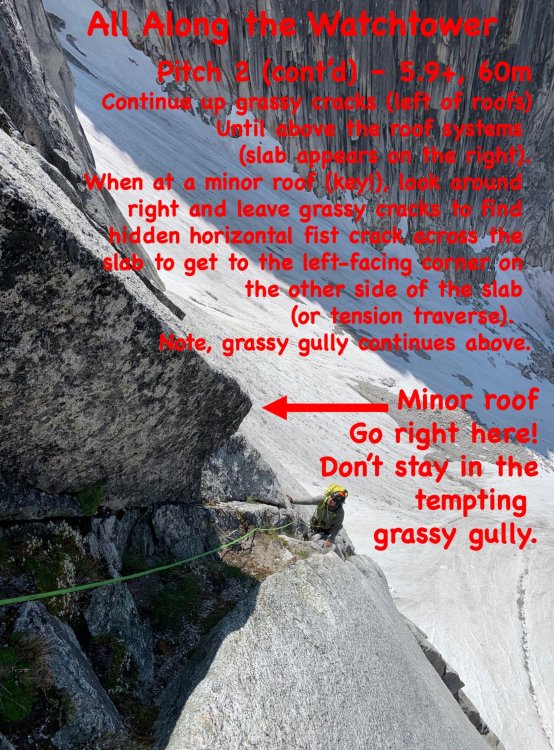
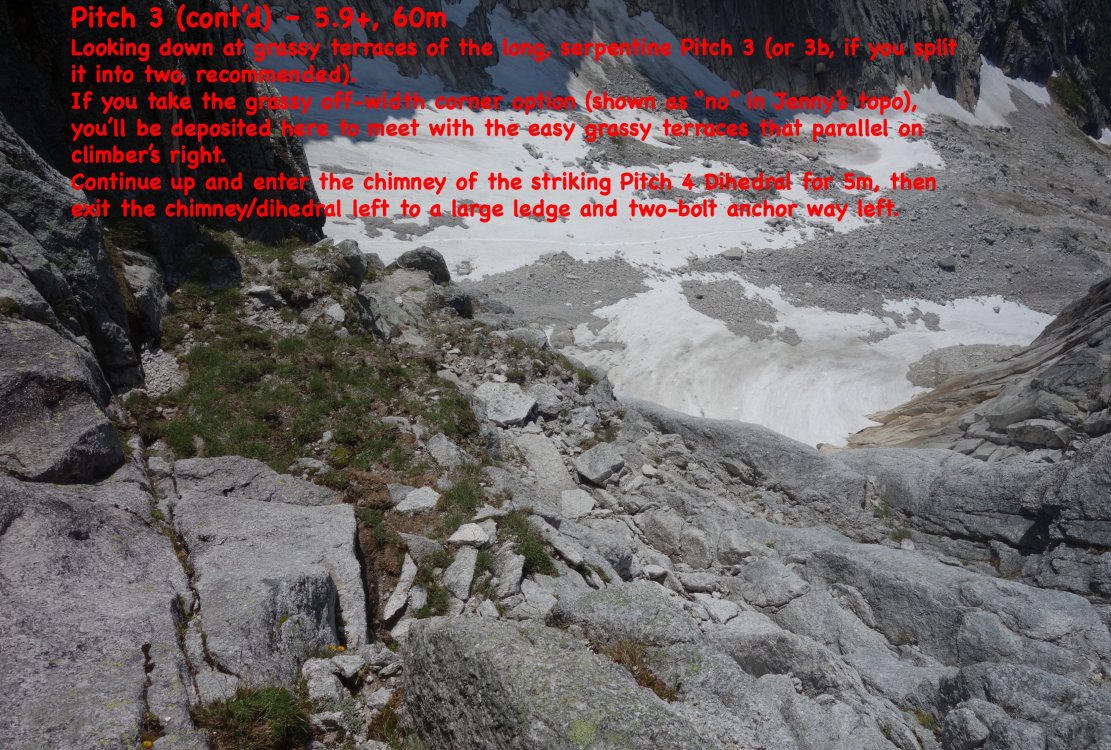
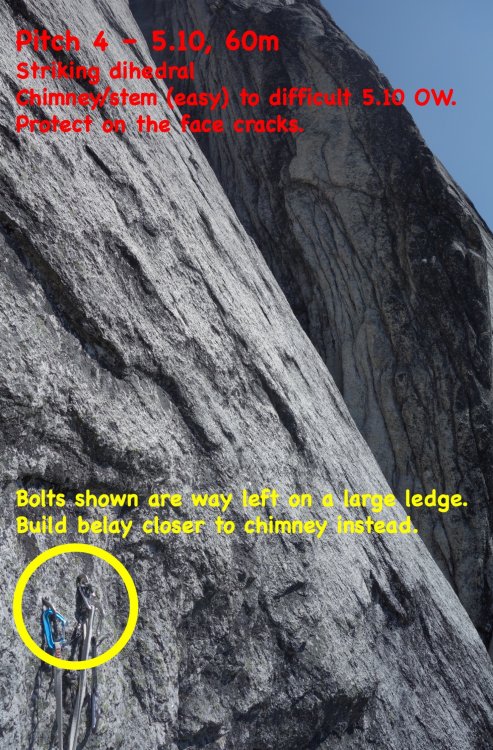
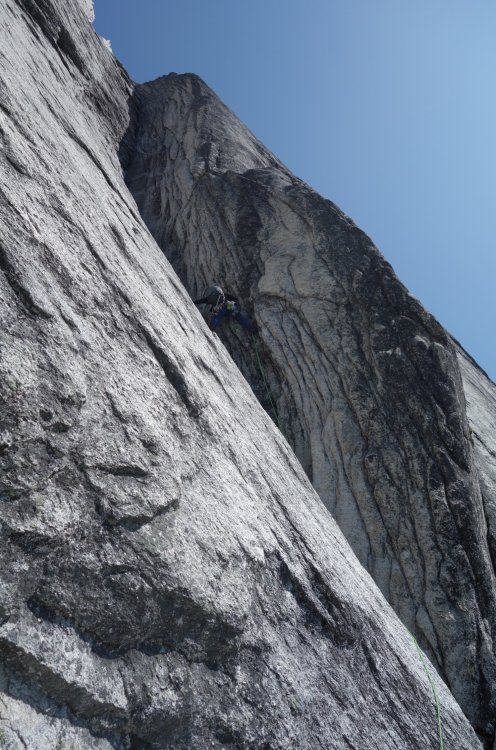
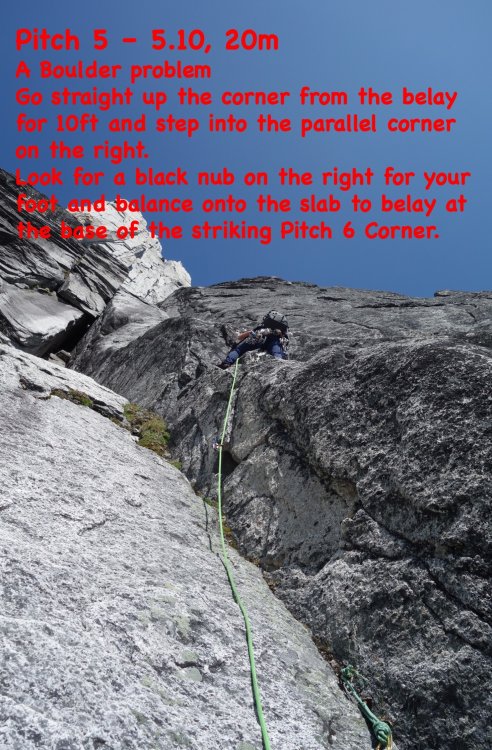
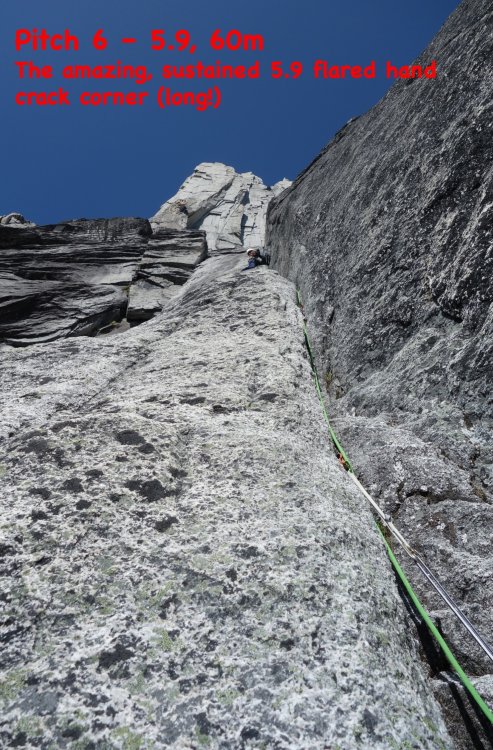
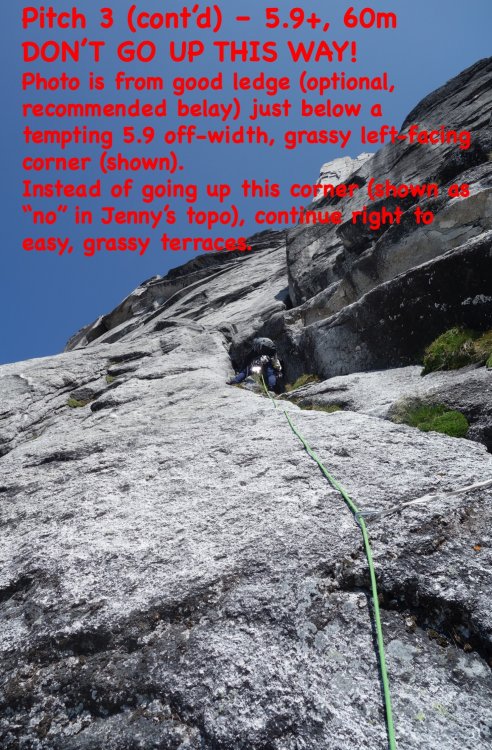
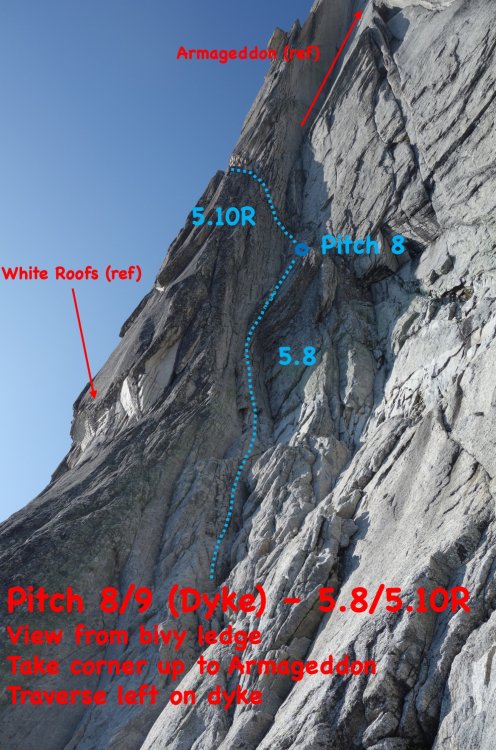
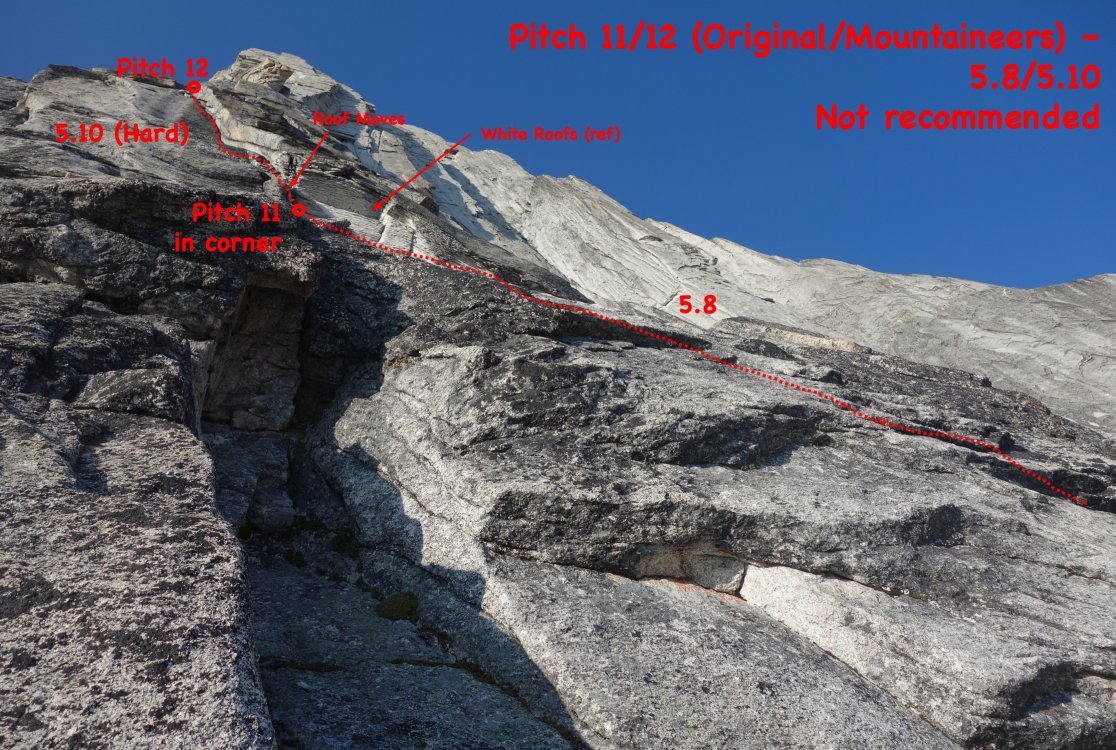
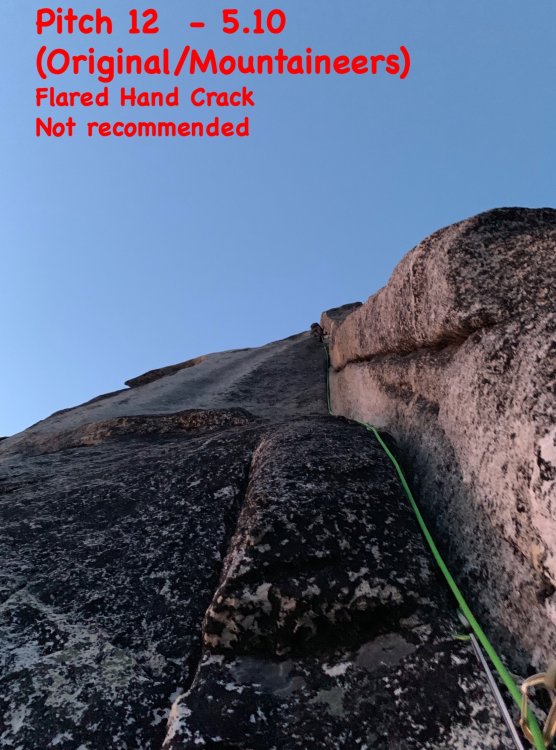
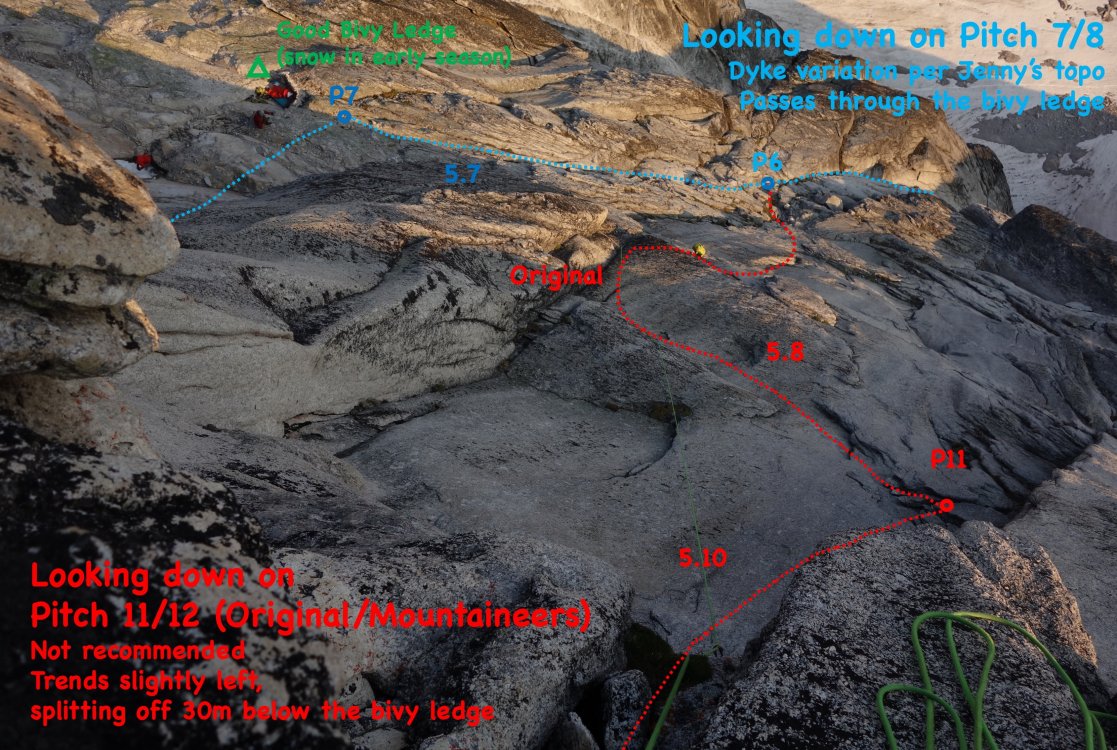
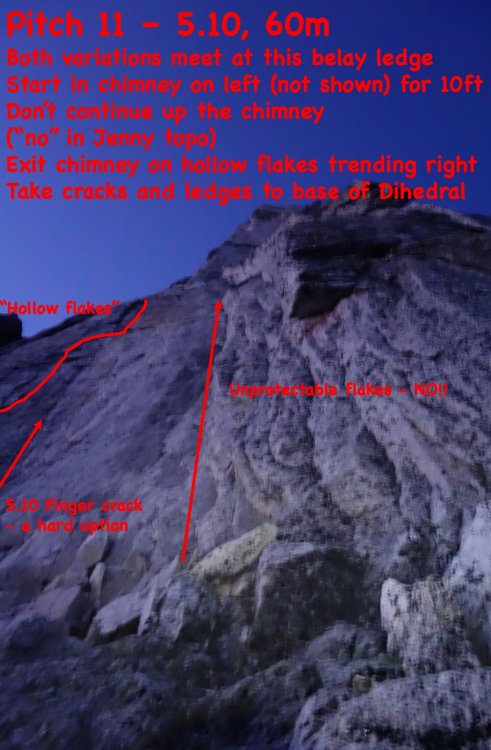
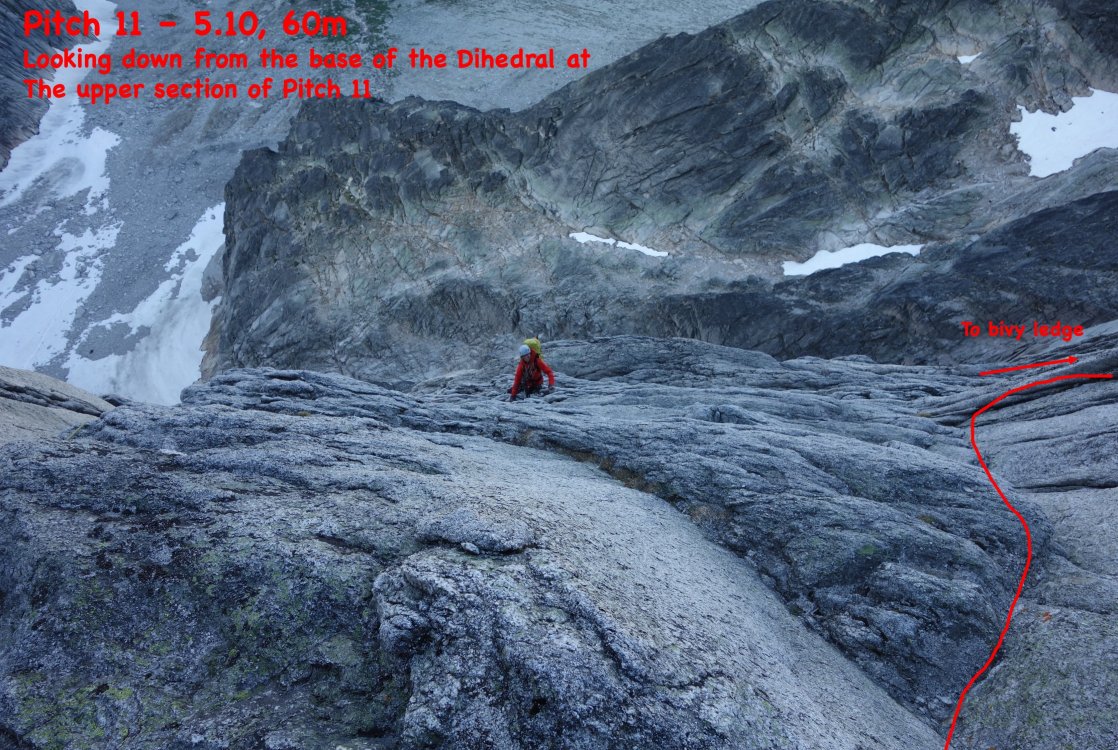
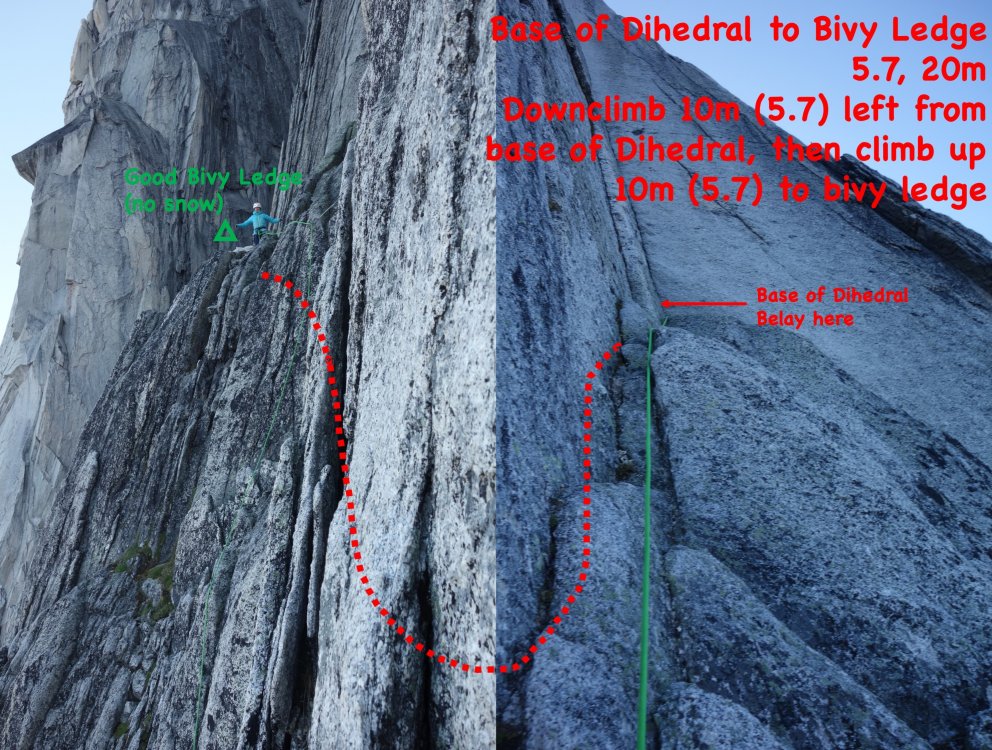
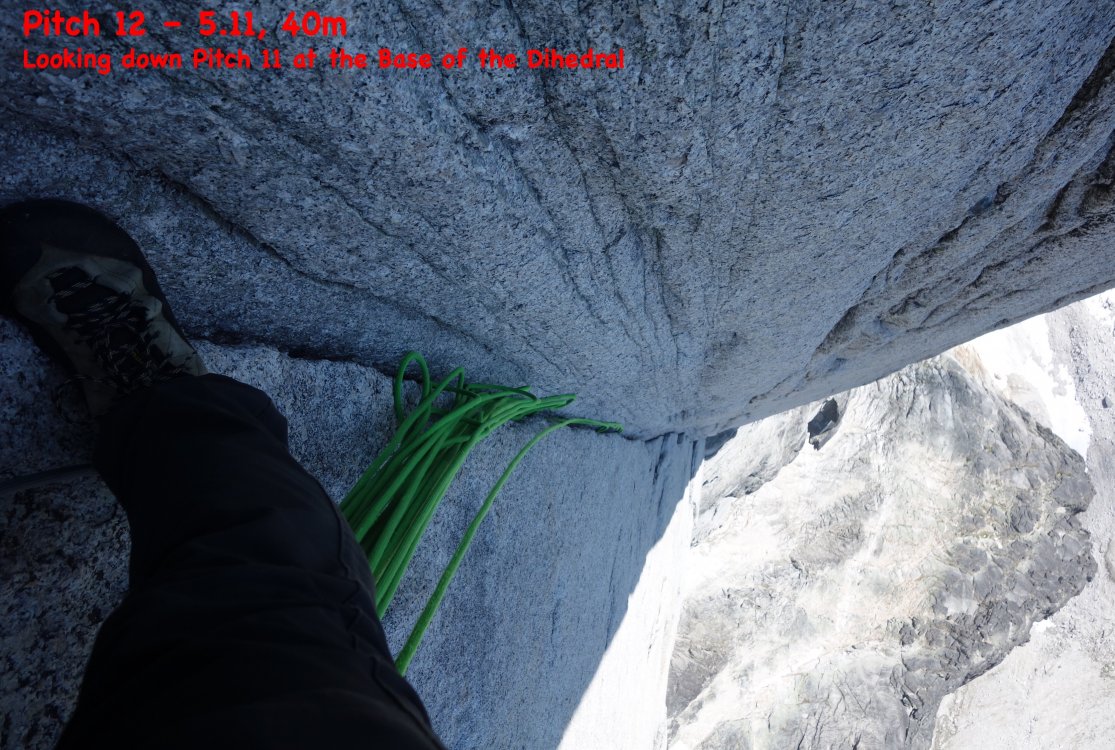
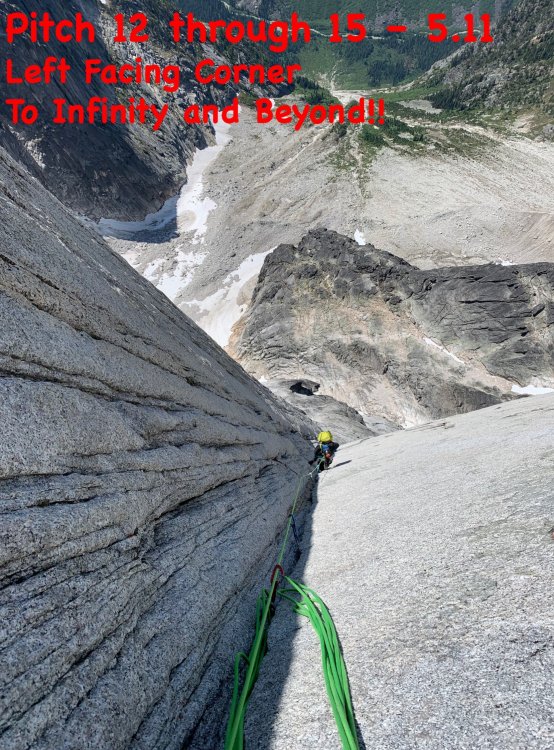
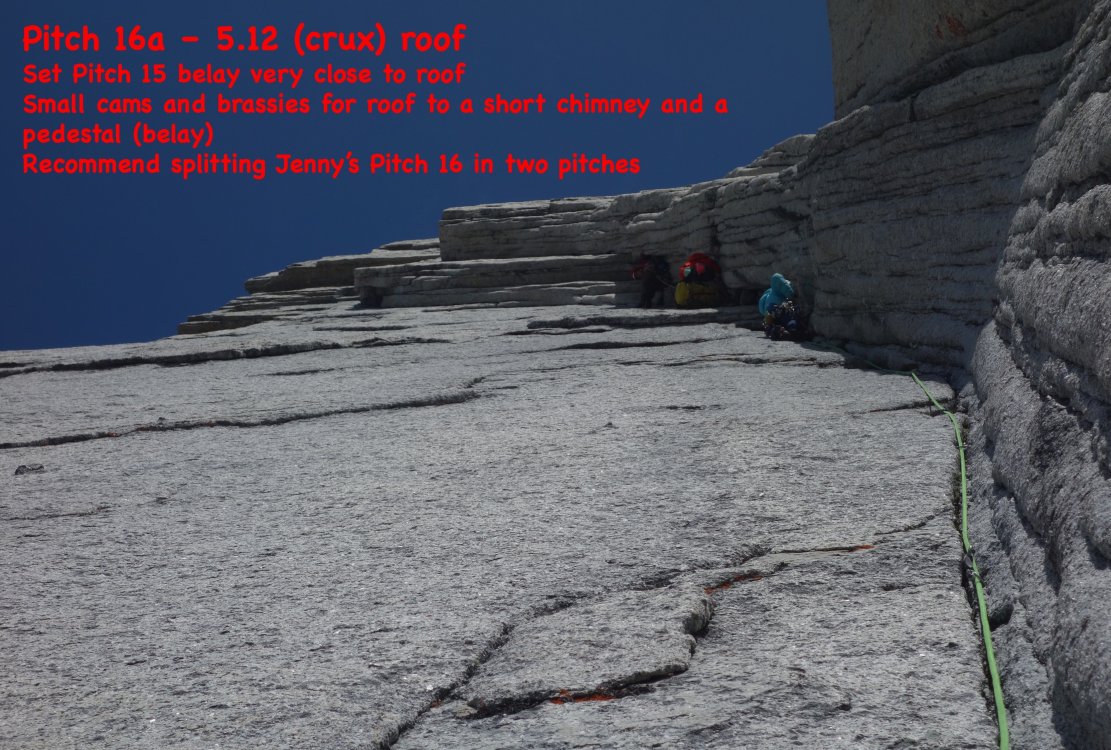
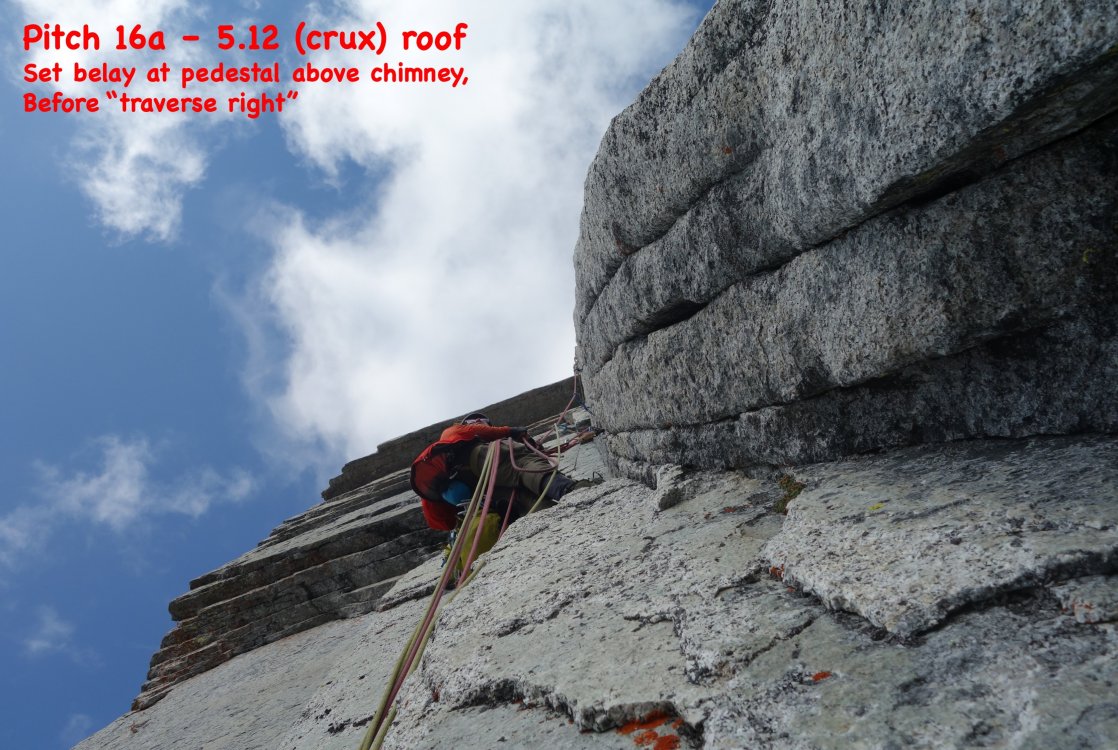
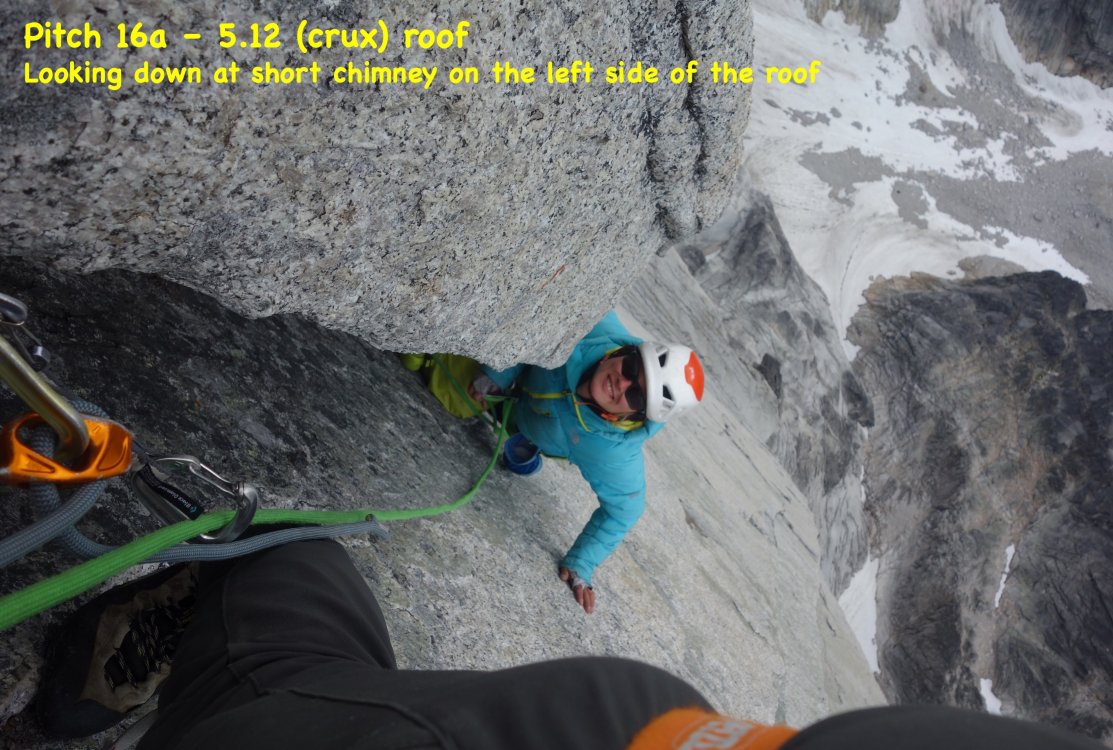
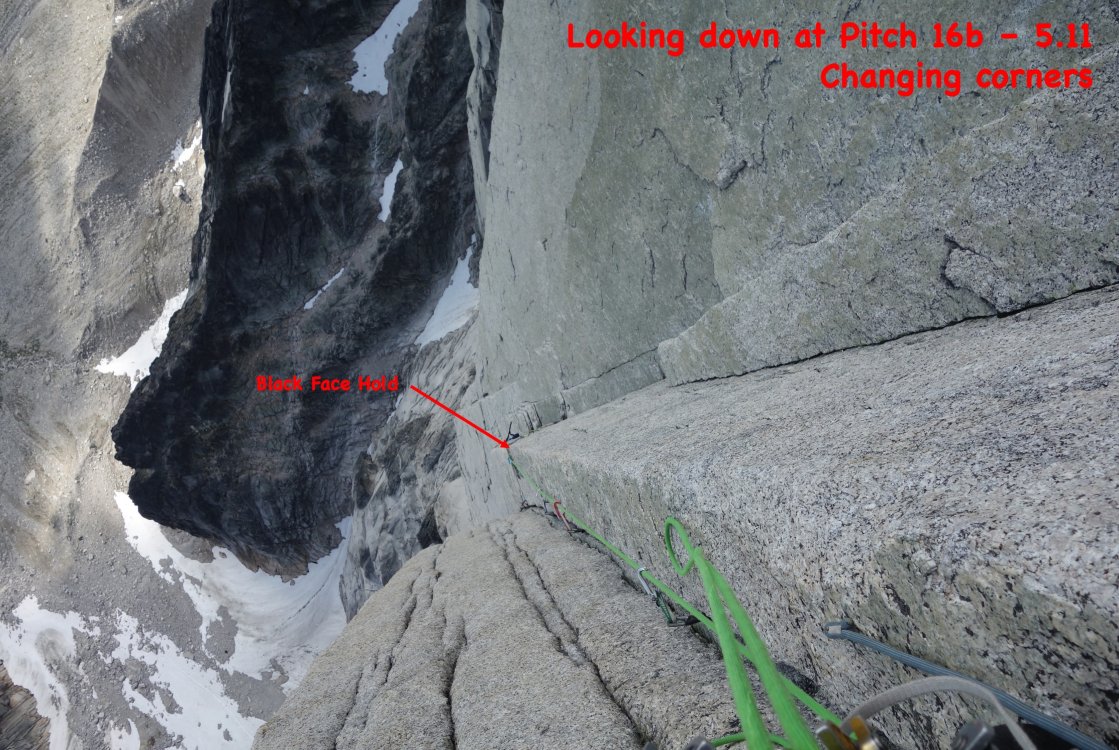
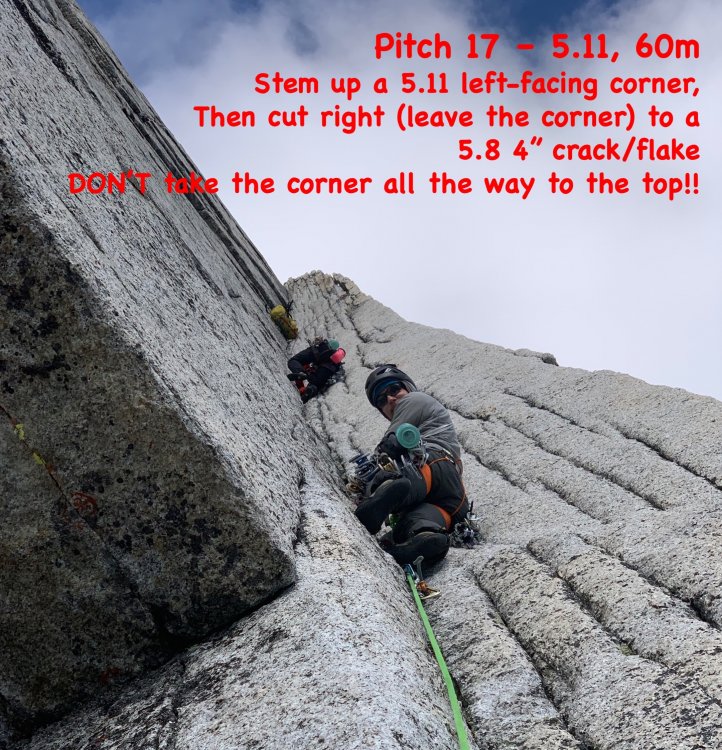
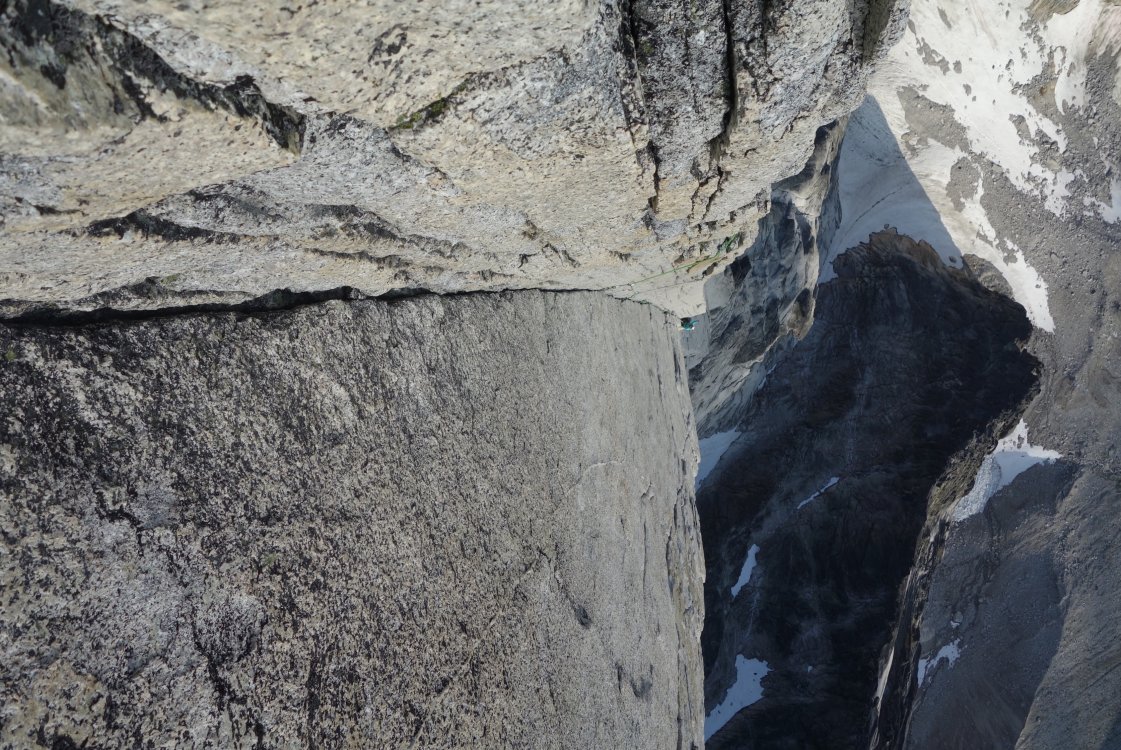
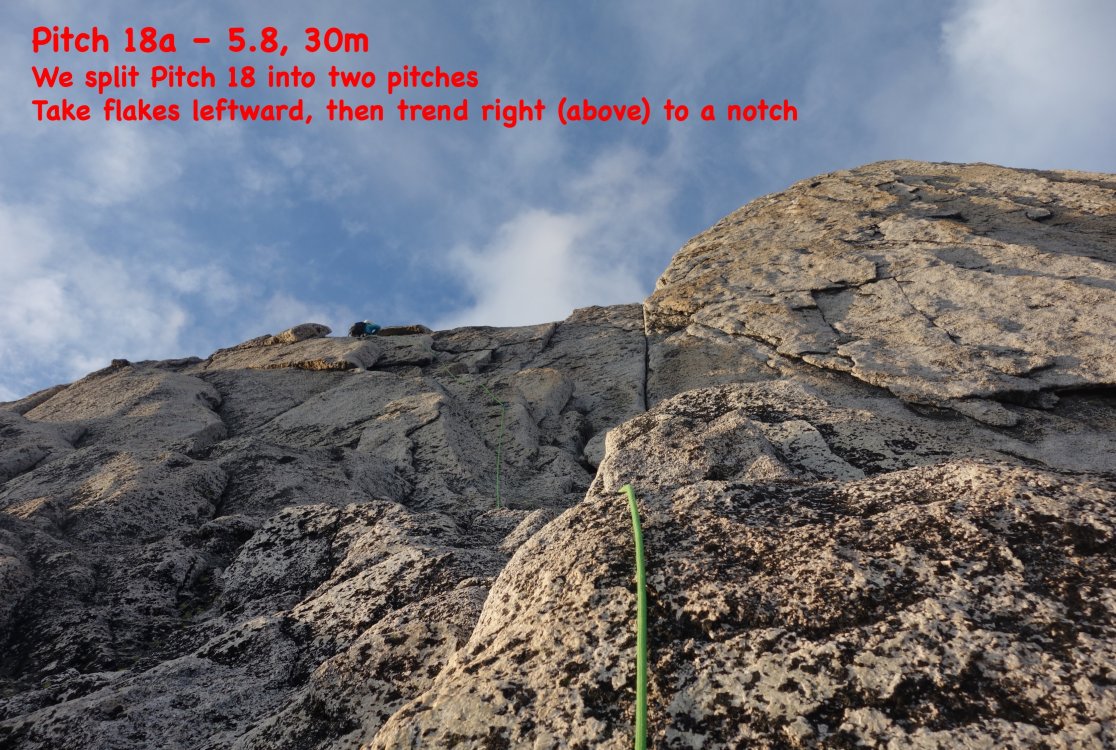
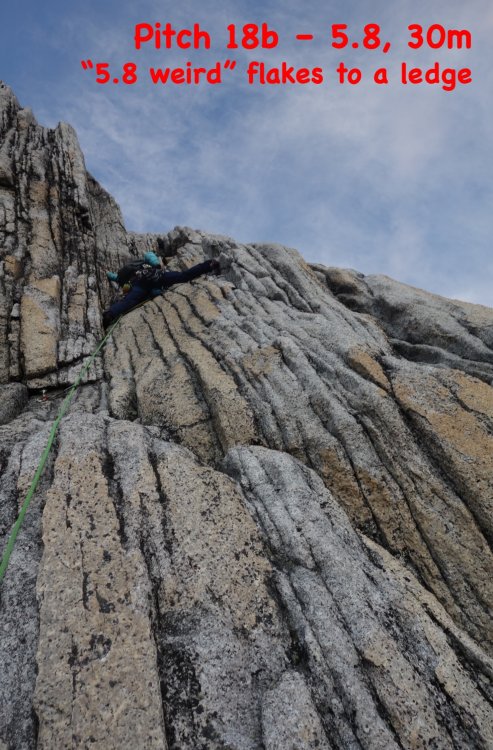
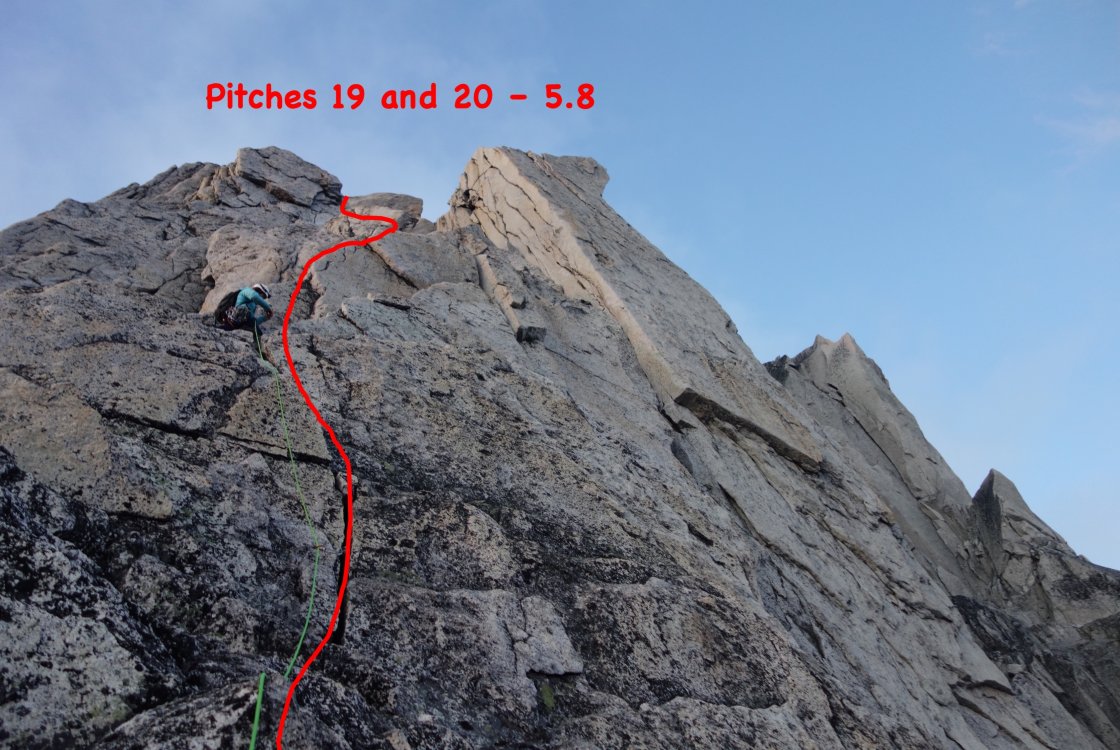
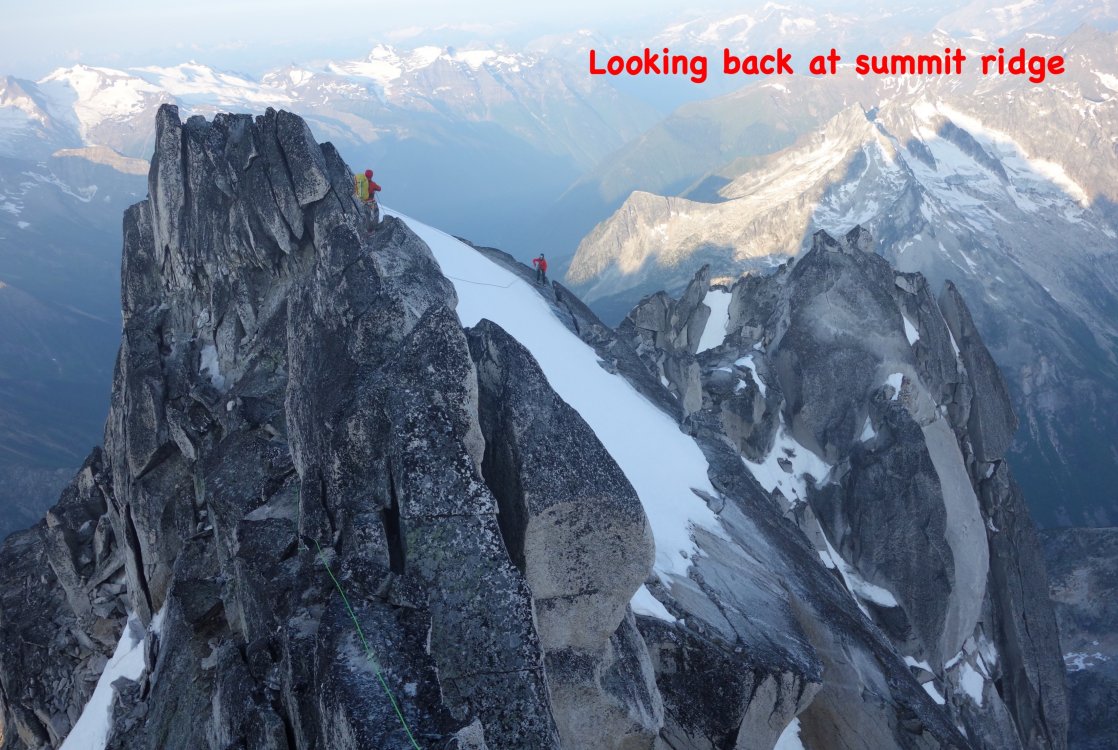
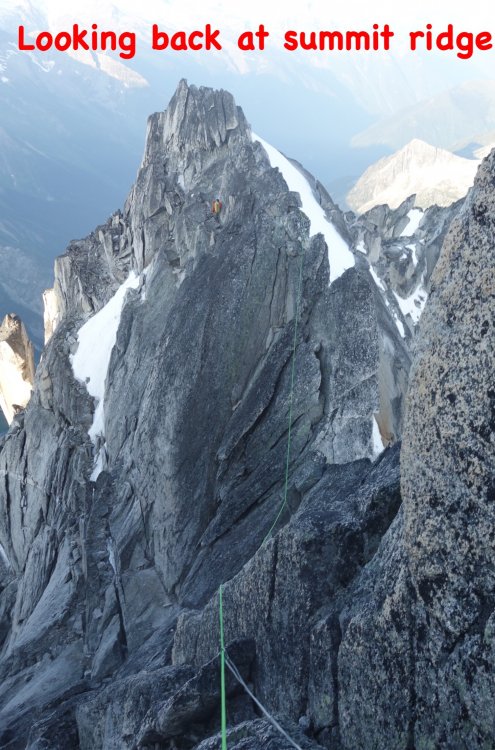
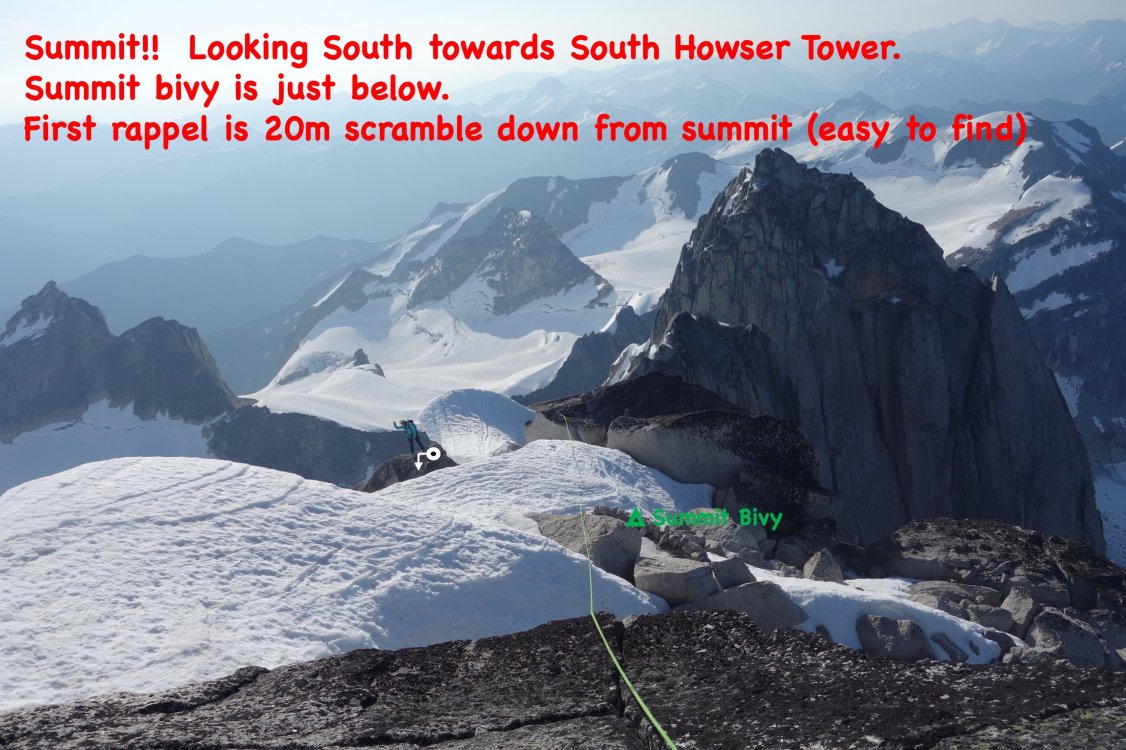
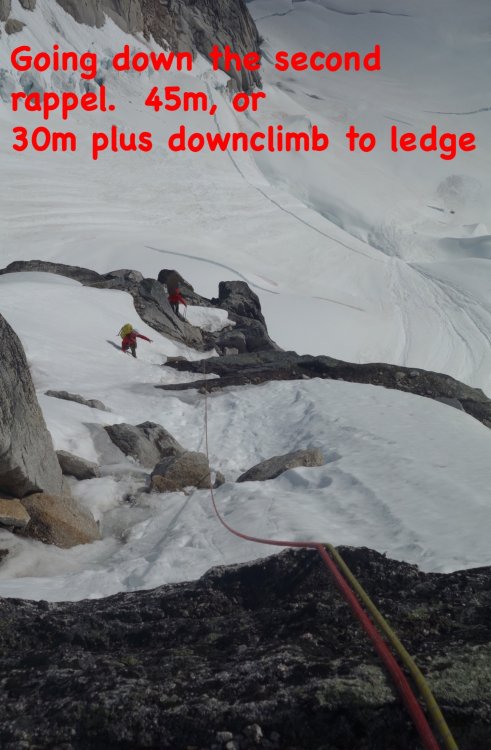
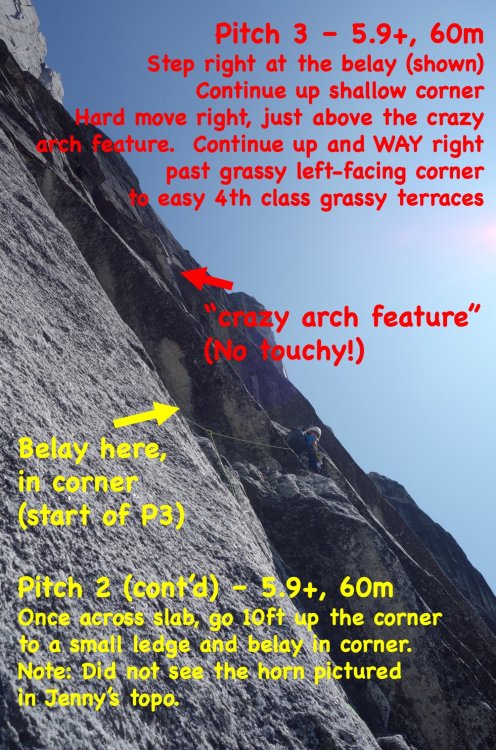
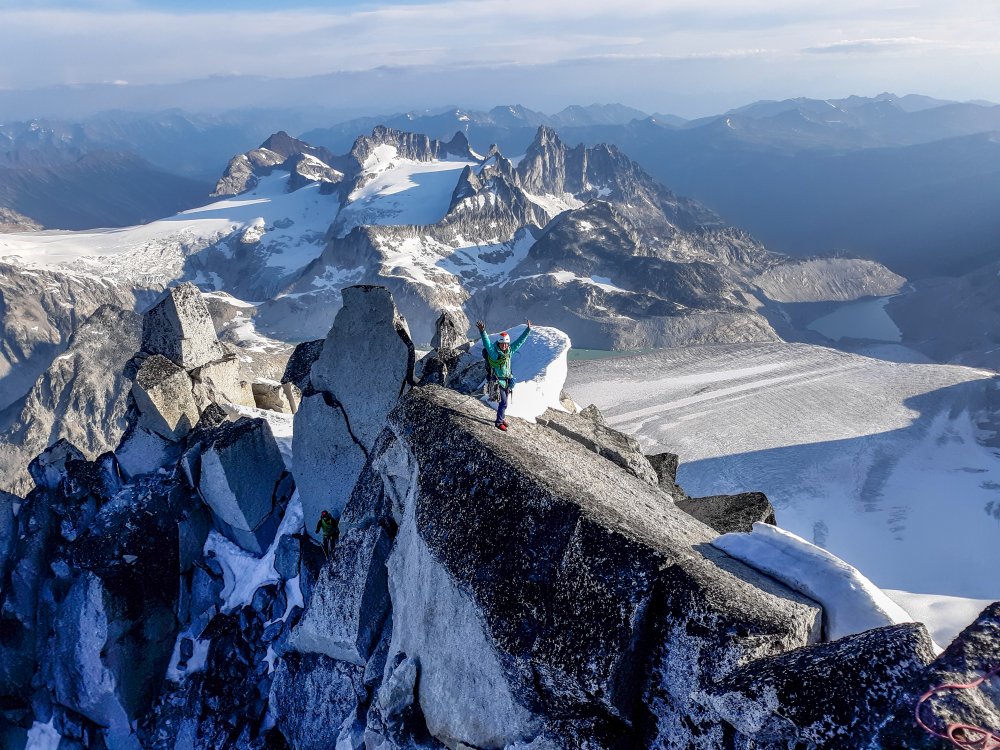
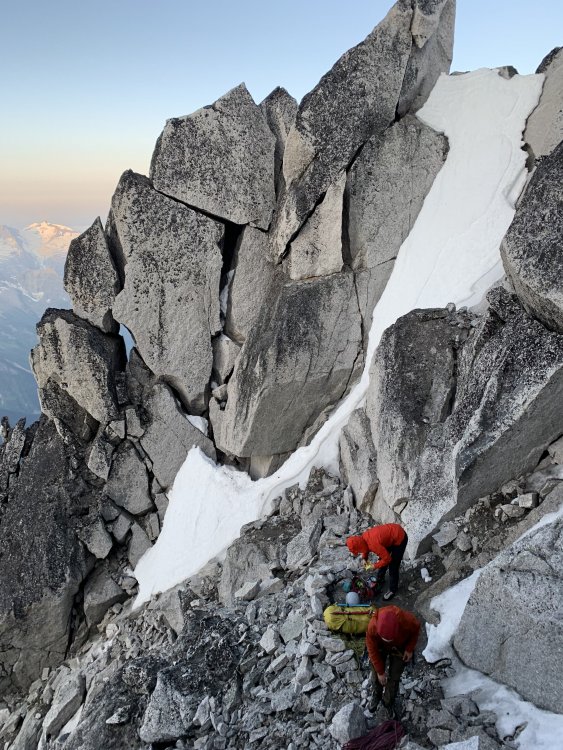
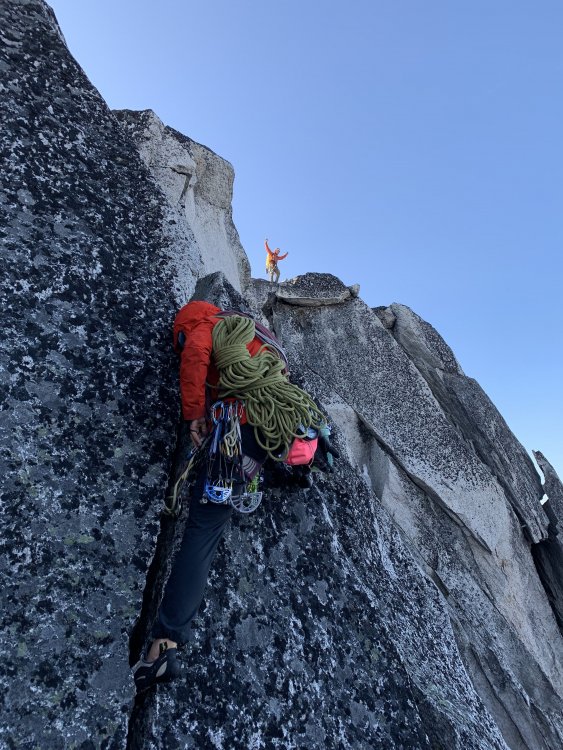
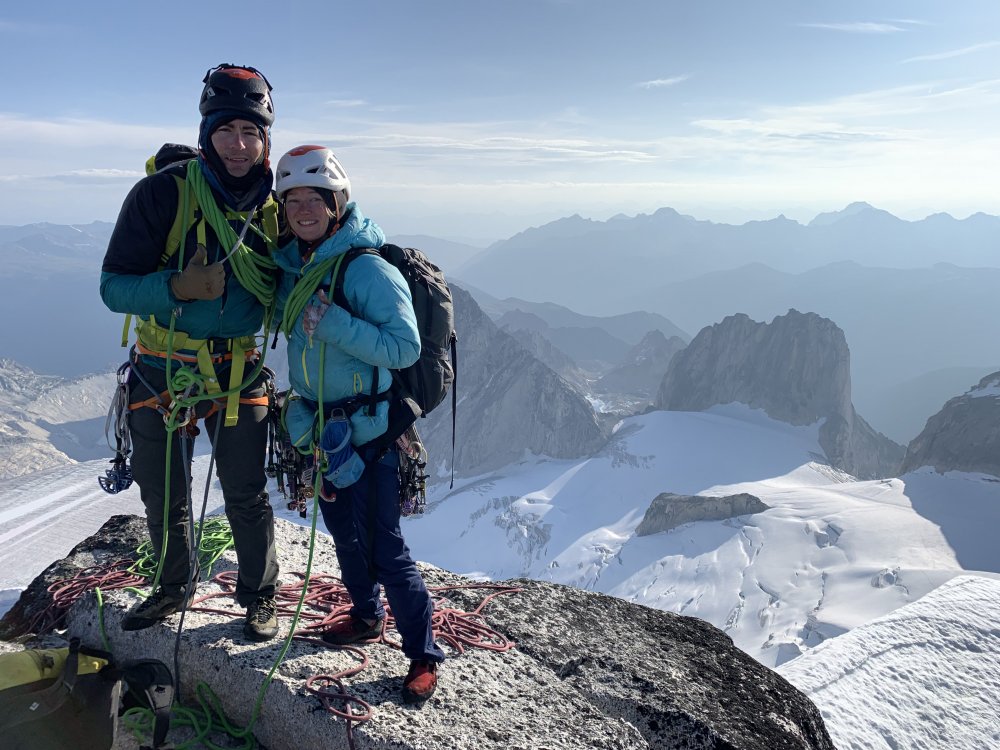
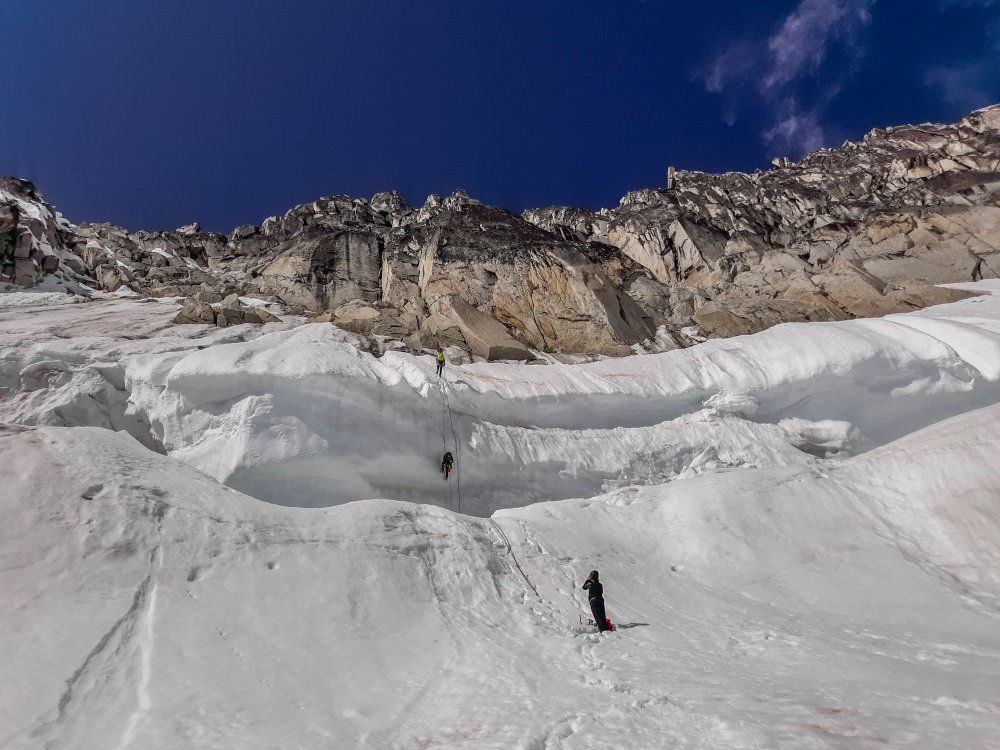
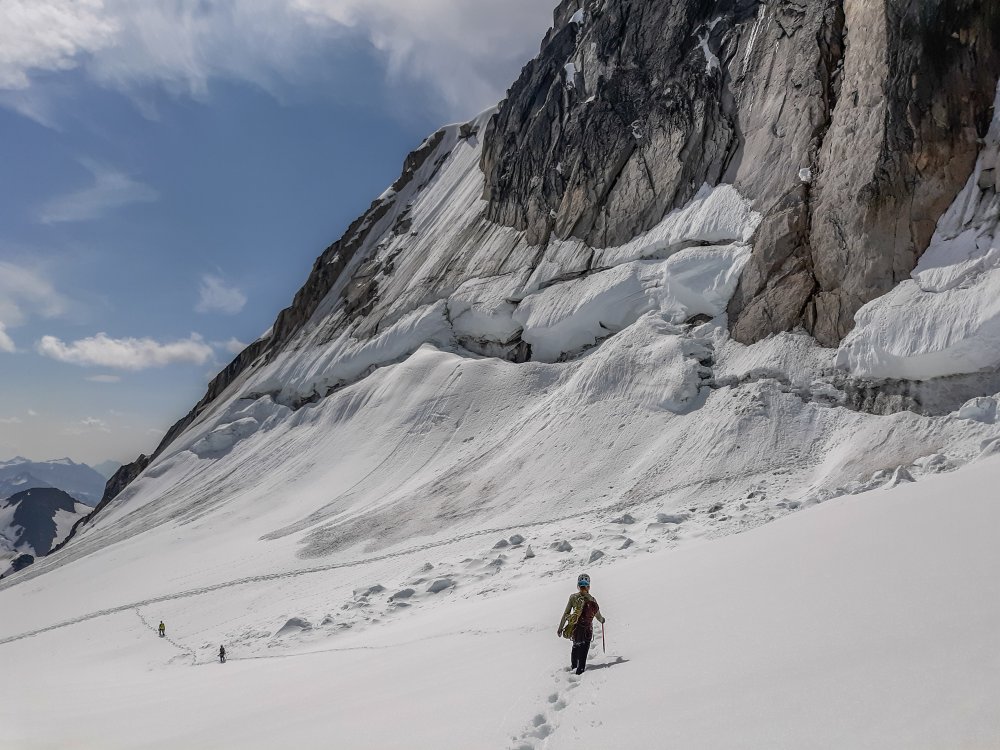
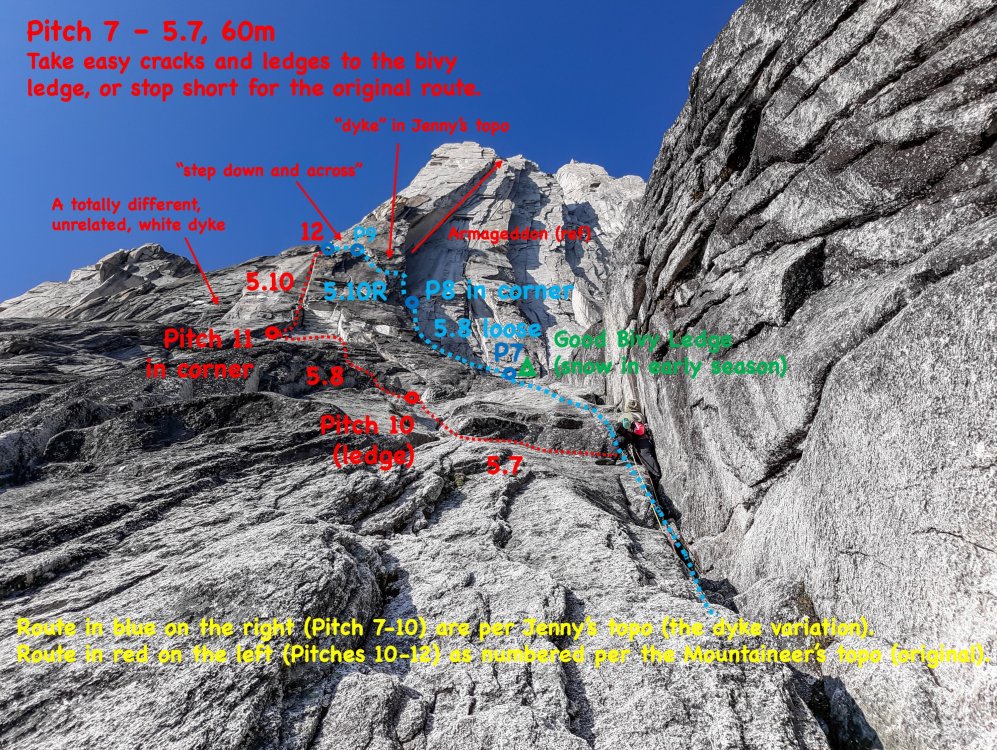
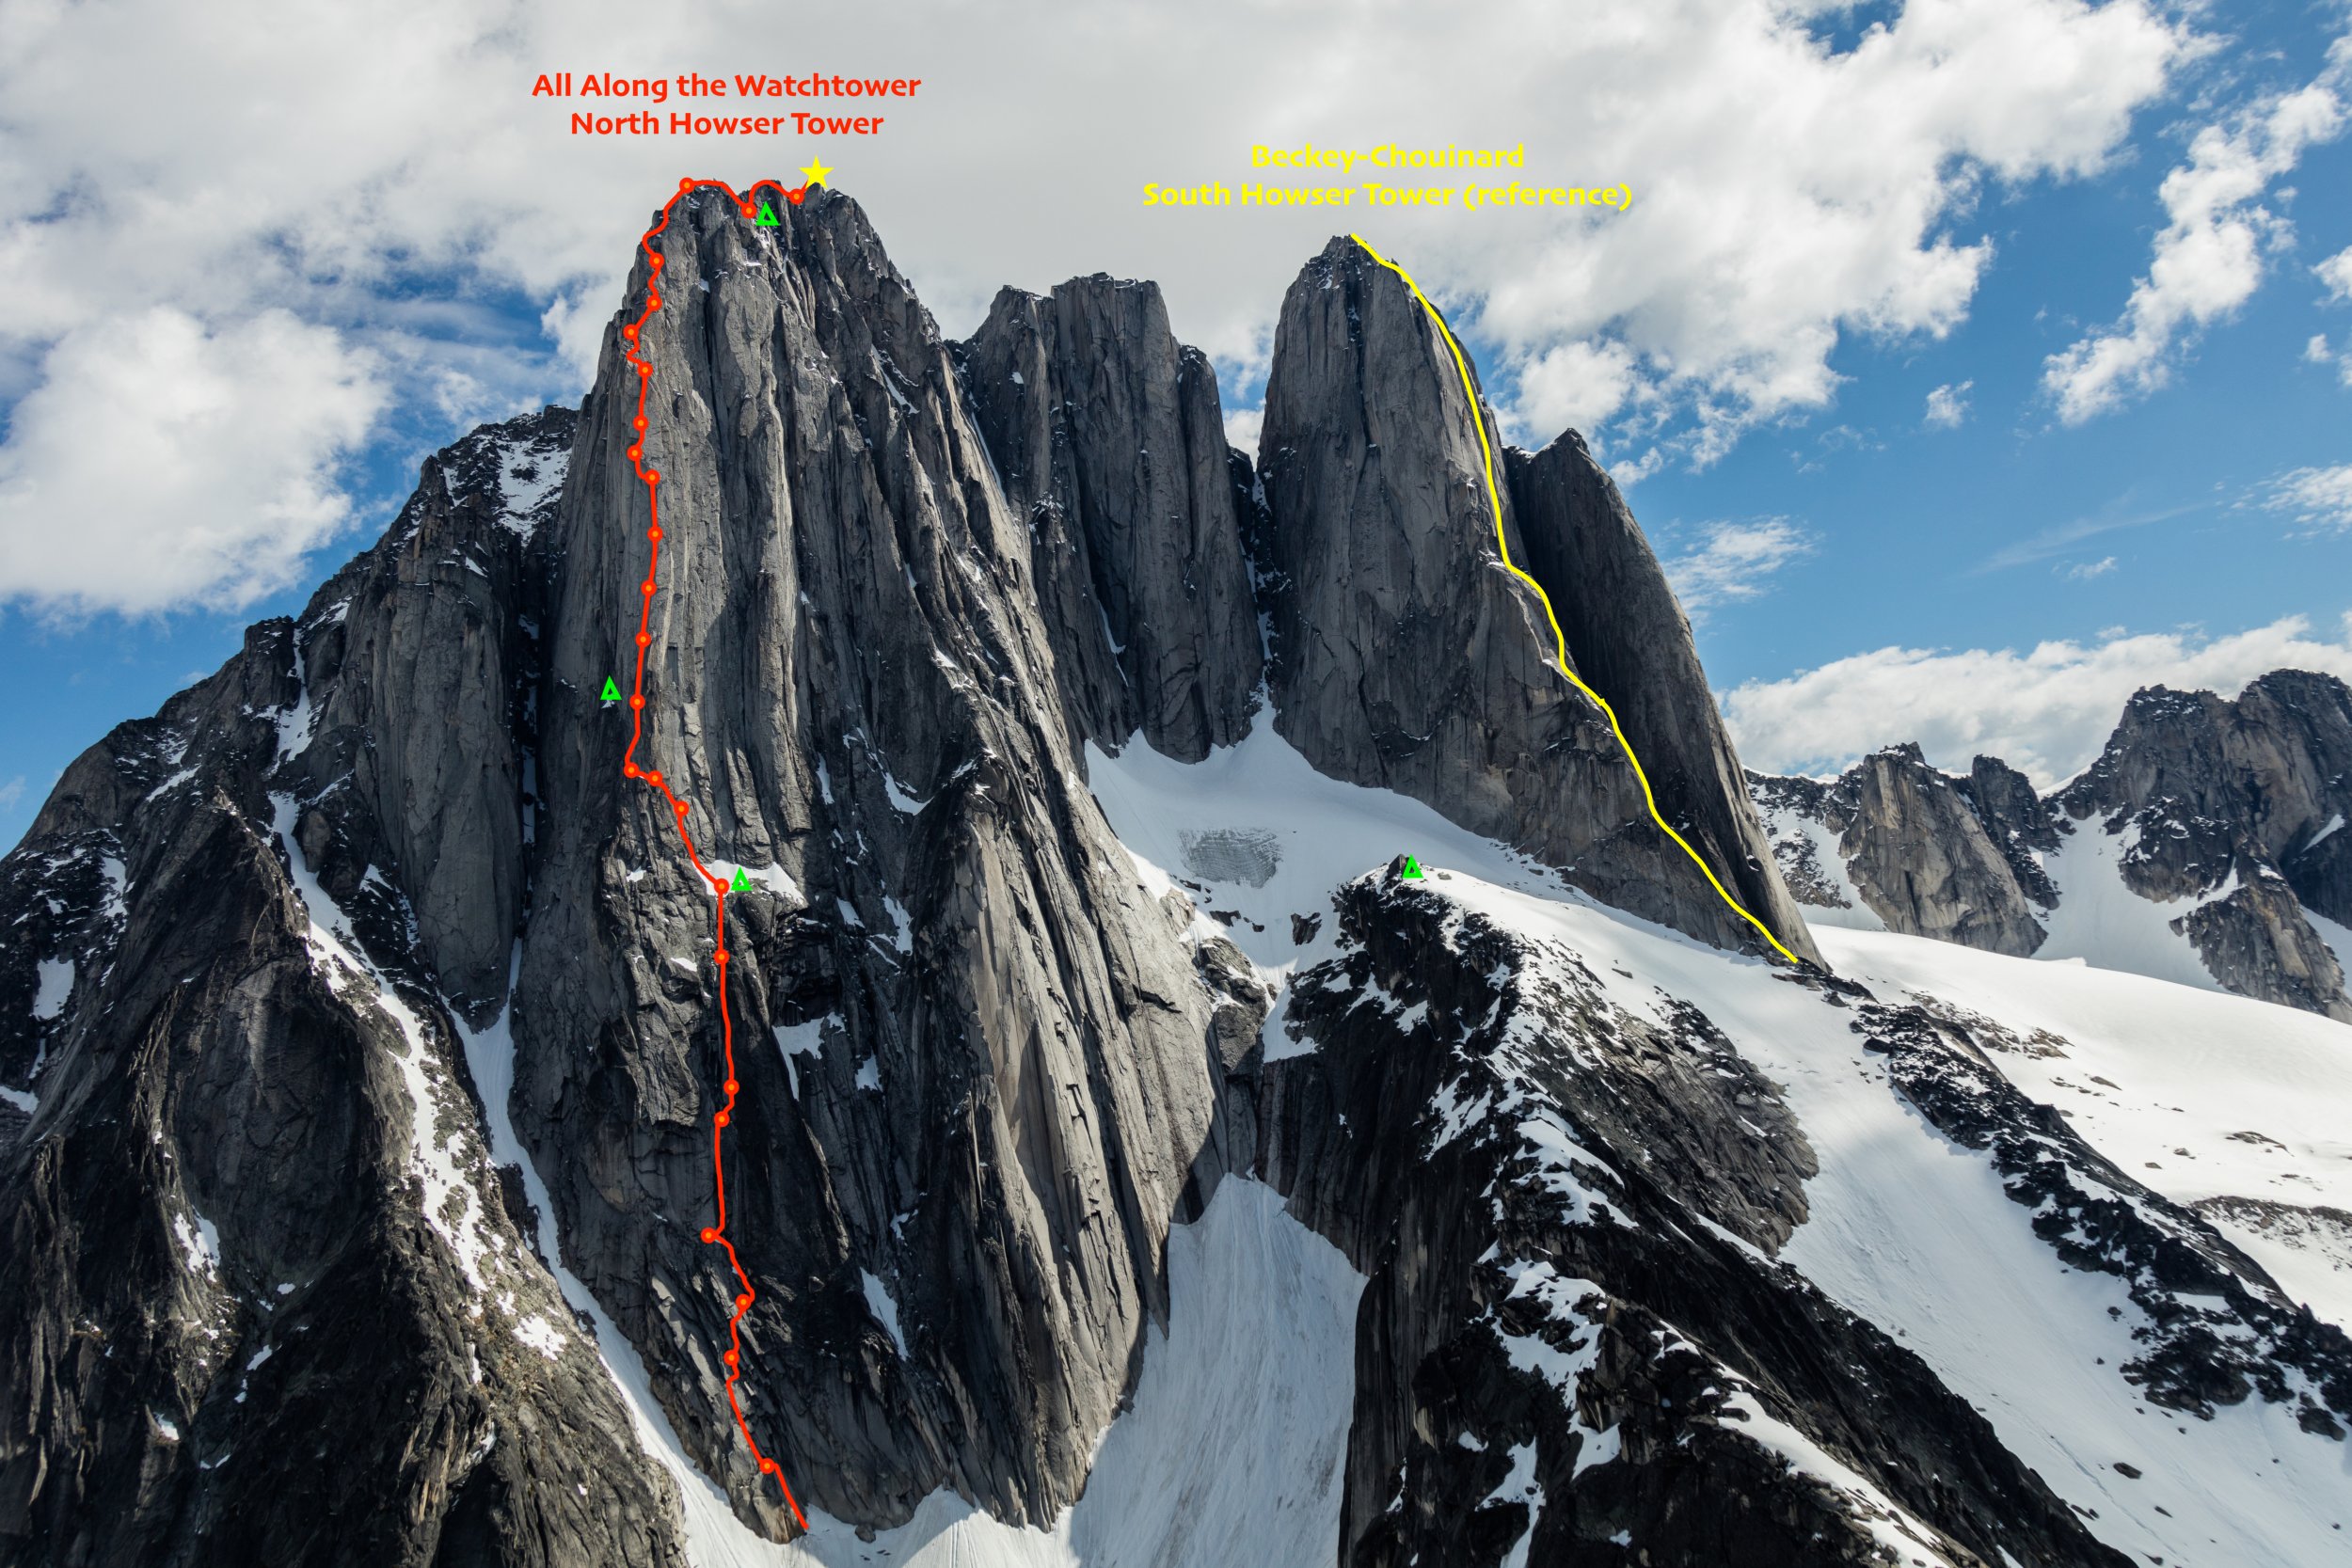
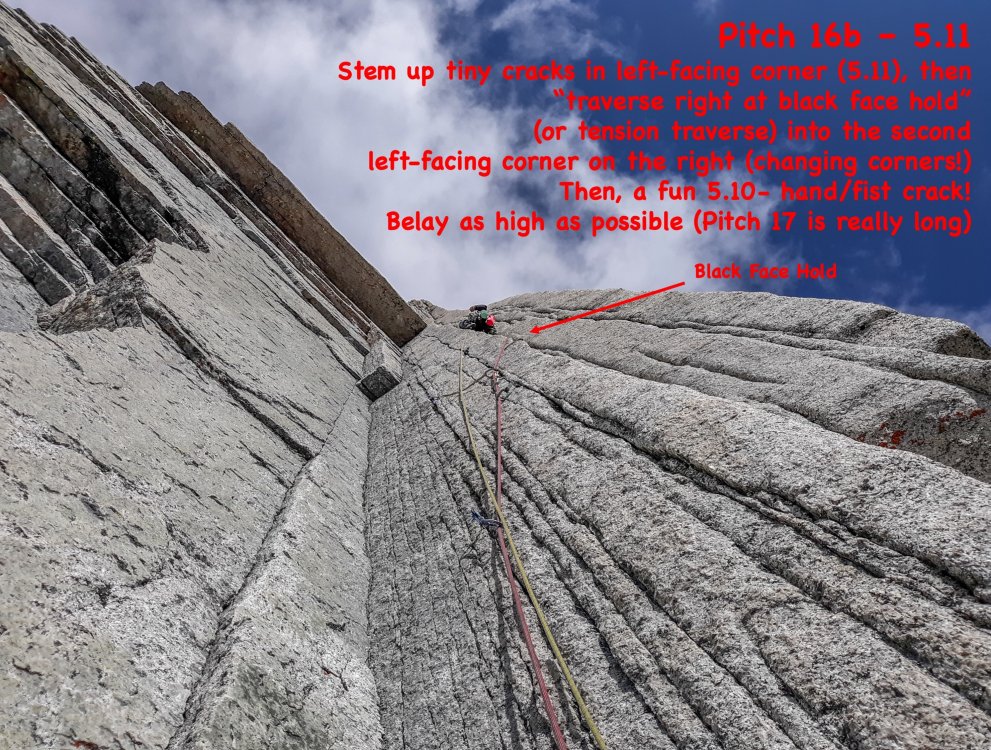
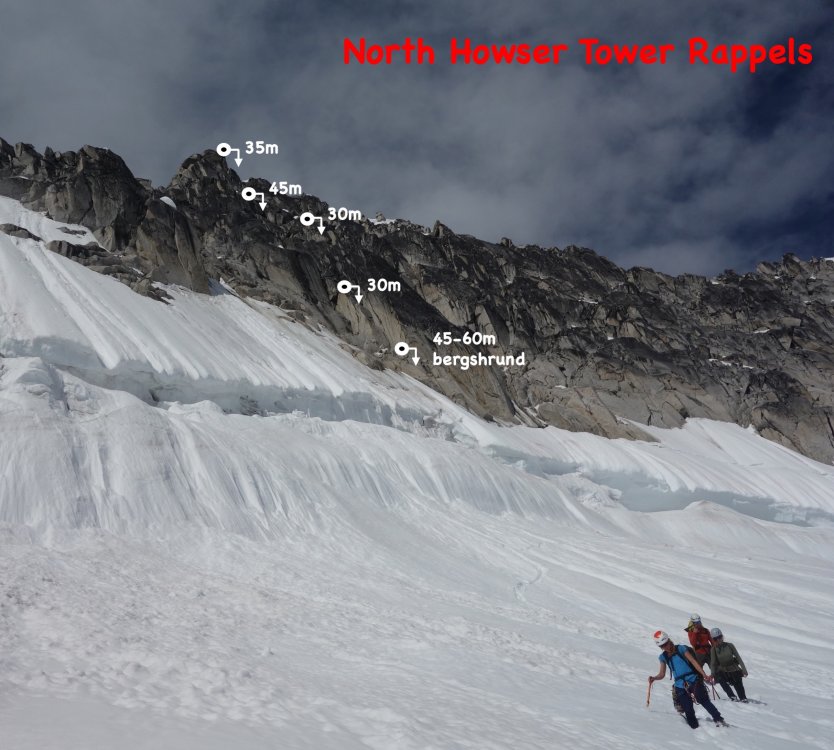
Trip: North Howser Tower - All Along the Watchtower Trip Date: 08/06/2019 Trip Report: Climb Date: August 4-6, 2019. Summit August 6, 2019 Climbers: Jeff and Priti Wright Climb: All Along the Watchtower (Grade VI, 3000ft, 32 pitches, 5.10/C2- or 5.12) Style: Follower jugged every pitch in the Dihedral with micro traxions and runners. Heavy French/Aid utilized by the leader in the Dihedral. Two packs brought. Leader climbed with light pack, except in the Dihedral (where follower jugged with one pack on, trailing the other). Two bivouacs (one at base of Dihedral and one on the Summit ridge). With so little beta out there on the route, we found the route finding tricky. This post is intended to be a beta sheet to help with route finding. All Pitch numbers are per Jenny Abegg's topo which was very useful (https://jennyabegg.com/climbing/trip-reportsbeta/all-along-the-watchtower-north-howser-tower/). Pitches 2 and 3 were confusing and we split each of these into two pitches. If you stay on route and watch rope drag, you can avoid splitting these up. They are both full-length pitches. Pitch 3 is so wander-y that rope-drag might be unavoidable - recommend splitting this into two pitches. Pitch 16 (5.12 crux roof) in the Dihedral was only pitch where we thought it was mandatory to disobey Jenny and split into two pitches. Topos Jenny's topo was pretty spot on. Pitches 8-11 on Jenny's topo are the dyke variation that Westman/Haley did (on accident) which ascends directly up from the bivy ledge. Jenny's topo does not show the original route option, which splits off 30m below the bivy ledge. If you wanted to get snow at the bivy ledge and continue on to the original route, you have to rappel or down climb 30m 5.7 to meet back up with the original route. The party behind us did the dyke route and we did the original route. After talking to the party who did the dyke route, it's very safe to say that the dyke is better way to go. The Mountaineer's guidebook (the green book) topo shows both the original route and also the dyke route options, but the High Col topo shows only the original route. The High Col topo is not accurate at all, so be careful. Keep a copy of Jenny's and the Mountaineer's topo on you. Bivy sites: -We didn't see any good bivy sites until atop Pitch 7 (flat, walled, snow in early season). Some descriptions said there was one atop Pitch 3, but it's more of a sitting bivy. -Another good bivy site is out-of-the-way, about 20m left of the base of the Dihedral (flat, walled, no snow). Some descriptions said this was 4-person, but it fit the two of us pretty snug. To get from here back to the base of the dihedral, you have to down-climb 10m (5.7) then ascend 10m (5.7) to the base of the Dihedral. -Some bivy options along the ridge (four of us stayed at one, very snugly, about halfway on the summit ridge above the seventh rifle gully). -A flat, walled bivy spot on the summit (lots of snow throughout the season). When we saw it, it had thick snow/ice on it, so you'd be sleeping on top of snow. Photo Credit above: Tim Banfield Descending down to East Creek from the Pigeon-Howser Col. Left to Right: North, Central, South Howser Towers, Minaret. Priti is just below the Beckey-Chouinard Route From East Creek descend until you can scramble up to the ridge. Stay low on ledges if you want to cross over into the gully ("B" in picture, not recommended, loose scree and hard ice). Recommend staying on the ridge (climber's right side, "A" in picture) as if approaching for Beckey-Chouinard on South Howser Tower. From the base of Beckey-Chouinard, it is easy to scramble down to the snow to traverse high over to the North Howser Bivy Rock. This is a big, obvious boulder just at the next ridgeline. There is a luxurious, sheltered, covered bivy cave here (recommended instead of East Creek if you only have bivy gear and you want to get an early start for the route in a push). Four rappels (two hangers, chains, rap rings) take you to the snow below. The first rappel is heavily cairned and easy to find (even in the dark), requiring a bit of down-scrambling to get to the lip of the ridge. The rappel line is straight down. Each rappel is easy to find and on obvious ledges. You'll want crampons and ice axe for the snow below, on the way to the base of Watchtower. We used a Beal Escaper for the rappels which worked like a charm... we did not bring a pull cord on this trip. Note: rappels shown in picture above are approximate (just use cairns to find the first one, then take the plumb line). The picture is not intended to help you find the rappels. The first rappel. Crossing the moat. Another party of rappelers above. The approach snow after the approach rappels. You're committed now! Looking up North Howser Tower. Approach at the base all the way left to big ledges just before the large, obvious gully. Take ledges all the way left to dihedrals. Pitch 4 (above), 5.10, full 60m: a striking dihedral (protect on the face on the right) which starts as an easy stem/chimney and ends in an overhanging, difficult off width. Photo credit: Dane Steadman Bivy site along ridge. Looking down the ridge from the summit. Photo credit: Dane Steadman "Hand crack on the right side of crest". Party on the summit. Photo credit: Dane Steadman Simul Rappelling over the bergshrund. Photo credit: Dane Steadman Joining up with the Beckey-Chouinard steps. Photo credit: Dane Steadman Gear Notes: Double Rack to #3. Single #4. Triples in finger sizes for dihedral. Offset nuts, brassies. Did not bring offset cams (did not think they were necessary). No aid gear. 1 sleeping bag to share. 1 bivy sac to share. 1 Jetboil. Beal Escaper for rappels. We did not bring a pull cord. Recommend a pull cord to 1:1 haul packs in the Dihedral. Approach Notes: Started from Kain Hut, ended at car.3 points
-
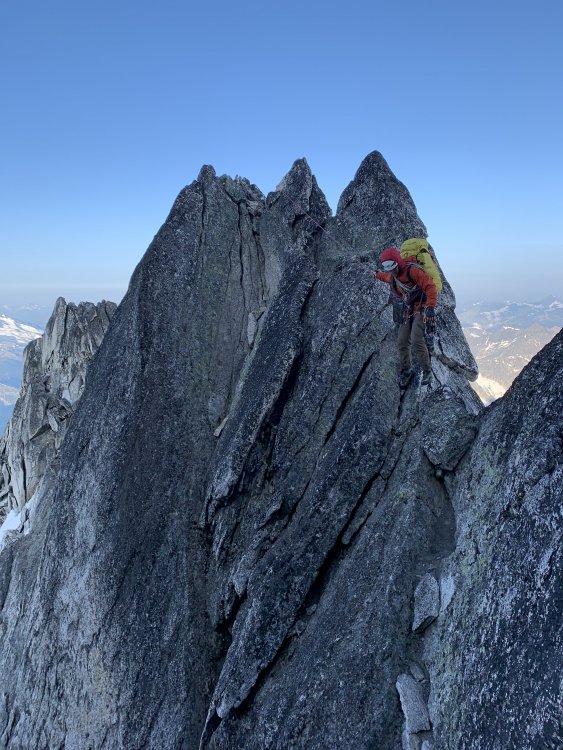
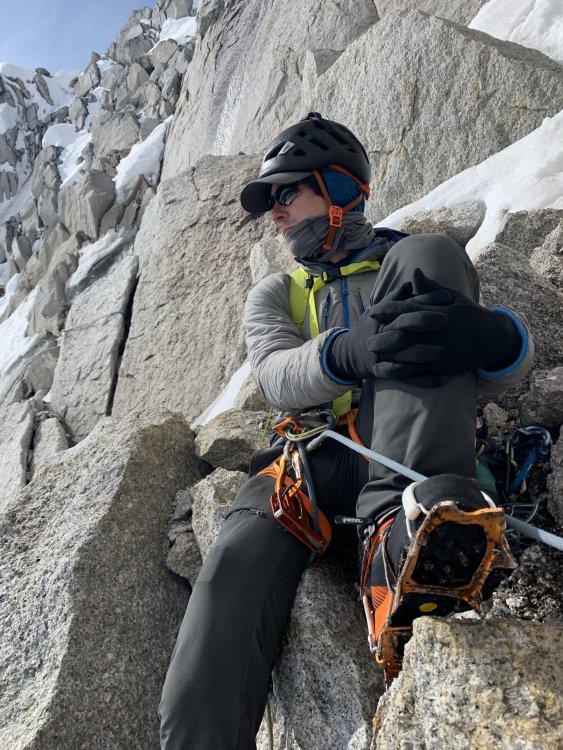
Trip: Black Peak - NE Ridge Trip Date: 08/24/2019 Trip Report: We climbed Black Peak via the NE Ridge, camping at the TH so we could get an early start. GPS Tracks Timeline: 5am - Leave TH 8am - Leave Wing Lake (after filling water) 9:30am - Arrive notch 10am - Start climbing ridge 10:30-11:30am - Deal with being off route in a shooting gallery 1:15pm - Summit 3:30pm - Wing Lake 6:15pm - TH Approach Leave from the Rainy Pass TH Hike along the trail to Wing Lake (~4.5 mi, ~2500' gain, ~500' loss) Strike out towards the saddle on the NW side of the peak (~1200' gain) Gaining the saddle In snowy conditions you can just kick steps straight up, with a short section (60m?) of particularly steep snow. See my previous TR on my attempt during snowy conditions. In dry conditions (what we had today), it's mostly a scree climb, with a short section of blocky 3rd/4th class scrambling. We crossed two small snow patches, though we might have been able to avoid the second one. We hit the snow around 9am so it was firm but not icy. All four of us had ice axes and approach shoes and two of us had microspikes. The microspikes were definitely helpful, but not totally necessary. The ice axes were also a nice safety backup, though perhaps could also have been left behind. The steeper snow patch was short and would have run out onto the rocky patch below, but not over a cliff. Once through the snow, we headed up the climbers right side of the slope leading up to the saddle, staying on relatively solid blocky terrain. We trended up and slightly climbers left, eventually working our way along a high ledge to the left to the saddle. Word on the street is that if you attempt to gain the saddle by starting on the left side of the slope, there's much sketchier terrain, with more kitty litter over rock. The climb Once on the saddle, we walked across some scree and then soloed up a short 4th class step. We then walked across a wide ledge and more scree around the left side of the ridge until we hit a gully. There we roped up and started simul climbing, as two rope teams of two, each on 30m ropes. We headed straight up the gully, which was mostly solid rock, until we gained a small notch. From here, we made a major routefinding mistake, dropping far back down the left side of the ridge and traversing along some easy terrain. We realized we were too far below the ridge (maybe 60m below?) and took a sharp right up a gully. Unfortunately, this turned out to be steep, loose and hard to protect. We were in two rope teams of two, and the rope movement of the first rope team dropped a ton of rocks on the second. Our last climber was hit in the helmet with a baseball sized rock. We had good communication between the teams though, and we eventually made it up the gully. Once back on the ridge, the rest of the climbing felt overwhelmingly better. We just stayed on the actual top of the ridge absolutely as much as possible, almost always climbing up and over gendarmes instead of around them. I don't think we dropped more than 10-15m below the ridge line for the rest of the climb. It was mostly 4th or low 5th, extremely exposed climbing along the ridge. There was one ~15m steep section of rock, maybe 5.5 or 5.6. There was definitely some loose rock, though not nearly as bad as the rock in our off-route gully, and overall I found the climbing to be fun and engaging with excellent views. Near the summit, the angle eased considerably and we were able to pass quickly along 4th class terrain on the right side of the ridge until we reached the summit block. From there we soloed up to the summit. We did the climb essentially in two long simuls, though frequently with only one piece per rope length. The descent We downclimbed the same north side of the summit we'd come up, then walked around to the S ridge descent. We looked closely for cairns on the entire descent, and we were able to make the whole descent without once needing to use our hands to scramble (the first time I climbed Black via the S. Ridge, I remember I ended up doing a short section of scrambling - turns out that was unnecessary). Gear Notes: - 30m rope - 0.3 to 2 - doubles: 0.4 to 0.75 - 10 nuts - 8 singles - 7 doubles - 2 tied doubles - 2 cordalettes There was no place where large gear was necessary, but I was happy to have my #2 in reserve a couple times just so I could quickly place and move on. A few more pieces might have let our simuls be less run out, or we could have placed more often and done it in 3 simul pitches instead. Approach Notes: -2 points
-
Trip: Das Toof - The Tooth Fairy, 5.9+ Trip Date: 08/15/2019 Trip Report: Got out Friday on this new(ish) Nelson/Whitelaw route; if you're looking for a quick alpine hit you should give it a try. To find the start, go past the SW Face trad route and continue a short distance to a low angle corner with bolts. Easy to find. The route is generously bolted, no need for gear. It's seven 30m pitches -- we combined 6&7 and you could easily combine 3&4 as well, but I think running 1&2 together would give you some unpleasant rope drag. I skipped or unclipped a couple of bolts on P2 and still had a little drag at the end of the pitch. P5 is the crux. Rap the route with a 60 or downclimb the South Face and circle back around for your gear. Fun day out and as I'm told "it's a good training route for anything on Hozomeen." We ran into Jake the Brit as we were downclimbing the South Face, he said I should post a TR and he'd nag Whitelaw for a topo. You really don't need one though, just follow the bolts. Action shot looking down P2: Gear Notes: 13 draws, rope Approach Notes: the usual1 point
-
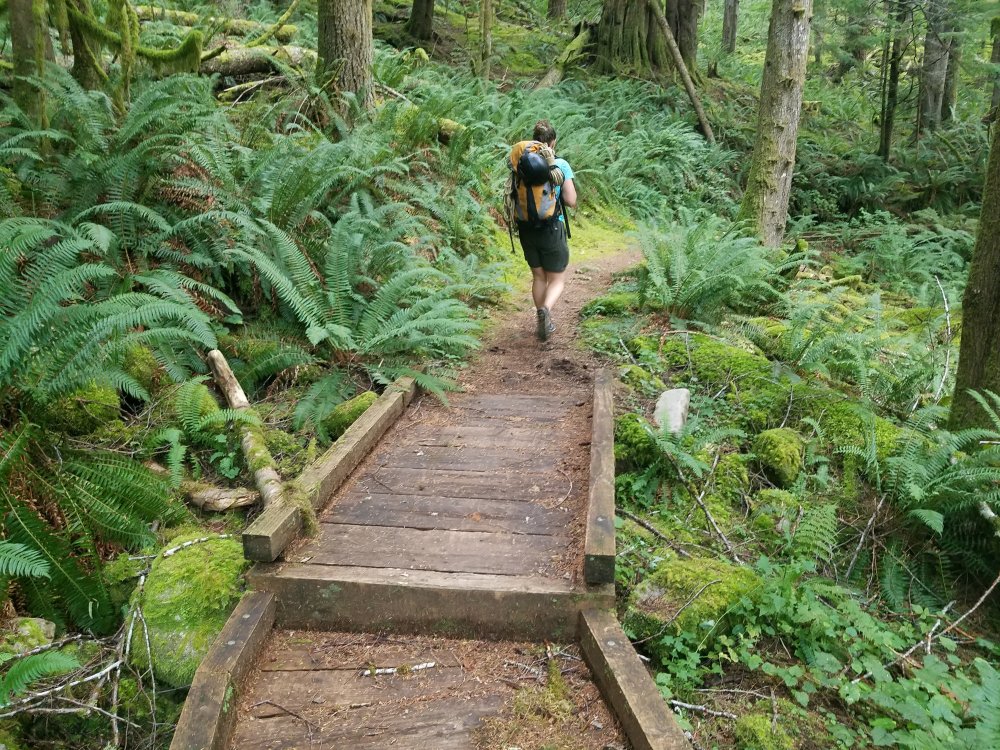
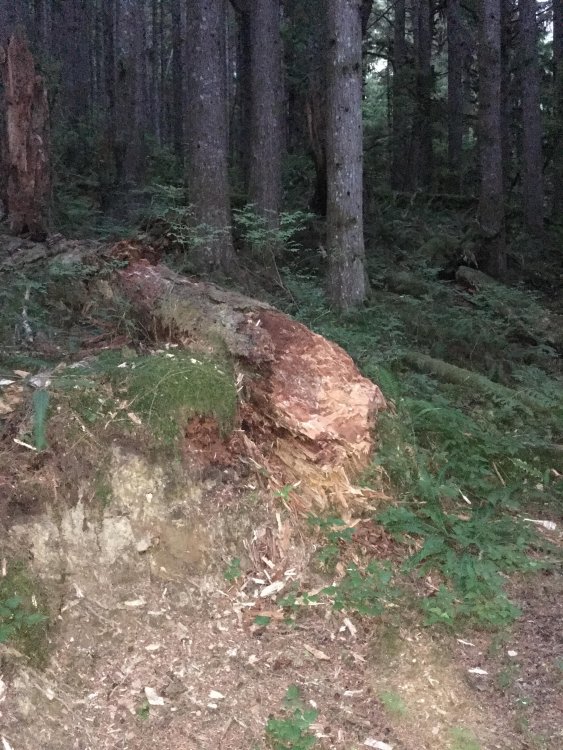
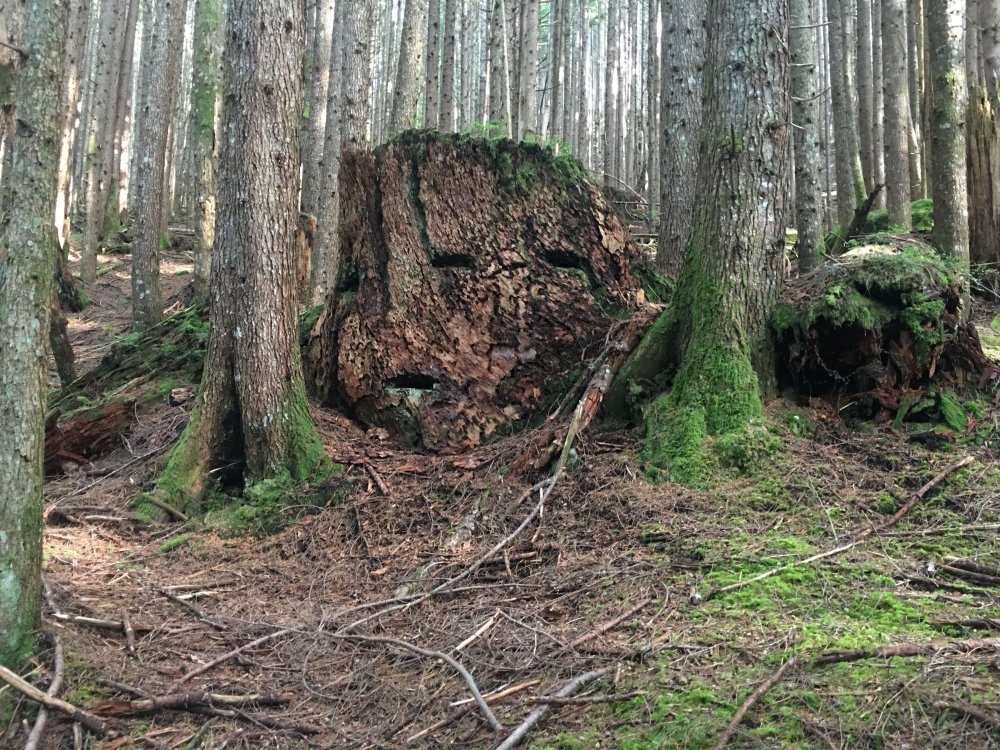
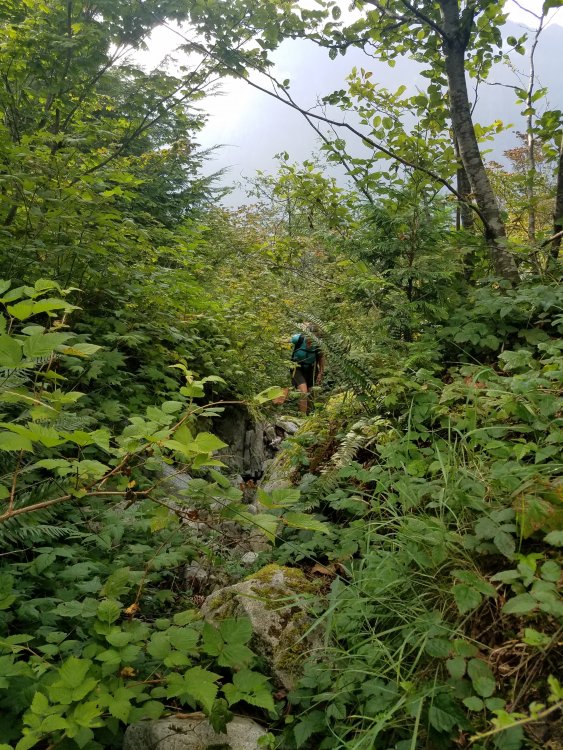
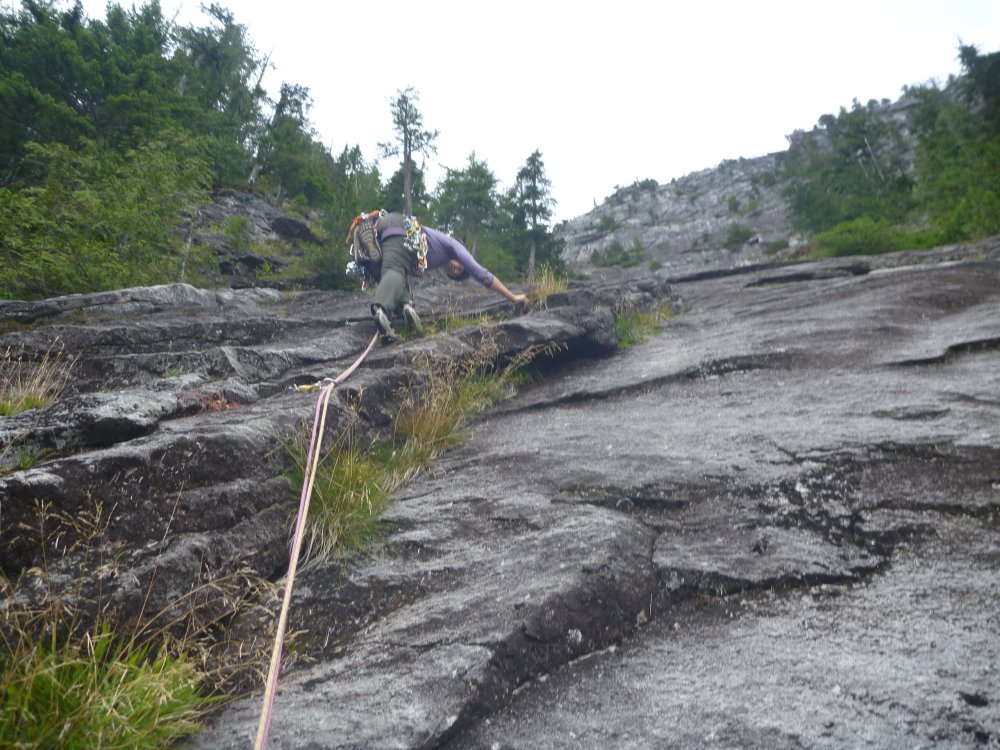
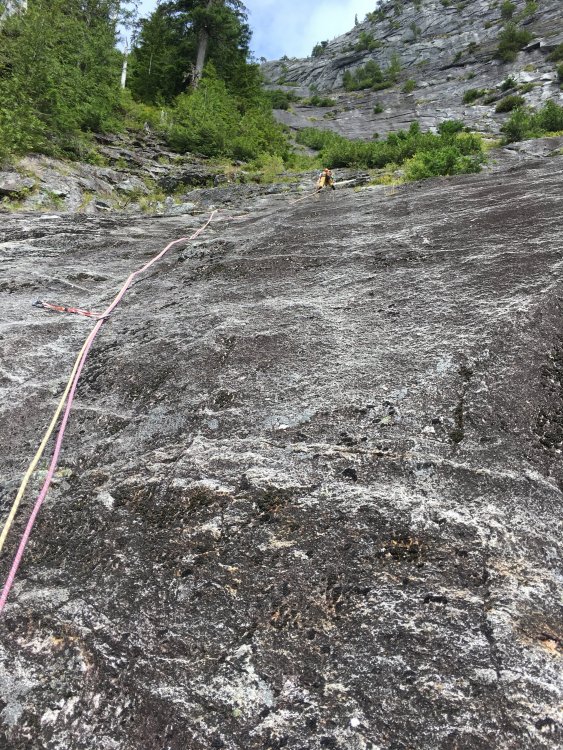
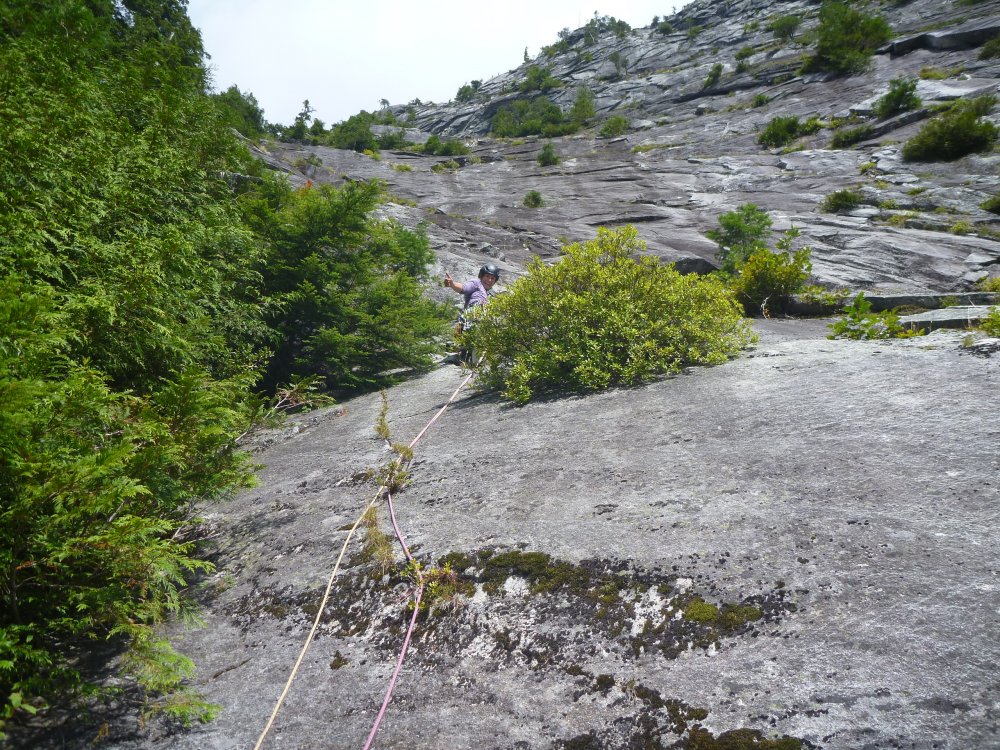
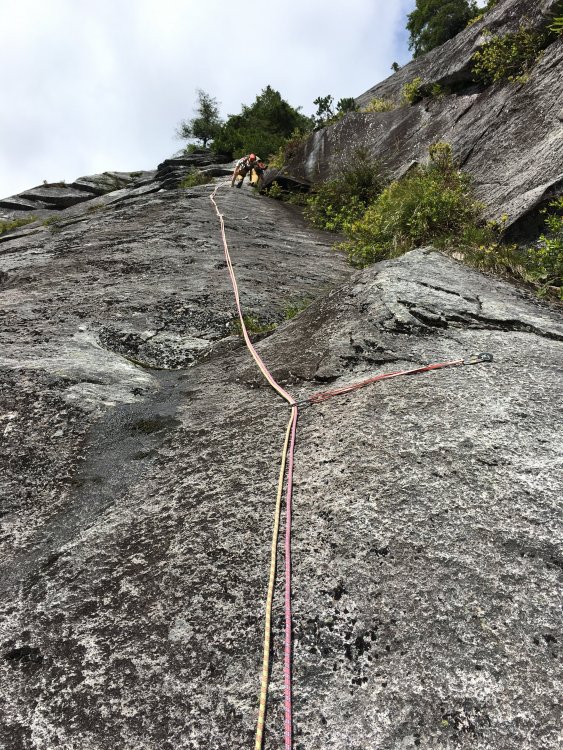
Trip: Quartz Mountain - Training Day Trip Date: 08/24/2019 Trip Report: After reading through Kurt's new book "Snoqualmie Rock" Training Day stood out as a climb to do. I convinced my wife to climb, found some friends to watch our kids and off we went. Unfortunately, we went 2 miles down the wrong path before realizing our mistake and turning around. Note: When parking at the CCC trail pullout, DO NOT START HIKING ON THE TRAIL FROM THE PULLOUT! My wife and I were just chit-chatting away, oblivious that the book said hike 100 meters up the road to the trail, and oblivous that we were walking away from the mountain rather than to it. After 2 miles, we realized our mistake and backtracked. 75 minutes lost, but we just chalked it up to an extra warmup. The approach description in the book is spot it. Here is the bridge with the step. Walk a couple minutes past the bridge and turn left (uphill) at this log. You should see a pink ribbon up the hill. The trail heads up, up, up. Keep following the flags (half of which are now on the ground) and the faint climbers trail as it appears and disappears. Pass Face Stump and keep going up. The trail gets into the overgrown wash and follows some cairns before entering several hundred meters of pure sticker-bush wacking. Finally we reached the base of the climb. The book says the rappel is just uphill. It is 200 meters of uphill bushwacking. We left our packs at the base but carried our approach shoes on the climb for the wack back. You can bushwach back in your climbing shoes, but that just sounds painful. Start of the climb. It goes at 5.6 and was easily protected. After the roof, go right of the small Go right of the trees above the roof on easy low-5th terrain and scramble to the belay. It if wasn't for this start, the first pitch can be easily scrambled without rope. Looking up at pitch 2. 2nd pitch is also a scramble. Could be combined with a 1st pitch simu-climb if not for that start. Teresa starting up pitch 4. Book says it is 5.9. Maybe one move of 5.9. It wasn't hard at all and very well protected. Heading up pitch 5. The anchors are hidden behind the bushes and it is 62 meters. Teresa had to come off the anchor and climb a few feet so I could get to the anchors. Teresa heading up pitch 6. The slab below the bush is clean but no bolts. We had to go left into the bushes which was dirty and wet. One bolt halfway up the slab would have made the start of this pitch really nice instead of dirty and wet. Pitch 7. The money pitch. 22 bolts of 5.10a slab. It is very well protected and one can aid through it quite easily. I ended up skipping 5 bolts or so, especially near the top where the bolts are next to a beautiful flake. I jammed the flake and passed three bolts before I knew it. The top of the pitch is the infamous tree grab. Looking down at the bush dive. I didn't enjoy this at all. The limbs are small and felt like they would rip out of the trees and any moment. I agree with other posters that a few bolts on the slab would have made this so much better. Pitch 8. Great climbing to the arete. Then the route goes up right through some dirty and trees. Going left leads to beautiful, clean slab and a couple of cracks. Not sure if left would go without needing a bolt between the blank spot between cracks, but it looks so much cleaner than where the route went. No pictures of pitch 9. It leavings a hanging belay over a couple small roofs. The roofs were dirty. Two bolts protect the move and it looks fun if clean. I ended up pulling on the bolts to get over the roof as the lichen and sand kept slipping under my feet. The rest of pitch ten is dirty and easy 5th, slinging a tree and climbing some loose blocks to the belay. There is a bolted belay, or a beautiful shade tree to belay from. I climbed under the tree onto a small ledge and belayed from there. To be honest, the climb could easily end here. Rapping down from the anchors would be a great climb. The last three pitches are low-quality, dirty, and scary, and didn't really add anything to the climb. That's my opinion at least. Teresa heading out on pitch 10. The moves to the detached flake and just beyond it were okay, but very dirty. Sand and lichen accumlate on this low-angle slab making it feel harder than it should have. Past the flake there is a section of unprotected, dirty slab moves to the anchor. One more bolt would have made this much safer and a quality pitch. Or even clean slab would have made this a quality pitch. Runout 5.8 on clean slab is fine. Runout on pine-needle covered micro-ledges is terrifying. Looking back at pitch 11. This pitch was horrible. If it was 20 feet lower on the clean slabs it would have been amazing. Instead it followed dirty, broken underclings with exfoliated rock, over a couple of trees, and across an unprotected finish on pine-need and dirt ledges. I couldn't see the last two bolts as they were hidden in moss, so I went straight up for a bit and saw I was clearly off route. I lowered off a sling (don't follow up to the blue sling!), kept traversing and found the two bolts. Funny thing is that there are two gear placements right above these two bolts, while there is no gear or bolts for the remaining 30 feet of unprotected 5.8 dirt slab. I found the biggest tree to belay from and brought Teresa up. Teresa took pitch 12 to the notch. It was easy 5.0 and she slung one tree. No issues, and she belayed at the biggest tree on the notch. Pitch 13 was harder to find. I thought it would go up the clean, black slab above the tree but it didn't. I took about 10 minutes of searching to find the bolts. The bolt I found was actually the third bolt, the first two being hidden in grass and moss. From the tree, go directly left on the small ledges. You will see the bolts. The belay tree is directly above her head. The first bolt is hidden at her feet. The second is hidden in the grass a few feet in front. Looking at pitch 13. It is wet but easily aided using the bolts. This is the start of the rappels. 8 full-length rappels got us down. They are full 60 meter rappels. Two are on tree stations, the other 6 are on bolts. The rappel route looks like an amazingly clean slab climb. Looking up from around rappel #4. All in all it was a decent outing. 14-hour car to car (including our 75 minute wrong-way hike.) I can't really recommend the last pitches unless you like run-out dirty slab. However, the first nine would make an amazing day on their own. This route needs to see more people to keep it in shape. Get out there and do it! Gear Notes: Rack up to 3". We brought nuts but never used them. We used maybe 10 pieces of gear on the whole route. Green and yellow alien, .4 through #3 BD would be just fine. Lost and lots of alpine slings. You don't need 22 slings though. On the 5.10a pitch, you can reach down and unclip the sling below you so you can get by with about 12 normal slings and 4 double slings. Approach Notes: Long, steep and spikey. There is a faint climbers trail, but it needs more feet to create a path through the bush-whack top.1 point
-
DAMN. So....many....Legends. All in one spot. CC.com lives!1 point
-
in an alpine rock environment, 50 meters is a good length. chances are you will experience too much rope drag when making pitches beyond 40 to 50 meters anyway. then you have to deal with that extra length at every pitch change over. I found that teams can go faster with 50 meter ropes, especially if there are short rope sections like on serpentine arete or even on ne butt slesse. Plus alpine rarely do long rappels where a longer rope would be good. shorter rappels make dealing with rope eaters easier. I did almost all of my alpne climbing in a pair of 50m doubles. whether I brought one or two depended on the route. If the rope is too short in the alpine, simu climbing takes care of that. You should be very solid rock climbing and not pushing limits in alpine. Short bits of simu should not be a problem.1 point
-
1 point

