Leaderboard
Popular Content
Showing content with the highest reputation on 09/06/24 in all areas
-
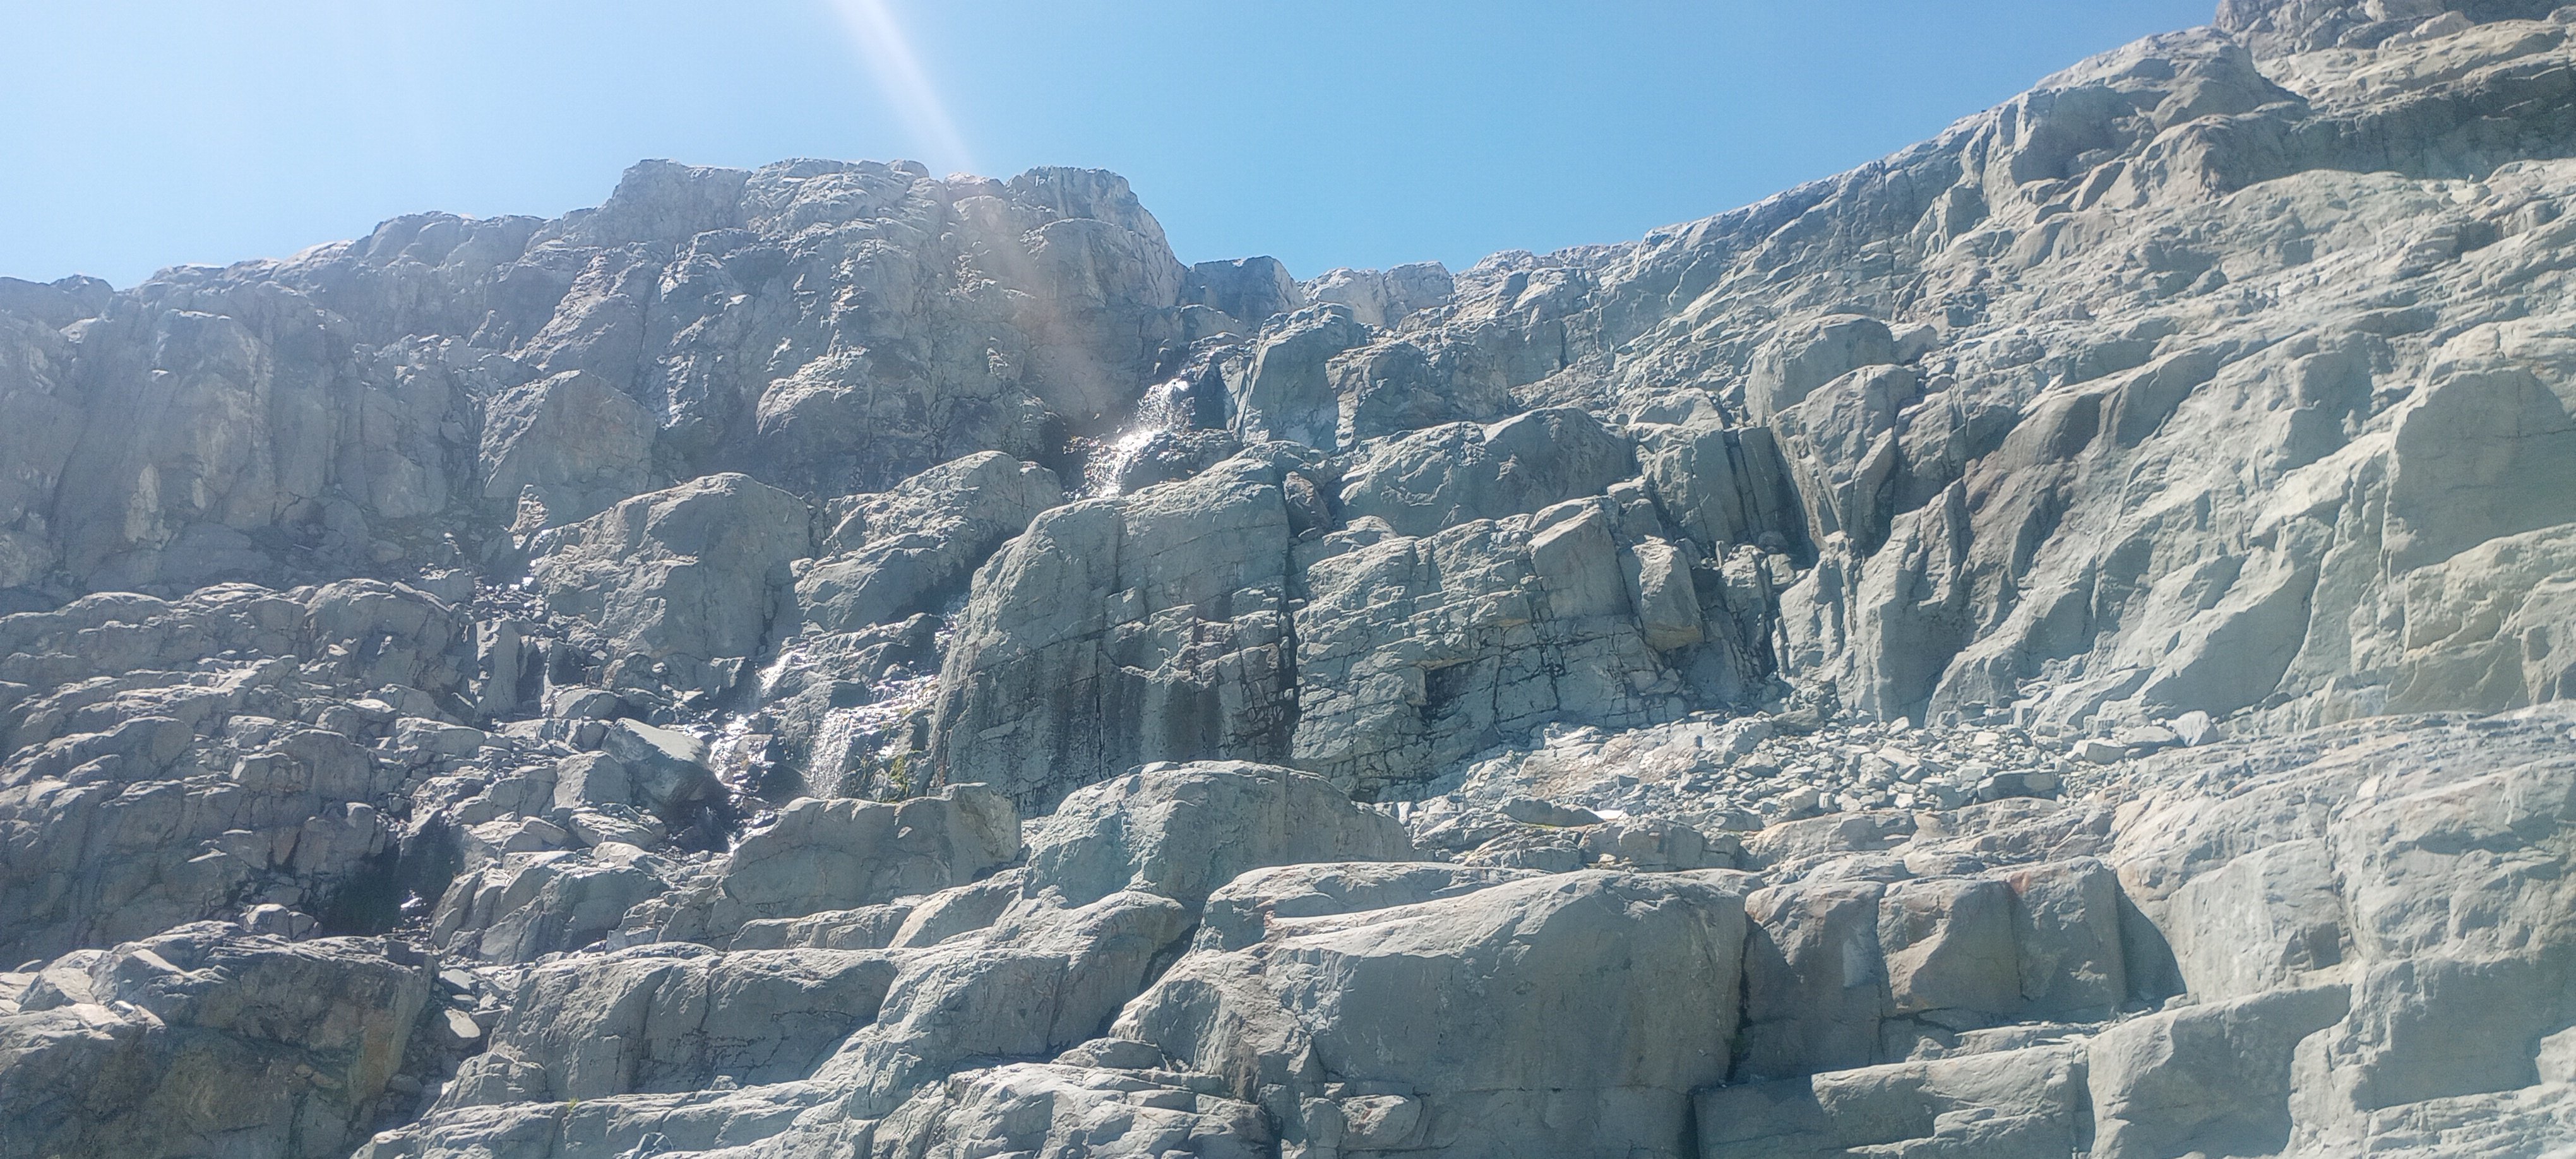
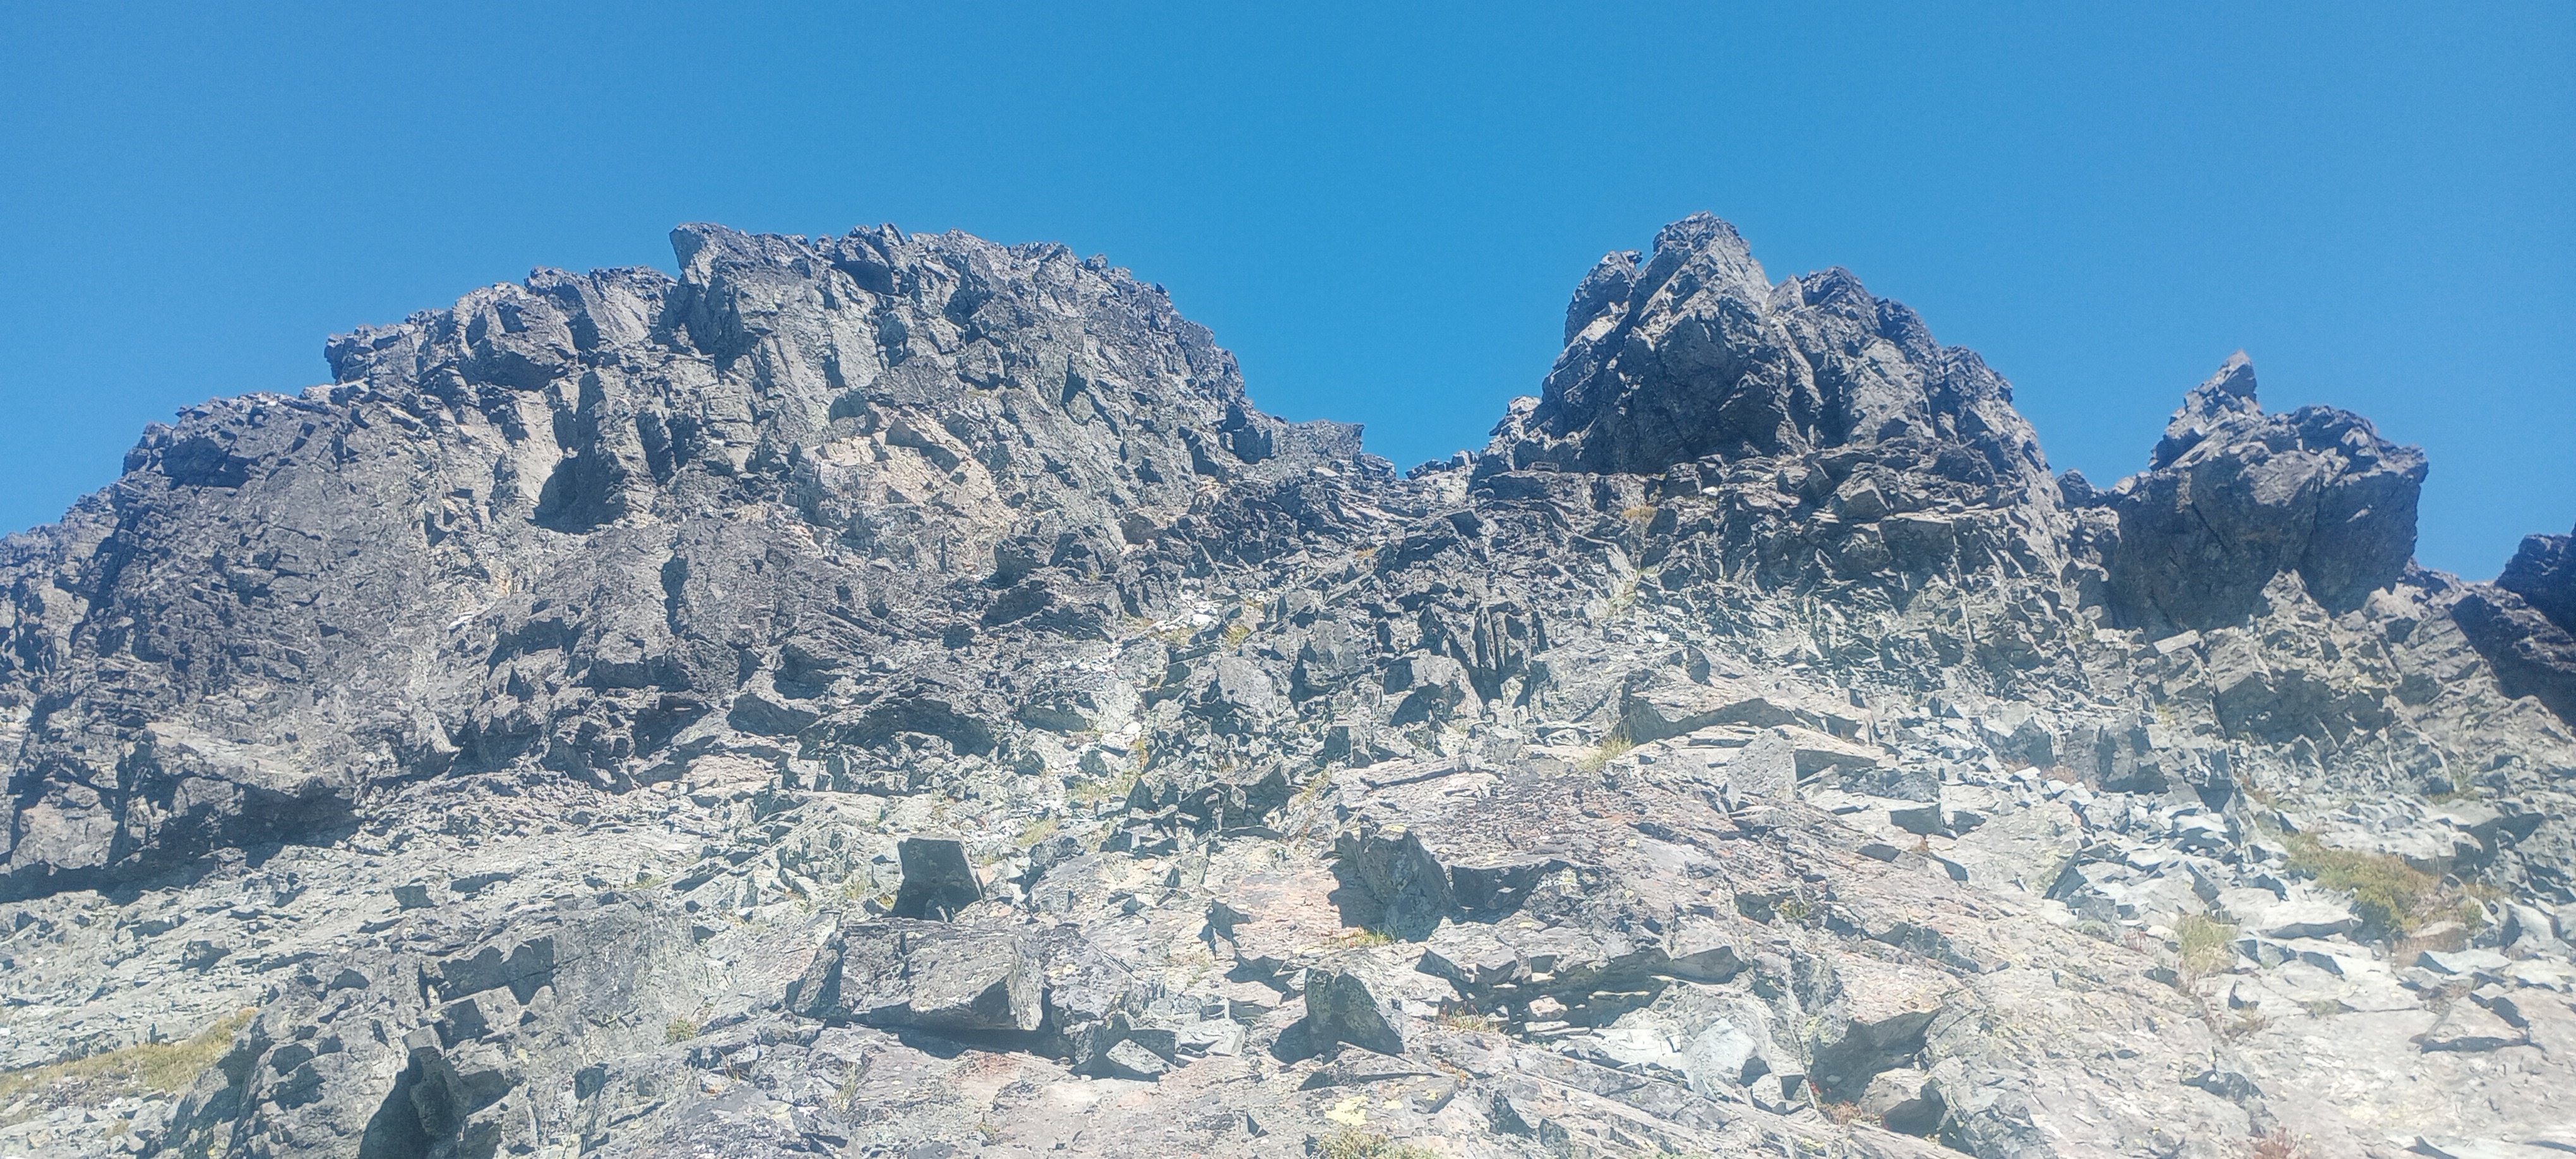
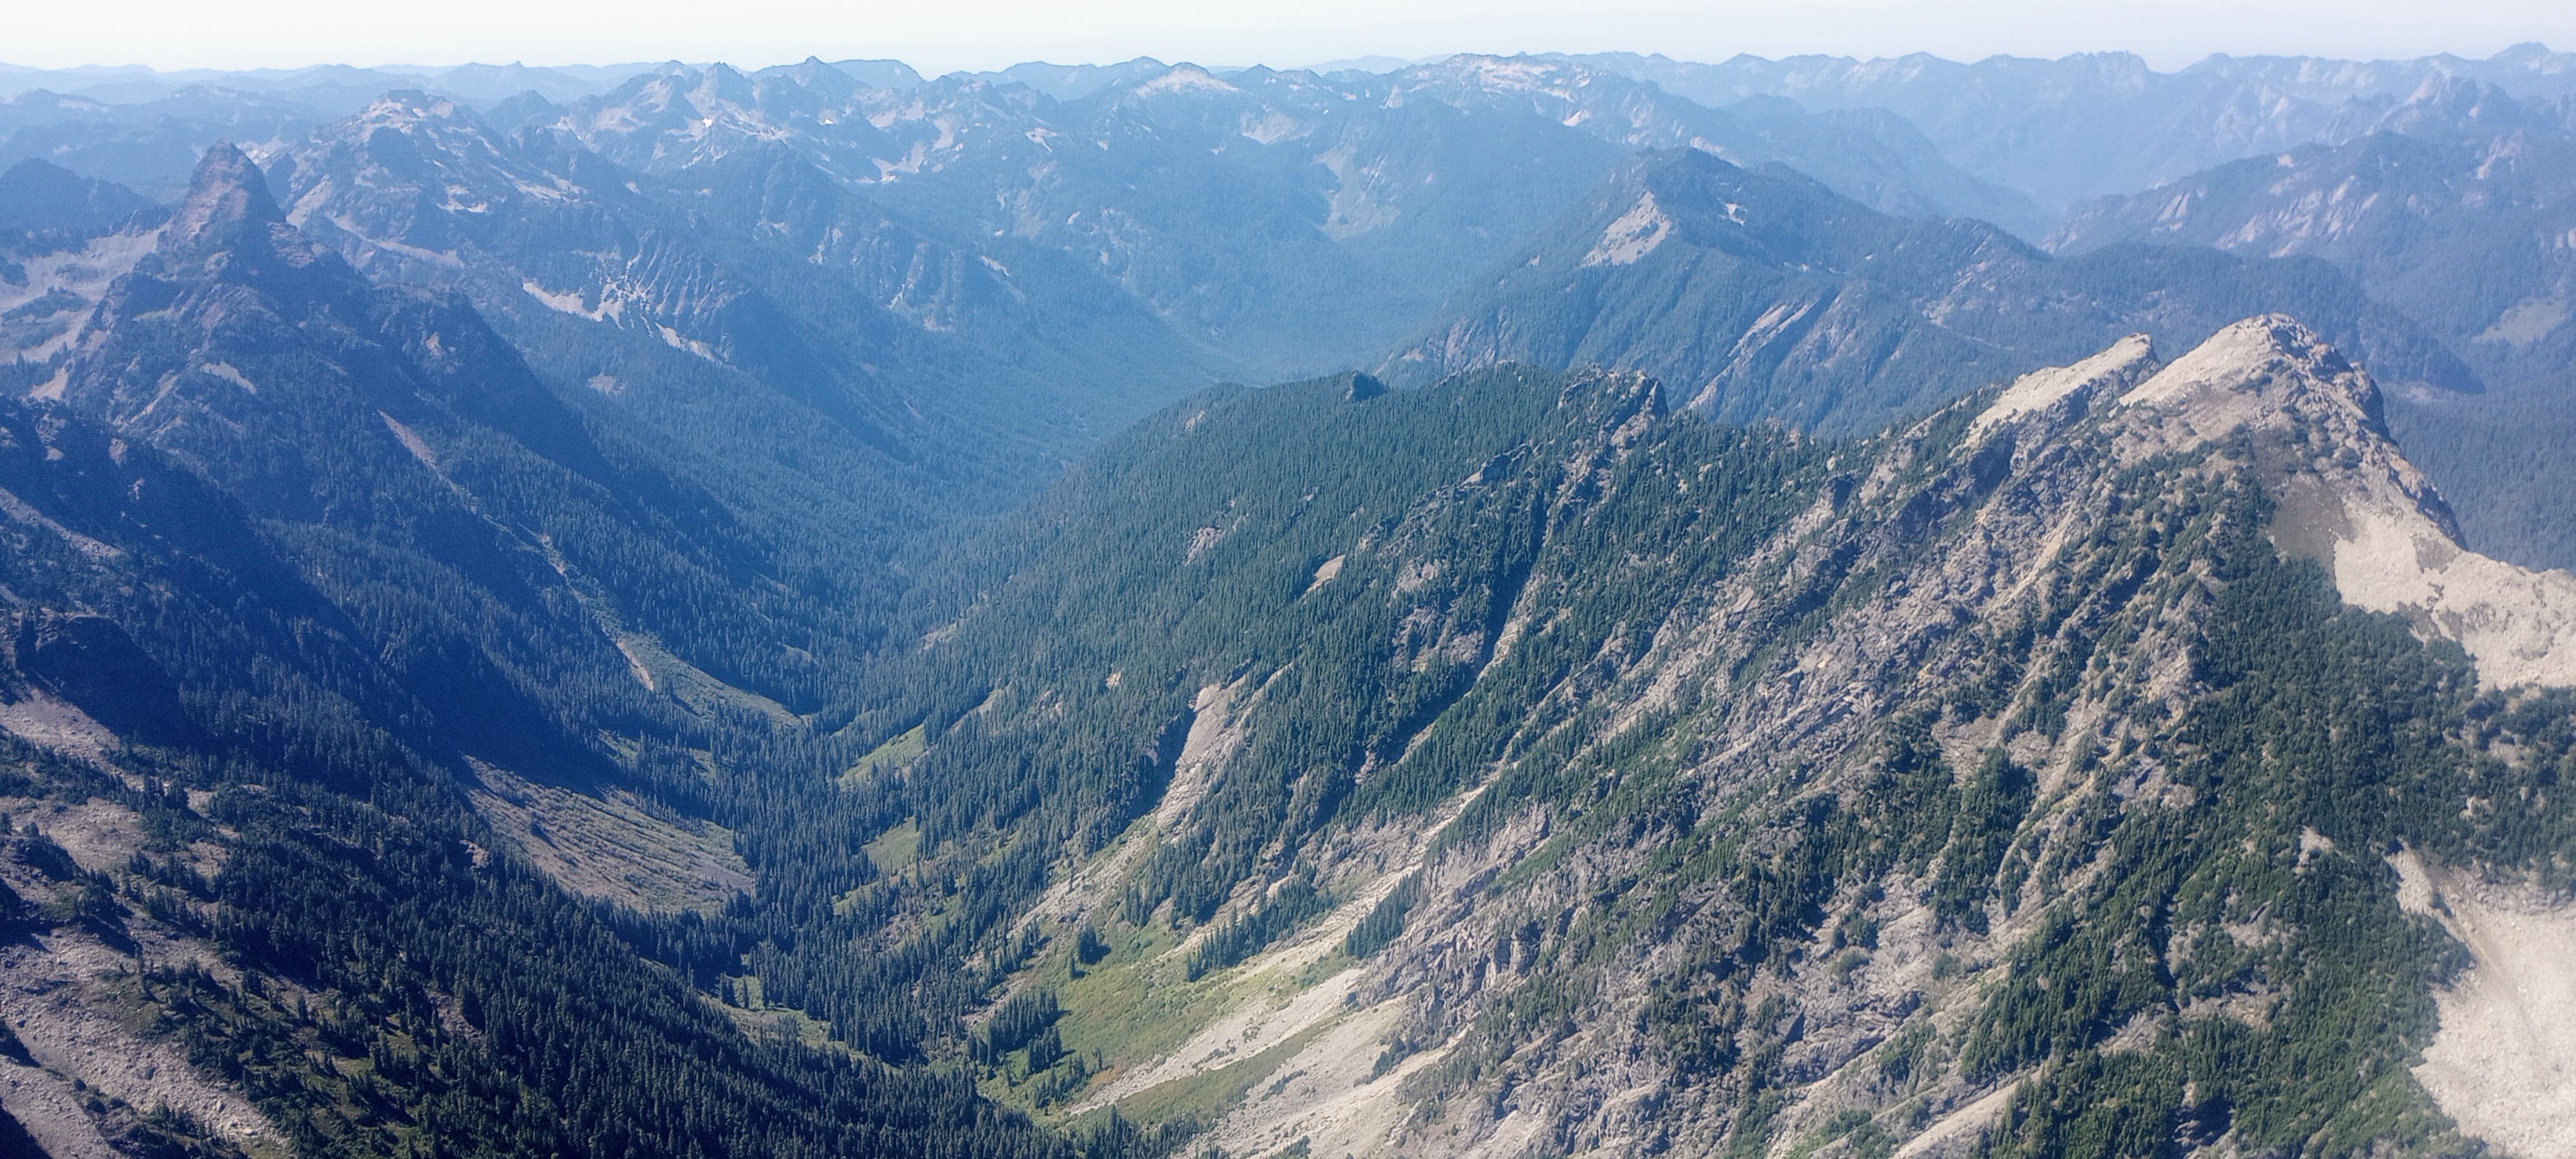
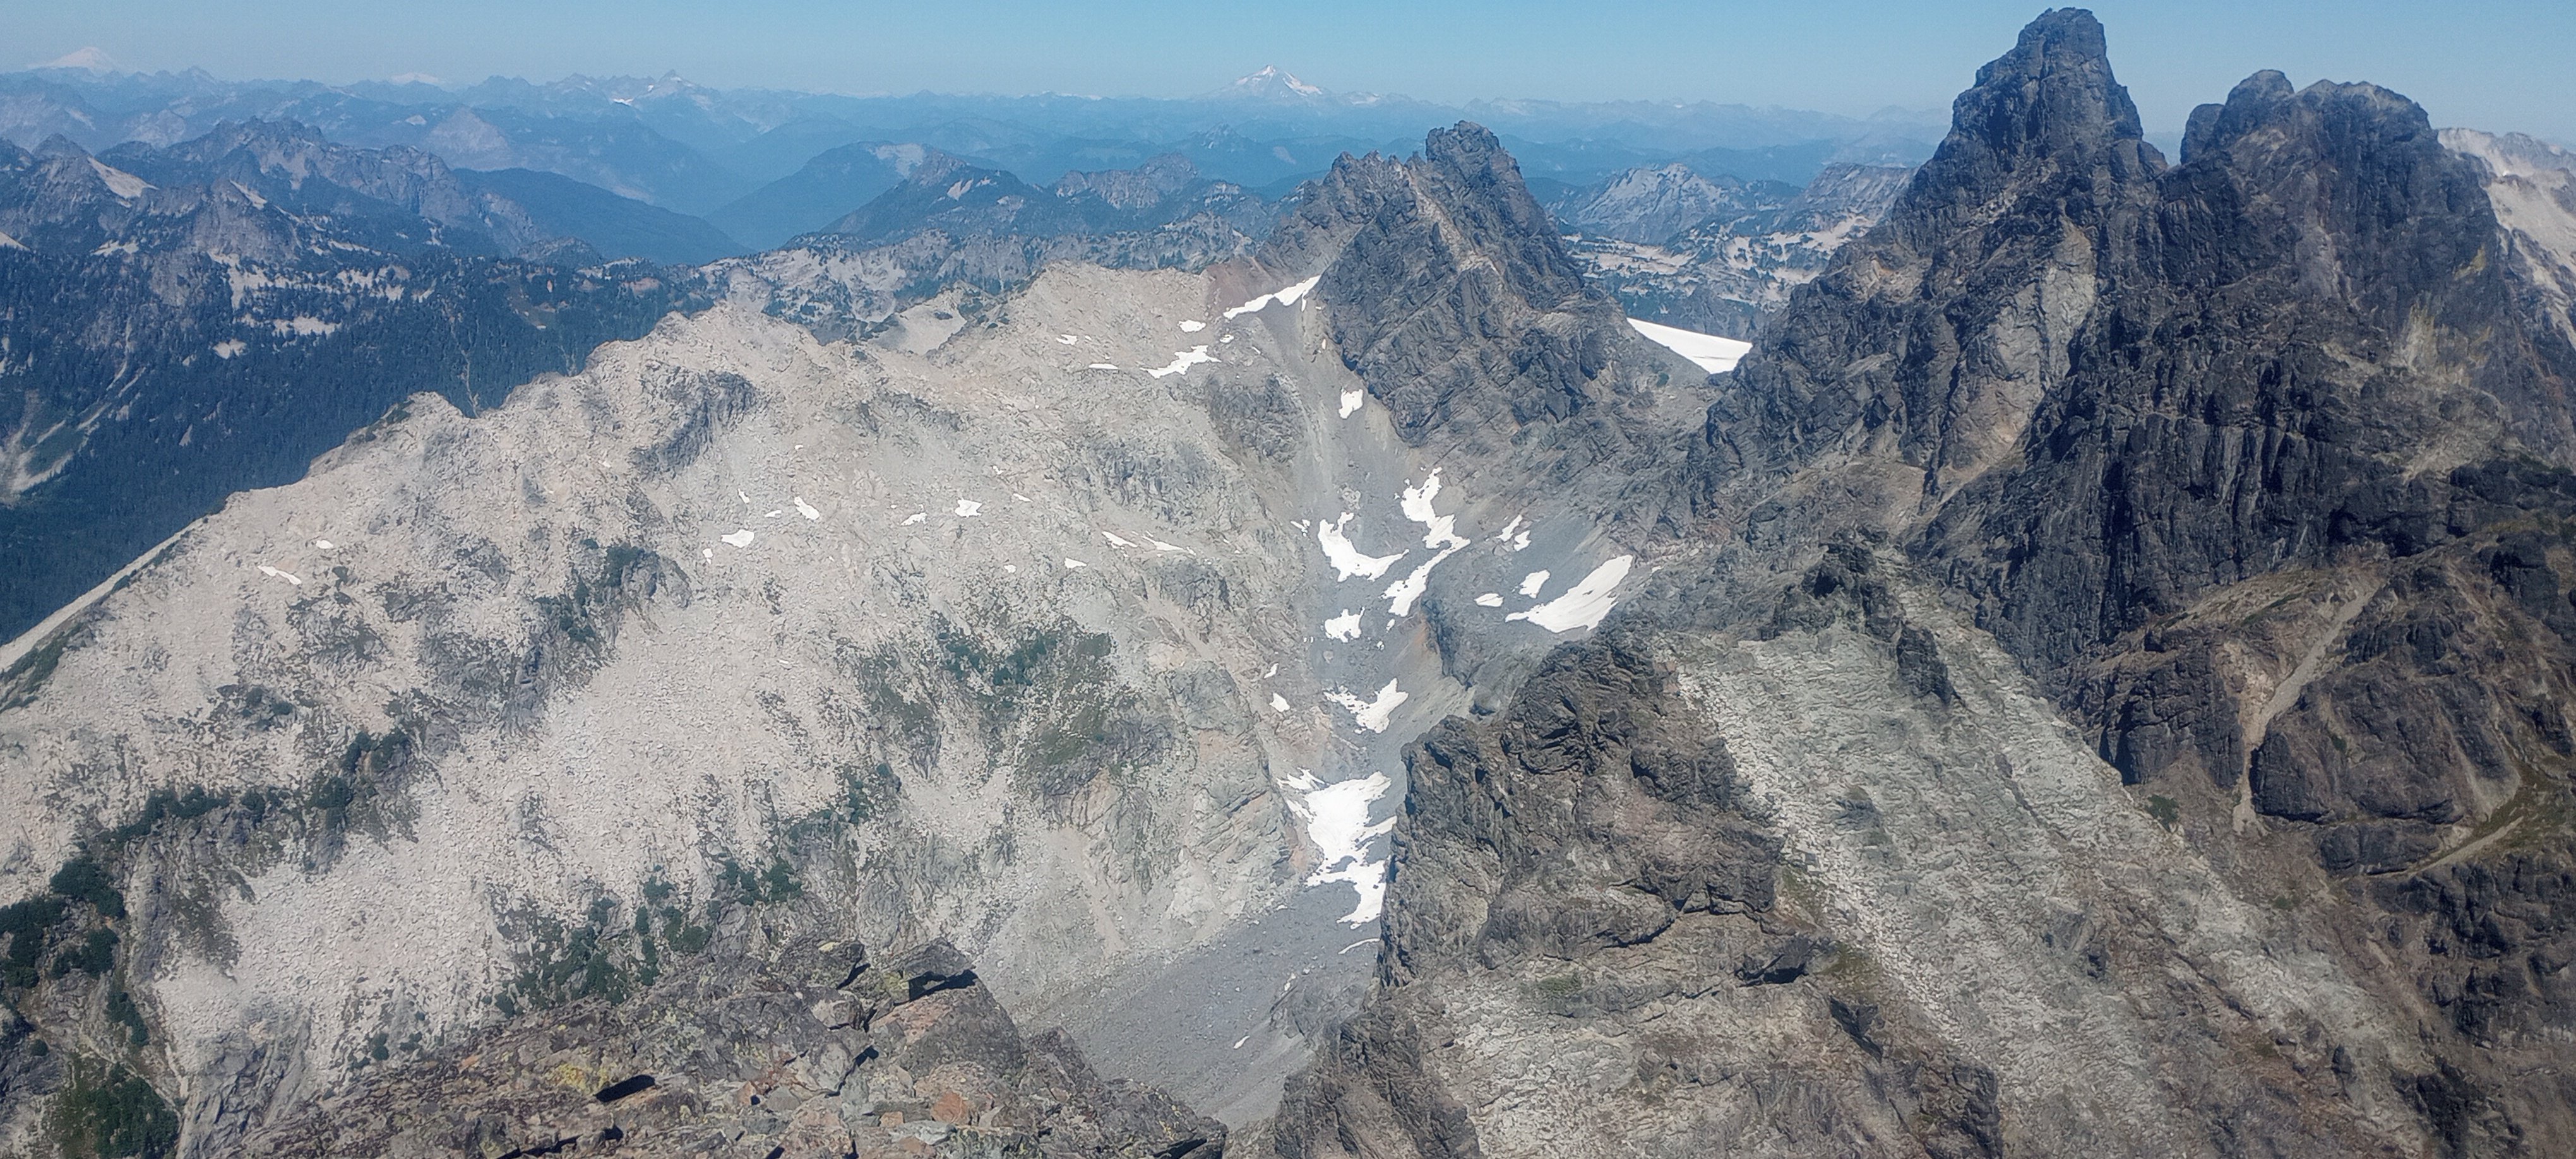
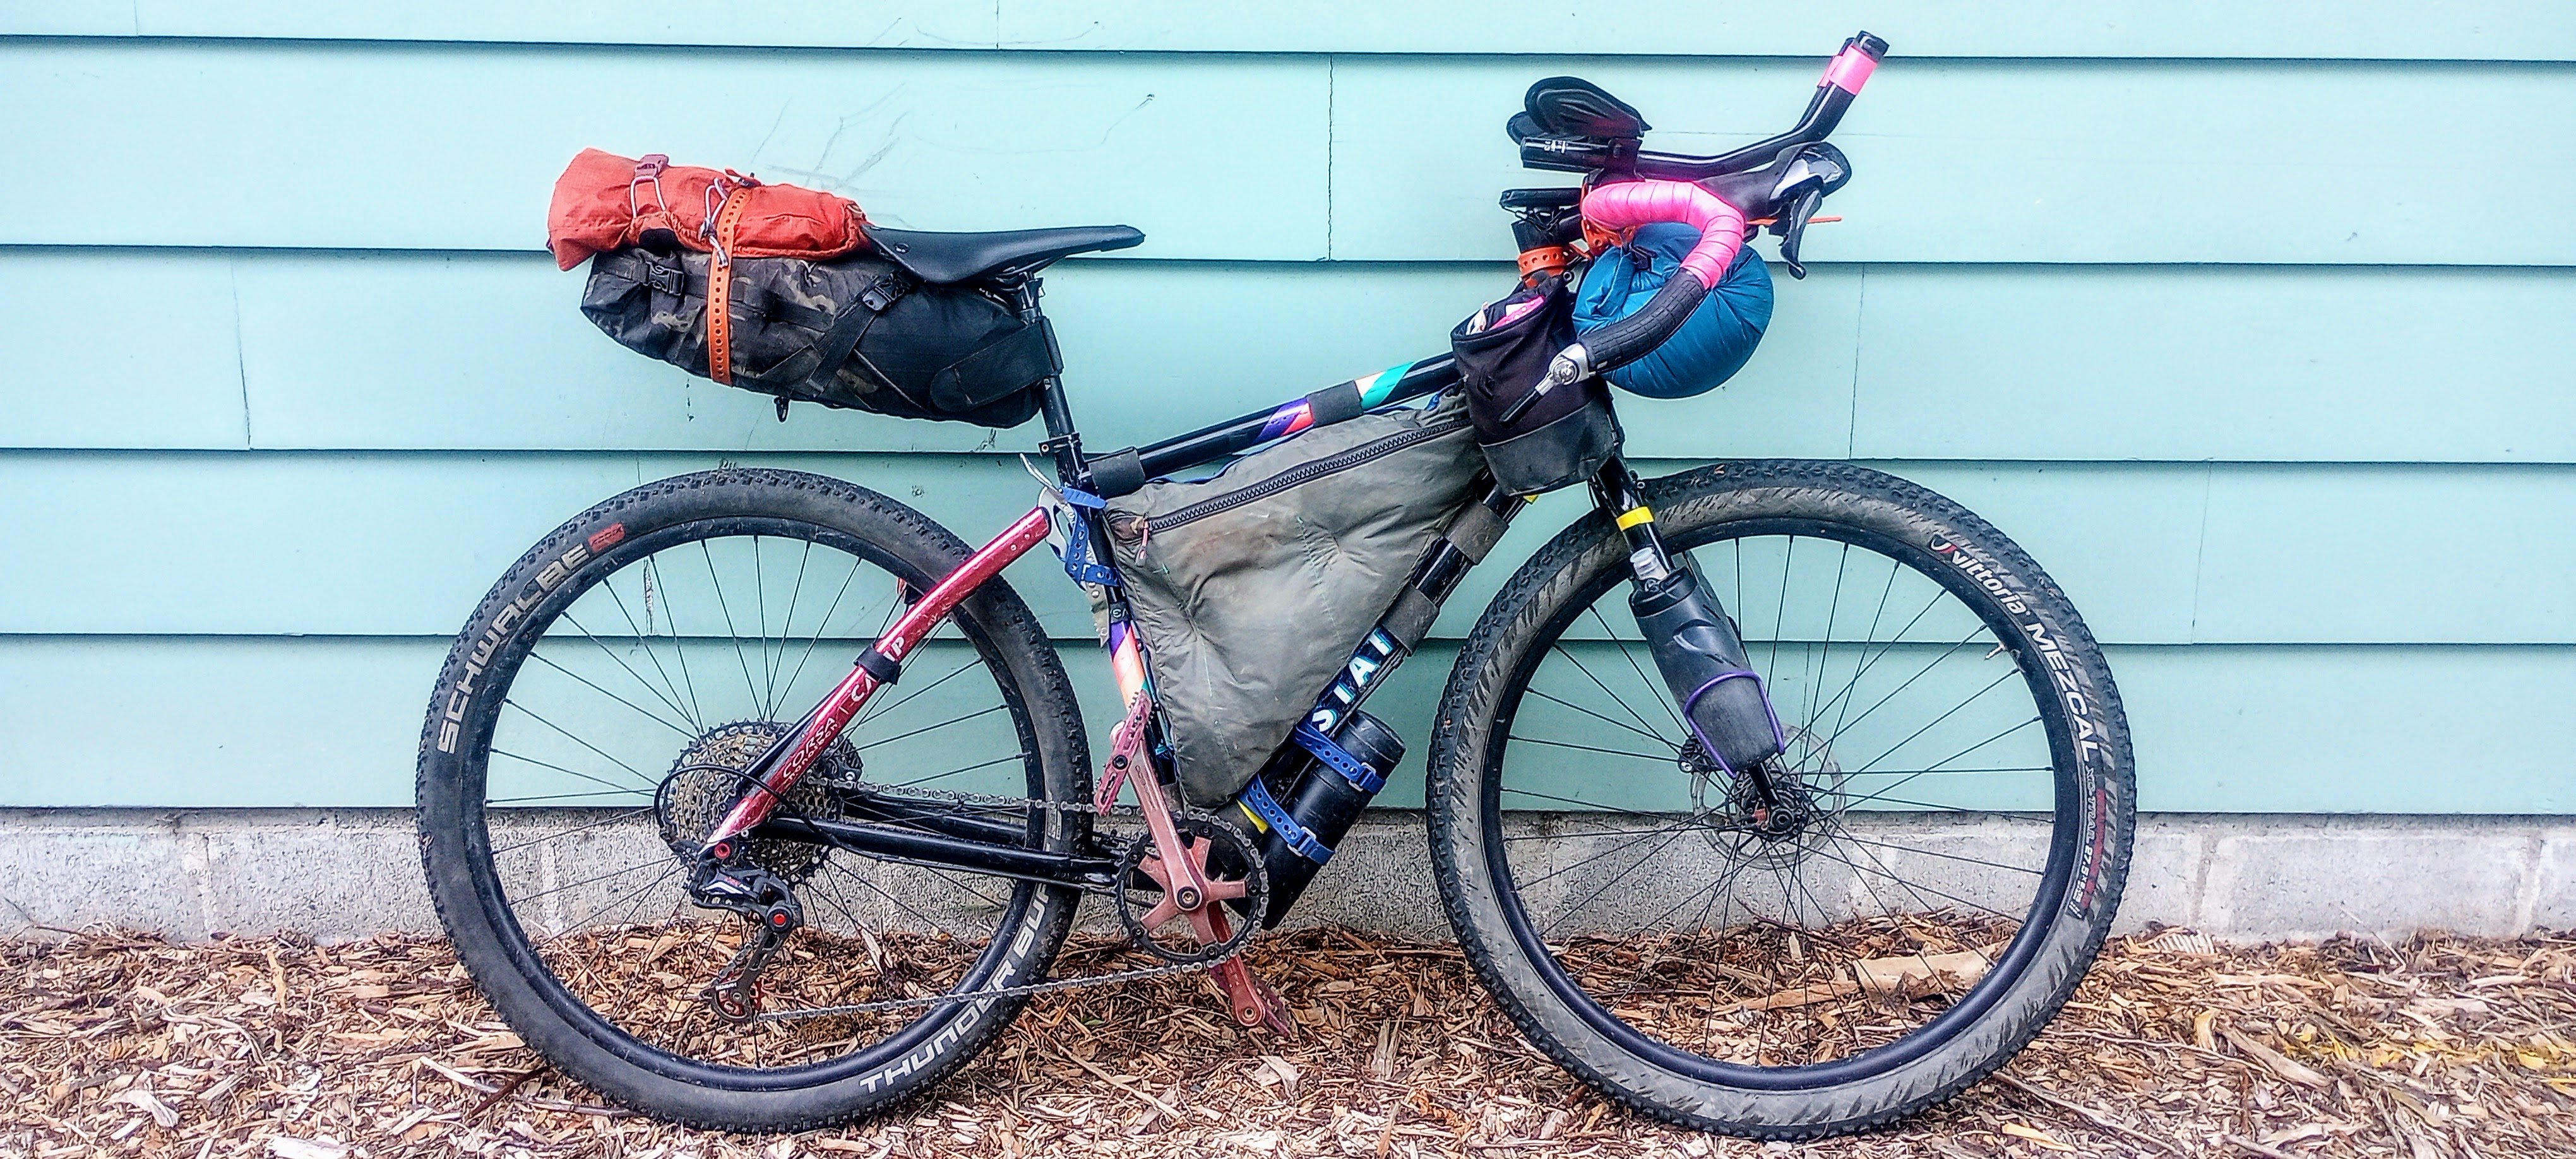
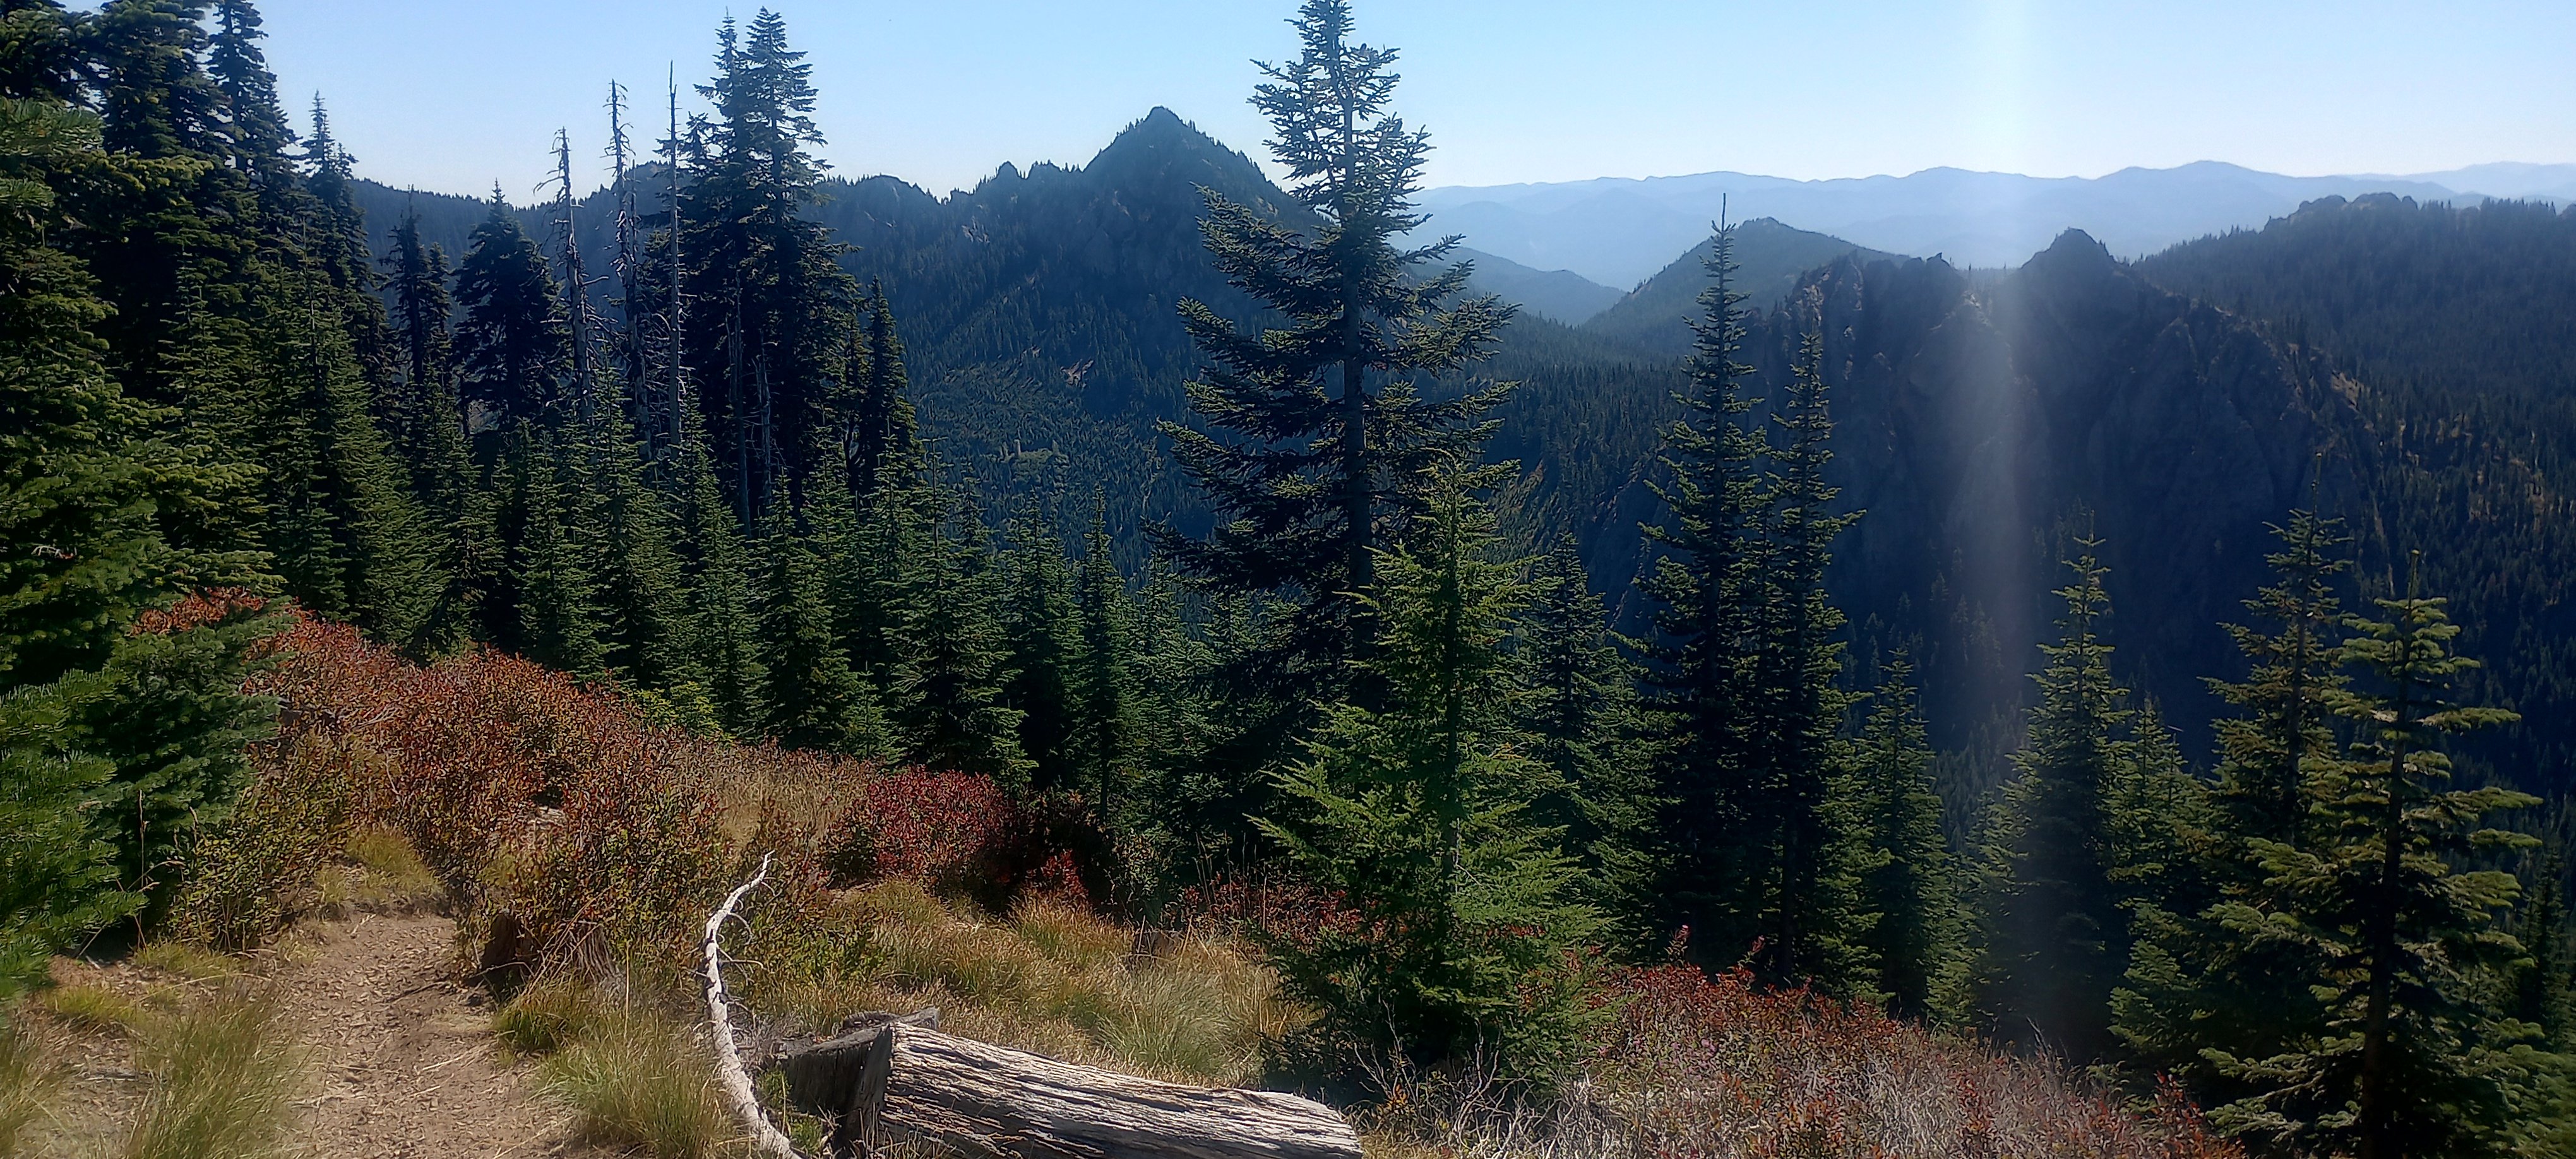
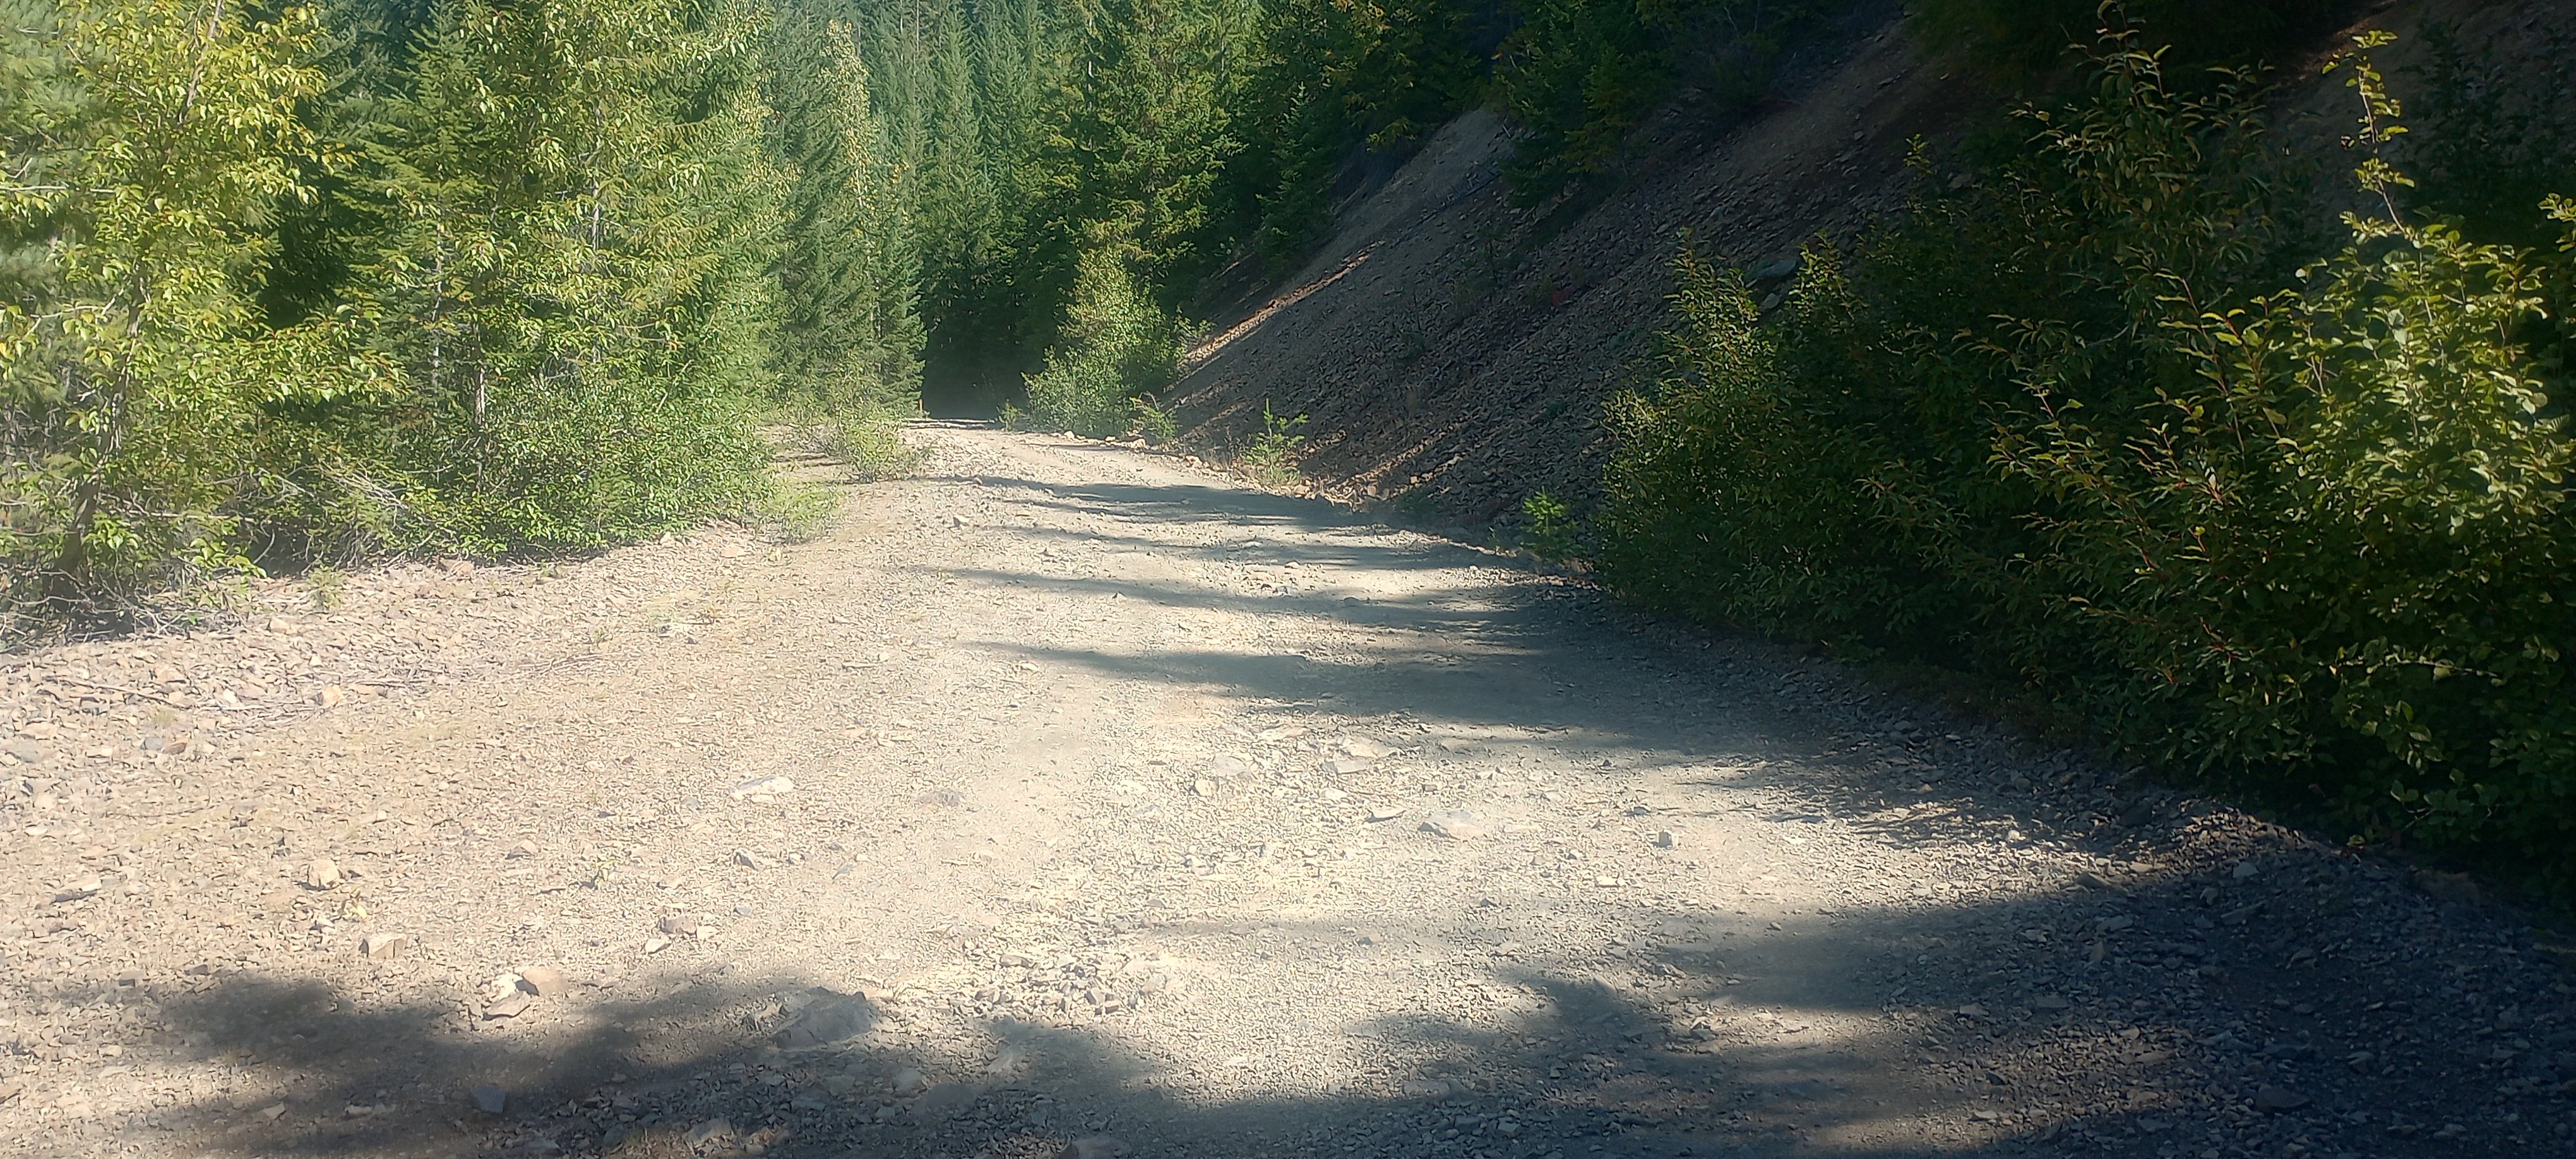
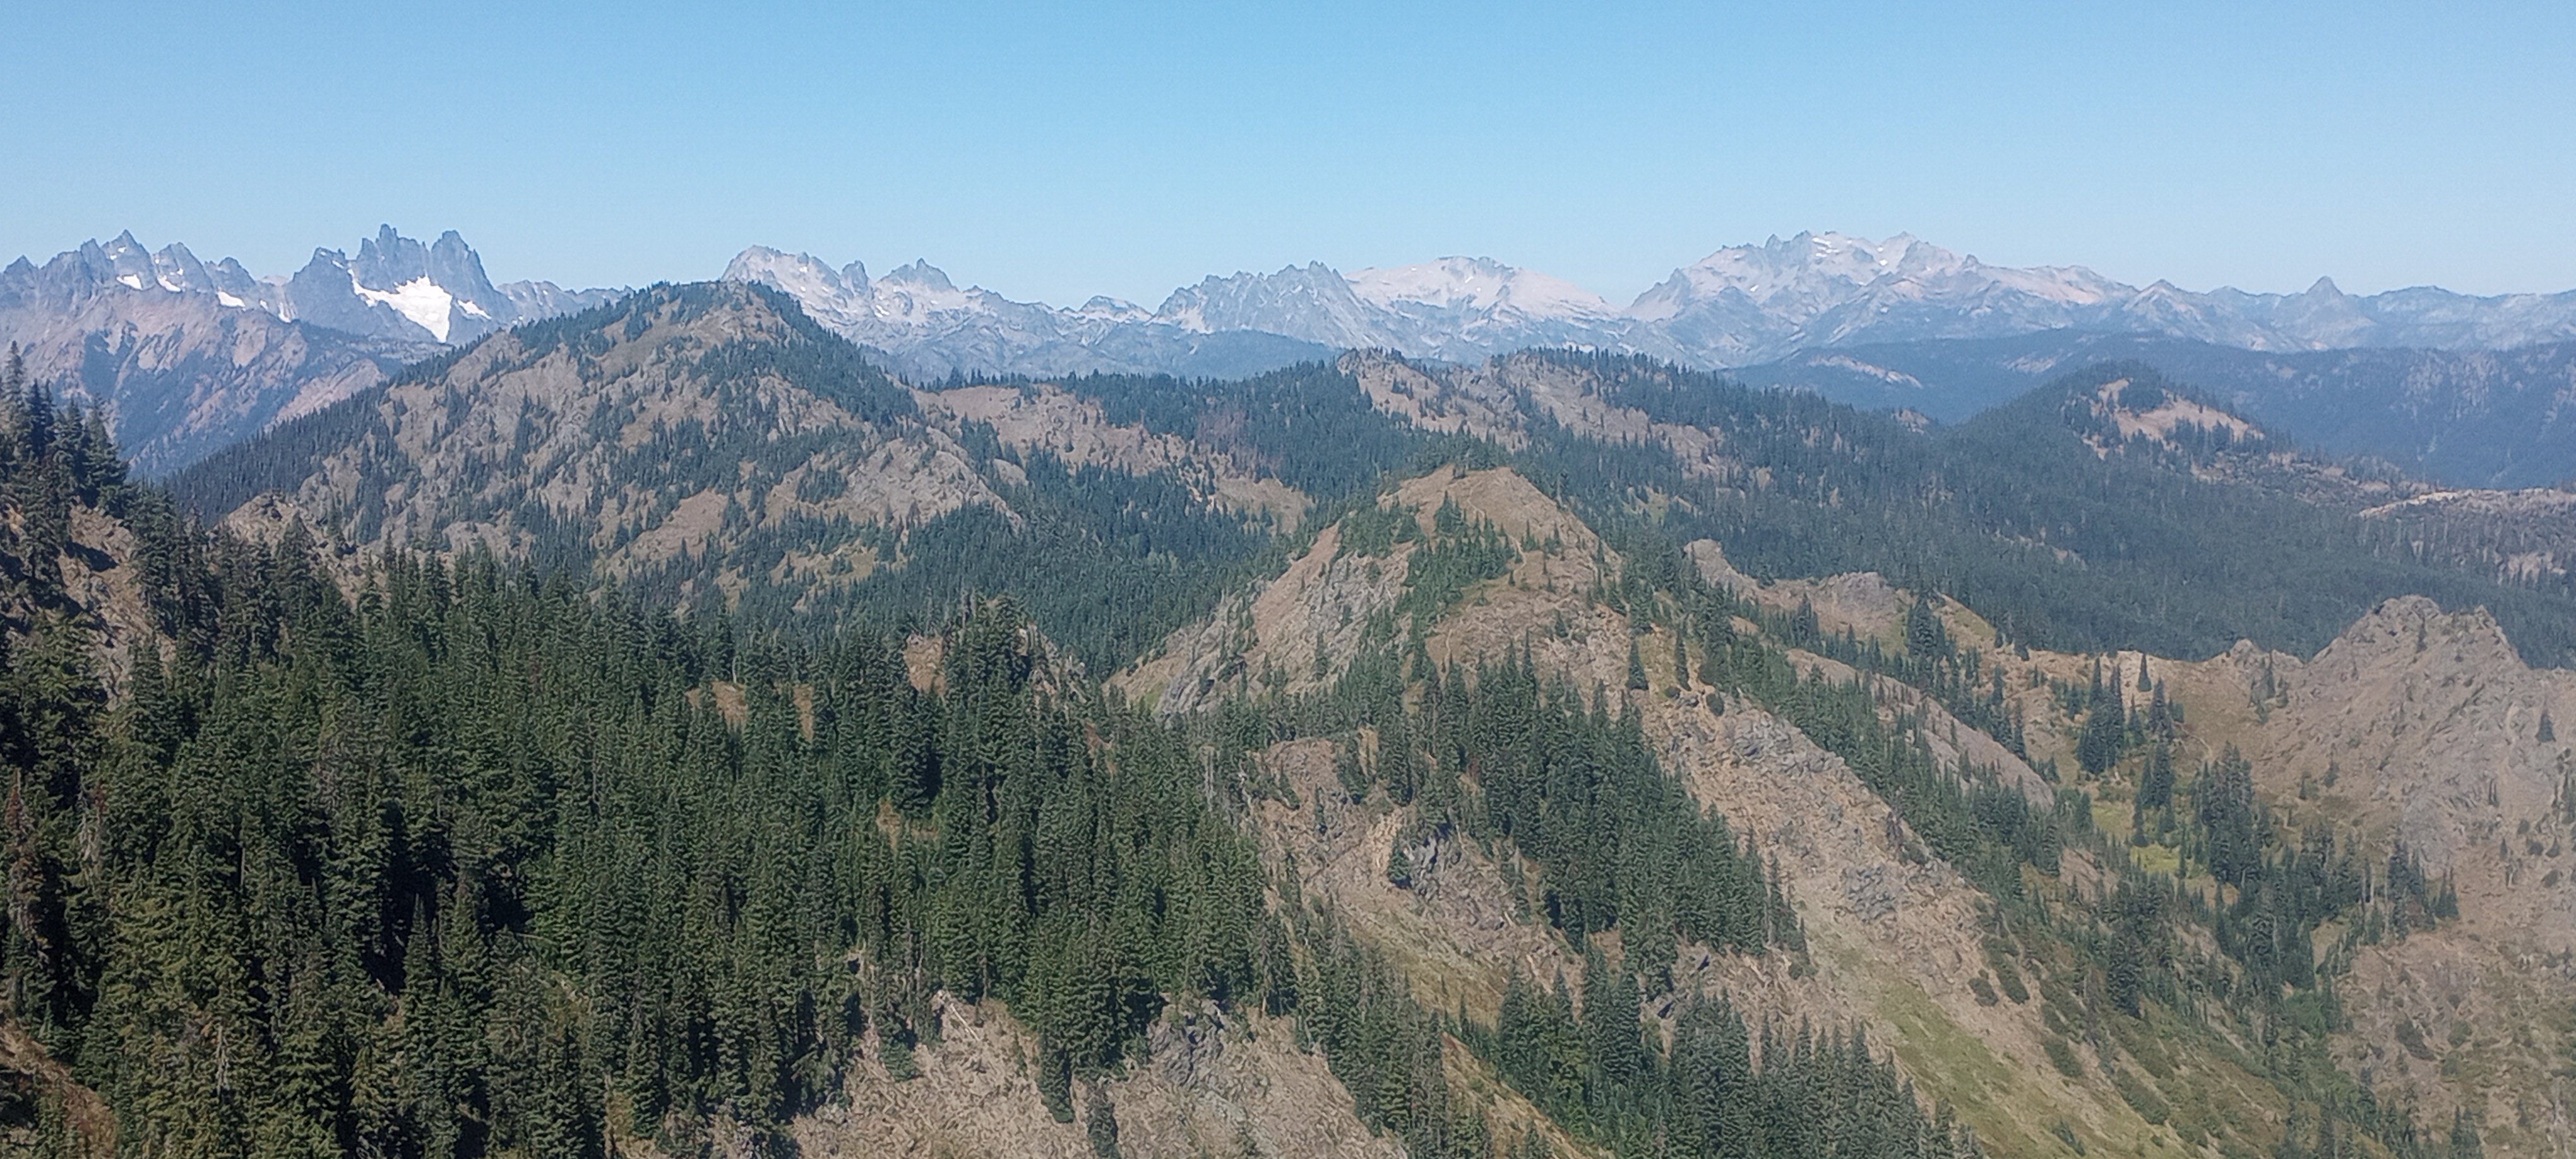
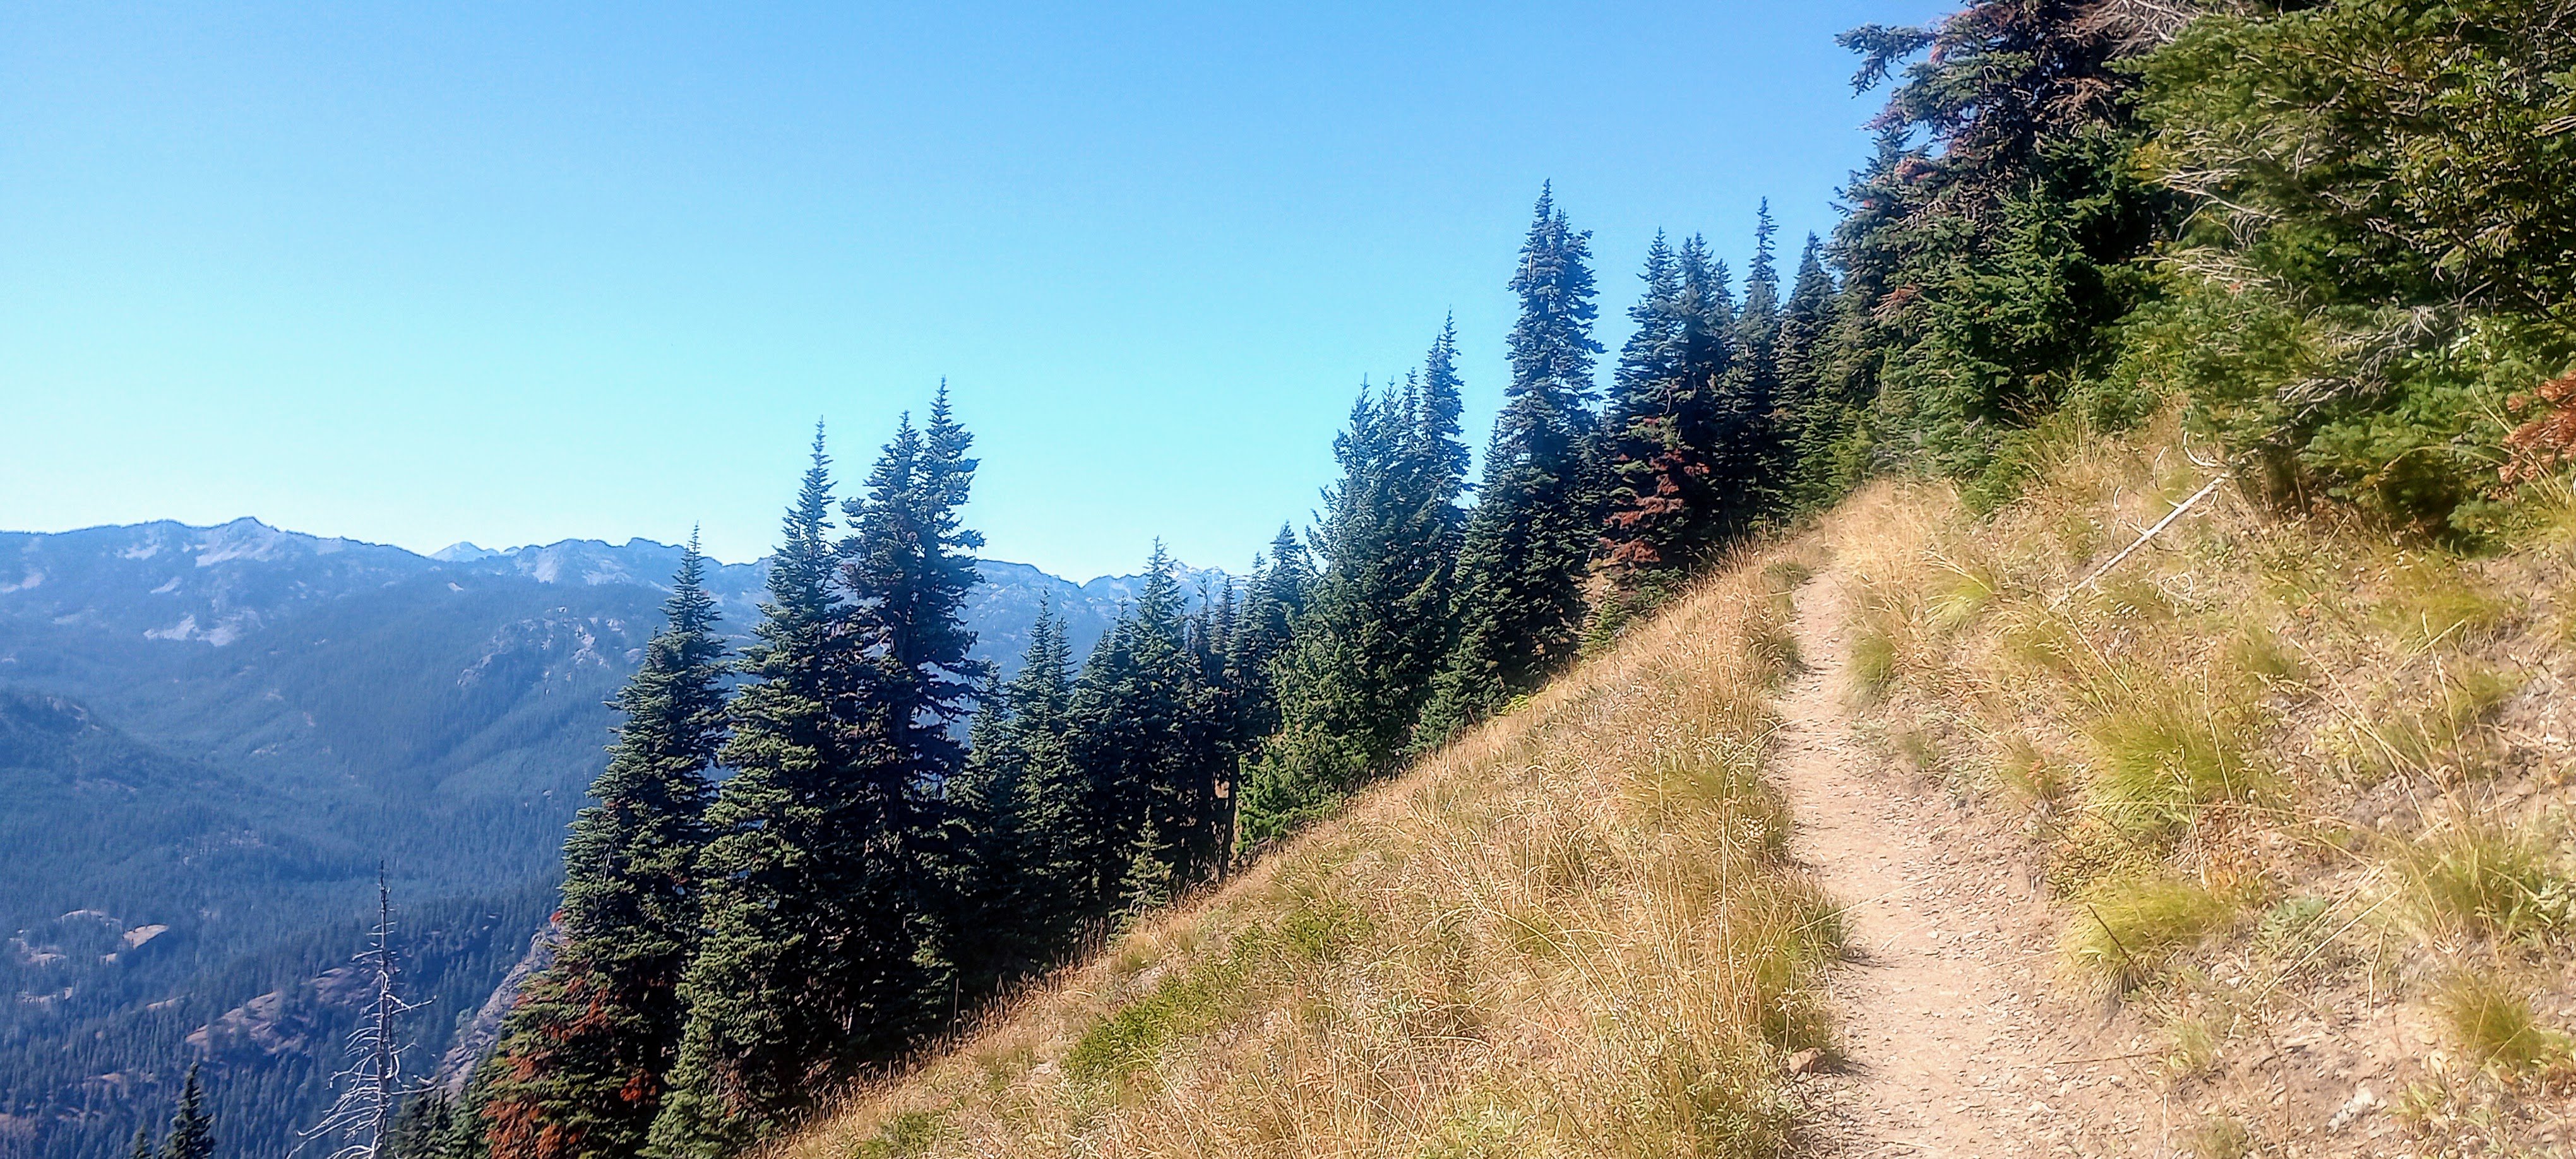
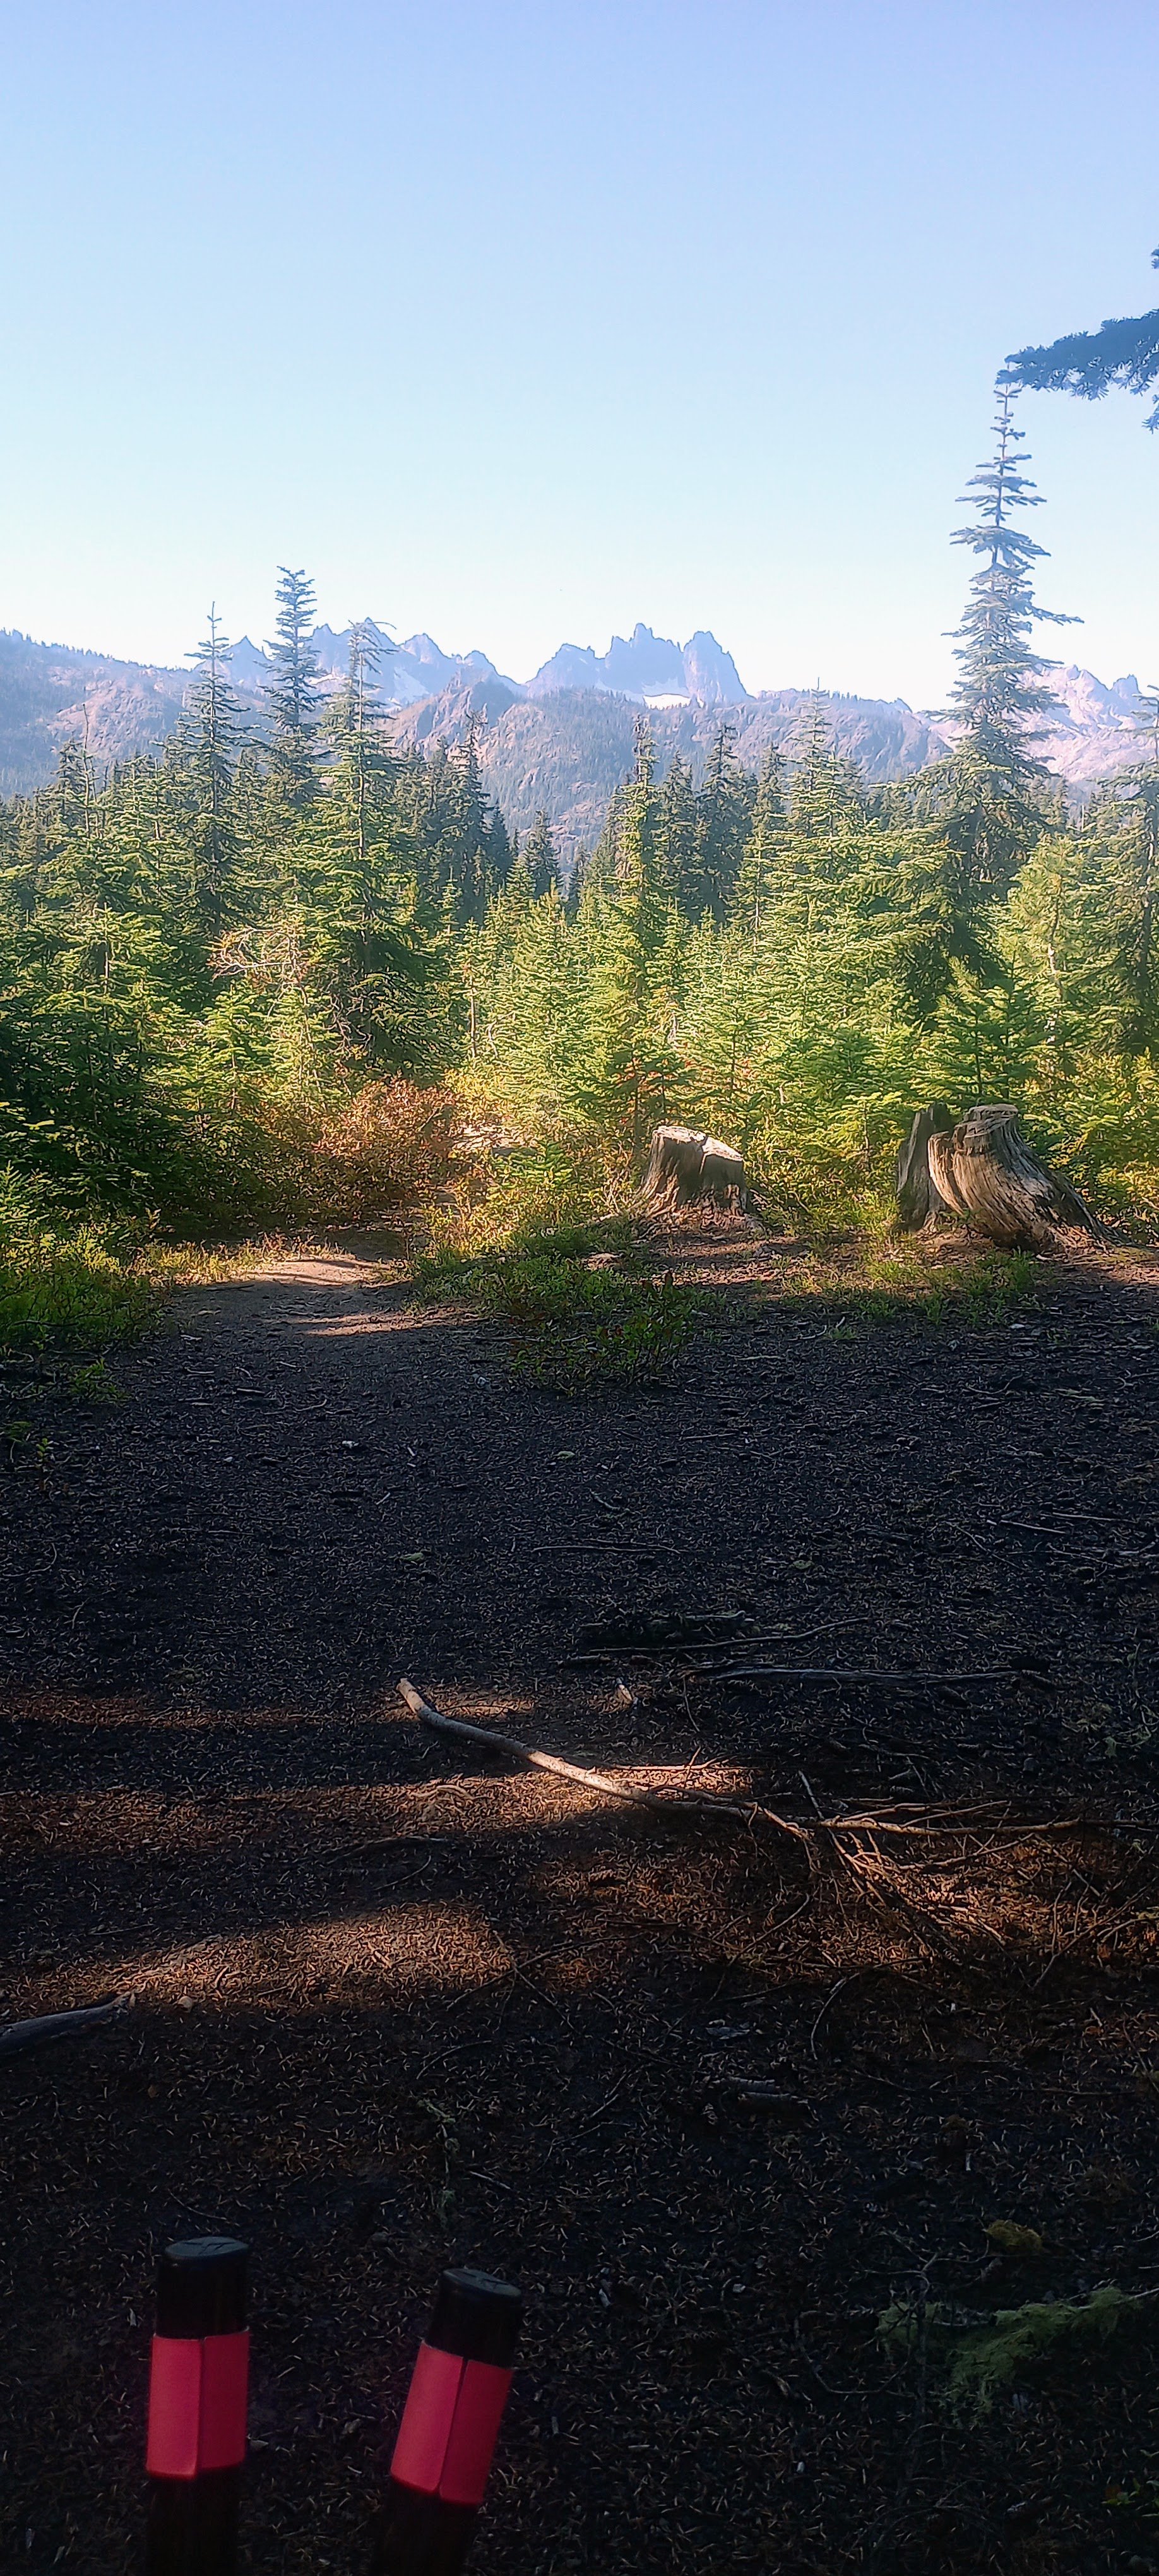
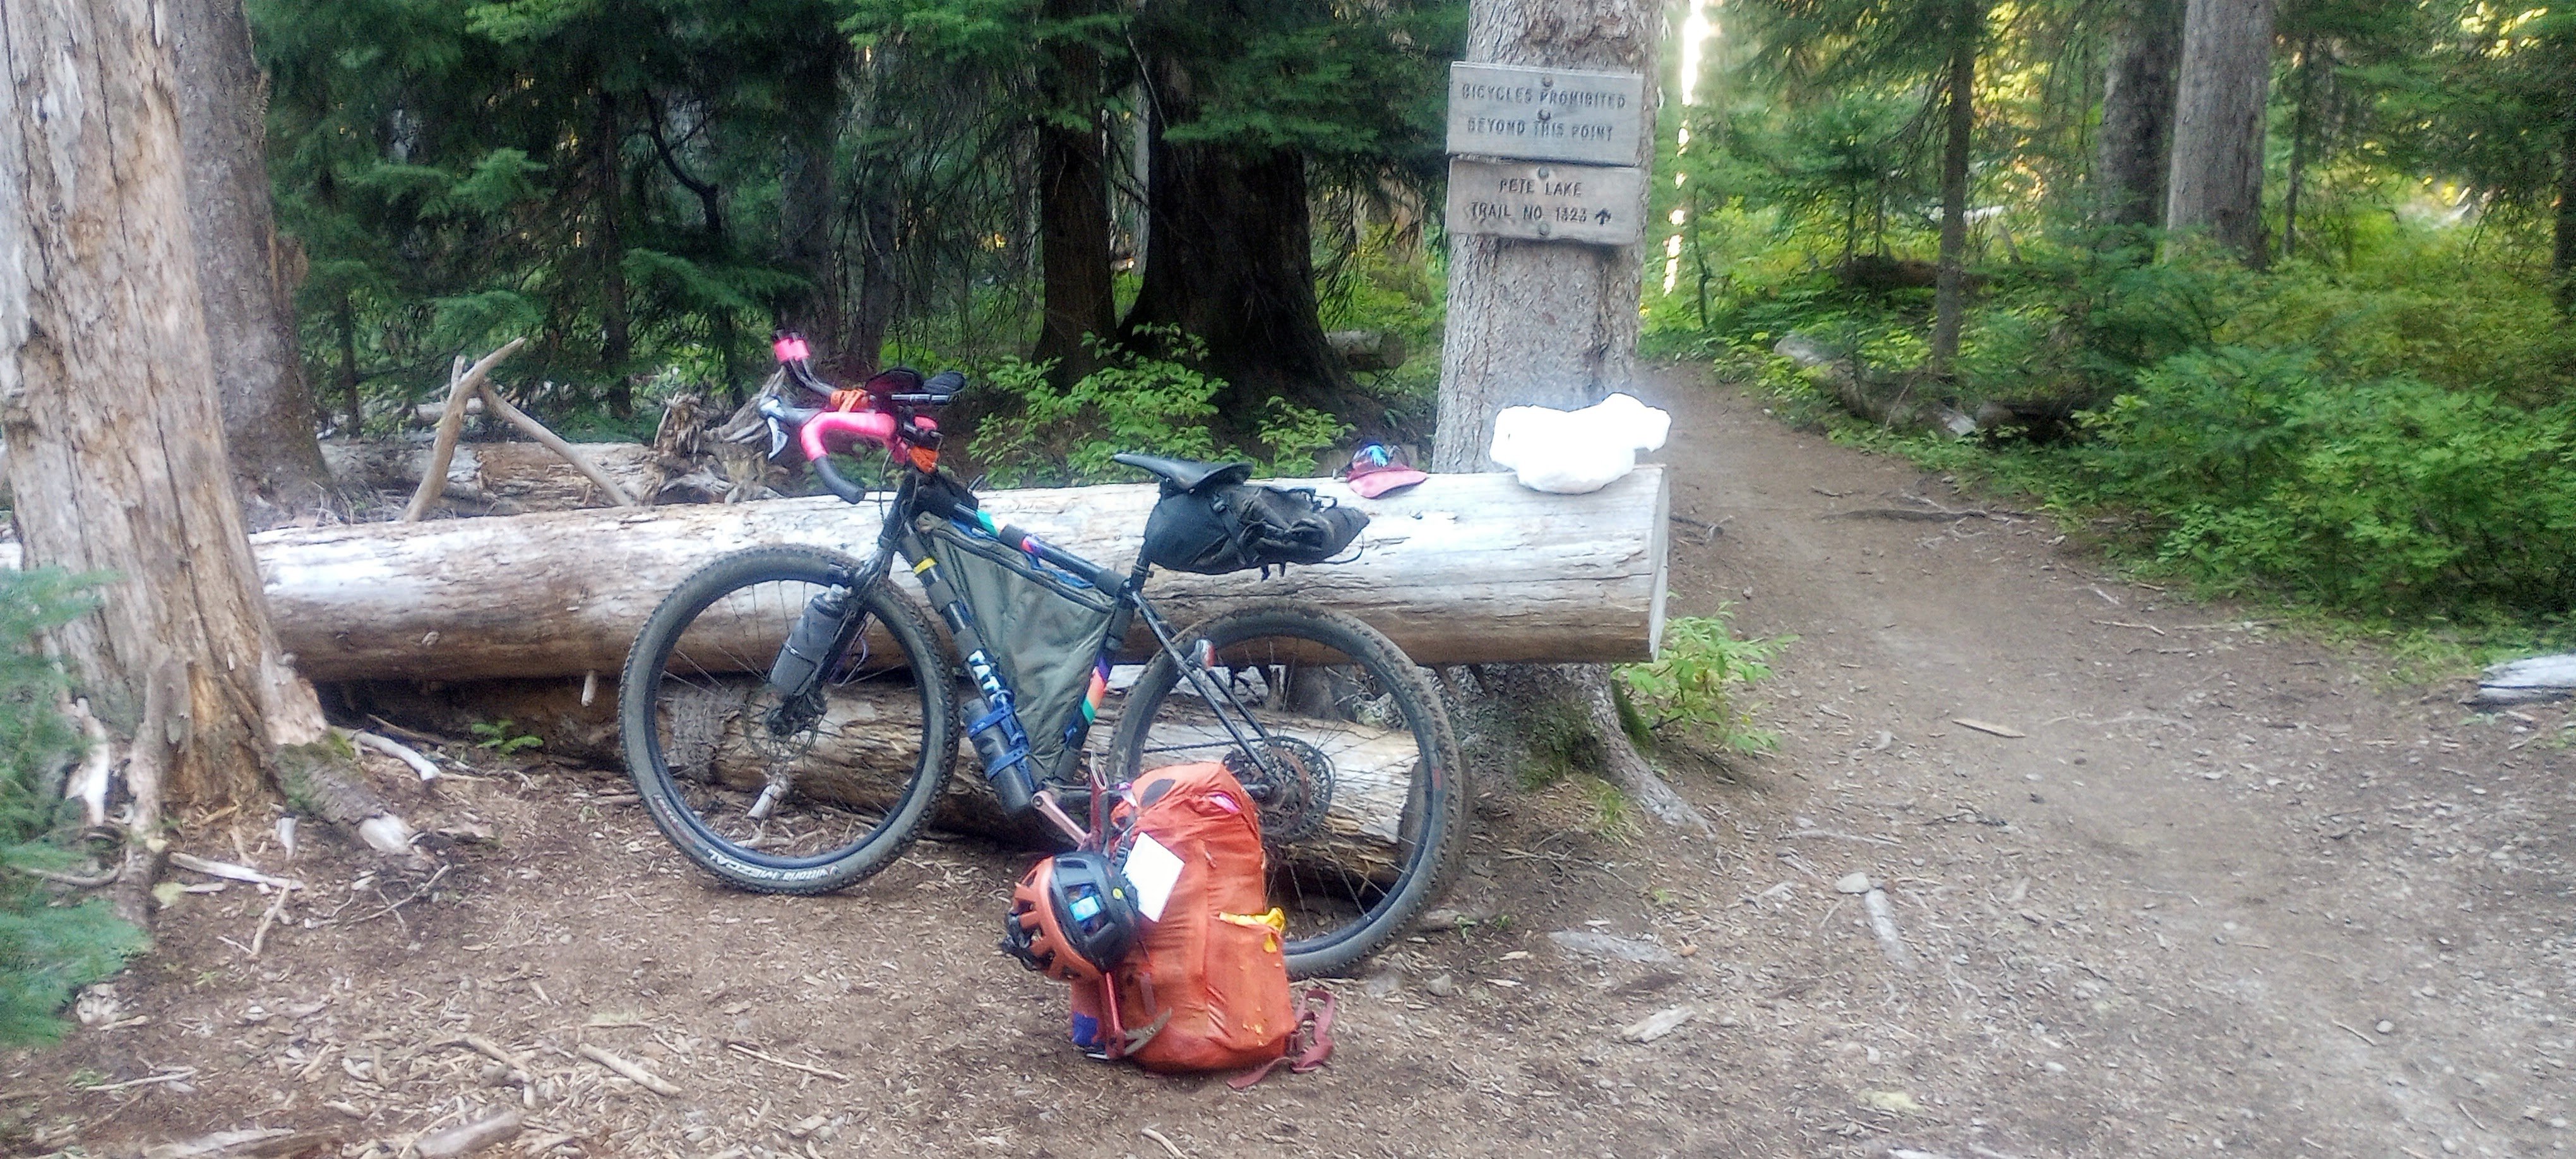
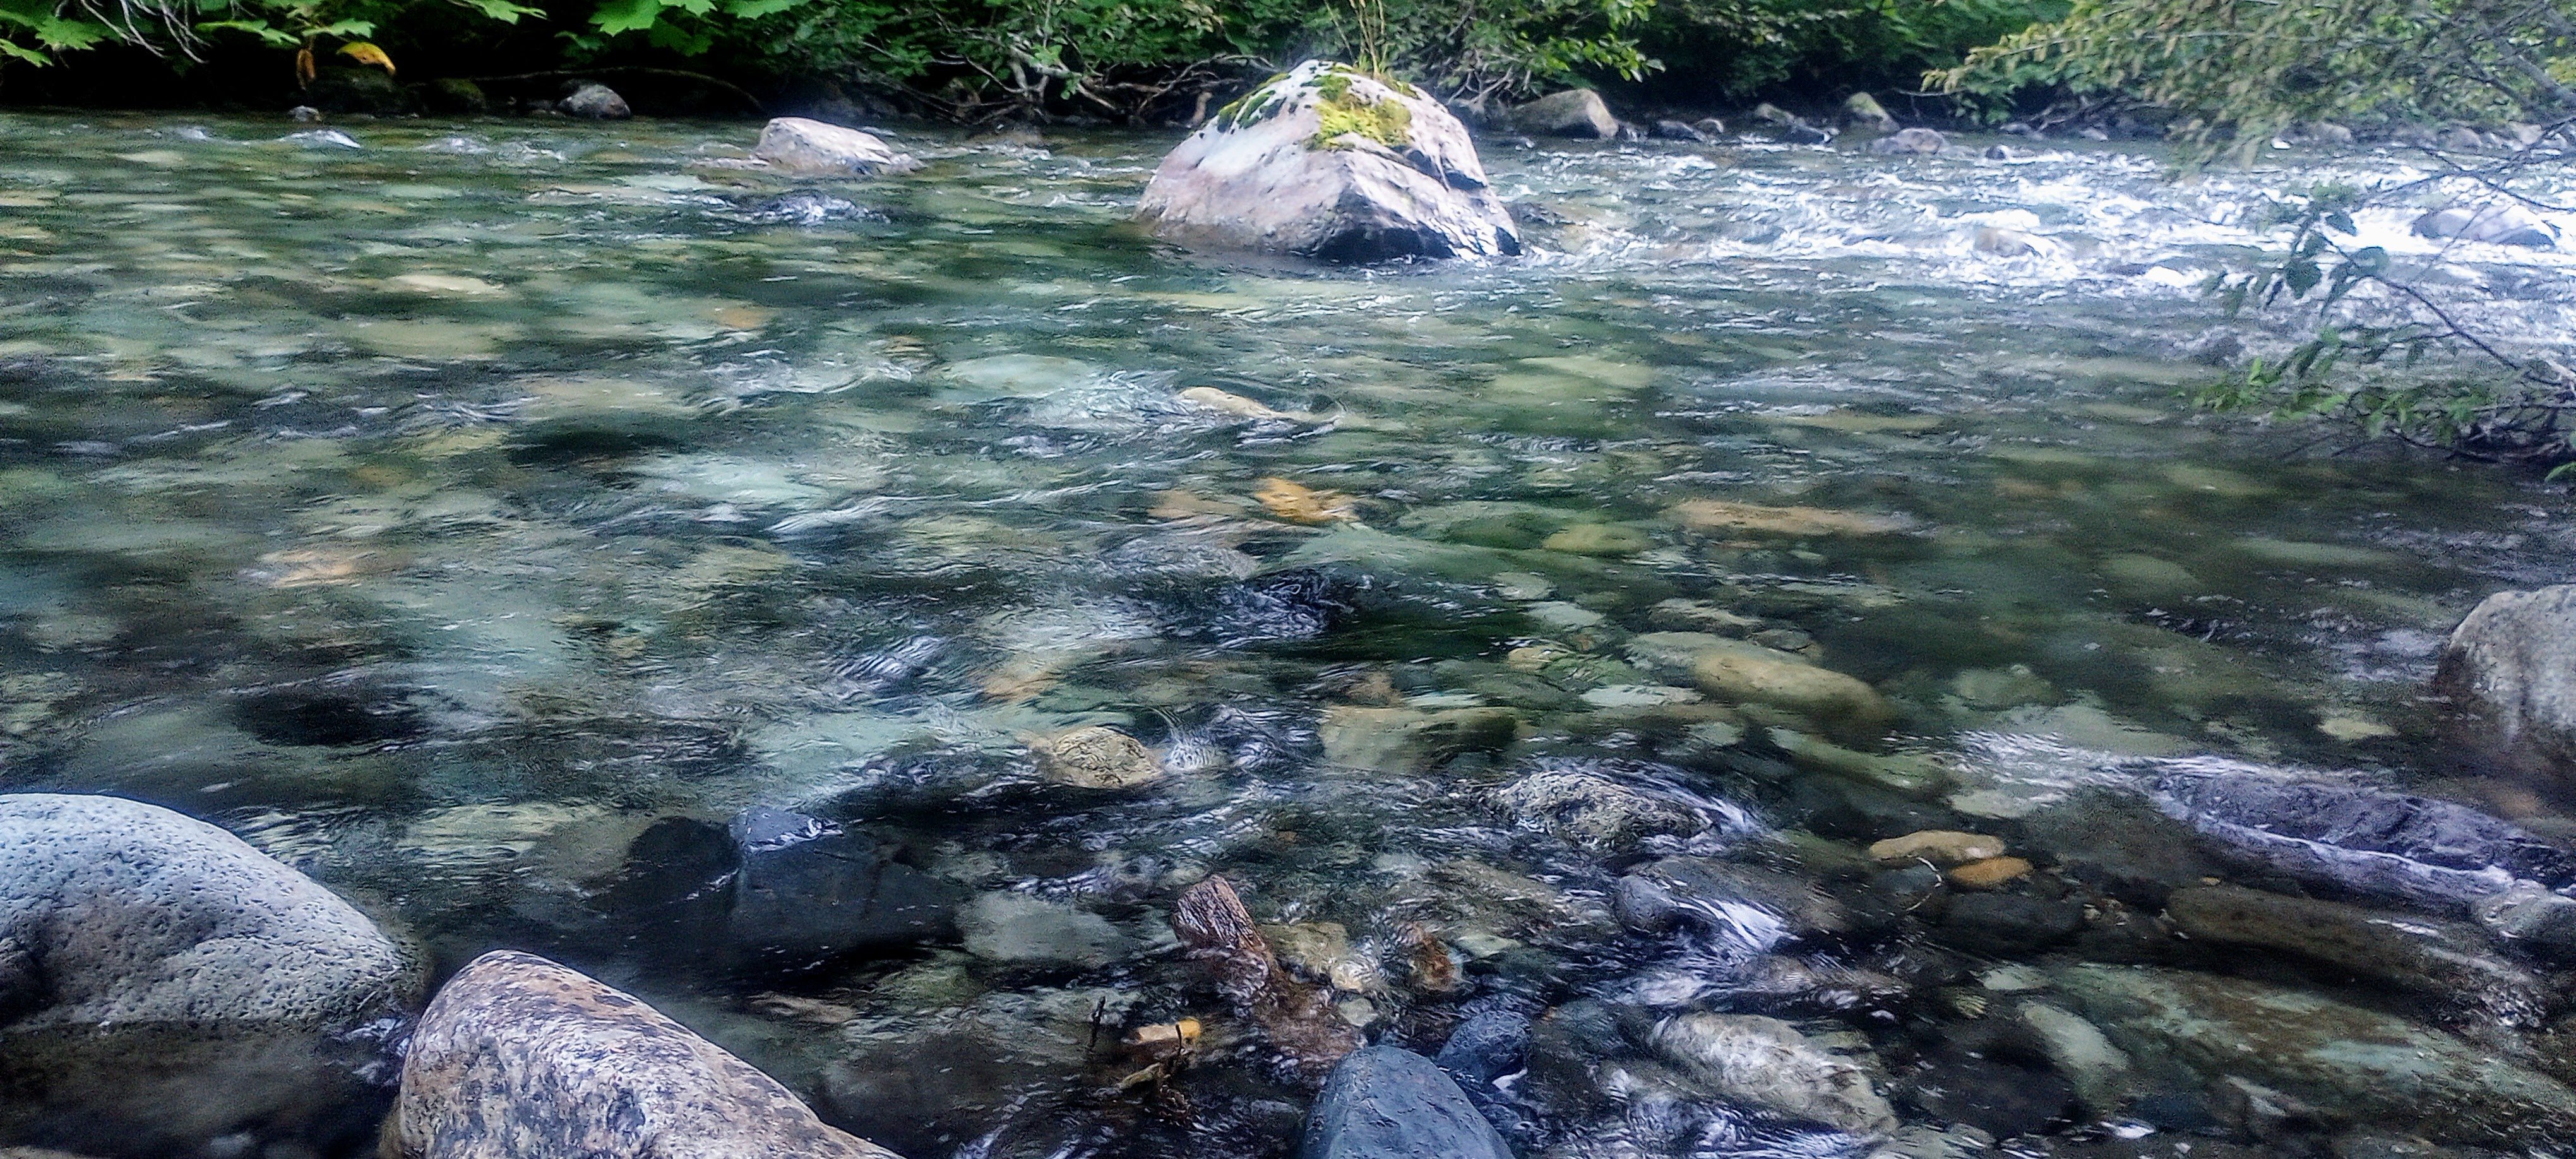
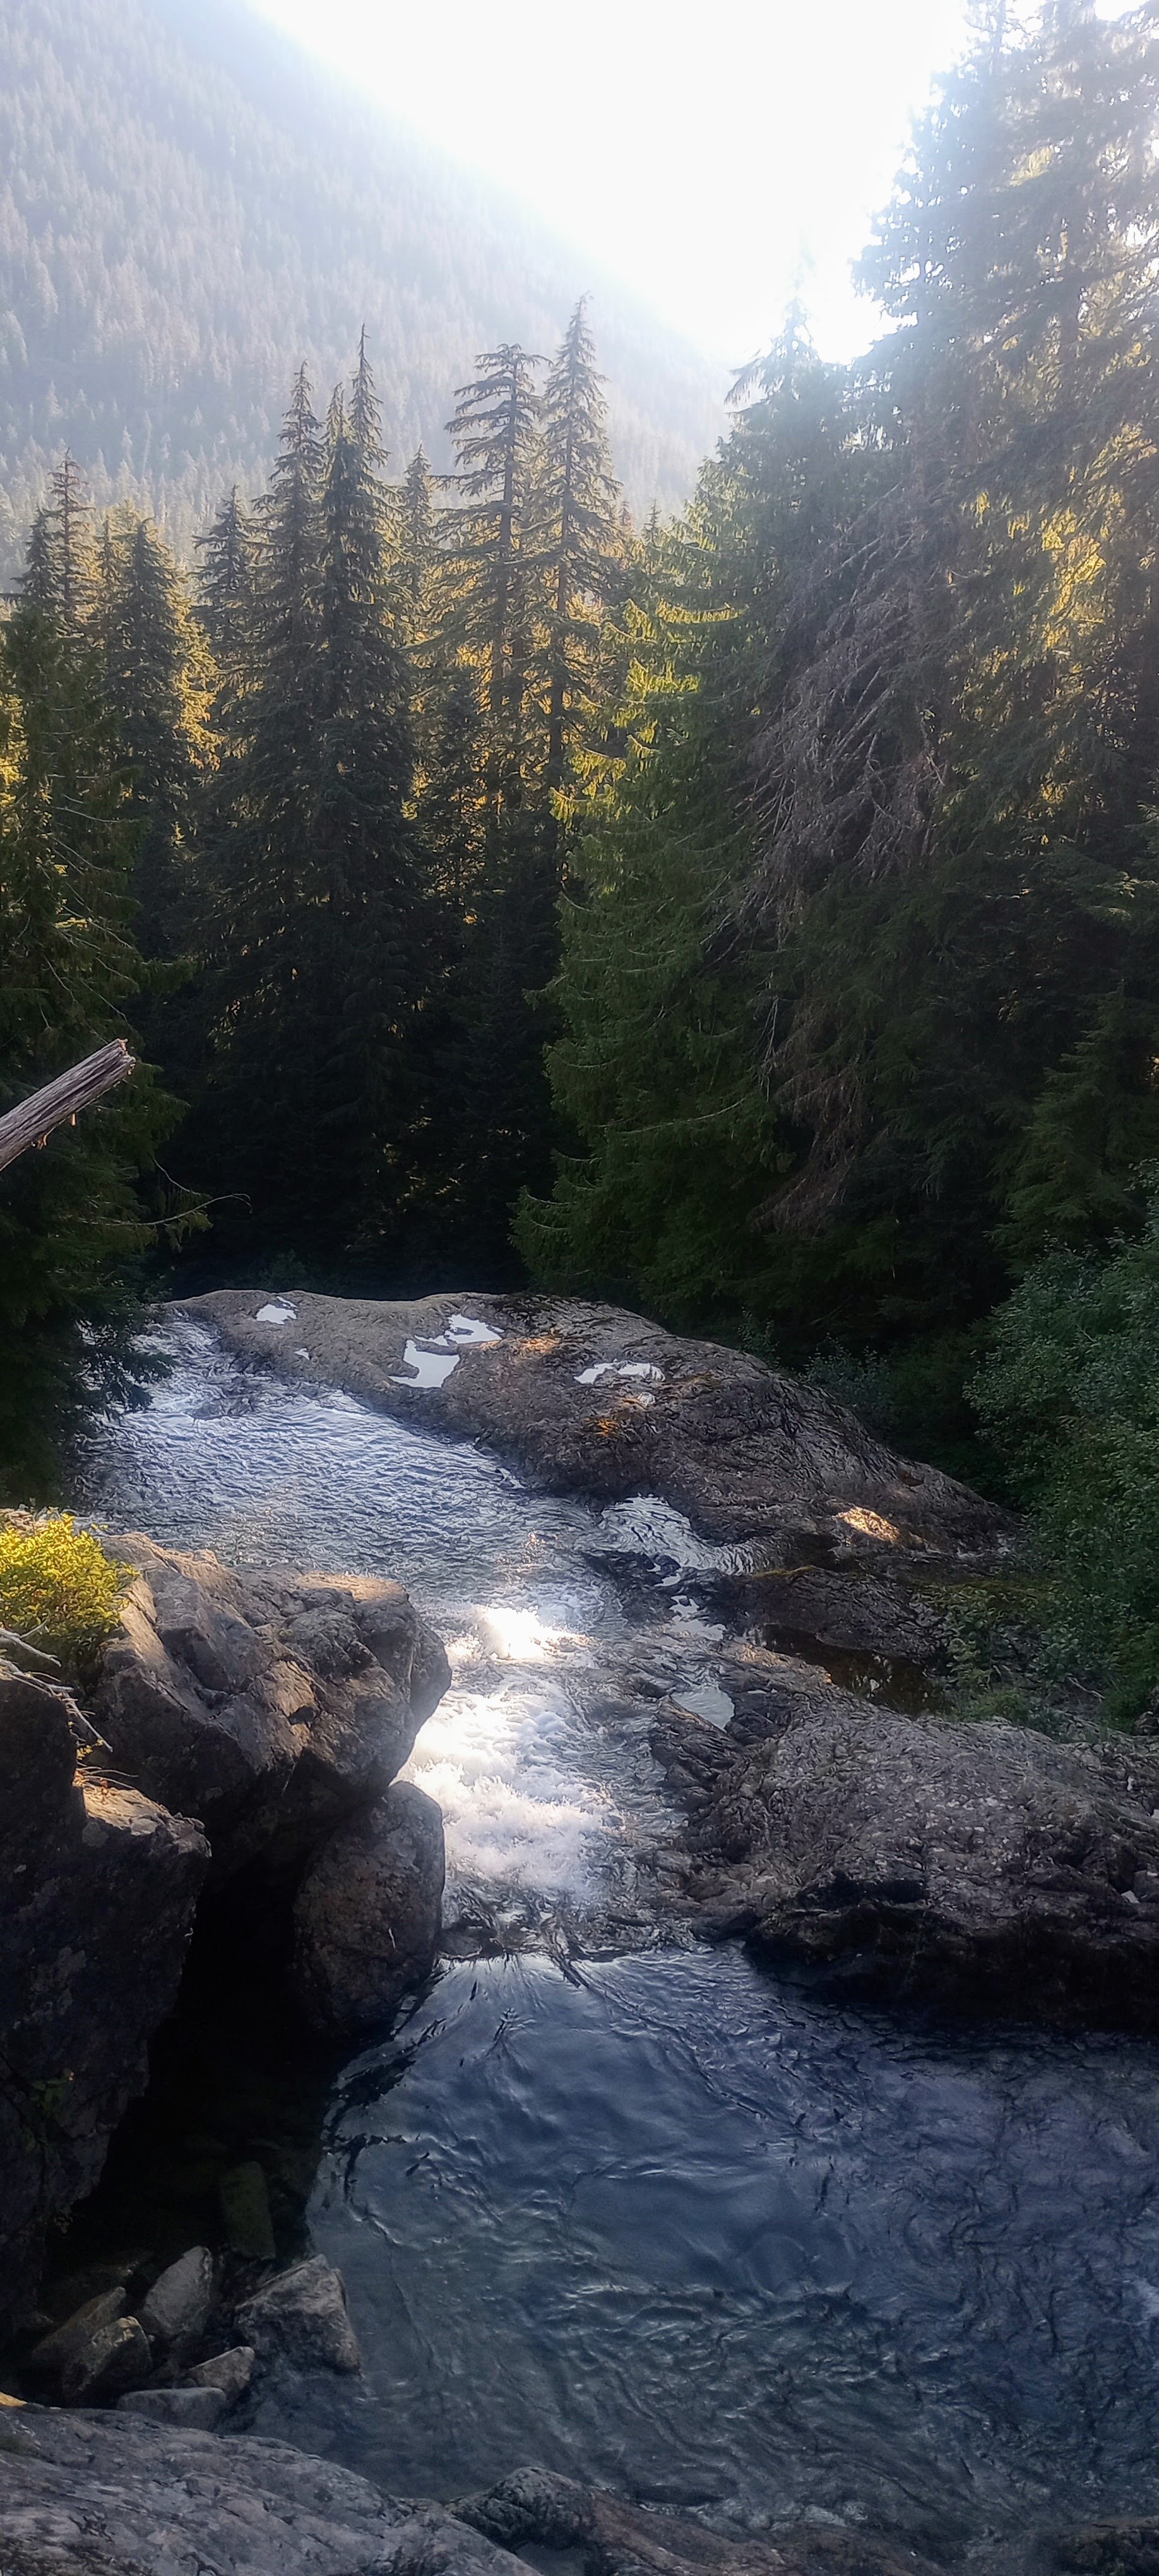
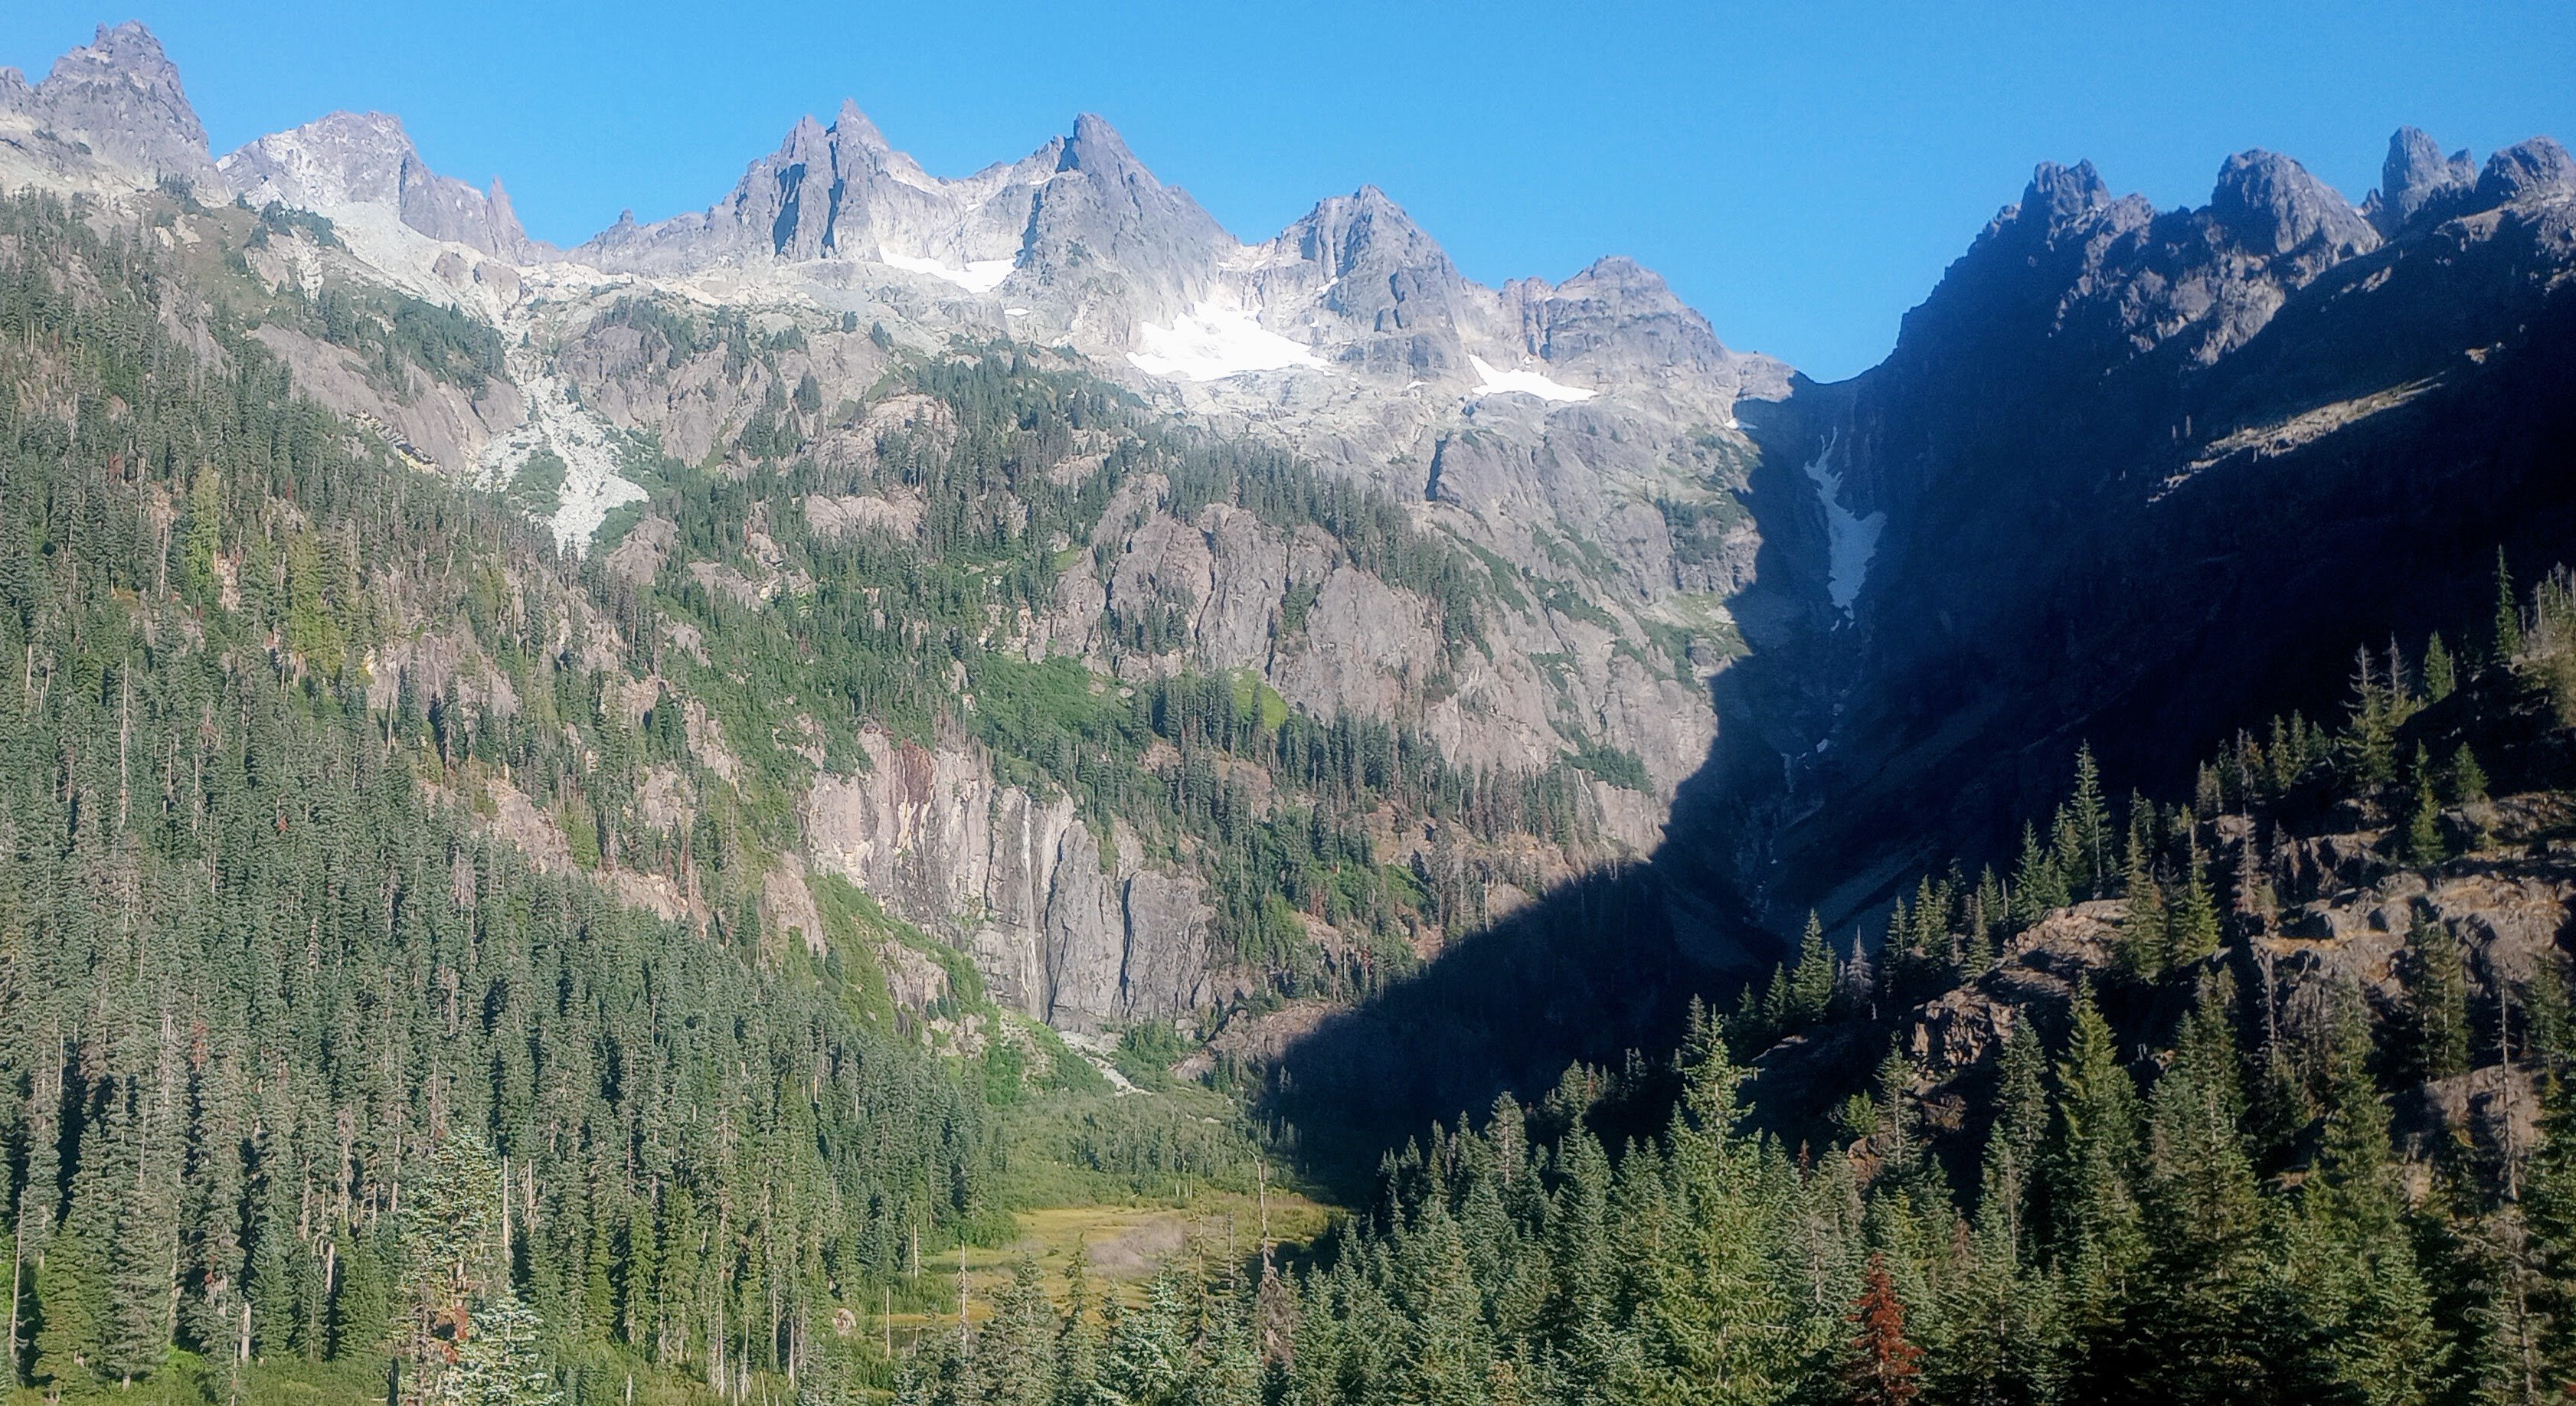
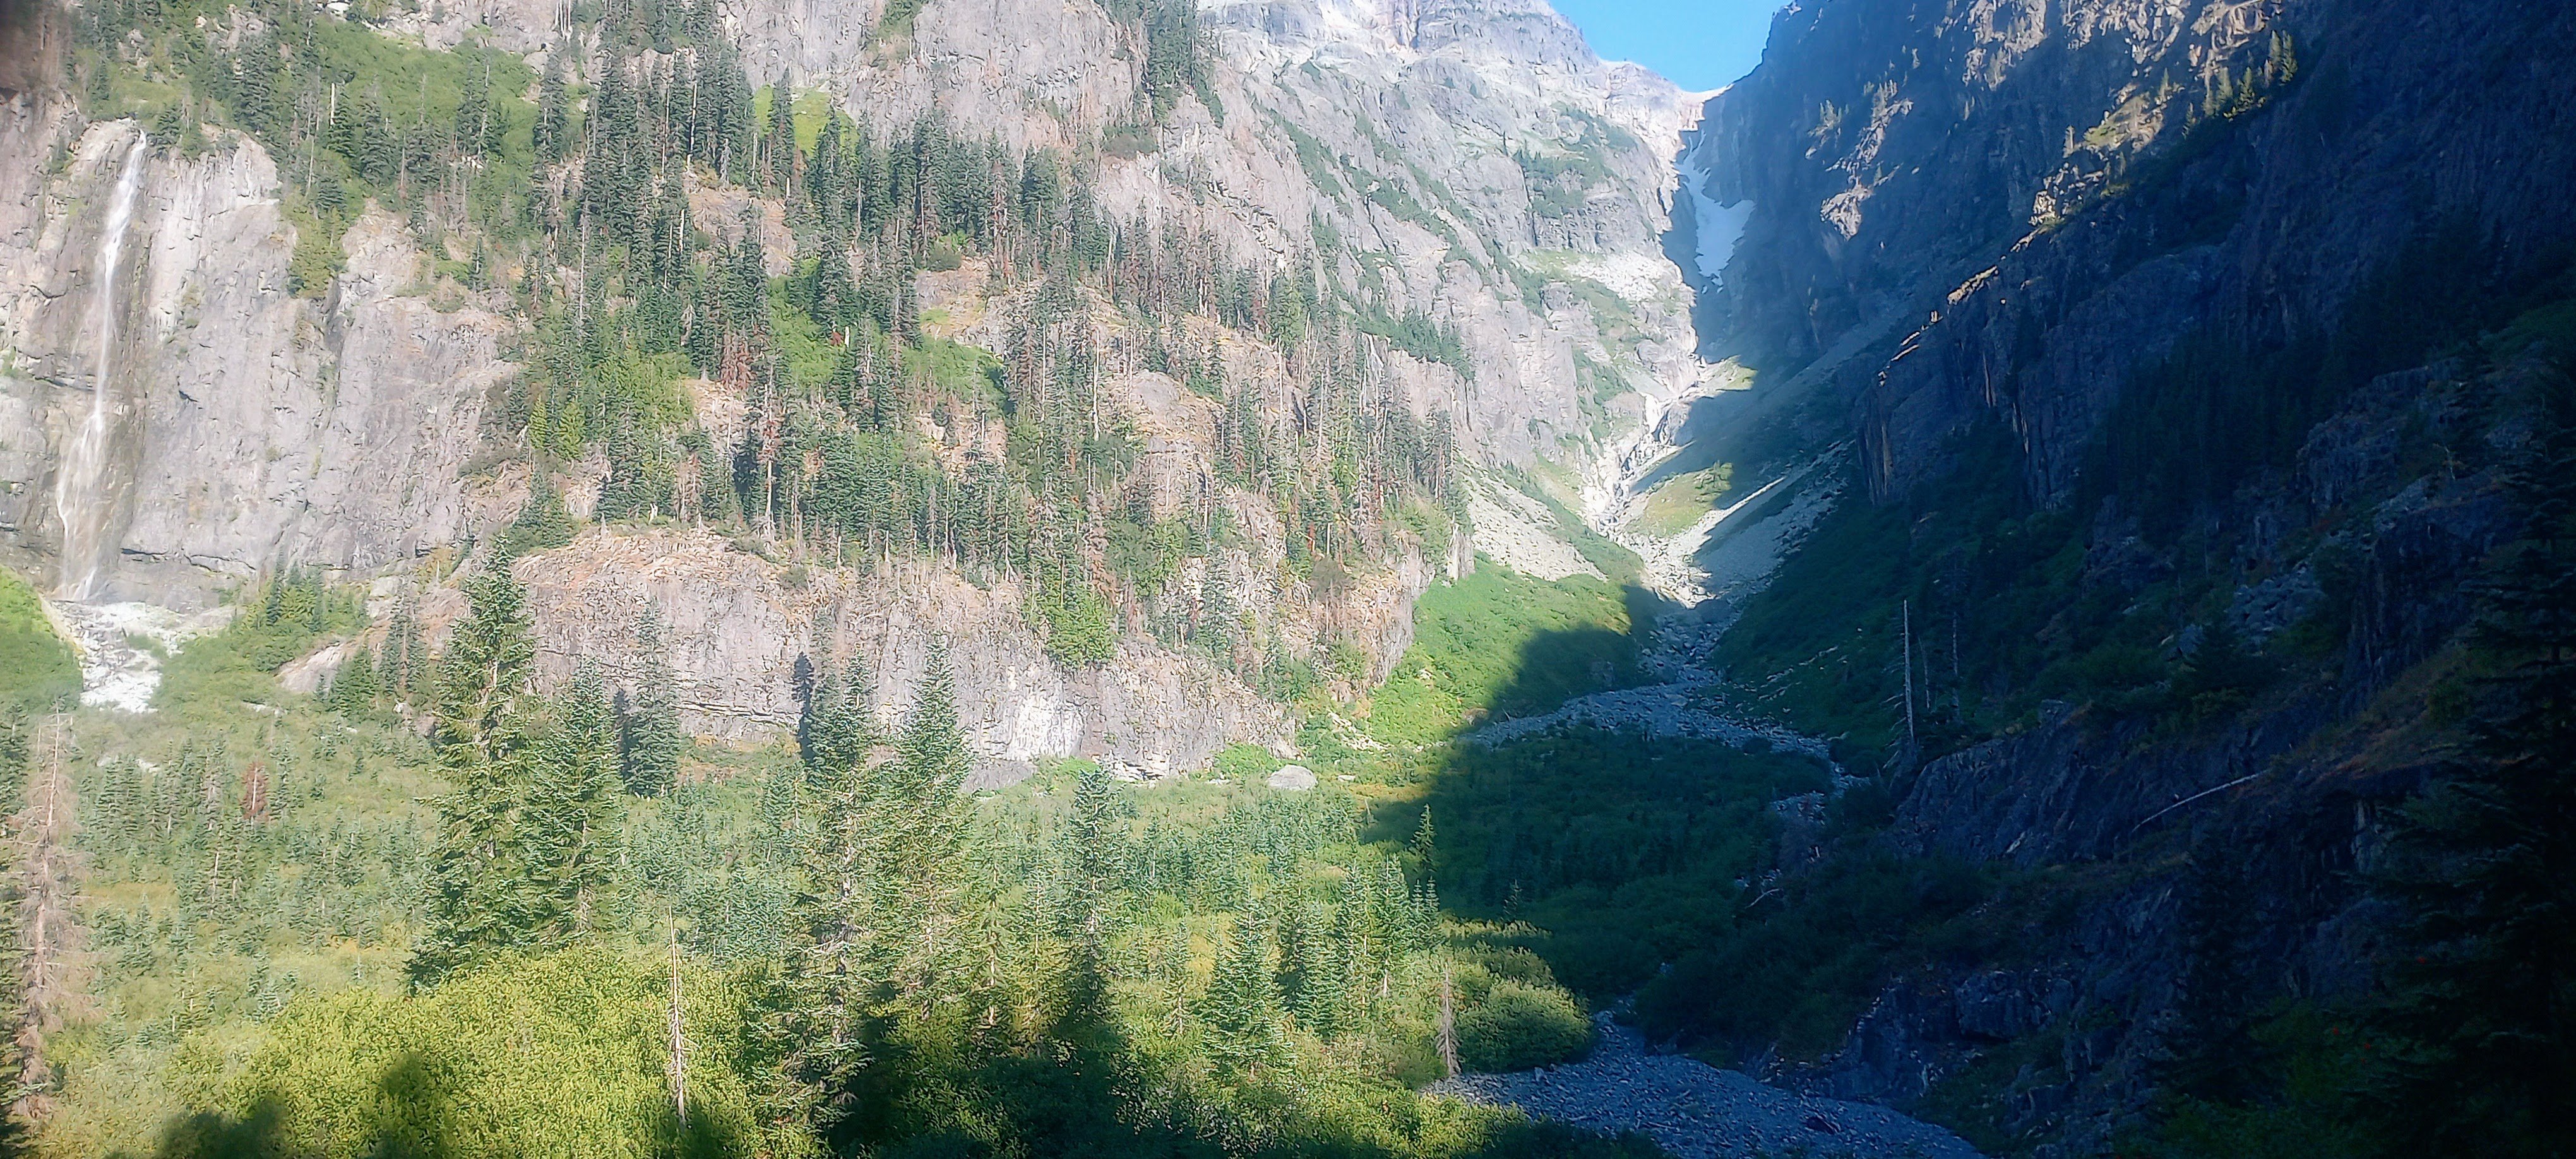
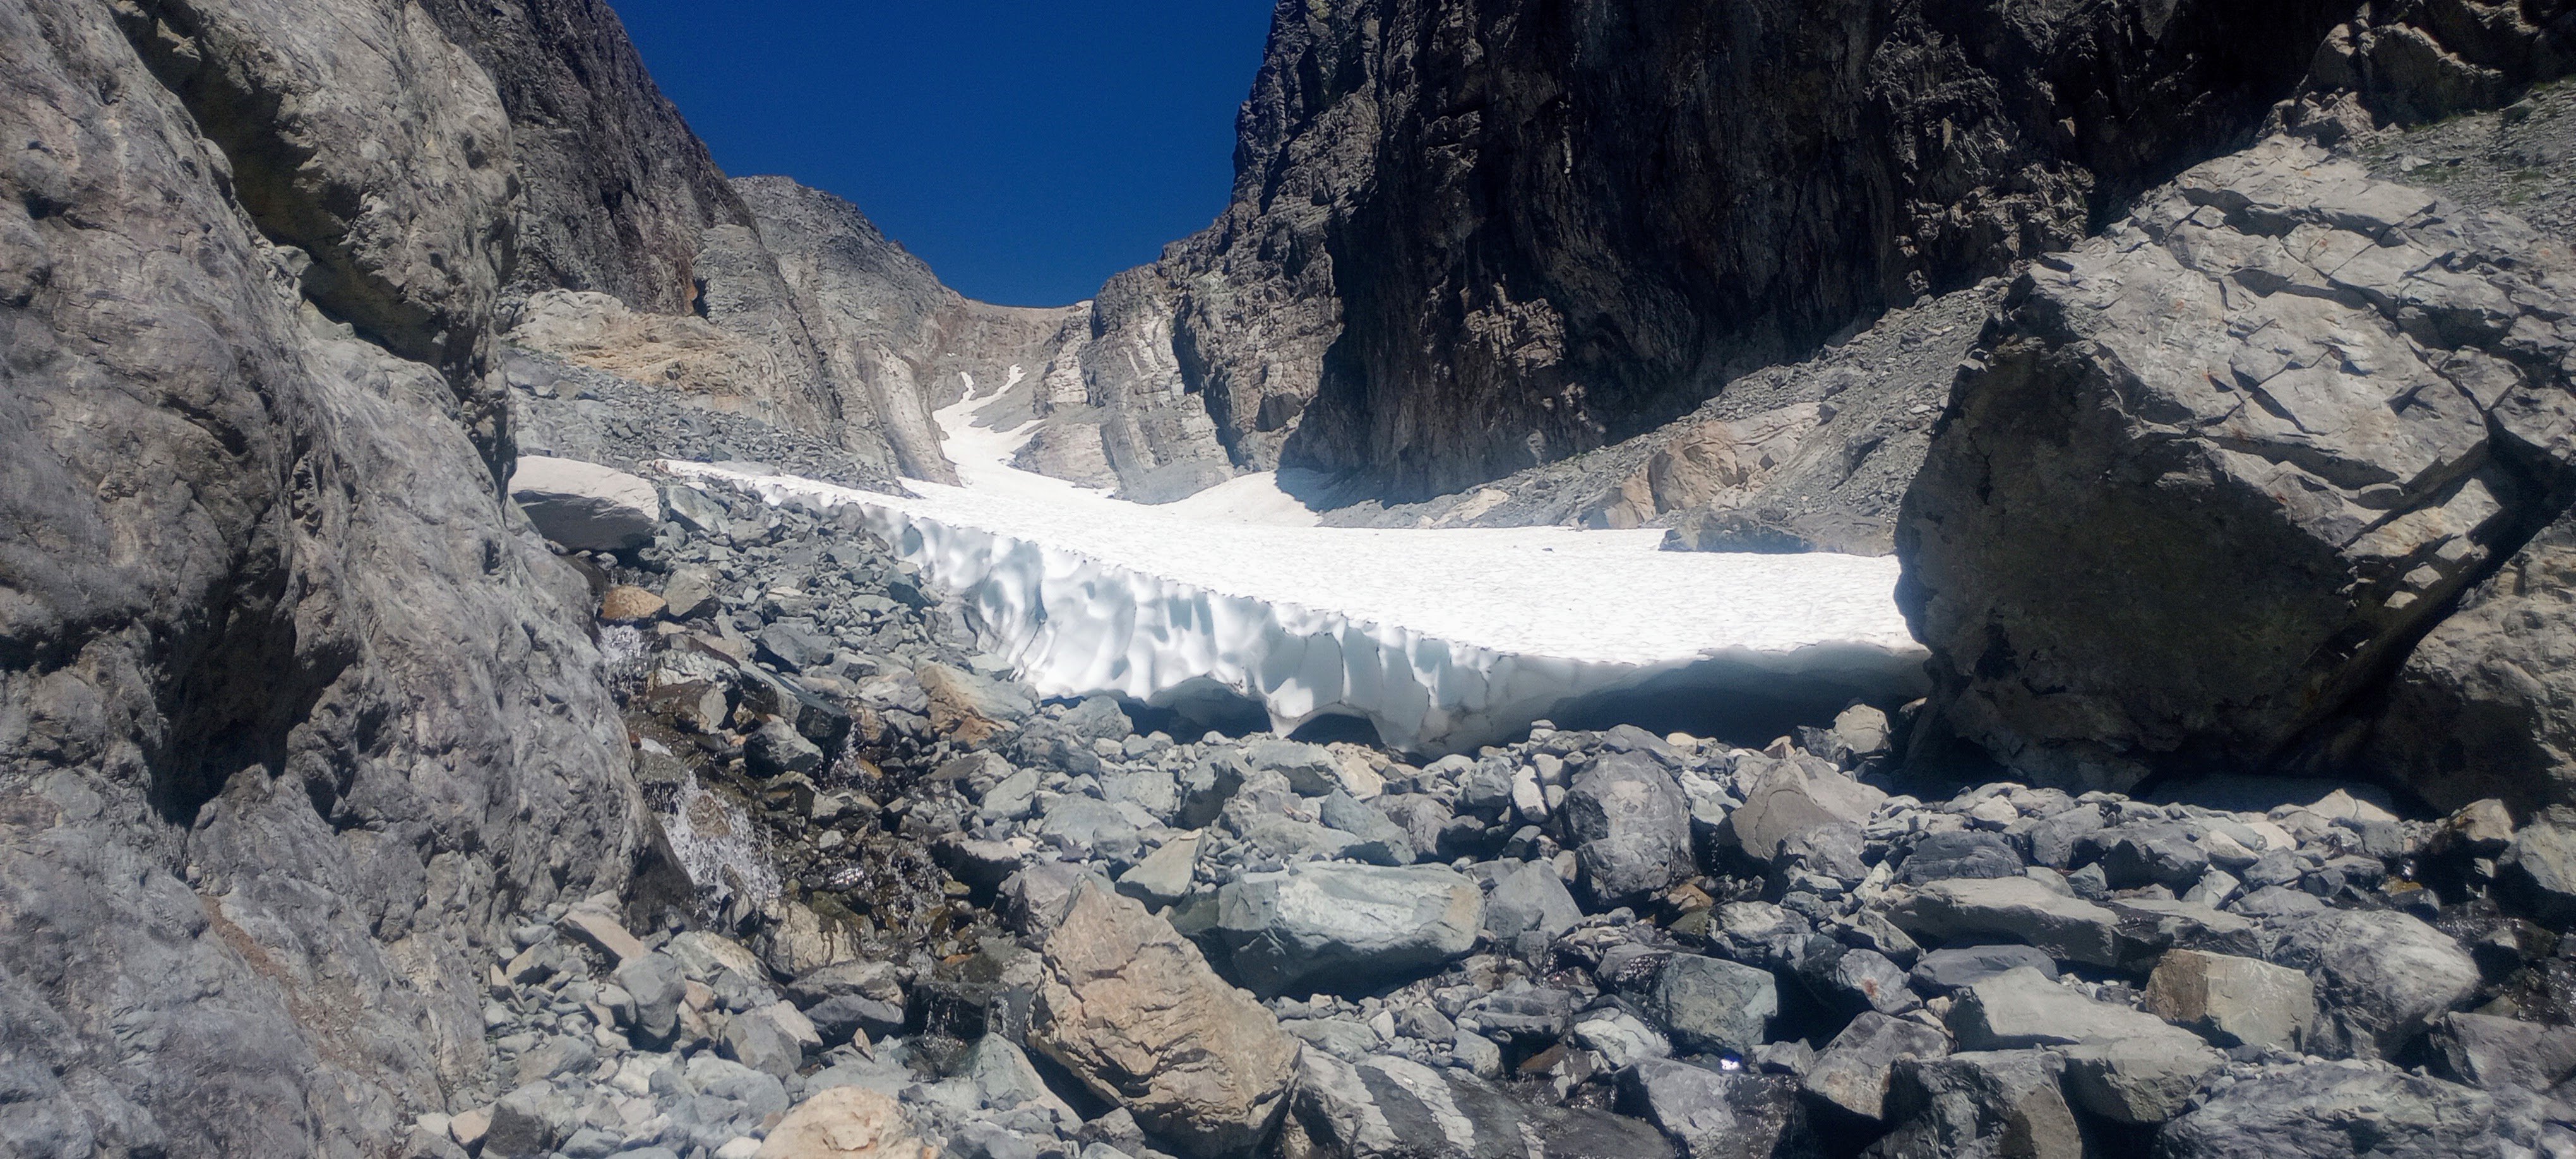
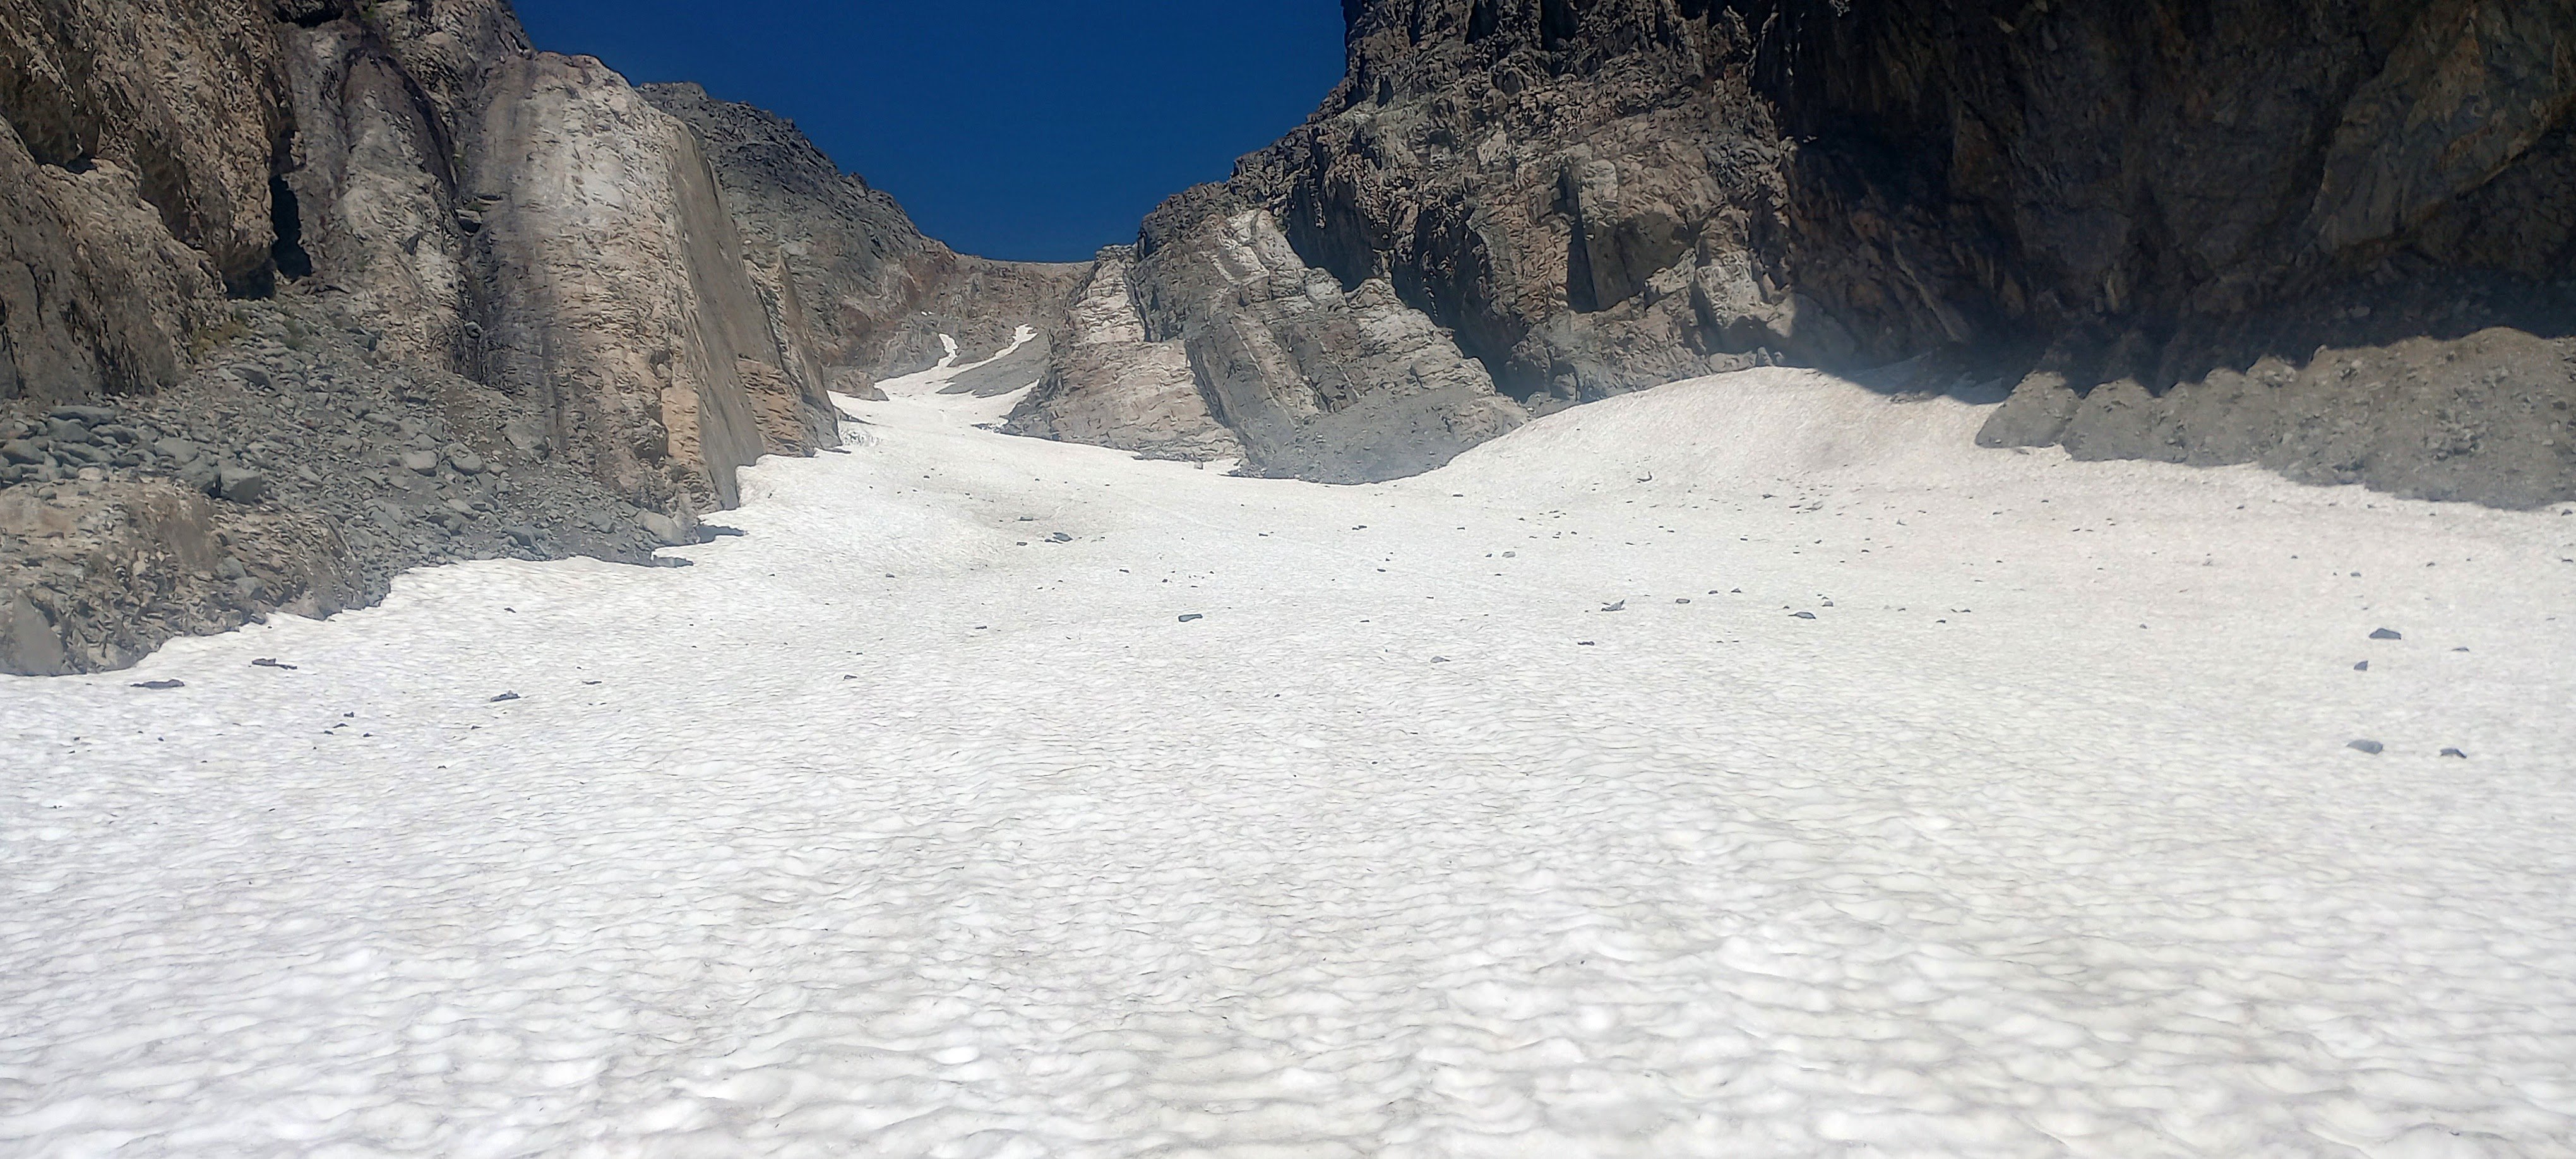
Trip: Lemah Mountain - via Pete Lake (3rd class) (bike approach) Trip Date: 08/31/2024 Trip Report: I used my five-day Labor Day weekend to bike from my house out past the Pete Lake trailhead to climb Lemah and bike home. I really dislike sitting in traffic, and I like riding my bike, so it made a lot of sense! This was a soul-fulfilling trip with lots of time and space to think, not think, observe, and move across the state and up to the top of a really awesome peak! I won’t bore everyone with ALL the bike details, but here’s my VCB (very capable bike) before leaving home. Ready for adventuring! Day 1 - 9:30am - 3:30pm: ~60 miles by bike. Home to Carter Creek camp on the Palouse to Cascades/John Wayne/Iron Horse trail. Started eating a lot of snacks! Talked with fellow bikepacker Craig from Chinook Pass at camp, he looked at my bike and asked what the ice axe was for. He told me about going into the Stuart Range 30+ years ago, “You could camp ANYWHERE back then!” No going back to those days… Day 2 - 6:45am - 7:30pm: ~55 miles by/with bike, ~2.5 miles on foot. Woke up to my brain singing something I hadn’t heard in probably like 25 years: “Are you ready for some FOOTBALL?” – weird stuff! Soon I was pedaling along the trail singing something like, "Heyyyy wild kitties, today's not the day, leave me alone, I don't wanna play.” Stopped when a Douglas squirrel was harassing me from the side of the trail (a common thread throughout the days) and watched it turn a pinecone over and over in its little hands, gnawing and letting the scales fall away, eating the nuts, then discarding the little corn cob. Amazing! Through the Snoqualmie Pass tunnel, turned north in Easton. Had an unexpected cortado at an espresso stand and resupplied at the gas station, then started up the road leading to (kinda chunky, kinda sustained steep, grindy grindy) forest service road. Finally, doing some real elevation gain! Left some mountain bikers in the dust after asking if I could join their bike gang for the climb. Sorry guys! But then I got to the 2.5 miles of black diamond MTB territory heading north. How do people bike up stuff this steep, and narrow?! I hiked my heavy-ass bike about 97% of this, both uphill and downhill. I knew it would be a lot of HAB for this section, but it was steep and dusty and narrow, full value HAB! Happily, there always seemed to be tons of giant delicious shiny mountain huckleberries whenever I really needed the morale boost. After that, things got a little better with four miles on No Name Ridge which is supposedly a blue square trail – maybe old skool, sandbagged blue square? I liked this Trailforks report: “Do you like pushing your bike uphill, nearly, seemingly, endlessly? Then this is the ride for you!” Definitely rode more than 3% of this section, but still – a good amount of HAB. However! Most of this was on the ridge, so stellar views abound! Lemah, Chimney Rock and Overcoat, The Chiefs, Bears Breast, Hinman, Daniel, and Cathedral Rock! (Stu, too, but out of the frame.) And there were actually some really good flowy sections with nice trail. Stopped and watched/listened to a couple of grouse (maybe mom and one juvenile?) traveling along talking to each other. After what felt like a very long time, I reached the end of the climb and the gravel descent down to Cooper River was AWESOME, smooth and fast. Soon I was at the Pete Lake trailhead filling out my little ALW permit and continuing onward on my bike! You can go about 2.5 miles until the ALW boundary where I made the transition to backpacking mode and stashed my bike in the woods. From there I quickly made my way to Pete Lake (about 2 more miles) and found a truly stellar somewhat secret campsite and settled in for the night. Day 3 - 6:30am - 7:45pm: ~13 miles on foot. Lemah! This was an interesting route that included a lot of slab walking, waterfall slabs, tarns and amazing views everywhere. Beautiful start when you start on the climbers’ trail, next to waterfalls and pools of Lemah Creek. I had to do a little extra gain to get this photo, but you can see the route -- along the right side of the marshy area, up the gully, up most of the snow finger, then traverse across, below the second ridge-toe, then the scramble up to ridgeline, along the ridge, and then up the main summit! Whinnimic Falls on the left: The B2 schwack was not that fun, but could have been worse. The gully was Not Fun. It's a cool canyon, memorable feature, but so much churned up, unsettled rock and sand and all the rest. Going earlier in the season seems like a smart and fun snow climb (bring the skis). I took the snow finger up to around 6100’ and then crossed a few some other snowfields (but could have stayed off if I wanted). I was really happy that there were no real issues with the snow – no weird moats, no difficult transitions, no blue ice that I had to go around or anything. I only saw a couple patches of bare ice and a couple of holes, but I didn’t need to go anywhere near them. And none of the snow was very steep and it was all soft enough for the aluminum crampons on my trail runners (glad I had the axe). Lucked out with the freezing levels being so high during this time! Fun slab walkin' (view of Three Queens and Chikamin I think): Lots of solid and enjoyable scrambling in the upper parts of the mountain (lots of options for 4th class if you wanted it): Final scrambly bits to gain the ridge: : Summit views were incredible! Right next to Chimney Rock and Overcoat. Seeing Burnt Boot Peak, Big Snowy, Chikamin, Huckleberry, Thomson, Stuart, Baker, Shuks, Tahoma…Really amazing. Also, lots of flying ants on the summit! Maybe a reproductive swarm of western thatching ants? For the down-scramble, I had Mista Dobalina stuck in my head. I saw a pika pretty close up, then a marmot pretty close up, lots of grasshoppers. On the way down the gully, I was surprised to see a couple coming up. They were planning to do a loop, not climb anything. I said something about “So is this the obvious gully?” and the dude didn’t get it. Awk. Toward the bottom of the creek where things start to level out, saw a couple of those water birds that do the little squat dance (American Dippers or water ouzels). Amazing birds! And lots of huckleberries again, even a few thimbleberries that were still pretty good. I was going to see if I could bypass all of the alder by just wading through the ponds. Unfortunately the water started getting too deep but for a very serene six or seven minutes I was just wading quietly in this really nice clear water up to about my waist and it was awesome, lots of tall reed-like grass around me, I felt like a water creature. If I had had the ability to make my stuff waterproof I would have loved to have traveled by water and bypassed the schwack. The water was cool and refreshing; a really special moment. Later, closer to the actual trail, I ran into another couple of people. Emily and Sky. They were super friendly. Maybe 10 minutes after that I ran into another couple of people! Both parties were trying to camp up on the beautiful domes above the creek. Day 4 and about half of Day 5 were biking home. Pete Lake trail was more fun on the way out, and then there was an amazing paved descent down to the Cle Elum River valley (shirt dip), an experience of culture shock when I rolled into Roslyn’s Sunday farmers/street market (so loud, so many people), super hot riding the trail back westward (another shirt dip in the Yakima). When I stopped in Issaquah to see if I could see any salmon, I saw two making their way up the creek! A great trip! Gear Notes: Light axe, light pons, at least 6 voile straps Approach Notes: https://ridewithgps.com/routes/473323642 points
-
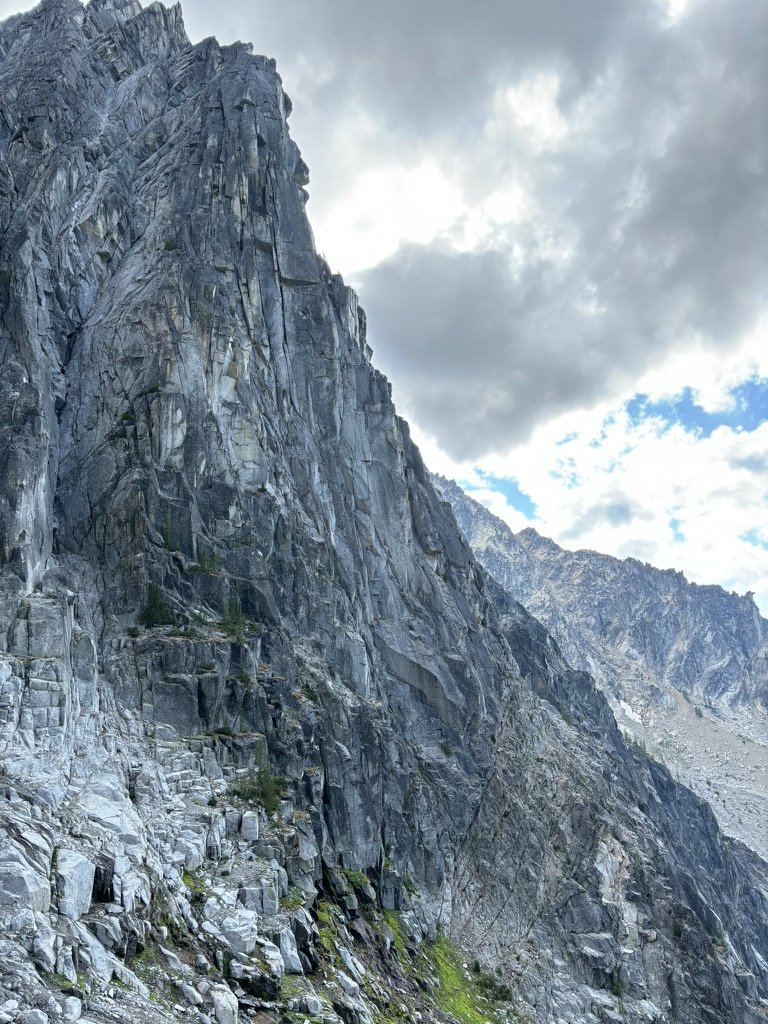
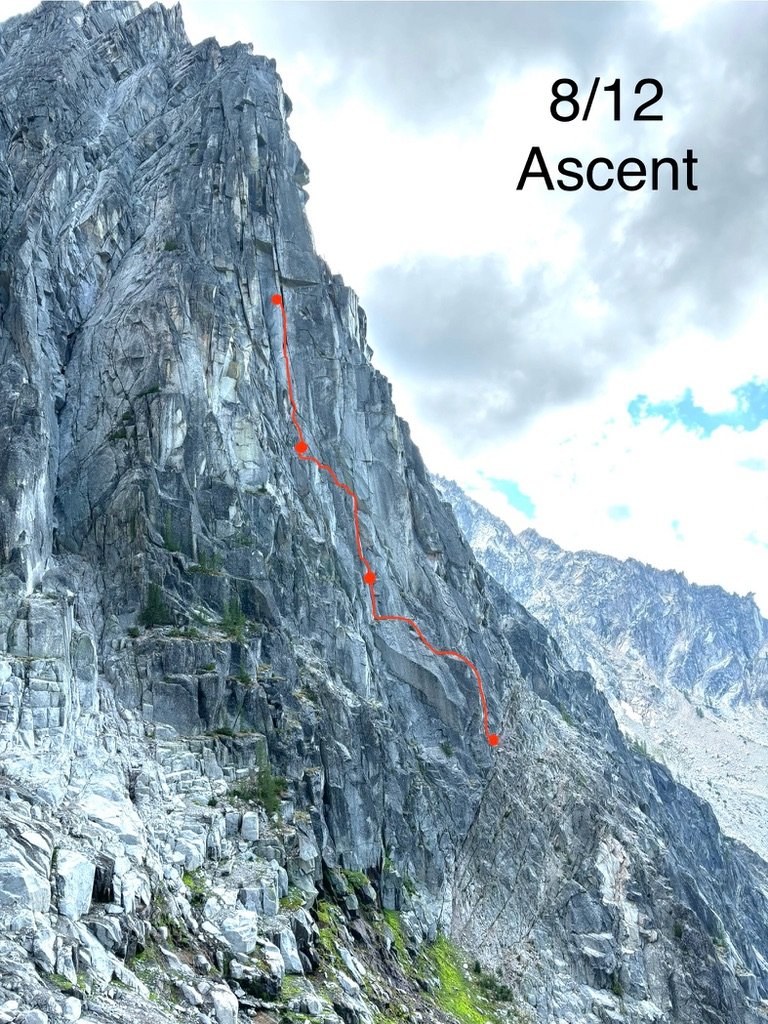
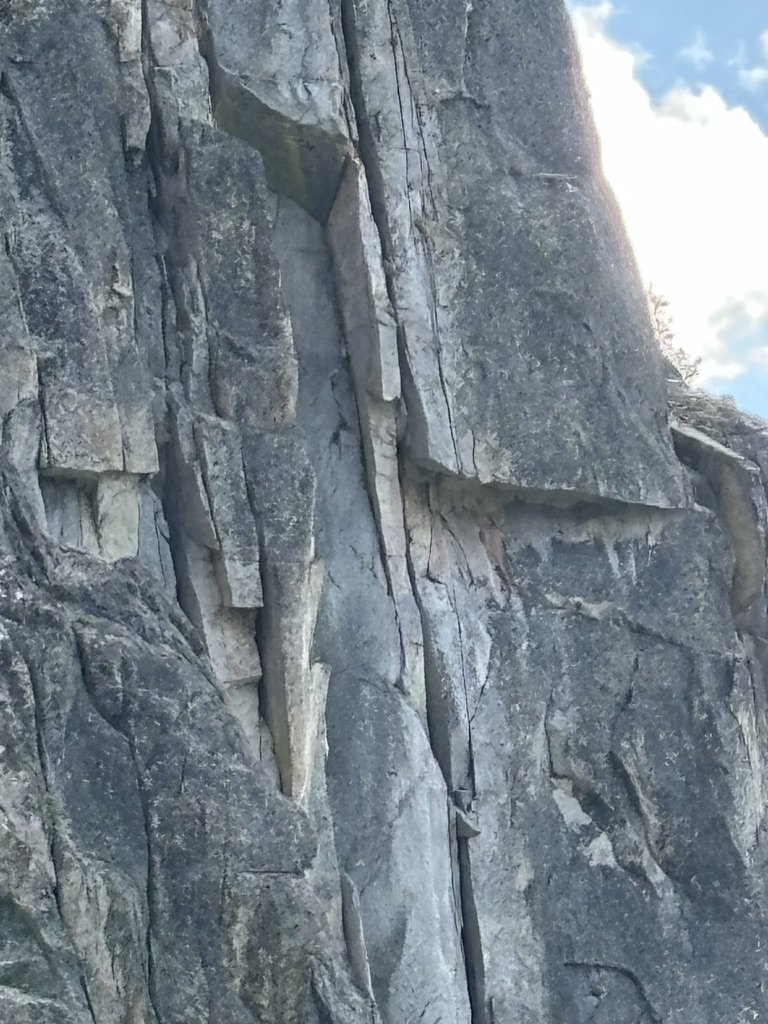
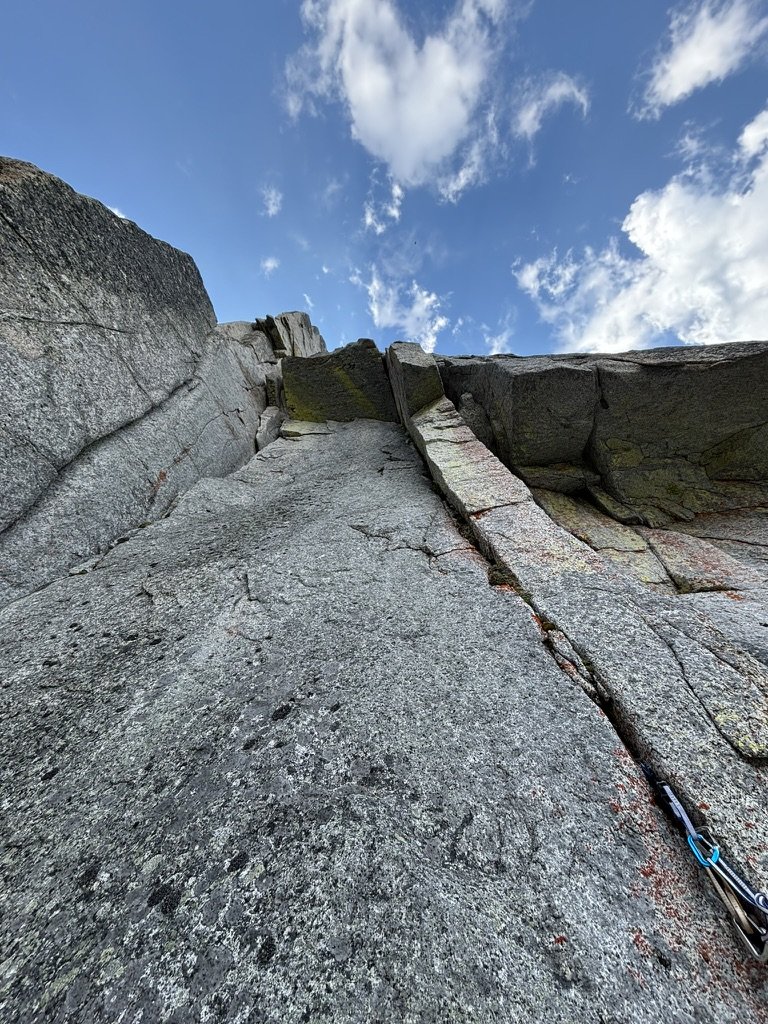
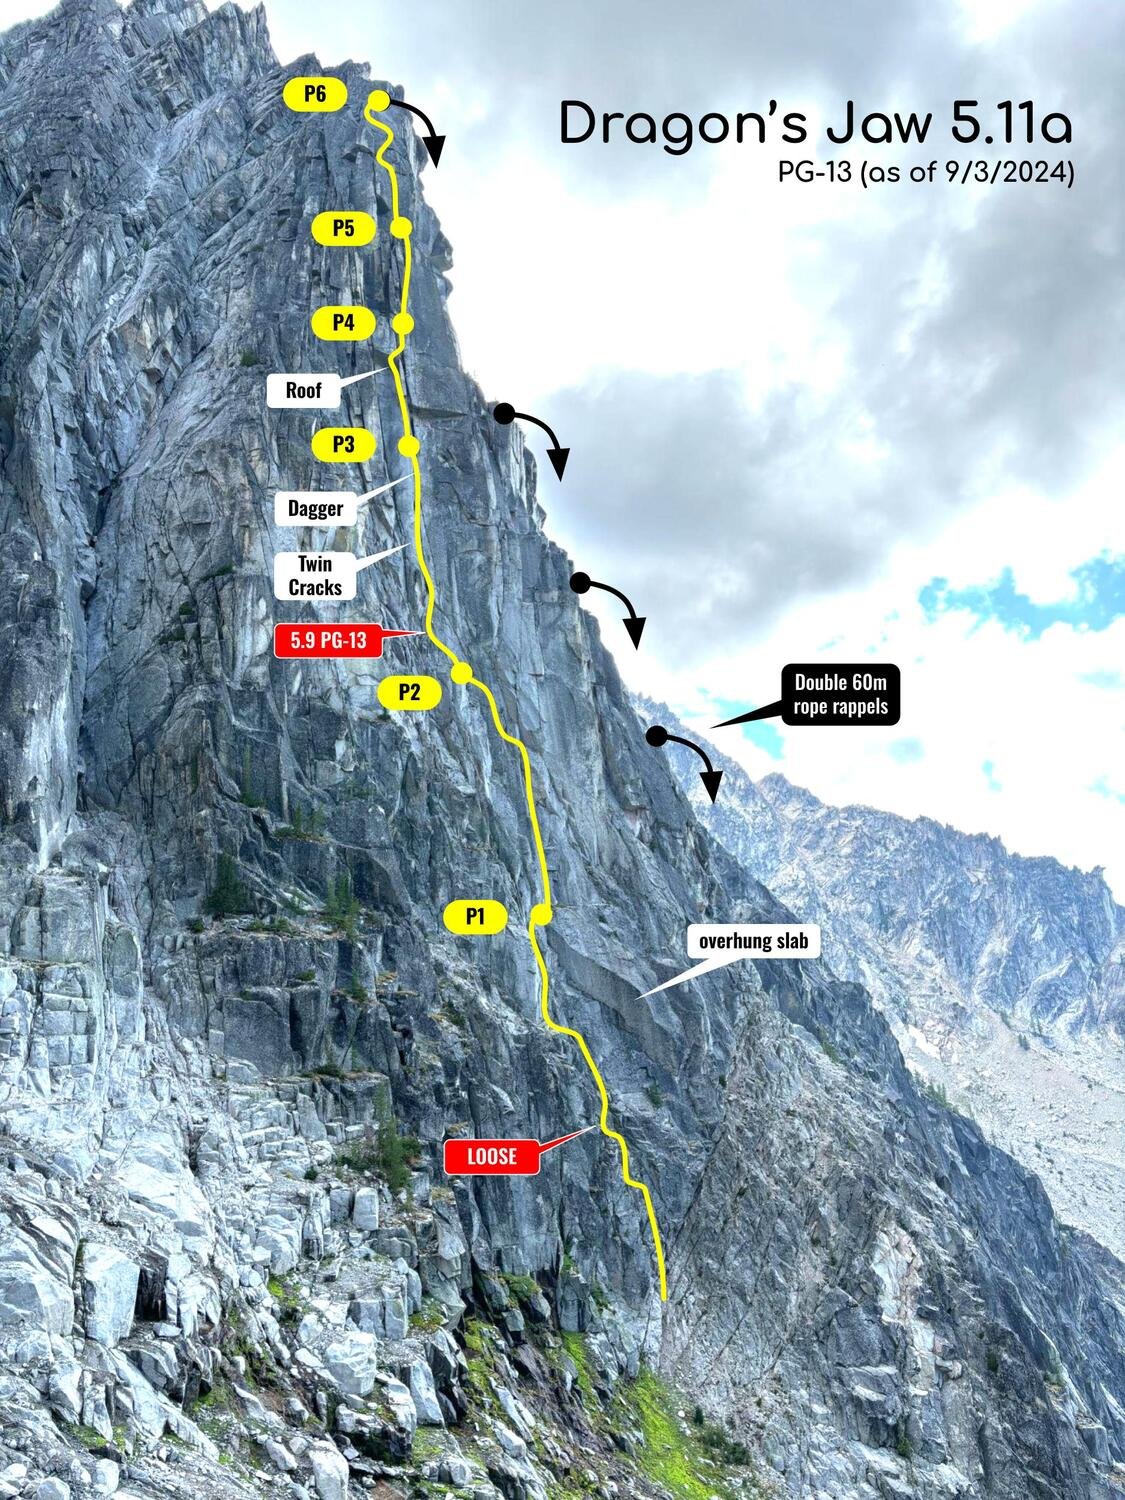
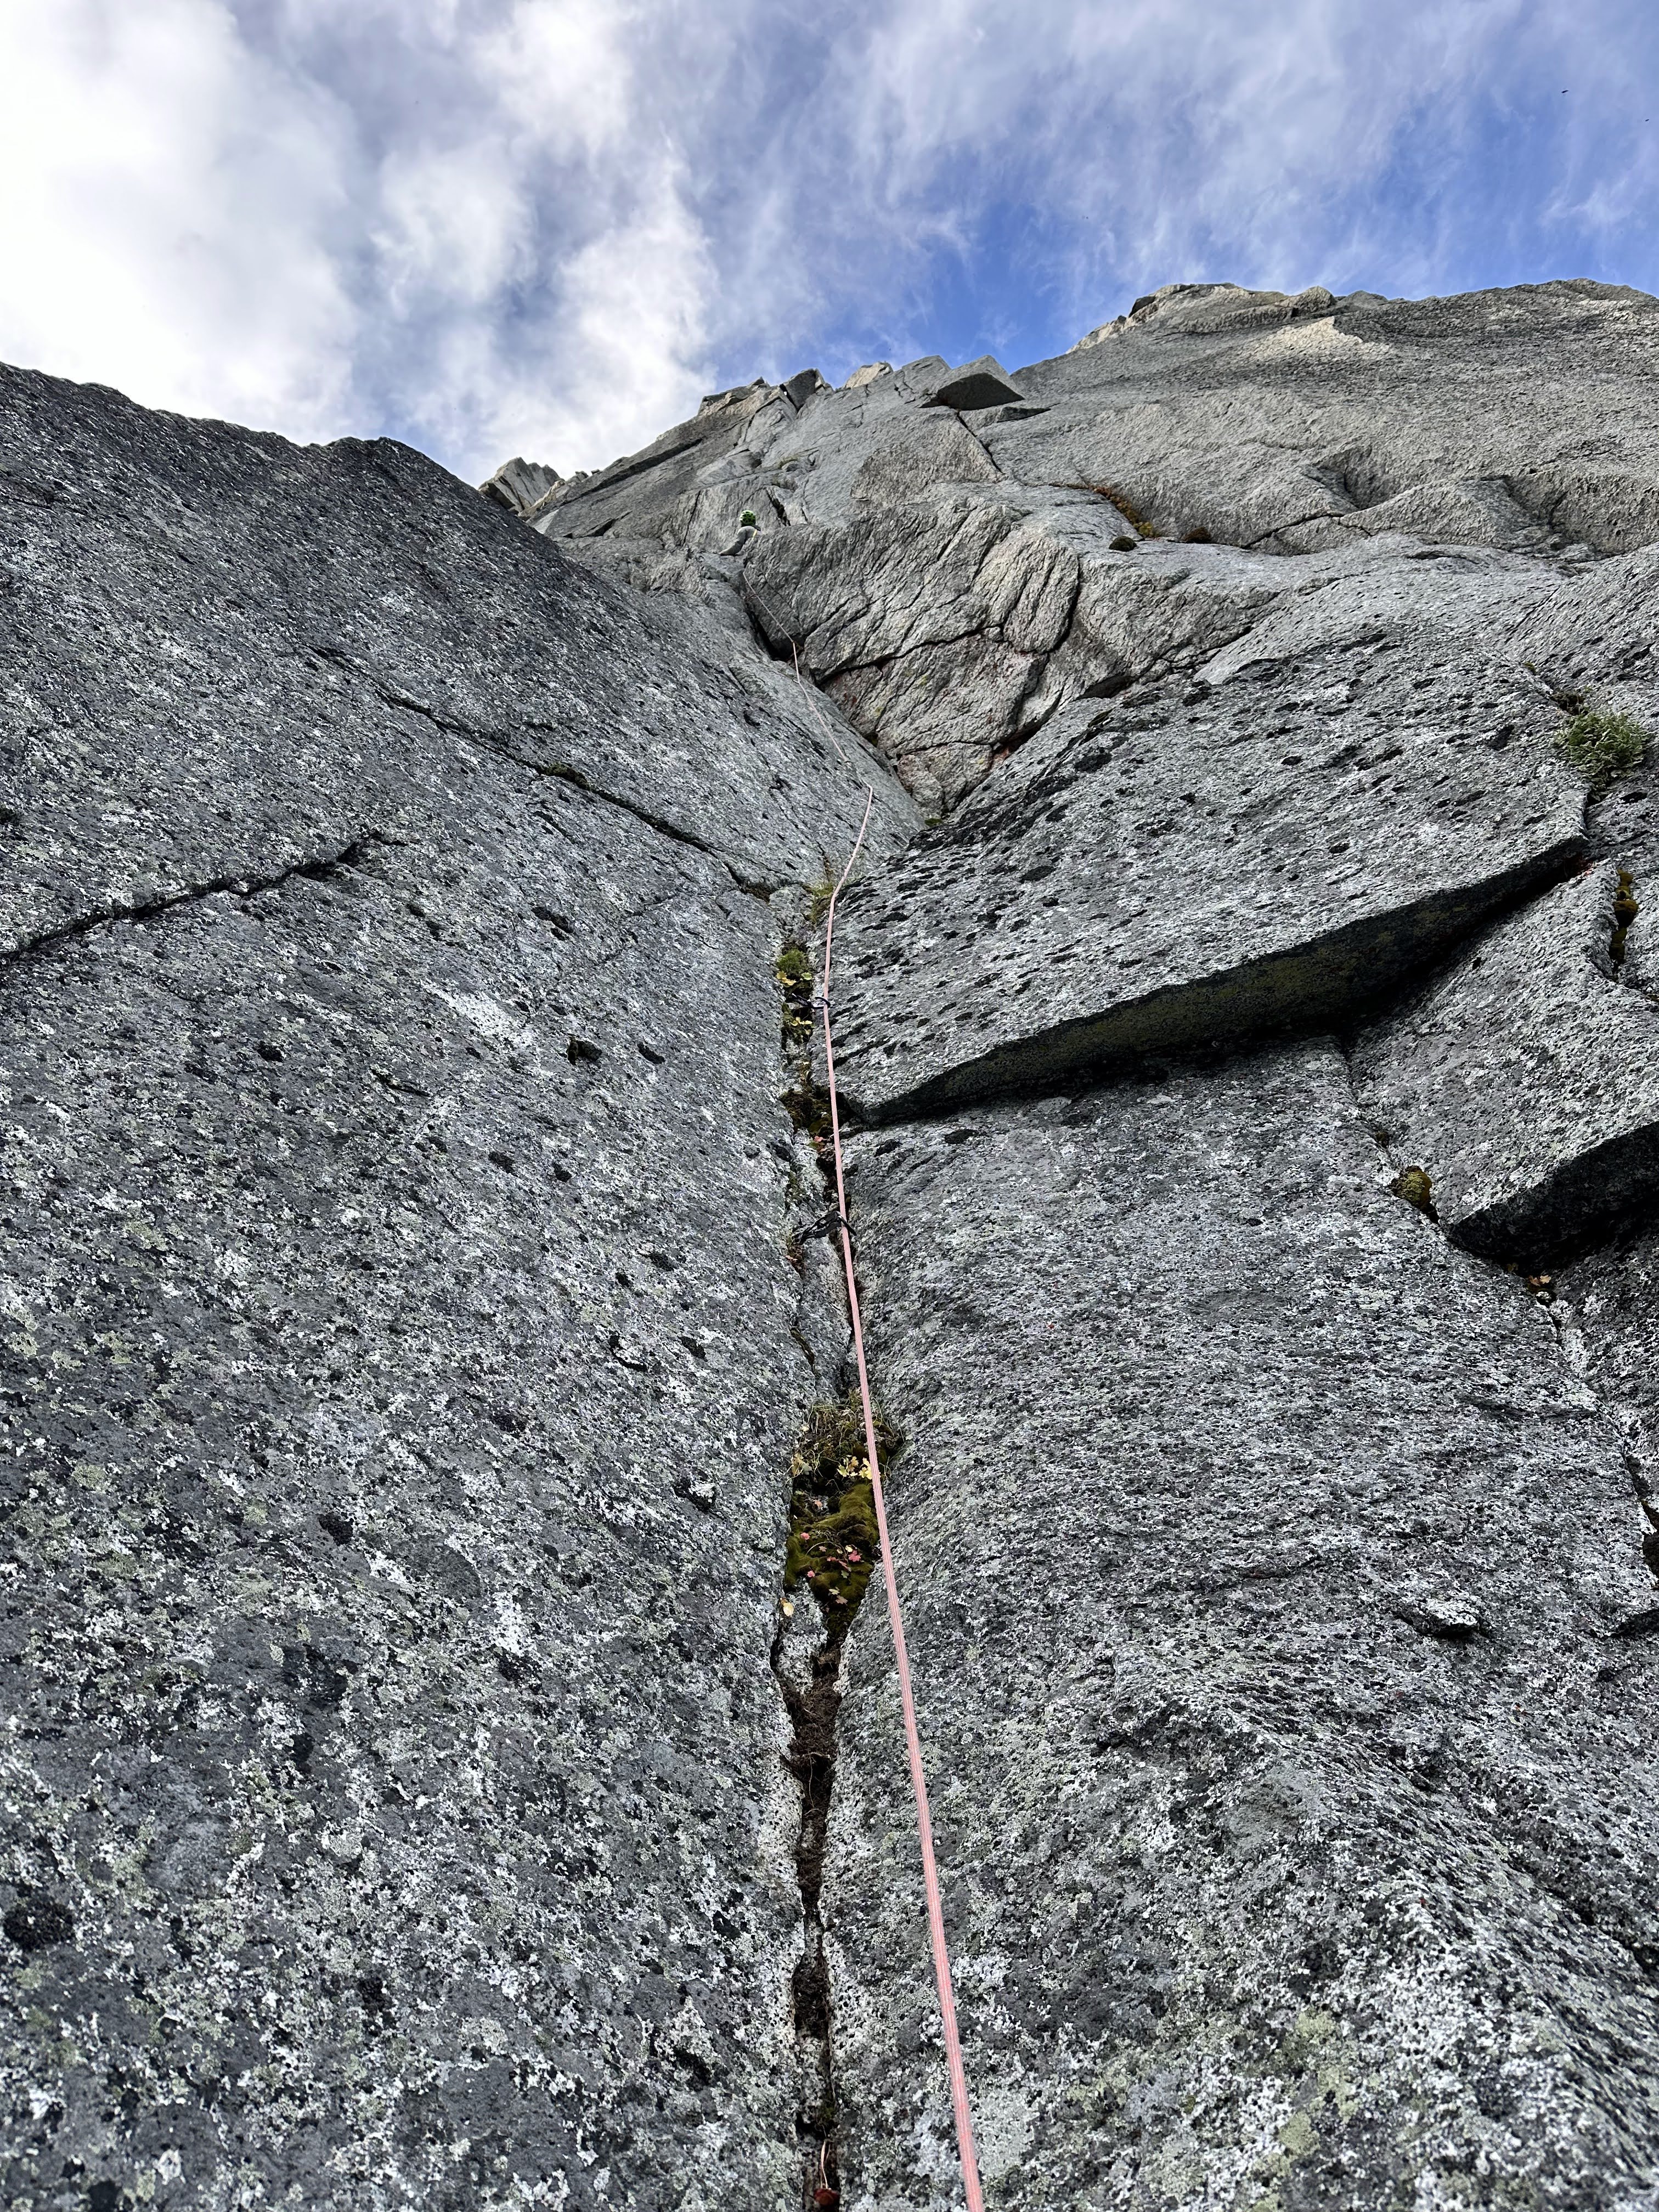
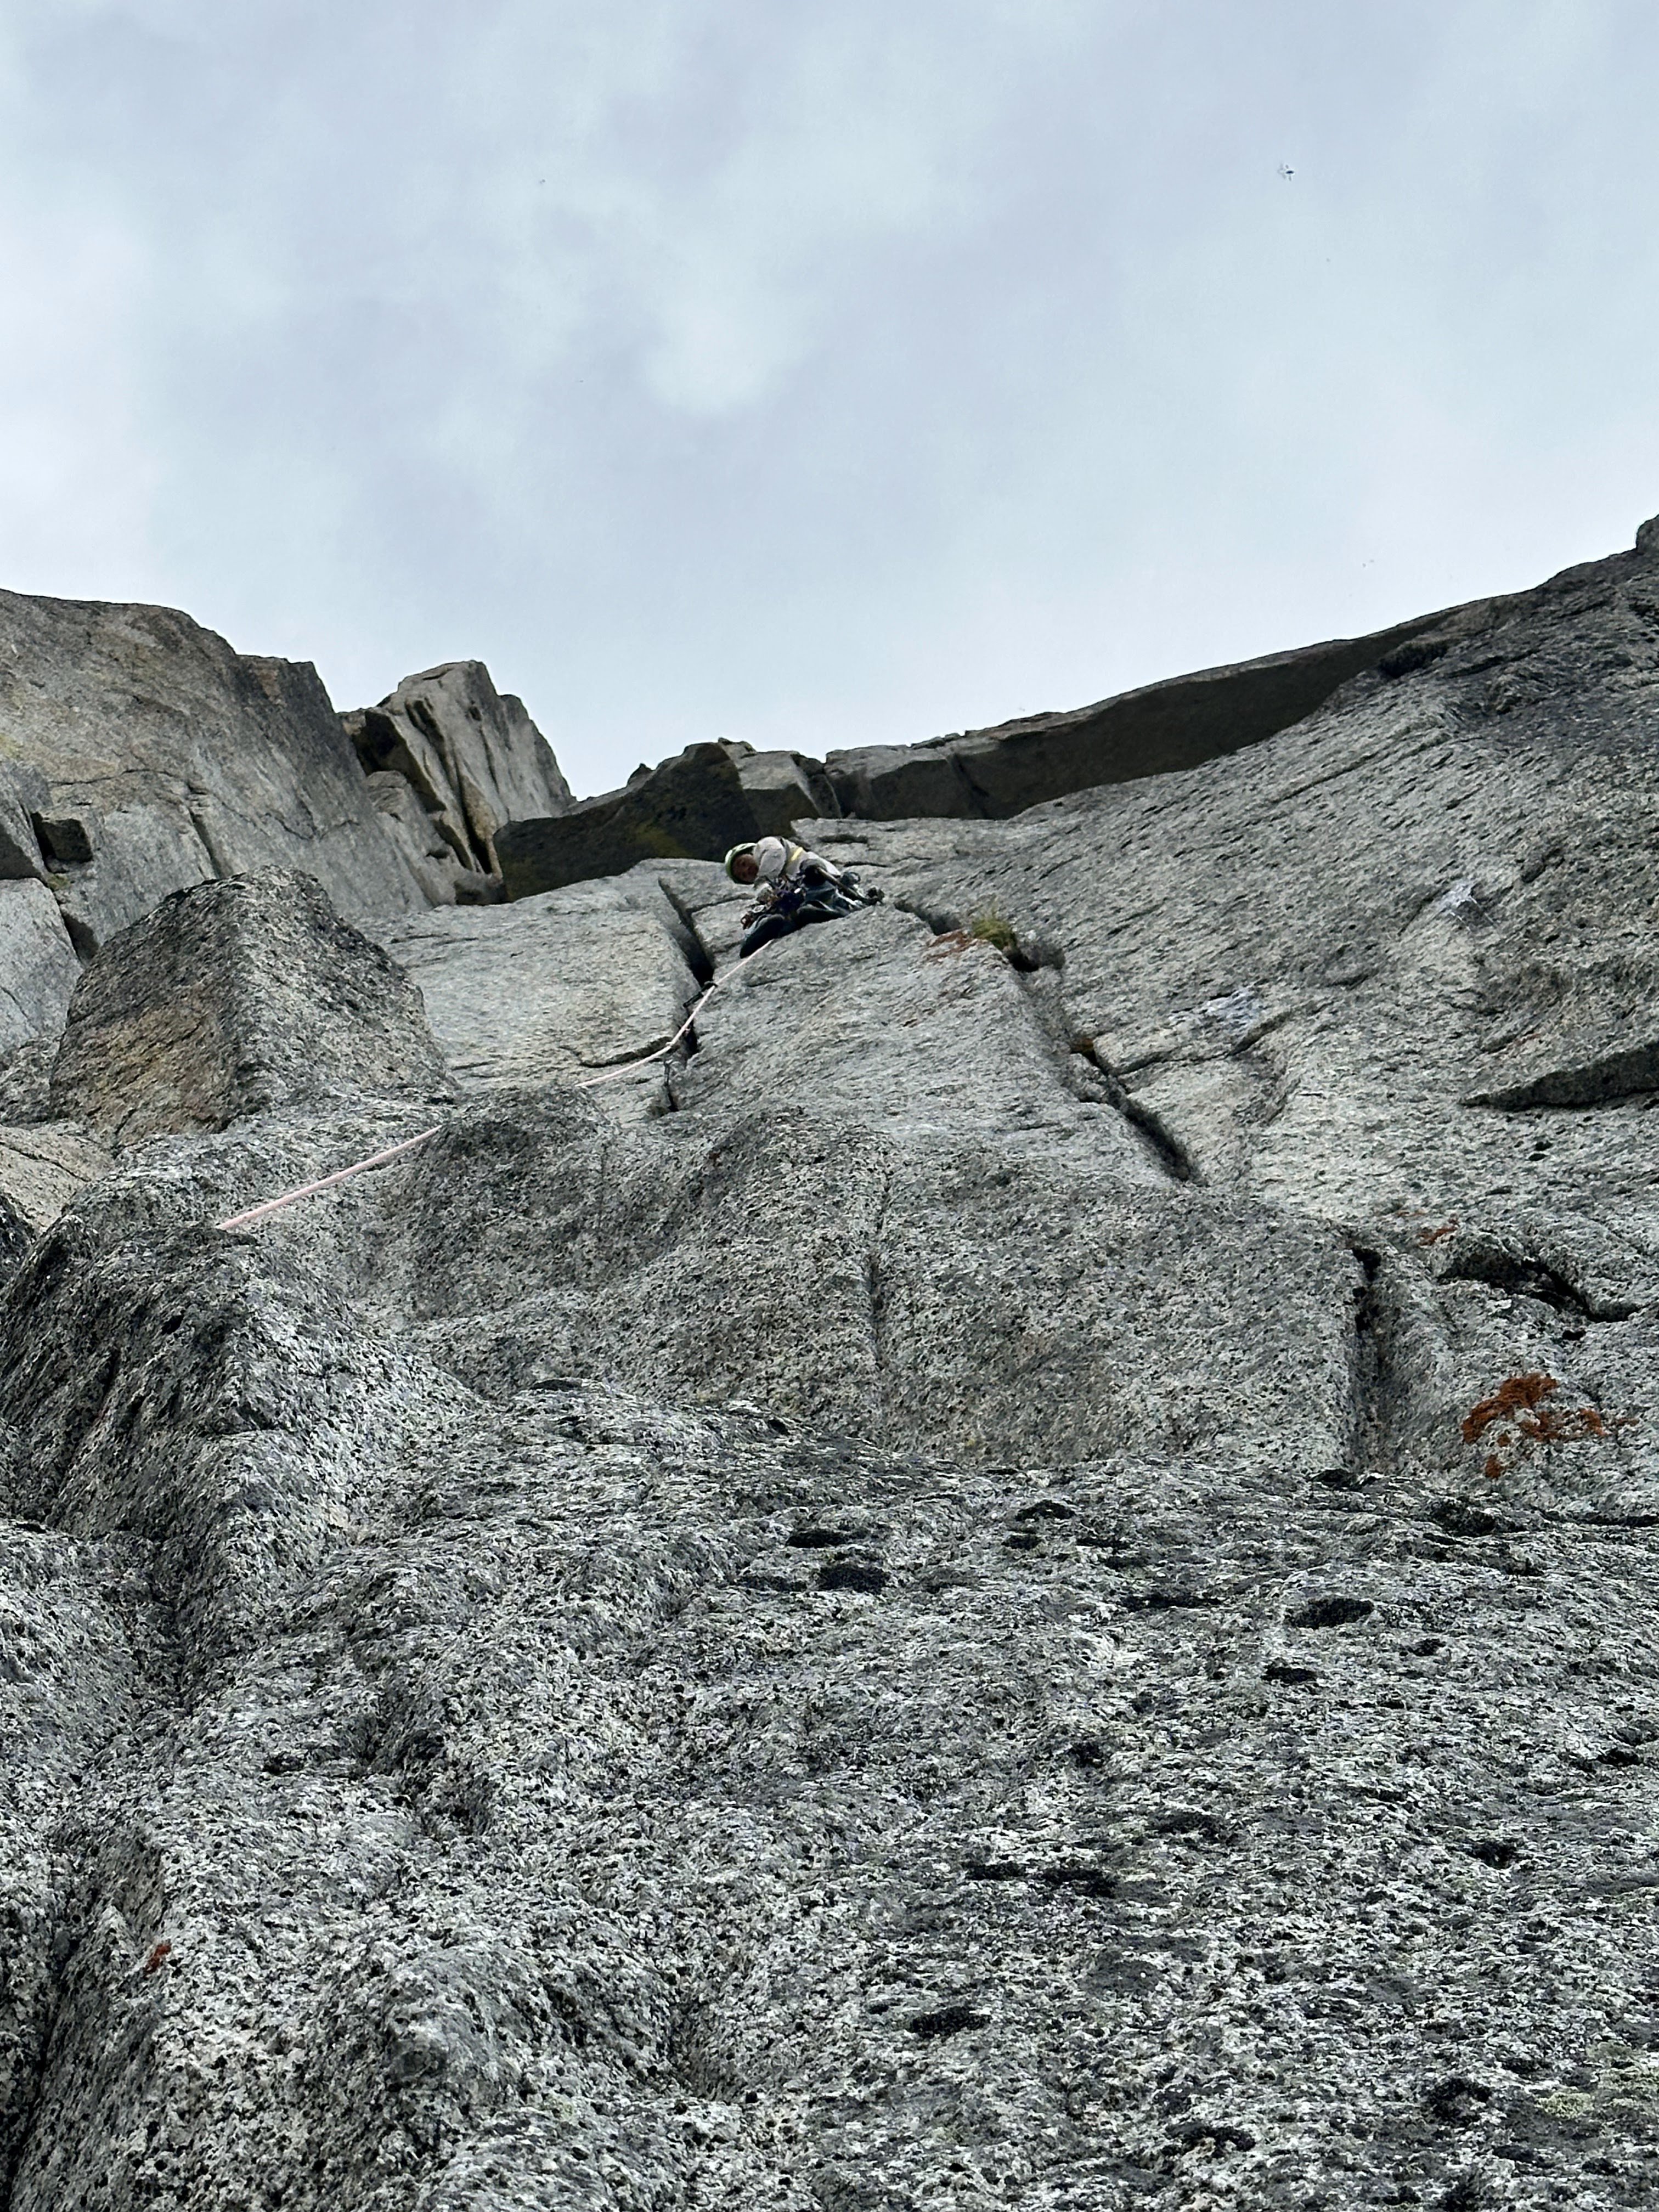
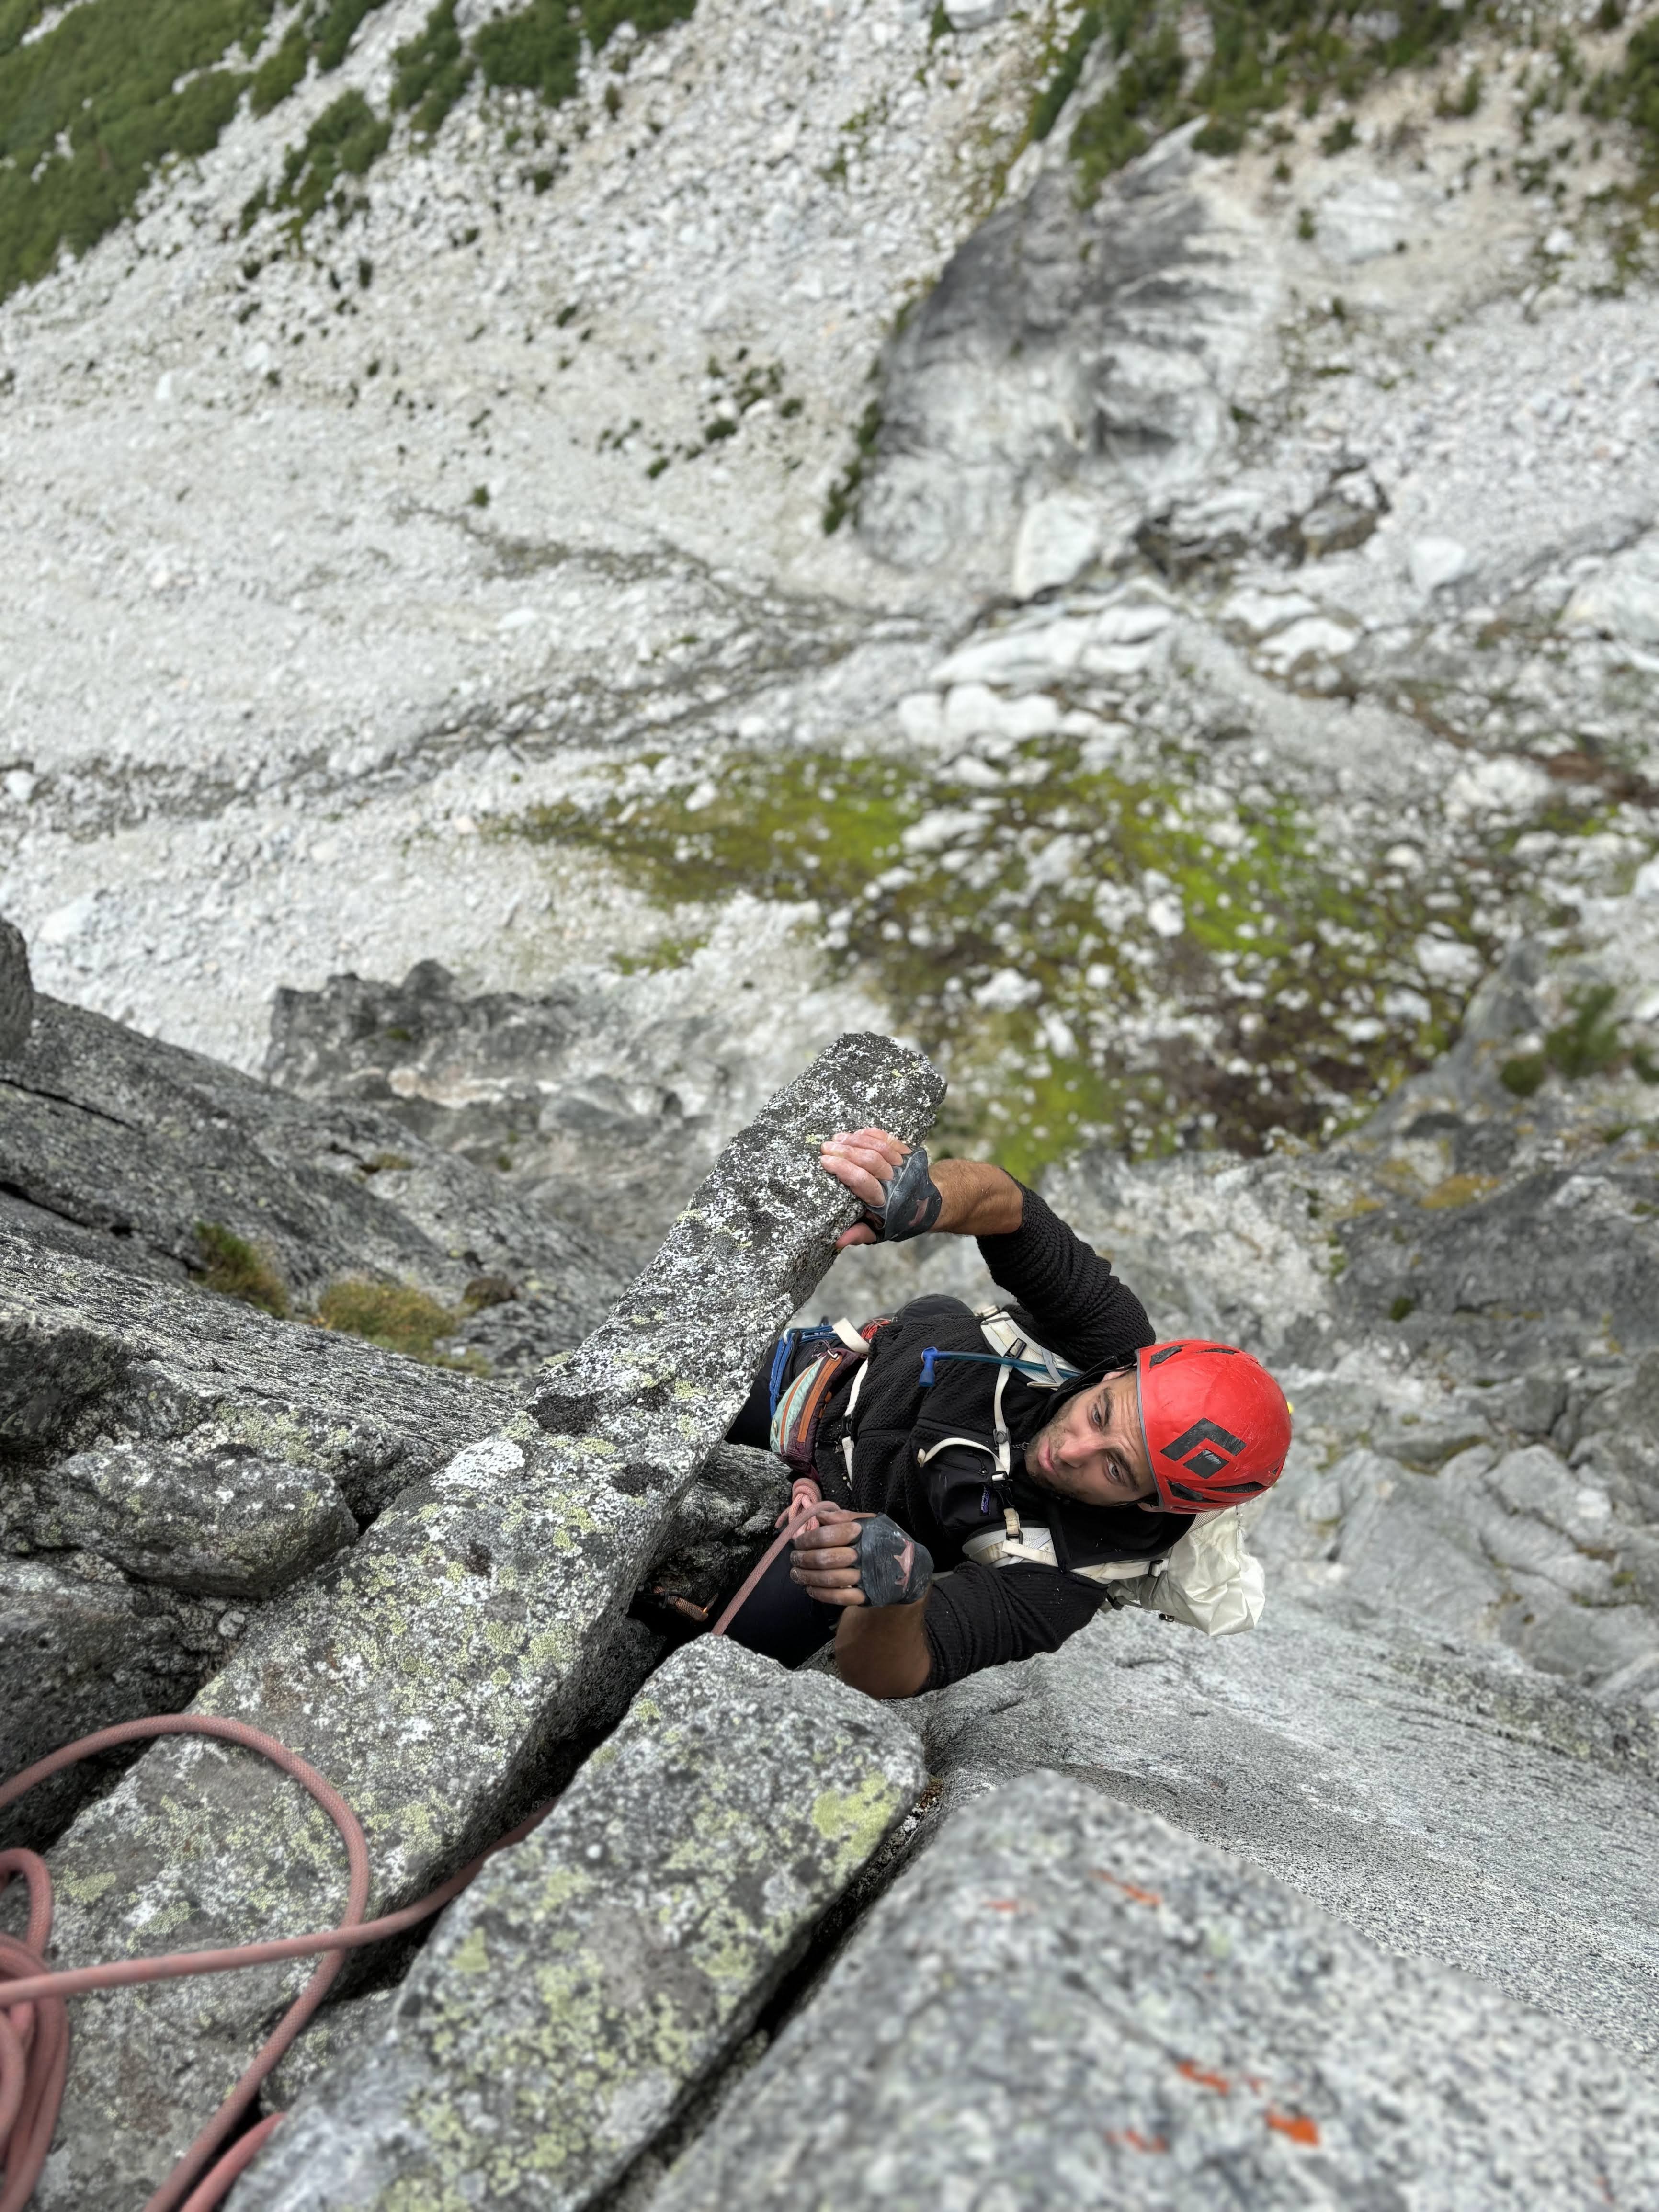
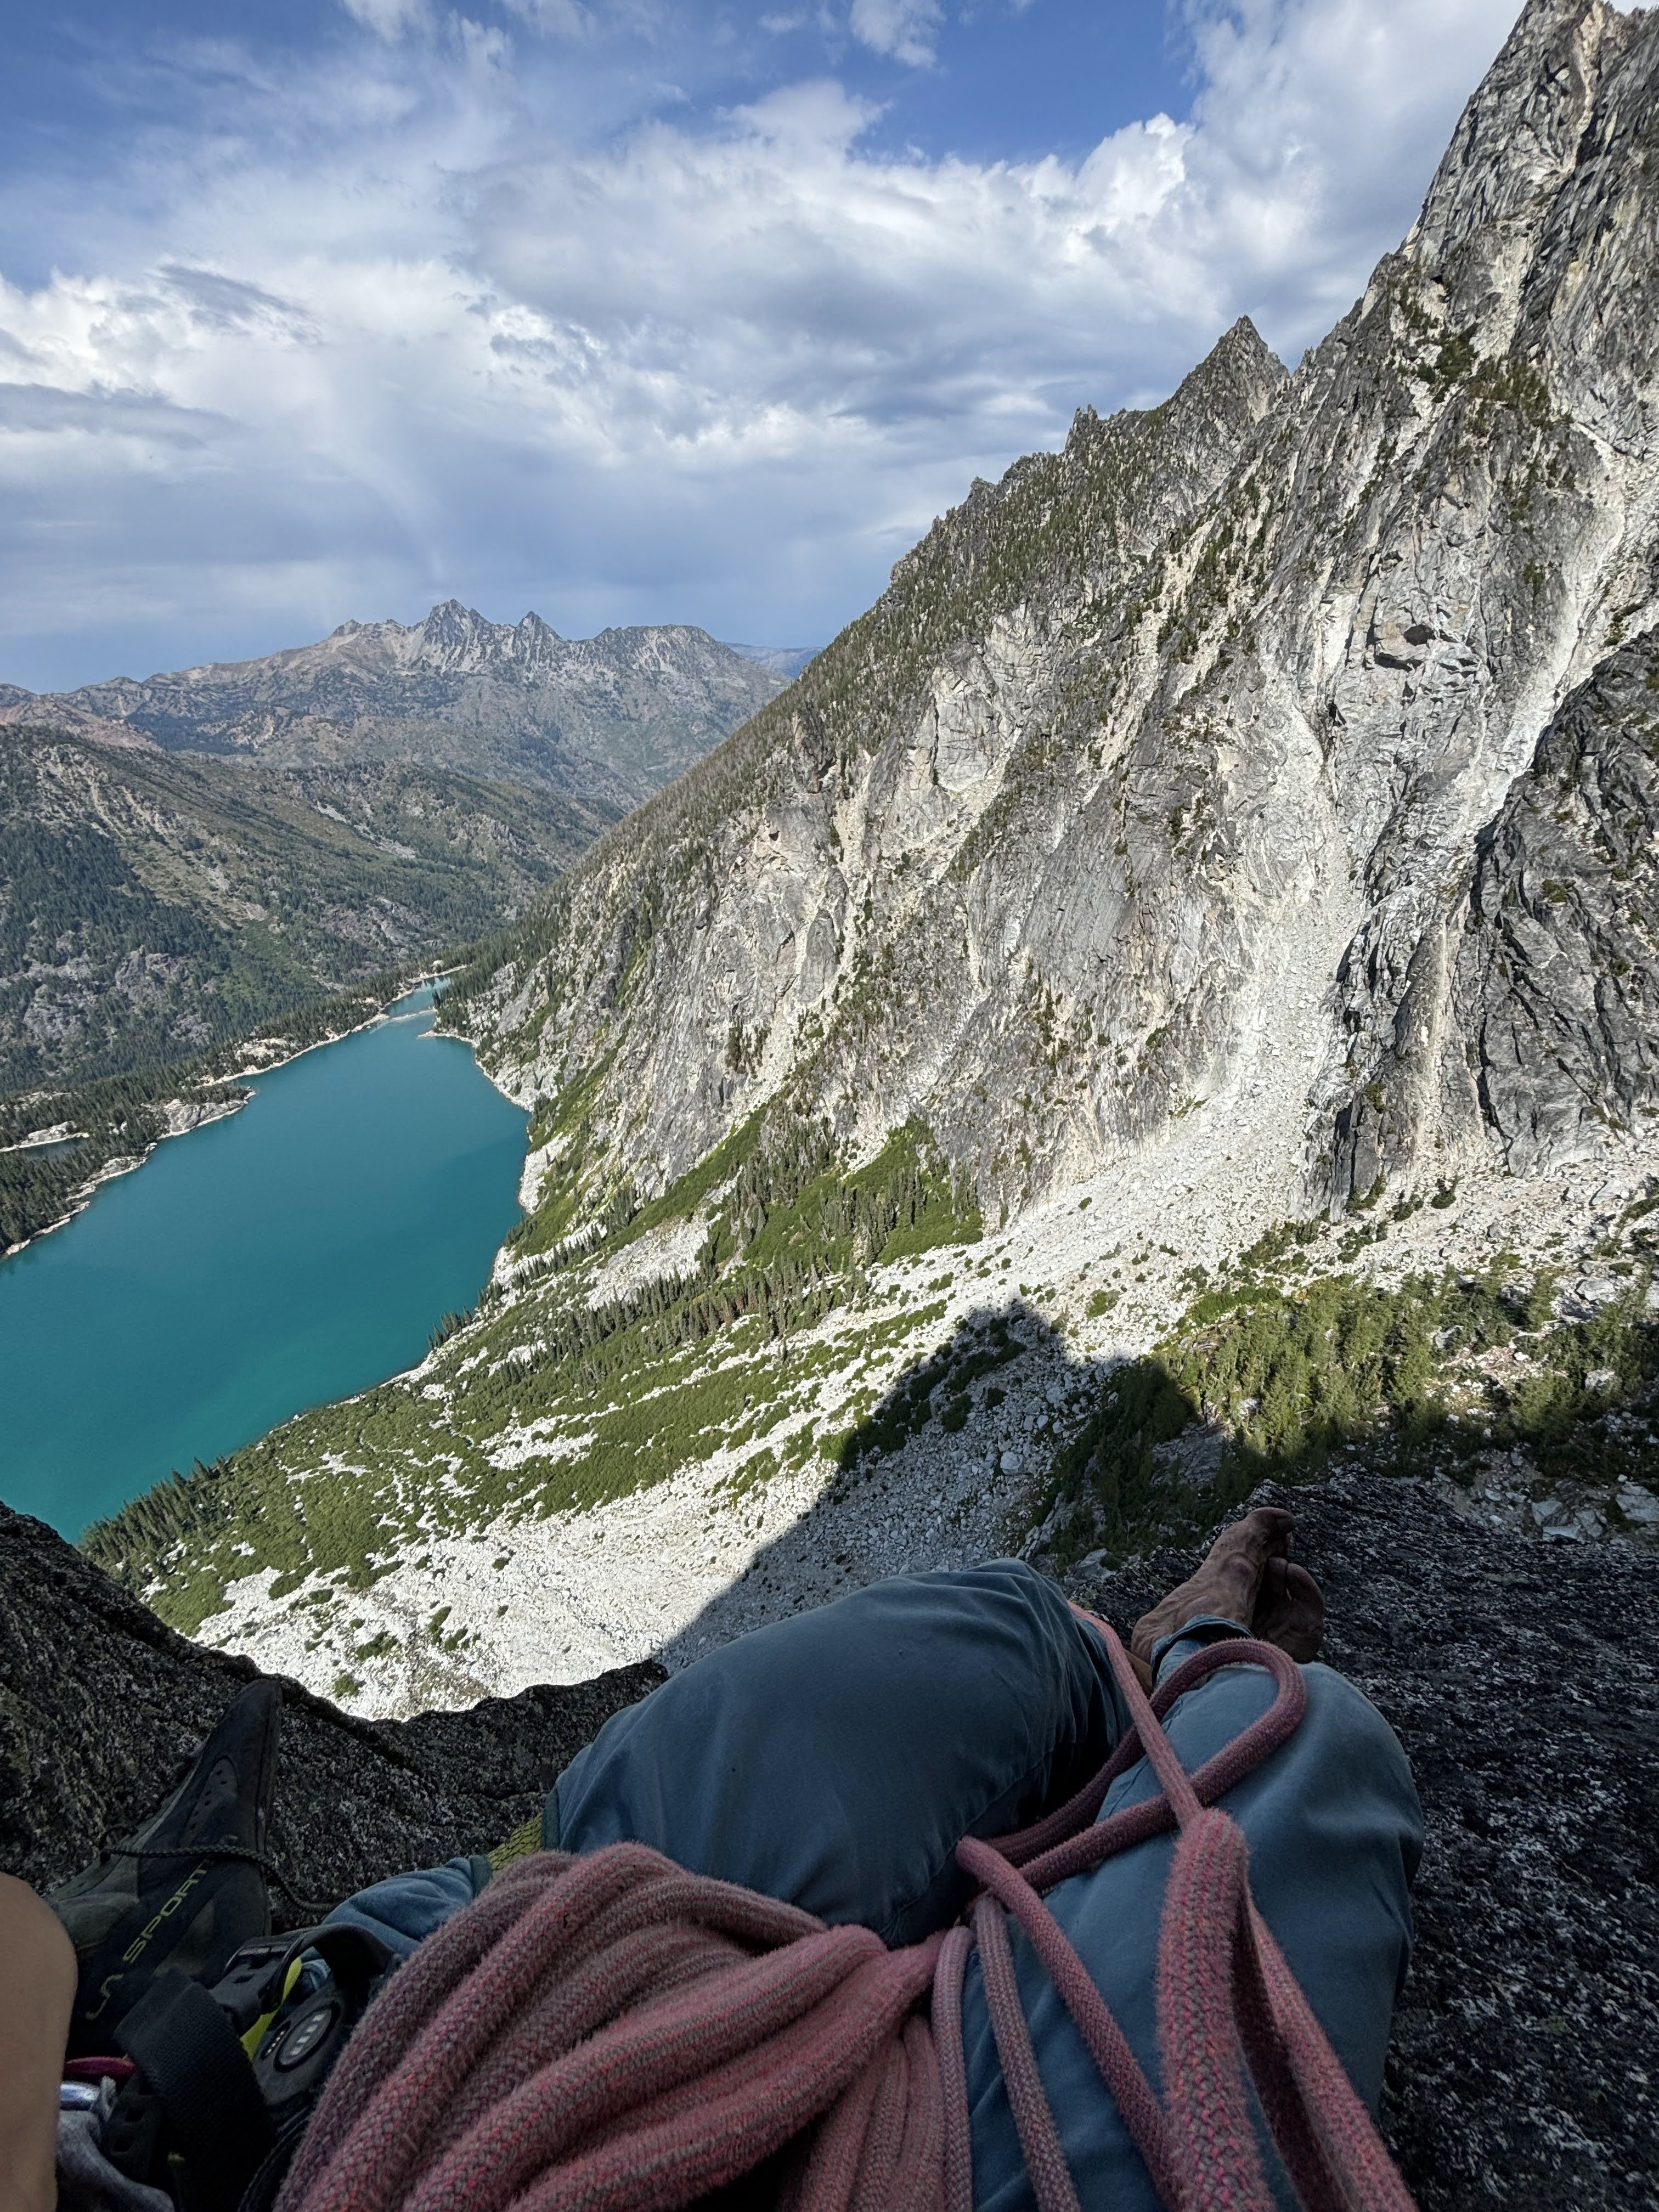
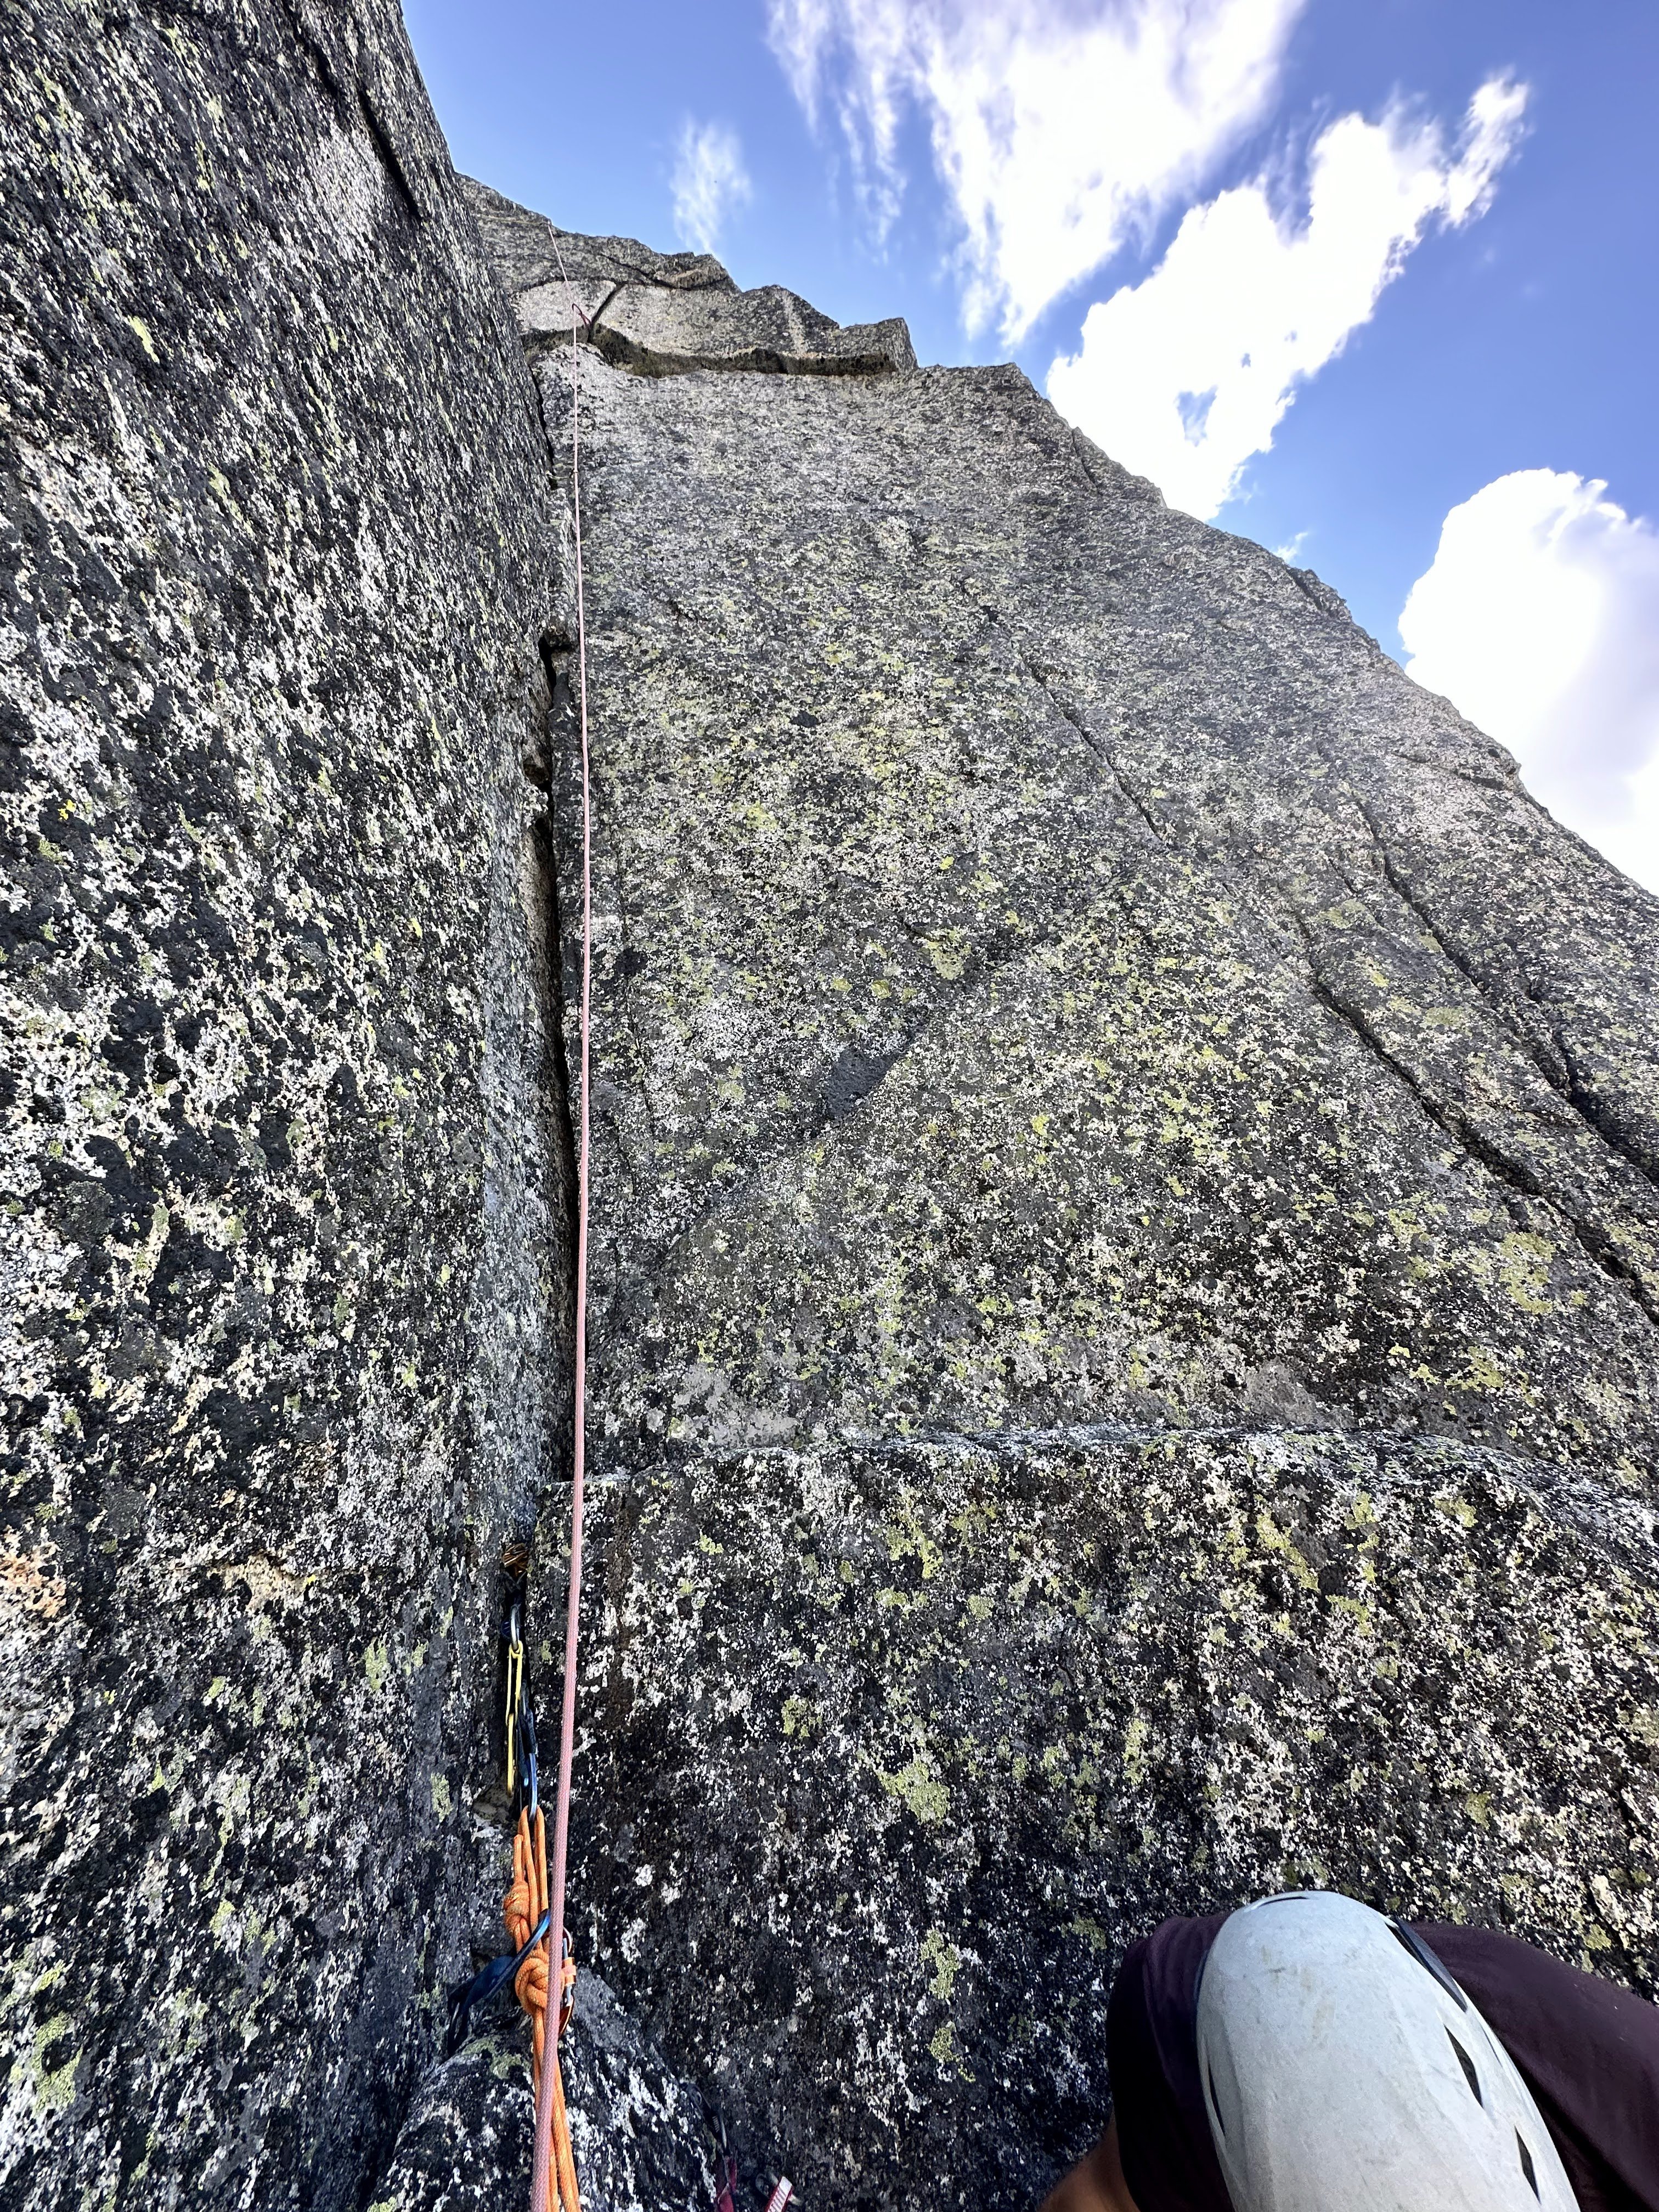
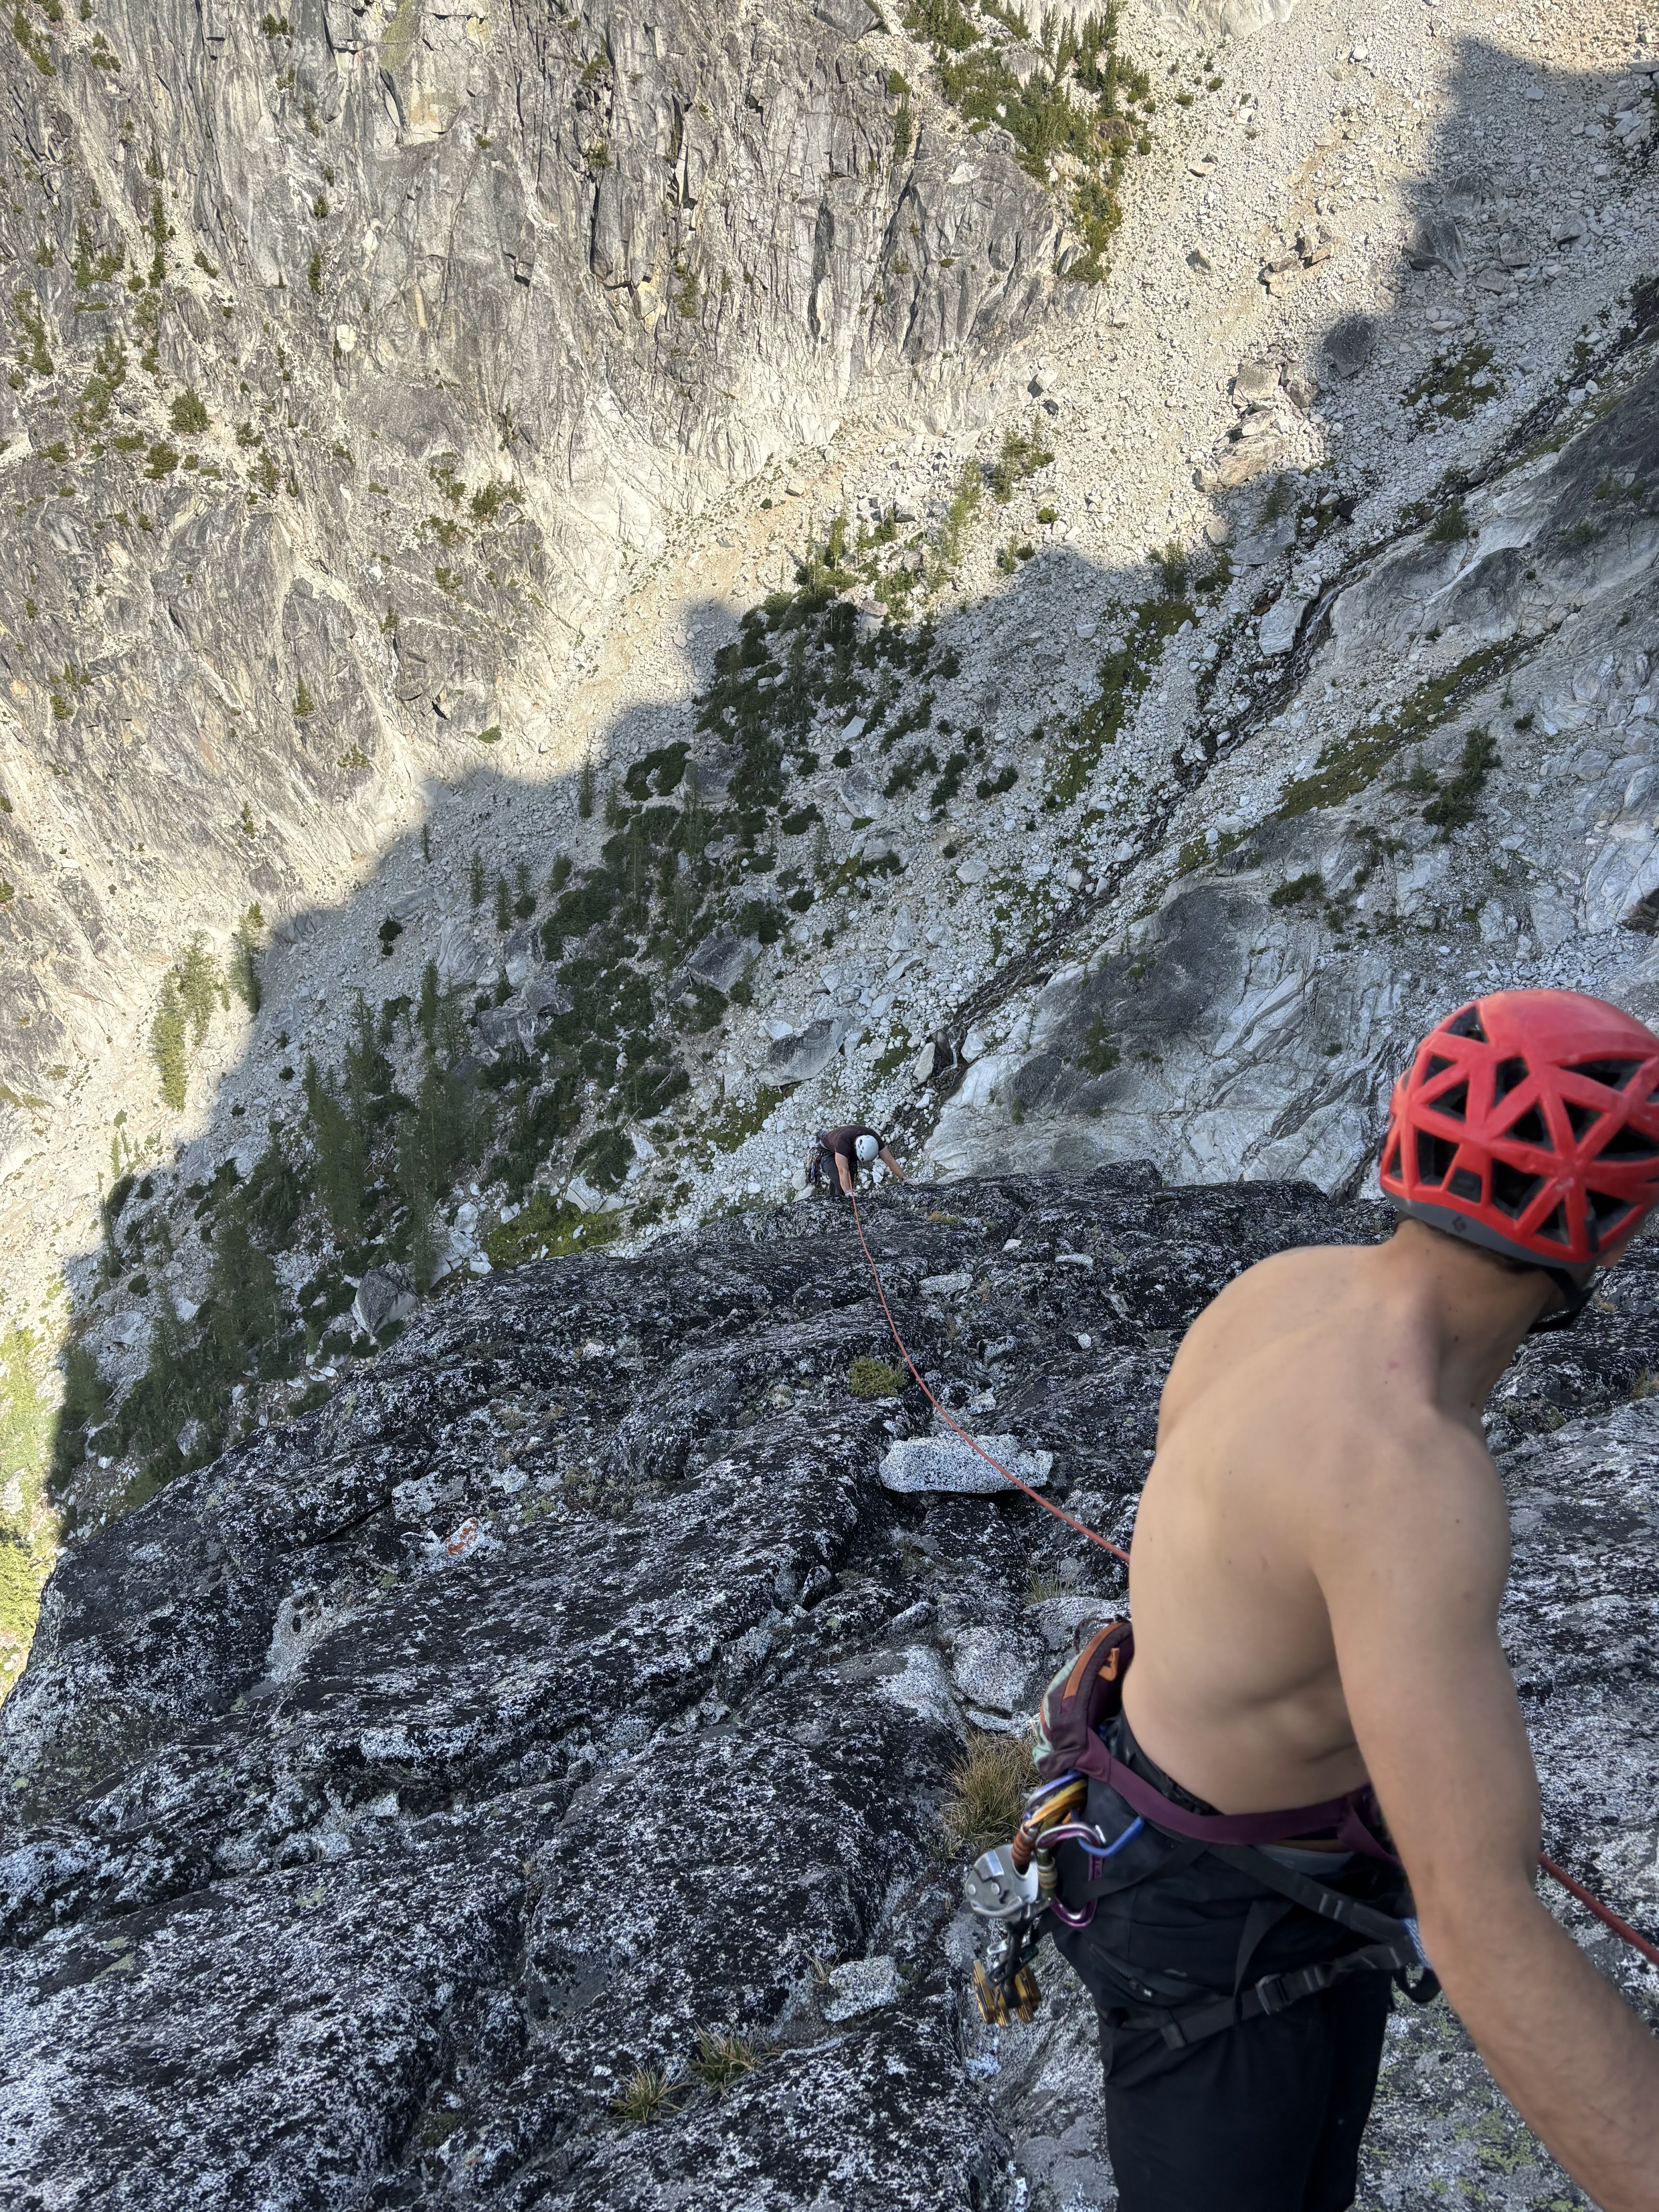
Dragon's Jaw FA 9/2/2024 by team: Alan Kwok, Chris Borg, Edward Toumayan I've just led a party of 3 up a line on the NE Towers of Dragontail I've been eyeing for a few months now. It runs about 700ft and shares a top out with Dragons of Eden but is totally independent. Based on looking through every available guidebook, MP, and CascadeClimbers, it appears to be an FA. I think this could shape up to be an incredible climb with some traffic. So get on it! Here's the full story: During a hike up to Asgard pass in 2023 I happened to take a picture of Dragontail. As this year is the year of the Dragon in Chinese Zodiacs, and it happens I was also born on a Dragon year, I looked up all routes in WA and OR containing the words "Dragon" and put it on my list for this year. That said, "Dragons of Eden" is one of the routes on my list, and as I went back to my photos to ID the route, this other line appeared (the square roof in the center drew my attention), and so I made plans to check it out on 8/12/24. At the last minute, I couldn't line up climbing partners, so I decided to rope solo the low angle terrain until it was too sketchy or time ran out. I really wanted to see the roof up close, and the twin cracks below it, too. I ended up starting at a tree that appears to be a rappel station for DoE, then traversed my way across the big slab and eventually up the twin cracks. It was mega. Although I wasn't too happy about all the traversing down low, the twin cracks were promising - splitter, wide, steep. And the roof appeared perfectly doable. Between some gardening and a lot of exploratory climbing, it took 6.5 hours to get to this point. So I put in some pitons and rappelled. Then I made a questionable decision on the ground - to complete the through hike. It ended up being a 21 hour day, with a fortuitously swift hitchhike at midnight to shuttle back to the Stuart Lake TH. I returned on 9/2/2024 with Chris Borg and Edward Toumayan on a successful ground up, onsight attempt. Chris and Edward both fell at the crux, but I ended up leading every pitch clean. We were stoked to find that the pitches linked up very naturally, the climbing was engaging and clean (but still alpine), and belays were natural and punctual. Additionally, we found an alternate start that was slightly more vertical though slightly looser. Route description below: Inspired by the hanging teeth-like formations throughout the route, Dragon’s Jaw is located on a steep section of the northeastern-most buttress of Dragontail Peak. If you are a jack-of-all-trades climber, this is for you. The route consists of face climbing, fingers, perfect hands, perfect fists, squeeze chimneys, roofs, underclings, laybacks, and stems in sustained moderate sections guarded by brief but powerful cruxes. It shares a top out and rappel with Dragons of Eden. To get there, hike to Colchuck Lake and ascend towards Asgard Pass. Cut right to cross the stream about 100 ft below the first set of cliffs on the trail. Aim for the scree hill to the right of the mossy stream beds. 3-4 hrs from Stuart Lake Trailhead. The route is between the starts of NE Buttress and Dragons of Eden, about 100ft to the left of the latter. For protection, bring doubles from .3-4 with an optional addition of 1, 2, 5. Alpines at least 4x 60cm and 1x 120cm. Pitch Breakdown P1 - “Approach Pitch” 5.9+, 45m: Follow a broken, but generally left trending, wide crack (5.7) that sits on low angle terrain directly below a prominent overhung slab, aiming toward a ledge on its topleft. Make an airy (5.9+) move right onto the ledge, then build belay with small gear. P2 - “Leaning Cracks” 5.10a, 35m: Head up the corner system, deviate left onto a rail feature 25ft up, and reenter the corner to meet two prominent cracks that are leaning “away” (5.10a). At the top of the hand crack, gain the ledge and immediately move left onto the face to follow a left-trending shallow crack until a fixed nut. Belay at the large ledge to the left of the fixed nut. The anchor takes .5-2. P3 - “Belly of the Beast” 5.10b PG13, 35m: Scramble up and make an unprotectable move (5.9 PG13) to gain the ramp at the base of the twin cracks. Then unload your entire bag of wide tricks through the cracks and a chimney, which protects within. Make a heroic exit by surmounting the “dagger”, a glorious protruding chock. Take a picture to send to mom, then move up and left to belay on small gear and pitons directly below the large roof. P4 - “Gaping Roof” 5.11a, 35m: Head straight up the right corner (5.9) with sinker fingers and good feet right where you need them. Place a piece out on the roof, shake out, and punch through this short but powerful section. Dance your way up another 20ft to a ledge and belay here. P5 - “Hands” 5.9+, 30m: Get into the rightmost crack above by stemming and reaching. Belay on a slabby ledge below a right facing corner. P6 - “Finale” 5.10b, 40m: Enjoy an easy corner crack to a ledge, then commit to the final crux - a well protected layback above and out right. Cracks on easing terrain lead to the rappel anchor of Dragons of Eden. Build your own belay anchor here as this route has a different direction of pull. Descent Rappel as for Dragons of Eden (double 60m ropes) or continue to the top of Dragontail Peak via Northeast Buttress. Misc Photos Start of P1 is about 10 ft to the right of where this photo was taken. (Notice the #6 - I used it on the solo run, but wanted to see if we could avoid using it on P3 - turns out, it's fine without a #5 or #6) Looking up at P2. In the twin cracks of P3 (having a yellow totem here saves on big gear). Chris on the "dagger" of P3. It's really solid! The Gaping Roof, P4, is the crux of the whole route. The right dihedral turned out to be the perfect line. The left dihedral would have led into quite a bit of meandering, and the right splitter crack (not pictured) has maybe a V6+ move to get into it - a different proj for a different time. Belaying from the top of P5. (Yes, you can sit at all but one of the belays!) Looking up at P6. The final route crux is right where the rope disappears. Topping out P6. The boys are happy about the dirt shower being over. Incredible lighting on the hike out. There were storm clouds to the west that just managed to let a slice of light squeeze by.2 points
-
Trip: Rainier - Elevation Survey Trip Date: 08/28/2024 Trip Report: Mt Rainier Elevation Survey Aug 27-28, 2024 Eric Gilbertson and Josh Spitzberg Summary of Results (NGVD29 Datum): Columbia Crest has melted 21.8 ft since 1999, revealing a new summit location on the SW Rim Columbia Crest: 14,389.2 ft +/- 0.1 ft (lat/lon 46.852950, -121.760572) SW Rim: 14,399.6 ft +/- 0.1ft (lat/lon 46.851731, -121.760396) On the SW Rim looking back towards Columbia Crest Introduction Mt Rainier is the tallest peak in Washington, the most topographically prominent peak in the contiguous US, and the most heavily glaciated peak in the contiguous US. Until recently, it was one of the few peaks in the contiguous US with a permanent icecap on the summit (the others are Eldorado, Colfax, and Liberty Cap, a subpeak of Rainier, all in WA). The peak is very significant in Washington – it is easily visible from Seattle on a clear day, and its picture is even on the state license plate and the state quarter. Some people refer to it simply as “The Mountain.” [1a] The summit region of Rainier from the USGS quad, with Columbia Crest and the SW Rim labeled. The elevation of such a significant peak is important, and surveyors have been measuring the height of Mt Rainier since the mid 1800s (see Table 1). Early measurements using barometers brought to the summit were prone to high errors, but later triangulation measurements were more accurate. The triangulation method involves pointing a theodolite at the summit from a location of known elevation and position. An angle is measured to the summit and, using the angle and trigonometry, the summit elevation can be calculated. Measurements can be taken from multiple locations, and the results averaged to give a final summit elevation. It is important that the measurement of a peak like Rainier be taken at the appropriate time of year. For a peak with a permanent icecap on the summit, the accepted elevation is the elevation of the icecap at the lowest snow time of year. This is generally late summer, when the seasonal snow has melted off the most and autumn snows have not yet started accumulating. Measuring at this time of year ensures seasonal snow does not count towards the summit elevation. The view of Columbia Crest from the SW Rim in 2009 [13] The summit area of Mt Rainier has a crater rim that melts out to rock every summer, but there has historically been a permanent dome of ice on the west edge of the rim. This ice dome is referred to as Columbia Crest, and has historically been the highest point of the peak. Thus, the elevation of the highest point of ice on Columbia Crest in late summer has historically been considered the elevation of Mt Rainier. The triangulation method was employed in the summer of 1914 and again in 1956 by the USGS (United States Geological Survey) to measure the elevation of Columbia Crest [1]. The 1956 survey measured the elevation 14,410ft, and this is the elevation printed on the quads (official USGS topographic maps). This is also the elevation used by Mt Rainier National Park [6]. (Note: this elevation is in the NGVD29 vertical datum. I will be reporting all elevations in this datum so they can be fairly compared. A datum is essentially what surveyors use to define mean sea level extended across land. See appendix for results in NAVD88 datum). Triangulation can be subject to small errors in the measured angles and the distances between the theodolite and the summit. This can lead to small errors in the final result. Starting in 1988 several surveys have been performed using GPS (Global Positioning System) technology to increase accuracy. This involves bringing a GPS unit to the summit and collecting data from many satellites to measure the summit elevation. In July 1988 surveyors from the Land Surveyors Association of Washington (LSAW) mounted a GPS on the top of Columbia Crest and measured an elevation of 14,411.1ft [1]. On August 27, 1999 [1], and again on July 23, 2010 [2], surveyors from LSAW conducted more GPS surveys, finding essentially the same summit elevation, 14,411.0ft. Table 1: Rainier surveys over time [14] The GPS units used in these more recent surveys are much more accurate than handheld consumer-grade GPS units, like those found in a phone. Consumer-grade units can have very high vertical errors, up to +/-50ft, as a result of effects like atmospheric distortion, multipath errors, and a limited number of available satellites. Survey-grade GPS units, called differential GPS units (dGPS), can get errors down to +/-0.1ft or better. They generally have access to more satellites, have external antennas to help with multipath errors, and are capable of correcting for atmospheric distortions using base stations located around the state. Data usually needs to be collected over a long period of time (like ~1 hour), then post processed at least 24 hours later. Nowadays the US government provides a publicly-available software tool, OPUS (Online Positining User Service) to process the data [3]. There was one other summit measurement taken in 2007 [4] by a a different method, LiDAR (Light Detection and Ranging). This involves a plane flying over the summit and measuring the time for a signal to bounce off the summit back to the plane. The plane’s position is known very accurately, and the time for the signal to return can be used to calculate the elevation of the summit. This measured a summit elevation of 14,405.6ft. Lidar has higher errors than using a differential GPS. Errors in flat terrain can be as low as +/-0.4ft [5], but signals can miss some features in terrain that’s not flat, so errors in mountains can be a bit higher. The gold standard for elevation measurements with the least error is differential GPS measurement. Until now the 14,411ft measurement has been the officially accepted elevation of Rainier. (Though, Rainier National Park still uses the 14,410ft number from the 1956 survey) [6]. Starting in 2023, however, I started hearing from friends that guide climbs of Rainier for RMI (Rainier Mountaineering Institute) that it appeared that Columbia Crest was melting down significantly. They said it now didn’t even look like it was the highest point in the summit area. A rocky point on the southwest edge of the rim appeared higher. Rainier climbing guides go to the summit many times over the summer and return every summer, so they are uniquely qualified to make these observations. I’d personally climbed Rainier four times by 2023, and this matched my observations. In August 2007 I climbed Rainier and Columbia Crest clearly looked like the highest point. However, in February 2015 I climbed again and I couldn’t tell if the SW rim or Columbia Crest was higher, so I went to both locations. I climbed again in May 2018 and May 2019, and again couldn’t tell for certain which was higher, so visited both locations. I’ve recently built up skills in surveying peaks, and by 2023 I was equiped to actually measure the current elevation of Rainier and determine if, in fact, Columbia Crest was melting down. Since 2022 I’ve been working on a project to survey the 100 highest peaks in Washington to find up-to-date elevations. I use a 20-arcsecond mechanical theodolite, 10-arcminute 5x and 1x sight levels, and a survey-grade differential GPS unit (Spectra Promark 220 with Ashtech antenna). I’m a teaching professor in mechanical engineering at Seattle University and the Civil Engineering department allows me to borrow surveying equipment for this project. Using the differential GPS I’ve usually taken 1-hour long measurements on summits and gotten errors down to +/-0.1 ft. I also survey peaks internationally to determine the elevations and locations of country highpoints. I’ve discovered and surveyed new country highpoints of Uzbekistan [7], Saudi Arabia [8], Togo, Guinea-Bissau, and Gambia. 2023 Survey Attempt Melted out conditions in September 2023 In the summer of 2023, while I was in Uzbekistan climbing and surveying the highpoint, I first heard about the melting down of Columbia Crest on Rainier from friends. That was a particularly warm summer in Washington, and by mid August the climbing routes on Raininer had melted out so much that all guiding companies ceased guiding. Snow bridges across crevasses melted out much more than normal. Guided groups generally put laders across crevasses on the most popular route, Disappointment Cleaver (DC), but by mid August the crevasses were too wide even for the ladders, so the ladders were pulled. This was very unusual. I’d never heard of the routes melting out so much. I really wanted to survey the elevation, but I unfortunately didn’t get back to Seattle until early September. In a normal year climbers would still be summitting then, and it would be the perfect time to survey the elevation at the lowest snow time of year. But, according to the Rainier climbing blog (maintained by climbing rangers for the park), there was no known viable route to the summit. However, one of my friends had managed to reach the summit via the DC route a few days after the ladders got pulled. So I was hopeful maybe I could find a way following his route. The upper route in september 2023 Nick and I brought my survey equipment up on September 8 to attempt the DC route. We were the only ones attempting it, and it was very icy and melted out. We managed to climb to 12,800ft, but then got stopped by a huge crevasse spanning nearly the entire face. The snow bridge my friend had used had melted out. We couldn’t find a way across, so we had to retreat. It appeared there was no safe route to the summit since the glaciers had melted down so much. I did manage to get one measurement from that summer, though. One of my friends sent me a picture taken on July 23 from Columbia Crest looking towards the SW Rim. I used the GeoPix photographic analysis surveying software written by Edward Earl [9] to measure the relative height of the SW Rim. This involves identifying known peaks in the background of the image, then using the known locations of Columbia Crest, the SW Rim, and the background peaks. I measured the SW Rim was 8.0ft +/-0.5ft taller than Columbia Crest. The 2007 Lidar survey included the elevation of the SW Rim (which is rock so wouldn’t have changed), so I could subtract 8.0ft from that and get a measurement of Columbia Crest. This yielded a measurement of 14,390.7ft. The error would be approximately the sum of the Lidar error (+/-0.4ft) plus the photographic analysis error (+/-0.5ft). So the error would be approximately +/-0.9ft. This measurement was consistent with the guides’ observations. Columbia Crest had melted down significantly (20ft) and the highest point had changed to be the SW rim. In order to get a result accurate enough to be accepted as official, though, I really needed to bring a differential GPS unit up and survey both Columbia Crest and the SW rim. That, unfortunately, would have to wait basically a full year until it was again late summer. I hoped there would be a safe route to the summit in late summer 2024 to try again for the measurement. 2024 Survey Hiking up the Muir snowfield in low visibility I’m usually out of the country most of the summers on mountaineering expeditions, and in summer 2024 I was on an expedition to make the first SE-NW traverse of Greenland. I planned to be home by Aug 1 so I would hopefully have time to survey Rainier during late summer before the route might melt out. However, the Greenland expedition took a bit longer than expected. Finally, by August 22 I made it back to Seattle. Luckily, according to the Rainier climbing blog and my friends observations, the DC route was still in safe conditions. Apparently this August in Washington has been a bit cooler than normal, which is good for snow bridges staying intact. I took a few rest days, but didn’t want to wait too long in case the route melted out more. I wanted to climb the route with the highest chance of success for reaching the summit, and that was the DC route. Sunset from Camp Muir Josh was in town visiting from Boston, and we decided to go for the next summit window, which appeared to be Wednesday August 28. That day the winds were forecast to calm a bit (to 20-30mph) and it was supposed to be sunny. Freezing levels had been low all the previous week and were expected to stay below the summit that day, so the route would likely be safe. My classes at Seattle University don’t start until mid September, so I was available weekdays. This date would be very similar to the date of the 1999 LSAW survey, which was Aug 27. So data comparison should be fair. We planned to go for a two-day climb to help with acclimation. I’ve done single-push ascents of Rainier without issue, but on those trips I generally didn’t linger long on the summit. For the surveying trip we’d need to spend at least 2-3 hours up there, which I know can be a bit riskier if unacclimated. The surveying plan was to take one-hour measurements on each of Columbia Crest, the SW Rim, and the USGS monument (if I could find it). I would also take sight level measurements between Columbia Crest and the SW Rim as a backup measurement to determine the relative height. Sunset at Camp Muir On Monday I took the dGPS outside to take a test measurement to verify everything was in working order. I mounted it on my mini tripod and turned it on, but after an hour it still was not able to acquire satellites. I had last taken measurements with it on Mt Fuji, in Japan, and sometimes if I bring it overseas to a location far from the last location measured, it takes a long time to start collecting data. I was worried I might not get it working in time, though. Luckily there was a backup unit at Seattle Univeristy. I drove in, picked up the other unit, then took a 30-minute test measurement outside. It worked fine and was able to acquire plenty of satellites. So finally I was good to go. Monday evening at 7pm I reserved a timed-entry permit for the park. We drove through the entrance gate Tuesday at 11am and then at Paradise we checked in at the Wilderness Information Center. We got a permit for Camp Muir for that night, though the rangers said the shelter might be full. So we reluctantly packed a tent just in case. Starting up in the dark We made good time hiking up, and there was a lot more snow than I remembered. In Septemer 2023 I was able to hike completely on rock and dirt to Camp Muir except for a short 20ft section of snow. This time nearly half of the ascent was snow covered. We reached the shelter after about 3 hours and luckily there was space for us inside. The ascent had been socked in the clouds with occasional snow showers. It was apparently unseasonably cold for late August, with freezing levels down to 6500ft, just above Paradise. At 5pm a climbing ranger came in and described the conditions on the upper mountain. He’d just been up DC Monday and said it was in good shape. There were a few ladders across crevasses and they were solid. There was a guided group camped at Ingraham Flats going up, another at Camp Muir, and there were three independent teams going up plus one solo climber. Looking back at Cathedral Gap Many groups start between 10pm-1am from Camp Muir so they can tag the summit at sunrise and get down before it gets too hot and snow bridges get weaker. Our calculation was a bit different, though. We knew the wind was supposed to be decreasing over the day and it would start off unseasonably cold at sunrise but gradually warm up to near freezing at the summit. I was nervous high wind might knock the antenna over and make it very cold waiting around for the measurement. The temperature wasn’t forecast to be getting warm enough to jeopardize the safety of the route, though. So we decided to sleep in a bit. Sunrise above Little Tahoma We were up and moving by 3:45am. We traversed the Cowlitz Glacier, shortened the rope to hike over Cathedral Gap, then crossed Ingraham flats to the base of Disappointment Cleaver. We had to cross two ladders at the upper Ingraham flats, and these were no problem. We then shortened the rope again and hiked up close to each other in crampons up the cleaver. At the top we were hit by strong wind and caught up to a guided group and a few independent groups resting. We passed them and continued on Climbing steep snow above the cleaver to the upper Ingraham glacier. Luckily there were no groups immediatly above us, so we wouldn’t have to worry about bottlenecking. I’d heard that earlier in the summer teams would have to wait an hour or more at the ladder sections on the upper route, but we could avoid that. We zig zagged up the face, crossing a snow bridge around 12,800ft at the exact place Nick and I had bailed last September. It was way easier now with that snow bridge. Past that we climbed one single ladder, then traversed right below the “wave” feature. This is a huge crevasse with an overhanging ice wall at the top that would be very challenging to ice climb. The wall drops to about 15 ft at the shortest, and here the guides/rangers have placed a double ladder. The ladder getting past “The Wave” The ladder reminded me a bit of the Khumbu Icefall on Everest, but less extreme. There they have over a dozen ladder sections, sometimes triple ladders. Above the double ladder the route wove through more crevasses until we got near the rim. A solo climber ran down, then a team of three descended. By that elevation the wind started picking up as expected. We reached the southeast rim around 8am, took a short break on the leeward side, then crossed the crater rim to Columbia Crest. There was a bit of shelter on the southwest side, and we stopped there to prepare the survey equipment. The summit was covered in a few inches of fresh powder from the Tuesday snow event, but the highest point was a patch of dirty ice, clearly not the fresh snow. The wind was 20-30mph and gusty, making this one of the more challenging surveys I’ve done. I quickly opened up the pelican case, screwed the antenna onto the antenna rod and mounted it on the tripod. I planted the tripod securely in the snow, connected the cable to the GPS, and started logging data. Setting up the GPS on Columbia Crest I then ran down out of the wind to warm up a bit. When my fingers regained sensation I went back up with my sight levels and took angular inclination readings up to the SW Rim highpoint, then returned to the sheltered area. Josh took out our emergency sleeping bag and pad and crawled inside to wait out the one hour measurment. I then ran over to register rock and found the summit register. This was the first time out of my five summits I’d actually found it. Previous times it was always buried in the snow. I signed us in, then looked around for the USGS monument at the coordinates indicated on the quad. The monument is a big metal rod that was pounded into the ground with a USGS marker on the top. The 2010 LSAW team surveyed the monument and I wanted to get another measurement there for comparison. The 2010 report showed a picture of a distinctive rock next to the monument, and I located that rock. However, there was no monument there. It appears to have gotten stolen. There was no use taking another measurement if there was no monument there, since I could not be certain I was in the exact same location as the previous measurement, so at least that saved us an extra hour on the summit. This problem of missing USGS monuments appears to be common on Rainier. The 1999 LSAW survey team reported not being able to locate the monument. It’s unclear from their report if they installed a new one or not. The 2010 team reported the monument had been removed from the ground and vandalized, and they had to pound it back in the ground. The dGPS set up on the SW Rim After the 1 hour timer ended I ventured back up to Columbia Crest, logged the data, then packed up. I then hurried over to the SW Rim highpoint. With my sight level I verified that the highest point was a large rock laying on the dirt on the north edge of the rim. I mounted the tripod directly on top of the rock, and used a few smaller rocks to stabilize the legs. The wind was even stronger there, but the tripod held solid. I started logging data, then used my sight levels to measure angular declinations down to Columbia Crest. I also verified that the monument location was shorter than the SW Rim. The SW Rim was definitely the highest point on Mt Rainier. To stay warm I ran back and forth between the monument, Columbia Crest, and the SW Rim a few times, then ate some snacks at the sheltered area. Running at 14,000ft+ definitely got me breathing hard. We noticed the big 6-person guided group reached the southeast rim, but they didn’t come over to the summit. I’ve heard this is common for guided trips up Rainier, and I’m kind of confused why they get so high up but don’t continue the short distance across the rim to the actual summit. Descending the DC route Finally the one hour clock ended, and we both went to the SW Rim and packed up. The wind never let up, and I was relieved the tripod held without blowing over. We hiked back over to the SE rim, roped up, and started down the mountain around 10:30am. The descent went smoothly, and luckily all other groups had already gotten below the ladder sections, so there was no bottlenecking. It also hadn’t gotten too warm yet, and the fresh coating of powder snow from Tuesday stayed cold and never glopped up. There were no particularly worrisome snow bridge crossings. We soon reached the top of Disappointment Cleaver at the same time as a guided group around 12pm. We made good time down the cleaver, then retraced our route back to Camp Muir by 1:30pm. By then the Muir snowfield was nice and soft in the afternoon sun, making for excellent boot glissading down. We reached the visitor center just in time to turn in our permit to the rangers, and were soon driving home. Discussion After 24 hours I processed the measurements using OPUS, then converted to NGVD29 vertical datum using NCAT [10]. I found Columbia Crest is 14,389.2 ft +/-0.1ft and the SW Rim is 14,399.6 ft +/-0.1ft. This means Columbia Crest has melted down 21.8ft since the 1999 LSAW measurement, and the SW Rim is now the true highpoint of Rainier at 14,399.6ft. These values are consistent with my sight level measurements, which were that the SW Rim is 11.0ft +/-1.3ft taller than Columbia Crest. When I got home I learned that just within the past few weeks a new Lidar dataset had been published from a measurement flight in 2022 [11] (data is often not publicized immediately, and this one hadn’t been published when I checked a few weeks earlier). I analyzed this data using QGIS surveying software [12] and it measured Columbia Crest at 14,392.3ft and the SW Rim at 14,398.7ft. This means Columbia Crest has melted down 3.1ft since 2022. Figure 1: Columbia Crest and SW Rim elevations over time since 1988 Interestingly, the height for the SW Rim from the 2022 Lidar measurement is 0.9ft lower than I measured. This difference is exactly the height I measured with a tape measure of the summit rock above the surrounding dirt (0.9ft). This likely means the 2022 Lidar pass measured the dirt but missed the rock. This is not unusual, as Lidar data is taken only every 3-6ft horizontal spacing, and can thus miss a rock smaller than that width. The 2007 Lidar data measured the SW Rim as 14,399.5 ft, which is within 0.1ft of the dGPS measurement. Because the dGPS measurement has an error of +/-0.1ft and the Lidar measurement has a nominal error of +/-0.4ft (in flat terrain), then these two measurements are consistent and within the error bounds of each other. Figure 2: 2007 Lidar point cloud data To understand how the elevation of Columbia Crest has changed over time, Table 1 shows all elevation measurements of Columbia Crest and the SW Rim from 1841 to present, including the exact date and measurement error when known. Table 1 shows that the early measurements in the 1800s were prone to high errors, but the measurements got significantly more accurate by 1914 and 1956. Figure 1 is a plot of the elevations of Columbia Crest and the SW Rim over time for the period since the 1988 measurement, the first measurement with errors less than 1.0ft. Figure 3: 2022 Lidar point cloud data The plot shows how Columbia Crest has been losing elevation at an increasing rate since 1999. (Note: the 2010 measurement is shown as an outlier because the expedition report only described measuring the USGS monument and not Columbia Crest, so it is unclear if Columbia Crest was measured). Before 1999 the elevation stayed relatively constant. Between 1999 and 2007 Columbia Crest lost on average about 0.7 ft per year. This rate increased to 0.9 ft/year between 2007-2022, then 1.6 ft/year between 2022-2023, then 1.5 ft/year between 2023-2024. The rate of elevation loss during the past two years is the same within the error bounds of the measurements, so it is unclear if the rate is increasing, decreasing, or staying constant. This plot shows that in approximately 2014 the SW Rim overtook Columbia Crest as the highest point on Mt Rainier. Figure 4: The view from the SW Rim looking towards Columbia Crest in 2009 (elevation interpolated from Fig 1) [13] To visualize the extent of melting of Columbia Crest, Figure 2 shows the Lidar point cloud data for the western crater rim from 2007. Figure 3 shows Lidar data from 2022. The upper region is Columbia Crest and the lower region is the SW rim highpoint. Pixel colors represent elevation, ranging from 14,390ft (light blue) to over 14,400ft (dark red). In the 2007 image Columbia Crest is clearly larger and taller than in the 2022 image. It is taller than the SW rim in the 2007 image and shorter in the 2022 image. Figure 5: The view from the SW Rim looking towards Columbia Crest in 2024 Figure 4 shows the view from June 27, 2009 looking from the SW Rim towards Columbia Crest [13]. Figure 5 shows the same view from 2024. Columbia Crest is clearly much larger and taller in 2009 vs 2024. Conclusion The Columbia Crest icecap that used to be the highpoint of Mt Rainier has melted down 21.8 ft since 1999. Columbia Crest is no longer highest point on Rainier, and instead the SW Rim is the highest point at 14,399.6ft. Appendix Note that in this report I have reported all elevations in the NGVD29 vertical datum so that historical measurements can be fairly compared to more recent measurements. This is consistent with the LSAW reports from the 1988, 1999, and 2010 surveys where all data was converted to NGVD29. A vertical datum is how surveyors define a zero elevation, essentially mean sea level extended across land. The NGVD29 datum was created in 1929. An updated datum, NAVD88, was created in 1988. Elevations from one datum cannot be directly compared to elevations in a different datum. OPUS gives raw output in NAVD88 datum and I used the NCAT tool [10] to convert to NGVD29. For reference, the raw output from OPUS was: Columbia Crest: orthometric height 4387.835m +/-0.028m (14,395.8ft +/-0.1ft) NAVD88 computed using Geoid18 SW Rim: orthometric height 4391.000m +/-0.032m (14,406.2ft +/-0.1ft) NAVD88 computed using Geoid18 If anyone has a pre-2009 picture taken from the SW Rim looking towards Columbia Crest I'd really like to see how much bigger it was back then! Acknowledgements Funding was provided by the American Alpine Club, with equipment provided by Seattle University. Katie Stanchak advised on methodology and equipment and data analysis. Dustin W provided summit pictures for photographic analysis. Kyle B helped with Lidar processing. Rainier climbing rangers and guides kept the DC route open so we could make it up to the summit. References 1a. Barcott, B. . “The Mountain is Out”, April 27, 1999, Western Washington University 1. Signani, L., “The Height of Accuracy,” July 19, 2000, Point of Beginning, https://archive.ph/IVhw#selection-1113.5-1113.26 2. Schrock, G. “Rainier – The Unforgiving Mountain,” Jan 27, 2011, The American Surveyor, https://amerisurv.com/2011/01/27/rainier-the-unforgiving-mountain/ 3. Online Positioning User Service (OPUS), NOAA, https://geodesy.noaa.gov/OPUS/ 4. USGS Lidar Explorer Map https://apps.nationalmap.gov/downloader/ 5. USGS, “What is Lidar and Where Can I Download It?”, https://www.usgs.gov/faqs/what-lidar-data-and-where-can-i-download-it 6. Mount Rainier National Park, https://www.nps.gov/mora/index.htm 7. Gilbertson, E., “Alpomish, First Ascent and New Country Highpoint,” 2024, The American Alpine Journal, https://publications.americanalpineclub.org/articles/13201216908 8. “Surprise – Al Sawda is not the highest peak in Saudi Arabia,” Anas Al-Yousef, Okaz, https://www.okaz.com.sa/last-stop/na/1667177 , Aug 29, 2018 9. Earl, E., 2017, “GeoPix Photo Analysis,” available for download at https://github.com/ericgilbertson1/PhotoAnalysis/tree/main 10. NGS Coordinate Conversion and Transformation Tool (NCAT), https://www.ngs.noaa.gov/NCAT/ 11. Washington Lidar Portal https://lidarportal.dnr.wa.gov/ 12. QGIS.org. QGIS Geographic Information System. QGIS Association. http://www.qgis.org 13. Rainier summit view June 27, 2009, @arhuber, https://www.youtube.com/watch?v=qDQ6jqAs2h0 14. Matamoros, F., “Taking the measure of a mountain,” The News Tribune, Nov 16, 2006 Gear Notes: Standard glacier gear, differential GPS, tripod, surveying sight levels Approach Notes: Standard DC approach1 point
-
1 point
-
1 point
-
1 point


.jpg.3fb028d56f567576a3895979ecb8d43c.jpg)
.jpg.c85a7f6102d012fafab9db0c4ff40f46.jpg)
.jpg.e3a2d38bdc4b31f86b1937718d87e060.jpg)
