Leaderboard
Popular Content
Showing content with the highest reputation on 02/21/22 in all areas
-
1 point
-
Trip: Mt Hood - Wallace-Olson/Eliot Headwall Trip Date: 02/18/2022 Trip Report: My partner and I climbed the Wallace-Olson Route on the Eliot Headwall and found fantastic conditions on the route. It was either alpine ice, snice, or very hard neve from top to bottom. We departed from Timberline, went up the Old Chute, and descended via the Sunshine to approach the route. This took about six hours to the base of the climb. There was some knee-deep wallowing approaching the Hogsback that slowed us down. The coverage on the Eliot is relatively thin, proved when I punched a leg through a crevasse on the traverse to the route. There were only about 18 inches of hard snow covering the crack. I could tell from high on the route that there was some sag indicating its presence, but it was not evident from the glacier. We climbed the route in four pitches to a point just above the exit chimney and then did a short pitch to the summit. The total time on the route was about 3.5 hours. Pitch one had about 30 meters of AI3 which was fat and took screws well. Pitch two had a variety of options. We took an AI3-bulge to steep neve but you could have skirted it and climbed lower angle ice. Pitch three was more steep neve and AI2 with some protection options where blobs of ice stuck through. The final exit pitch up the chimney was not protectable with screws because the ice was very aerated, so it was about 10 meters steep, no-fall-zone climbing. It went at AI3. We were able to get solid screw belays all the way up and plenty of protection options, minus the final chimney. In the photos, you can see this feature just right of the obvious tower. There were many variations that one could have taken on the route. The mixed exit ramps were all iced up and looked tempting as well, but we chose to take the steep line. The route as a whole was nearly a perfect plumb line from bottom to top and well worth the approach. It was a stellar day in the alpine with near-perfect conditions. Photos: Pitch One (there is a little camera trickery happening here. It was not that steep). Pitch two. Looking up pitch three. Exit pitch Gear Notes: 10 screws: I was able to place 16cm's and in one case a 22cm at the belays. Stubbies were not necessary as there was almost always ice for at least a 13cm. We brought a small rock rack, pins, and a picket but didn't use any of it Approach Notes: Via the South Side Route and down the Sunshine. Keep an eye out on the Eliot Glacier for weak spots. I was not the first to recently bust through.1 point
-
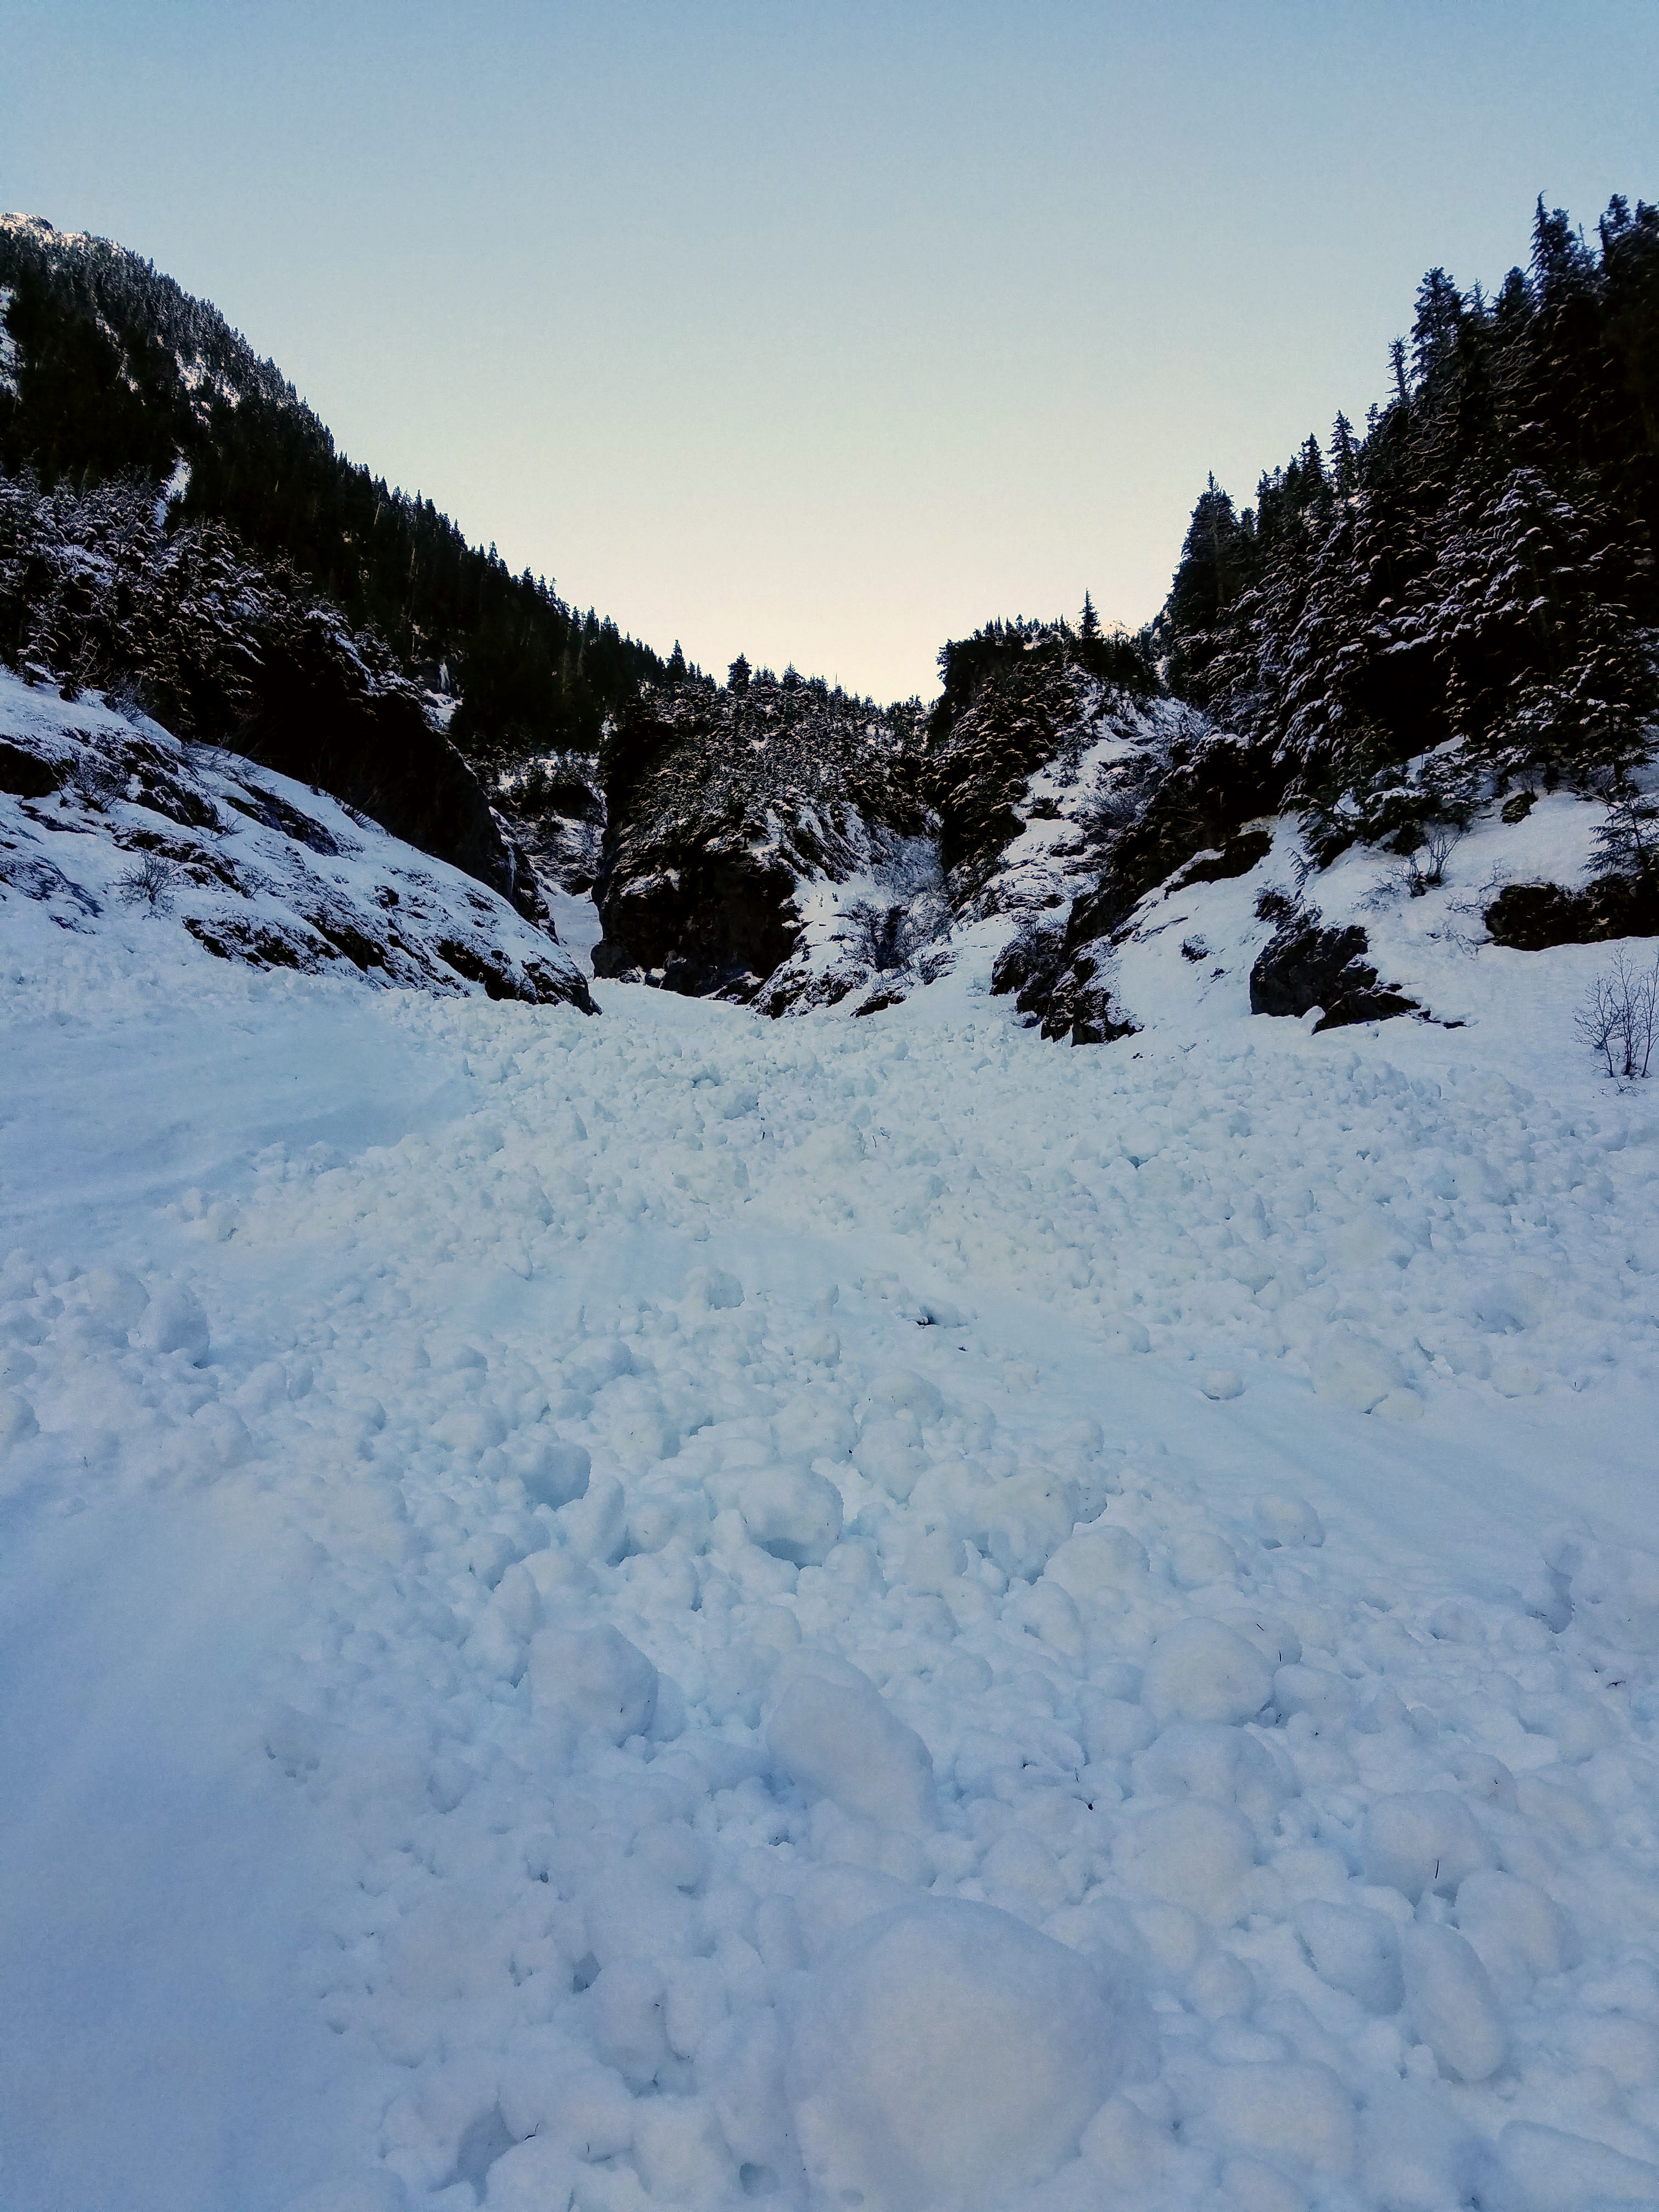
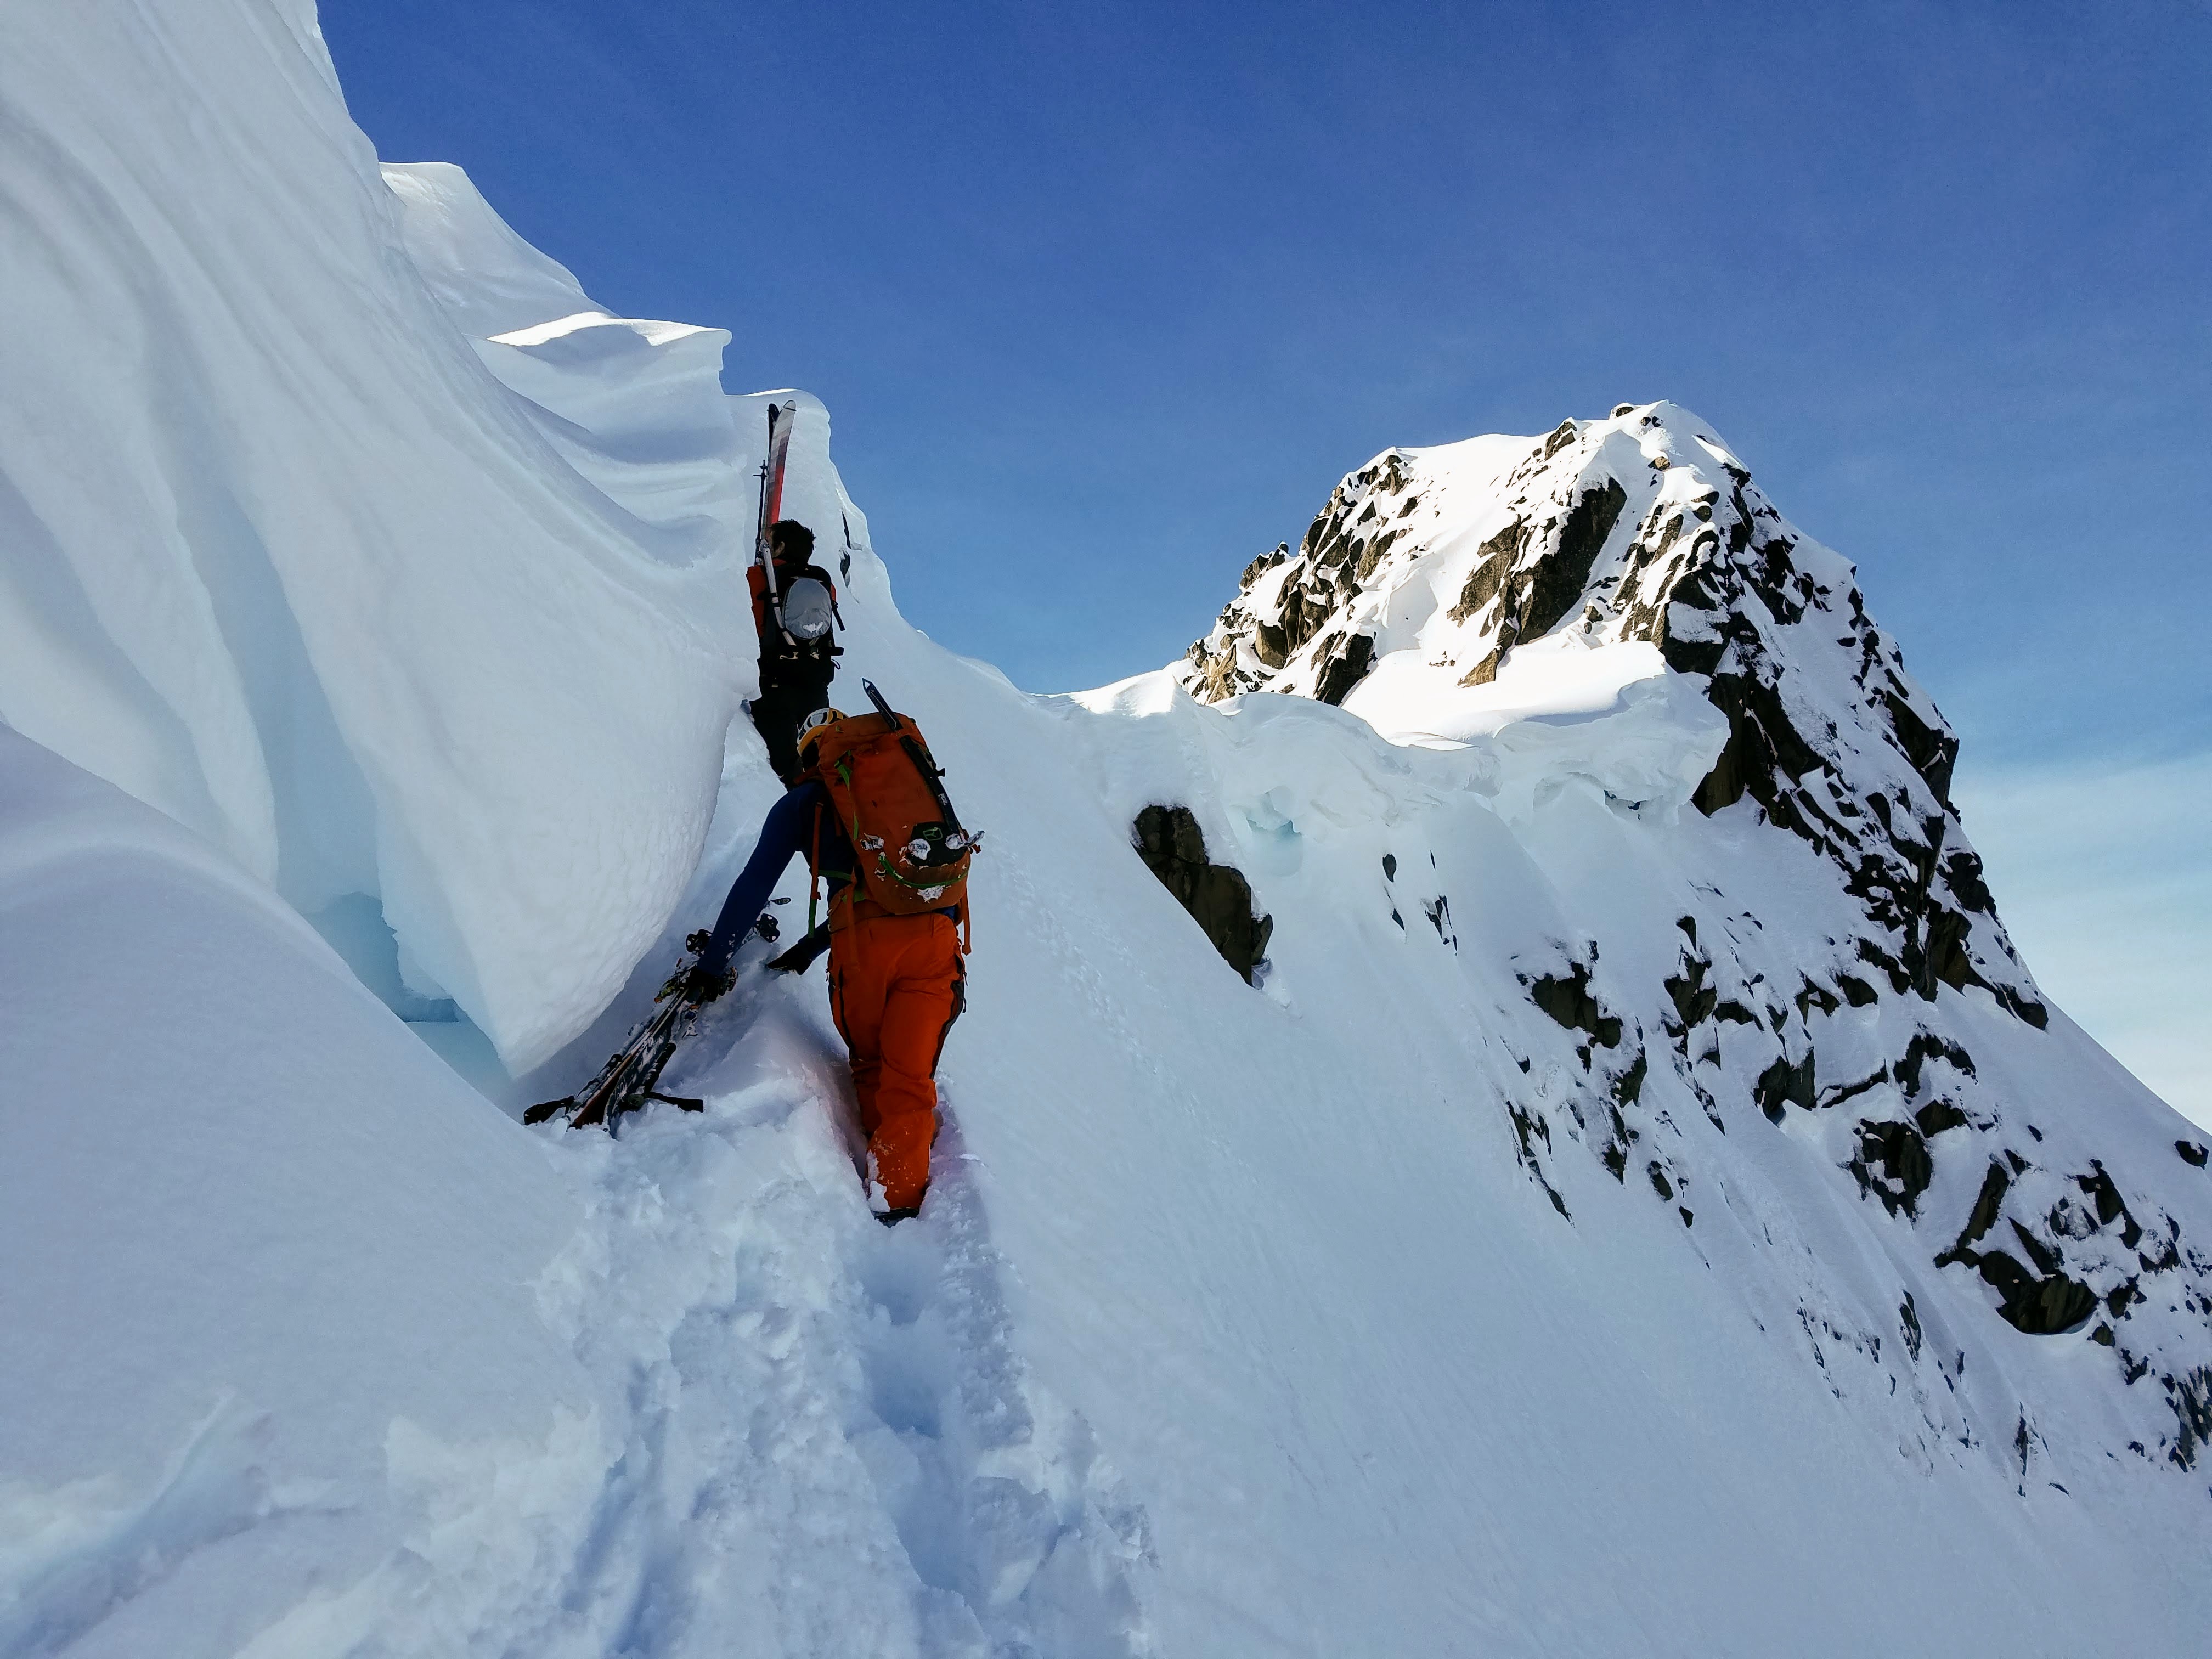
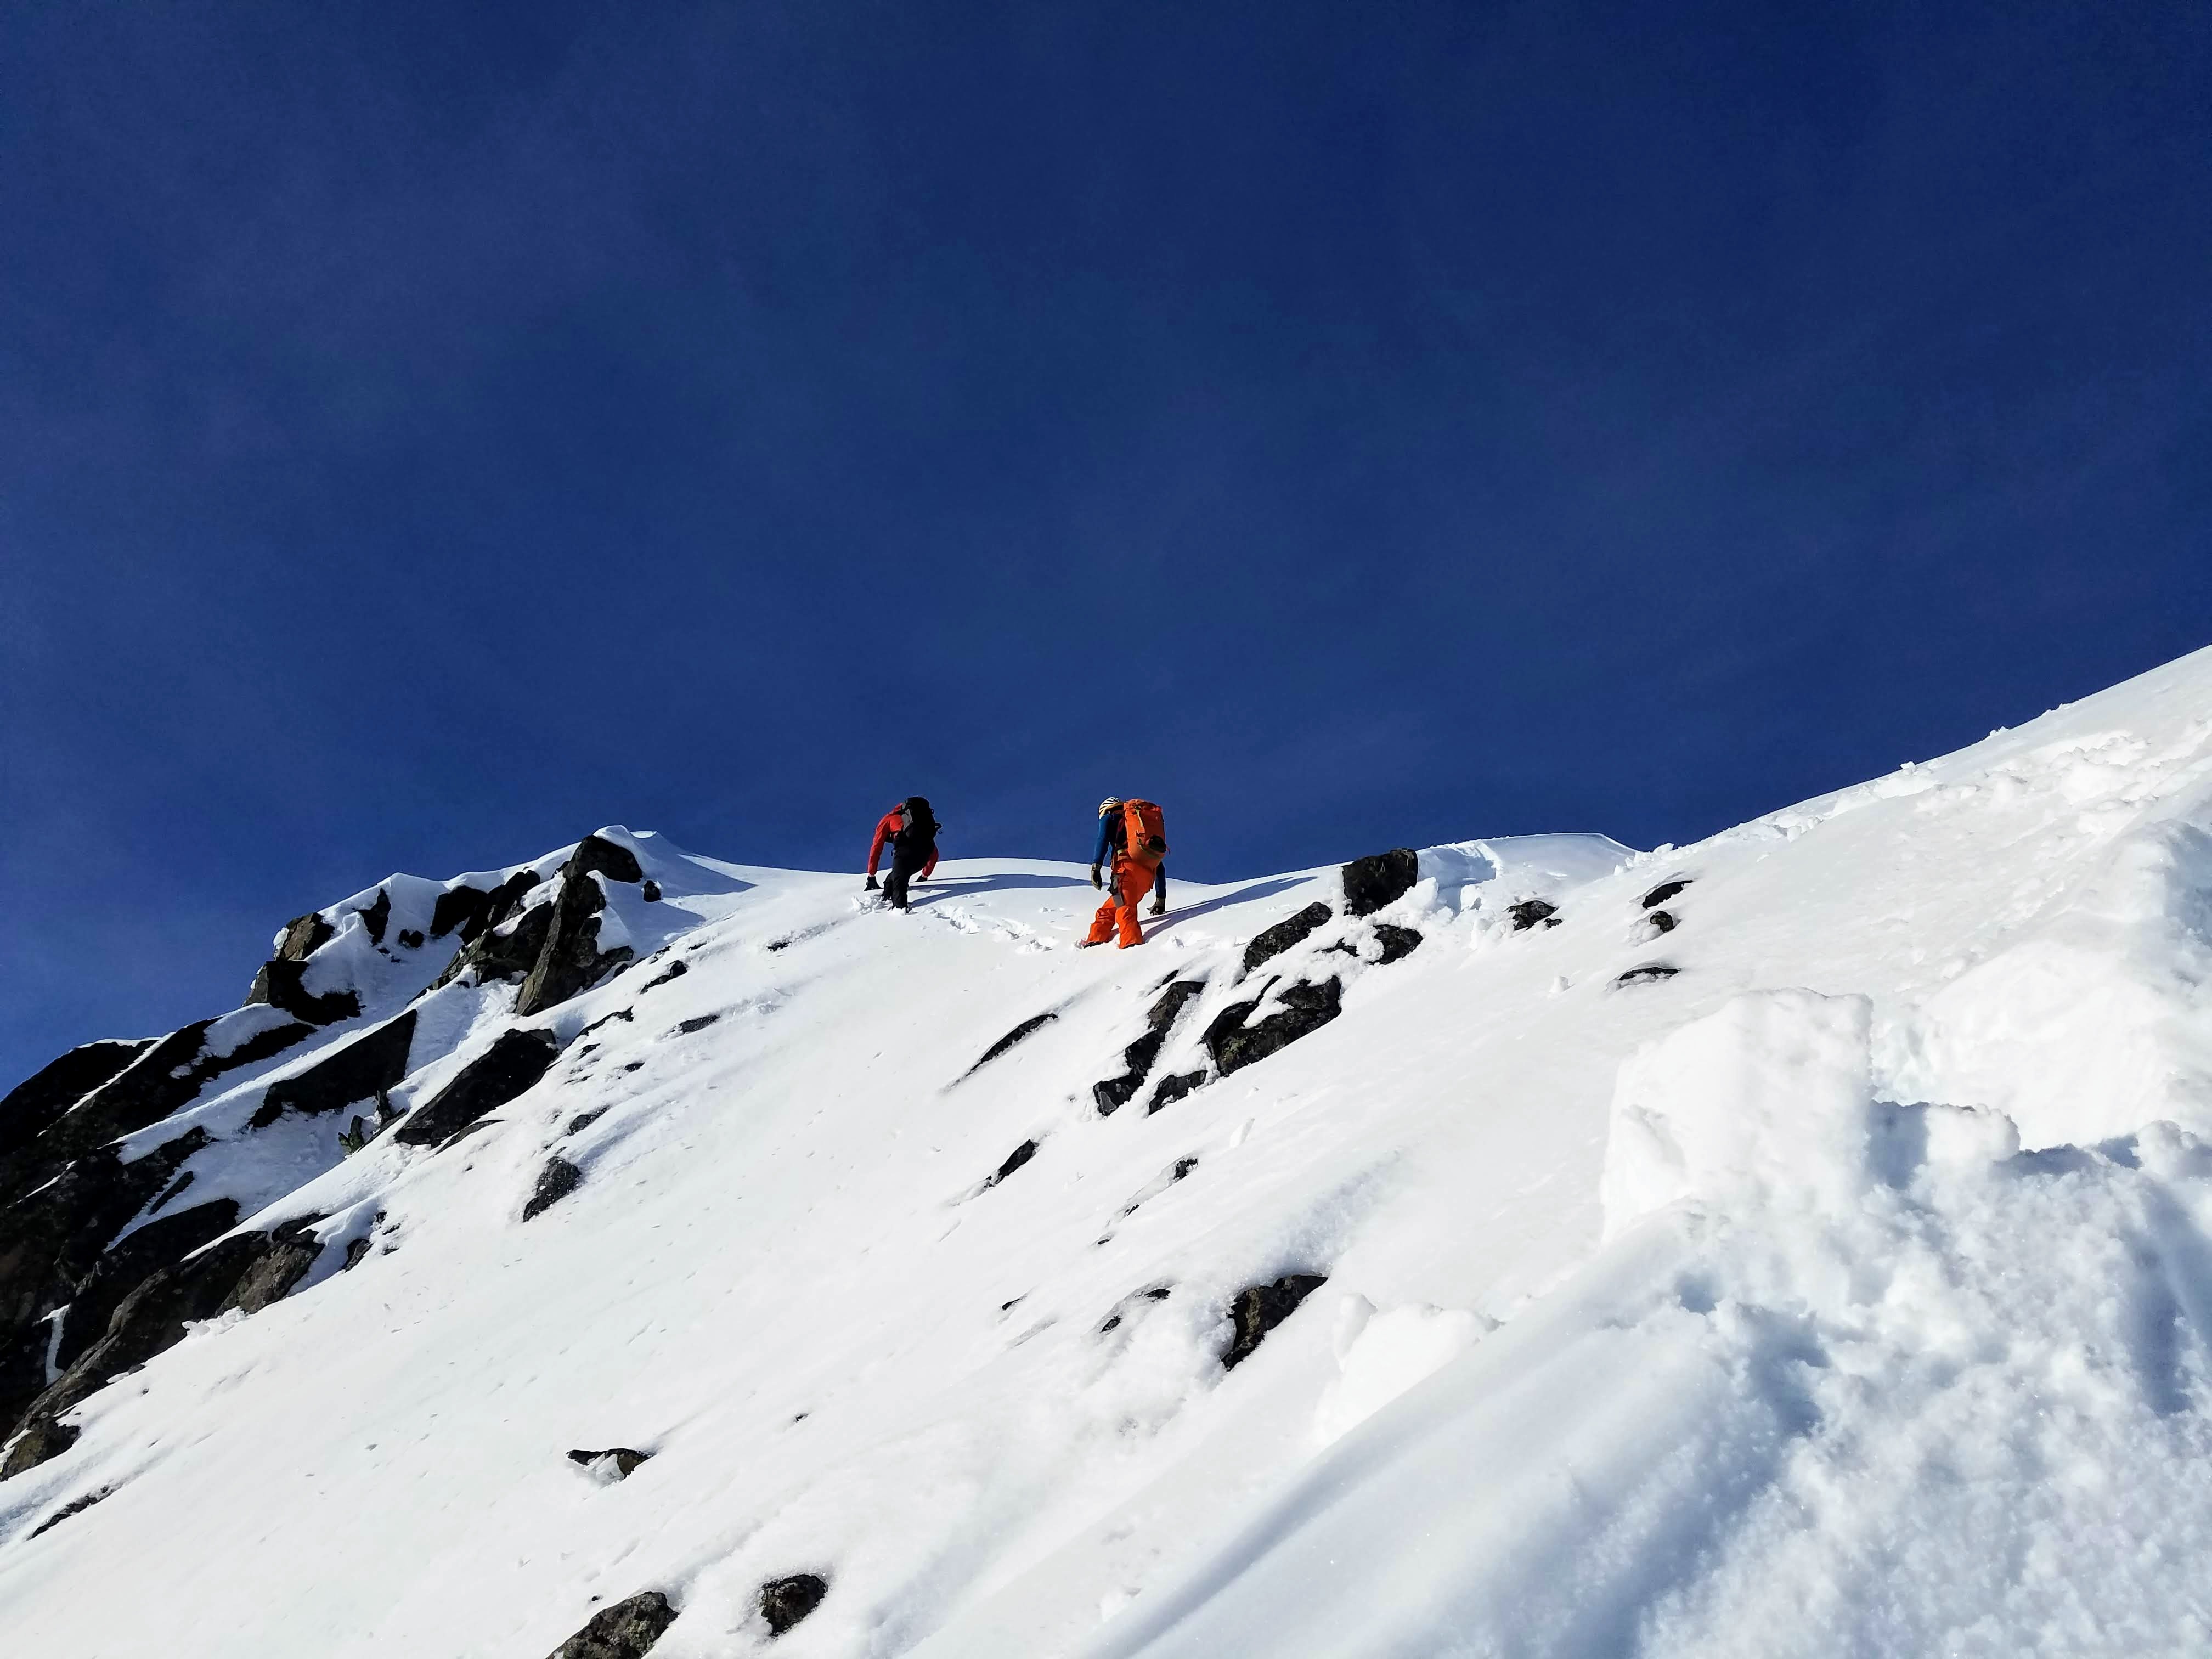
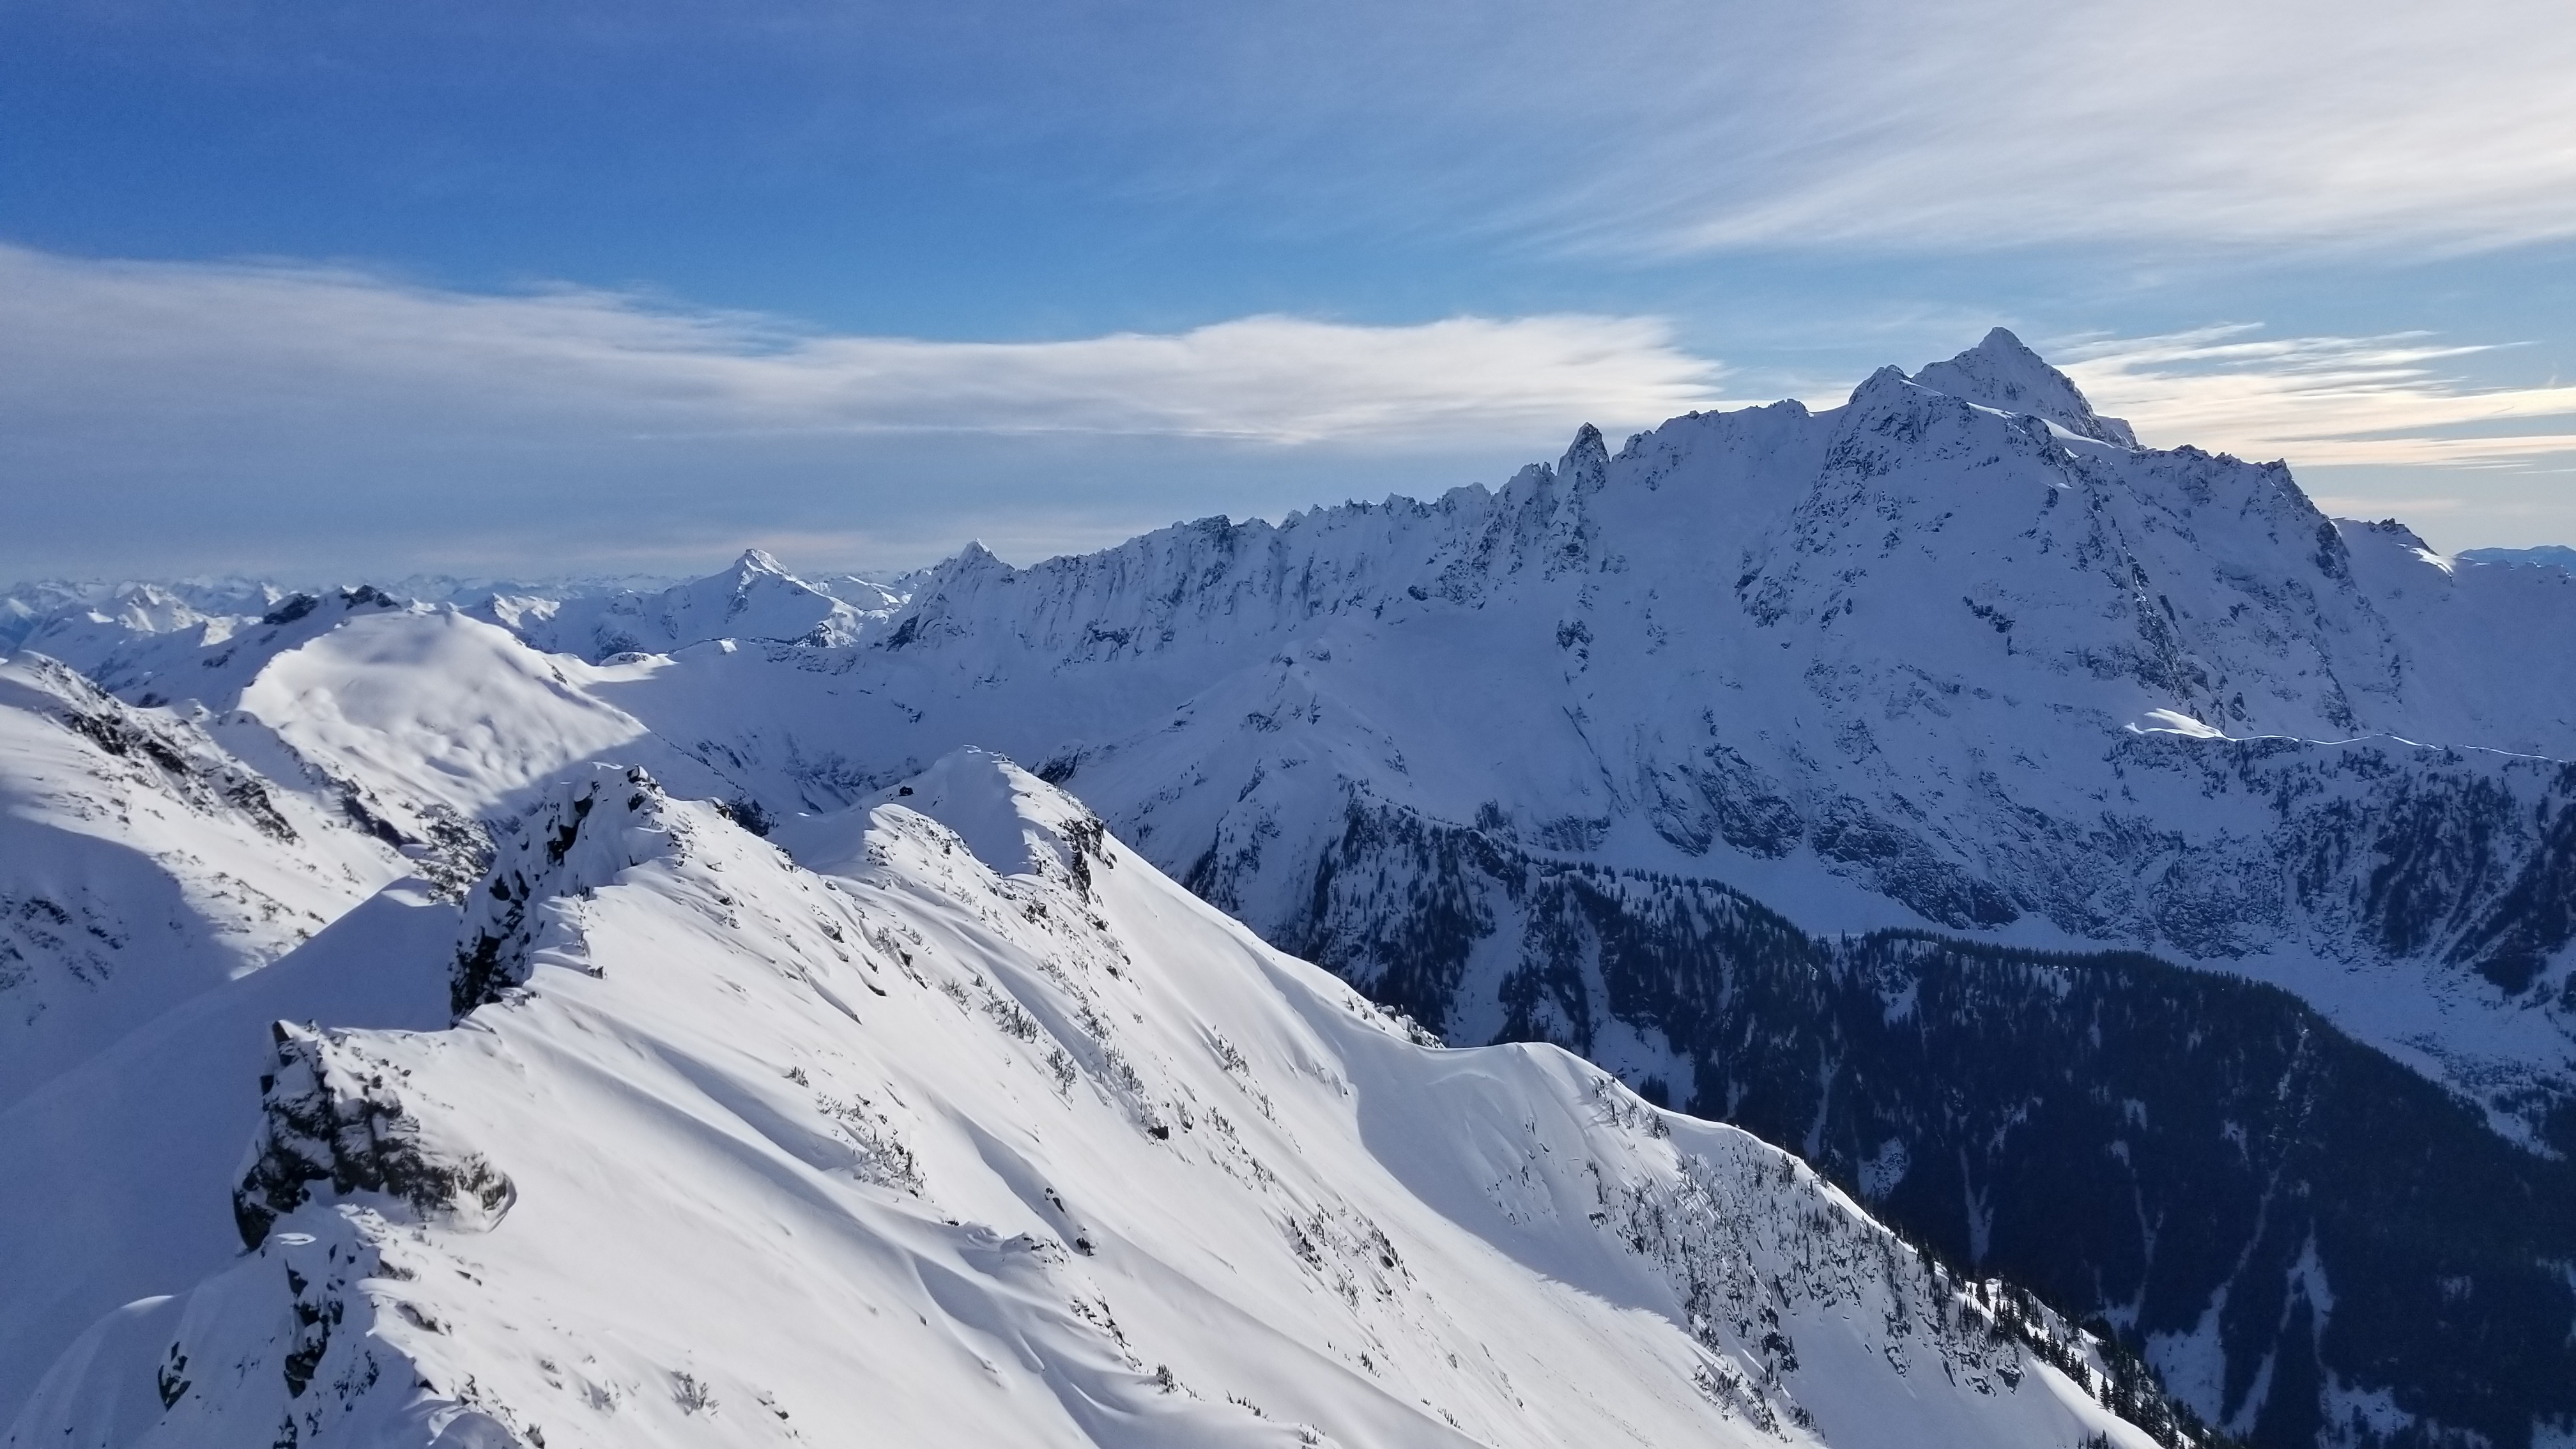
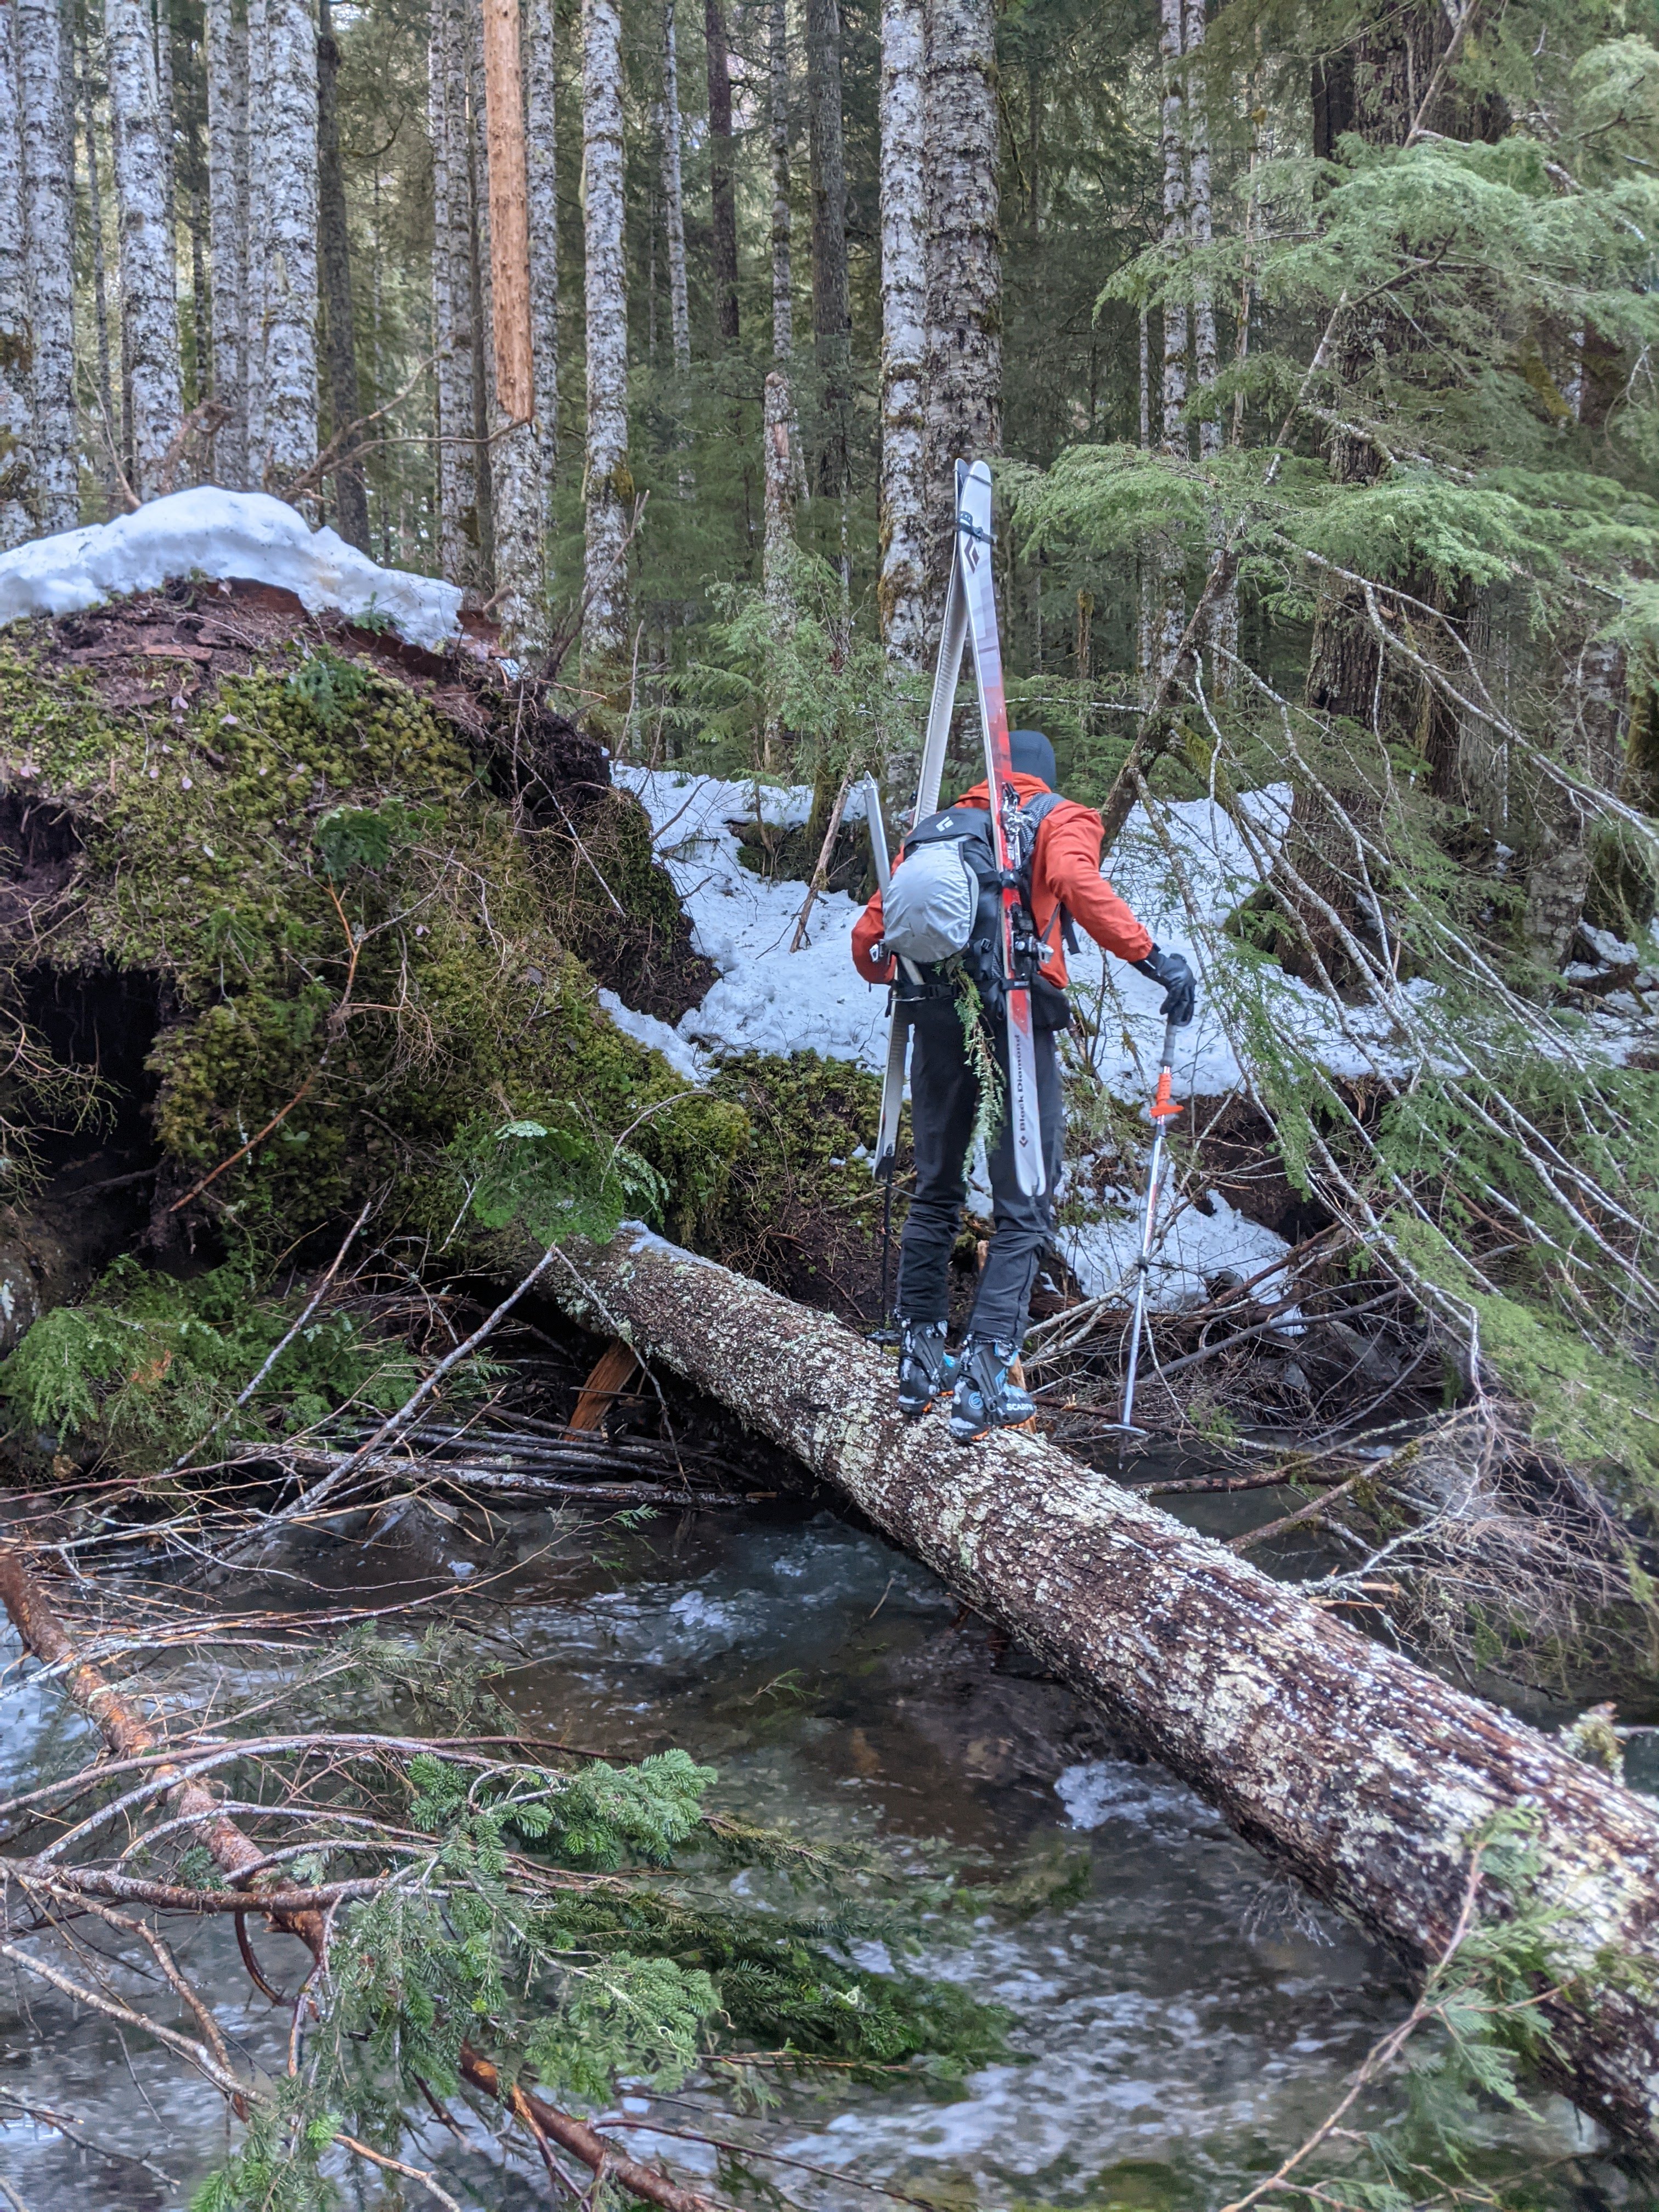
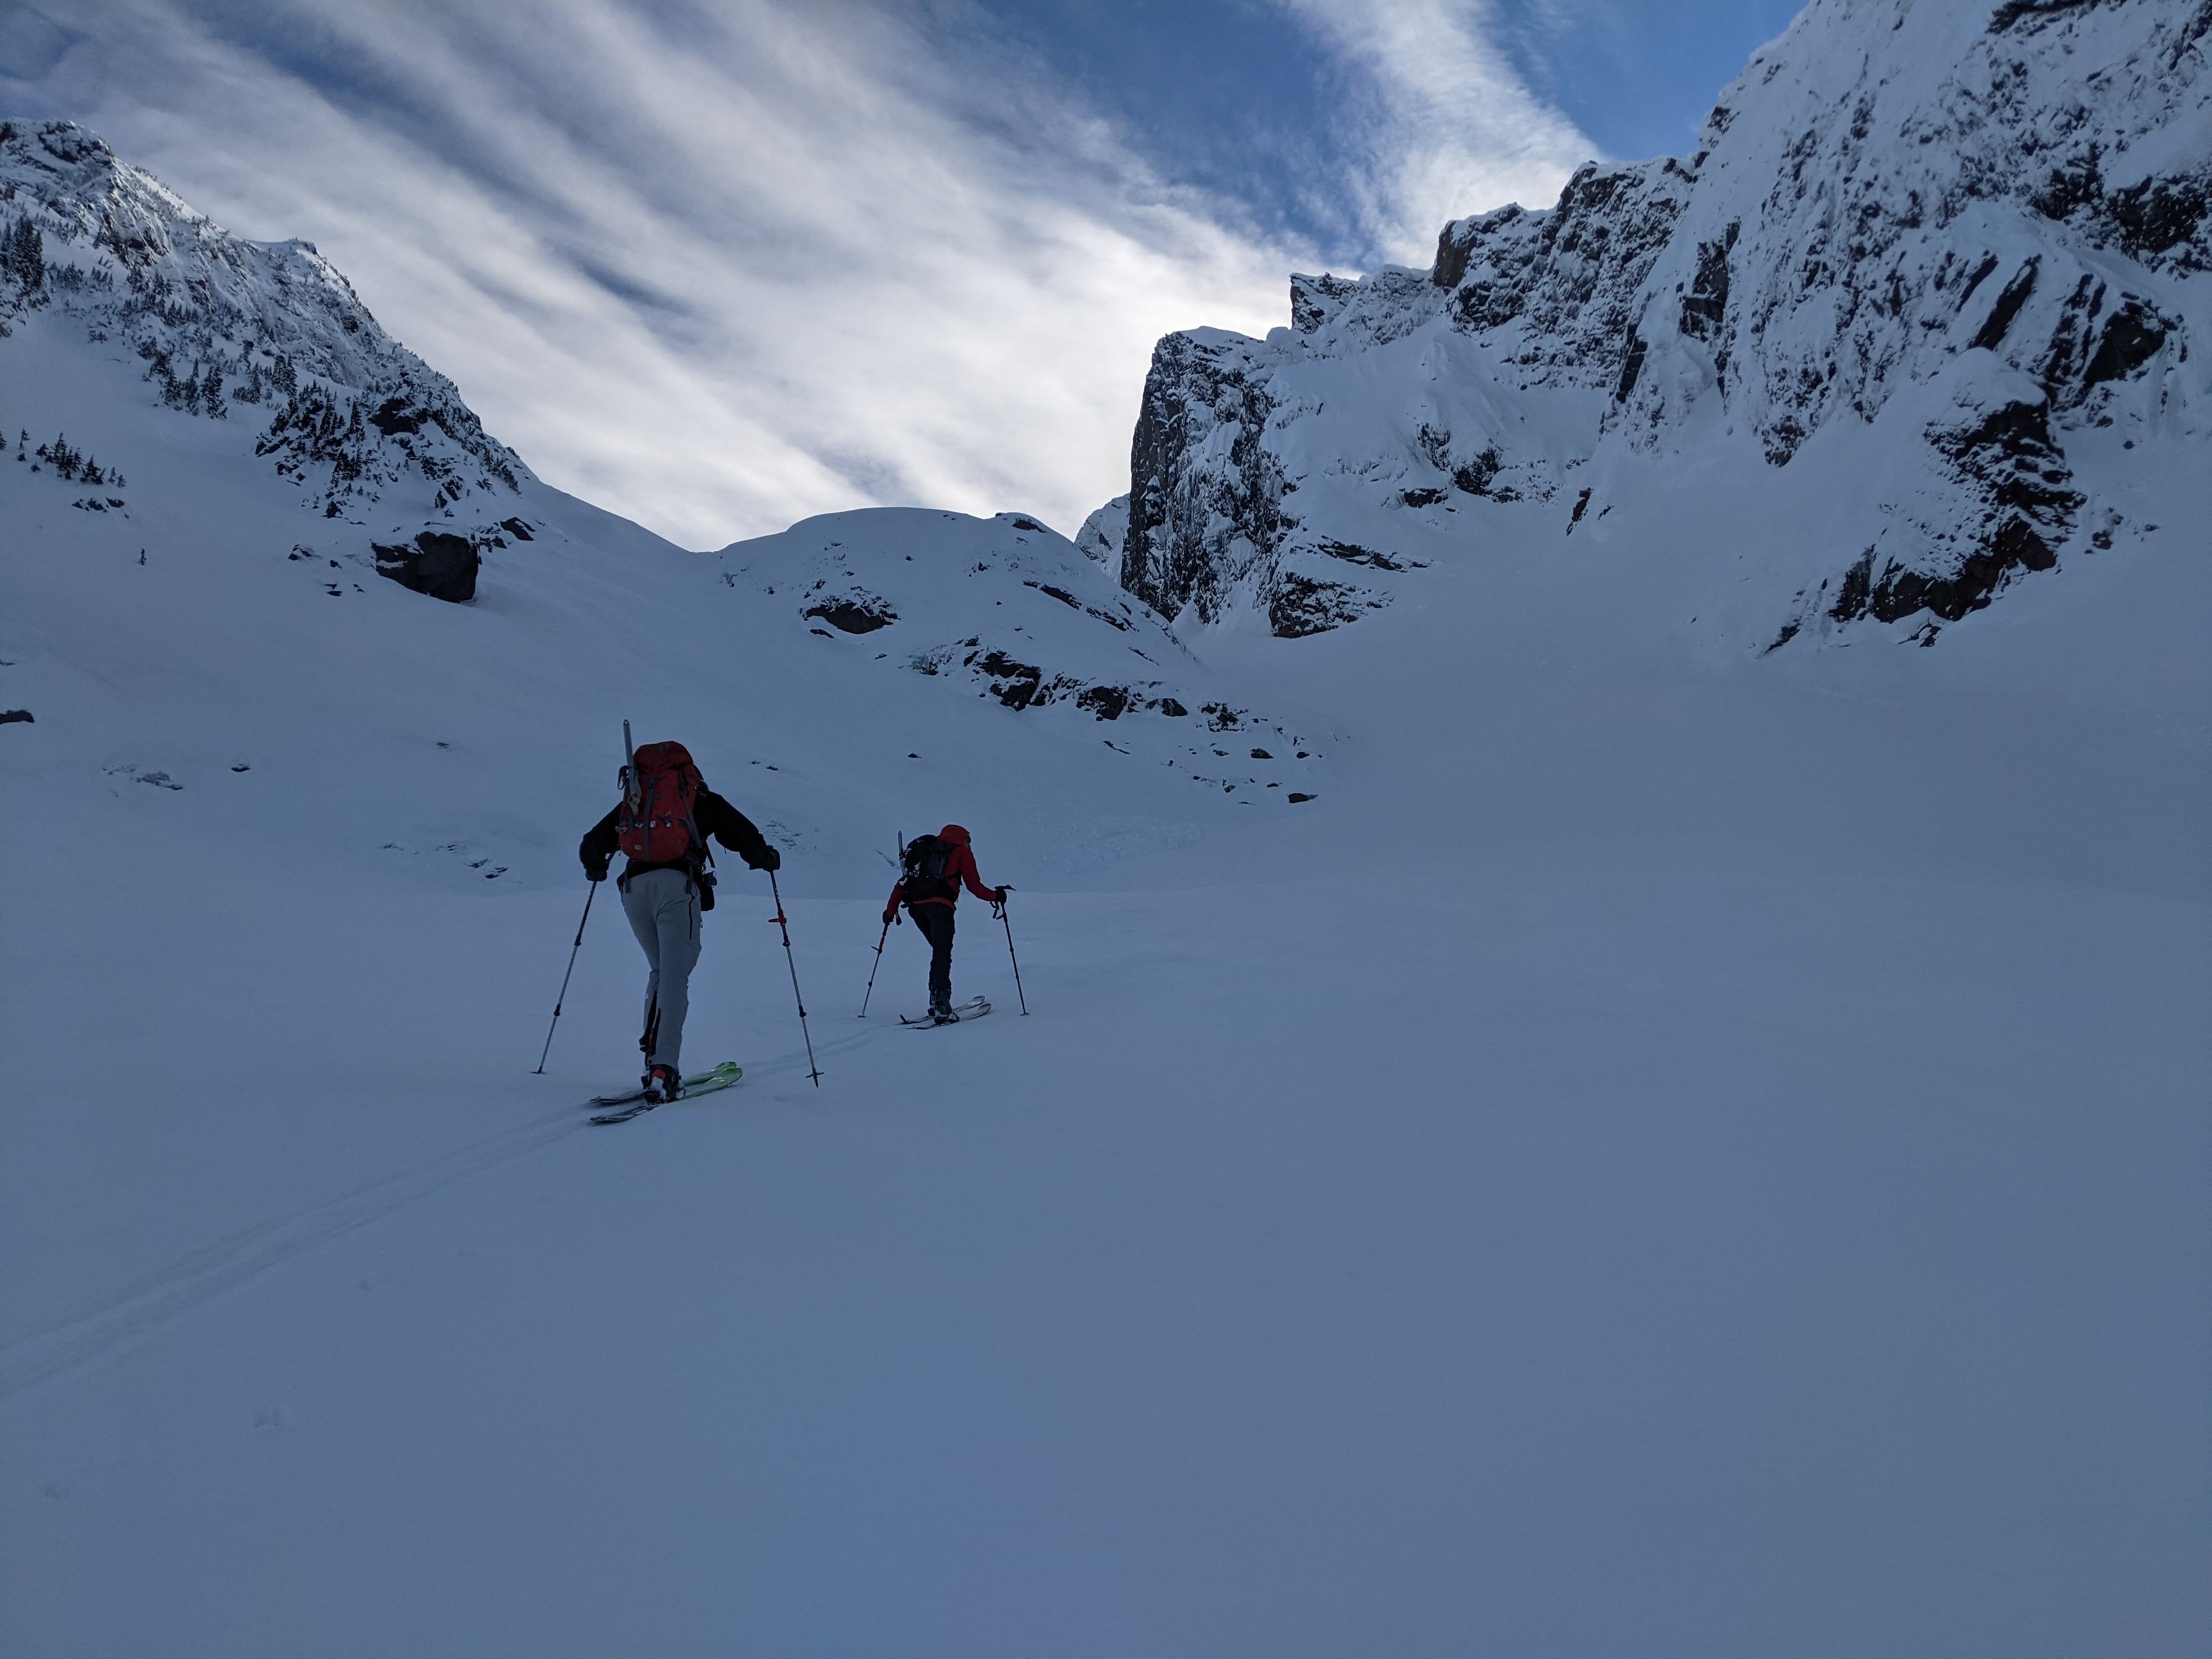
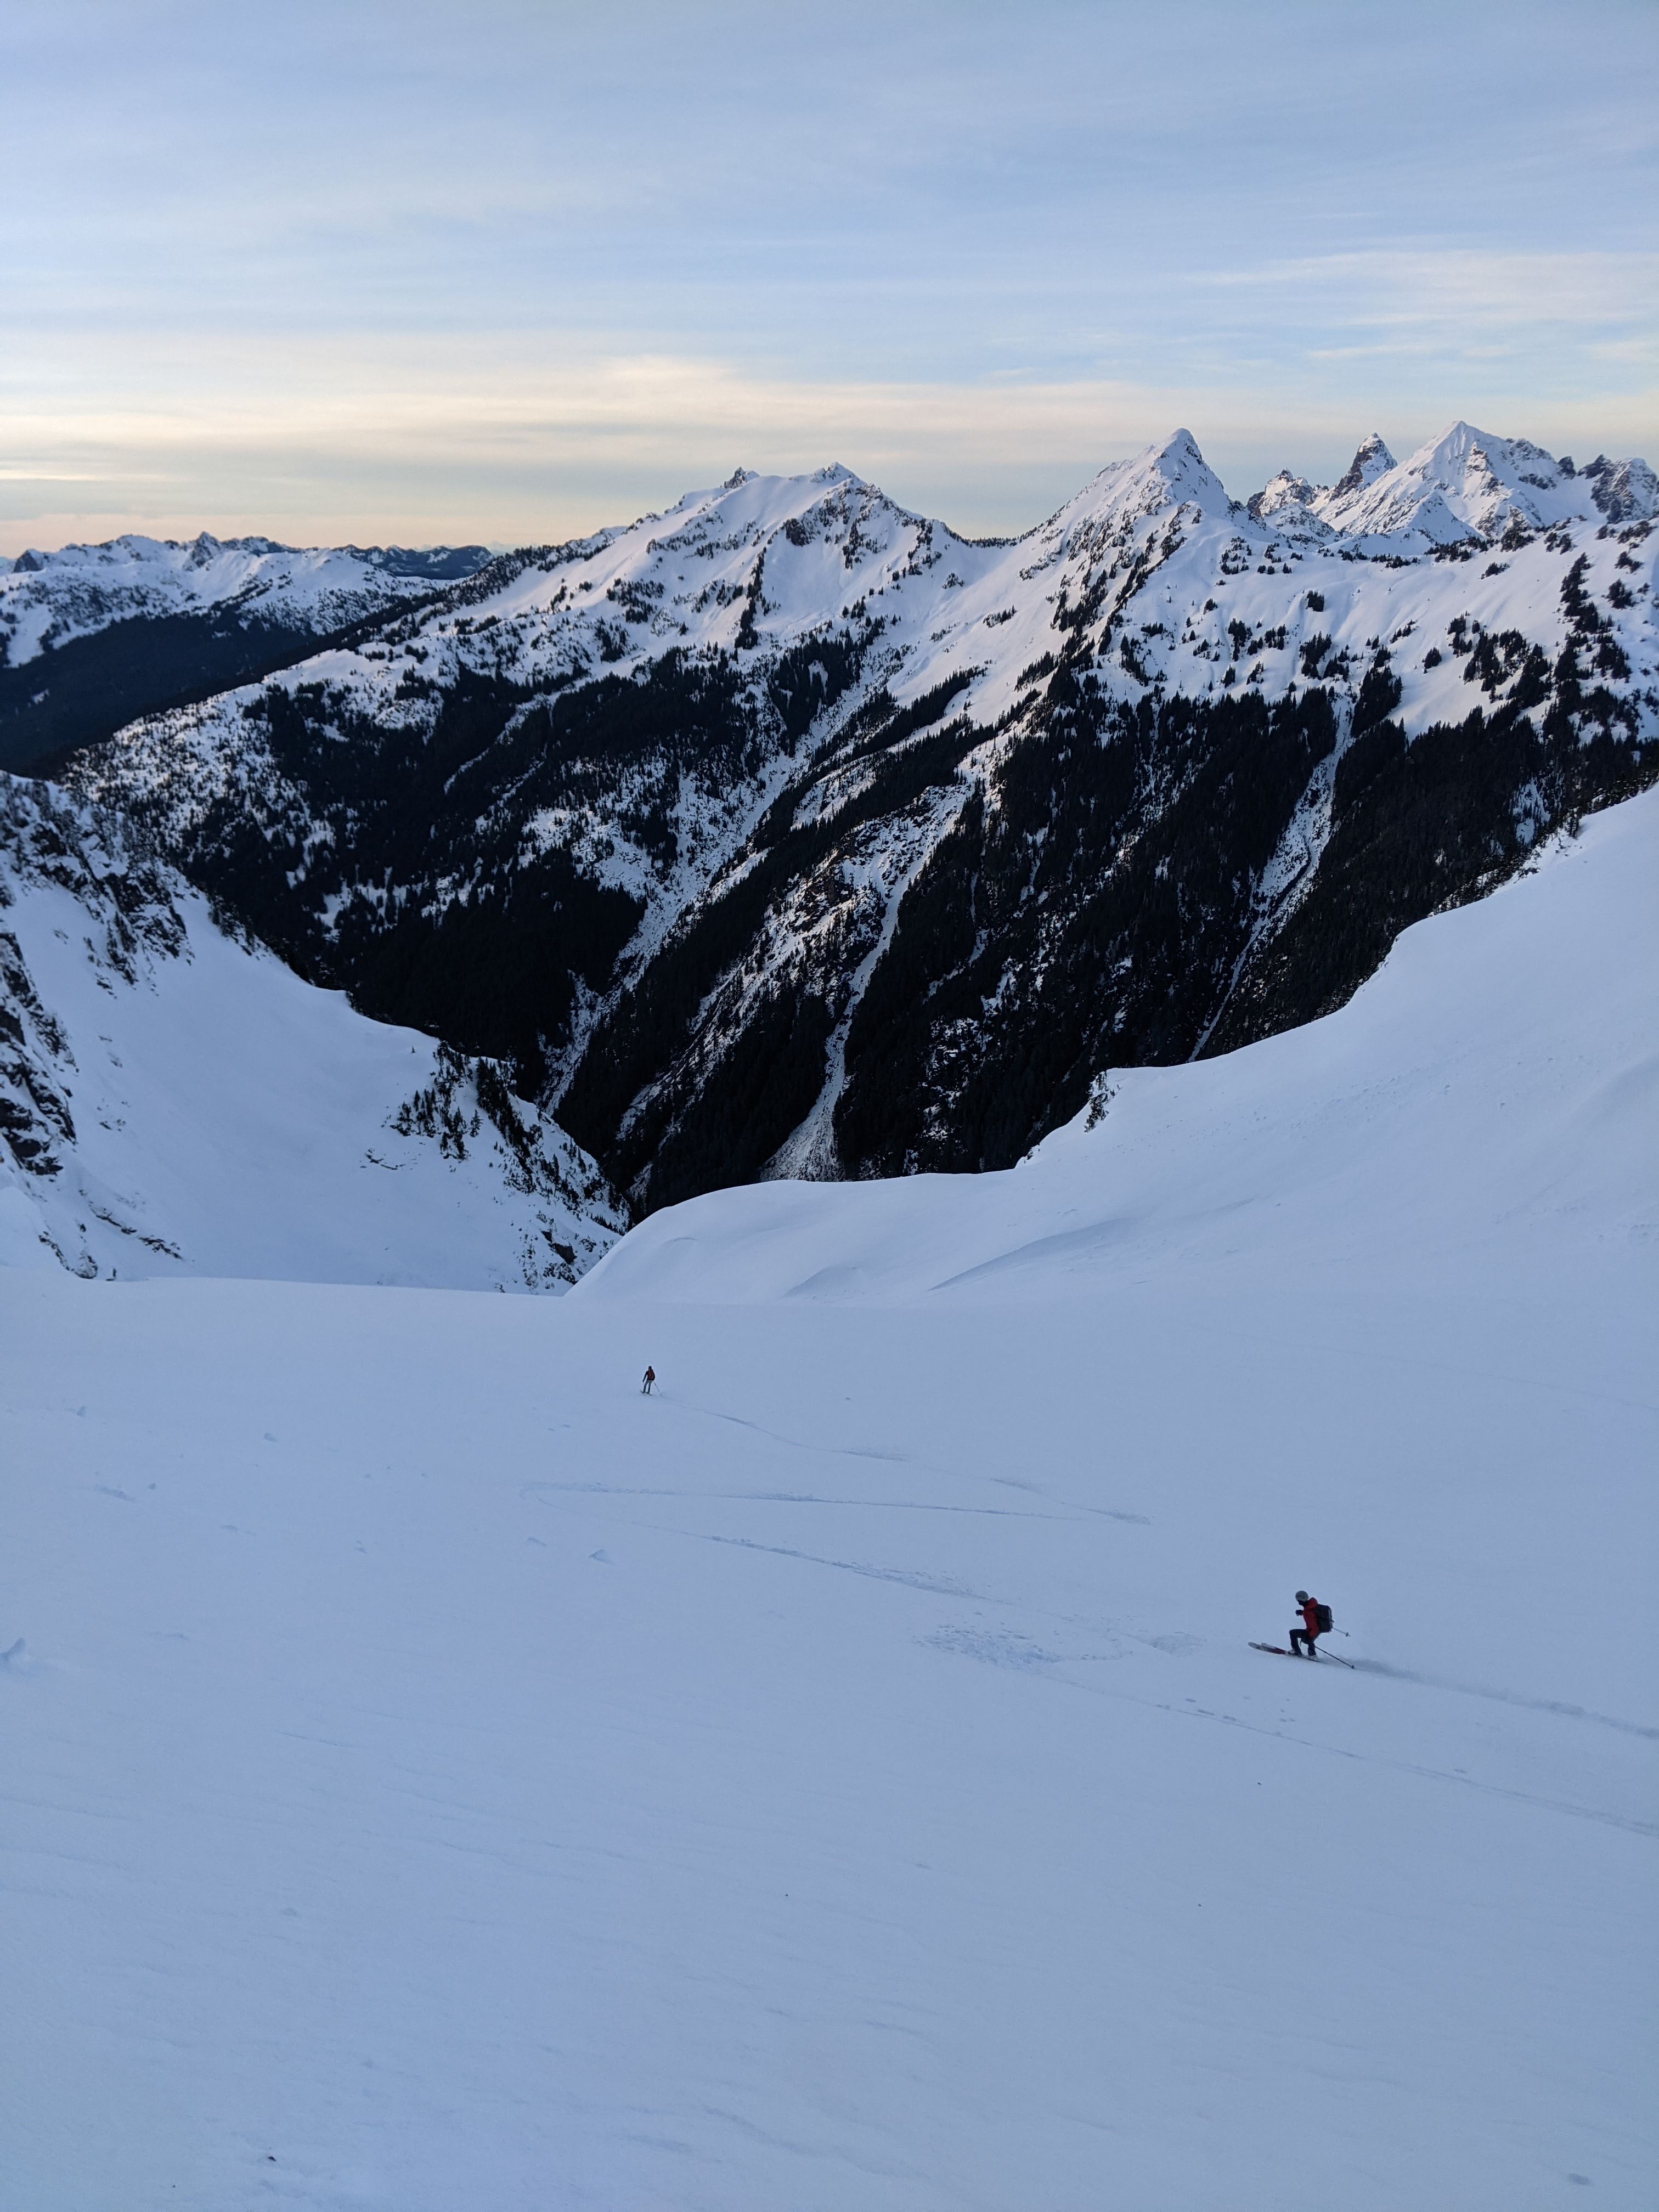
Trip: Mount Sefrit - NW Route - Wall Street Couloir Trip Date: 01/22/2022 Trip Report: I've been eyeing Sefrit for years, really looking to ski the NW route and the "Wall Street" couloir. I did the peak on my first try from the NE and the Bloody Head Couloir (colorful names on this peak), but I've failed more times than I care to remember due to various snow condition excuses. This time we had an outrageous skunking the weekend before which effectively served as a scouting trip. Me, @MGraw, and @thedylan skied in on the super frozen crusty road bed knowing the ski conditions would suck but that the cramponing in the couloir would be all the better for it (this was the plan). We eventually found the log after some awful wallowing in the barely covered brush and began cramponing up the avalanche debris on the couloir fan. I have tried most different types of conditions on this route and this is the only way I can see to make it work safely except for the very rare low snow dump with great stability. One is very vulnerable in the couloir with tons of hanging slabs over your head and 1000' couloir to feed into you. We made quick work to 5000' and last year's high point at the bottom of the upper basin. From here we skinned on crust with occasional thin powder patches all the way to the summit ridge at ~7000'. We took a look into the upper couloir on the NW flank of the summit pyramid, but we had set our hopes on fast and light, so didn't bring climbing gear. It looked too sketchy to try with no rope and only one axe apiece. Sadly this means we have to come back. We ditched the skis at 7000' on the ridge in the amazing warm sun after climbing in the shade all day. At this point it was already pretty late and we were worried (not Dylan). Then we hit a dead end on a tower on the summit ridge and had to backtrack. We climbed on the south side below the crest on mostly steep snow with a couple of rocky moves thrown in. I was worried we would run out of time with so minimal daylight. We persevered however and with Dylan leading some just barely solo-able moves on snowy rock and lots of step kicking we made the summit. I spent all of 30 seconds enjoying the efforts and accumulated knowledge of like 8 failed trips, then turned tail and headed down. The views are great, but the best was toward Shuksan's north side which we had been seeing all the way up from the ridge. Getting down to the skis was surprisingly easier than the way up. The snow was already re-freezing by about 3pm. We skied down, enjoying some of it anyway, booted the couloir, cramponed across the frosty log over Ruth Creek, then back to the skis for a super fast icy ski and skate down the road. 19 miles, about 5800' in 12.5 hours. I think this is the best way to get the route since it is super hard to find powder in a couloir at 3000' and stable conditions. Typical fun getting through the woods, sorry Mike: Ruth Creek: Fun conditions in the lower couloir, easy cramponing though: Upper basin skinning: Loving the alpine: Probably time to ditch the skis. Mike skied off this for his first turns of the year; nice work: Working up the ridge: Shuksan: Let's get out before dark. 10' off the summit: So worth it for the turns... I wanted to die. It never felt so good to take skis off and walk: Gear Notes: skis, helmet, axe, crampons, Bison Grass Vodka for the skate out. Approach Notes: ski from the highway1 point
-
1 point
-
Trip: Sherpa Peak - East Ridge Trip Date: 02/05/2022 Trip Report: Sherpa Peak (8,605ft) via East Ridge Feb 5-6, 2022, Eric and Nick 10 miles Snowmobiling, 18 miles skiing/climbing On the summit (photo by Nick) Sherpa Peak is an interesting technical mountain in the Enchantments area east of the Cascade crest. It is probably most famous for the huge balanced rock perched along the summit ridge. The mountain is fairly popular to climb in the summer, but becomes much more difficult in the winter. Roads to the standard trailheads on the north (stuart lake trailhead) and to the south (Esmeralda or Beverly Creek) are unplowed, adding many additional miles to the approach. Rroutes to the summit are technical, and they become much more difficult when covered in snow and ice. The route Nick and I were looking to climb Sherpa in winter, and I tried to research previous winter ascents to see what was the best winter route. I found reports of people climbing up snow couloirs on the north side in winter, but I couldn’t find reports of anyone reaching the summit, so it was unclear what the optimal route would be (I’d be very interested to hear about other winter ascents). The main routes are the west ridge and east ridge. We had both already climbed the west ridge route in summer, and it involves five or so pitches of 5th class rock. Nick had also climbed the east ridge route, which involved mostly 4th and some low 5th class climbing. Those seemed like our best options. I’ve found it’s very important for success on a winter ascent to have already done the route at least once in summer. Some people claim the balanced rock is the true highpoint of Sherpa, and this seems somewhat controversial. The balanced rock is a more difficult climb than the western summit, and most reports I’ve seen of people who have climbed the balanced rock claim it is the true highpoint. But people who don’t climb the balanced rock generally claim it is lower. In my experience the only way to know for sure is to measure the elevation difference with a sight level. Measuring the balanced rock shorter in 2017 In 2017 Katie and I climbed the west ridge route to the western summit and I brought a surveyors sight level. From the western summit I measured a 0.5 degree declination down to the top of the balanced rock, meaning the balanced rock is 2ft lower than the true western summit. Thus, I’m 100% confident the western summit is the true summit. This meant Nick and I didn’t have to worry about climbing the balanced rock on this trip (though Nick has already climbed it in summer). Our route choice then depended on the conditions. Friday there were supposed to be strong winds from the west and southwest, which might load leeward sides. This meant our best bet was to avoid the couloirs on the north and east side and access the routes from the south side. From this approach, the route to the base of the west ridge route was all low angle or southwest facing, meaning it would likely be scoured. So the west ridge would likely be very safe for snow conditions. But it would also take longer to climb with more technical pitches. Loading up at the sno park (photo by Nick) The east ridge route was accessed by climbing a south facing gully, which could potentially be cross loaded. But if snow conditions were safe the route would be faster since it had less technical climbing. Friday night we saw there had been much less snow transport than forecast, and it appeared the east ridge route might be doable. But we packed and prepared for either. We decided to bring a 60m half rope that we could double up to simul climb either route. This would let us do 30m rappels. We each brought two tools and a bunch of rock, ice, and snow protection. We would climb in ski boots and crampons. Previously this winter I climbed Forbidden in mountaineering boots, and I hadn’t done much mixed climbing in ski boots, but it seemed like it might not be that much more difficult. At the Beverly Creek trailhead To approach the route we had two options – start at Esmeralda trailhead and ski over Longs Pass, or start at Beverly Creek trailhead and ski over to fourth creek. I have a snowmobile so either trailhead is equally accessible. The Longs Pass route is slightly shorter mileage skiing, but requires dropping into some steep northeast facing terrain. The Beverly creek route is 1.5 miles longer, but doesn’t cross any avy terrain to get to the base of Sherpa. I had just done the Longs Pass approach last weekend to ski Stuart, and it was fine then when the snow was stable. But we were still a bit worried about wind loading, so opted for the Beverly Creek approach. It was the same elevation gain as Longs Pass, and I had previously done this approach in December to ski Colchuck, so I knew it would work well. The snowmobile approach is also 5 miles instead of 10, so there was a bit of time savings there. Crossing Bean Creek (photo by Nick) We planned to do an overnight trip to give ourselves the option of climbing Argonaut Sunday if the conditions were good and we weren’t too tired out from Sherpa. Friday night we drove to the 29 Pines sno park and slept a few hours in the car. By 3:30am we had the sled packed up and were cruising up the road. We hoped this would be an early enough start to tag the summit mid afternoon and get back to camp. I brought a chainsaw and ax just in case there were blowdowns on the road. Skiing down Fourth Creek before sunrise We made quick progress to the Beverly Creek turnoff on groomed track, then I broke trail with the sled up the ungroomed road to the Beverly Creek trailhead. Shortly after 4am we were suited up and started up the trail. We followed ski tracks to Bean Creek, but then they diverged. We carefully crossed Bean Creek on a crumbling snow bridge and then started breaking trail up Beverly Creek. Crossing Ingalls Creek We alternated trail breaking and travel was efficient. By 7am we reached the pass and were soon skiing down the other side. The snow was generally fun powder. We stayed on the west side of Fourth Creek, trying to stay high enough and avoid getting too close to open water holes. Down near Ingalls Creek the snow got icier and we sideslipped down to the edge of the water. Last weekend I had crossed Ingalls Creek a few miles upstream en route to Mt Stuart and it was only ankle deep and trivial to walk across. But here it was shin deep and nontrivial. We scouted around a bit, and I made a short fouray walking into the creek but turned around when I slipped and dunked a foot in. Luckily there was a 1ft diameter log across the creek nearby. We took turns scooting across au cheval style, and made it to a flat spot on the other side by 8am. Skinning up the southeast facing gully We ditched our overnight gear there, took a break, then headed upstream. Around 4,600ft we left the trail and started zig zagging up the southeast-facing gully that leads to the Stuart-Sherpa col. The gully is mostly low angle all the way to the col, and travel went smoothly. Lower down in the gully the powder snow was heating up in the sun and starting to glop on the skis, but when we got into the trees it improved. Climbing up the south gully As we neared 7000ft we noticed the southwest facing slope at the base of the west ridge was scoured to talus, as expected. So there were no stability concerns there. The south gully to gain the east ridge was still partially in the shade. We found only about 6″ or less fresh snow on the late January crust on the south aspect, and it hadn’t softened up yet in the sun at that elevation. So we decided it would be safe and most efficient to go for the east ridge route. Worst case, if we were worried about it heating up later in the afternoon we could wait around til dark to descend once it iced over. At the notch (photo by Nick) The base of the gully had a few short cliff bands, and we decided to ditch our skis at the base of the cliffs so we didn’t have to worry about skiing down above cliffs. Climbing would also go much faster if we didn’t have to carry skis on our backs. We took out our tools and started kicking steps up around the cliff band through some bushes and up the gully. Nick found a short ice pitch to climb in one of the cliff bands while I went around up a steep snow ribbon. Higher in the gully the snow was nice and firm on top of some old avy debris, and we soon popped out in a notch on the east ridge at 8,200ft. There we were able to lighten our loads a bit more. I ditched avy gear since that was the end of the avy terrain, and I ditched my ascent plates which I hadn’t ended up needing. Climbing the first 30m step (photo by Nick) Interestingly, the wind was coming from the northeast and had formed some small cornices overhanging the south side. There was some blowing snow as we marched up the ridge, but it eventually died as we moved onto the south side. We scrambled and front pointed up to the base of a cliff below the balanced rock on the south side of the ridge. From there we soloed up some fun mixed fourth class rock to a slung horn on the ridgecrest. Traversing on the north face (photo by Nick) Nick had actually done this route before in summer so volunteered to lead from there. We would simulclimb for efficiency and doubled up the rope. I recalled Beckey says to traverse onto the north face to get around the balanced rock, so that’s where we went. Nick led across, and after 30m I followed. The traverse might be class 3 or 4 in summer, but it feels much more difficult than that in mixed conditions. I traversed across the top of a slab with pretty big exposure beneath on the north face. There was a lip I could hook my tools on, but the feet were thin snow dust and ice on slab. It was quite insecure and I was happy Nick had gone first to find the route. I carefully inched my way across, and then started diagonalling up and right. I followed Nick’s tracks in the snow, and occasionally hooked ledges to pull myself over steps. Climbing on the ridge Nick belayed me back up to the ridge crest between the balanced rock and the true summit, and then I belayed him back out. We wove back onto the north face, then kicked steps up to the ridge crest and scrambled along the crest. We then reached a cliff face below the summit and moved back onto a ledge on the north face, then climbed steeper mixed terrain to the ridgecrest just past the summit. Nick on the crux slab We had now at least reached the crux pitch. The last 30m to the summit were a downsloping slab with big exposure on the north side. This is the point where the east and west ridge routes meet, and I remember this section not being too hard in the summer. I had just relied on friction to walk on the slab. But you can’t really rely on frictioning a slab like that in crampons. Nick after reaching the summit The slab had an inch or so of light powder on top which wasn’t bonded at all. It looked pretty sketchy, and there were no obvious features to hook with the tools. Nick bravely volunteered to give it a shot. I slung a horn and we flicked the rope around a bulge on the ledge so he’d at least be protected from a slip to the north side. Nick got farther along, and wasn’t able to find any gear, and it was looking grim. But then the powder changed to verglass and he was able to barely stick his front points in. That was enough to make it across to the other edge of the slab and sling a nub on the top. That was the crux, and Nick made it across a gap and over a ridge on the other side. I belayed him all the way to the summit, which was about the end of the 30m of rope. I then belayed him back partway and he found an anchor. I then started across. It was still unadvisable to slip since I was traversing but I had more protection from the rope than Nick had had. The best technique seemed to be to try to balance my frontpoints on micro features in the slab until I got to the verglass, and then I could delicately stick them in. I was able to barely hook micro nubbins above me with my tools and eventually balanced my way across the slab. Summit panorama On the summit I then crossed the ridge and downclimbed to a good ledge. I really didn’t want to downclimb that slab on the return, and vowed we’d leave whatever gear was necessary to rap off another way. Luckily underneath the snow we excavated an existing rap anchor. Nick clipped in to that and belayed me the short remaining slab to the summit. I found the register, but it was frozen shut. This seems to be common in the winter. Either the register is buried too deep under snow, or if you find it it’s frozen shut. I think I’ve only been able to sign a few registers in winter. The view towards the balanced rock I took a few pictures on the summit and got an amazing sunset view. Rainier and Adams were basking in dark orange and red sky with undercast to the west. Sunsets and sunrises are always great in the winter. We really wanted to be done with the rappels before dark, so I soon retreated back to the anchor. Nick went first, and rapped directly down the north face. I followed, and then we simulclimbed back. We definitely didn’t want to repeat the traverse on the north face below the balanced rock, so agreed to find an alternative rappel back. We simulclimbed directly to the balanced rock, and I briefly looked up at it. Sunset at the last rappel (photo by Nick) That would have been very difficult in crampons to get up the friction bit at the top. Perhaps if we had brought rock shoes and had been there a few hours earlier we could have tried it. But it wasn’t the summit, so we skipped it. We followed the ridge down to the east of the balanced rock and came across a good rap anchor. Maybe this is the standard way down after all. Nick went first, but unfortunately the rope was a few meters short of reaching a good ledge on the bottom. Nick untied and downclimbed, but I instead rapped to an intermediate anchor I saw, then did another rappel down. By then we needed to turn on headlamps, which was good timing since we had just finished the last rappel. Scrambling down the ridge We scrambled back down to the notch, then I packed up my stashed gear and we descended the gully. By now the gully was icy and there was no concern about loose wet slides. We marched down to the top of the icy rock cliff, then downclimbed the steep snow ribbon to the side. By 7pm we were back to the skis. Downclimbing to the skis (photo by Nick) At that point I really wished it was still daylight and the snow was soft. By the time we started skiing the snow was all ice. We carefully sideslipped and skied down, but it eventually turned to breakable crust. We made some jump turns, but that was tiring with all the climbing gear in our packs. So we reluctantly put the skis on our packs and booted down. Back in the trees the snow turned back to powder and we put skis back on. From there the skiing was pretty fun. We occasionally broke out into open terrain and icy snow, but then returned to powder in the trees. Finally we reached our camp and set up the tent and cooked some dinner. Leaving camp Sunday morning Sherpa had taken longer than anticipated. I think I had been estimating time based on climbing Stuart last weekend. But the snow was all firm then and travel fast, while for Sherpa it was much slower going in the softer snow. We talked about whether to still go for argonaut the next morning. Sunday was supposed to be much warmer, meaning the south side up argonaut would be prone to loose wet slides. Our plan had been to climb it at night while the snow was icy, topping out at sunrise and descending before it heated up. But based on our speed on Sherpa we figured we’d have to wake up around midnight for that to work. We didn’t make it into the tent til 10pm, and 2 hours of sleep was unappealing after the tough 16 hour day. We also didn’t want to be racing against the clock while sleep deprived to hustle up argonaut before the sun hit. That seemed risky. Back to the sled So we decided to save argonaut for another trip and just sleep in. Sunday morning we rolled out of bed at 8:30am after what seemed like just the right amount of sleep. We took our time getting ready and had an interesting scoot back across the log over Ingalls Creek. We skinned back up Fourth Creek and the snow was glopping pretty bad in all the heat. At the top of the pass we transitioned and had a fun ski back. Travel was fast zipping along our up tracks, and it looked like nobody else had been up in the valley all weekend. We reached the snowmobile by early afternoon, and soon loaded up and rode back to the sno park. Link to more pictures: http://www.countryhighpoints.com/sherpa-peak-winter-ascent/ Gear Notes: 60m rope, two tools, light rock rack, skis, (brought but didn't need pitons, screws, picket) Approach Notes: Snowmobile to Beverly Creek TH1 point
-
As someone who has climbed TC's in awful conditions, I'd wait until you're sure its good. The north face of Dragontail is probably one of the most photographed aspects in the Cascades. I bet even so in winter. Social media is your friend on checking conditions of the face. You'll have to wade through 1000's of photos of bikini clad women in the foreground to get to the recent winter shots. You want to see wide, continuous white through the runnels between the hidden and second couloir. Most will tell you to wait until late March through April. Maybe May if it hasn't been warm.1 point

