All Activity
- Past hour
-
 justmytwospence joined the community
 - Today
-
This is rad, I dig the understated and humble approach to the write up. Inspiring.
-
 Amazing!
 -

[TR] Johannesburg mountain - Northeast buttress ‘51 rib 07/26/2025
JonParker replied to A=A's topic in North Cascades
Wow, sounds like you had time for a second lap that day! -
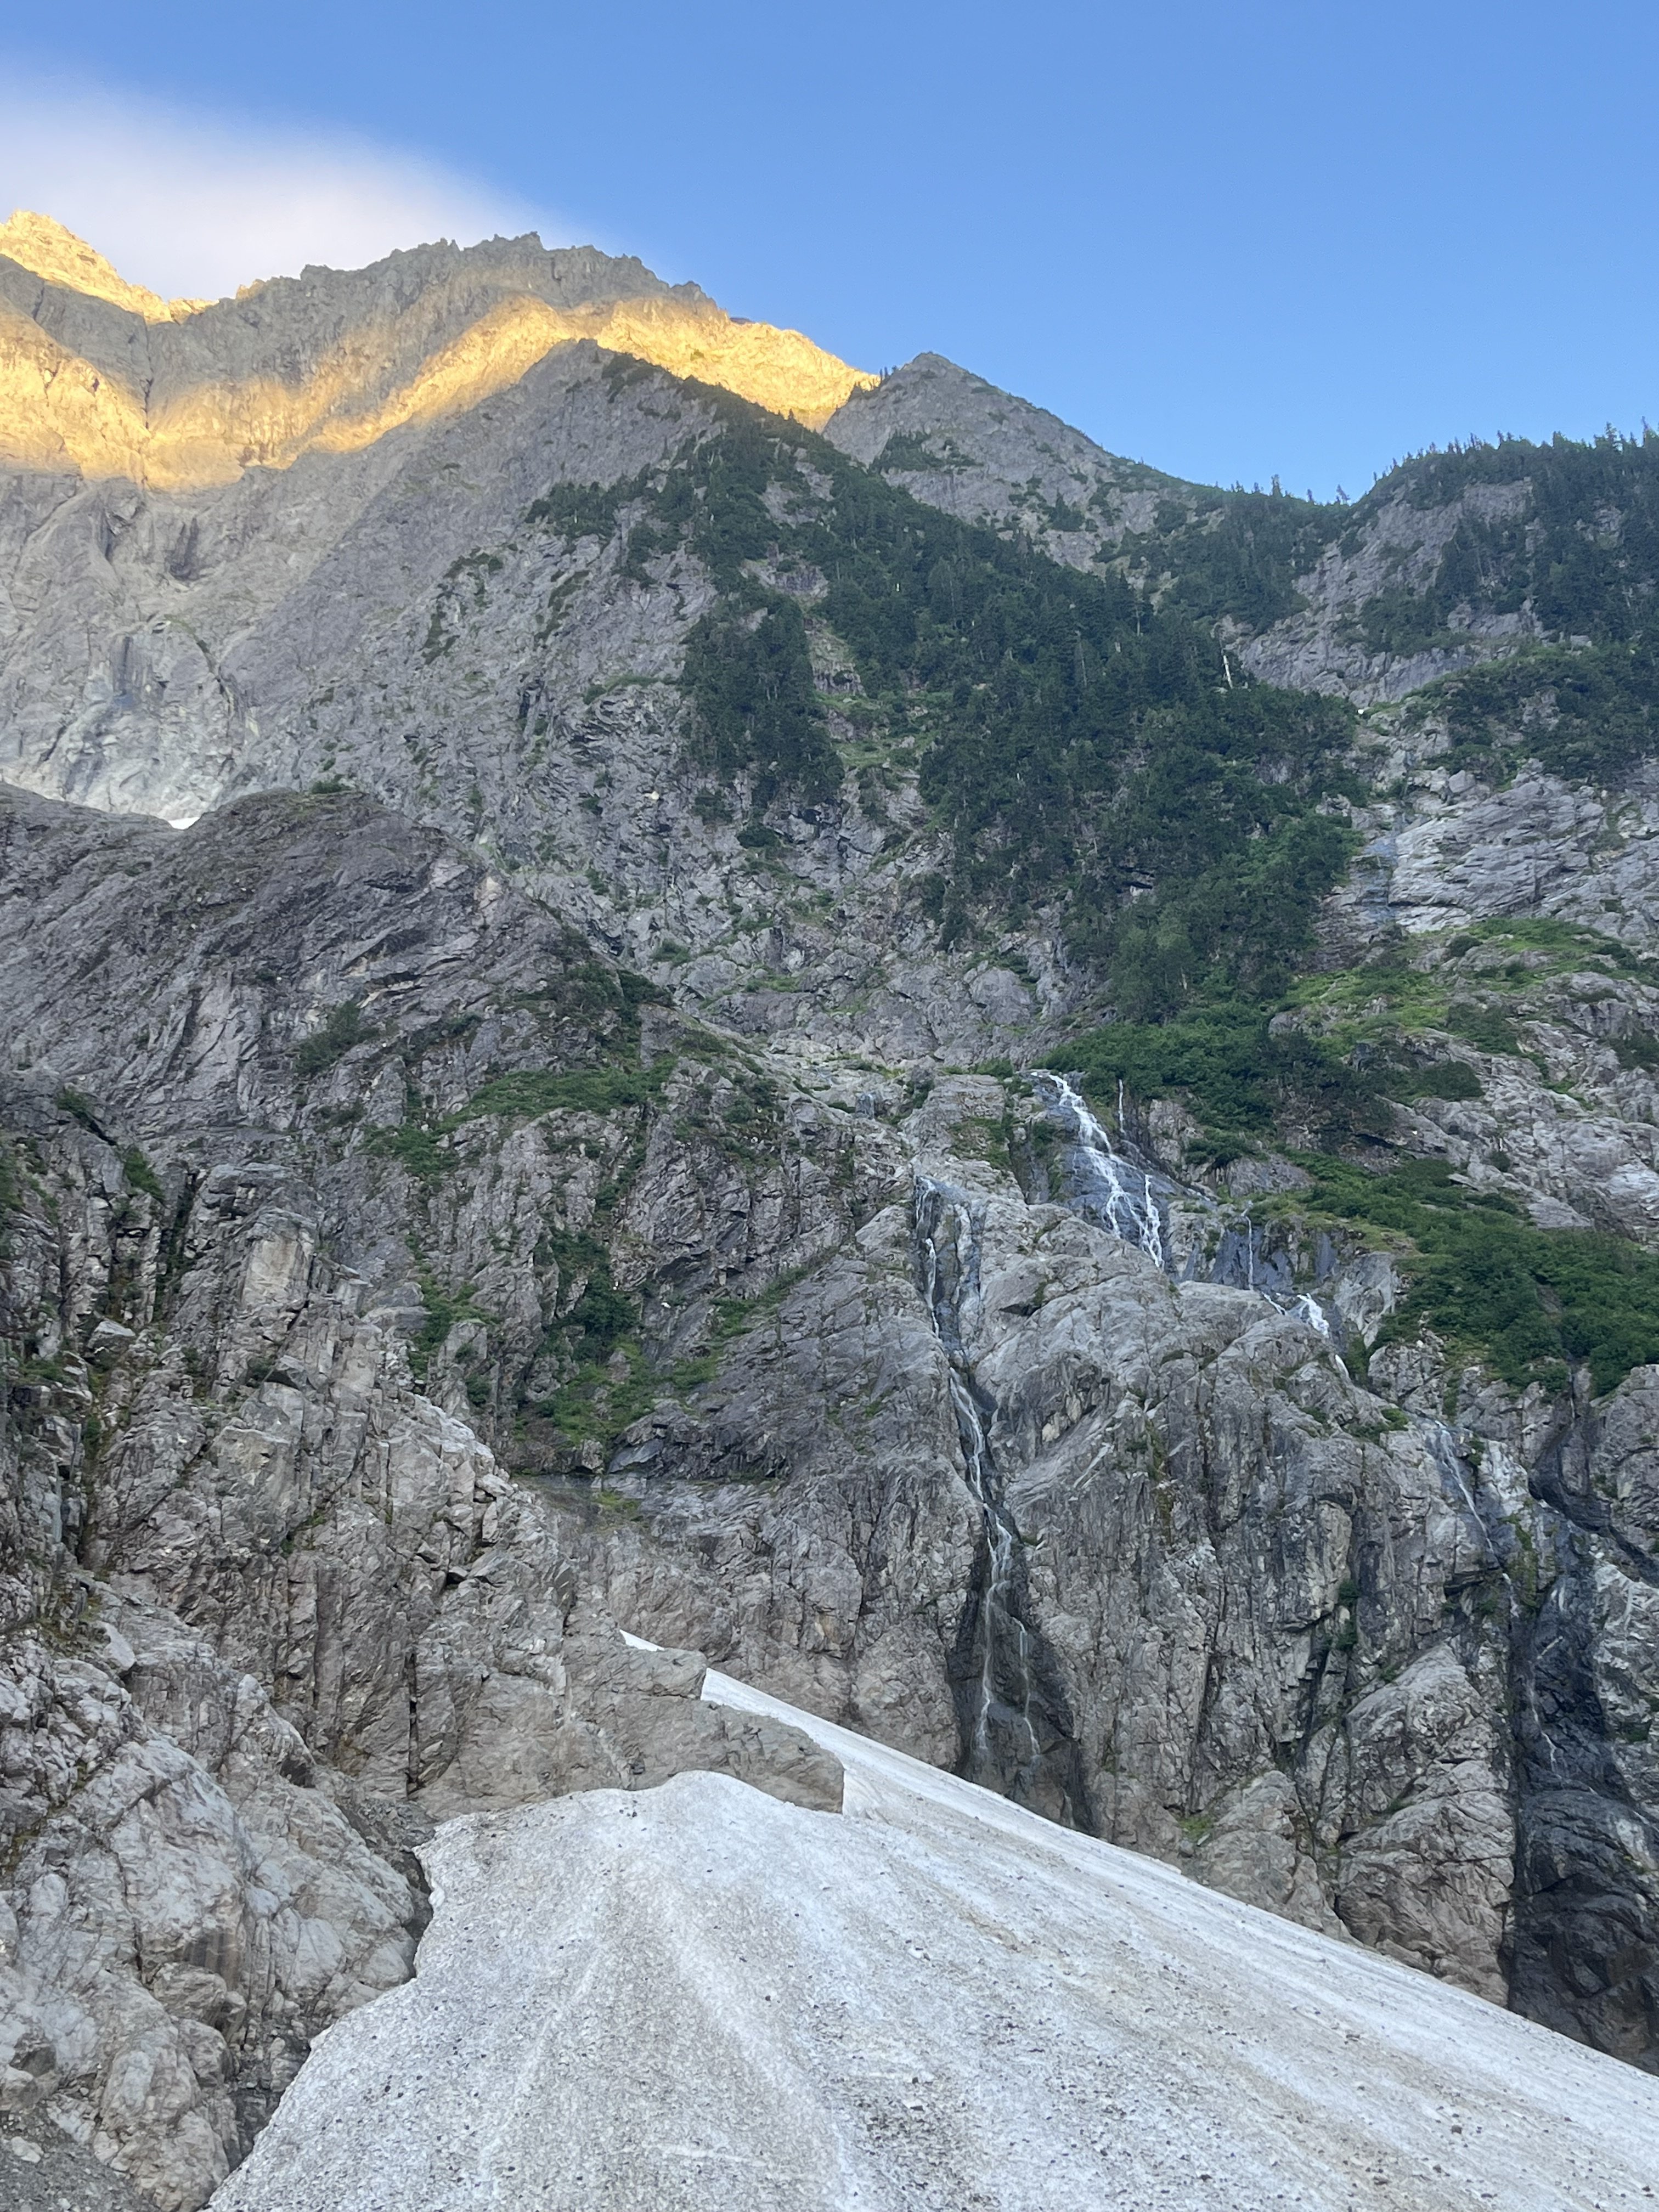
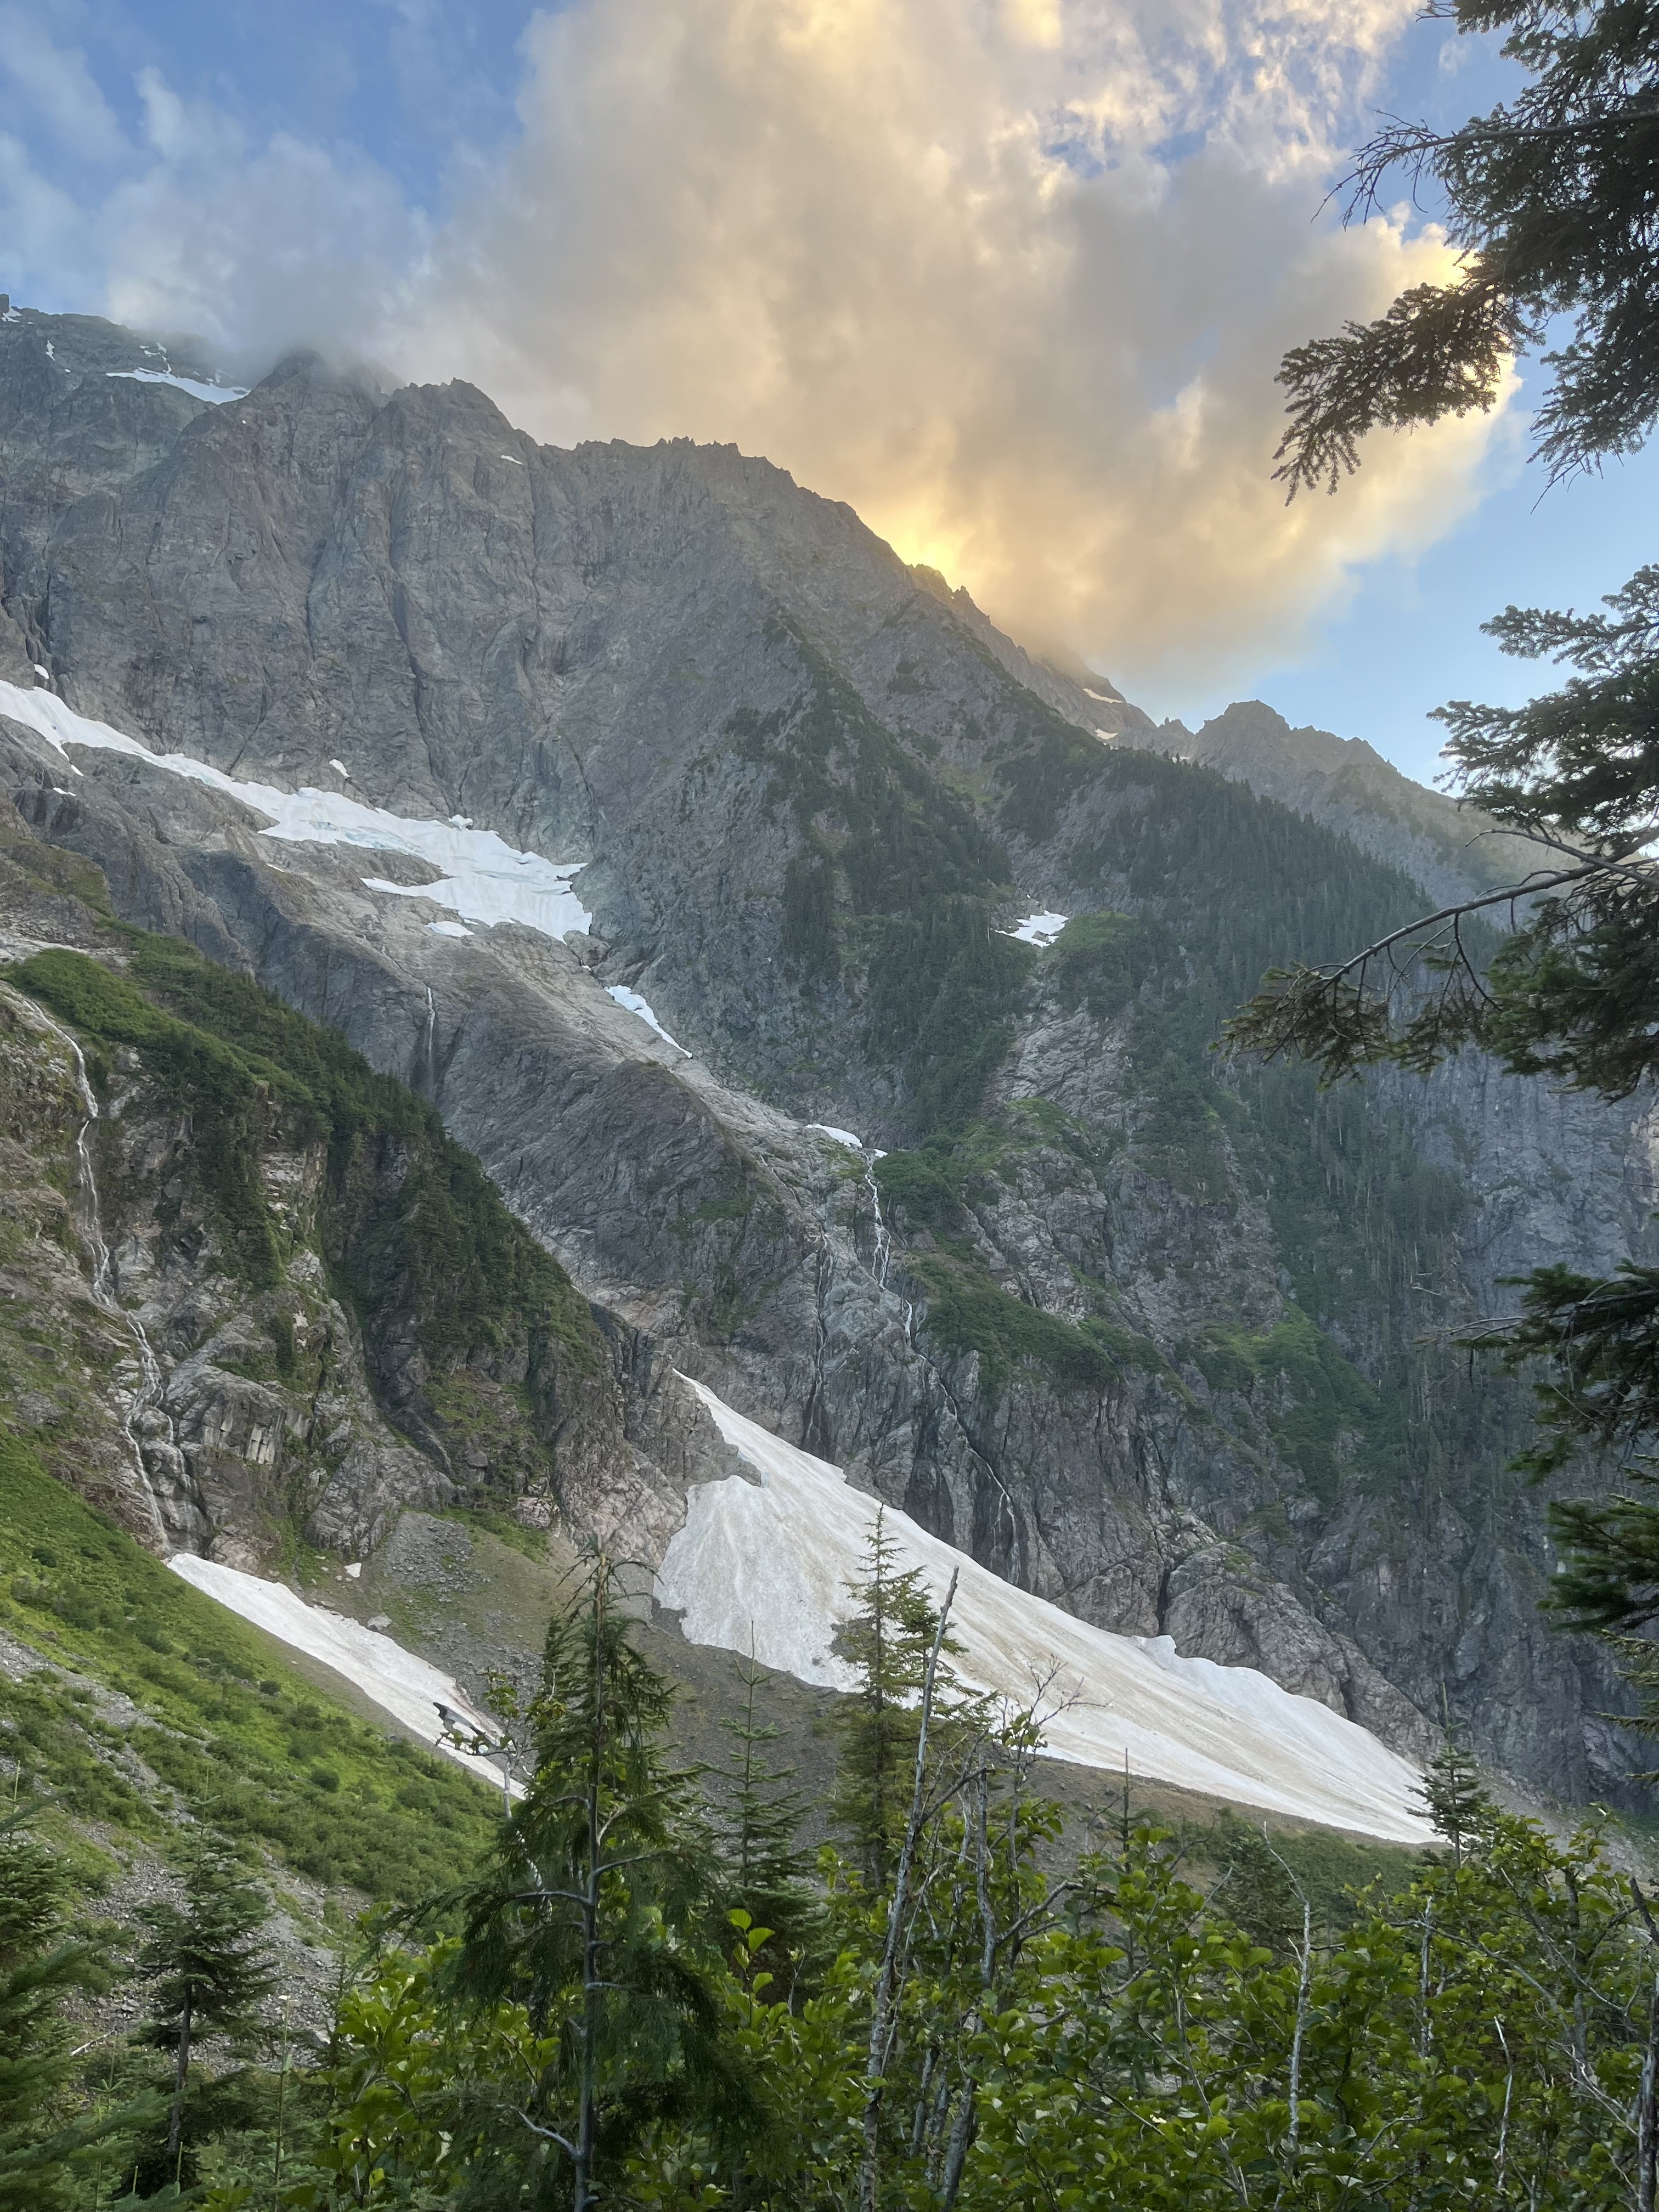
 Trip: Johannesburg mountain - Northeast buttress ‘51 rib Trip Date: 07/26/2025 Trip Report: I drove to the parking lot Friday night, threw my sleeping bag in the back of the truck, and fell asleep staring at Johannesburg. About an hour after sunrise I locked the truck and started walking down the road with just a hipbelt loaded with microspikes, ul rain jacket, ice axe, garmin, work gloves, 6 gu’s, and 500 ml of water. Getting to the snow was quite straight forward. I stayed on talus, just climbers left of the moraine for as long as I could, and then traversed straight across the moraine to where I could step onto the initial slabs to gain the rib. Figuring out these initial first pitches before the brush was slightly tricky, perhaps requiring the most thoughtful climbing of the whole route. Just above the slabs was a large patch of snow. I drank some water and filled up here and then started tree climbing. I was elated to not have a pack on for this section. The work gloves and trailspikes also made life much easier through this part of the route. Once I made it to the steep heather section I was able to mostly stay on the ridge crest with semi decent rock. I did not end up joining the 1957 route near the top like I’ve read in some trip reports, and instead continued up the 51 rib. This section contained the highest quality rock and climbing of the entire route. The crux of this section was probably a bomber near vertical handcrack(5.6) that lasted a couple body lengths. Suddenly, I was on snow. The glacier and snow conditions were nearly perfect, firm but not icy. I transitioned to rock close to the top of the glacier where it became too steep for 1 axe and microspikes. Moments later I was on the summit, 3h 40m from the car. I snapped some photos, and then started down the east ridge. The cairns were quite nice to have for encouragement. Less than an hour later I was at the C-J col. The heather up to Mixup was quite unstable, frustrating, and exhausting, but it was over soon enough. Meeting up to the Ptarmigan “trail” was mostly straight forward. I feel I could have found a slightly better way, but what I did worked just fine. Just above Cascade Pass, I emptied the rocks from my shoes, downed the rest of my water and a GU, and battened down the hatches before running down to the lot. The parade of hikers were true obstacles, but it was pretty fun blasting past them. Made it to the lot 6h 49m after leaving the truck. A very good day. Gear Notes: Work gloves, microspikes, axe Approach Notes: Short and sweet
- 1 reply
-
- 4
-

-

-
PM’d
-
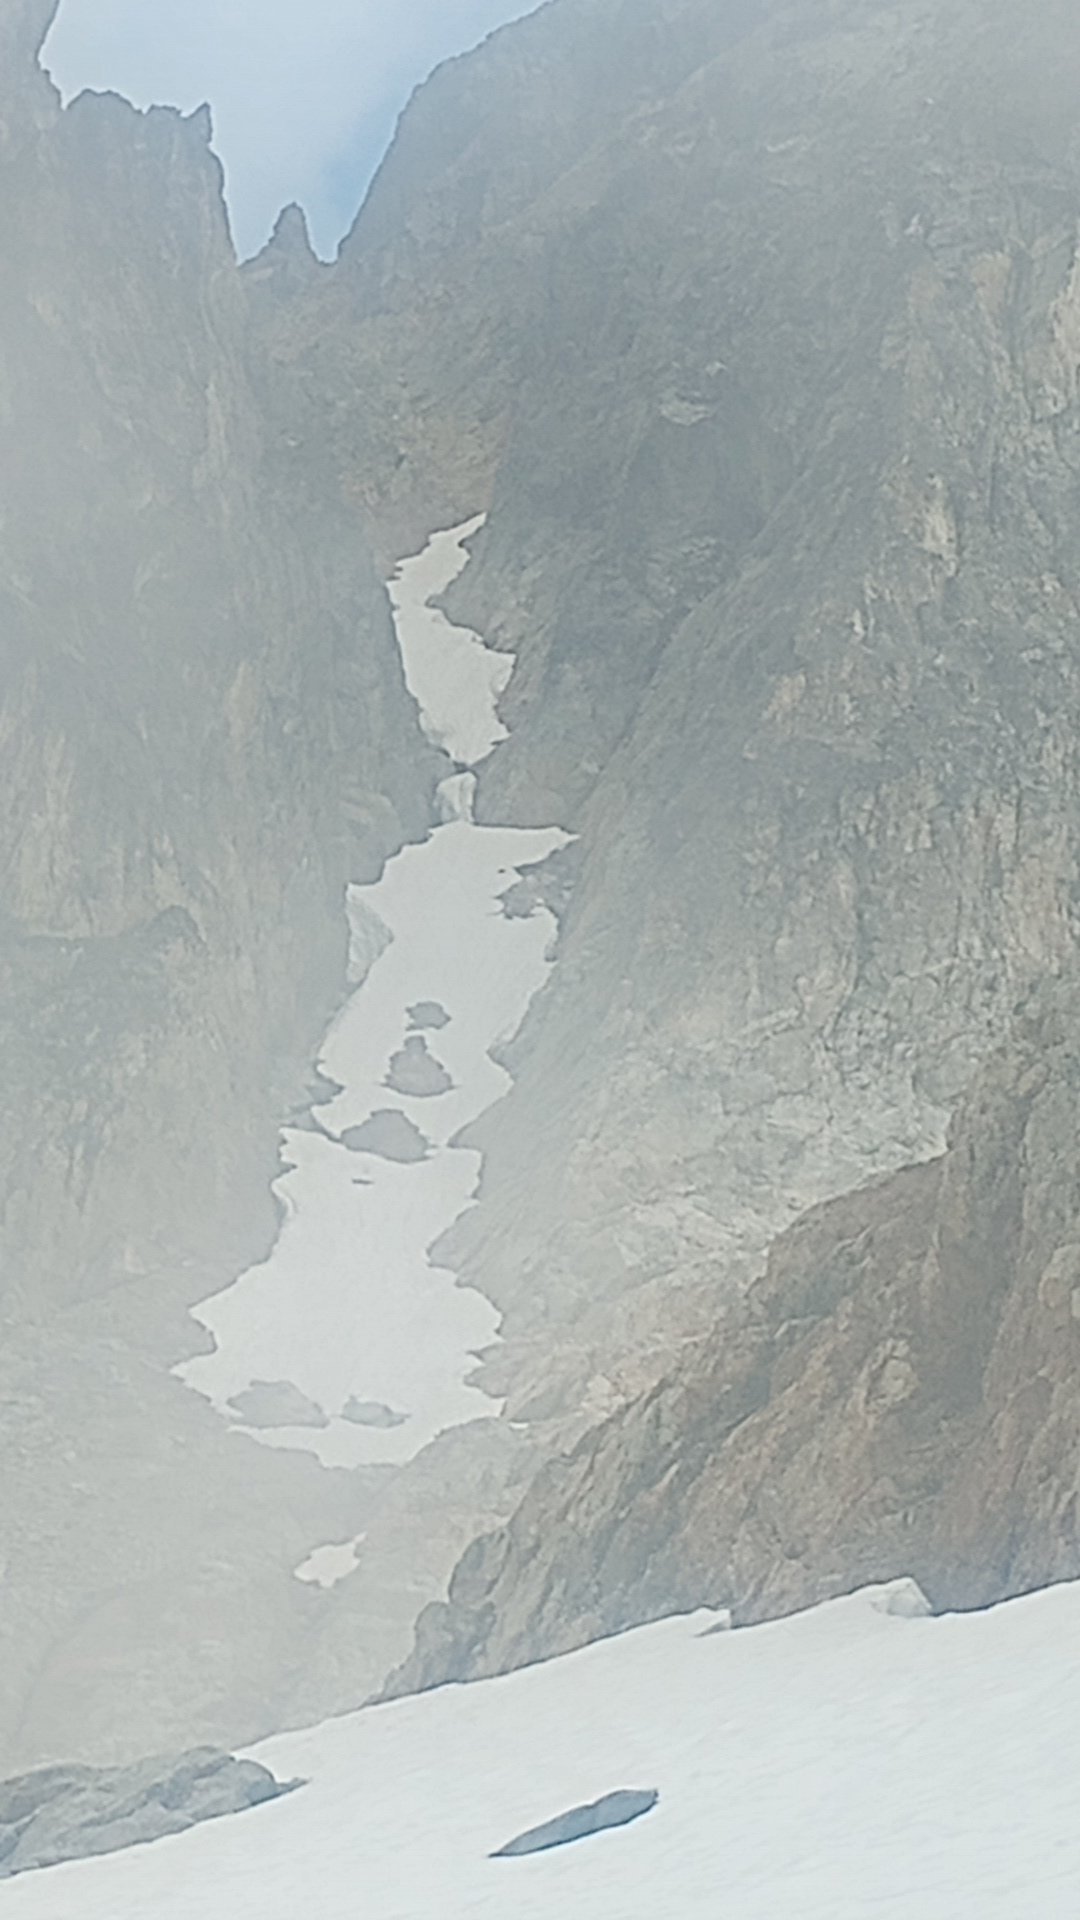
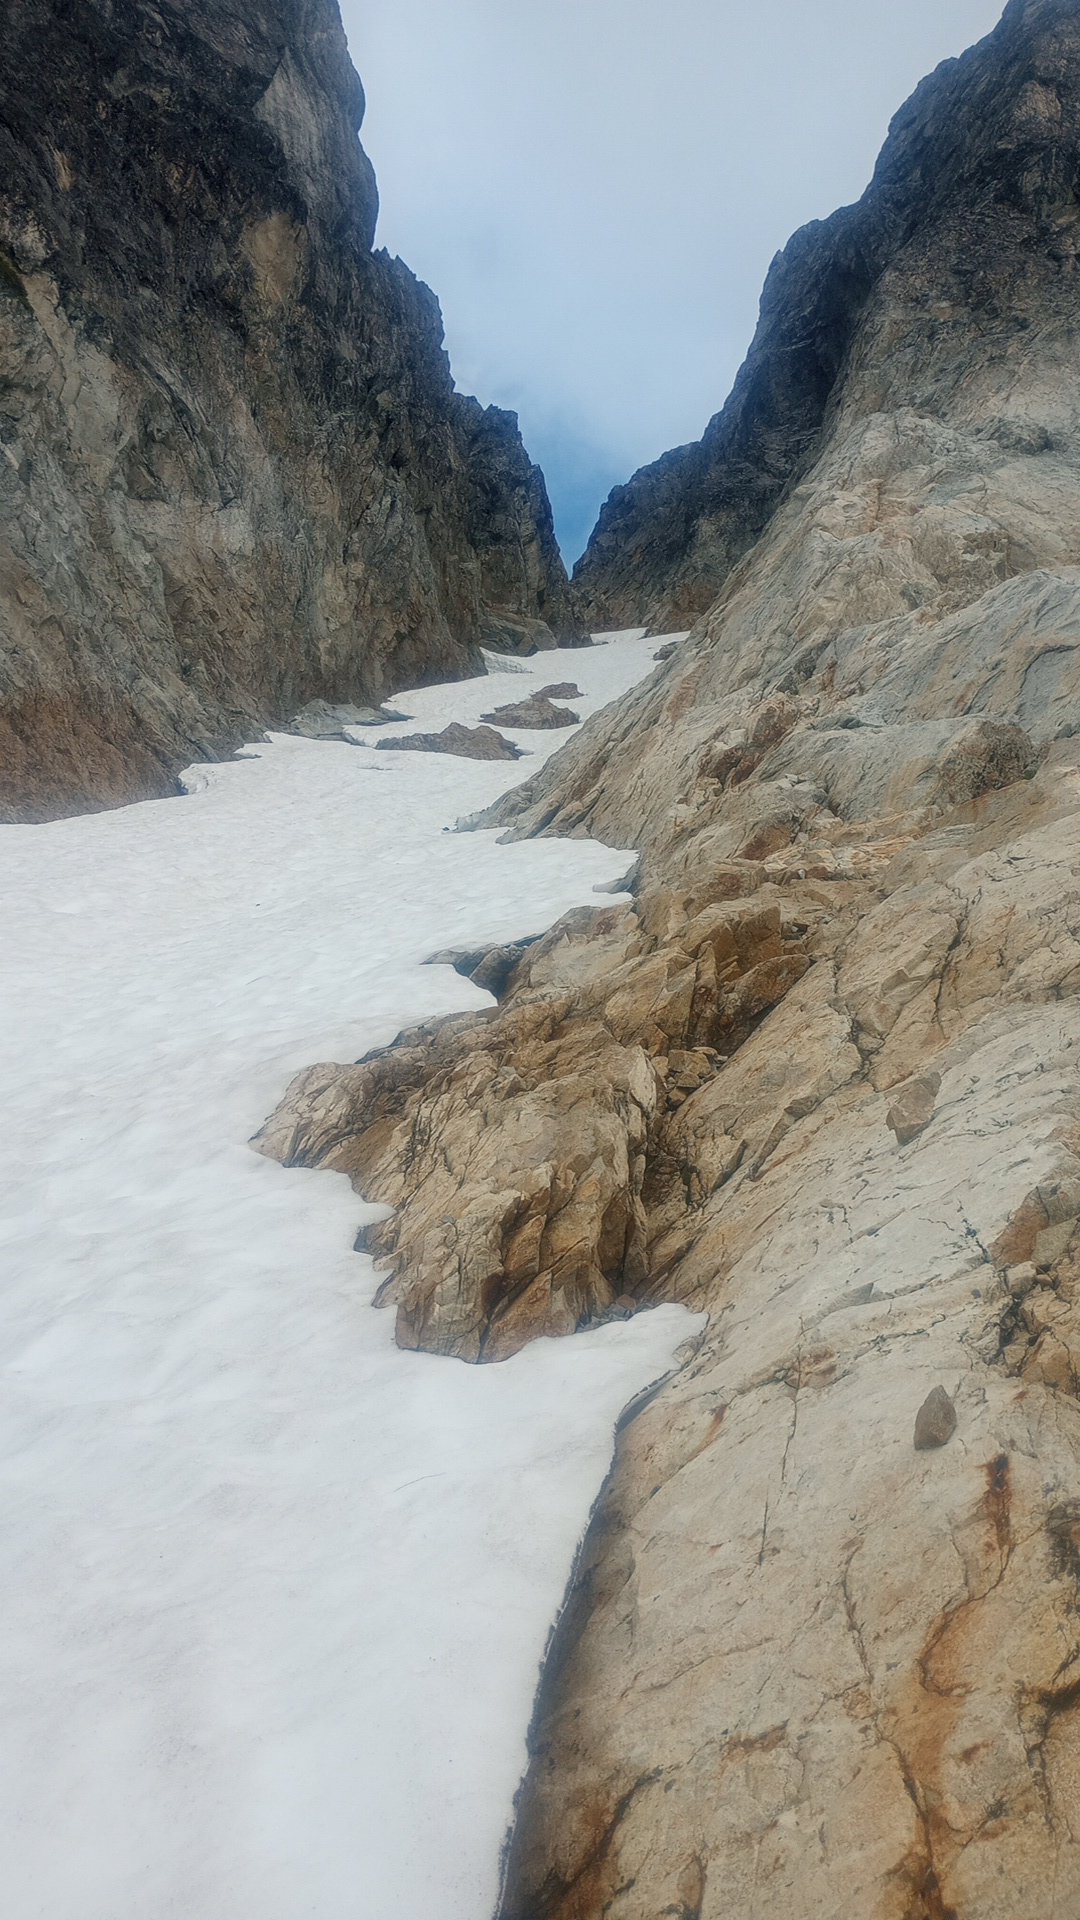
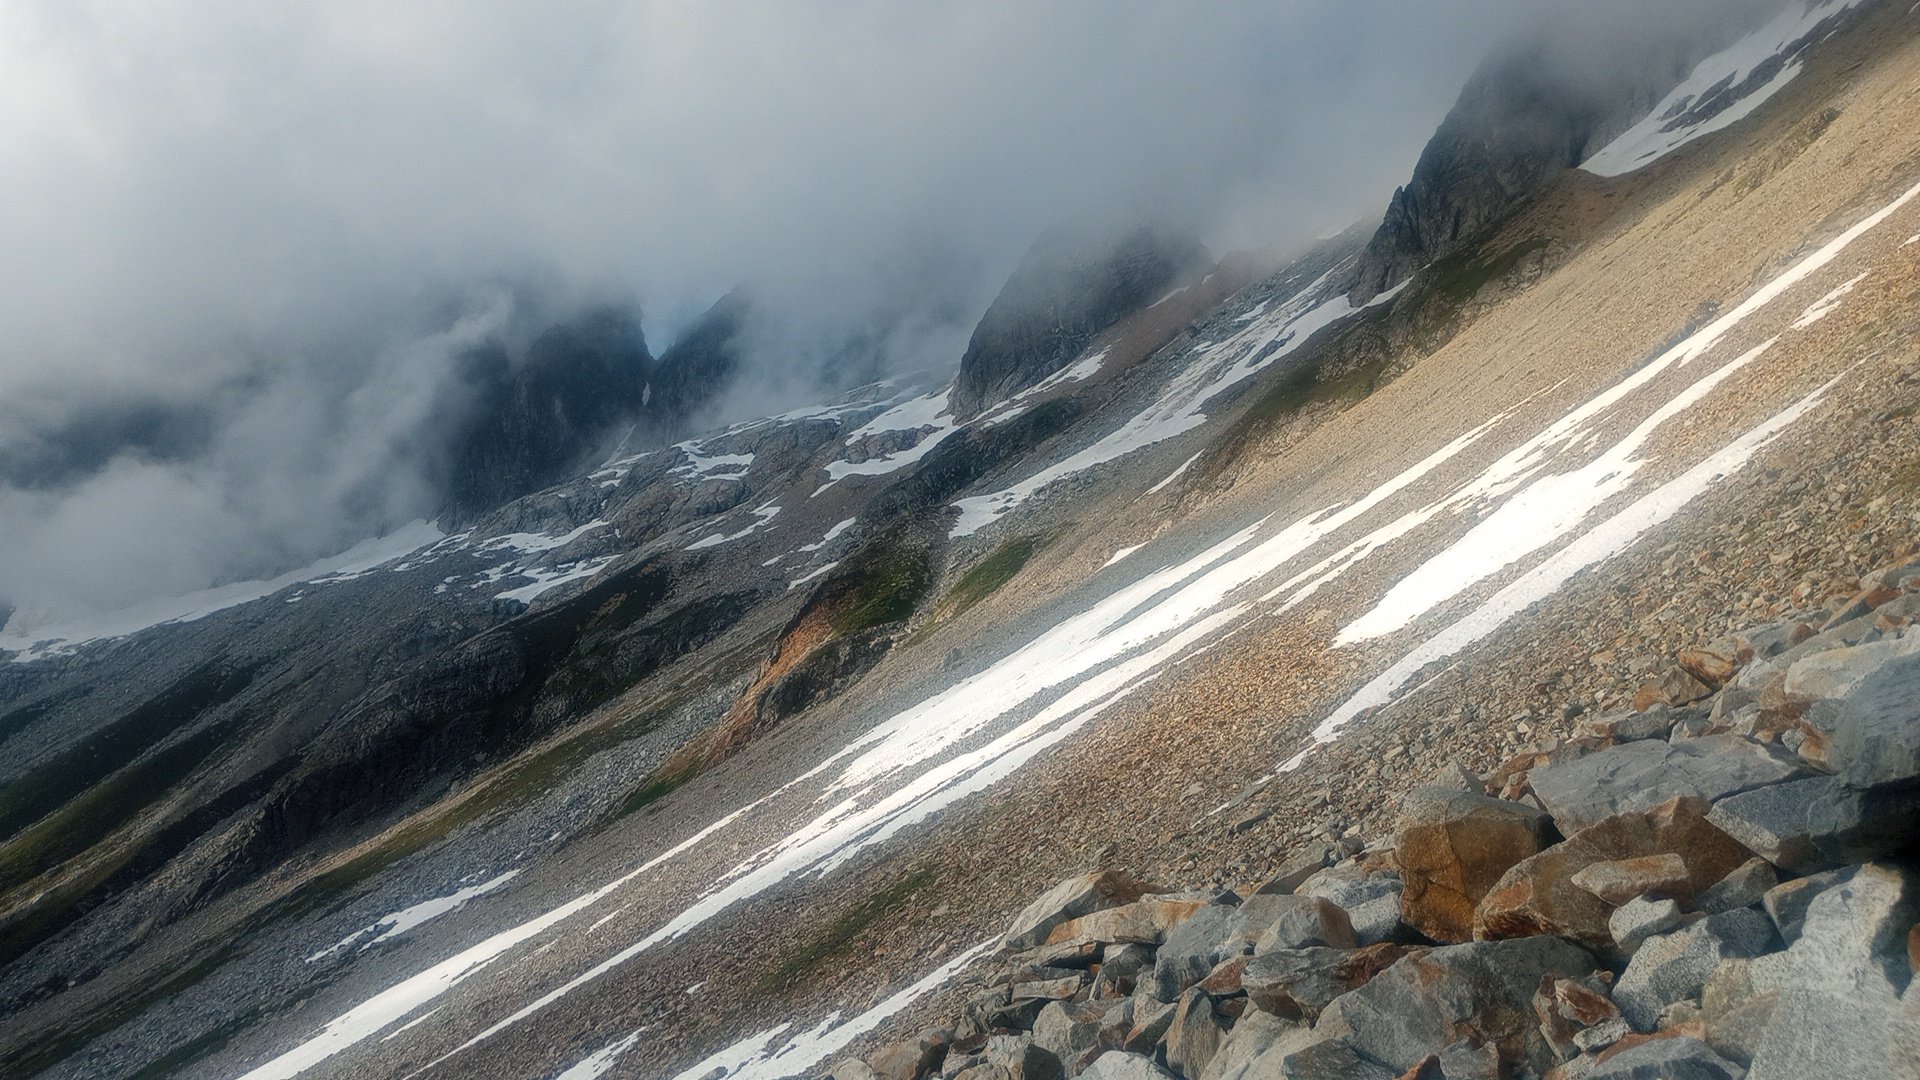
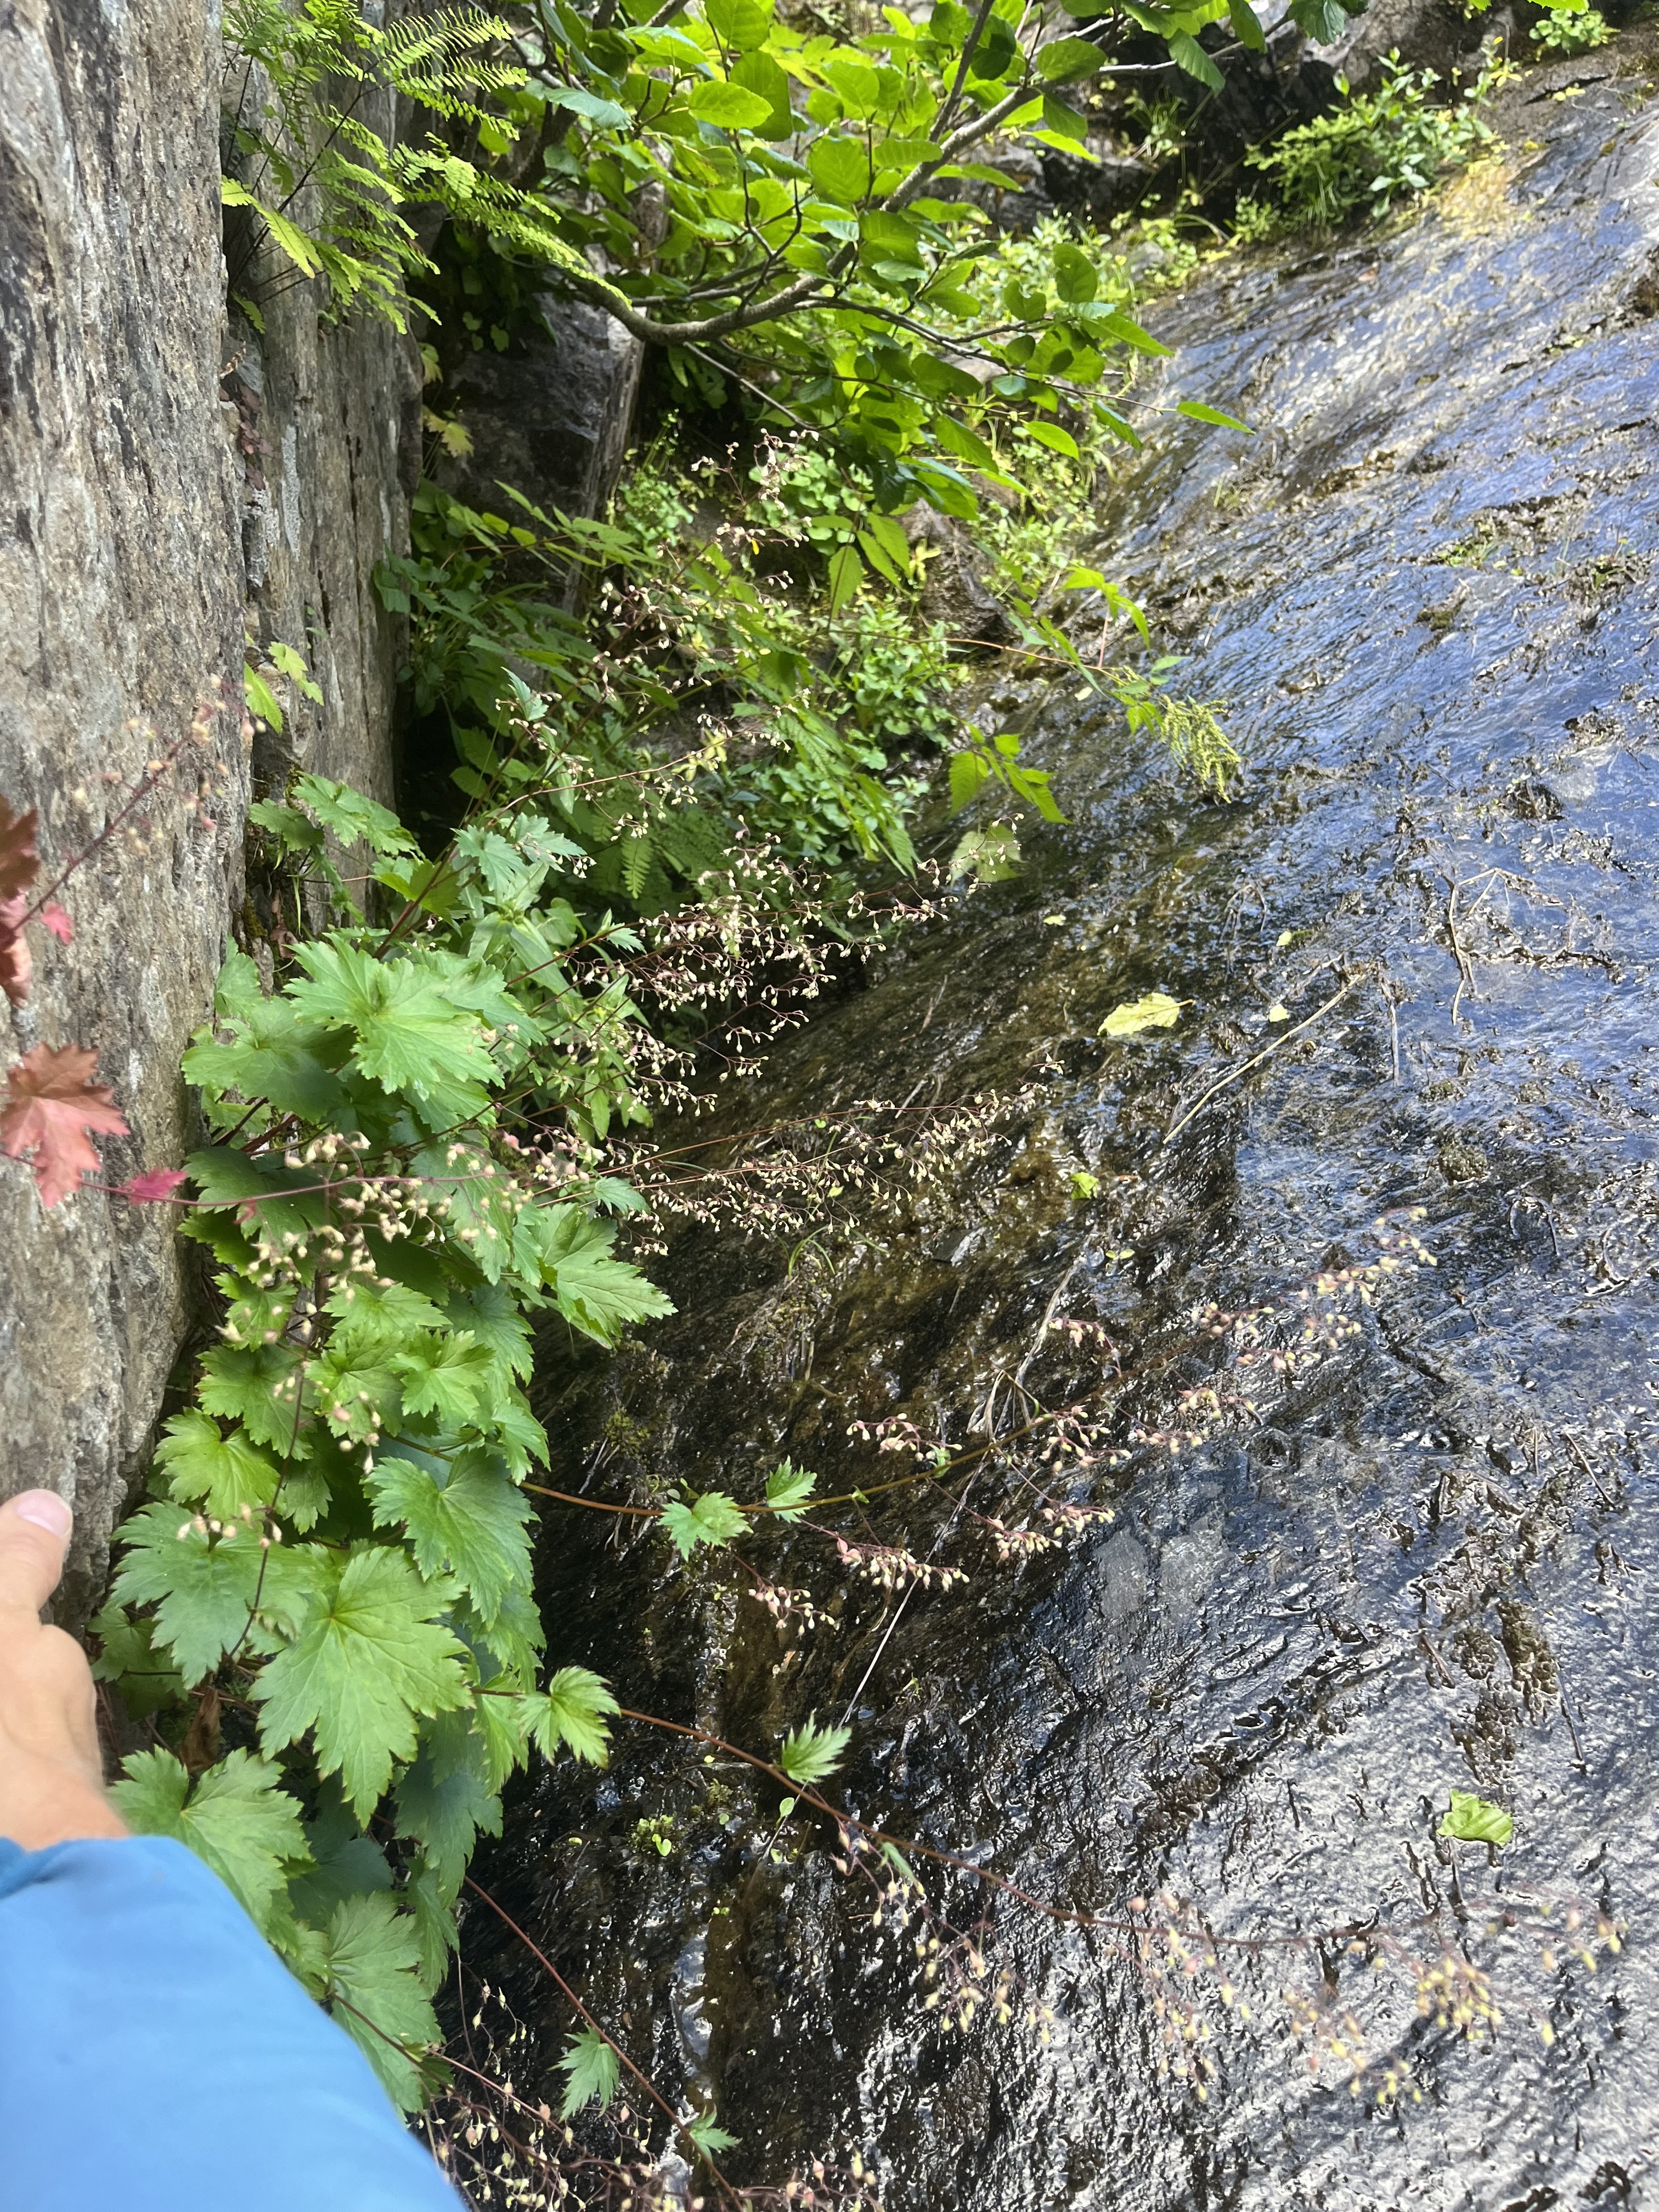
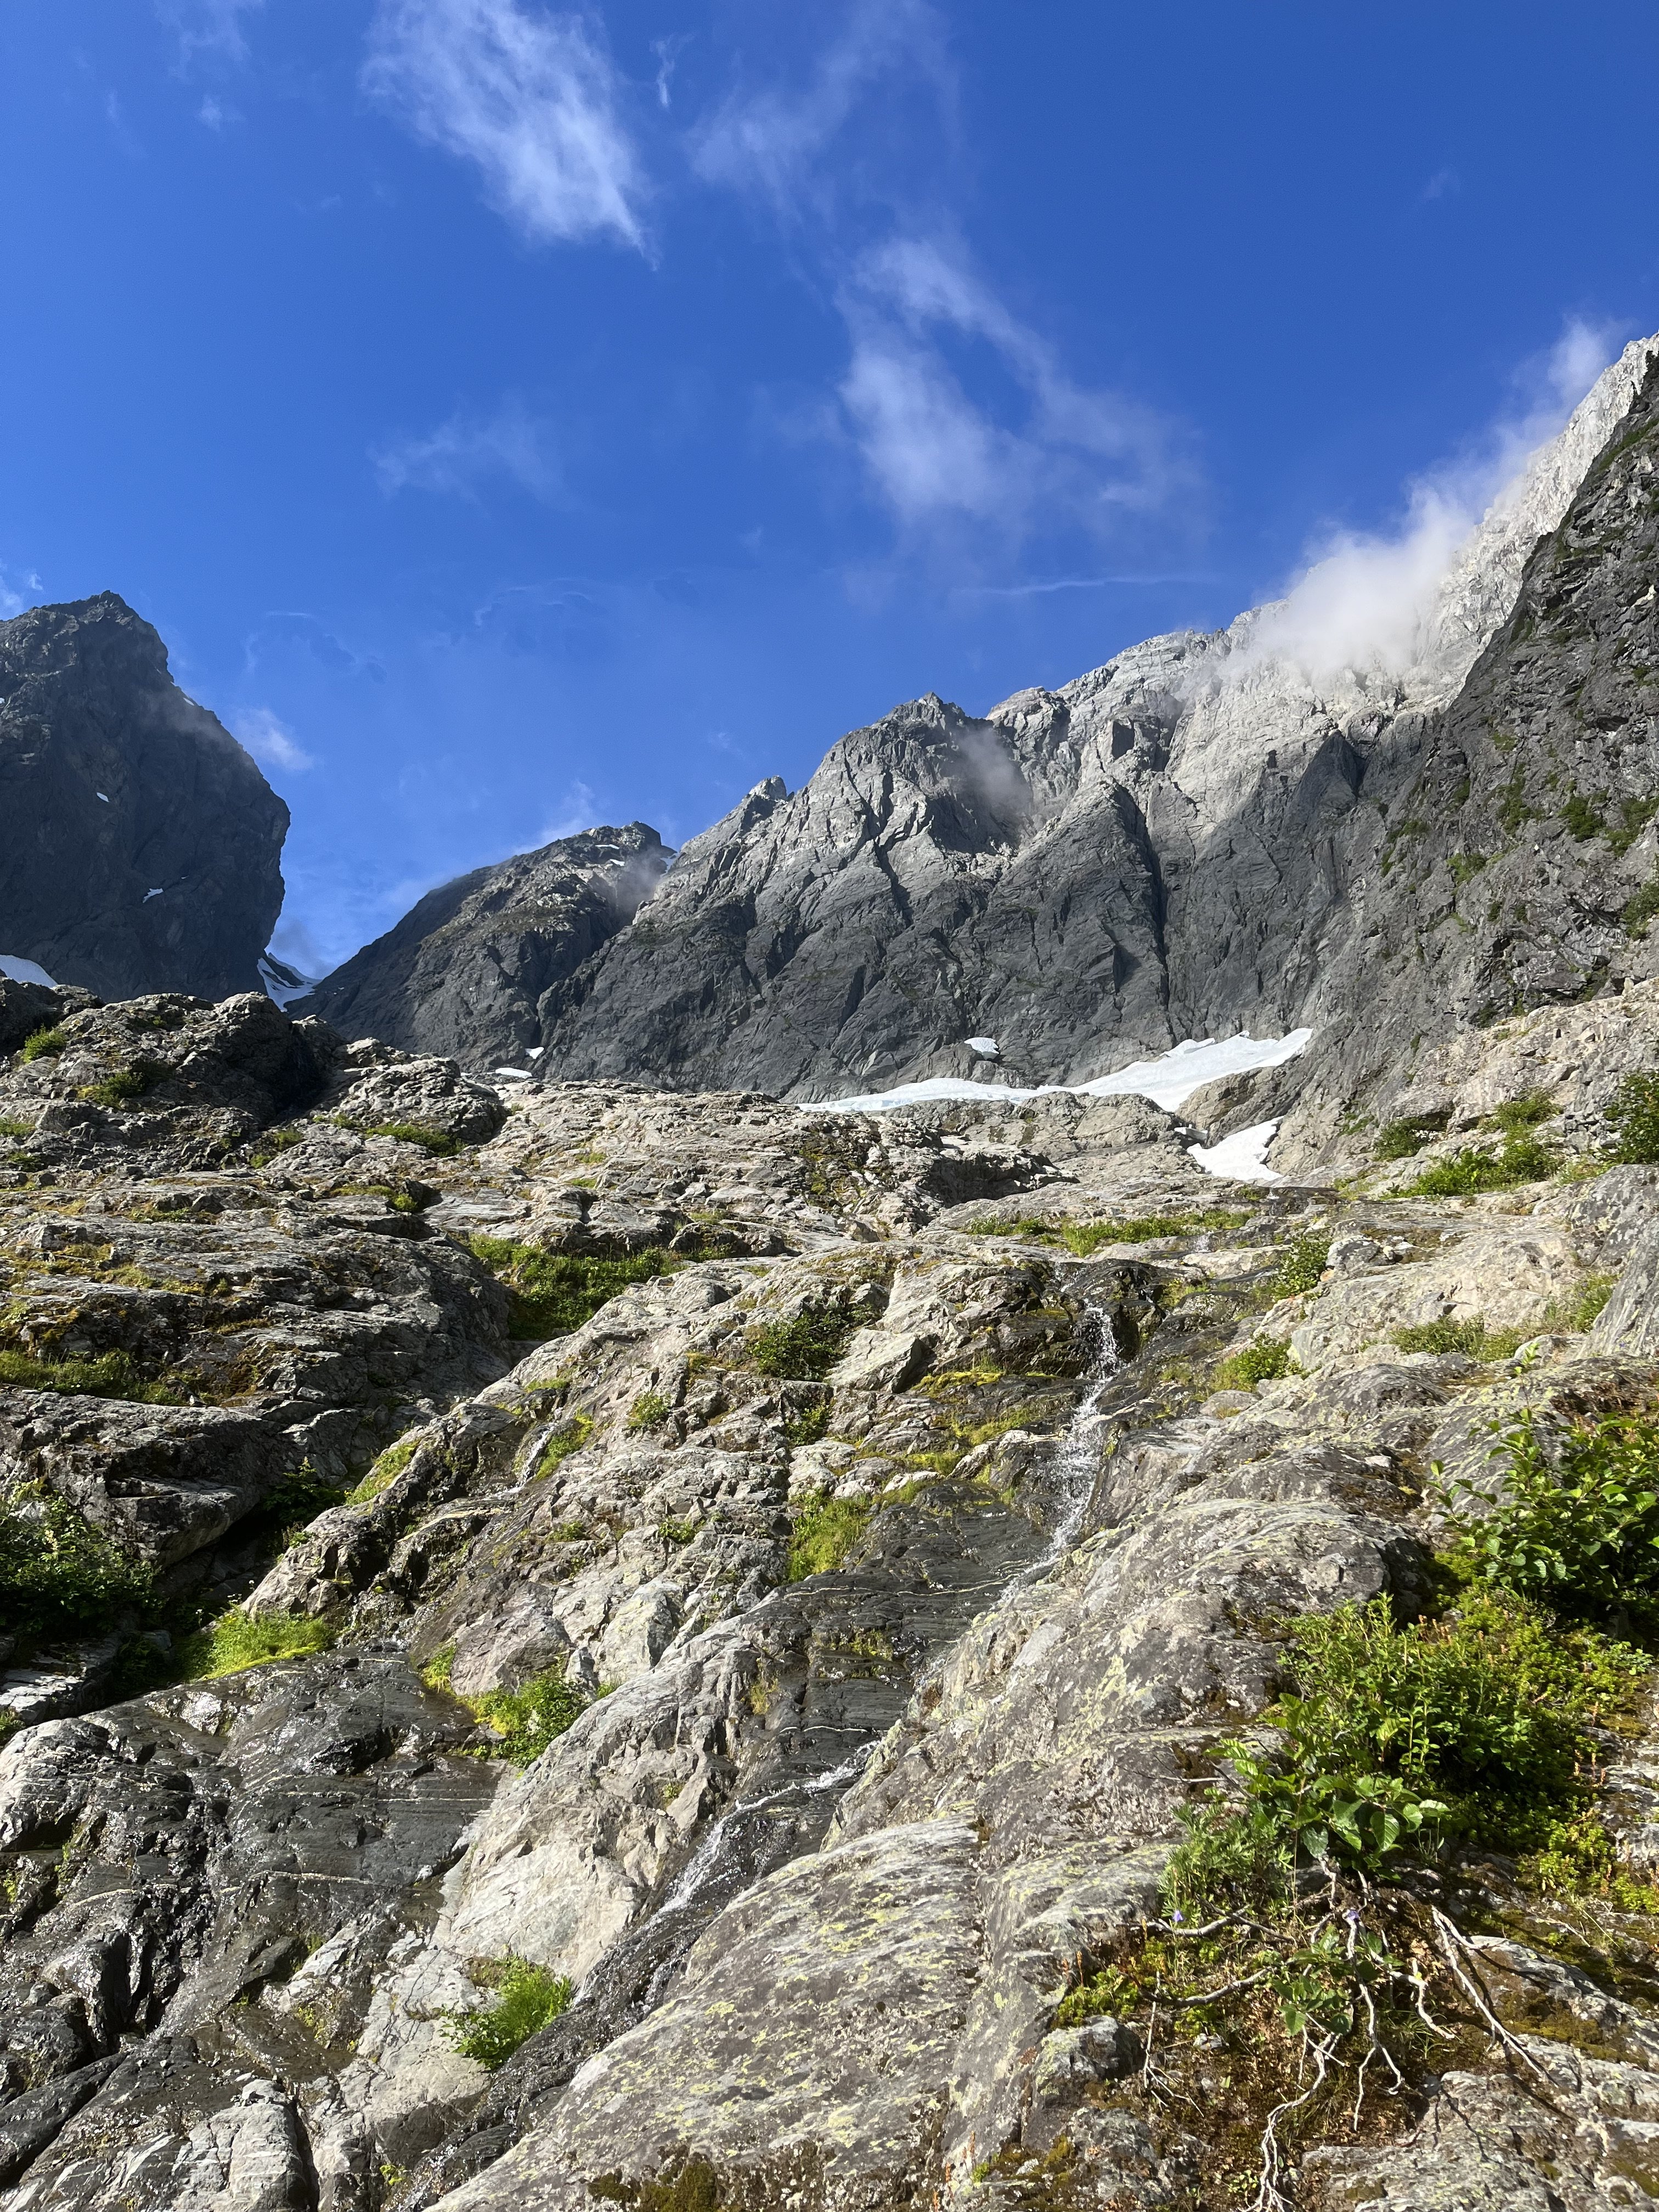
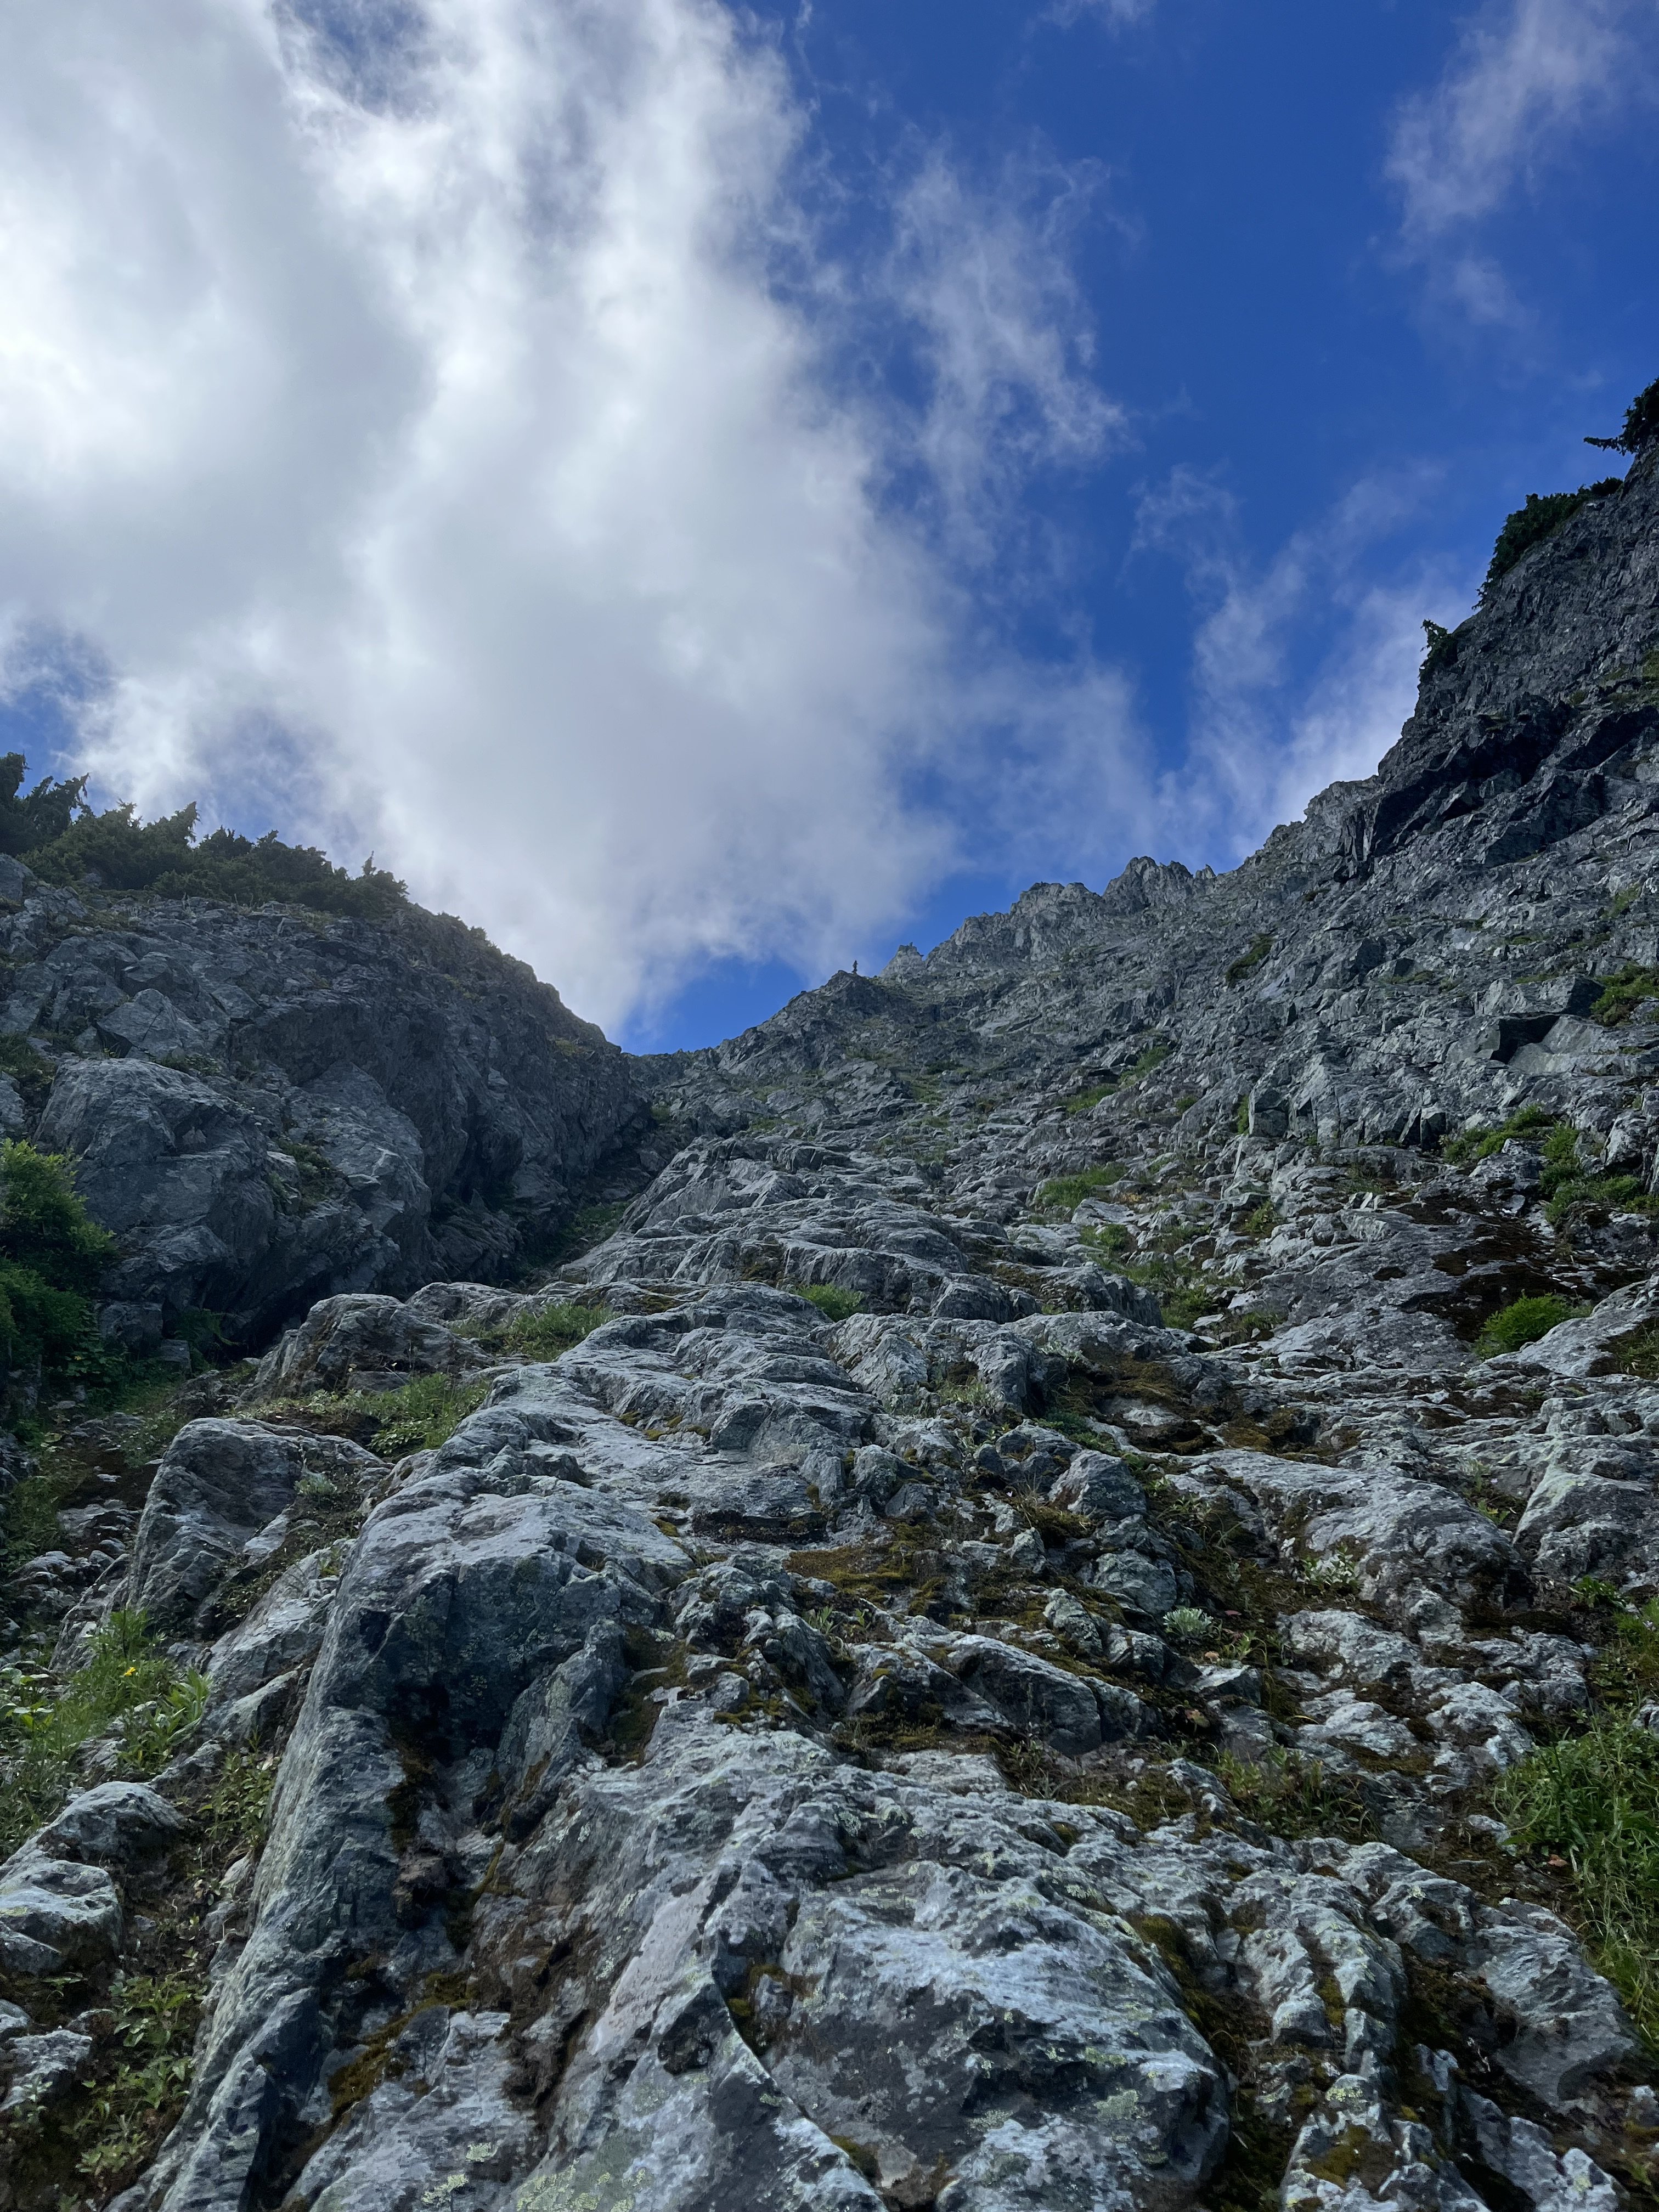
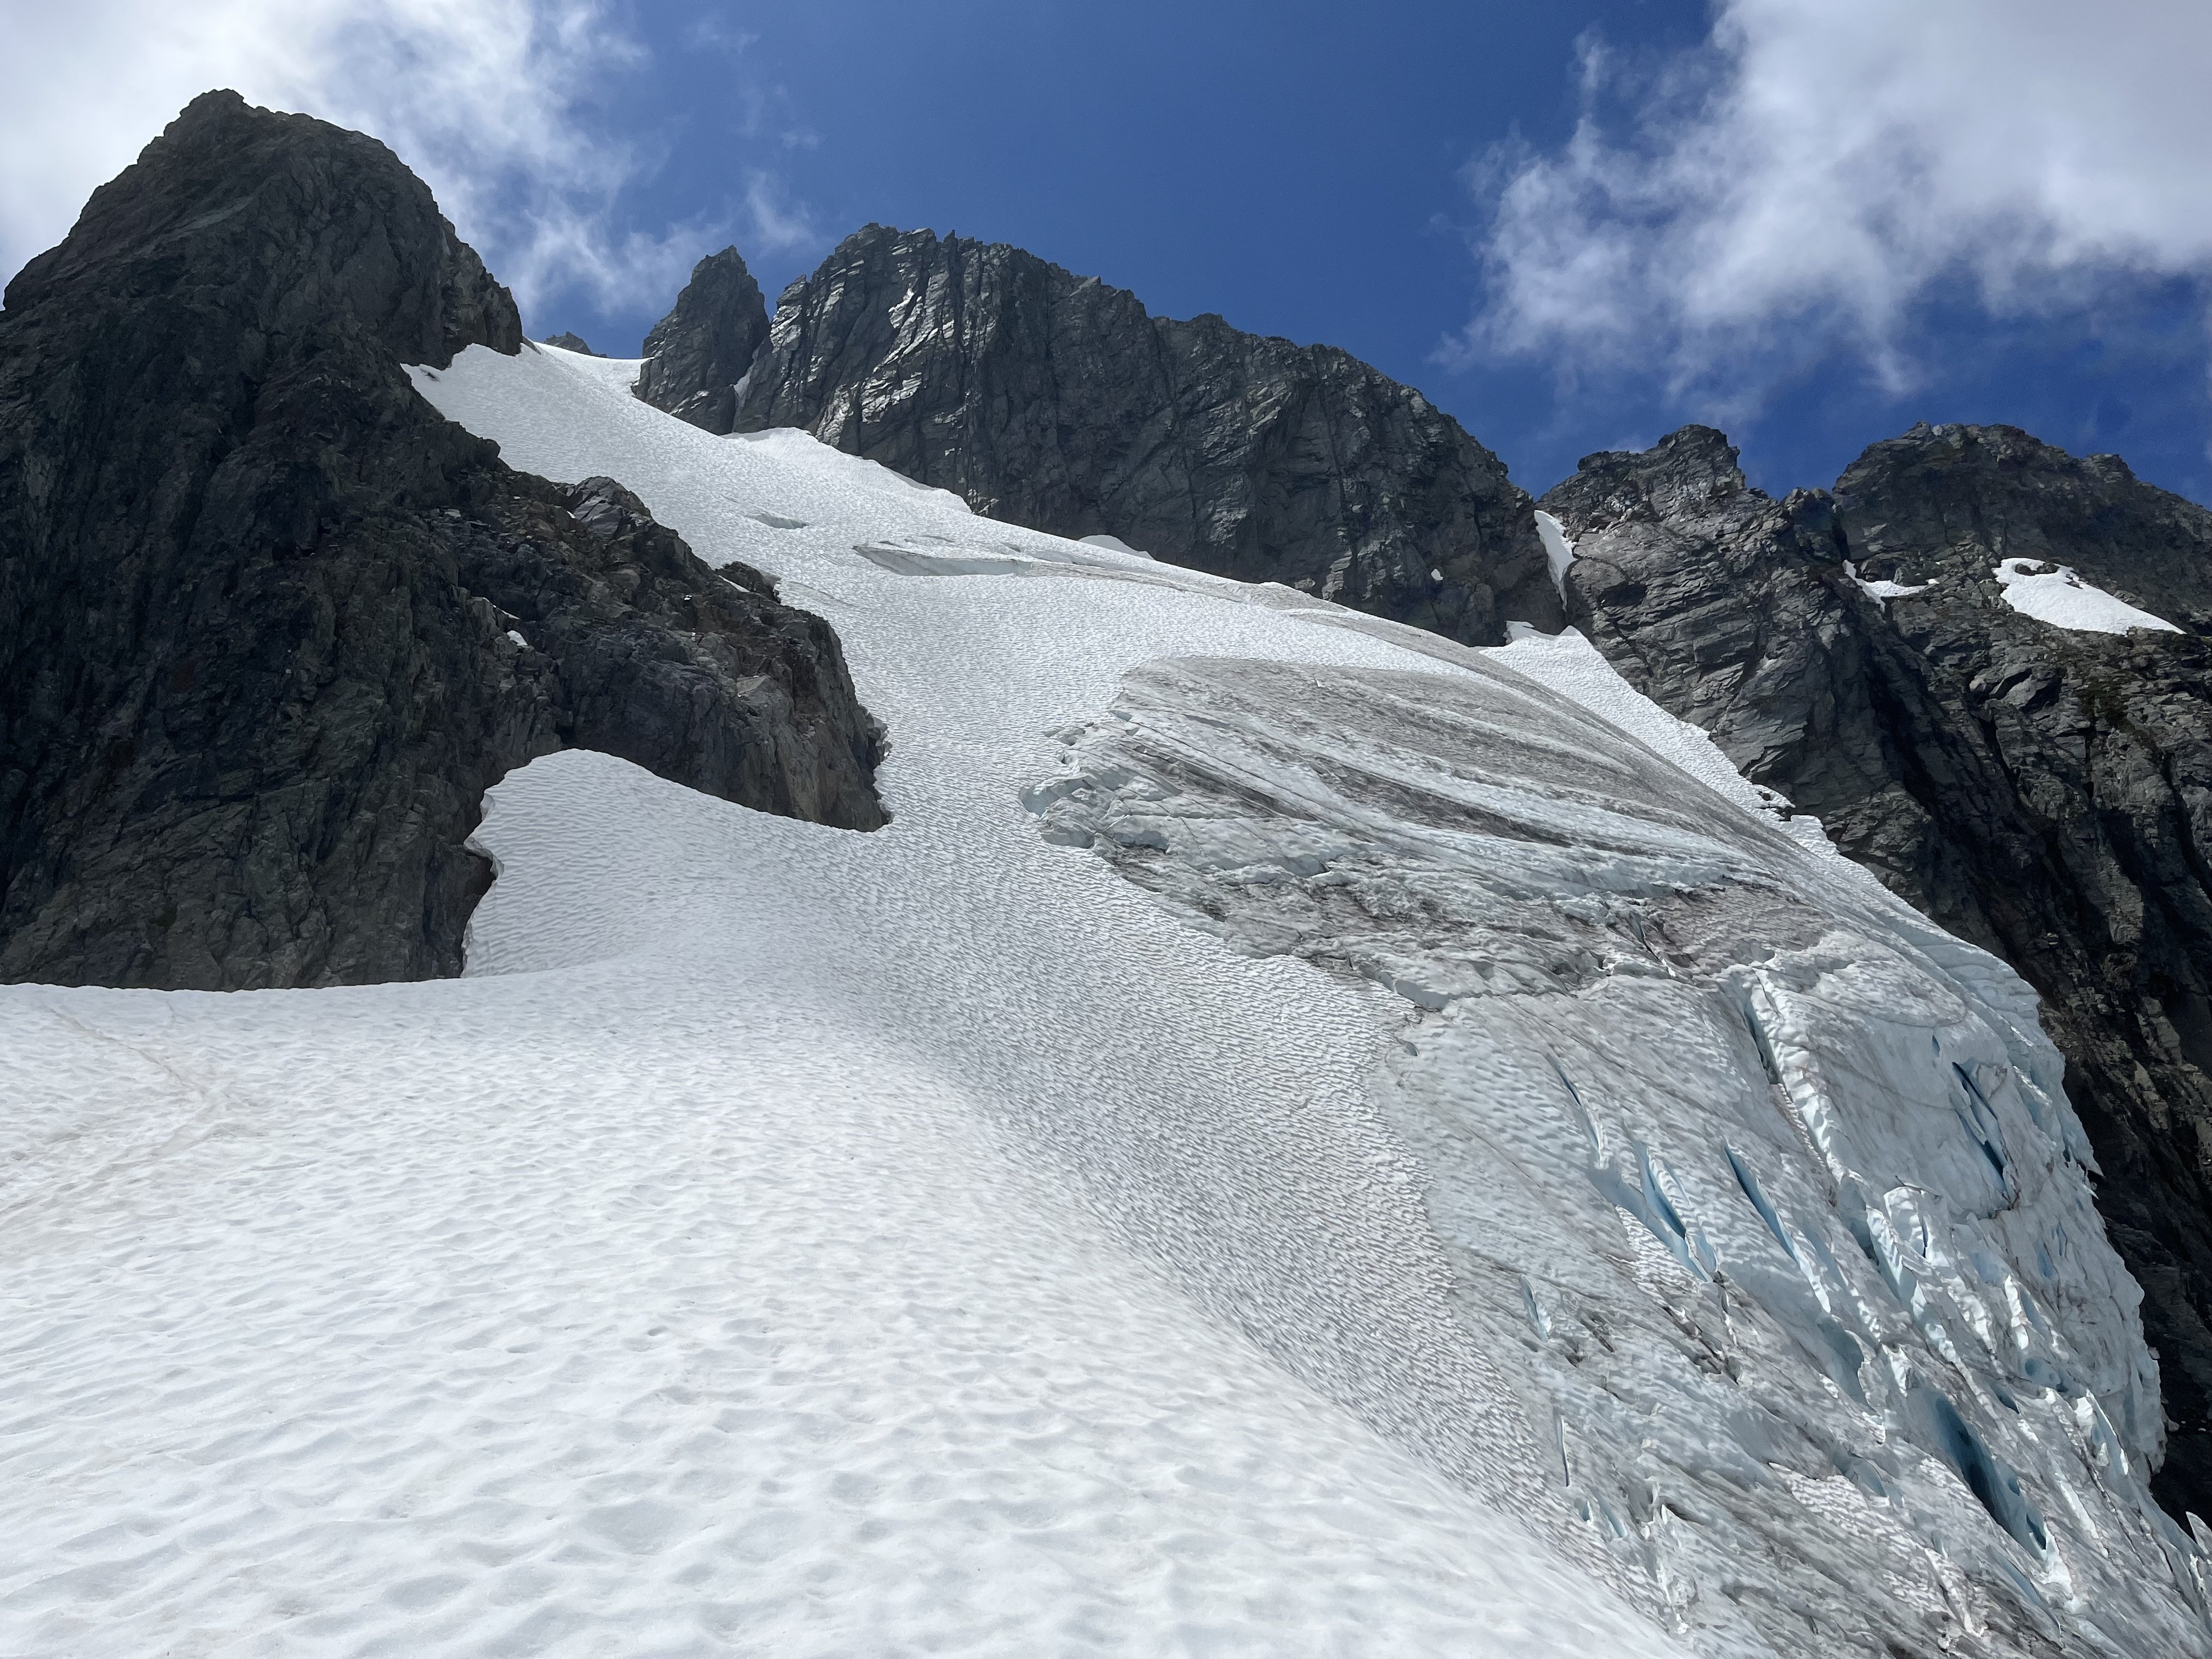
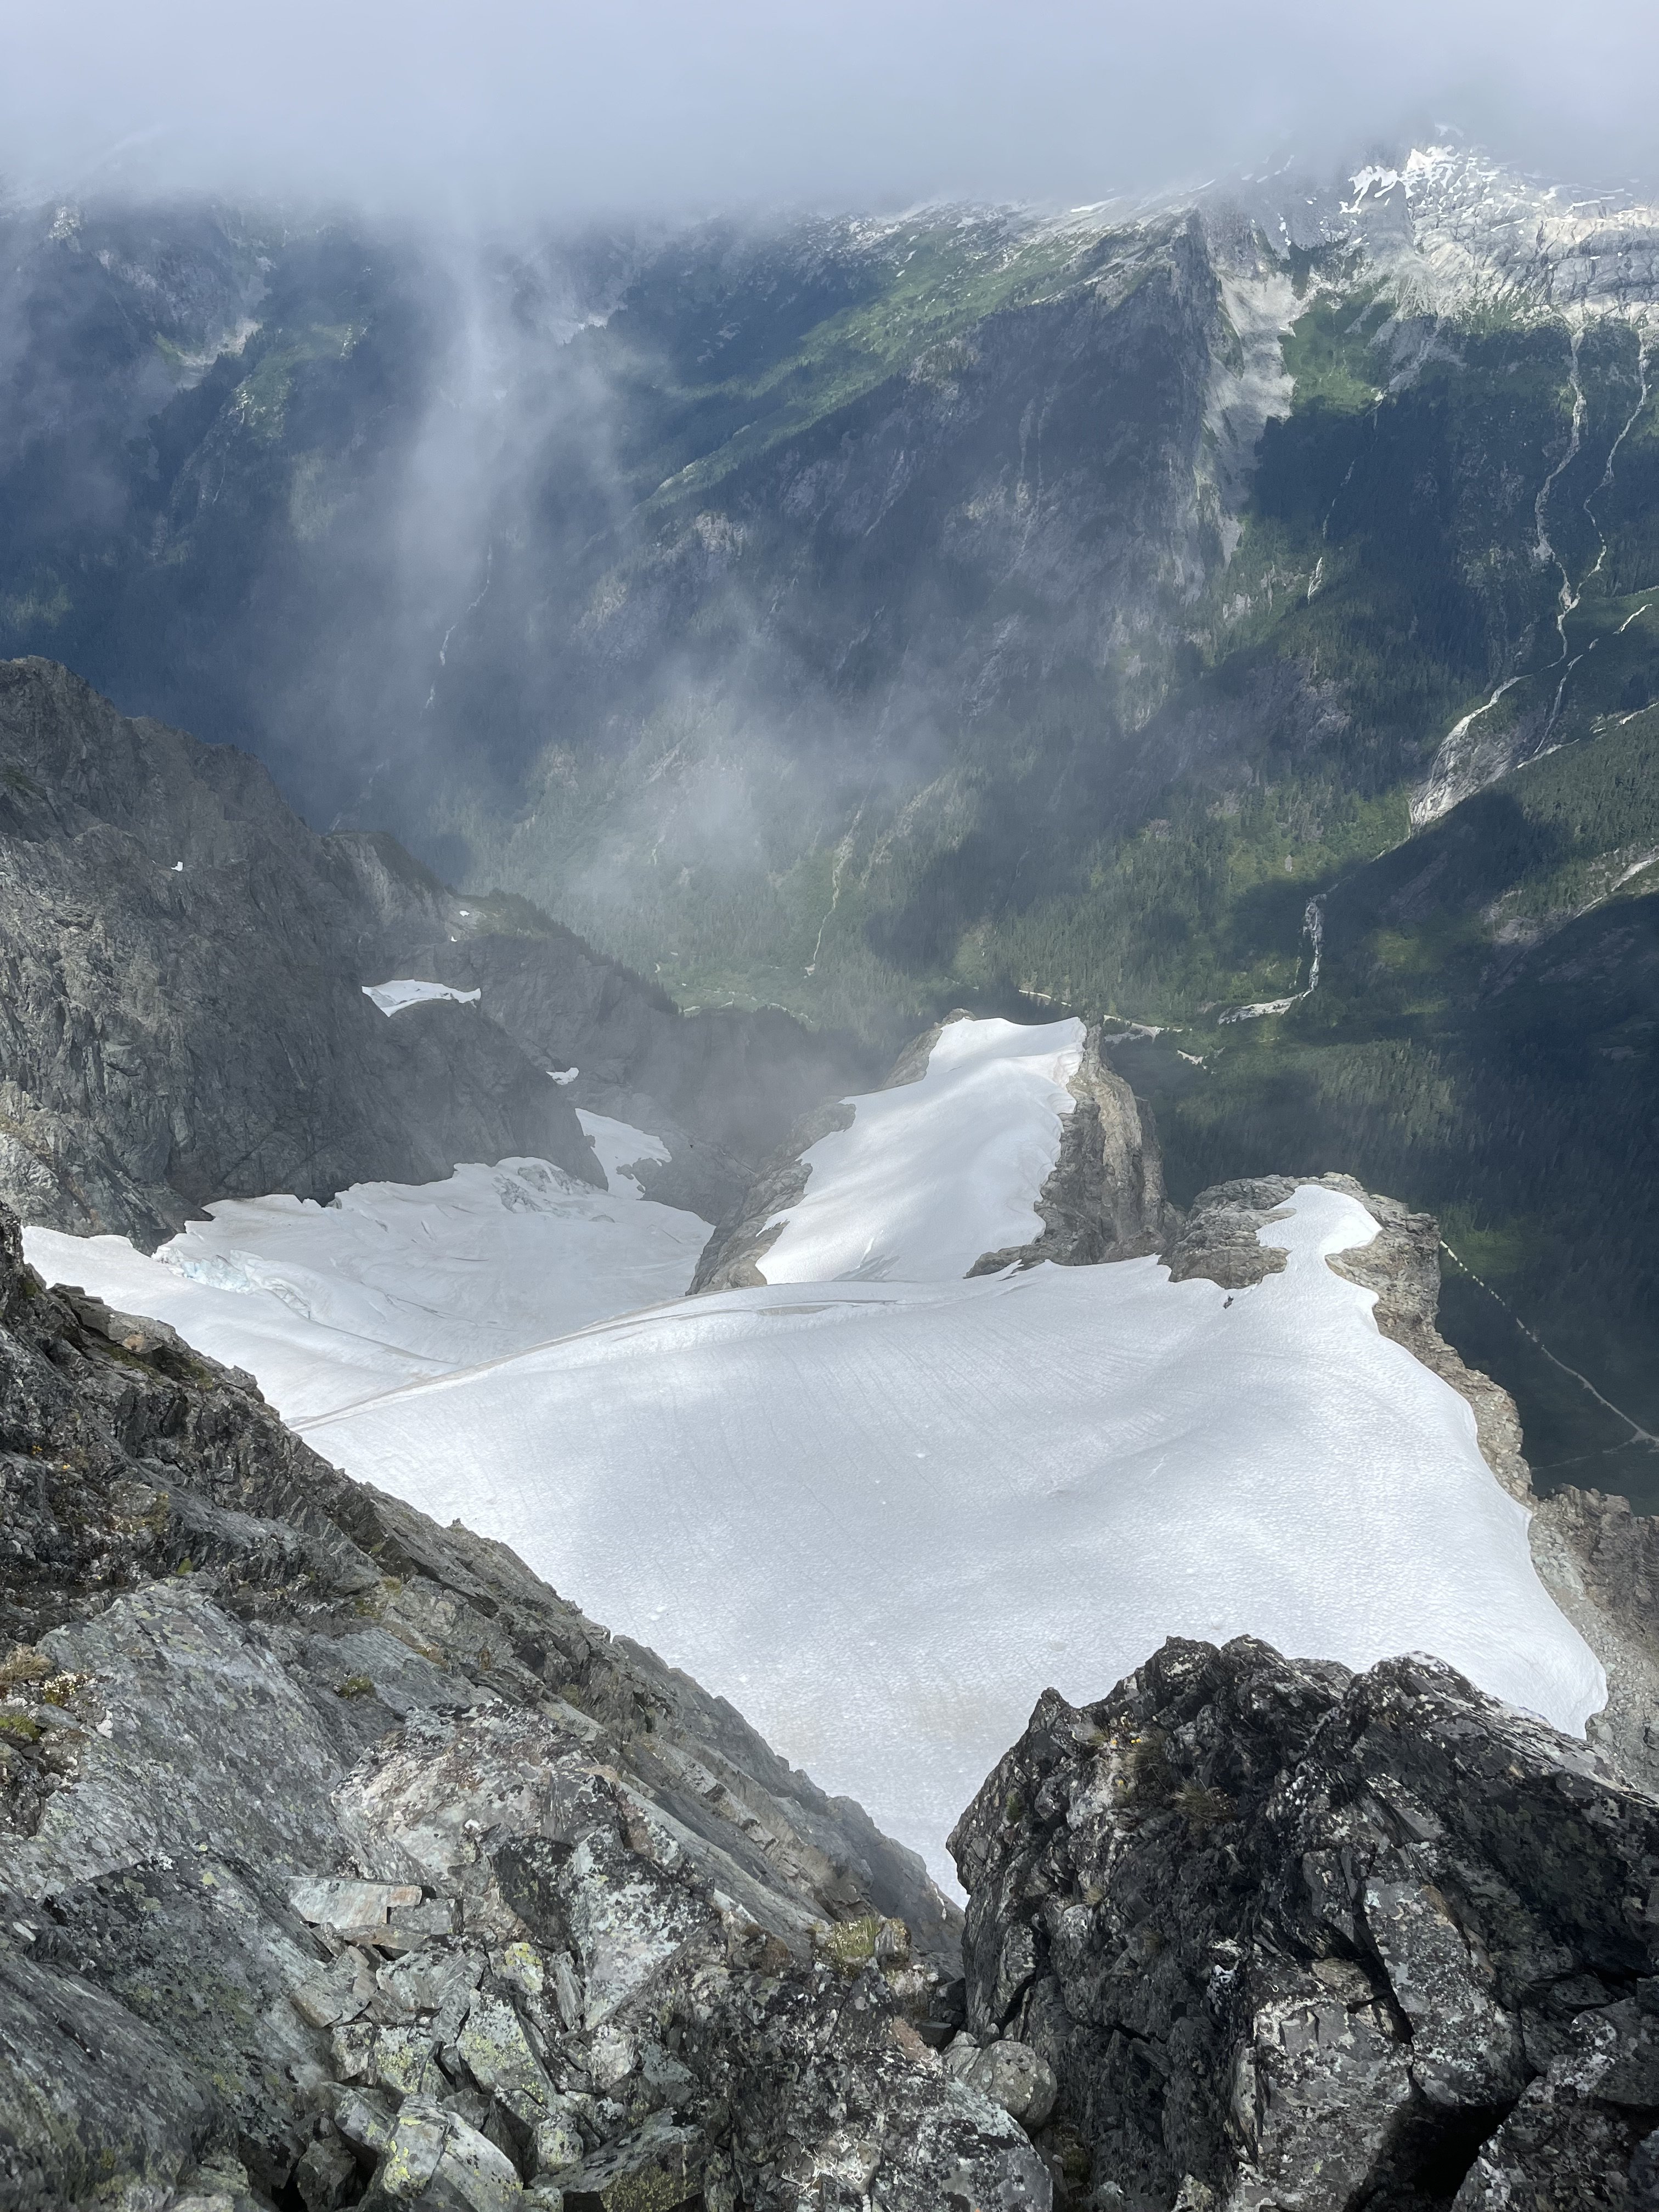
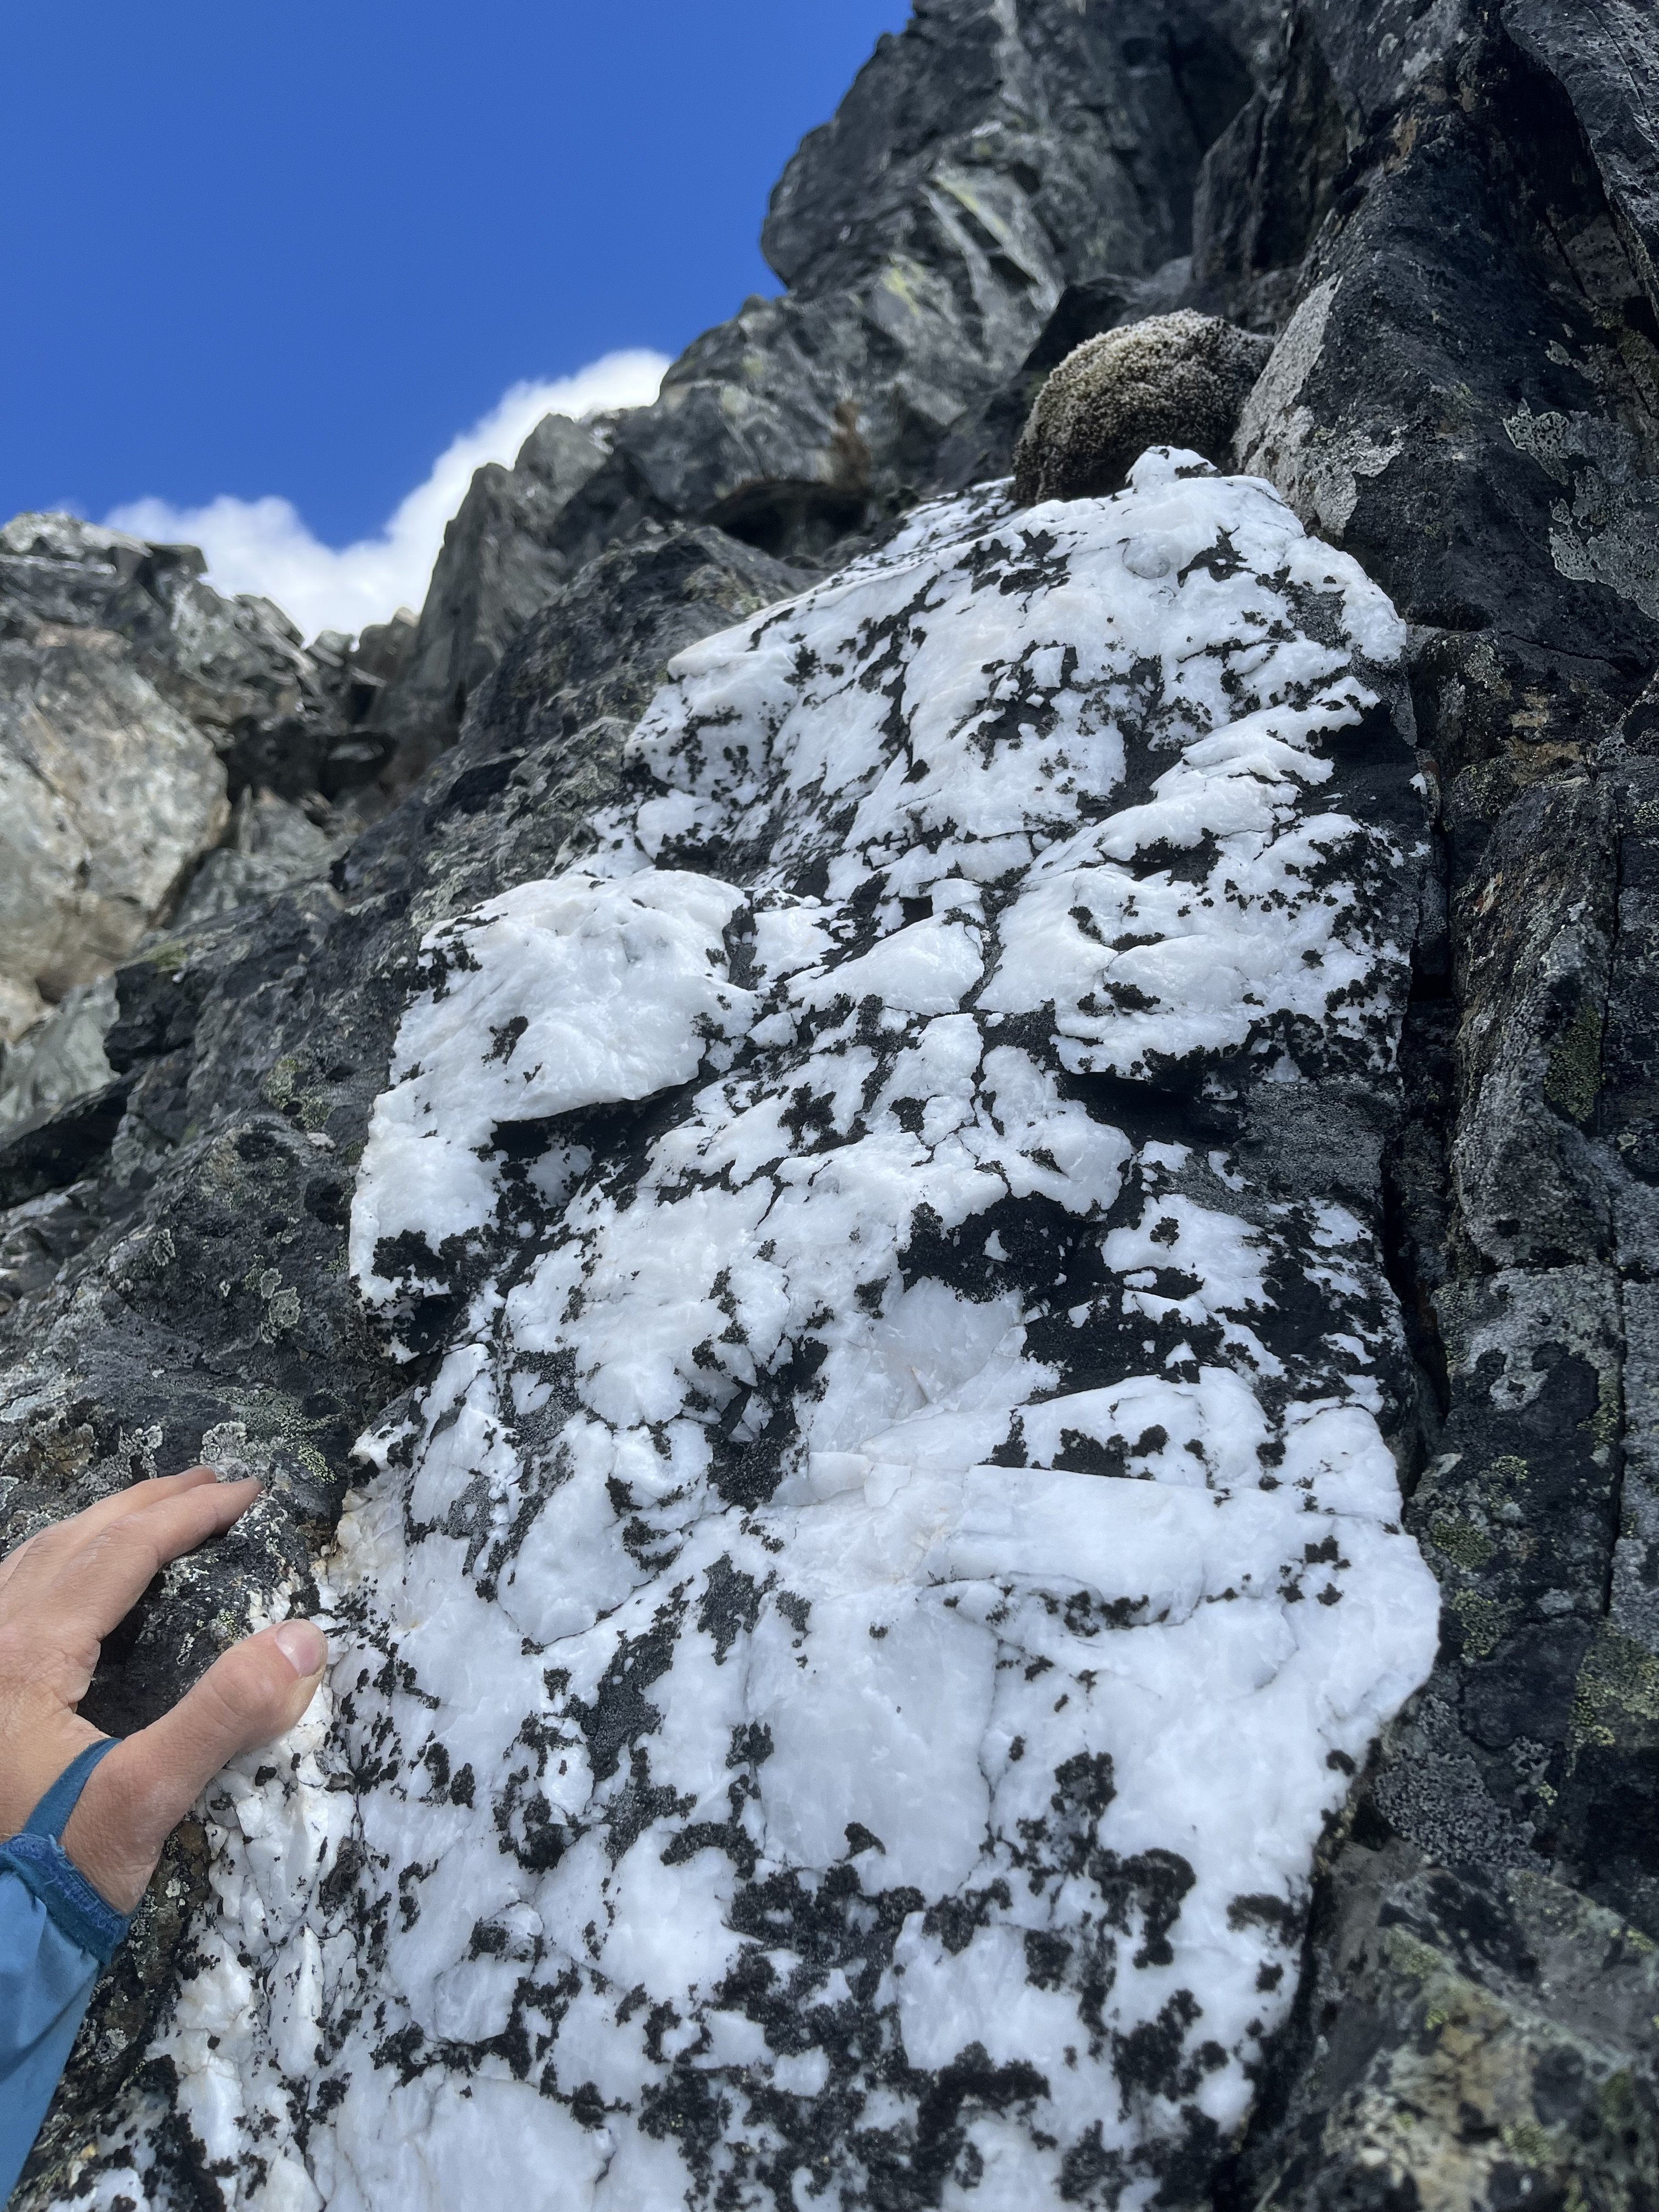
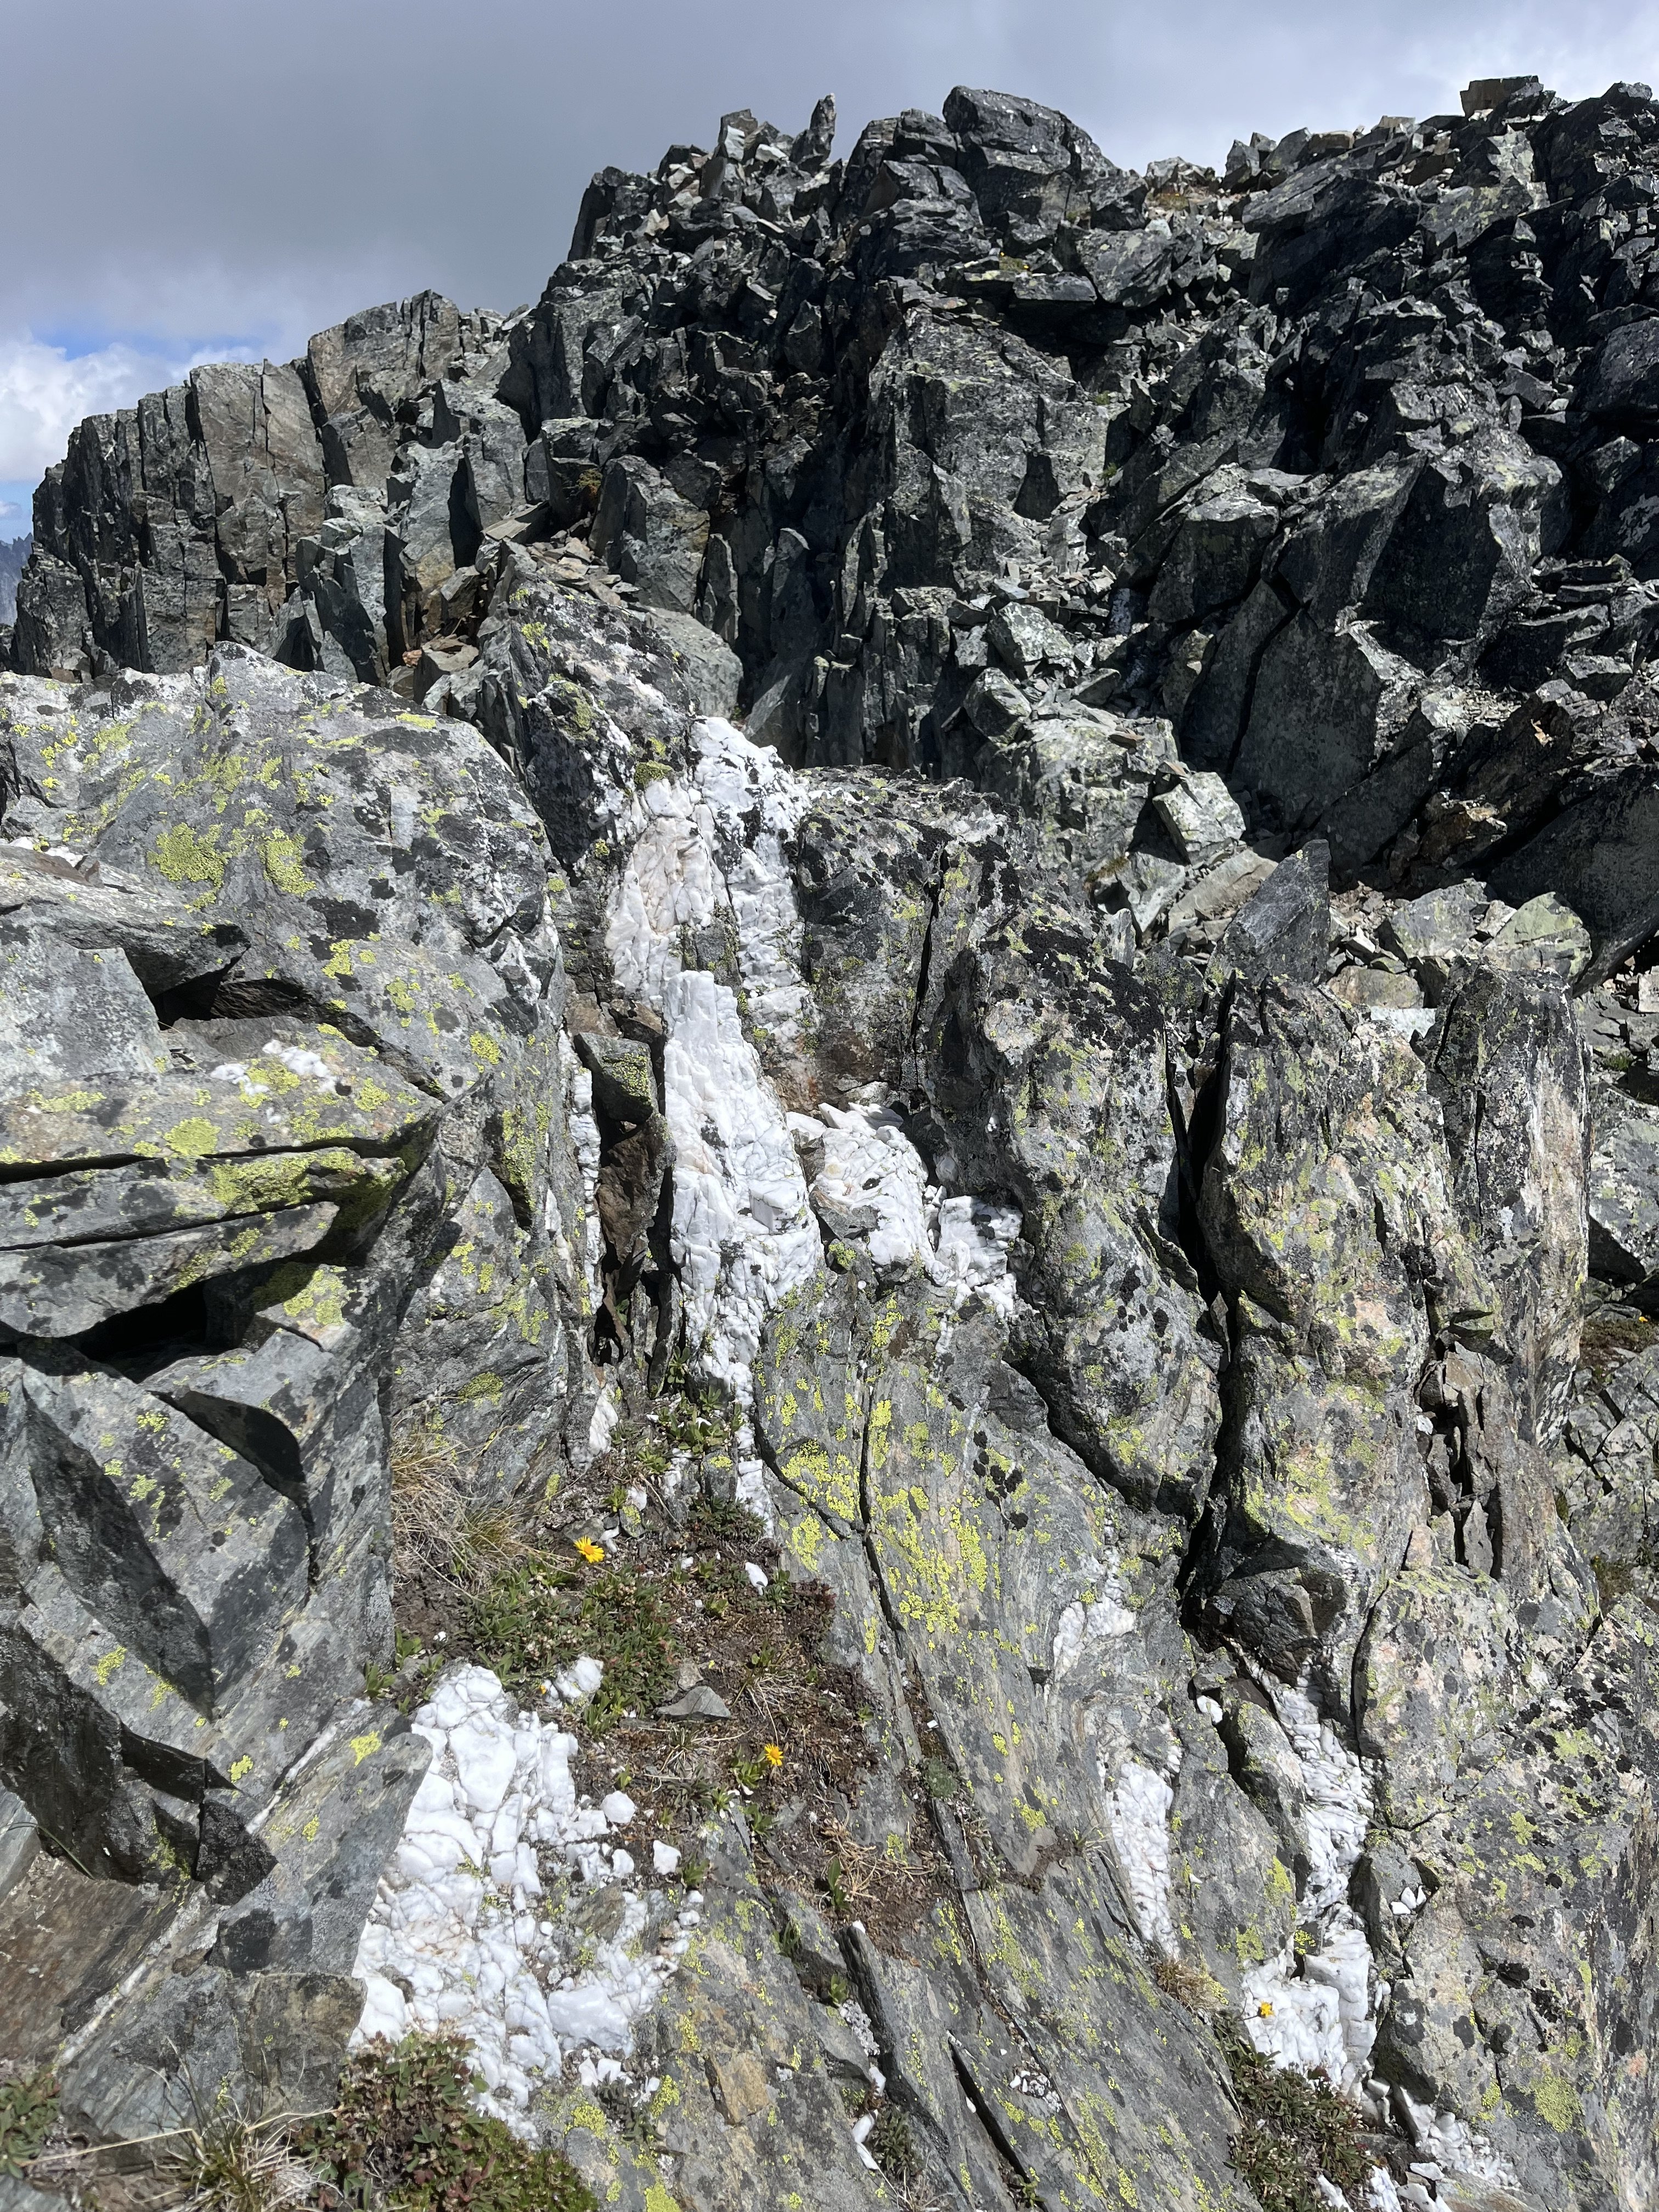
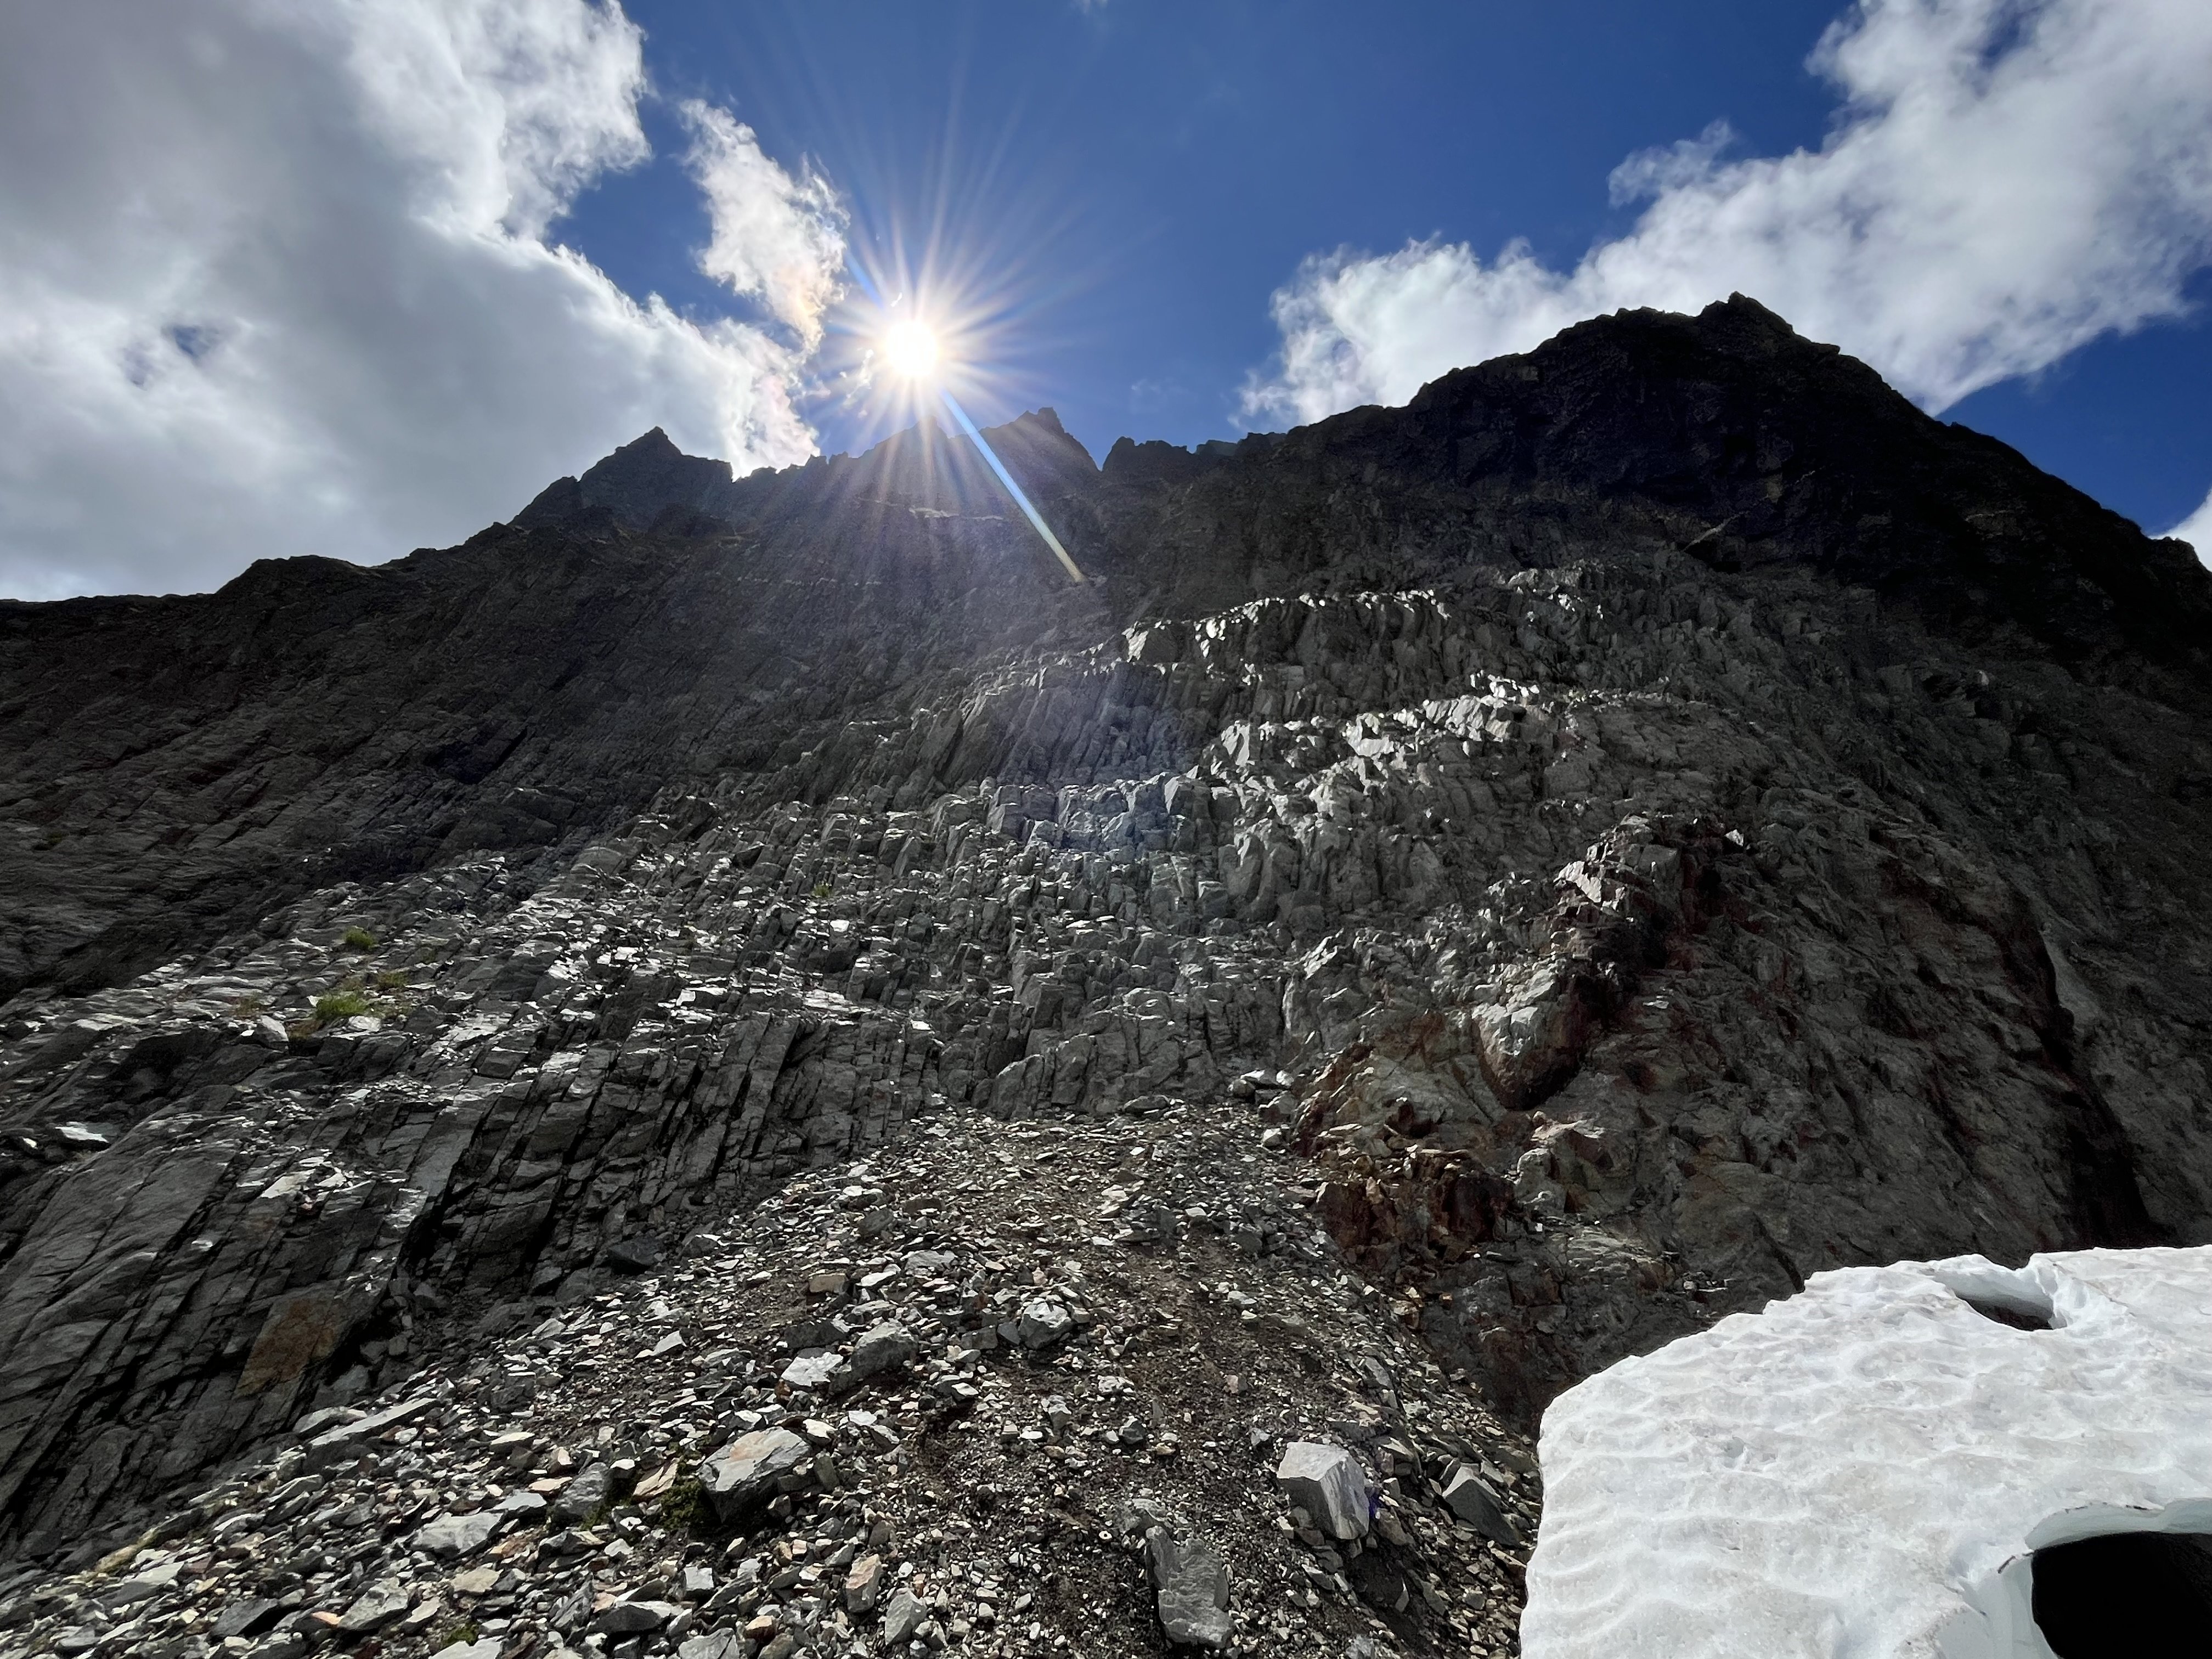
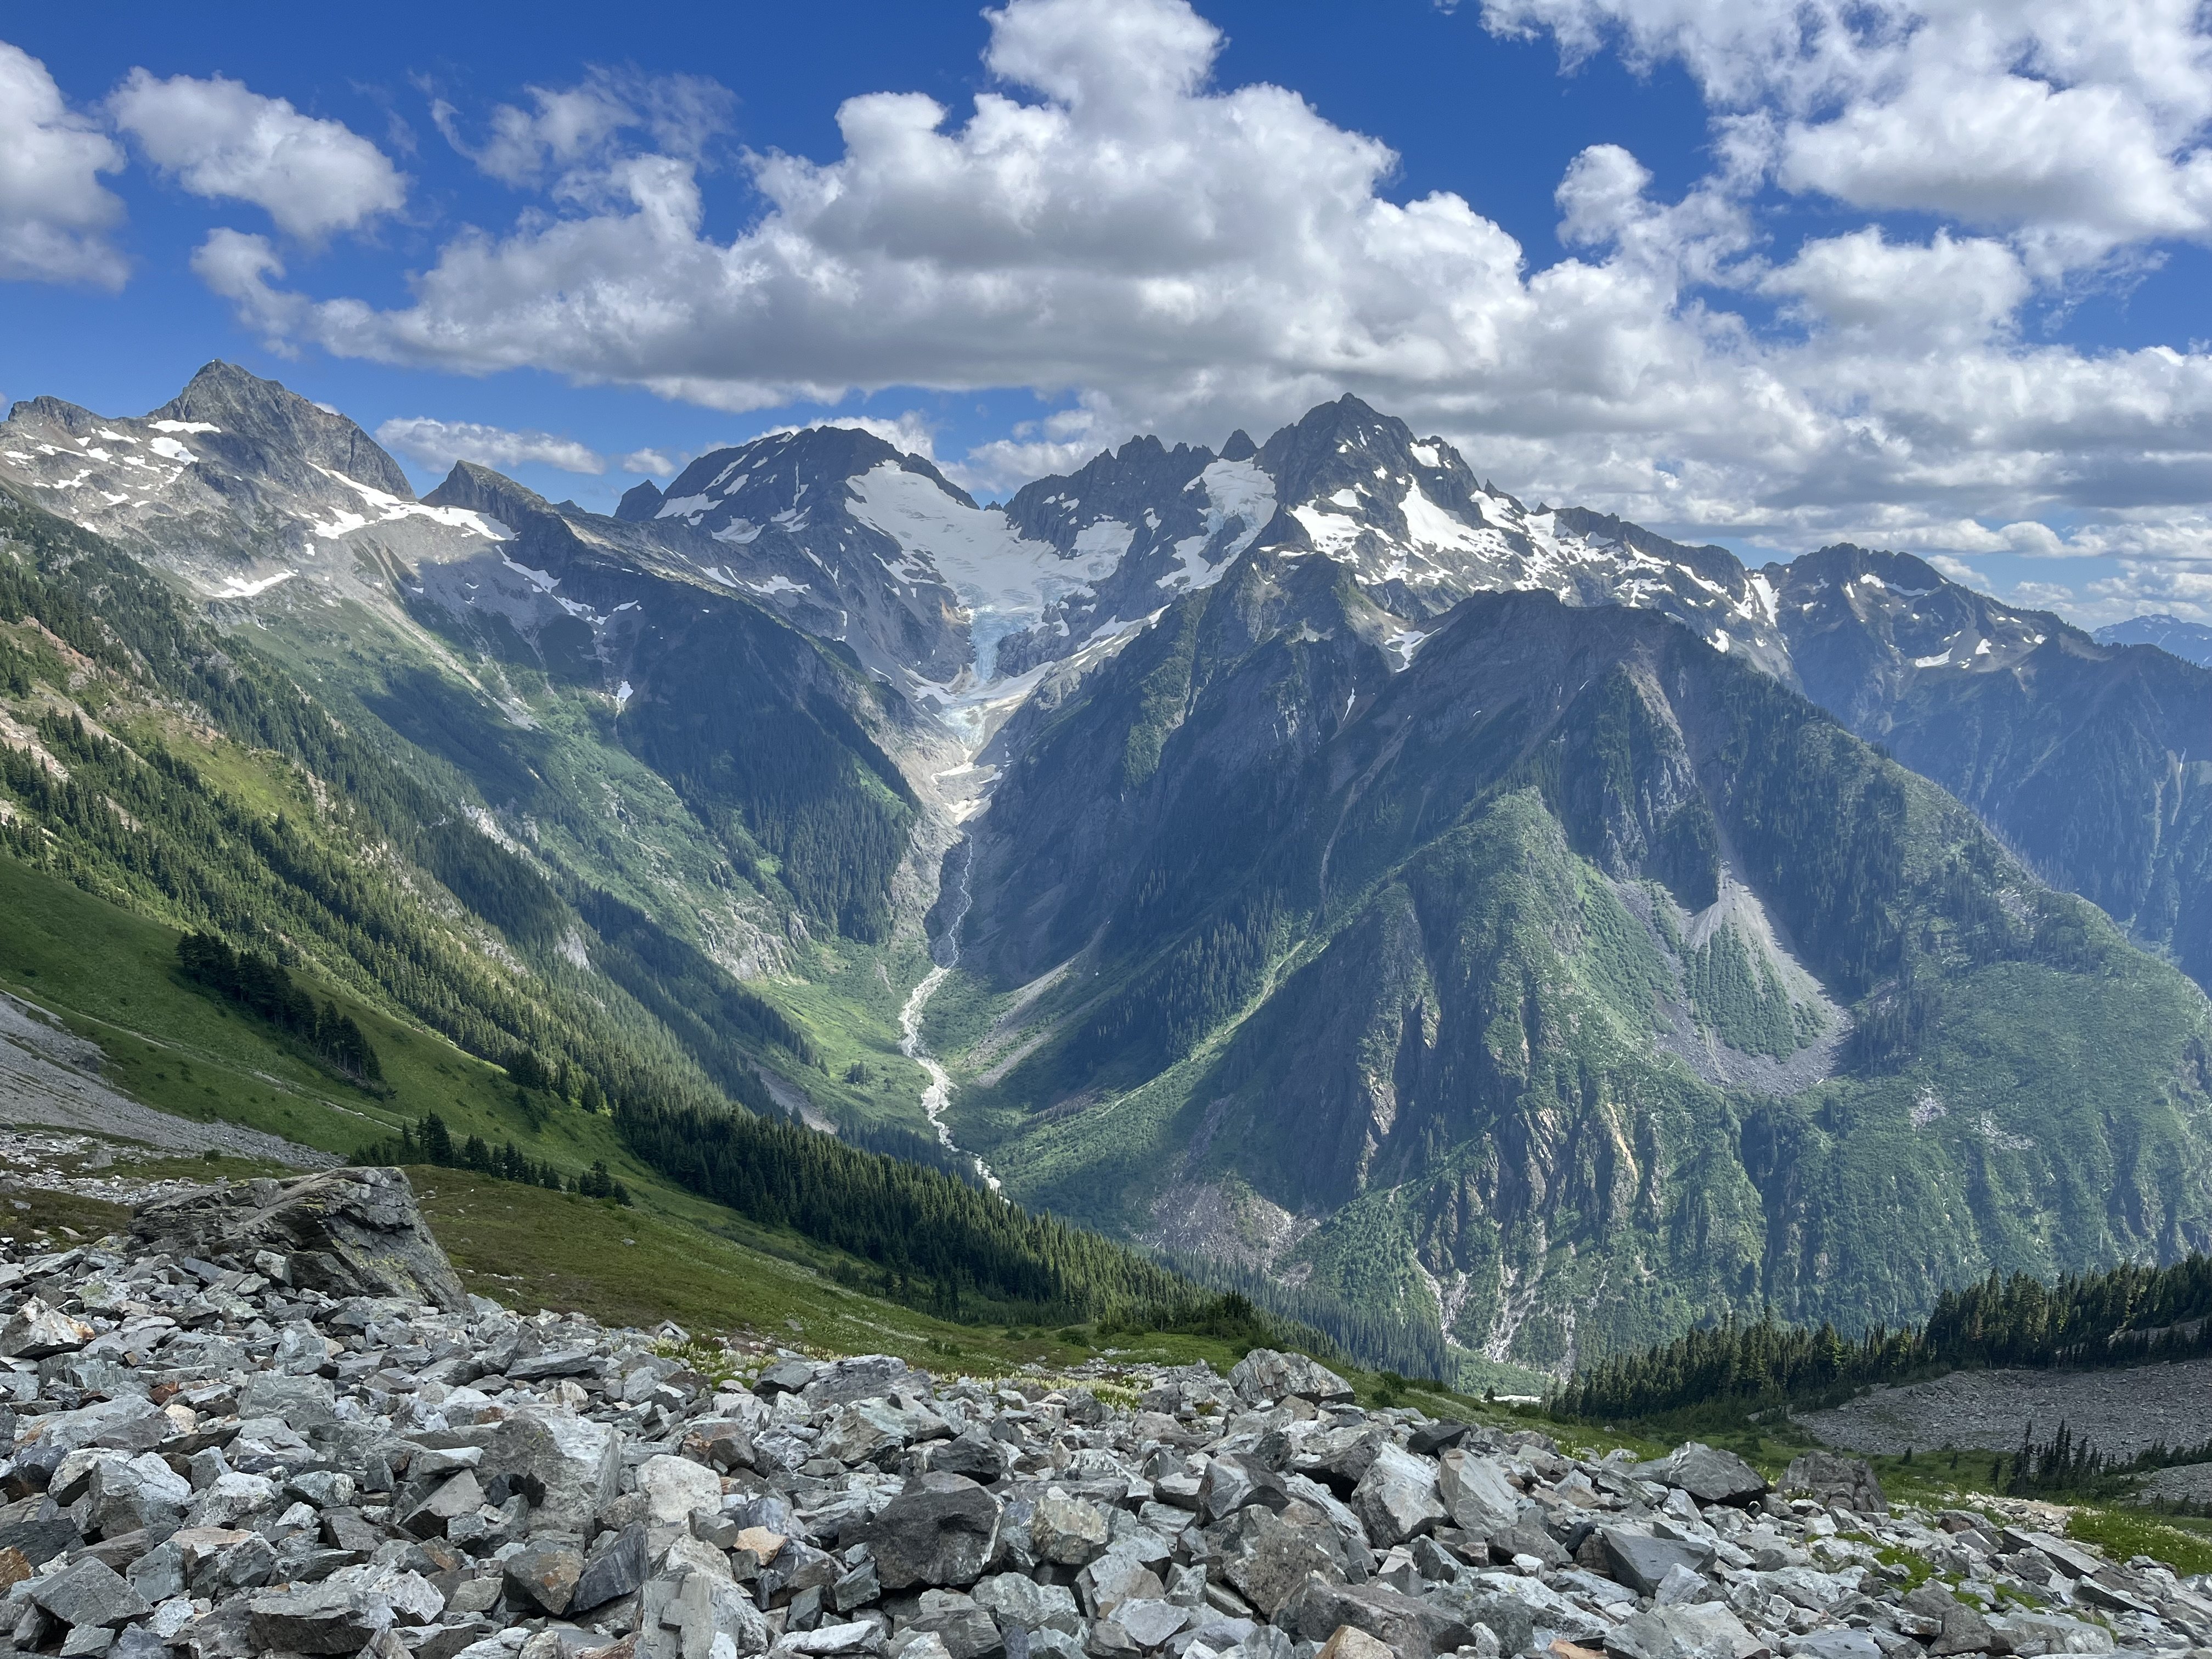
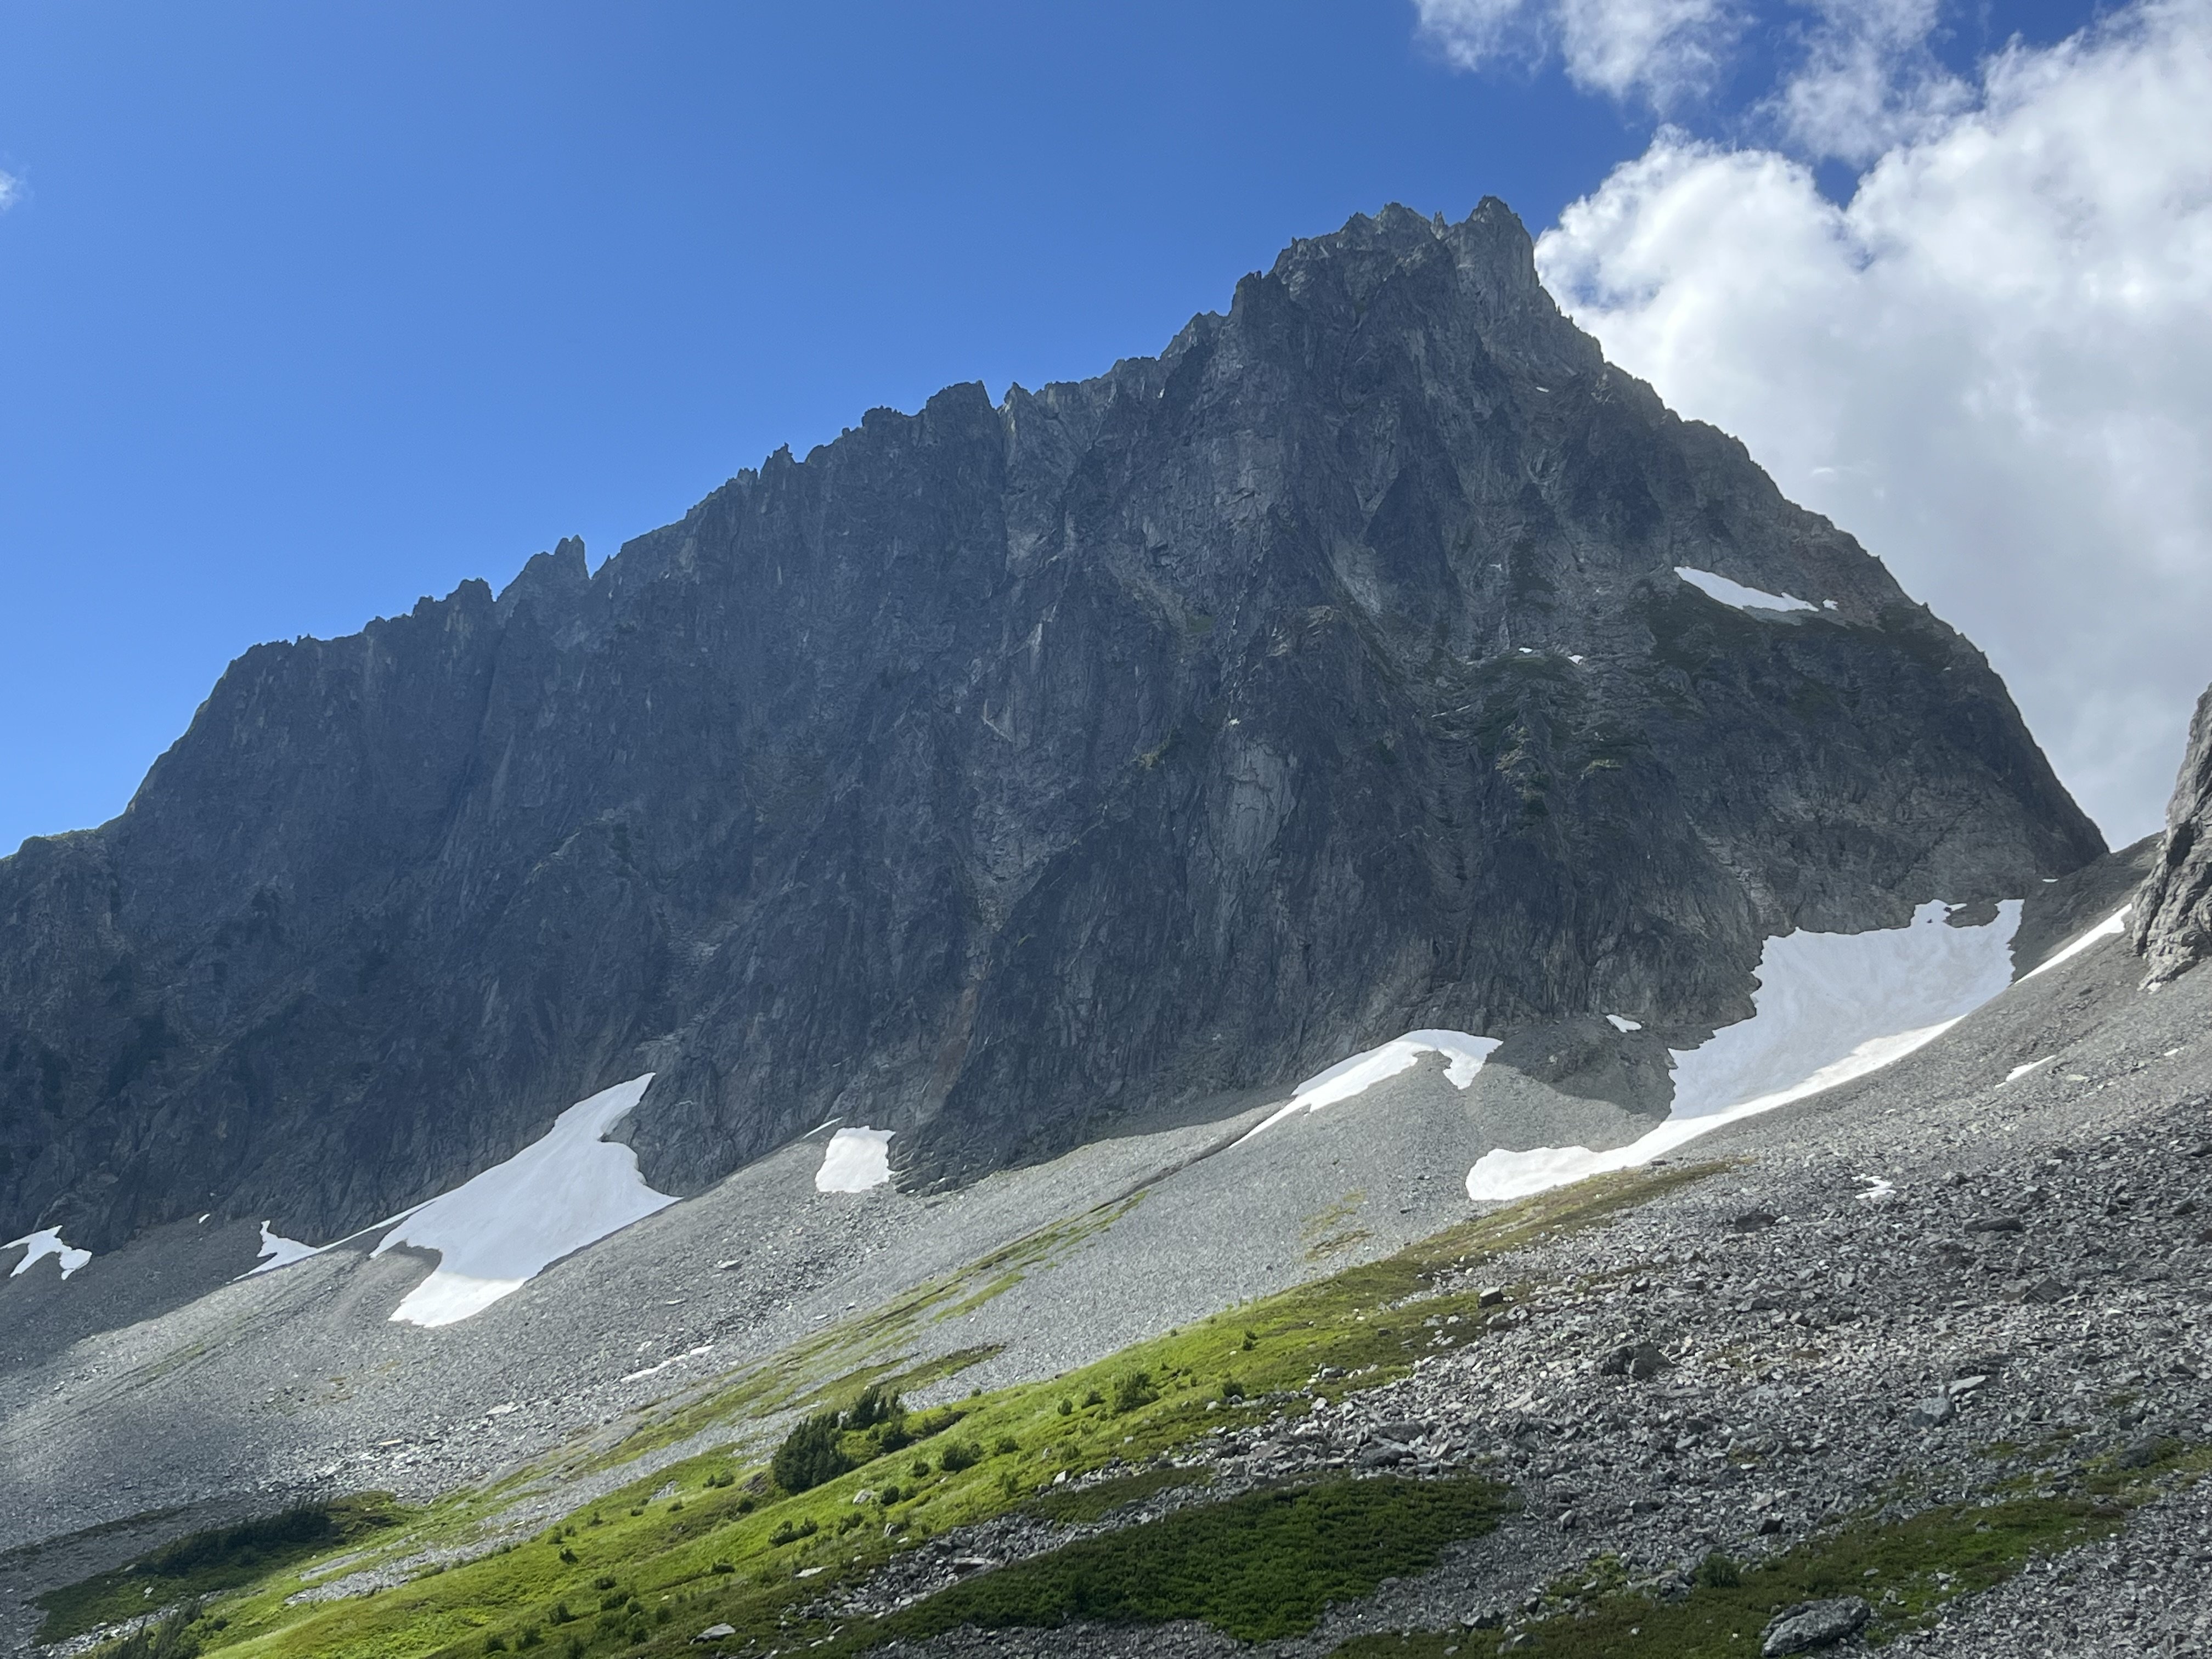
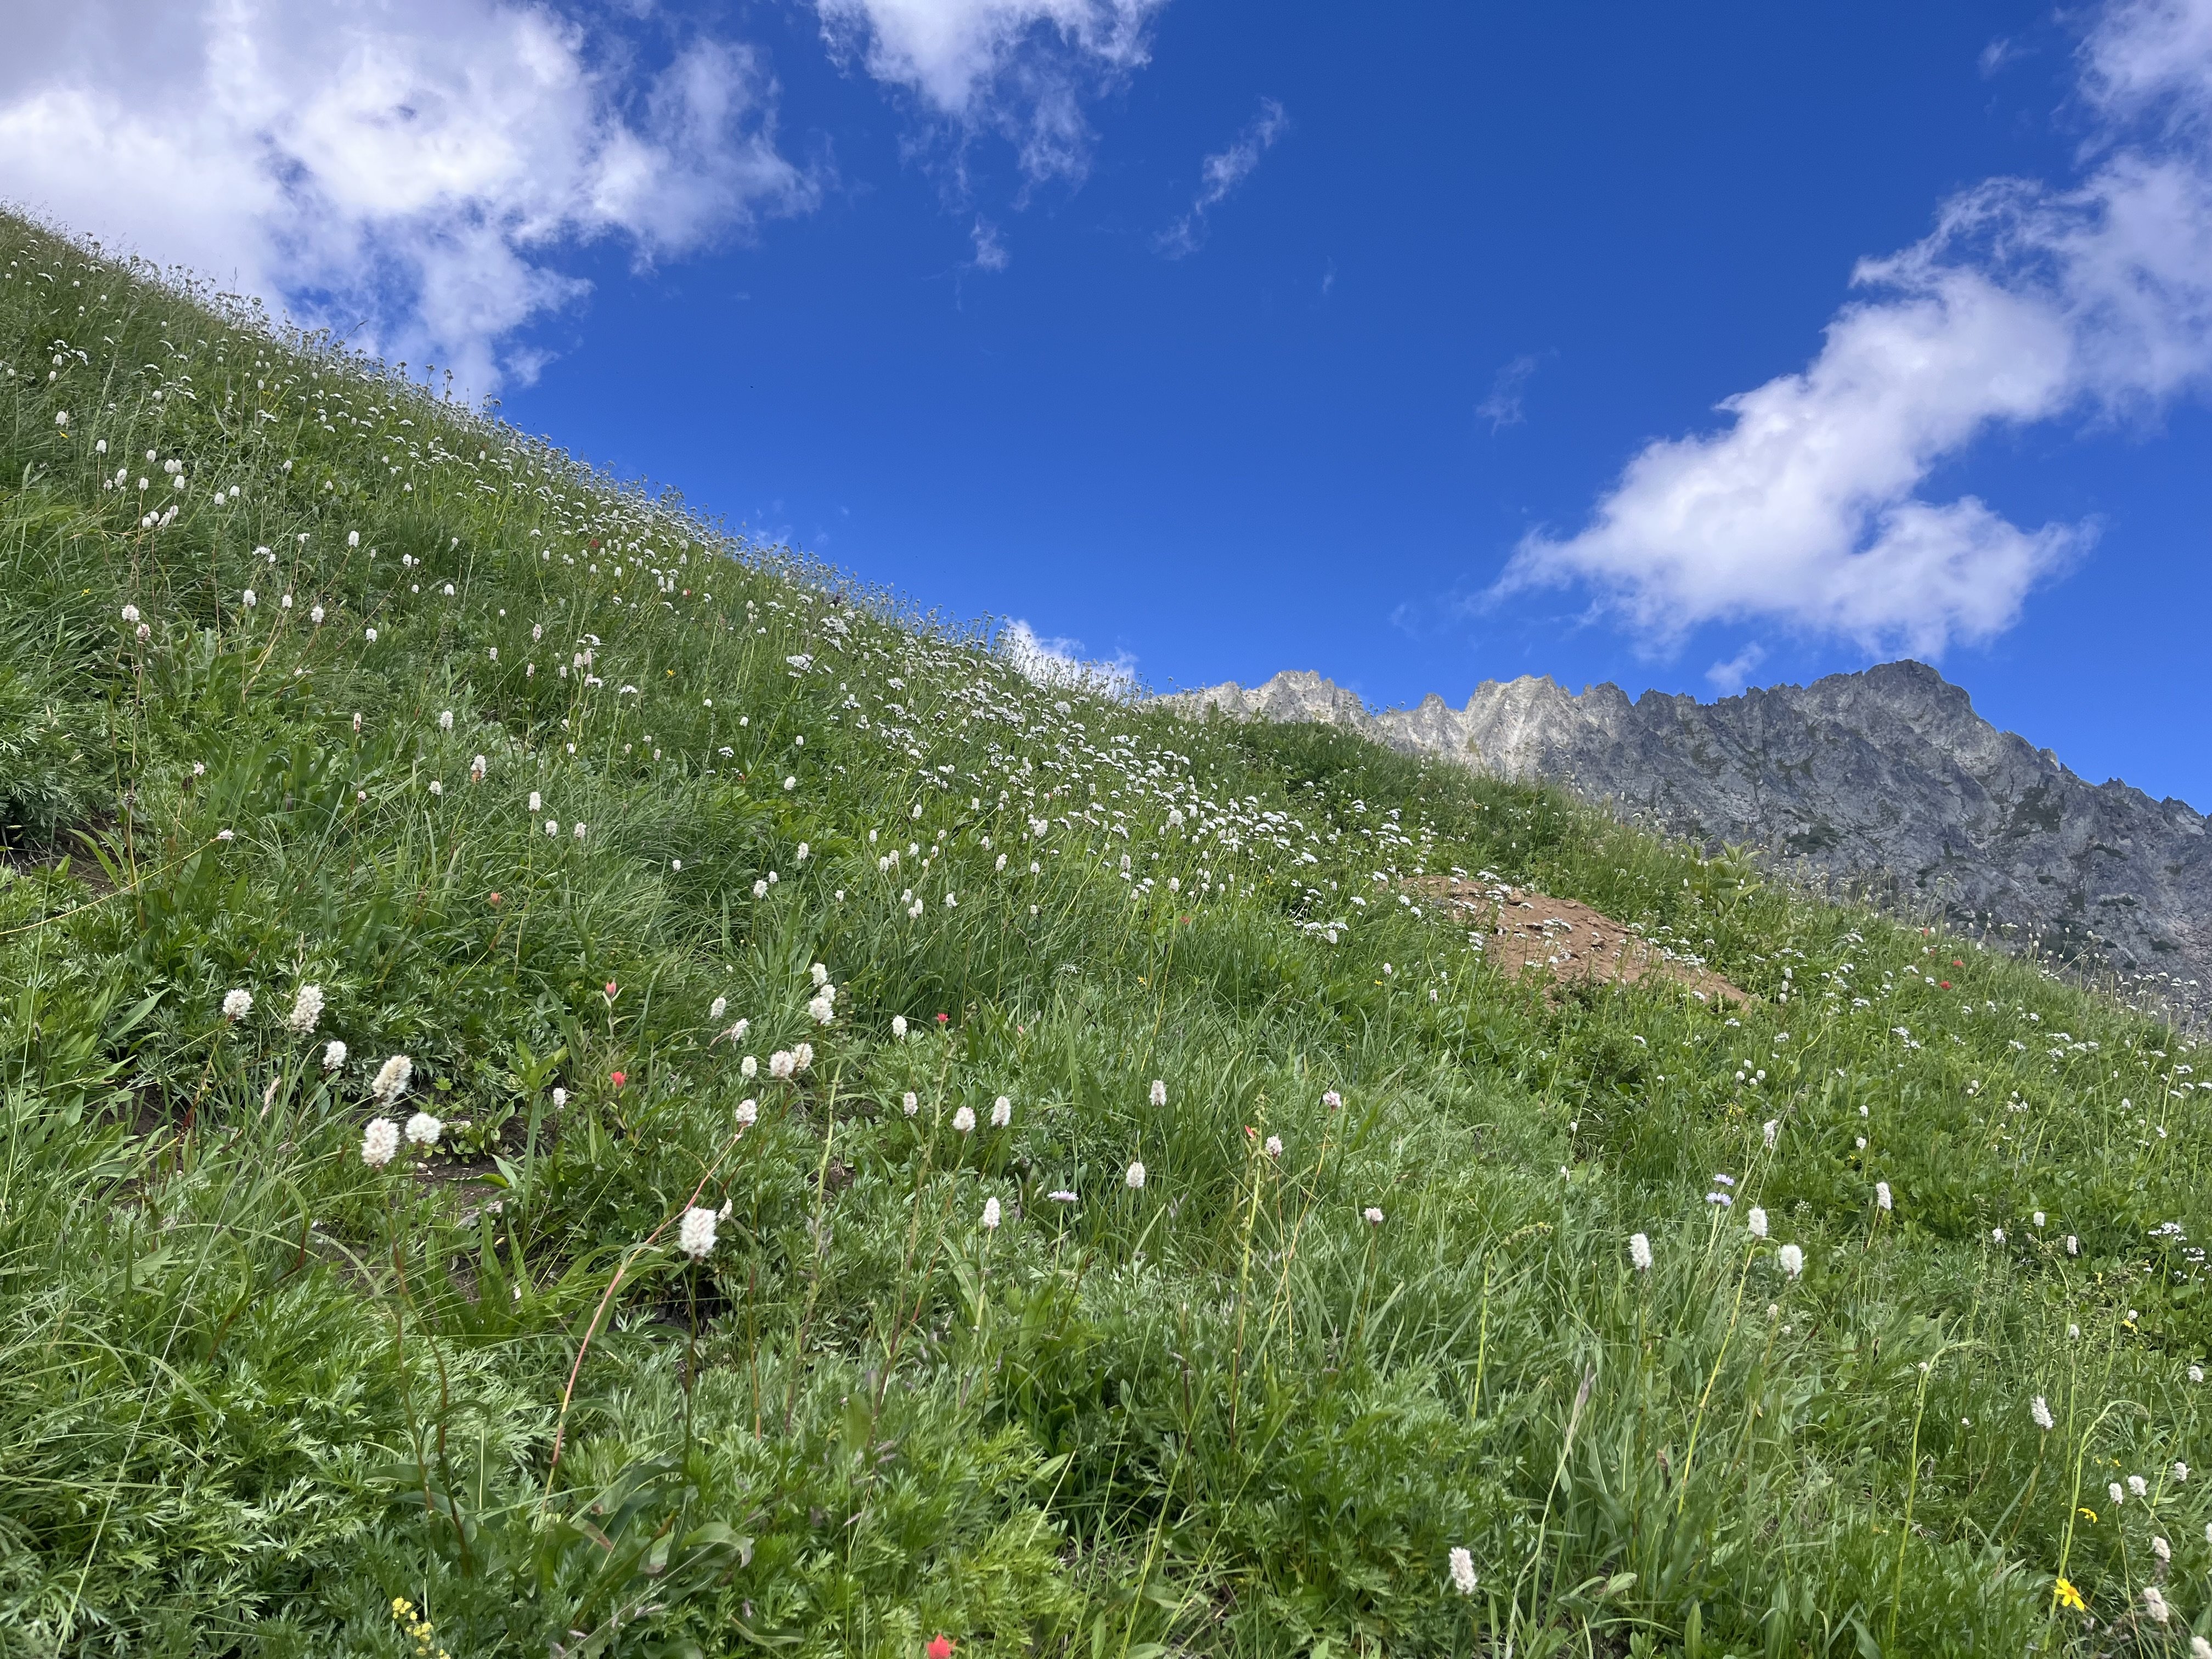
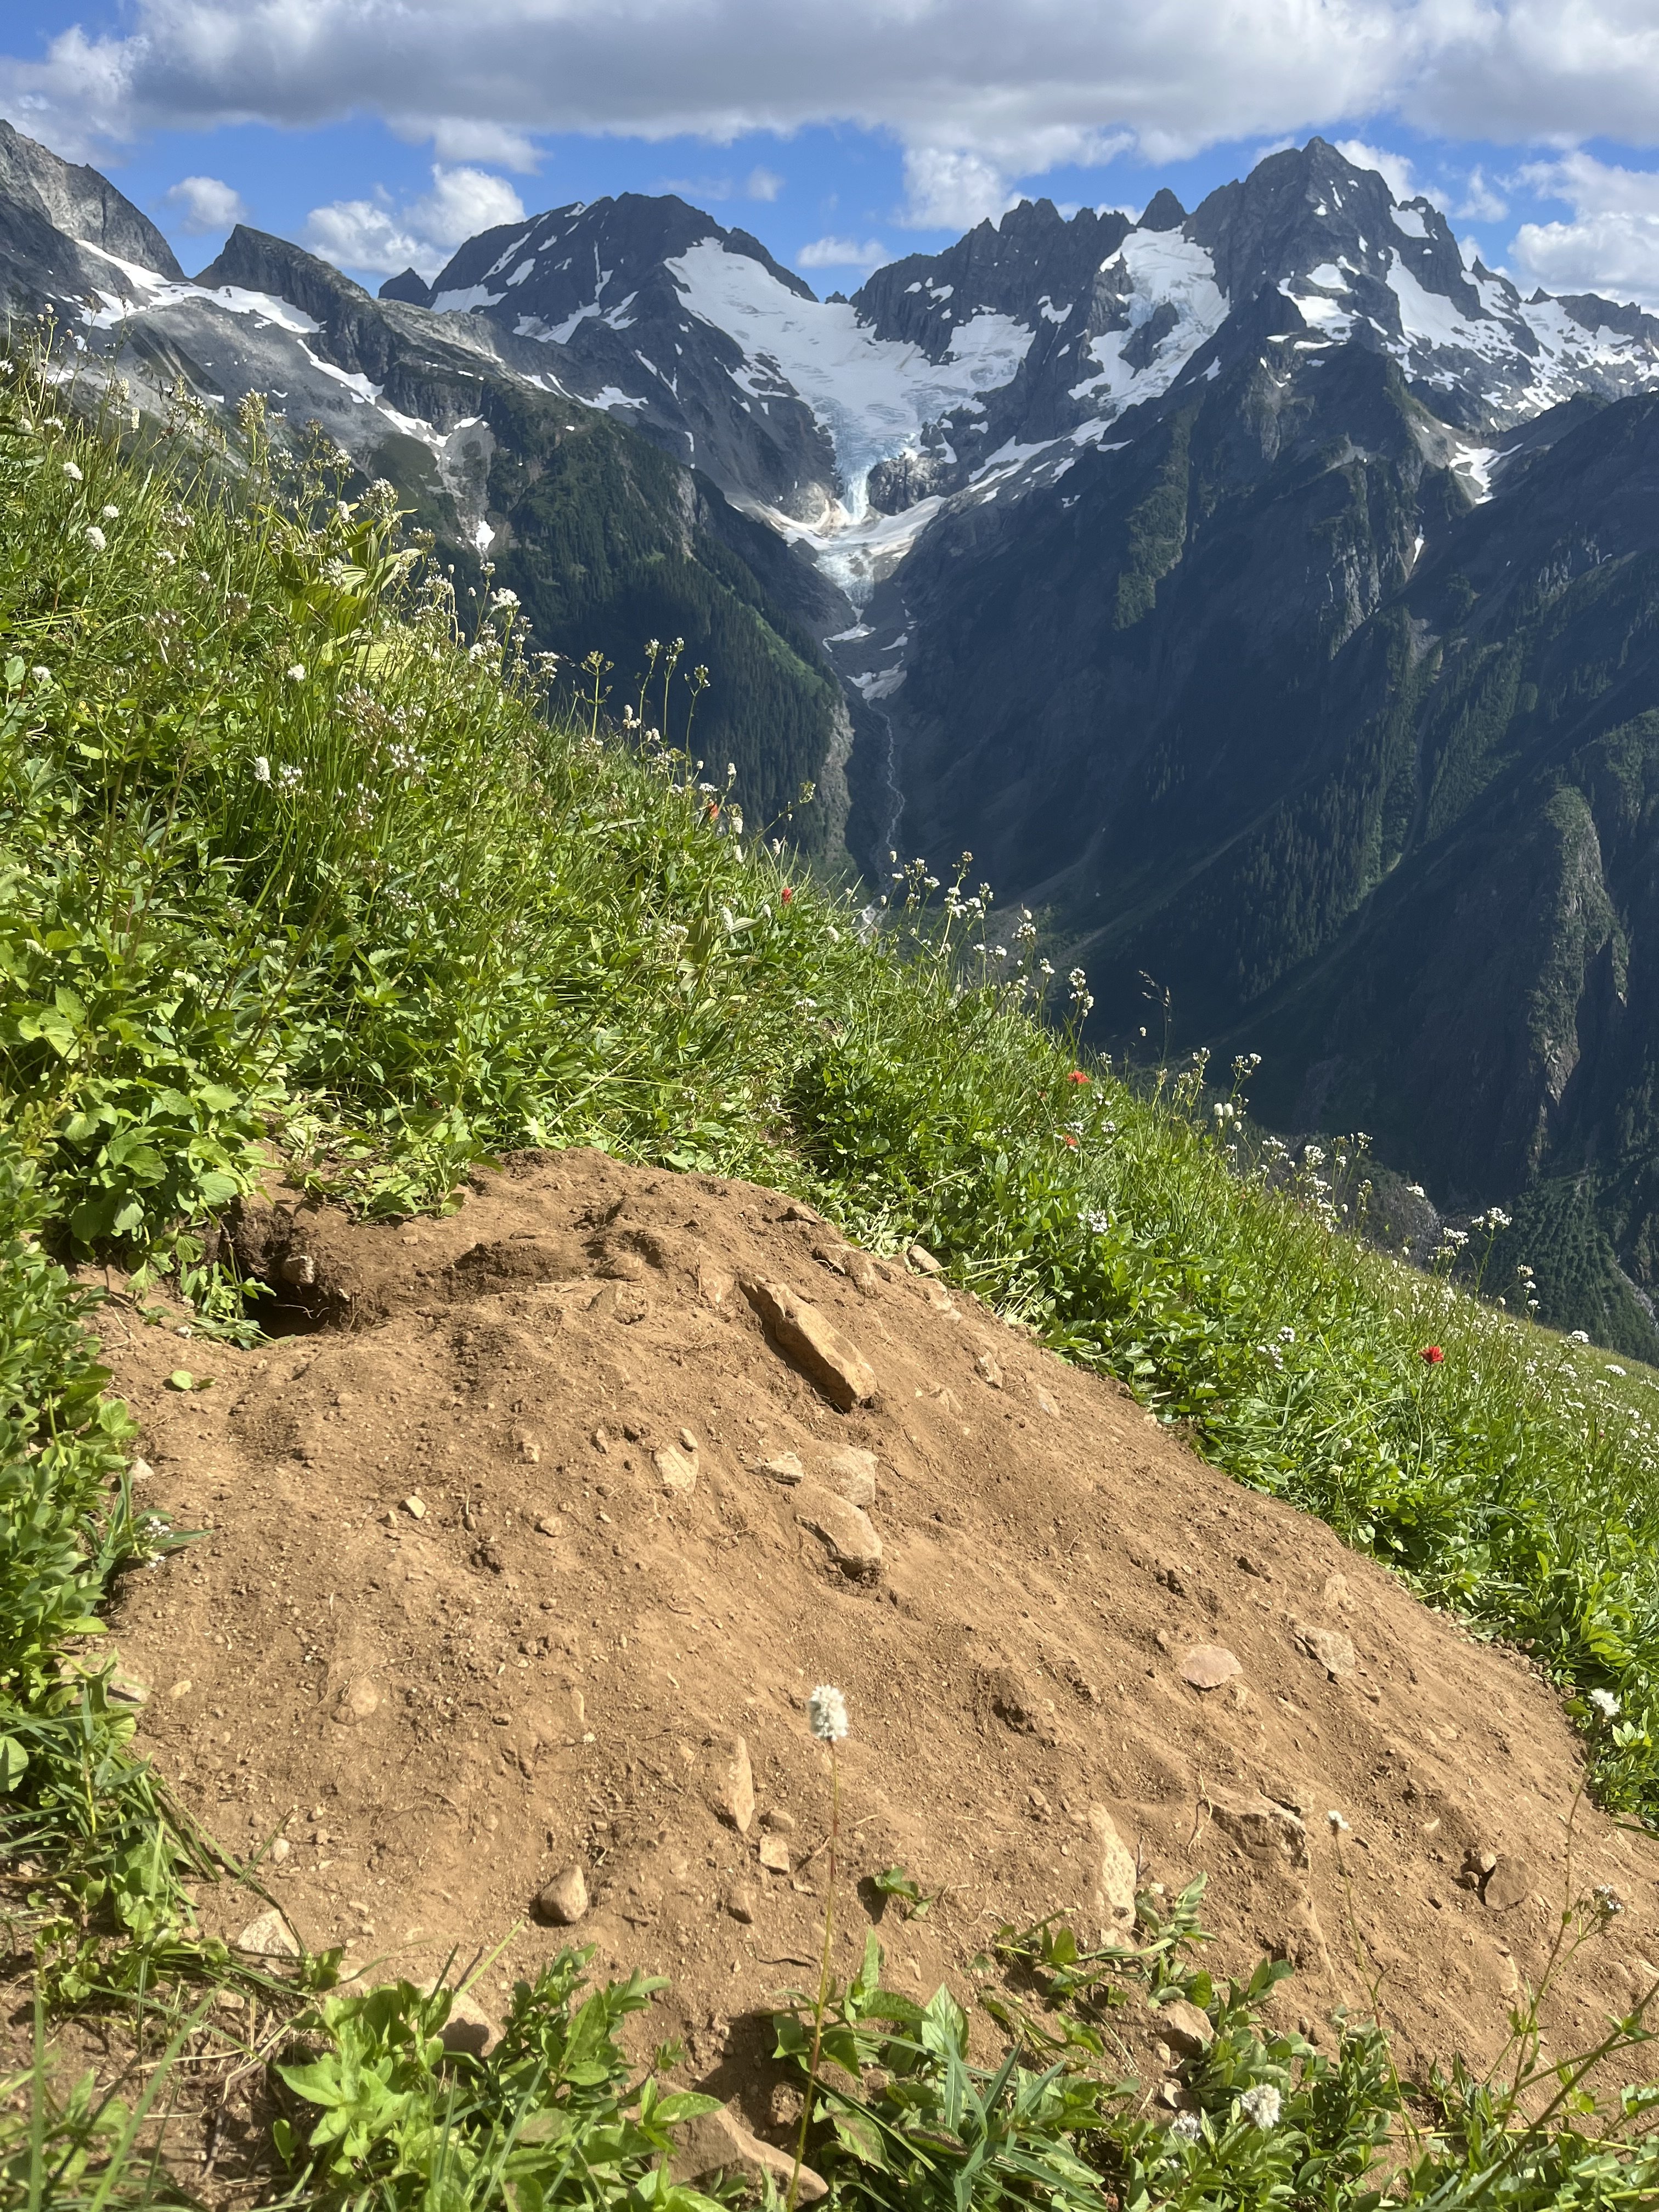
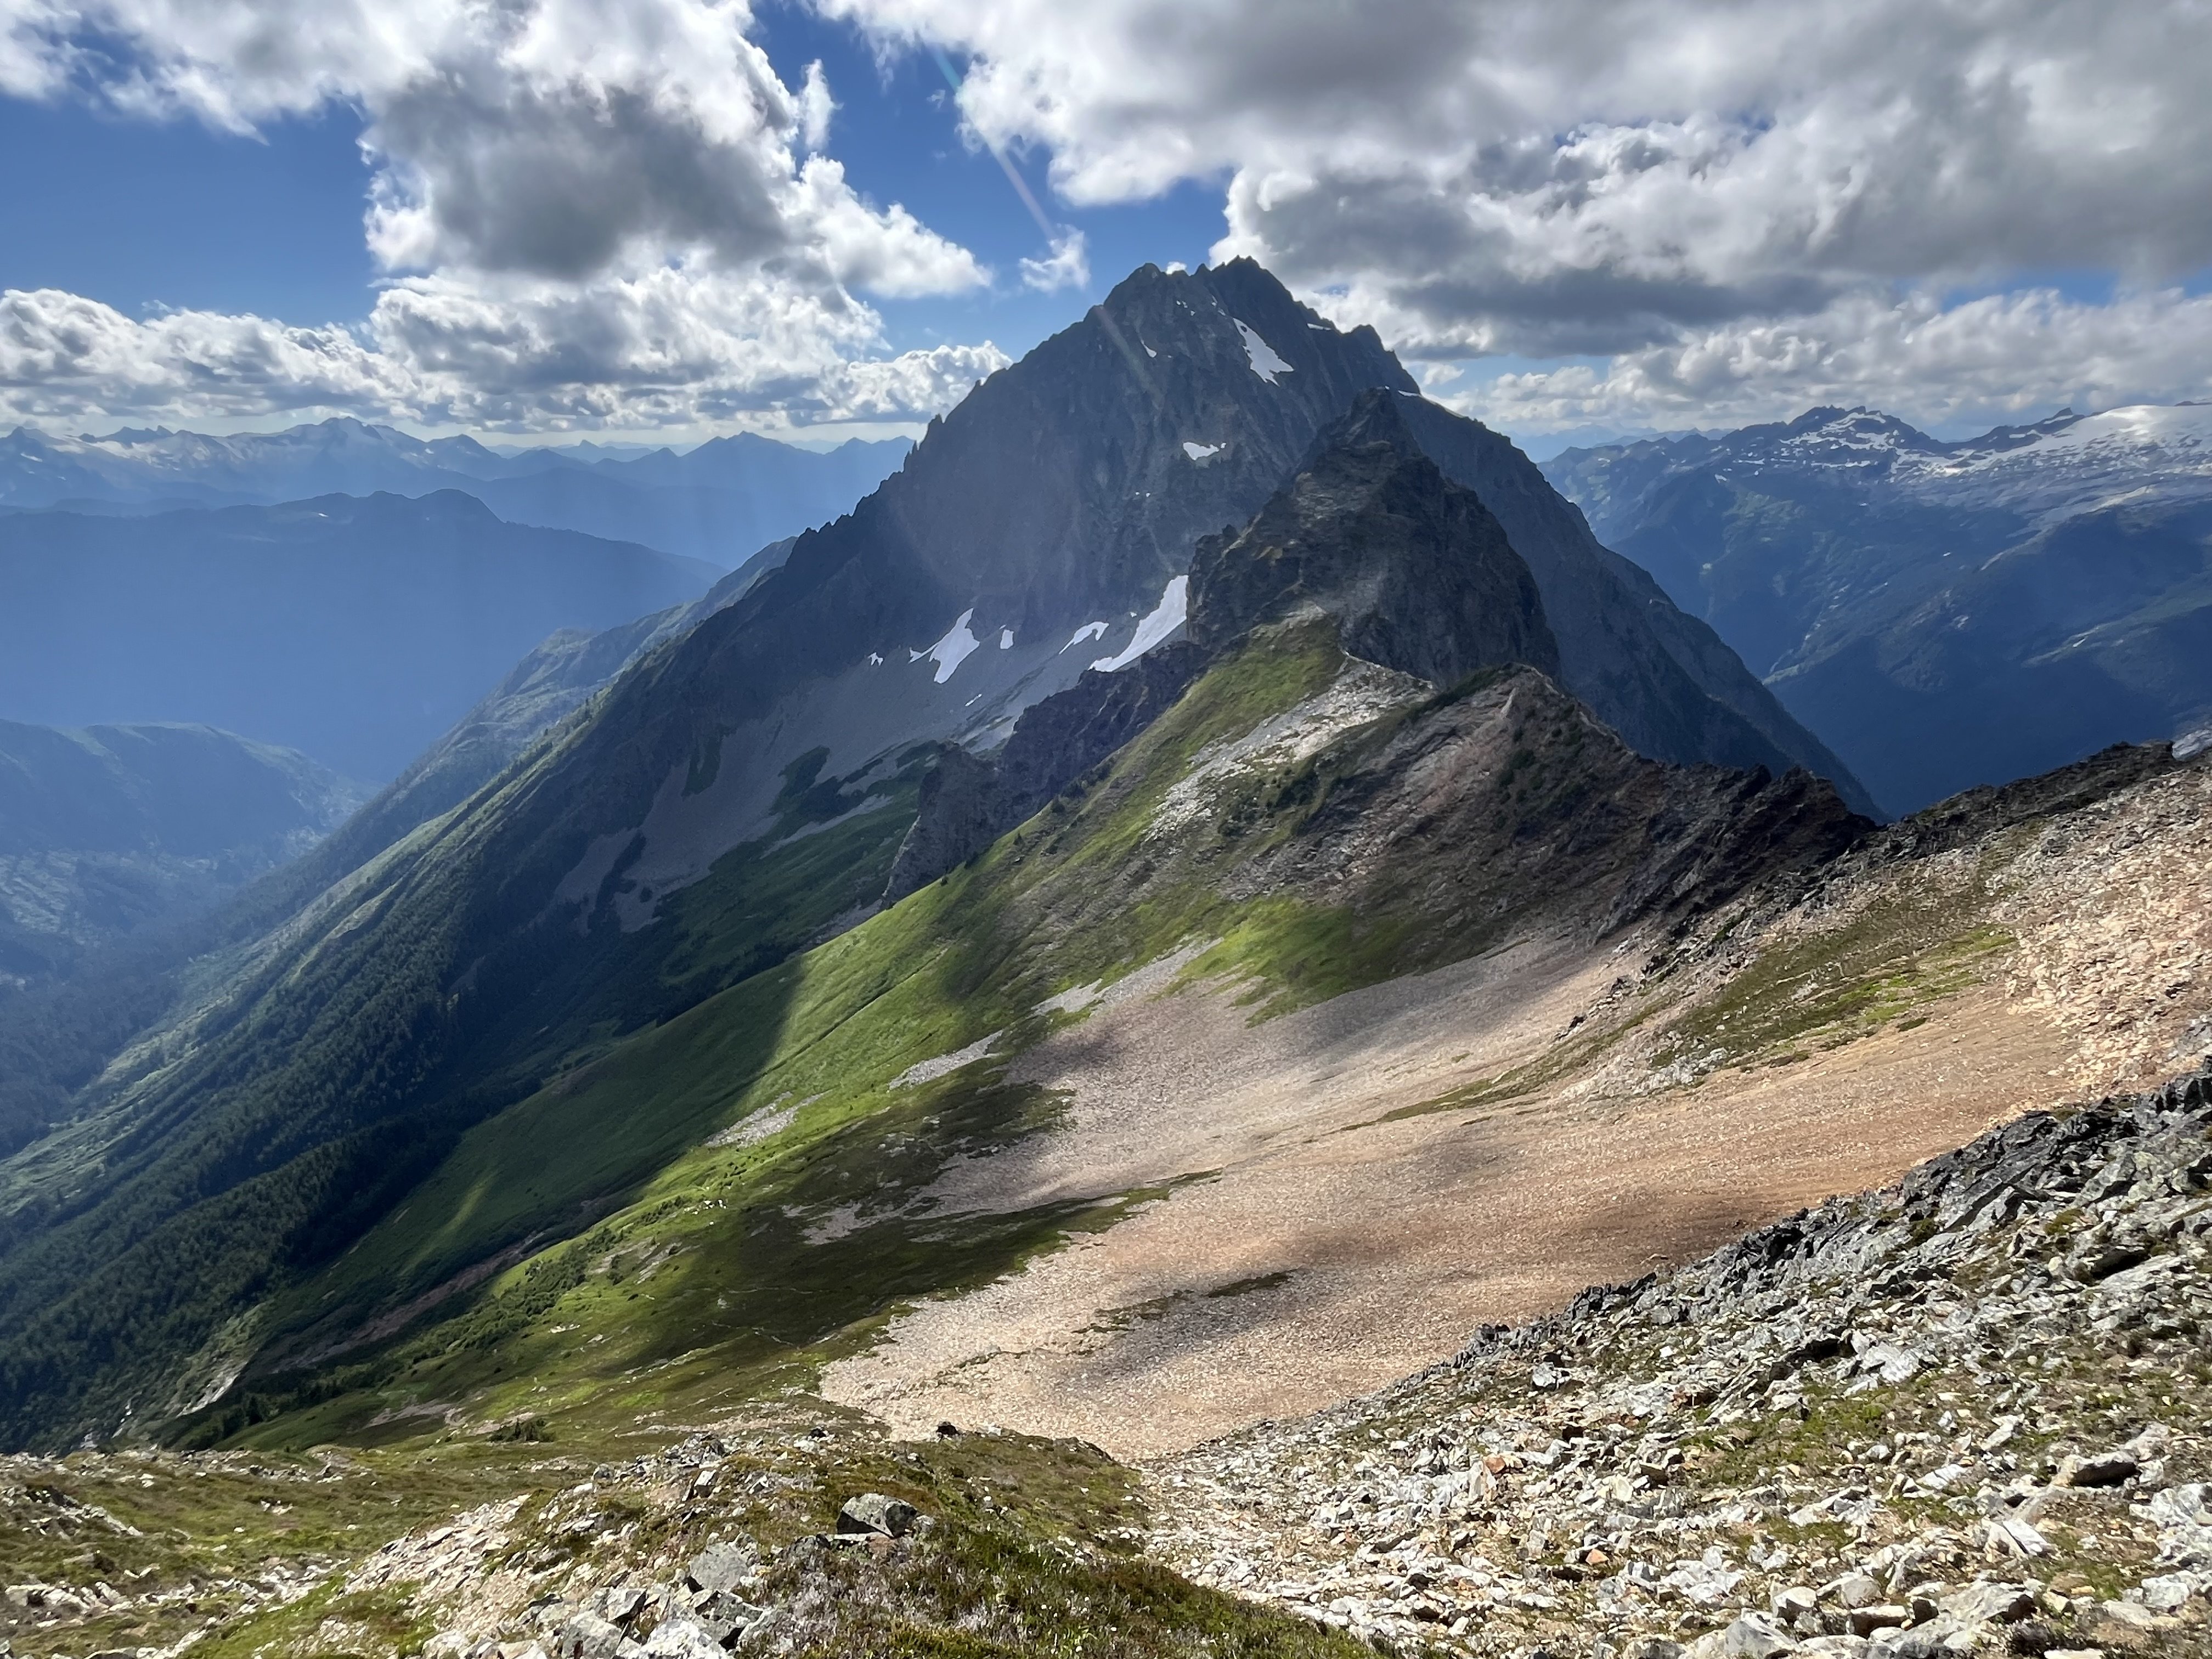
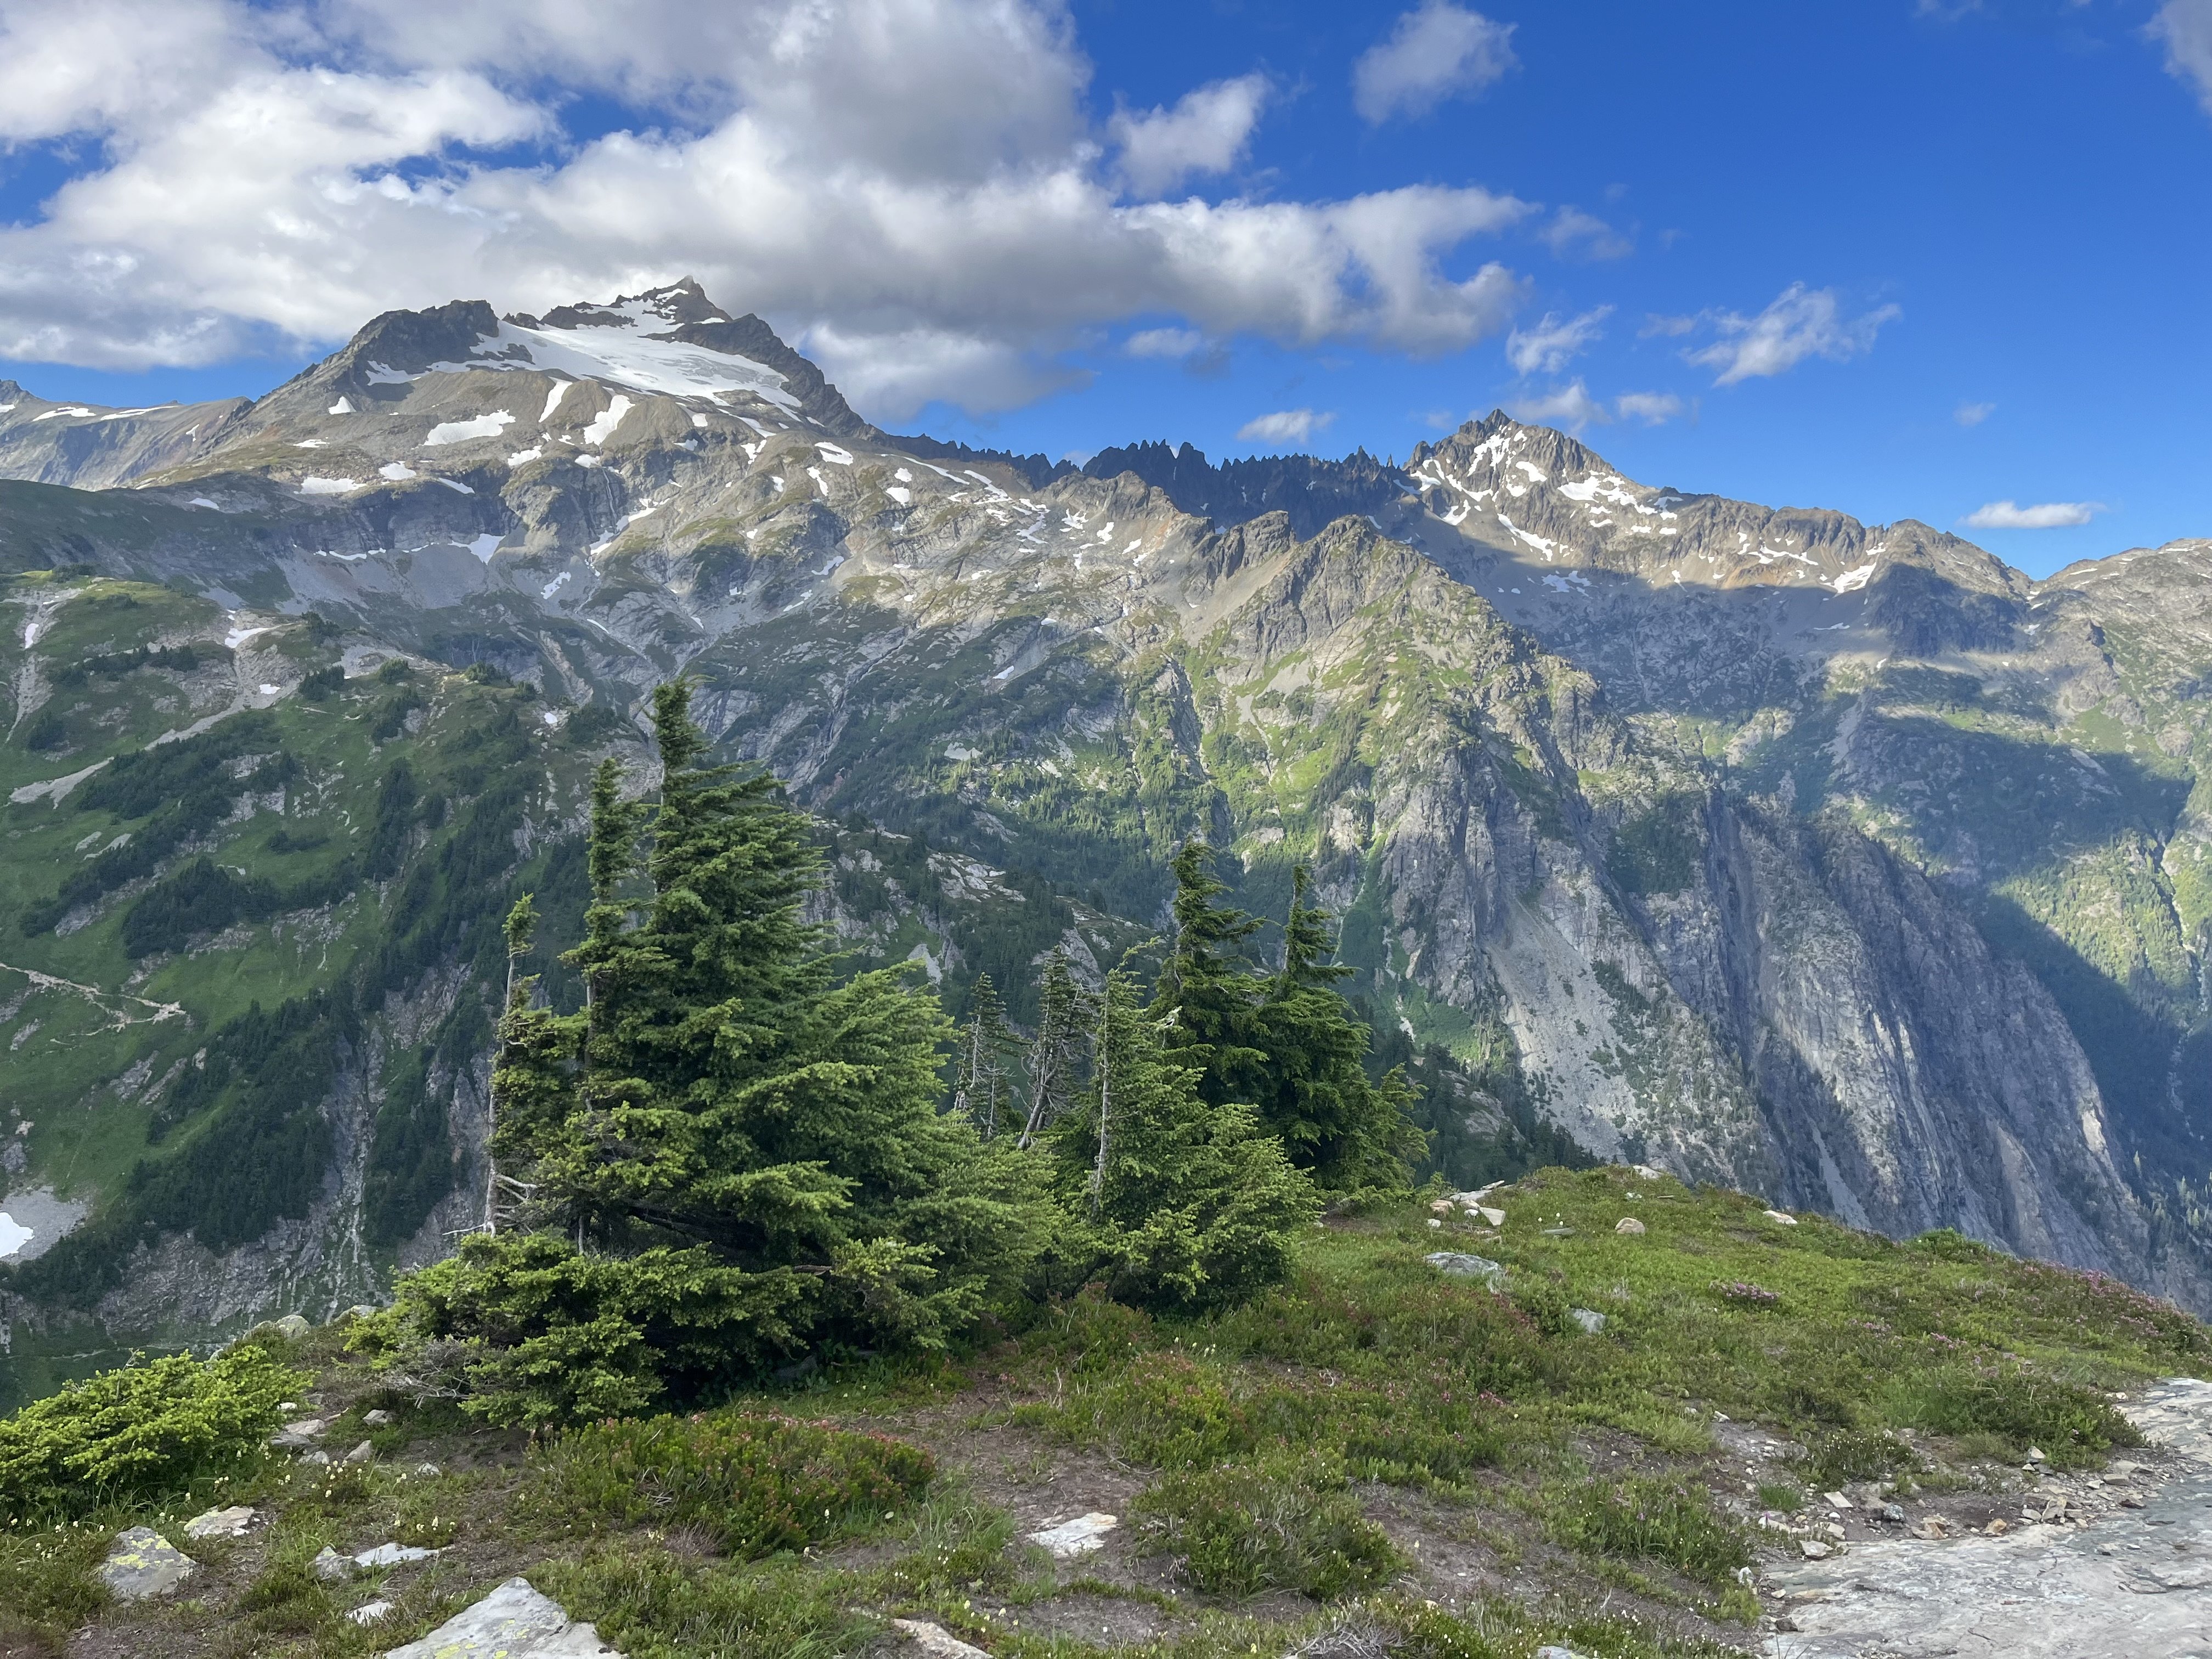
Trip: Johannesburg - NE Rib Trip Date: 07/24/2025 Trip Report: Another Johannesburg NE rib trip report is something the world likely doesn’t need but I’m in a bit of beta happy mood lately. Certain kinds of climbers might find the endless scrambling pretty enjoyable. And with perfect route finding the route doesn’t have to be especially sketchy, though as I found, navigation errors might be punished severely. The steep dirt embankment right off the road is a heads up rude awakening that foreshadows what lies ahead. And for such a short approach the bushwhacking is not insignificant. Steph Abegg has a good photo of the start of the route but the snow fan cuts off the very bottom of the slab and the elevation is wrong. You gain the rock more like 4100’. This confused me back in early June when I came to try the route. I got spooked off the slabs at the start. Thinking I may have missed something due to the “4400’” annotation, I climbed snow higher, but found only sheer cliffs above. On my way back down I saw from Steph’s picture that I had been in the right place after all but it turned out to just be really hard instead of easy class 4. During my second attempt I began by trying to follow blocky terrain on the left side of the slab. It started out good but when it came time to move right, a drip formed an impossibly slimy 10 foot wide barrier to passage. I retreated nearly back to the bottom and instead headed up to a right facing corner left of a roof with a wet slab below it. I went this way on my first attempt before bailing. It starts with a bit of lieback on a jug and a high reach to another jug, after which you can pull up to easier ground. Right after I took this photo my feet blew on slime. It’s a low angle stance, so fortunately I didn’t go far. Humbly I reapplied and was accepted on the second try. This short sequence felt like 5th class though as my fall demonstrated, maybe not exposed enough to count as true 5th. Though I’ve spent more than my fair share of time on that slab by now, I still have no idea where the path of least resistance is. Having failed to find the “easy class 4” I also failed to find the “sketchy 5th”. At the top of the slab next to the waterfall I found good solid rock and was on my way. Worse was yet to come in the jungle section. From the stream below I noticed some tall cedars and guessed that it wouldn’t be too crowded at their bases. This was true, I was able to move between them and the rock buttress without any real entanglement (18L pack with ax and tool covered in socks and just barely stuffed inside). However I was getting further and further west and not gaining enough elevation. Finally I saw something I was hoping to find, a steep, rocky and mostly dry bed. But guarding access was minor cliff band maybe 15’ tall. Overly committed, I explored three fairly terrifying options at 5.forest and managed to get through, relying far more on good fortune than I’d like. The episode left a bitter taste on an otherwise umami day. I definitely prefer my climbs not avoidably harrowing. Above that section I tended to stay in or just to the right of the gully between the two ribs, with a wider diversion to the right just above the last major snowfield. Where the vegetation finally gives way to solid, polished rock beginning around 6K’ was the highlight of the route for me, both because this was the best quality rock for the day, and because of the sense of relief for escaping what was just below. At about 6450’ I found a promontory with a great view of the northeast face. Beyond this point the rock quality declined some (but not terrible) and the route complexity increased. I saw that I needed to move diagonally up and right to get to where the snow was on my map. I found reasonable ramps and ledges cut with interesting quartz bands. There was one more section of minor drama with steep, exposed choss to get around the corner. Then I could see the snow and ice spilling down from Johannesburg’s north face. I gained the snow at 7200’, maybe missing the famous bivy, though I noticed one small one at 7000’ with good but not panoramic views. The snow arete was AWOL. My guess is the high heat has melted it down to a boring broad shape. Passage on the left was a little narrow but in good shape. There were no real difficulties with shrunds and crevasses and no mandatory hard ice. At the upper face especially the snow was steep enough that I was glad to have sharp things on each limb. Unlike my first time here, I couldn’t locate the summit register. Before long I began the descent to the east. It was helpful to have been up and down this way before. I had forgotten how much griffin shit is in this zone. I seemed to take a long time descending. Probably I was mentally fatigued from all the no fall terrain. It was a lovely afternoon as I traversed the basin over to the ridge off of Mixup, pierced with many marmot cries dying off with slow haunting decay. Industrious workers of the underworld, unite! More mental fatigue descending the slabs coming down from that notch, then a long overdue water break below the snow (though somehow I didn’t get dehydrated despite running out shortly after the summit). Pretty straightforward and gratuitously beautiful from there back to the trailhead. It took me slightly less time than going up and down Doug’s direct had, a little under 15 hours. I think I lost at least an hour with the slab and forest cliff navigation fiascos. Many reports say this climb is best done once. I think that’s not untrue but if you really like scrambling this could be a good one, because the scrambling goes on and on hypnotically. That said, it’s a slippery one. Gear Notes: Approach shoes, steel strap-on crampons, one tool, one light ax. Approach Notes: Last hair pin before the Cascade pass trailhead. Don’t fall down the very steep hard dirt.

-
- 4
-
-

- Yesterday
-
 baanielsen joined the community
 -
 If they were hosted on this site I could fix the images. But they wre hosted elsewhere on a site that is long gone.
 -
 This is a great TR, I really wish I could see the pictures. Camping below the "waiting tower" seems amazing, it's a very underrated feature.
 - Last week
-

Looking for a partner to climb Hood with in July
Justinl3 replied to quinnc55's topic in Climbing Partners
Messages -
Messaged
- 1 reply
-
- 1
-
-
Good to see folks getting on this one! If you want to see photos and a description of the descent down the South Face, here is a TR from way back with my friend TJ (RIP) and @therunningdog.
-
Let's do it @geosean!
-

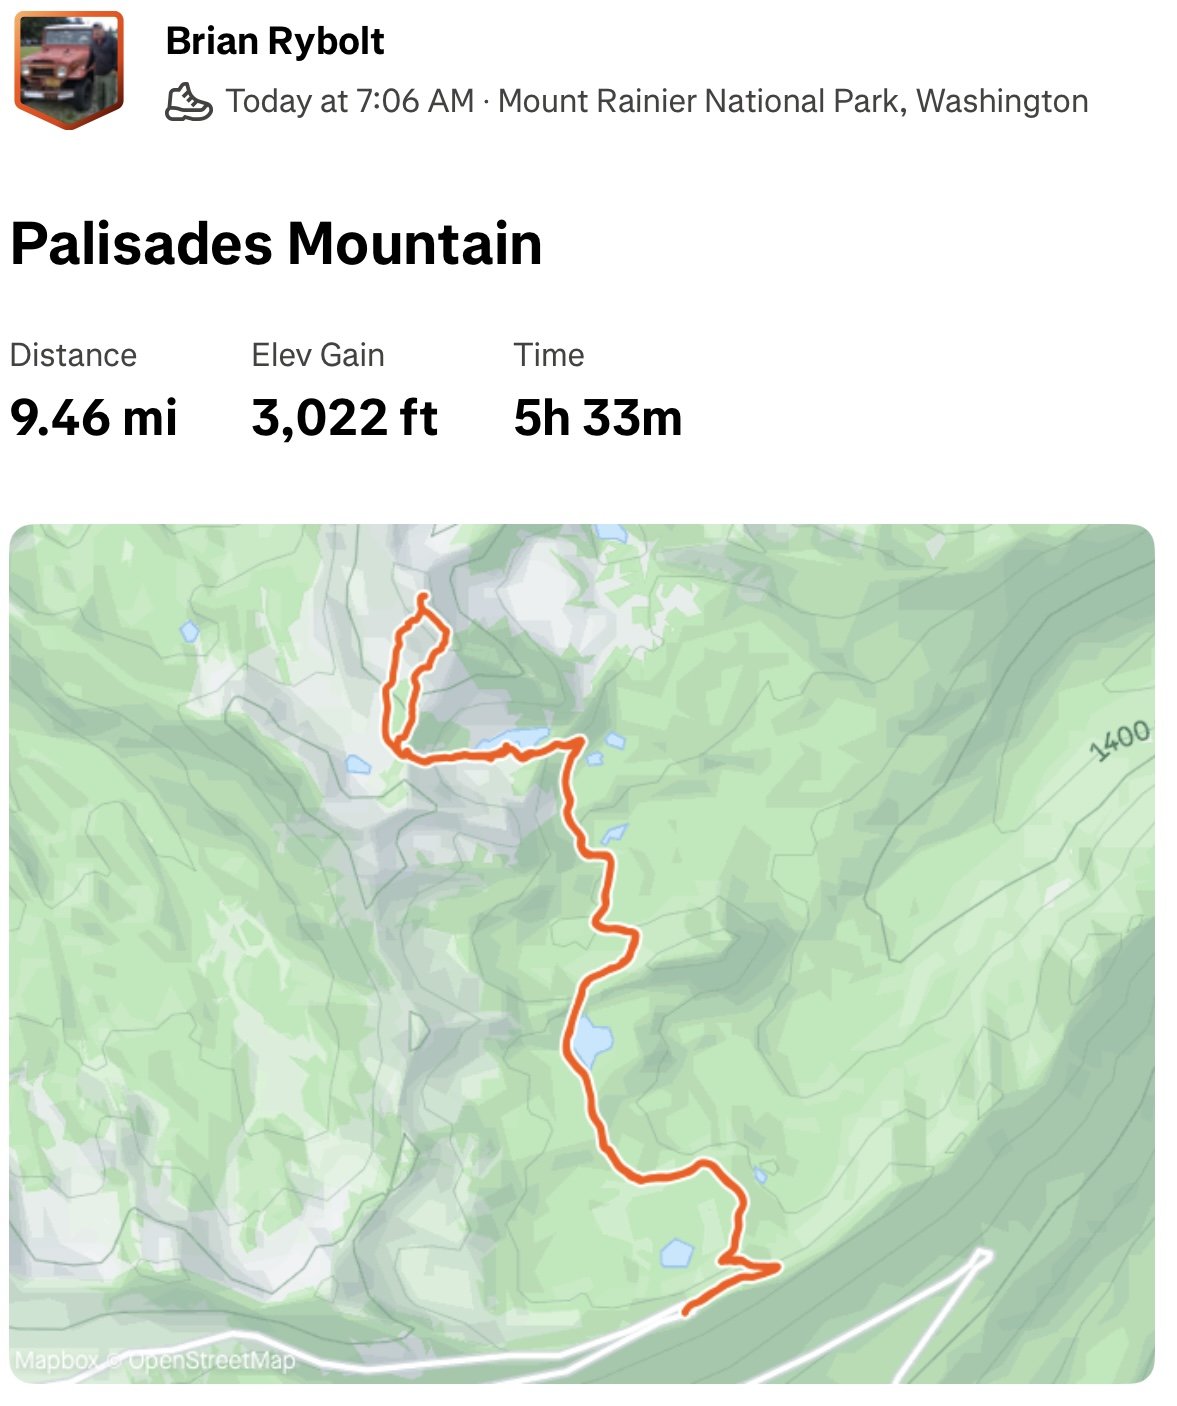
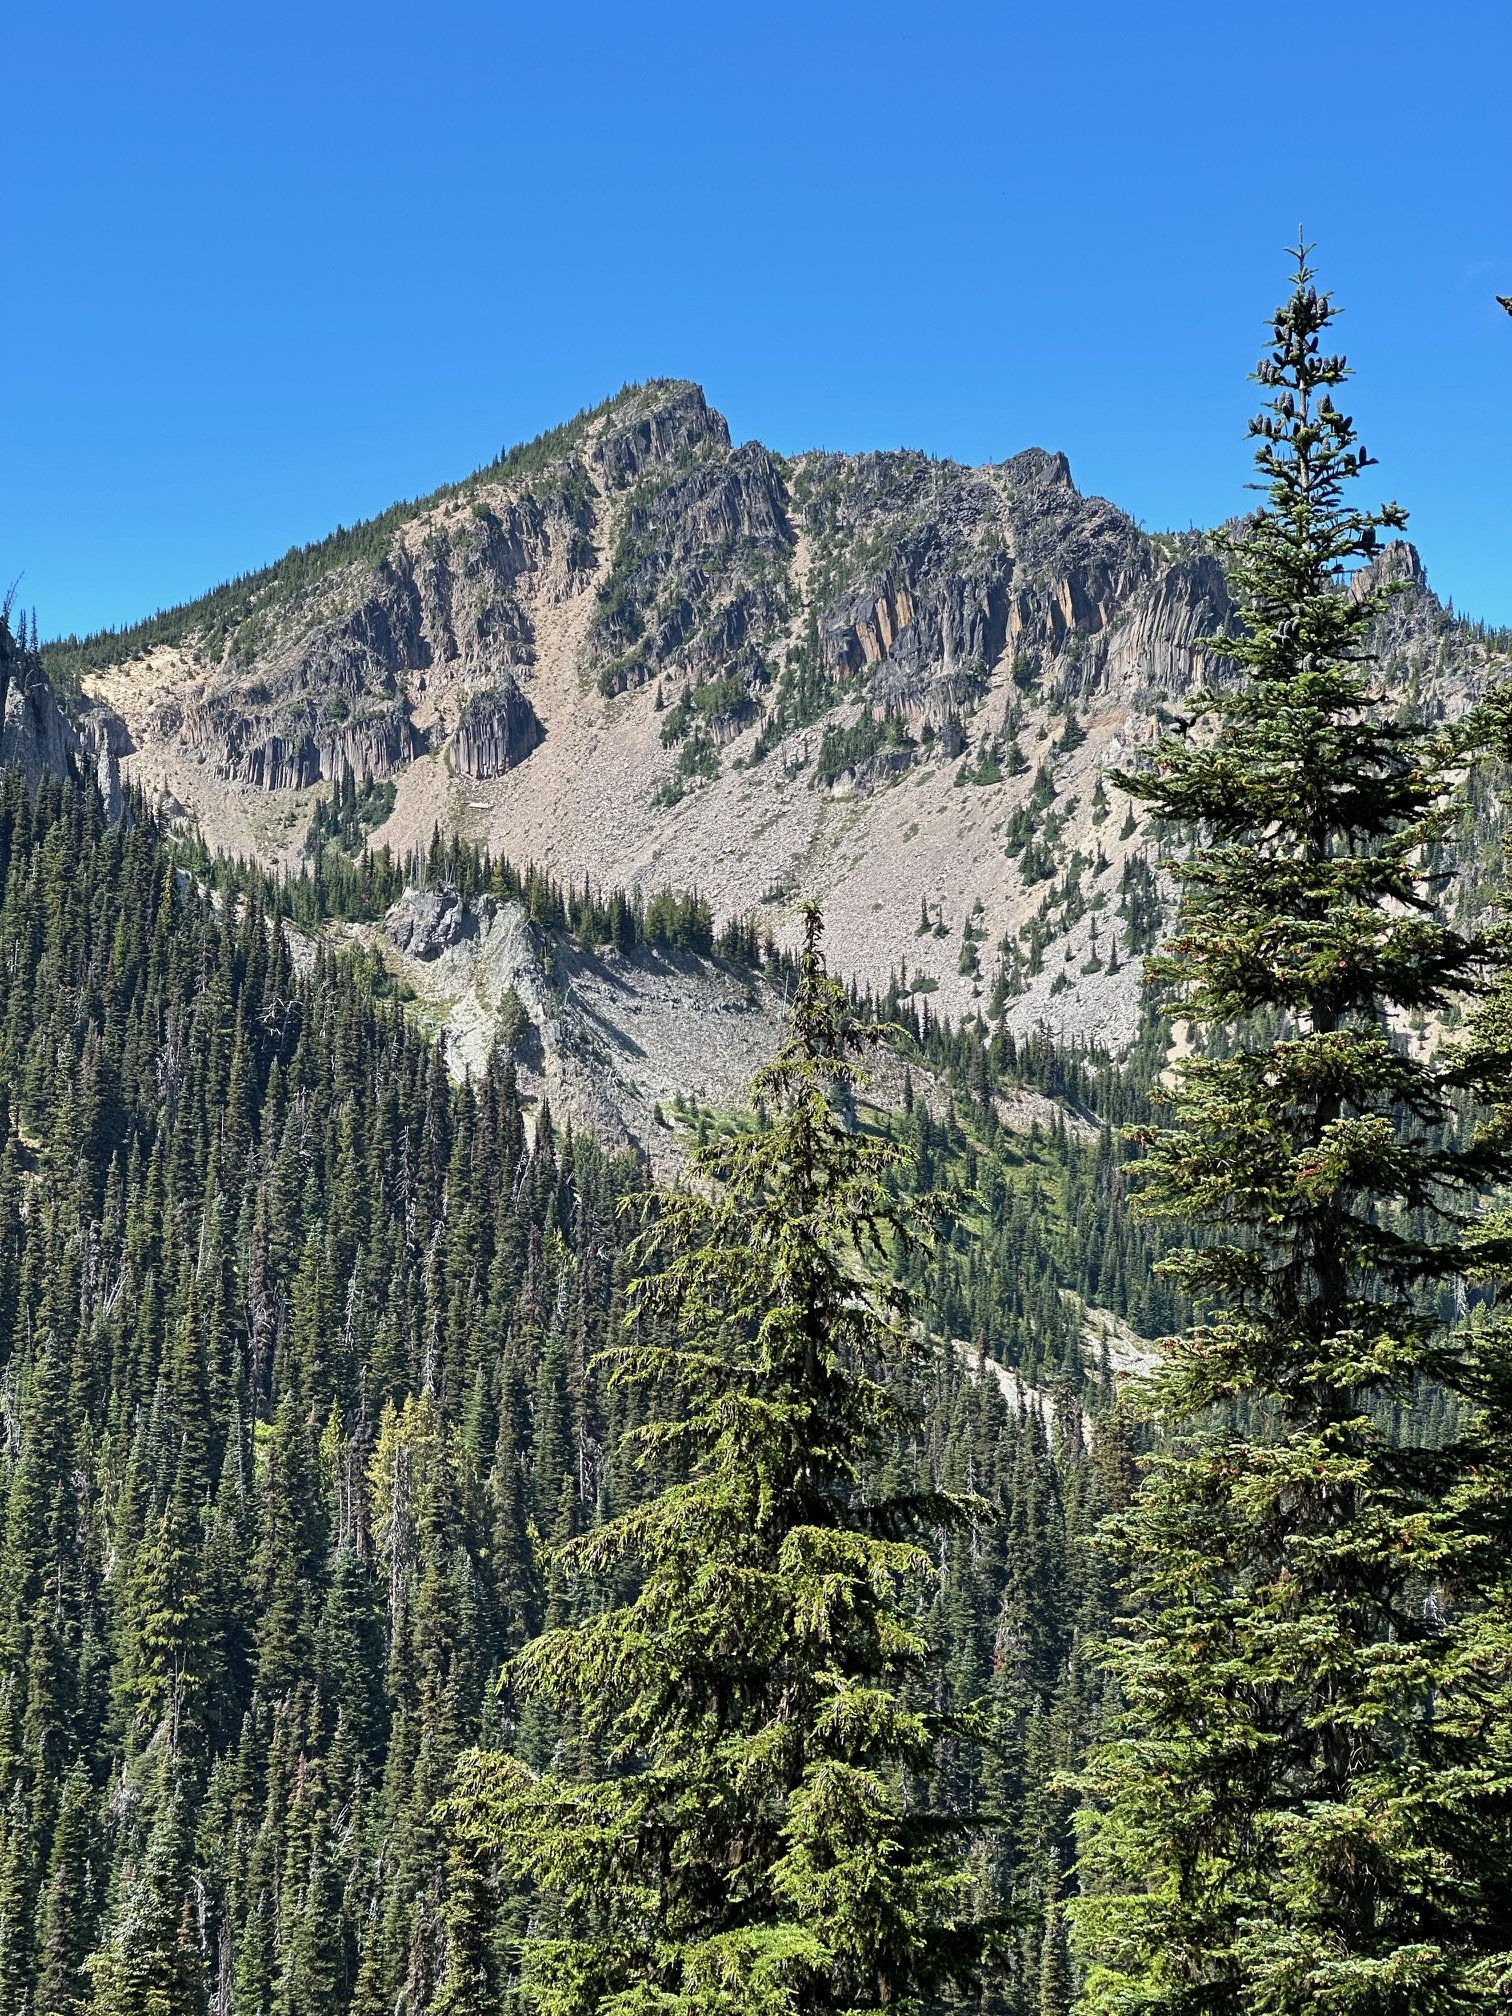
[TR] Palisades Mountain - From Hidden Lake 07/25/2025
JasonG replied to Fairweather's topic in Mount Rainier NP
Keep the MRNP minor peak TRs coming @Fairweather! Another good looking one for me to put on the list....so many great options that aren't THE Mountain. -
Looking for a mountaineering partner in this range of dates for either mt Olympus, rainier, or others.
-
Justinl3 joined the community
-
This has been revived by a TR post elsewhere. Thanks for the beta, maybe I'll check this out. I've been up Sloan a couple of times but never thought about rock climbing, sounds fun.
-
[TR] Seahpo / Cloudcap Peak - NE Ridge 07/05/2025
geosean replied to geosean's topic in North Cascades
The scenery was indeed amazing around Icy @JasonG. Camping between Icy and Seahpo was top notch! Great place for a camping trip even if you're not climbing. -

[TR] Palisades Mountain - From Hidden Lake 07/25/2025
Fairweather posted a topic in Mount Rainier NP
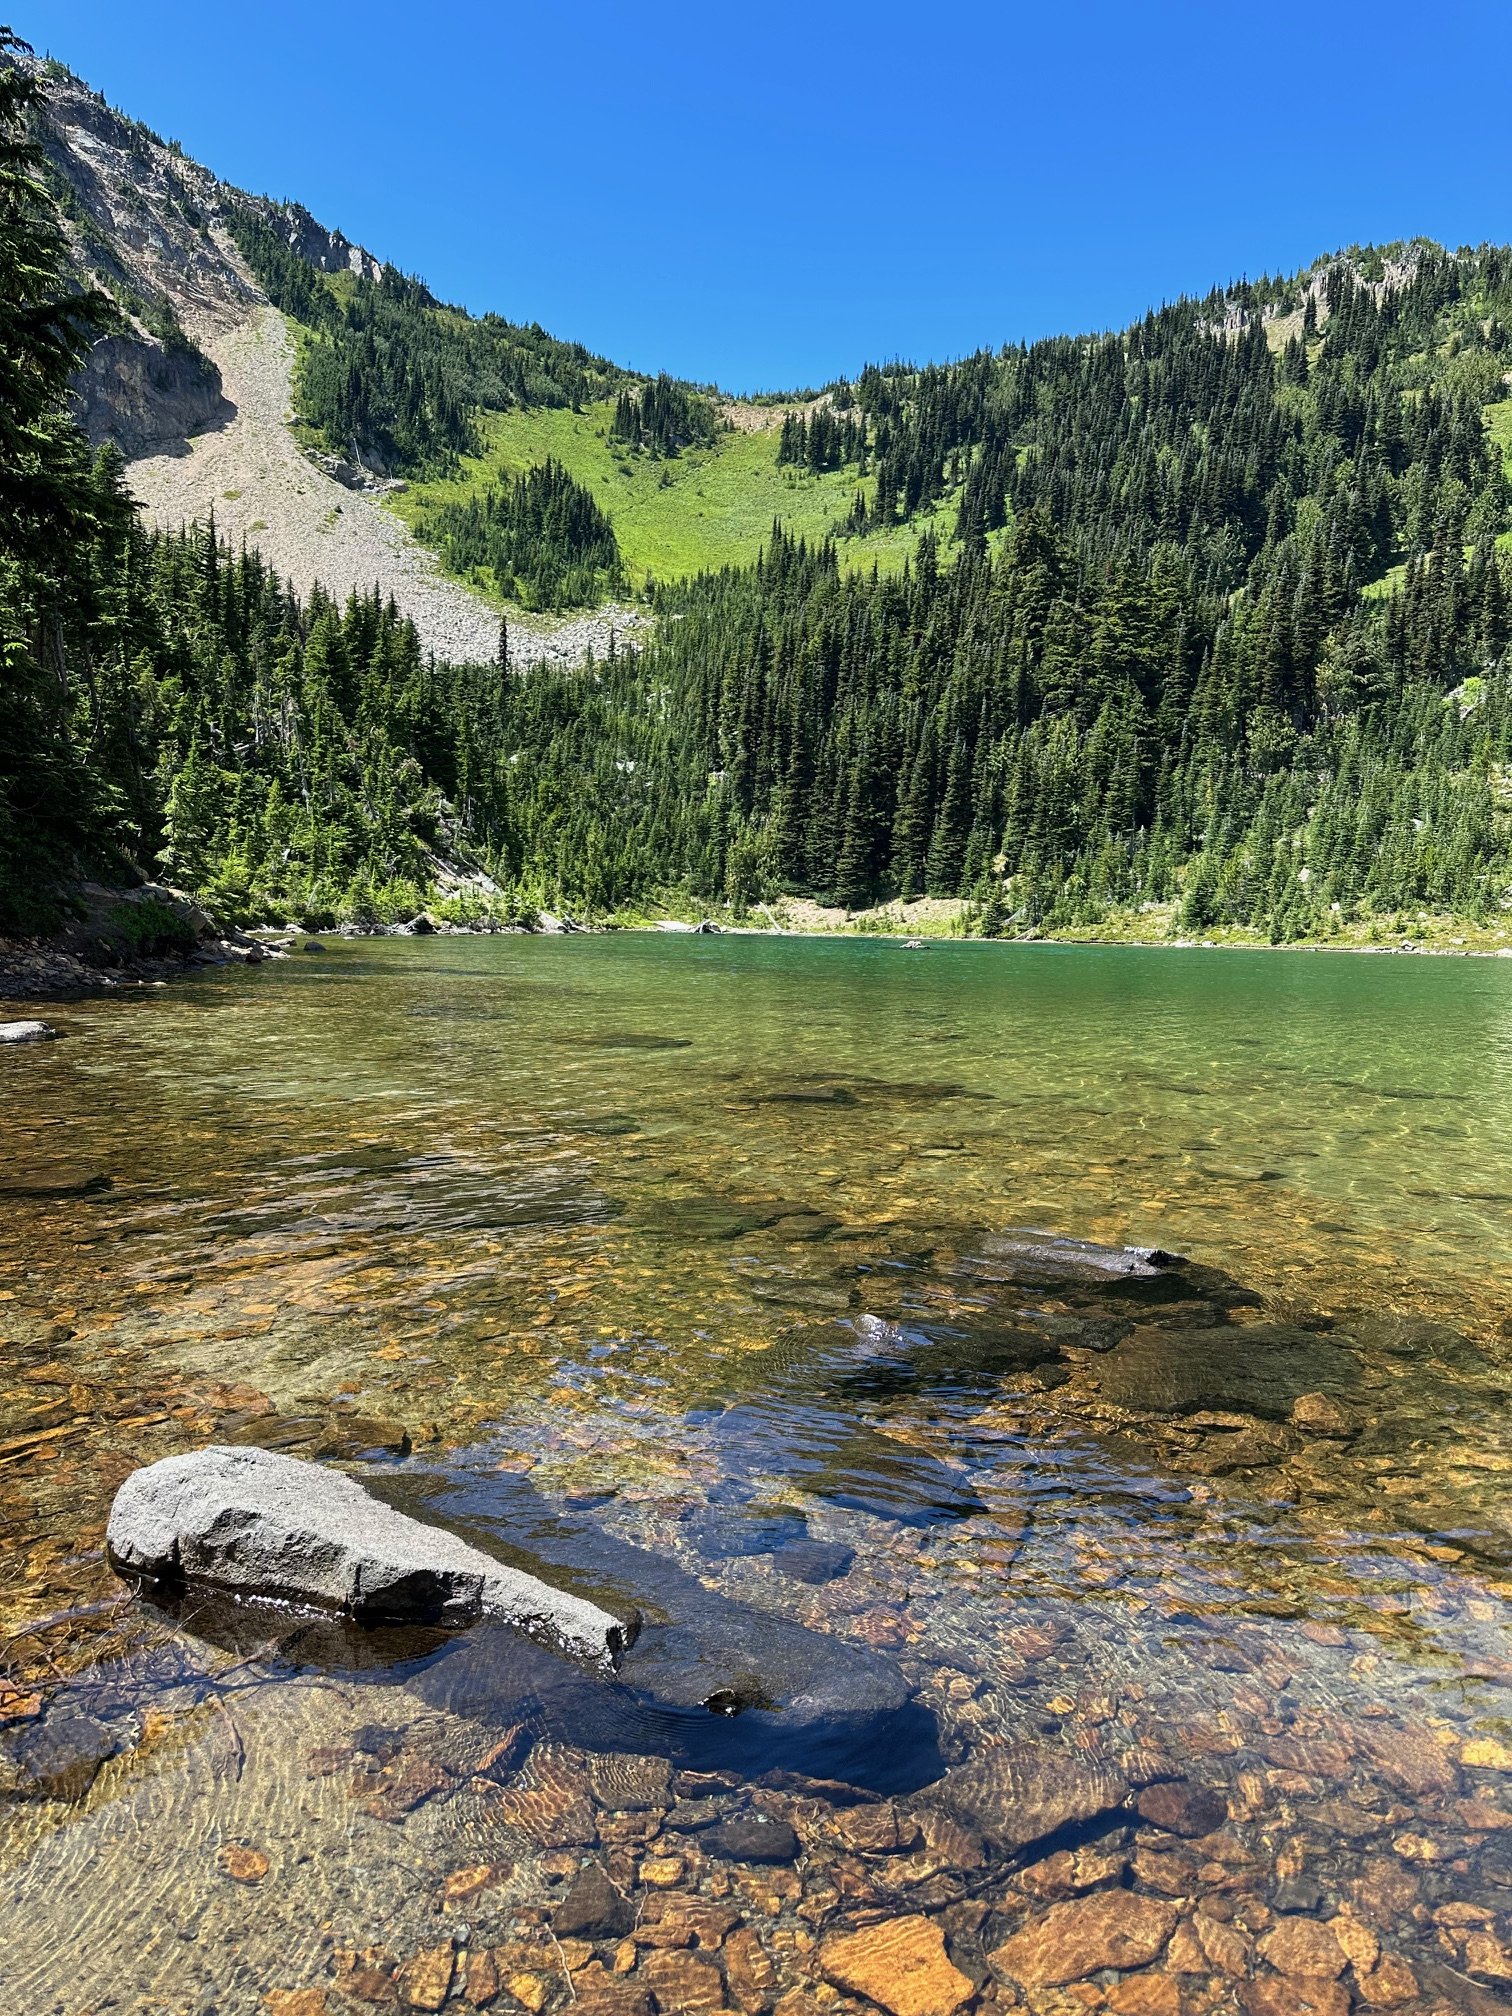
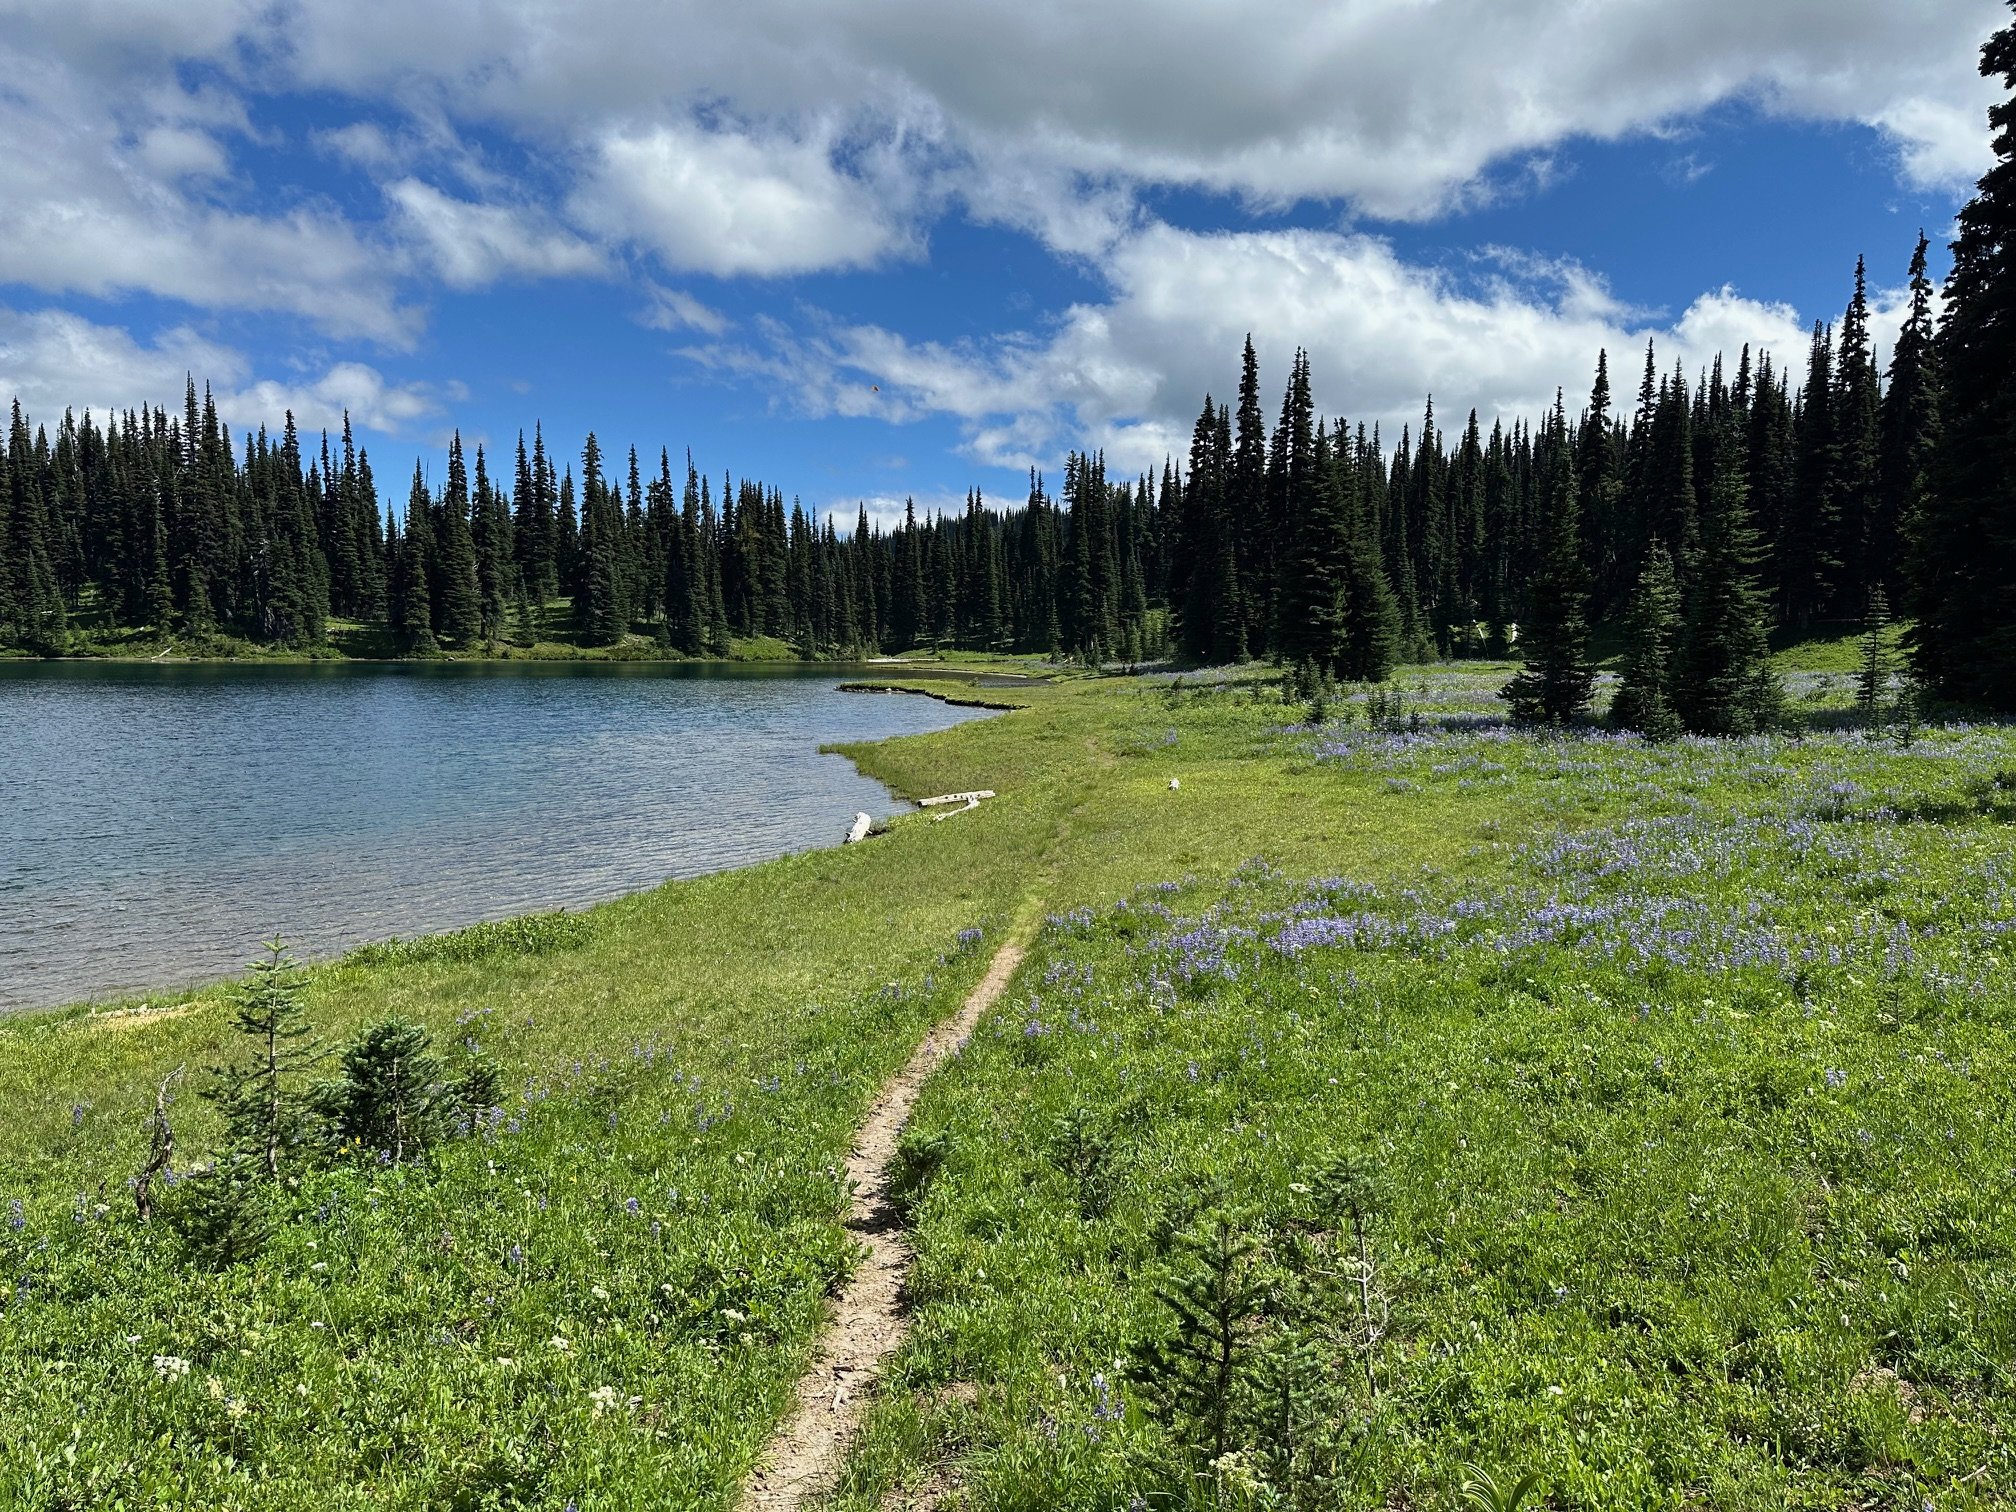
Trip: Palisades Mountain - From Hidden Lake Trip Date: 07/25/2025 Trip Report: Dwayner and I continue our "minor peaks" quest inside MRNP. Got a little off route on the way up from Green Pass, but found traces of a long-ago boot path during our descent. My first time in this area. The lakes and meadows are the best in the park! Flowers are out. And so are the mosquitoes. Gear Notes: . Approach Notes: .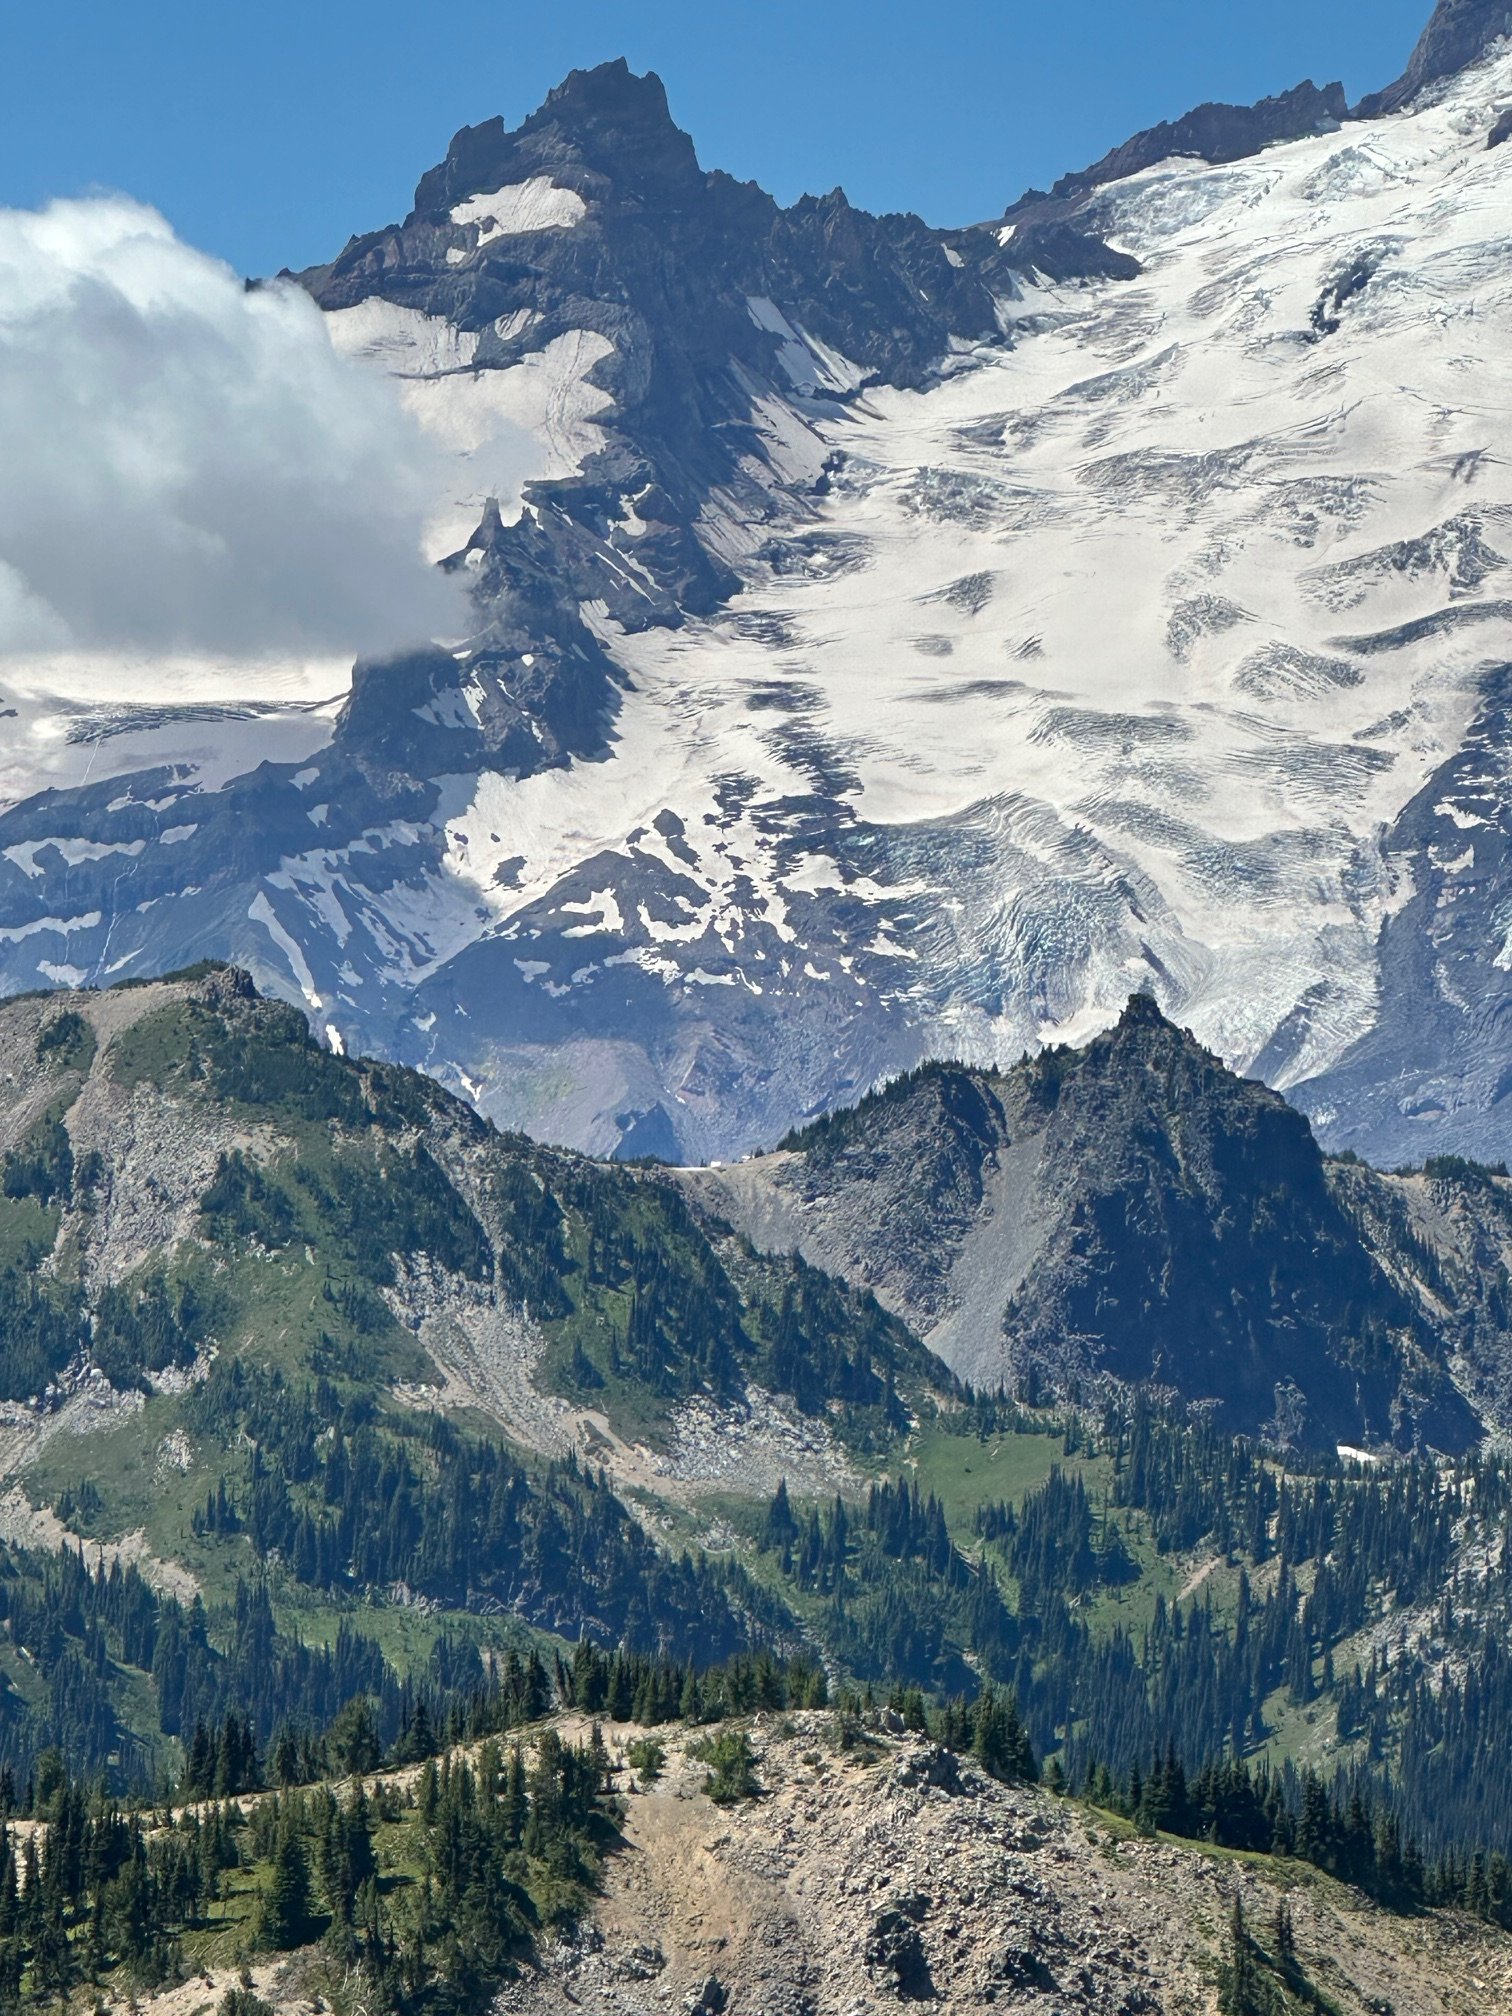
-
uh. DAMN. You basically compressed most of my north cascades 25 year career into one trip. I should take up knitting.
-
 Trip: Baker to Glacier Peak: - 17 days across the North Cascades Trip Date: 07/20/2025 Trip Report: The result of years of imagination and separate efforts. Perhaps it started after exploring the Ptarmigan Traverse, but wanting more. We started gradually exploring the areas to the north and south. Many of us have noted, with some surprise, that there was not a defined “High Route” for this area, unlike some other spectacular ranges of the American West. A few years ago some mountain runners established a “North Cascades High Route”, starting from Silver Creek and ending along the flanks of Agnes mountain. This was an impressive and inspiring feat. Nevertheless we felt it incomplete and starkly contrasted with the style in which we experience these mountains. Although in the end, our route would include much of the same terrain traversing the heart of the National Park and Cascade Crest. But as we played with the possibilities of this terrain it was hard to ignore the striking aesthetics of the volcanos near each end of the range. With both Baker and Glacier Peak being slightly higher than the peaks of the crest, they act as natural waypoints to assess exactly where one is in the vast sea of Cascade summits. It would be impossible to include every spectacular basin, cirque and summit into a single high route but starting and ending with the volcanos gave us a framework to operate in. The route we eventually completed is actually composed of many different shorter routes, linked together by various less visited terrain. Within reason, our goal was to 1) stay above tree line, 2) avoid trails and 3) keep it only lightly technical. We suspect that climbers with the required stamina, skillsets and schedules will likely choose other exploits in the range, or beyond. Nevertheless we present here some basics of our North Cascades high route. Mount Baker Our route up and down the Park Glacier had some obvious benefits. Most significant was that we could change out proper mountaineering gear for more of a hybrid backpacking kit upon return to the TH (Artist Point). The route itself is pleasant, with a scenic approach and lovely high camp. The day we climbed it the snow was soft enough not to require any belay or rappel applications, though in more firm snow that would not be the case. The upper part of the glacier was fairly broken up considering it was early July. We managed an improbable line between a series of large cracks. This line may not have been viable even a week later in the season. We stood on the summit late morning of July 5th. Shuksan Navigating this terrain presented a few obvious and a few not-so-obvioius options. Perhaps at first glance one would think Fischer Chimneys…and then descending from the Crystal Glacier onto the Nooksack. Unfortunately the bergschrund separating the two was gaping by early July and would have required a substantial amount of extra gear that would become dead weight for the week to follow. Additionally the prospect of immediately starting this traverse by hiking on trail through the forest did not match the criteria we set forth. Looking instead to the North side we scouted various lines contouring high above the deep, alder filled basins. There were definitely viable lines through the majority of the terrain, but we determined them to be too complicated and conditions dependent. The biggest concern being that the time involved would be hard to predict. It could take a few hours, or a few days. Additionally there was a good deal of objective hazard traversing high in this terrain. Ultimately we chose a safer and surer, albeit less appealing line. Hiking the ridge above Chair 8 and eventually descending to meet with the White Salmon approach, we faced our first bushwhack in the hottest part of a very warm day. Once escaping the alder hell we climbed to a ridge above and contoured forest down towards Price Lake. We crossed the outflow and traveled along the approach for the Price Glacier route for a while. There would be some fuckery along the base of Nooksack tower getting down to the glacier. But once down there we continued on part of the Nooksack Traverse until Ruth Mountain. Mineral High Route On a map this looks like comparatively straightforward terrain. We did not have a pre-scouting trip for this zone. And we definitely underestimated it. The bushwhacking before and after Chiliwack pass was steep and complicated. Before we escaped tree line onto Mineral mountain there were a series of steep and improbable gullies that took us far longer to complete than what we imagined. In hindsight I think we started out in the wrong gully and paid the price. Eventually we reached “the route” but by then we really weren’t sure if the terrain would go. Finding some clearing among the multitute of brush-gulleys. Above the forest travel cleared again. Although we soon found an abandoned, and completely full backpack. A startling sight this far into remote territory, we searched around for signs of remains but found none. The pack was probably out there for at least one winter, possibly more. We noted its location and passed a message to the park service before continuing our quest. Mount Challenger via Easy Ridge This terrain was fairly straightforward, although the day we did it was very un-summerlike. With no chance of shortcutting the impasse in these conditions we continued the sog and slog down to the lower bypass. Climbing out above the crossing was fairly sketchy. It is very eroded, hard packed and water running along the surface definitely made it attention worthy. Some of the steeper scrambling between there and Perfect Pass was also potentially consequential in heavy rain. Nevertheless we made it to the pass, but soaking wet and in high winds plus white out conditions. Crossing the Challenger glacier in near hypothermic conditions was very….engaging, to say the least. We were all very relieved to step back to “dry” land an hour later. Northern Pickets Descending into the basin is fairly straightforward, albeit somewhat tedious and extended side hilling. The climb back out through Luna Lake and to the Fury shoulder is pleasant, scenic and fun. Especially given that this day the sun had returned. The lower part of the Fury glacier develops some pretty sketchy moats early in the summer and may require walking on exposed glacier ice around 30 degrees. Rather than spend time with that we found a bypass to the north, which lines up with one of the ways parties may choose to climb Fury. We skipped the summit and instead climbed Outrigger along the way. From the col we ascended a 50 foot 5.0 pitch, followed by some rightward traversing 3rd class terrain to the south ridge. Looking back, there was a way to avoid the initial low 5th entirely by starting a bit further west in the col. Descending Outrigger was one of the highlights of the trip. Easy hiking, with the Southern Picket skyline so close you can almost touch it. There was a 15m rappel, which could certainly be bypassed by down climbing 4th class terrain slightly east of the anchor. A short but exciting and exposed bit led to continued easy hiking. Southern Pickets Getting from Picket Pass to the bottom of the basin was pretty fucked. There is some 4th-ish slab downclimb that some parties have rappelled. Beyond that, some of the beta out there is pretty snow dependent. Our planned line was not viable and it took some time to find another way down. Two of us independently destroyed a trekking pole in this zone. Once at the bottom there is some unavoidable alder to contend with. You ever get through one of these, look back from a higher vantage point and realize oh wow, I could not have possibly taken a worse line. That’s what happened here. We should have stayed closer to the cliff along the SW side of the shwack. Oh well. Climbing out to the east of the McMillan spires was fairly straightforward. We managed to avoid brush entirely. Other than a few deep gullies it was a breeze, and an incredible position. From McMillans to Highway 20 Choose your own adventure, depending on legality. Once the Sourdough trail re opens you can traverse east towards elephant butte and then south along Stettattle ridge. Until then, a legal option would be to find Goodell Creek trail/approach and take that to the highway. I cant remember which of these we took… Highway 20 provides the only on route resupply. You could probably utilize Cascade Pass, or even a trip to Holden. But we did not. Isolation Traverse- much has been written on this. Its awesome Looking back to the Pickets, Redoubt from the Mccallister glacier Eldorado to Cascade Pass- decent travel along a nice ridge and basins. Nothing too complicated. Sahale arm trail for a mile or so is a nice reprieve. If you wanted to add some major style points throw in the Torment-Forbidden Traverse through here, although its likely to add some gear complications. Ptarmigan Traverse- MUCH has been written on this. Its awesome Classic White Rock Lakes shot Dome peak area- leaving the Ptarmigan and finding the Dana then Dome glaciers. We scouted a route along the south side of Dome. It probably would go but on the trip we ultimately took the Chikamin glacier around past the gunsights and onto Kaiwhat Pass Doin’ the bull dance. Feelin’ the flow. Workin’ it. Workin’ it To Canyon Lake- The terrain eases here and may involve some bushwhacking but nothing crazy. We abandoned our map, and rationality…instead navigating on vibes alone. Our line to Totem pass was awesome and on paper probably shouldn’t have worked. Between the pass and Canyon Lake there may be a way to avoid significant brush but we did not find it. Still it went quick (downhill) Canyon Lake trail- Seems decomissioned. It’s overgrown and washed out in different places, but still a comparatively decent 5 miles. Image Lake to Lyman Lakes- We looked hard how to avoid such an extended on trail section but there really weren’t any viable alpine options. When we came to this section we were exhausted and very calorie deficient. The easy miles were welcomed. The trail itself is well maintained and incredibly scenic (cloudy pass in particular). Just a hop, skip and a “fuck!” away... Lyman Lakes and beyond- We climbed over Chiwawa mountain without much difficulty. Although the last few hundred feet were steep, slimy, scree covered slab when approached from a direct north line. Pretty gross. It would be better to find the main ridge further east and continue to the summit from there. It started to rain when we were on the summit, so we schemed a bypass for the exposed scrambling awaiting on Fortress. We found a line of weakness that allowed us to bypass to the south. It didn’t take long from there to find the pass no pass trail and follow it towards High Pass (another really scenic on trail moment). Bypassing Fortress For Napeequa we took a path of least resistance well south of the summit, descended to another saddle and then back up and around Hoof. Eventually we had to traverse below the north side of Ten Peak. It took a while but overall it was straightforward. The Honeycomb and Suiattle glaciers brought us to Glacier Gap, along the standard walk up for GP. We were greeted by friends with treats. The next morning we jaunted up the last couple miles. It was a busy weekend on the peak. Spirits were high, despite the suicide gestures Standing on the summit felt surreal. It wasn’t necessarily a positive emotion. Spending the last few summers obsessed and the past few weeks starving made this moment feel like a weird dream. The hike out from there is long, but we crushed it in hopes of making it to Olive Garden in time. Which we did. All the pasta…dipping donuts in wine…it was finally over… By the numbers: 17 days 175.2 miles (73% off trail) 86k vertical gain (86% off trail), 88k lost Average vertical change per mile: 993 feet Average time from camp to camp each day: 14 hours Average calories/day ~3800 Body weight lost- 18lbs (9.6% total lost) Pizza consumed- nowhere near enough Gear Notes: a picket, 2 screws, 3 cams, 4 nuts Approach Notes: the whole thing was an approach...
 -
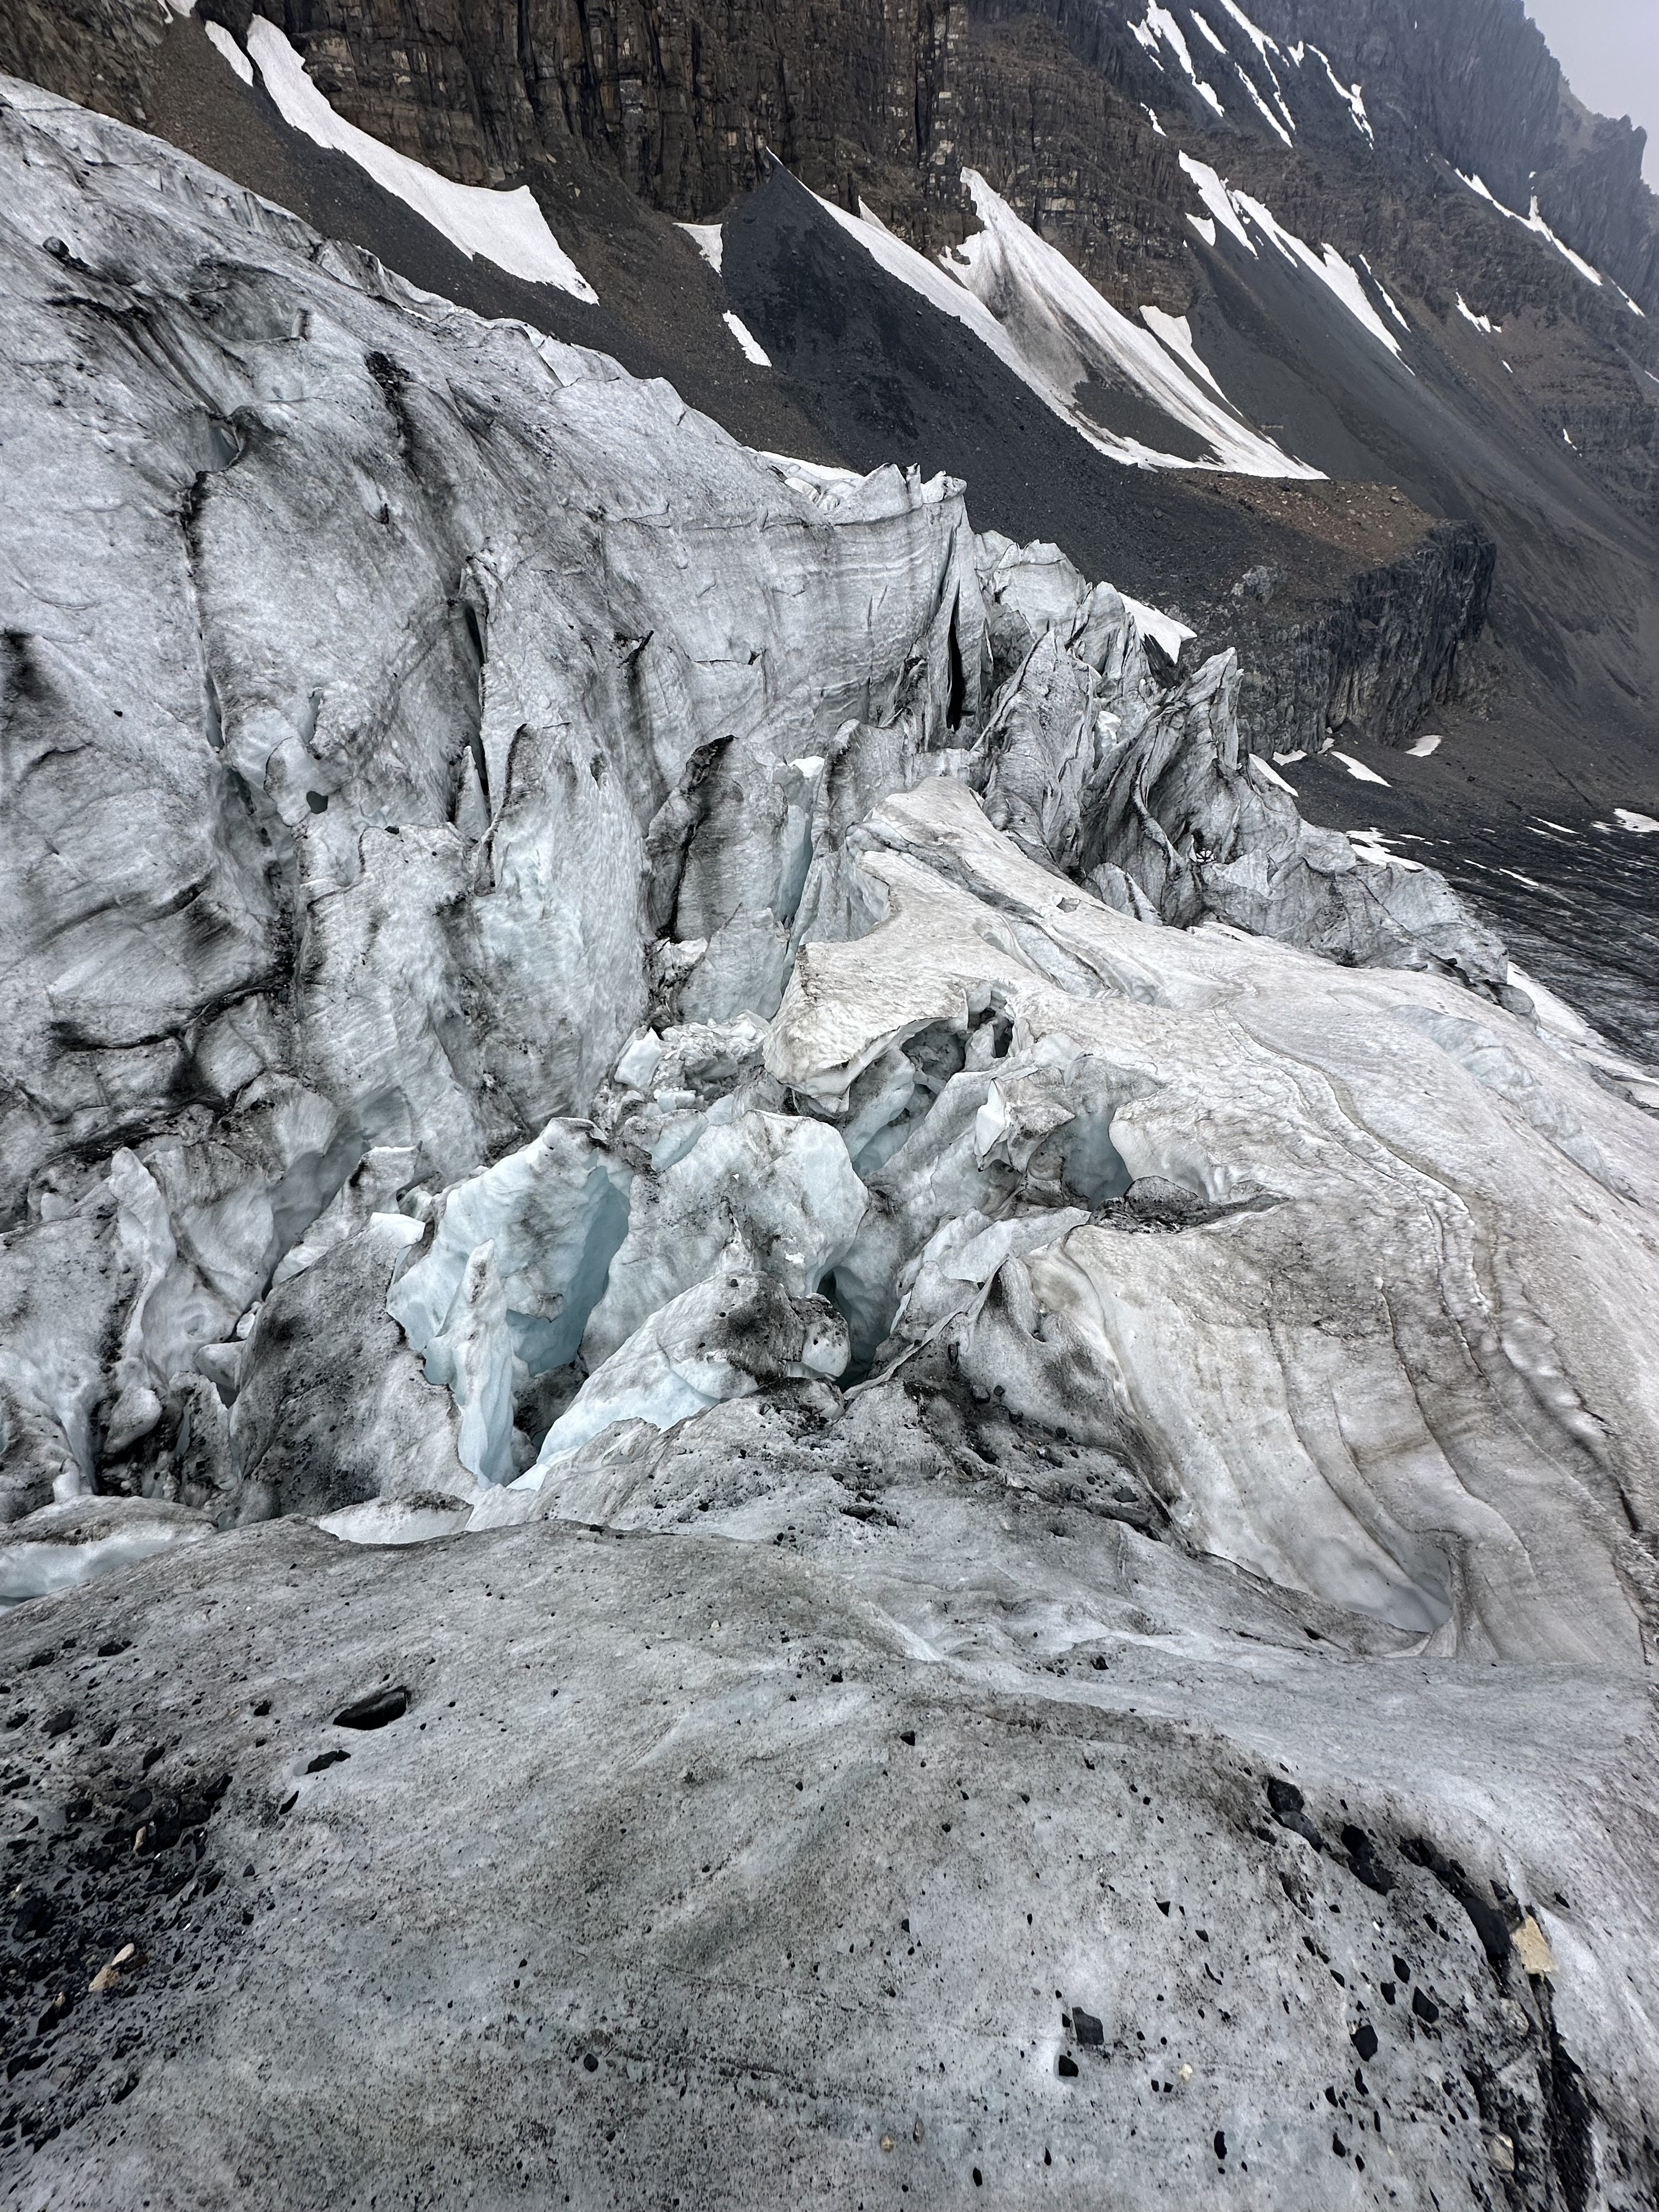
Hello everybody, I’m looking to see if any team, or somebody, summiting Mount Rainer, Preferably on July 30-31, is looking for a plus one. A little about me and my climbing history is that I come from sea level and haven’t got the most opportunities to do glaciated peaks. I’ve been hiking mountains for years now on separate trips and I do a ton of cardio during my daily life. This past week while on vacation I’ve been gaining a lot of experience, as I hiked high up the Athabasca glacier in Jasper until the crevasses became very narrow (photo below). This gave me a lot of experience with crevasse travel and ice axe and crampon use. Then today I did Mount Baker, solo, from trailhead, using the Coleman Deming Glacier route, even after doing 4 days of intense cardio prior on other trails while on my trip. I’m confident in my fitness ability to make the trip up the summit of Mount Rainer after resting, and am looking for someone who could be a good leader with experience. I’m fairly confident in my glaciated travel technique however not so much with roping and crevasses rescue as I’ve only ever done solo travel, so an experienced partner/s would help. Thank you, and I’ve you have any recommendations please lmk.
-
 TH0RFINN joined the community
 -
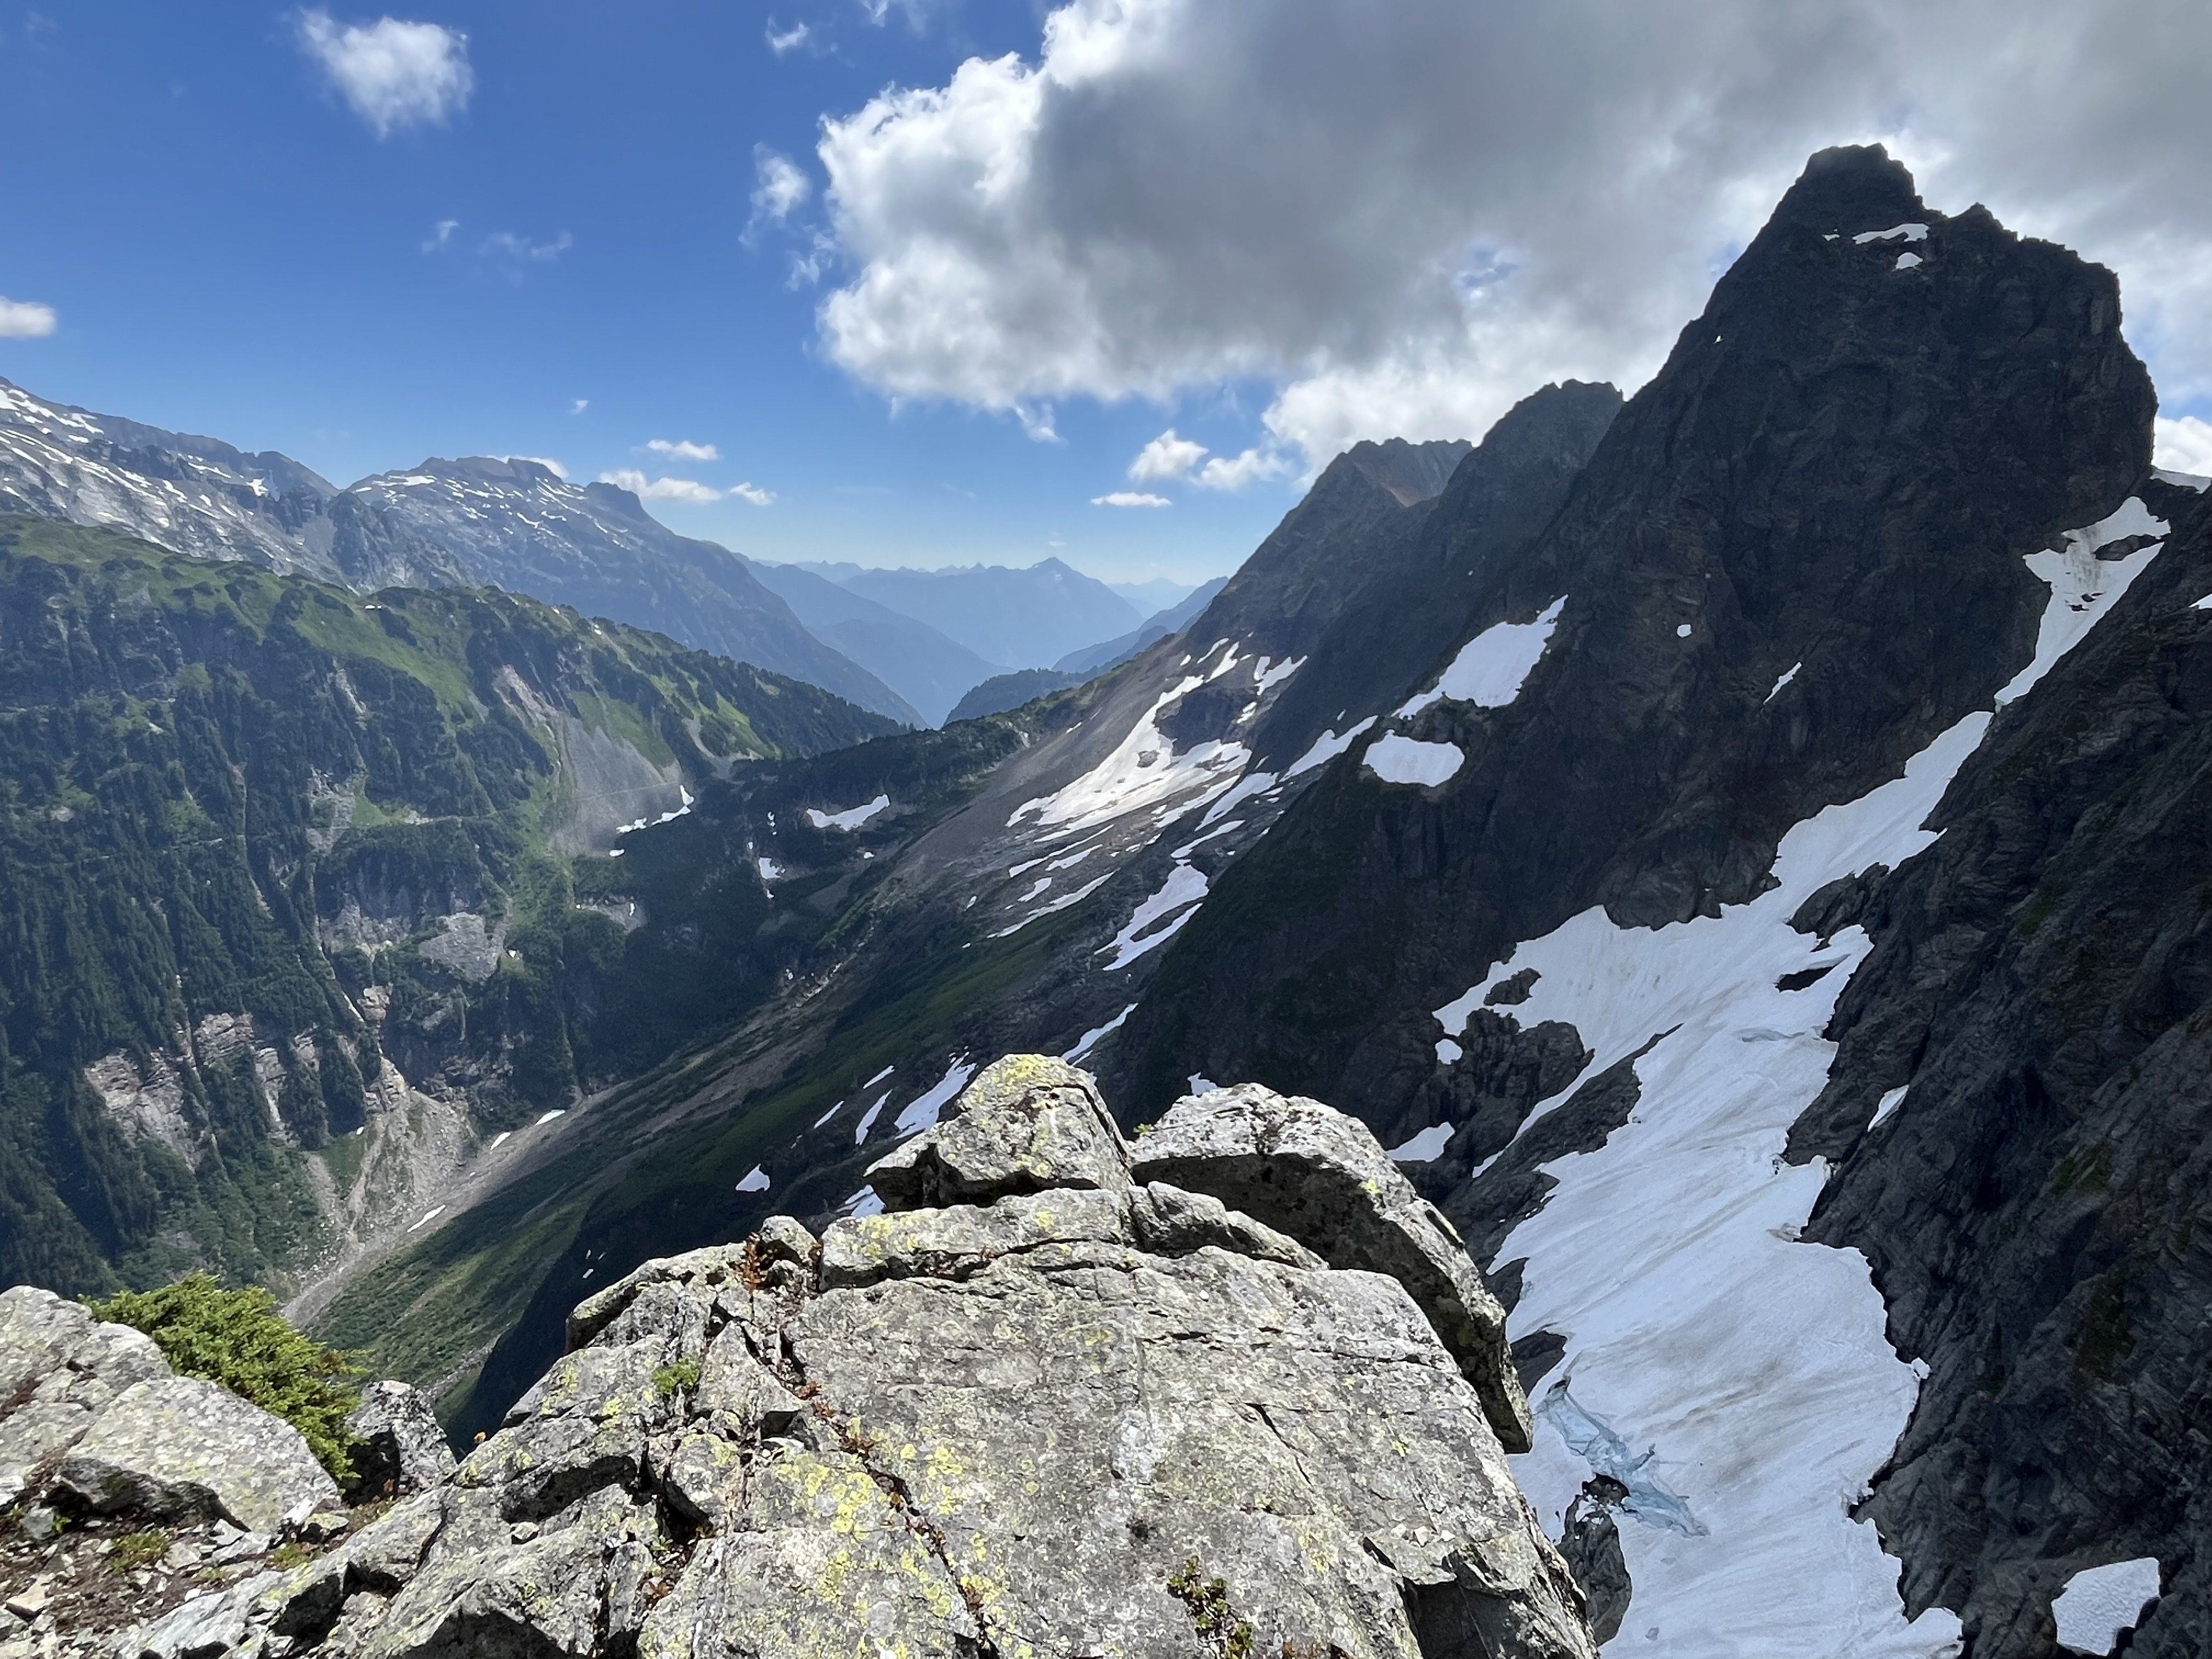
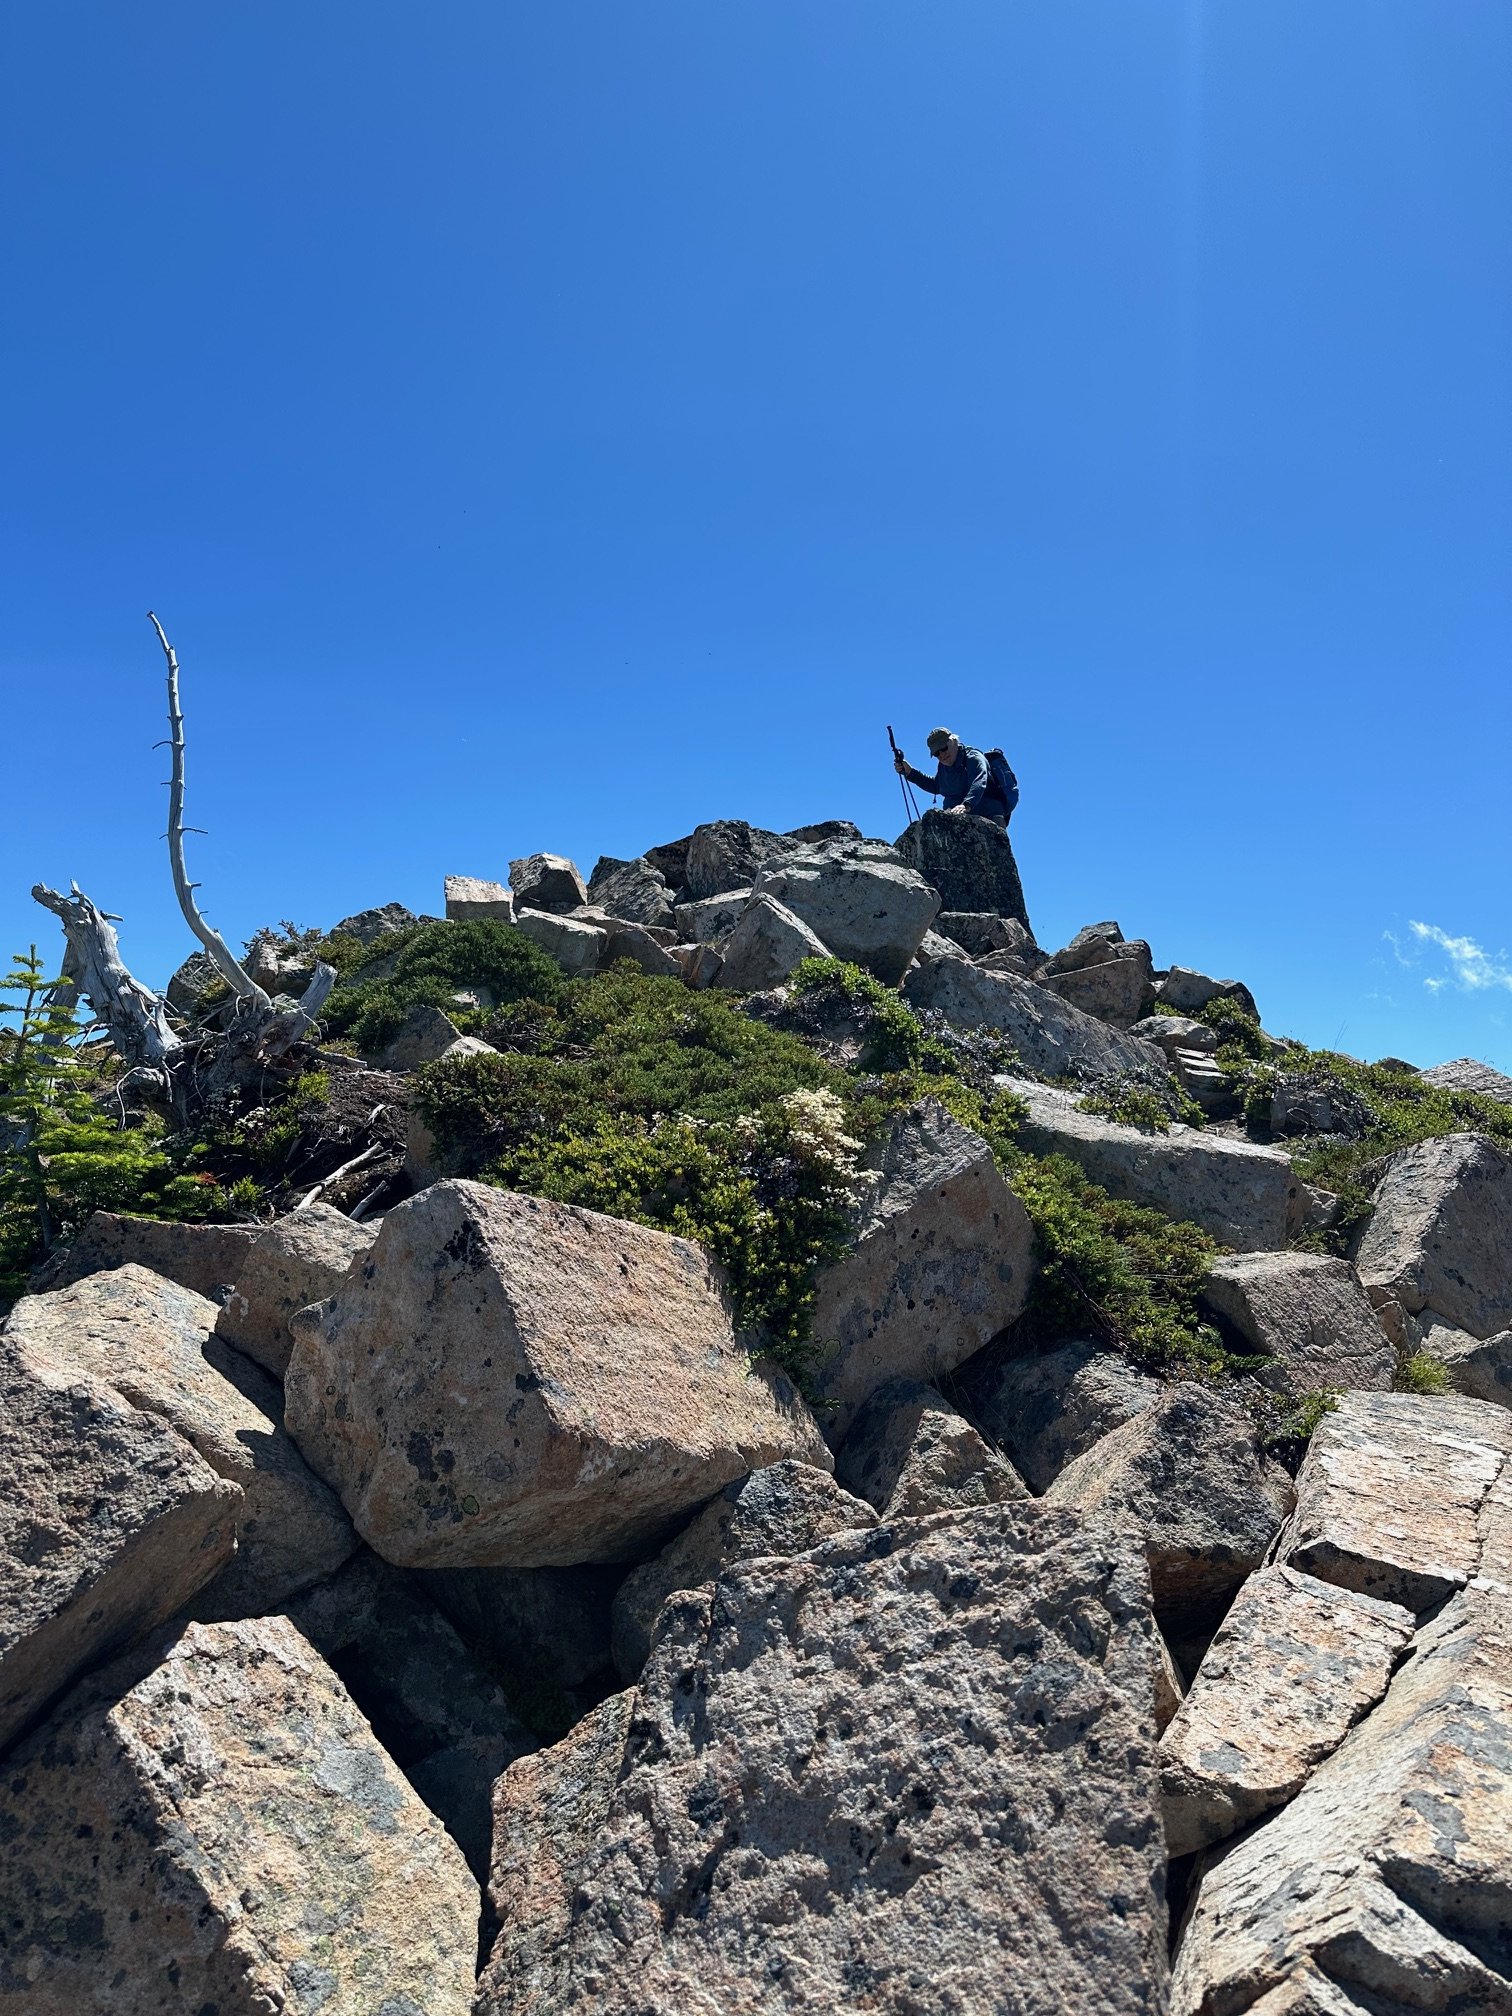
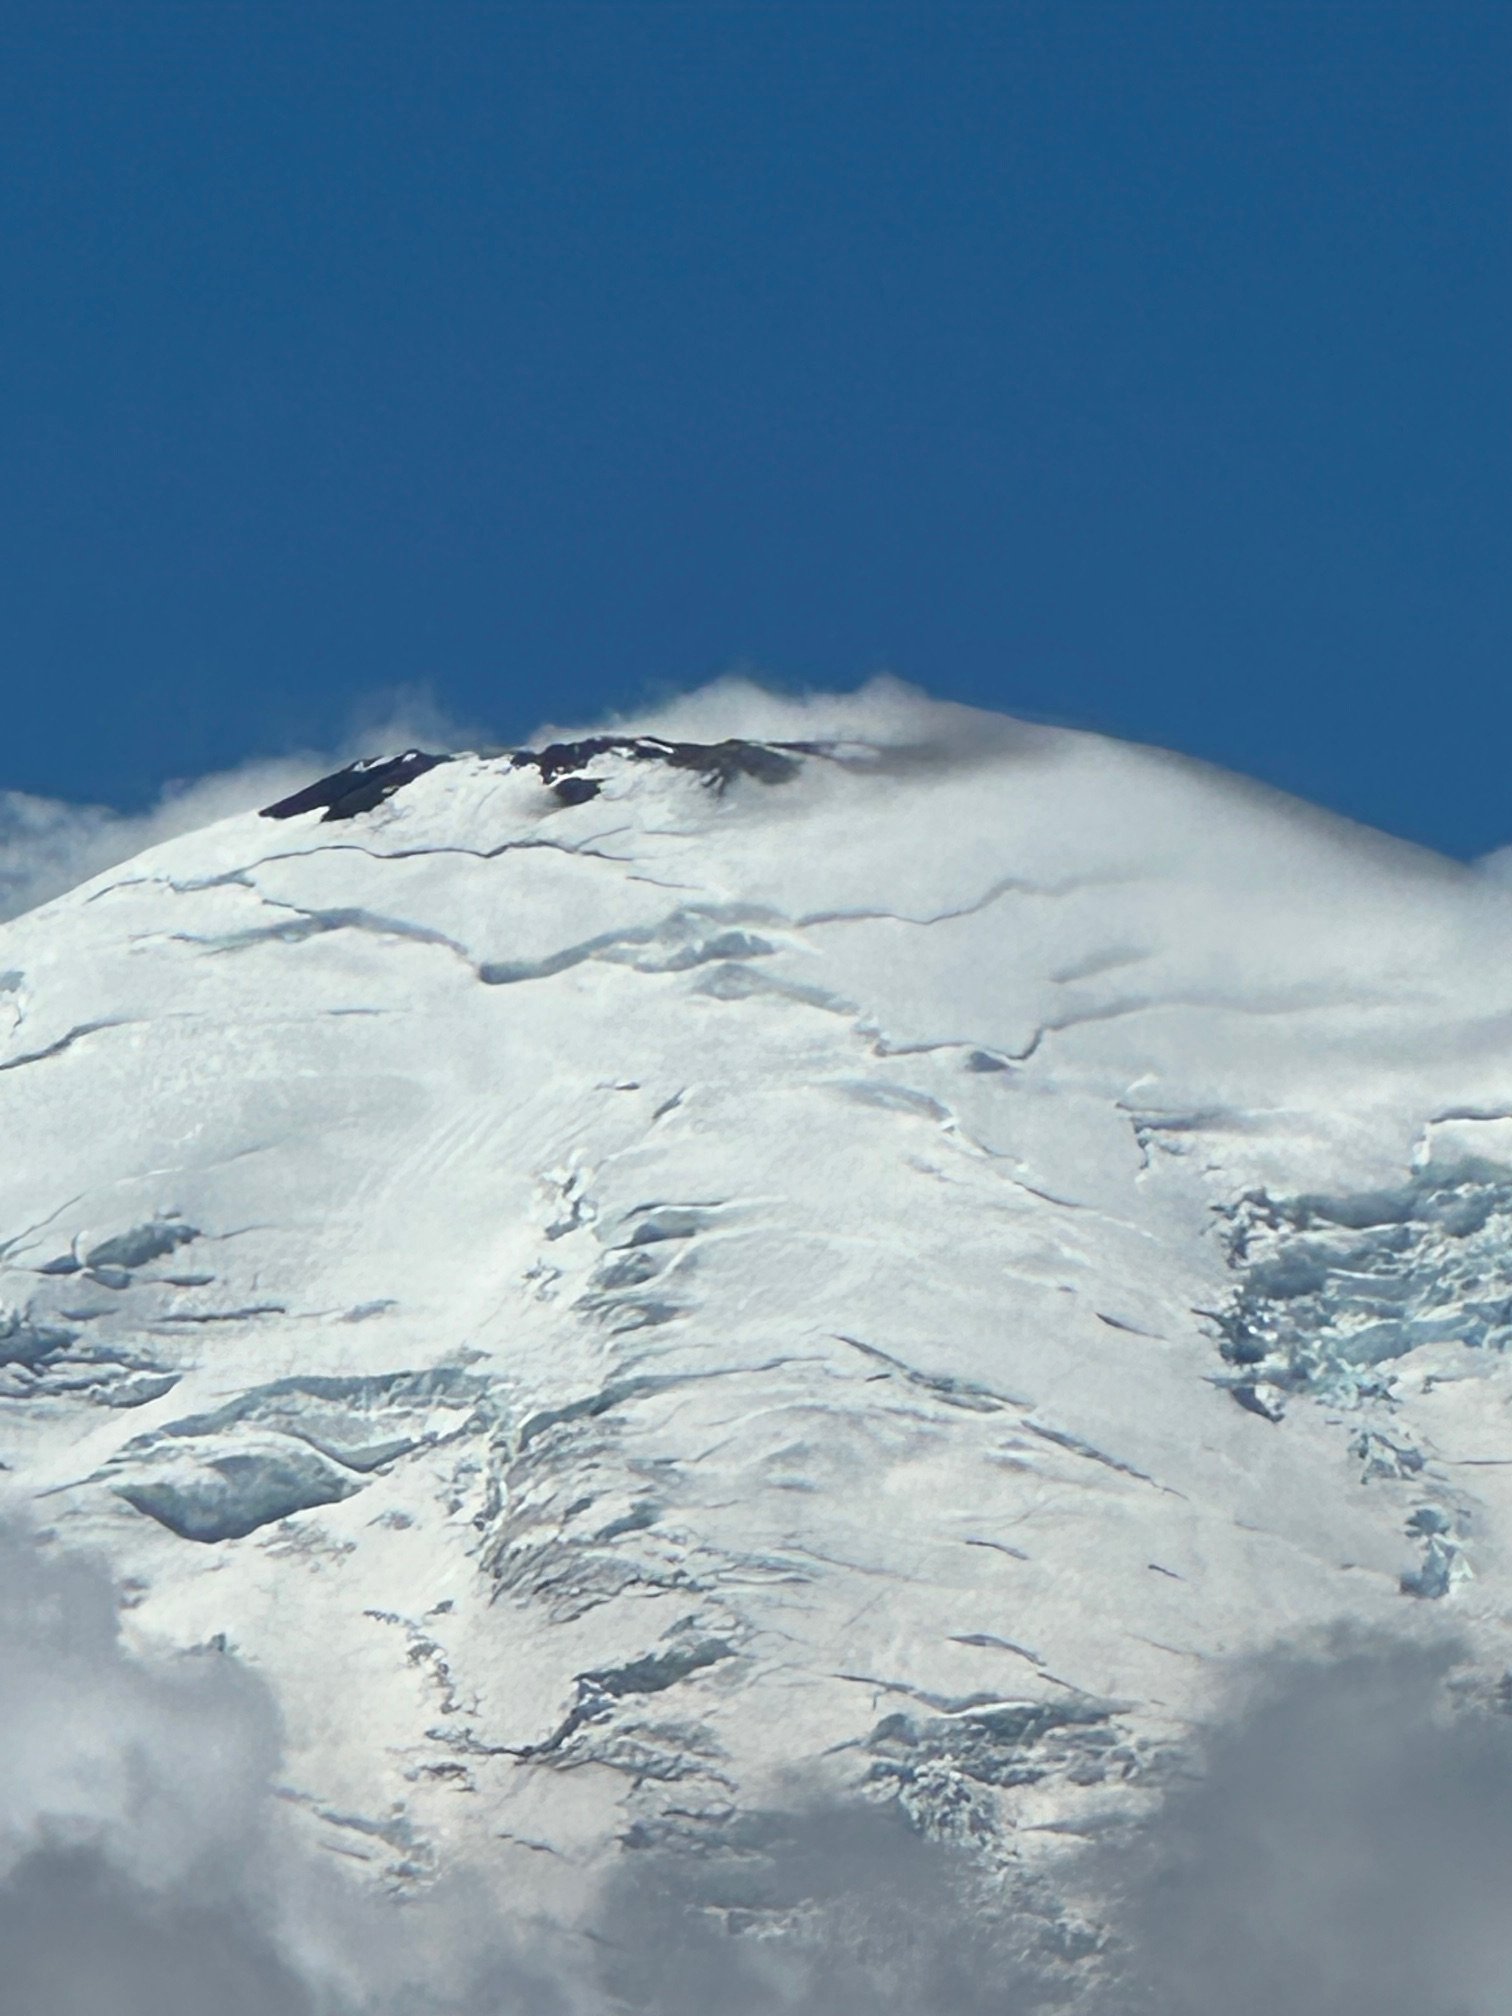
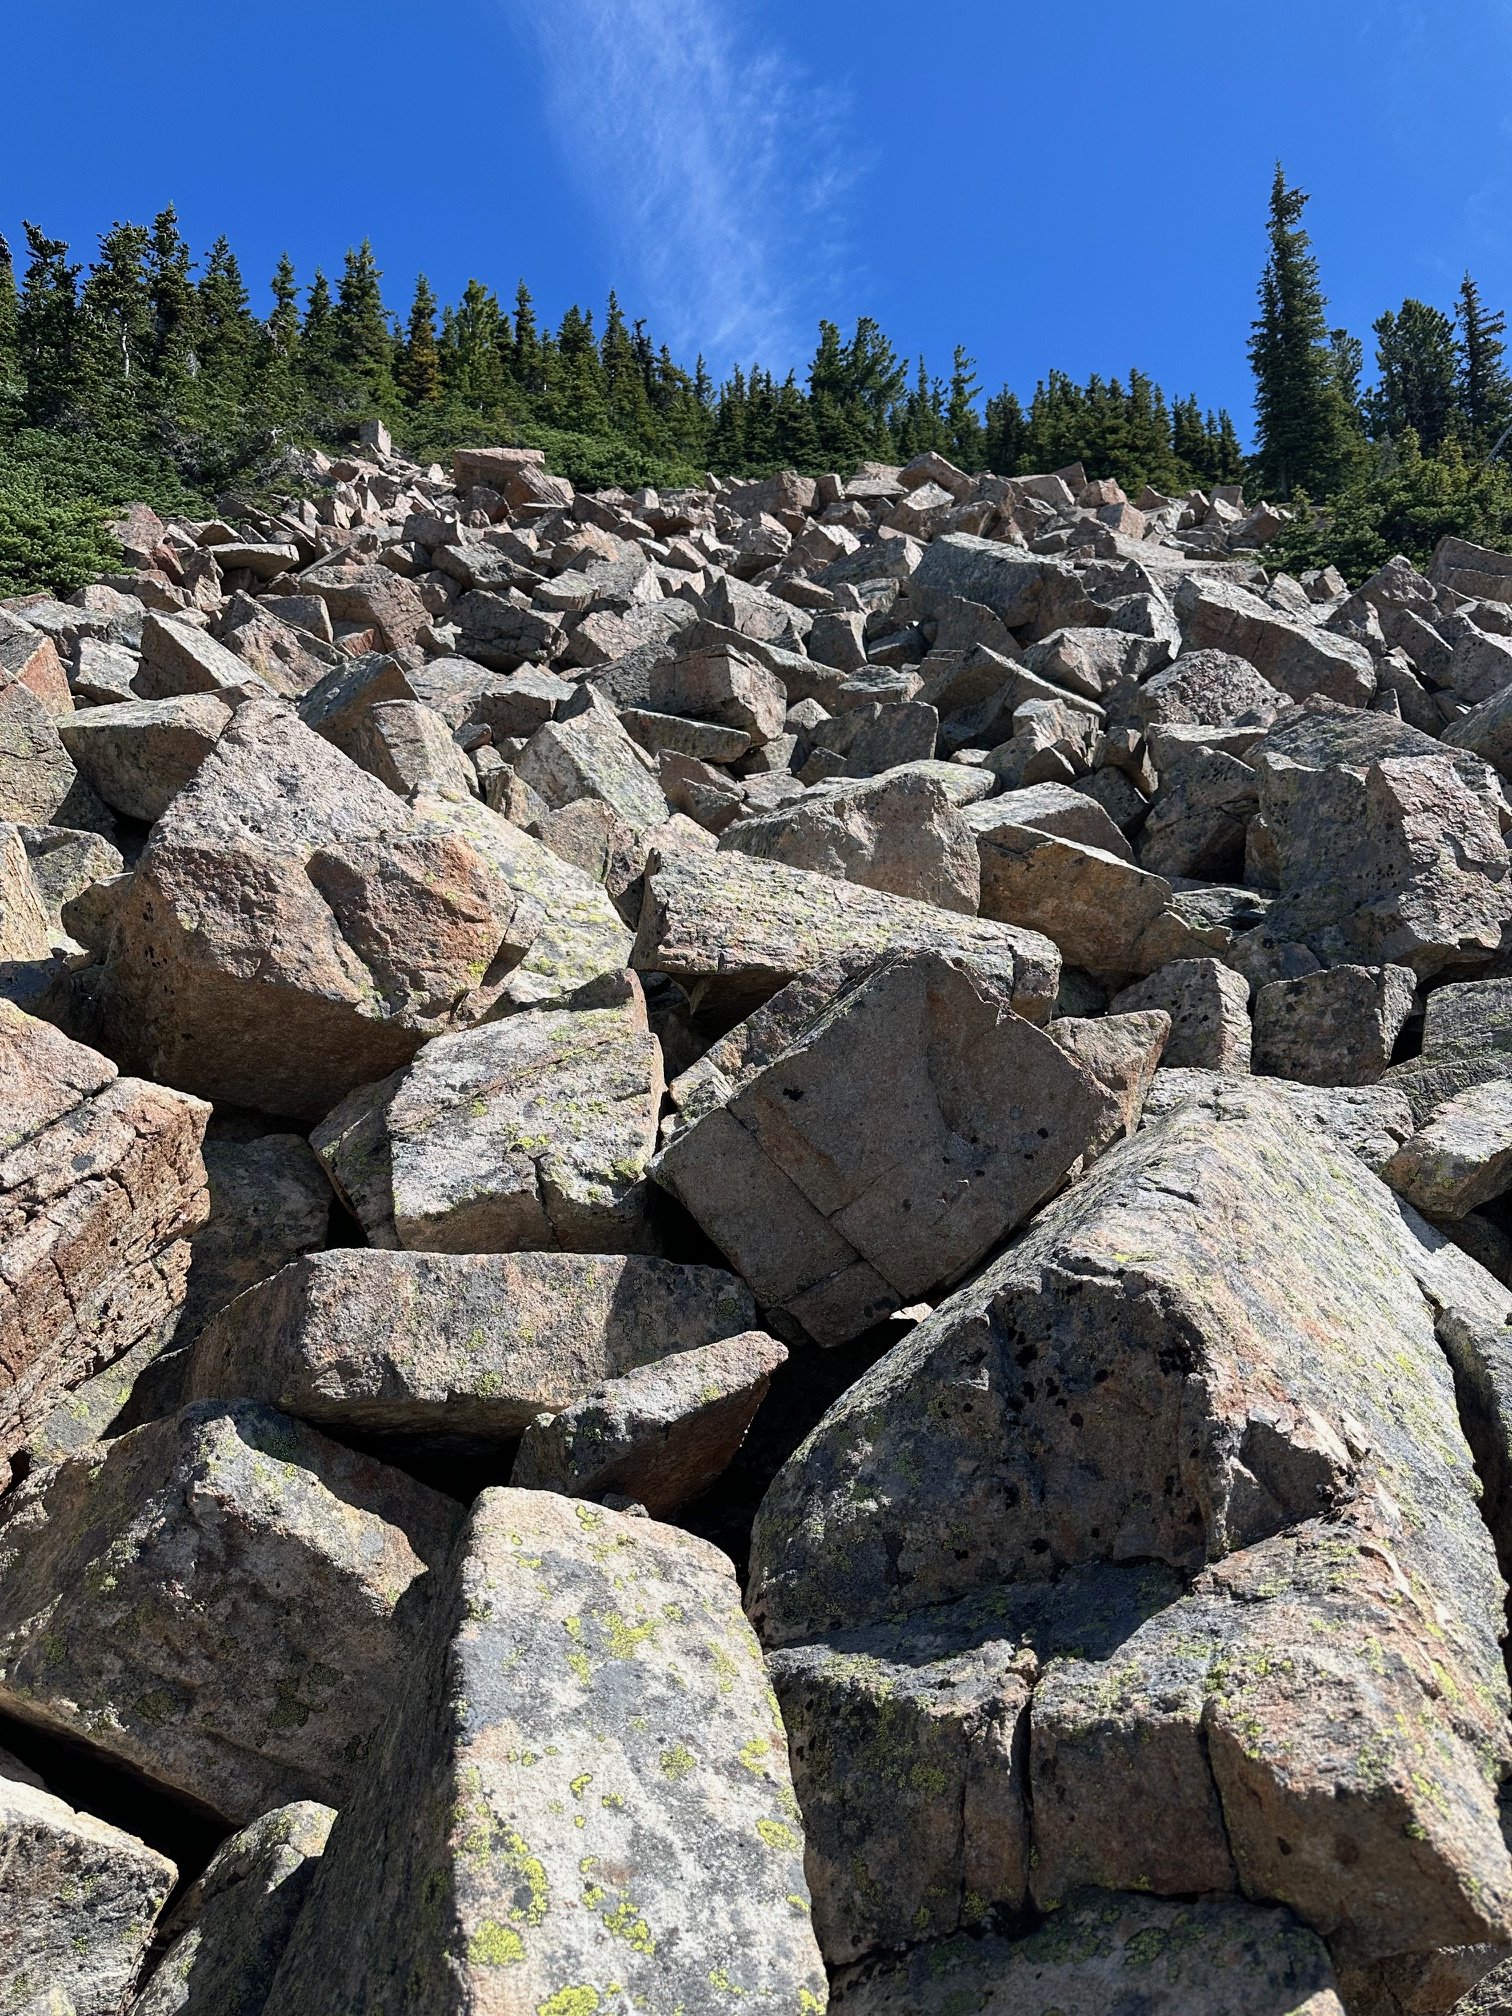
I did this climb a few weeks ago and my friend did a write up that I thought I’d post here (source https://www.peakbagger.com/climber/ascent.aspx?aid=2902617). There wasn’t a ton of information on it, but overall a fun way to get up the mountain. Jack Mountain (East Ridge) & Crater Mountain Team: Damon, Jon, Chris Dates: July 11-13, 2025 Short Version: A successful 3-day trip to the seldom-climbed East Ridge of Jack Mountain with Jon. The three of us climb Crater Mountain on the way out. Jack's East Ridge is a long, serious, and committing route with sustained exposure and multiple pitches of 5th-class climbing. It should not be taken lightly. Crater Mountain provided one of the most spectacular summit panoramas in the state, a perfect reward for the intensity of Jack and a supremely appealing scramble objective by itself. Statistics: Total Mileage: ~25 miles Total Elevation Gain: ~12,500 ft Day 1 (Approach to Jerry Lakes Basin): 9 miles, +5400' / -1400', 7h 30m Day 2 (Jack Mtn): 5.8 miles, +/- 4660', 13h 08m Day 3 (Crater Mtn & Exit): 9.7 miles, +2390' / -6420' Full Report Day 1: The Approach Our trip began at the Canyon Creek Trailhead. A quarter-mile in, we hit the ford of Canyon Creek. I was glad to have brought Crocs, which I cached on the far side. From there, the trail winds its way up and up. We left trail at 6400' to ascend towards the 7200' col. We made steady progress under warm skies. After crossing the pass, we descended snow below the Jerry glacier into the beautiful Jerry Lakes basin. We camped near the outlet of the biggest lake, opting to bivy to enjoy the clear night. The area was scenic but quite buggy. Day 2: Jack Mountain - The East Ridge Jon and I set off for Jack early, moving by 4:30, climbing a goat path to exit the Jerry Lakes basin. As we reached the col, we saw Jack partially shrouded in a high cloud around 8,000 ft. From there, our route involved descending 800 feet into the adjacent basin before beginning the ascent up the SE arm of Jack. We then traversed over to the snowfield below the glacier, which led to a few hundred feet of scrambling to gain the East Ridge proper at 7,200 ft. The East Ridge itself is a magnificent and fiercely serious undertaking. This is not a casual scramble. The route involved three distinct pitches of 5th-class climbing: one up a gully early on, a memorable and wildly exposed 5.0 crux in the middle of the ridge, and another section to gain the summit. Jon, whose extensive experience was essential to our success, led these pitches and found ok placements. The true character of the ridge, however, lies in the terrain between the technical pitches. We spent hours moving together on exposed Class 3 and 4 rock, requiring sustained concentration. The summit, while somewhat cloudy, still offered stellar views of Baker, Shuksan, the Pickets, Ross Lake, Hozomeen, and the massive Nohokomeen Glacier sprawling below. We also took a moment to look down at the upper part of the South Face route; it looked unappealing, reinforcing our choice of the East Ridge. The descent was a mirror of the ascent: a long, mentally taxing exercise in precision. For the 5.0 crux, Jon employed a protected downclimbing system, providing a crucial safety margin. The opening move where I had to blindly face-in downclimb over a bulge to find footholds to enter a solid crack system, with 1000' of air down to snow far below, was totally insane even with a few pieces of protection that Jon placed below me. We made one rappel lower down off an established tat anchor. We were so happy to be off the East Ridge, but proud that we made it work. We tried to stay on snow to cross the glacial basin. As we walked over, a 20-foot snow finger near the glacier toe collapsed in front of us onto the rock. It was a powerful reminder of objective hazards and the unknowable elements of alpinism that defy simple analysis. We turned and went back the scramble way The 13-hour day was a testament to the route's length and complexity. We made it to camp by late afternoon. The East Ridge is a route for self-reliant parties with a deep well of experience in technical rock, rope systems, and managing risk in a remote, high-consequence environment. Day 3: Crater Mountain & The Exit We awoke to a beautiful morning with interesting cloud formations. All three of us made the climb up Crater Mountain. The route involved fun Class 3 scrambling with some light exposure and a single, unexposed Class 4 move. The rock was loose in places, so I was happy to have a helmet. The summit of Crater Mountain is, without exaggeration, one of the finest viewpoints in Washington State—perhaps even better than Jack's. The 360-degree panorama under clear skies was staggering. It offered the same incredible views of the major Cascade peaks, but with the added bonus of a stunning perspective of Jack's massive South Face and the beautiful Jerry Lakes basin below. After soaking in the views for an hour, we descended and began the long hike out. The descent went quickly as we talked about Star Wars and the Matterhorn. The river crossing was downright enjoyable in the heat. A challenging, humbling, and ultimately magnificent trip to a wild corner of the Cascades.
- 1 reply
-
- 1
-
-

Dakobed (Glacier Peak) - Frostbite Ridge
OlympicMtnBoy replied to Nick Sweeney's topic in North Cascades
Thanks for posting up! -
 Kulshan Kid changed their profile photo
 -
EDIT: We found a third member! One of my team members is sick and can no longer go. We are climbing the DC route July 27-29 and need a third member ASAP! We already have a permit for July 27-31 at Camp Muir and climbed Baker and Adams the last two weekends. Please message me if you are interested!
-
Nice work getting up and down safely, great write-up. Her first volcano climb? That's RAD!!! I guess she's now either completely hooked (most likely I bet) or swearing it off for awhile? It sounds like you two had a full alpine adventure, complete with the sustained winds and whiteout. That ice tool transfer system is a good tip/strategy...but leading/simuling 10m of blue ice with just one tool (the last section), hmm.. 🤔 This route has been on my list for many years. It seems a little too spicy for my solo risk tolerance.... so if someone (experienced) reading this is interested in it for later in the season (this or next or next-next year), send me a message!
-
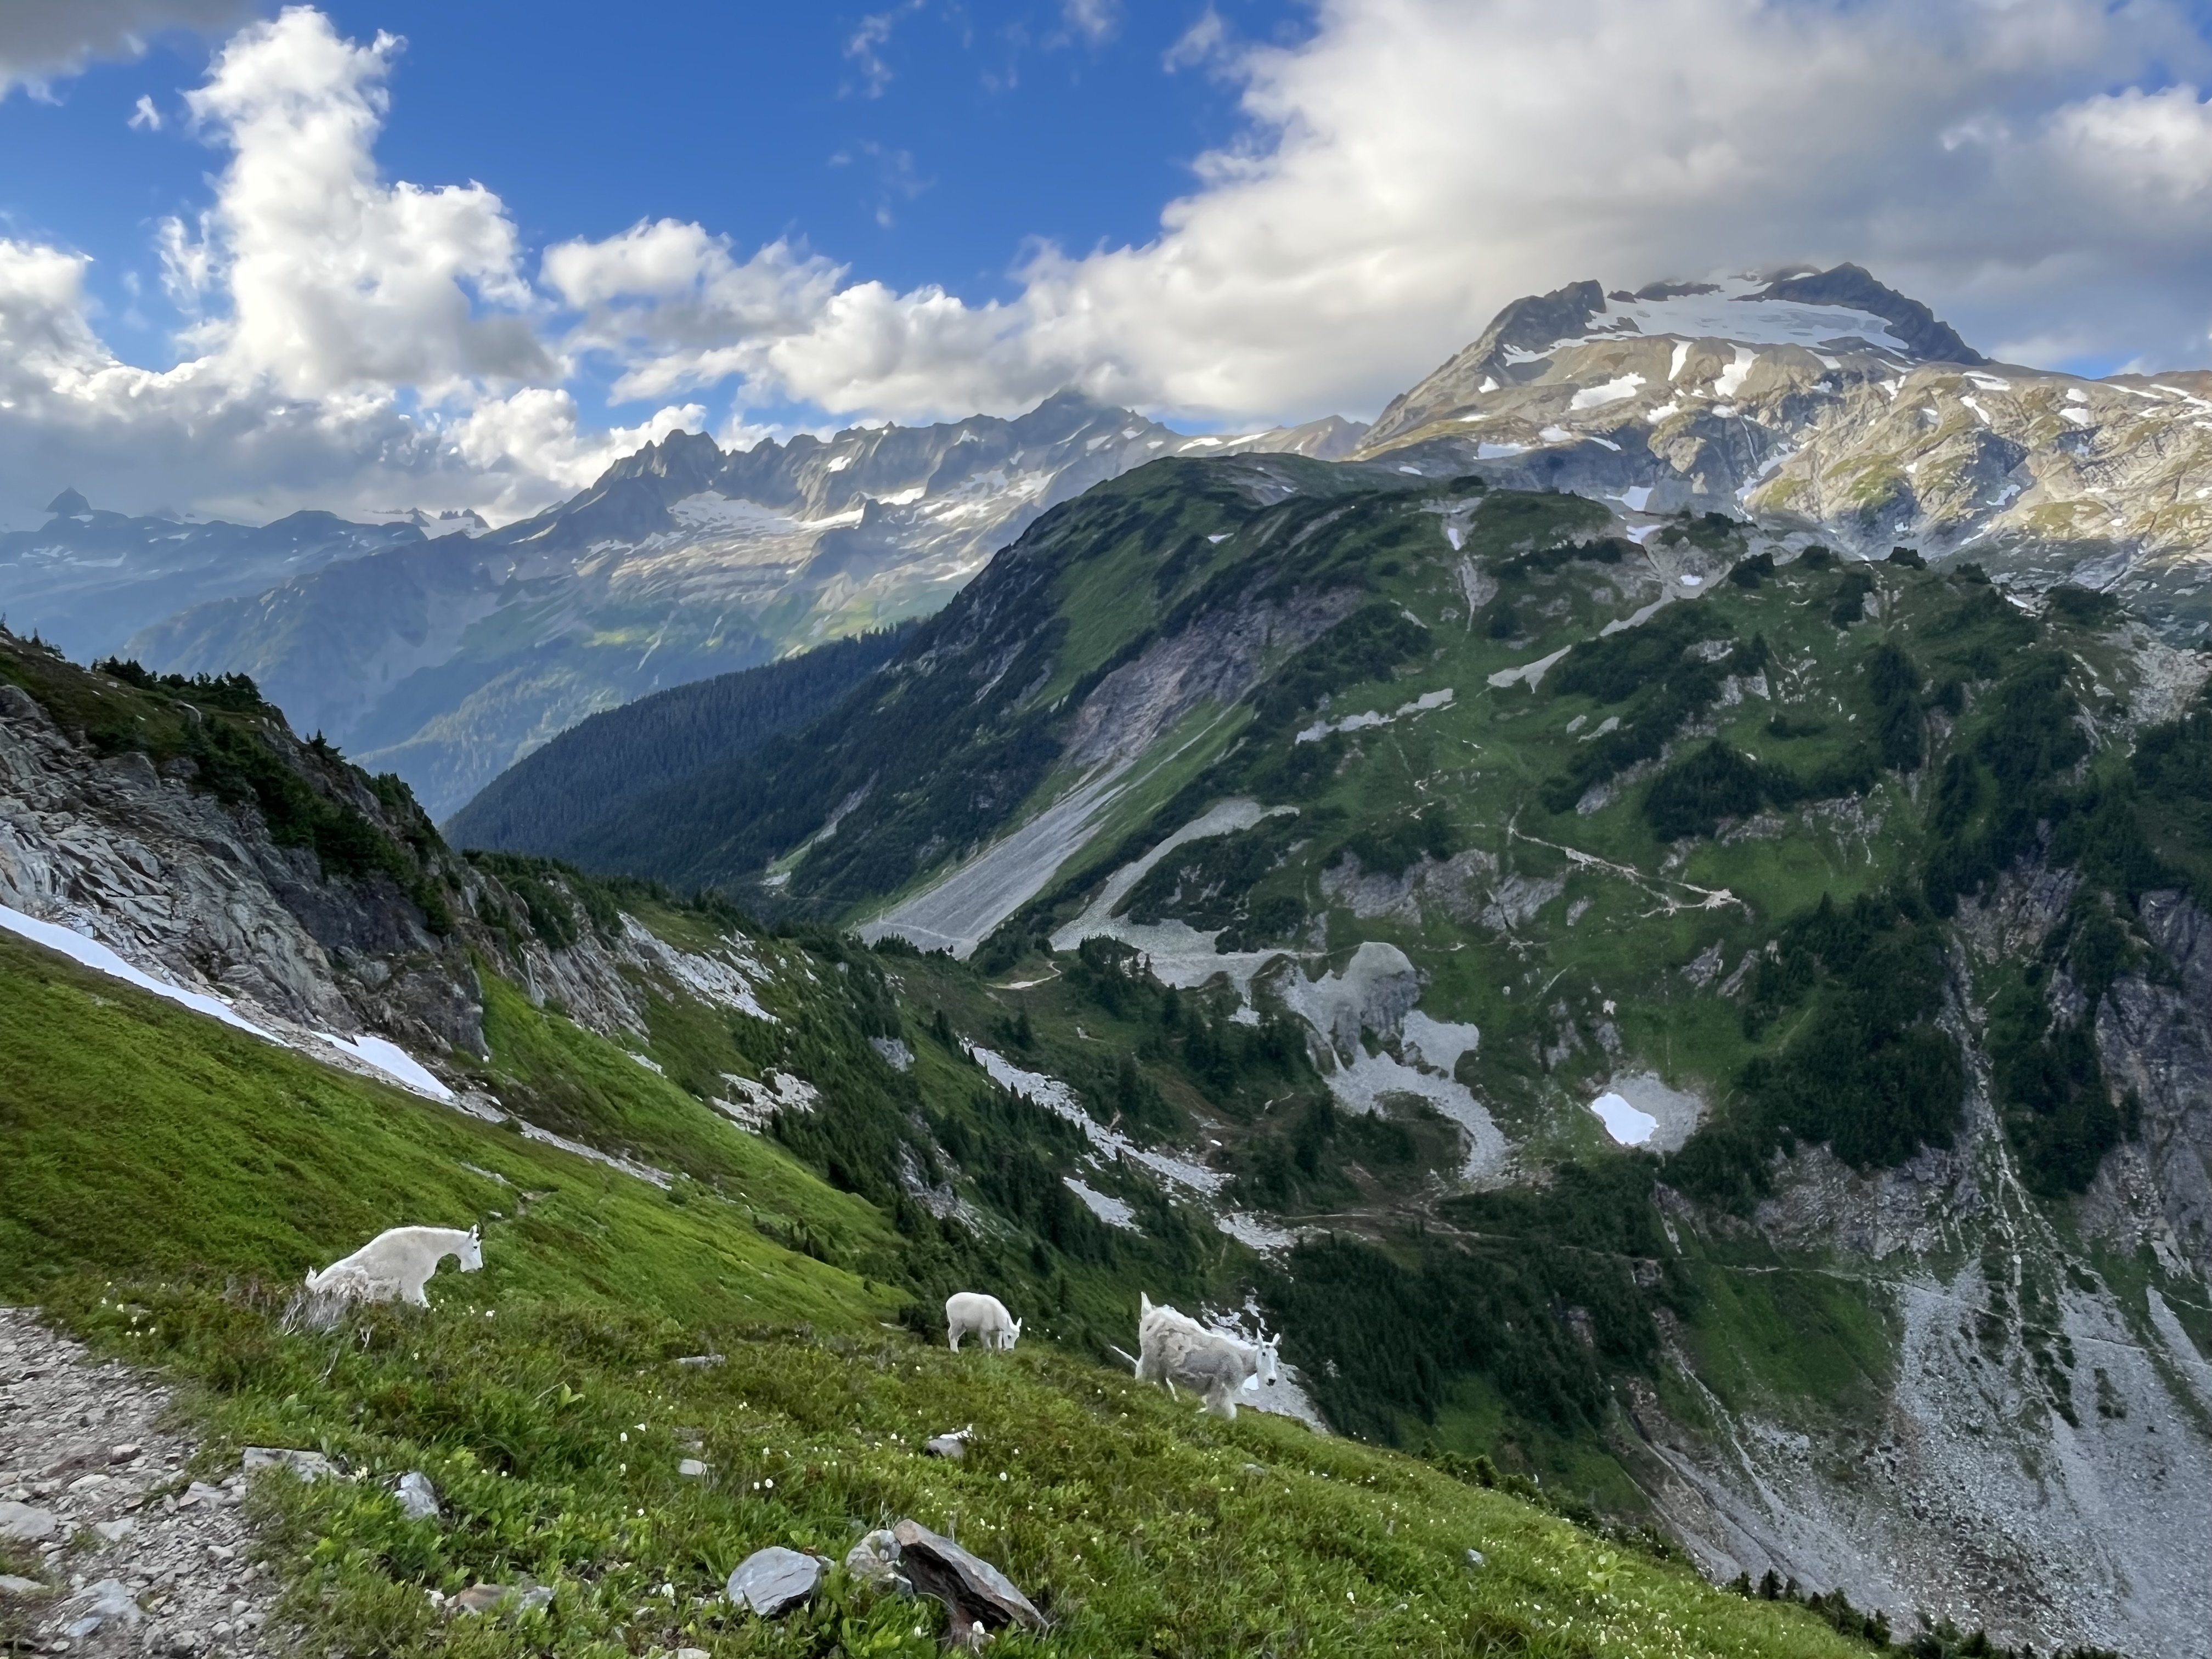
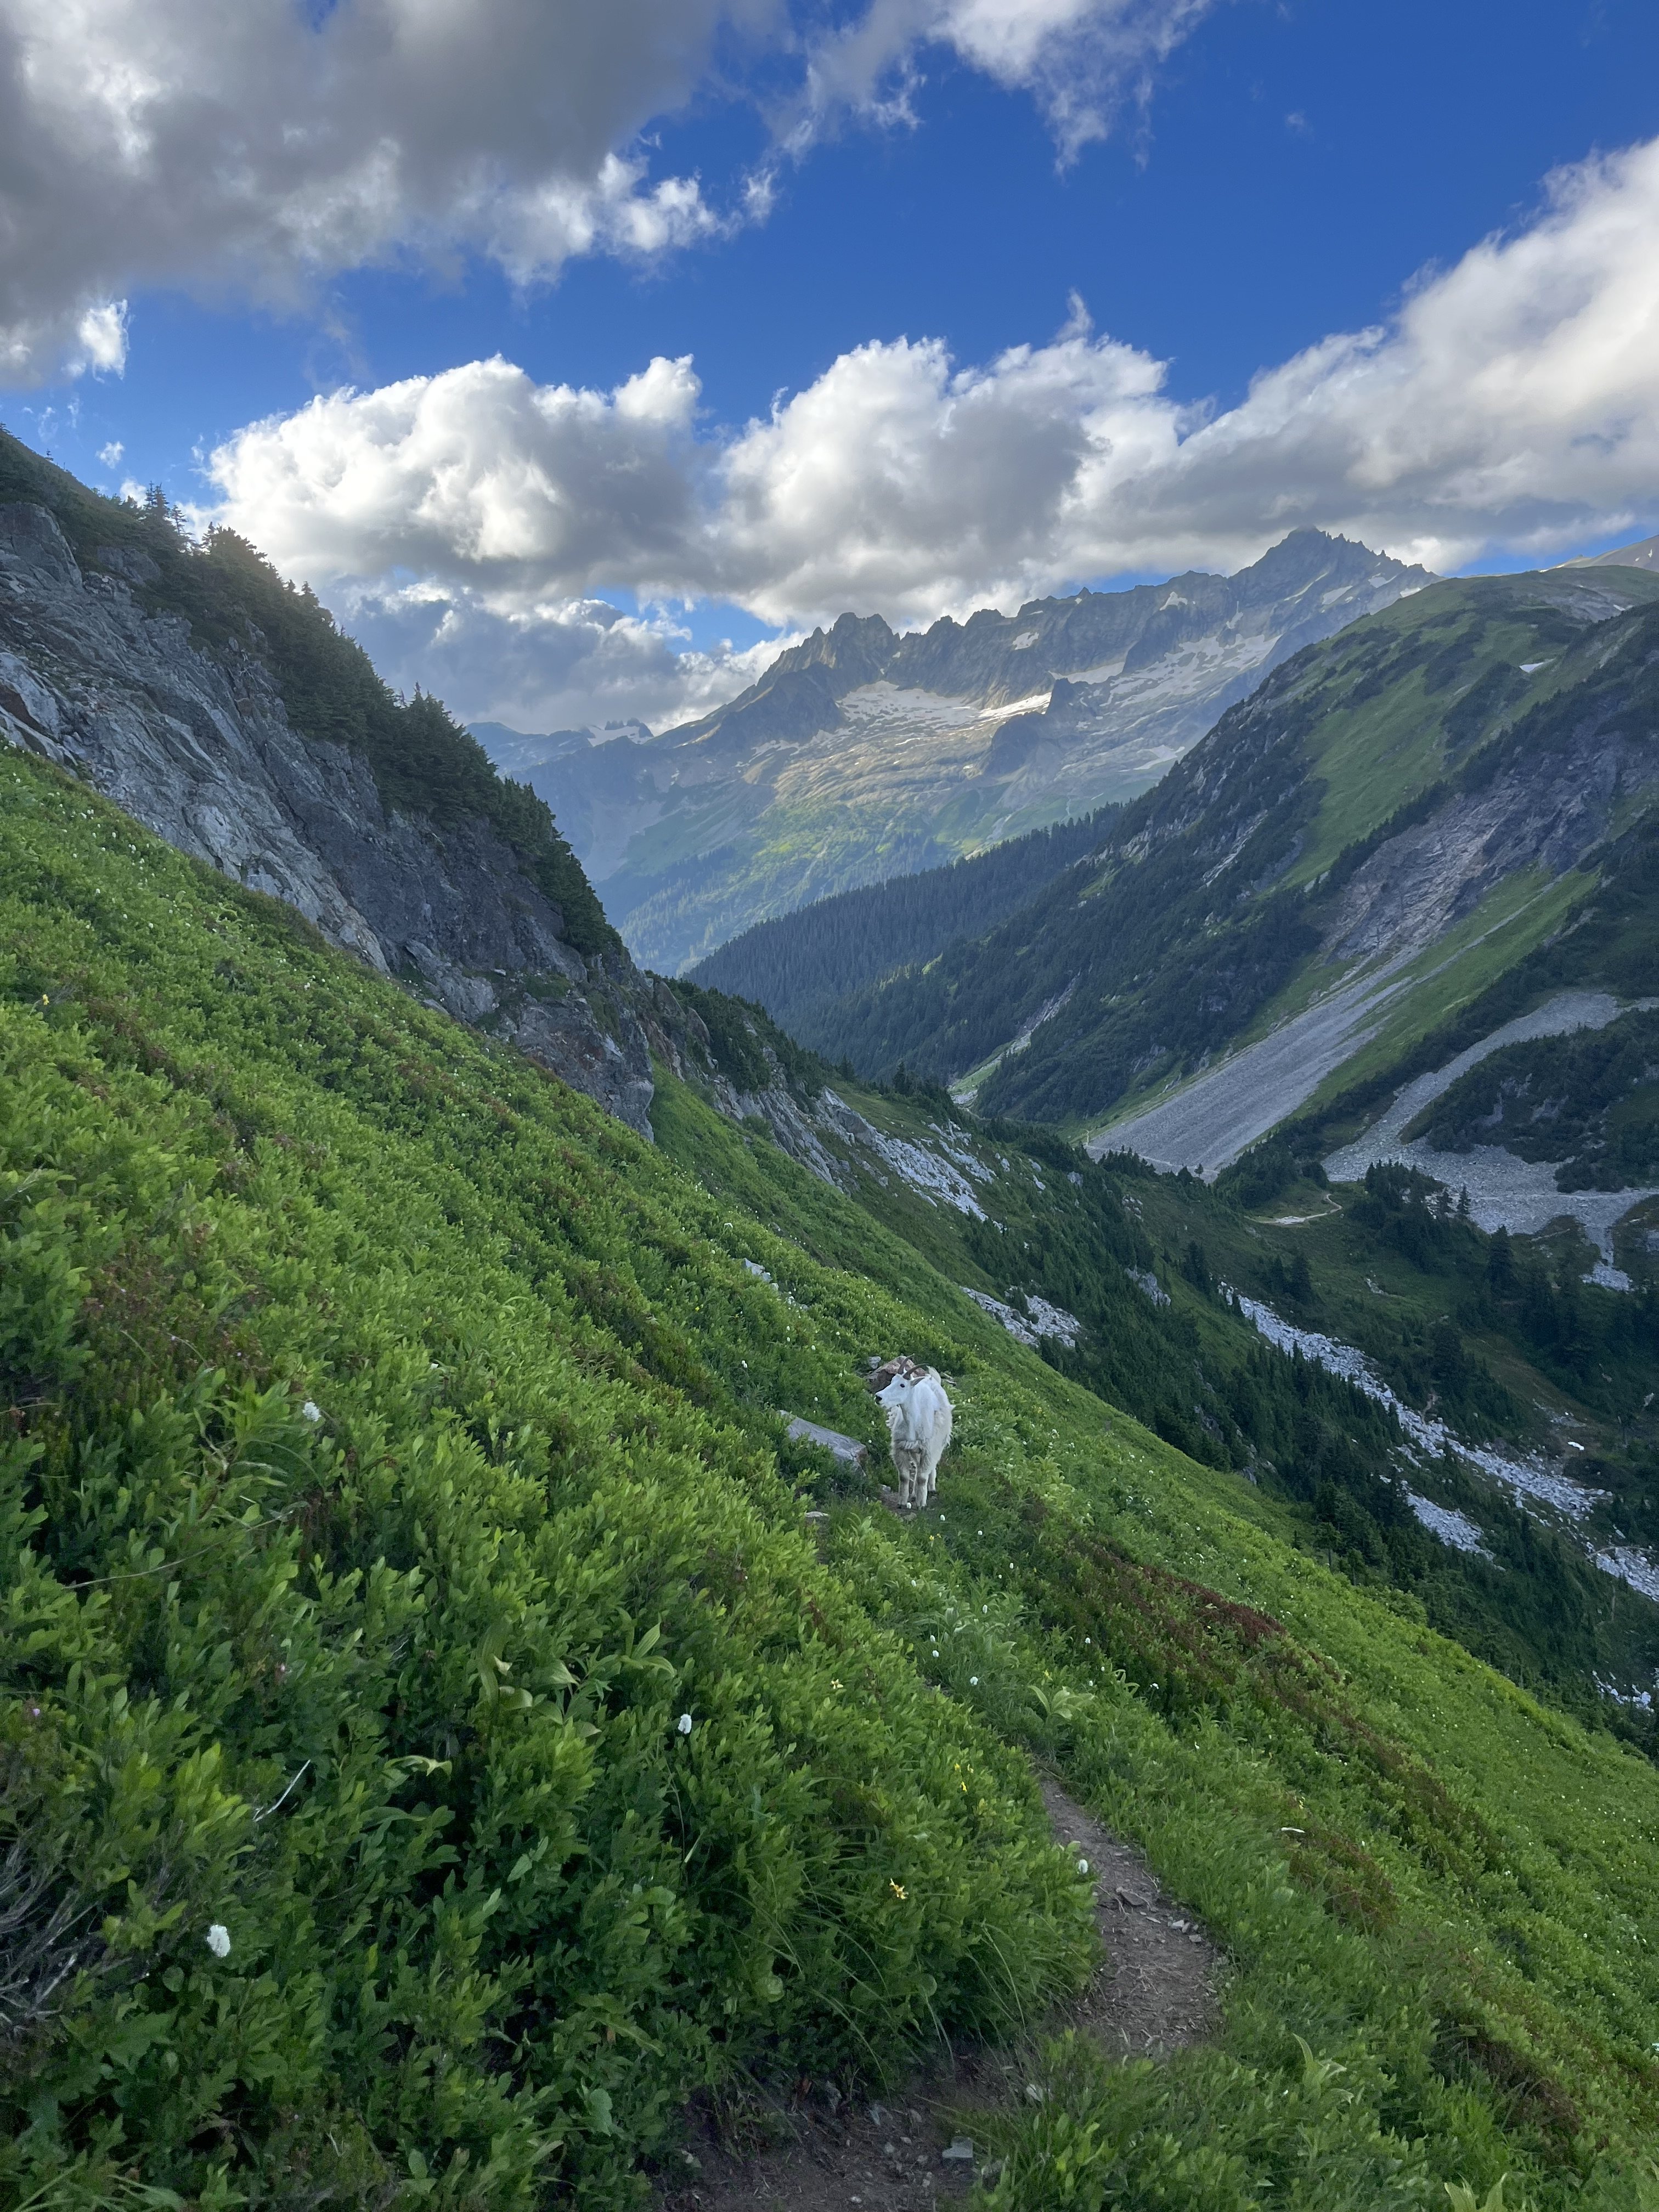
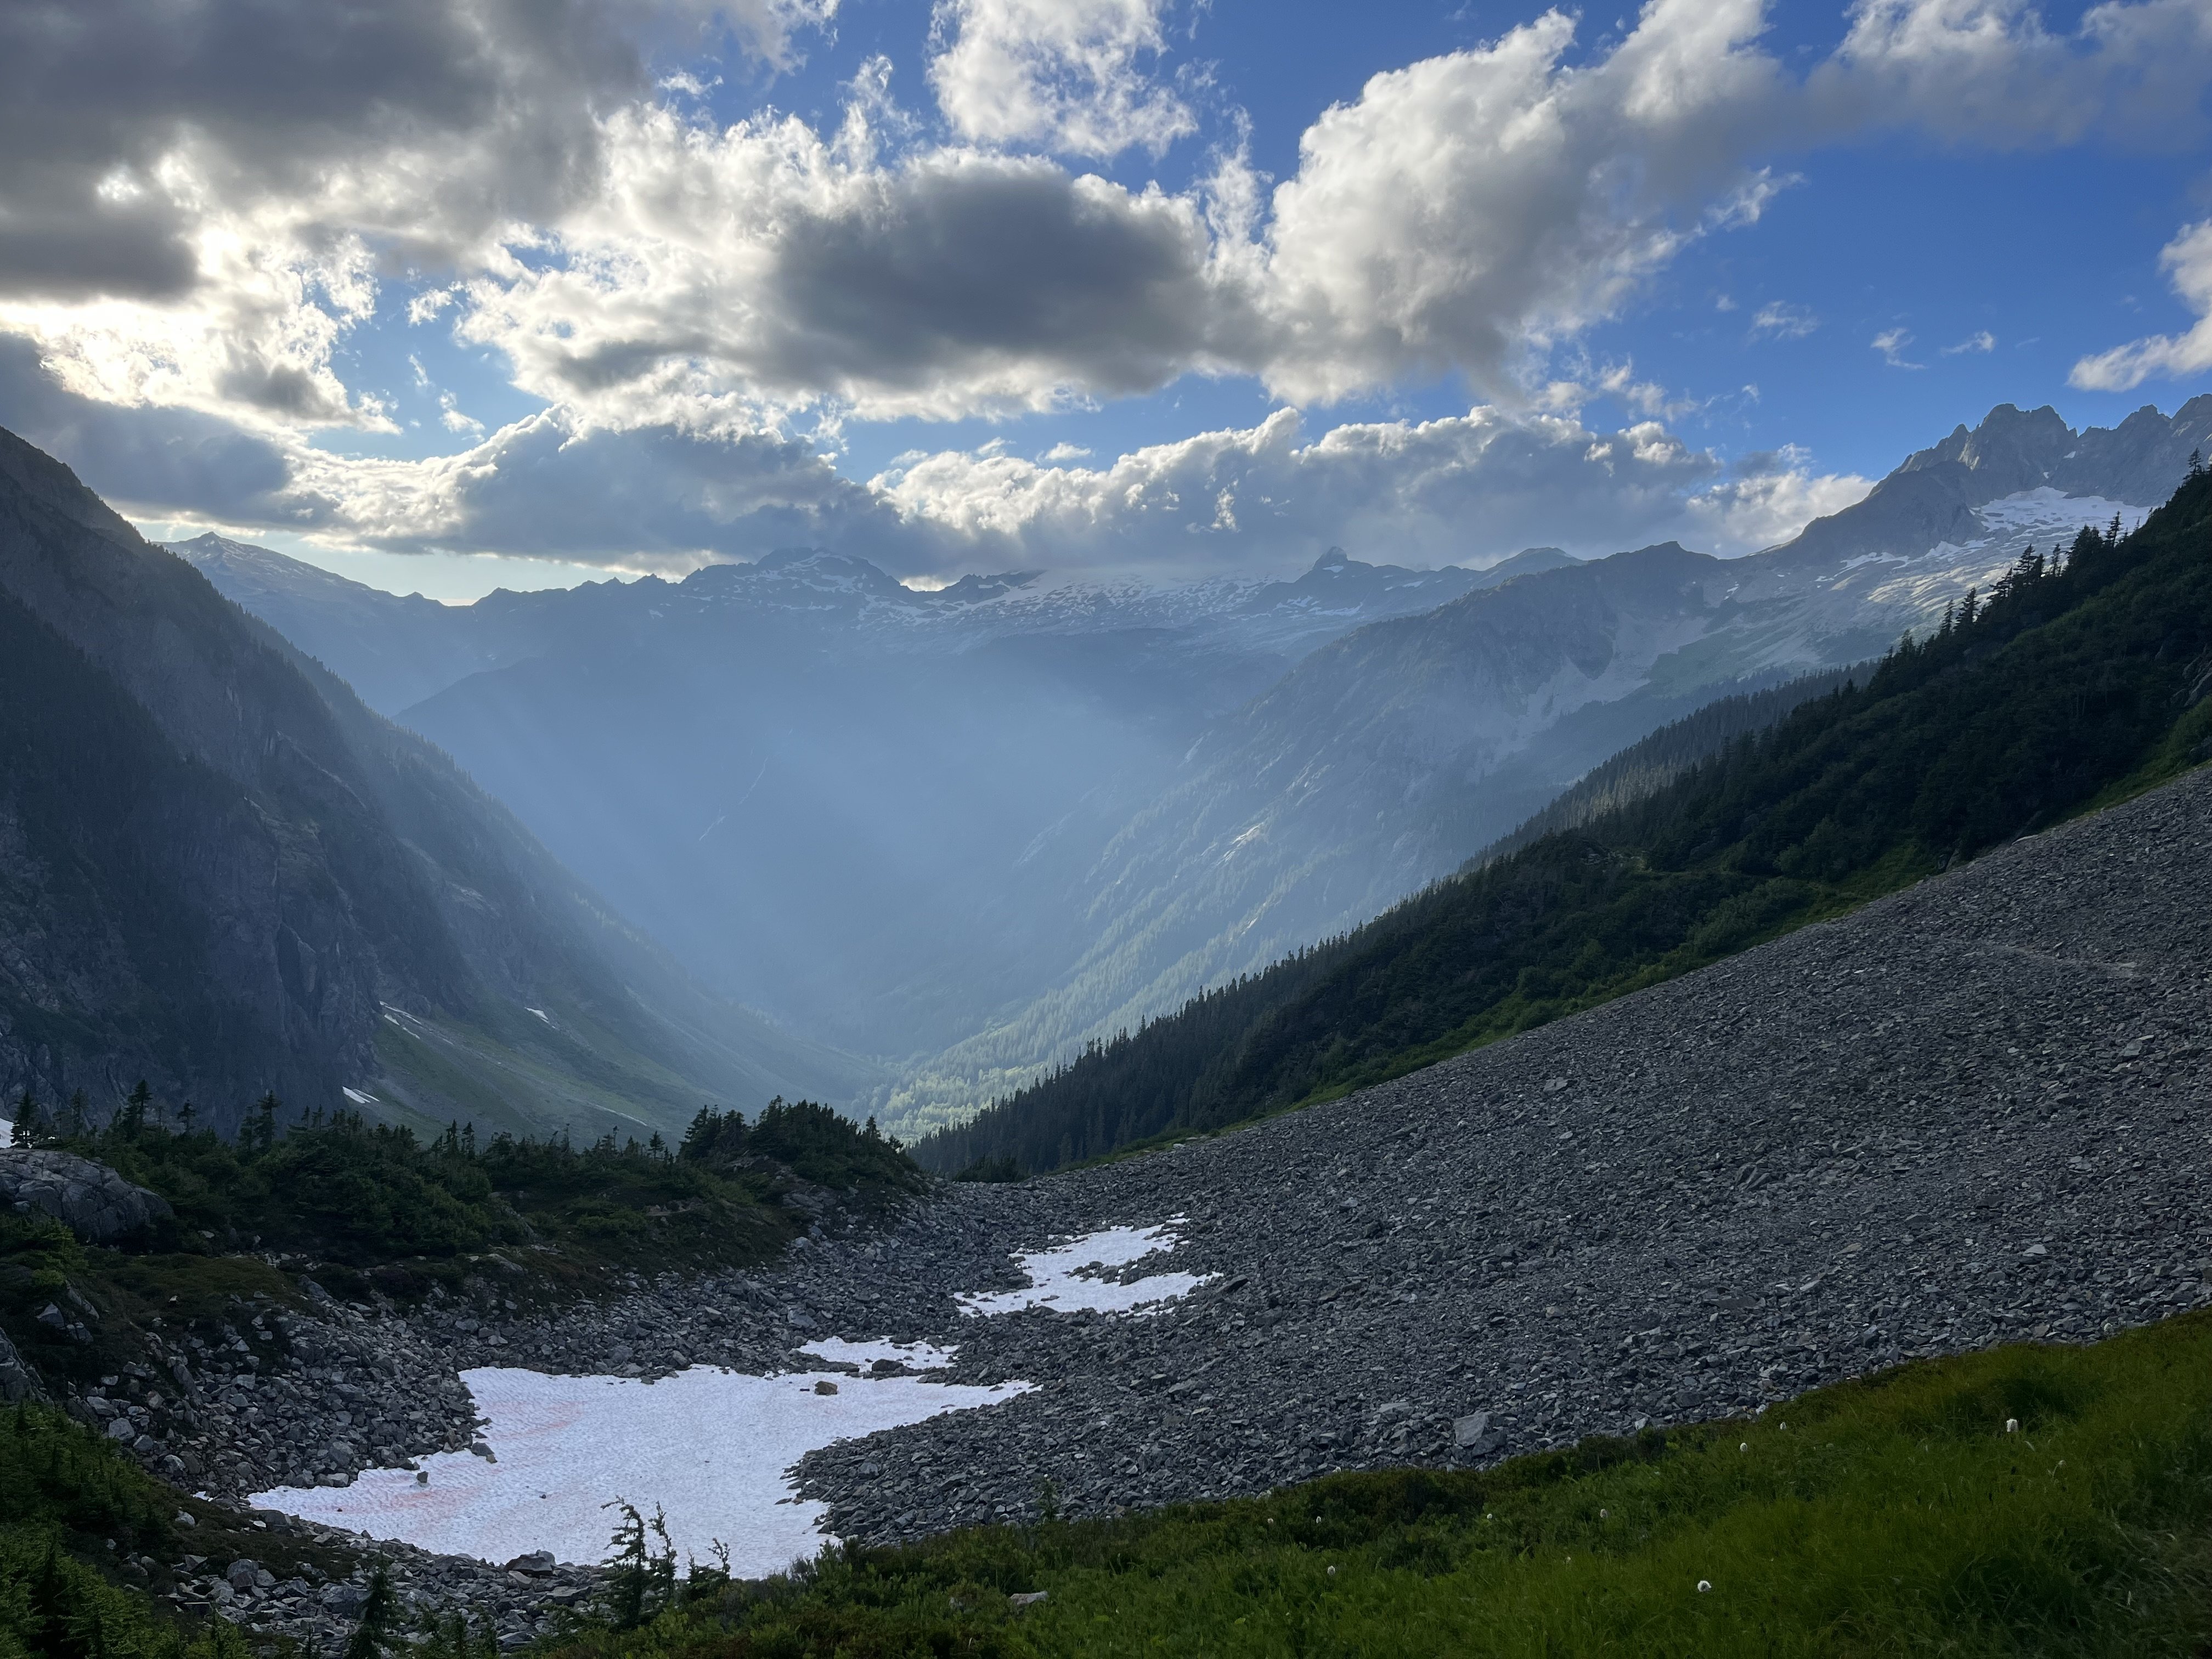
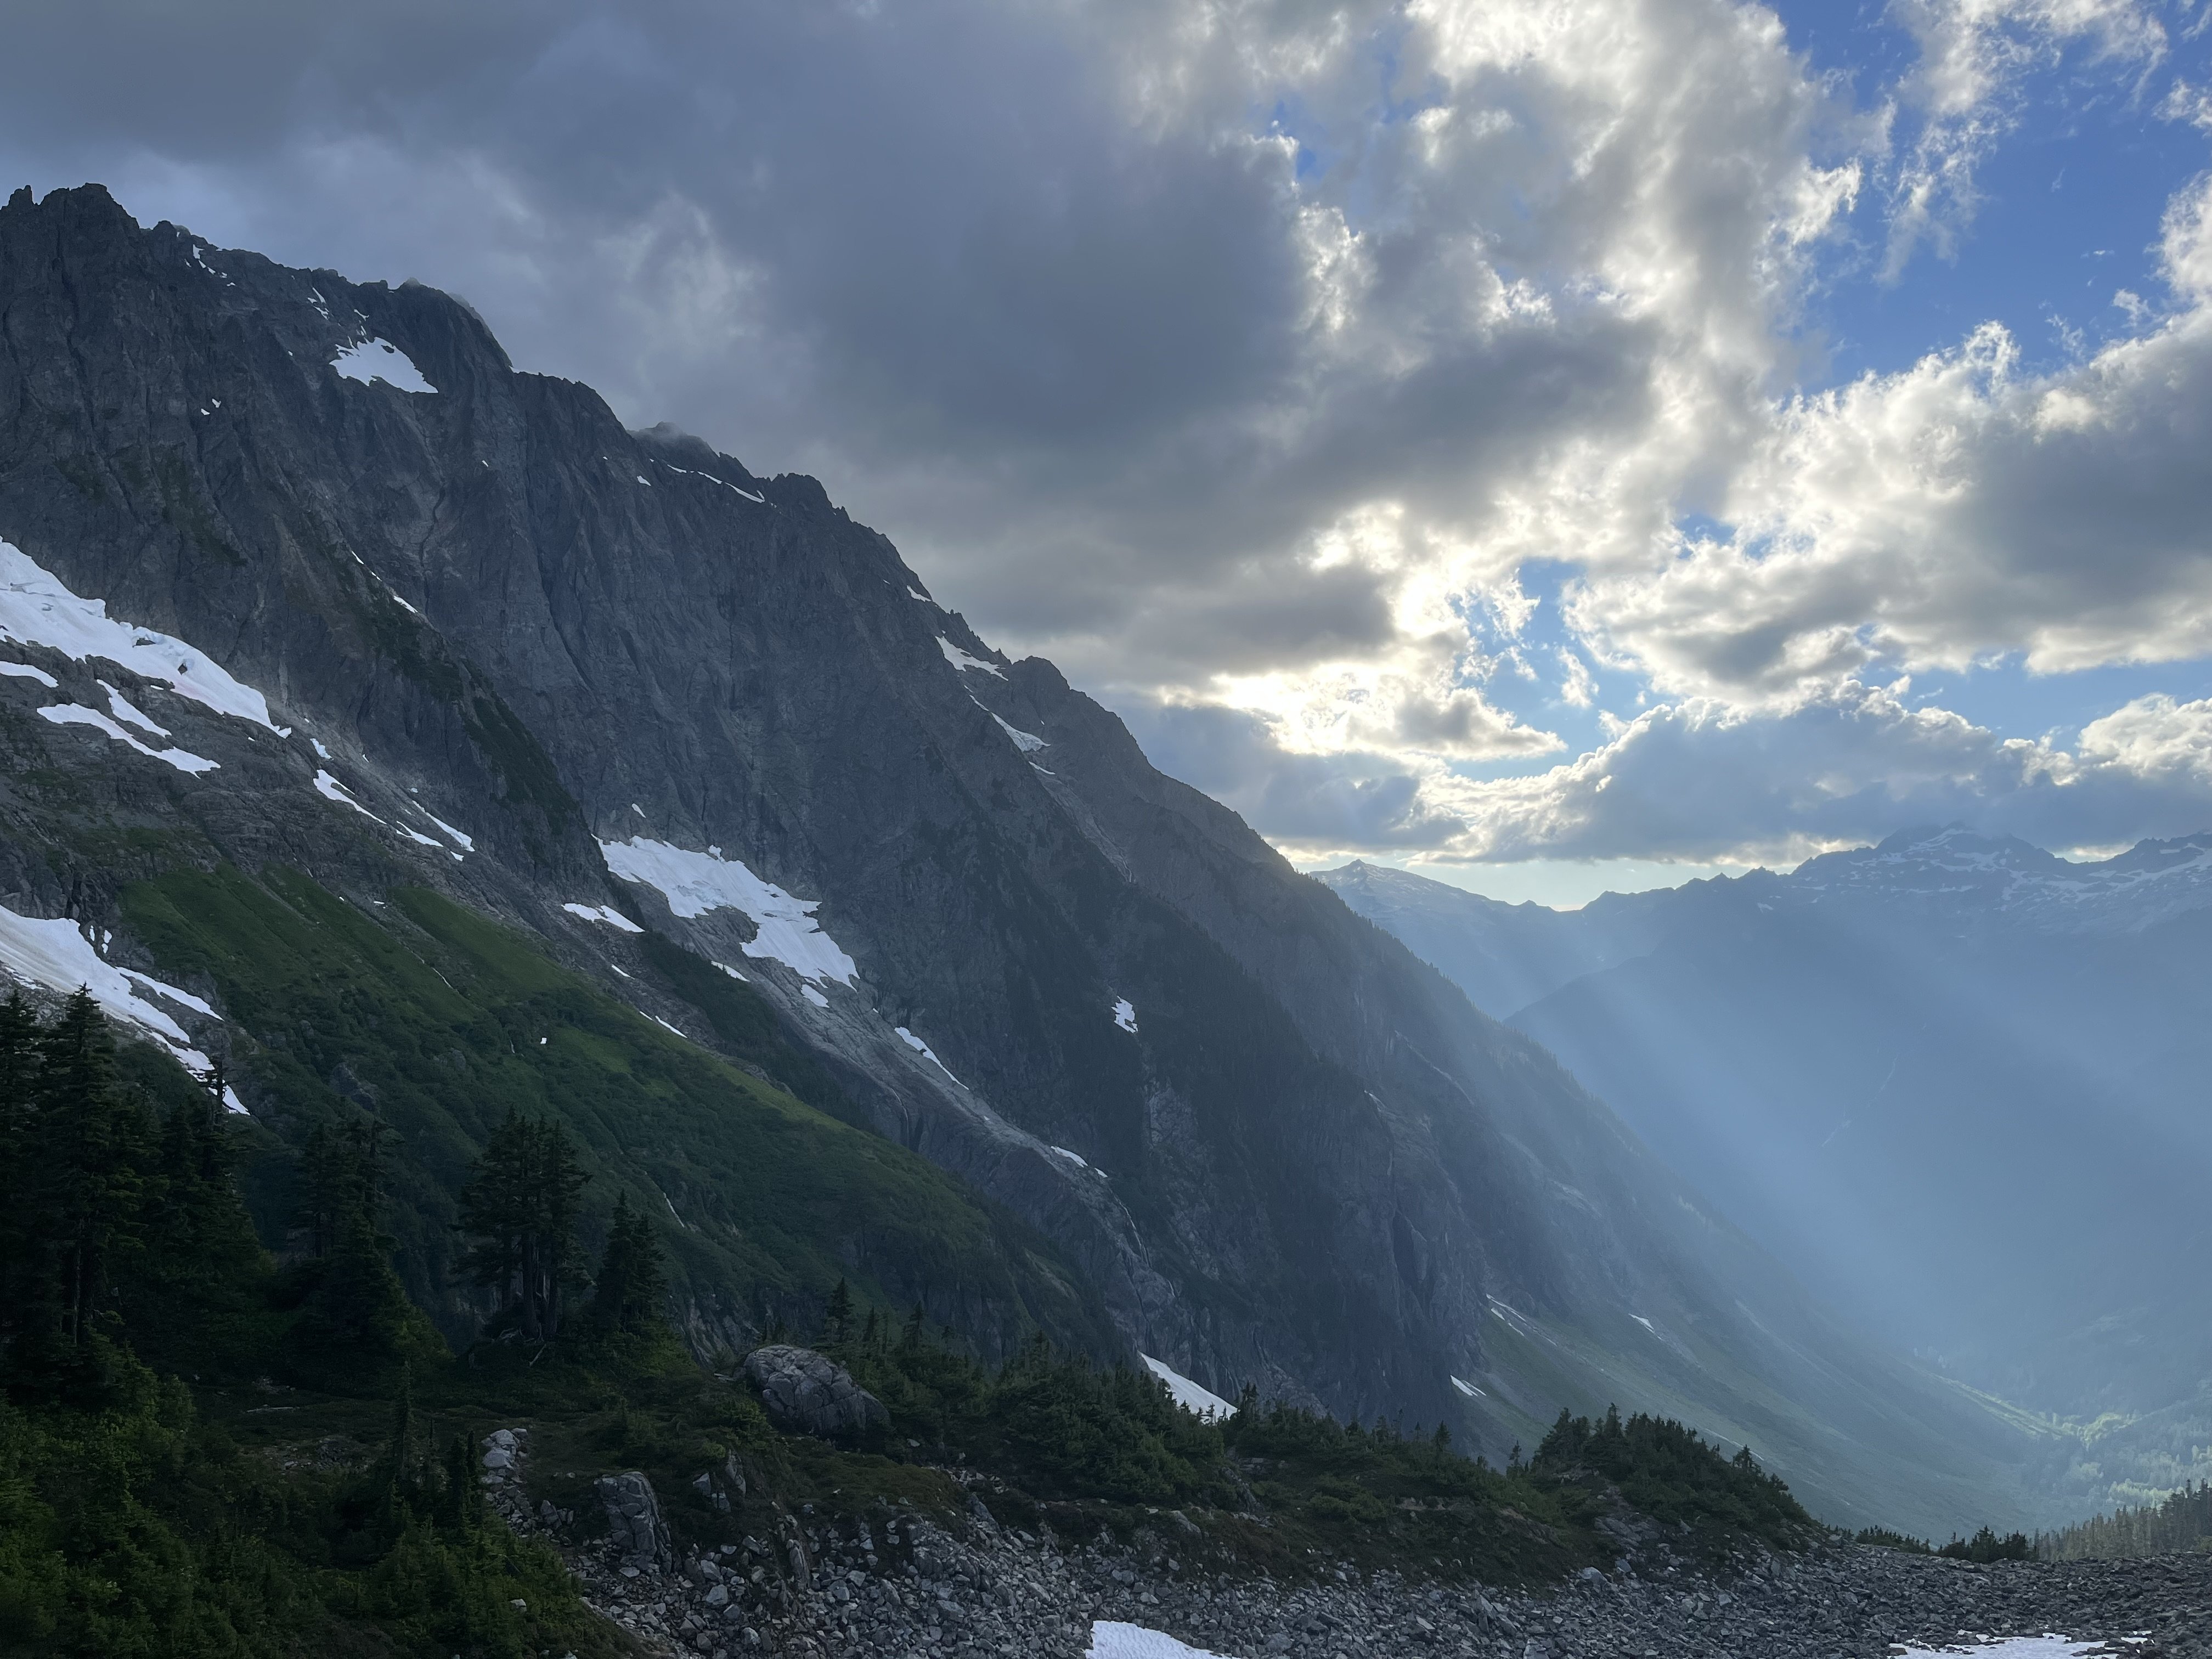
 If anyone sees this and is looking for West Ridge Terror beta, here's what the couloir looked like last Saturday 7/19: There is a bail rap station near a moat not too far up on climber's left You'll see it as soon as you get up a little bit. Getting down into Crescent Creek Basin and making the traverse was pretty chill: Snow was in EXCELLENT climbing conditions, even for aluminum pons on Altras! The left-side snow finger at the Y in the gully felt exposed with the moats, but the step into the dry gully was chill. Crossing Terror Creek was very chill. There is a thimbleberry bush that offered us an abundance of amazingly perfect thimble berries. Last, there was a family of goats (mom, auntie, other auntie, and BABY) at the bivy which is very important beta. If you're as lucky as I was, you'll see a baby goat and a pika hanging out -- at the same time!! No, we didn't summit.