Leaderboard
Popular Content
Showing content with the highest reputation on 02/13/24 in all areas
-
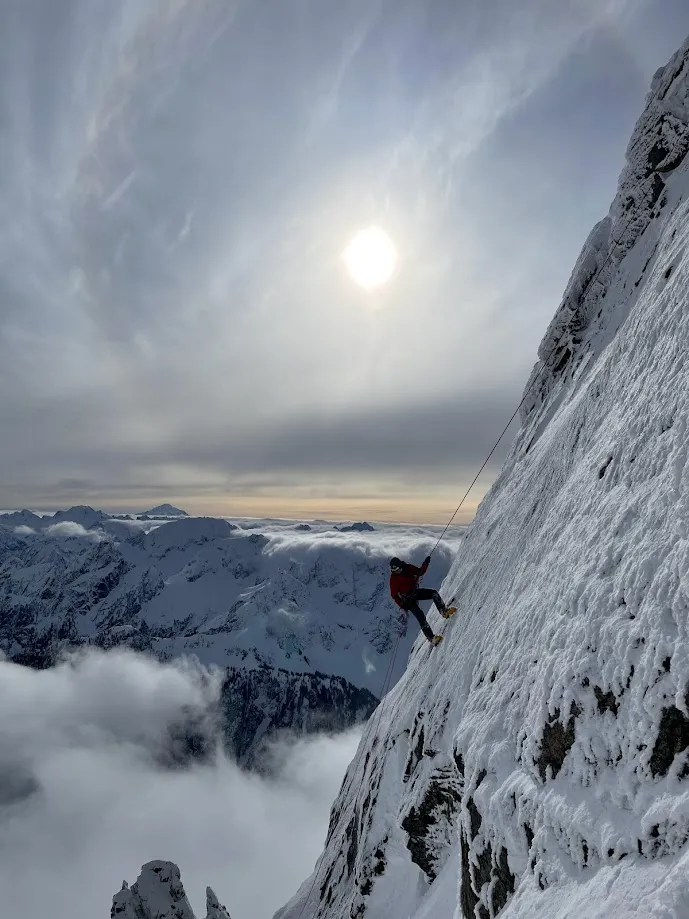
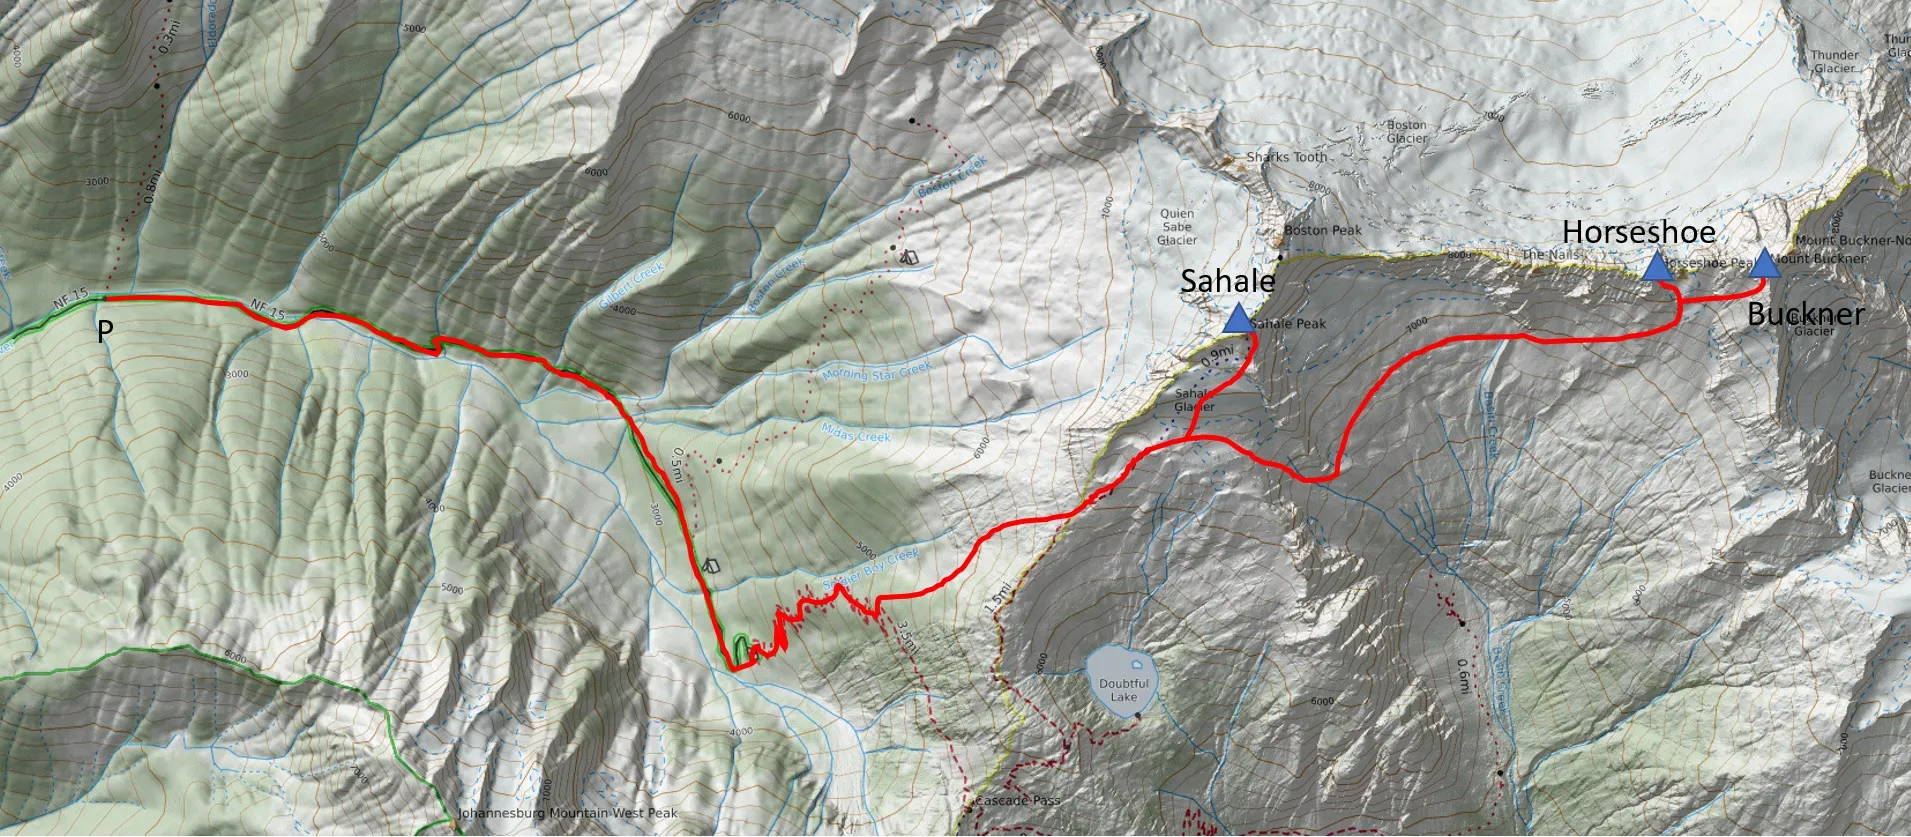
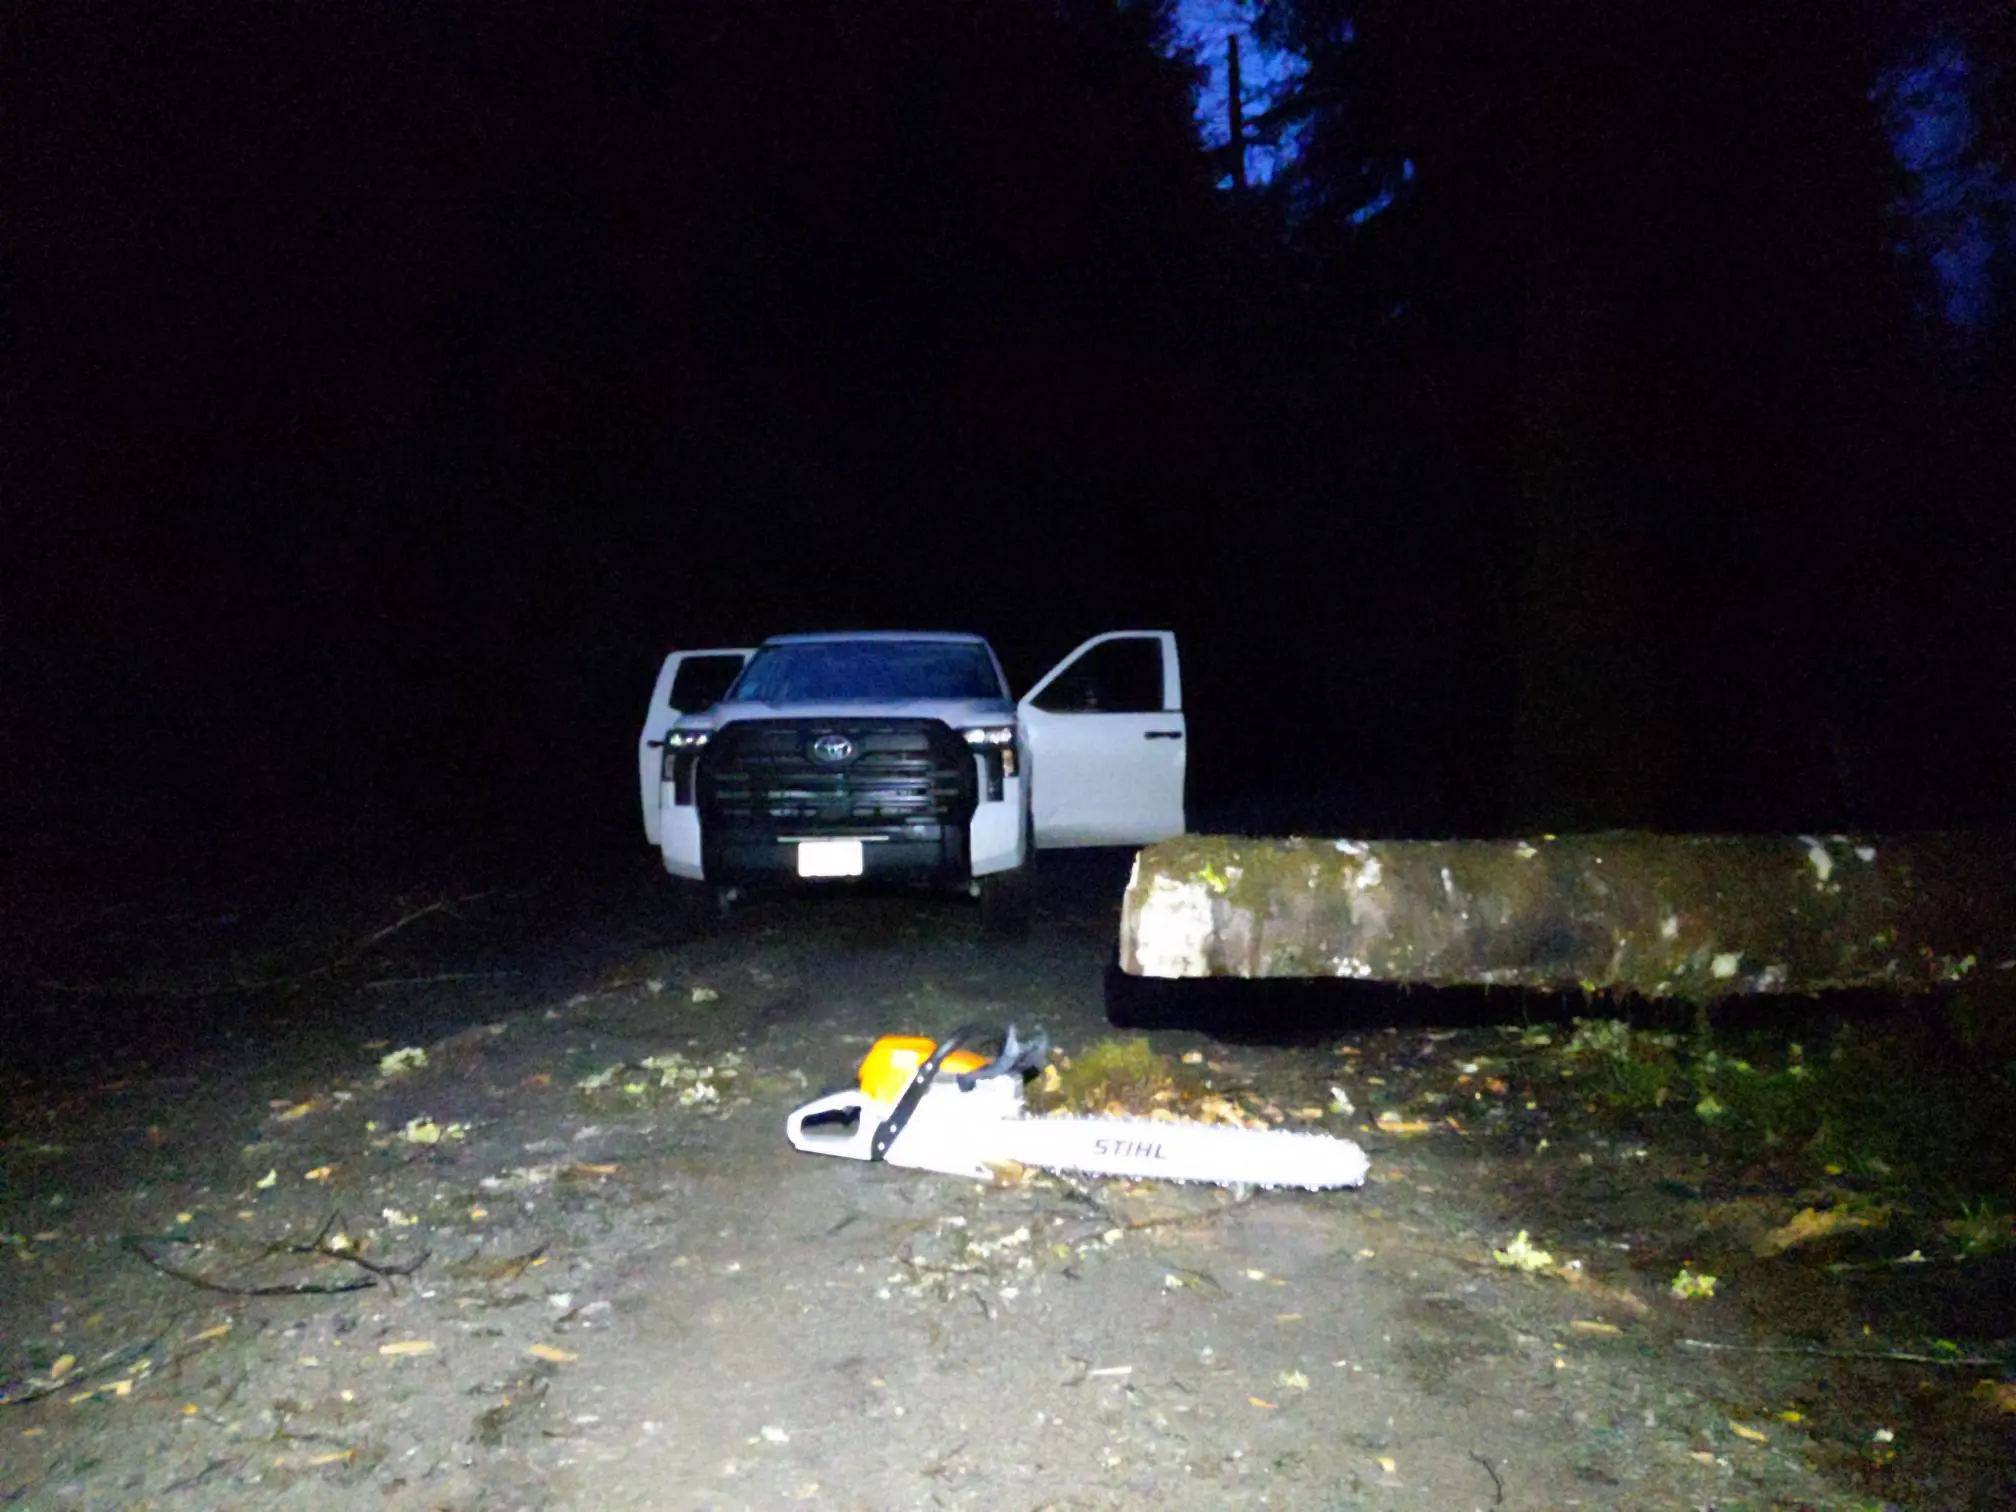
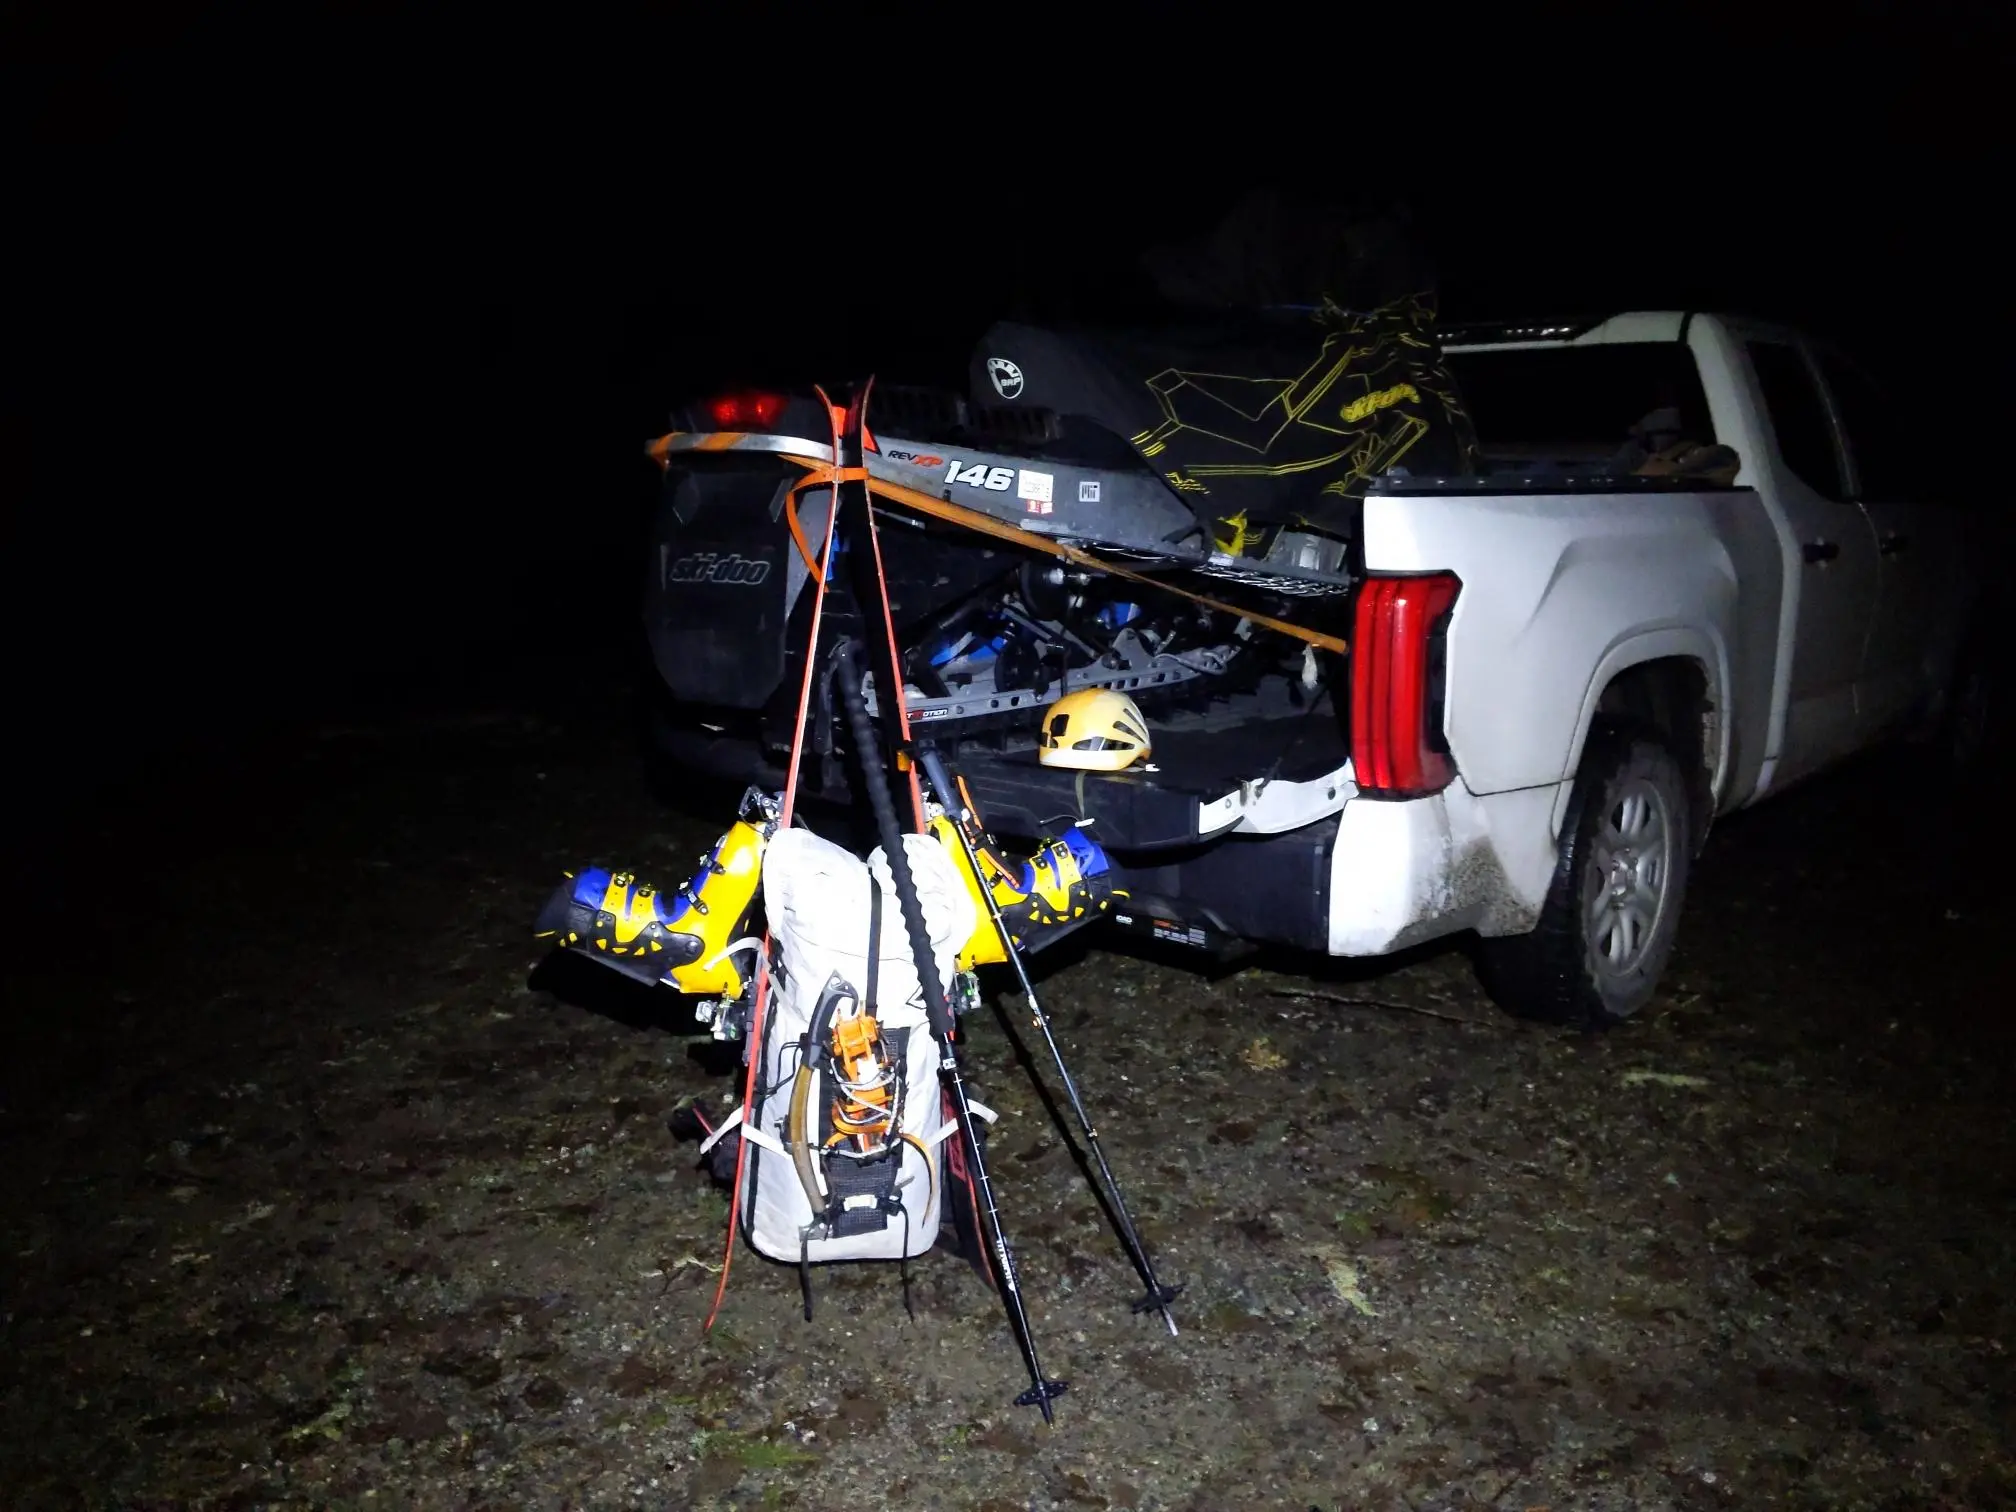
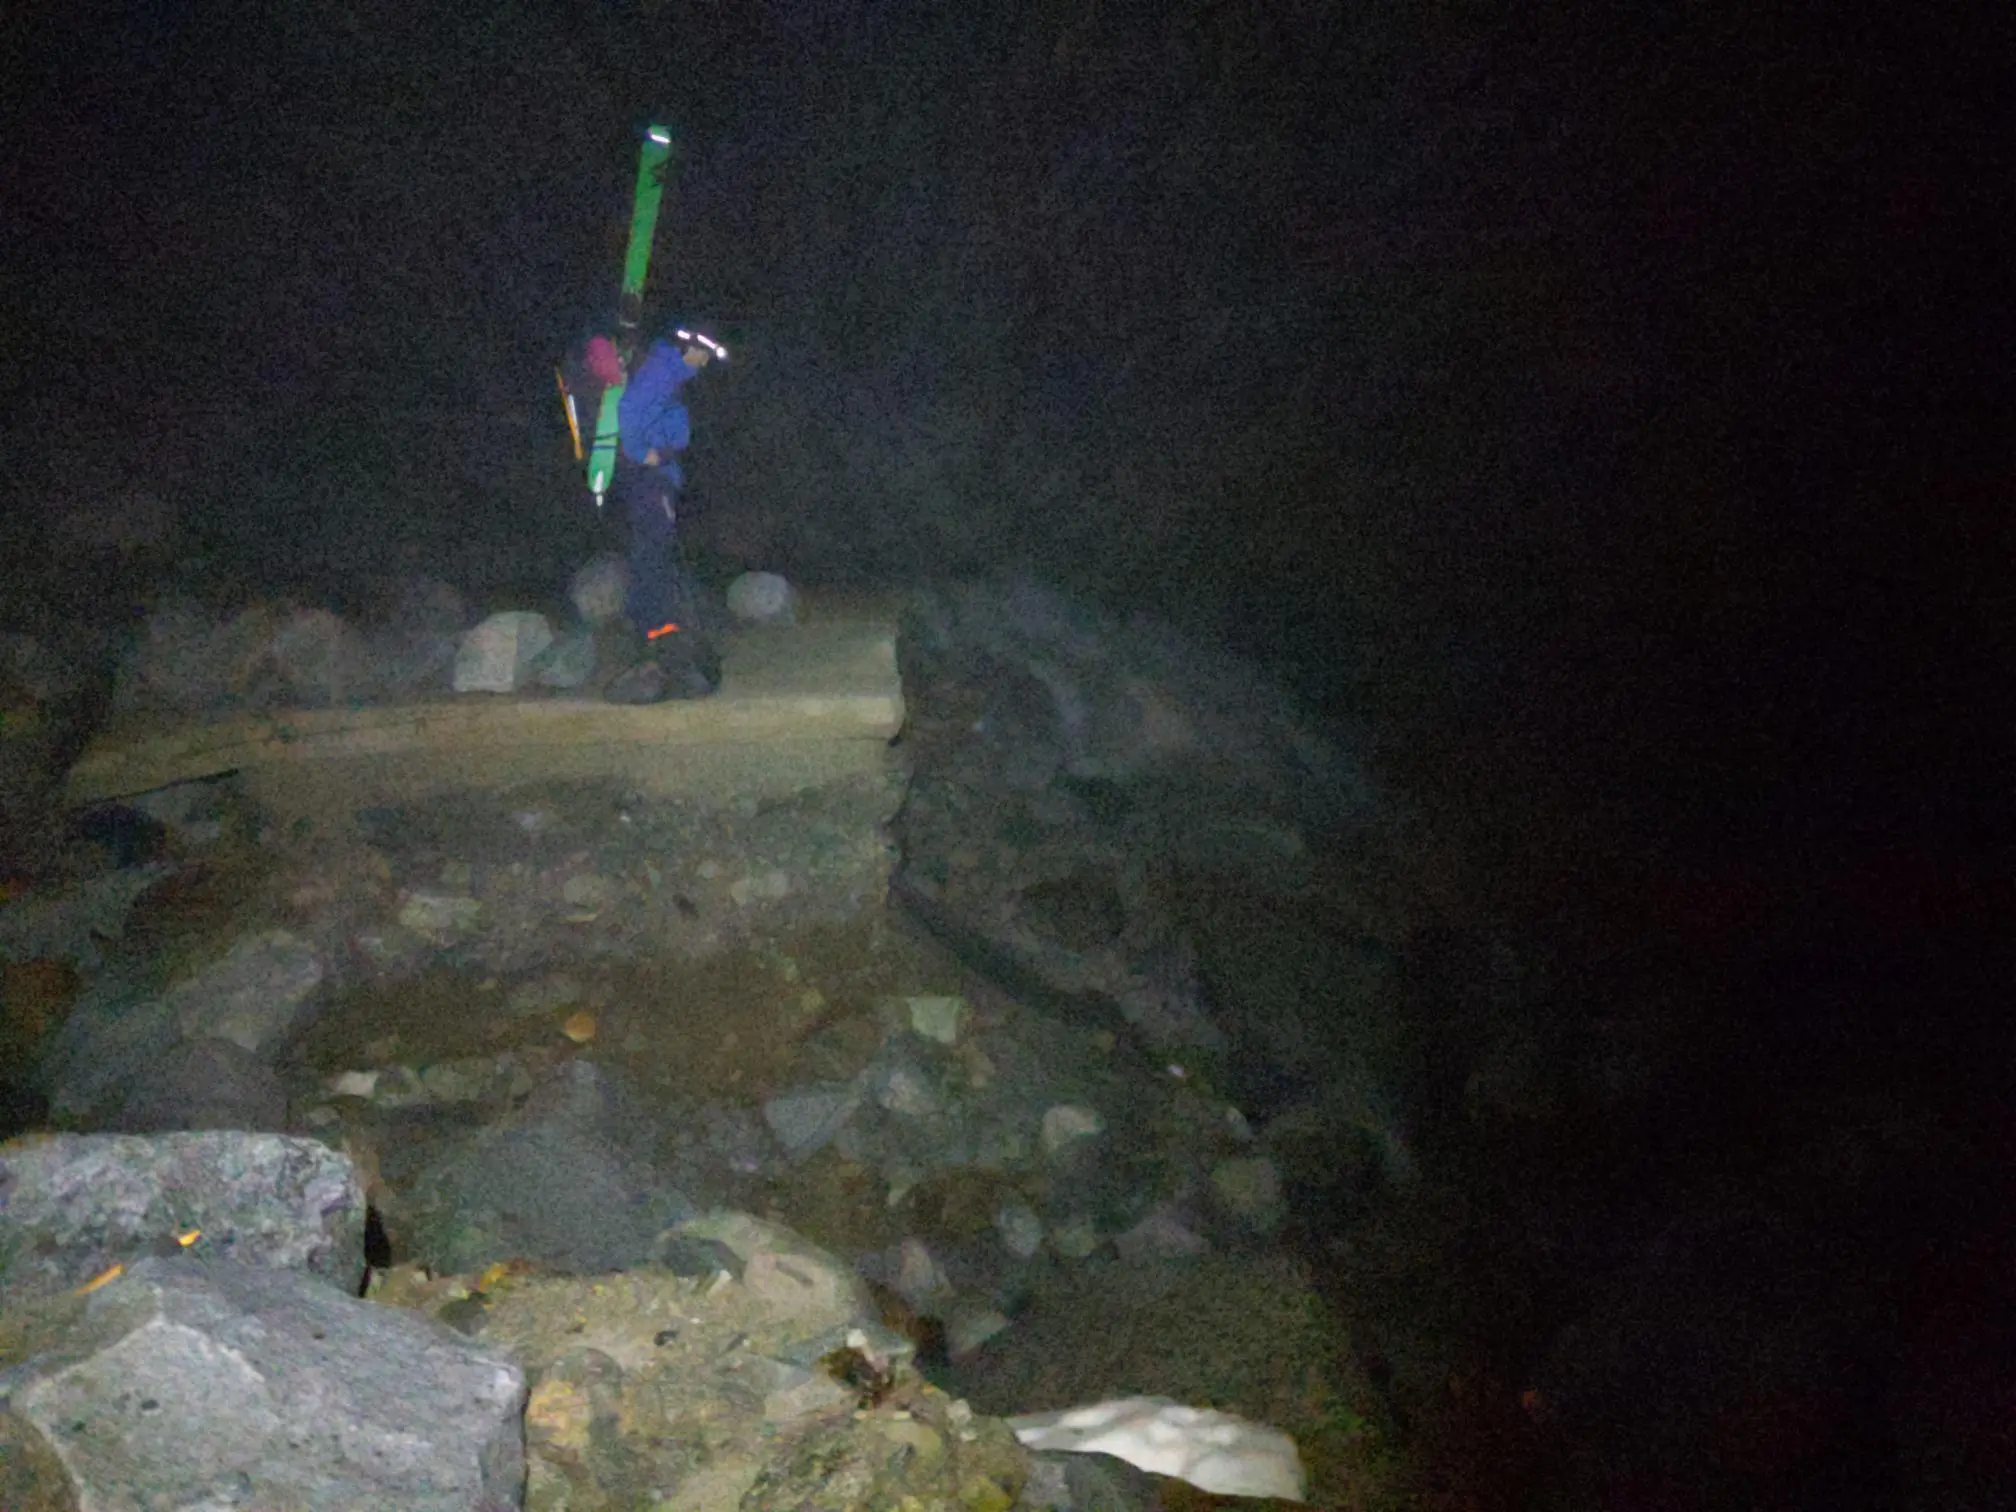
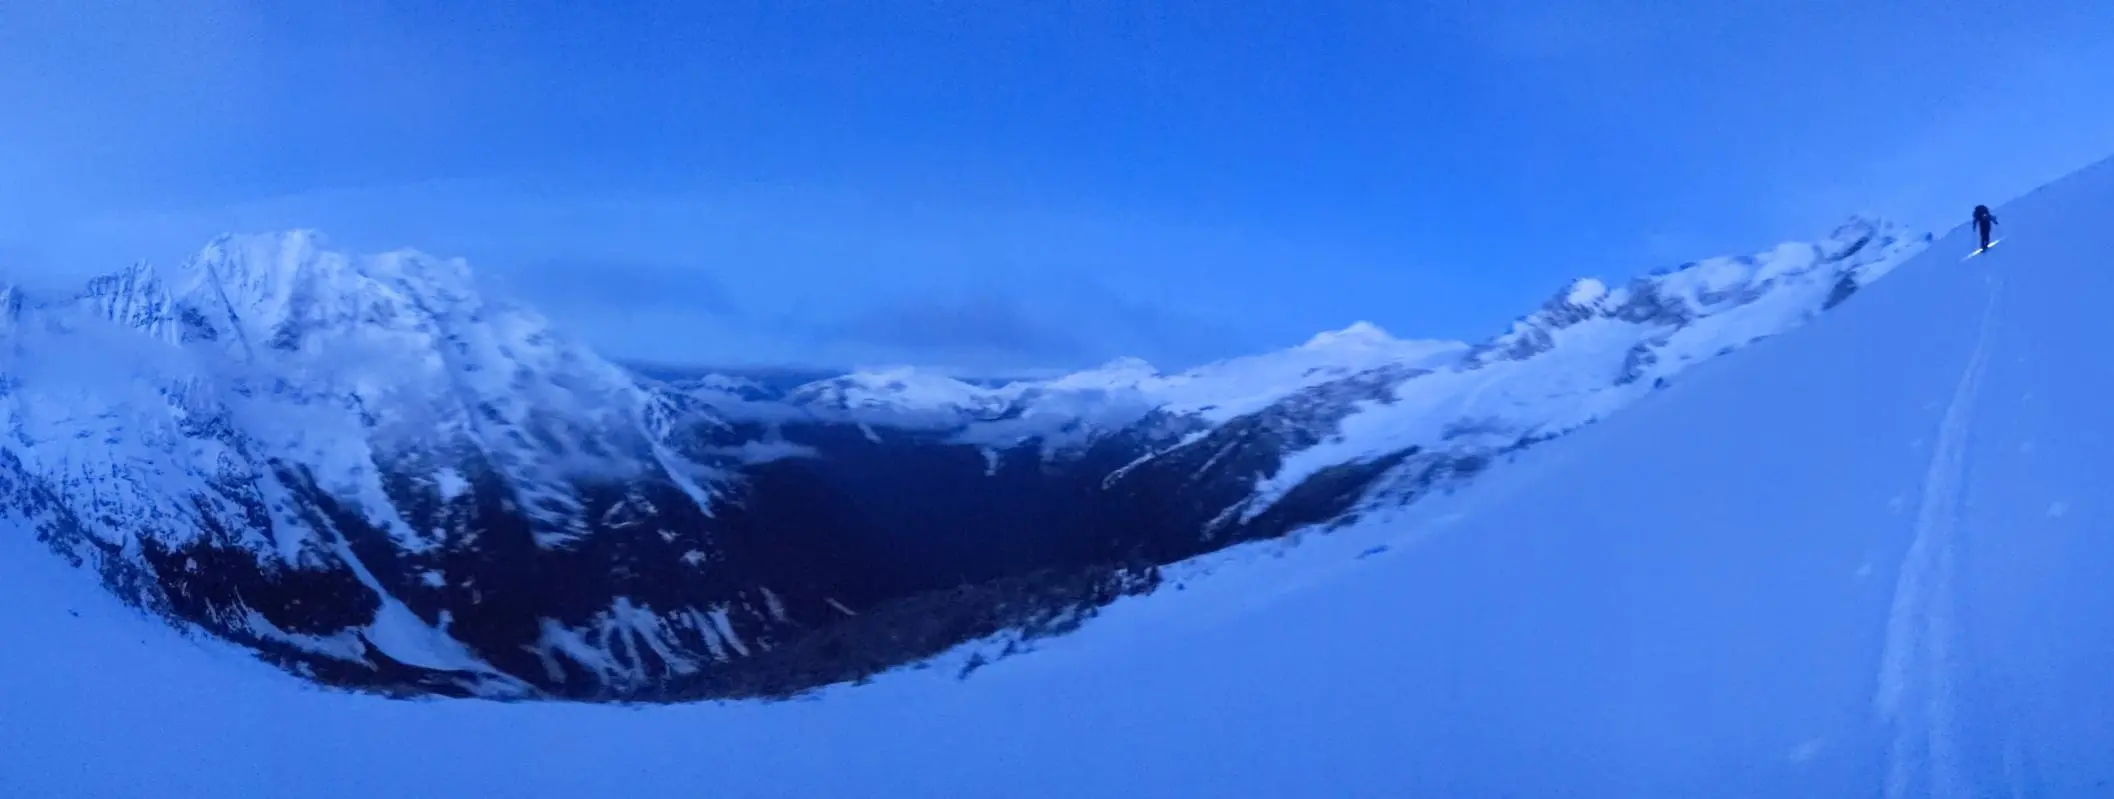
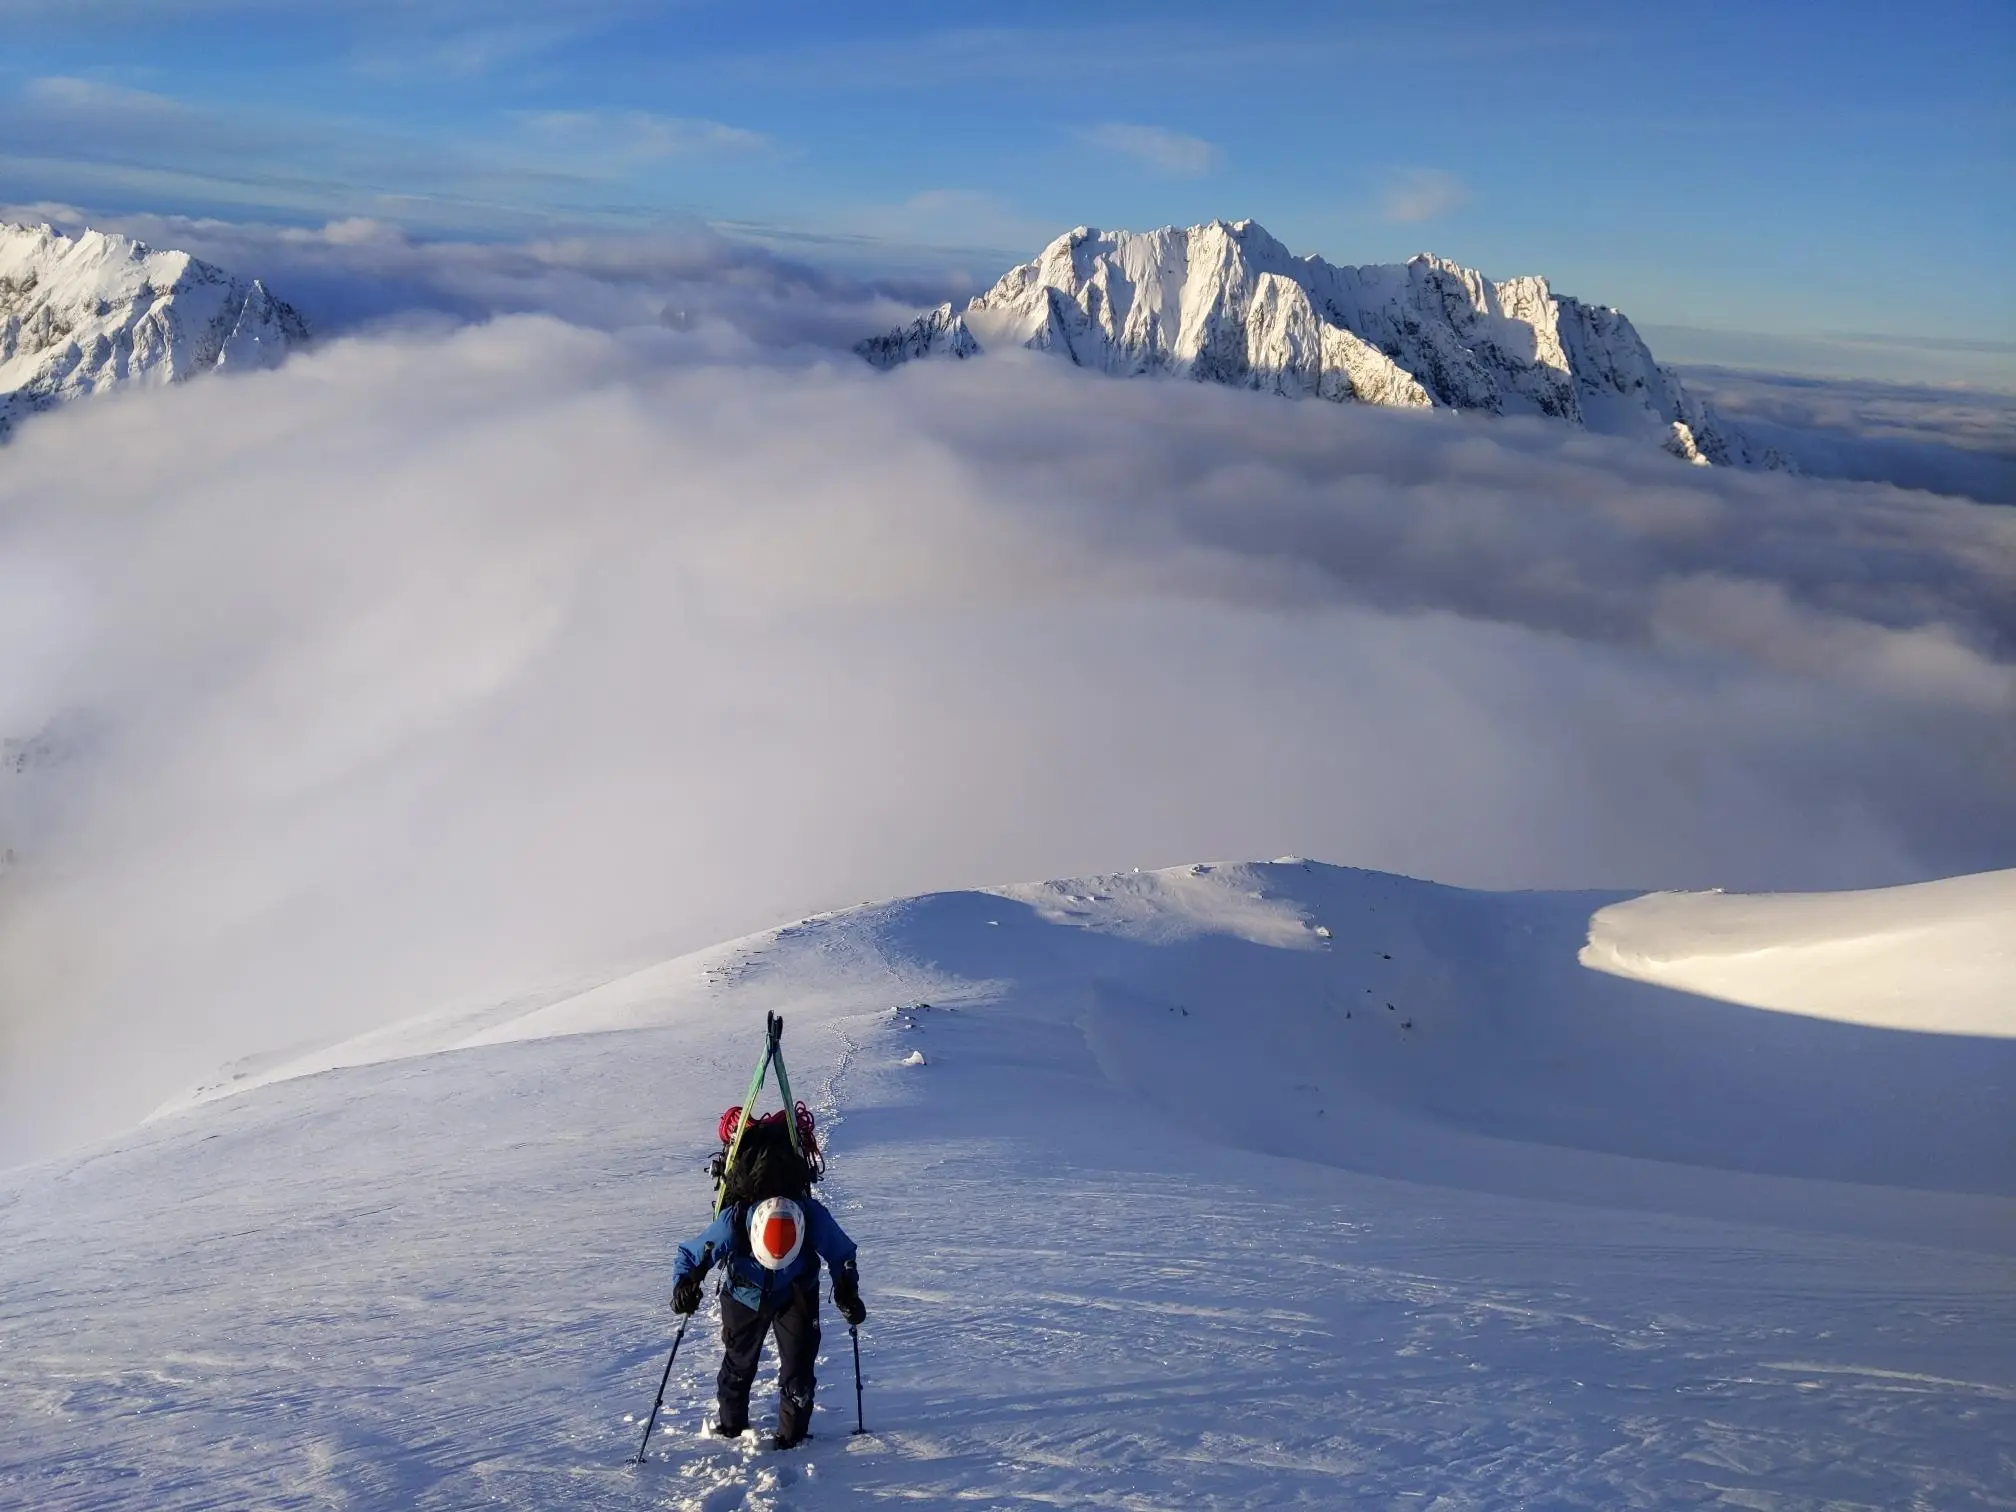
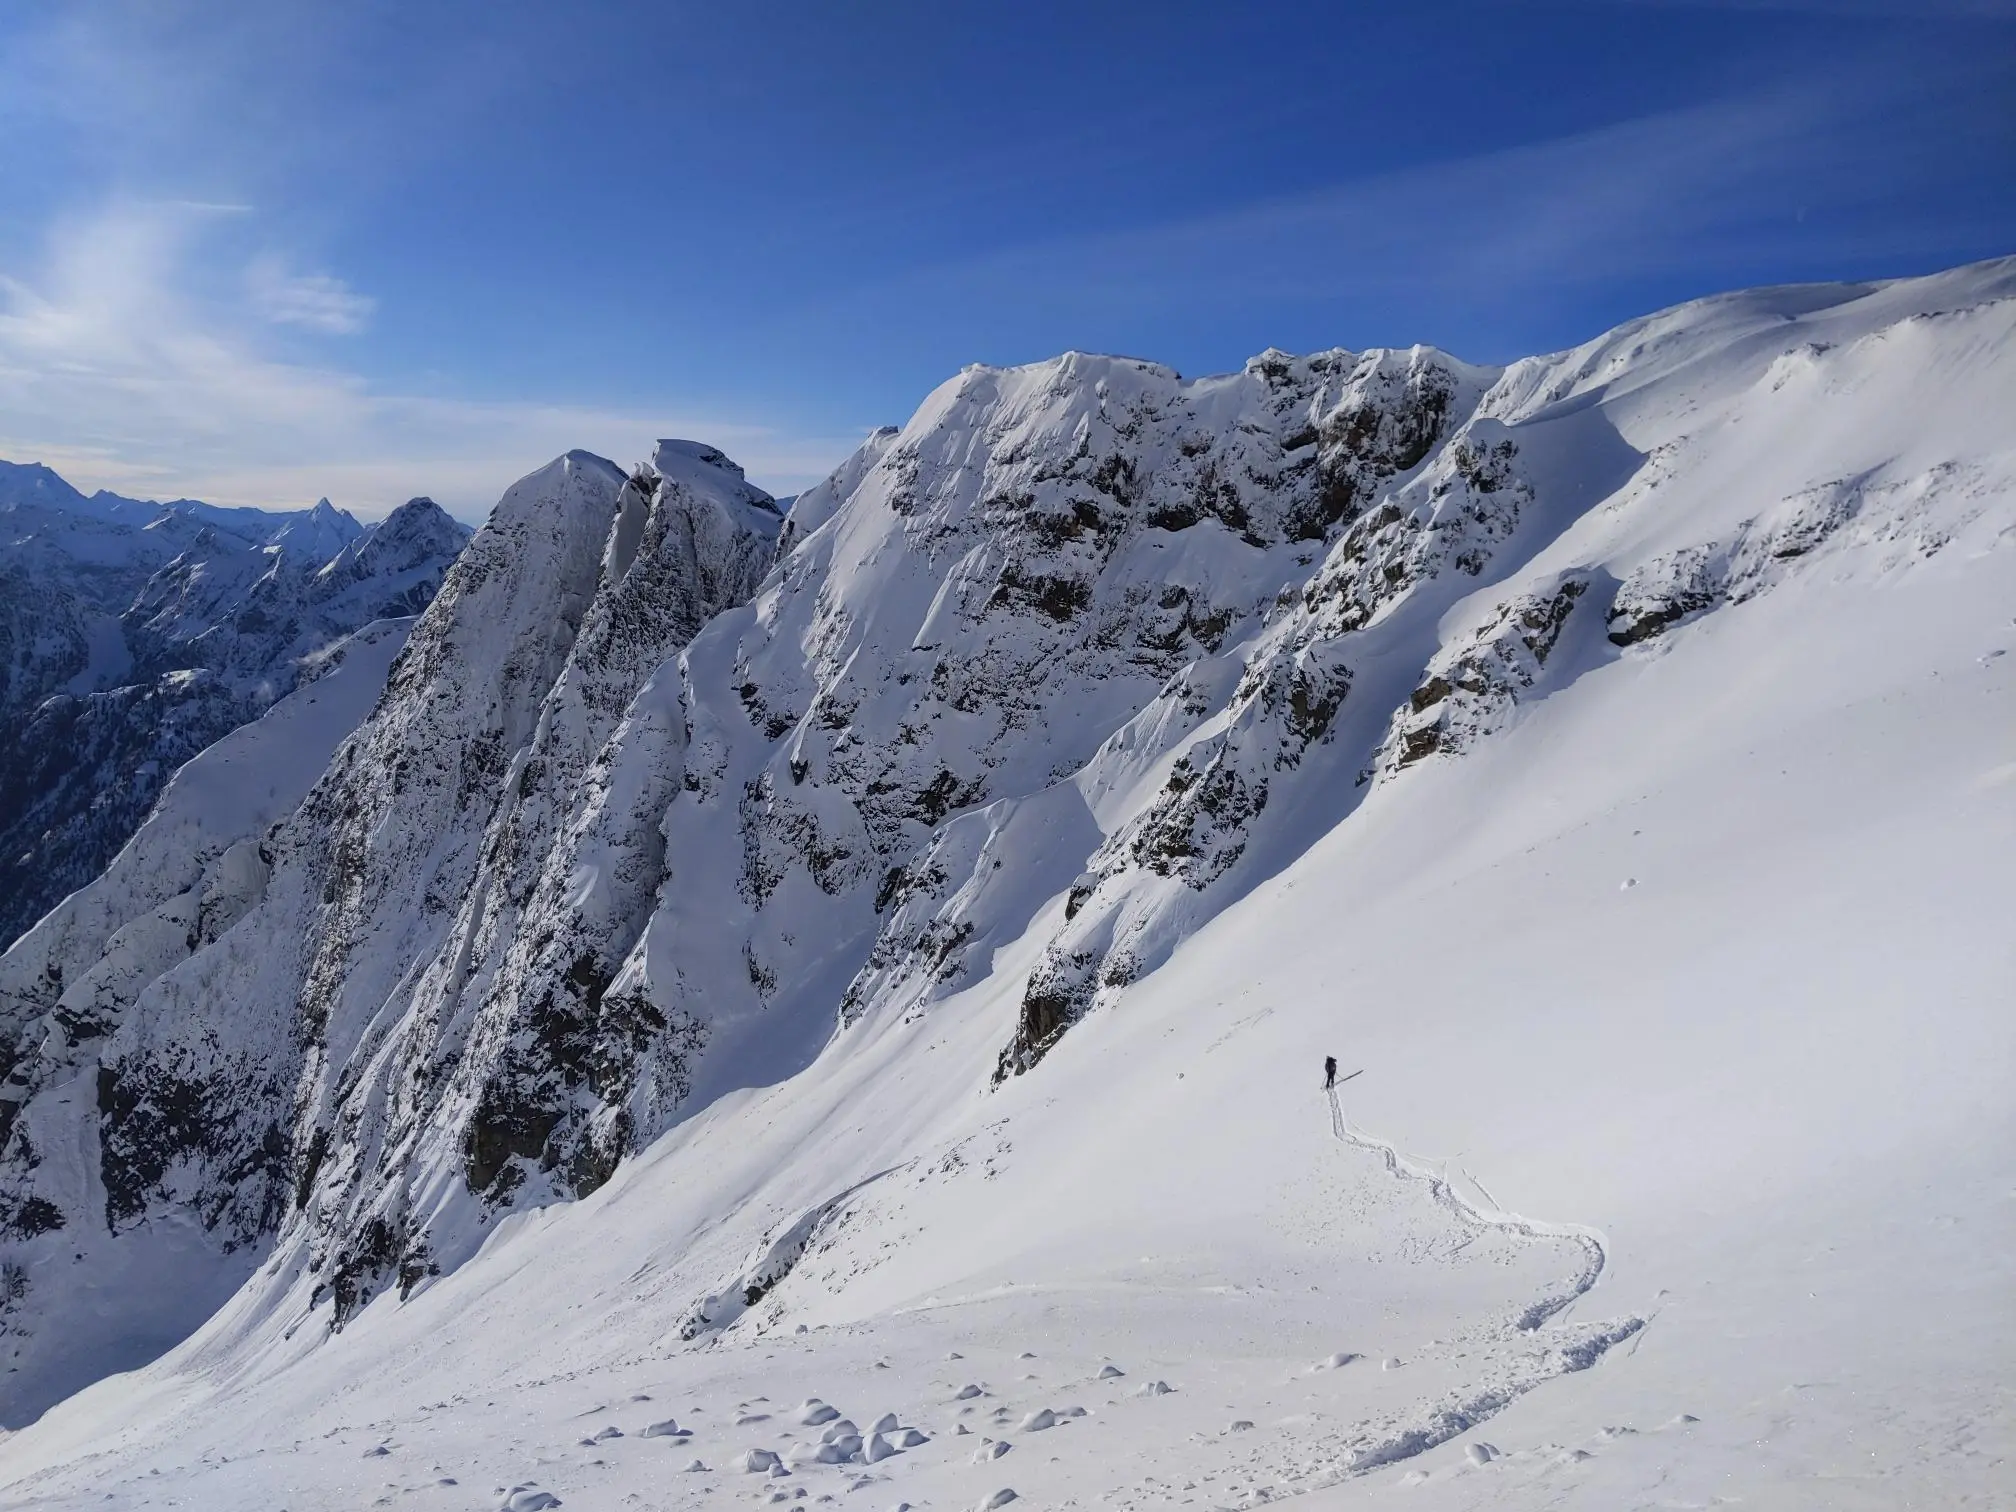
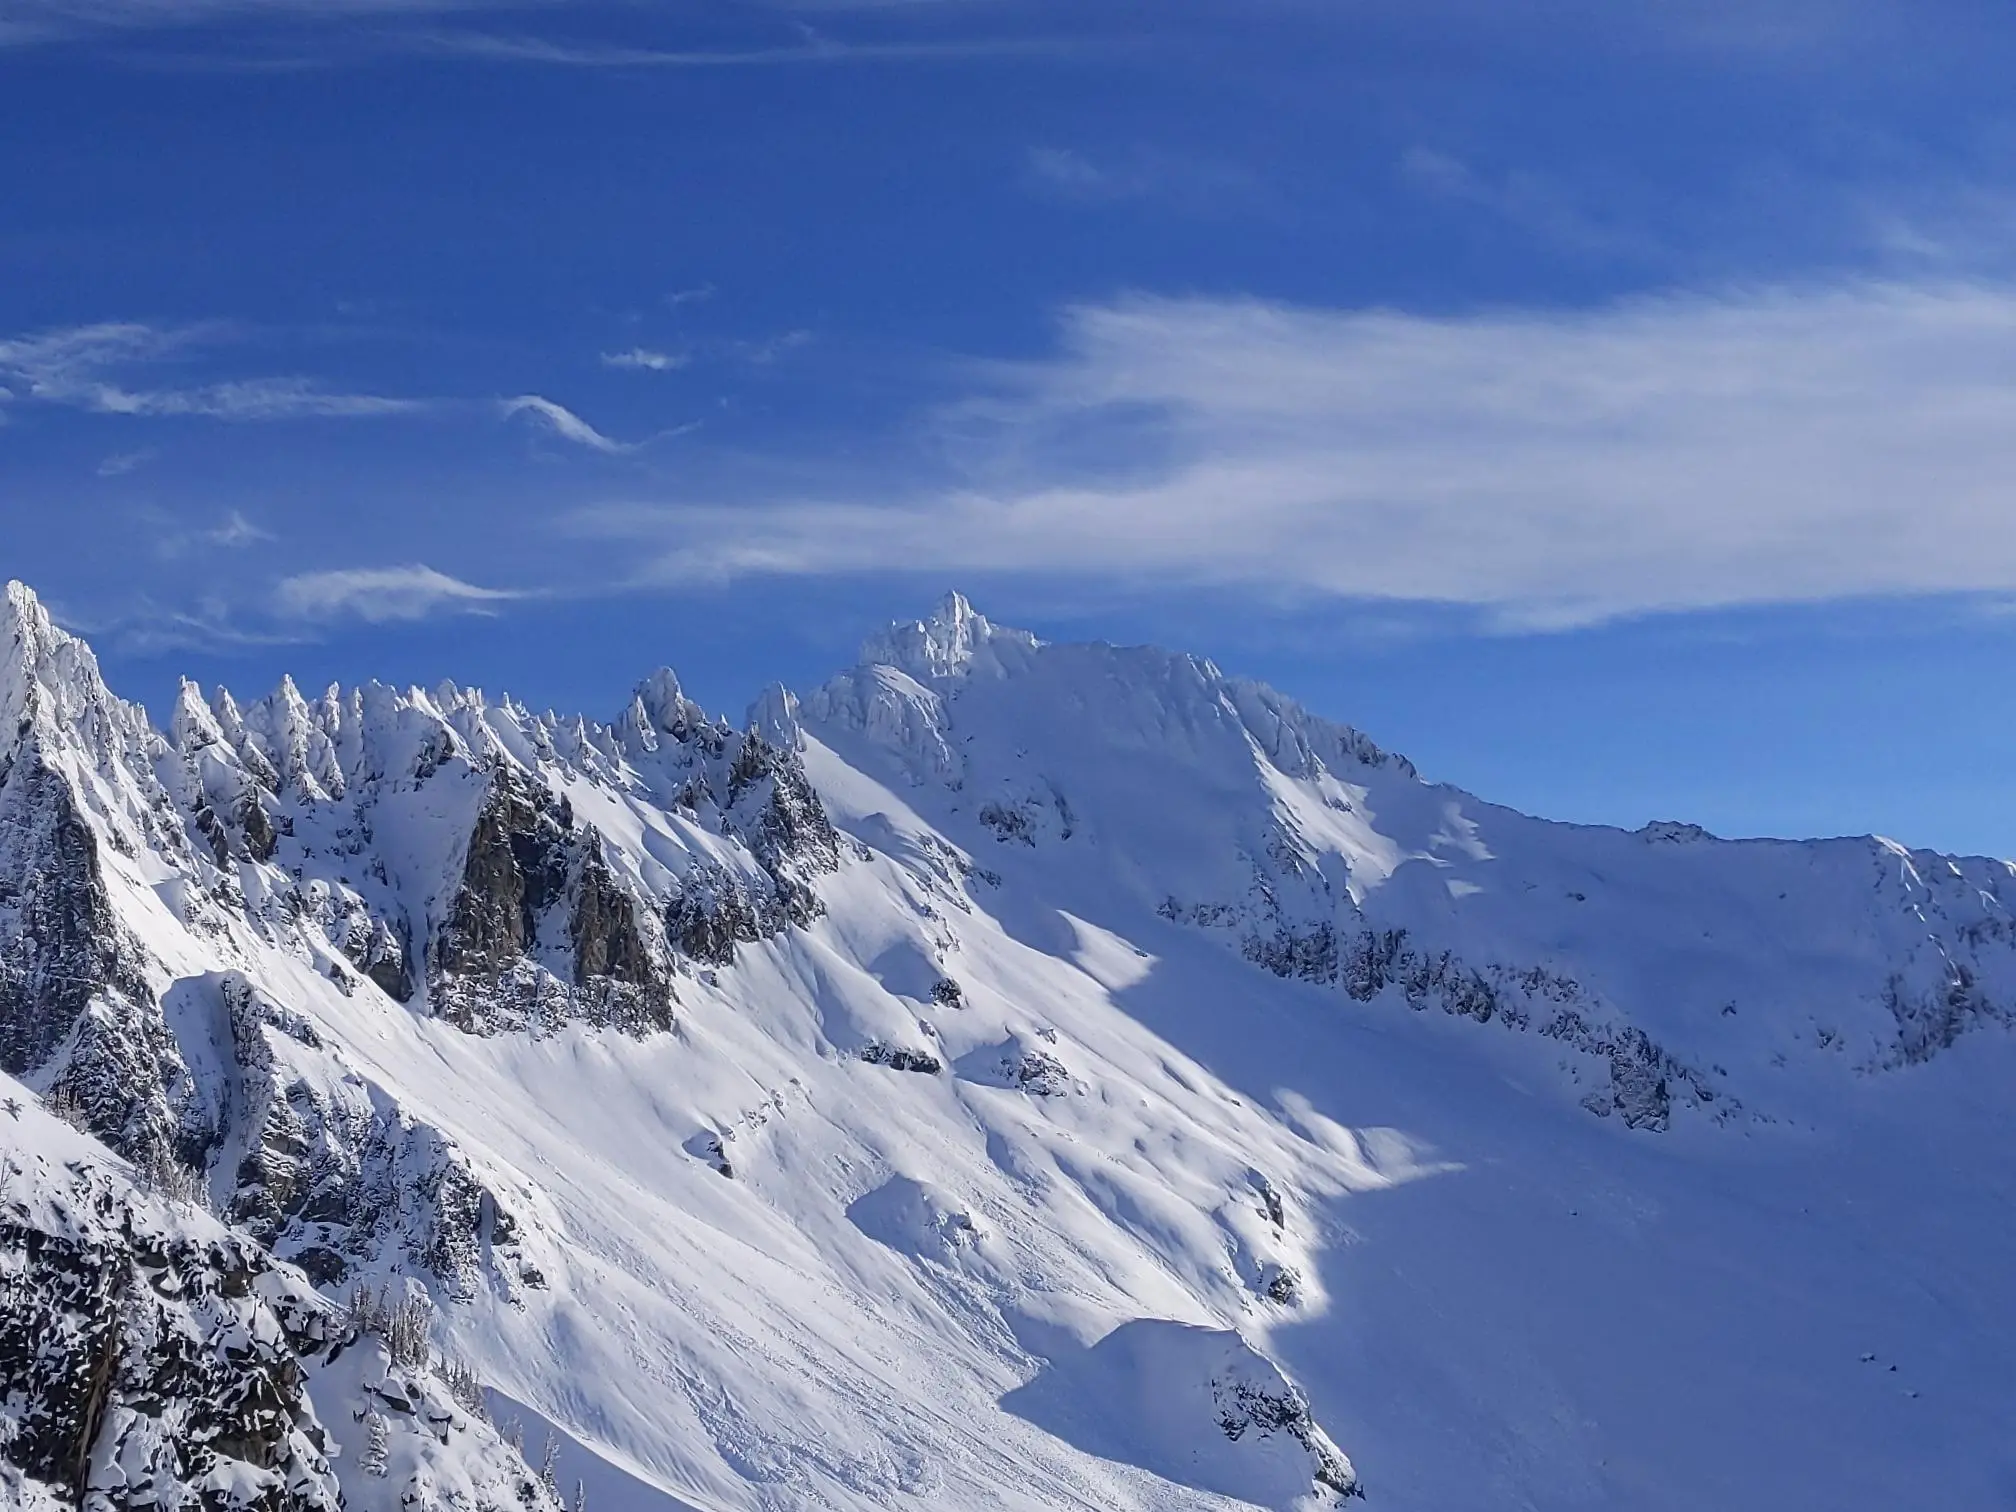
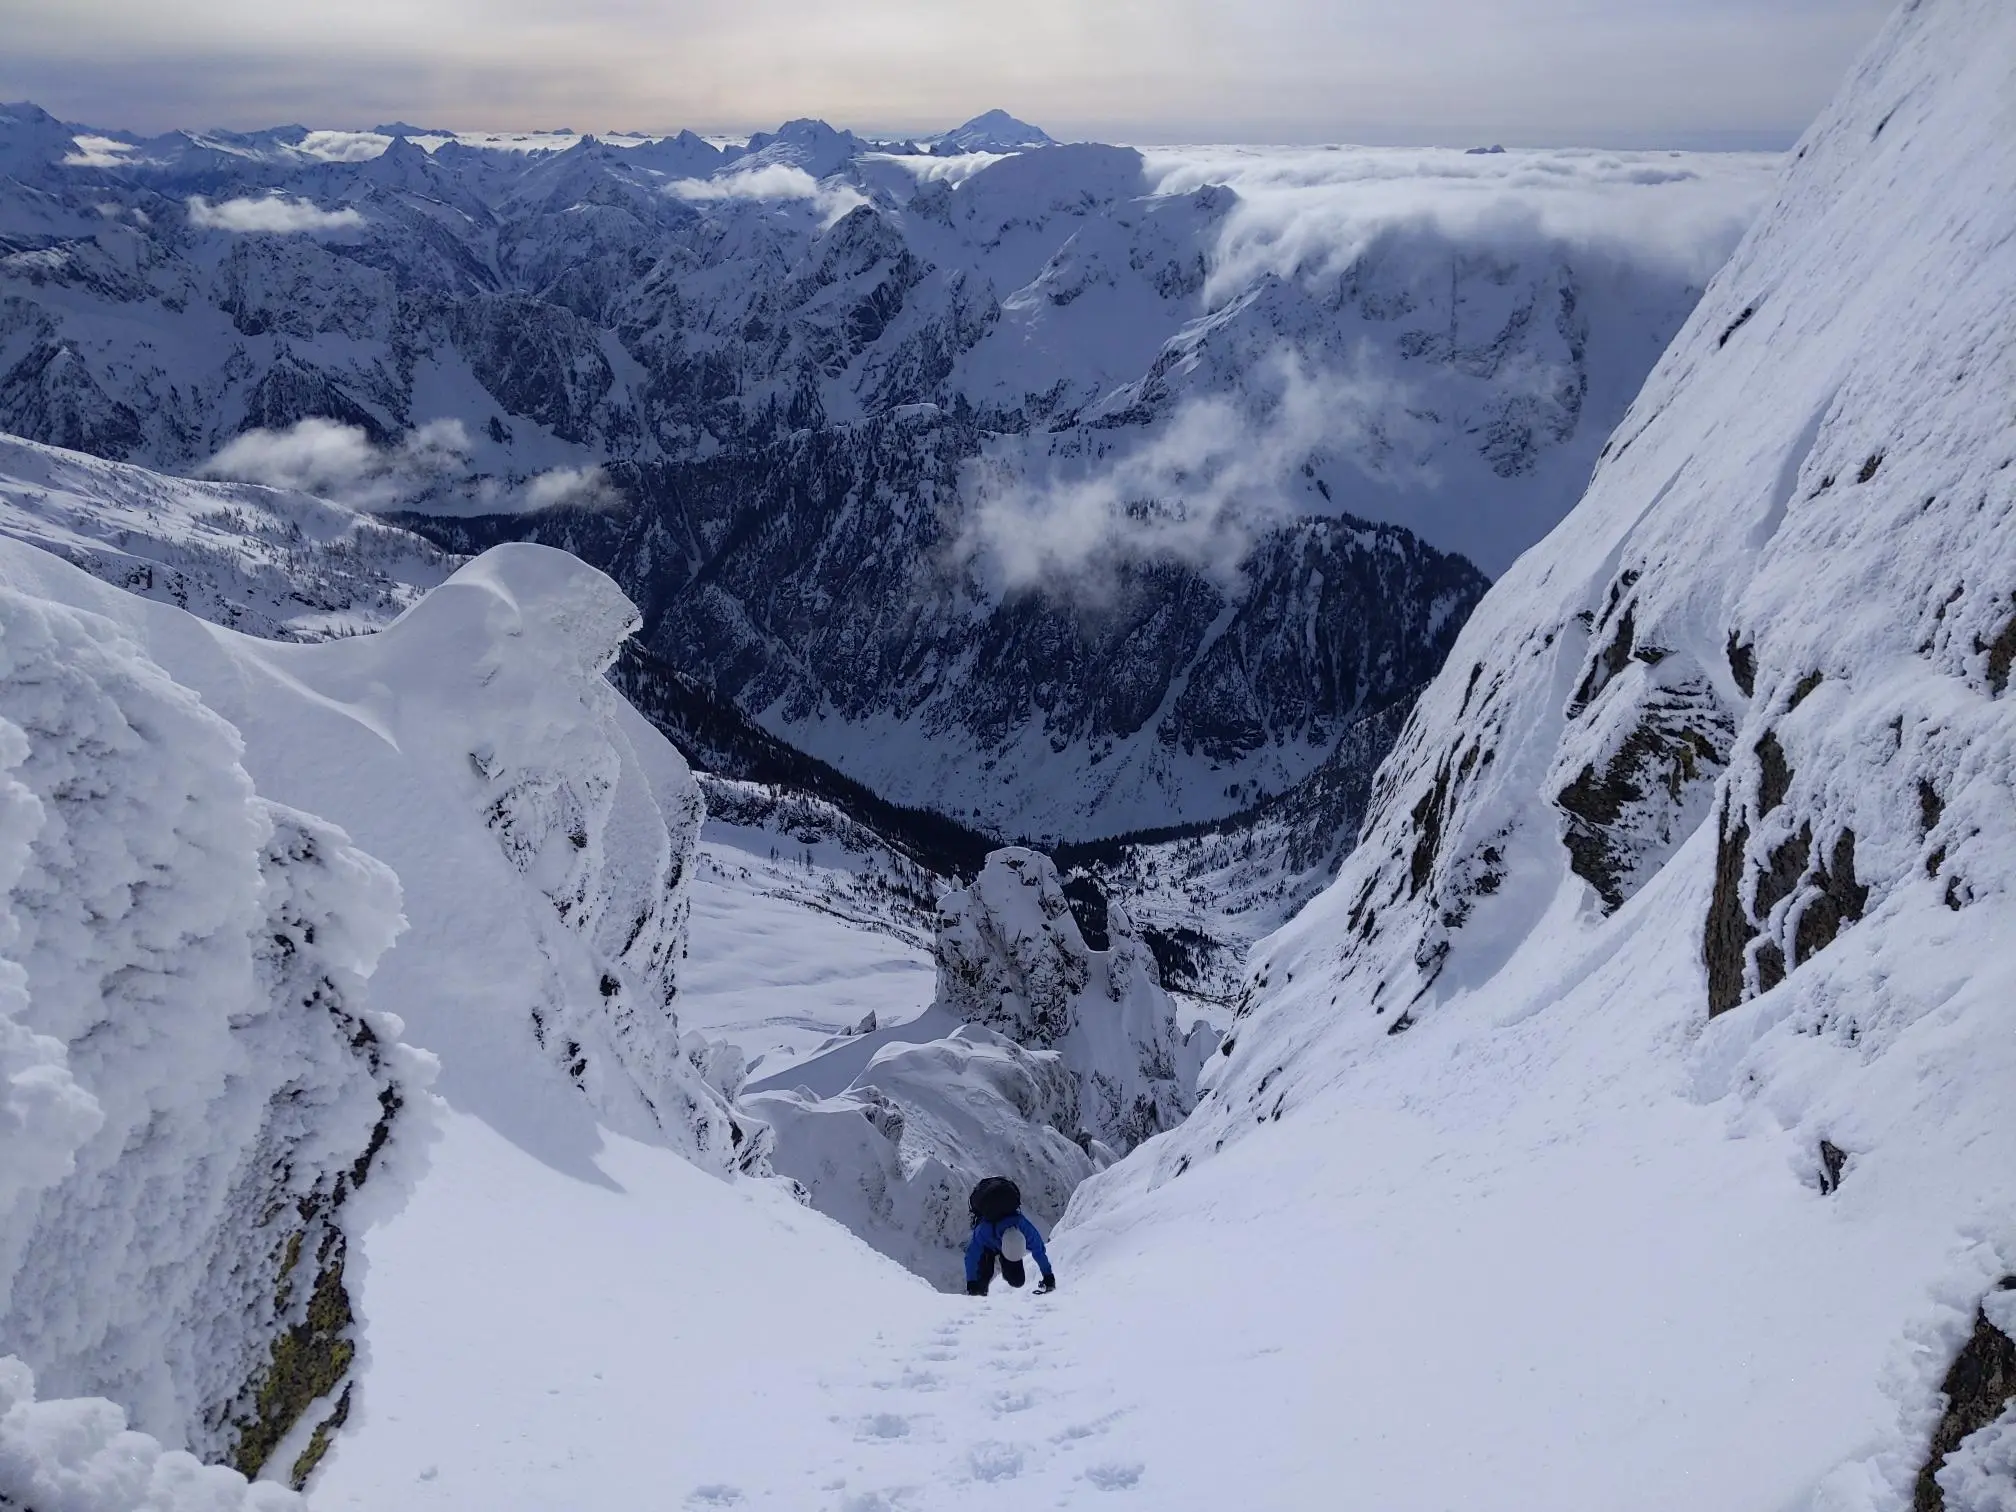
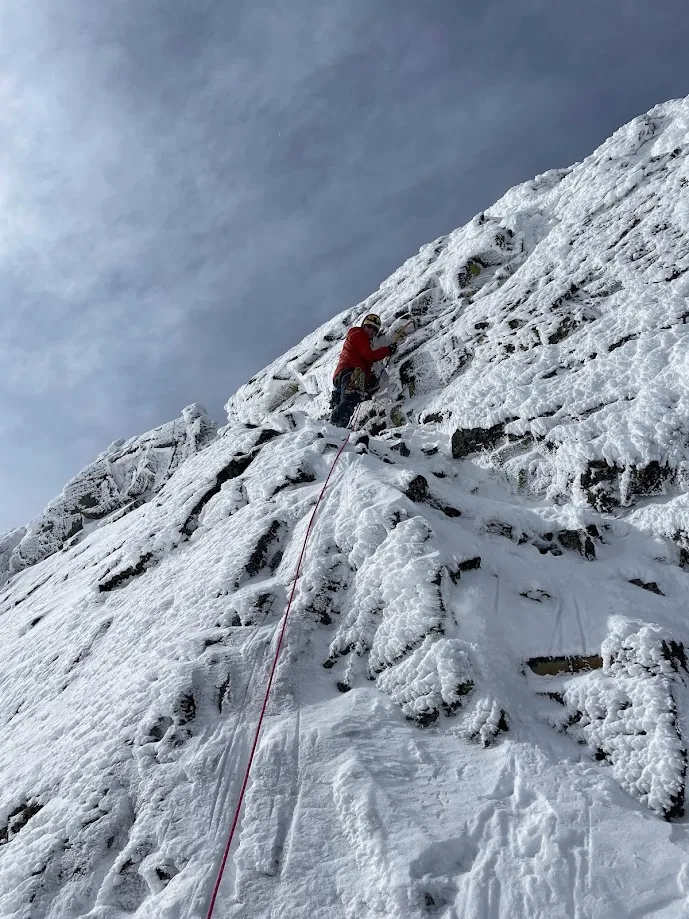
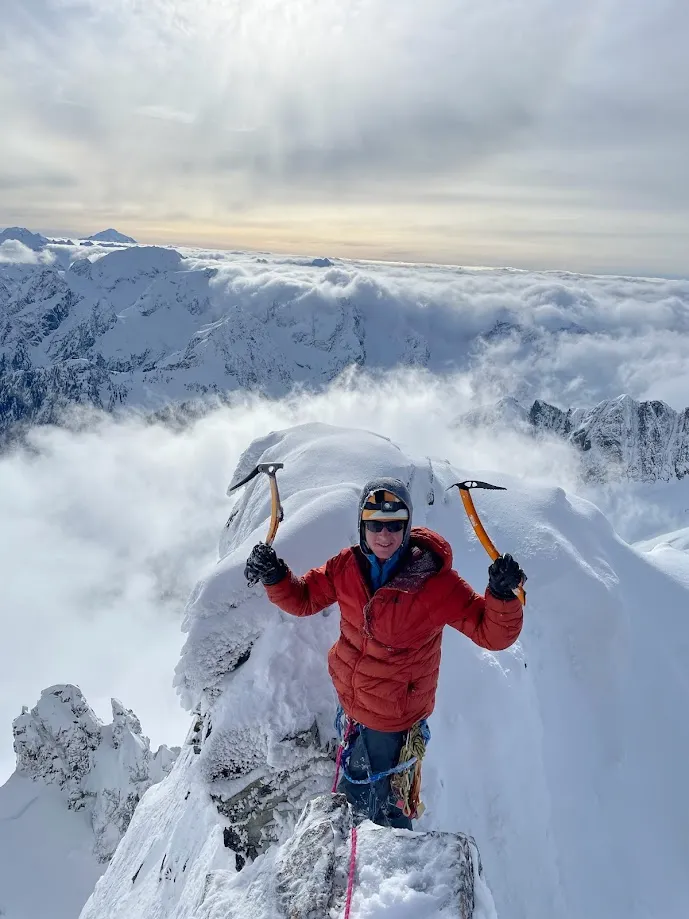
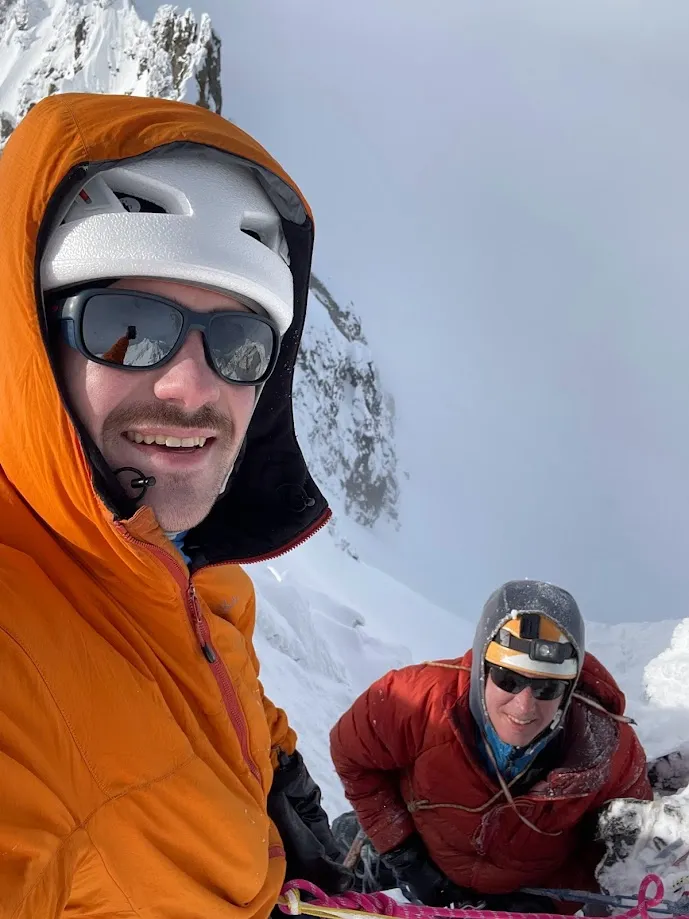
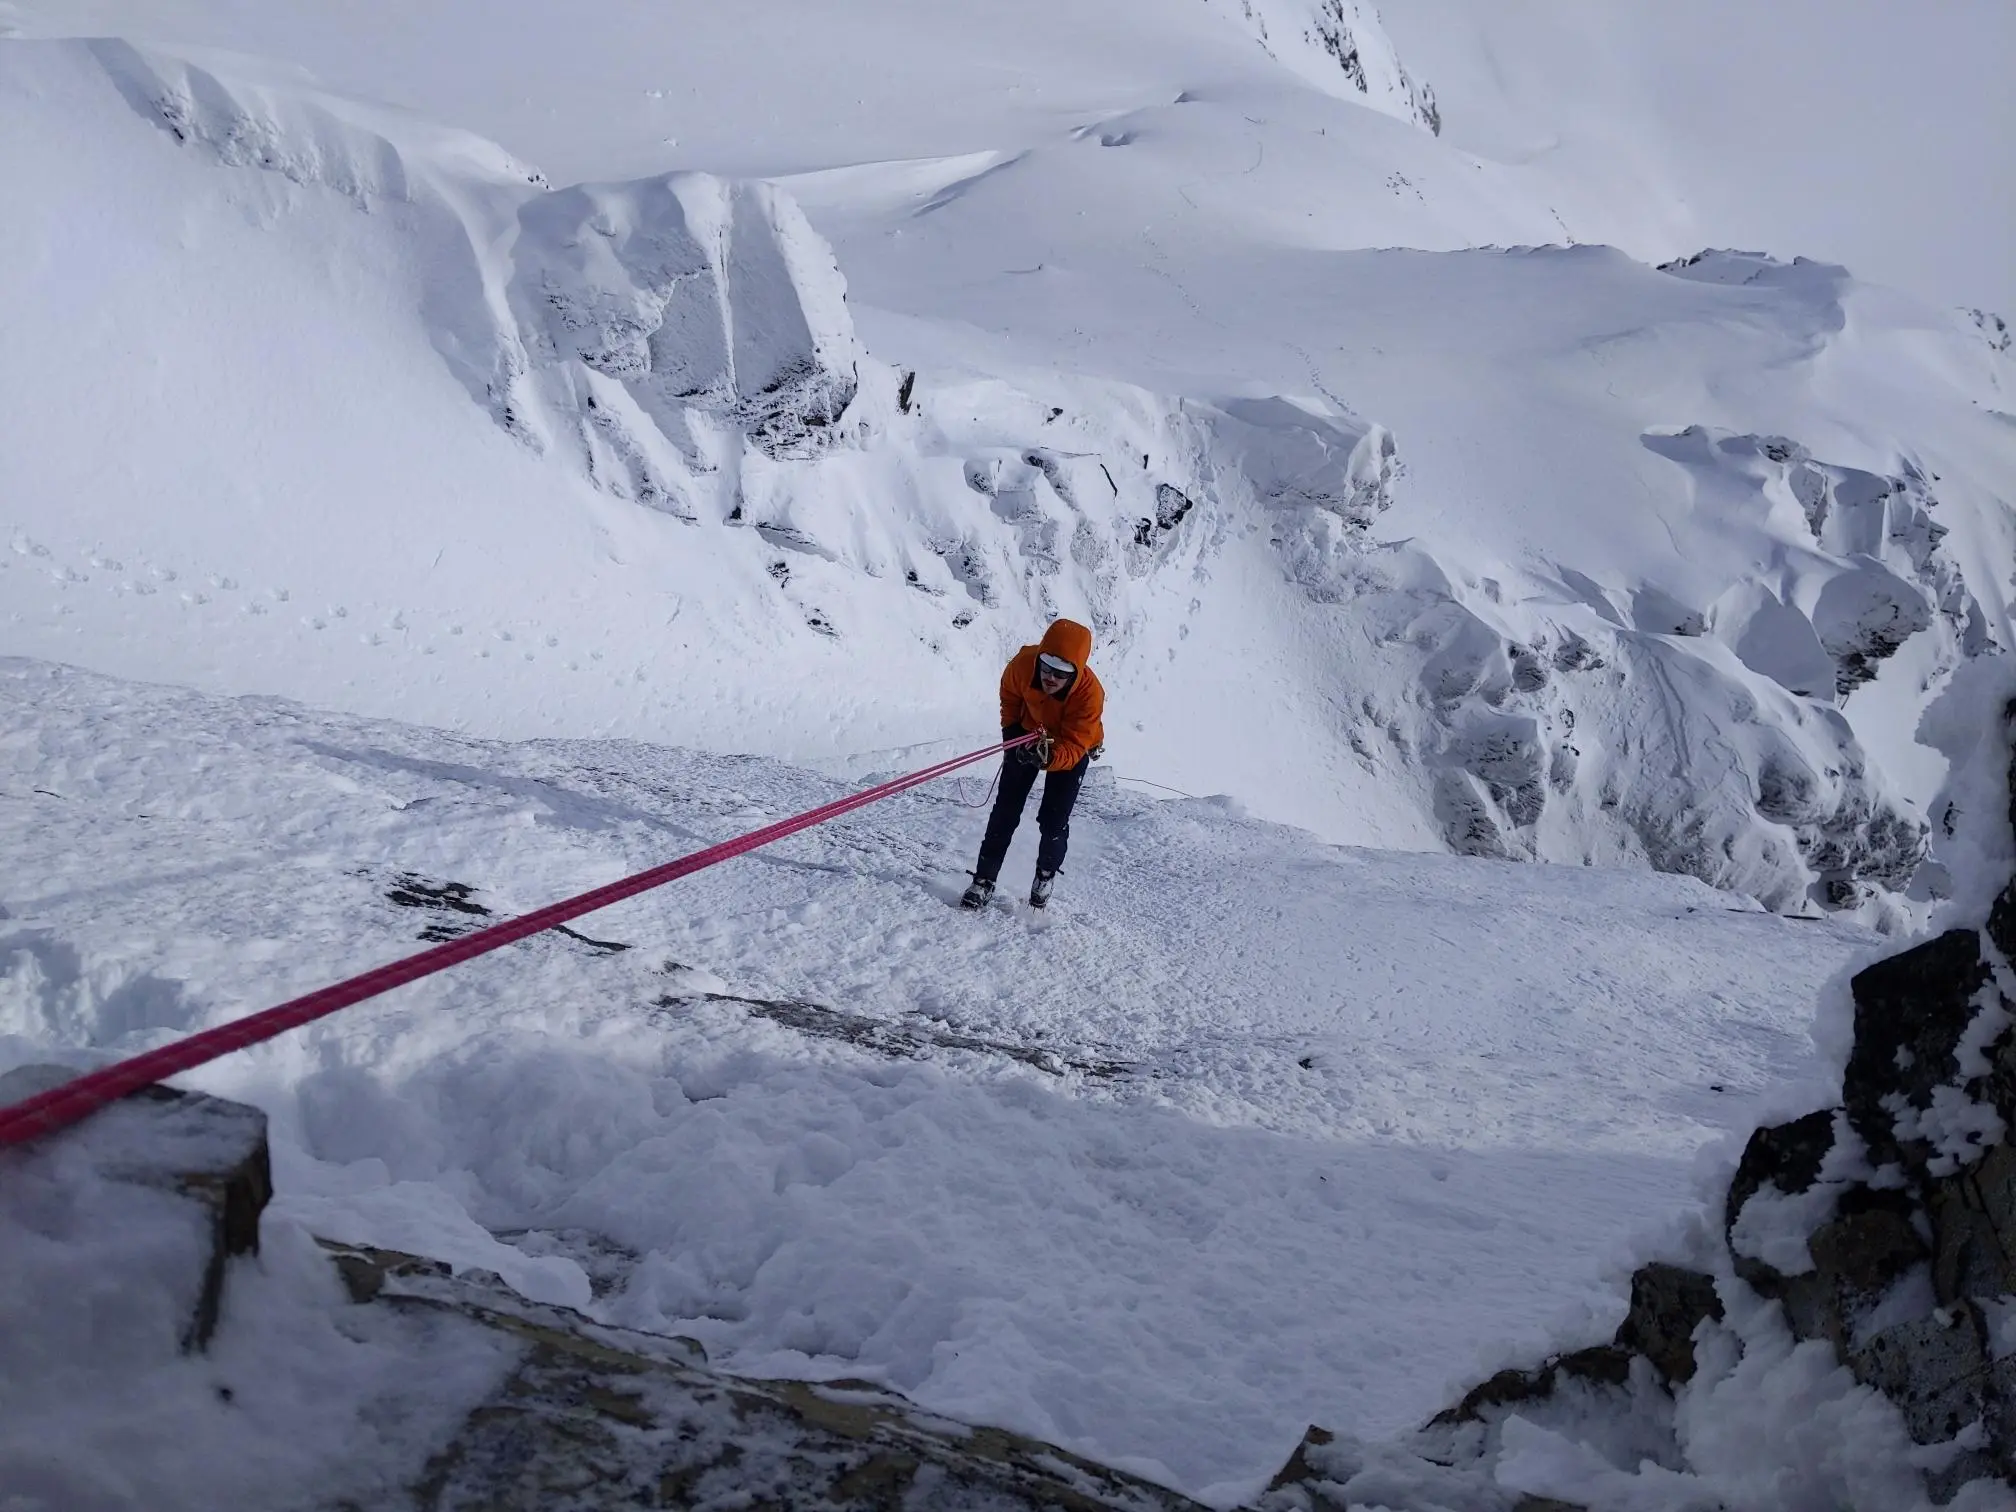
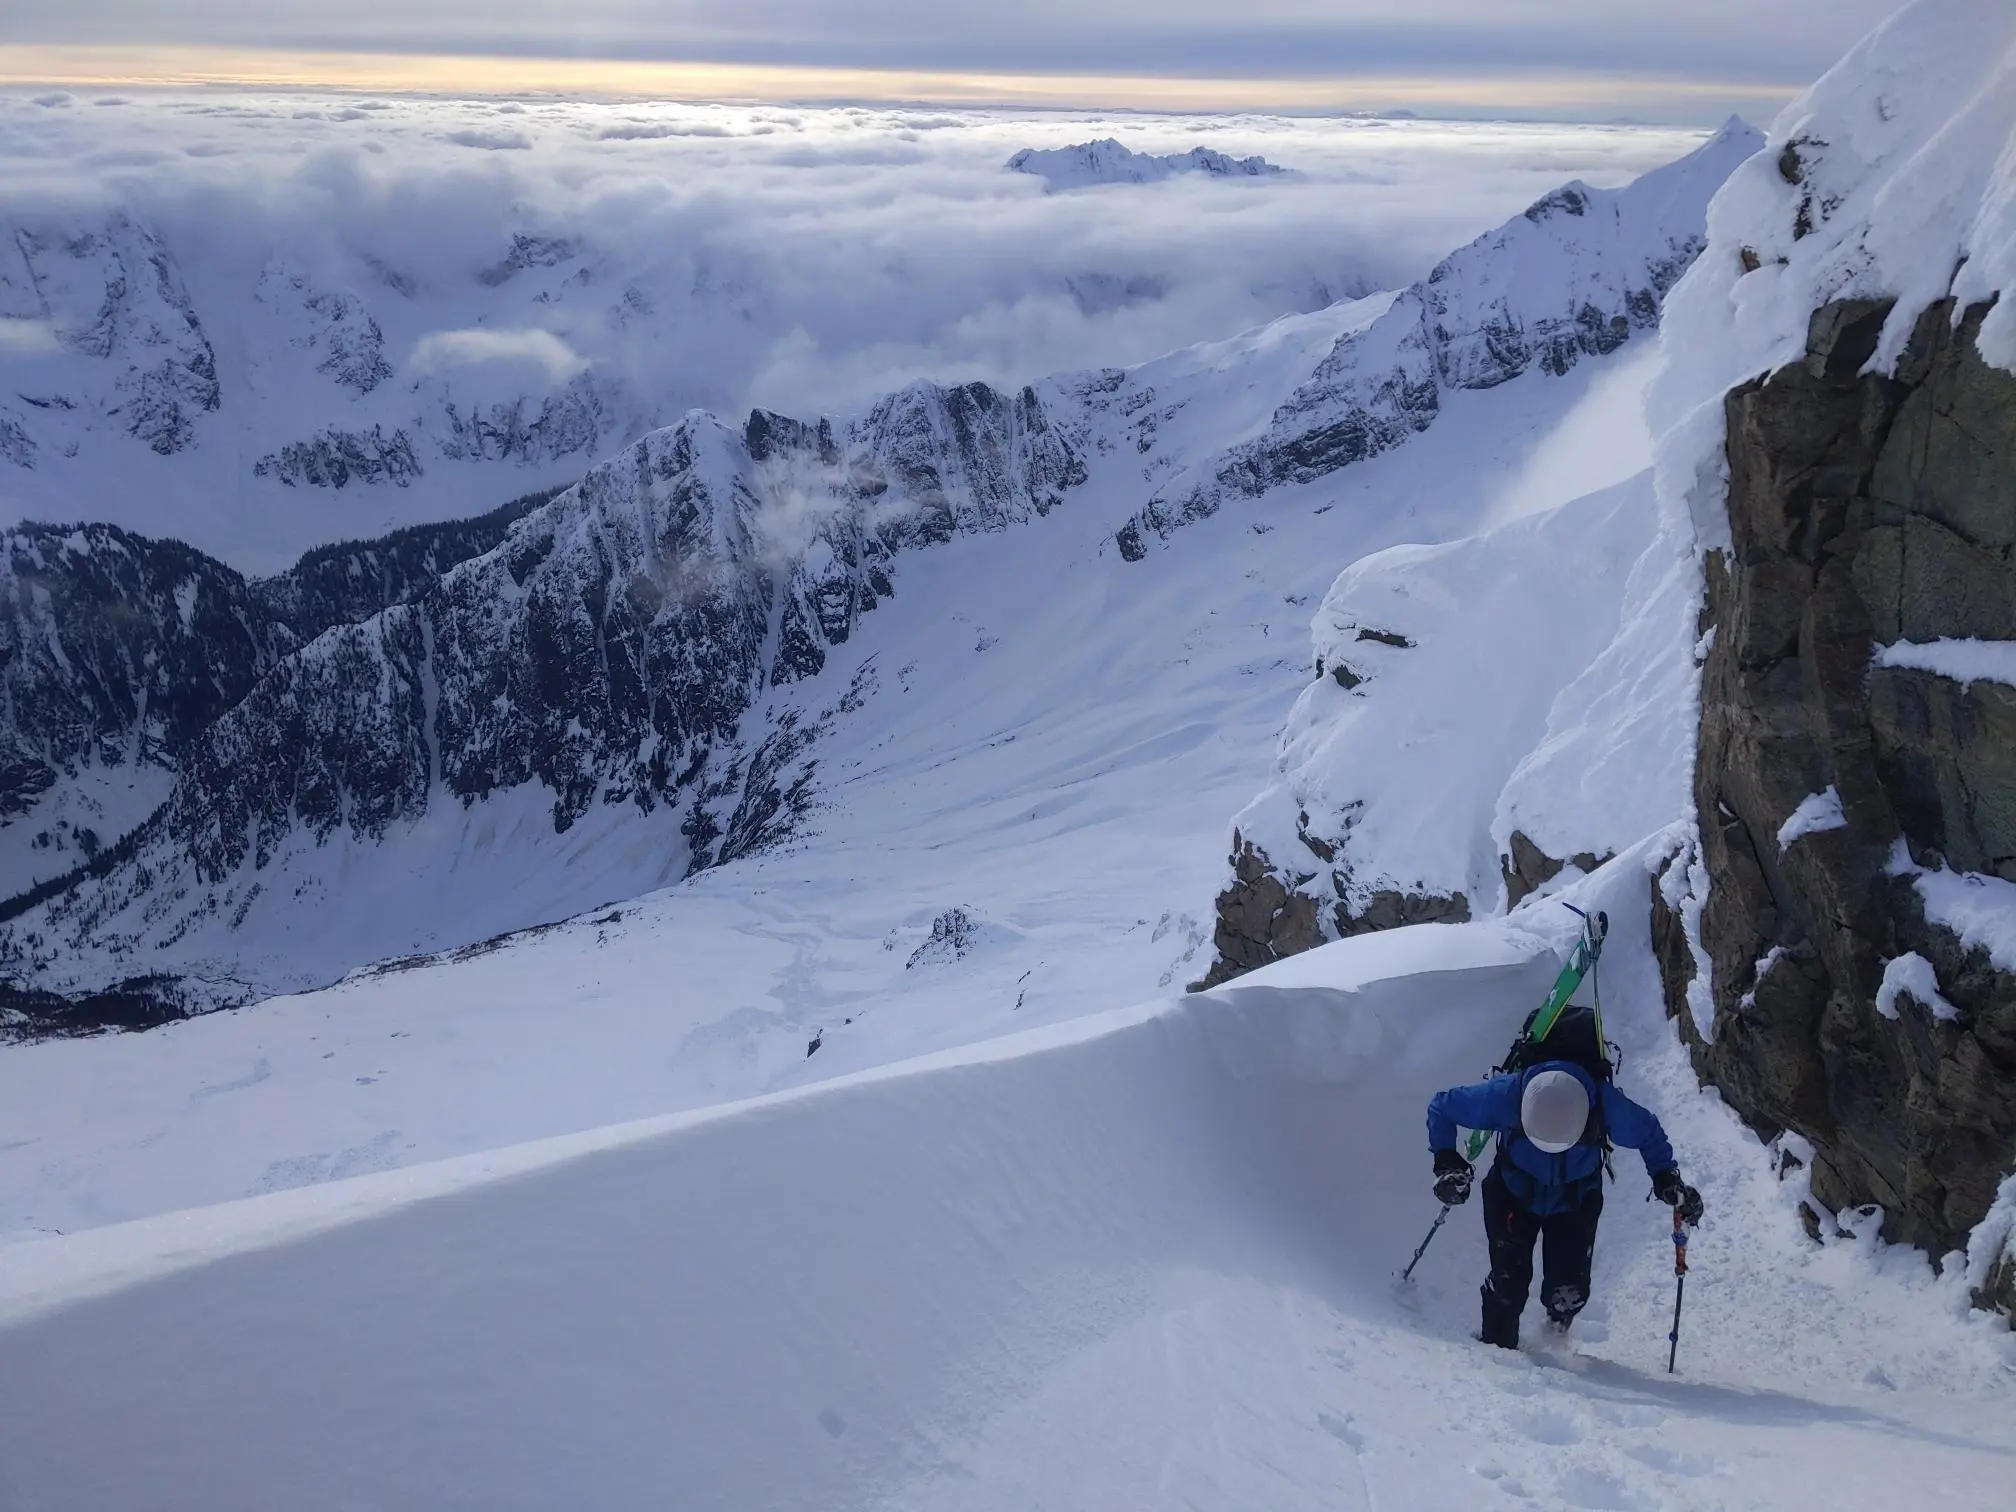
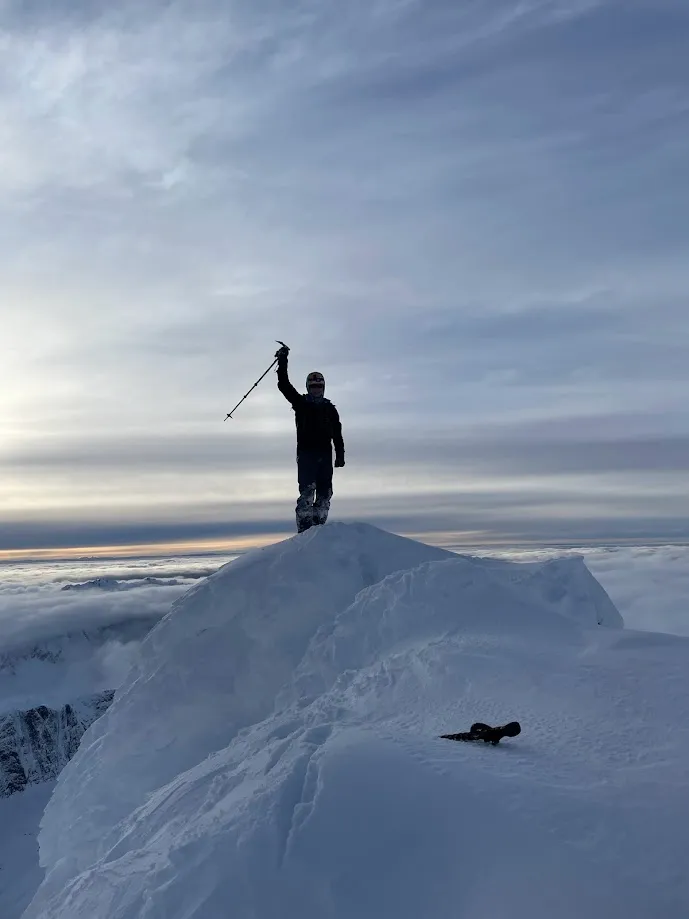
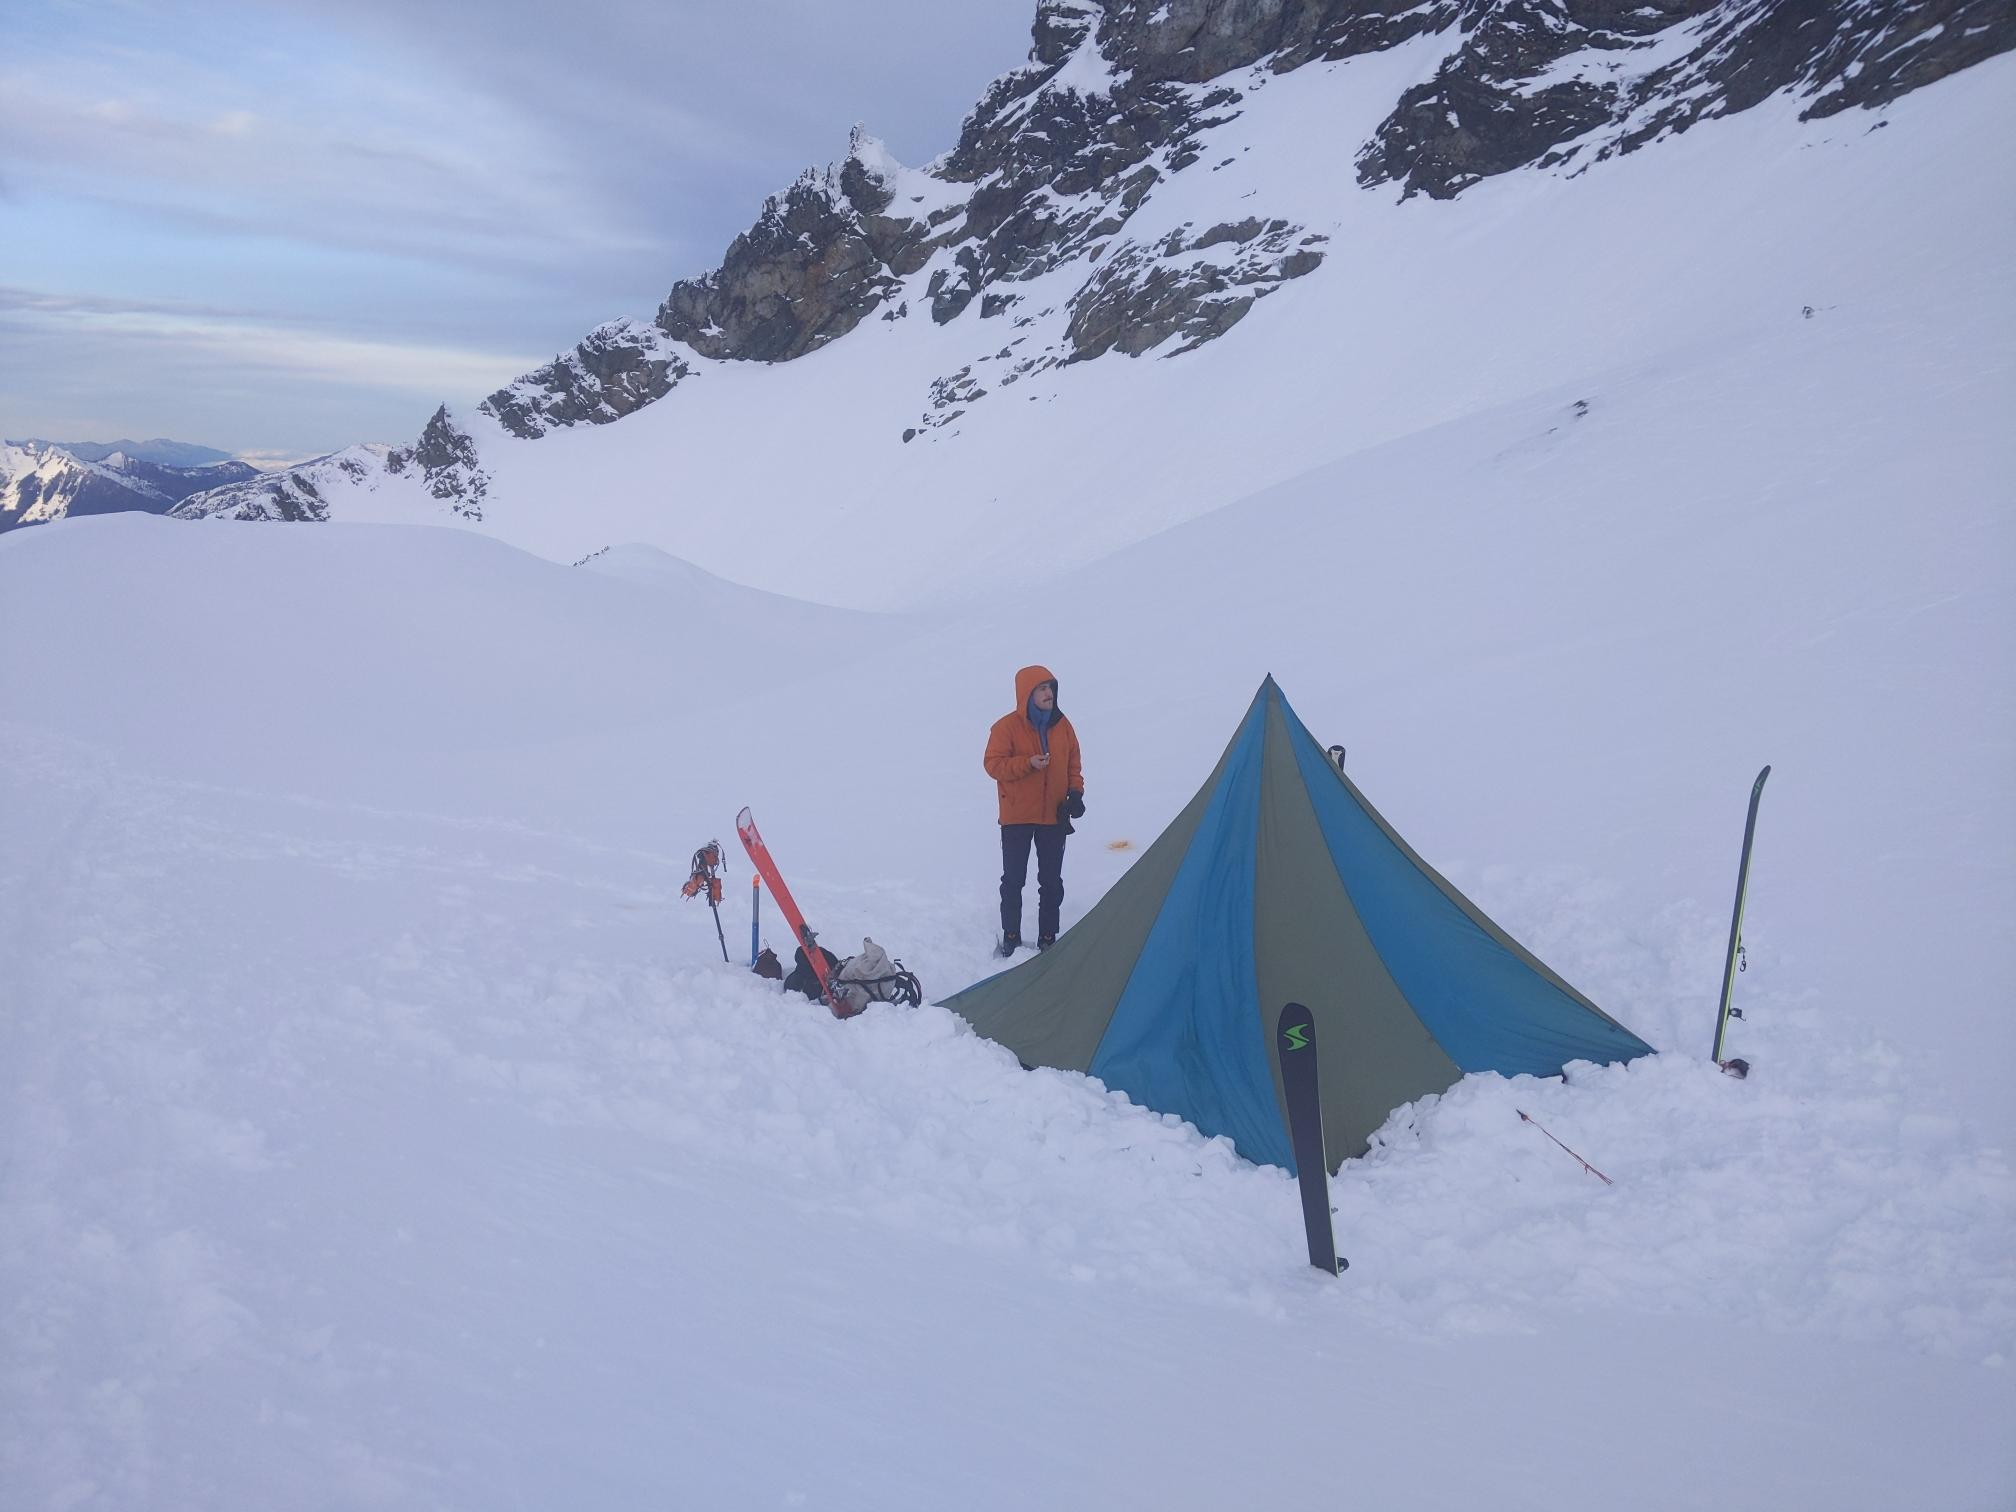
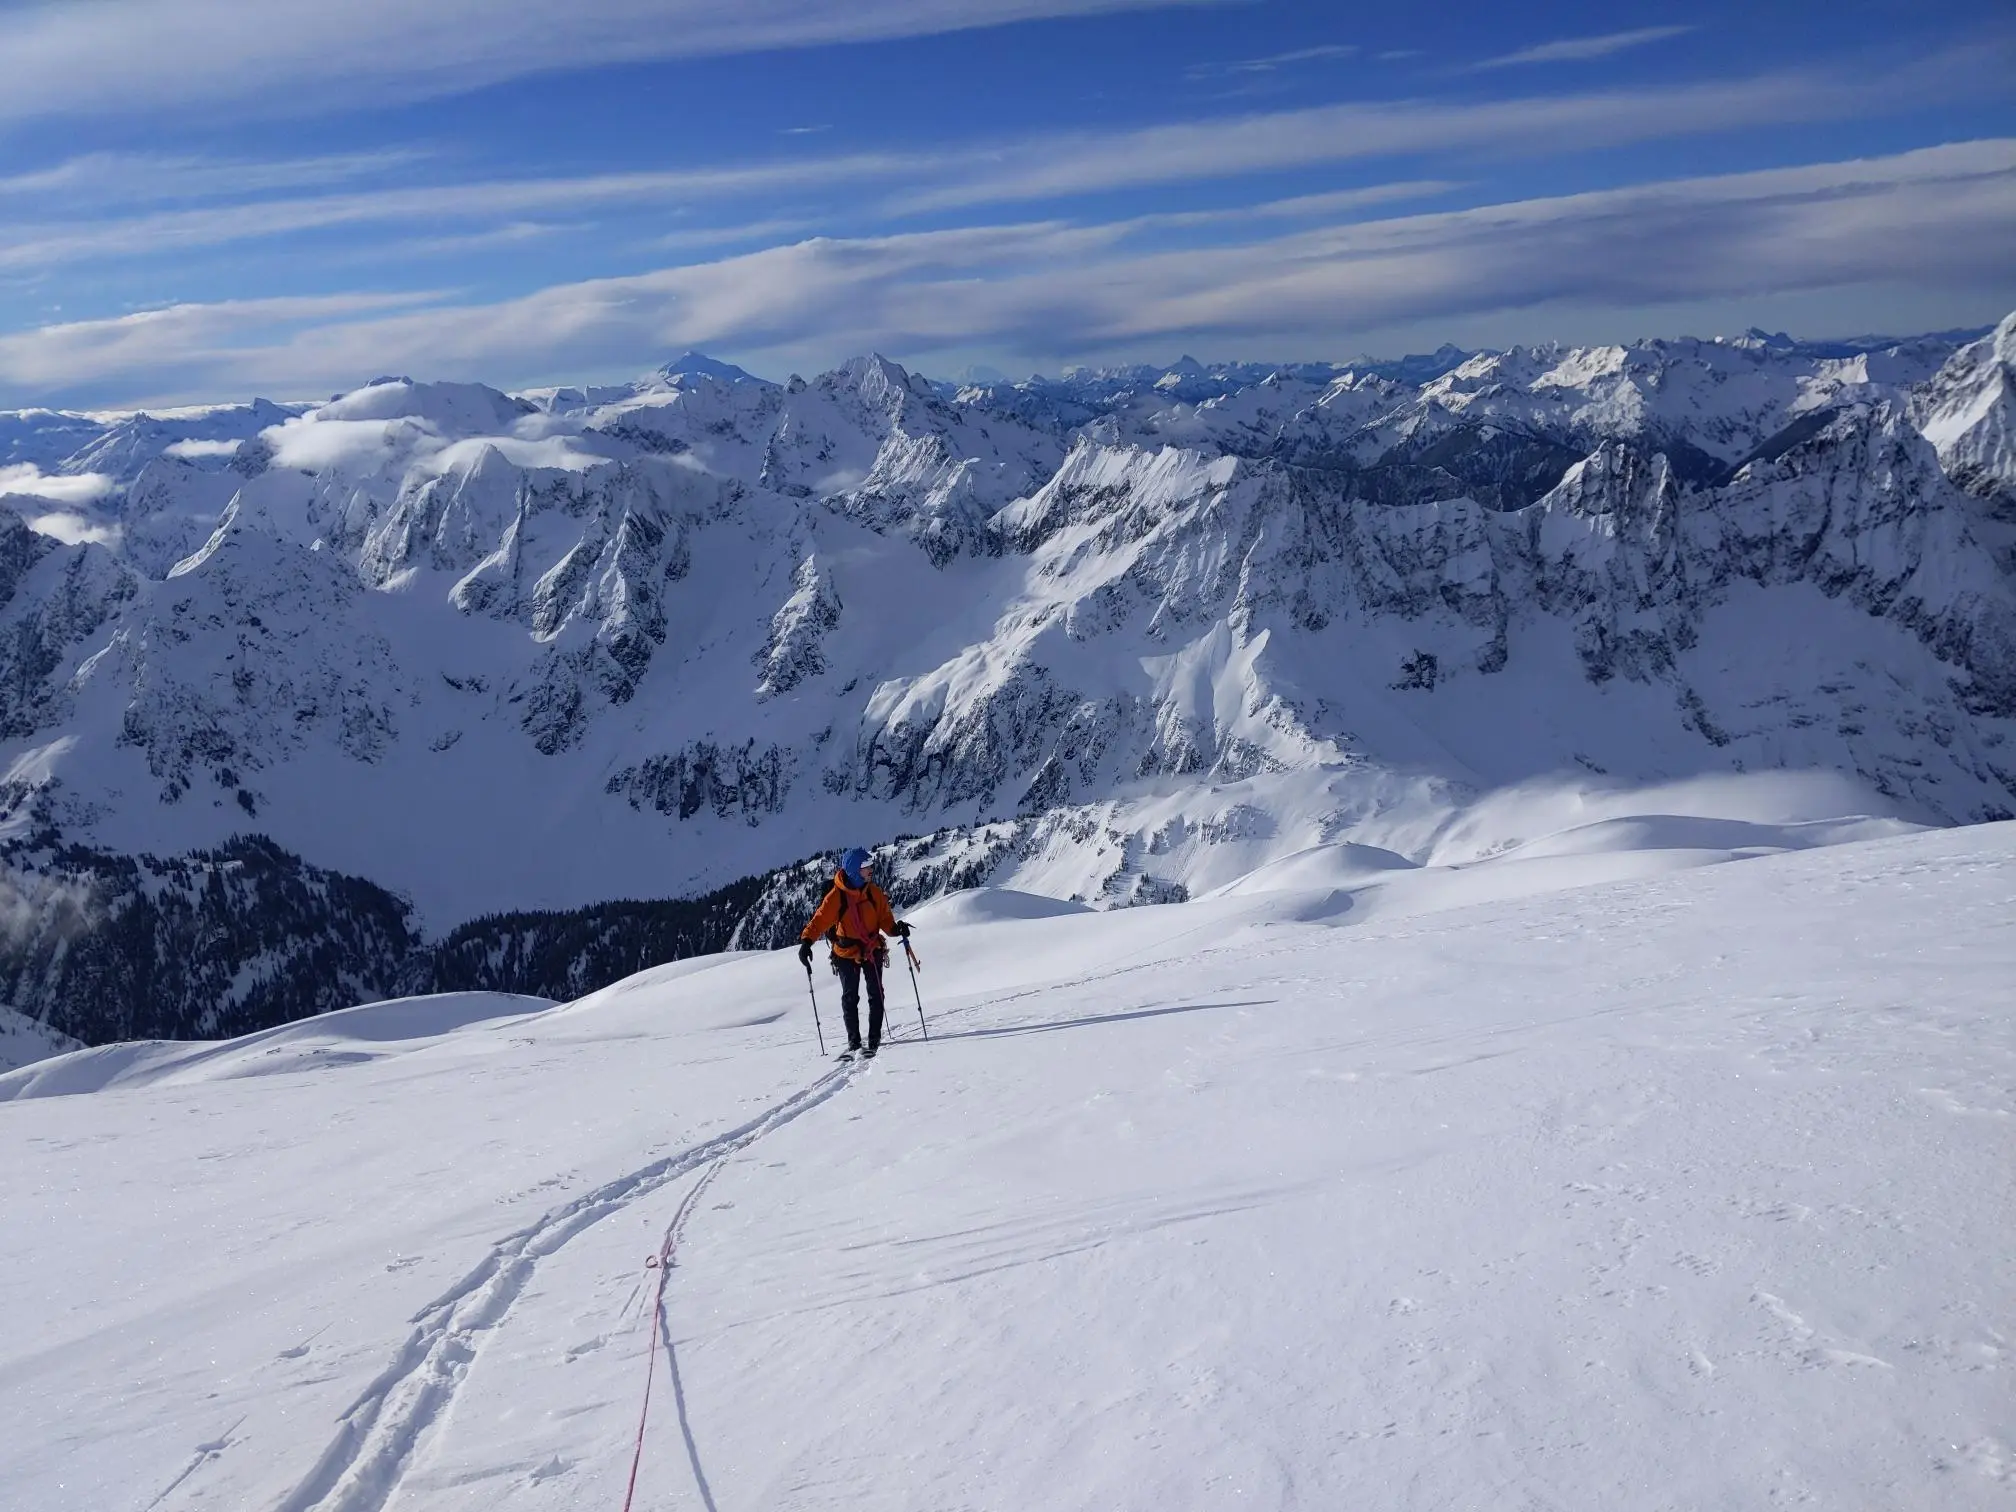
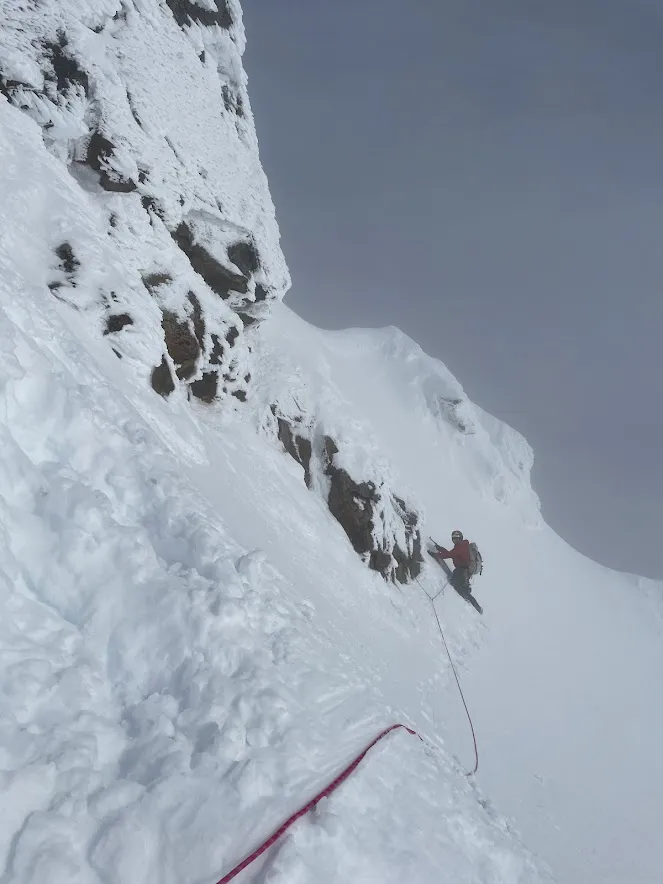
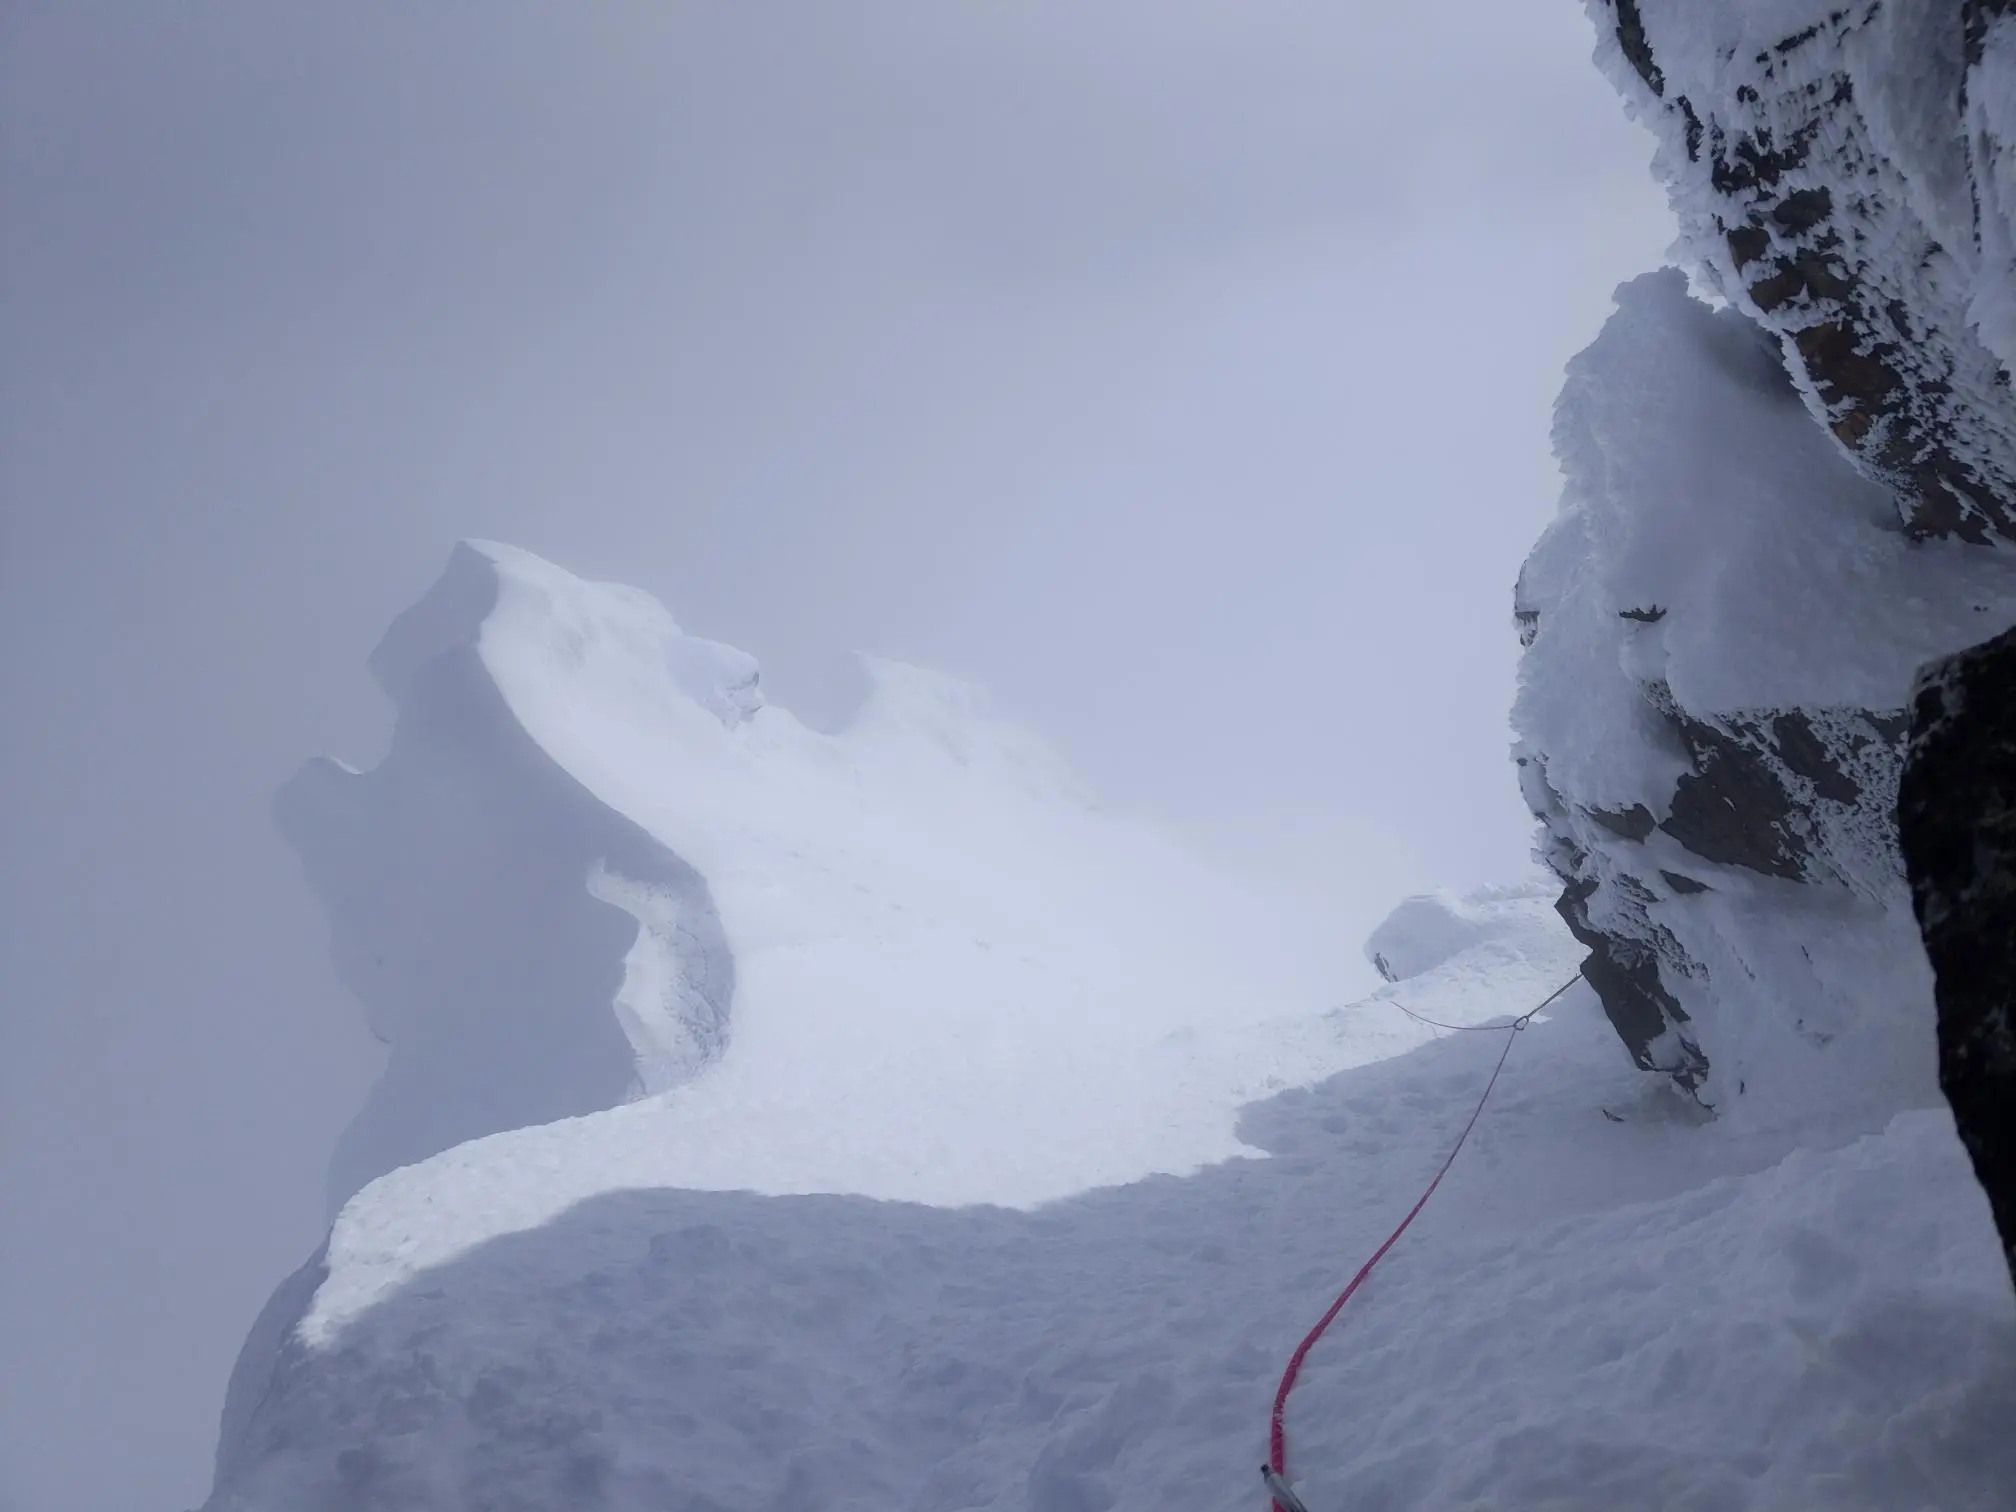
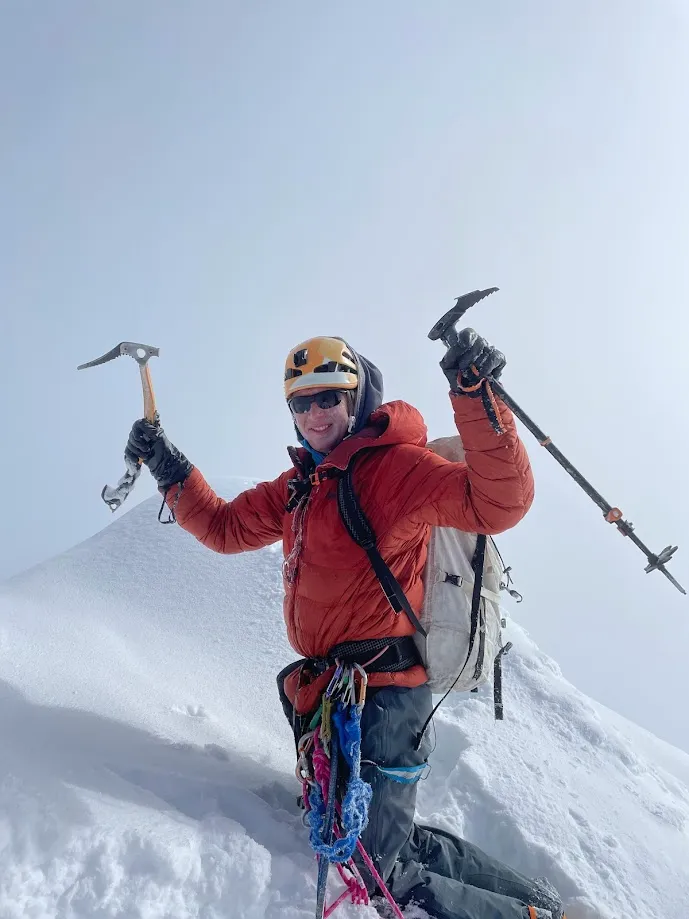
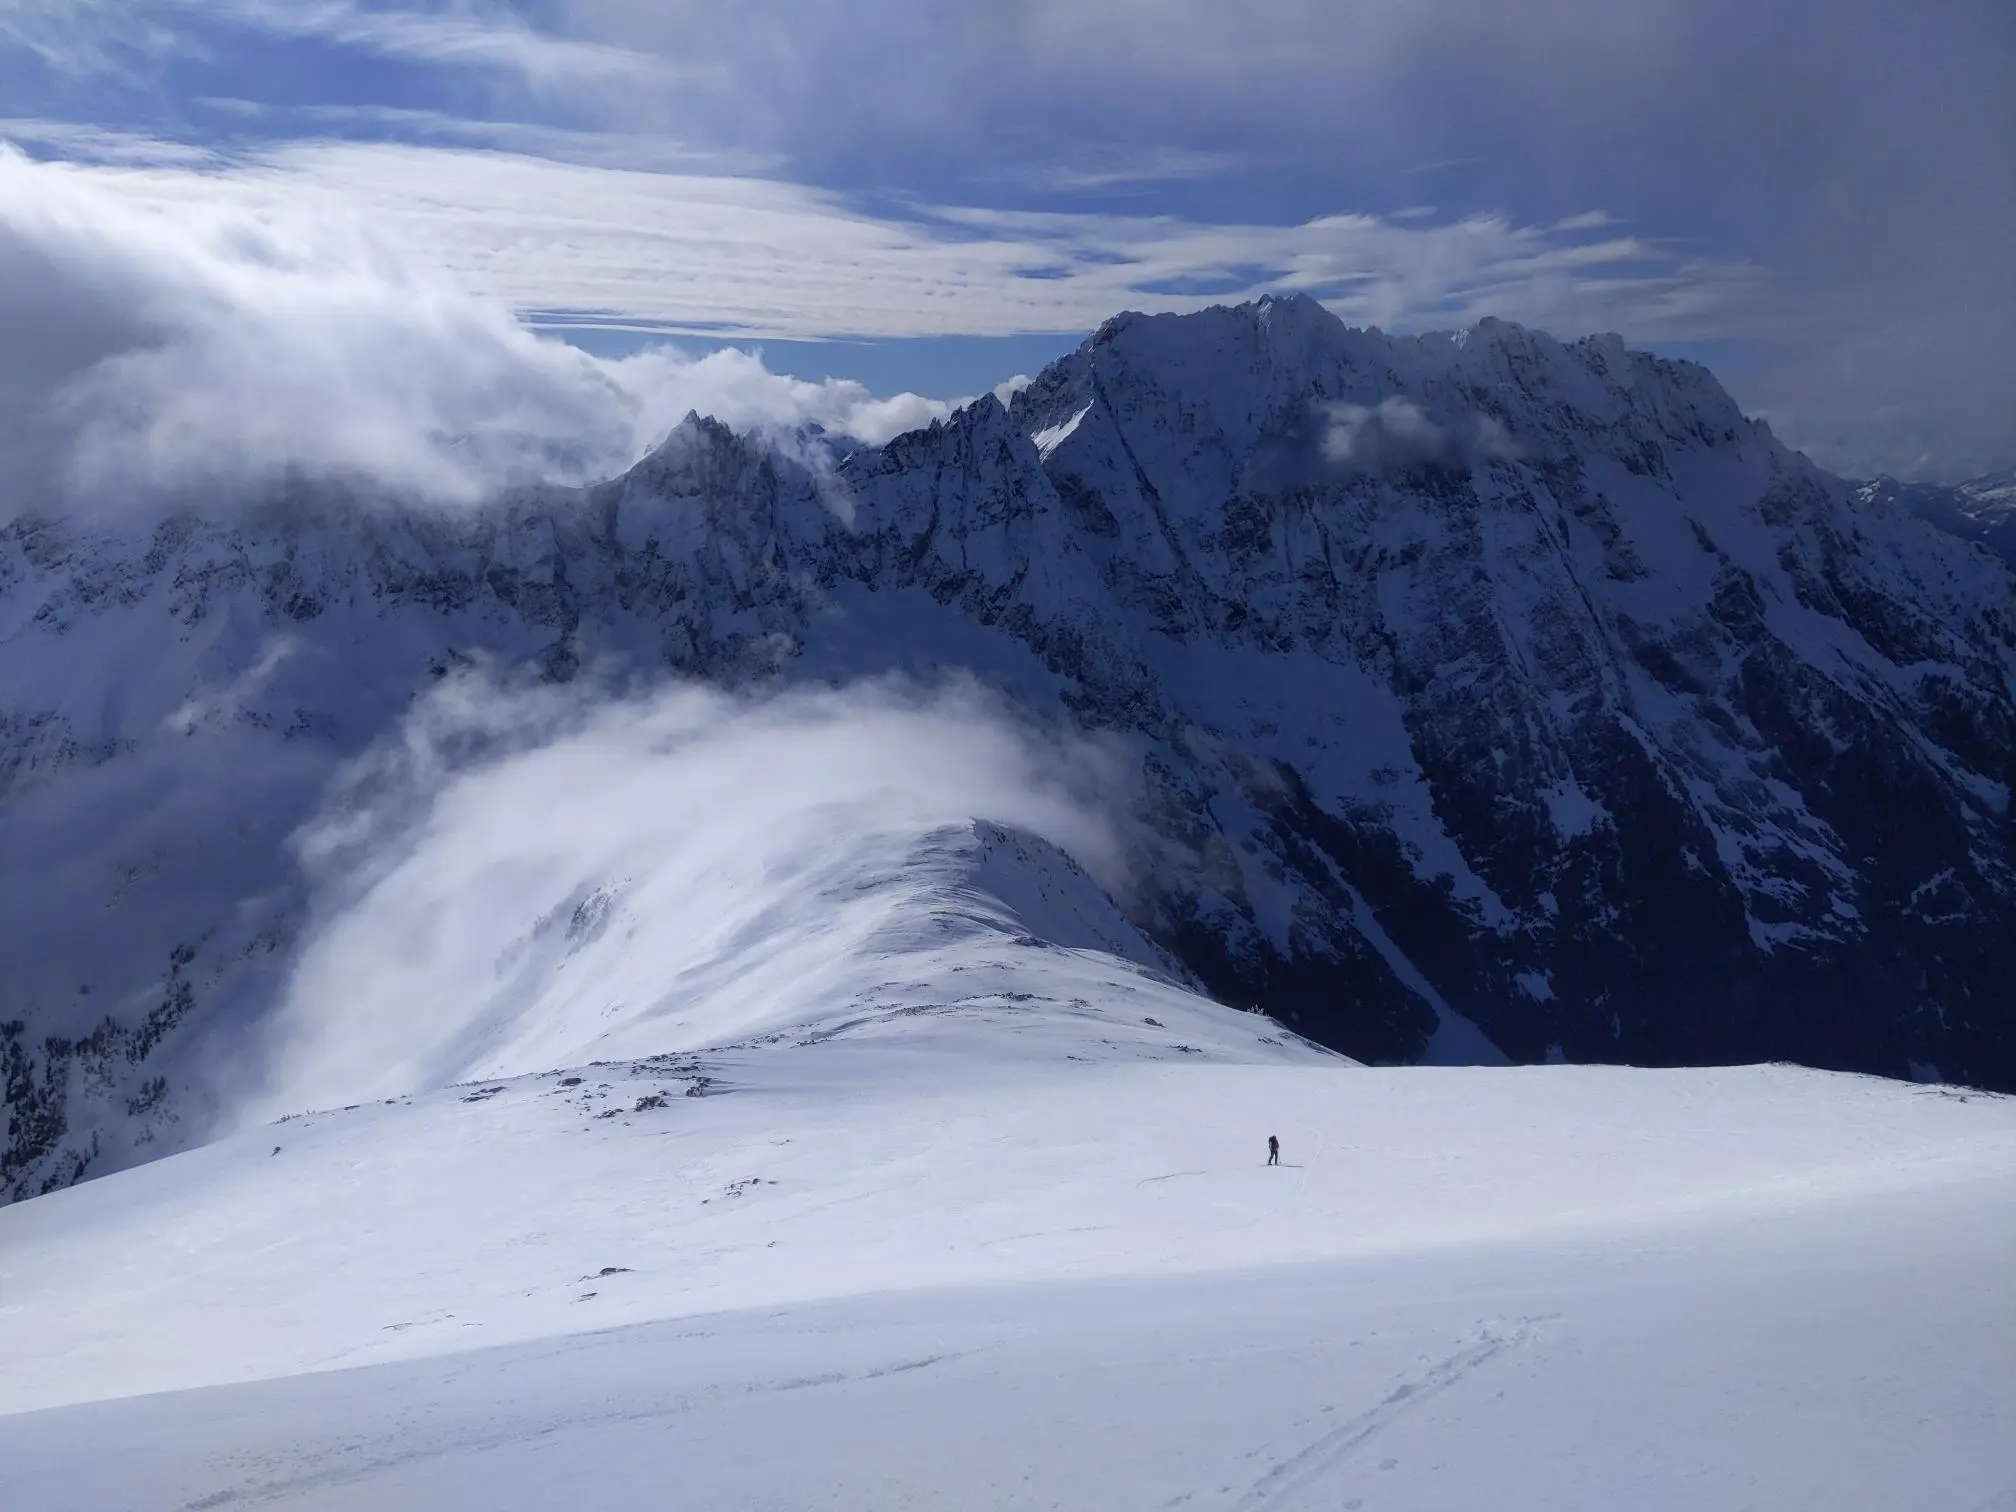
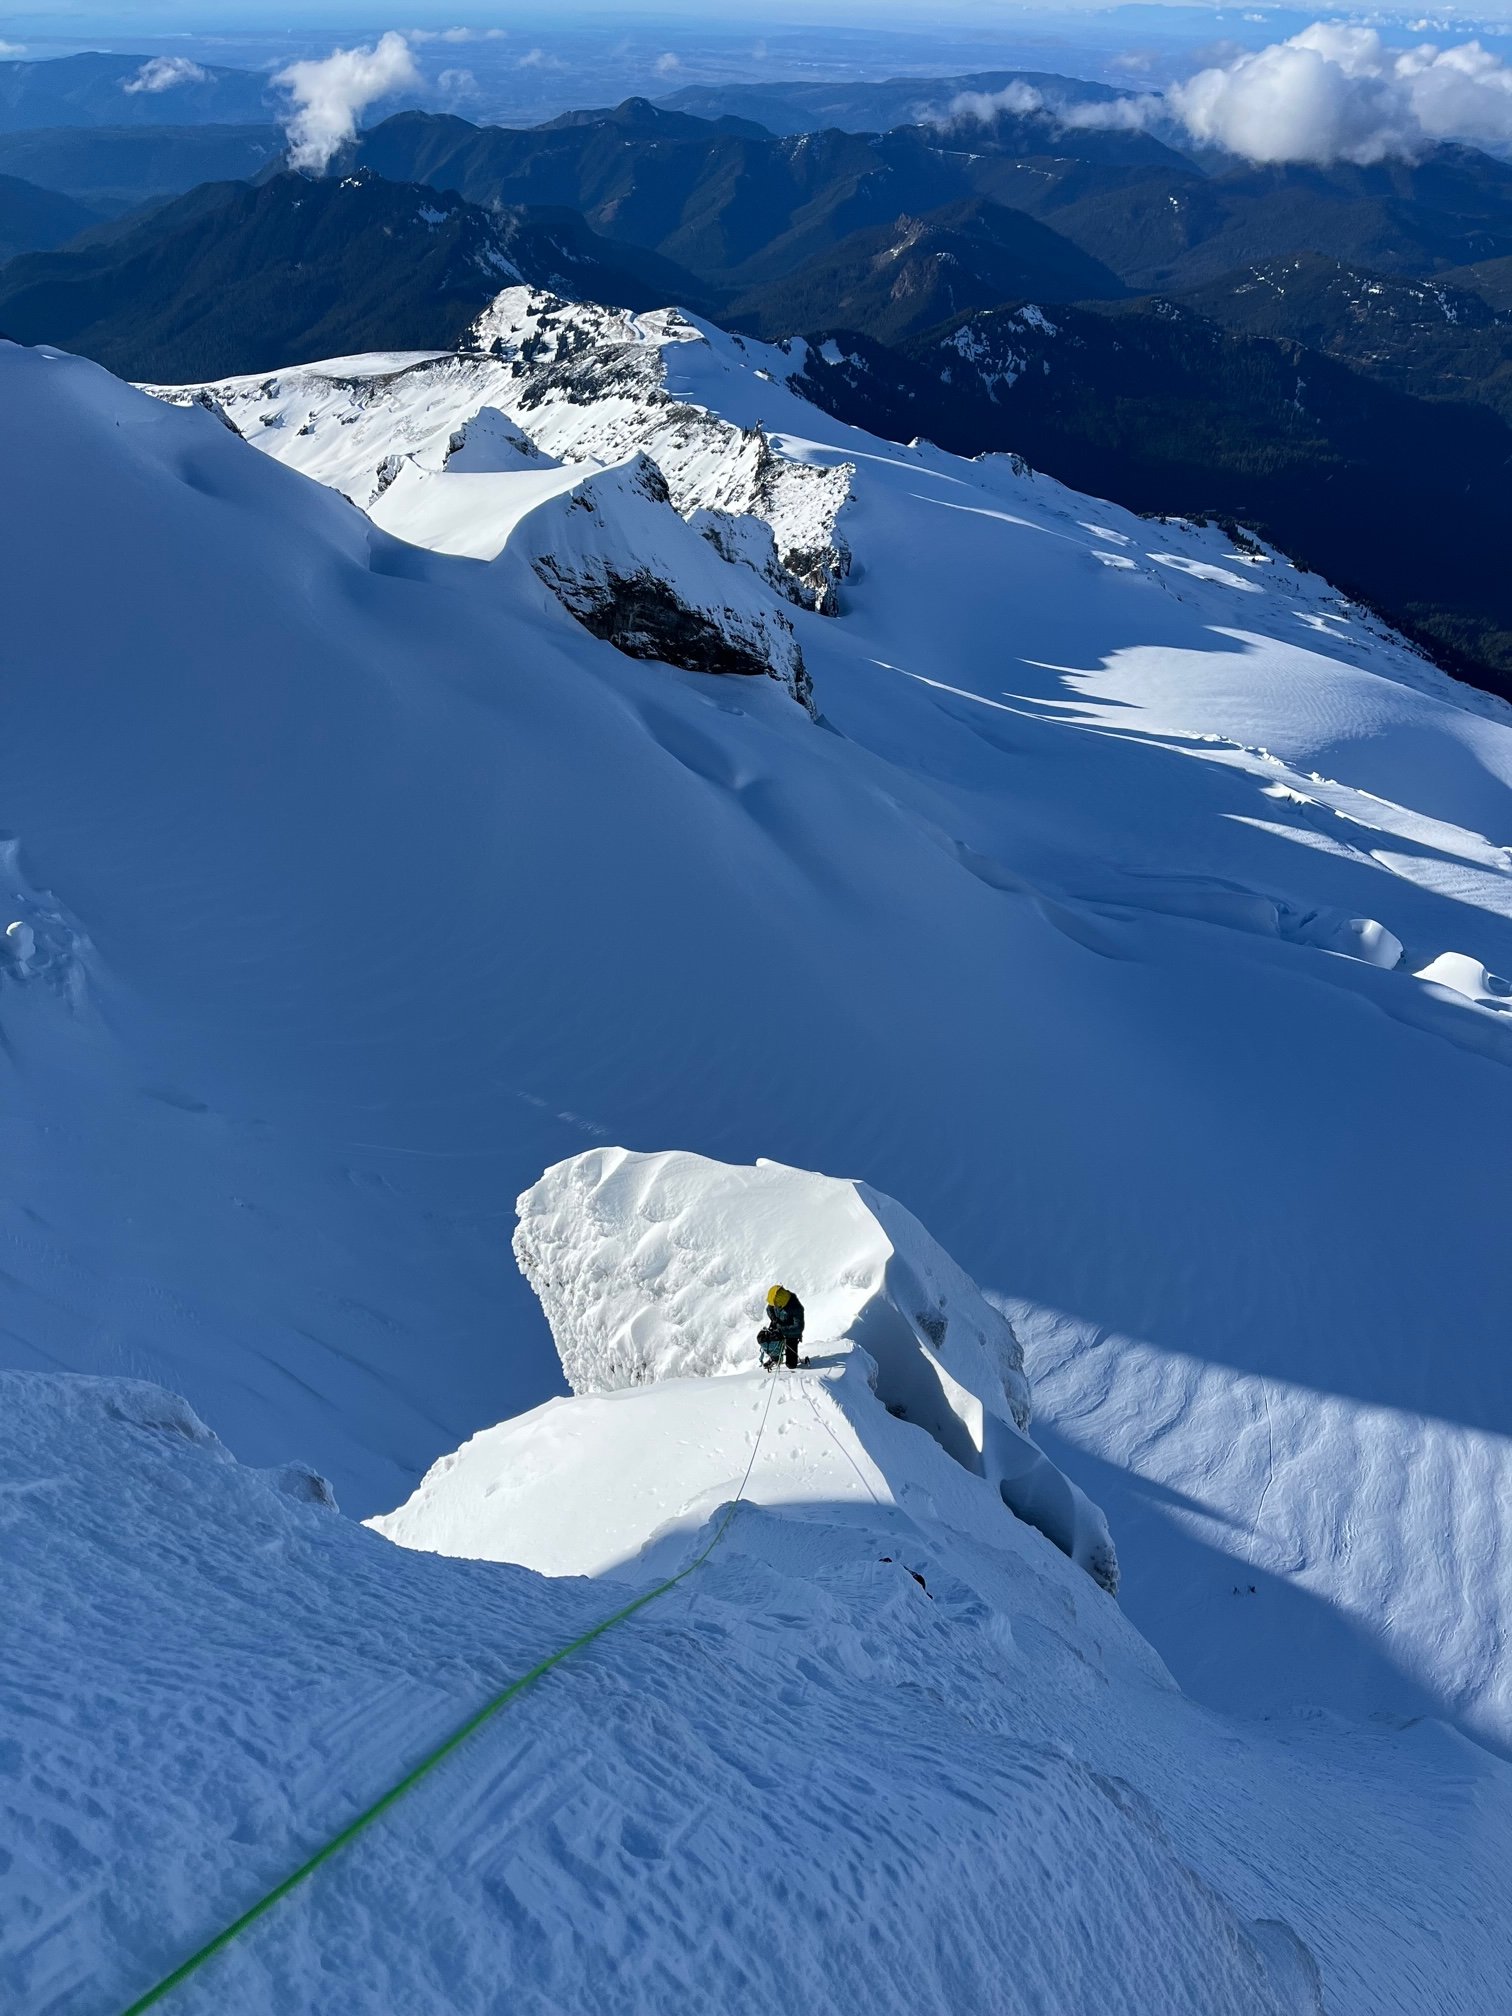
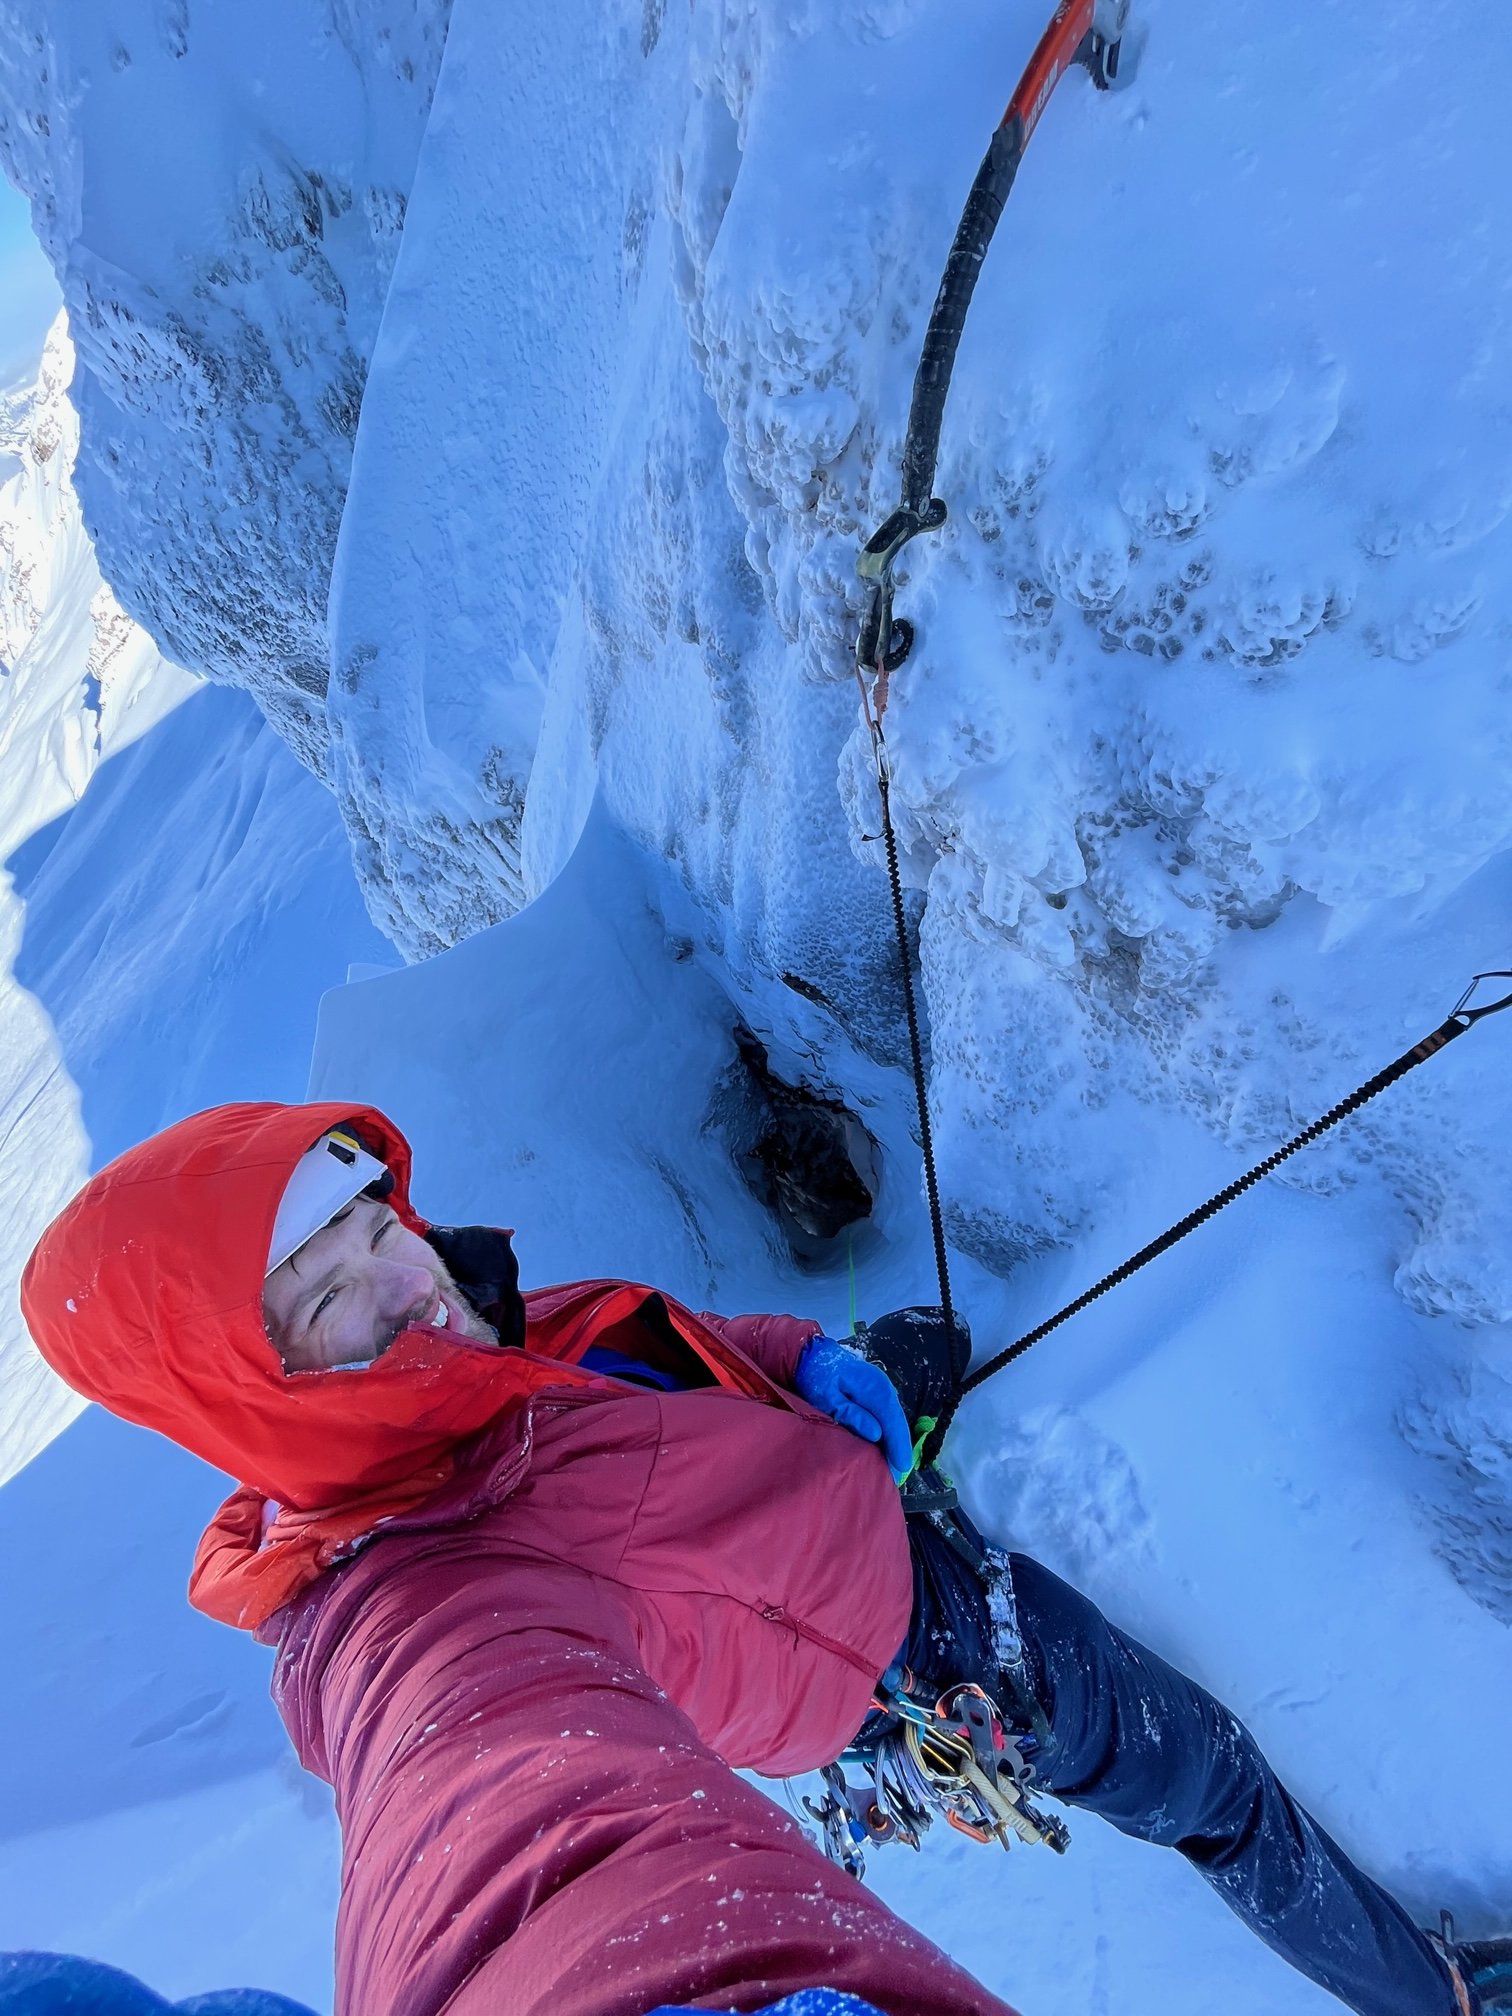
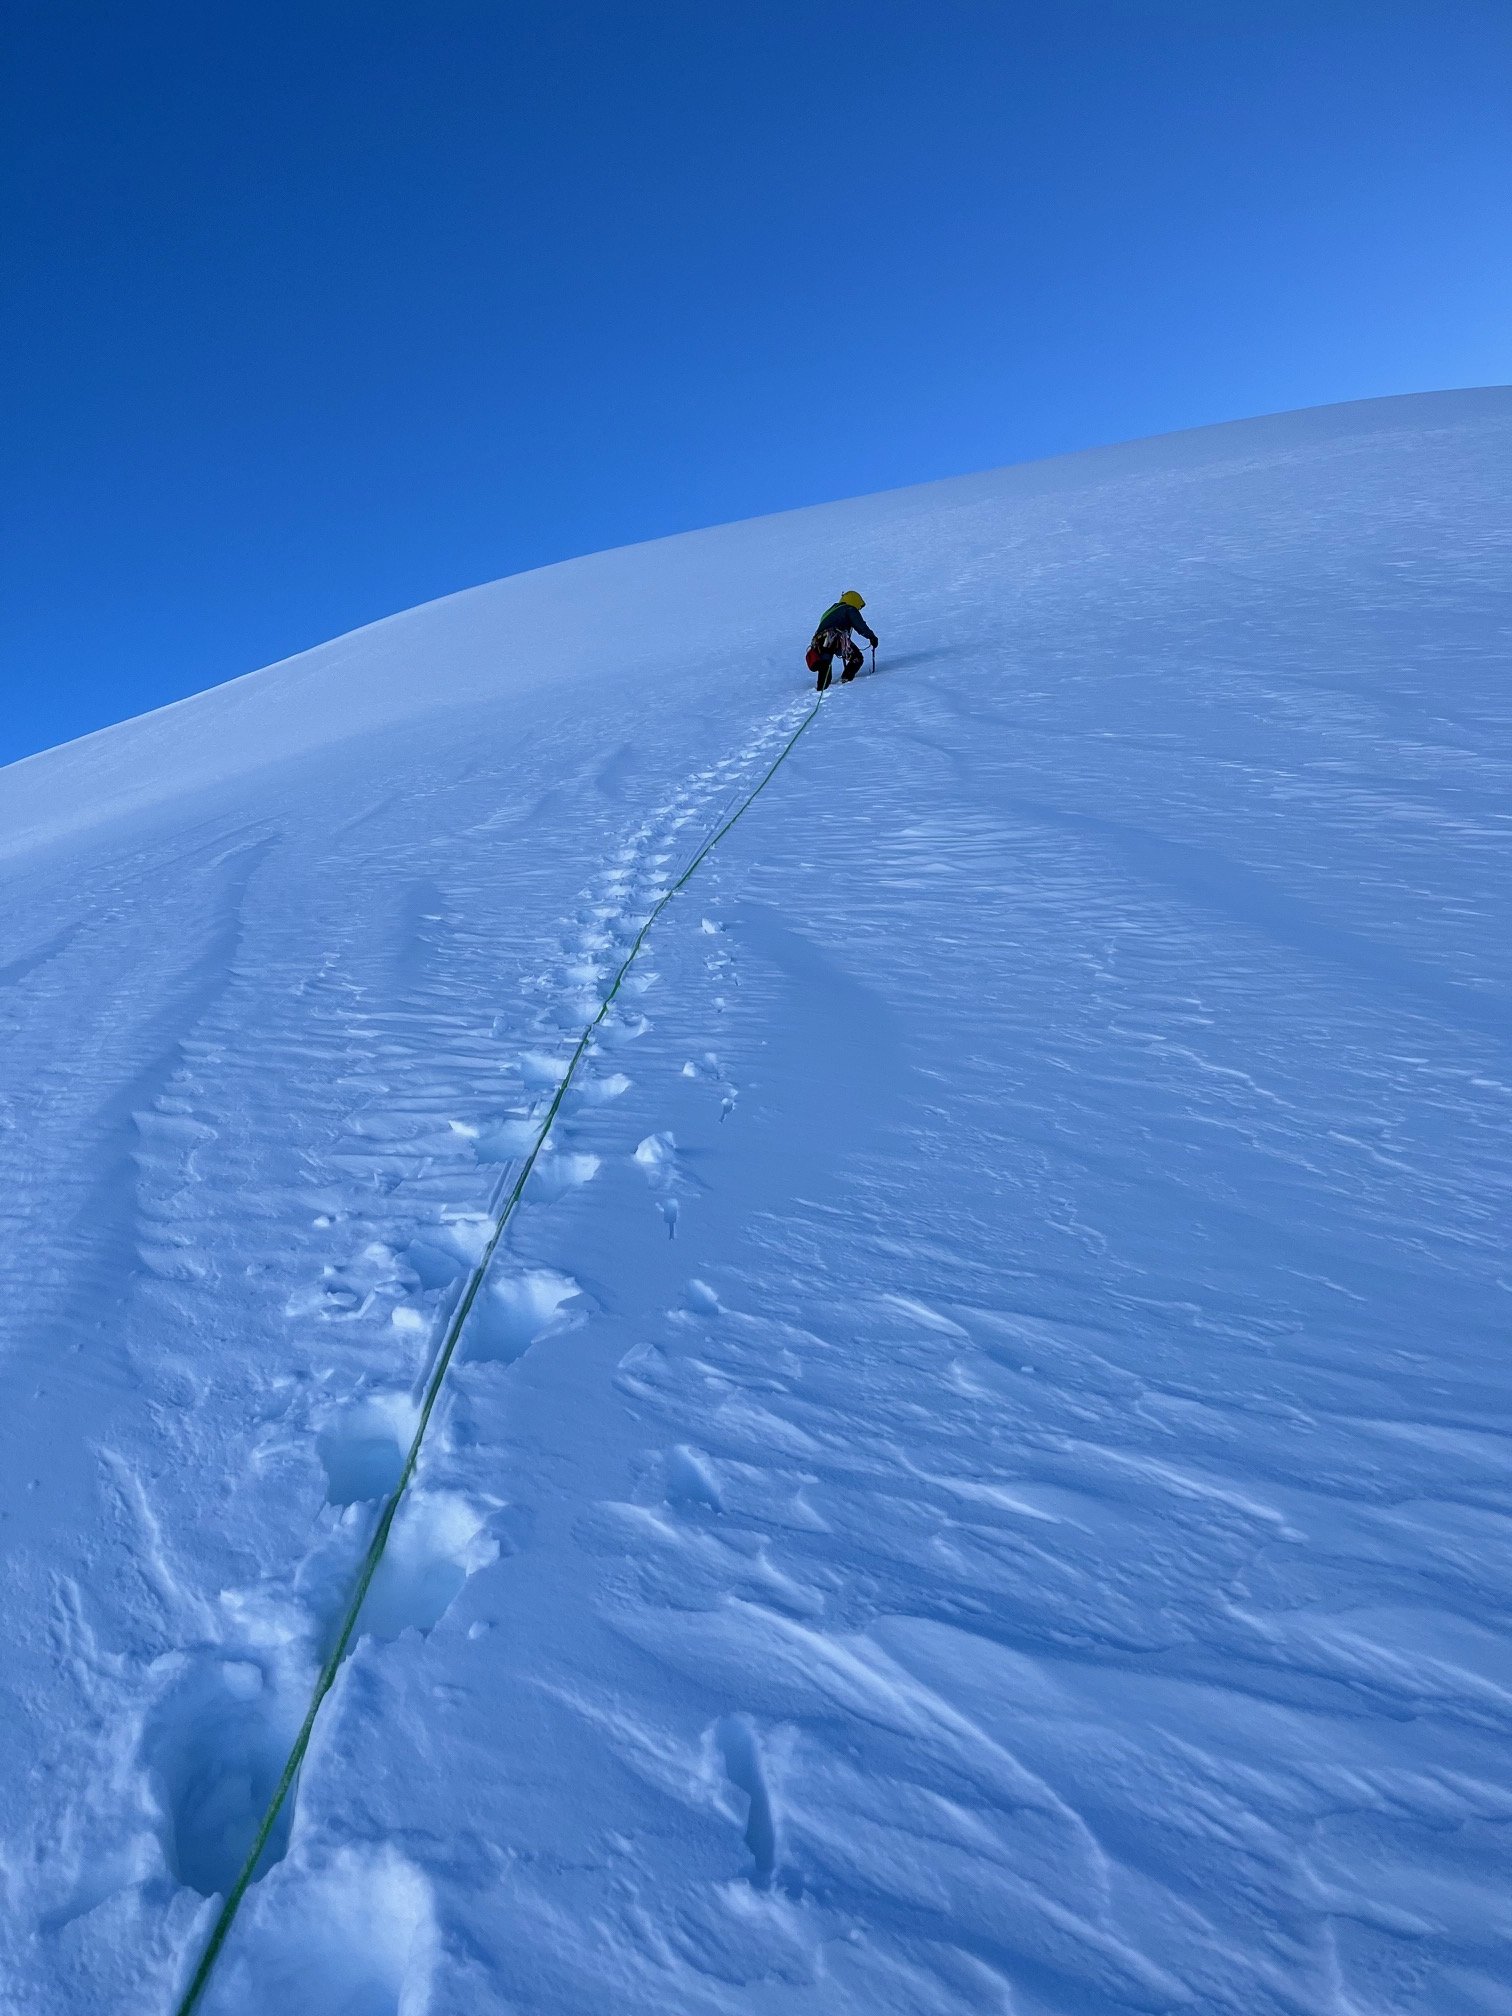
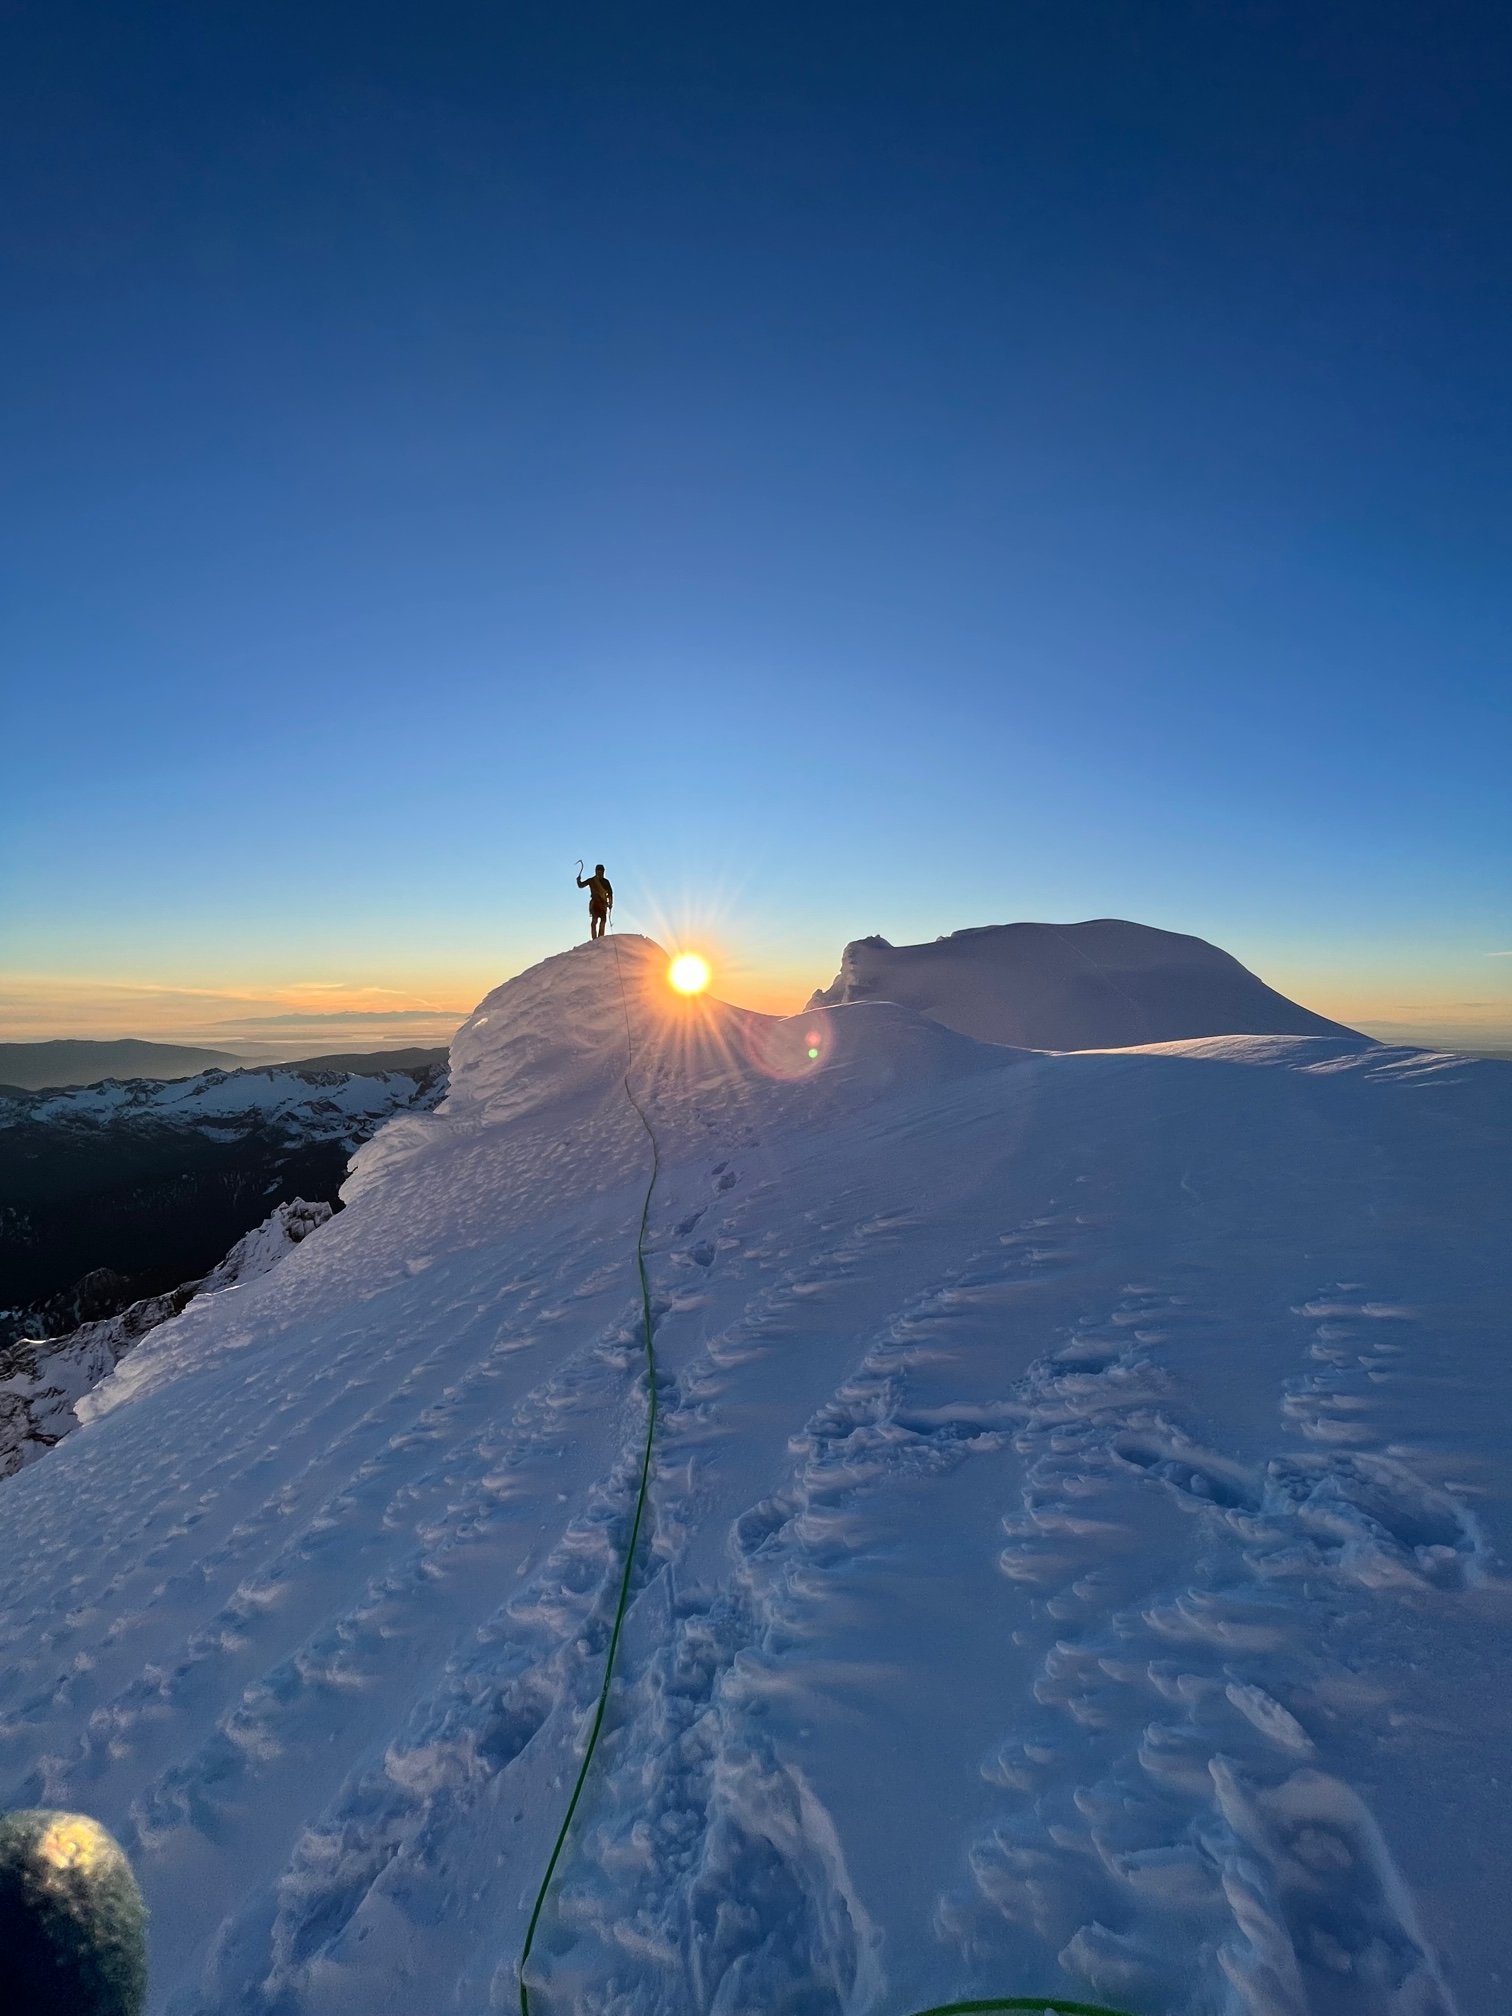
Trip: Buckner, Horseshoe, Sahale - Standard Trip Date: 02/03/2024 Trip Report: Buckner Mountain (9,111ft), Horseshoe Peak (8,480ft), and Sahale Peak (8,680ft) Winter Ascents First Winter Ascent of Horseshoe (SE Face, M3) Feb 3-4, 2024 Eric and Francis Rapping off Horseshoe (photo by Francis) The weekend looked like a rare alignment of stable snow and weather in the west north zone, and we decided to tag some peaks along cascade river road. This road is difficult for access in the winter. It’s not officially maintained in winter, and it is at a critical elevation where sometimes it is snow covered and sometimes not. One thing is guaranteed in the winter, though – there will be lots of blowdowns. In mid January it was snow covered and I was able to drive to MP 15, then snowmobiled from there to the Eldo gate, sawing out a few trees en route. This weekend looked to be a bit warmer, but NOHRSC was still showing deep snow starting at MP 18. The route Our goal for the weekend was to climb Horseshoe, Buckner, and Sahale, with the trailhead starting at MP 23 near Cascade Pass. I expected to be able to snowmobile the last 5 miles of road, as I had back in December on a road clearing mission. The road is gated at MP 20 at the Eldorado trailhead, but a snowmobile can squeeze under the gate. I also expected a lot of blowdowns, and I have a 25″ chainsaw for this purpose. Logging out a few trees I’ve previously climbed each of these peaks two or three times, which is very helpful for times savings in the winter. On one trip in 2022 I had hauled up my theodolite to measure the double summit on Buckner and concluded the SW summit is 18 inches +/-3 inches taller than the NE summit. This was valuable knowledge for a winter ascent since we wouldn’t have to bother making the sketchy traverse to the lower NE summit and could save time. Last winter, 2023, I had tried to bag these same three peaks, but was thwarted by law enforcement. Ryan and I drove up to MP 13 on cascade river road before we were stopped by blowdowns. We got out the saws and started clearing, but USFS law enforcement showed up and told us we couldn’t be there. They never came up with a clear reason why we had to leave, and seemed reluctant to stop us from clearing the road, but they still kicked us out. I’m still a bit confused about that encounter. Starting up This time I hoped would be different. Friday evening I drove up Cascade River Road, and logged out six new trees up to a foot diameter. I was a little disappointed there weren’t any bigger or more difficult trees to clear. As my friend Paul says, this is just a bad year for blowdowns. Surprisingly, the road was snow free all the way to the Eldorado gate! The NOHRSC model had been very inaccurate. I jogged up the road another half mile past the gate and there was still no sign of snow. This was a bit disappointing, since it meant I wouldn’t get to use the snowmobile and would instead have to walk that road section. My general rule of thumb is to not snowmobile more than about 1/2 mile on gravel loaded down with two people and overnight gear since the sled will overheat. A few big washouts Back at the trailhead another car pulled up and the climber was planning to snowshoe up Eldorado the next morning. I gave him my beta about where the good stream crossing was three weeks earlier. Francis soon arrived and we got to bed around 8pm. Saturday we were up and moving by 1am. The goal was to climb Horseshoe and Buckner that day, then Sahale on Sunday. We would prioritize Horseshoe since it was the only one previously unclimbed in winter and was the most difficult, with a short technical pitch at the summit. Skinning up in the twilight Amazingly the road was completely snow-free all the way to the Boston Basin trailhead at 3200ft! NOHRSC had predicted at least 3ft of snow at that elevation. There was a huge washout at Boston Creek, and I suspect that, as usual, that upper portion of road will stay gated well into the summer as they repair the road. Climbing up Sahale Arm with Johannesburg in the background Snow started just after Soldier Boy creek and we skinned up to the Cascade Pass trailhead. From there we followed the trail up to the last switchback before it traverses to the pass. The snow was icy but a thin dusting of snow started at that elevation and we were hopeful that it might be skiable higher up. We cramponed up a few hundred feet through open trees, then hit a clearing and continued skinning. We angled up and left around a cliff band and eventually popped out on Sahale Arm just at sunrise. The views were amazing of Johannesburg Mountain across the valley sticking up through and undercast. We could also see the Ptarmigan Traverse opening up to Dome Peak in the distance. Skiing down the SE face The snow got softer all the way to Sahale Camp, where we stopped to take a break. Here we had a few decisions to make. First, we decided to bring our overnight gear down to Horseshoe basin instead of leaving it at Sahale Camp. That way if the climbs took longer than anticipated we wouldn’t be obligated to make the 1000ft climb back up to camp at the end of a long day. Second, we decided to ski the SE bowl down to Horseshoe Basin instead of downclimbing the SE ridge. I’ve always downclimbed the ridge in summer and fall, but there would be one 4th class step that would be sketchy with big packs and skis sticking out. Nice views across to Ripsaw Ridge and Buckner On the shaded relief map we noticed a route down the bowl that appeared to avoid cliffs. I found that Tim Gibson had posted a video on Turns All Year of skiing this route in May a few years ago, so we knew it could work with enough snow coverage. We had intentionally timed our departure to hit this section after sunrise so we could assess the route before committing to it. We leap frogged each other skiing the bowl, and there was just enough powder on crust to make for fun and safe skiing. We cut down hard skiers right, found the weakness through the cliffs, and successfully made it to the base at 6500ft. Scrambling up to the base of Horseshoe There we traversed around to a flat sheltered area at the base of the SE ridge and ditched our overnight gear. Above us Ripsaw Ridge looked very intimidating with countless gendarmes plastered in rime ice extending all the way from Boston Peak to Buckner. Horshoe was one of those gendarmes, though luckily I knew it was easier than it looked from afar. We skinned across the basin, seeing lots of evidence of old avalanches from the atmospheric river the previous week. We cut through the old mining site, then zig zagged up to a bench at 8200ft below Horseshoe. There the snow turned icy so we ditched skis and put on crampons. Me leading up the summit block (photo by Francis) We kicked steps steeply up the snow, then scrambled over a small ridge to the gully at the base of the SE face of Horseshoe. This area is easy to get slowed down by route-finding issues, and I was happy to have already climbed Horseshoe twice before to have the route dialed. We kicked steps up the gully then ditched gear at the large notch just east of the summit. Here is where the ramp leads up and left to another notch just next to the summit. It looked a lot harder than I remembered, with a foot of rime ice plastering all the rocks. The first time I’d climbed Horseshoe I’d rope soloed it in the summer and it wasn’t too hard. But this time I was happy to have two tools, a partner, and a good climbing rack. On the summit (photo by Francis) There was a nice horn at the notch we rapped the rope around a few times for the anchor. Then Francis belayed me up. The ledge got narrower and narrower and I had a bit of trouble finding gear. I remembered some good cracks above me, but when everything was covered in rime ice they were hard to find. I kind of just gold-mined around, clearing rime ice off of everything until I eventually found a crack that worked. The cracks were all icy and I wanted to pound hexes in like I usually do in winter. This works well in vertical cracks, but not so will in horizontal cracks under an overhang. So I ended up just using cams. Both on the summit (photo by Francis) I was very careful with feet placement on the ledge since I didn’t want to kick all the snow off and be left with a thin slab, but I also couldn’t necessarily trust the snow on the slab. I managed to get solid hooks with the tools before trusting my feet. Finally I reached the last notch and hooked a good jug with the tool. I then pulled myself over and clipped onto the rap anchor. I went over and tagged the summit, then belayed Francis up by 2pm. We had great views all around of Sahale and Boston above an undercast and Lick of Flame looking intimidating covered in rime. We took turns rapping down, and I was happy to have brought the full 60m rope. It comfortably reached the gully below, but a 30m rope definitely would not have reached. Rapping back down We collected our gear, then returned to the skis. It looked like there would be plenty of time to climb Buckner before sunset, which would be a treat. The slope was icy so we strapped skis to our pack then traversed over to the SW face of Buckner. I had brought ascent plates for the climb, but we only sank in to our ankles in the snow so they weren’t necessary. There were a few isolated pockets of 6″ wind slab, so we stuck to the edge of the face climbing between flattish areas below cliffs and minimizing exposure. Climbing up Buckner We took turns kicking steps, then reached the SE ridge where we ditched our packs and skis. From there we scrambled up the thickly rime-encrusted summit block, topping out at 4:30pm. I peered down the steep north face and was happy to not be skiing that. We had talked about it, but I bet it was risky with wind slabs. The traverse over to the NE peak look tricky, and I was glad I’d put in the effort to measure that we were indeed on the true summit. On the summit We soon downclimbed back to the skis and started skiing down. The skiing was fun, and we hugged the side of the gully following our up tracks. We soon reached the base of the face and traversed back to our stashed climbing gear at the base of Horseshoe. From there it was more fun skiing down to the old mine, then skinning back to our stashed overnight gear by 6pm, just as the sun set enough to need headlamps. We were still feeling strong and that campsite seemed a bit windier than I would have preferred. We decided to do our future selves a favor and climb back up to Sahale Arm that night, to make our Sunday a bit easier. Campin at Sahale Camp The slope up the bowl was too steep for skinning, but the snow was too deep for booting. Luckily I had the perfect solution – ascent plates. They are like mini snowshoes specifically for going up steep snow faces. I have a strong aluminum pair and an ultralight carbon fiber pair I made. Francis took the lead with the aluminum pair and I followed. We made must faster progress with the plates than bare booting, and by 8pm we popped out on the Sahale Camp shoulder. We traversed over to a semi-sheltered area, then set up the mega mid and melted snow. It had been a 19-hour day and we appreciated the rest. Skinning up Sahale Sunday morning we just had to climb Sahale and ski out, which would be a much shorter day. So we decided to sleep in a bit so we could make the climb when it was a bit warmer. We were up and moving by 8:30am. We roped up for the Sahale Glacier and zig zagged up the slope. Once on the SE ridge we packed up the rope, ditched the skis, and cramponed up the icy slope. Climbing up Sahale I’ve previously climbed Sahale twice by two different routes, and appreciated this knowledge. One route goes directly up the south face and has a short bit of 5th class climbing. I recalled a good rap anchor at the top of this route on the summit. The other route raps around the east face the climbs the north ridge. This route is exposed 3rd class. We got to the base of the south face route and it looked easier than I remembered. But I suspected the rime was still masking the 5th class step, and it would be tricky. So we instead decided to go for the exposed third class route. The east face was covered in snow and rime now, with 2000ft of exposure to the Davenport Glacier below. We would definitely rope up. Even if the snow climb were easy, we didn’t want a small wind slab knocking us off our feet. Looking down the east face I built an anchor in a rock outcrop on the SE ridge and led out. I traversed across onto the face, got some gear in a rock outcrop, then kicked steps straight up. I hugged the cliff band to my left, getting in a few more pieces as the slope steepened considerably. As before, the rock was plastered in rime ice and it took me a while banging the ice off before I could find good cracks for gear. On the summit (photo by Francis) I eventually popped out on the North ridge, then made the final moves to the summit. I dug out the summit block, finding the “Boston Peak” USGS marker and then the rap anchor I remembered around the summit boulder. I could now see Francis directly below, and I yelled that I’d put him on belay. He soon climbed up and we spent a few minutes enjoying the view. Boston Peak popped up out of the clouds briefly, and we got great views of Forbidden and Eldorado in the distance. It was 11:45am and was not too cold or windy. We hung out taking pictures, then rapped down. The 60m rope just barely reached our lower anchor, and I was again happy to have brought the 60m instead of the 30m rope. Skiing out We cramponed down to our skis, than had an amazing ski down. We made dollar signs across our up tracks, then picked up our overnight gear and continued down. The snow got a bit icier down low, but was still skiable. In all we got a continuous ski run from 8500ft to 5000ft, which was fun and fast. Back in the trees we booted down the trail, then took a shortcut in an open snow slope to bypass the lower five switchbacks. Back at the road we skied down to our stashed boots at snowline near soldier boy creek, then hiked back down to the Eldo gate by 3:45pm. There were no other cars there, which meant the hiker climbing Eldo must have made it down safely. That was good news. As we were packing up a hardcore Jeep drove in, and this made me a little disappointed since it meant there wouldn’t be any fresh blowdowns to clear. We made it out no problem and got home at a reasonable hour. 67/100 Winter Bulgers Movie of the trip: Gear Notes: Single rack of cams to 2", nuts, hexes (very important), two tools, chainsaw Approach Notes: Road melted out/logged out to Eldo gate. Melted out to around 3000ft. Bad washout at Boston Creek (MP ~22). Road bikeable to MP 22. Note: I wouldn't advise going up cascade river road without a big chainsaw this time of year. A few weeks ago I got blocked in by a 3ft tree but was able to saw it out. There are always new blowdowns on that road every week.1 point
-
All of those Enchantments routes come in their best shape with repeated melt/freeze. Otherwise it is mostly just scratching around on cold snow and dry rock.....so it will all depend on the temps. Early March is typically pretty cold up high, even on a year like this so I wouldn't think that you'll find much in great climbing shape. That said, all will generally be climbable with the right weather and avy conditions. The good news is that if climbing conditions aren't great, ski conditions usually are a lot better, so maybe look at what is in store right before your trip and plan accordingly. And, if you are casting about all over the Western US, that is another story. I am sure you can probably find something, somewhere to climb. But I only really know our backyard....1 point
-
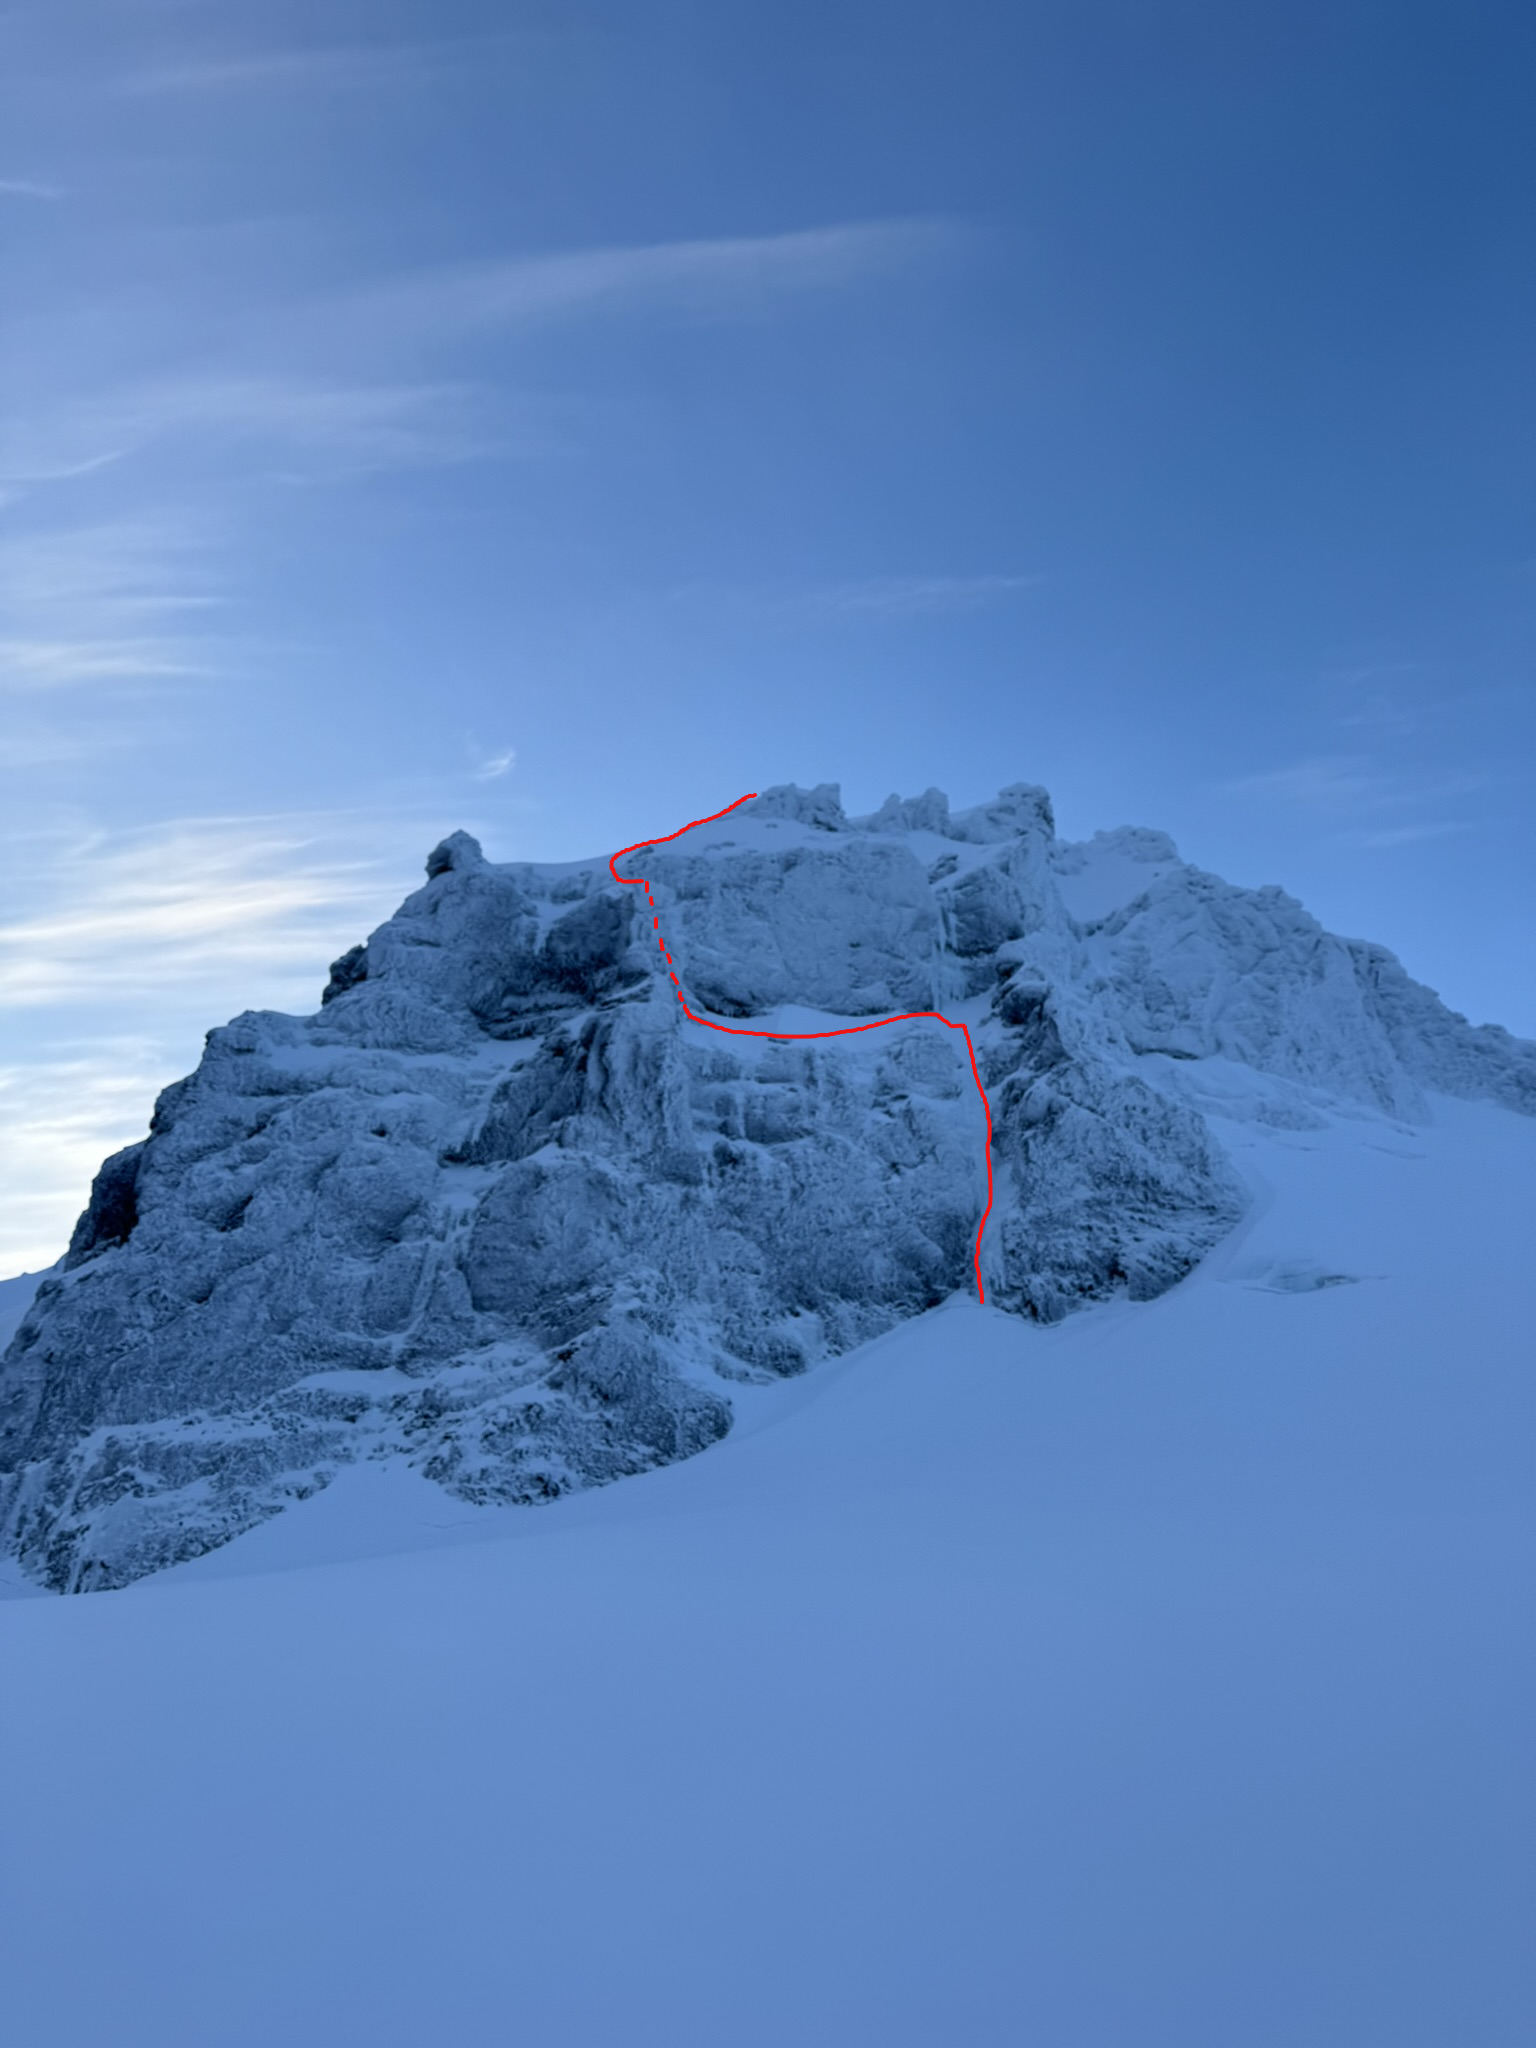
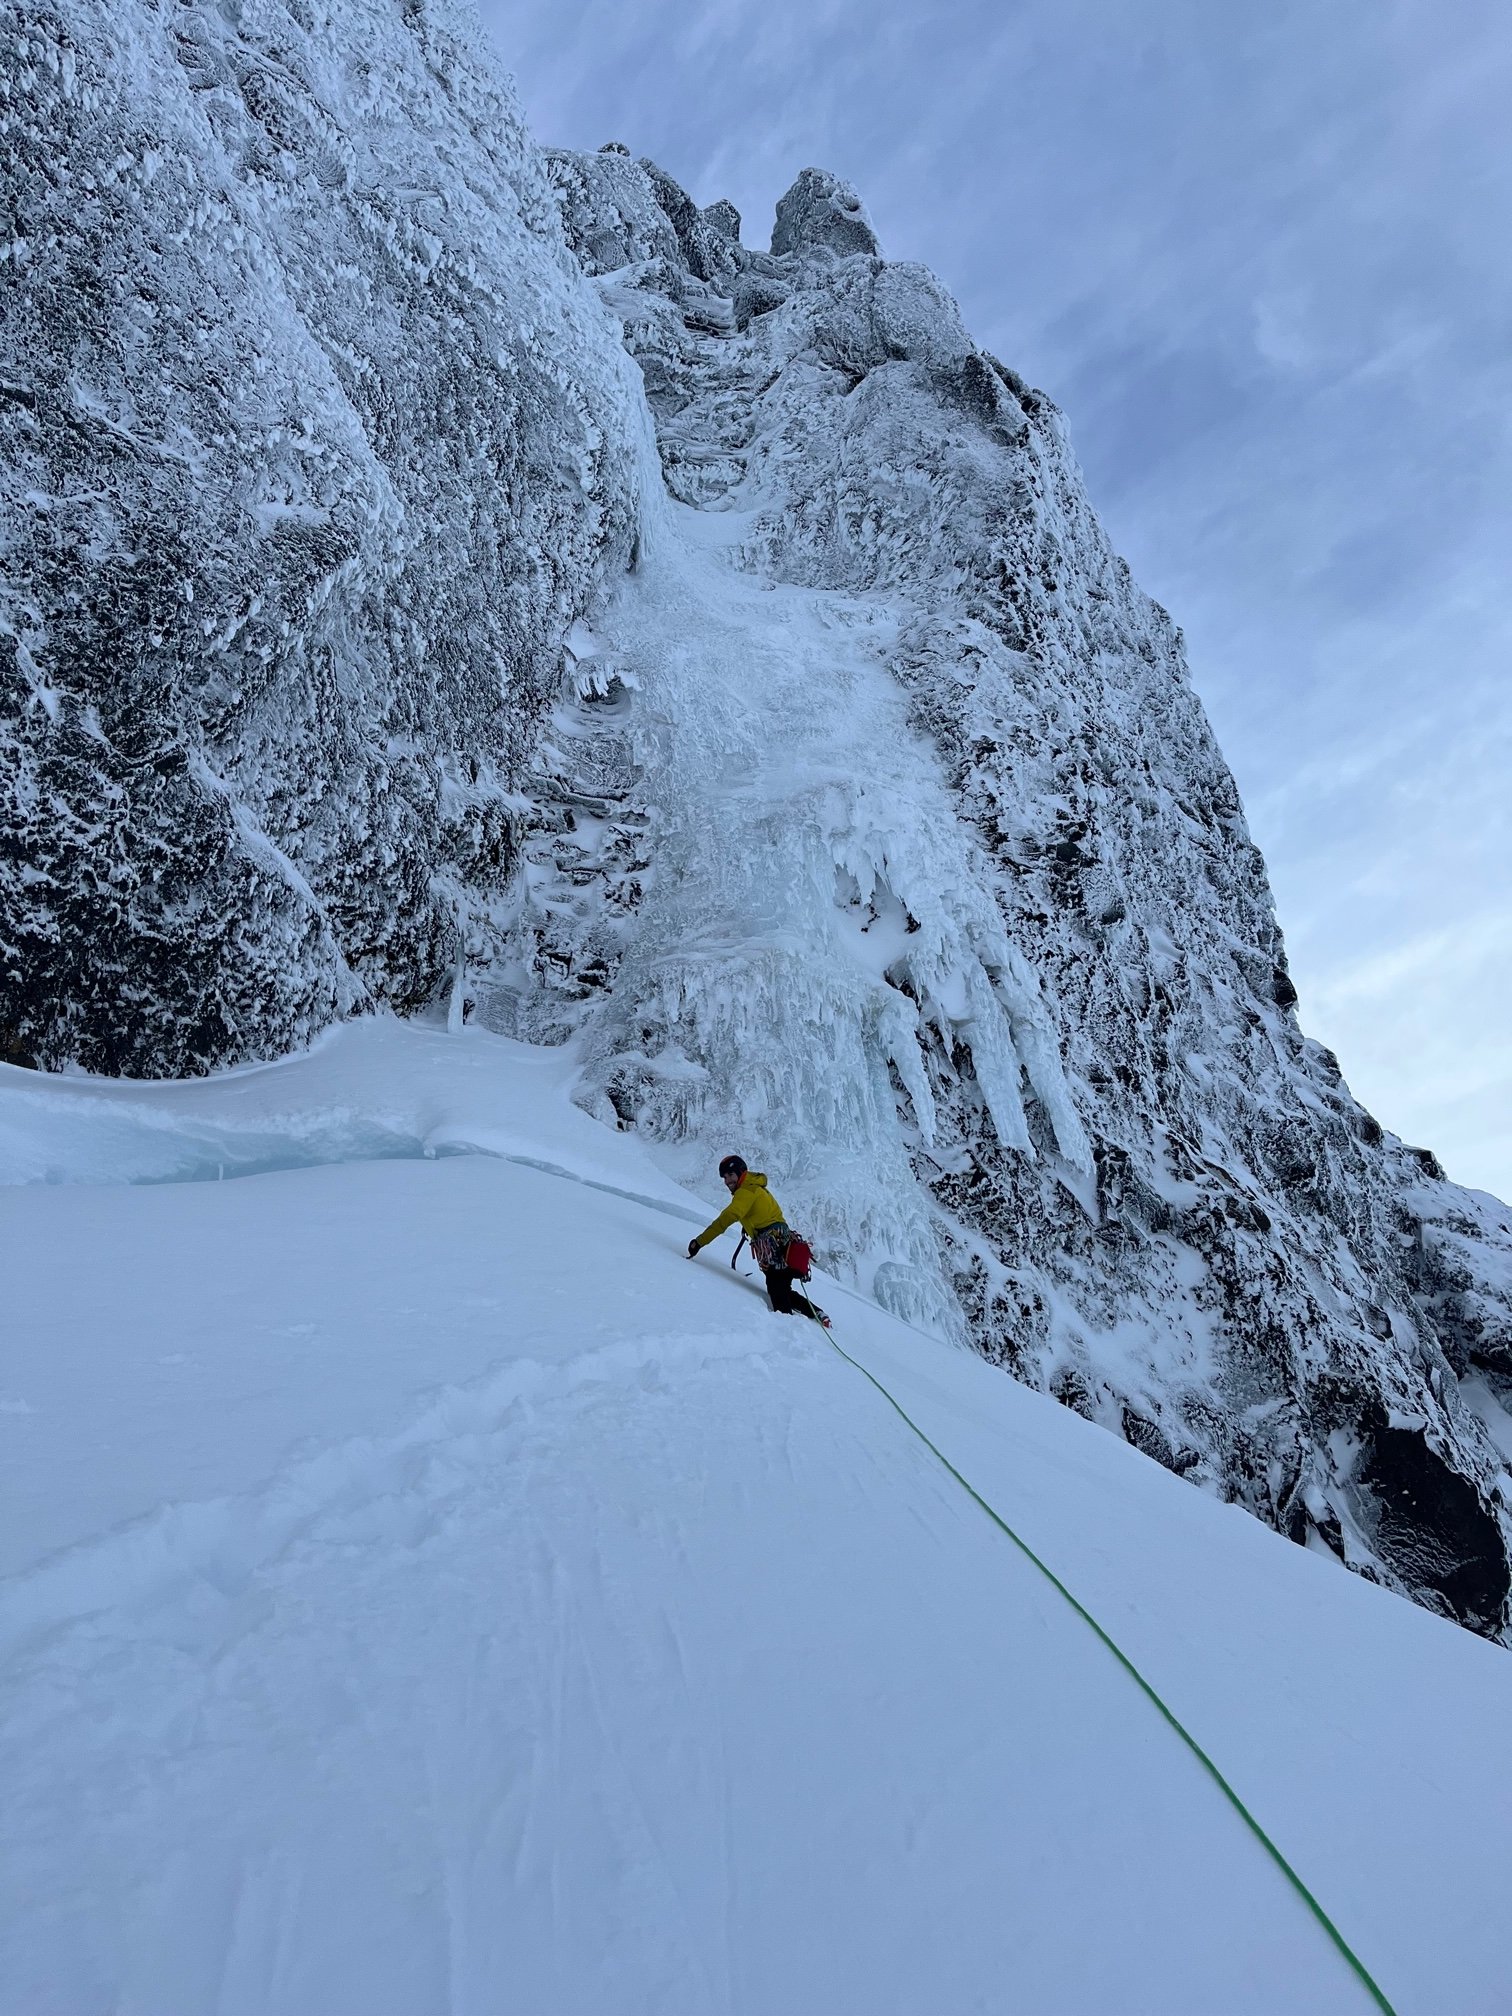
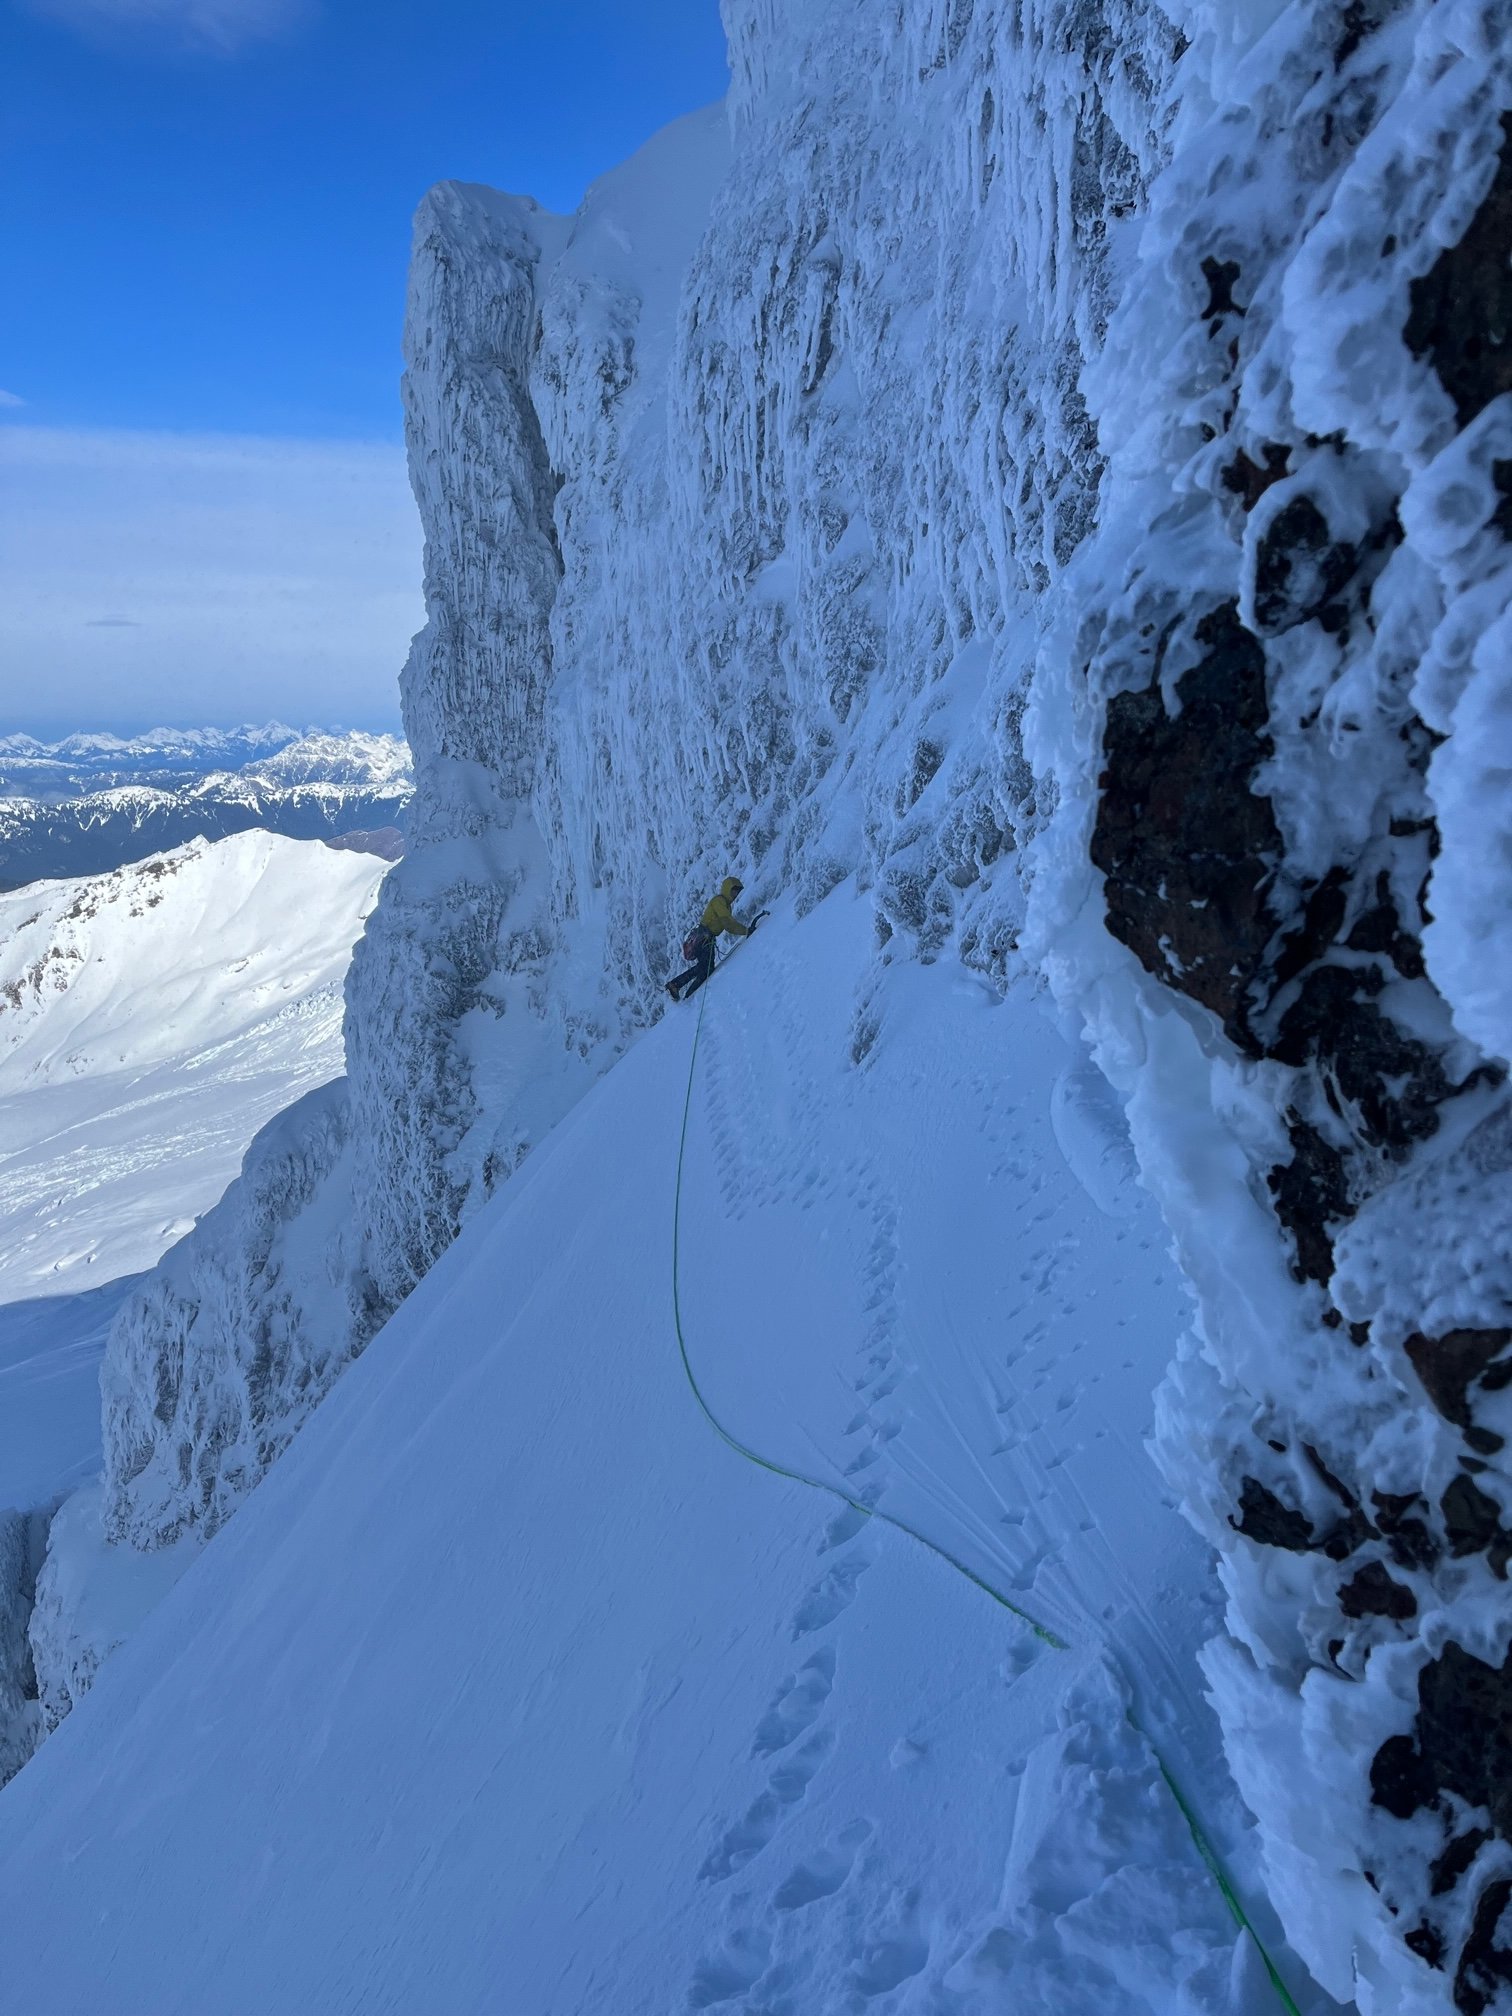
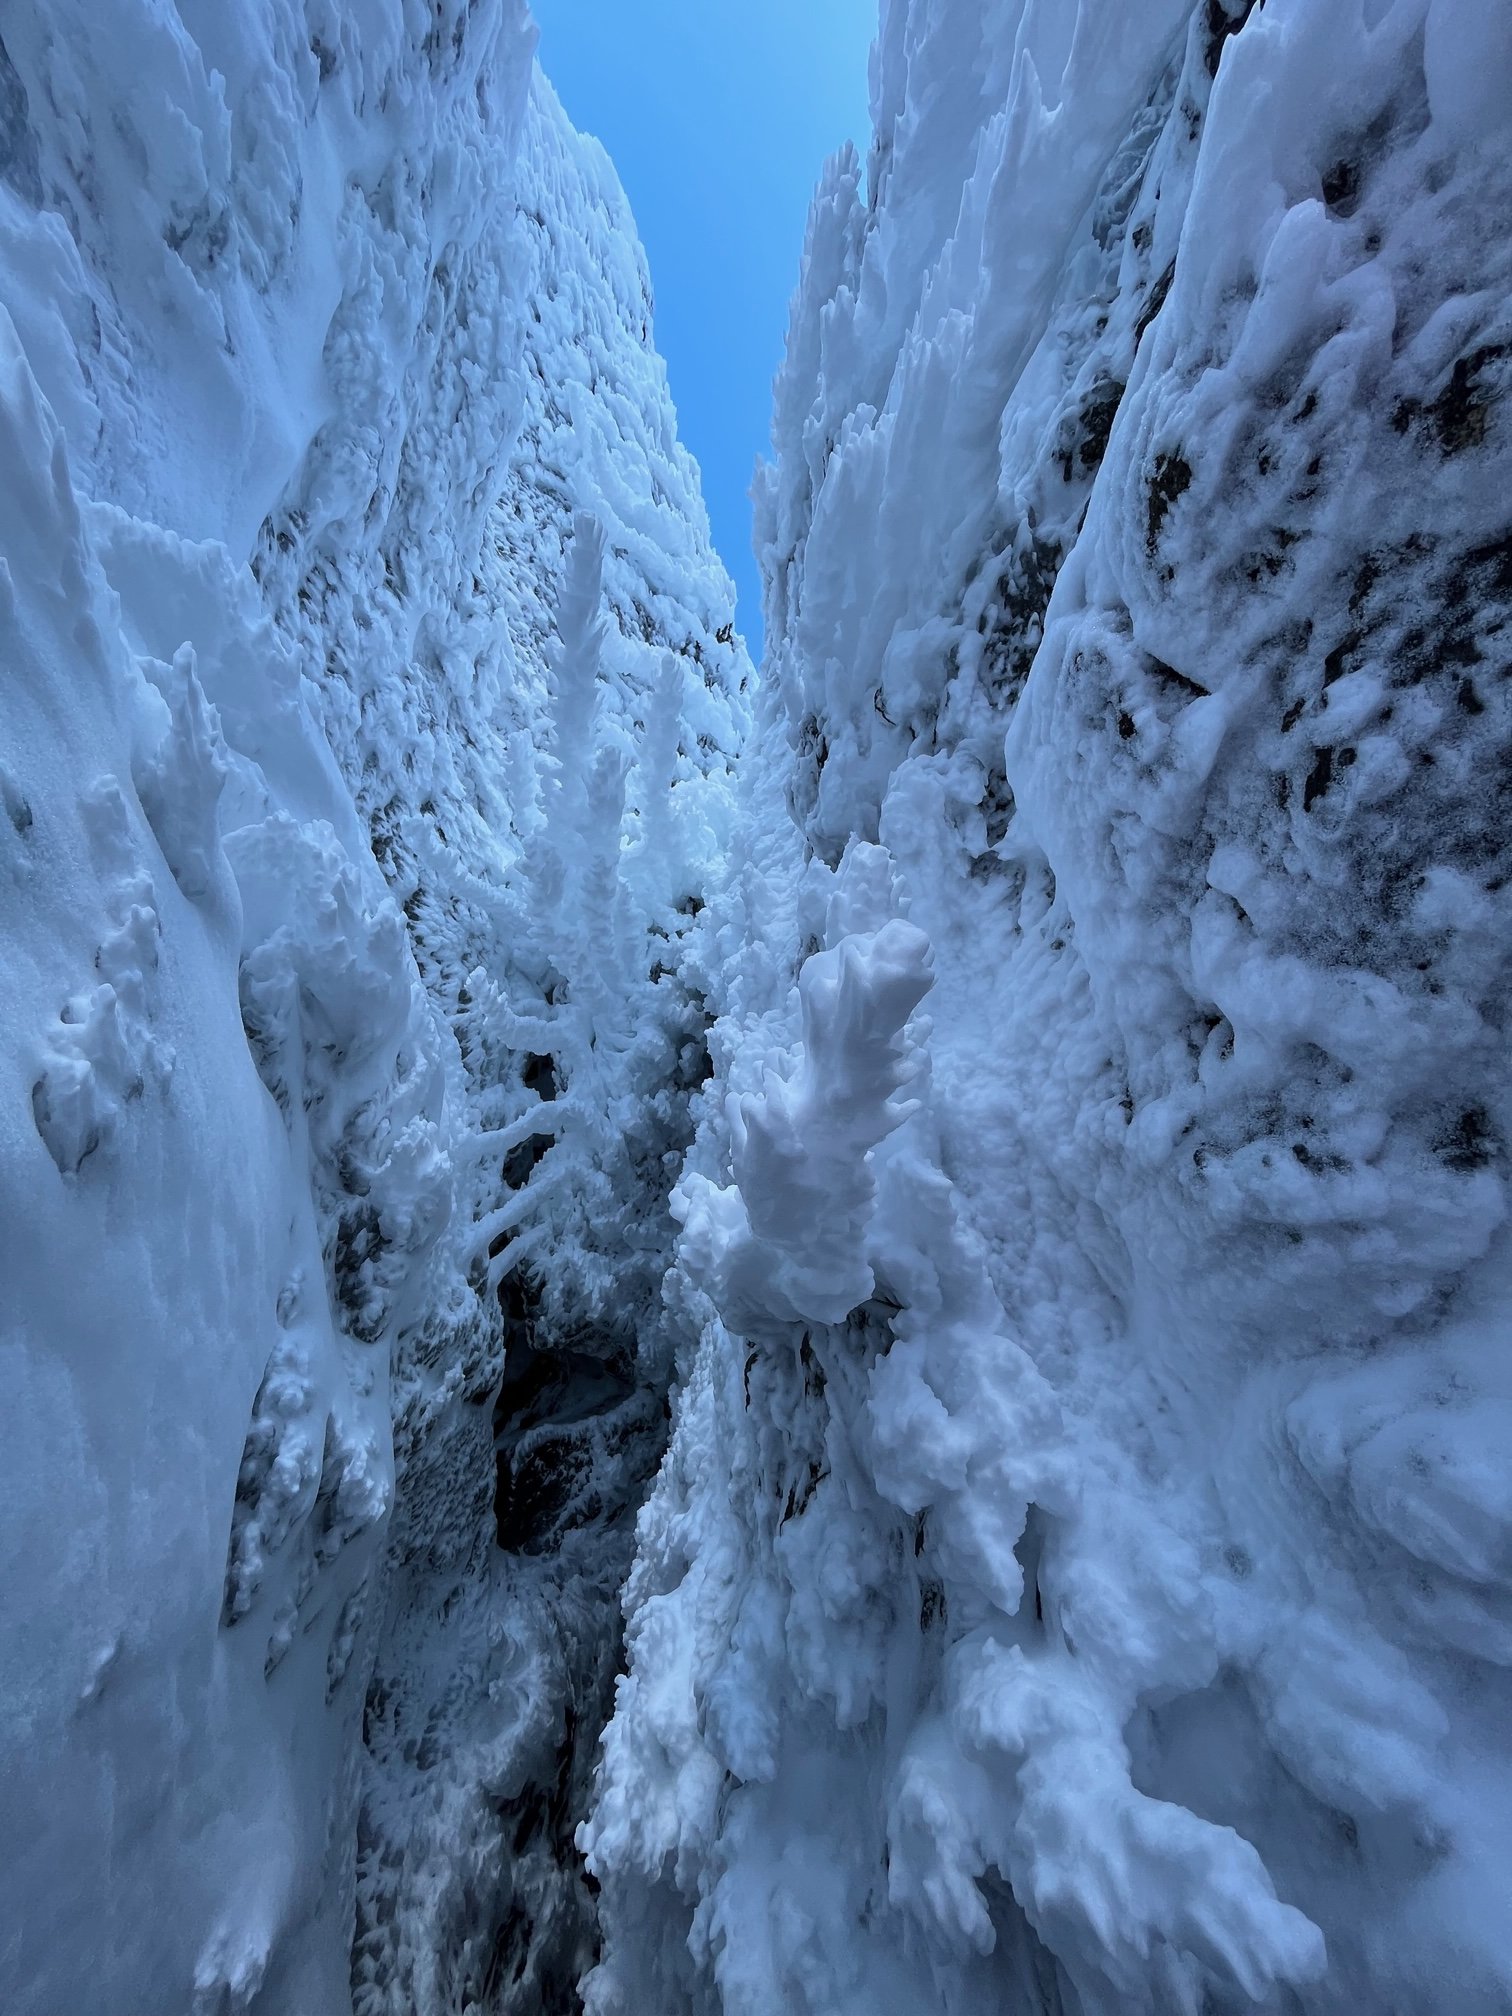
I'll keep the beta spray brief since there is sufficient info out there on both routes involved in this climb. On Sunday the 4th, Eli Spitulnik and I hiked then skied out to Colfax with an idea I had schemed up the week before. We planned to climb the first ~80meters of the Polish route (Link, Link), then traverse a snow band left to the pitch 4 chimney of Colin's route Kimchi Suicide Volcano which we would then take to the summit. The combo worked out better than we could have imagined, and we both think this is one of the most quality alpine mixed routes we've climbed in the cascades. The nature of this route allows it to go in normal conditions, where the Polish or KSV would not be in. We hope that it'll become a popular way to climb this face as it has much more actual climbing than the Cosley-Houston, for a slightly harder grade. Here's some pretty pictures. Blurry, but you get the gist Eli about to cross the bergschrund Following P1 Myself taking the spindrift straight to the face starting pitch 2 Eli traversing over to the KSV chimney. Entering the squeeze Eli carried the pack like a champ through the rime tunnel Wild rime daggers threatening to collapse on our heads while we tunneled Eli after exiting the tunnel into the sunlight Pleased to be on the summit and in the sun. Tagged the East summit on our descent Rack: 9-12 screws, single rack .2-2, nuts, selection of kb's and beaks (very helpful for anchors). If you don't like long sections of unprotected snow climbing, a picket or two may come in handy for the upper slopes. In less rimed up conditions more rock gear should be available. In our conditions cams from .4-1 would have been sufficient. You may be able to climb all the way up to the ledge traverse in one pitch with a 70M rope, otherwise we had a single 60.1 point
-
Nice work Michael and Eli! Visionary to remove the need for the pesky Polish's dagger to be in. I'm giving you permission to upgrade it to WI4+++ but, this being Washington, no way can you call it WI5- ? I fear for the aspiring moderate alpinists who attempt some of the WI4+/M5 routes put up in the last several years without knowing that WI4+/M5 is the new 5.9+/A2.1 point


