Leaderboard
Popular Content
Showing content with the highest reputation on 03/06/21 in all areas
-
Trip: Morning Star Peak - Beyond Redlining (Rope Solo) Trip Date: 08/04/2020 Trip Report: Preface: I just got back from a long weekend at Smith to escape the hot pow and persistent weak layer. Drytooling is fun and all, but I wanted to remind everyone how much more fun summer rock climbing is than winter climbing. Anyways, on to the long overdue TR. I like to climb a lot. With a 4 days on, 3 days off work schedule, I have a lot of time to do so. I also like to spend some time alone in the mountains moving at my pace and enjoying the little things. Over the last several years I have dabbled and somewhat perfected my rope soloing system. It all really started with a sketchy half belayed, half solo ascent of a seeping Ground Hog Day out in Leavenworth in 2017. After numerous other climbs, I finally came up with a system that worked for me, and in early April 2019 I rope soloed Outer Space in just around 4 hours base to top. Pitching everything out and reclimbing every pitch on TR solo. Two months later I came back and soloed everything except the crux pitch and the 3 other 15ft insecure cruxes which I pitched out. That hand crack pitch without a rope is an incredible experience. Jump forward to last August and I am as driven as ever. The thought of another lockdown pushing me to eek every ounce of adventure out of my days off. Then the news came out about a new 11 pitch 10+ alpine sport route. It seemed like the perfect route to test myself on. On August 4th I grabbed a stupid number of draws and loose krabs and drove up to the Sunrise Mine trail. The approach was nice, but brushy and wet from the morning dew. As I passed a few parties of hikers in the upper basin, it was looking as if I was going to have the route, if not the whole wall to myself! Once near the base of the wall, I was very glad to discover that the spring at the base of MHC was still running. For weights sake I had brought a total of 0 ounces of water for the hike up, fully relying on a recent report that the spring was alive and well. The route was easy to find from the spring, I simply walked back along the wall keeping my eye out for some shiny new bolts marking the start of the route. The first pitch was fun! A long 55ish meters of engaging varied climbing that gets you on your toes right off the bat. By the end of that pitch, I was feeling rusty and my feet already hurt. This was going to be a great day. Blurry picture of P1 In an effort to move efficiently I had decided to try and link as many pitches as possible. For some reason at the time 35m+40m=65m, meaning I would have just enough rope to link pitches two and three. As it turns out it actually equals 75 meters, and Rad’s pitch lengths are spot on. This left me tugging at my rope a couple feet above the last bolt, trying to pull every last bit of rope stretch the rope would give me. To no avail, I backed off and downclimbed back to the final bolt. I then proceeded to assess and bounce test the fuck out of that bolt. The rock is good, and the bolt is well placed. I decided to call it my belay and continue as normal, rapping down to clean the pitch. The next two pitches linked without issue, and honestly while writing this several months later I can’t remember anything about them. Now below the first crux pitch with the cobwebs dusted off I was feeling good and moving fast. Following the most obvious bolt line took me up to a steep corner system. While trying to suss out the moves from below I happened to glance over and notice a couple bolts far to my left. Much to my annoyance I had inadvertently started up the 11+ unfinished direct line. Luckily I was still at a point where I could downclimb back on route and finish the correct pitch. It went off without a hitch. This was the first pitch that I did not clean “cleanly”. I did not jug any of the pitches, instead I would repeat the pitch on TR solo, pulling on the rope or draws to use as little energy as possible. It seemed to work well, and was by far the fastest option. The headwall pitches now loomed above, a long line of bolts weaving their way through corners, roofs and overall blocky complex looking terrain. I somehow managed to link both pitches together cleanly, making for a single mega 65m pitch through the headwall. By the time I reached the crux corner of pitch 8 I was already pretty pumped, but discovered a tricky stem/drop knee right in the middle that allowed me to rest, figure out the moves and futz with my grigri. The climbing is 3 stars, but the position is all time! Looking down the headwall pitches, the rope showing the way. The routes crux IMO Looking back up the pitch(s) One more time looking down the headwall to show steepness. The next two pitches offered some more excellent climbing, but also some of the worst. There comes a spot on P10 where the rock gets incredibly dirty and friable, with the next bolt just out of view above a bulge. I damn near pitched off this section trying to figure out if I was on route or not. I was, and it all worked out just fine. At the base of pitch 11 I finally took a real “shoes off” break and sat on a really nice flat ledge in a desperate attempt to depump. Having taken no real breaks up to that point, the constant climb-rap-reclimb had started to take its toll. Too antsy to get to the top, I saddled up and kept climbing. Much to my relief, the final crux was an awkward slab move! No forearms required. It took a bit of ups and downs, but my sore toes stayed where I wanted them, and it was all over in a move or two. The hardest part of the day was by far leaving the summit to clean and reclimb that last pitch. It’s over! JK no it’s not. Now at the summit I ran into a sneaky team who had just topped MHC. They were very confused how I got up there. I filled out the register, high fived myself for a good climb and started over to the raps. It was at this point that I realized I had forgotten both my ATC, and the rap beta. Having climbed MHC ~4 years ago I had assumed I’d remember. A couple raps, one damn near stuck carabiner block, and some totally botched routefinding later I was safe and sound on the ground. I then hiked out and blah blah blah it's pretty up there. Overall I really enjoyed this route. It had a little bit of new route funk, but was really quite clean for how long it is. Good looking mountain! I’m sure someday I’ll whip, my grigri will explode and I will fall to my death. Will someone please sell me a Silent Partner for a reasonable price? I’m a poor gear shop employee that doesn’t want to die. Gear Notes: I brought something like 15 draws and 10 loose carabiners. Normal people not linking pitches should bring 17 draws. Beal Escaper just in case, 70m rope. I now own an 80m rope for stuff like this. Approach Notes: It's pretty obvious. If you have any questions check out the MP listing2 points
-
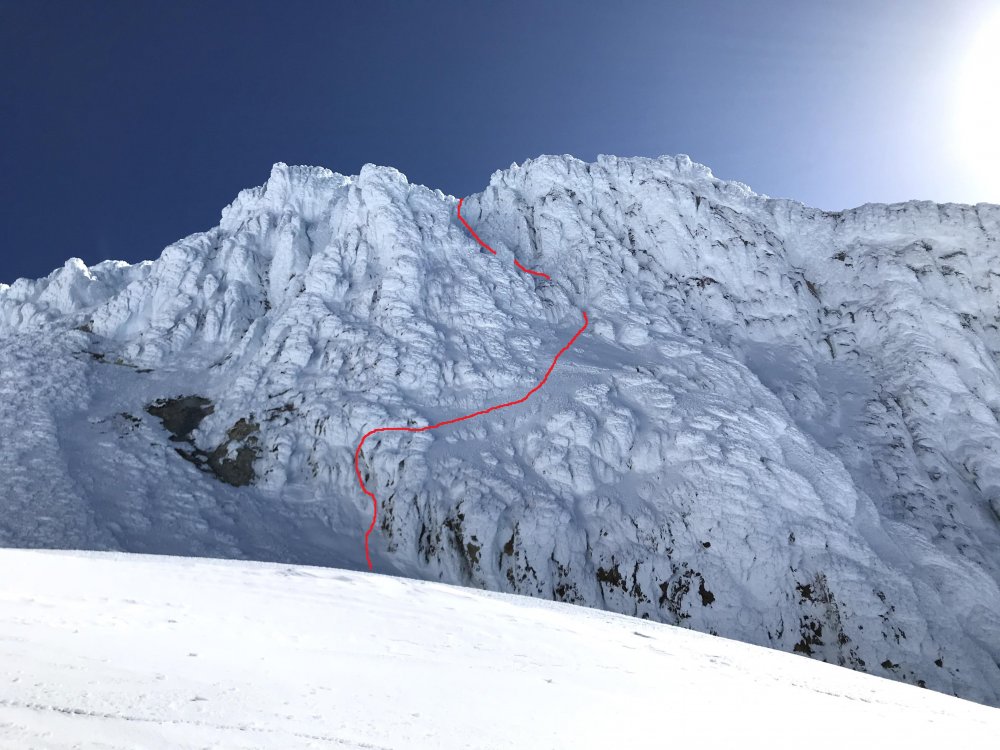
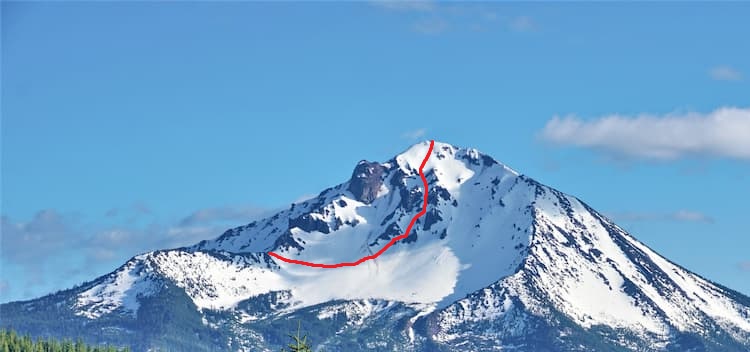
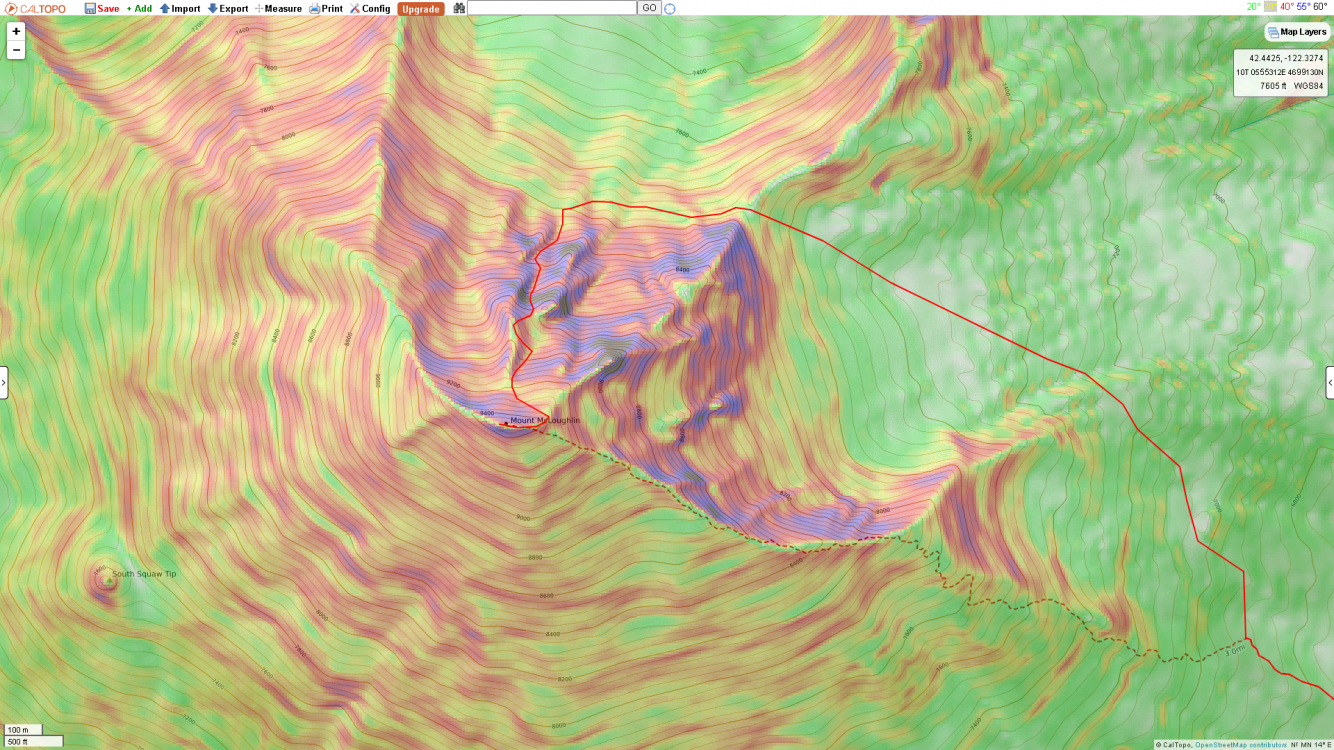
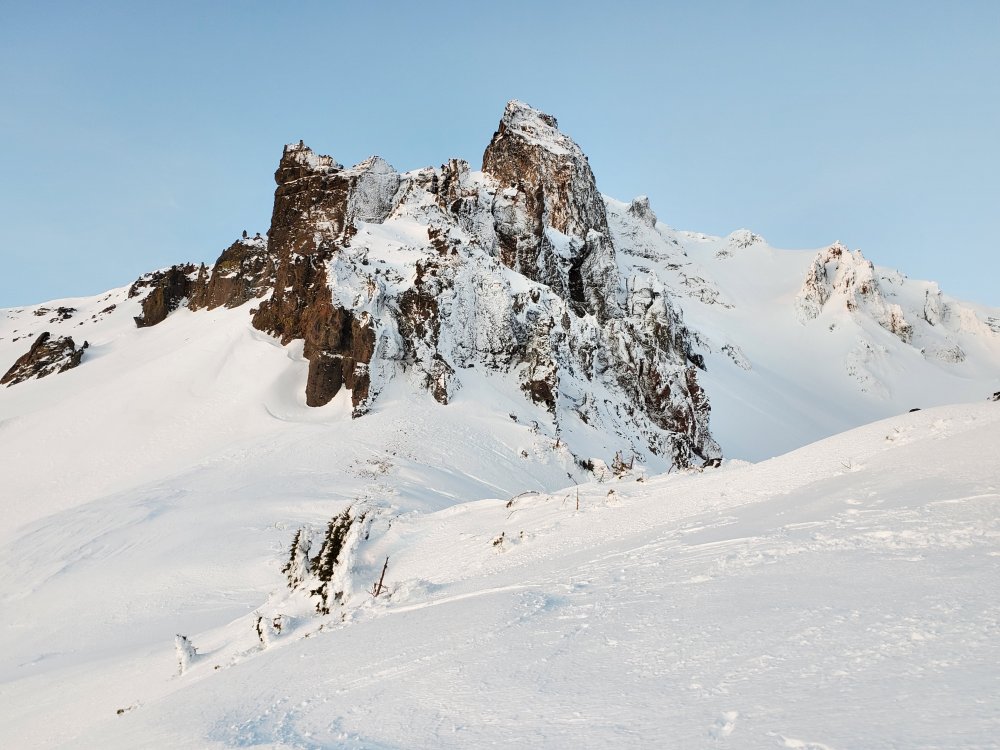
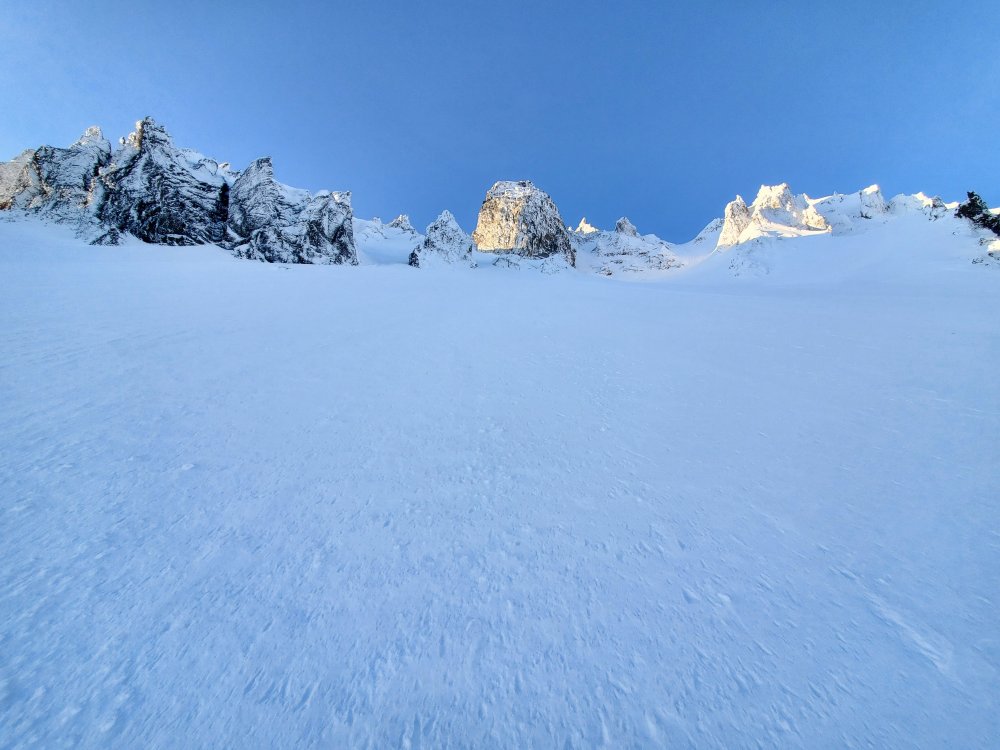
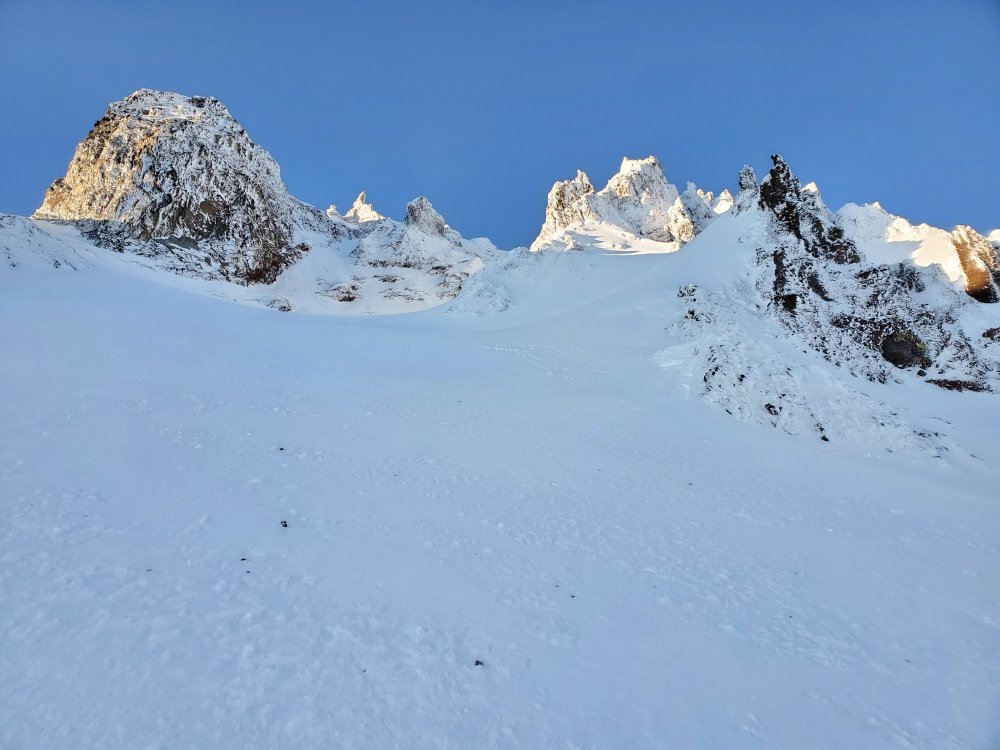
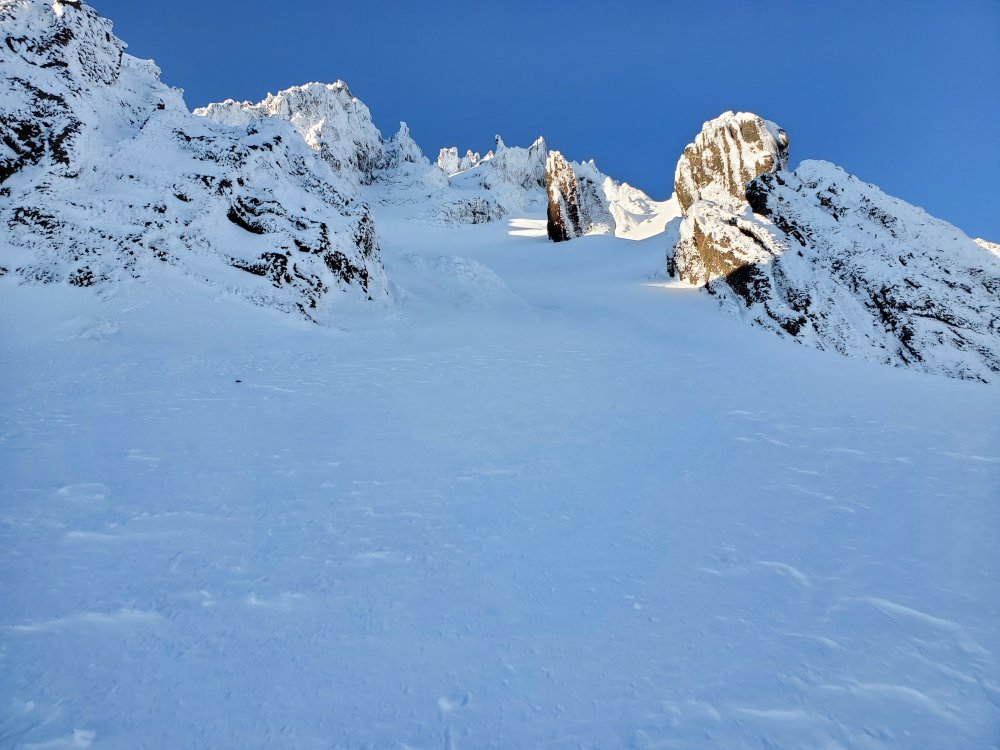
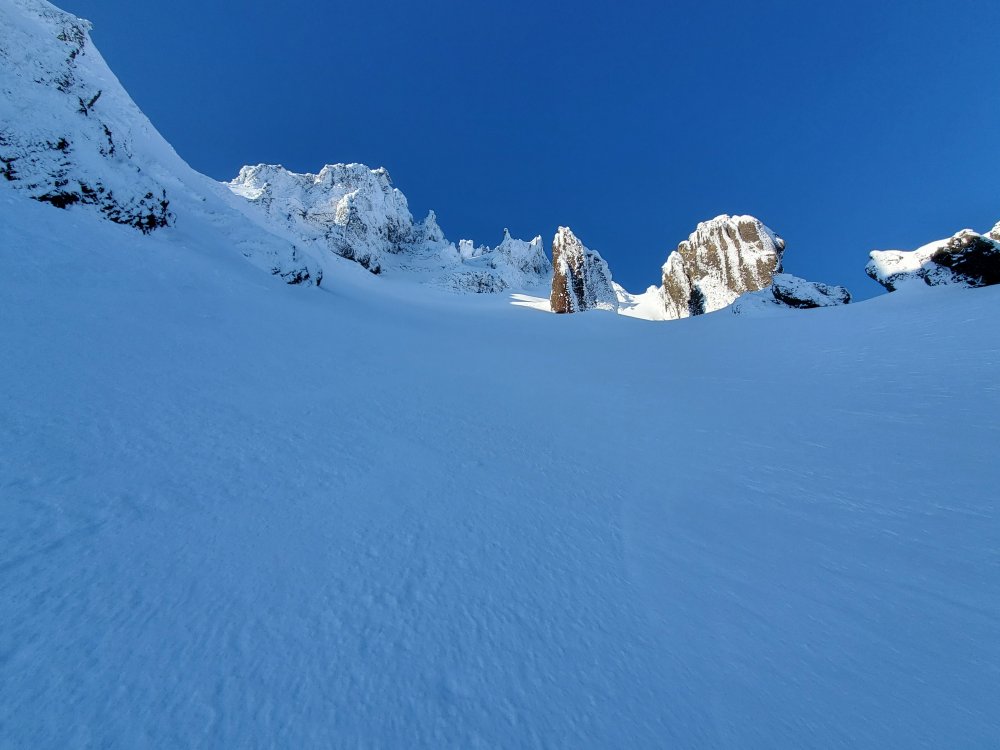
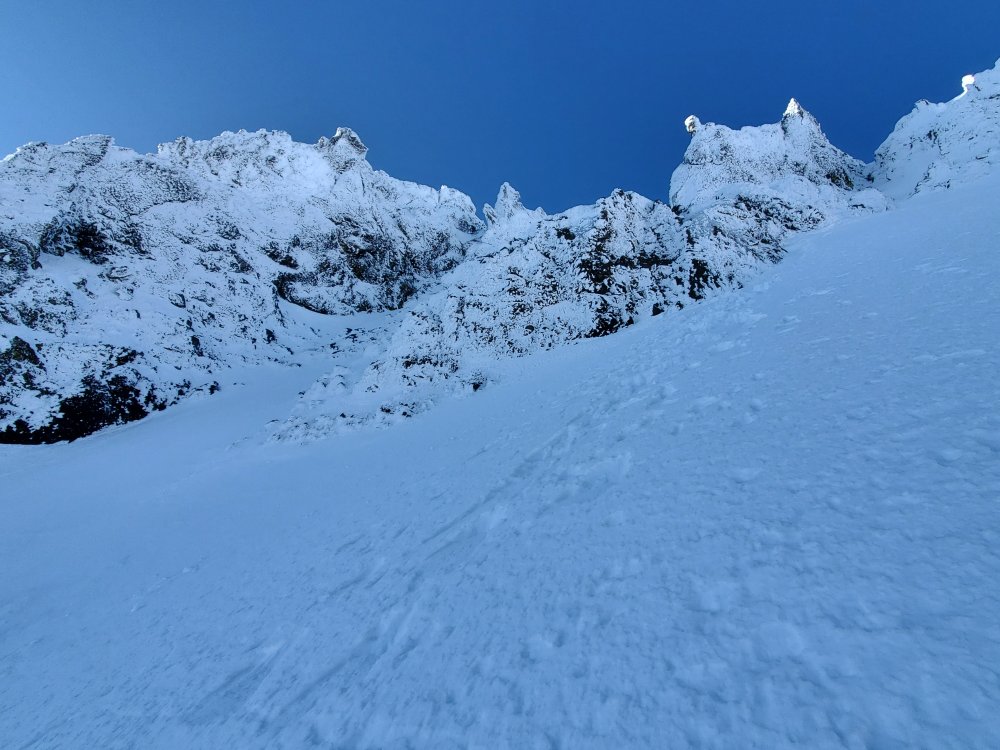
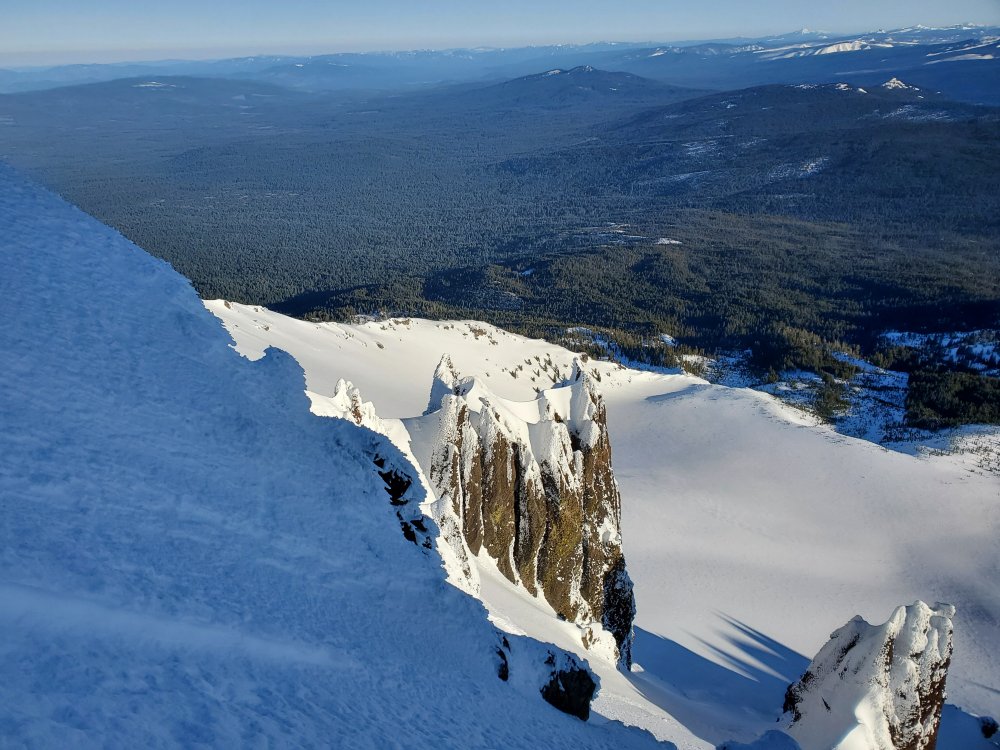
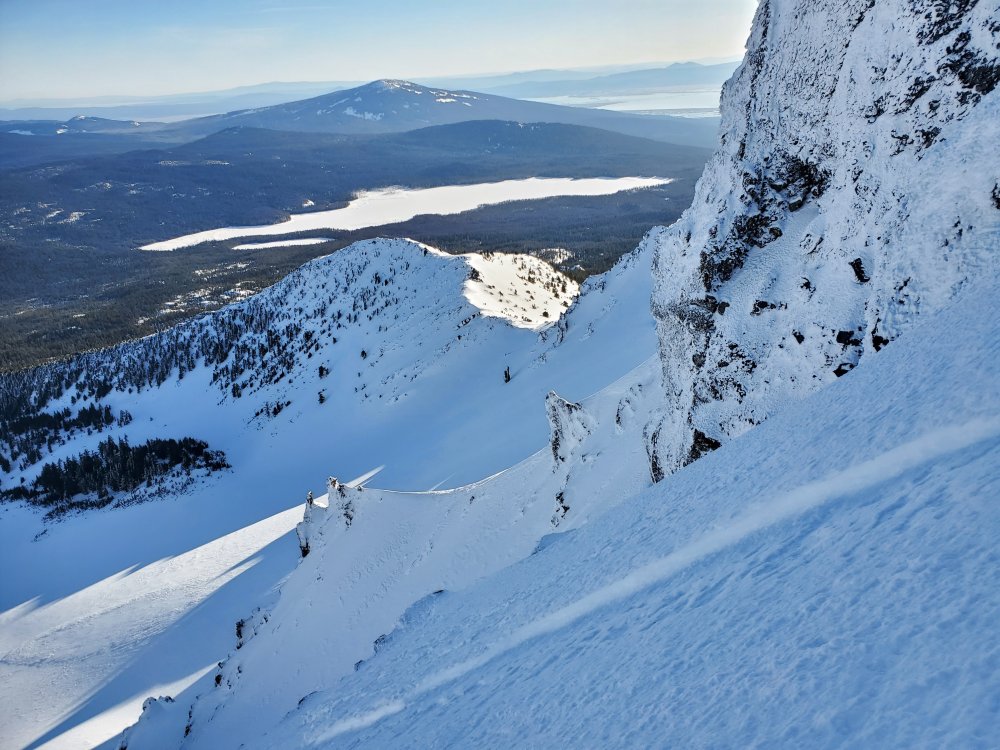
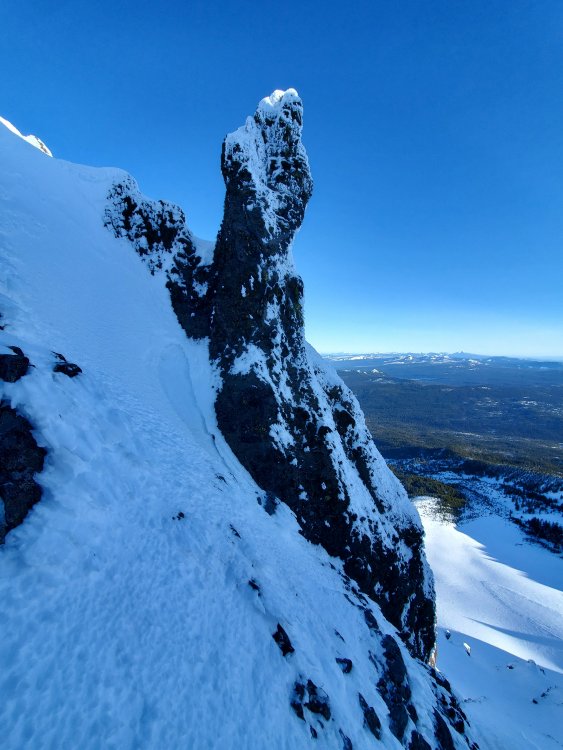
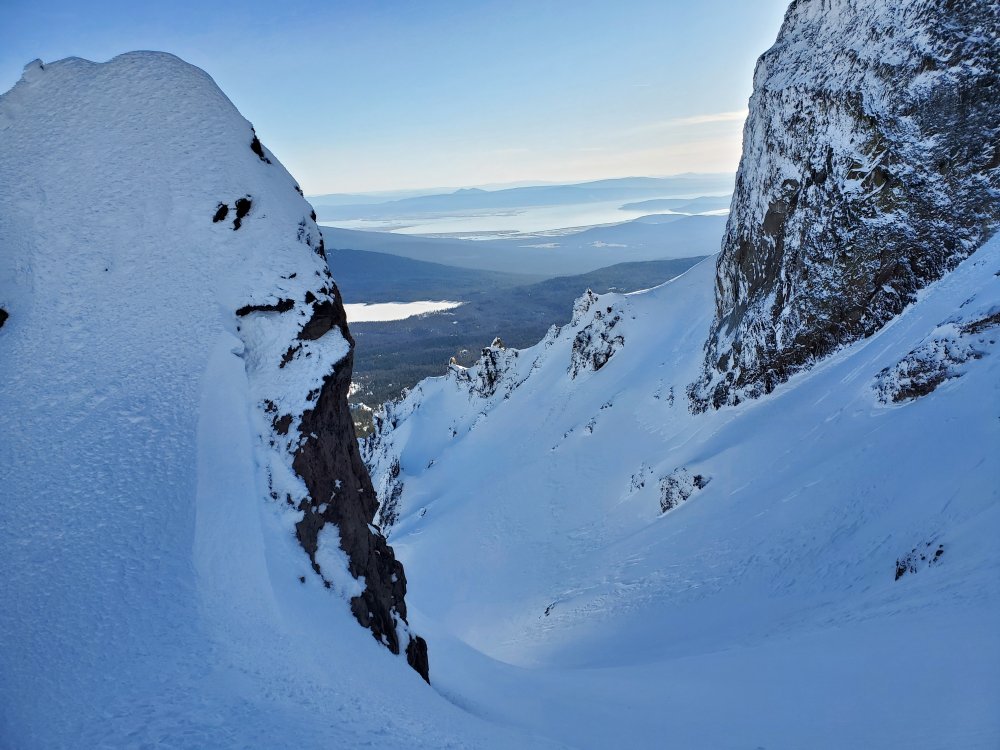
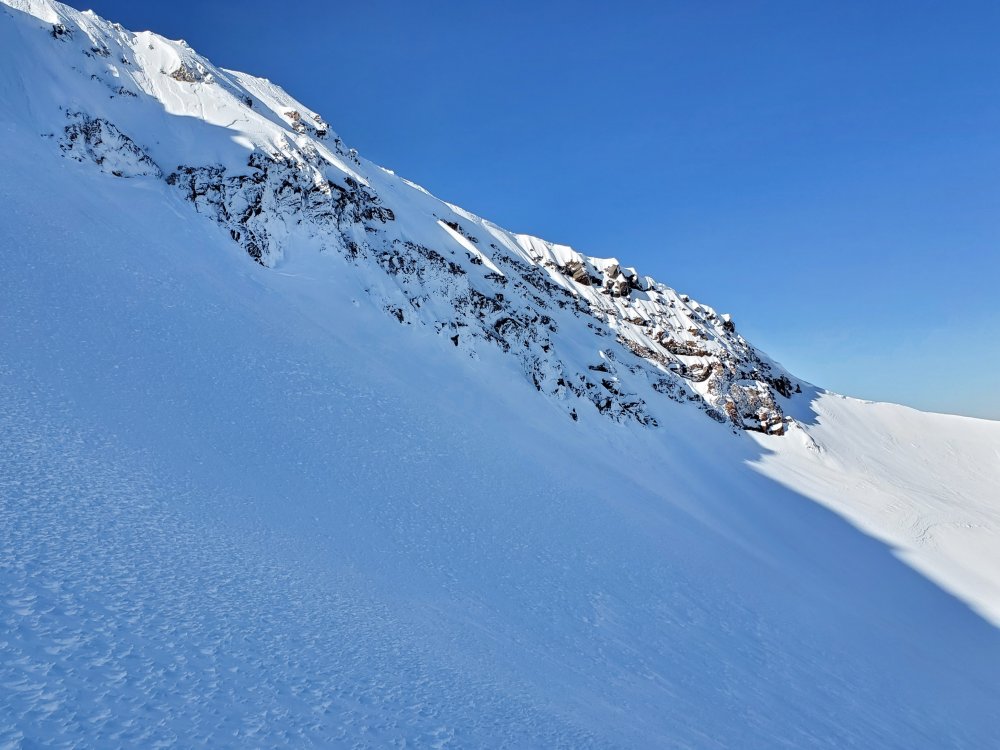
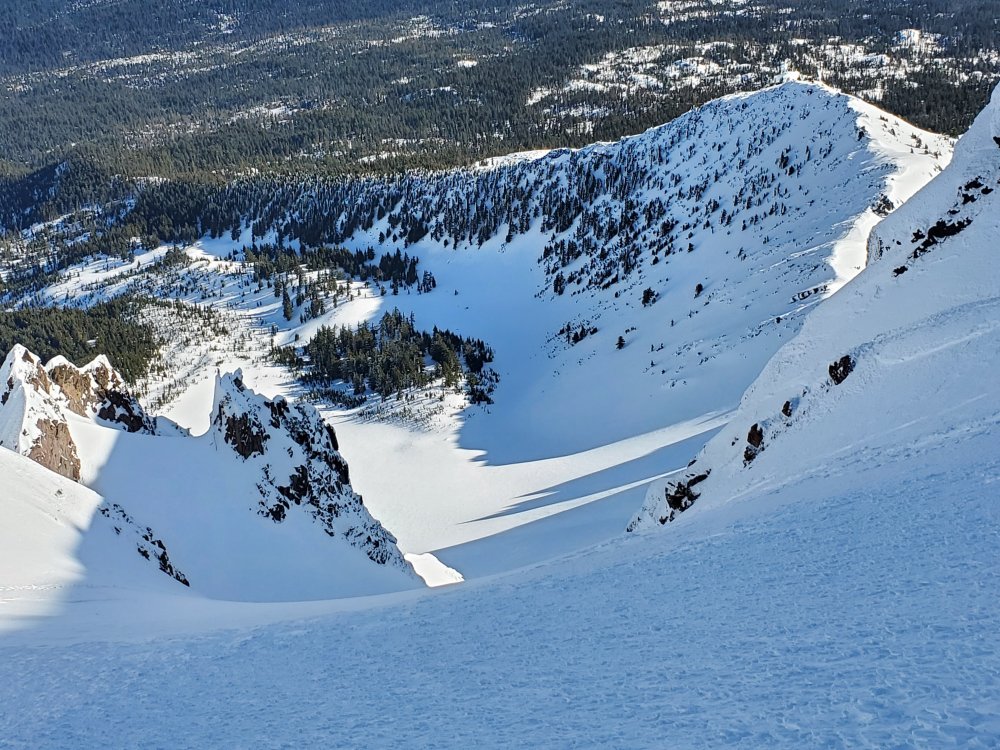
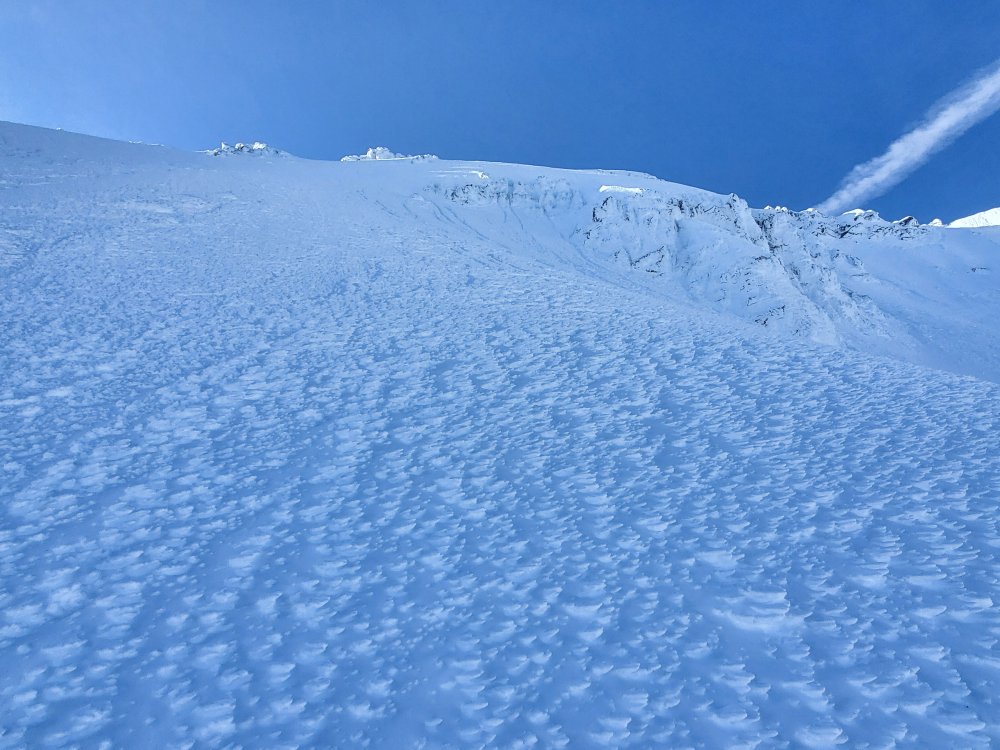
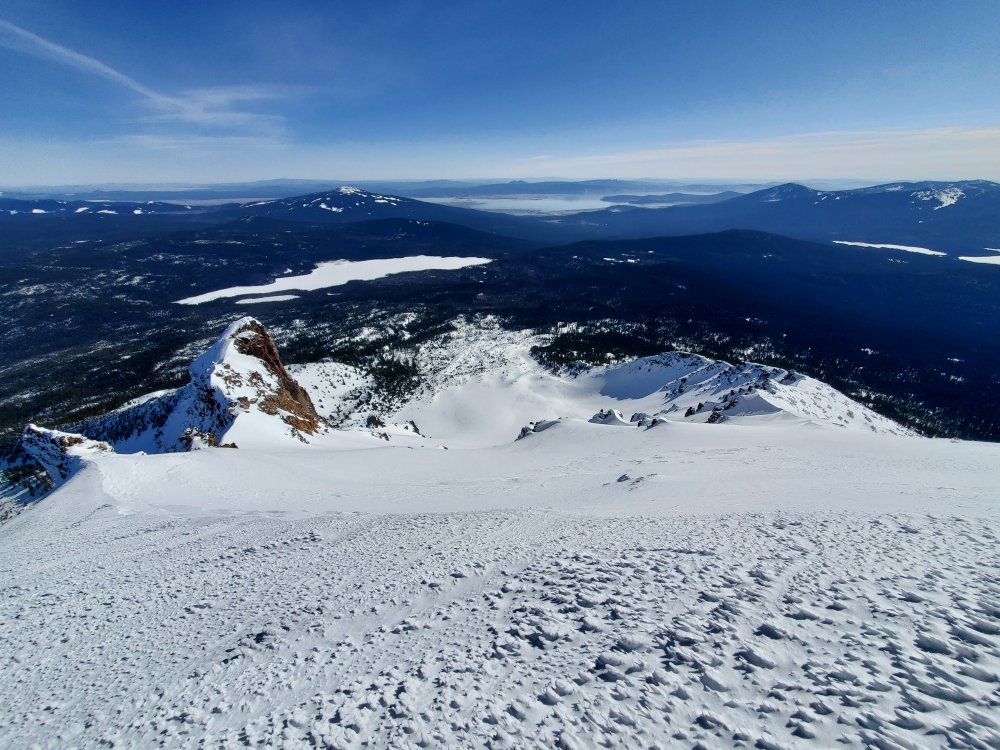
Trip: Mt McLoughlin - Through rock in North bowl Trip Date: 03/03/2021 Trip Report: Somehow I stumbled across this image of Mt McLoughlin and decided the route in red would be fun. Is this covered in any guide books? https://image.shutterstock.com/shutterstock/photos/1105471811/display_1500/stock-photo-mount-mcloughlin-oregon-1105471811.jpg For the past couple of months mountain-forecast showed a good weather window a week or more out but every time the forecast changed and spoiled the party. I tried once before, https://imgur.com/gallery/uB410zr, but gave up en route since conditions weren’t suitable. This time looked good and after a storm cycle that ended on Sat - Sun, three clear days in a row were forecast. Headed down to Summit Snow Park after work on Tuesday and caught a nap before heading out. Arrived too early at the saddle between the North and NE bowls so hung around for the sunrise. Should have brought a long ice axe and a stubby but had two ice tools. There was 0.5 inch crust with no too consolidated snow underneath. Easy to kick in but not solid. A few more pictures here https://imgur.com/a/H4XqwZC Gear Notes: Snow shoes, helmet, crampons, two ice tools - should have brought axes. Approach Notes: From Summit Snow Park headed down FS 3650 and up the normal hiker route. Off trail traverse wasn't too bad with just a bit of side hill action. See attached GPX for the route.1 point
-
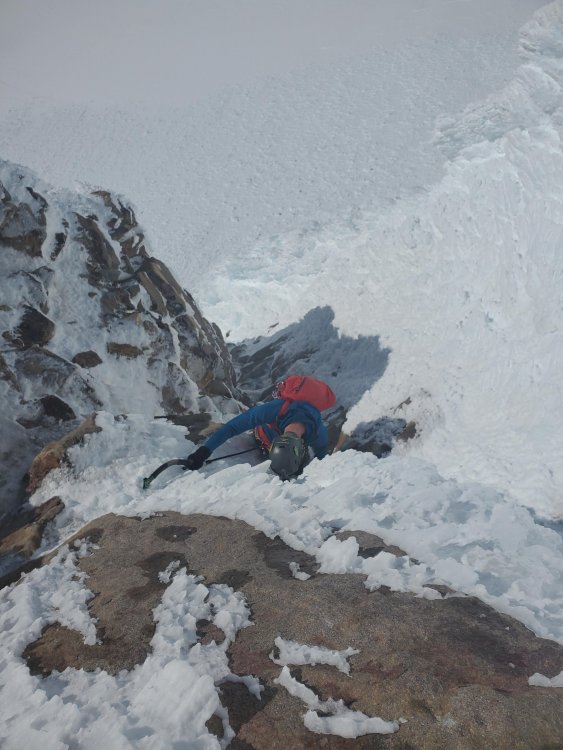
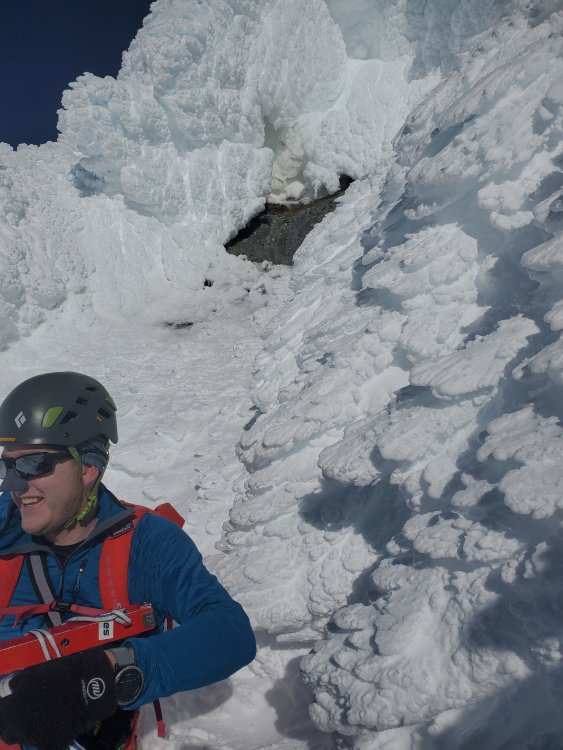
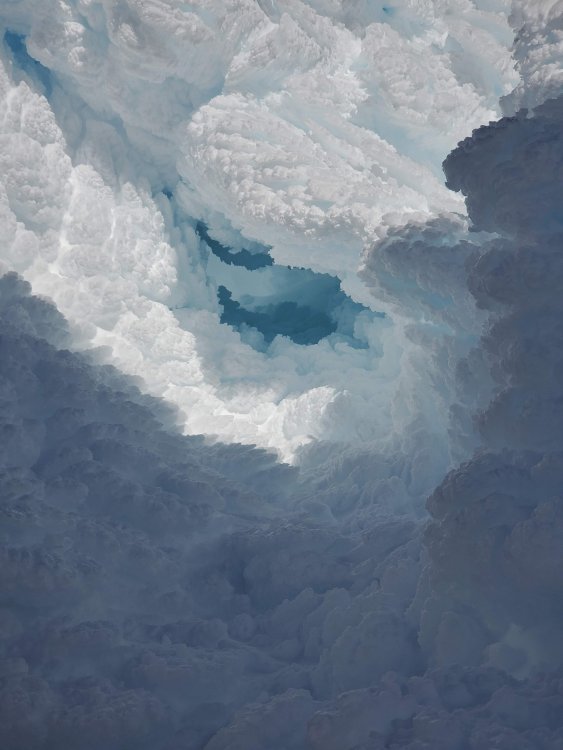
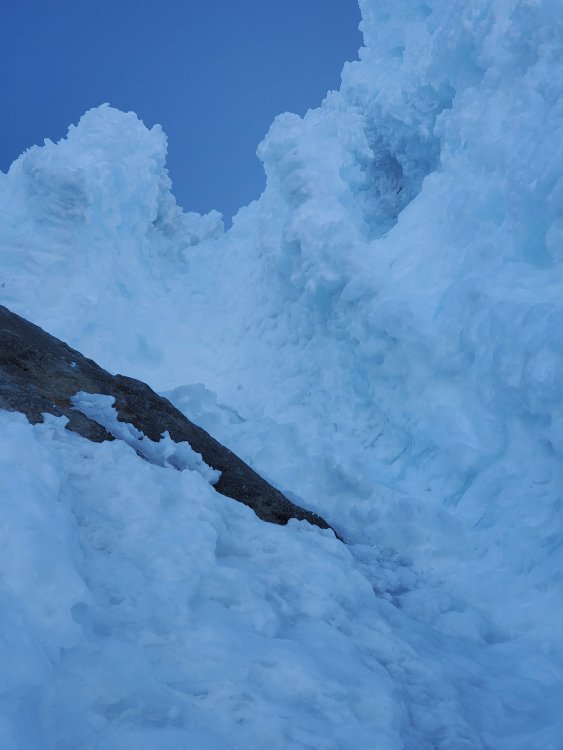
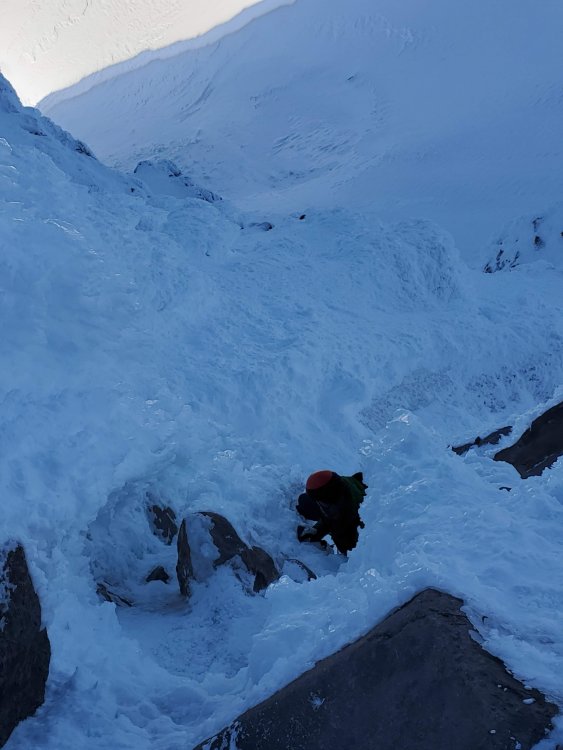
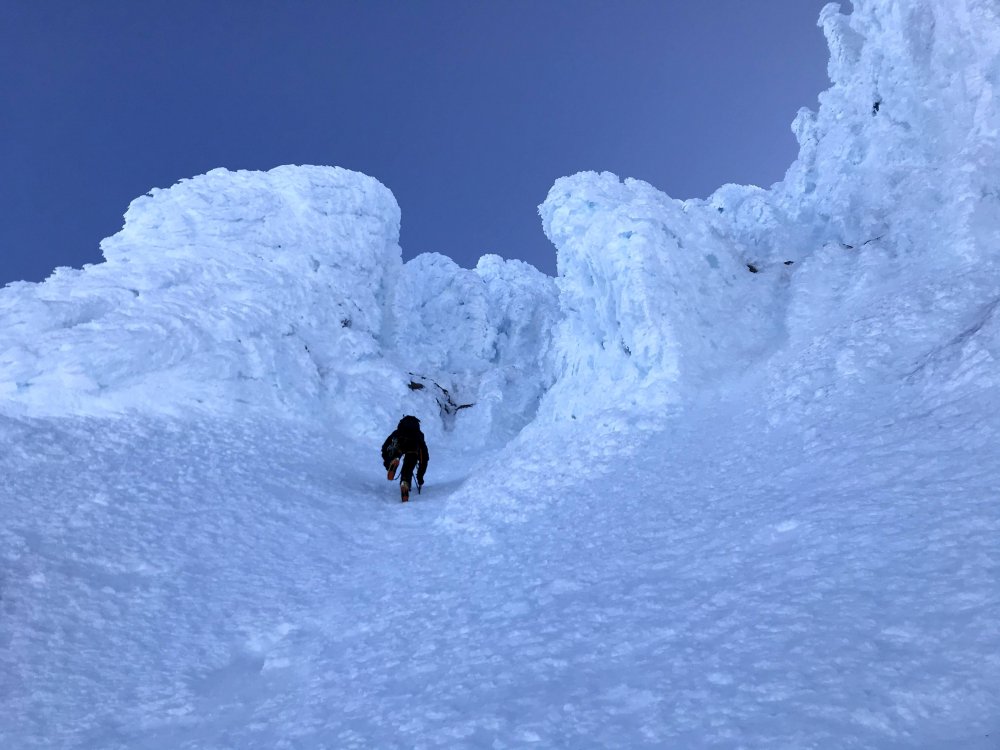
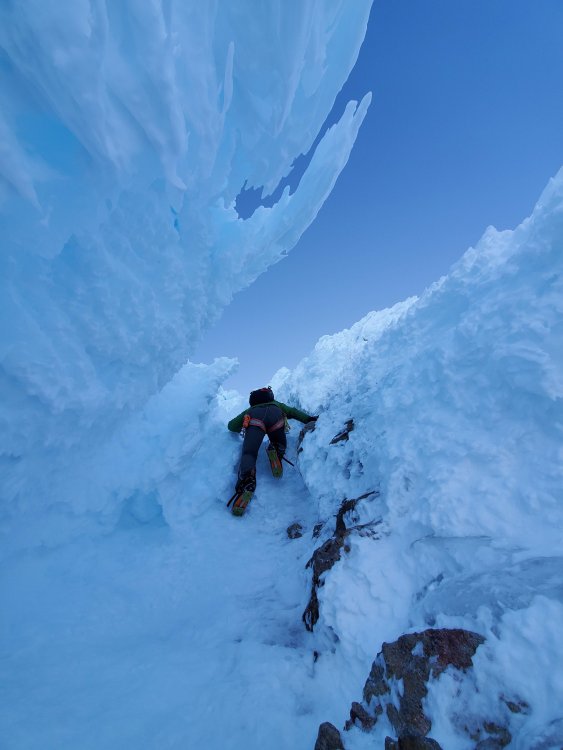
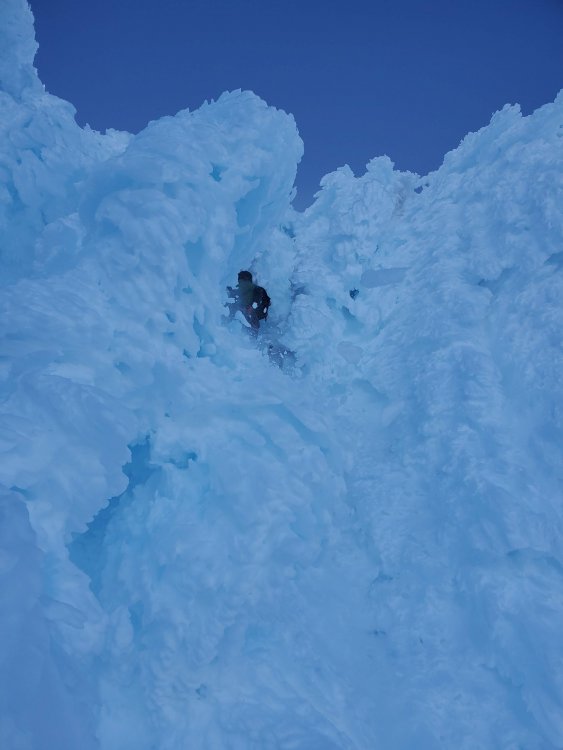
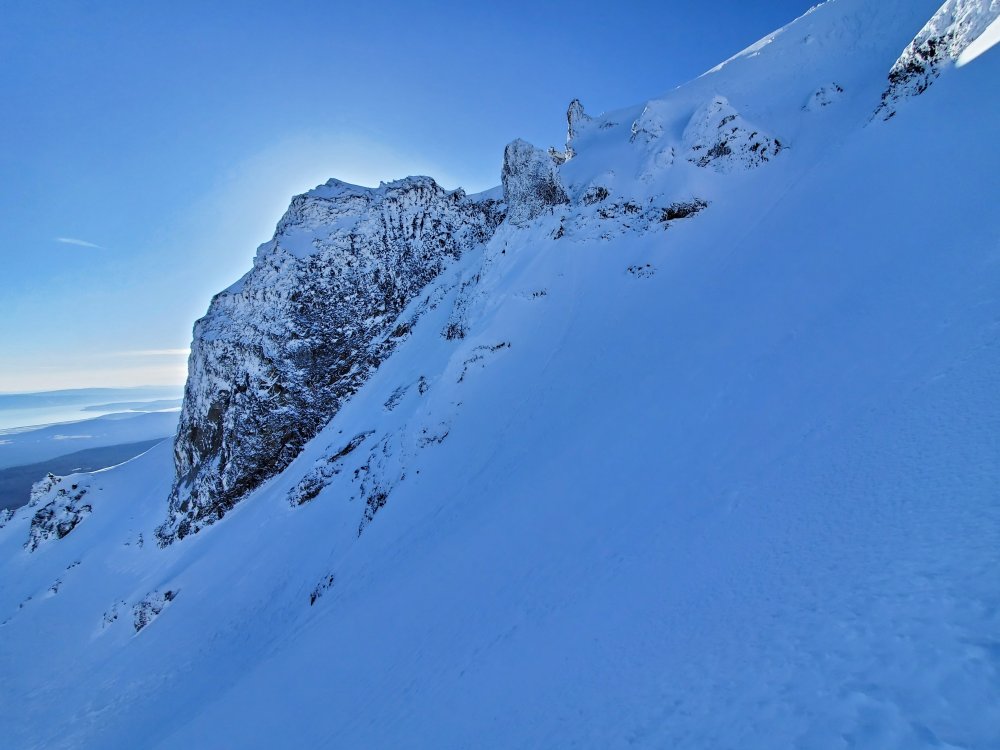
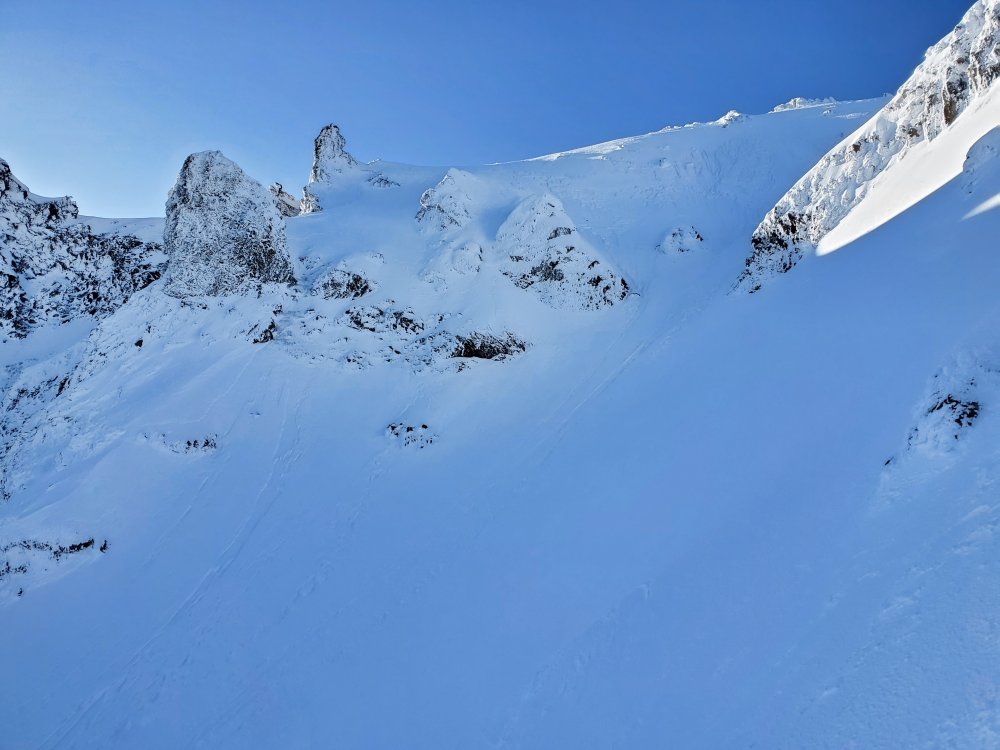
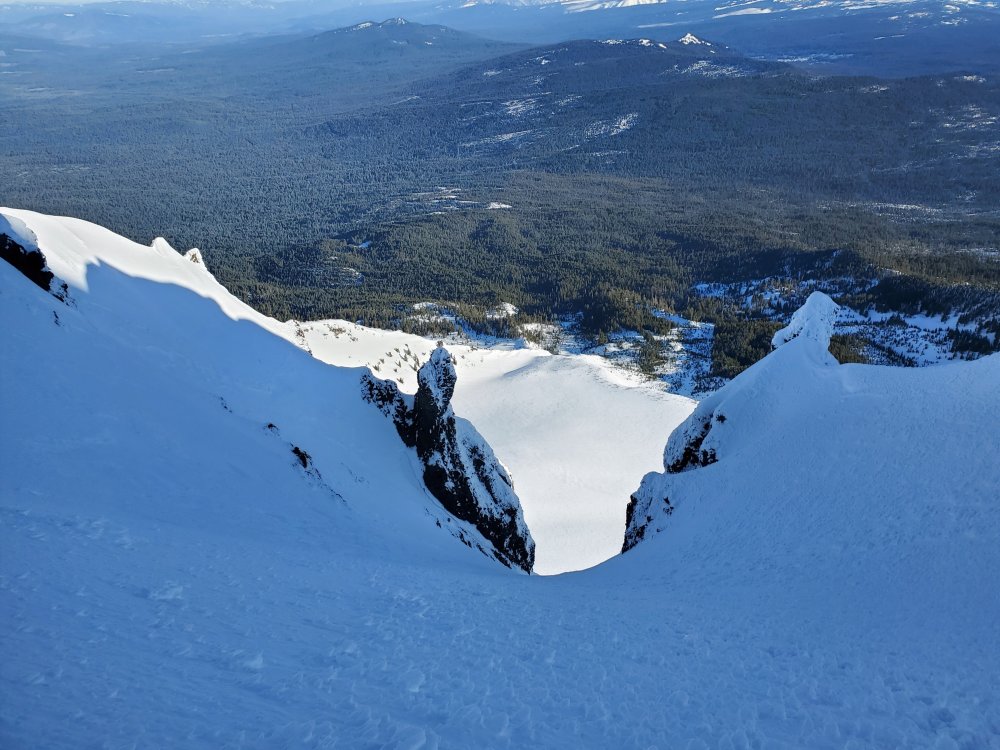
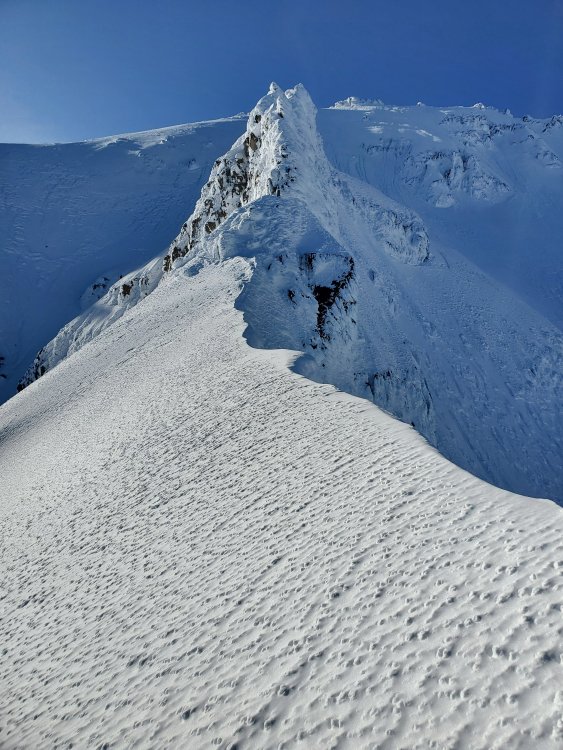
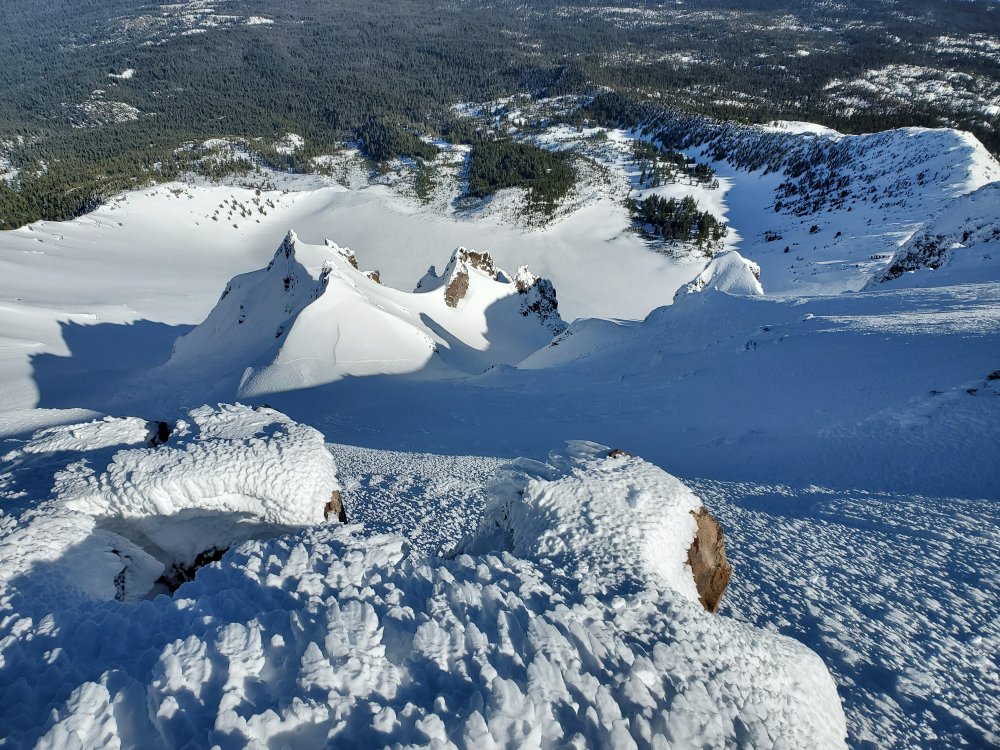
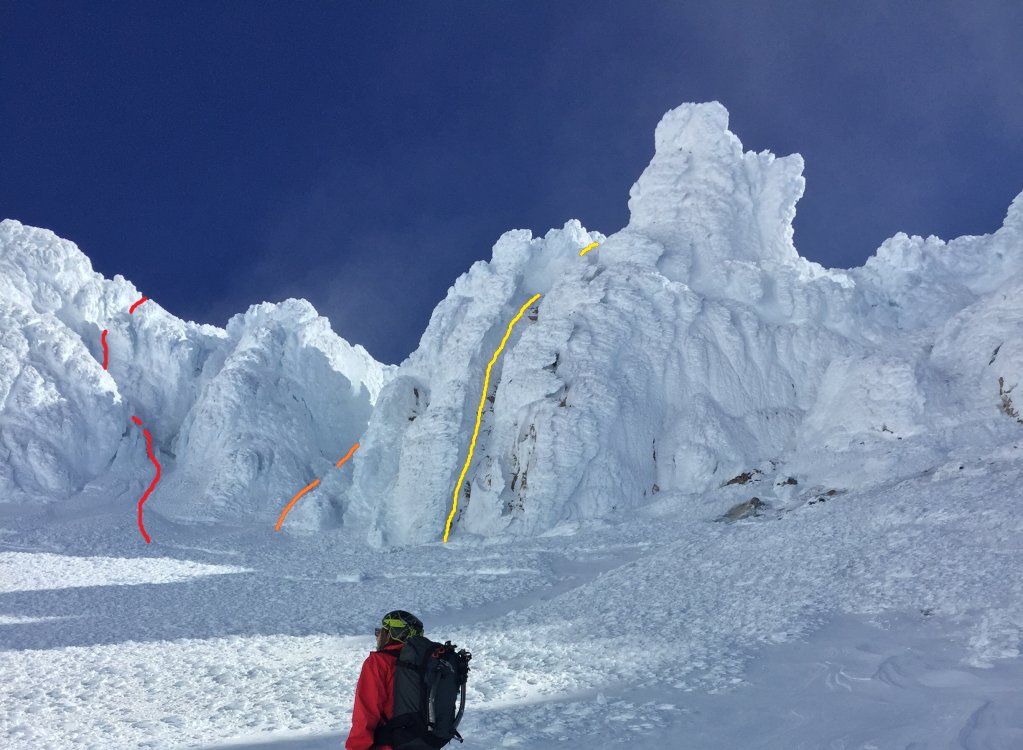
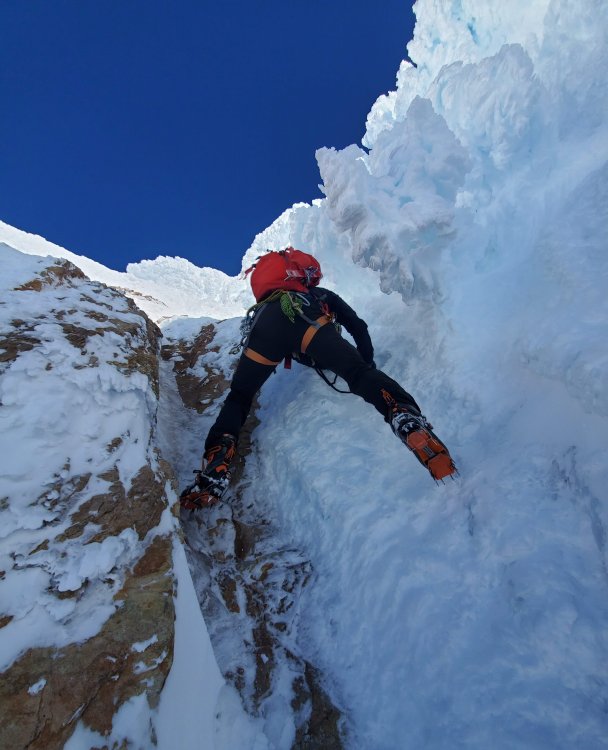
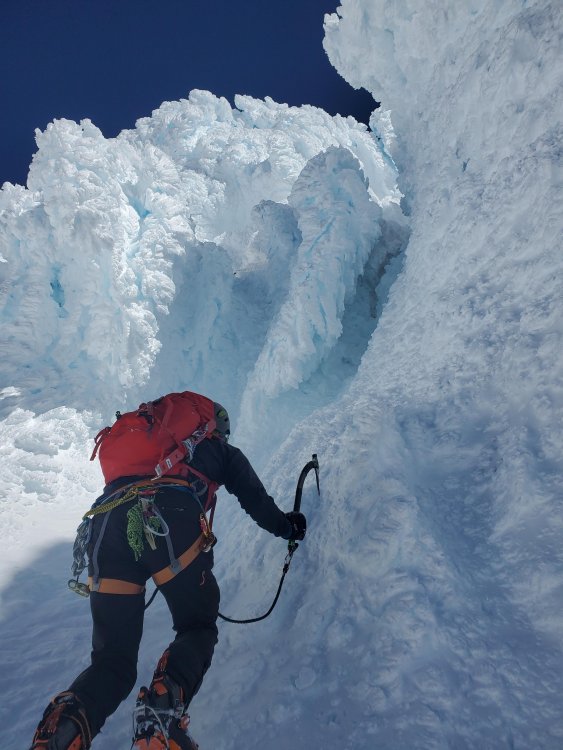
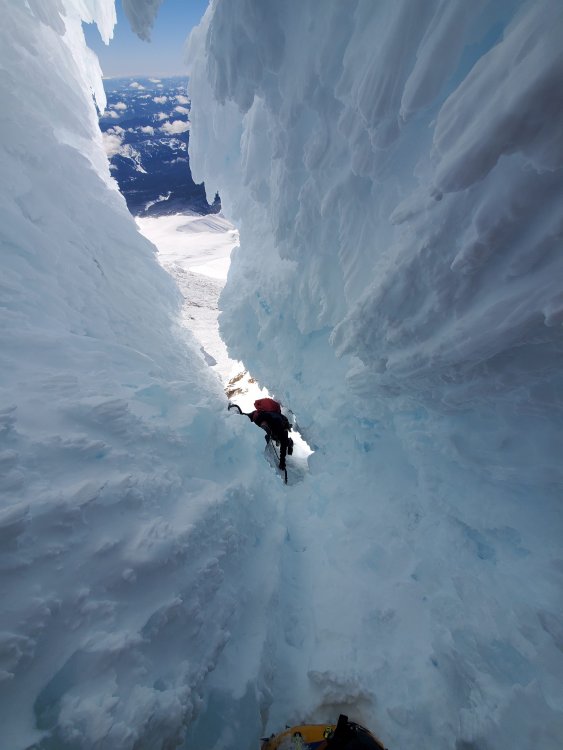
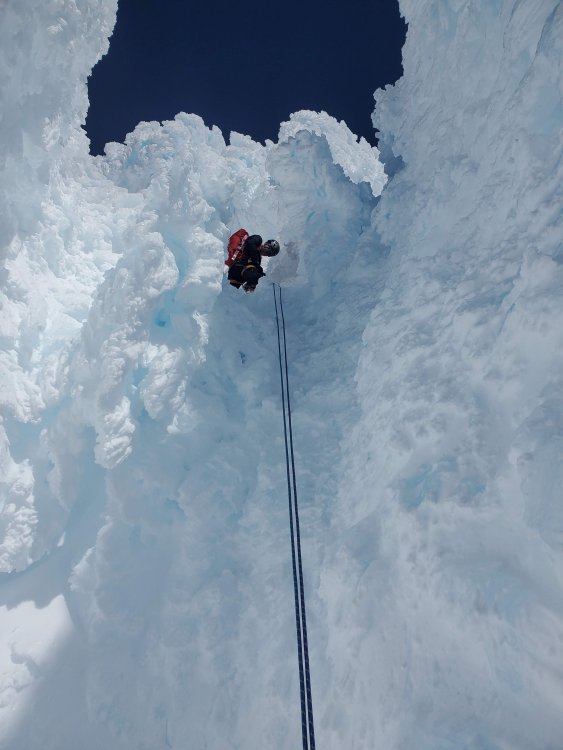
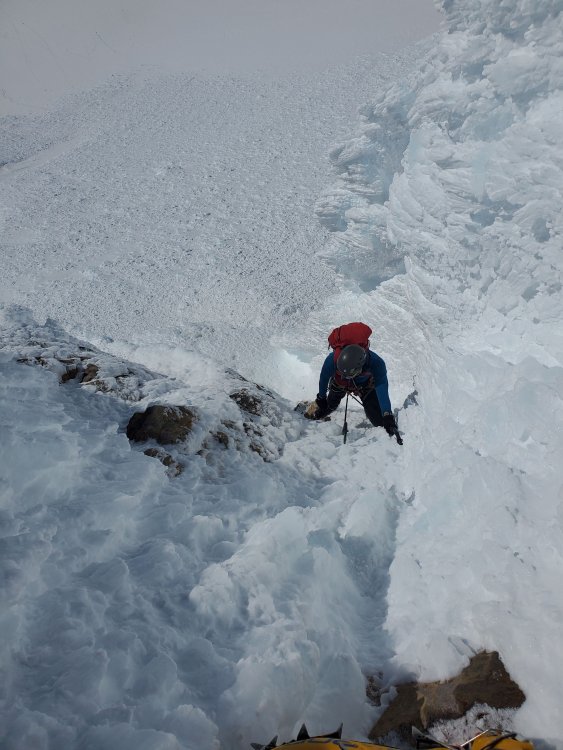
Trip: Mt Hood - DKHW Variation 2.5, Flying Buttress Direct, Men of Steel Trip Date: 02/28/2021 Trip Report: I climbed Hood on Sunday 2/28 and again on Wednesday 3/3 and explored a couple lesser-known parts of the Devil's Kitchen Headwall/Steel Cliffs area. @Nolan E Arson and I went up on Sunday with the intention of checking out Devil's Kitchen Headwall variation 1, but were drawn over to the east side of the crater where there was an impressive amount of new rime and more wind-scoured surfaces to walk on. We started by heading up the system of gullies between the normal DKHW 2 and DKHW 3 routes (red line in the photo below; "DKHW 2.5"?). It's very hard to see how or if these connect to the crater rim from below, but the lower climbing looked pretty moderate and reversible. Where the red line turns to the left we found a small section of exposed rock, however it was pretty low angle and all of the rime we had touched so far seemed exceptionally solid so we continued up. Above this the angle increased and there were two obvious options separated by a large overhanging rime fin (center of the photo below). Rather than squeeze through the shadowy slot on the right we climbed a 25-foot near-vertical rime chimney on the left. This turned out to be a mistake. From up higher we could see that we wanted to continue climber's right, but getting back on route by climbing over the rime fin seemed too sketchy as we couldn't tell if it was solid or undercut on the far side and the moves looked pretty committing. Thankfully there was some legitimate ice, we got in a v-thread (initially backed up with almost every screw we had), and rapped back down. We continued by squeezing through the slot to climber's right, which was actually pretty fun climbing despite my leashes and draws snagging the rime literally every time I tried to move. Above this the angle eased off a bit and it was normal rambling rime climbing up to the east crater rim. I'd say this line is totally worth doing, in these conditions at least, mostly just for the fun of squeezing through the steep rime chimney. It's totally possible that with different rime formations it would be a lot harder. We messed around on the crater rim for a few minutes, scouted our next line, and then downclimbed the Flying Buttress (variation 3) variation (orange line in first photo). Flying Buttress is currently pretty rampy and only felt like serious downclimbing for maybe 10 feet at the top, mostly because we were cleaning off a lot of sun-affected rime. --------------------------------------------------------------------------------------------------------------- Back in the crater we went a few feet climber's right of the normal Flying Buttress route and started climbing up the big cleft in the rock (yellow line in first photo). I'd been eyeing this line for a while and it seemed like the solid state of the rime made it a good time to try. First photo below is the bottom part of the route. There were very solid sticks despite the obviously thin rime in places. From below it looked like the angle immediately eased off but this was not actually the case. We soloed up to a very small but relatively restful ledge where I was able to place a decent ice screw and chill out for a couple minutes (photo below). Continuing above the first screw: Above this the route curves a bit to the right and the climbing started to become somewhat stressful. The right side of the gully was shaded with patches of good ice, but was mostly exposed rock, and looked way too hard to solo and way too thin to protect with the minimal gear (screws) we had. The left side had a thick coating of rime, so I climbed there, but it was obviously sun-affected and seemed barely weight-bearing. Eventually I traversed back into the shade, managed to get in another decent screw, and kicked a small platform (photo below). Eventually I bumped myself up on top of the next big rock in order to make space: At this point I'd had enough soloing and we got out the rope. @Nolan E Arson hammered one of his tools into a crack to belay, and I led up one final section of steep unstable rime. Of course, as soon as the rope was on, the climbing felt chill and easy, even though the anchor and couple screws I placed were probably complete trash. I stopped at a big ledge that we had previously seen from the top of the crater rim, belayed from there, and then it was easy rambling to the top. Curiously there is a fumarole on this ledge which is maybe not visible from anywhere else on the mountain (photo below). Also near the top out was a completely enclosed, Patagonia-style rime tunnel. I decided not to squeeze through since I would've had to remove my pack. Overall this line was quite challenging. It's consistently steep and exposed with minimal opportunities for protection and is clearly a step up in difficultly from, say, DKHW variation 1. I would climb it again but I would probably bring a variety of light rock pro and do it first thing in the morning before the sun starts to soften any of the rime. We downclimbed Flying Buttress again and descended. On the descent we found about 15 dead Northern Pintails (ducks) that looked like they had smashed into the side of the mountain during the last storm. ----------------------------------------------------------------------------------- I went back up on Wednesday with Kyle hoping to get a quick climb in before I had to work. We climbed some variation of the Men of Steel route. Perhaps we were supposed to start lower on climber's right but I'm not sure because someone stole my guidebook. There were a couple steep moves to get off the ground, but I couldn't take any pictures as I was struggling with the barfies. Traversing to the right required some thought but was generally not too steep or difficult. The crux of the route is where it slants left (where the red line disappears in the photo). There is an exposed slab of rock here that's visible from the crater. I think we both made one move with our left crampon on the rock, though it's possible the previous people to climb this had to deal with more exposed rock (@Nolan E Arson? Alex?). Kyle coming up a bit more steep stuff, with the big slab visible on the mid-right part of the photo: Above this was one set of rime towers/gullies to get through: Eventually Kyle took a gully to the right, cleaning off a ton of rime in the process (action shot below). While waiting for him and trying to stay out of the way I went up to the left a bit and ended up climbing a different rime chimney since there were a few reasonable but fun-looking options. We topped out and then followed the rest of the Wy'east route to the summit. The crux traverse of the Wy'east route was consolidated and not very scary. The rest of the slopes up to the summit were typical deep postholing bullshit. Gear Notes: Various Approach Notes: Skinned to top of Palmer where it became the normal sea of rime, cramponed from there.1 point
-
Michael will be better at explaining since he actually uses the system but I'll offer some preliminary ideas: Rope is stacked at the anchor because Michael is lazy and doesn't want to carry the rope on lead. You can also have it stacked in a backpack, in which case you probably wouldn't use the microtraxion, which just holds some slack at the ready to pull through the grigri as he moves up. It is NOT fall protection. Only the gri-gri will catch a fall. Slipknots tied at intervals in the stacked rope will hopefully jam in the grigri if the device malfunctions but doesn't totally explode. Someone get this man a silent partner! EDIT: Michael stole my thunder as usual...1 point
-
The second device is a micro traxion clipped off to my gear loop. It is used to create slack on the brake side, that way the weight of the rope doesn't lock the grigri. Rope bag is just my a backpack clipped to the anchor. I tie slip knots every so often as I flake the rope into the bag. This prevents from hopelessly sliding down the rope if something goes wrong, but not from complete device failure.1 point
-
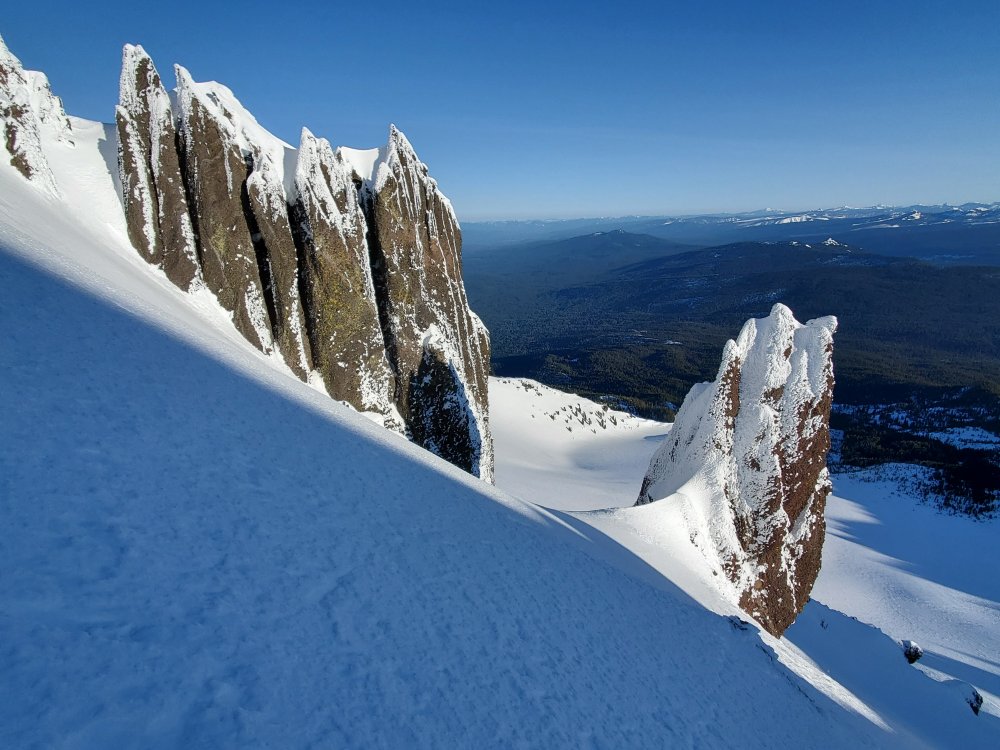
Study the second to last picture for a sneak preview... Don't give away the secret winter crag!1 point
-
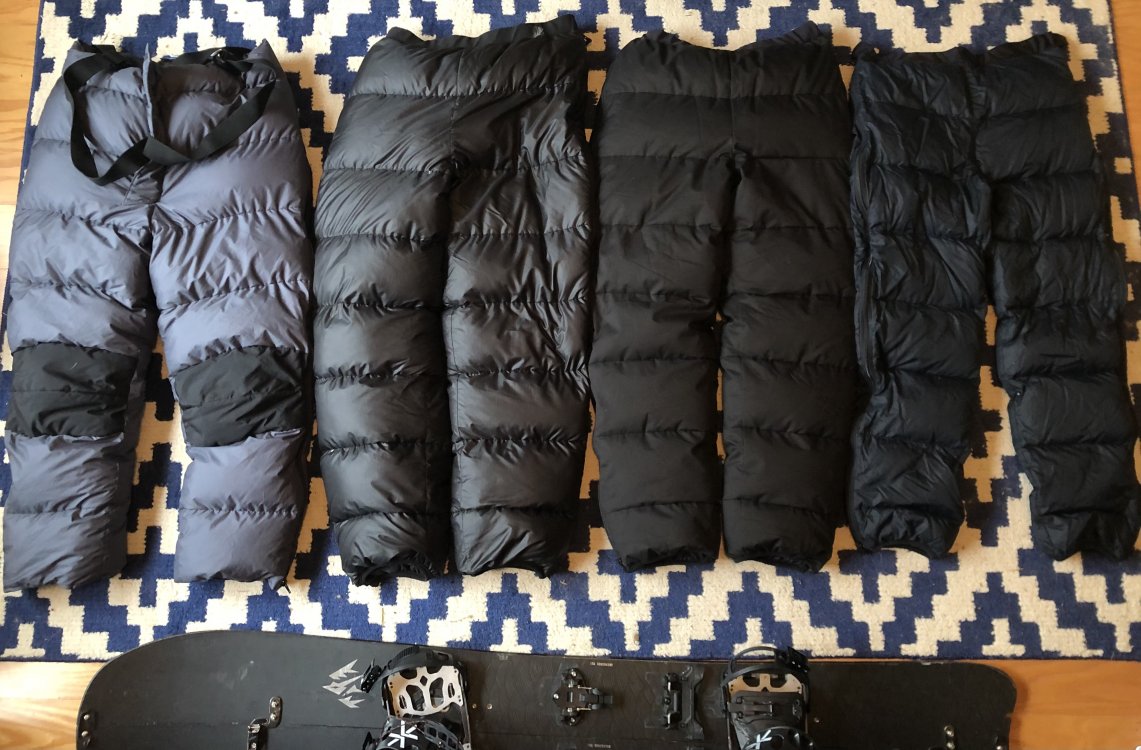
Good question. Not custom, they were originally purchased about 10 years ago, maybe they were using different material at that time. They are definitely baffled rather than sewn through as you can feel the baffle material. For comparison, below is a photo of way too many down pants from different years, the Front Point M, Volant XL, Volant M, Helios S. The medium helios are from about 15 years ago, not sure on age of the helios pants and front point pants. Seems like FF has changed their shell material and down weight over the years. What do you think?1 point



.thumb.jpg.7f8b5bbf8db9e4a3e1c8fac0ff8cdb71.jpg)
