Leaderboard
Popular Content
Showing content with the highest reputation on 07/29/20 in all areas
-
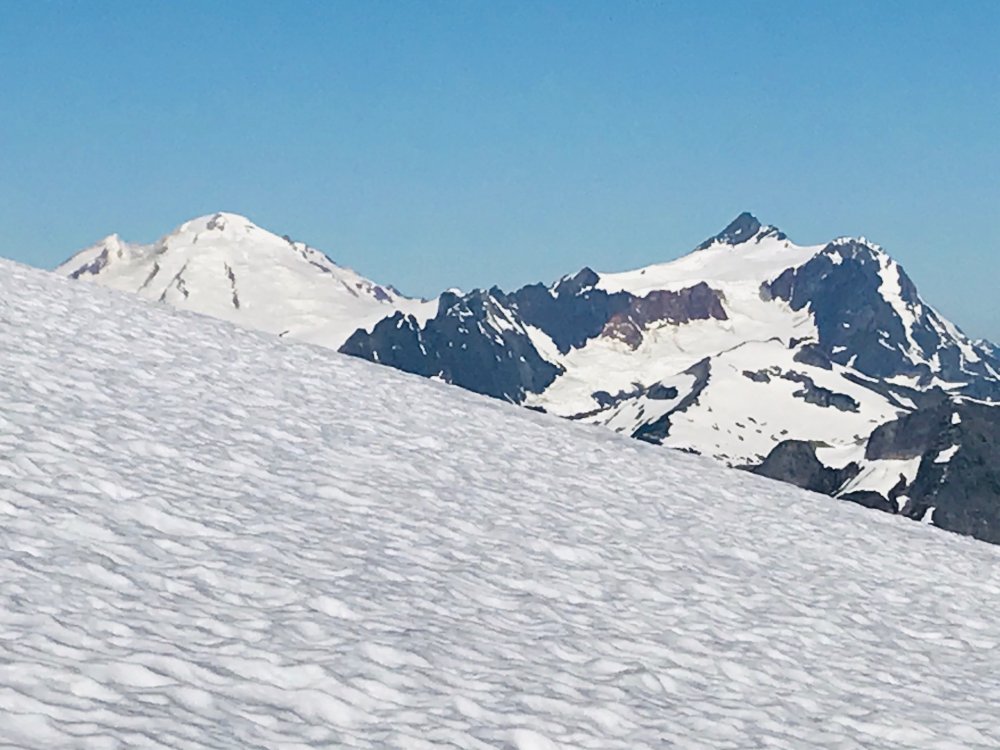
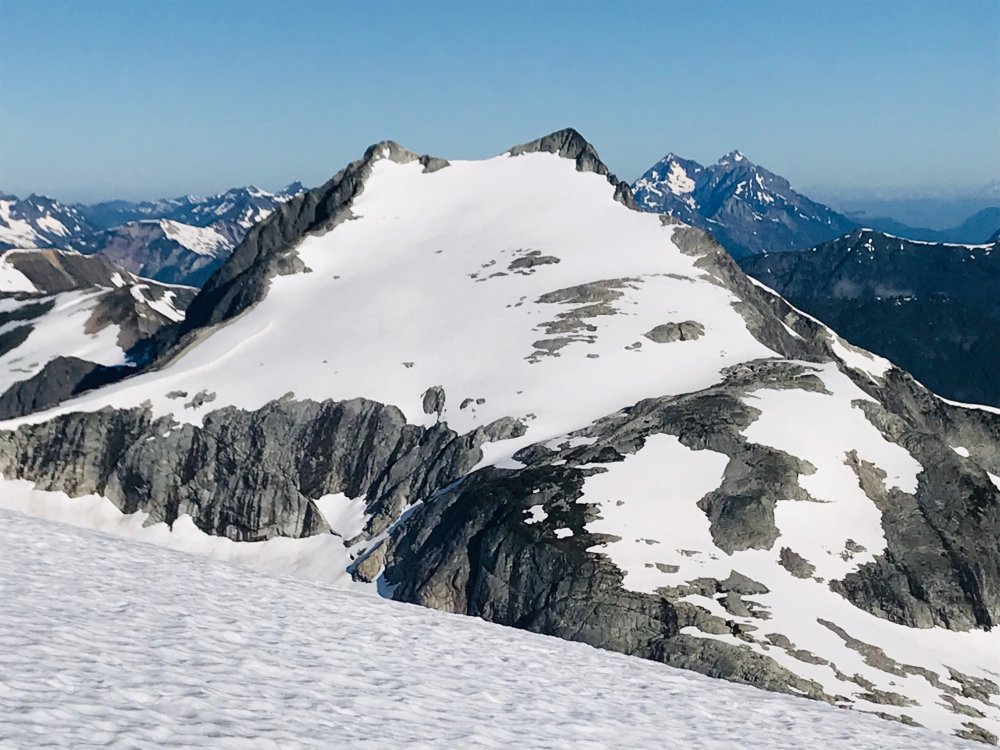
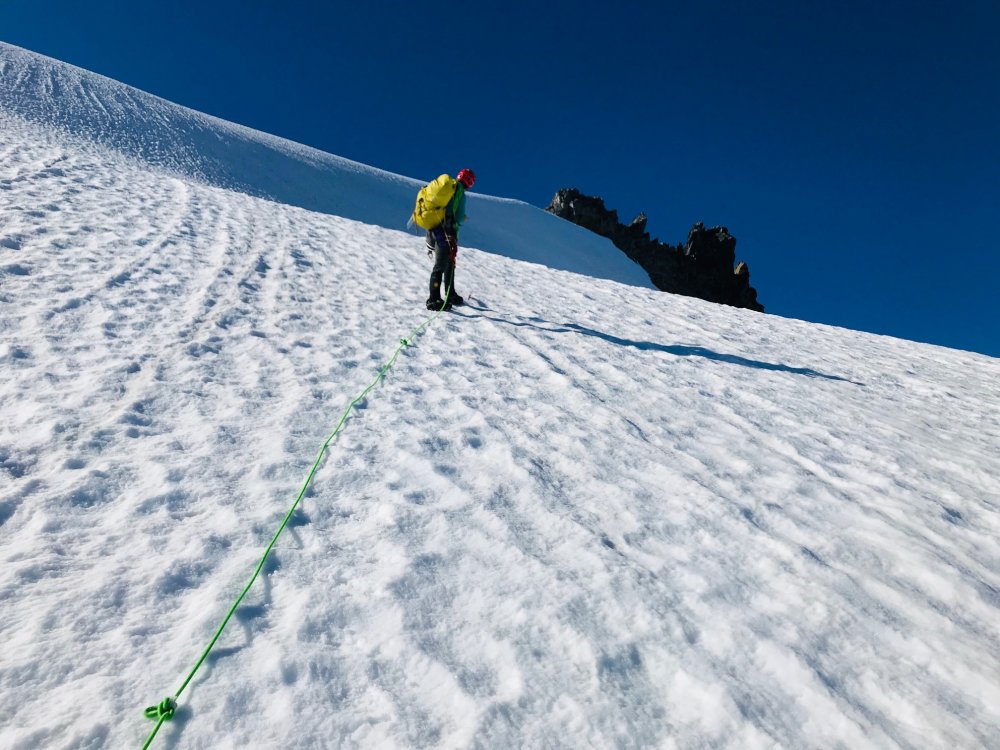
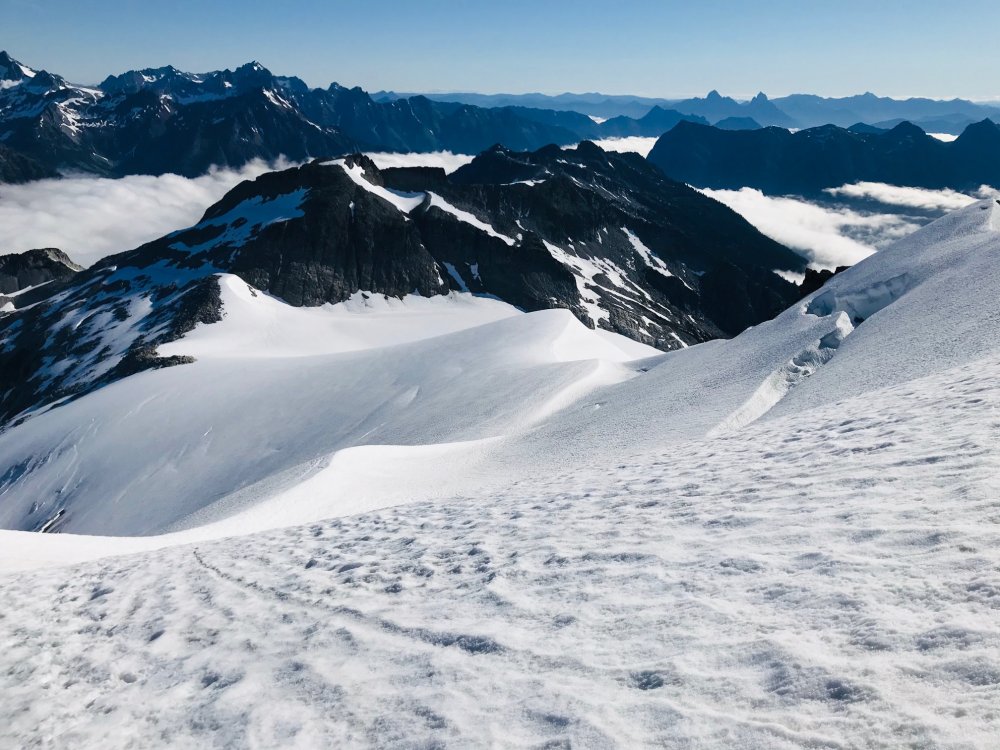
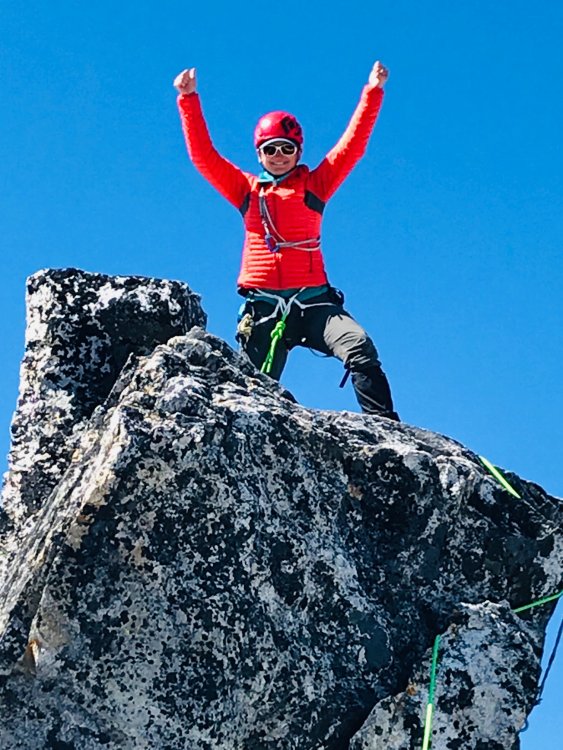
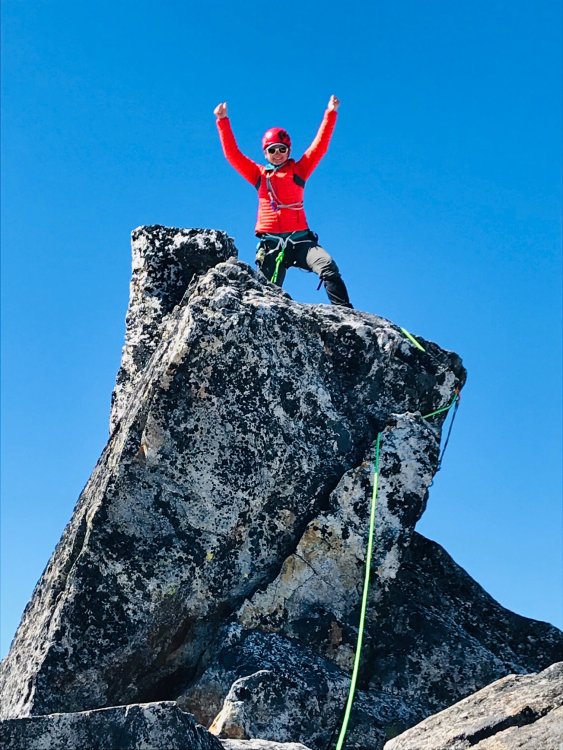
Trip: Mount Terror - West Ridge Trip Date: 07/25/2020 Trip Report: Mount Terror 8151’ Trip Report I did a solo 3-day climb of the West Ridge of Mount Terror over the weekend. The weather was perfect all weekend and hot (80’s). Very few people do this climb in a given year. I was the first person on the summit registry this year. This is a climb you earn through suffering but the payoff is worth it. This climb tests your navigation skills, fitness, and your overall mountaineering skills. I was thinking about not bring a rope for the climb since I had heard there is a 4th class route up the steep start of the ridge climb. I was glad that I brought the rope. The supposed 4th class route looked like dog shit in my opinion, and I climb some loose, nasty rock on a regular basis. The low 5th class route up the middle looked pretty good, so I climbed that instead. I would not want to climb down that section, one slip and you are FUBAR. I brought a 30 meter glacier rope for rappelling and it worked perfectly for this trip. Some Tips and Notes: 1. Bring full gaiters for the extensive bushwhacking required for the approach. I brought half gaiters and wore shorts to start because it was hot and it saved some weight. My legs now look like hamburger. 2. The 30 meter glacier rope worked great for me but a longer rope would give you more options. There are plenty of anchors already established. I brought anchor material but didn’t need it. 3. DO NOT LOSE THE TRAIL. If you lose the trail go back and find it. The terrain in the Pickets does not suffer fools. You can wander for days out there and still not get anywhere. 4. Crossing Terror Creek sucked! The water is high right now and moving fast. The only place I found to cross was about 15 minutes downstream of the trail on the nice side. It was a log that goes about 2/3 of the way across the creek to some rocks that you can jump on to get across. It takes twice as long on the nasty side to get back to the trail that goes straight up the ridge. Falling in the creek at that spot would be bad. 5. Water on the ridge up to camp is non-existent. Get all the water you will need at Terror Creek before you start up the trail going up the ridge. There is no water from 2200’ to 5600’. 6. The trail heading up to the ridge is one of the steepest climber’s trails I have ever climbed up. I tapped out at 5600’ on day 1. 7. There is a sharp turn in the trail at around 3800’ that puts you on the ridge in a nice spot. It is marked well with a dead tree that has a stick across it and flagging tape. 8. There is still a lot of snow above 5600’. I was on snow until the very top of the Terror Col on summit day. The snow in the gully to Terror Col is steep, and when it is soft it is nerve-racking. Travel Time for reference: Day 1 (approach), 9 hours – Day 2 (summit), 11.5 hours – Day 3 (back to car), 6.5 hours. Gear used: Ice Axe, Trekking Poles, Crampons, Helmet, 30 meter Rope & Harness. Rocky tent platform at Terror Creek. If you don't come across this spot, you are off route. Trail start on the other side of the Terror Creek for the death march up the ridge to bliss. Remember this spot, it is very important. Terror Creek crossing location. It is not as nice as it looks. View of the route to Mount Terror gully from the 6400' camp at the Barrier Col Base of Terror gully (full of snow). Yes, it is that steep. Potential 4th Class section up to West Ridge? I call bullshit. Side view of lower part of 5th Class up ridge. Straight on view of wall you will be climbing. It doesn't look quite that steep in person. View looking down the 5th class sections. Heather goat trail that leads to the actual summit block. Airy summit. Summit Registry, Thanks Fay Pullen! Is the effort worth it? The pictures do no justice to the beauty of the area. Gear Notes: Ice Axe, Trekking Poles, Crampons, Helmet, 30 meter Rope & Harness, Bring Full Gaiters for the bushwhacking. Approach Notes: Terror Creek crossing sucked, See Tip #4. Limited water on approach, See Tip #53 points
-
Trip: Forbidden Peak - Northwest Face Trip Date: 07/25/2020 Trip Report: I had a great time on the NW Face of Forbidden this weekend. Conditions were great, but it's a long walk back there. Full report with photos: https://spokalpine.com/2020/07/29/forbidden-peak-nw-face-iv-5-8/ Gear Notes: Singles .2-2, doubles .3-2 Approach Notes: Long, but scenic3 points
-
Trip: Glacier Peak & Mt. Pilchuck from Puget Sound Round Trip in Single Push - Standard from South (N. Sauk) Trip Date: 07/25/2020 Trip Report: As the "location" description states, this was a "single push", all human powered, sea-to-GP-to-Pilchuck-to-sea, 27 hrs and 44 min. I reached the Glacier Peak summit from sea (Puget Sound) level in 11 hrs and 7 minutes, starting at 10PM on Fri, 7/25/2020 from a point on the water a few miles west of I-5 and Marysville, after a 60 mile combination paved and unpaved bicycle rides via Barlow Pass, then heading out on foot from the North Sauk River TH. My time from the TH to the summit was 6 hrs 49 min, and that includes the windy/cold 14 min transition to some different gear (but still minimal/light) and a concentrated downing of food at a lower/base camp on the White Chuck Glacier a bit off from the beaten path because of the great rock to sit on, so it was worth the travel extra time. I did have a physical problem during the bicycle ride that caused a collective delay for me that was timed as over 12 minutes, so without that snafu my sea to summit time would have been sub-11 hours. Round trip from the TH to summit was 13 hrs 24 min, including both that 1st 14 min trans and a second 16 minutes one on the way back, and also enjoyed 9 amazing minutes on the summit. Glacier Gap (high camp) to the summit was 2 hrs 2 min. which included the time to put on Kahtoola light crampons (not their Microspikes, which I did use also but on the lower glaciers, etc.). So travel time was sub 2 hrs. I Did a bit of running on the river trail on the way out, but not on the way back because it would have compromised the sizable amount of work I still needed to do after returning to the TH. This was a supported trip, including my super talented guide, Aaron Mainer, that I've worked with on these projects over a period of 13 years, who I met up with at the White Chuck Glacier transition point, and he expertly paced me from there to the summit. Even when I lead on the exposed lower rib scree stretch, he monitored me closely. Pacing is important, but even more so is the safety aspect. On ult-high endurance endeavors my wife appreciates that I have a skilled guide to climb with who knows how to maximize safety (as well as speed and fun all at the same time). Back at the TH, I bicycled back down to the Mountain Loop Biway, then back up to Barlow Pass (tough), then back down again to 1,000 ft before starting up the Mt. Pilchuck road. Anyone who has been there knows how bad the road up is, but on an off round bicycle you can wind your way through the potholes so it's manageable (and exciting on the way down). TH at 3,000 ft, and then hiked the remaining 2,300 ft to the fire lookout (5,341 ft). Summit-to-summit was 12 hrs 12 min. Sub 12 would have been nice but let me tell you that after almost 24 hrs on the move, one does what they can. It was at about 9:30 PM and there was a party going on in an around the lookout, with people putting up decorations inside. This was troubling to me both because I don't know it that's allowed to be taken over, especially during a pandemic (...but whatever...), and also because I was tired and just wanted to enjoy the bit of emotional peace, quiet I was expecting to have, plus solitude (except for Aaron, who hiked out and then drove to the TH to go up with me and make sure I was safe coming down the bouldery/hazardous upper have of the trail when coming down in the dark fairly fast). People surely wondered why I was wearing a helmet, but I didn't care that they had no idea what I'd done before getting there. After the wild night ride back to the hwy passing cars along the way, and then back to the start, the total time was 27 hrs and 44 min. So I finally finished all 5 WA volcanos, round trip single-push from sea level, with extra peaks included for extra challenge. Before this I did Columbia River (Kalama/Woodlind) to Mt. Adams/St. Helens summits single push and back, in 2018. My Cascade Climbers post for Shuksan/Baker in 2011 is: https://cascadeclimbers.com/forum/topic/82364-tr-mt-shuksan-and-mt-baker-in-single-push-fisher-chimneys-shuksan-and-park-glacier-baker-8132011/?tab=comments#comment-1026406 And before that in 2008 was Puget Sound/Rainier Summit/Puget Sound in 19 hrs 57 min. Like all the other things, like video from NWCN, etc. It's all disappeared. So much for documentation on the internet (frustrating ) But here is an important remaining reference to me on this site. Someone gave me credit:https://fastestknowntime.proboards.com/thread/54/mt-rainier-wa That's it. Shuksan/Baker made it onto the front page of the Sunday Bellingham Herald with a big picture, but they long ago purged all their old stories because the parent company wanted them to. I begged them to bring it back, and they did, but then it disappeared again. Same with Tacoma News Tribune (top 10 adventures of the year article). I'd like to get the Seattle Times to pick this up, but we'll see. I'm generally private about my endeavors, for various reasons you can imagine, but now that I've finished the 5 volcanos (and I'm deep into 57 yrs old now) I want to write out them. Not a big social media guy, but have considered YouTube, Outside Mag., etc. Any other ideas? -Randall Nordfors, Woodinville WA. Washington native. I also go by "Randy" sometimes. Gear Notes: Went light. Short pants, Kahtoola microspikes and Kahtoola lightweight crampons. Poles, and light boots with gaitors, minimal pack. No ax or helmet. Knew from experience on GP that it was an okay gear choice on a perfect day (which it was). Approach Notes: West of Marysville by bicycle to North Sauk River TH, then standard route from south.1 point
-
Nice! That is a lot to do in a day! But no photos of the mess to get on the toe? What, were you hurrying or something?1 point
-
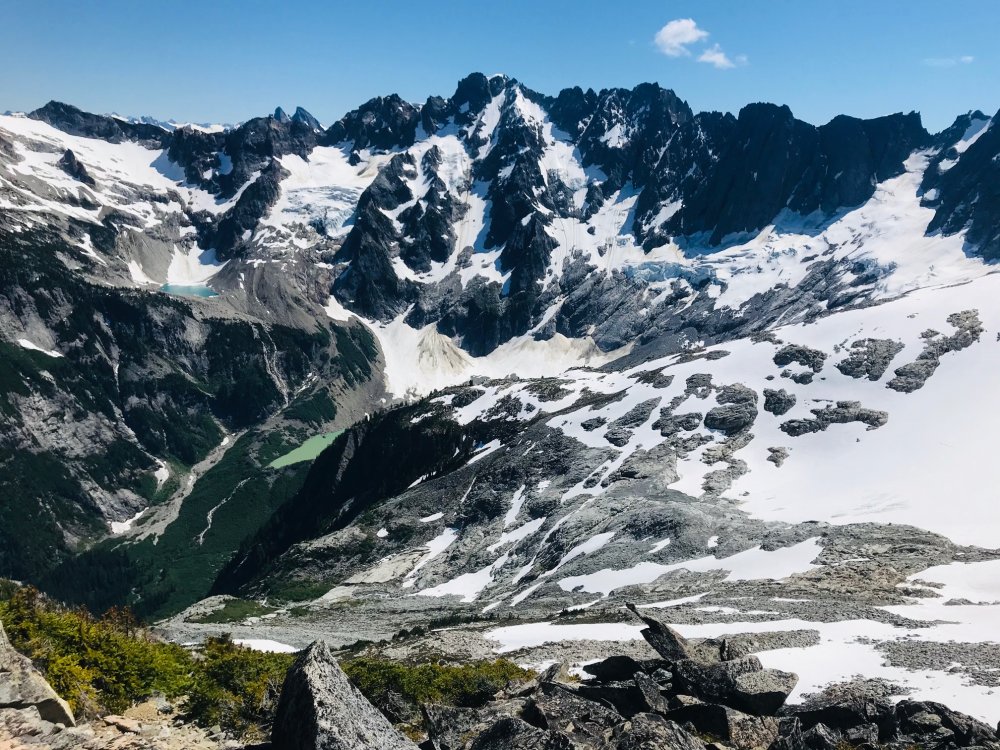
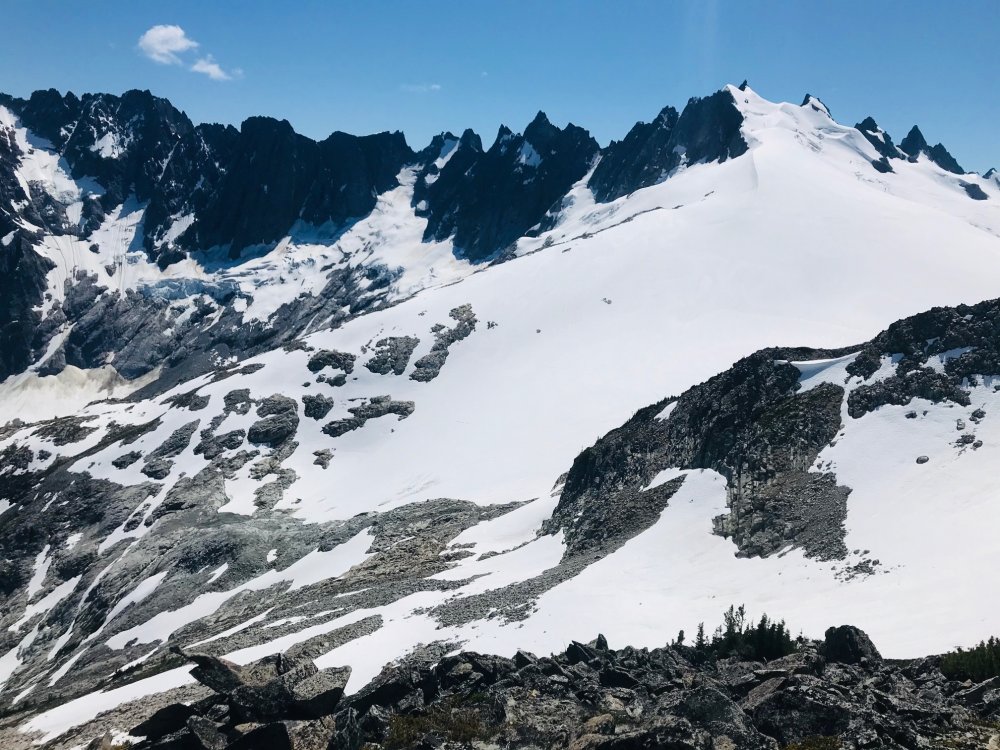
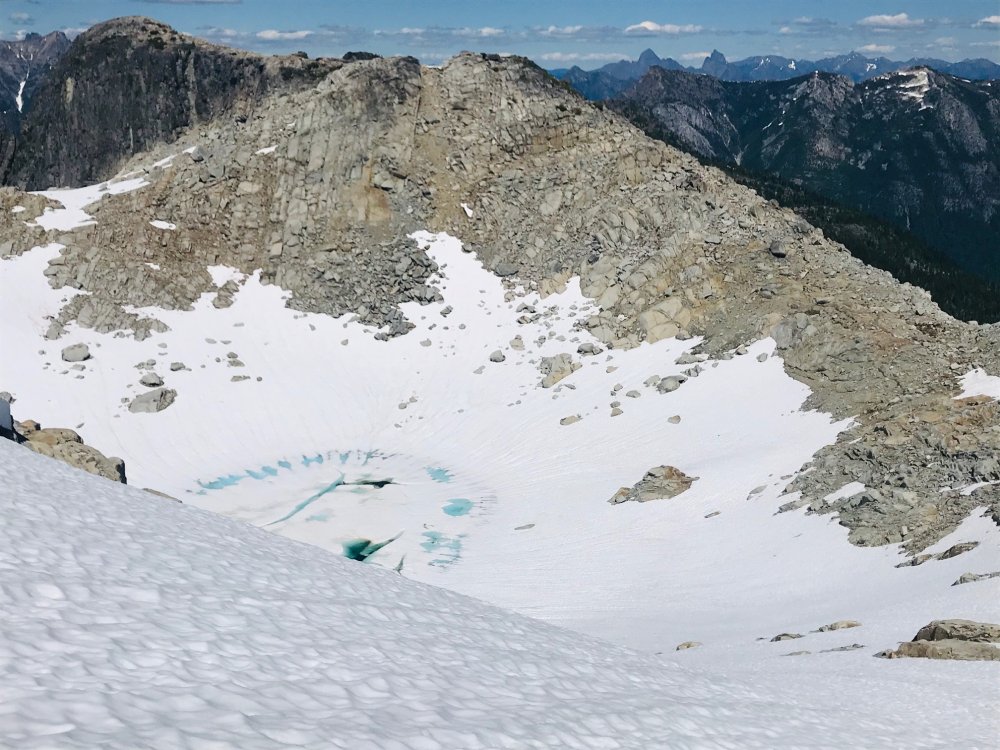
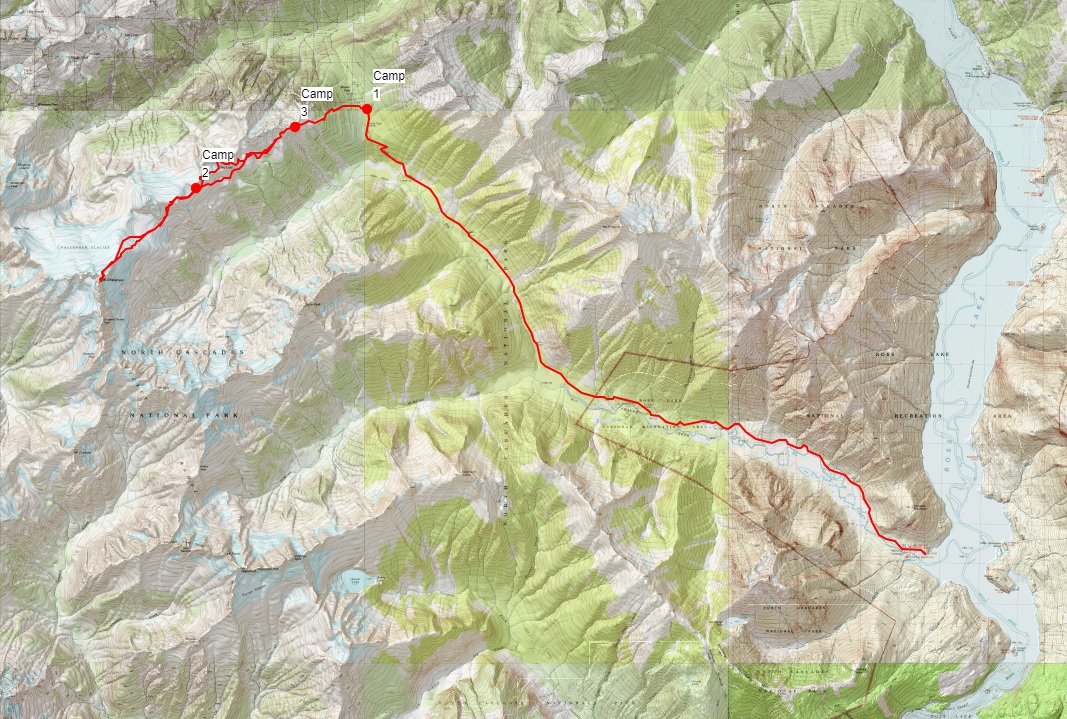
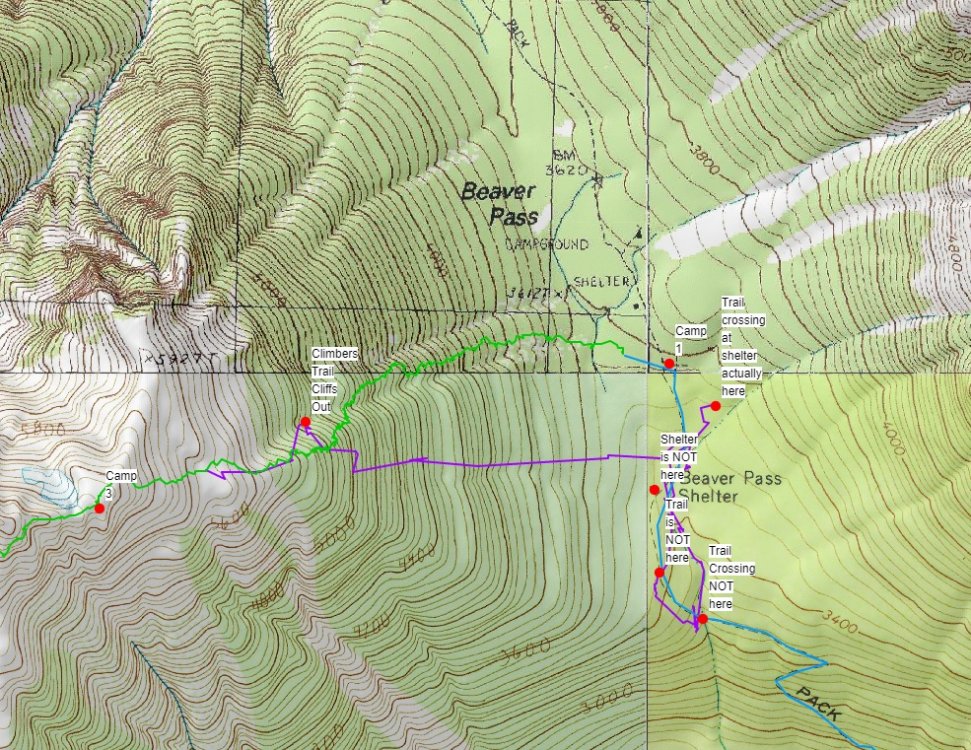
Trip: Mount Challenger - via Eiley Wiley Ridge Trip Date: 07/25/2020 Trip Report: YouTube Video (so the video does have a couple clips out of sequence in the rock climb section and it ended abruptly due to all the GoPro batteries and chargers having run dry at the last clip). Hot off the NF of Buckner and barely recovered we had a weather window for Mount Challenger but only for a 4-day trip. Our full Pickets traverse we have had planned the last couple seasons keeps either getting weathered out or life gets in the way. So, to do it in 4 days we planned on doing it from the Big Beaver trailhead with a boat shuttle then via the Eiley Wiley Ridge knowing that this was also going to be the harder approach option. Day 1 - Thursday Got to the Marblemount ranger station at 6:30am to get permits which was good timing, the crowds showed up shortly after. Picked up the boat shuttle which dropped us off at the Big Beaver trailhead saving an extra 7-mile walk from the Ross Lake parking lot. From there an uneventful 13 mile and 3000ft gain hike to the Big Beaver campground. In bed around 8pm for an early start. Day 2 – Friday This was going to be the hard day. Up around 3:30am and a leisurely 5am start. We knew from beta to expect some awful bushwhacking to gain the ridge. While we did pickup the odd climbers trail in key places throughout the trip where anyone who goes through the ridge seems to funnel through the same few spots there always peter out shortly and you are left to your own navigation for 95% of the ridge. So, we started out full-on dense brush bushwhacking from camp and I think we picked more or less a fairly good line. But as you get higher there seems to be no way around hand over fist veggie belay climbing and bushwhacking through about 500ft worth of the 2000ft gain. Its all steep and virtually no sign of any climbers’ trails till you hit the very top. That took about 2+ hours and our clothes were full of pine needles inside and out. From there we spent another 6 hours getting across to the end of the ridge which was about 3 more miles after the 2 miles of bushwhacking. Mainly because we kept a middle line across the ridge until getting close to Eiley Lake. From there it looked like you could gain the ridge and do a high traverse over a large wide ridge. The topo map showed a relatively flat and wide ridge as well with only a single contour line and large bump. So, we gained that ridge only to find it ended in about 200ft cliff and wide chasm that was more than a few contour lines deep that did not show on the topo map. But from there looking back could spot what looked like a gulley down to the lake. That gulley was very steep, loose dirt/scree/boulders but it got us down to Eiley Lake. We blew a couple extra hours here. Had to exit that basin then took a line around another slope heading towards Wiley Lake. Once we popped over the boulder field looking down at Wiley Lake and across to the last half-mile of where we wanted to be it was getting late and very windy and the rest of the approach to our planned camp was in a whiteout so we found a small sheltered ledge in the boulder field with a great view of Luna Peak and setup camp. The weather was supposed to be clearing by late evening but had gotten worse. By the time we had camp setup and ready to turn in the clouds started lifting enough we could get some views of Mount Challenger in the distance. Day 3 – Saturday Another 3:30am wakeup call to calm weather and blue skies just as forecast. We figured we had a shot at it if the route was in. Dropped down the boulder field and up the knoll on the other side of Wiley Lake and started to decide our options for getting around Big Beaver Peak. The right-hand side was supposed to be a horrible traverse, so we ruled that out. The topo showed that a notch just to the left of the peak may be doable, but we did not want to get suckered into another cliff. Poking around the top of the knoll we spotted a heather gulley that looked like a wider and longer version of the descent gulley getting to Eldorado so we headed down that which was about 1000ft loss taking us down a large snow field and around the buttress to the base of the Challenger Arm. The route looked like a straightforward walkup, but the summit block and bergschrund are hidden from view, so we roped up and headed up. No issues all the way and the bergschrund had not started to open. Once we got close to the summit rocks there was a steep snow slope with a large moat. We had beta that showed you could scramble the first set of rocks or go around them. So, we split the difference and scrambled up a bit to clear the first part of the moat and then dropped back down into the moat and traversed around and found the base of the rock climb. The 5.7 rock climb was straight forward. We’ve read reports pegging this move at between 5.5 and 5.7. After doing it I think the rating depends on how long your arms are. Only 50ft long and 4 rusty pitons. And brought a .5 cam to backup the crux move. Past that the rap slings are a couple easy moves up and another 30-foot scramble to the summit block which we belayed and set a handline. The 40m rope was long enough for the rappel with just a few feet to spare. Easy scramble and walk back down from there then the 1000ft slog back up the gulley and back to camp. We wanted to get back down to the Big Beaver camp before dark so we took a more straight forward line back which still was a lot of mini-navigation stops and a lot of little meandering through the terrain and a bit of solid bushwhacking through the trees in a couple places. Camp is about halfway up the right side of the boulder field in the pic above of Wiley Lake. Tucked into a little ledge looking out at Luna Peak. We did not hit the ledges at the far end of the ridge till about 9pm and there was no way we wanted to navigate the descent in the dark. So, we pitched camp on a snow patch at the ledges. Day 4 – Sunday Another early start and picked up the bit of climbers trail at the very top of the Eiley Wiley Ridge. There were climbers trails heading both left and right here so we went right and that trail stopped in about 40 feet. We then checked the left trail and figured we had found something that we missed on the way up. It probably descended a couple hundred feet as it got fainter and fainter till it stopped at a cliff. And then began the hand over fist veggie belay bushwhacking and tree climbing again. Having to move back left, up 100ft over a rock band, more bushwhacking and side hilling for maybe a tenth of a mile. Eventually we were able to start moving back down and found lines that keep us more or less moving straight back towards the Big Beaver camp doing our best to navigate around fields of devils club. Still took just as long to descend as it did to go up. Once down took some navigation and finally realizing that the GPS was not matching up with what was on the topo map. Turns out the GPS was putting us accurately on the map but the trail and shelter locations on the topo maps are not correct. Our GPS was showing us on one side of the trail then the other in multiple places we checked where we took long hikes in both directions crisscrossing where the trail was on the map. We finally gave up trying to pinpoint the trail by GPS and topo and found the large stream we knew intersected the trail and passed by the Big Beaver camp and followed the stream back uphill. Turned out the GPS and topo had us going in the opposite direction. So, word of caution, have your navigation skills through dense brush where you cannot see any reference points down and you can only see 50 feet in any direction. The 2nd topo screenshot below shows where we were looking for the trail and stream crossing and where they are actually located. Once we got back to the Big Beaver Camp, we had to calculate how fast we had to move to make the boat pickup. So, for 13 miles out with short water/snack breaks we had to do about a 3mph pace with the heat going up to at least 80 to make the boat. At one-point Rodica thought she was hallucinating seeing things jumping all over the trail. I looked down and at first glance though we were standing in a swarm of spiders. Looking closer the trail for about 100ft was full of tiny frogs jumping all over the place. We made it at 3pm on the dot in 5 hours. Thankfully, the boat was about a half hour late so we could soak in the lake for a while. With all the camera and phone batteries dead by Day 4 didn't have any more pics or video. It was just a mad dash to the finish line. Overall, some of the most rugged, remote, and scenic wilderness we have been though. Awesome trip at times brutal and almost demoralizing gaining and descending the Eiley Wiley Ridge (and we had a high bar already for horrid bushwhacking). Even with a lot of preplanning, gathering beta on the ridge and getting some tracks from others it was a lot of navigation work and on-the-fly decision making doing the ridge approach. ~11,000ft gain and 46 miles over 4 days. Gear Notes: 4 alpine draws, .5 cam, 40m rope, basic glacier gear Approach Notes: The climb itself was easy. The bulk of the work and trip report are on the Eiley Wiley Ridge approach.1 point
-
Trip: Liberty Cap - Ptarmigan Ridge C2C Trip Date: 07/11/2020 Trip Report: Kyle Tarry @ktarry and I climbed Ptarmigan Ridge round trip from Whitewater Campground July 11/12. We originally planned to climb it 12/13 with a bivy at the standard location, but increasing winds and cloud forecast for Saturday night convinced us to just do it in a push starting the evening of the 11th. I think we benefitted in our late season climb from the conditions resulting from this more cloudy and cold summer. We drove up after Kyle got off work and left the car at 8:30pm, did the St. Elmos-Winthrop-Curtis-Carbon approach in the dark and arrived at the start of the route at dawn (water drip on the Curtis and brew stop near the normal bivy spot). The route was in thin conditions compared to other pictures I've seen but the glacier crossings were pretty easy and direct. We climbed a small (20m) ice/mixed step that was pretty gross to cross the schrund, a little L of the typical start, which saved some elevation loss. Firm and sun-cupped/rock-smashed snow made for relatively easy movement above this. There was some low angle ice that took good screws starting the ramp towards the rock step variation, but even this did not require much sustained front-pointing. The rock step seemed longer/steeper due to the low snow there (again compared to other pictures I've seen, and based on the fact that I was past the crux when the fixed pin appeared). We topped Liberty Cap and descended the Emmons (good condition for this time of year, I hear). Visibility dropped significantly as we reached Camp Schurman and it even snowed a bit as we descended the Interglacier. We were back at the car by 7:10pm on Saturday and slept about as well as you would think. Pros of the single push strategy: cool/dark glacier approaches, day packs don't weigh much, we nailed the weather window Cons: we were pretty tired (cons win) Gear Notes: one picket (not used), 3 screws (used a few places), 4 nuts (not used), 1 knife blade (used on rock step), 30 m half rope Approach Notes: standard White River approach to N Side routes1 point
-
Kyle's picture from MP showing the regular route... our schrund pitch was the short/wider ice flow below where the yellow line makes its first angle change upwards, the upper/leftmost option to gain the snow ramp1 point


