Leaderboard
Popular Content
Showing content with the highest reputation on 09/13/18 in all areas
-
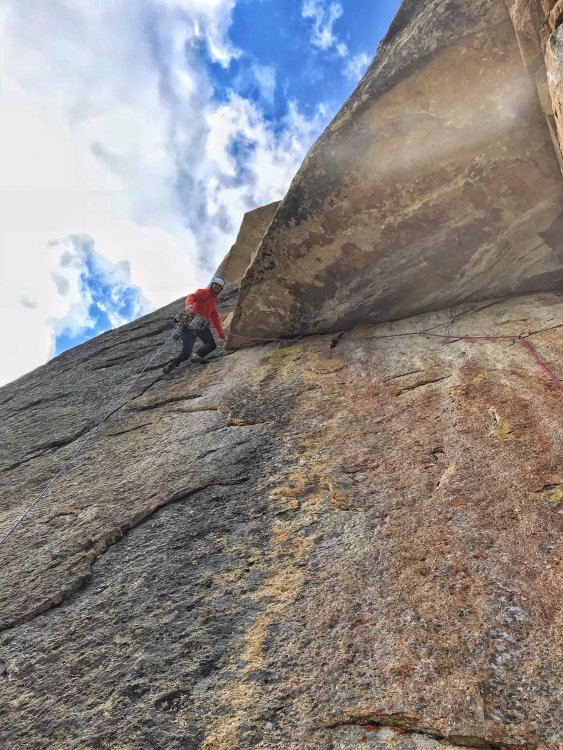
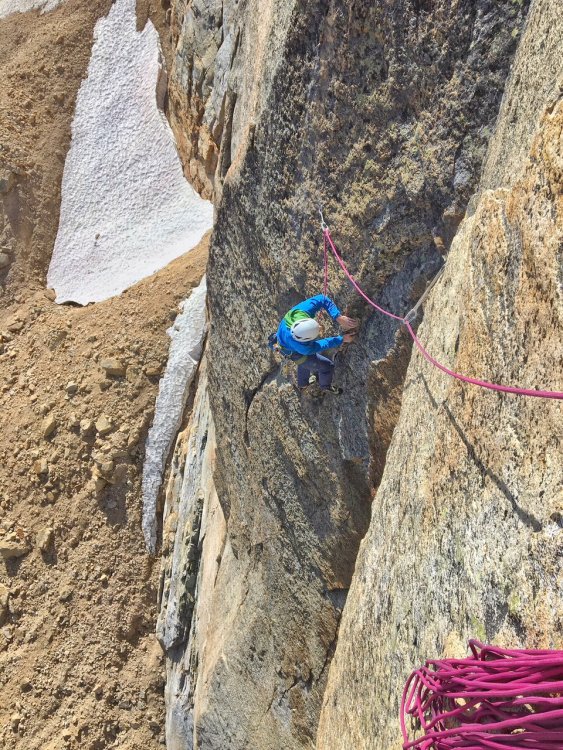
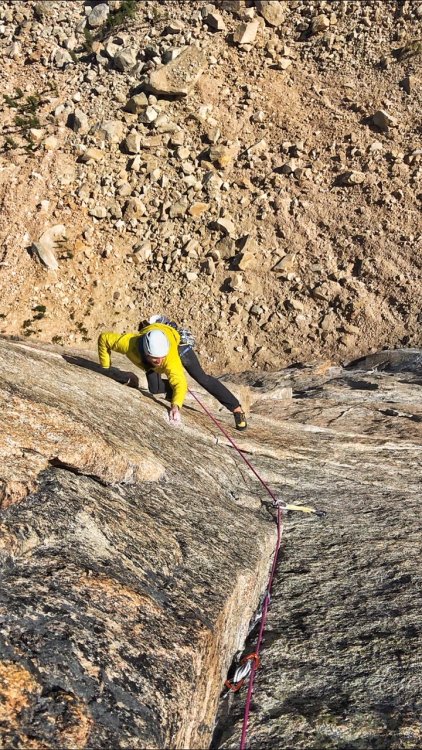
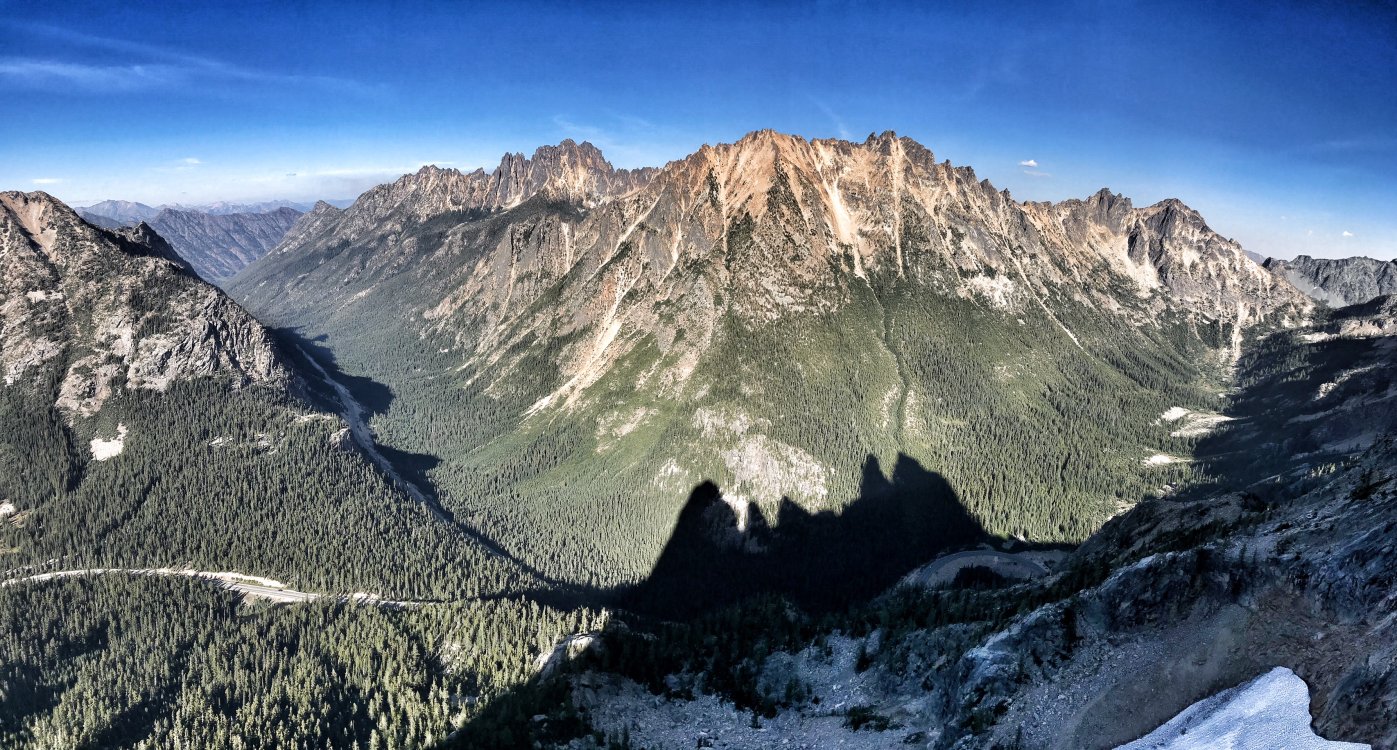
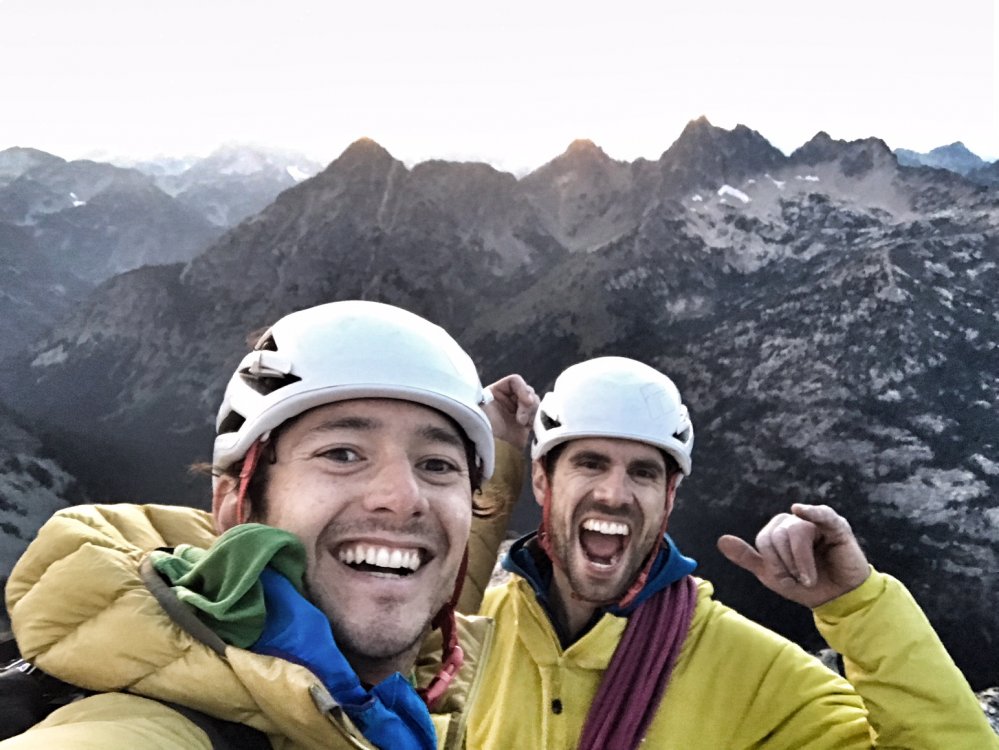
Trip: Inspiration Peak - South Face Trip Date: 09/02/2018 Trip Report: Before last weekend I hadn't been to Terror Basin in almost 10 years. Back then we had spent a week in the Southern Pickets, only seeing one other party in Terror Basin. How times have changed! This past weekend there were three other parties for a total of a dozen people in Terror Basin. Thankfully all the others were headed for West McMillan Spire so we had the decidedly unpopular South Face of Inspiration all to ourselves. However, like Alan Kearney, I really think it should be more popular. It is quite a route! But it is also not for the faint of heart. Steep, intimidating, with a bit of scruffy rock and so-so pro - it would have been a challenge back when I was in good rock climbing shape. And I am most certainly not in good rock shape these days! Luckily I had @therunningdog to gun my sorry ass up it. And gun he did, leading all the gash pitches. But there was plenty to keep my mind humming below- a chaotic glacier with some delicate bridges, slabby rock right off the glacier (should have put on rock shoes earlier), and an increasingly exposed 4th/low 5th class ramp that terminated in the intimidatingly steep "Great Gash". And thenn once you are on the summit, the involved descent awaits. 4-5 raps down the West Ridge, some ridiculously exposed scrambling, and then more steep rappels down the south face. It was about 12 hours camp to camp. But what a place. Even more beautiful than I remembered, perhaps due to the changing weather and swirling mists? The best pictures are never during the best weather, perhaps the same is true of our memories? I'll be back, but I won't wait another 10 years this time. Looking down into Terror Basin from the "trail" in: Looking out to Triumph, Despair, and the Chopping Block (L-R): Despair and the Chopping Block: Thornton Peak and Triumph at sunrise: The Southern Pickets!! Morning light on the South Face of Inspiration: Ptarmigan and grown chick: I should draw the line on this but basically you climb up the buttress to the left of the face to the prominent ramp that is followed right a long ways to the start of the "Great Gash", which shoots steeply up and left to the upper West Ridge. A pitch on the ridge finishes the climb. The Descent follows the left skyline to the col then down the steep face/buttress to the glacier: The glacier approach proved challenging, but we found a way that will go into the fall this year: No super dad friendly. Scrambling a lot of 4th and low 5th to the belayed pitches up the gash. I should have taken more photos but I was pretty focused on not screwing up! @therunningdog in his element! Did I mention that the South Face of Inspiration is steep? @therunningdog coming up the final bit to the summit: It is an exposed descent as well. Rapping the West ridge: On the first set of raps, before you drop off the South Face: Whew. Down on the ice! Or should I say gneiss? TEEBOOOOOOOOOOOOOOOOOOOOONE! Despair in the mists: Triumph: Despair: This felt good after the punishing descent: Gear Notes: 60m half rope, medium rack to 2", ice axe, crampons, helmet Approach Notes: Terror Basin trail from Goodell Creek. 6 hours to camp. From camp follow the climber's path toward Inspiration and West Mac, picking the best line up the glacier to the toe of the buttress just west of the South Face. We roped up here for a bit until we gained the prominent ramp where we packed the roped and scrambled. It seemed about 5.6-5.7 for one ptich to gain the ramp, with low fifth below that. The "Great Gash" is about 3, 30m pitches, to ~5.8. I think we did about 12 rappels down the west ridge and west edge of south face right back to our boots. Stations are established for a single 60m rope. Bring tat since the route isn't climbed regularly.2 points
-
Trip: Washington Pass, Liberty Bell - Thin Red Line Trip Date: 09/01/2018 Trip Report: My buddy Andy Traylor and I had set this as a goal route to free for the summer season. Neither of us had really approached a bigger route like this with a redpoint mentality before and weren't sure exactly how to do it. With many different ways to consider an ascent "free," we settled on what we believe is a pretty commonly followed set of rules. We wanted to swing leads, and either redpoint or follow cleanly on every pitch, lowering back to the belay if necessary. Our plan was to spend one day and check out the first six pitches to get a feel for the moves and the gear then try and send the next day. On day 1 we took our time climbing the first six pitches, with no real pressure or time crunch. We TR'd the cruxes a couple times and feeling pretty good about going for it the next day, rapped off and headed down for a big dinner. The next day we set out a little nervous, but also feeling good about our chances. Once we were on the route we were moving and climbing well. Thoughts on the pitches for anyone that cares (some gear beta here so purists need not read on): P1. Straightforward crimping and edging straight up to the anchor. I actually headed right after the last bolt, going more directly to the anchor on day 2 and thought that was slightly better. Andy getting all artsy with the iPhone on P1 P2. Short pitch. Boulder problem over the bulge through the mini changing corners. Good pro and the pin at the end of the crux seemed in good shape, not tested. Belay on gear. P3. Awesome and memorable pitch I thought, shorter than it looks in photos. Super thin edging and stemming in the dihedral leading to a roof with wet holds that allow you to exit the corner and gain a stance. I basically punched myself in the face popping out of the wet locks first go round. Pin in the corner seemed good, I tested it and it held. Mostly finger sized cams. Belay at full on hanger. Andy in the corner/roof that ends the crux on P3 P4. Fixed gear in the roof seemed only ok, hard to tell with the tat and I didn’t spend much time examining it, but you probably won’t come off under the roof anyway, clip and go. Andy exiting the roof on P4 The last bit traversing back toward the anchor we both found a little awkward and harder than it seemed it should be. On the traverse back to the belay on P4 P5. Business #1. Super fun 5.10 traversing and edging to the corner. Corner gets progressively harder with the real business starting at the bolts. I will say on my initial go I was not super happy to have left basically all the rack at the belay, expecting only a few pieces then bolts. I'd take mostly finger sizes, but I was happy to have a black Metolius and a #2 C4 (certainly not necessary but provided me with some mental fortitude to try hard). Bring lots of slings, I think I had like 14 and ran out somehow, placed too much gear I guess. The crux moves are technical, a little powerful, desperate and amazing. The last move, while not the hardest, has the potential to be a heart breaker and I can only imagine being very desperate if you’re under, say, 5’9. Belay on medium sized gear above the bolts, significantly better stance. Andy sticking the last move, he never fell once climbing this pitch over the 2 days. P6. Business #2. No picture. First roof is super casual. Leading up to the second roof the climbing gets less secure but good small finger gear is there between pins. The boulder problem is powerful, but pretty straightforward cranking (V4ish?) on pretty good holds. We were a little confused by all the talk about a necessary and specific red C3 placement. We couldn’t find anywhere by the beak, or below the roof for that matter, where this would go. Any clues? However that piece or a blue Metolius or equivalent went in bomber just above the lip. If that’s the placement everyone is talking about, then there is no need to scavenge around for a red C3 if you don’t have one. We left it out in favor of a blue Metolius on round 2. Climb past the bolts (if not rapping from here) and belay on the better sloping ledge with hand sized pieces. P7. Only dog pitch on the route. Thought the rock was poor quality, basically a connector pitch. Ends on the scary looking “how is it still hanging there” block creating the ledge. P8. Another techy and pretty thin 11+ pitch. Really really good. Looks super thin but there is gear to be had and both the head and pin are in good shape, Andy tested both and approved. Some small hand sized gear higher. P9. Excellent and fun 10+ climbing again builds as you get higher. Looks like the seam dies out at the top, but keep going up instead of traversing left. That’s probably super obvious but I was getting tired and moving more timidly by this point. P10-12. Progressively easier climbing. Nice to have Scott's topo for P10 to know where to get started. The last belay sits basically on the arête between the east and north face, we came back into the sun here. There are brand spanking new bolts here instead of the pin/fixed wire combo some guide mentions. Maybe it’s obvious, but the climbing heads left up the lighter colored dihedral. This looked too steep to us to be the 5.7 climbing, so Andy headed out right on the lower angle terrain and we had a bit of an epic on the easiest and last pitch of the route. The rock quality deteriorated into kitty litter, so Andy tried to sling a chockstone to lower back to me, only to get the rope got stuck forcing even more shenanigans (face palm). All in all we wasted some hours and all hopes of pizza. Once corrected we soloed to the top without further incident. Don't go this way. Why is this photo so big? All in all, neither of us fell following any of the pitches. On lead, some of the pitches took a try or two, but in the end we pulled it out and nabbed a free ascent. We learned a lot about climbing in this style and really enjoyed the process. Thanks to Mikey Schaefer for figuring this out, it provided one of my all time favorite experiences in the mountains so far. Psyched for the next one! Gear Notes: Doubles from purple Metolius to .75 BD, singles to #3 BD. Our second set of cams were Metolius offsets. They worked amazing (as always for granite) and I always carry them as doubles, but far from necessary. Nuts. Placed 1 RP but probably not necessary. Lots of slings, like ~16. We used a 40M tag line and hauled the bag on most pitches. Approach Notes: Most casual "alpine" approach ever. Like 25min from the car.1 point
-
Trip: Thornton Peak - SE scramble Trip Date: 08/05/2018 Trip Report: Triumph is a well-known peak, and for good reason. With one of the more classic ridge routes around (the NE), it gets a lot of traffic. But immediately next door lies a fantastic scramble (Cl. 3) to the top of Thornton Peak. Due to a variety of factors, our planned ascent of Triumph morphed into a scramble of Thornton which, it turns out, makes a great destination in its own right. Or, as we saw with another team of ladies we met on the summit, Thornton can serve as great backup to Triumph in case of weather/time constraints. And, since it is so close to Triumph and the Pickets, the views aren't half-bad either. Just make sure you bring a tent with the proper poles and fly if it may rain. @cfire enjoyed a bit of a refreshing evening the night before we scrambled Thornton. Like the tough SOB he is though, it didn't seem to dampen his enthusiasm the next day. Ah......... the yin and yang of the North Cascades! Thornton Lakes on the approach. Thornton peak lies just to the left of Triumph: Chris, working his way around middle Thornton Lake (above). Lower and Middle Thornton Lakes (above). The wedder approaches: Kim and Chris - "Do you think it is going to rain Jason?" Triumph: Ptarmigan: Upper Thornton Lake: Triumph: Me, the Lovely Kim, and Chris on the summit of Thornton: Chris heads for home while Kim and I stay to enjoy another night up high: The Lovely Kim descending back to camp: I'll take it: I had bats flying around me eating moths while I took this shot of Triumph and the Big Dipper about midnight: I want the story of whomever was up at midnight at their camp below the Ottohorn-Himmelhorn col? Smoke, smoke, and more smoke. The story of 2018: Looking from camp across the Skagit trench at the North end of Teebone Ridge: The Lovely Kim surveys the way down to the upper Thornton Lake. She said, "Why can't we take trails like normal people do?" A parting look at Triumph: It's sort of a trail, isn't it? "No". Gear Notes: Footwear of some kind. We were able to stay off snow for the most part and the rock isn't too bad where you feel like you need a helmet. Approach Notes: Use the approach to Triumph col and take a left. Descent camps a bit above the pass without much water late season1 point
-
That's the same gear spot that Max , etc, are referencing. I rapped over the pitch maybe 4-5 years ago, and it didn't take a blue metolius. Now it does, which is no surprise. The whole route is a lot cleaner and kind of smoothed out. A variety of small gear will work and it really isn't finicky or runout. Linking P2 and P3 still makes you use the hanging belay. Try linking P1+2 and P3+4. No lame belay stances. You can make the route a little harder but less rope drag by substituting that crux FOD pitch for P3 and P4 on TRL. Really short people can make a higher traverse left to end P5, without needing to do the span.1 point
-
It was certainly exciting @chucK! I went first on that one and I just barely reached a horn with some bleached and shredded tat. I didn't have the tat (D'oh!), so @therunningdog slung it down the rope to me. It didn't touch anything on the way down, perhaps the only benefit of a rap so steep! Oh, I can get you a print to anything you want @Trent! Or anyone else for that matter.... Love the shot of @Steph_Abegg in the Great Gash!1 point
-
1 point


