-
Posts
137 -
Joined
-
Last visited
-
Days Won
51
Everything posted by Michael Telstad
-
I could actually really use these. Left about four racks of nuts in AK last spring (TR coming eventually) and am extremely nut poor. Is $120 too much of a low ball?
-
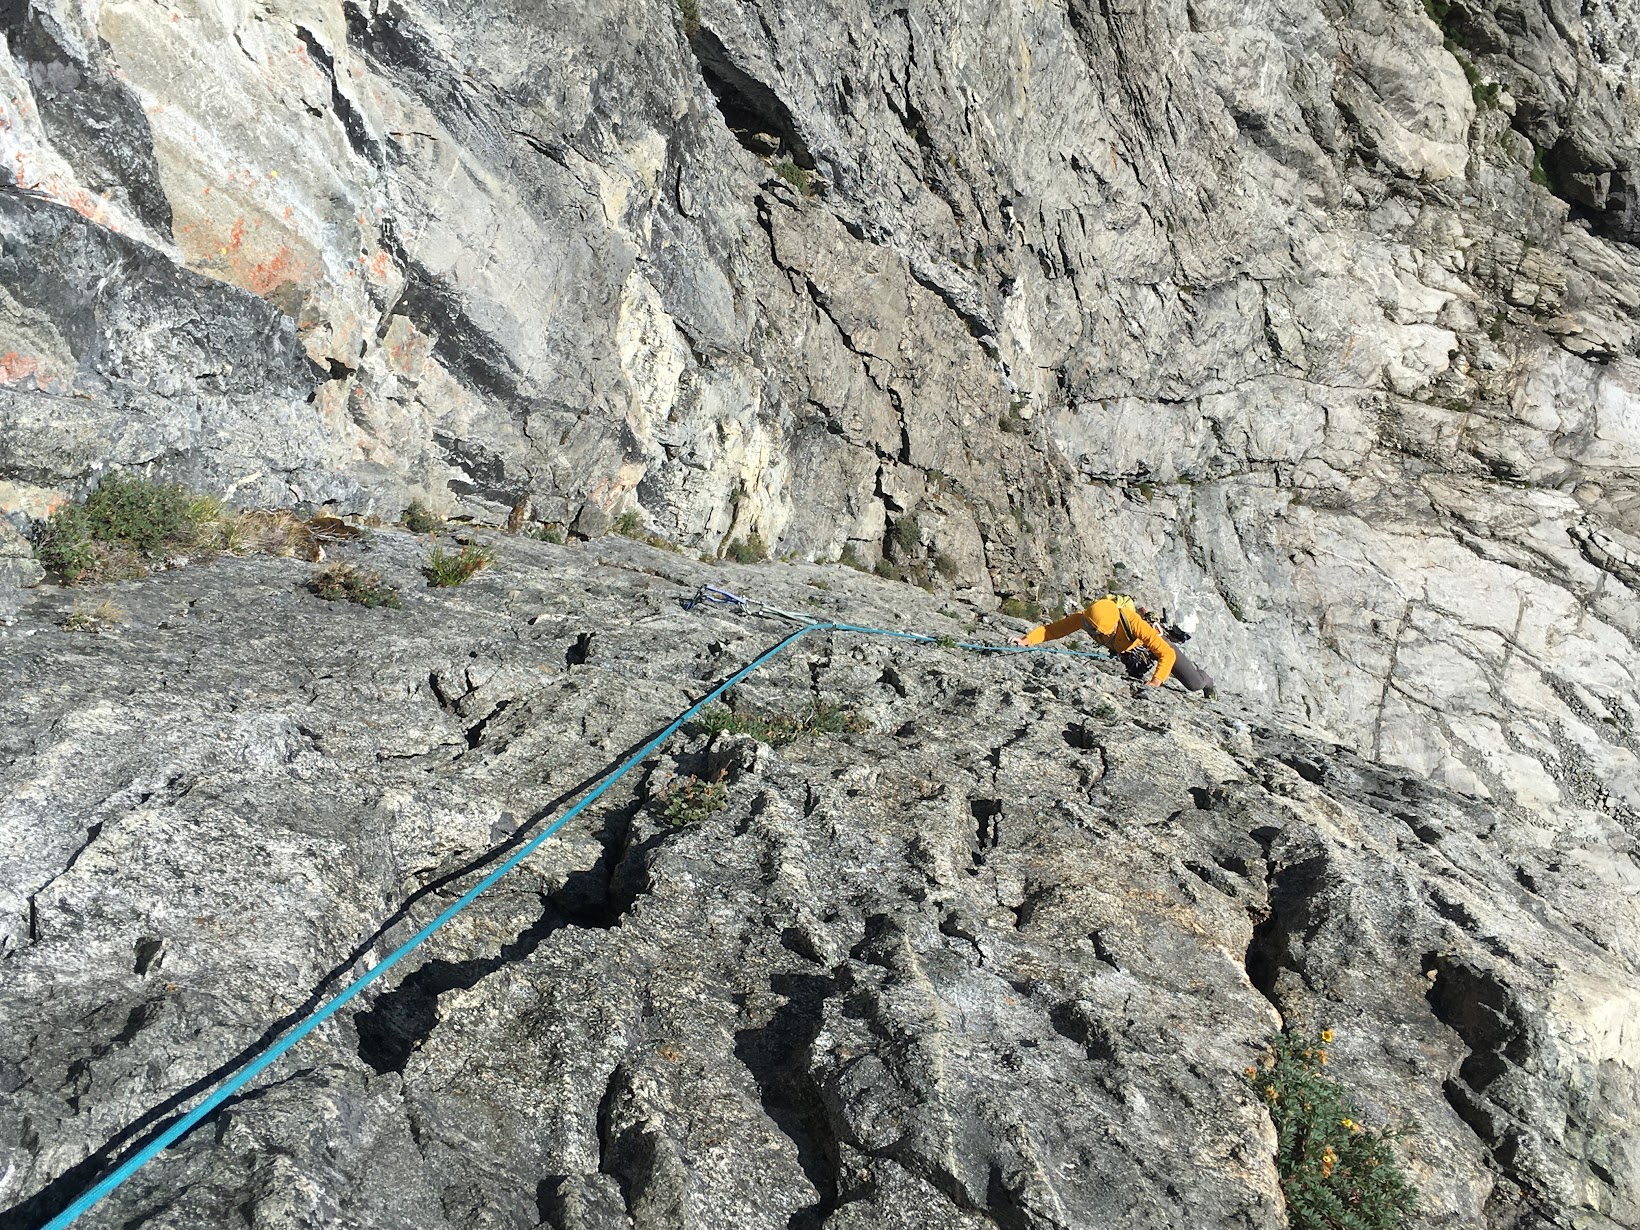
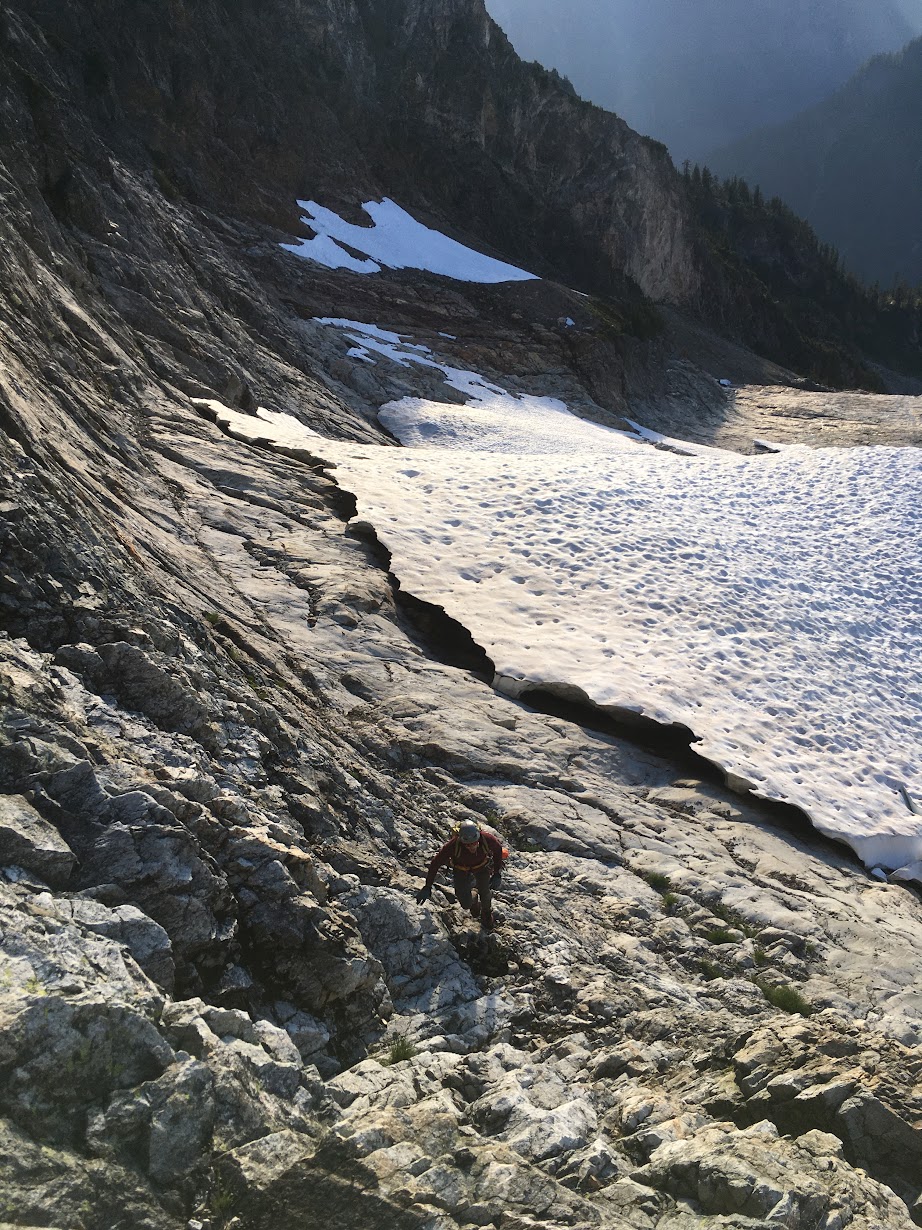
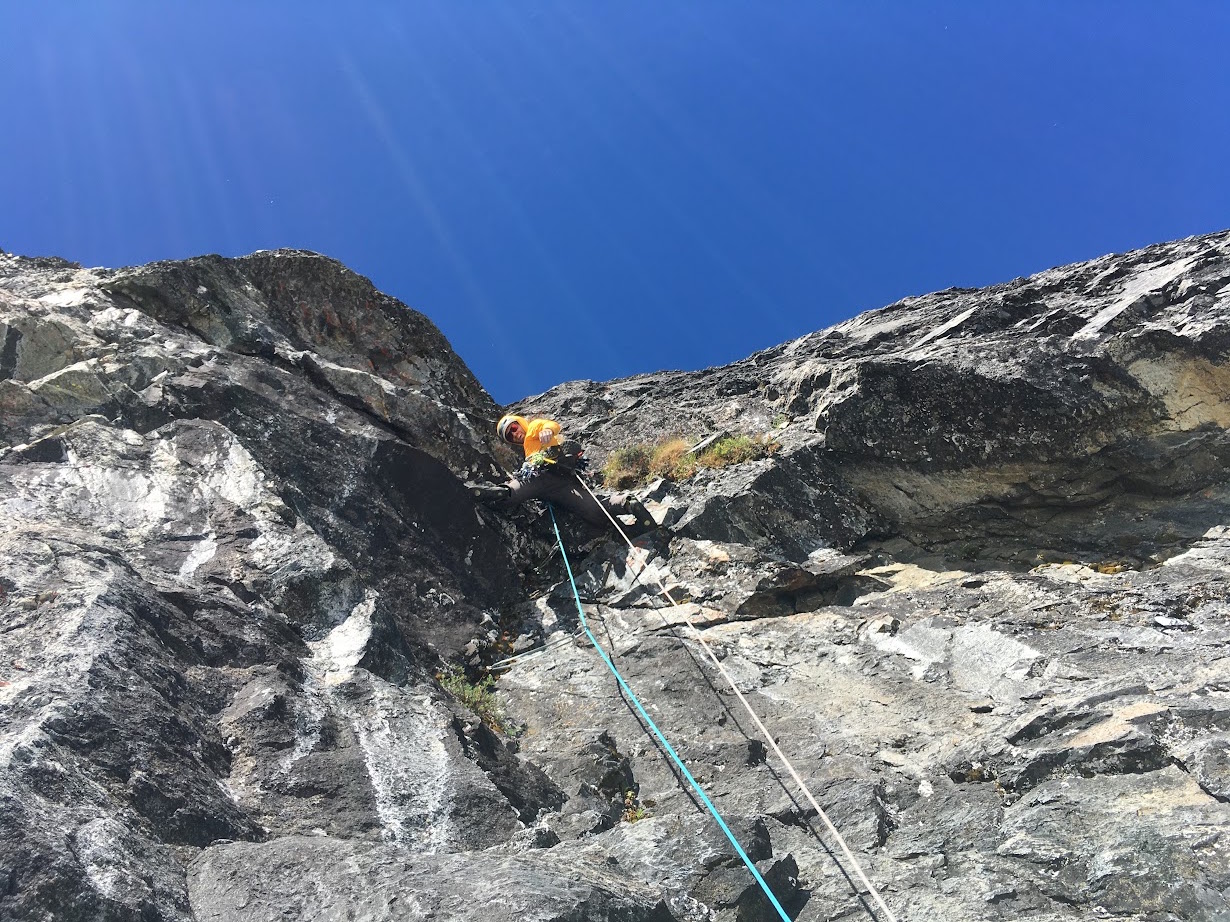
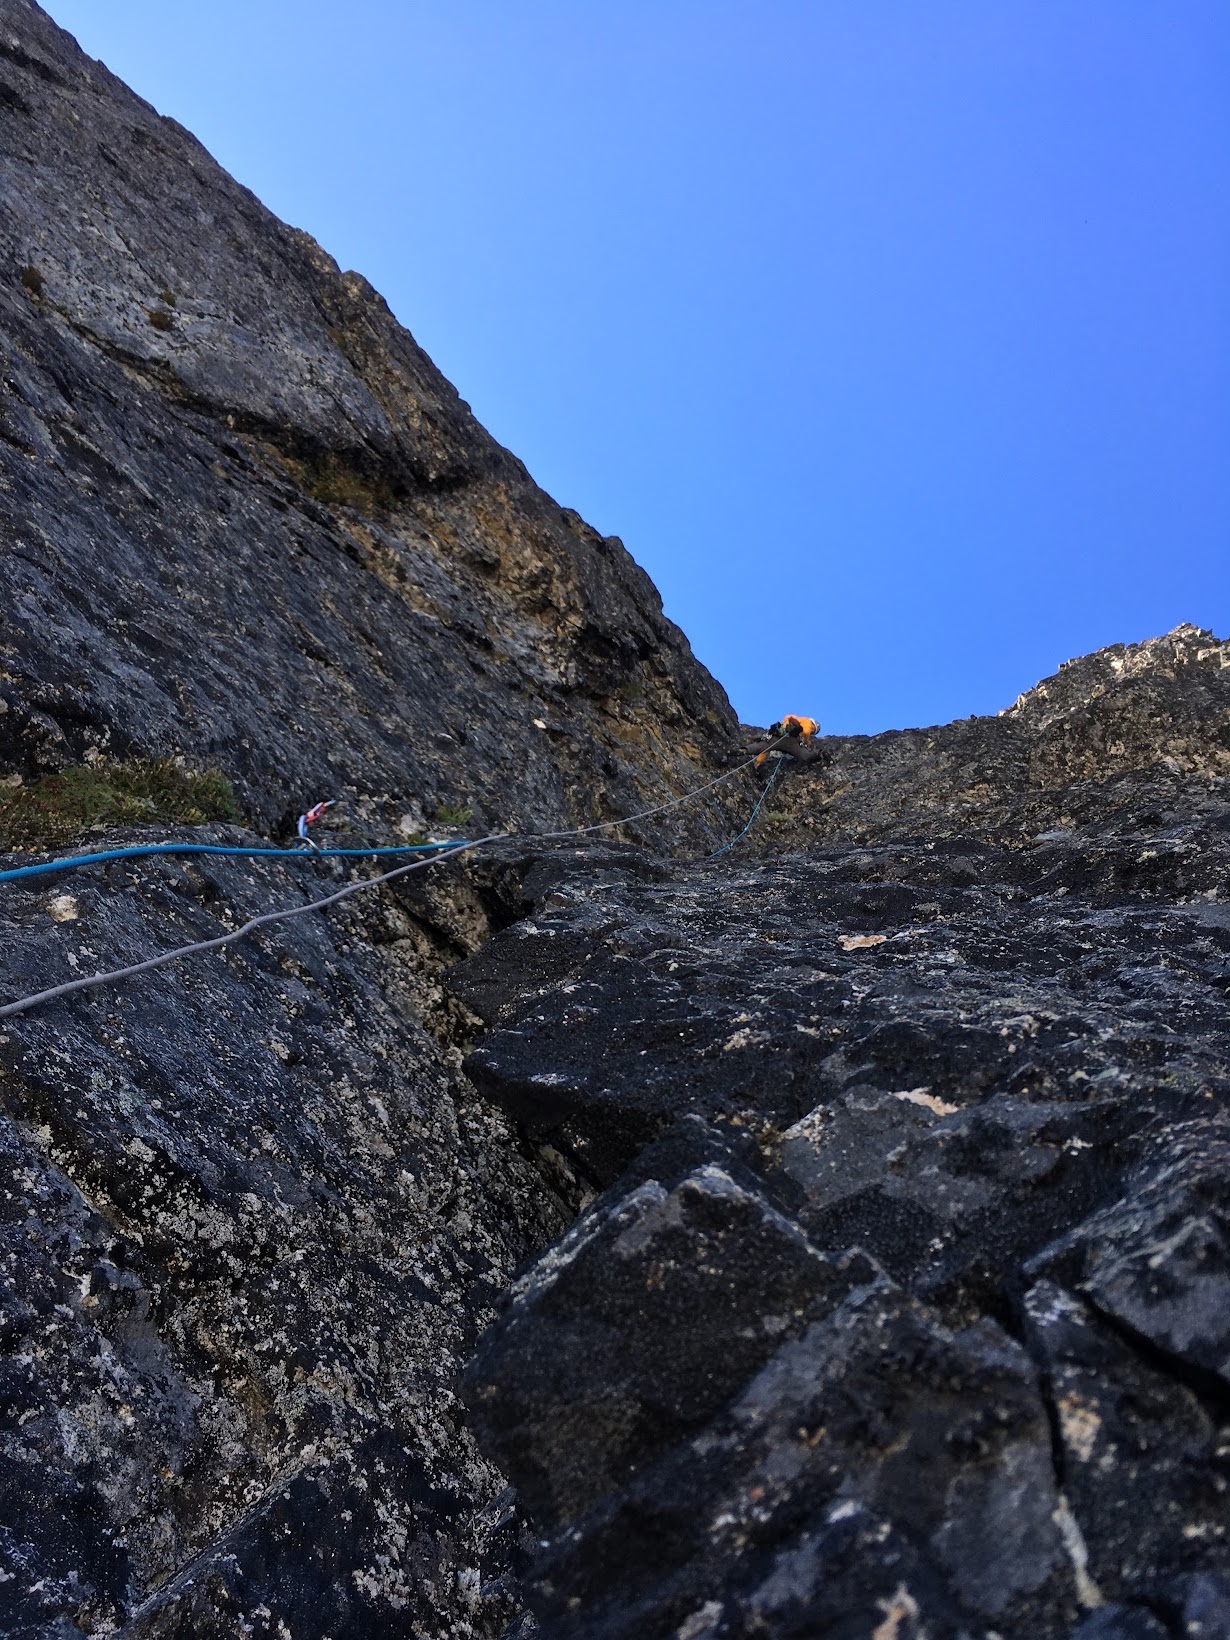
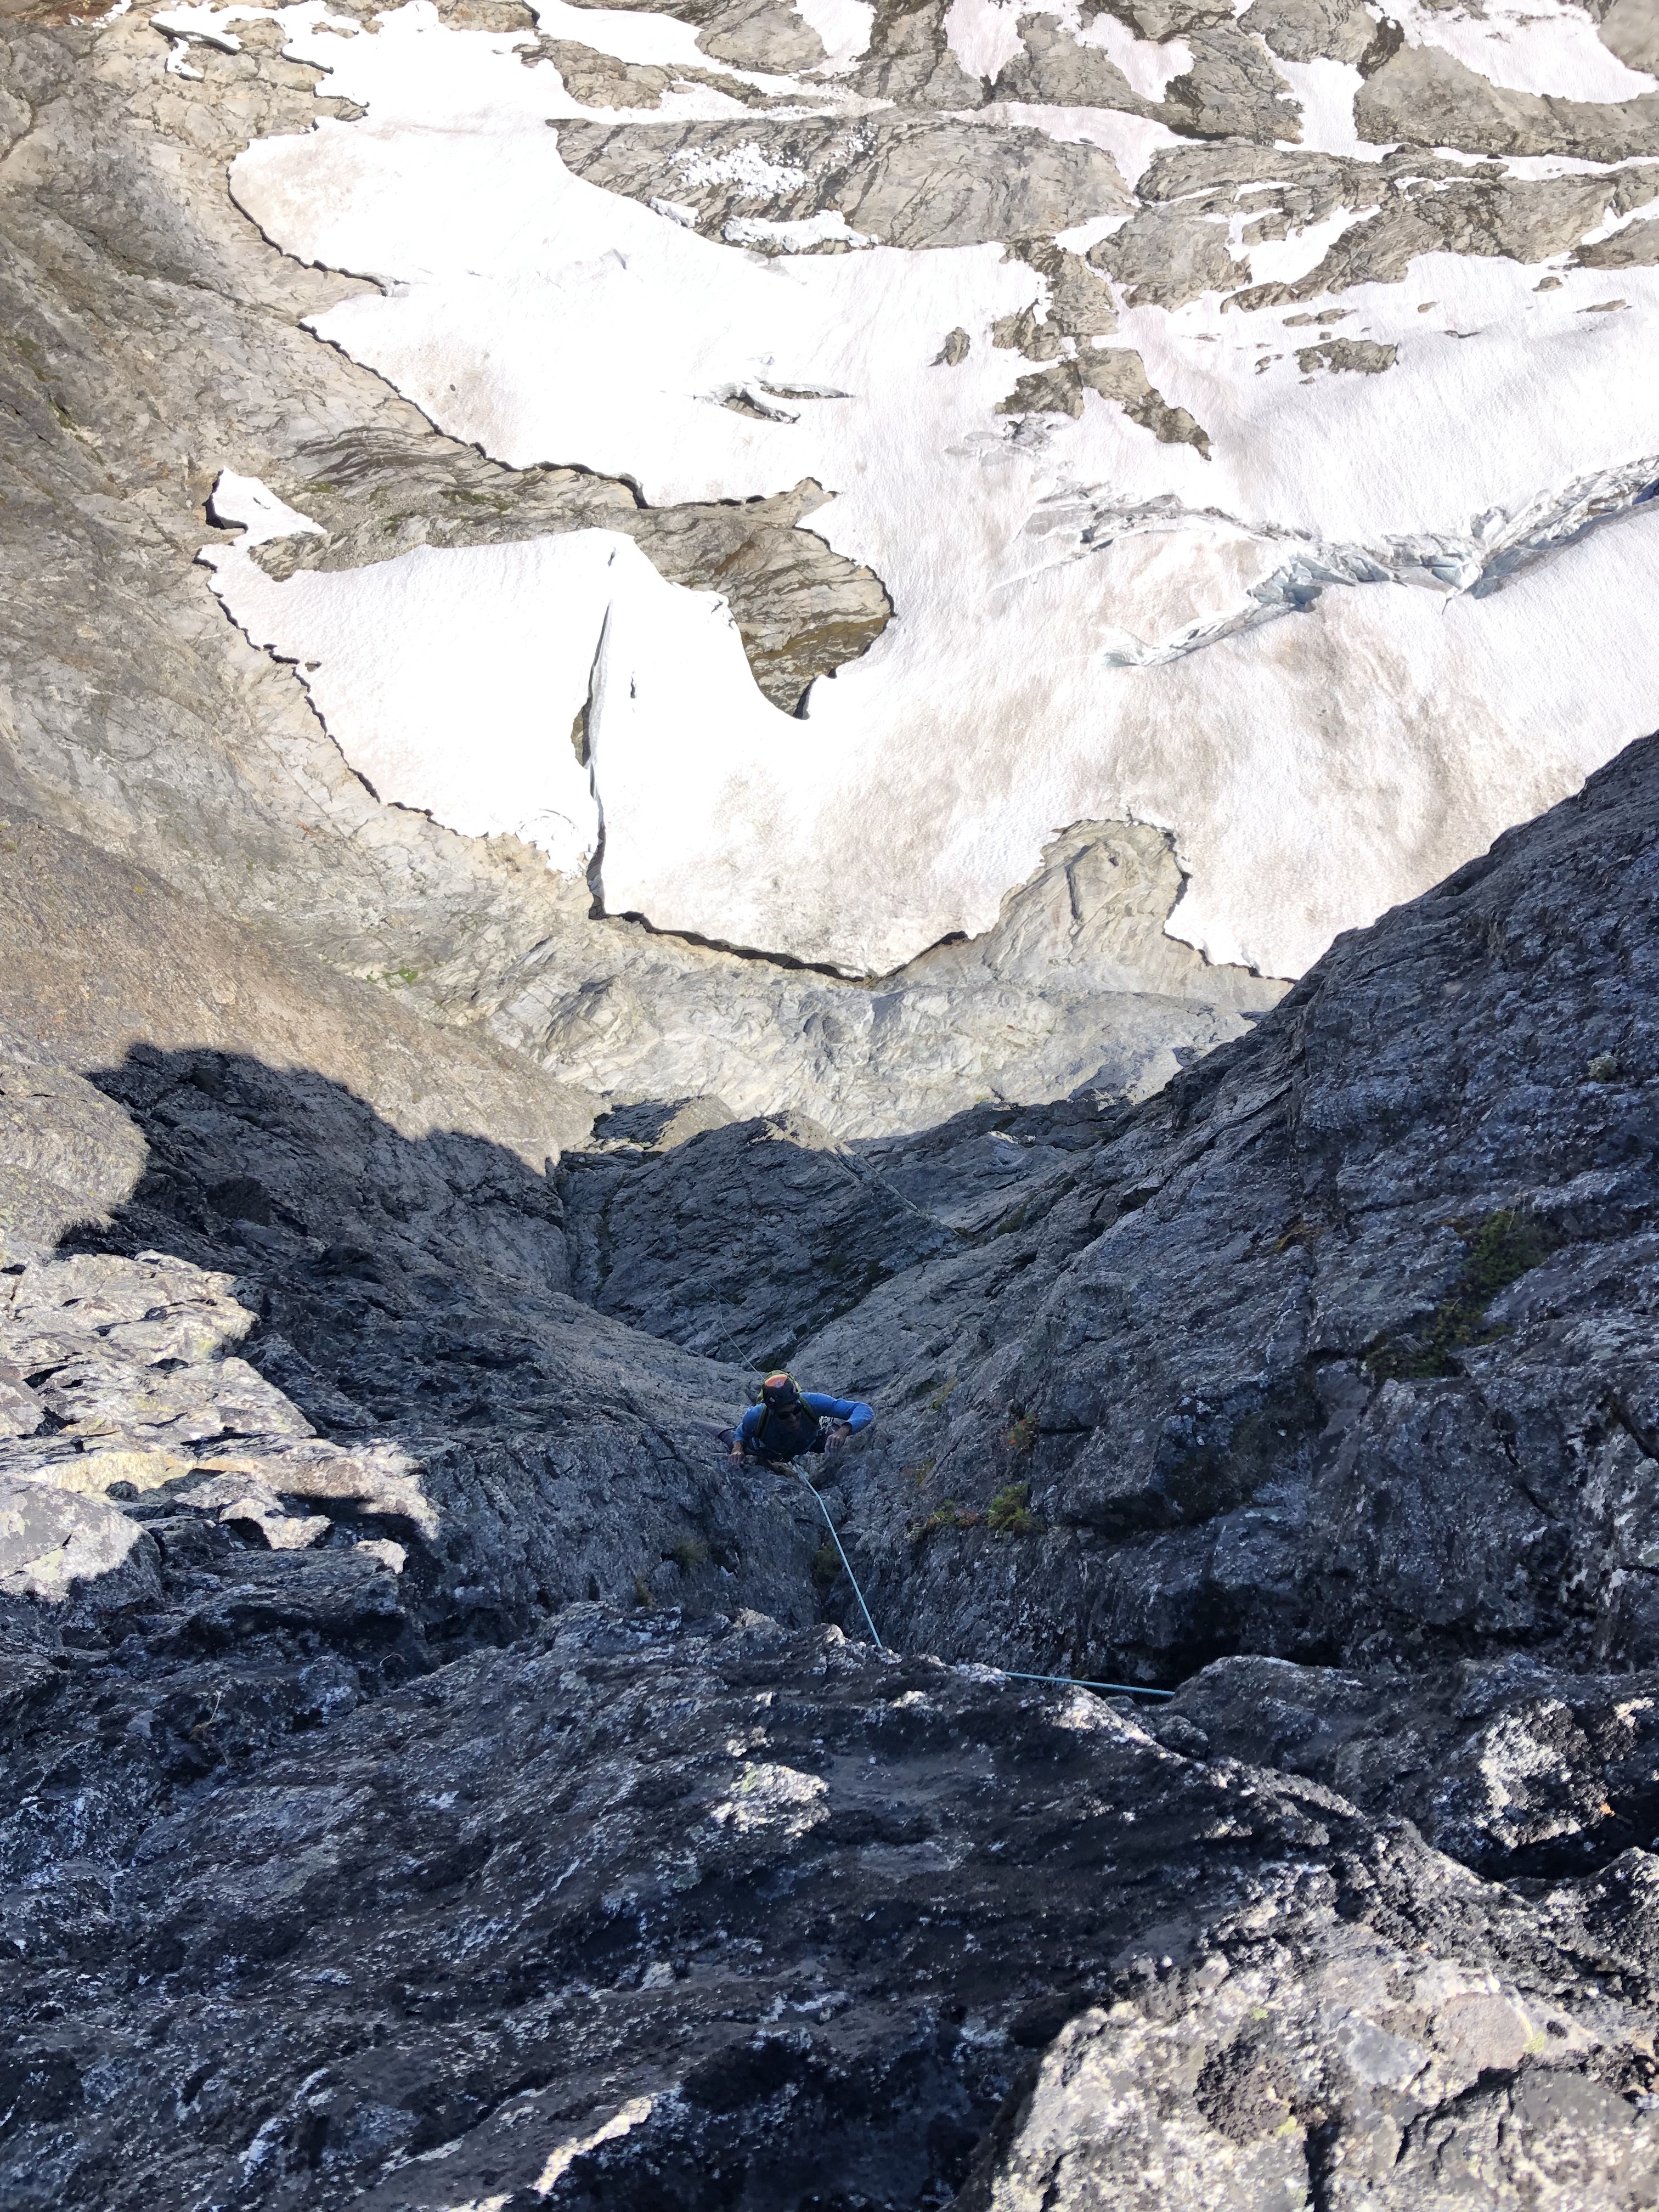
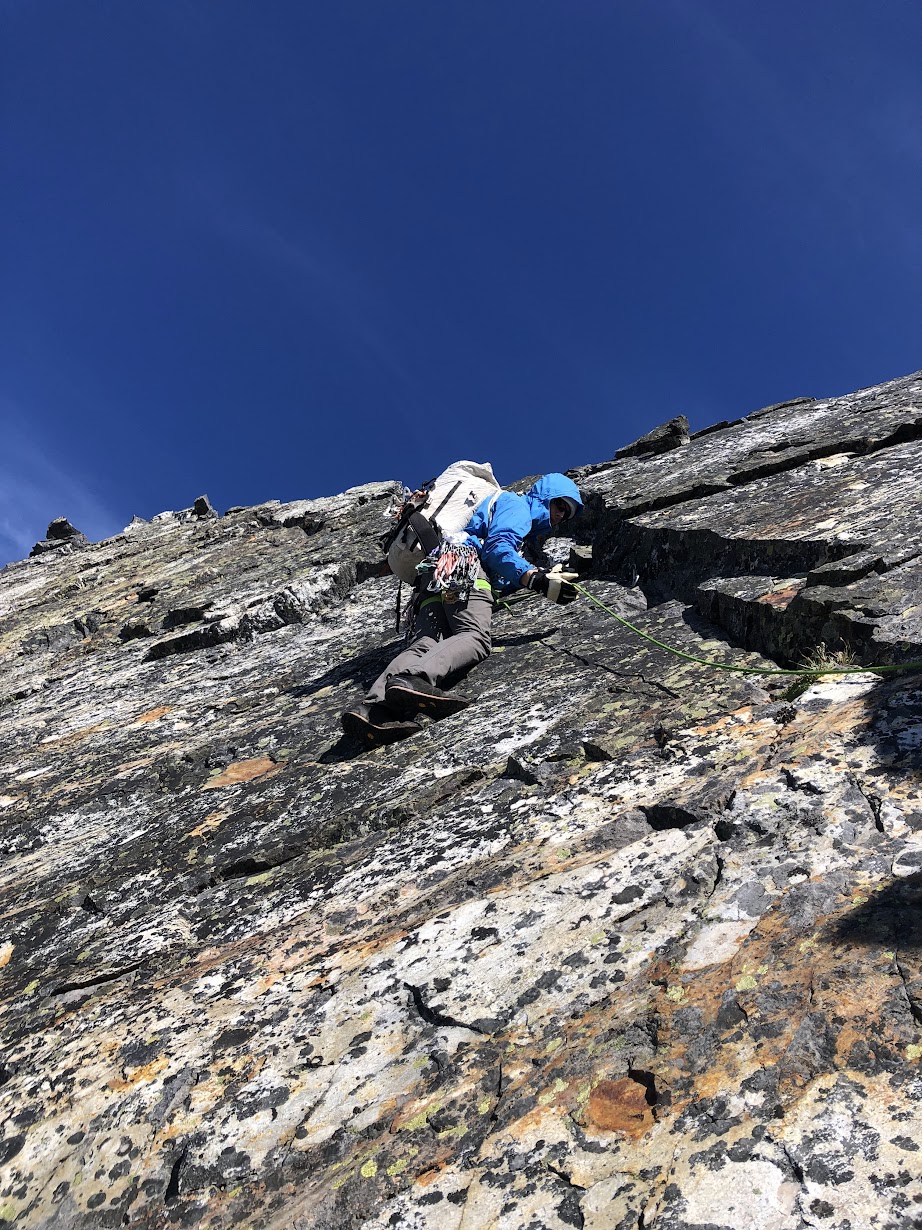
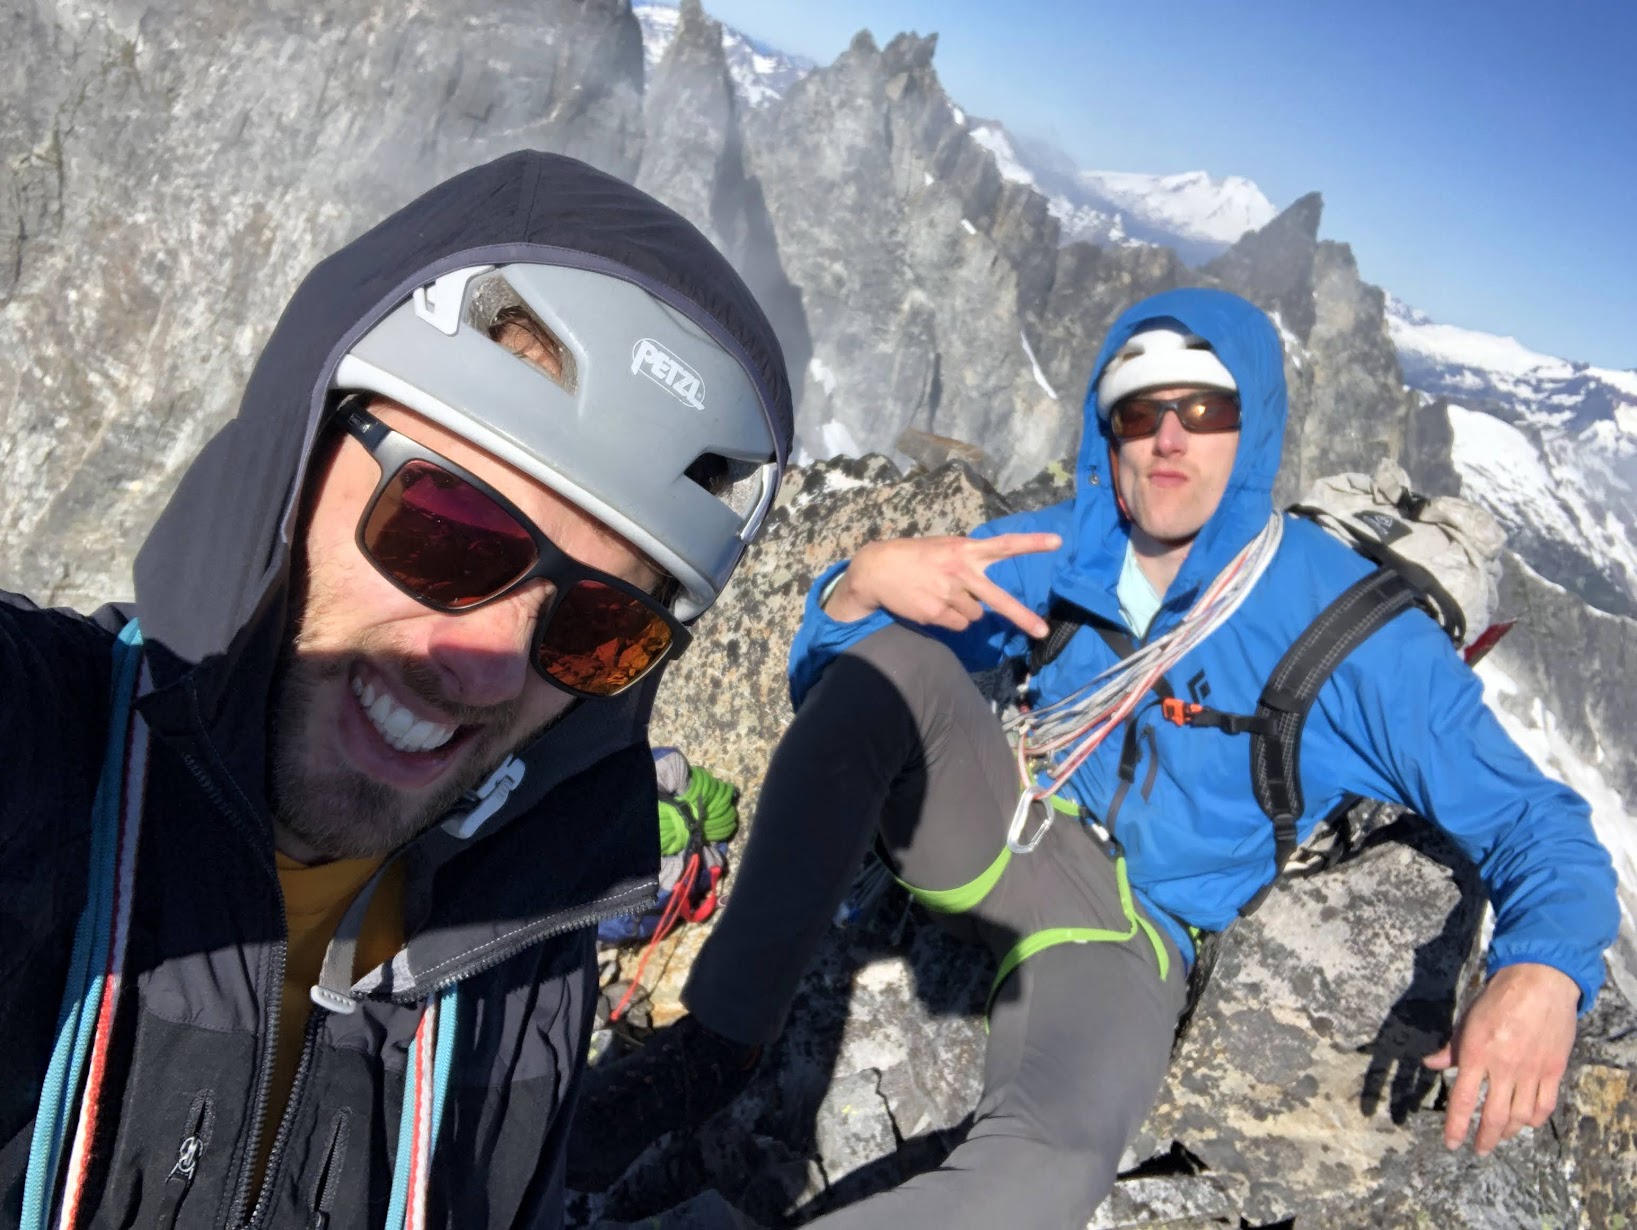
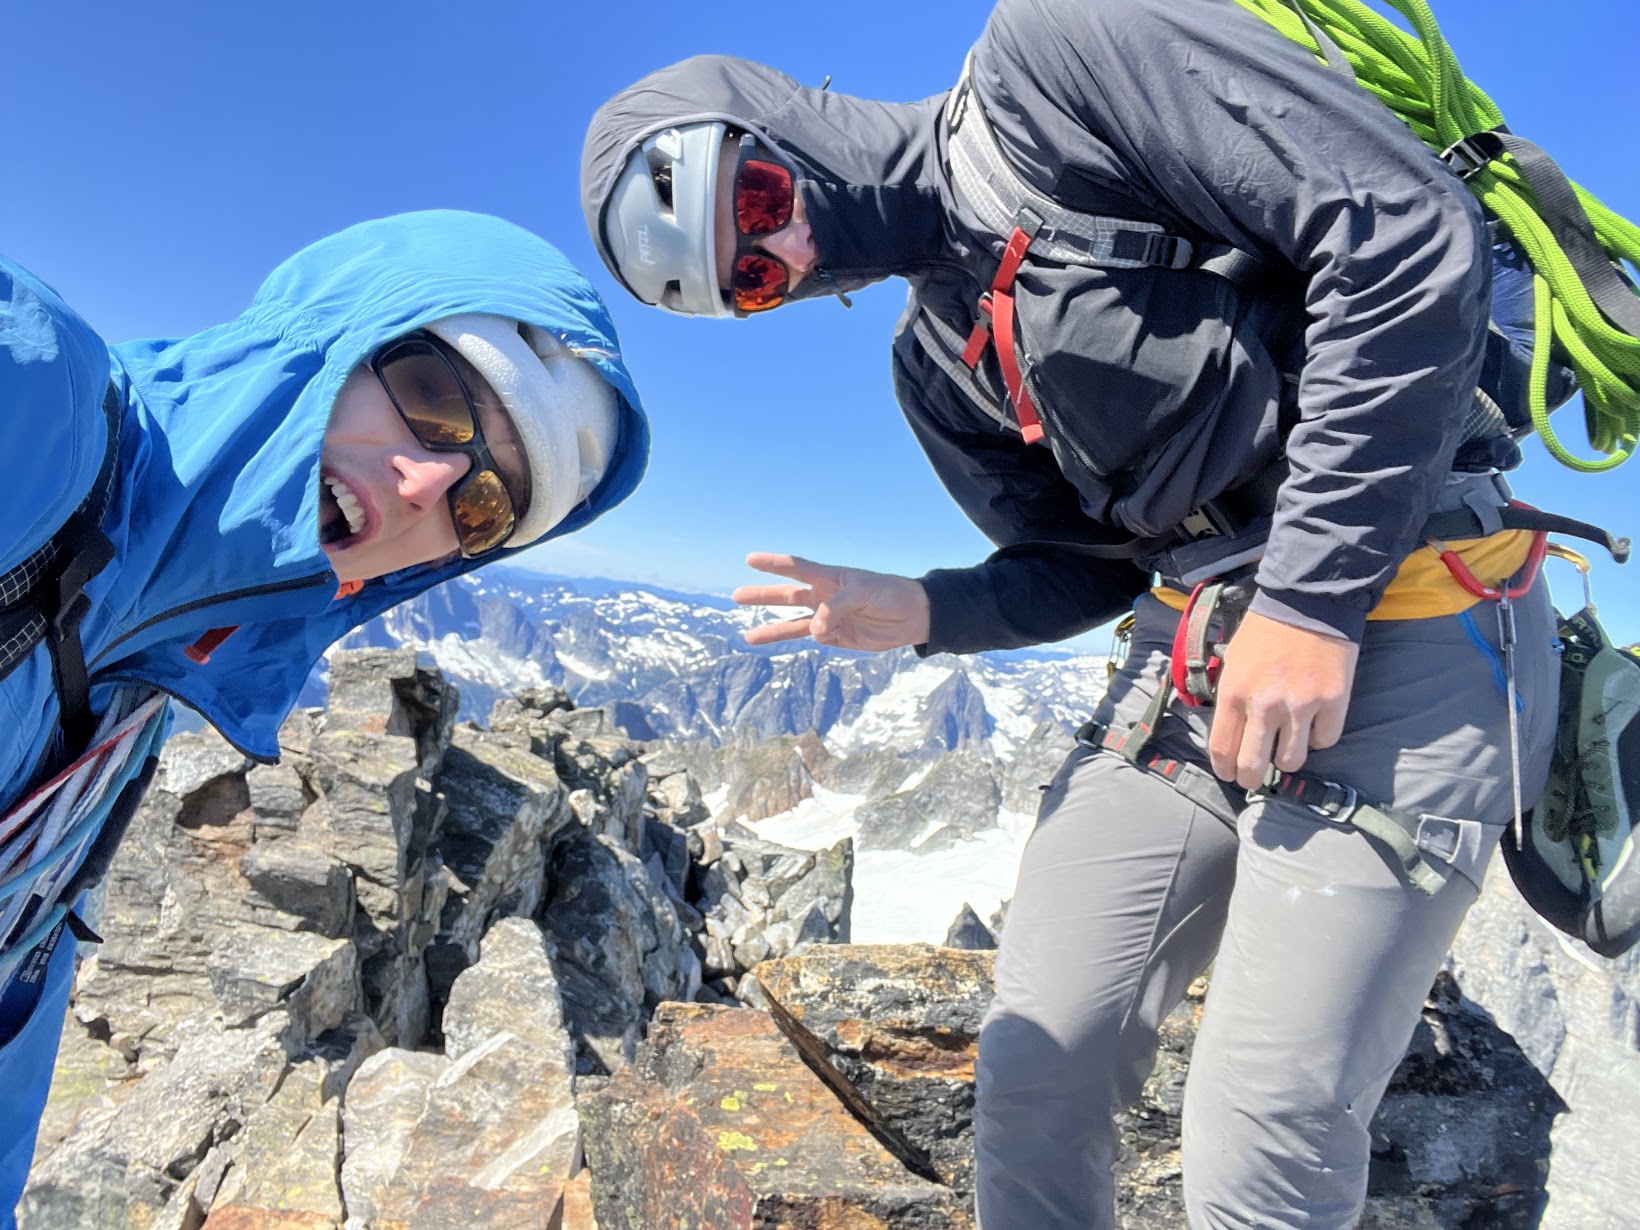
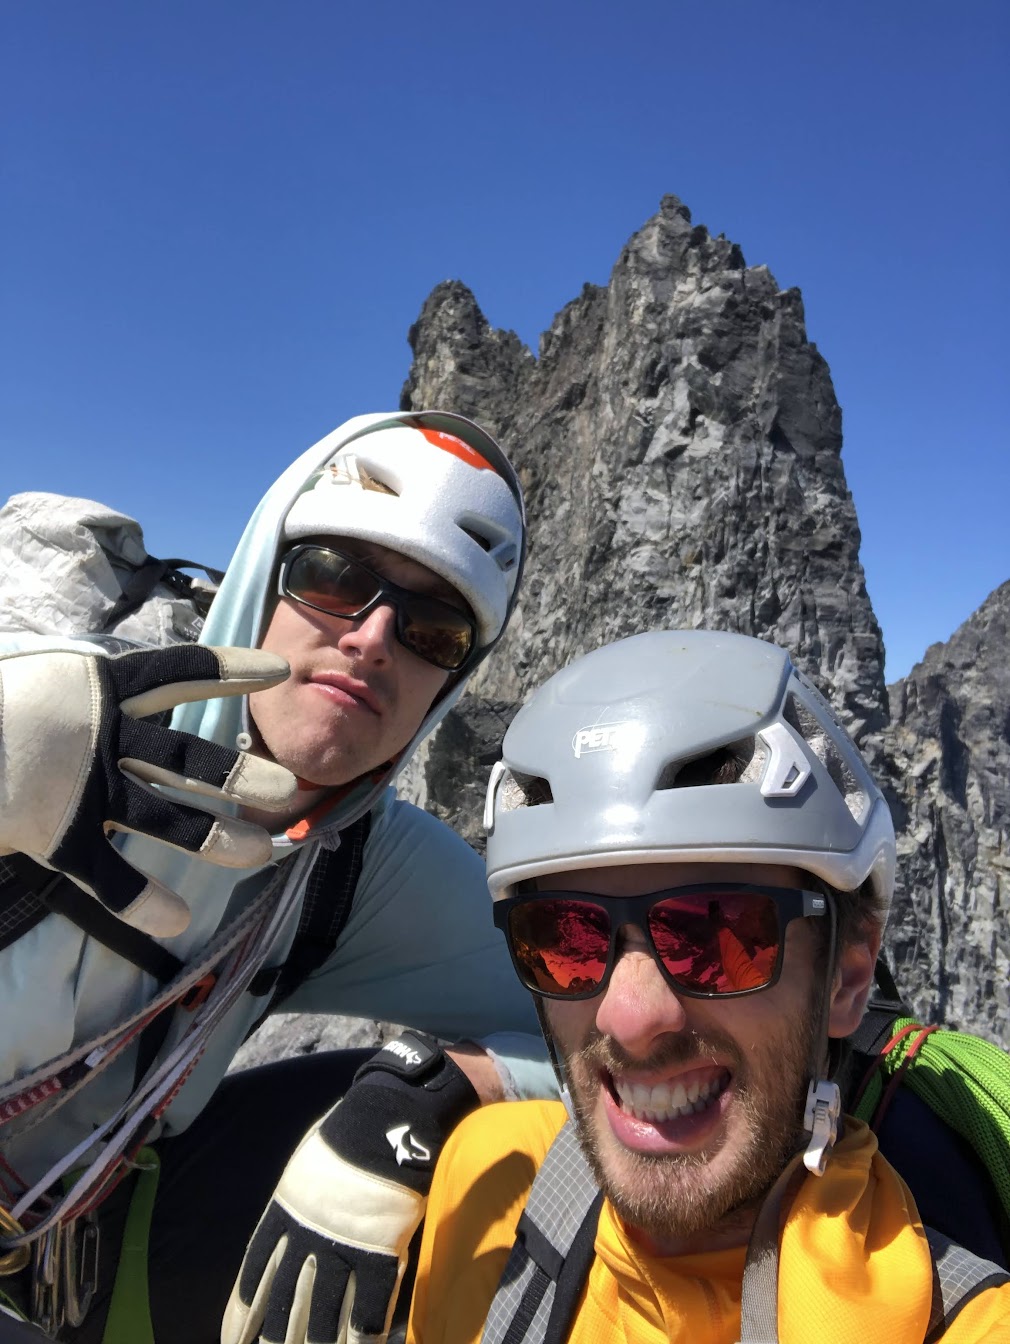
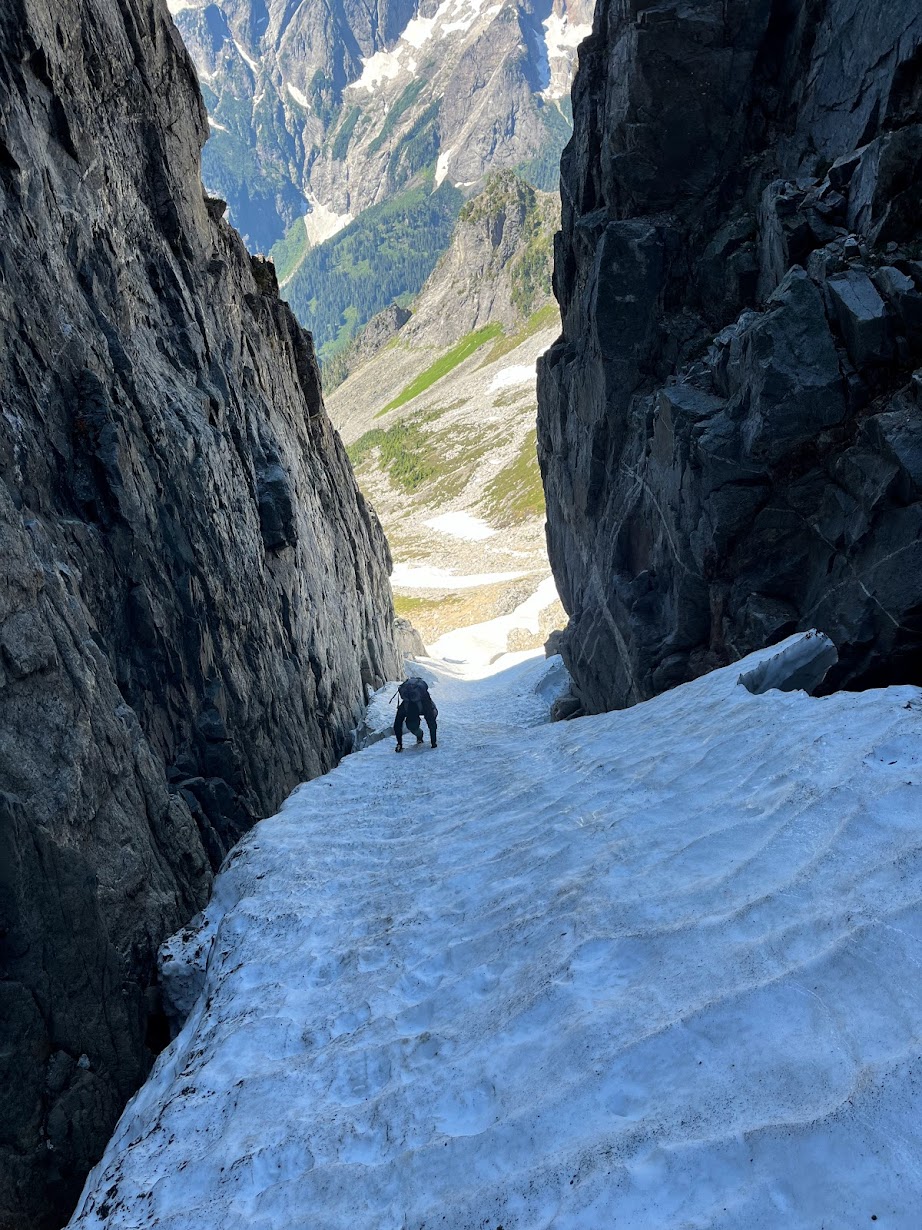
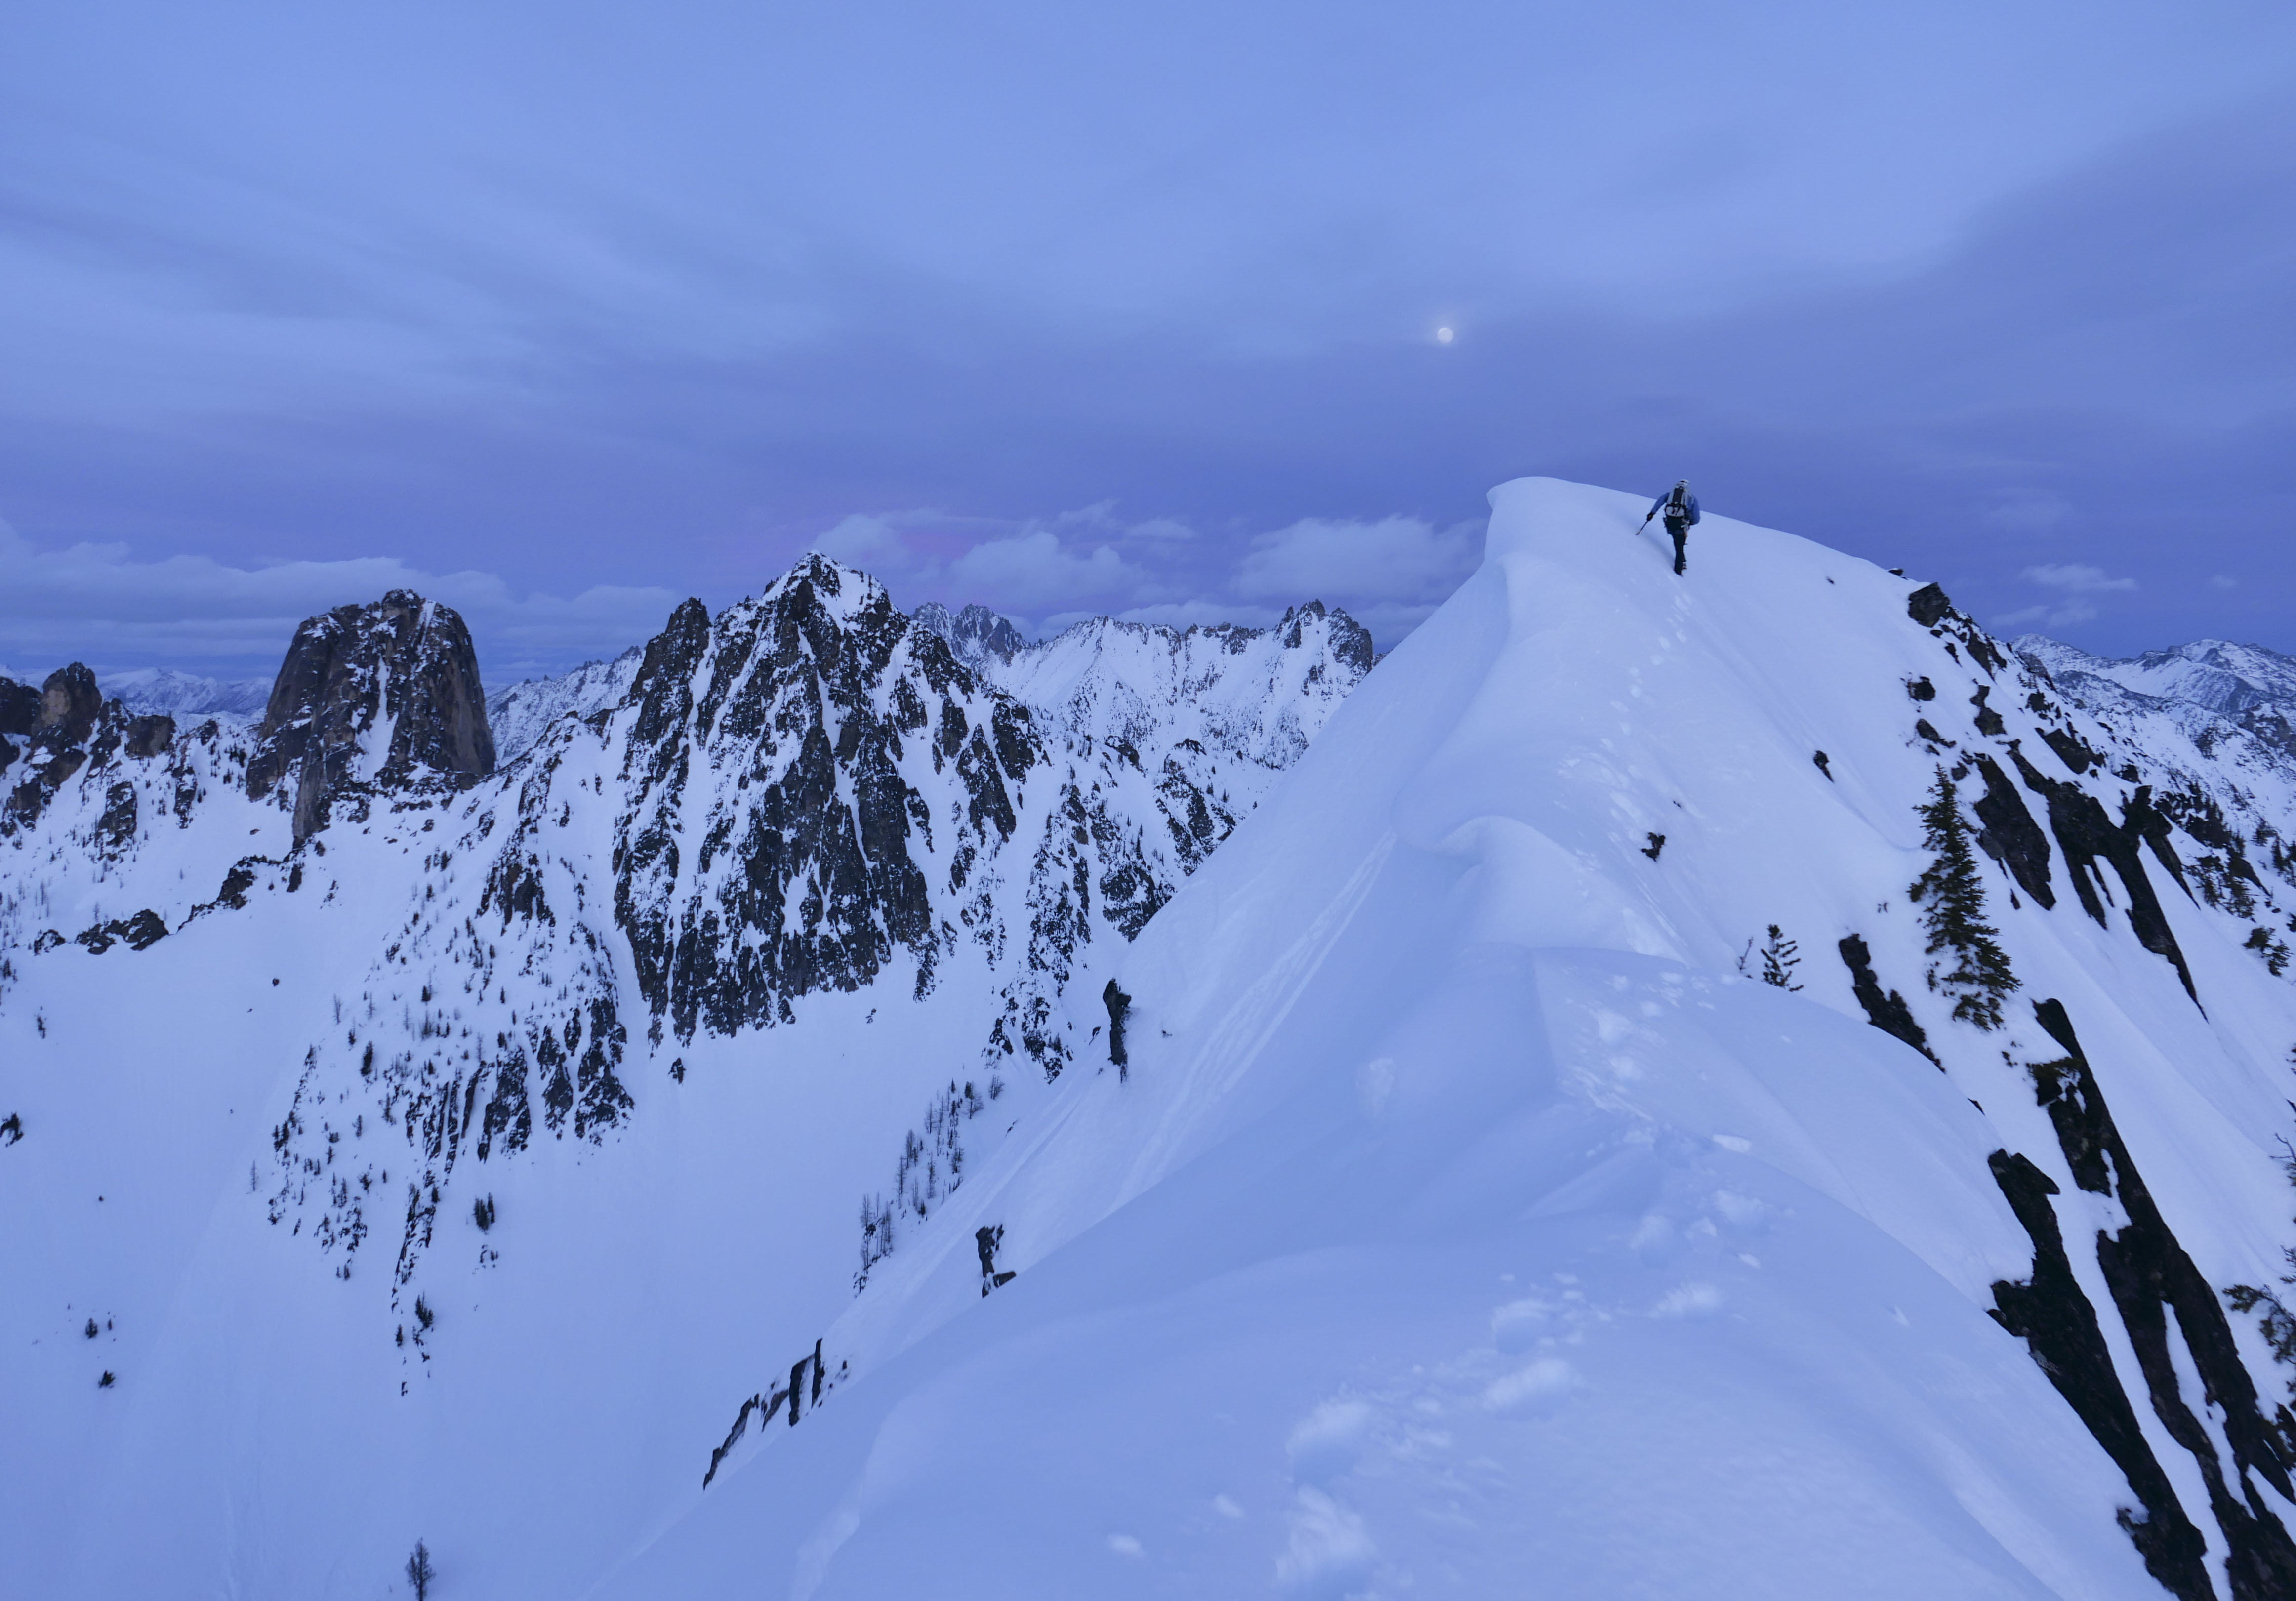
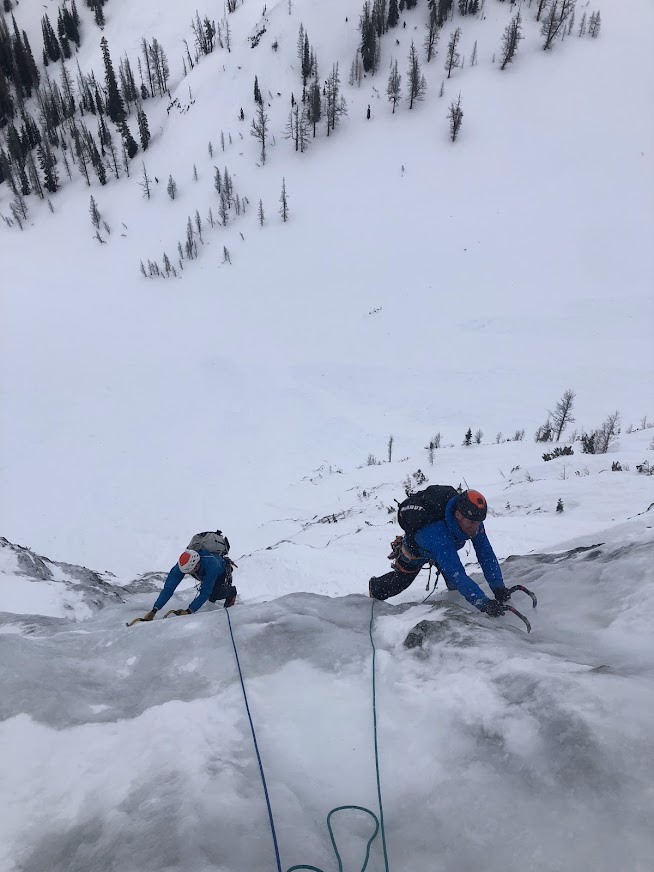
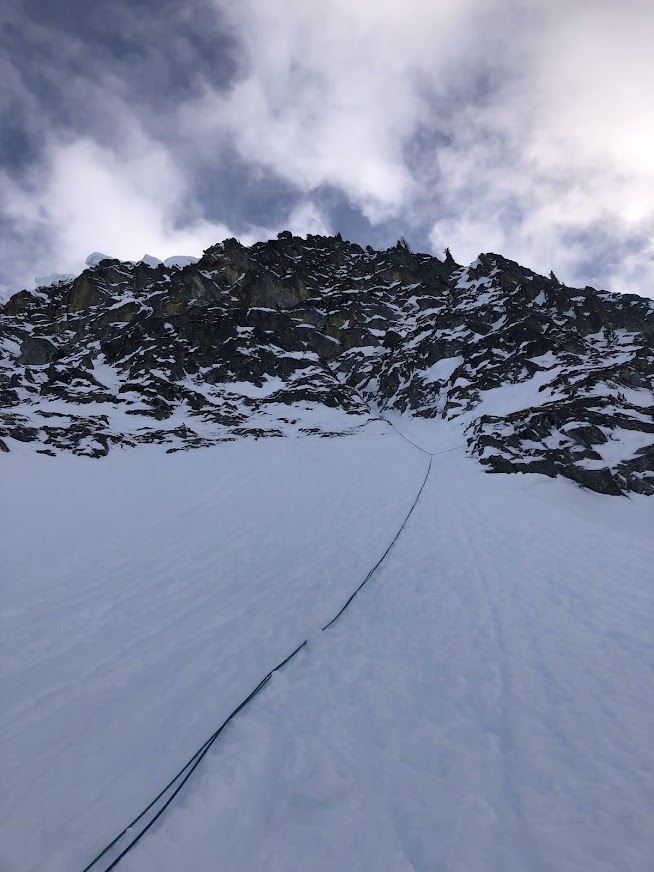
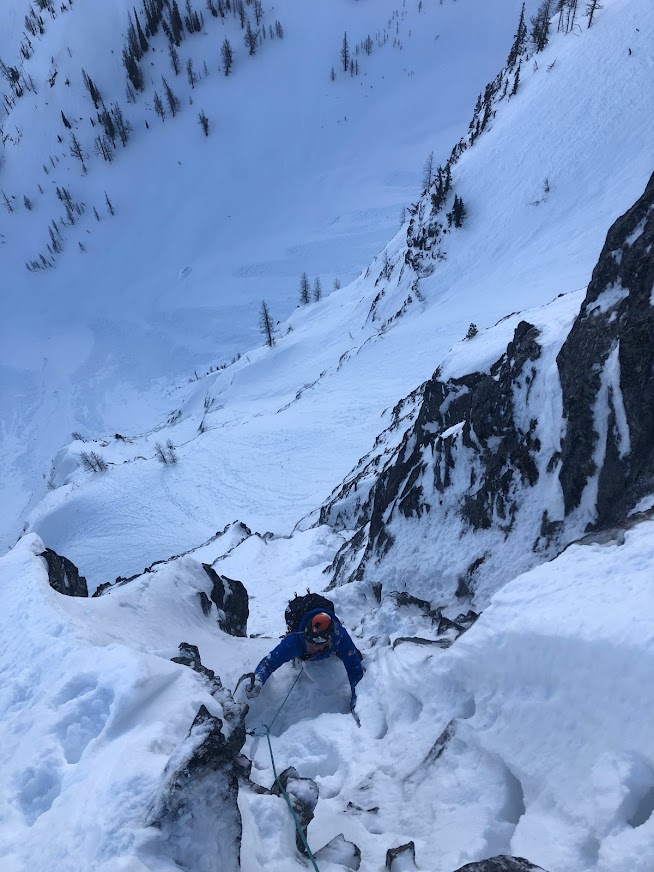
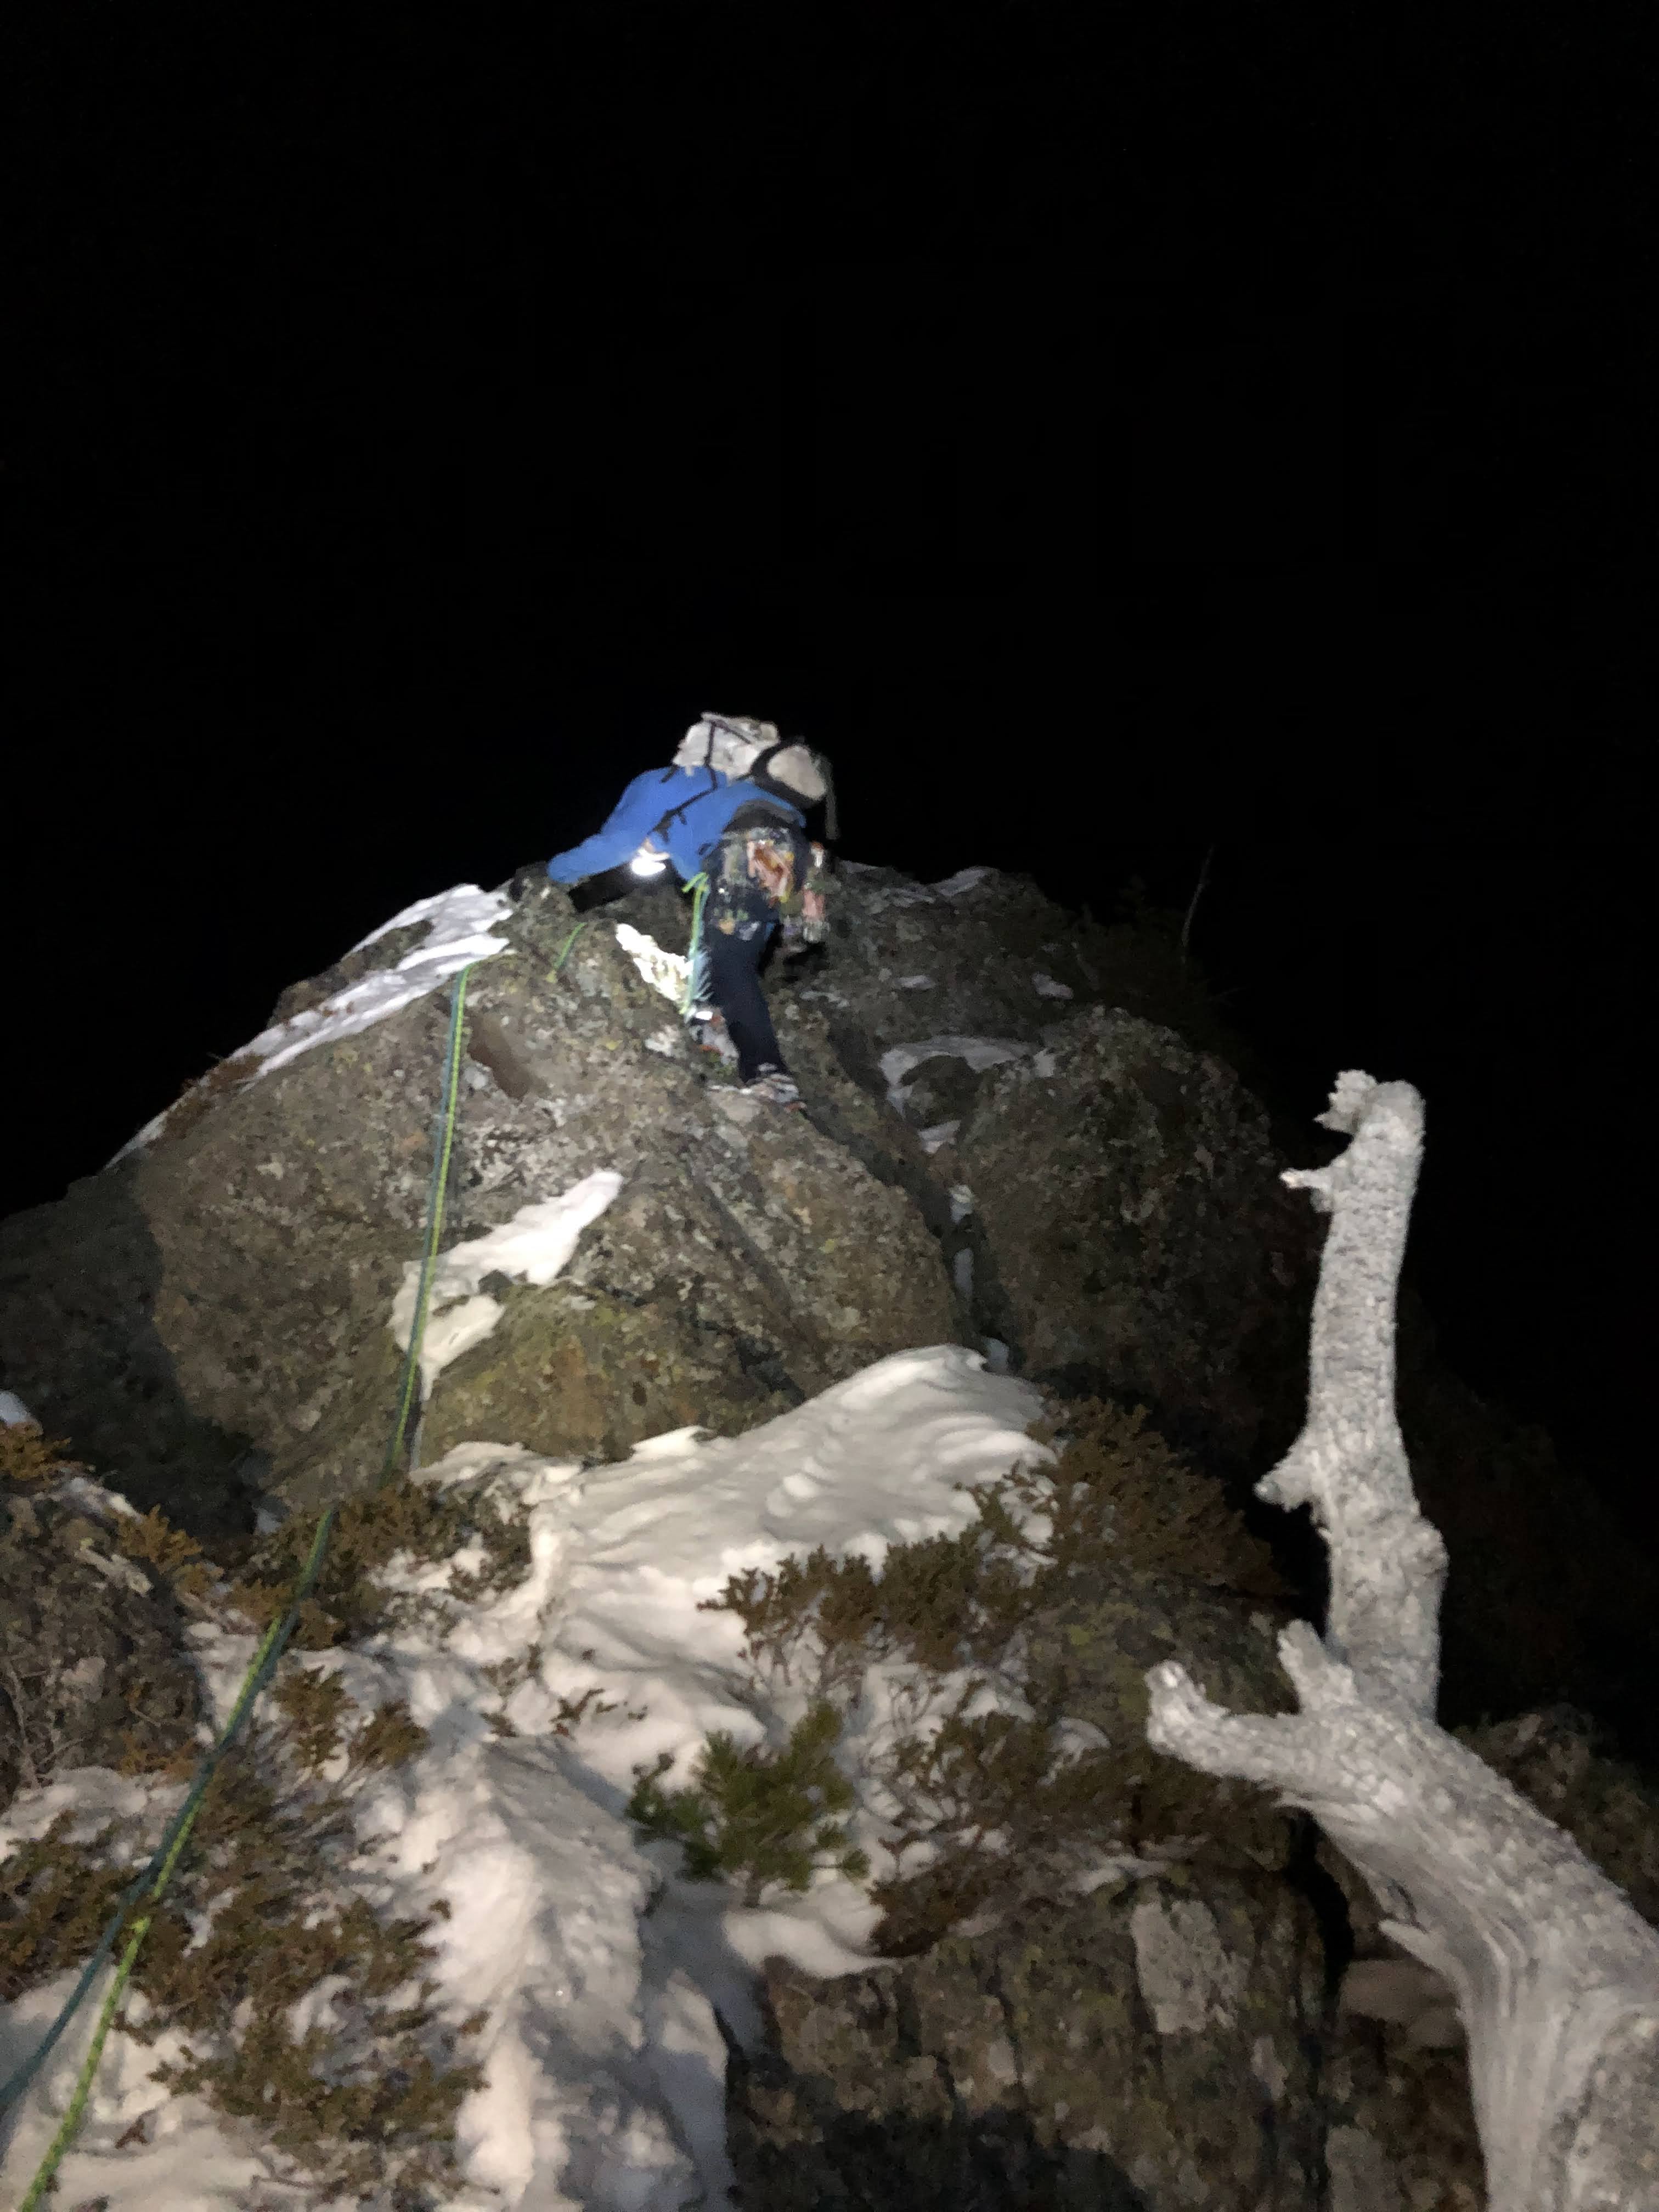
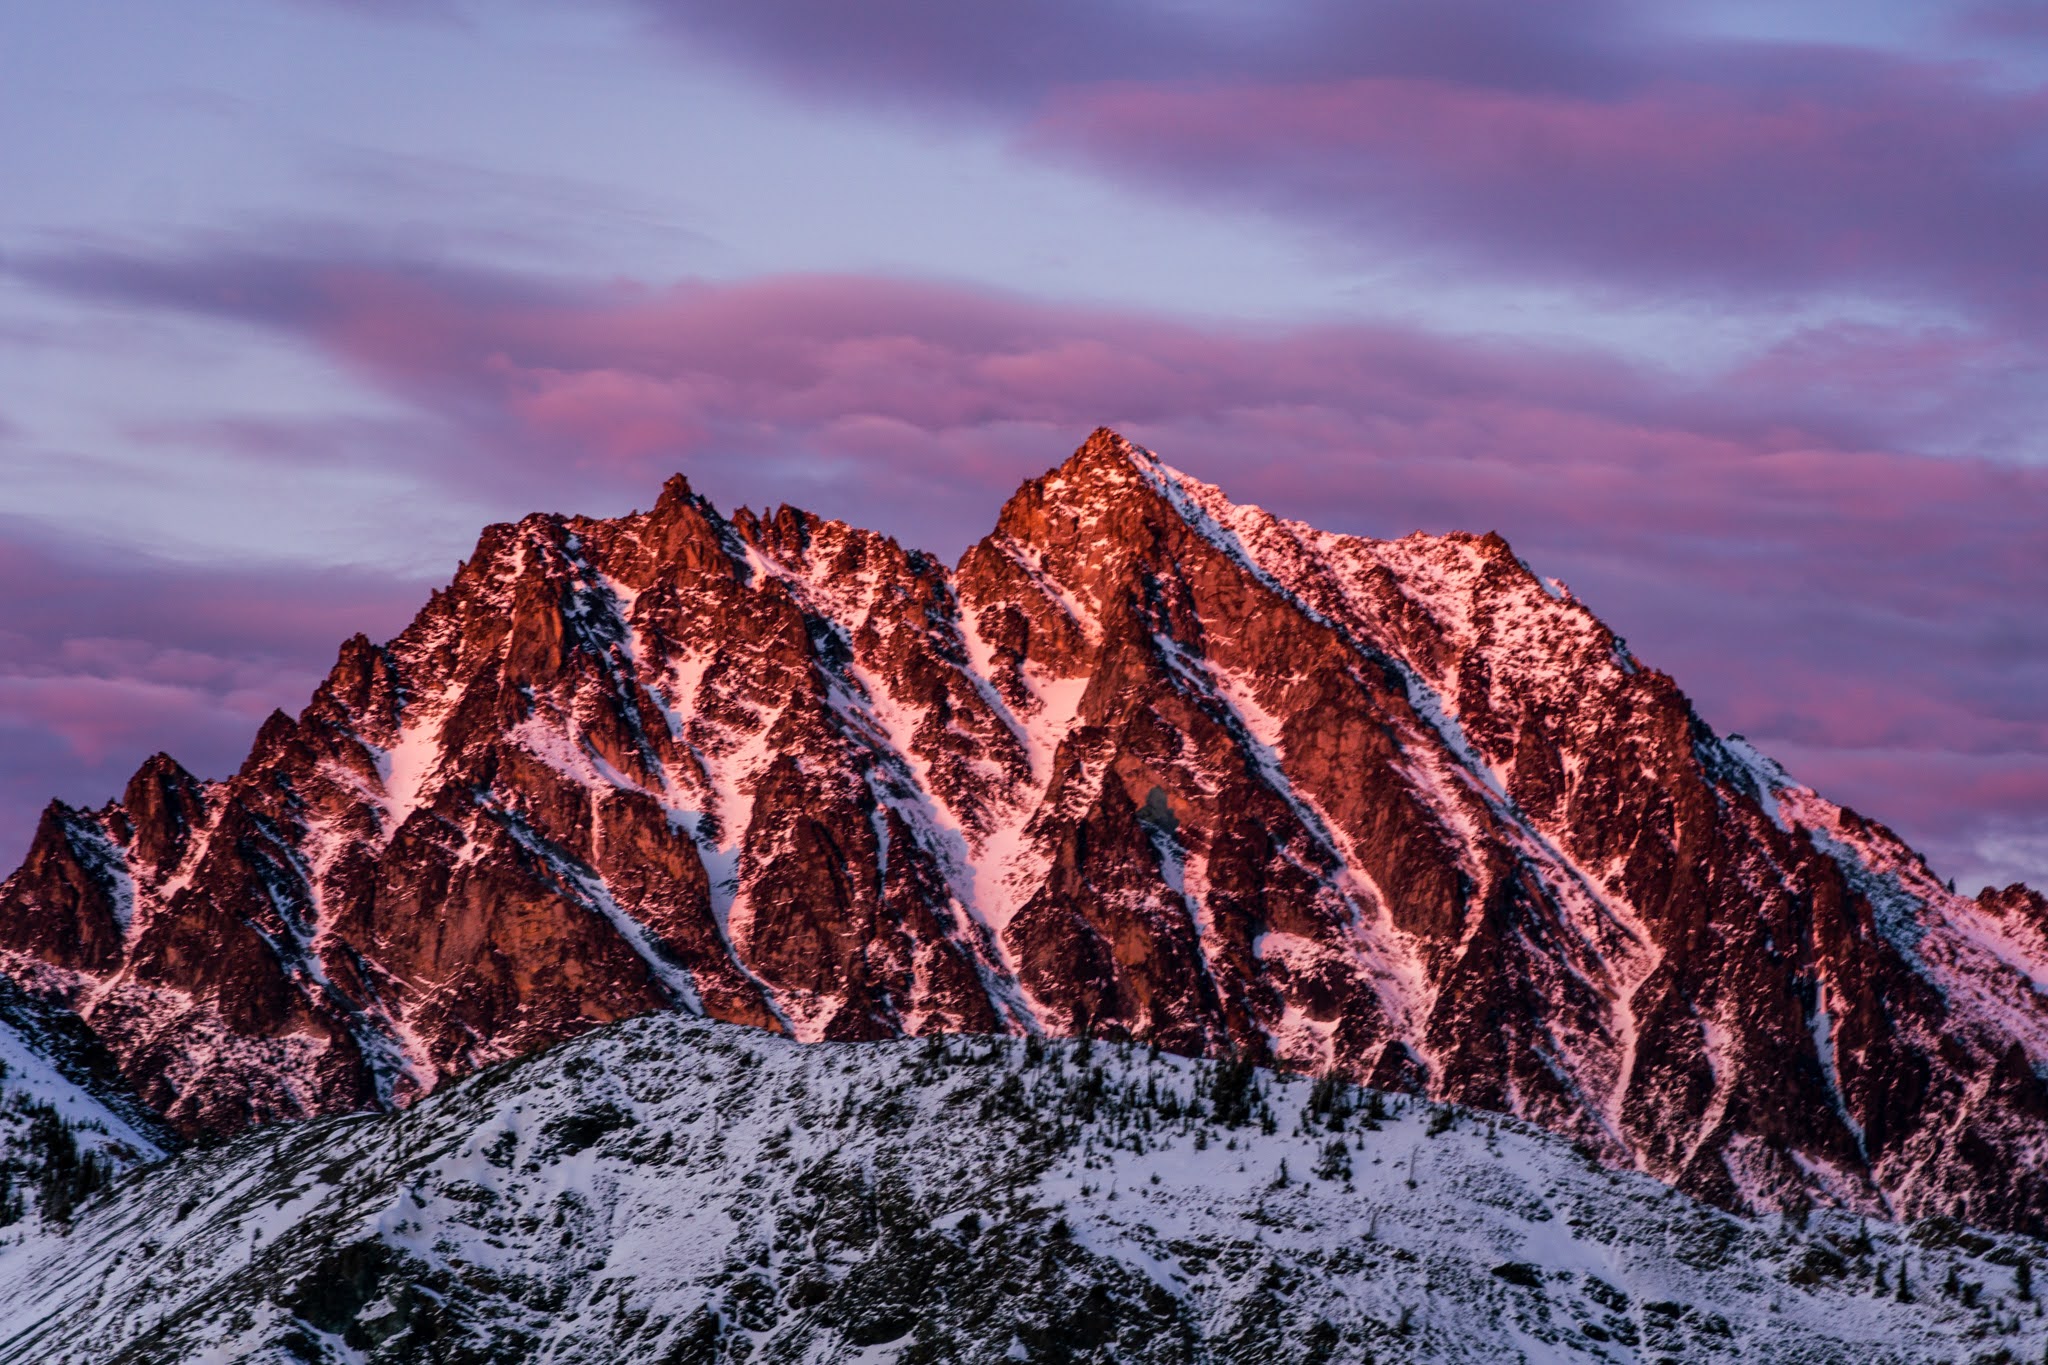
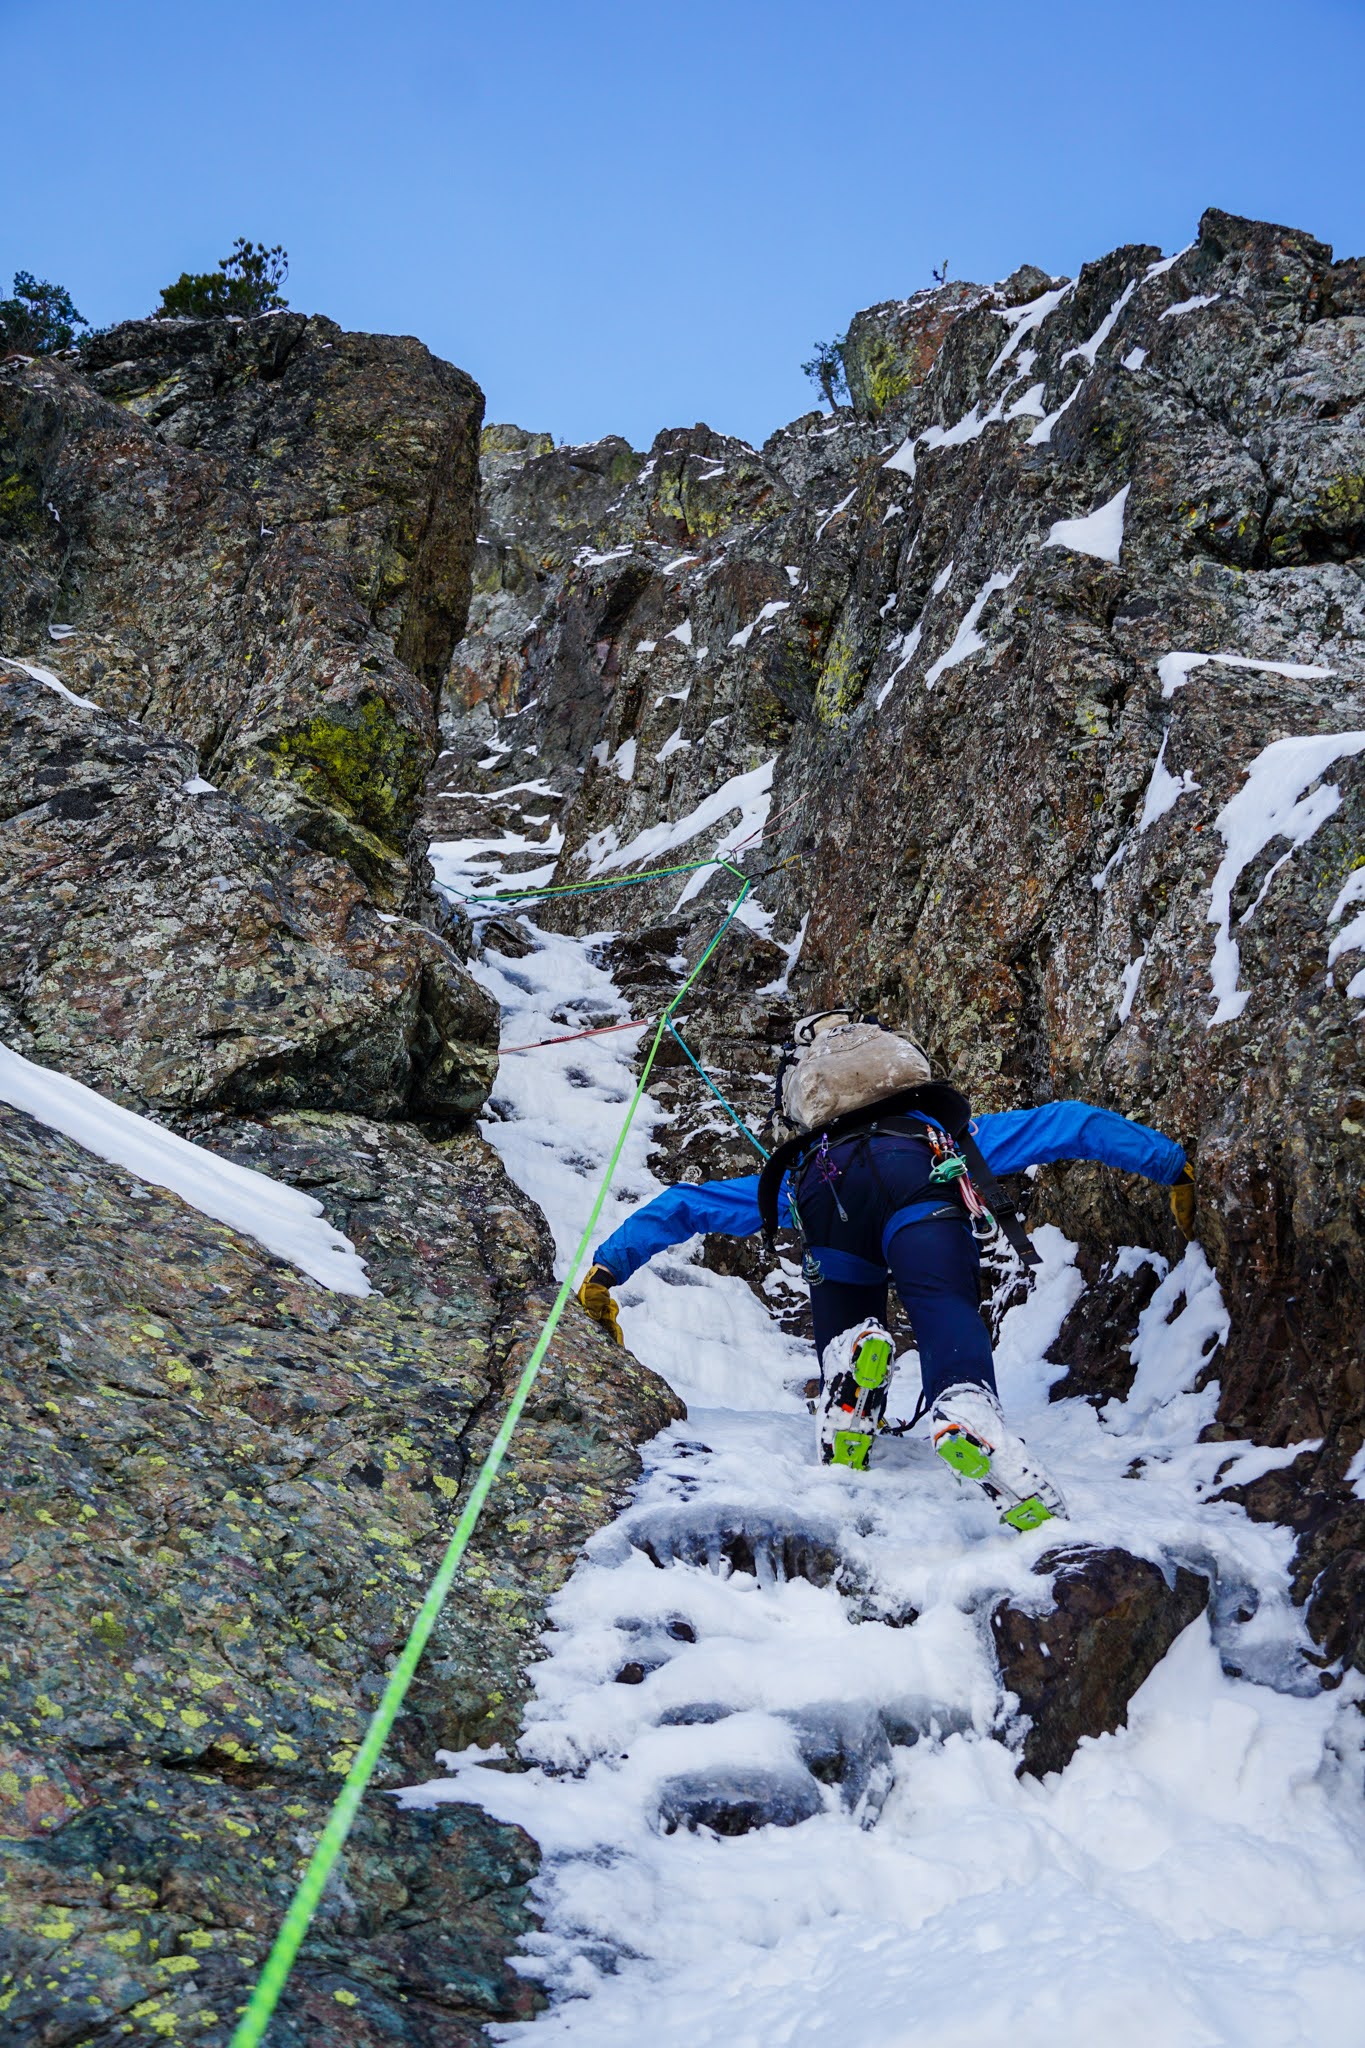
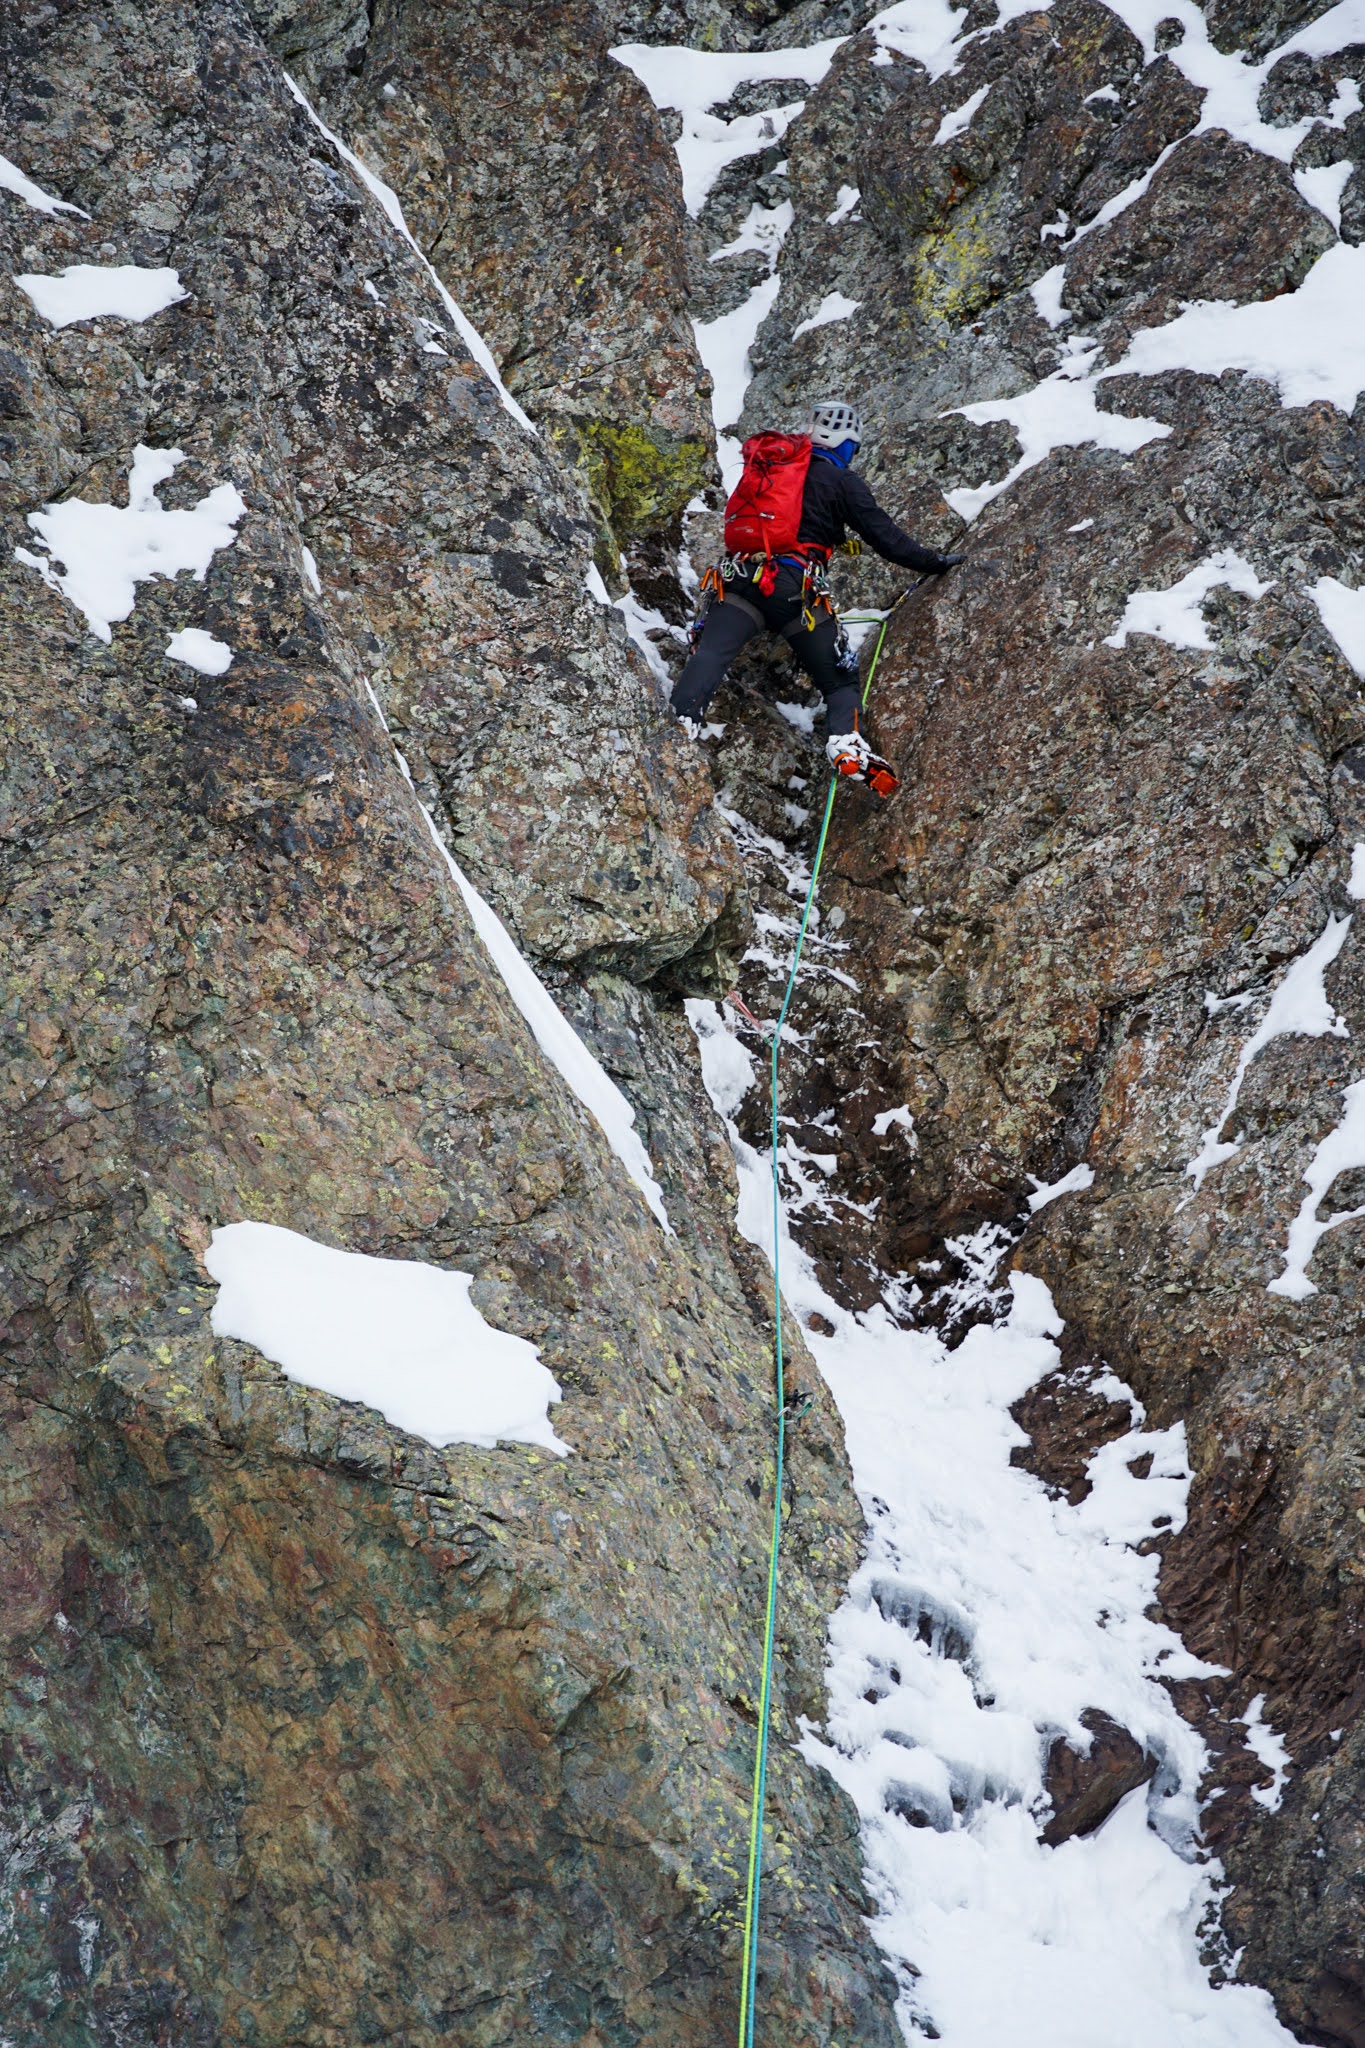
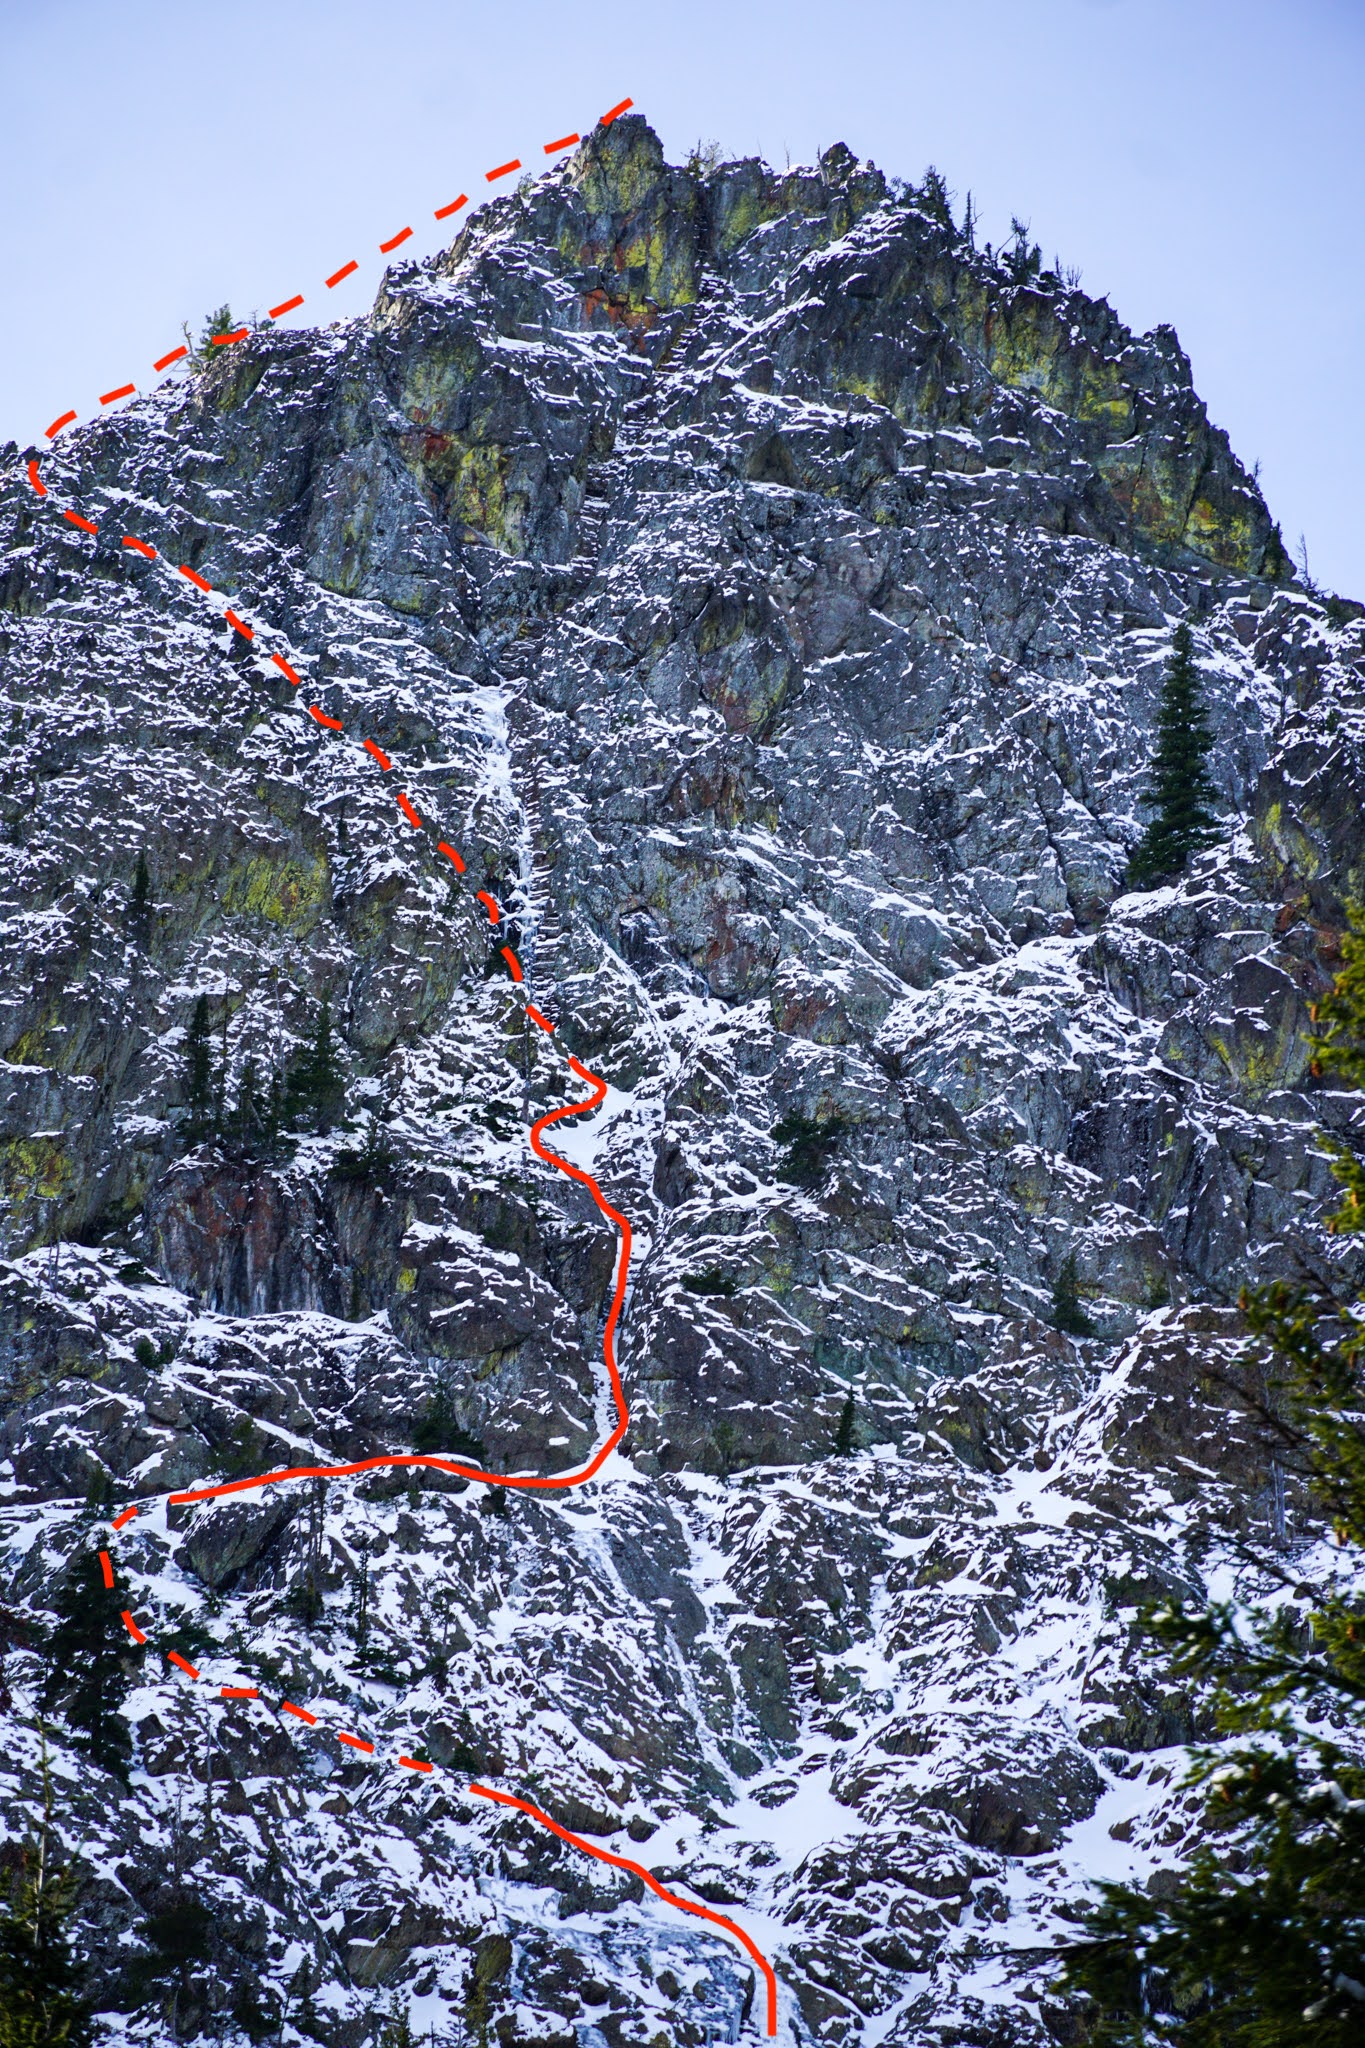
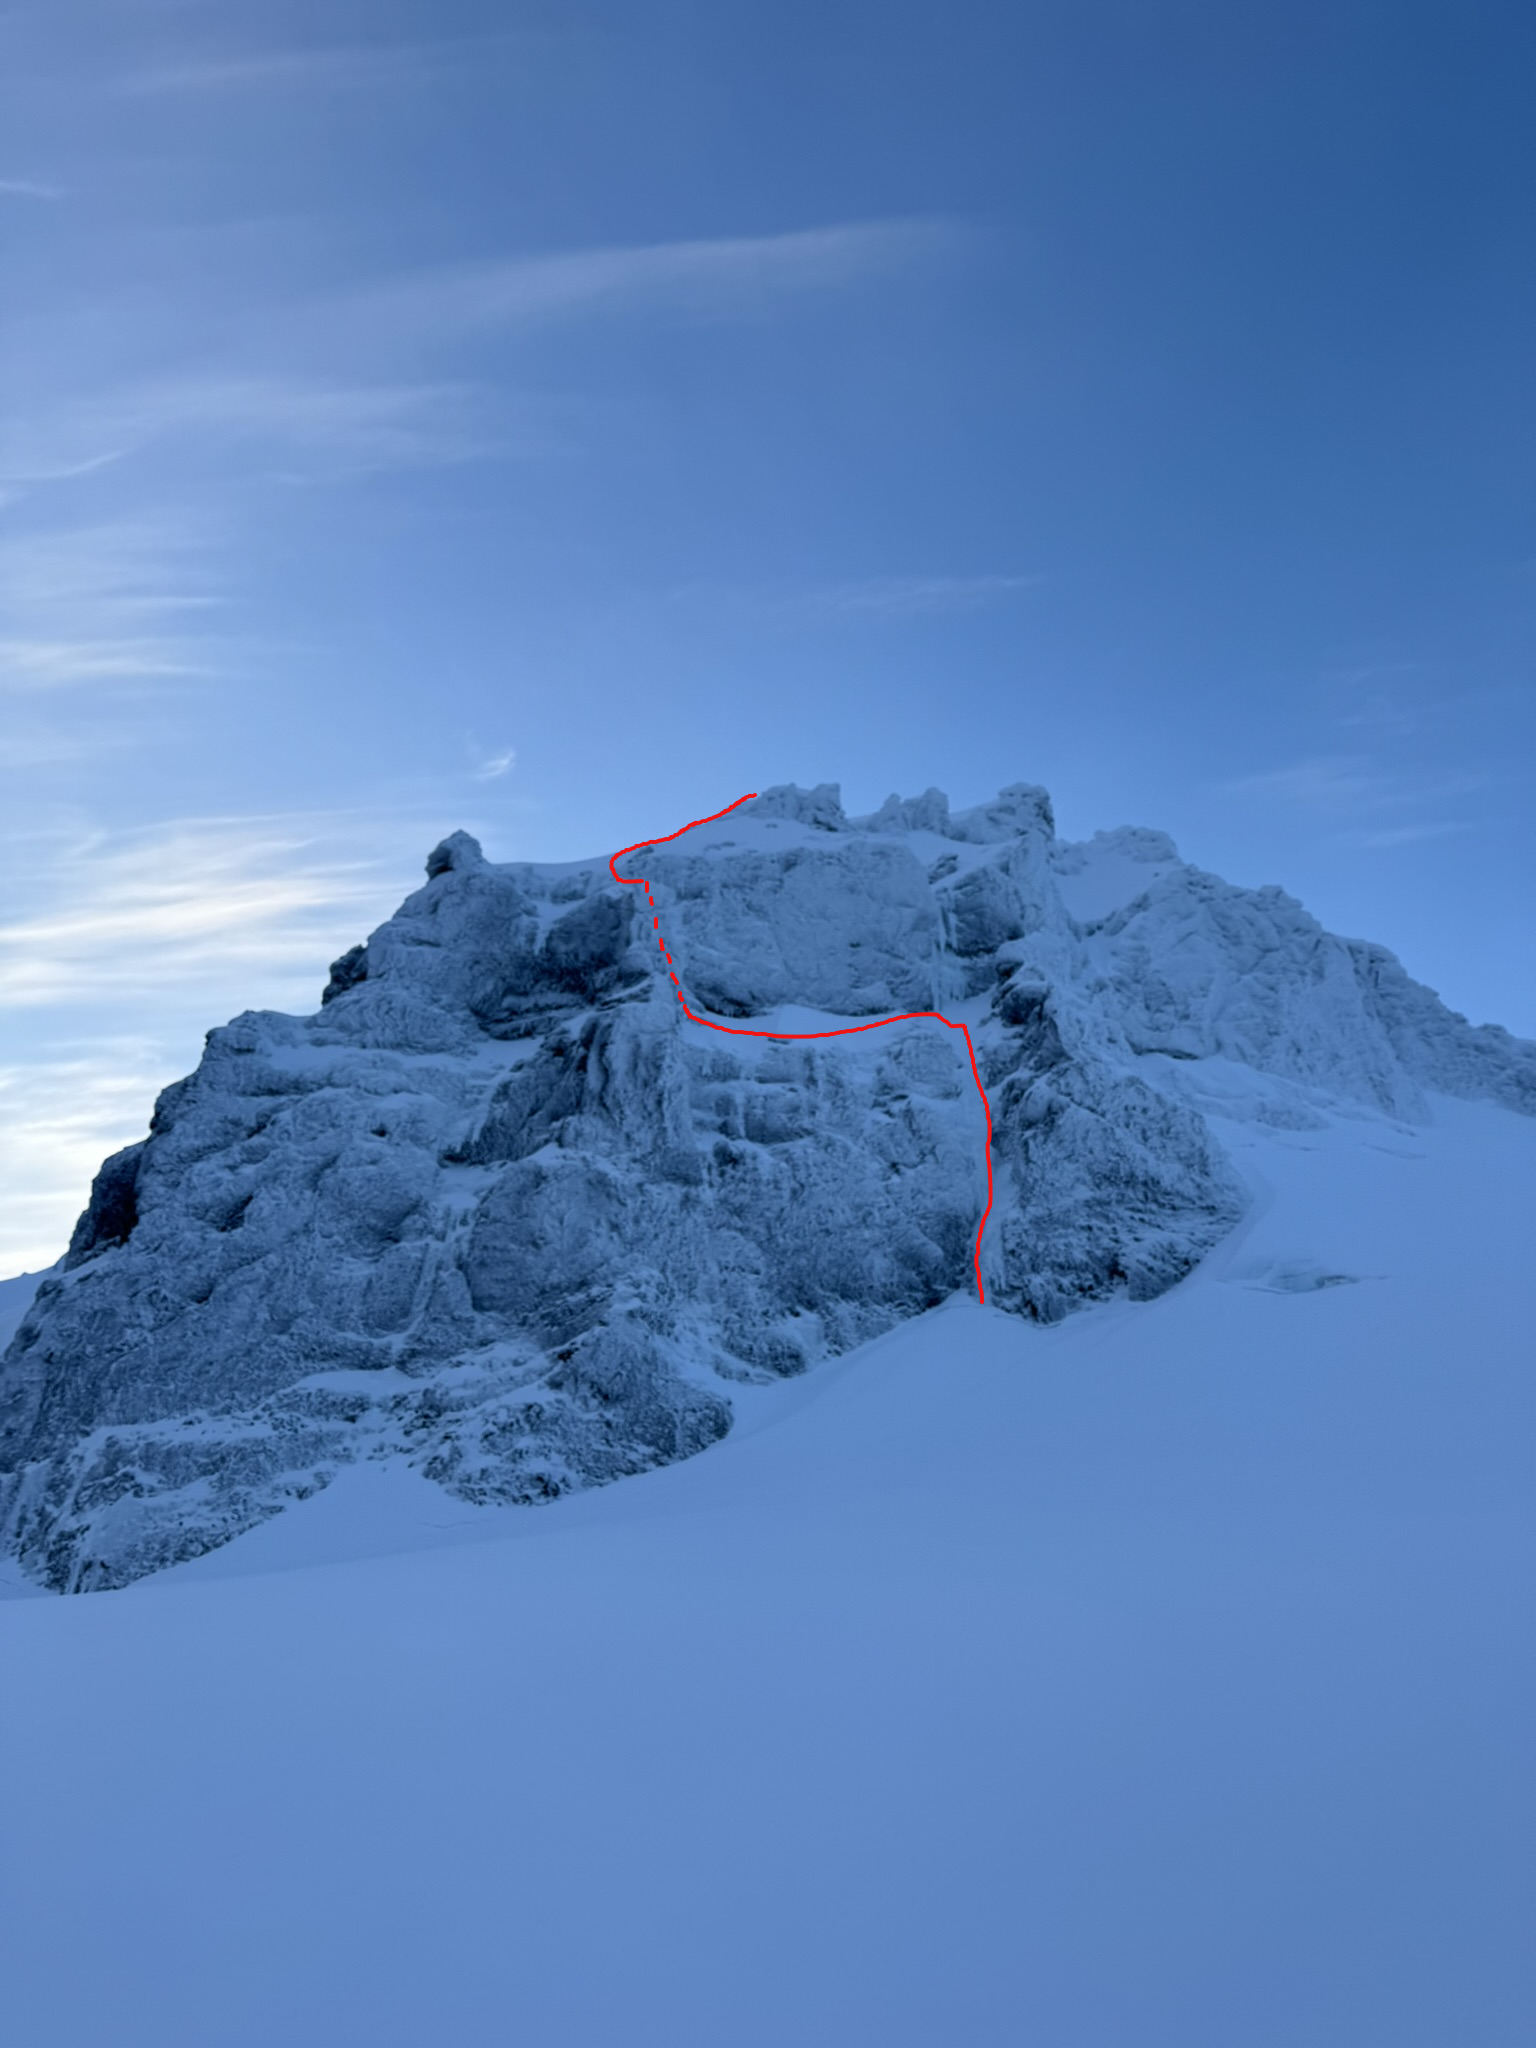
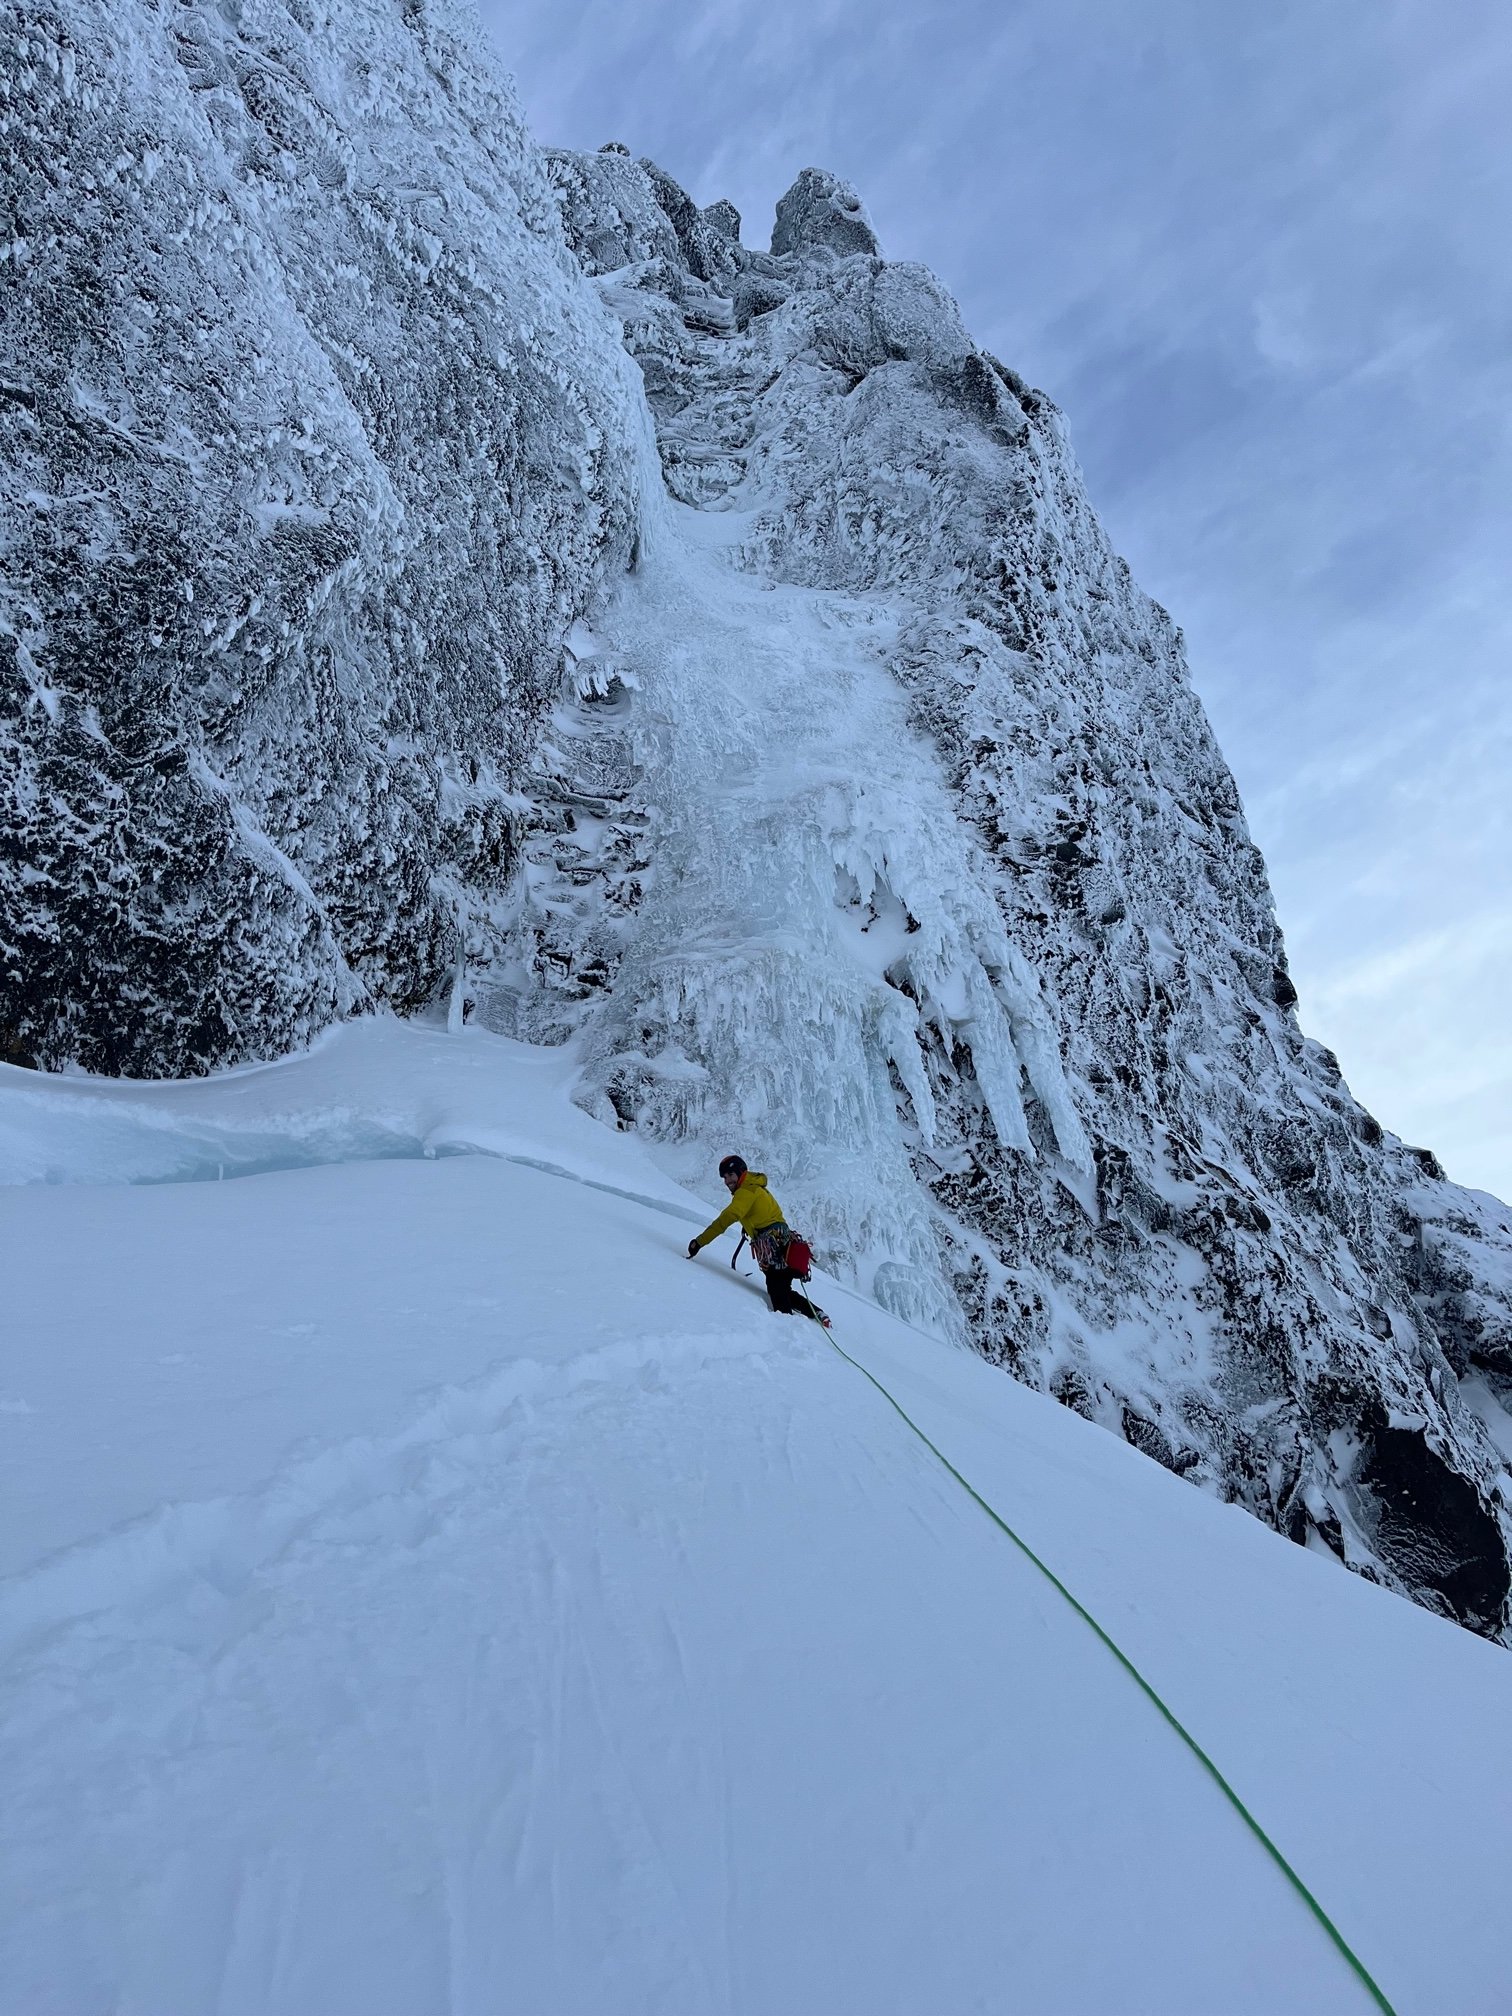
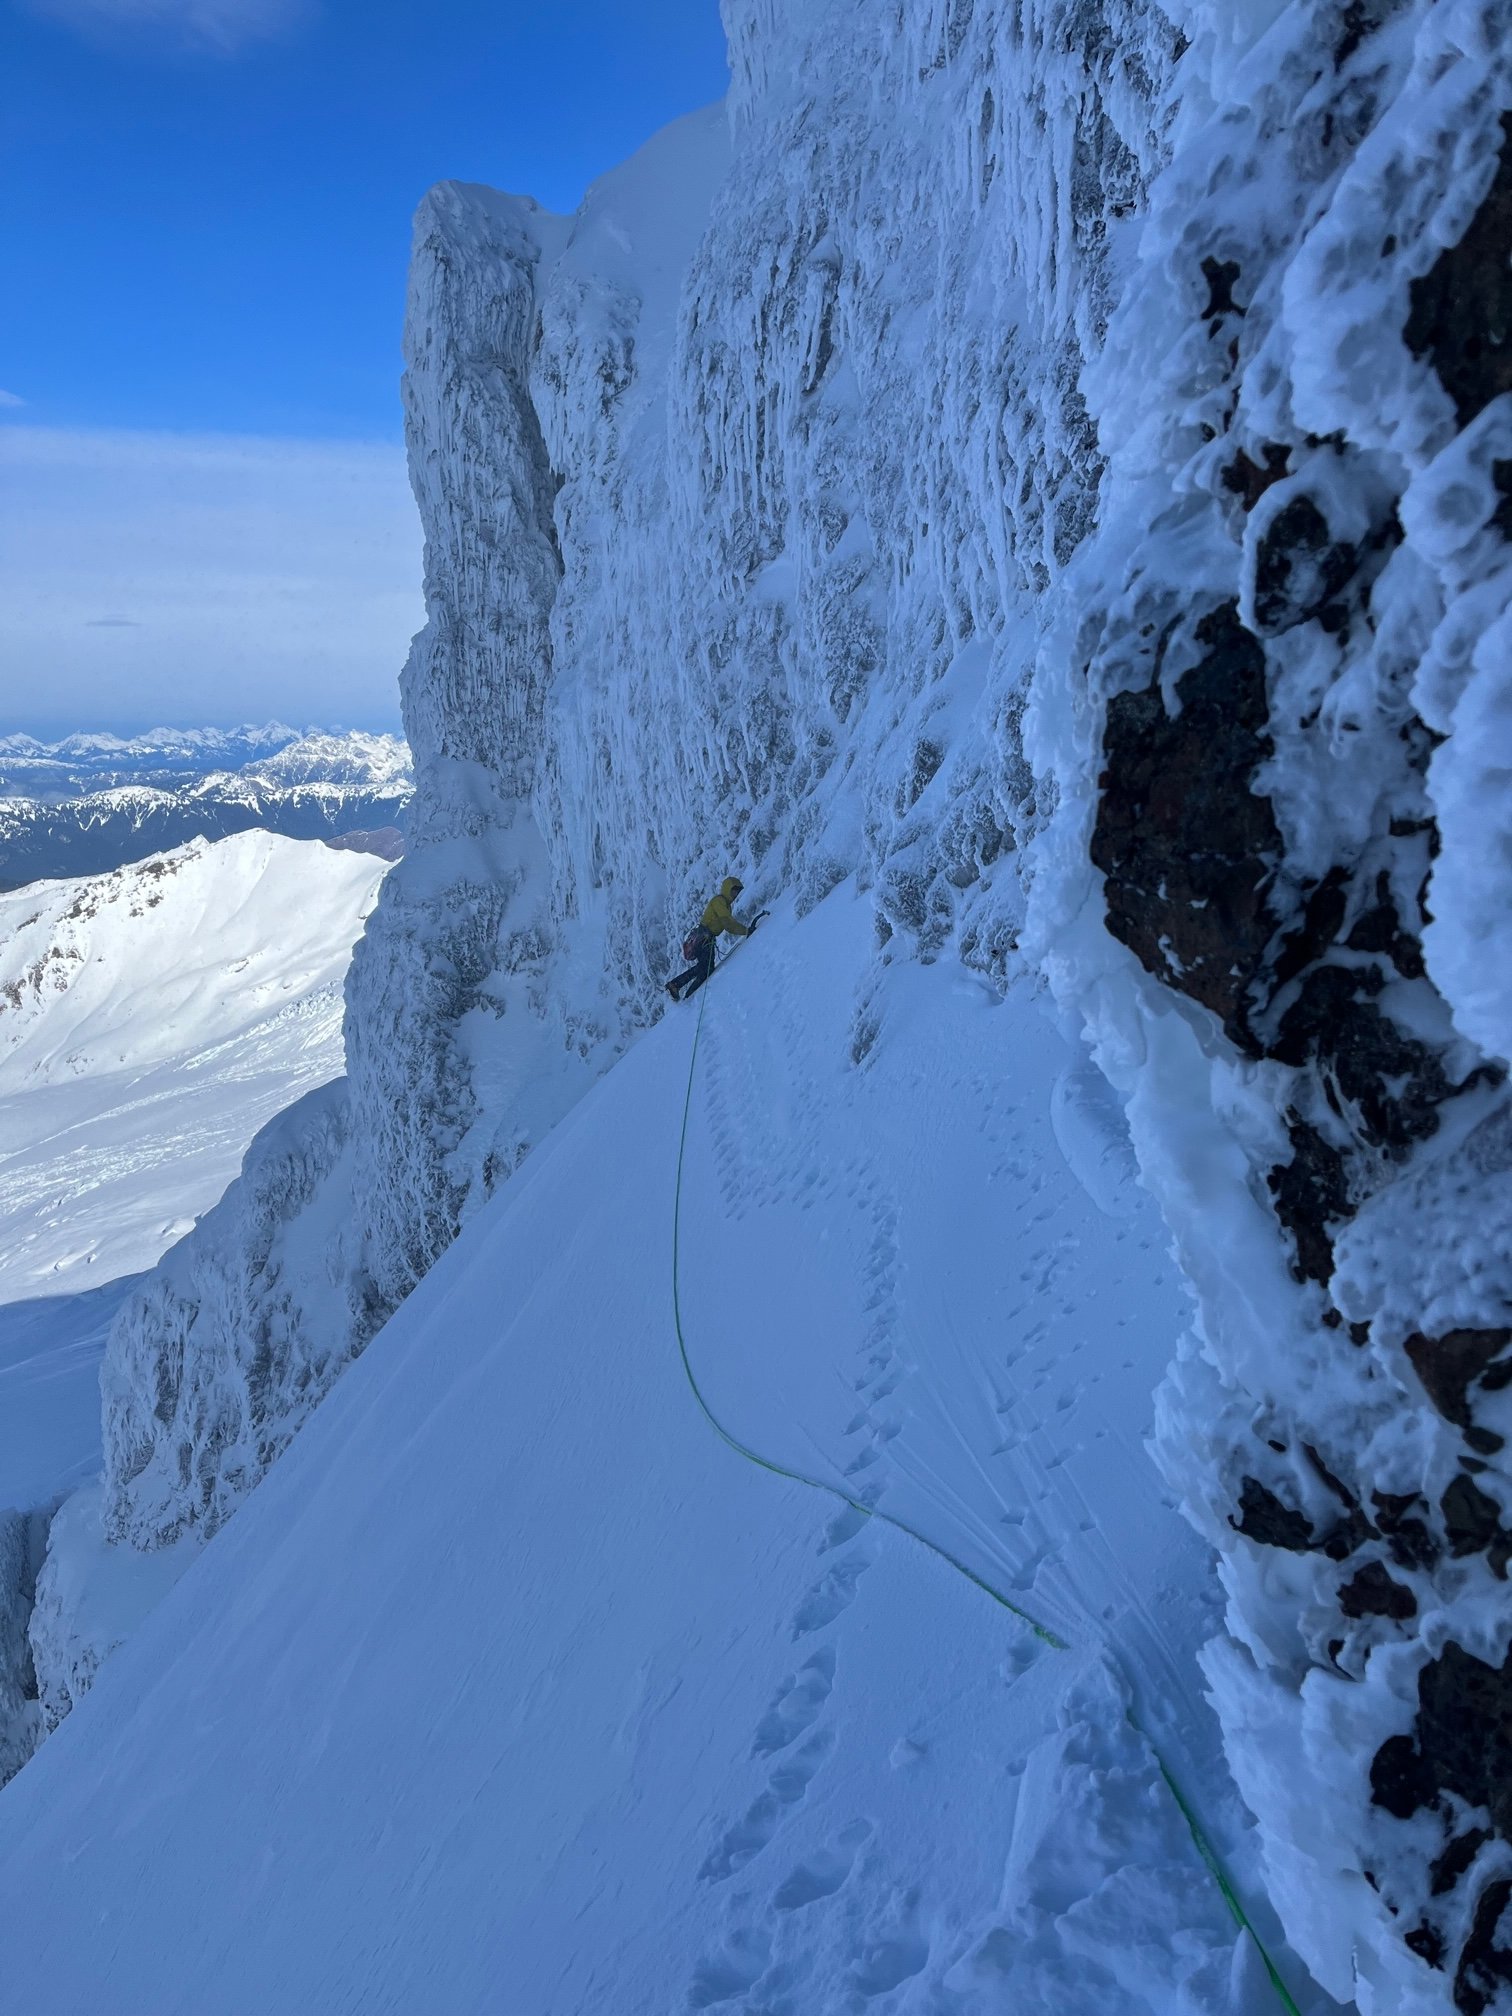
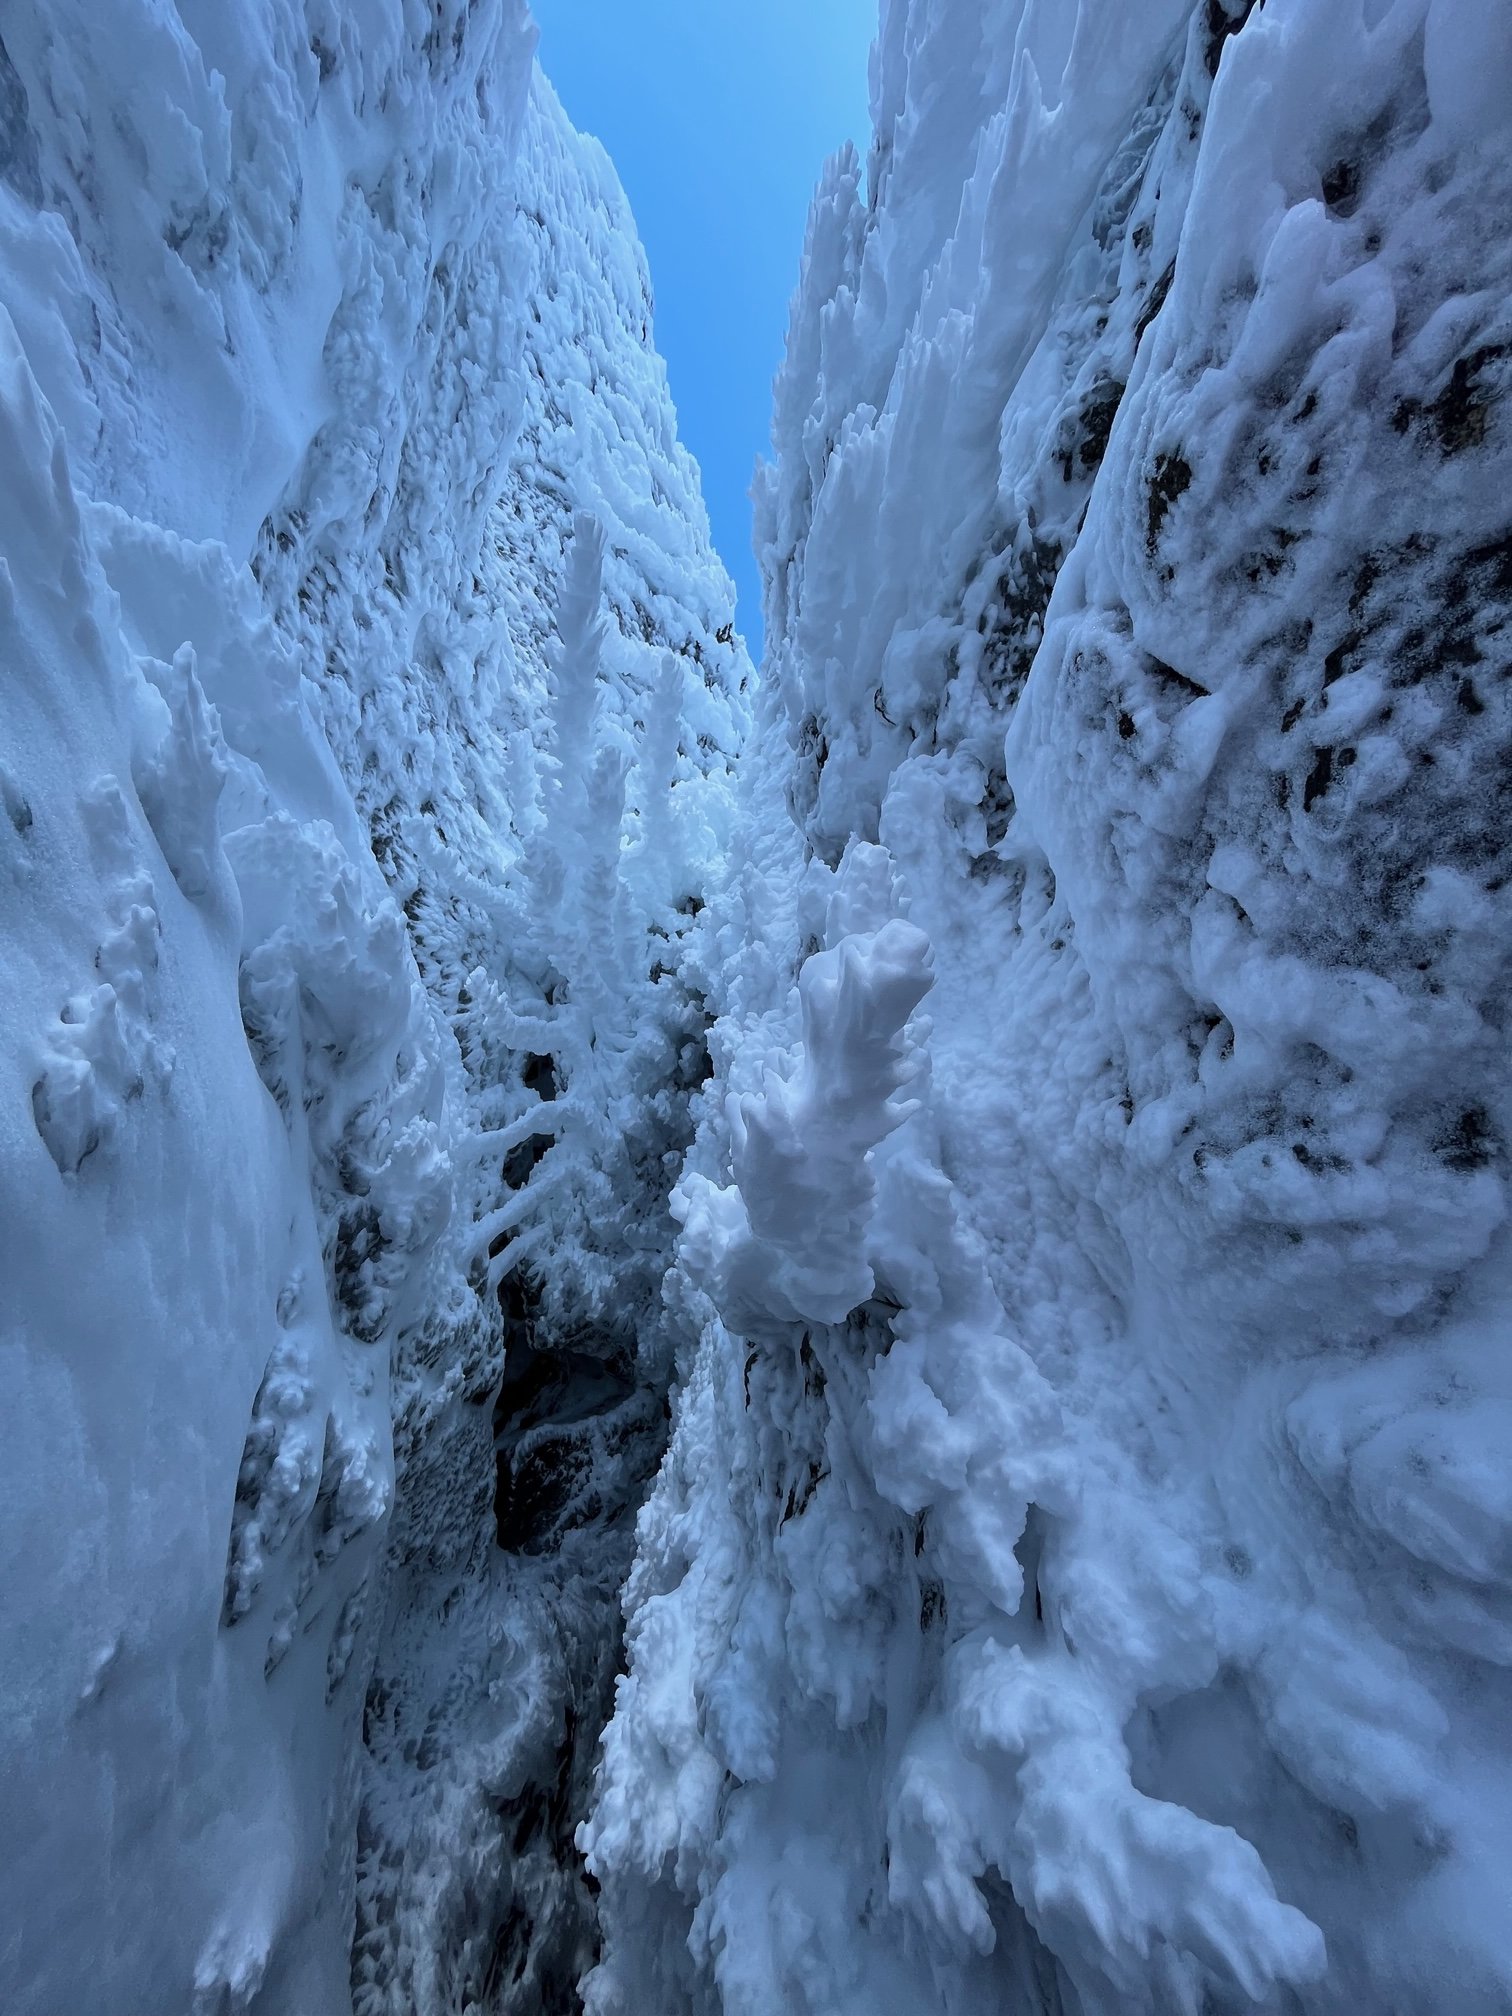
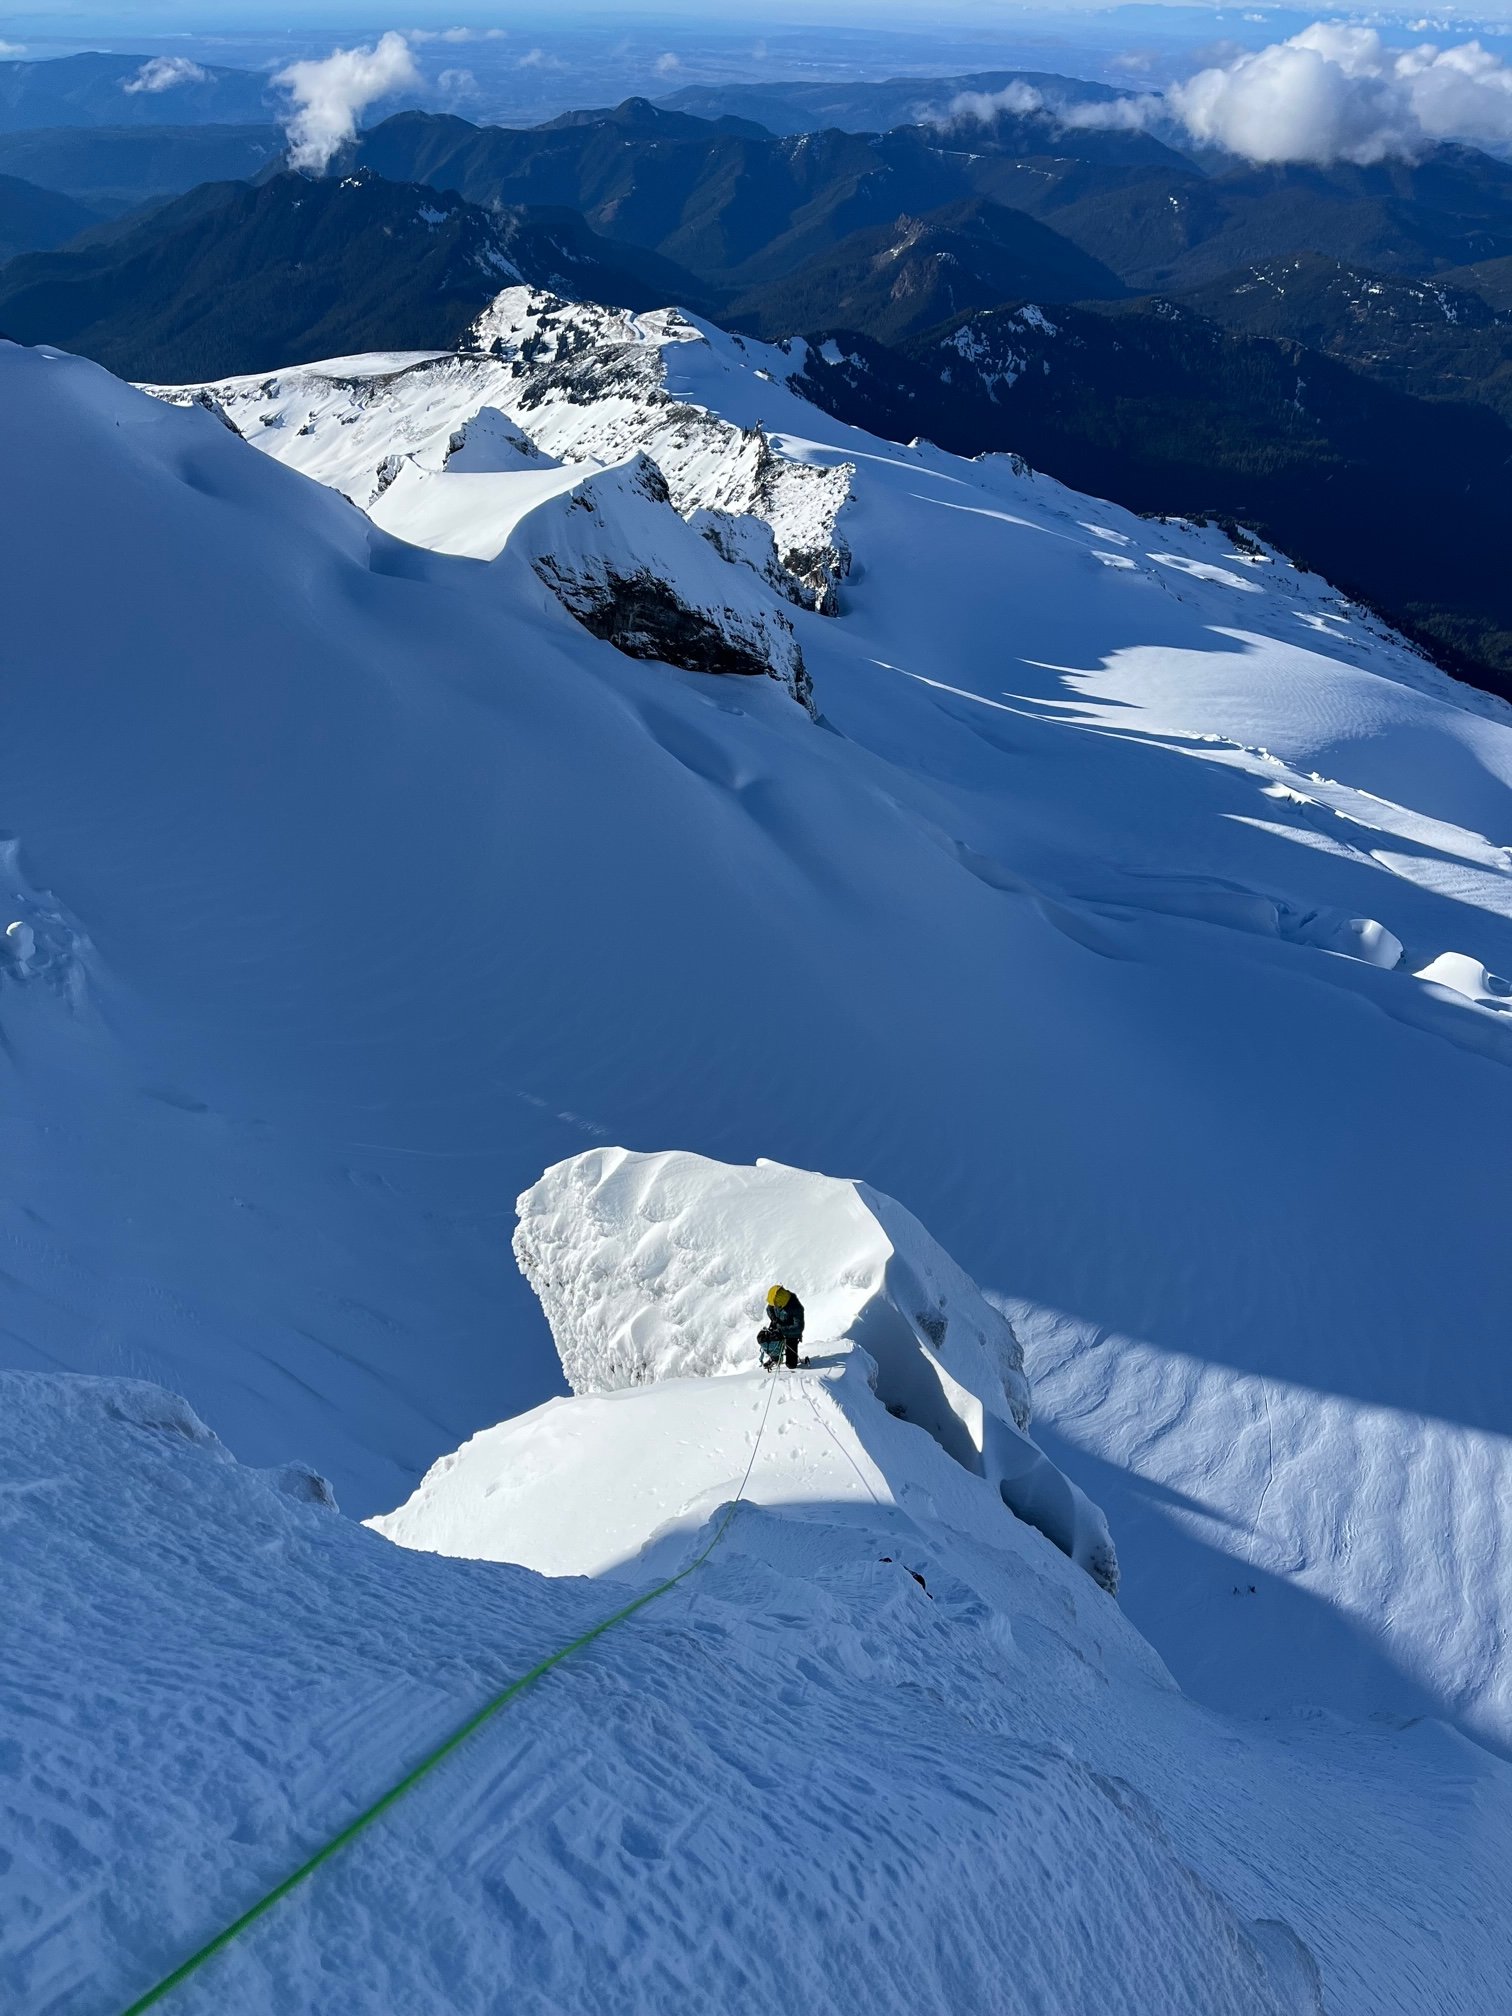
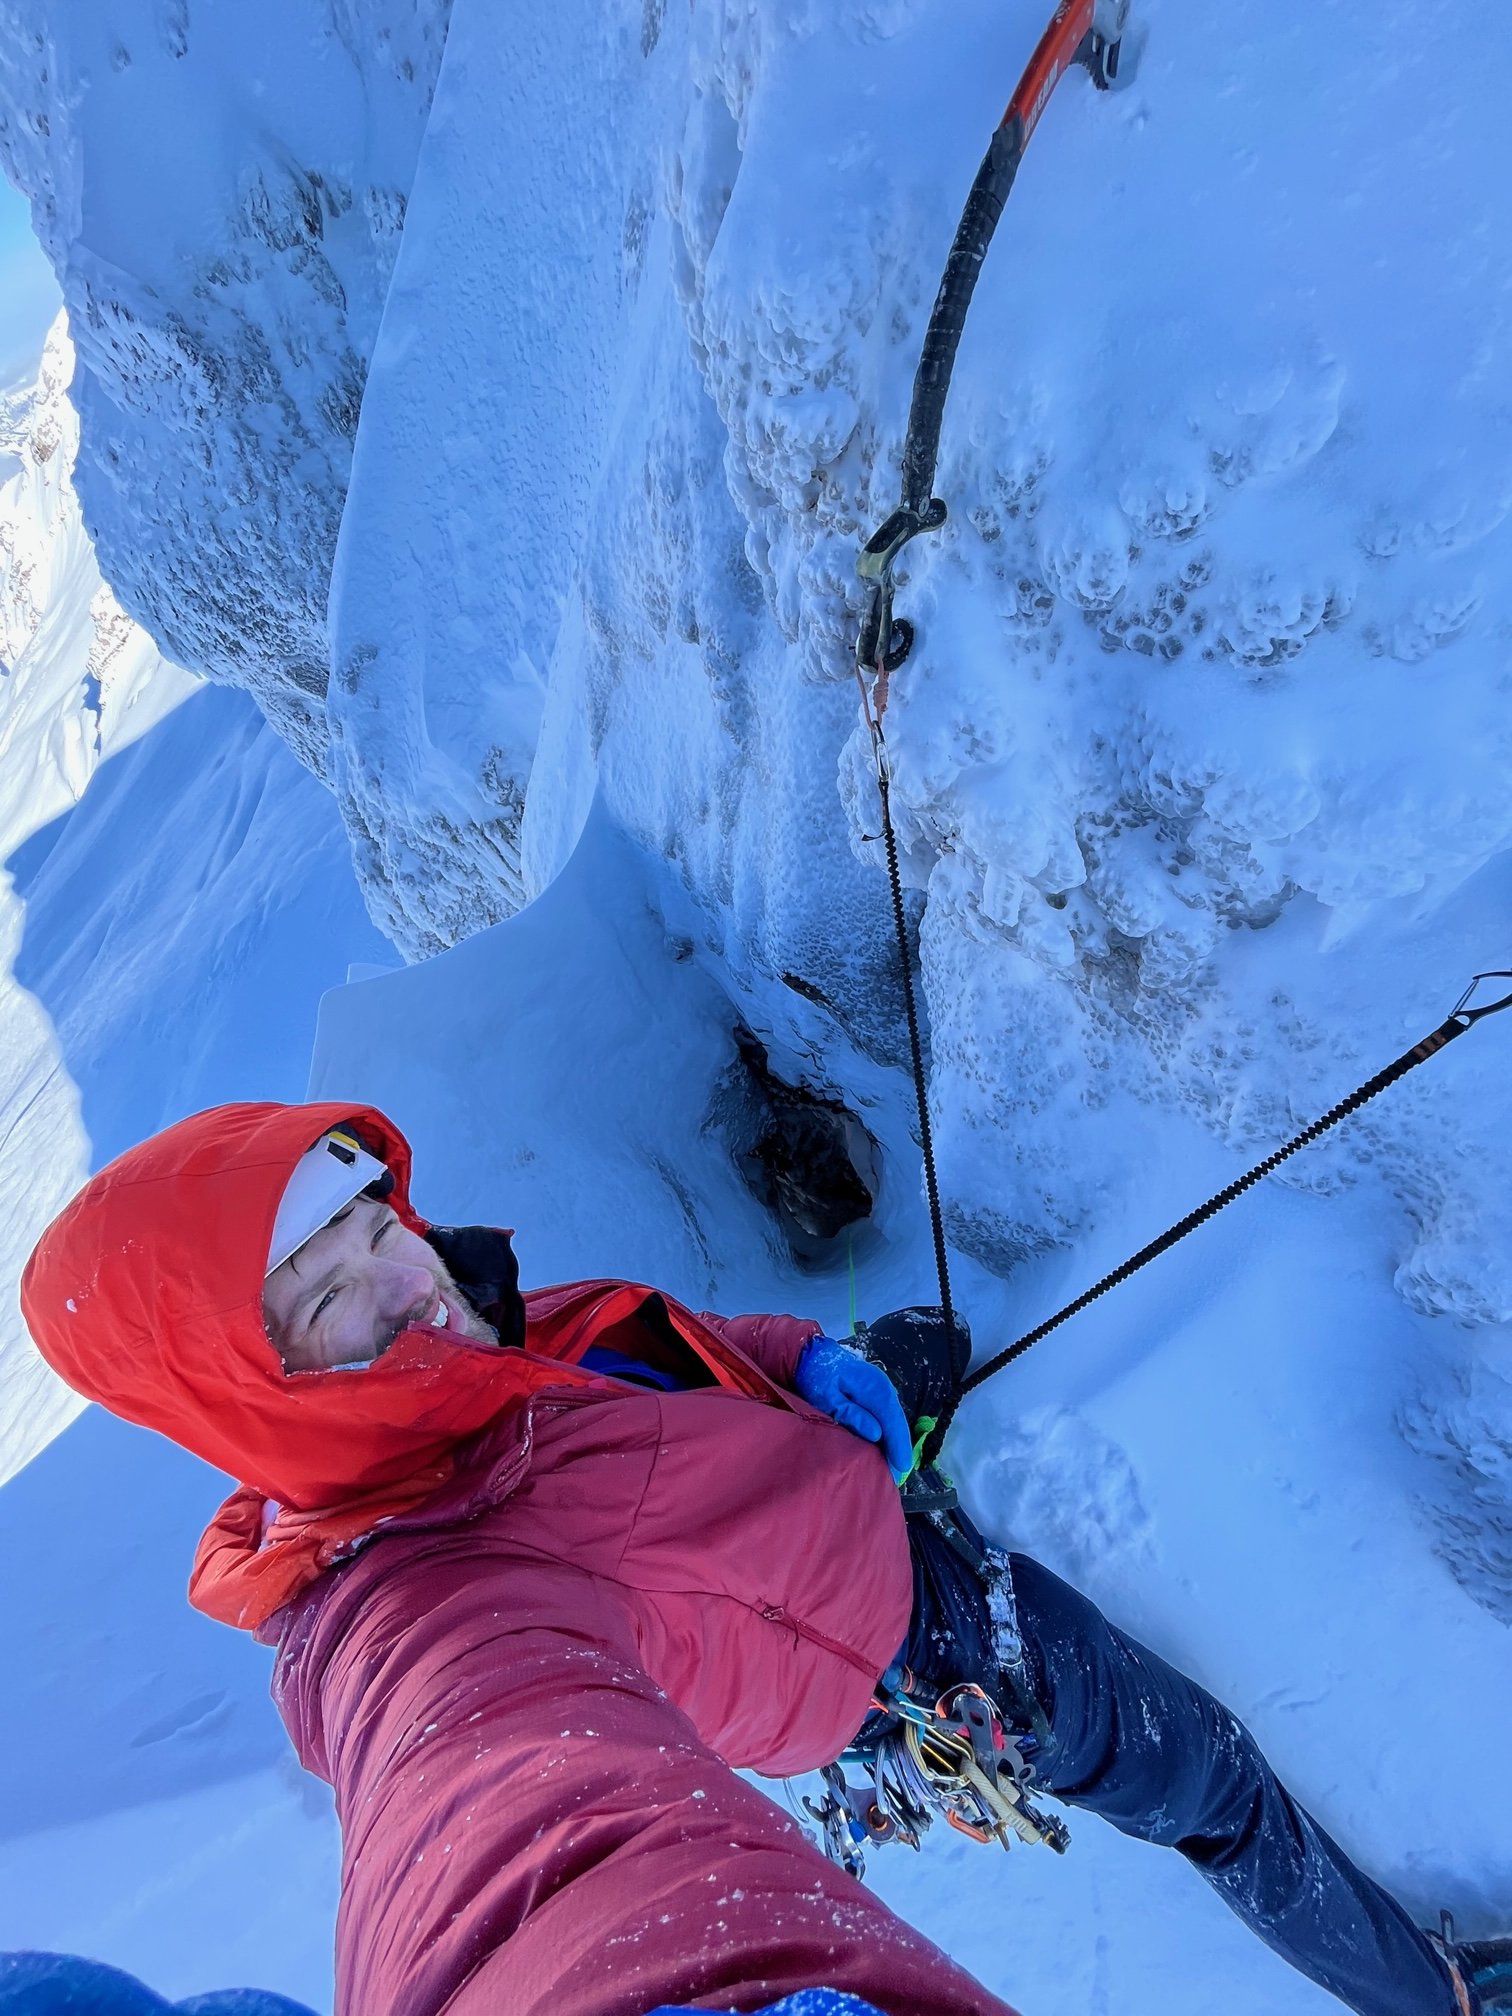
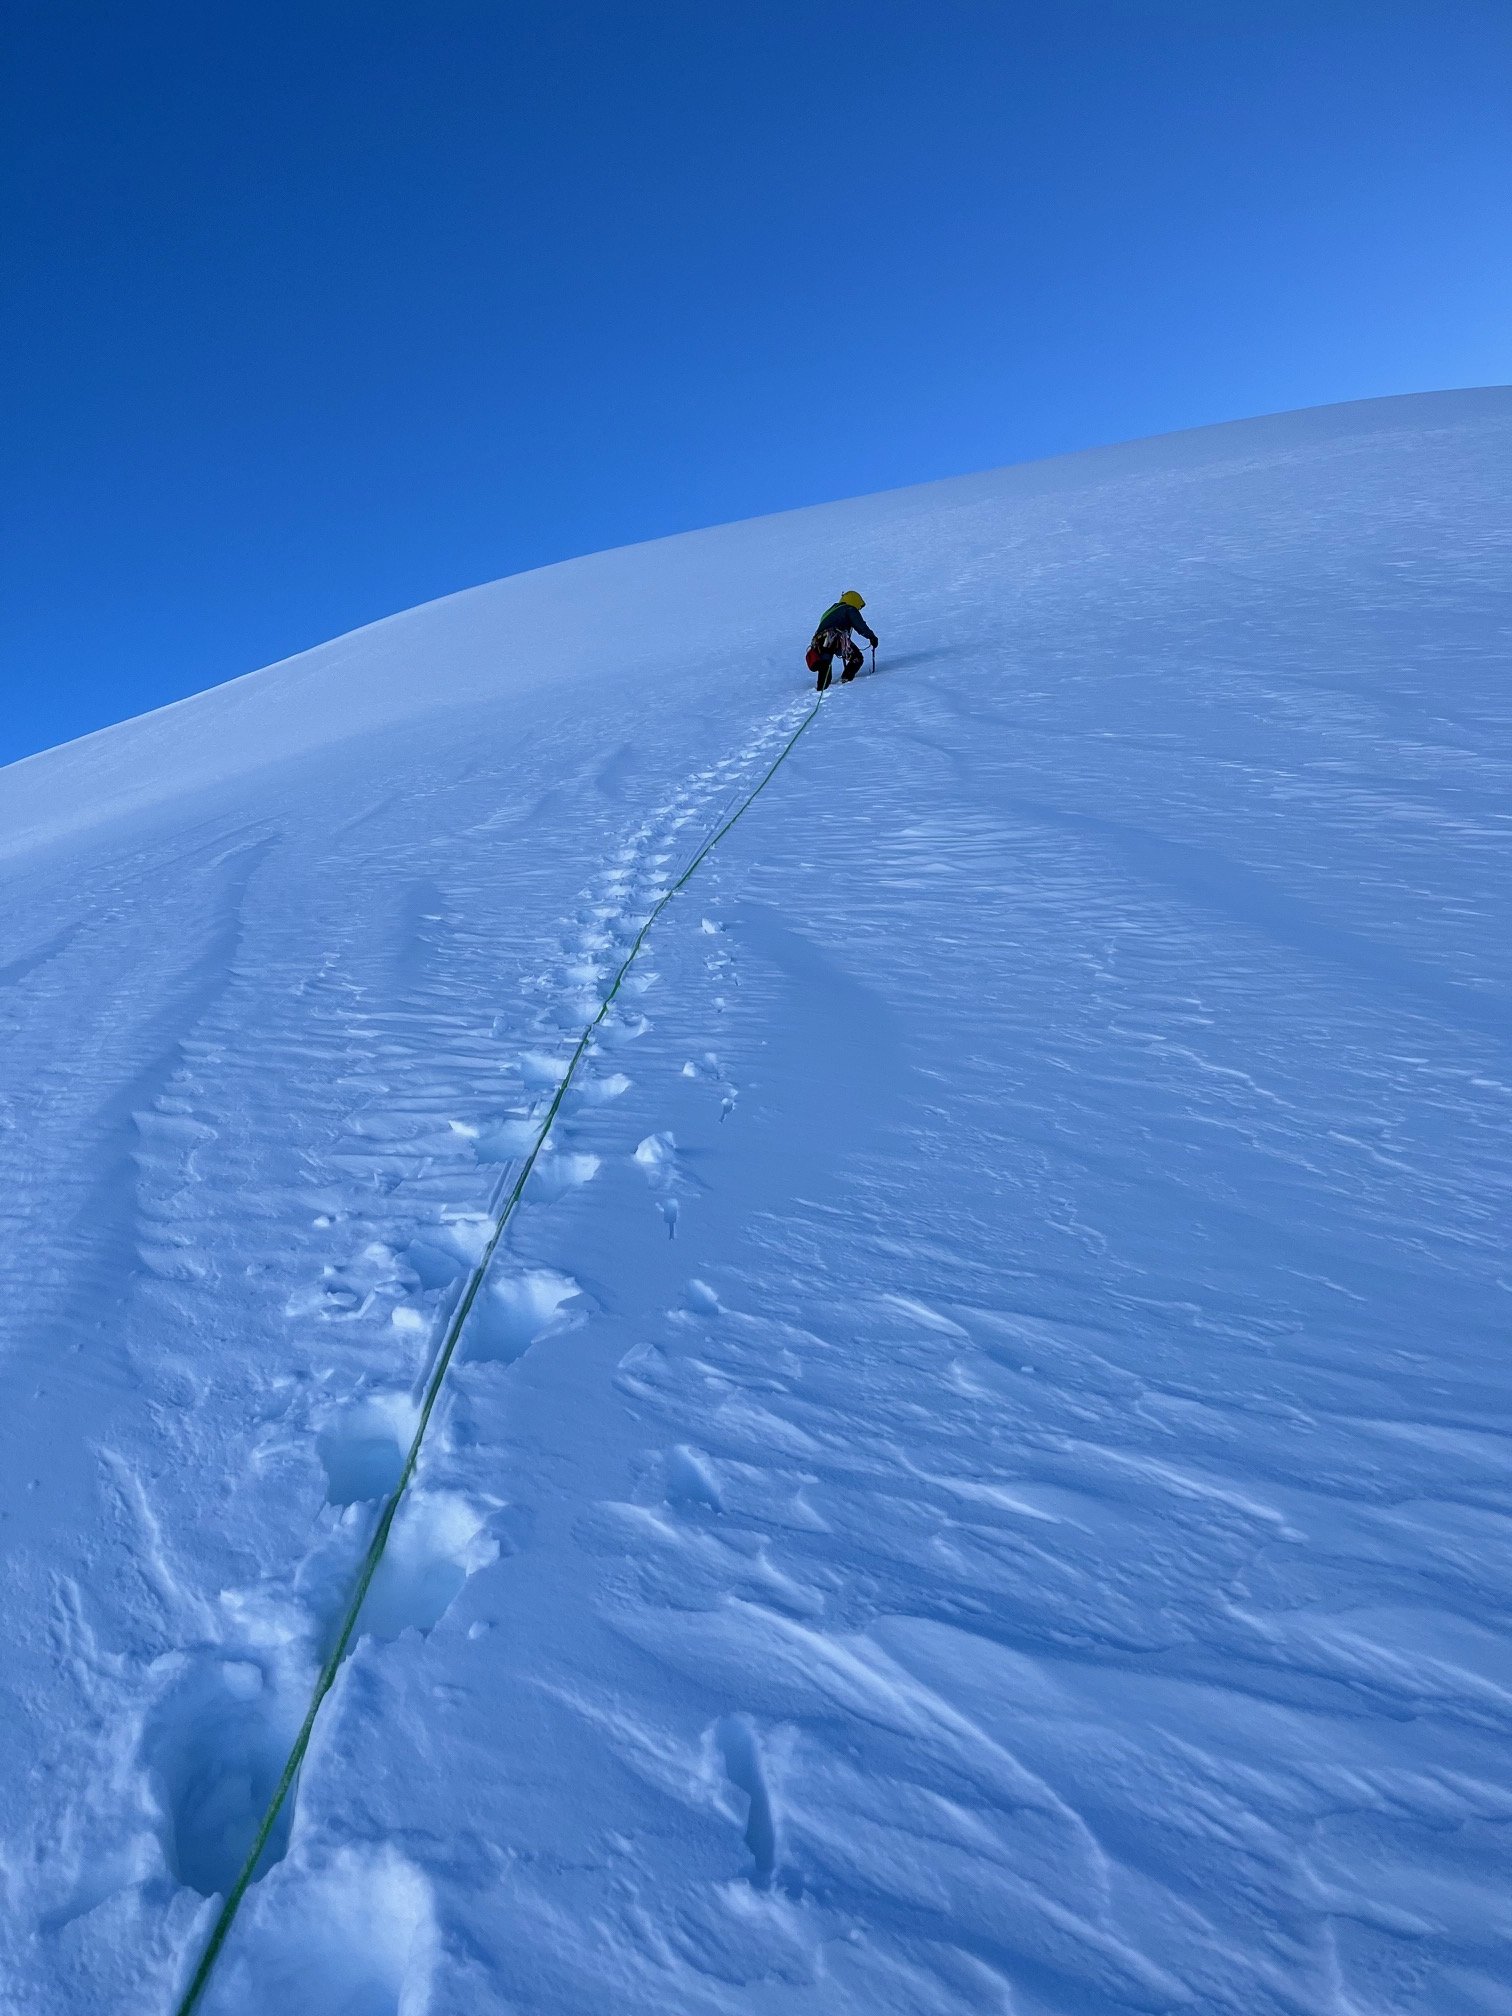
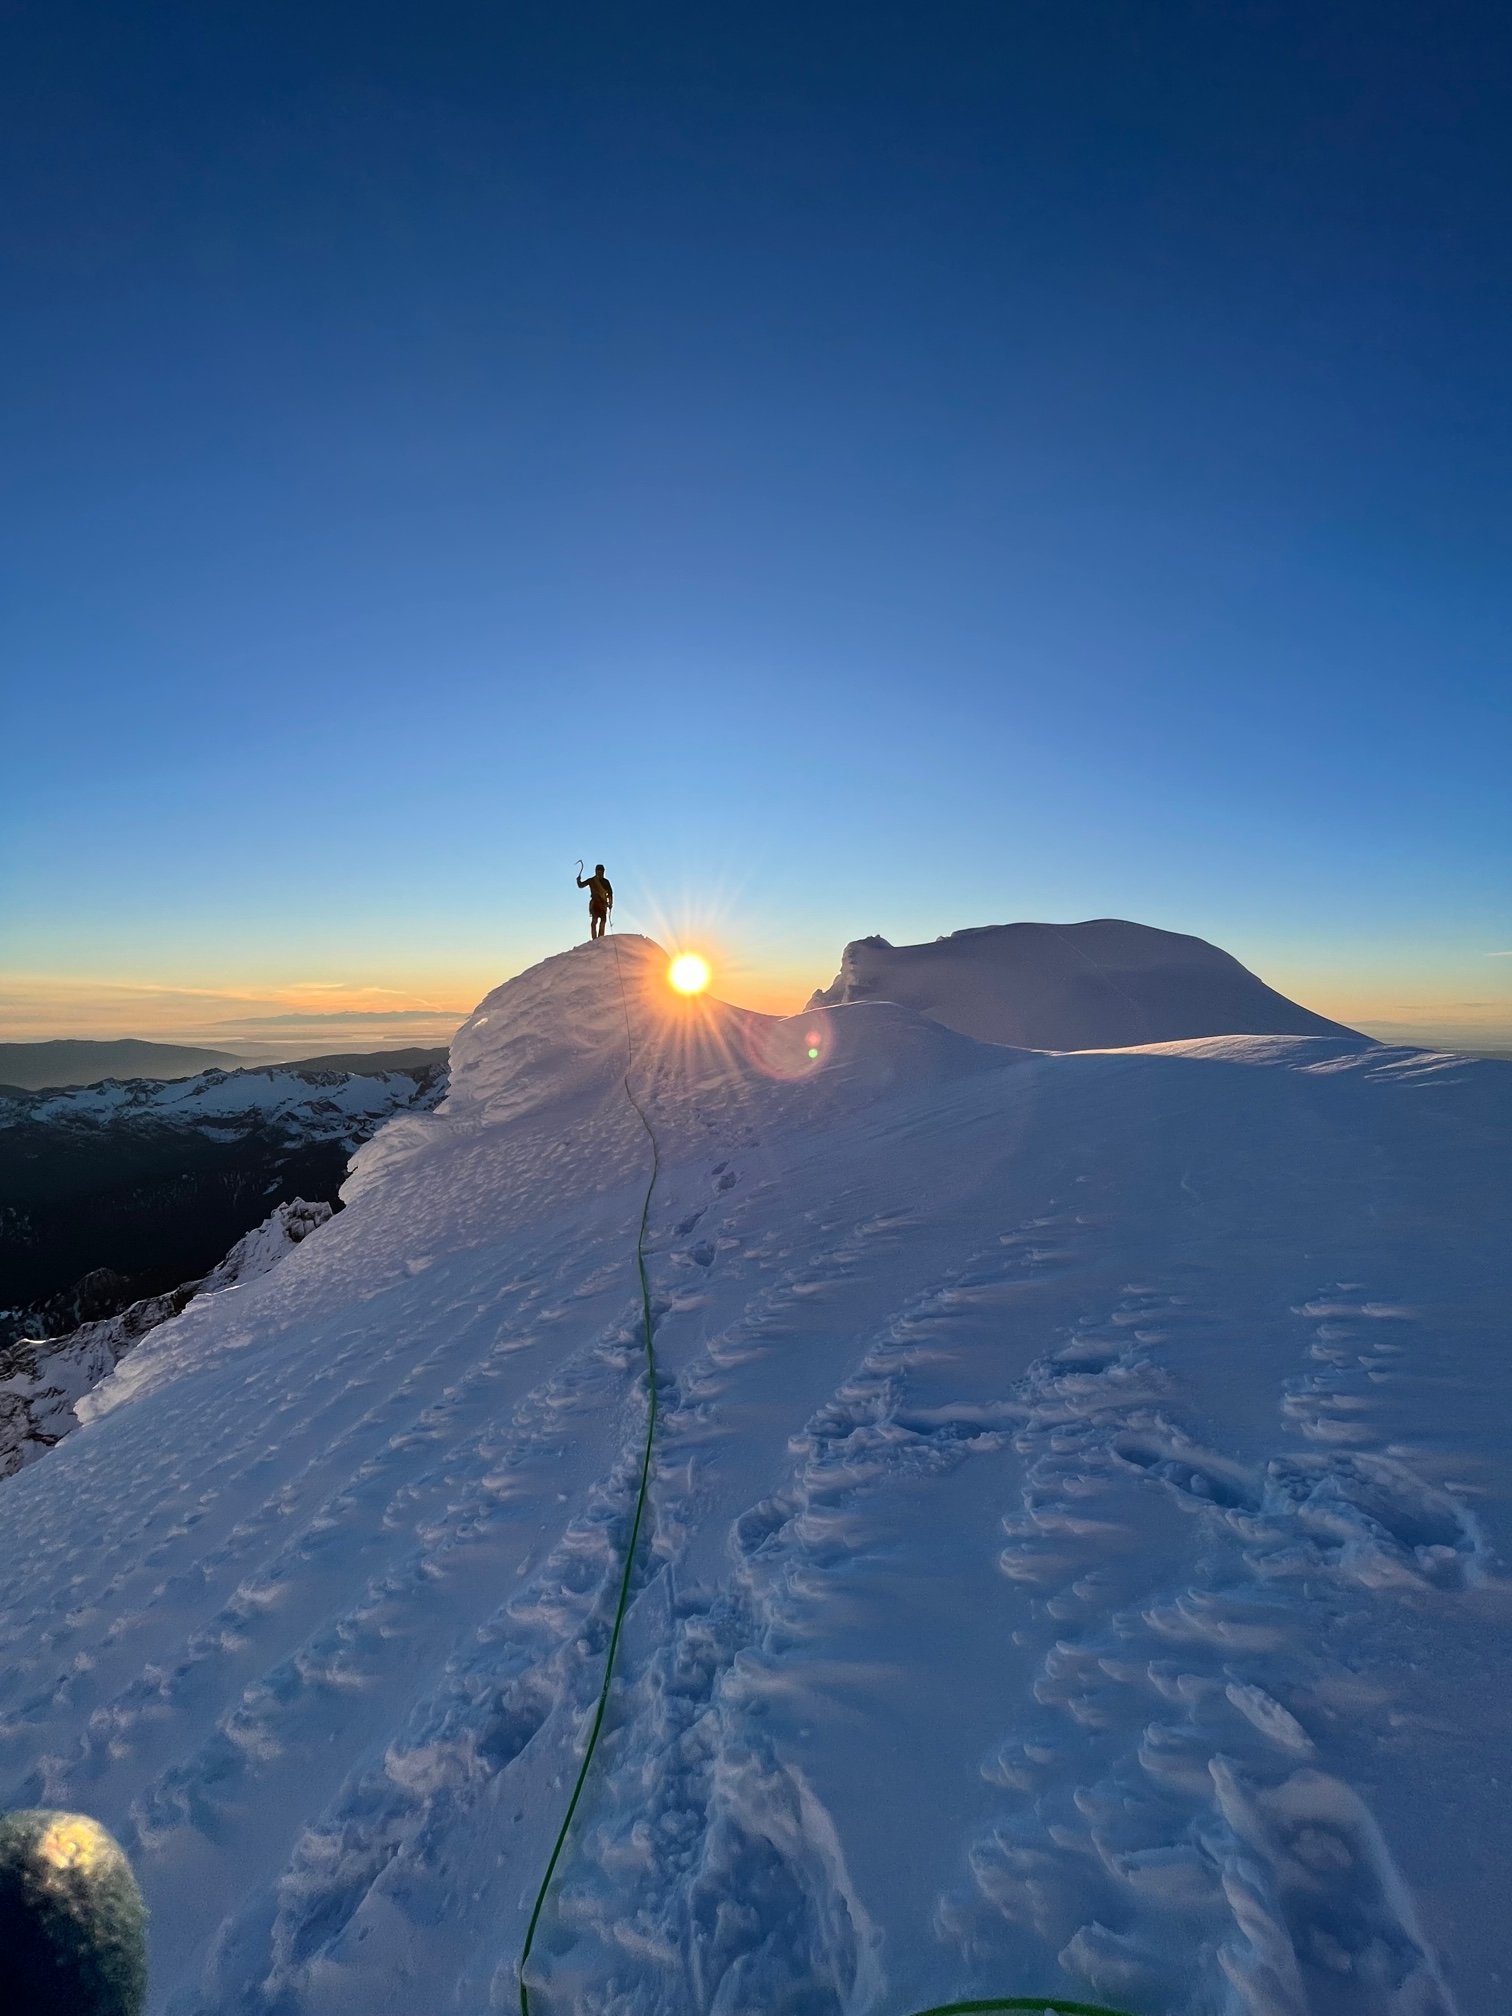
I'll keep the beta spray brief since there is sufficient info out there on both routes involved in this climb. On Sunday the 4th, Eli Spitulnik and I hiked then skied out to Colfax with an idea I had schemed up the week before. We planned to climb the first ~80meters of the Polish route (Link, Link), then traverse a snow band left to the pitch 4 chimney of Colin's route Kimchi Suicide Volcano which we would then take to the summit. The combo worked out better than we could have imagined, and we both think this is one of the most quality alpine mixed routes we've climbed in the cascades. The nature of this route allows it to go in normal conditions, where the Polish or KSV would not be in. We hope that it'll become a popular way to climb this face as it has much more actual climbing than the Cosley-Houston, for a slightly harder grade. Here's some pretty pictures. Blurry, but you get the gist Eli about to cross the bergschrund Following P1 Myself taking the spindrift straight to the face starting pitch 2 Eli traversing over to the KSV chimney. Entering the squeeze Eli carried the pack like a champ through the rime tunnel Wild rime daggers threatening to collapse on our heads while we tunneled Eli after exiting the tunnel into the sunlight Pleased to be on the summit and in the sun. Tagged the East summit on our descent Rack: 9-12 screws, single rack .2-2, nuts, selection of kb's and beaks (very helpful for anchors). If you don't like long sections of unprotected snow climbing, a picket or two may come in handy for the upper slopes. In less rimed up conditions more rock gear should be available. In our conditions cams from .4-1 would have been sufficient. You may be able to climb all the way up to the ledge traverse in one pitch with a 70M rope, otherwise we had a single 60.
- 8 replies
-
- 14
-

-

-

-
Trip: Augustin Peak - Trident Glacier - Kichatna Mountains - [FA] North Buttress (Alaska Grade V, AI4, 4,600ft) Trip Date: 04/21/2023 Trip Report: I will likely continue to update this TR with pictures, history and info about this part of the range. So stay tuned. On April 19th Kurt Ross, Nelson Neirinck and I flew into the Kichatna Mountains of Alaska with three weeks of food and hopes to climb a couple new routes if weather allowed. We got dropped off on the Trident, a tri-forked glacier on the east edge of the range. Our primary objective was to attempt the unclimbed N-Buttress of Augustin Peak up to the north ridge, which we would then follow to the summit. We arrived right at the end of a stellar weather window, allowing us no time to explore or get a feel for conditions. We crossed our fingers hoping for good neve, but accepted that sugar snow wallowing was entirely possible. While Kurt finished setting up our hasty basecamp, and Nelson slept off his jet lag (he had just flown in from Norway), I skied over to get photos of our route and choose a line as the sun fell behind the neighboring peaks. My alarm went off at 4am the next morning. Nerves were high as we ate a hefty breakfast and discussed our planned route. With so many question marks, we almost bailed on our plan in favor of poking around to get more info on the snowpack. Thankfully we stuck with plan A, but in turn got a somewhat comfortable start at 6am with two and a half days of food and fuel. We expected to bivy somewhere on the north ridge that night, hopefully summiting and descending the next day. Following my skin track over to the base, we trudged up the snow cone to the start of the route which boasted nice looking water ice to start the day. Nelson took the first block, leading us up the ice steps in a fun ~100m pitch of AI3. From there he led up another 250m pitch up through some more easy ice and up the lower snowfield to the base of the runnels I had spotted the day prior. This was the last time we used the Ice screws for the remainder of the route. This part of the buttress was one of the bigger question marks. From below we could see a series of narrow runnels cutting perfectly through the face, but whether it was Ice, neve or sugar snow was what we were scared of. As Kurt took off, we were delighted to find almost perfect neve plastered to the walls, and just enough rock gear to keep it reasonable. These two long pitches were by far the best climbing on the route. I wished it would go on forever. A small cornice crux led us out of the runnels and into the upper snowfield. Here we unroped and trudged for around 350 meters up to where the buttress met the ridge. It was only 3pm at this point, and with 8 hours of daylight remaining, we hoped we could make it up and over to the east ridge where we could chop out a bivy to spend the night. Based on the conditions up to that point, we decided to skip the crux of the ridge, and traverse lower along the exposed NE face to surpass the corniced knife edge above. After brewing up in the sun, I took over the lead for the ridge ahead. The middle gendarme provided sunbaked rotten slush climbing to get up and over. Once on the NE face I tried to make a shortcut through a rock band, but encountered vertical facets over rock, so backed off and descended around instead on the easier but faster terrain below. Once the pro ran out, we unroped and continued to the summit simul soloing the same steep snow to AI2 conditions we had been on for the past several hours. We reached the summit around 9pm as the evening sun began to set. Despite being pretty tuckered out, the increasing winds and rapidly dropping temps encouraged us to keep moving. Chopping out a platform for our two person tent while being hammered by wind did not seem appealing. Down climbing to flatter, less exposed terrain did. Still unroped, we began our slow trudge down the east ridge toward the NE face. 2,500ft and two and a half hours of face in down climbing later, we reached the glacier. Now roped up for glacier travel, Kurt led the way down over numerous schrunds and through the jumbled mess of the icefall in the dark with impressive accuracy. The only hiccups being myself punching through a fairly inconsequential schrund, and Kurt nearly being eaten by a crevasse. Once back on the SE fork of the trident, we wallowed our way out of serac danger and collapsed into the snow to brew up some more water and eat dinner. We were safe at this point, so it felt like a good time to celebrate with some warm food. It was 1:30 in the morning. The incoming storm had filled the sky with clouds, cutting off all ambient star/moon light, making for the darkest night I have ever experienced. We arrived back at our skis at 2:40am, and I crawled back into my tent at 4am. Exactly 24 hours after waking up the day prior. The next 8 days involved a lot of lounging, eating, a little bit of skiing, and no climbing. A series of storms dumped nearly four feet of snow on us. Our bathroom area was buried and required a grid search, Nelson's tent was almost completely buried, and all chances of more climbing were buried along with it. On Saturday, May 29th we got picked up by TAT before another endless series of storms came in. If we hadn’t come out the day we did, we would surely still be trapped in the Kichatnas right now, running out of food, missing flights and being generally really bummed. While quite moderate, I believe the North Buttress of Augustin Peak is now the longest route in the Kichatna Mountains. To the best of our knowledge this was the third ascent of the mountain Gear Notes: Single rack to #3, maybe doubles in middle sizes. Medium selection of iron including NB's a small angle or two and all sizes of beaks. Full rack of nuts from brass to big. 5-8 screws 70m ropes We brought a picket, but didn't use. Different conditions or a different party may find these very useful. Approach Notes: Charter a flight through TAT. Ski 25 minutes to the base.
-
I'm always watching that thing. I think it's been too cold and snowy still. IMO you want a solid warmup and refreeze to form good neve for most of those routes. Wait for a bulletproof crust and go for it!
- 47 replies
-
- 1
-

-
- pnw
- ice climbing
-
(and 1 more)
Tagged with:
-
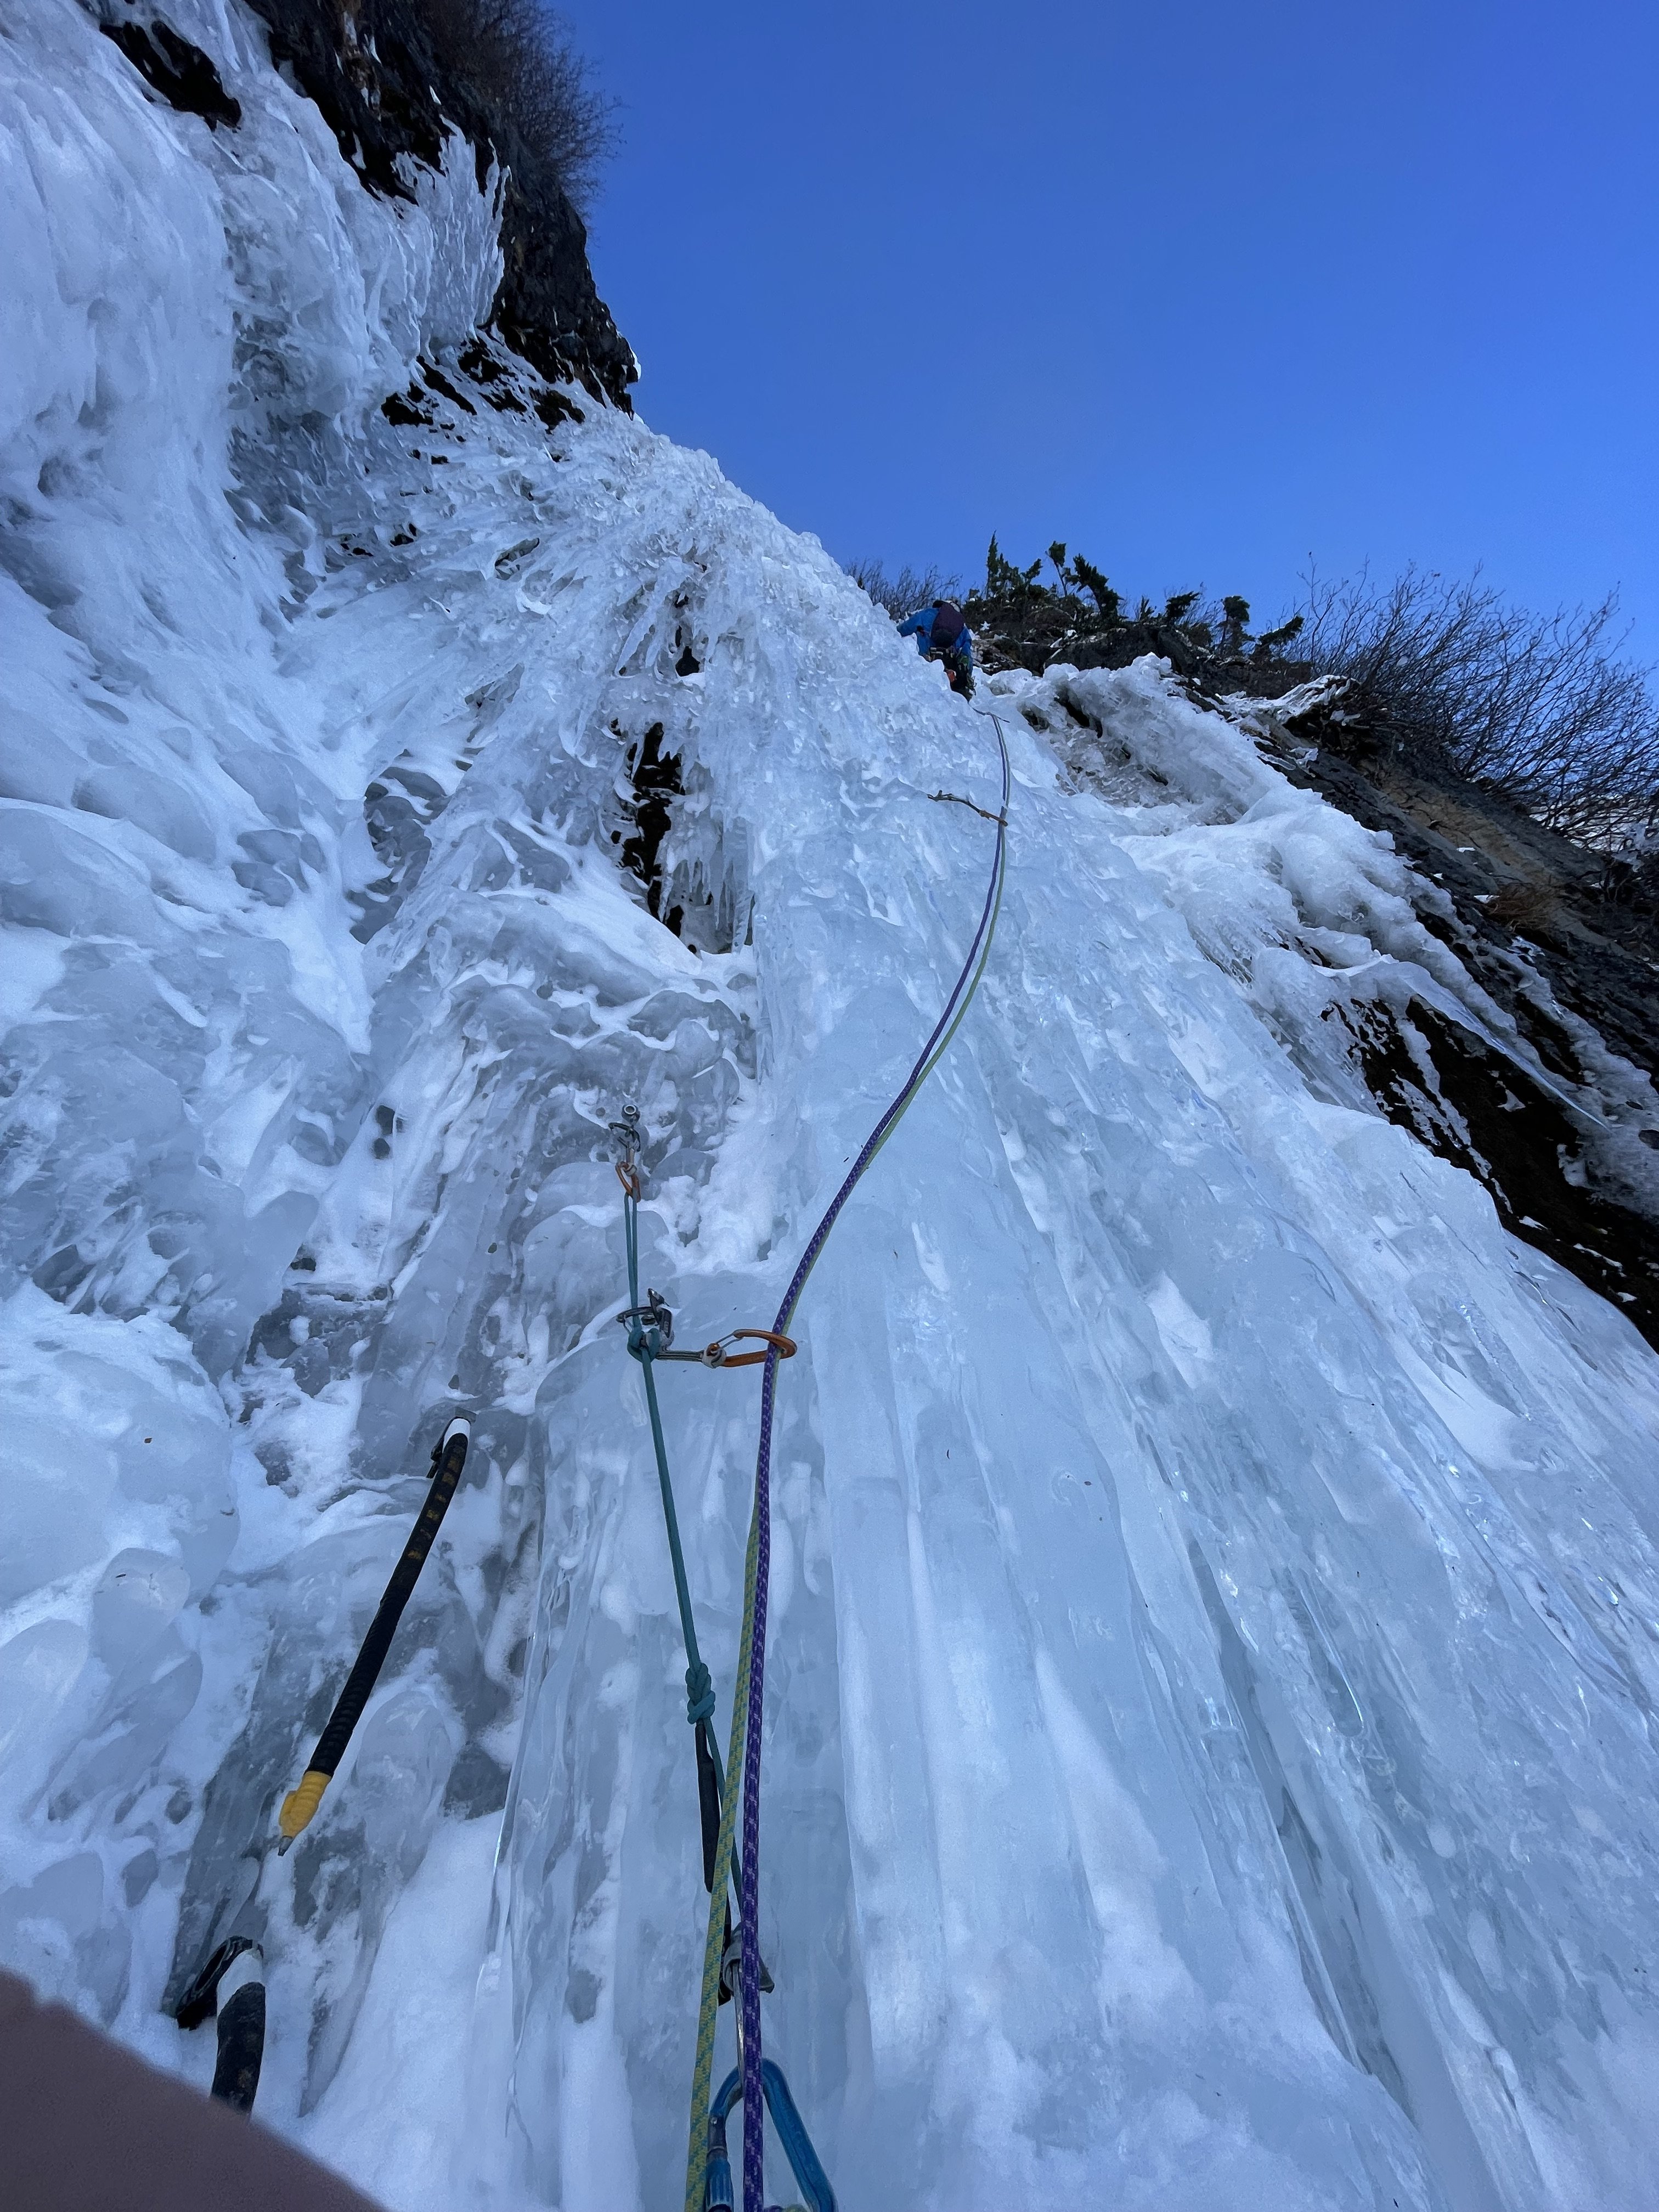
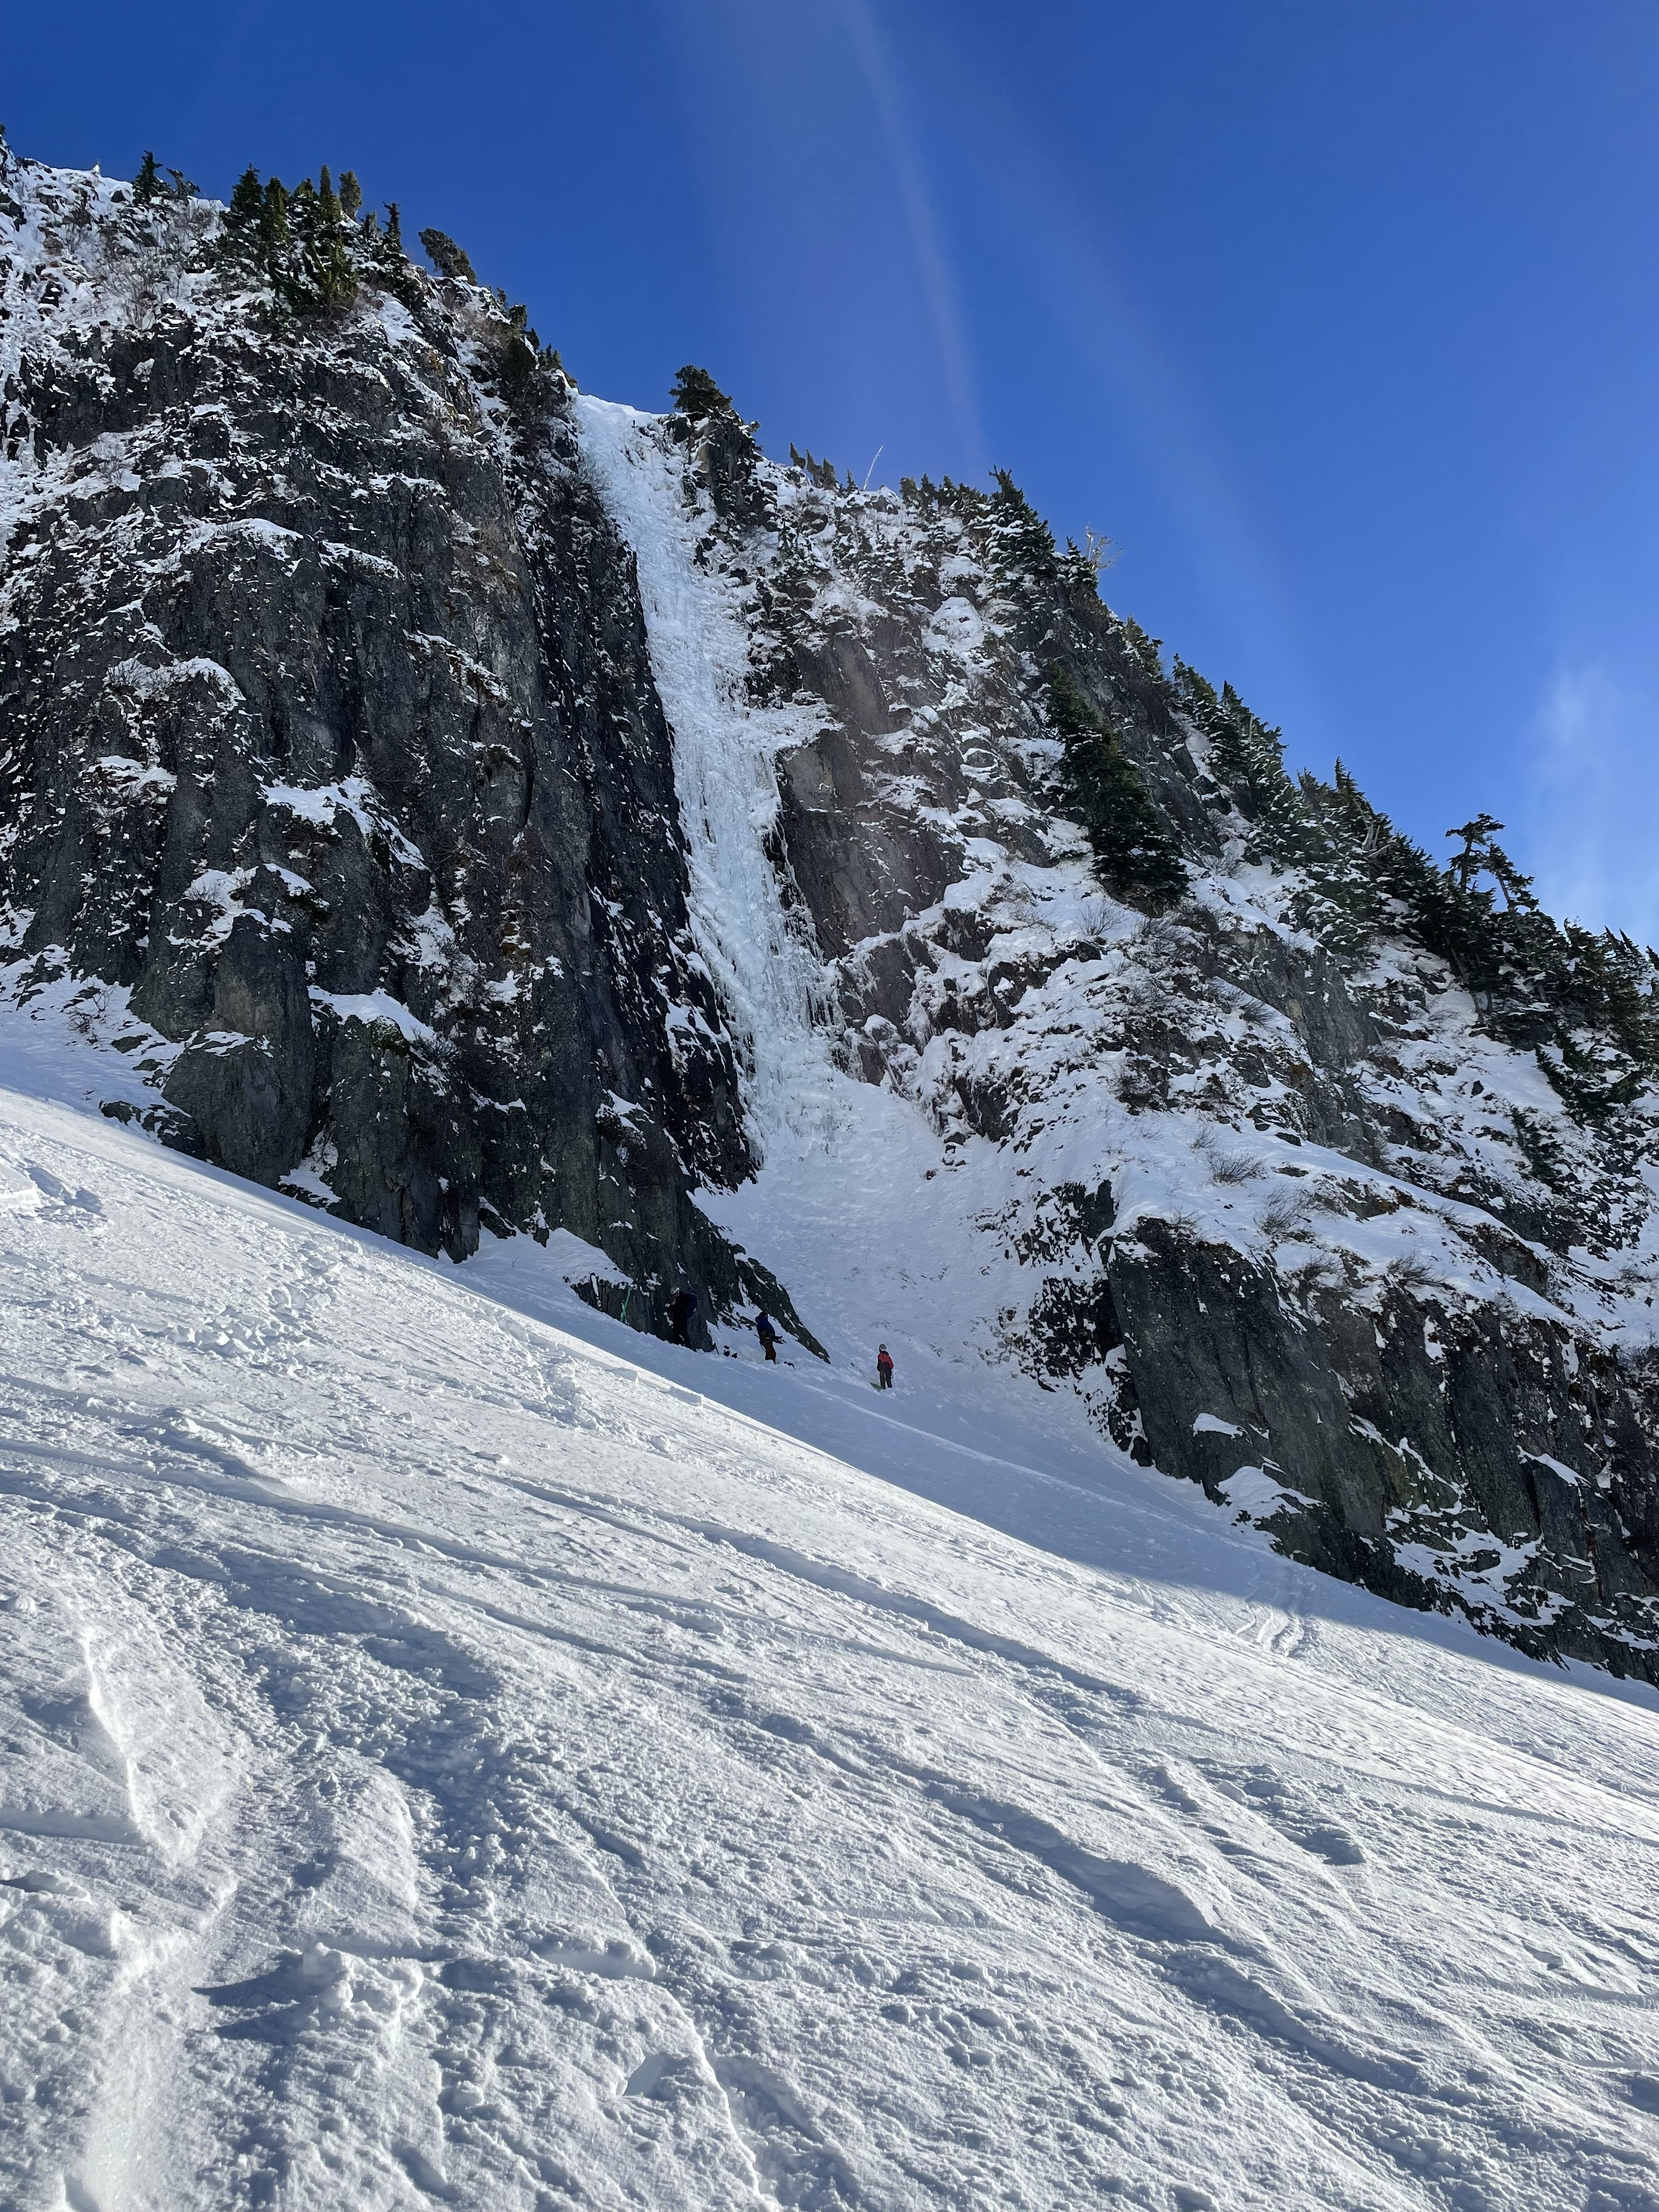
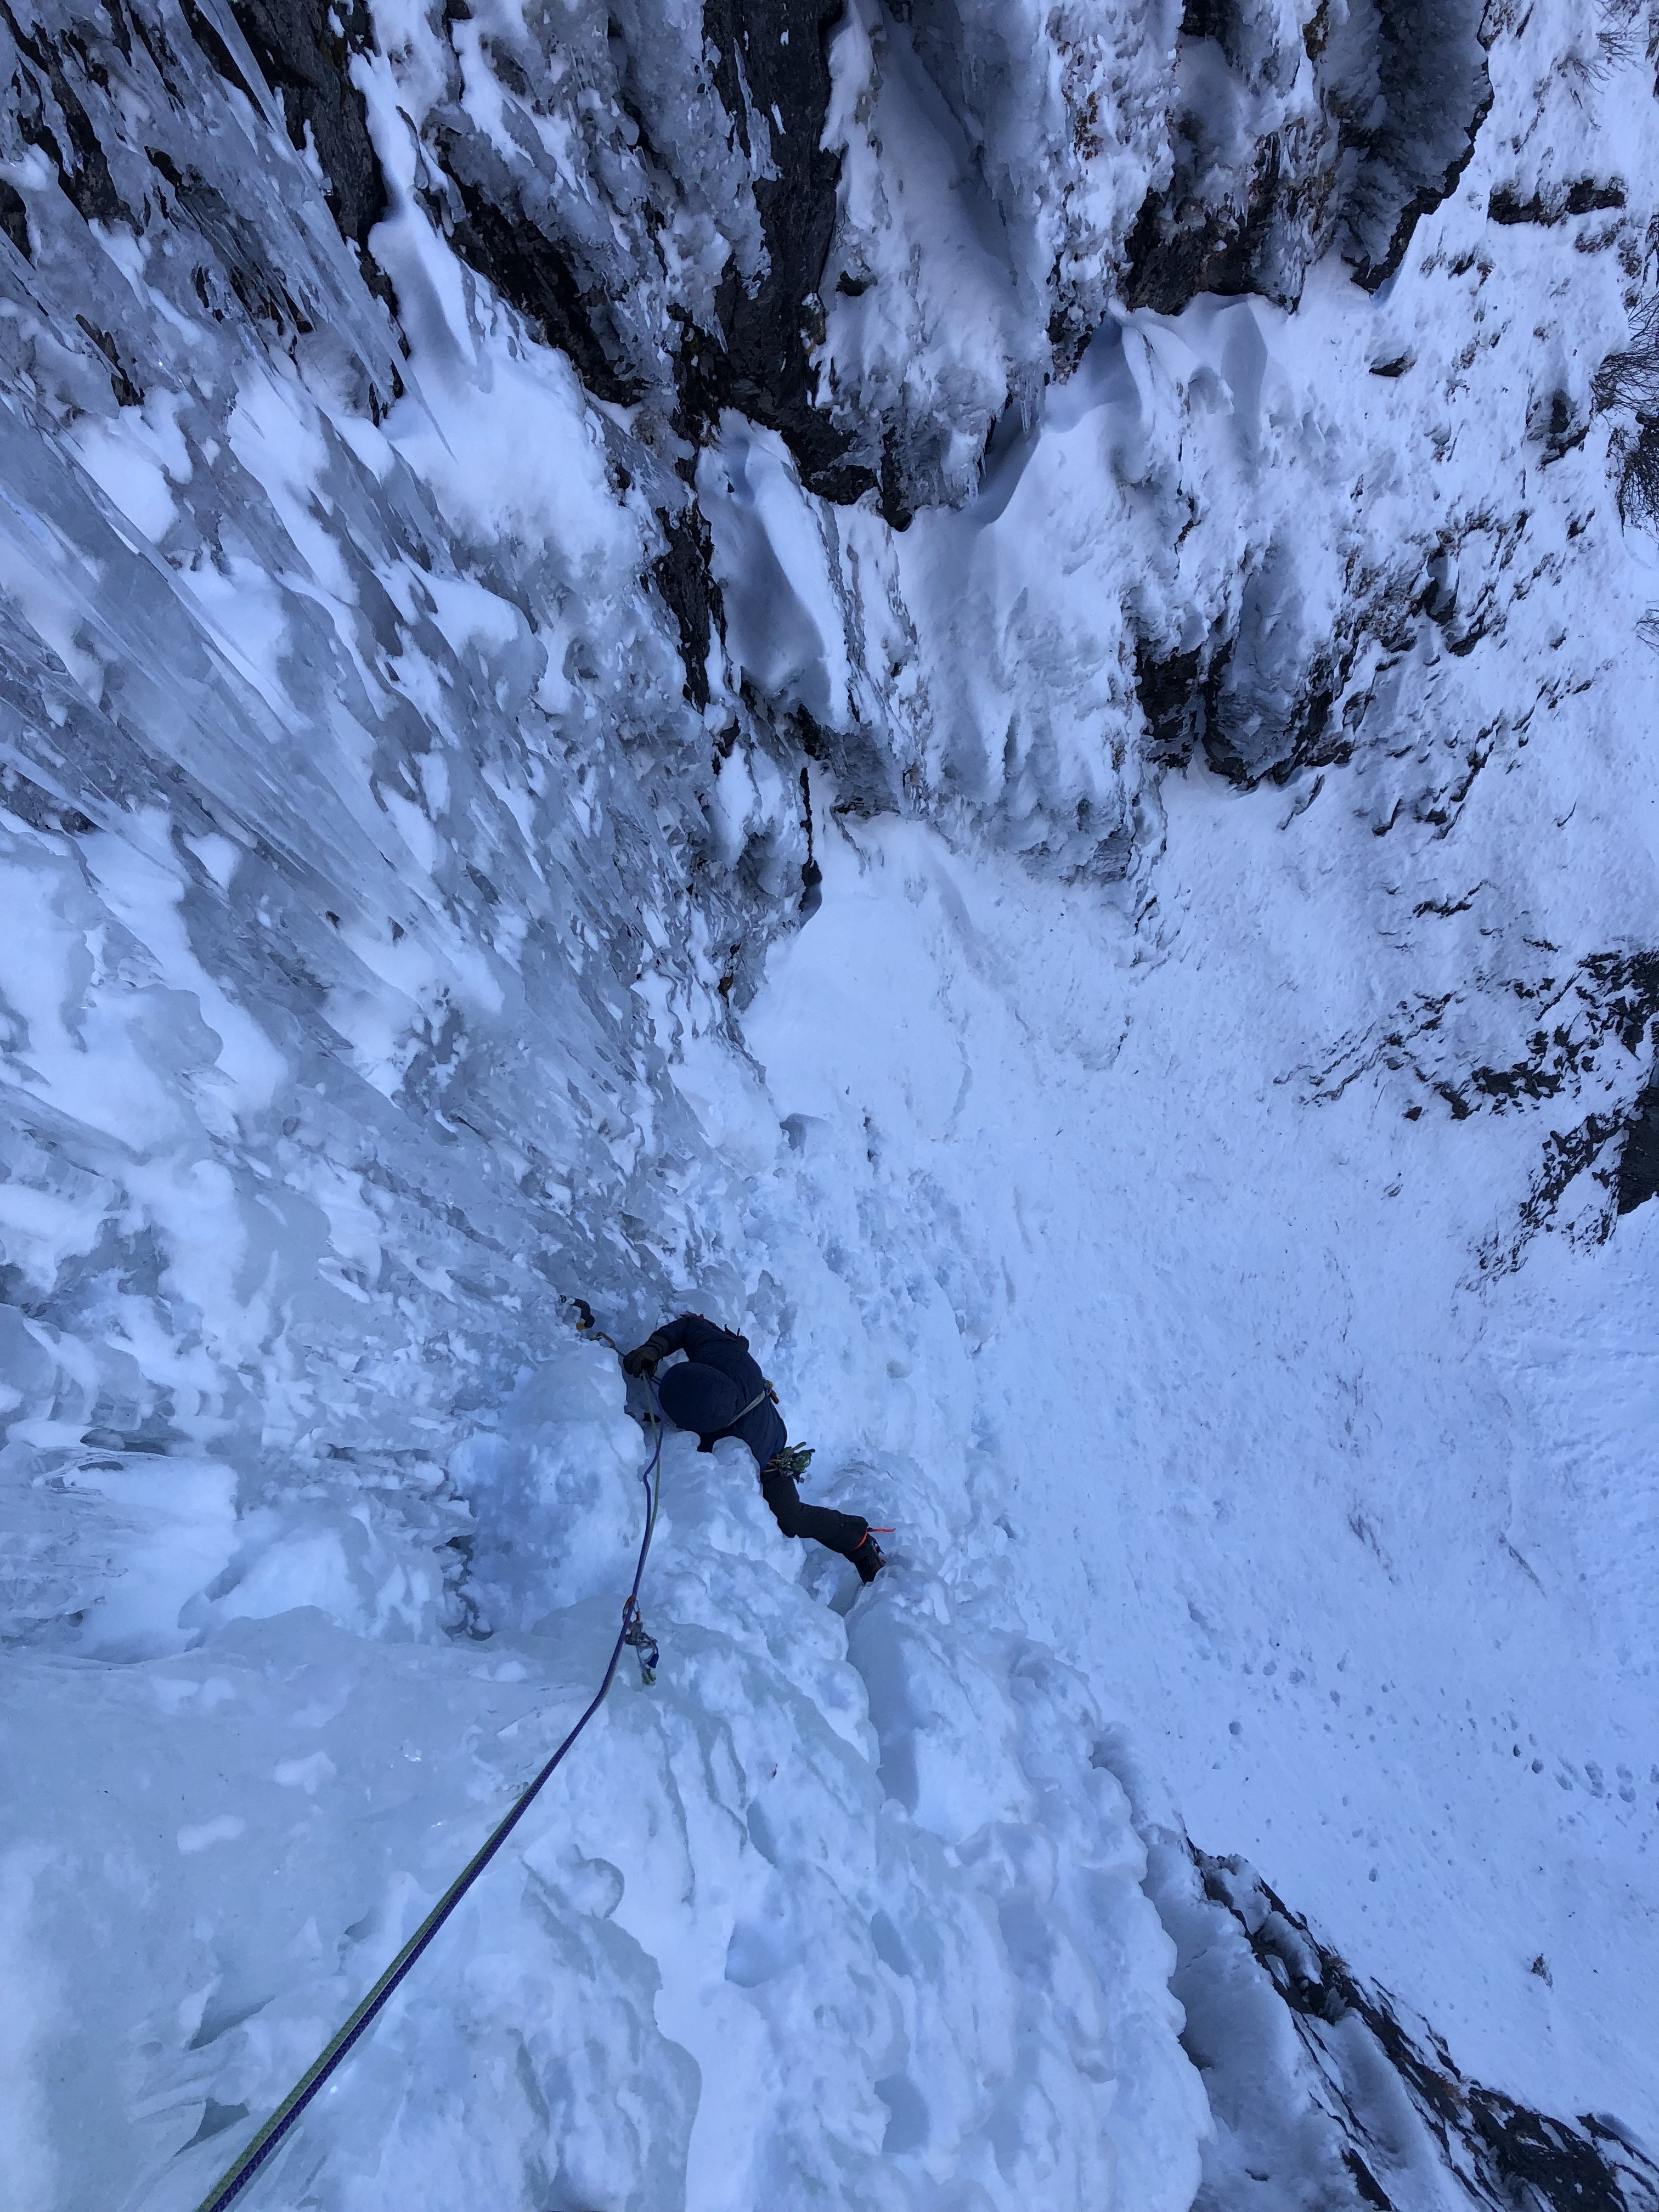
Climbed Death Picnic yesterday with @PorterM. Found deceivingly steep climbing and sorta tricky pro (lotsa hollow bits). Wanna say WI5+ conditions, but it was my first day on ice this season so IDK. Looking up on the way out. Mickey and Jeff rolled up as we rapped. Perfect timing! Porter following the steep and blobby first pitch. Myself leading P2. It started out with this vertical pillar then rounded off to WI 3/4
- 47 replies
-
- 4
-

-

-
- pnw
- ice climbing
-
(and 1 more)
Tagged with:
-
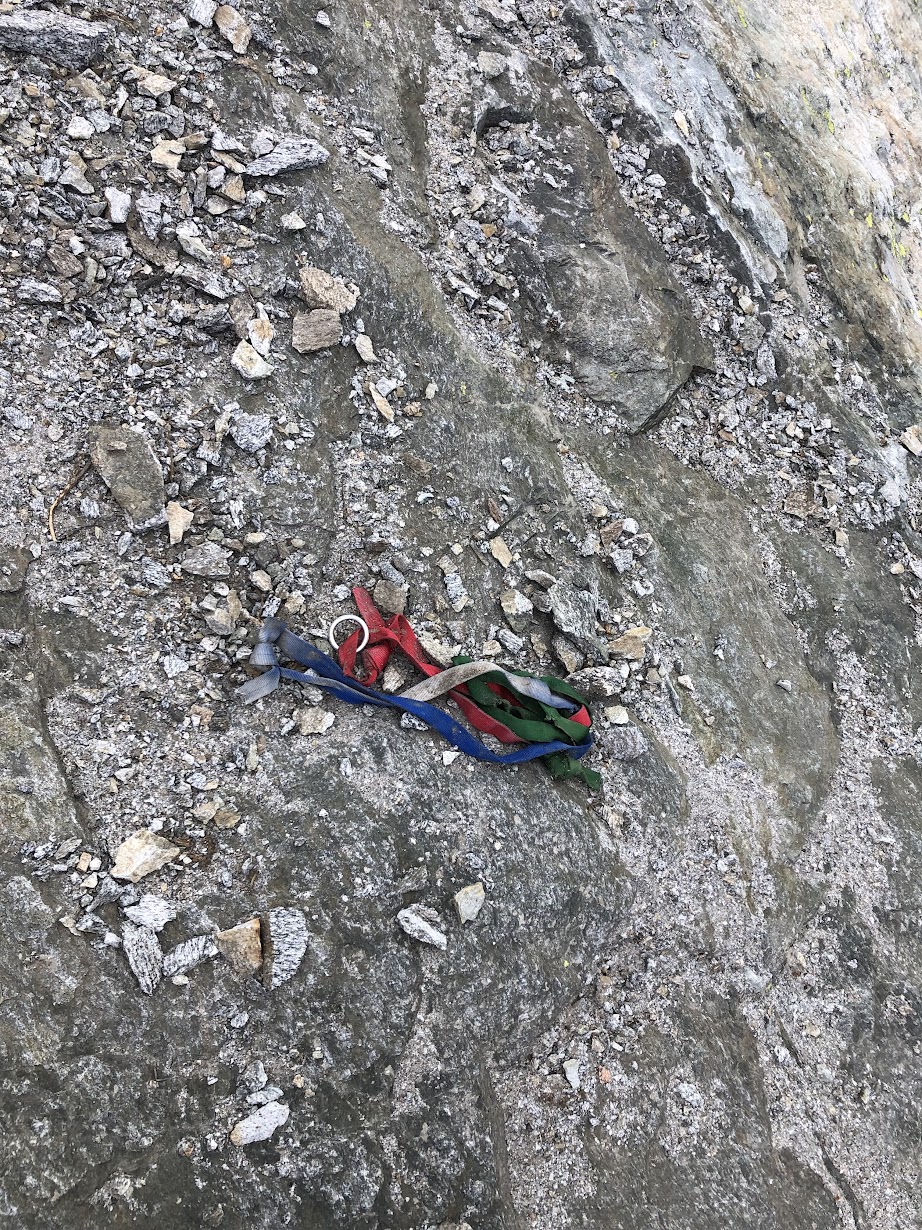
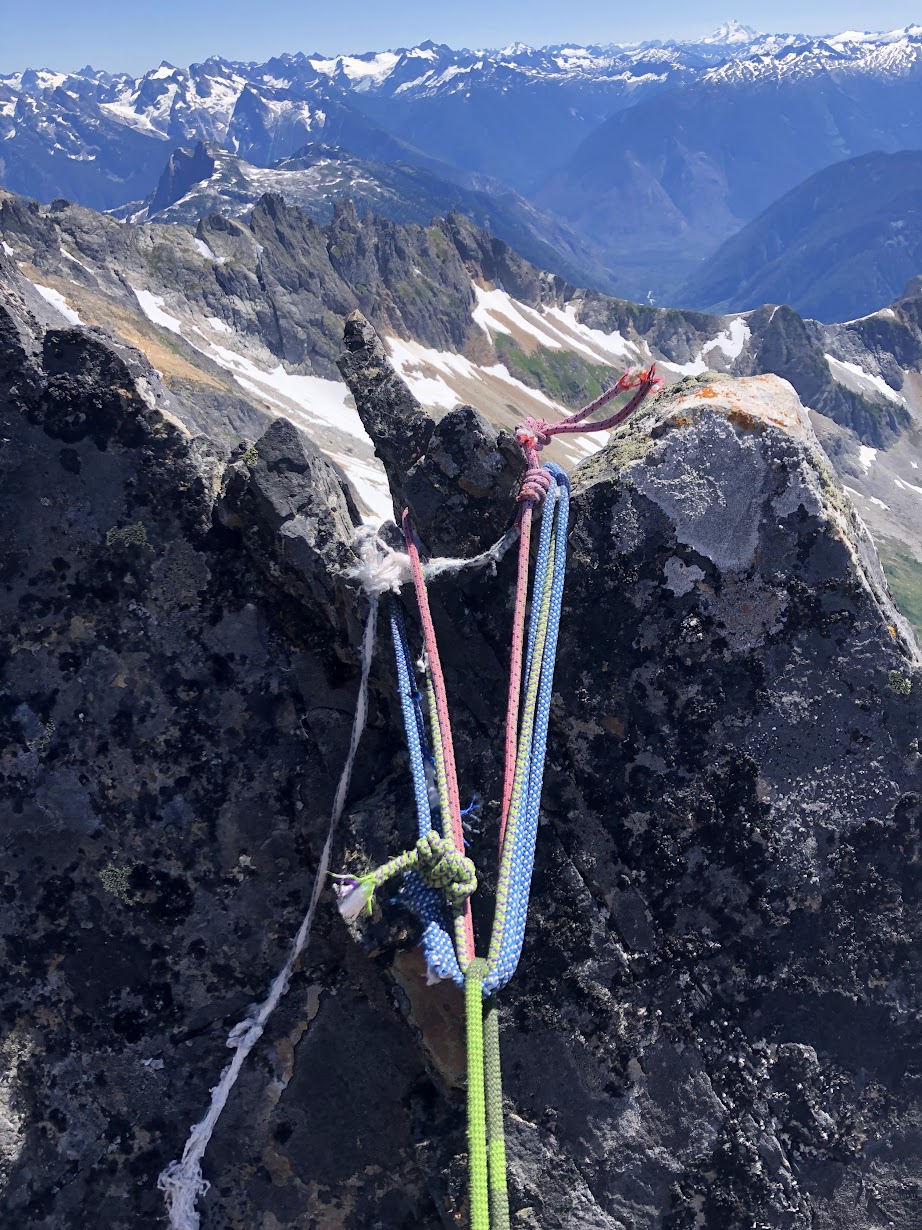
Trip: Mount Triumph - Memento Mori Trip Date: 08/29/2022 Trip Report: On Sunday, Duncan and I hiked out to Triumph with an open mind, and not quite enough food. We planned to repeat @rat & @lunger's east face route Memento Mori, but were open to more adventure if another line spoke to us. Turns out those jerks swiped the good one. The route was overall pretty high quality, with a good ratio of solid to portable holds. As far as we can tell, we followed their existing route except for pitch 5. Duncan build his belay at Tom's frayed rope (a single pink tricam girth hitched to a sling with the remains of a rope clove hitched to a non locker... yikes dude), which set me up for the hanging corner above. This roof went at probably 10- R due to an enormous moss clump that I had to face climb around on good, but unprotecable rock. The rest of the pitch offered little for pro, but enjoyable face climbing when the rock was good. My understanding is that Eric and Rolf belayed lower and face climbed up and right? Having pins made this belay feel comfortable, but are not necessary. Pitches six and seven are easy to follow and fun! Again, I used a beak to beef up the pitch six belay, but it was probably not necessary. Pitch Eight is the only one that didn't quite make sense. The FA description said to "Step left to a strenuous boulder move gaining another ledge". I walked left and scrambled around to said ledge at fourth class. However to the right is a short corner that looks like it goes at 5.9ish. I'm assuming that was just a typo, but would love to hear if we missed something. We chose to skip the alpine experience and descend the NE ridge sans shiver bivy, getting back to the car around 9pm for a full day out in the mountains. Approaching up P1 4th/low5th It's a big imposing wall! Pitch 2 is pretty spectacular Starting up P3 Starting up our P5 "Bet ya can get a turf stick with the alpine hammer" -Duncan Ralph I climbed hard right, up the face and back left into the corner. Can't say I recommend this variation. Duncan cleaned Tom's remaining gear. Future parties shouldn't rely on this for routefinding. Pitch 6 low angle corner P7 is straight up fun climbing! @rat & @lunger, did you climb this corner to the right? What a wall! Gear Notes: Double rack very small to #1 and single #2-#4, Full range of nuts incl. brass We used a long knife blade and #2 beak. I was glad to have them, but Duncan was indifferent. 70M rope would give you more anchor flexibility Crampons Approach Notes: Standard NE ridge approach. Access the glacier from top left and traverse over to the base of the route.
-
Saw this over Stuart two springs ago before I knew what it was. Gave me the chills. I was pretty sure the aliens were here and it was all over.
-
[TR] S Pickets - Himmelhorn - Wild Hair Crack? 08/20/2022
Michael Telstad replied to bedellympian's topic in North Cascades
That route looks really enjoyable! Wish it had been part of the traverse. We downclimbed a ways down the choss gully on the N side to the Frenzelspitz access ramp. It wasn't all too bad, and we passed one or two good looking rap anchors. I can't really imagine committing down that in a cloud though...That would be scary. Climbing Stoddard into the traverse would be so much fun! I agree here. We barely touched our axes on the traverse. It wasn't until descending the H/O col that they were truly needed. I bet if you climb it late enough in the year with a low enough snowpack, you could get away with no axes. However you'd also have no water soooooo. -
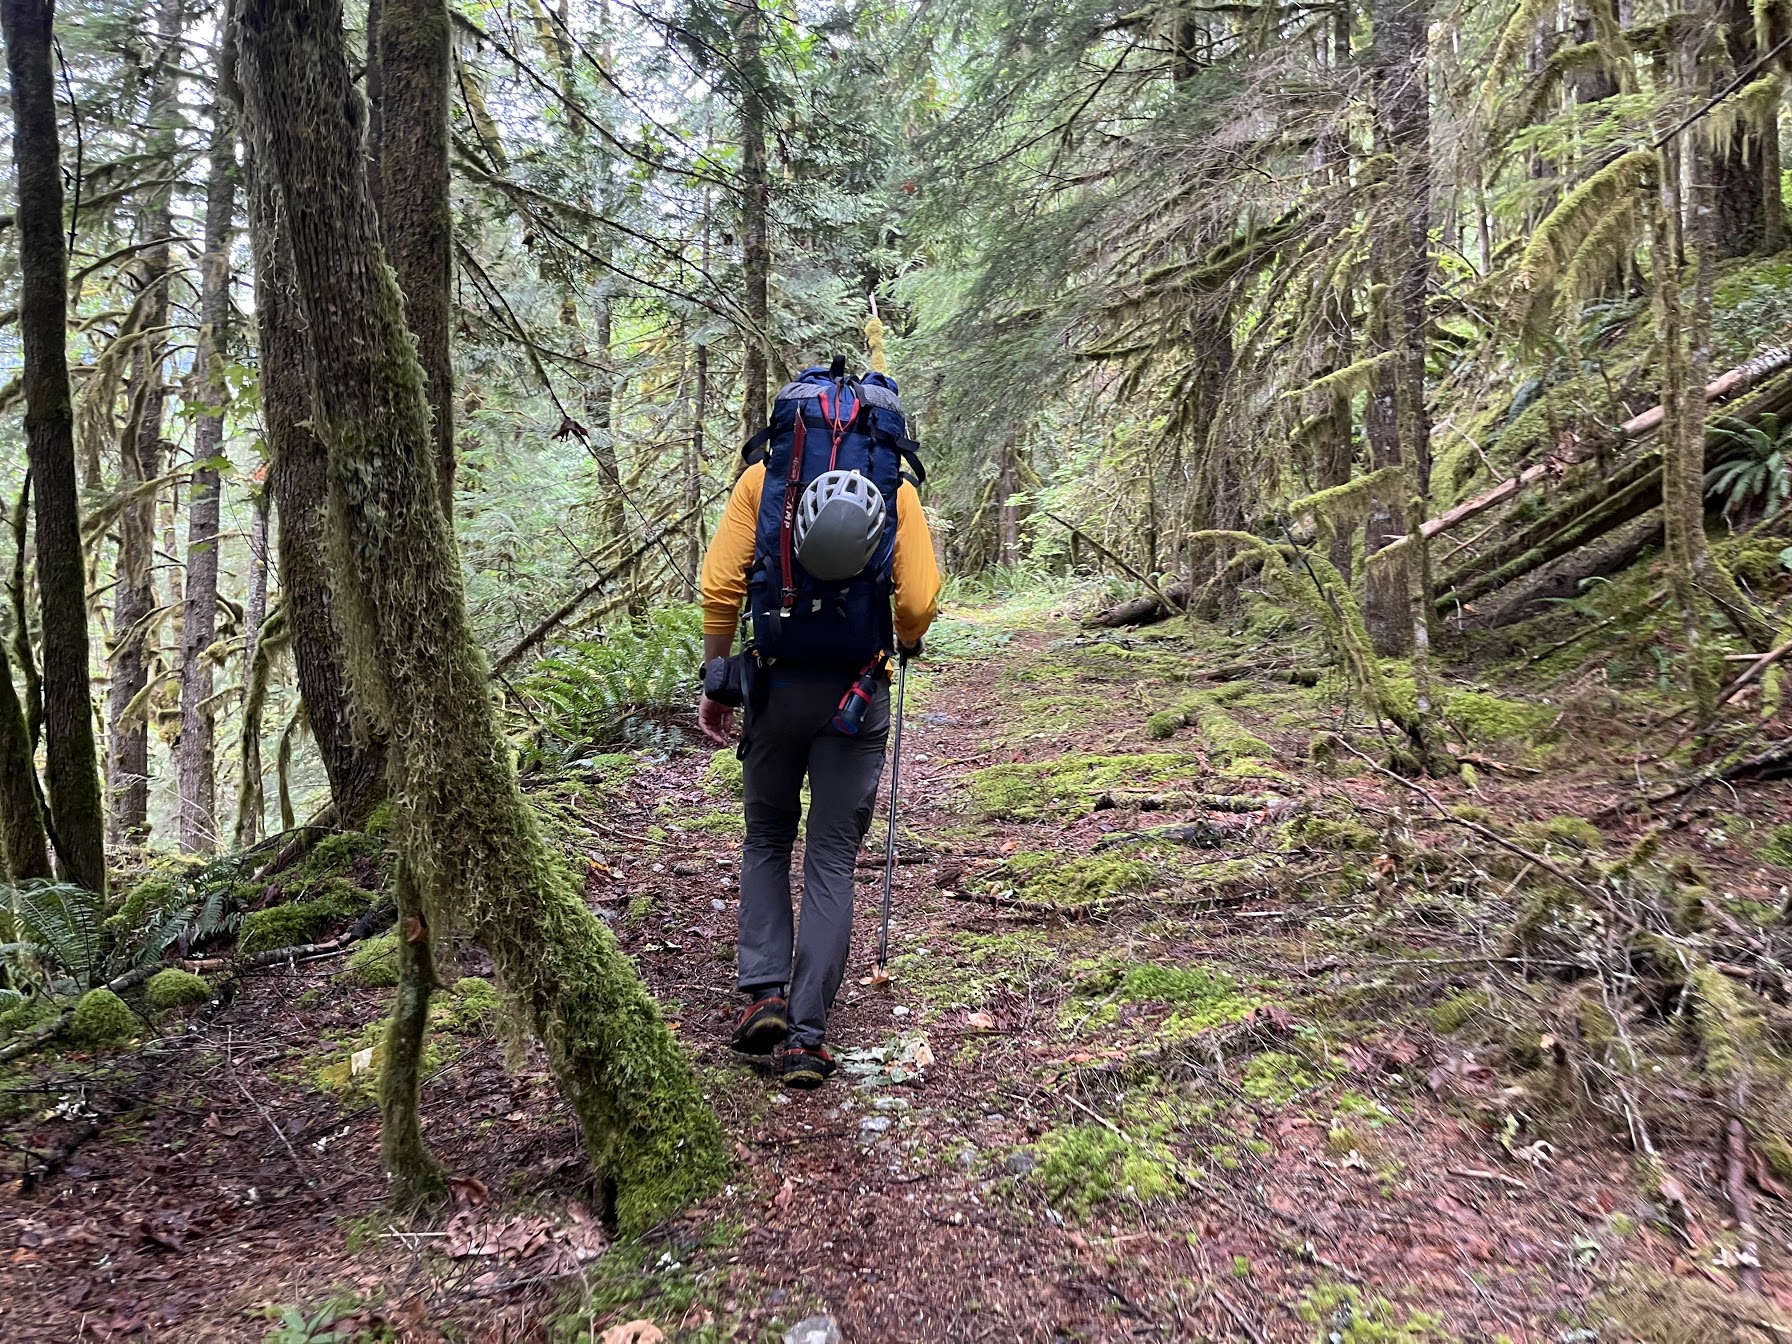
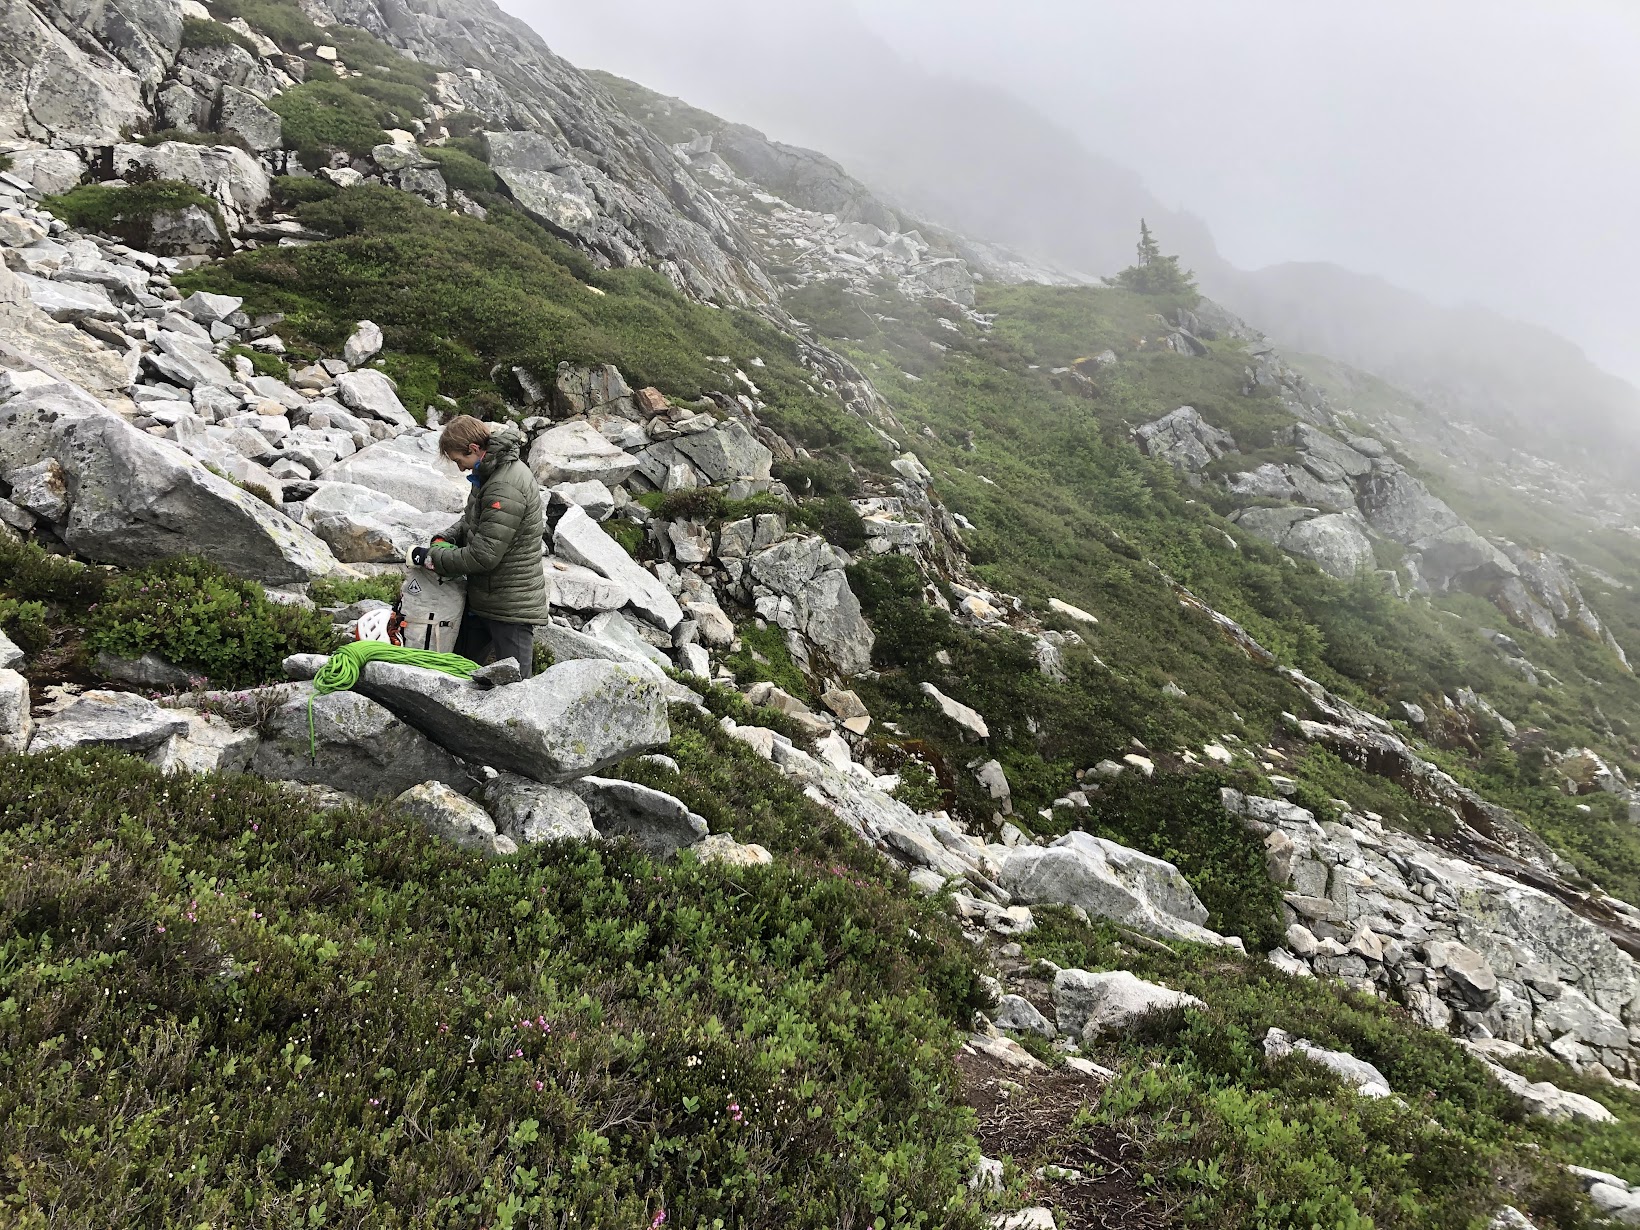
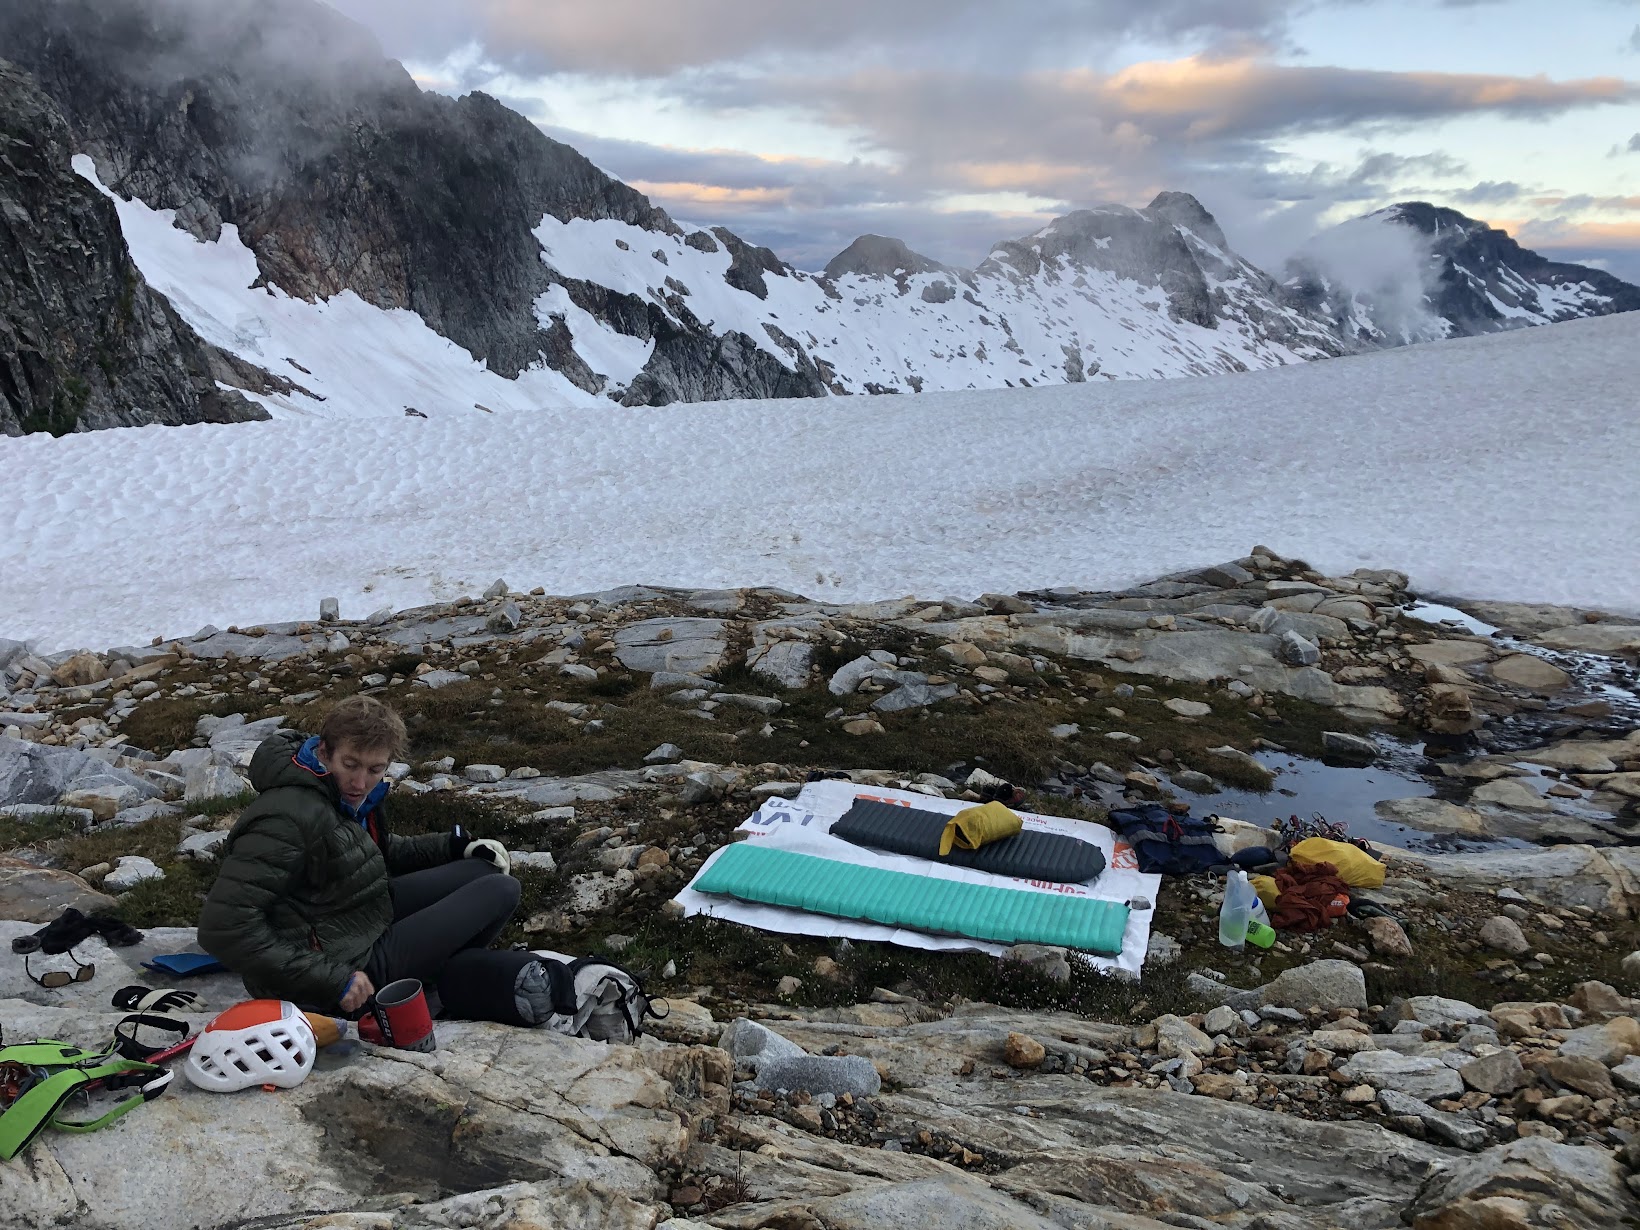
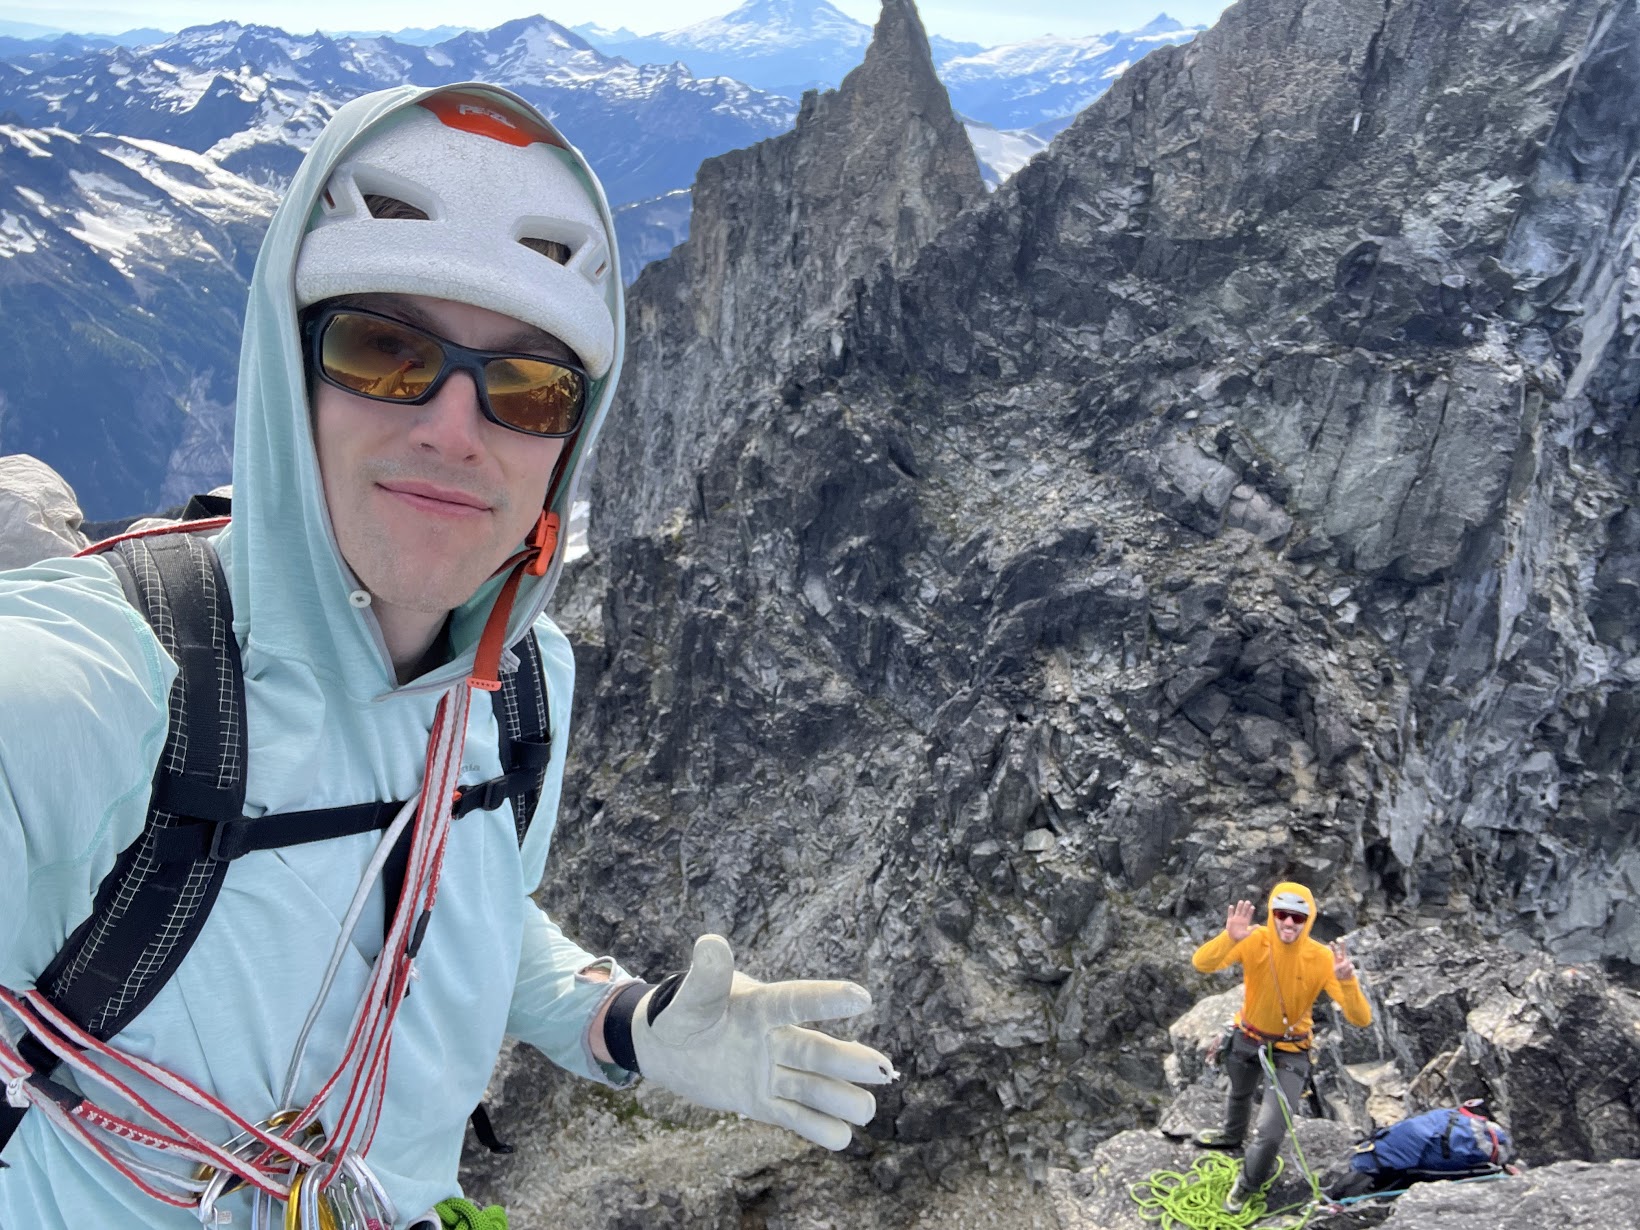
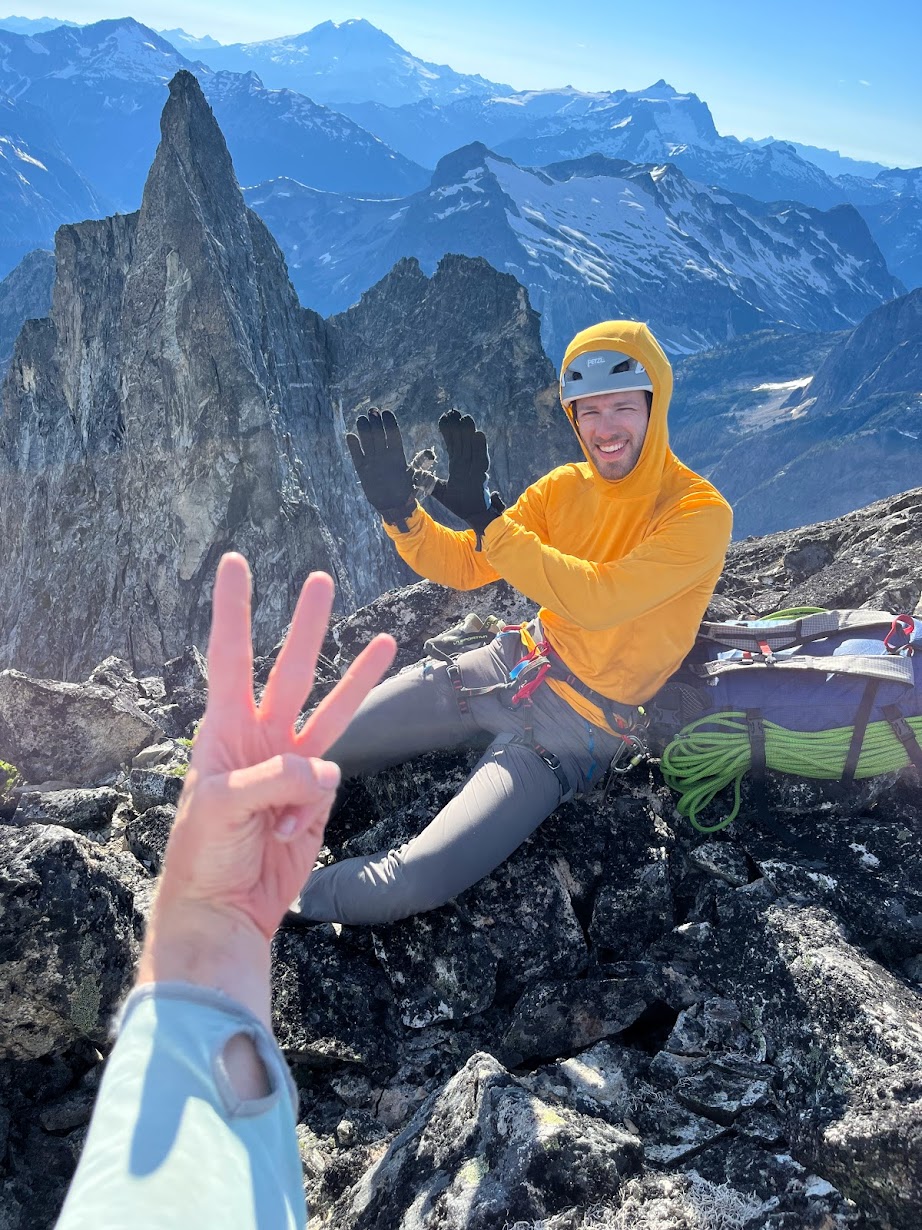
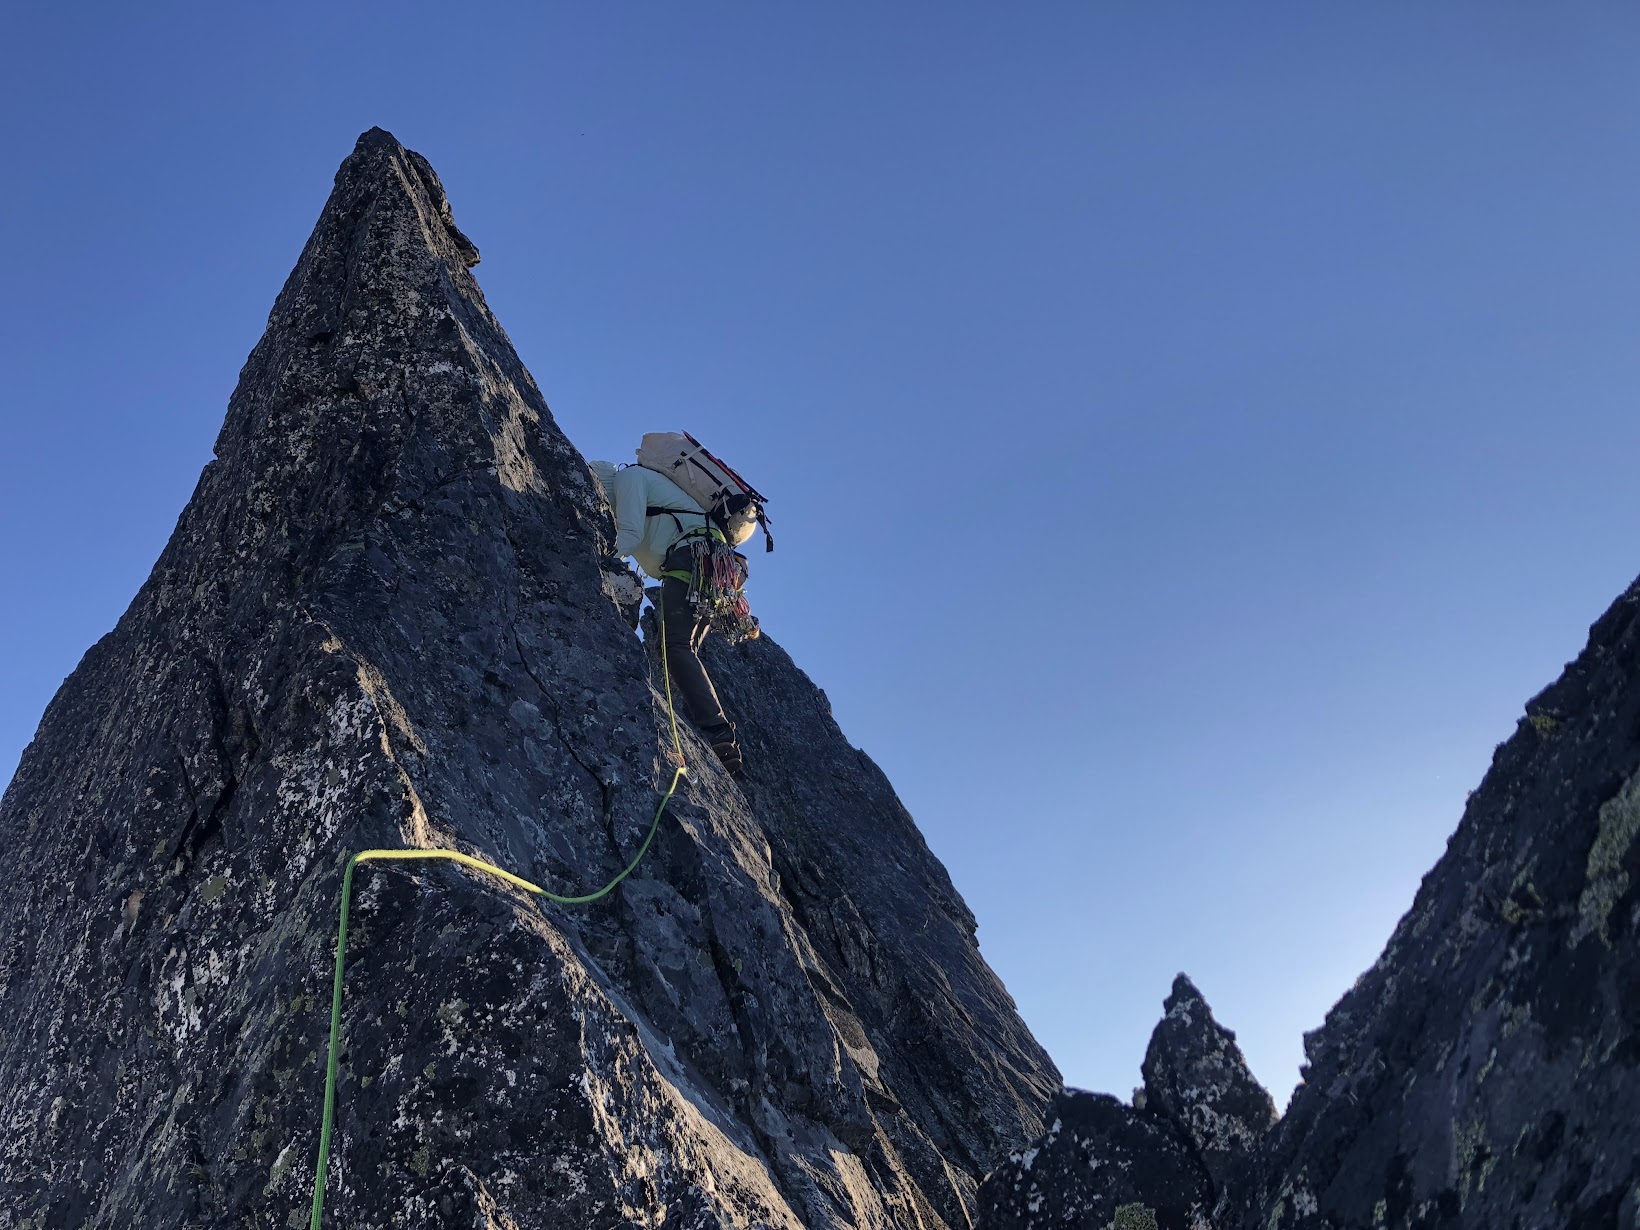
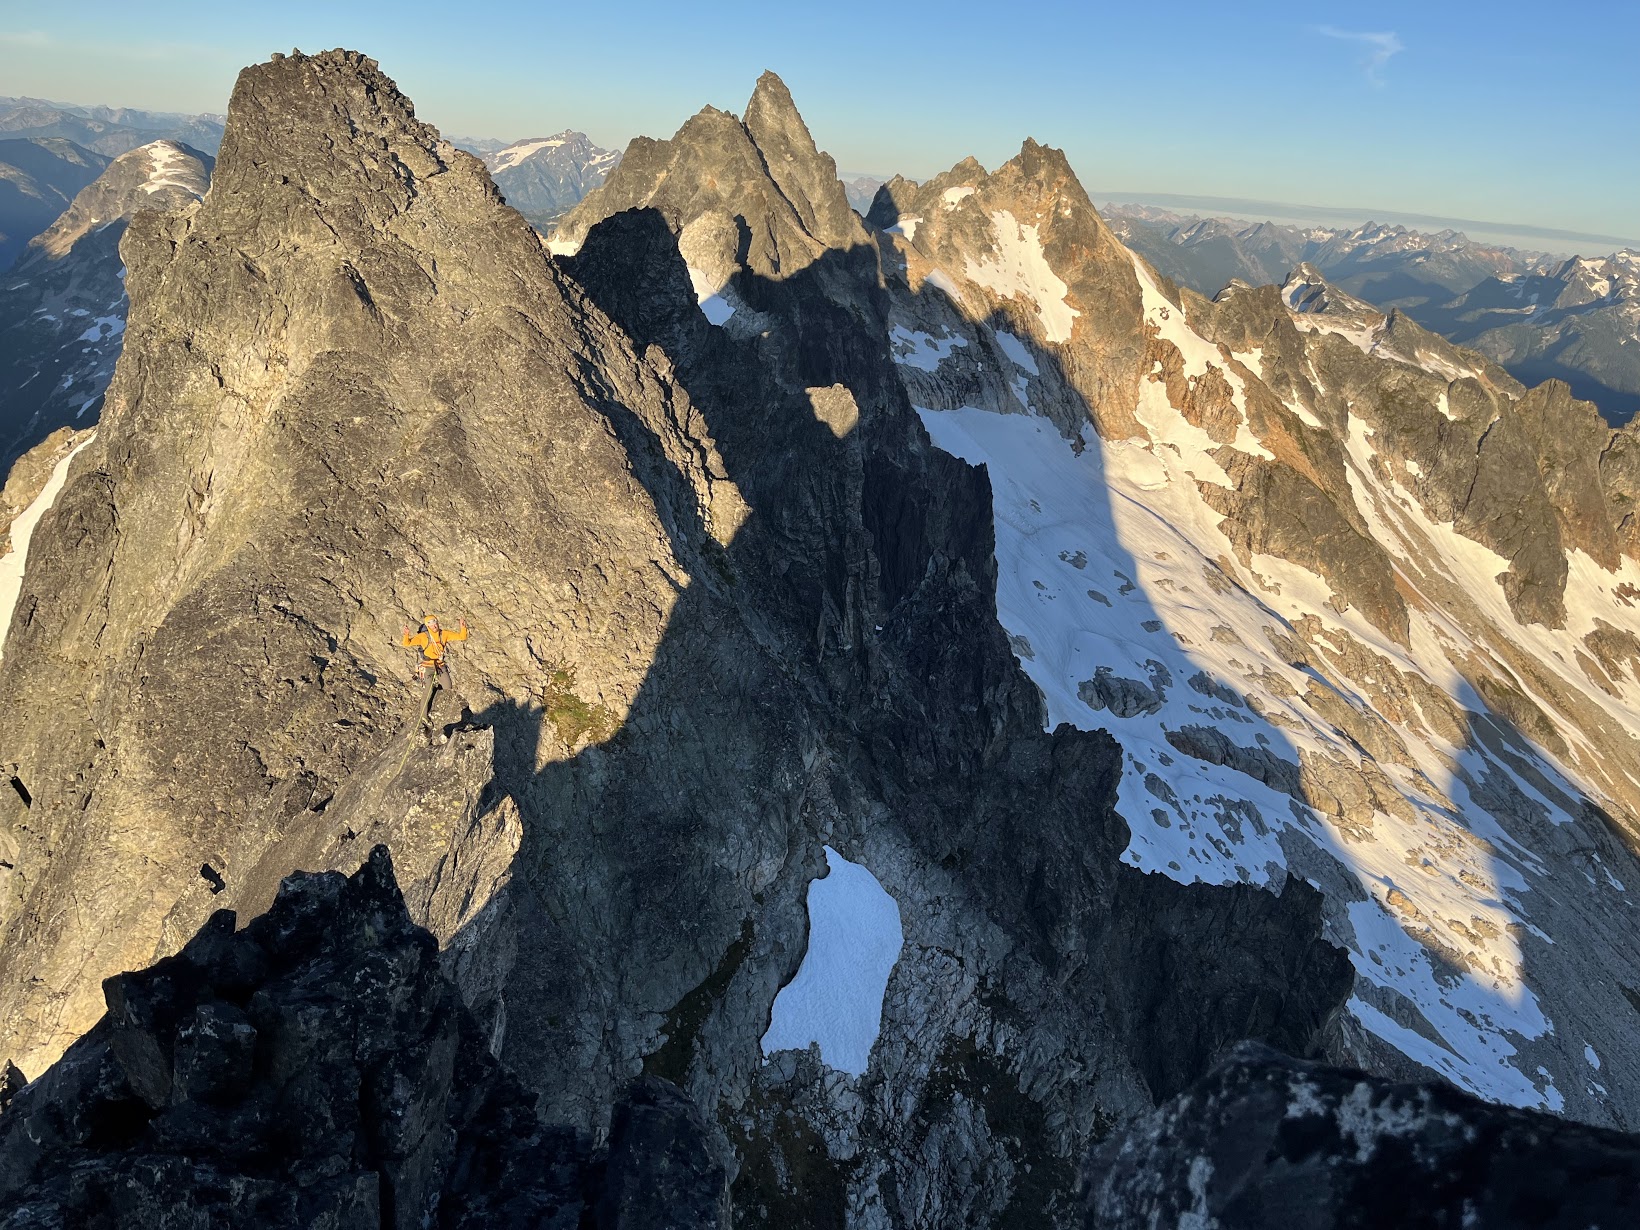
Trip: Picket Range - Southern Pickets Enchainment Trip Date: 8/4-7/2022 Trip Report: It's Pickets season folks! Kurt and I were supposed to be in the Bugaboos last week, but unstable weather encouraged us to stay local and sample a little bit of what the Pickets have to offer. Between weather and work on Monday, we had a pretty tight schedule that was surely going to be a challenge. On Thursday we slept in and got a casual start. AM rain was forecasted, and "all" we had to do was hike in to the base of little Mac spire. As we drove north, the rain poured down. By the time we reached the trailhead there was blue sky poking through, but all the brush was thoroughly soaked. The hike up went on for an eternity, and I was beginning to understand why the Pickets see so little traffic. By the time we made it to the alpine, we were drenched from head to toe, and the cold wind made for some rather uncomfortable slogging up to camp. Thankfully by the time we arrived, we were mostly dried out apart from our feet, which wouldn't fully dry out for another day. Day 2: Little Mac, East Mac, West Mac, Tower 1, Tower 5, Inspiration, Pyramid, Degenhardt. A cold and windy night brought us to a cold and windy morning, but the clouds had finally cleared and we could see our first peak. The brush and soil on little mac was still wet from the day before which made for some pretty unnerving scrambling up the first half of the mountain, but once the sun hit things began to dry out. Little Mac and East Mac went pretty smoothly with mostly scrambling and a couple pitches of roped climbing to the summits. West Mac however provided a little more adventure as Kurt tried to quest up some roofs in the middle of the east face but was thwarted and had to downclimb half a pitch. Thankfully we found the easy way and were off to the races. The East Towers sucked up so much time, and honestly I don't remember what we did to get through them. Huge props to Jeff Wright for remembering all the beta and writing such a detailed trip report. I wish I had that good of a memory.... or maybe I'd rather forget. Surfin' the East Towers Inspiration was Classic! By far the best climbing on route. Super straightforward, fun and engaging crack climbing. A large panel of the west face of Inspiration fell off some time recently, taking one or more of the rap anchors with it. This involved some downclimbing between stations and lots of loose rock on the rappels. At least one new station would be needed to fully rap the face. Rapping through the rock scar "Hey Kurt, I found the anchor!" Low on water, we brewed up below Pyramid and rested for the rest of the climbing ahead. Kurt took the leads up Pyramid and quested us up into some hard 5.10 roofs that ended up bring the crux of the entire traverse. We still have no idea where that 5.8 chimney is. Or where we were for that matter. We forgot to take a picture on top of Pyramid, so here's number 7! Summit 8! Having lost a fair bit of time, we raged up Degenhardt at sunset. Racing the fading light, we traversed along the ridge over to the base of Terror and the supposed "excellent" bivy. We didn't have to climb with headlamps! A cold wind howled up the north side, sending morale plummeting. The only somewhat flat spots were on the frigid windy side of the ridge so after an unsuccessful attempt to rig up my tarp to block the wind, we opted to engineer our own spots to the south. We were both somewhat successful in digging out our own bivys, and went to bed late and exhausted. Day 3: Terror, The Rake, The Blip, East Twin Needle, West Twin Needle, Dusseldorfspitz, Himmelhorn The next morning came too soon and we started with Terror for breakfast. The east ridge went quickly and the mountain most definitely didn't live up to the name. Summit of Terror for the actual ninth summit. The Rake, similar to the East towers sucked up an incredible amount of time. We went too high on the first gendarme and had to downclimb the ridge to get to the 5.7 traverse. The rest was just slow route finding up along over and below the ridge. Low on water and with a lot of climbing still ahead of us. We brewed up again below The Blip, four more towers standing between us and camp, two of which being the 5.10 cruxes of the route. Summit 10! Wonderful rap anchor off The Rake. We cruised over the Blip and up the lower pitches of East Twin Needle. A little intimidated by the 5.10 crux, I took the lead up the spectacular knife edge ridge to where it kicks back to a slight overhang. With my pack feeling heavy, I sized up the moves above me, poked my head around to the left and balanced my way around the corner. Skipping the crux. With that out of the way, we raced down up and over West Twin Needle and over to the base of the intimidating East ridge of Himmelhorn. As the only one who brought rock shoes, I took this crux pitch as well. Pulling around the corner I was greeted by a fixed nut, and wild face climbing on hollow sounding rock. It wasn't all too hard, but by feet and calves were pumping out from the heavy pack and everything we had done up to that point. Thankfully I pulled it off without a hitch, and all the hard climbing was behind us. This pitch is probably only around 10a/b, but I absolutely would have called it 10+ if I had climbed it as an onsight first ascent. The overnight pack certainly doesn't help. Summit 13 and the east ridge of Himmelhorn trying to intimidate us. Dusseldorfspitz! Gipfel 14! Day 4: Ottohorn & Frenzelspitz The next morning at the Himmelhorn-Ottohorn col I woke up to sunlight casting off the mountains around us. I must have turned off my alarm at some point and fallen back asleep without realizing it. Kurt forgot to set one as well. Neither of us were upset by the extra half hour of sleep, but knew we needed to get things moving if we wanted to get out at a reasonable hour. Don't roll over! A quick jaunt up and down Ottohorn started day four. The effort of the last three days weighted on our legs, but the lack of overnight packs made it feel less like a chore. We carried a rope and rack up for the supposed 5.6 summit block, but they never saw any use. Once back down at the col, we scrambled down to the north and around the east face of Ottohorn to reach Frenzelspitz. I don’t think we took the same route as Priti and Jeff, but regardless it got us where we needed to go at loose 4th class with tiny bits of low 5th. Continuing this trend, we scrambled up to the base of the last pitch of Frenzelspitz where Kurt took the sharp end and led us up a short pitch to our final summit. We have a serious problem. This was summit 16. Someone teach us how to count. The descent went pretty much as expected. Lots of knee pain and schwacking took us around Crescent Basin, down stump hollow and out along Goodell creek. Huge thanks to Wayne, Jeff and Priti for all the beta. I can’t imagine how much longer everything would have taken without those detailed topos for every climb and descent. Both Kurt and I were blown away that the FA team of three did it in almost the same timeframe as us, and even tacked on the Chopping Block! Gear Notes: Single rack .1-2 doubles .4-1, One rack "nice" nuts and a half rack leaver nuts, 10 single runners & 4 doubles, 30 feet 5mm cord for rap anchors, 60m 8.5mm rope, Light Axe and Crampons Approach Notes: Over the river and through the woods, then up up up and some more up through more forest until you're finally in the alpine oh god.
- 11 replies
-
- 10
-

-

-

-
Trip: Guye Peak - A slightly more improbable than usual ascent of the Improbable Traverse Trip Date: 07/22/2022 Trip Report: Late last Thursday Joe and I made the questionable decision to try and dawn patrol the Improbable Traverse. Neither of us had climbed the route before, nor did we do much research, which in hindsight may have saved us a headache or two. At the time we were blissfully unaware of the massive rockfall event that happened last November. A quick search here would have informed us. However lately CC isn't the place I go for up to date condition reports, being that i'm often one of three users logged on at any time . A quick mountain project browse provided no info other than it hadn't been climbed this year. Long story short the route has been obliterated, and it would take a heroic amount of trundling and sweeping to revive it. All the pitches up to the traverse got bombed and are absolutely plastered in dirt and loose rock. We'd heard it the route was loose, but this seemed a little extreme. The flexing pin at the start of the traverse is still there, and the only reason I knew where to go. The pictures and beta I had weren't quite lining up. It was at this point that I realized what had happened, and made the decision to try and top out rather than bail with our short 40m rope. Traversing out I came across a large 40x40ft rock scar where the routes 5.8R crux used to be. Already 20ft out, I snaked my way over and down some insecure sloping edges which provided the routes new crux at somewhere around 5.9+ downclimbing. Once on a larger foot ledge I was able to keep traversing to the end of the rock scar and onto the original route. All told it was somewhere around a 50+ foot mandatory runout off the old tied off flexing pin. If it was R before, it's likely X now. The worst part by far was the top of the left trending ramp that exits the main face. This section cuts straight through the middle of the main rockfall zone and is now composed of the loosest unstable blocks held in by dirt I have ever climbed. It's hard to state exactly how nasty it was without sounding terribly dramatic, but It was bad. I was worried the entire slope was going to fall away around me. This pitch had no acceptable protection. Basically what I'm trying to say here is don't be dumb and climb this like we did. The lower pitches are right beneath an active rockfall zone and we are lucky we didn't get taken out. We were both late for work. Gear Notes: Just don't. But if you do, a few KB's might be useful on the new traverse. Approach Notes: Same as is ever was
-

Rope Solo Systems for Free and Aid?
Michael Telstad replied to Choada_Boy's topic in Climber's Board
I've done a fair bit of free and aid rope soloing with the grigri+microtrax setup and really like it. I actually wrote a TR about soloing Beyond Redlining on here a little while back which sorta shows my system and I explain it in the comments. Re: backup knots, I personally only tie releasable slipknots on pitches I think I might fall on, otherwise the rope is either stacked in a bag at the anchor, on a ledge or dangling free below me. My standard protocol for long free routes is below. Aid is pretty similar but usually involves hauling. 1.)Build ground anchor using the rope 2.)Climb the pitch. Try not to fall 3.)Build anchor and fix line with enough slack to rap the pitch 4.)Pull up remaining tail and stack it at the anchor 5.)Rap pitch while cleaning all but necessary directionals. 6.)Clean bottom anchor. 7.)TR solo (or jug) back up the pitch. 8.)Reset system and start at #1 Happy to answer any more specific questions! -
Marlin Thorman and Duncan Ralph were planning to go out there a couple years ago. I think the border was closed due to COVID so they had to change plans. They would likely have all the beta.
-
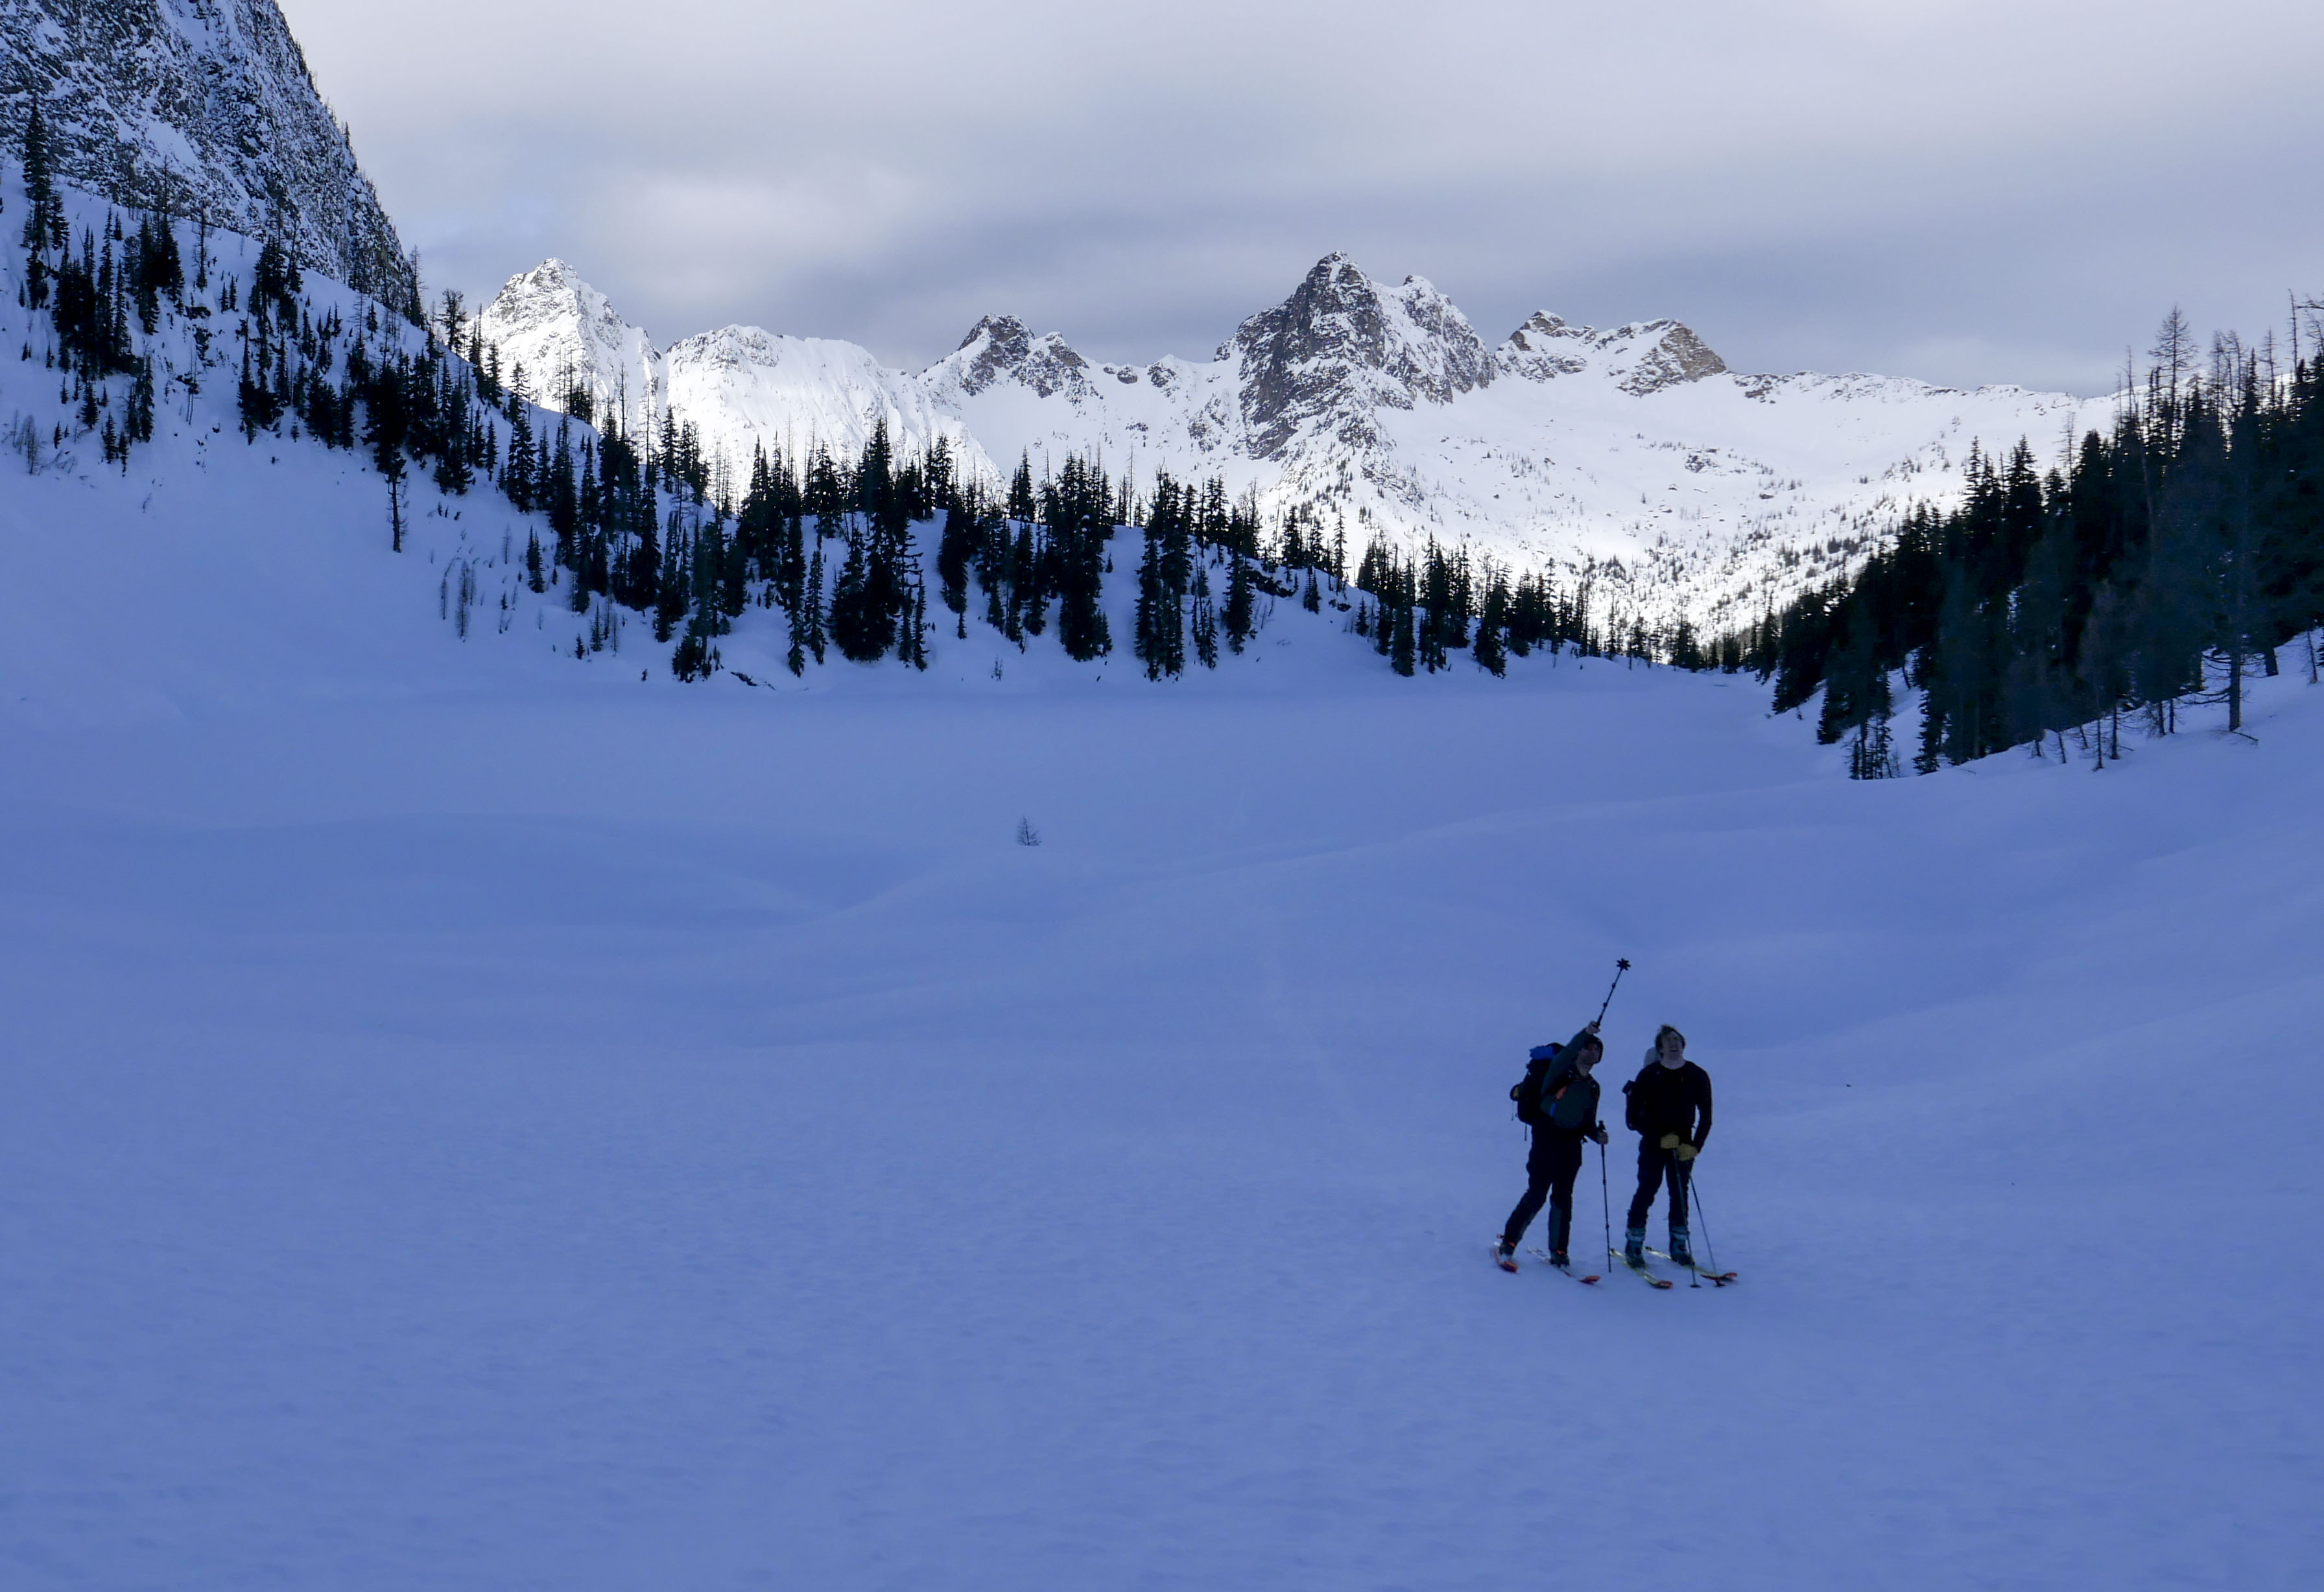
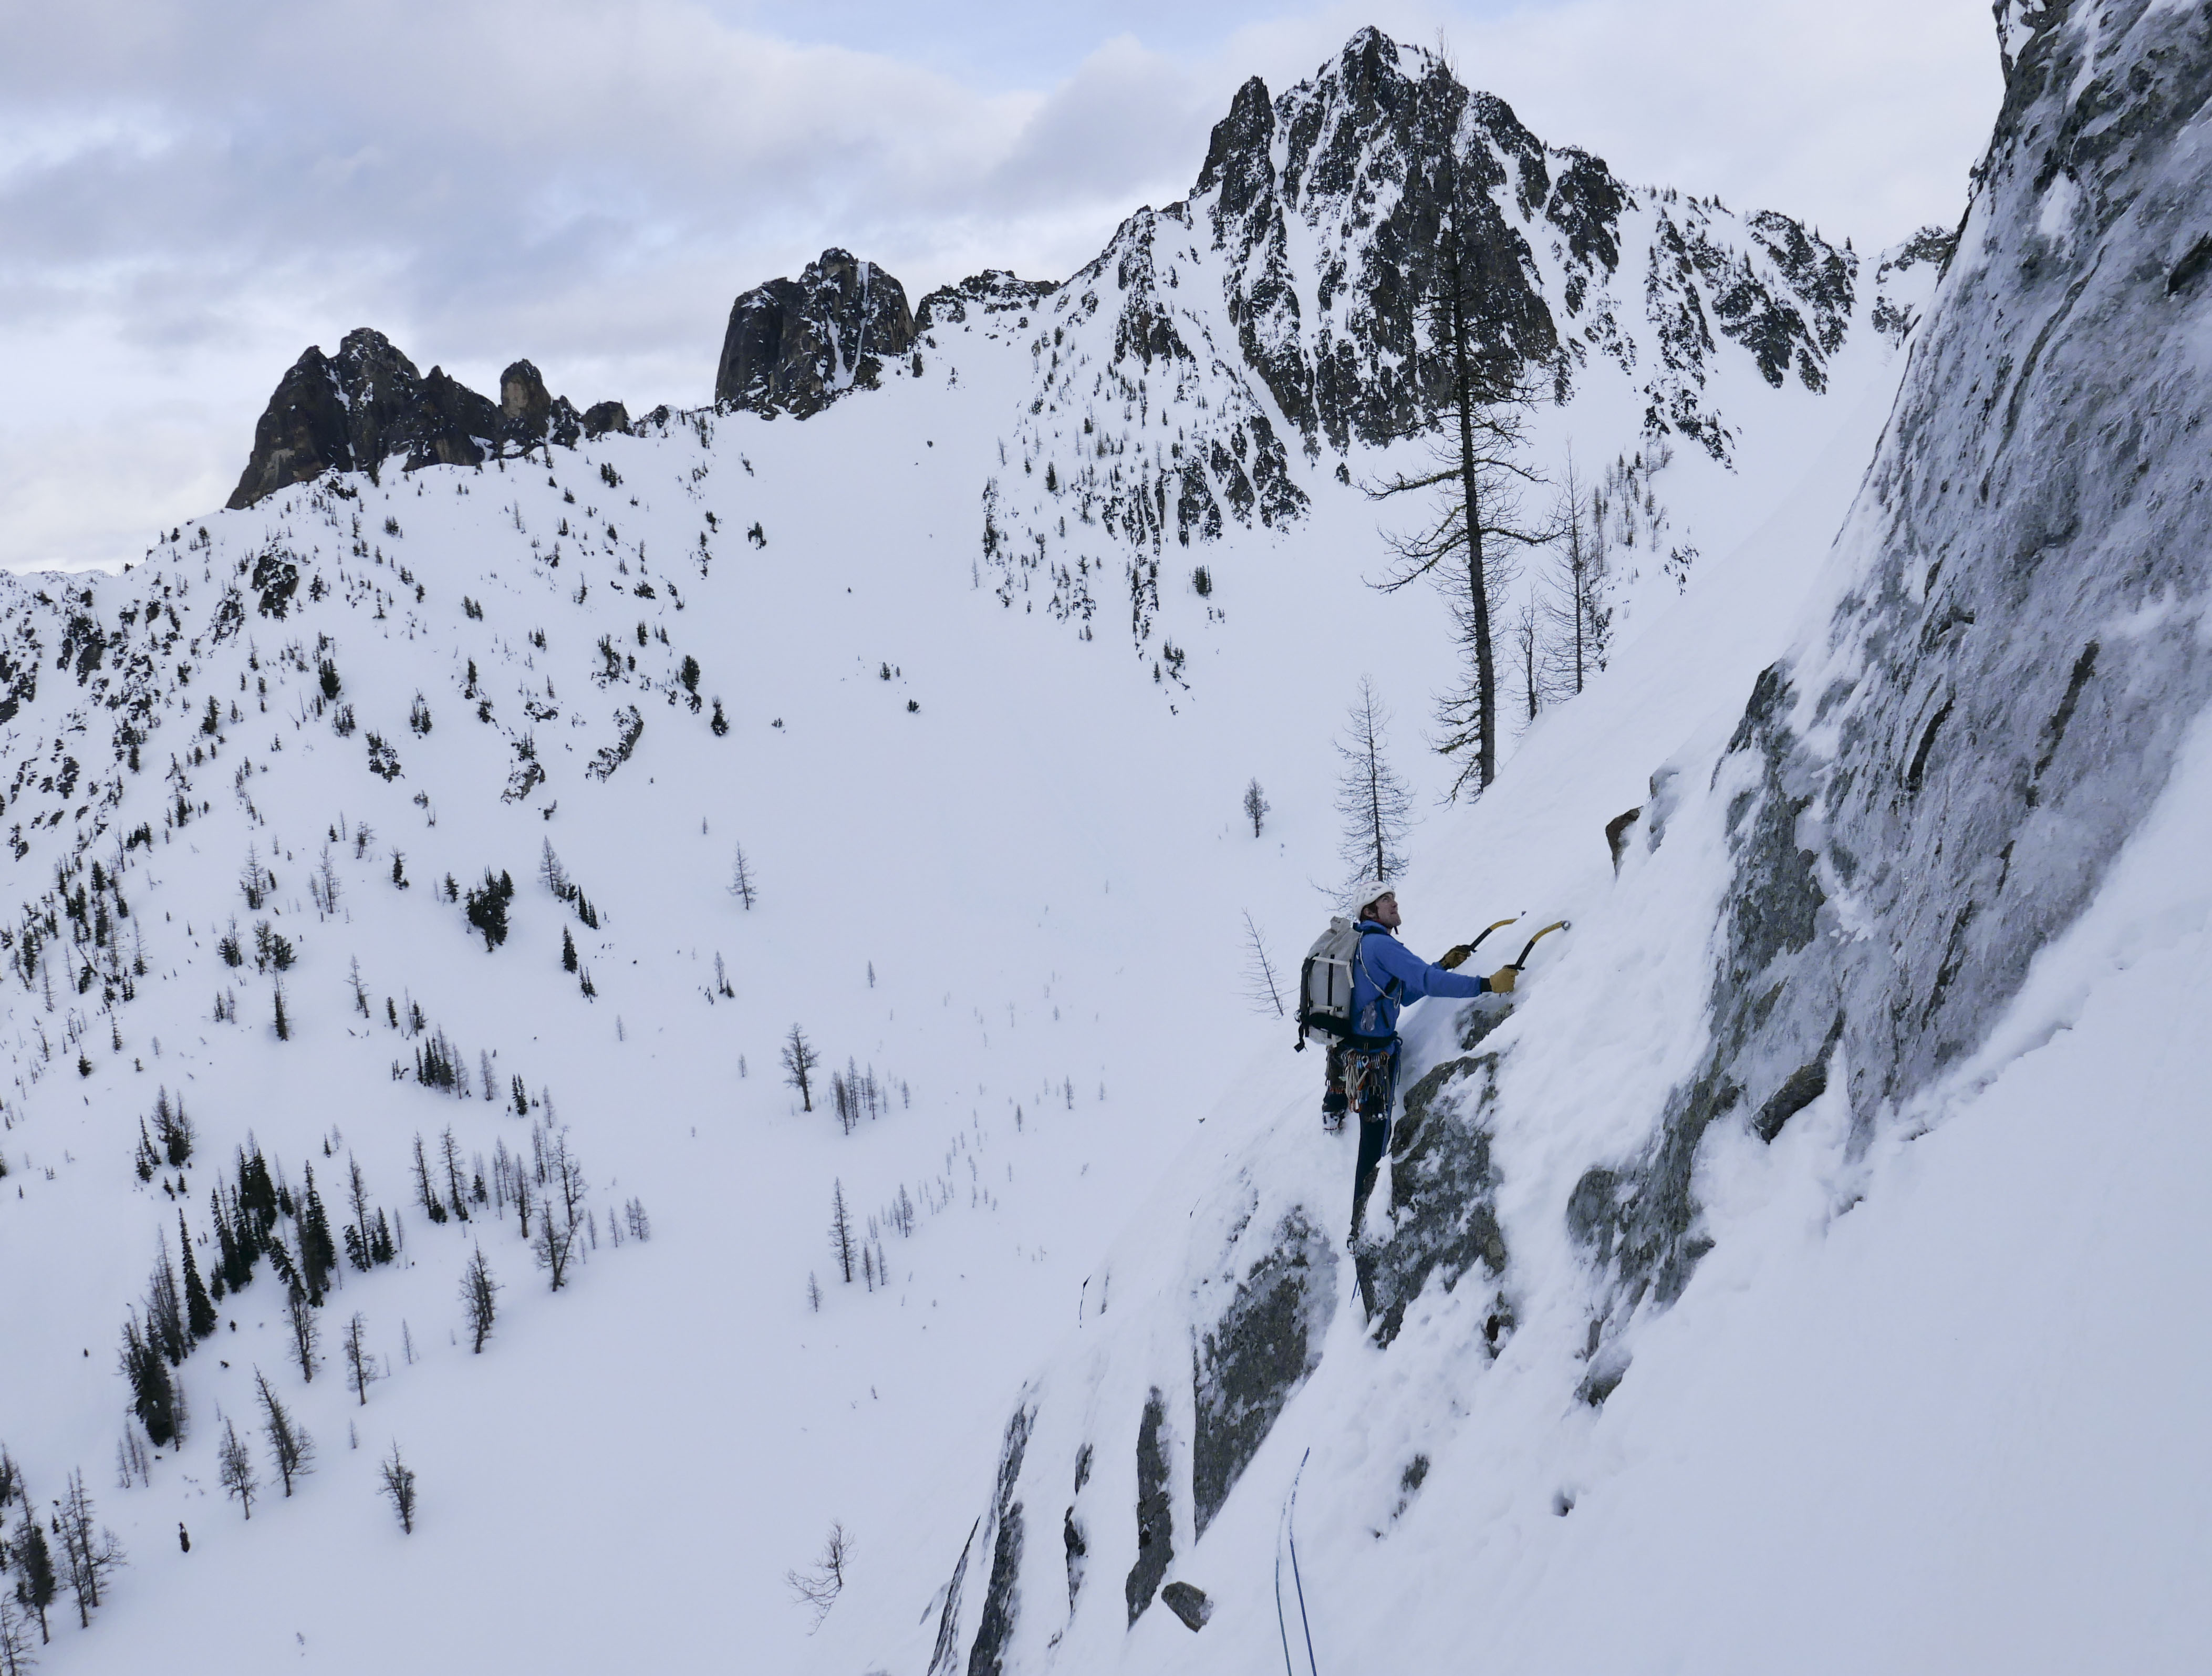
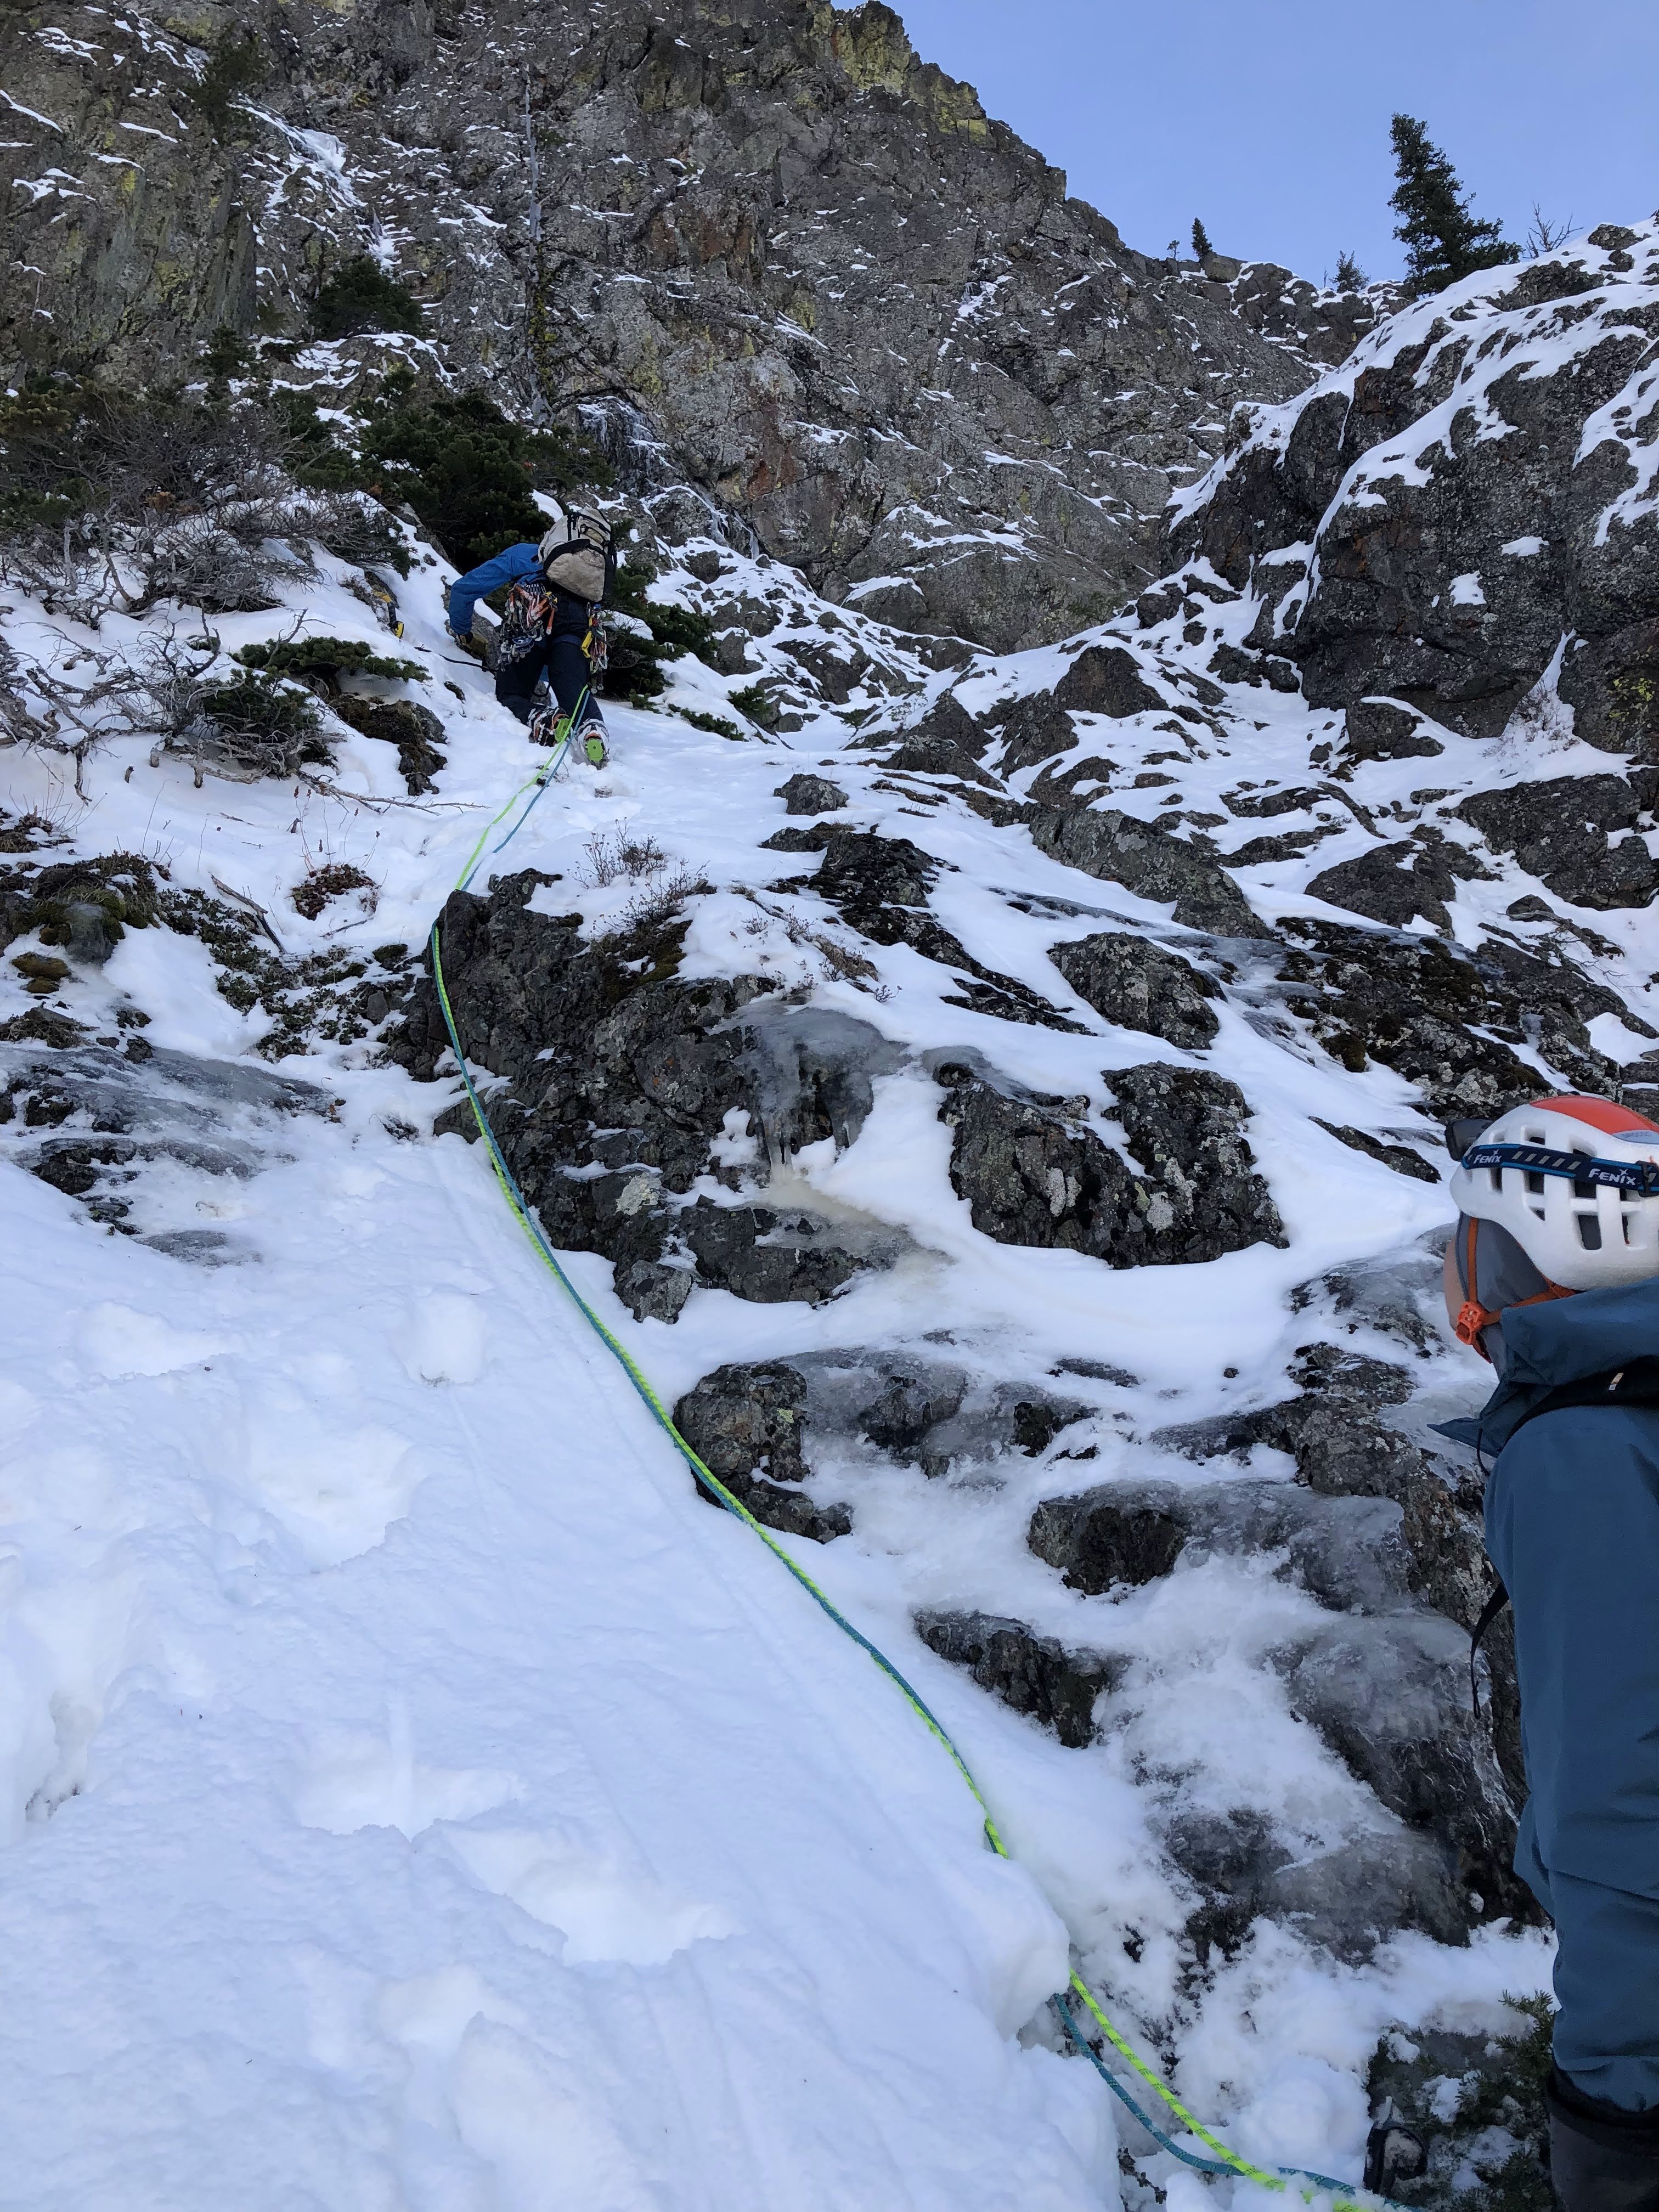
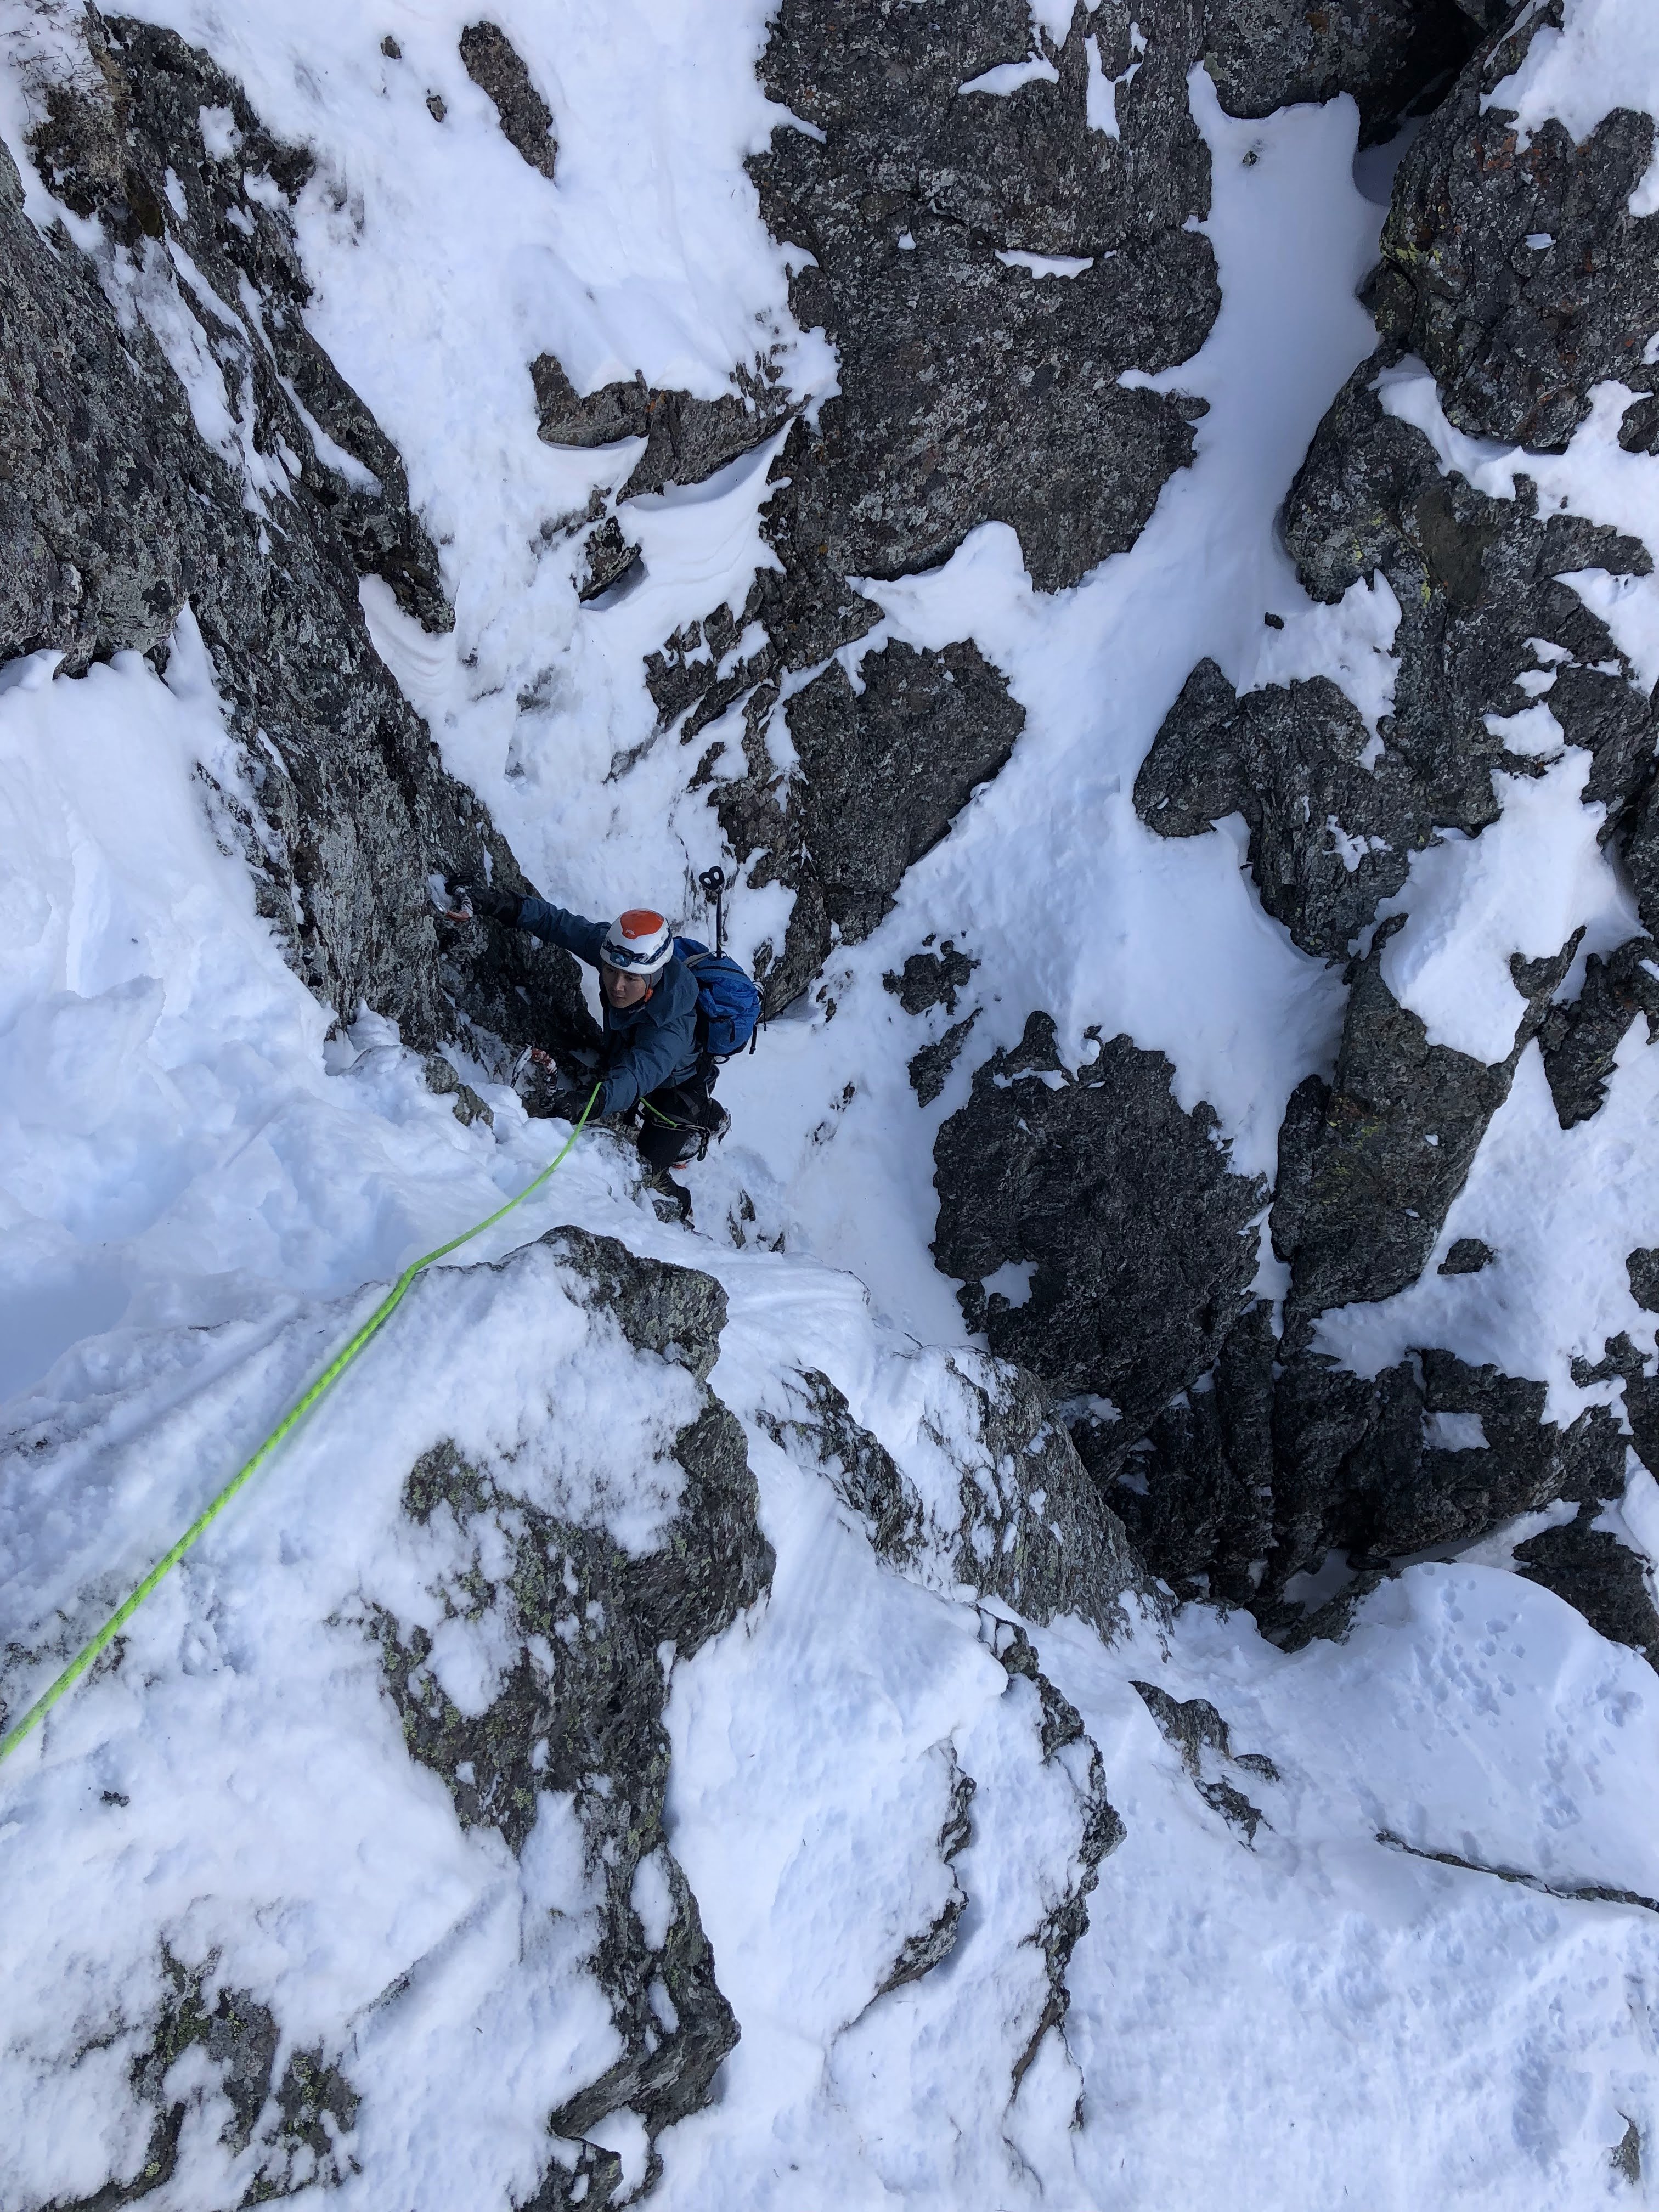
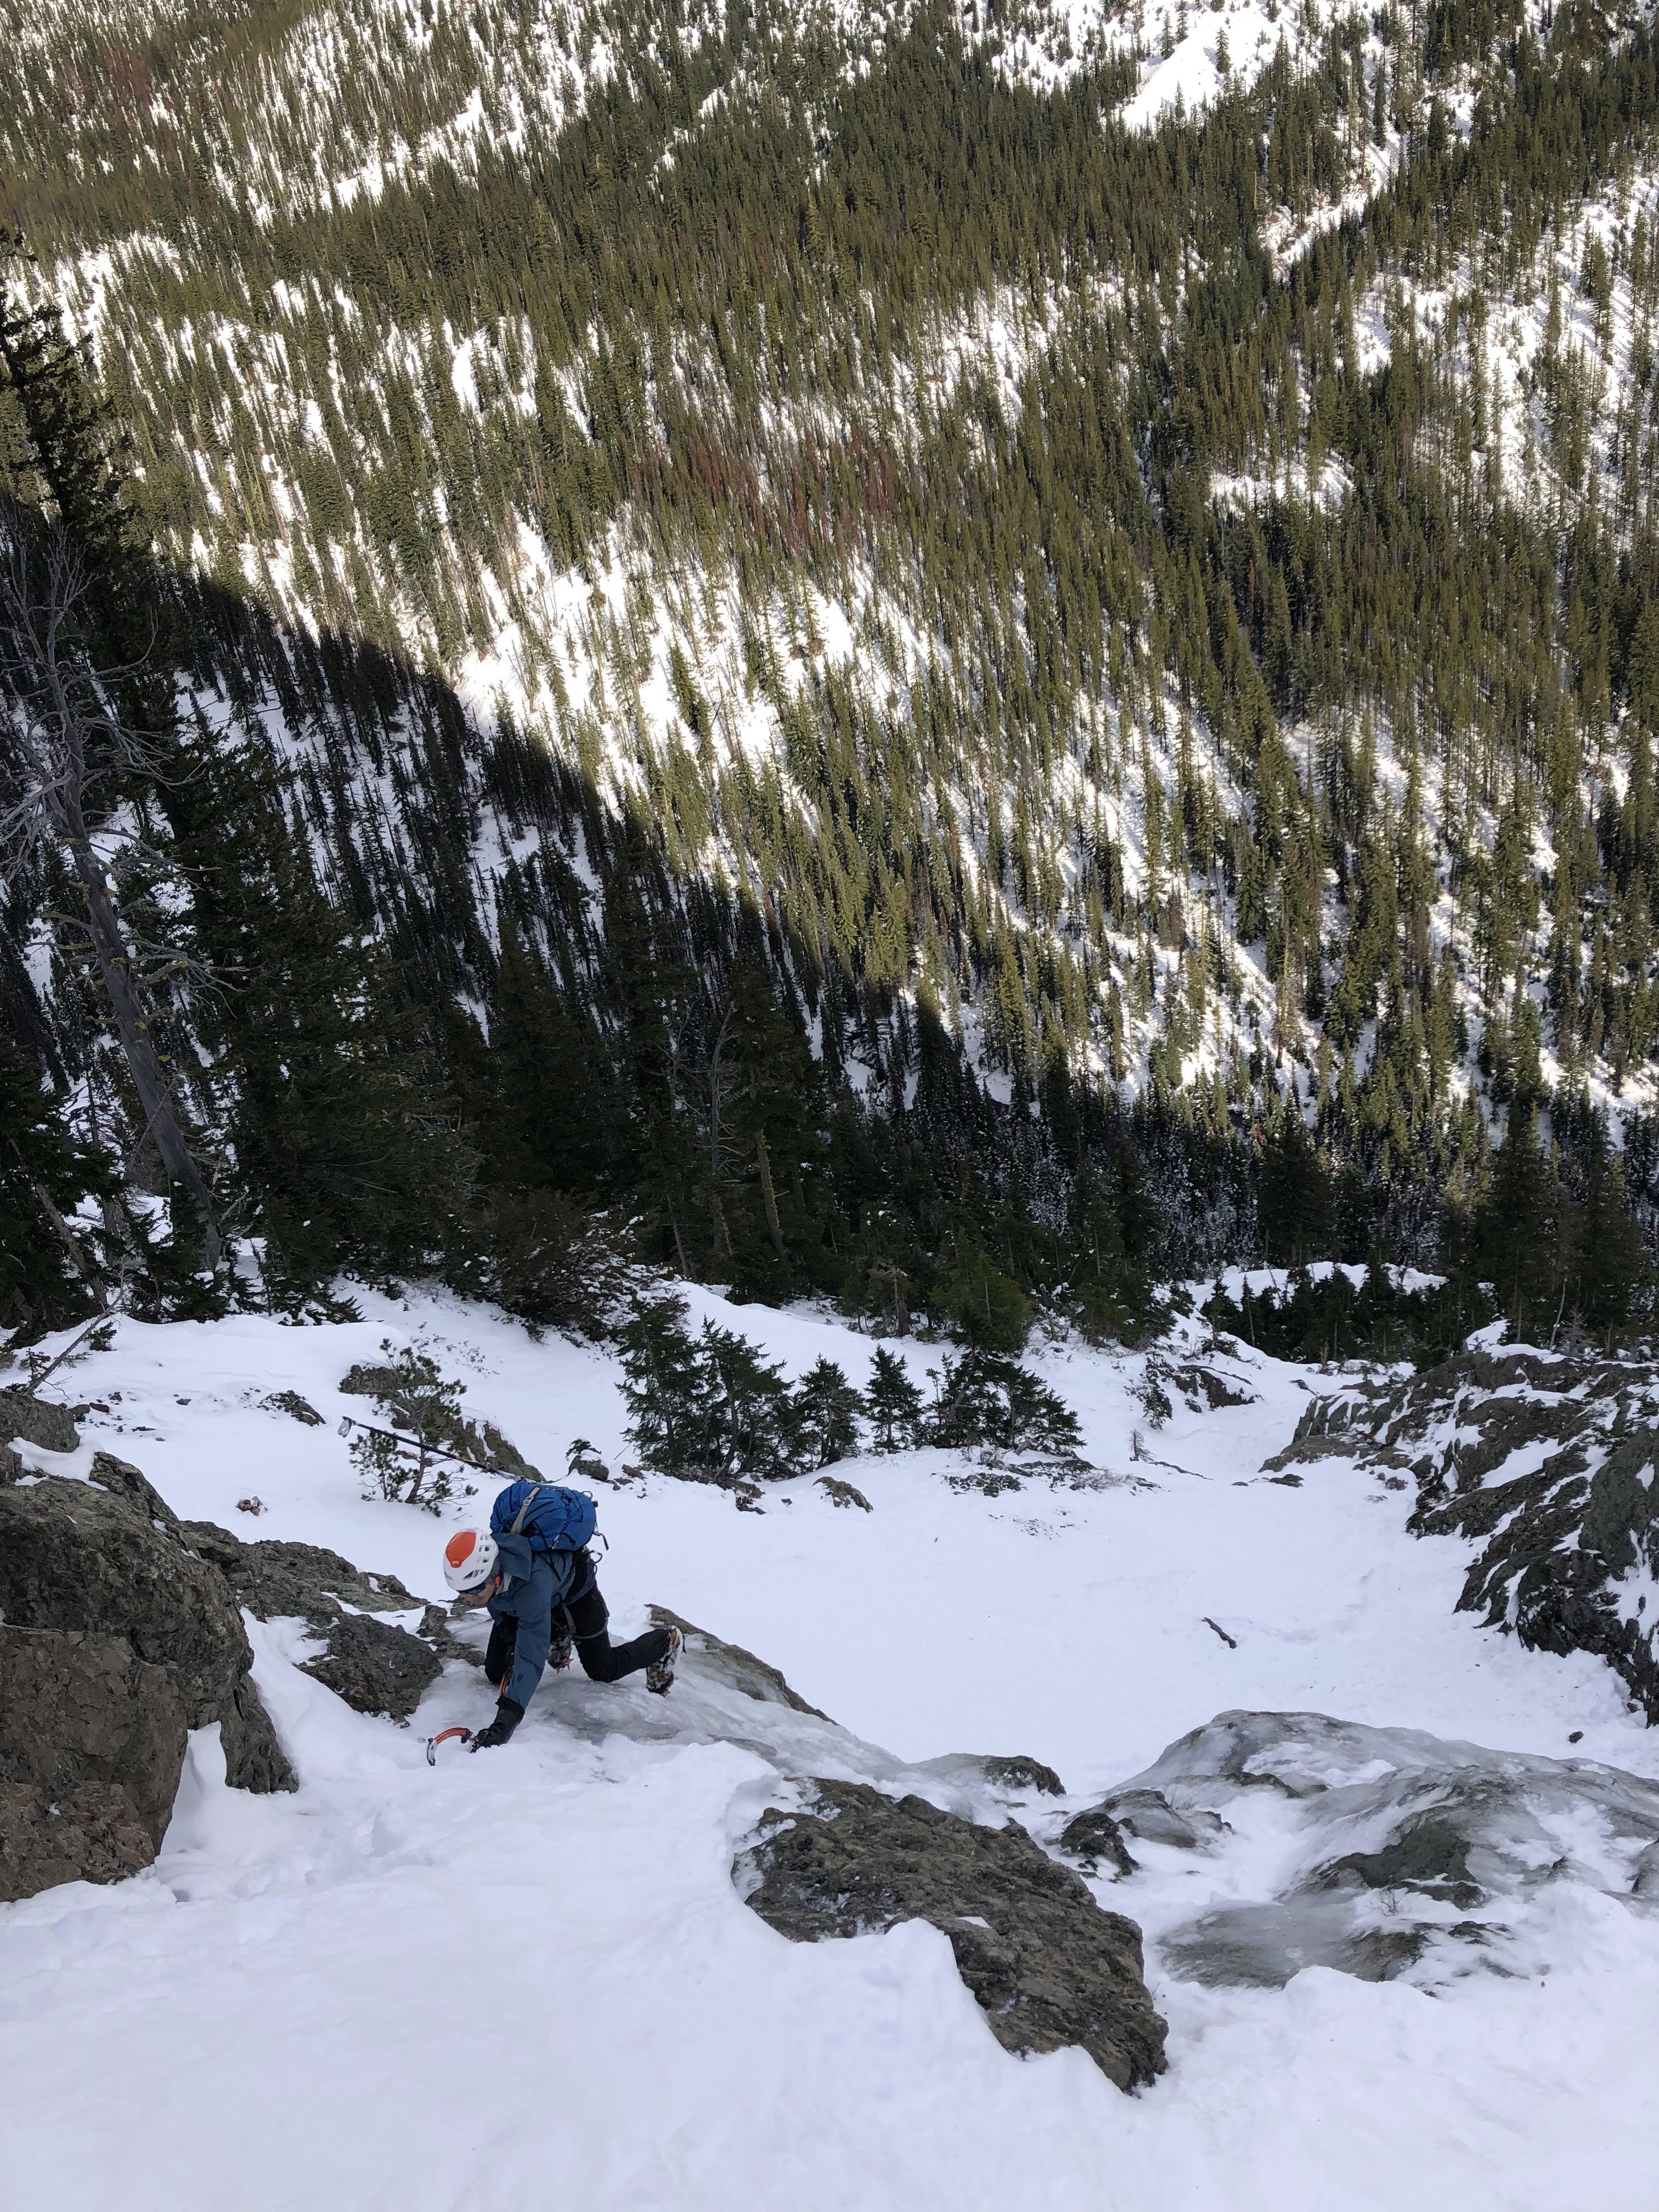
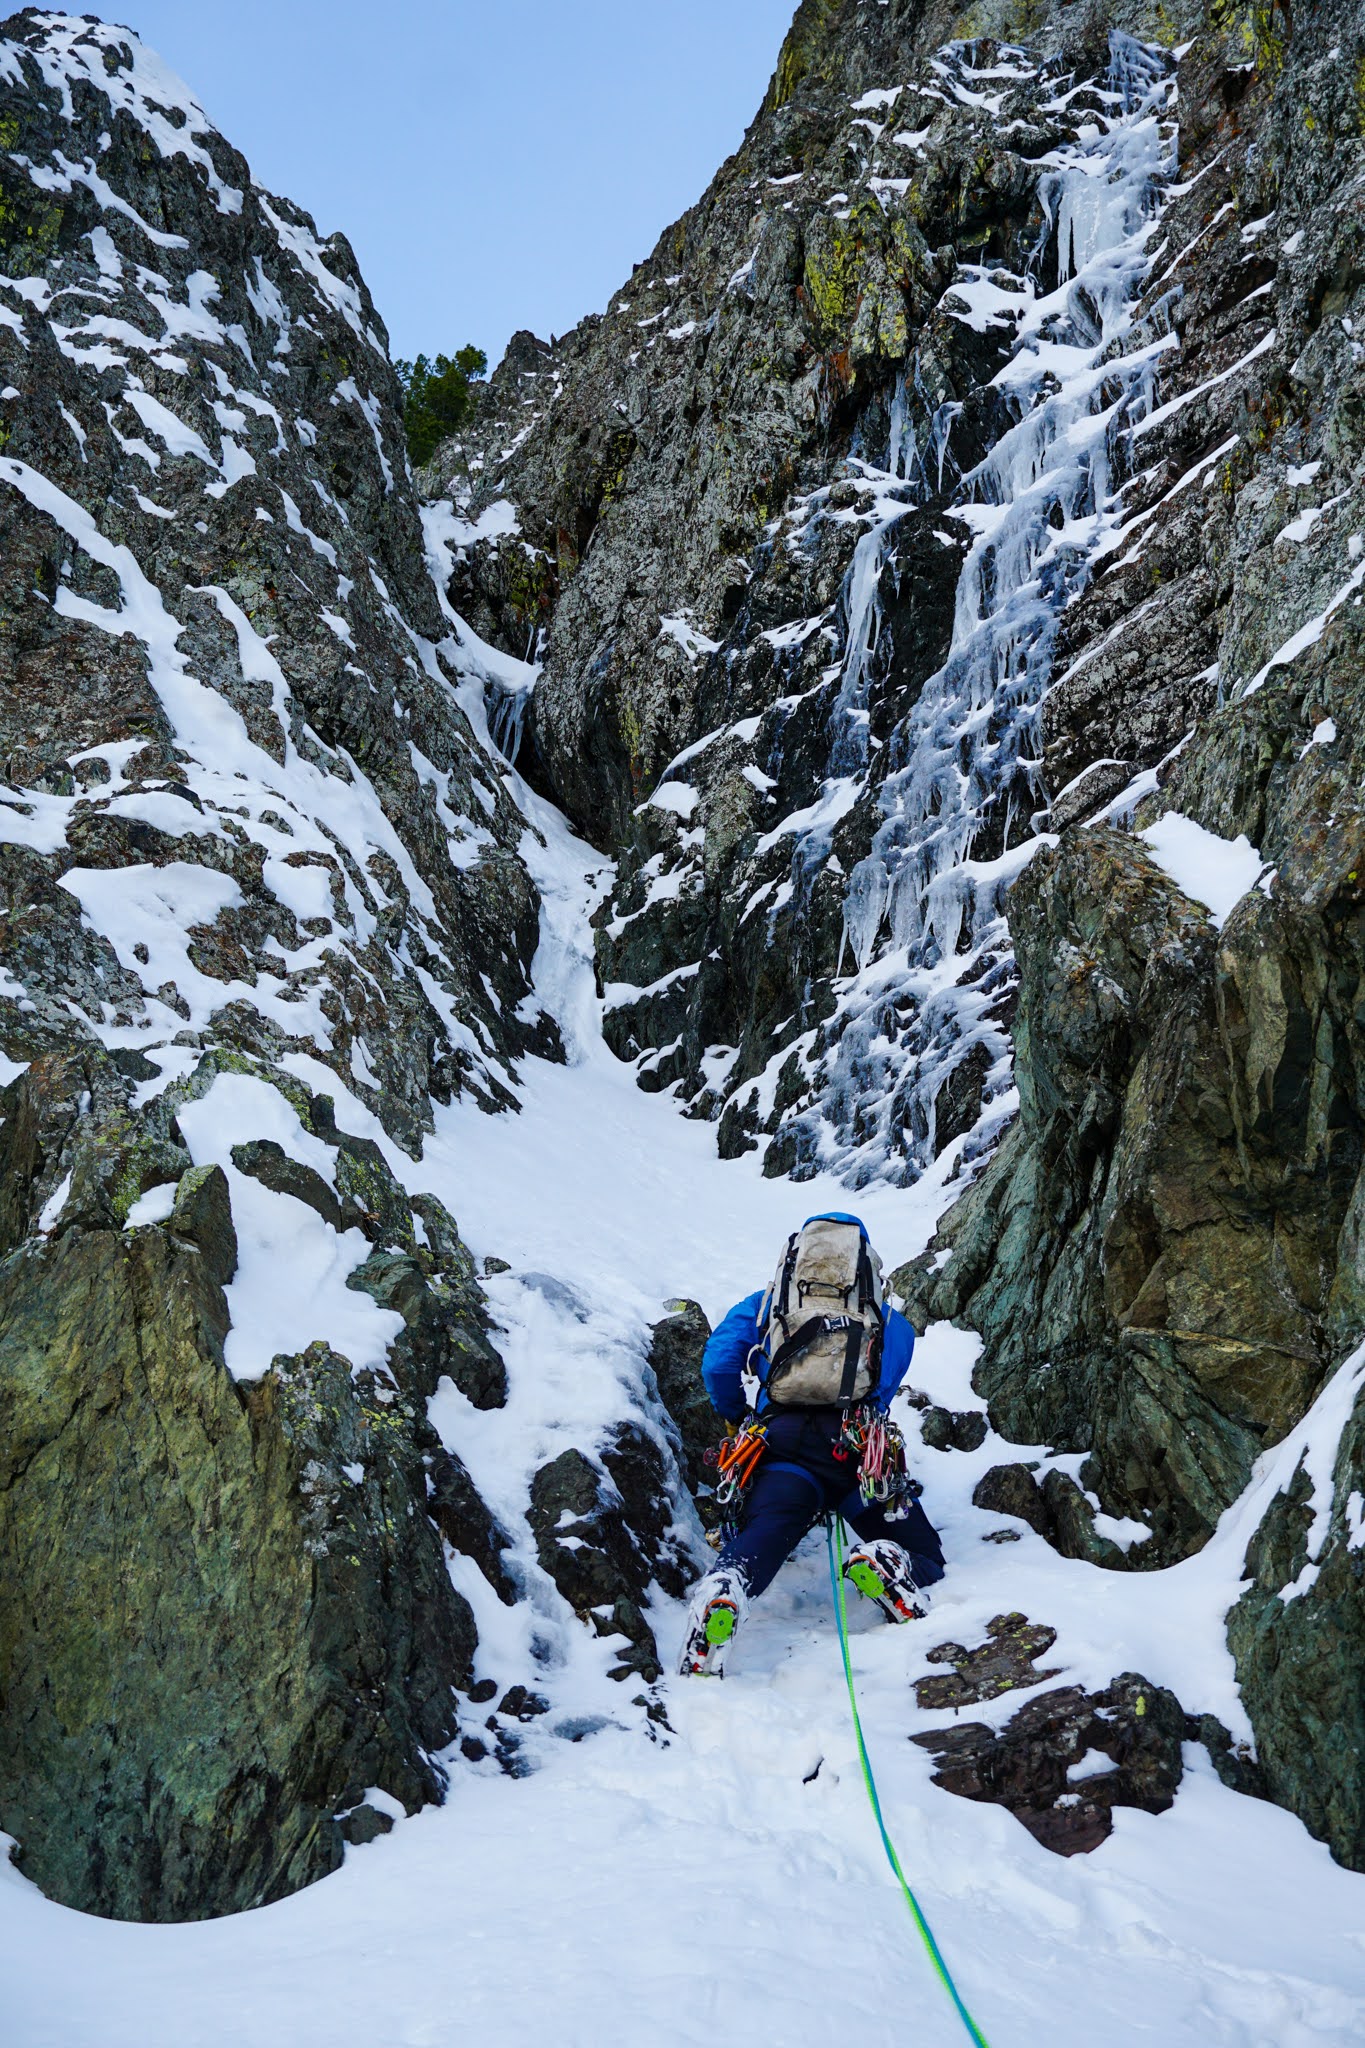
Trip: Posthole Peak - [FA?] North Face Right Side (WI3 M4) Trip Date: 01/16/2022 Trip Report: My motivation to spray has been dwindling lately, as such this trip report is a couple months late and will not be as detailed as past reports. In mid January Kurt Ross, Erik Richardson and I ventured into the WA Pass area with plans to repeat the Keena-Williams on Silverstar. While driving over on Saturday night, Kurt and I got word from Erik that the route wasn't in, and his recon informed us that both skiing, and booting conditions were far from ideal. We nearly turned the car around two or three times, but the prospect of a break from the W-side rain kept us on course. As we waffled over what to do, I remembered some cool N-facing walls behind Blue Lake that might hold some potential. The straightforward access and low commitment made this an easy decision. The next morning Erik towed us up the highway, and we skied from the blue lake TH up to the lake. Upon laying eyes on the faces, the main things we noticed was A: they look really cool in the winter, B: a distinct lack of ice (duh), and C: All of the coolest lines had big(enough to kill you) cornices hanging over them. The overhead hazard and warm temps gave us real pause, and we doddled around the base for a while trying to make a call. Eventually we decided on a mellow looking smear on the right side of the left wall (posthole peak). This route had the smallest cornice, and seemed like it would climb the fastest to limit our time in danger. The first third of the route consisted of good low angle ice that somehow wasn't covered in snow. I lead an 80+m pitch of mostly WI2 with a single vertical 12ft step to a screw belay. My next pitch started with some more easy water ice in a groove up to a snowfield. This pitch ended with some trenching to get to a bad rock belay (beaks and KB's). Kurt took over the lead here and lead us most of the way to the top in one ~140m pitch. The first half was snow with an easy mixed step up to 50M of fun albeit very snowy M4 to just below the ridge. I took over the sharp end again and lead a funky pitch of tree climbing and trenching in steep/deep snow up to the ridge crest. At this point we unroped and continued scrambling along the ridge with hopes of reaching the summit before sunset. About half way along the ridge, I fell in a hole while breaking trail, while Kurt was either coming over to laugh at me or help me out, he triggered a large cornice break presumably by just plunging his tool too far to the left. Luckily we had both stayed far enough to the side that we were both safe, but it was a great example of how far back cornices can break. There was roughly three feet of flat rock exposed by the now missing chunk of snow. Poor Erik was out of sight and likely assumed we were both gonezo. With the sun now fully set, and plenty more complex ridge ahead of us, we opted to turn around and investigate our descent options. The ridge took us down to an easy couloir that would be really fun to ski in better conditions. For us it was rather firm booting down to our skis at the base. Large chunks of cornice debris covered our skin track from earlier in the day, solidifying our choice to avoid the more threatened routes. The ski out was err... character building. To the best of my knowledge this was a new route. If anyone has info on previous winter ascents on these walls I'd love to hear about it. Kurt (left) & Erik (right) Following P1 Kurt Leading out on P3 Erik following the snowy mixed awesomeness Questing into the night. Goode in all it's winter glory above Erik's head. Gear Notes: Standard winter alpine rack w/ maybe a couple extra 10-13cm screws Approach Notes: Sled to the Blue Lake trailhead. Skin or boot up to and across the lake.
-
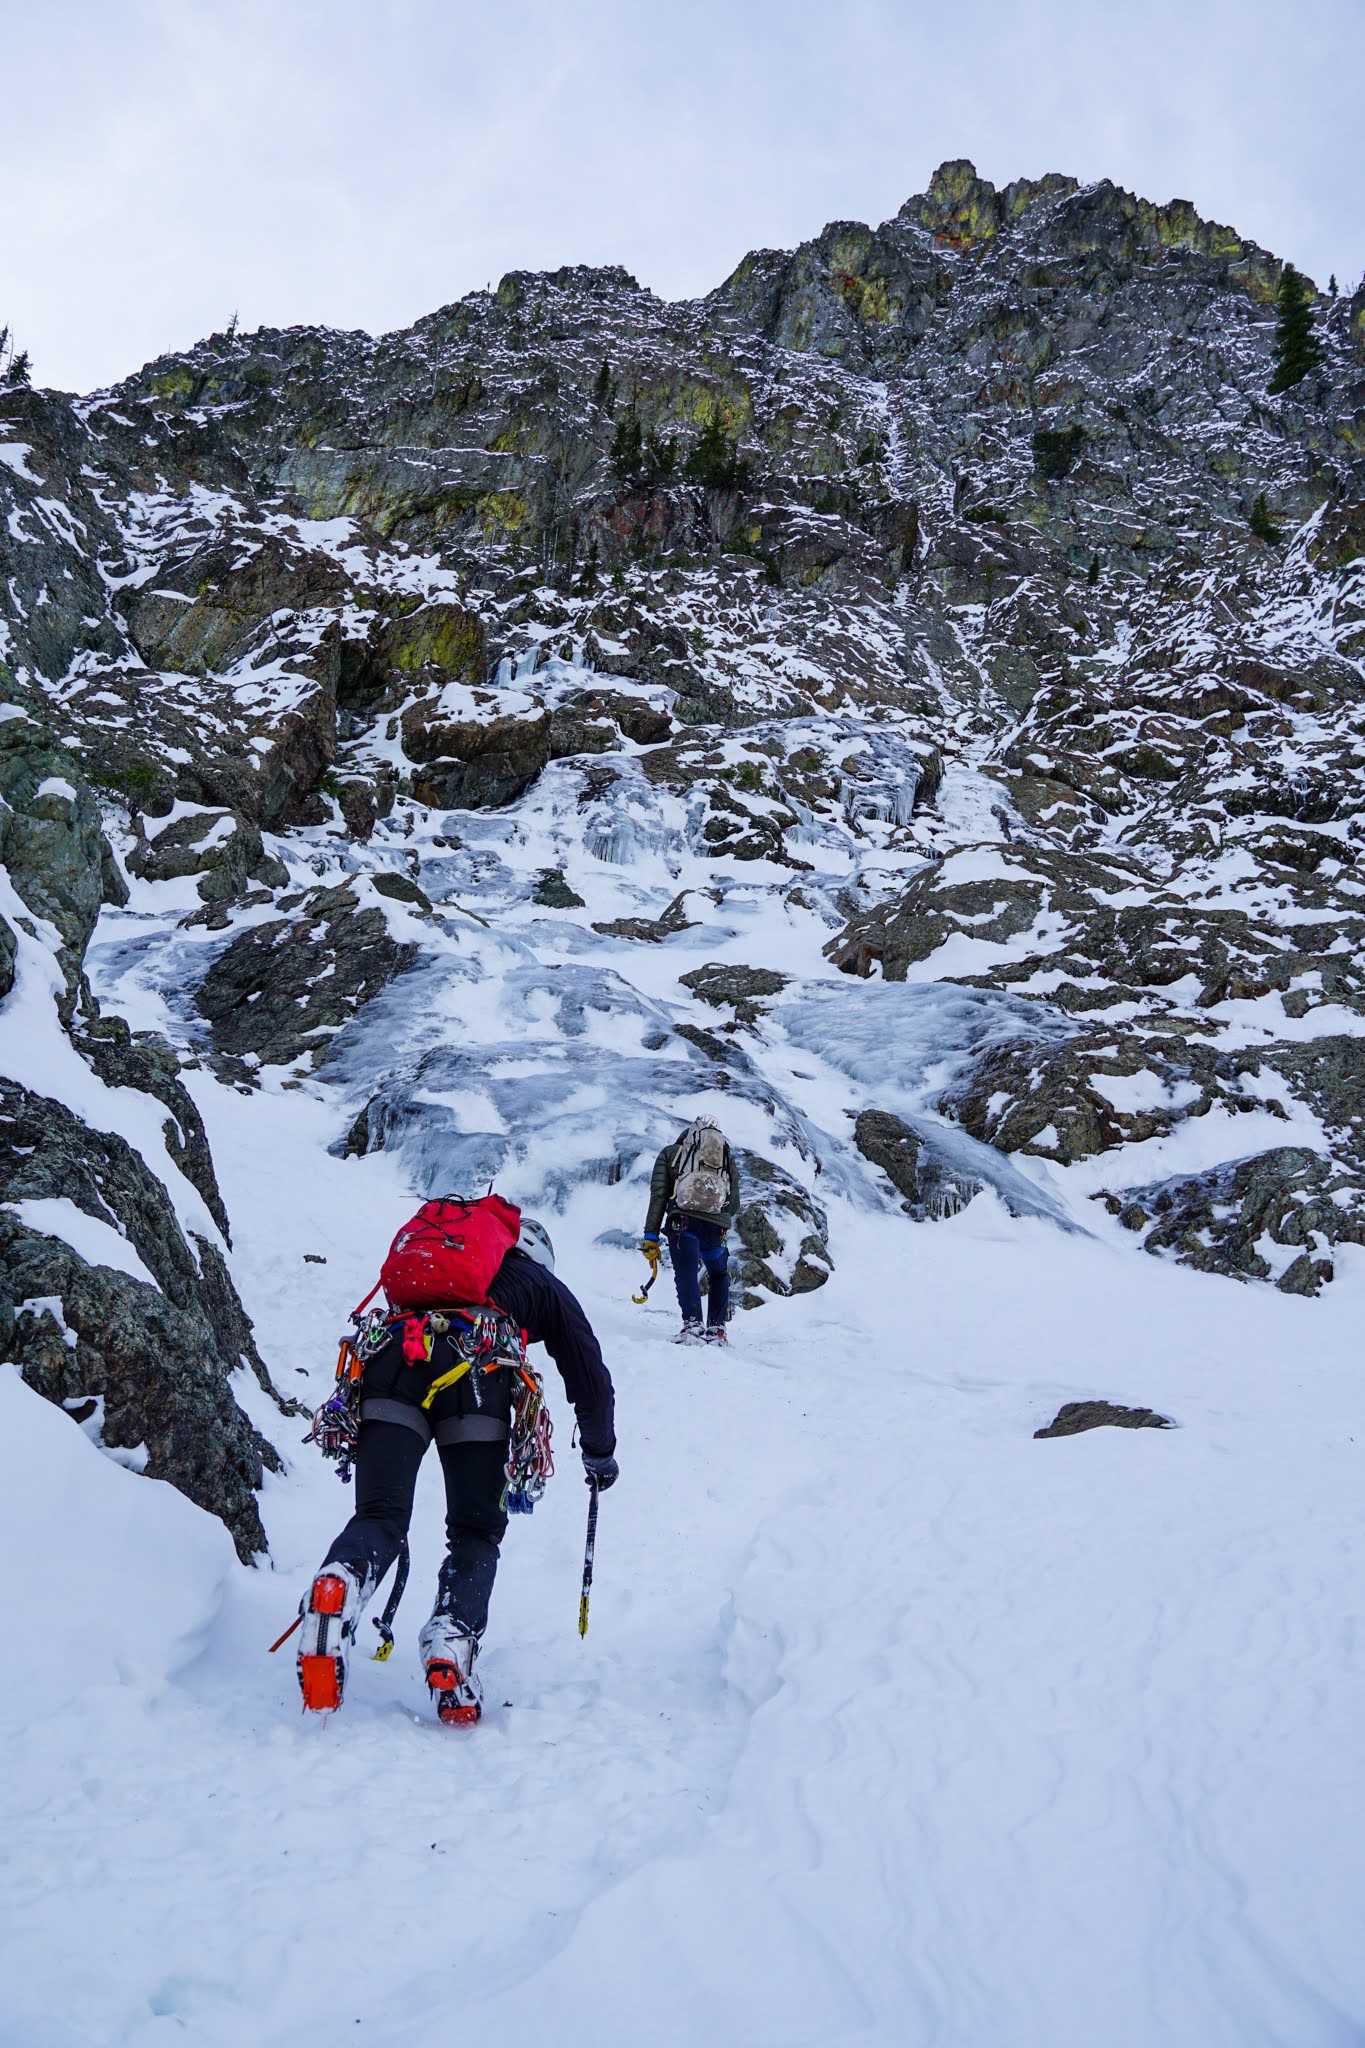
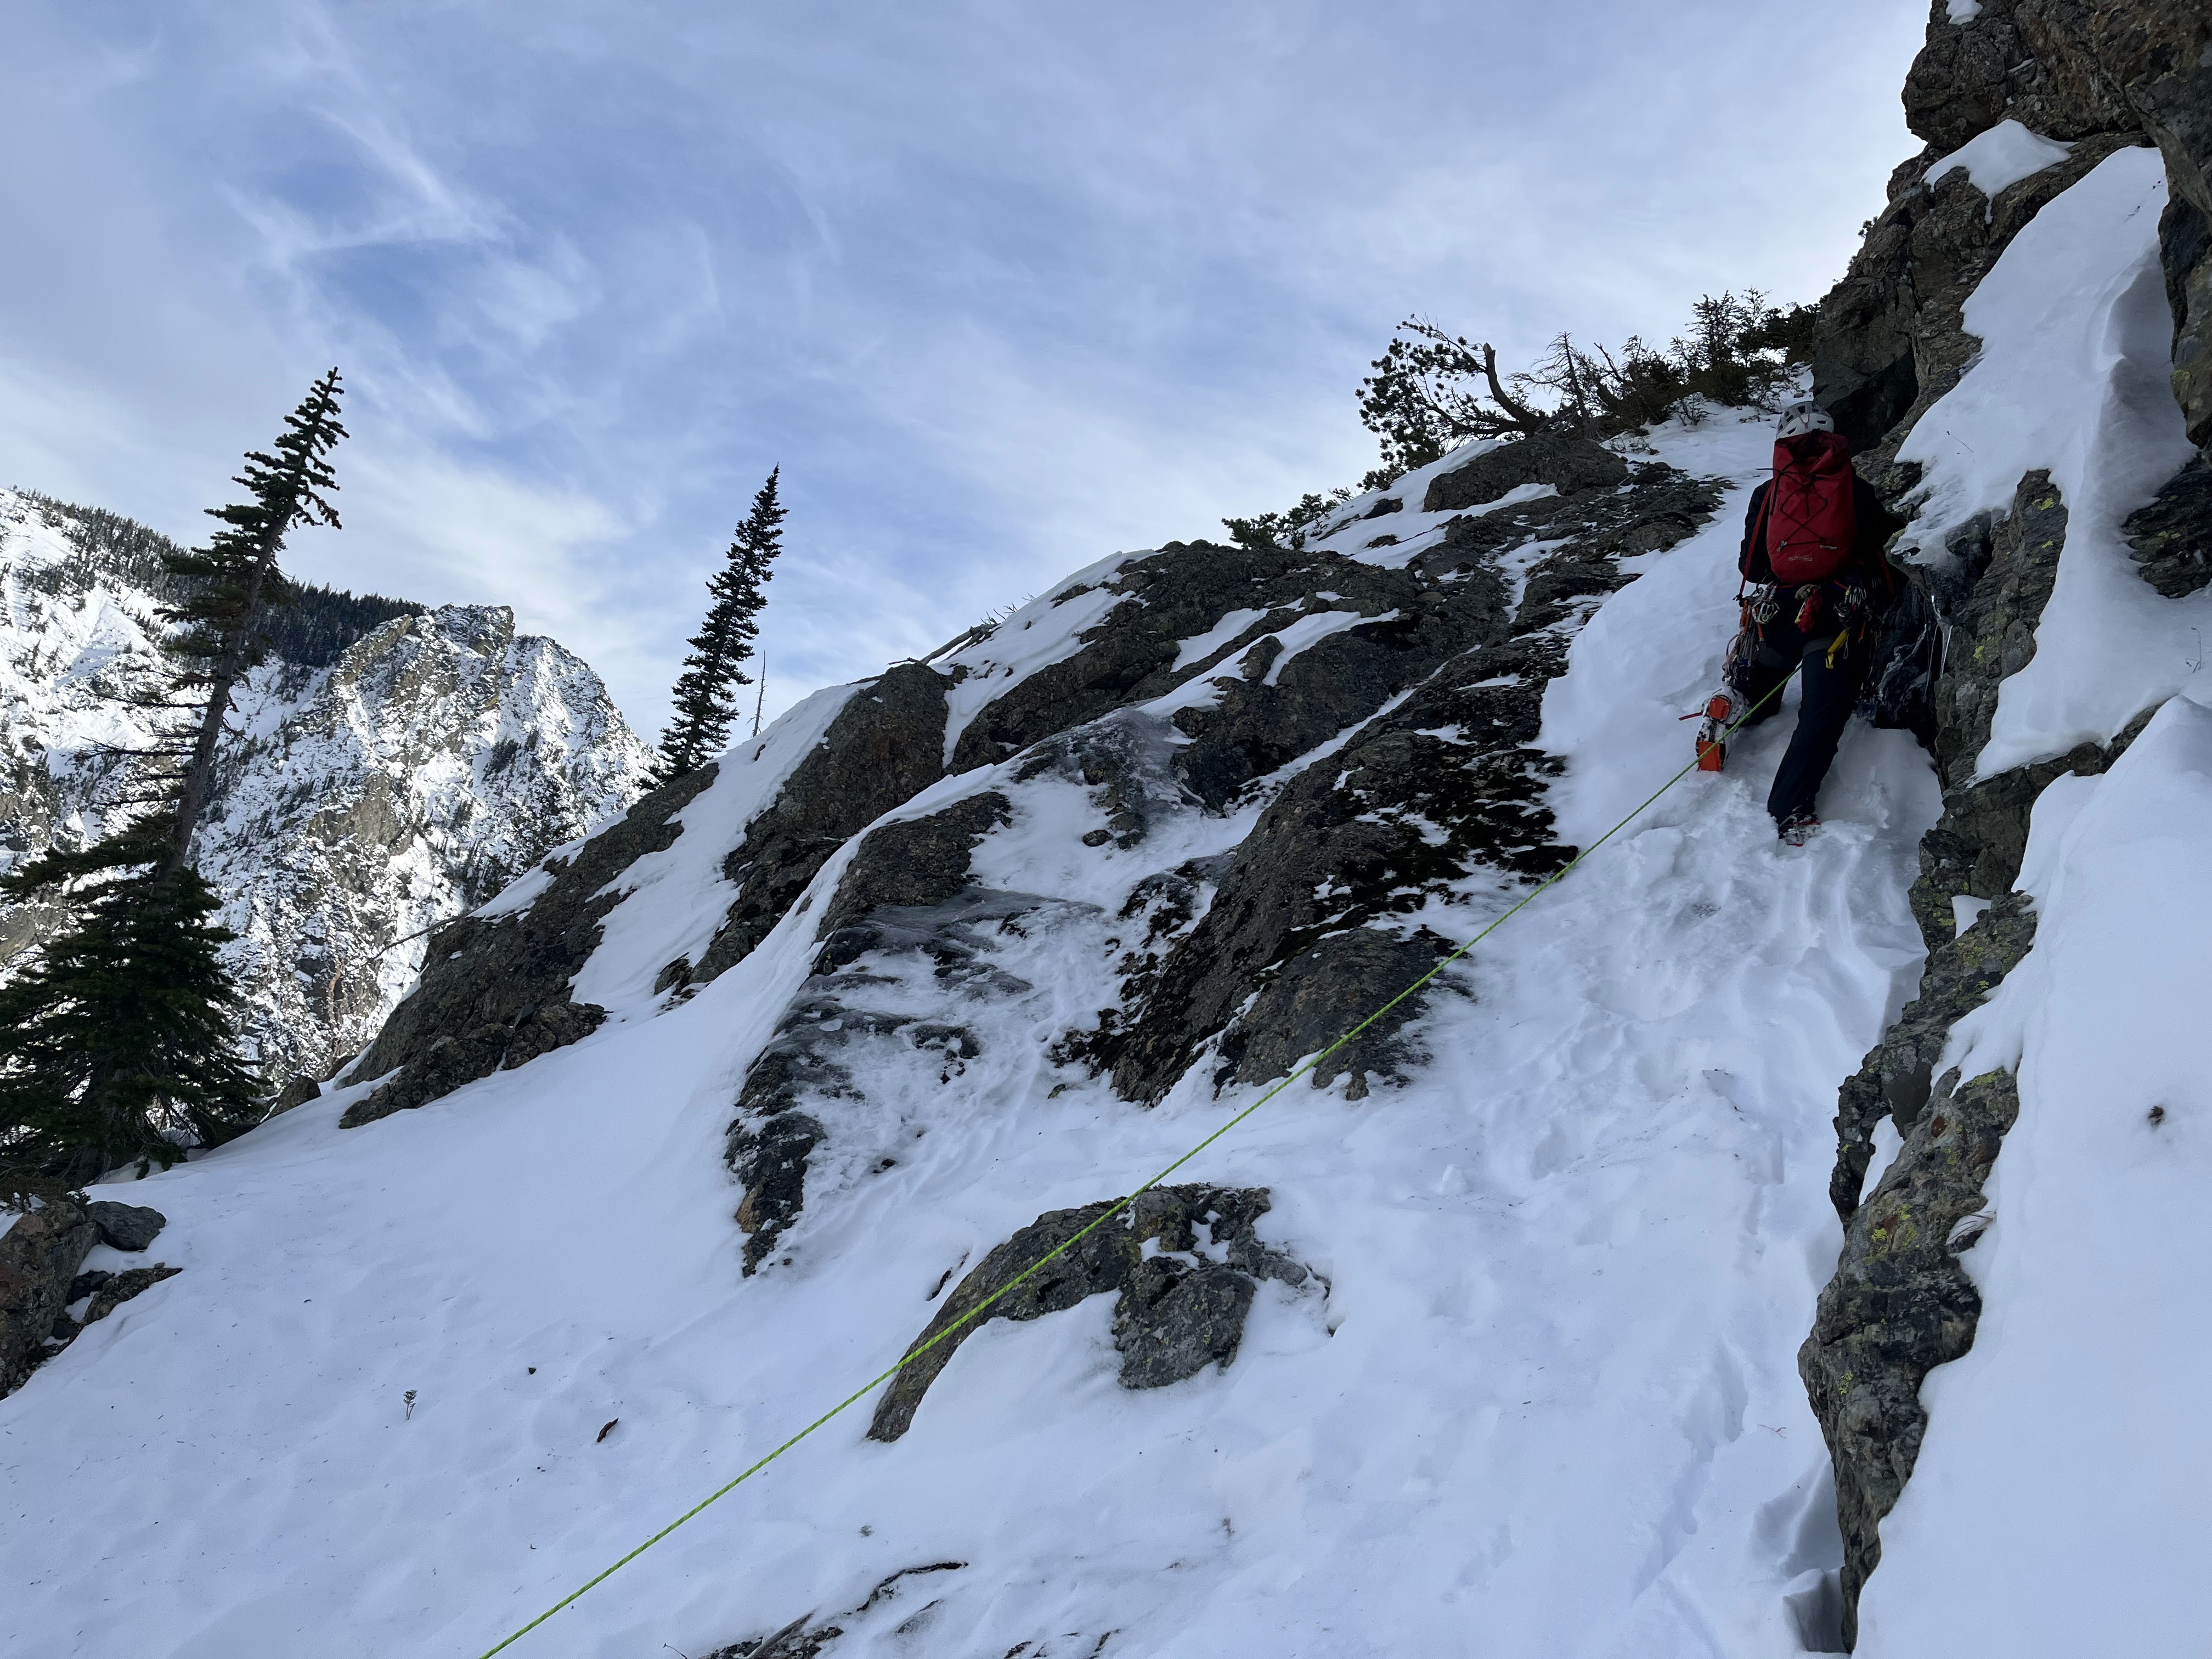
Trip: Esmeralda Peaks - [FA] Moonlight Serendipity (WI2 M5+ 1,200ft) Trip Date: 11/21/2021 Trip Report: Last Sunday @Kyle M, Kurt Ross and I set out to investigate rumors of early season ice in the Esmeralda Basin area. A couple sizable blowdowns stopped our drive early, diminishing any hopes of even making it to our intended climb. With zero expectations, we decided to go for a walk up the road and see if we could get eyes on anything cool. We took our sweet time walking up the road, stopping to look through binoculars at everything that vaguely resembled ice. We nearly dropped all our climbing gear at the trailhead, but decided to keep it for “training weight”. Luckily we did, as we shortly got eyes on the NE face of Esmeralda’s NE peak. A discontinuous series of ice smears, chimneys and ramps seemed to form a potential route up the face, but we figured it was still too early. Possibly against our better judgement, we decided to “go scout the approach” and soon found ourselves scrambling up fun WI2 smears on the lower flanks of the face. Our route followed easy terrain that angled left and then traversed hard back right to where the face steepens abruptly. A very convenient dike feature splits the face for almost its entire height, and proved to be the key to our success. I kept leading, and scratched my way up a fun albeit poorly protected section of chimney. From here I had my fill for a little bit, and let Kurt take over the sharp end. An easy connector pitch took us up to a decision point. The chimney/dike feature continued above us, but seemed to hold ever steepening iced up rock climbing. With the little amount of daylight we had left, we opted to bypass this to the left via a tricky and somewhat loose chimney that seemed like it would take us to easier terrain, and the summit. Kurt casually lead the pitch, seemingly unfazed by the toaster oven sized block he dropped on his head. The sun set on us as we were following this pitch, and brought us to another decision point. We hadn’t prepared for a day of this magnitude and were running out of food and water fast. We could either bail now and call it a good scouting mission, or keep going in hopes of the summit, and a quick walk off. We opted to push onward into the night. From this point the climbing was largely on snow, apart from the odd rock step, or awkward bit of shallowly buried slab. Two more pitches brought us to an imposing headwall we hadn't seen from below. I was starting to worry that our climb was done there. While we could have likely found a route up the steep dry rock, it was far too late in the evening to start such drytooling shenanigans. Our last option was to keep traversing right to search for a way around it. Much to our surprise, a perfect rock ramp cork screwed around the summit block, taking us to the top of the wall. Once atop our little summit, we saw a long complex rock ridge that unfolded in front of us. Continuing to the true summit would have taken us several long pitches, and more hours than we had. We had climbed to the top of the wall we intended, and were more than happy with how things unfolded. The descent involved a couple pitches of down leading and about six or seven double rope rappels off trees and bushes. We hiked out hungry under the almost full moon, and got back to Seattle at two in the morning the next day. Kyle will likely write a more in depth blog post in a couple days. While clearly not representative of the conditions we encountered, the topo below shows more of the wall than is visible from below. Gear Notes: Single rack .1-3, nuts, beaks, KB's and a Spectre came in handy. Screws were not required for the conditions we encountered. 10's and 13's would be best. Approach Notes: Walk, drive or sled to the Esmeralda Basin TH. Hike up the trail for a little under a half mile before crossing the creek and picking your way straight up to the face. If you can drive to the trailhead, this climb is VERY easily accessible.
-

[TR] Stuart Range - Stuart Range Traverse 08/30/2021
Michael Telstad replied to Michael Telstad's topic in Alpine Lakes
The high traverse I took was like 5.5/5.6 and didn't take all that long, but rapping would be SOOO much nicer. -

[TR] Stuart Range - Stuart Range Traverse 08/30/2021
Michael Telstad replied to Michael Telstad's topic in Alpine Lakes
I actually didn't bring a rope, the rap kit mentioned in the gear notes is what I should have brought. I chose to bring a bivy kit in lieu of a rap line because my ride wasn't coming till the next day.


.png.236401419591e147f22ac3a61447c1b3.png)
