Leaderboard
Popular Content
Showing content with the highest reputation on 10/14/22 in all areas
-
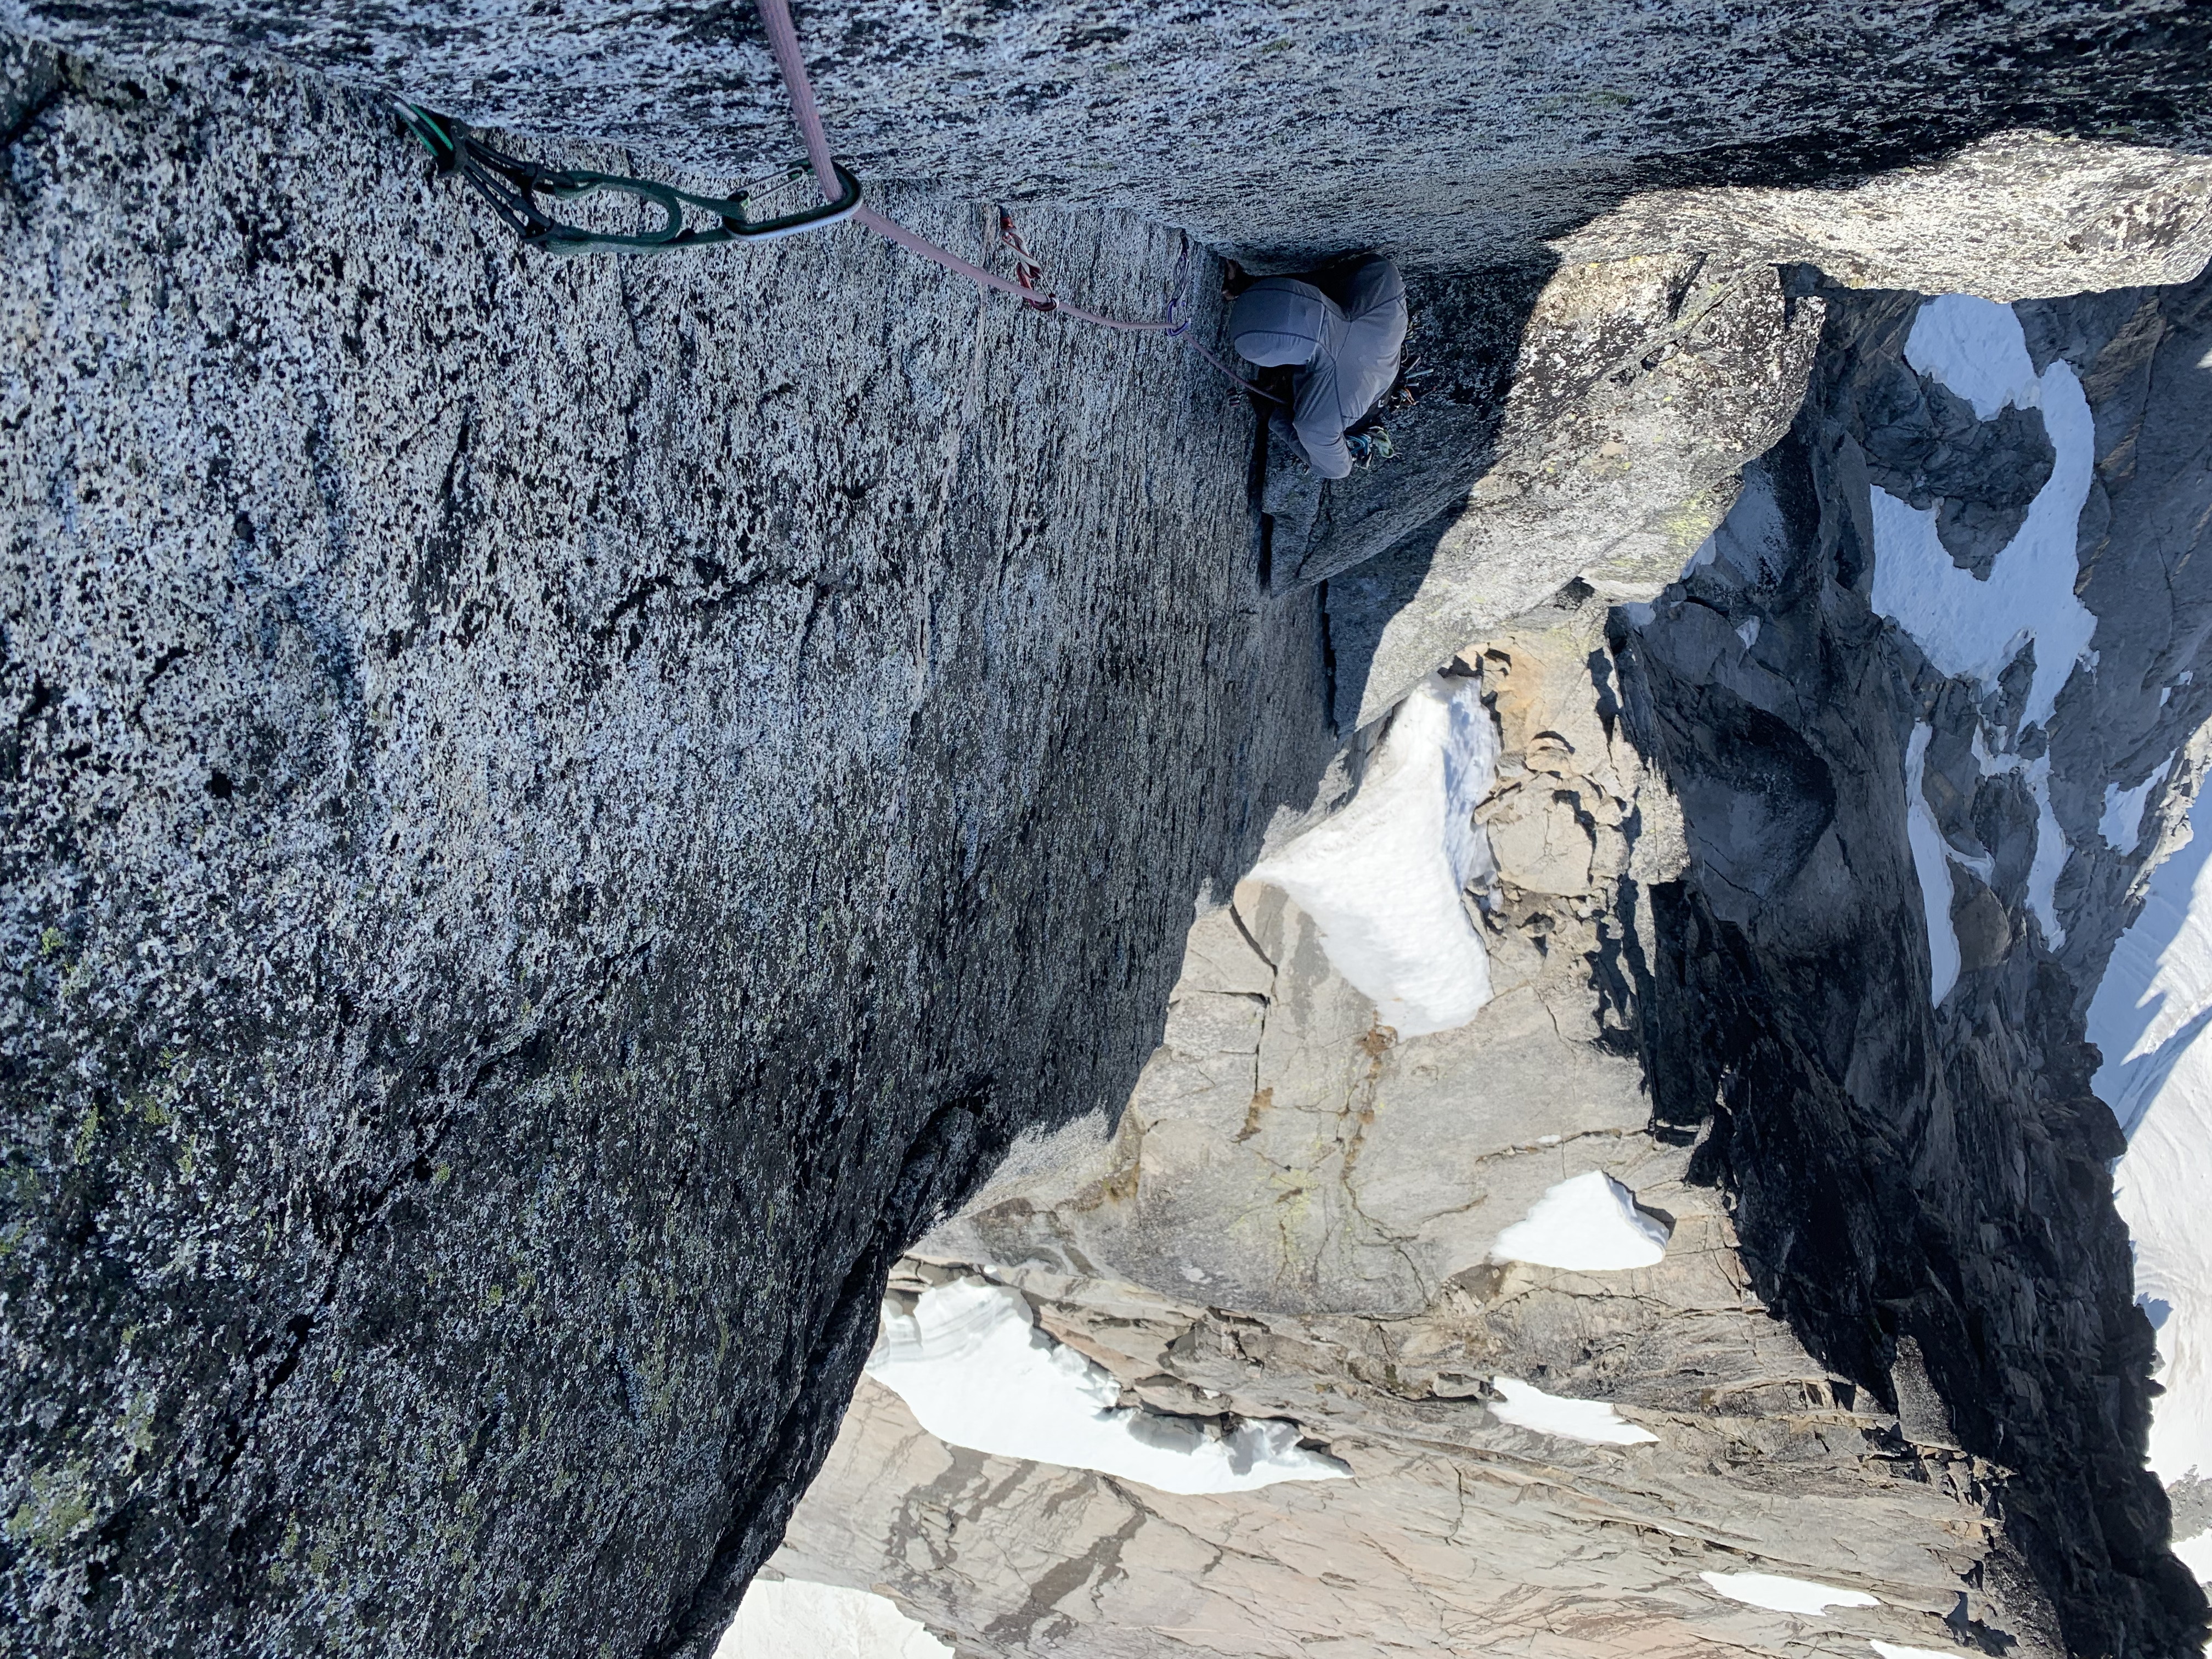
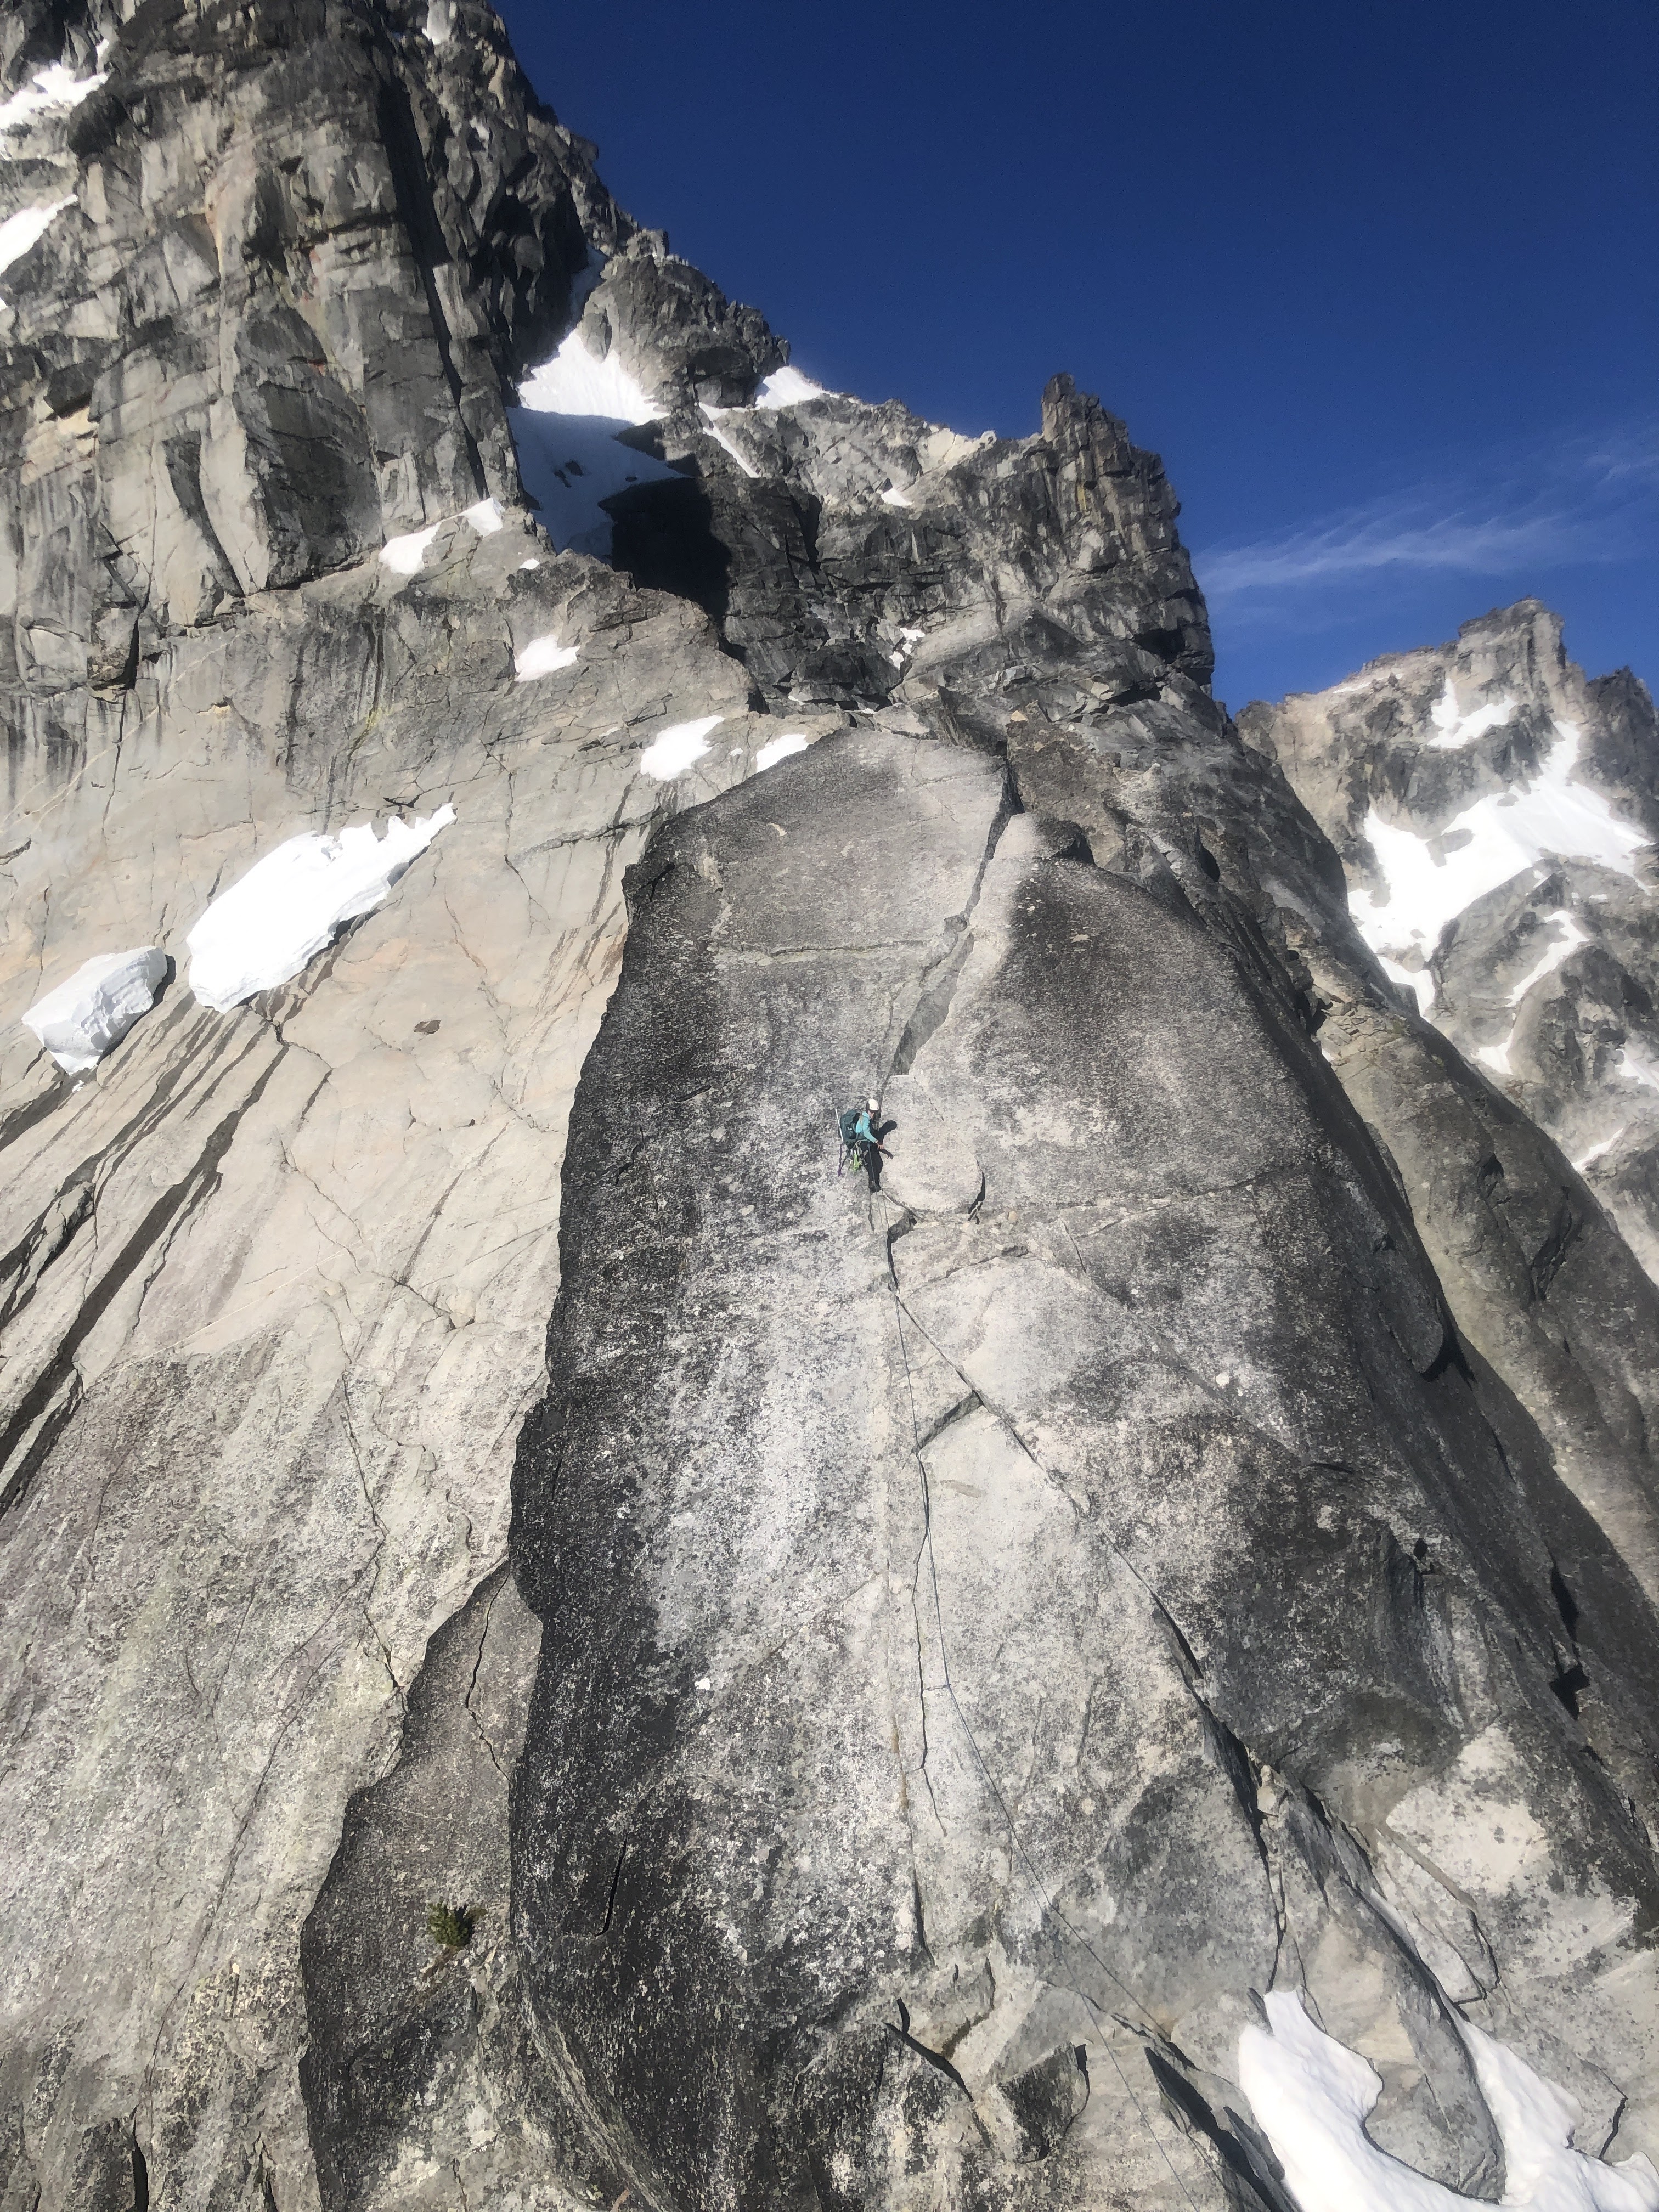
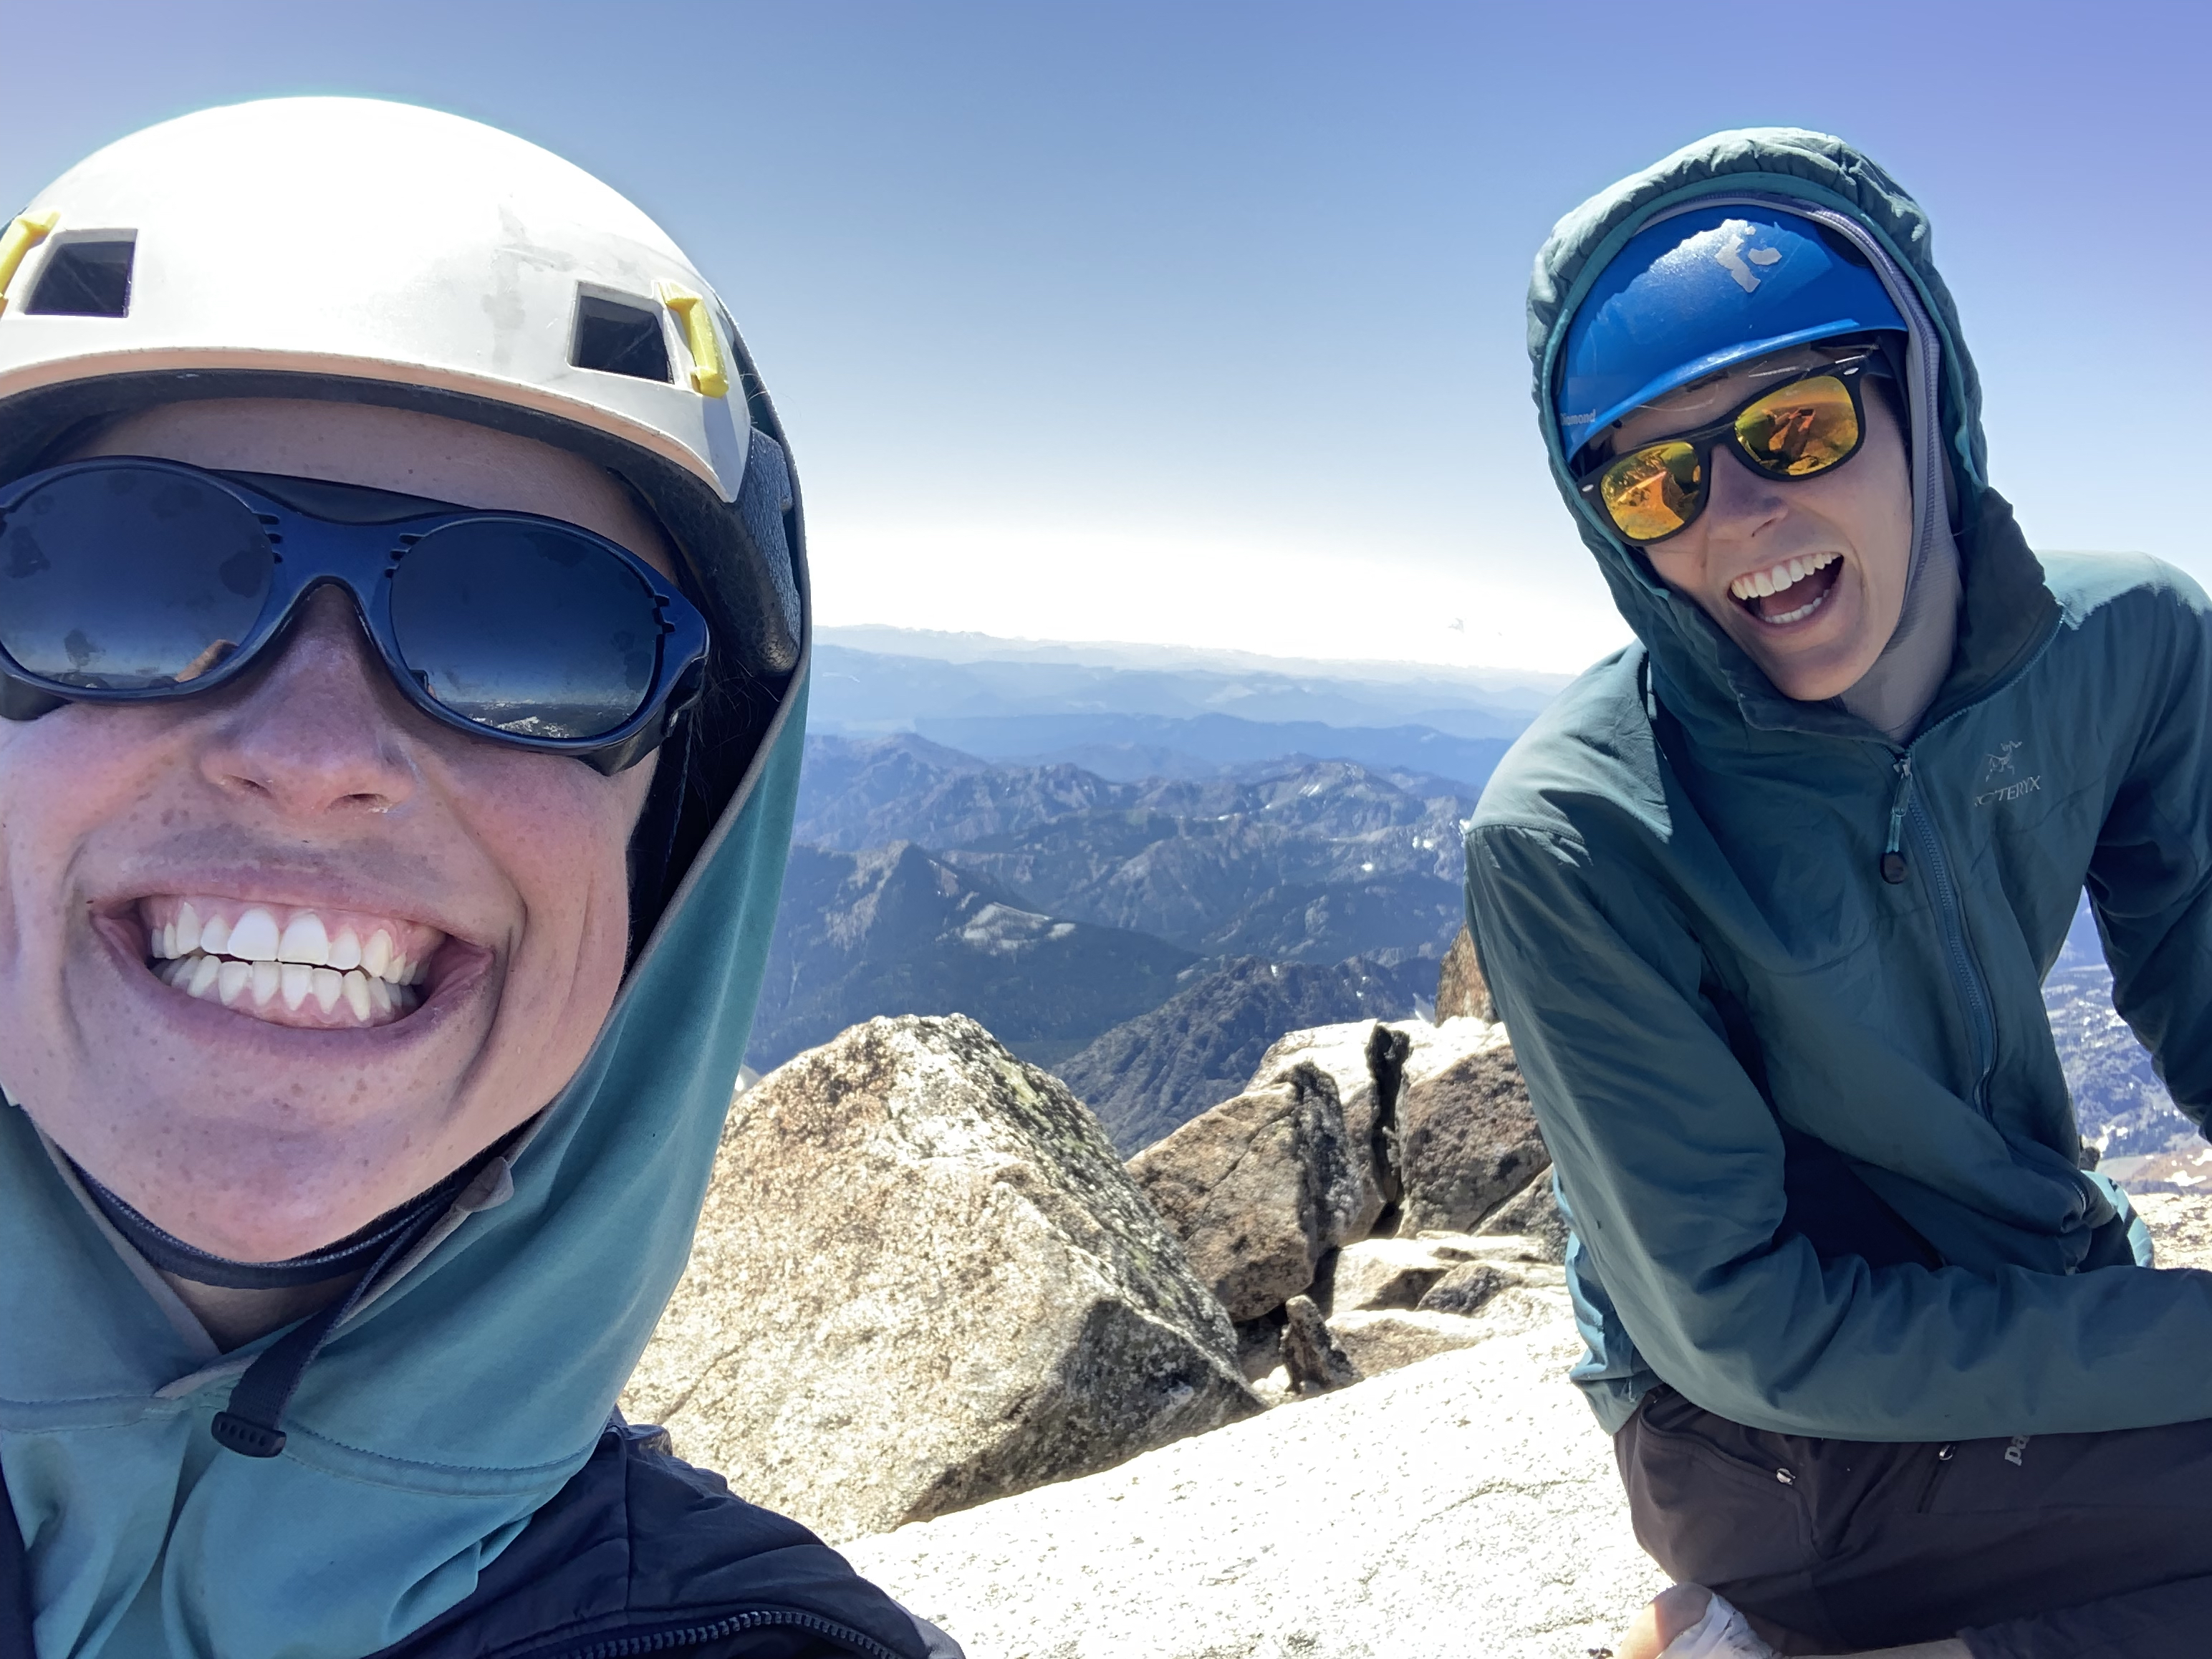
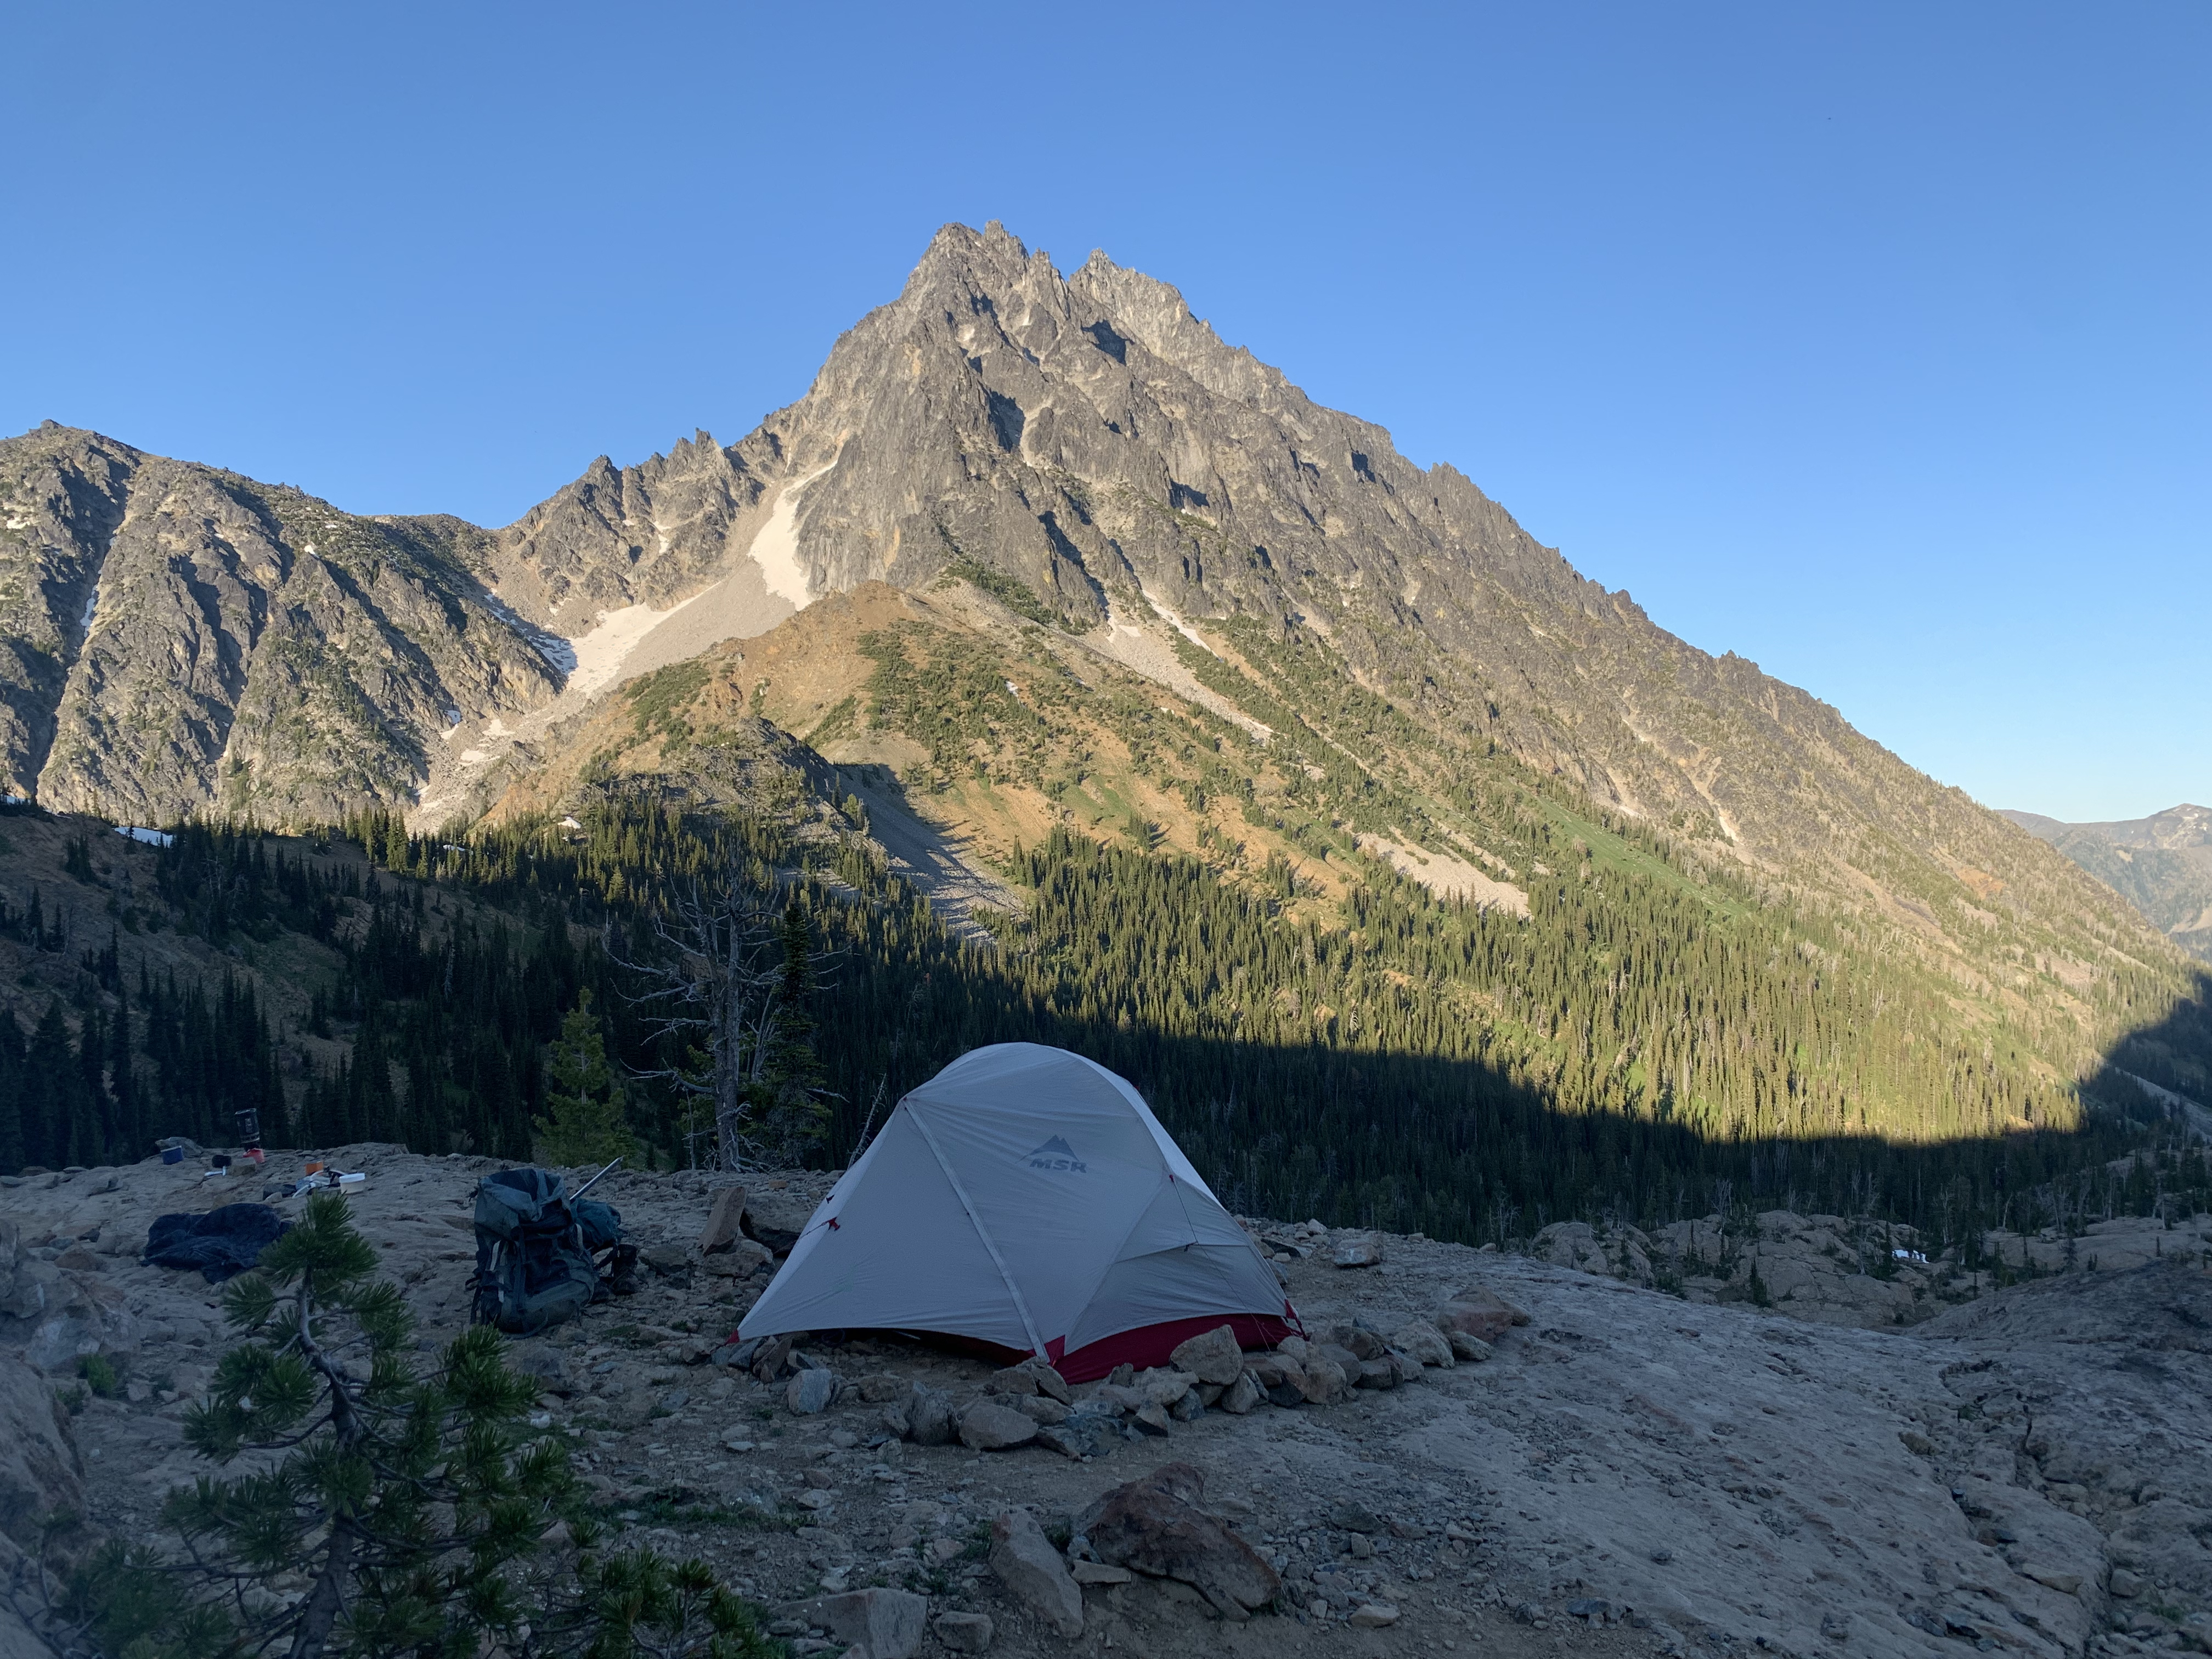
Trip: Sloan Peak - Sloan SE Face Trip Date: 08/14/2022 Trip Report: I'm writing this trip report to put some more information out on an old Fred Beckey and Jerry Fuller 1965 route that is falling into obscurity. The only trip report I could find on the route is 6 or 7 years old and the route description in the Beckey Guide book. There is maybe 5 sentences between the two of these on the route, no hand drawn topo, no pictures or any other information. The best approach description I could put together is listed below which I recommend paying attention too seeing how my brother and I burned 2 to 3 hours between the 3 river crossings and the bushwacking between and after to get to the new trail. The old trail on the map that goes after the river crossing is a path grown over and no longer in use. . See map picture below which I snagged off a blog before the climb and the screen shot off the route above I put together on Gaia after the trip. We chose Sloan SE Face because we wanted a less crowded peak with a glacial crossing and some technical climbing, and the Matterhorn of the Cascades has always been high on own list. My brother and I wanted a full value adventure so we chose this obscure route and decided to do the original approach of Cougar Creek with the river crossings. We left the car around 9am after waking up at sunrise to get packed for the climb and drive to the trailhead after doing "research" the night before. Colin and I arrived at basecamp around 5pm after 3 river crossings and bushwacking which burned a ton of time and numerous down trees to hop or slide under. The further up the trail we got the more overgrown it got. We were surprised to find a guide with 2 clients at basecamp around the corner from where we setup camp. They were making their second attempt on the corkscrew route. We filled up on water and stuffed our faces with dinner and prepped our bags for the morning. We woke up around 3:30-4 am and got going probably around 5ish. My brother and I opted to scramble up the slabs up to where we would start the traverse on the glacier while the guided group started up the steep glacier basically right out of camp maybe 20 minutes after us. We traversed across the glacier to Southwest corner of the glacier where it meets the horizon you view from camp. At the top of the glacier we let the guided group pass on the corkscrew route below us before we started up what we thought was the first pitch of the SE Face route to prevent knocking rocks on that party. I will describe the proper approach and original first pitch to the SE Face before I describe the variation 1st Pitch I accidentally put up. Pitch 1 Original Start (5.7): About 40 paces or 100 feet from the edge of the glacier and underneath(not directly, roof is up and to the right) an enormous roof is where you will locate the start of the route. Approximately 40 feet of scrambling above the corkscrew route boot trail is a platform to belay from. From that platforms left edge ascend a slabby crack system referred to as rightward traversing in the Beckey guidebook(where we had our confusion), up and to the left of the enormous roof, you will come across a sandy ledge where the original party belayed off an arms width 2 foot tall boulder sticking out of the sand(bleached slings), I recommend you climb 20 feet above the ledge next to the roof in a crack system. This sets you up perfectly for pitch 2. Above: Pitch 1 (5.7) to the left of the enormous roof is where pitch one ends, you cannot see the sandy ledge from here. Pitch 1 Variation (5.10a): About another 20 paces or 50 feet past the original start in the next gully-ish system is where I accidentally established a variation pitch. Scramble 30-40 feet above the corkscrew boot trail to a dirty heather ledge to belay from. Climbing up a slopey arete/rib, about 15 feet above the belay is where I found my first gear placement, continue climbing up the rib up to a small roof where I had to dig out some placements for gear(I realized then that these cracks had never seen the light of day and we were off route). Climbing out right around the roof (crux) traverse up and right through crack and slabby climbing up to a sandy ledge, for the best belay climb another 20 feet above the ledge to a crack system to the left of the enormous roof. This put us back on route at the base of pitch 2 which Colin realized when he was climbing up to the belay where the proper first pitch started(bleached slings). With the 60m rope I had approximately 20 feet left of rope and used about 8 pieces of gear. Above: Pitch 1 (5.10a variation) me climbing up the slopey arete to the small roof before making the crux move. Pitch 2 (5.4/5.5) Climb straight up and veering left from the belay up a chimney/gulley system with great protection. Once you leave the chimney it opens up into blocky terrain until you pull onto a 6ft deep heather ledge with a good belay using overhanging cracks. This Pitch is about 200 feet long. Once your second has followed move the belay up and to the climbers left(West) following the sandy ledge about 50 feet or so to the base of an obvious chicken head rock face. You will probably walk past it and notice it when you look back towards your old belay. See Pictures. Above: Picture found on Wayne Wallaces Cascade climber trip report of his SE Ridge climb, used for the overlay above. Thank you Wayne, We forgot to take a picture of pitch 2. Above: Chicken head/dish face, start of pitch 3 Pitch 3 (5.5/5.6) Start up the chicken head/dish face about 20 feet before chicken heads disappear. Becomes blocky terrain before a flared open book corner, above the corner you have the protectable option to do a single chimney move to the climbers right or an unprotectable lichen covered arete(full value according to my brother you climbed it when following) to the left, with one or two bolts it would really add to the pitch. The only loose block on route was just before the chimney move, about the size of a microwave that was in a heather ledge began to rotate out under my weight to fall down towards my brother and I used my foot to push it back in place. We should have kicked the thing off when he made his way up but I forgot to mention it to him. Either way you go reconvenes and traversing right and up to a very big sandy ledge buidling a belay where ever you can find. This was a rope stretcher almost full 60m pitch. Move the belay again and walk about 150-200 feet to the climbers right to where the cliff face suddenly drops below to the glacier. See Photos below. Above: Sandy ledge where you build your belay at the top of pitch 3, move the belay basically to the horizon of this cliff in the picture for the last two scramble-y pitches to the top. Pitch 4&5 (4th class/5.2) Having moved the belay 150-200 feet over to the climber right, climb generally up and right to the top of the ridge on heather ledges with the occasional 5.2 mantle. We opted to stayed roped together and at least have the rope attached to the belay if worst case, one of the heather ledges collapsed under our feet. It was approximately a 60m scramble and maybe another 20-30m scramble after that. The 4th pitch is an incredibly exposed position where you can look down on the glacier and basecamp. Wild mountain with incredible rock quality. Above: Pitch 4 and 5 scramble, generally climbing up the skyline in the photo, mostly looks like chose your own adventure to the top at this point. We passed by another ancient belay with an old bleached sling of cord sticking out of a heather ledge, completely overgrown. We hit the summit at noon. Above: Colin on the Summit!! Above: Another photo I swiped from Waynes trip report to add an overlay to give an approximation of where the route goes and where the belays are. Those last to scramble anchors are on the other side of the ridge, the other side of the horizon of the ridge. Yes this route wanders but not as bad as it seems, a very worthy route with awesome rock. We descended the corkscrew route, roped up for the glacier, hustled back to break down camp then sped our way down the Cougar Creek Trail to get across the river crossings before dark. We ended up back at the car at 7pm, we took our time on the summit enjoying the weather and views. This is a good route which deserves traffic. In Beckeys Guidebook and on the American Alpine Journal for his First Ascent trip report Beckey said this is "Some of the best technical Alpine climbing available on the Western side of the Cascades" AAJ 1966, "The Rock on this route is superb." I'll leave it at that! Great route with Colin White. Gear Notes: We brought an ultralight ice axe each, ultralight harness, Crevasse rescue kit, crampons, headlamp, GAIA GPS, inReach Beacon, UV water filter pen, trekking poles, a 60M rope for Glacier crossing and technical climbing, 5 single length alpine draws, 3 double length slings, 1 triple length sling, set of ultralight cordelette cord each for trad anchors, ATC each, a set of stoppers, and cams: a black totem up to a black diamond number three, doubles in .3, .4, .5 Approach Notes: There are 3 river crossings. The correct path through the river crossings is to take the first log that you see across the river approximately 1/3 to less than a 1/2 of a mile from the trailhead. After the first cut straight through the woods to the next portion of the river, work your way upriver to the next log crossing, next cut up river to the next big river crossing if you are lucky you might run across a few flags at the third river crossing. Once you are across and on a large sandy dry stream bed head upriver approximately 200 feet before ducking into the forest where a pink flag marks the start of the faint new trail rather than trying to find the old trail. You can trust the flags you see here. Trail starts faint at first but becomes more established the further up the trail you go. You will eventually run across an old forest road that you will not stay on for long, follow the cairns and flagging. It cuts sharply uphill with lots of switch backs until reaching an amazing waterfall where we crossed the creek and continued up the trail. The further up the trail you go the more overgrown the trail is, a GPS is advised but most of the time if you watch your feet its clear enough, and we did a fair bit of whacking back the bushes on the way up and back to help whoever comes this way next. Lots of downed logs manageable, it's not the worst I have come across. Getting from the the car to basecamp is just over 4 miles and approximately 4,100 foot elevation gain. There is 3 rock windwalls we came across with decently flat ground for camp for 2 or 3 person tents. Giant cairn pile marks the basecamp area which is in the general below the lower NE corner of the glacier. From basecamp to the summit the mileage depends on the route but the elevation is approximately 1,400 foot elevation gain with the Corkscrew route usually used as the descent route. If you are doing the Cougar Creek approach highly recommend doing the North Fork Sauk river crossings in daylight. Some people do it in a day but we advise spending the night because the views are incredible and it's less stressful to make the river crossings before dark, plus this became one of my favorite spots I have camped. Camps are between 5000 and 5300 foot elevation. There was water run off just below camp the time of year we went. Most people are approaching Sloan regardless of the route from the Bedal Creek Trailhead at the time of writing this trip report but we decided to take on as much adventure as we could for this climb.2 points
-
Trip: Mount Stuart - North Ridge Trip Date: 07/16/2022 Trip Report: Via the upper north ridge. See the full trip report here: https://thewrongglacierandakiloofcheese.wordpress.com/2022/07/16/mount-stuart-north-ridge/ Beautiful day, stellar rock, thanks big stu! Gear Notes: 60m rope, double rack, ice axe and crampons1 point
-
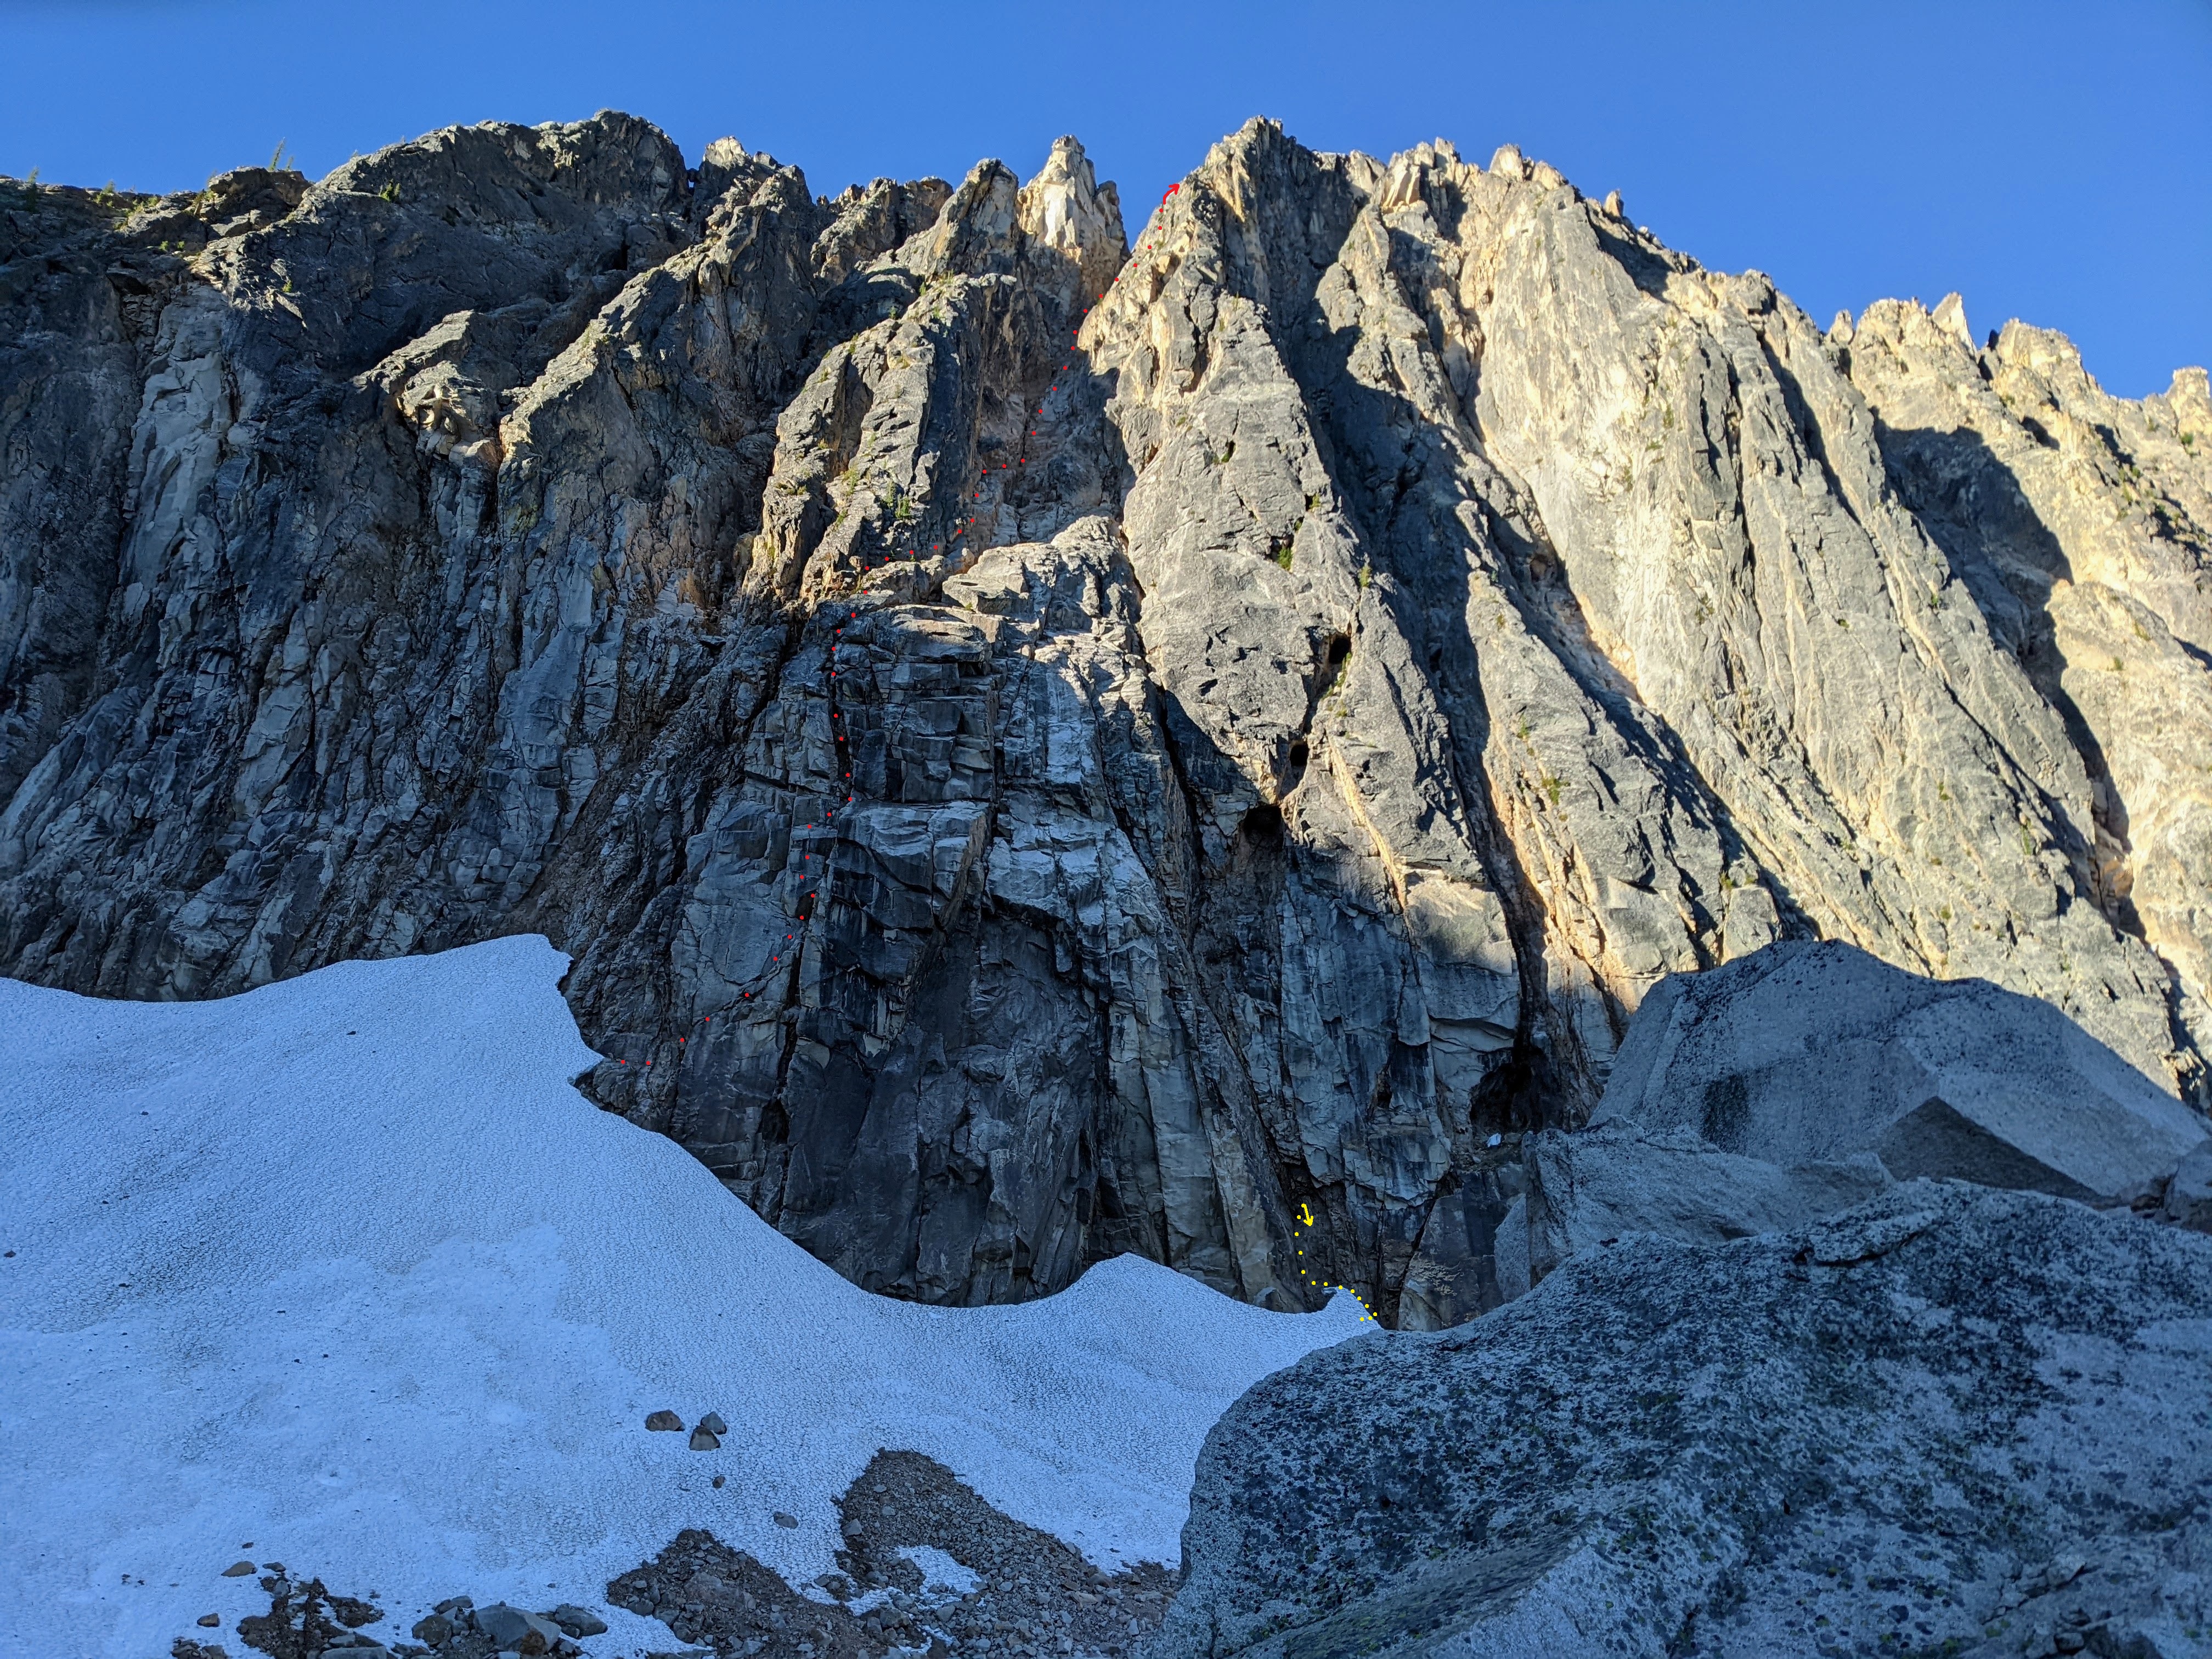
Normally I wouldn't shit on such a genteel parade but Eric's route photo needs a reality check. Yellow dots show the initial foreshortened start. I slung a barely adequate horn & down climbed. My climbing ability & risk tolerance have declined so the corner above might go for someone else. This is a reasonably sheltered start for what could be an aesthetic line. I would still advise an emergency bolt kit for the rib above since there appear to be some large gaps between cracks/seams. Red dots show our approx. line. The definition of poor communication (unsure on who's part): a partner who takes silence as acquiescence. Gullies to the right/left of where we started are "maga" gullies. In contrast to Lani & Sam's "mega" gully on Whatcom Pk., "maga" gullies spew shit & idiocy. The left one did so while Eric was climbing the first pitch. After P2, Eric fortuitously declined to continue up the left hand rib & took us toward the right hand defile. Hindsight showed the left hand rib probably would have led to rotten rock above the tower in front of the summit tower, itself a massive rock scar with perched blocks. We fortunately avoided clocking one another or the rope while hugging the sides of the right defile. We escaped up the right hand rib as soon as possible. In short, our route was an unaesthetic line on pretty crappy rock. Hopefully this info will help a future party put up a better line on the right hand rib.1 point

.jpg.d10c845f6eb6599b250b3799b8b2bb93.jpg)
