Leaderboard
Popular Content
Showing content with the highest reputation on 05/24/21 in all areas
-
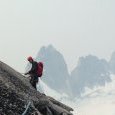
Trip: Seward Peak - Standard - West Ridge Trip Date: 05/23/2021 Trip Report: Yesterday me and @Albuquerque Fred climbed the seldom done Seward Peak on the shoulder of Mount Baker. It was very enjoyable in this season and I would highly recommend it. I would imagine that later in the year it might become less fun due to brush and more challenging choss scrambling. We didn't see a soul after the road, nor any sign of people other than some cut brush. But then again we didn't see much at all. We drove up the spurr road labeled as FS Rd 38, adjacent to Ranking Creek, until the third switchback with no problem; after this the road looked good for just as much as you can see, then after that it gets really ugly and rough. Two parties in trucks did make it two more switchbacks and were camped when we walked by but I bet it took as long as walking did. Photo of the road after the third switchback, the trough on the left is very rough and pretty deep. The brush on the old road grade wasn't bad; I think this was the perfect time of year since nothing was leafed out yet and snow covered a lot of it. Continuous snow cover began around 3900' so we donned snowshoes to get them off our backs and for traction. We continued on what seemed to be an old road bed continuing north through the last switchback shown on the map and took a hard right uphill into a gully/clearing at 4200', continuing up to the ridge crest. About here we realized we had hiked up into the clouds and it remained a whiteout for the rest of the day. I think this is Fred around 6000'. We stopped to remove snowshoes and contemplate our fate at 6100', right below the first cliff band, though we couldn't see it. After a break we got a very short opening, just enough to plan out a route: We went up the snow ramp, scrambled a short section, up the large snowfield to the top left above the horizontal rock island, then scrambled a gully to the ridge crest. This must be the standard route because we passed several rap slings. Looking back down the gully: Me too high on the ridge: Beckey says to ascend the ridge then descend on easy ledges, I would say you almost immediately descend after reaching the crest, we went waaay to high to the top of a gendarme and had to backtrack a lot, loosing tons of time (we couldn't see anything). We descended on snow into the south bowl and climbed to the final rock band. In this season this was mostly moderate snow with a short scramble section. Then a few minor ups and downs on the ridge to the summit. Worth it for the views, Baker in the distance: We left a tube with some register paper behind since we didn't find anything and it seemed doubtful there would be a register. Please let me know if I'm mistaken. We spend all of one minute on the summit and headed out. Ascending back to the ridge crest: Two 90' raps down the gully, downclimb the snowfield, then one rap on pretty easy ground to the snow ramp and back to the world. 11 hours car to car with lots of dinking around routefinding in the whiteout. 5300' gain. Gear Notes: (2) 30m ropes, snowshoes, axe, helmet, crampons, mountaineering boots Approach Notes: Middle Fork Road to the third switchback near Rankin Creek. Not too brushy, snow cover began at ~3900'.1 point
-
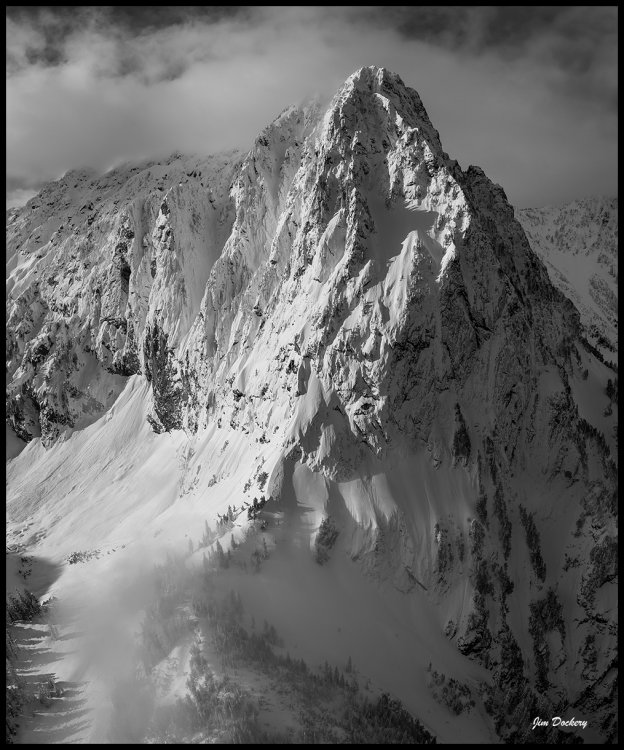
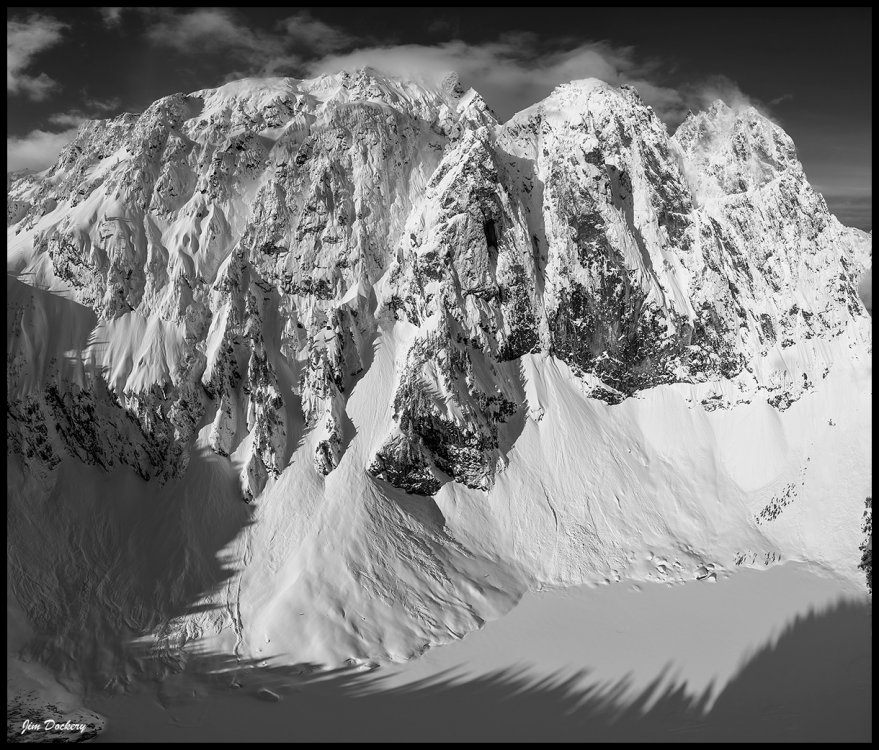
Trip: Mt. Index - Lake Serene photo trip Trip Date: 03/23/2021 Trip Report: I did a morning hike up to Lake Serene last week to fly my drone and get some new views of Mt. Index. Thought some of you might enjoy a couple images. Gear Notes: DJI Mavic 2 Pro Approach Notes: I thought there would be a good boot pack but the last traverse was snowshoed and I punched through a bit.1 point
-
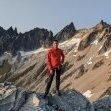
Trip: Robinson Mountain (8726') - Northeast Ridge Trip Date: 05/22/2021 Trip Report: I climbed Robinson Mountain (8726’) outside Mazama, Northeast Ridge Route. I started the climb from the Robinson Creek Trailhead, a little over 9 miles down Lost River Rd. from Mazama. I decided to head East over Hwy 20 to see how much snow is in the Eastern Cascades. There is a lot less snow on the east side, but still a decent amount depending on the peak. Robinson Mountain has melted out faster than the surrounding peaks by quite a bit. The weather was perfect. Clear skies and warm. I was prepared for a long day on the mountain so I started up the trail around 5:30am to leave plenty of time before dark. You will cross two bridges on the main trail heading up. About 40 feet after the 2nd bridge (that crosses Beauty Creek) look for the climber’s trial on the right side of the trail heading uphill (about an hour up the trail depending on your speed). The climber’s trail heading up towards Robinson Mountain is fantastic. It is one of the nicest climber’s trails I have ever climbed up. I’ve been on trails that are on maps that are not as nice as this climber’s trail. Snow started at around 4600’, patchy at first, then pretty solid until you turn to go up the grassy slope (5200’). The grassy slope is snow free up until about 6000’. 6000’ to the top of the ridge is all snow. The last running water I came across was a small waterfall right below the lake. The lake (6750’) is still snow covered with a couple spots of water opening up. Water up before going up to the ridge or be prepared to melt snow. From the lake I went up the snow covered slope to the left (south) to gain the ridge. I followed that ridge to the main Northeast ridge that leads to the summit. Most of the ridge is snow free. The climbing is mostly class 2 with a short section of class 3 here and there. The section going up the false summit is the most difficult being exposed 3rd class for about 50 feet. Coming back from the summit I decided to go straight down the snow bowl toward the lake. The snow had been in direct sun for hours so it was perfect for plunge stepping. Overall this is a very nice early season climb. The snow melts off the peak early and the views are awesome. 6100’ of climbing gives you a good workout to boot. Some Tips and Notes: 1. This is a long day trip. Took me 11.5 hours total time. Average fit climber pace. 2. The last running water is right below the lake. 3. An ice axe would be a good idea to bring along, as the snow gets somewhat steep in sections. 4. Snow starts at 4600’ 5. The ridge to the summit is mostly snow free. Travel Time for reference: Car to Summit 6.5 hours – Summit to car 4.5 hours Bridge over Beauty Creek. Start of the climber's trail after Beauty Creek Bridge. Look for the broken off tree stump. Climber's trail. Nice enough to be on a trail map. Lake and snow bowl leading to the ridge. Heading up to the ridge on the left (south) side of the lake. Looking down to the lake while heading up to the ridge. Looking up the Northeast ridge to the summit. Looking down the Northeast ridge from the summit. The views from the summit are fantastic! You can see almost all of the major peaks in the Cascades. Gear Notes: Whippet, Ice Axe & Helmet. Brought crampons but didn’t need them. Approach Notes: Robinson Creek Trailhead start location. Head up the climber's trail about 40' past the Beauty Creek bridge.1 point
-
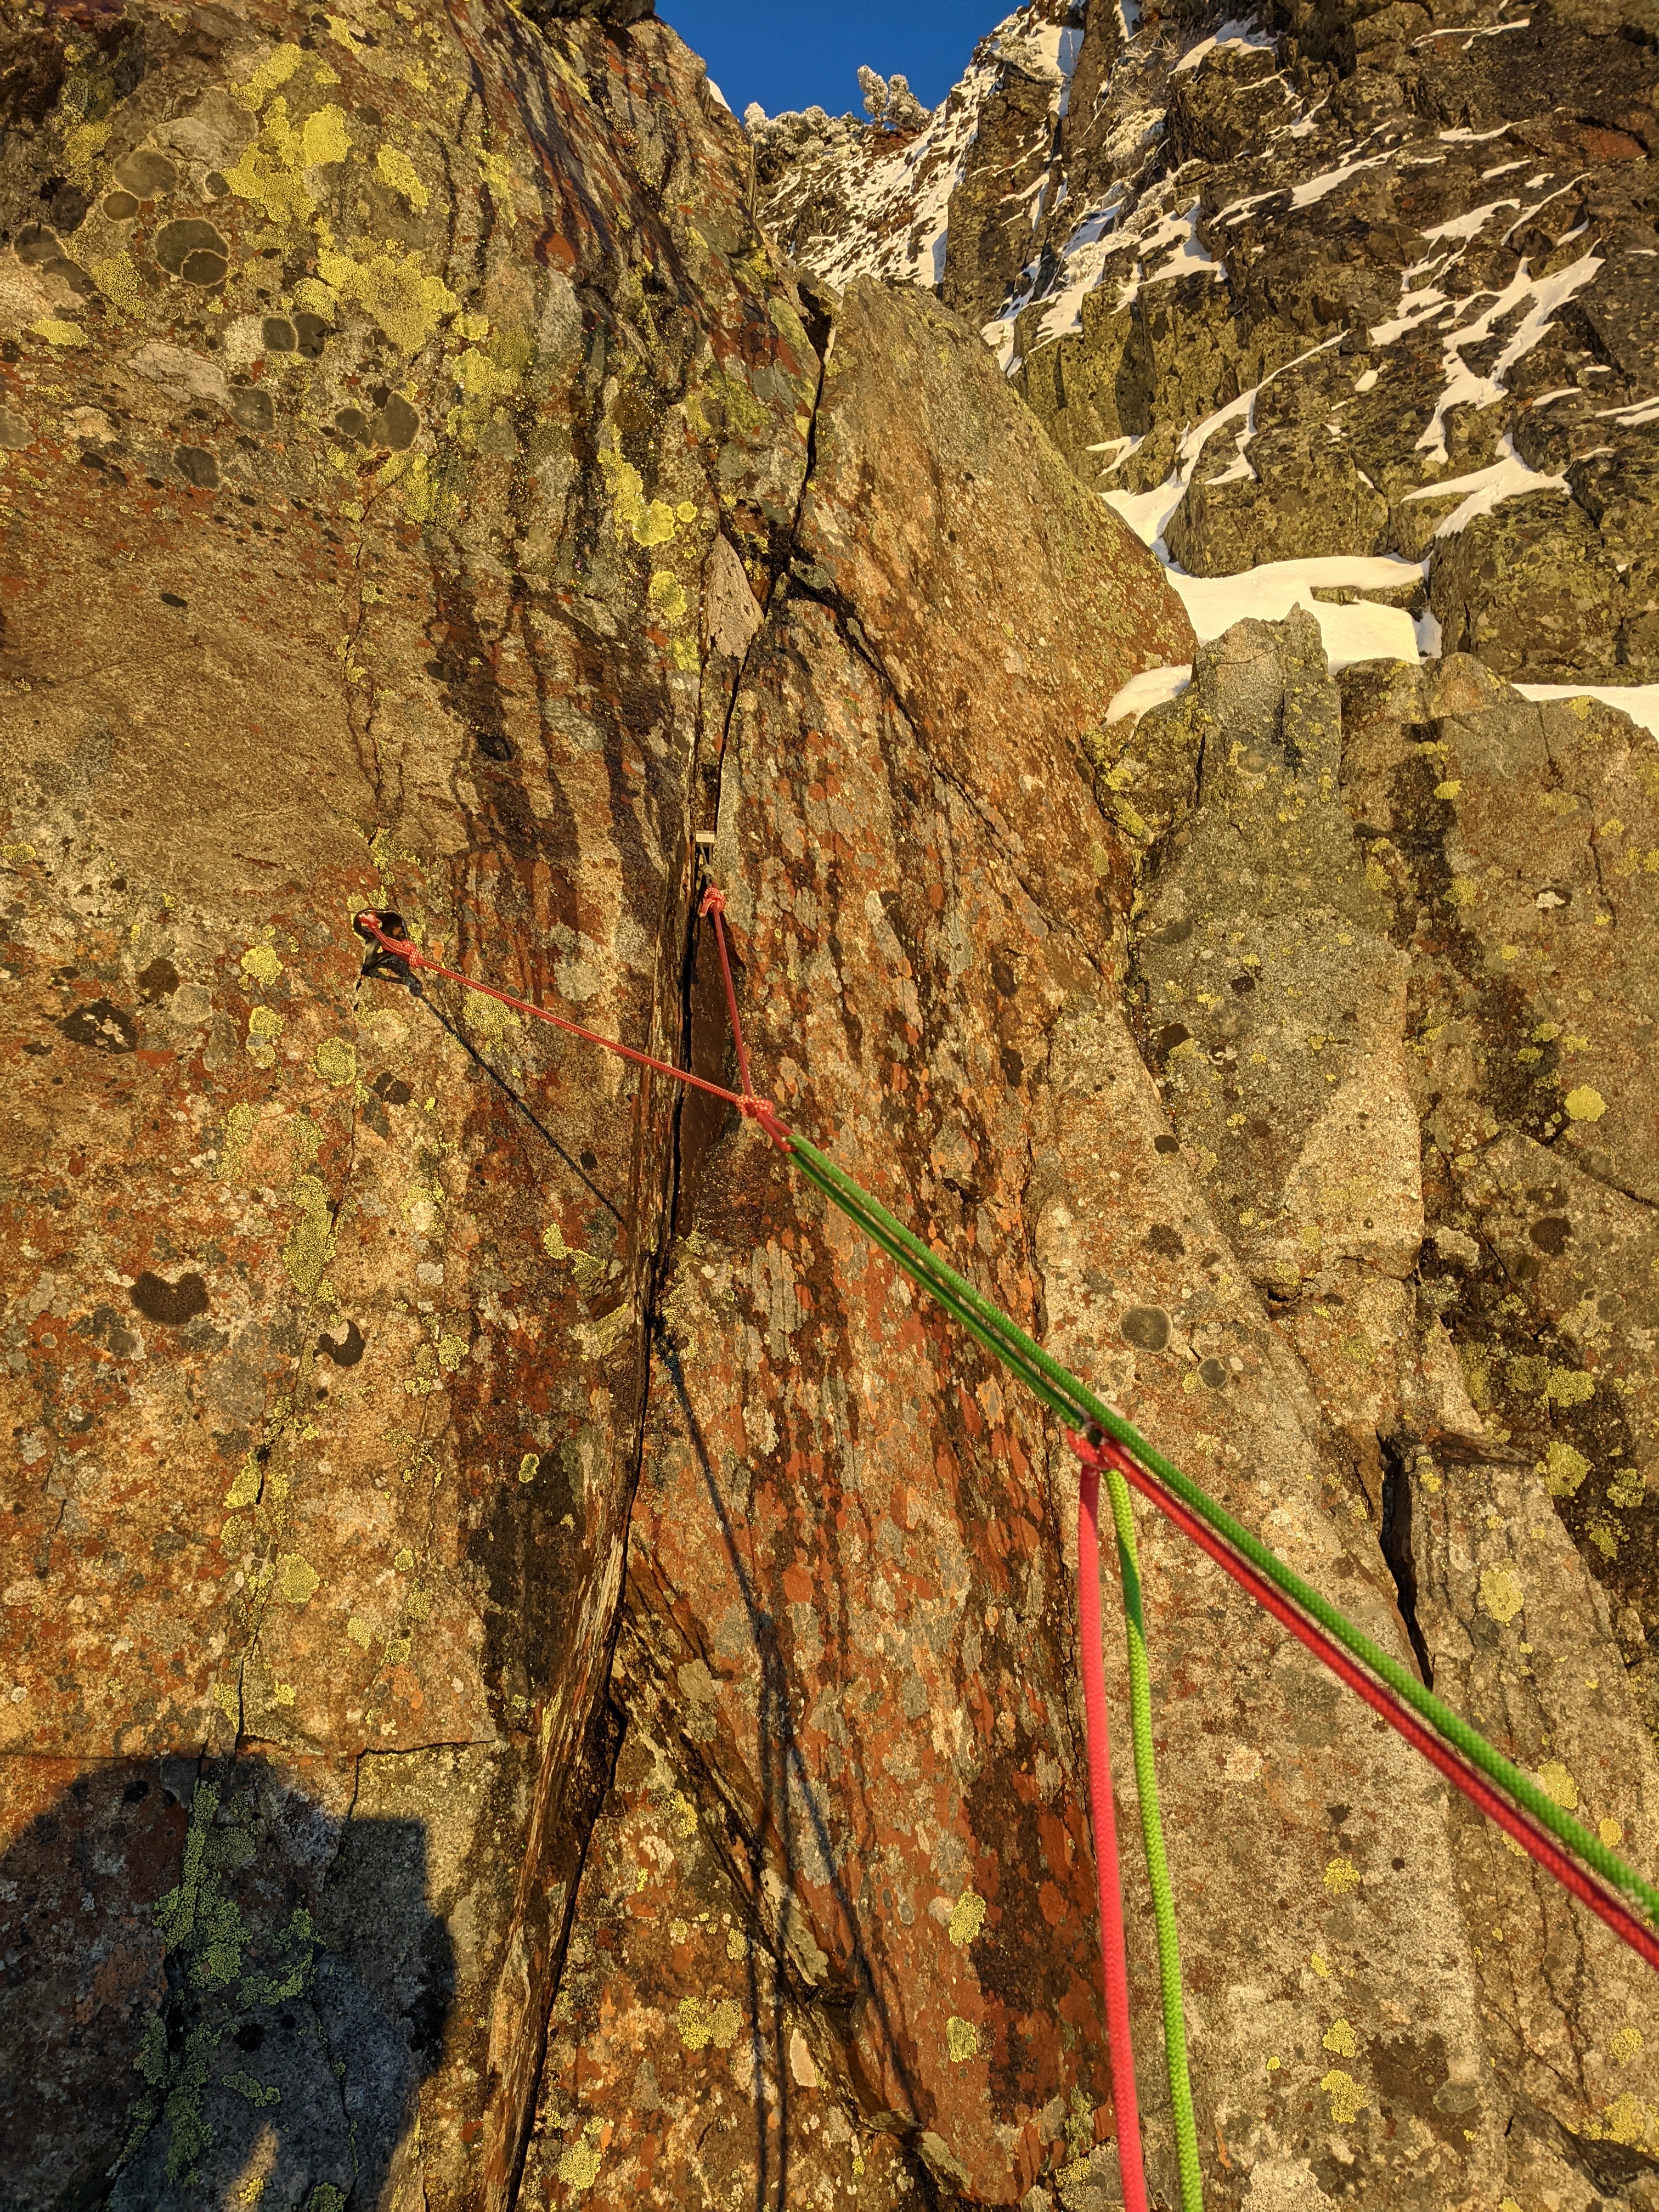
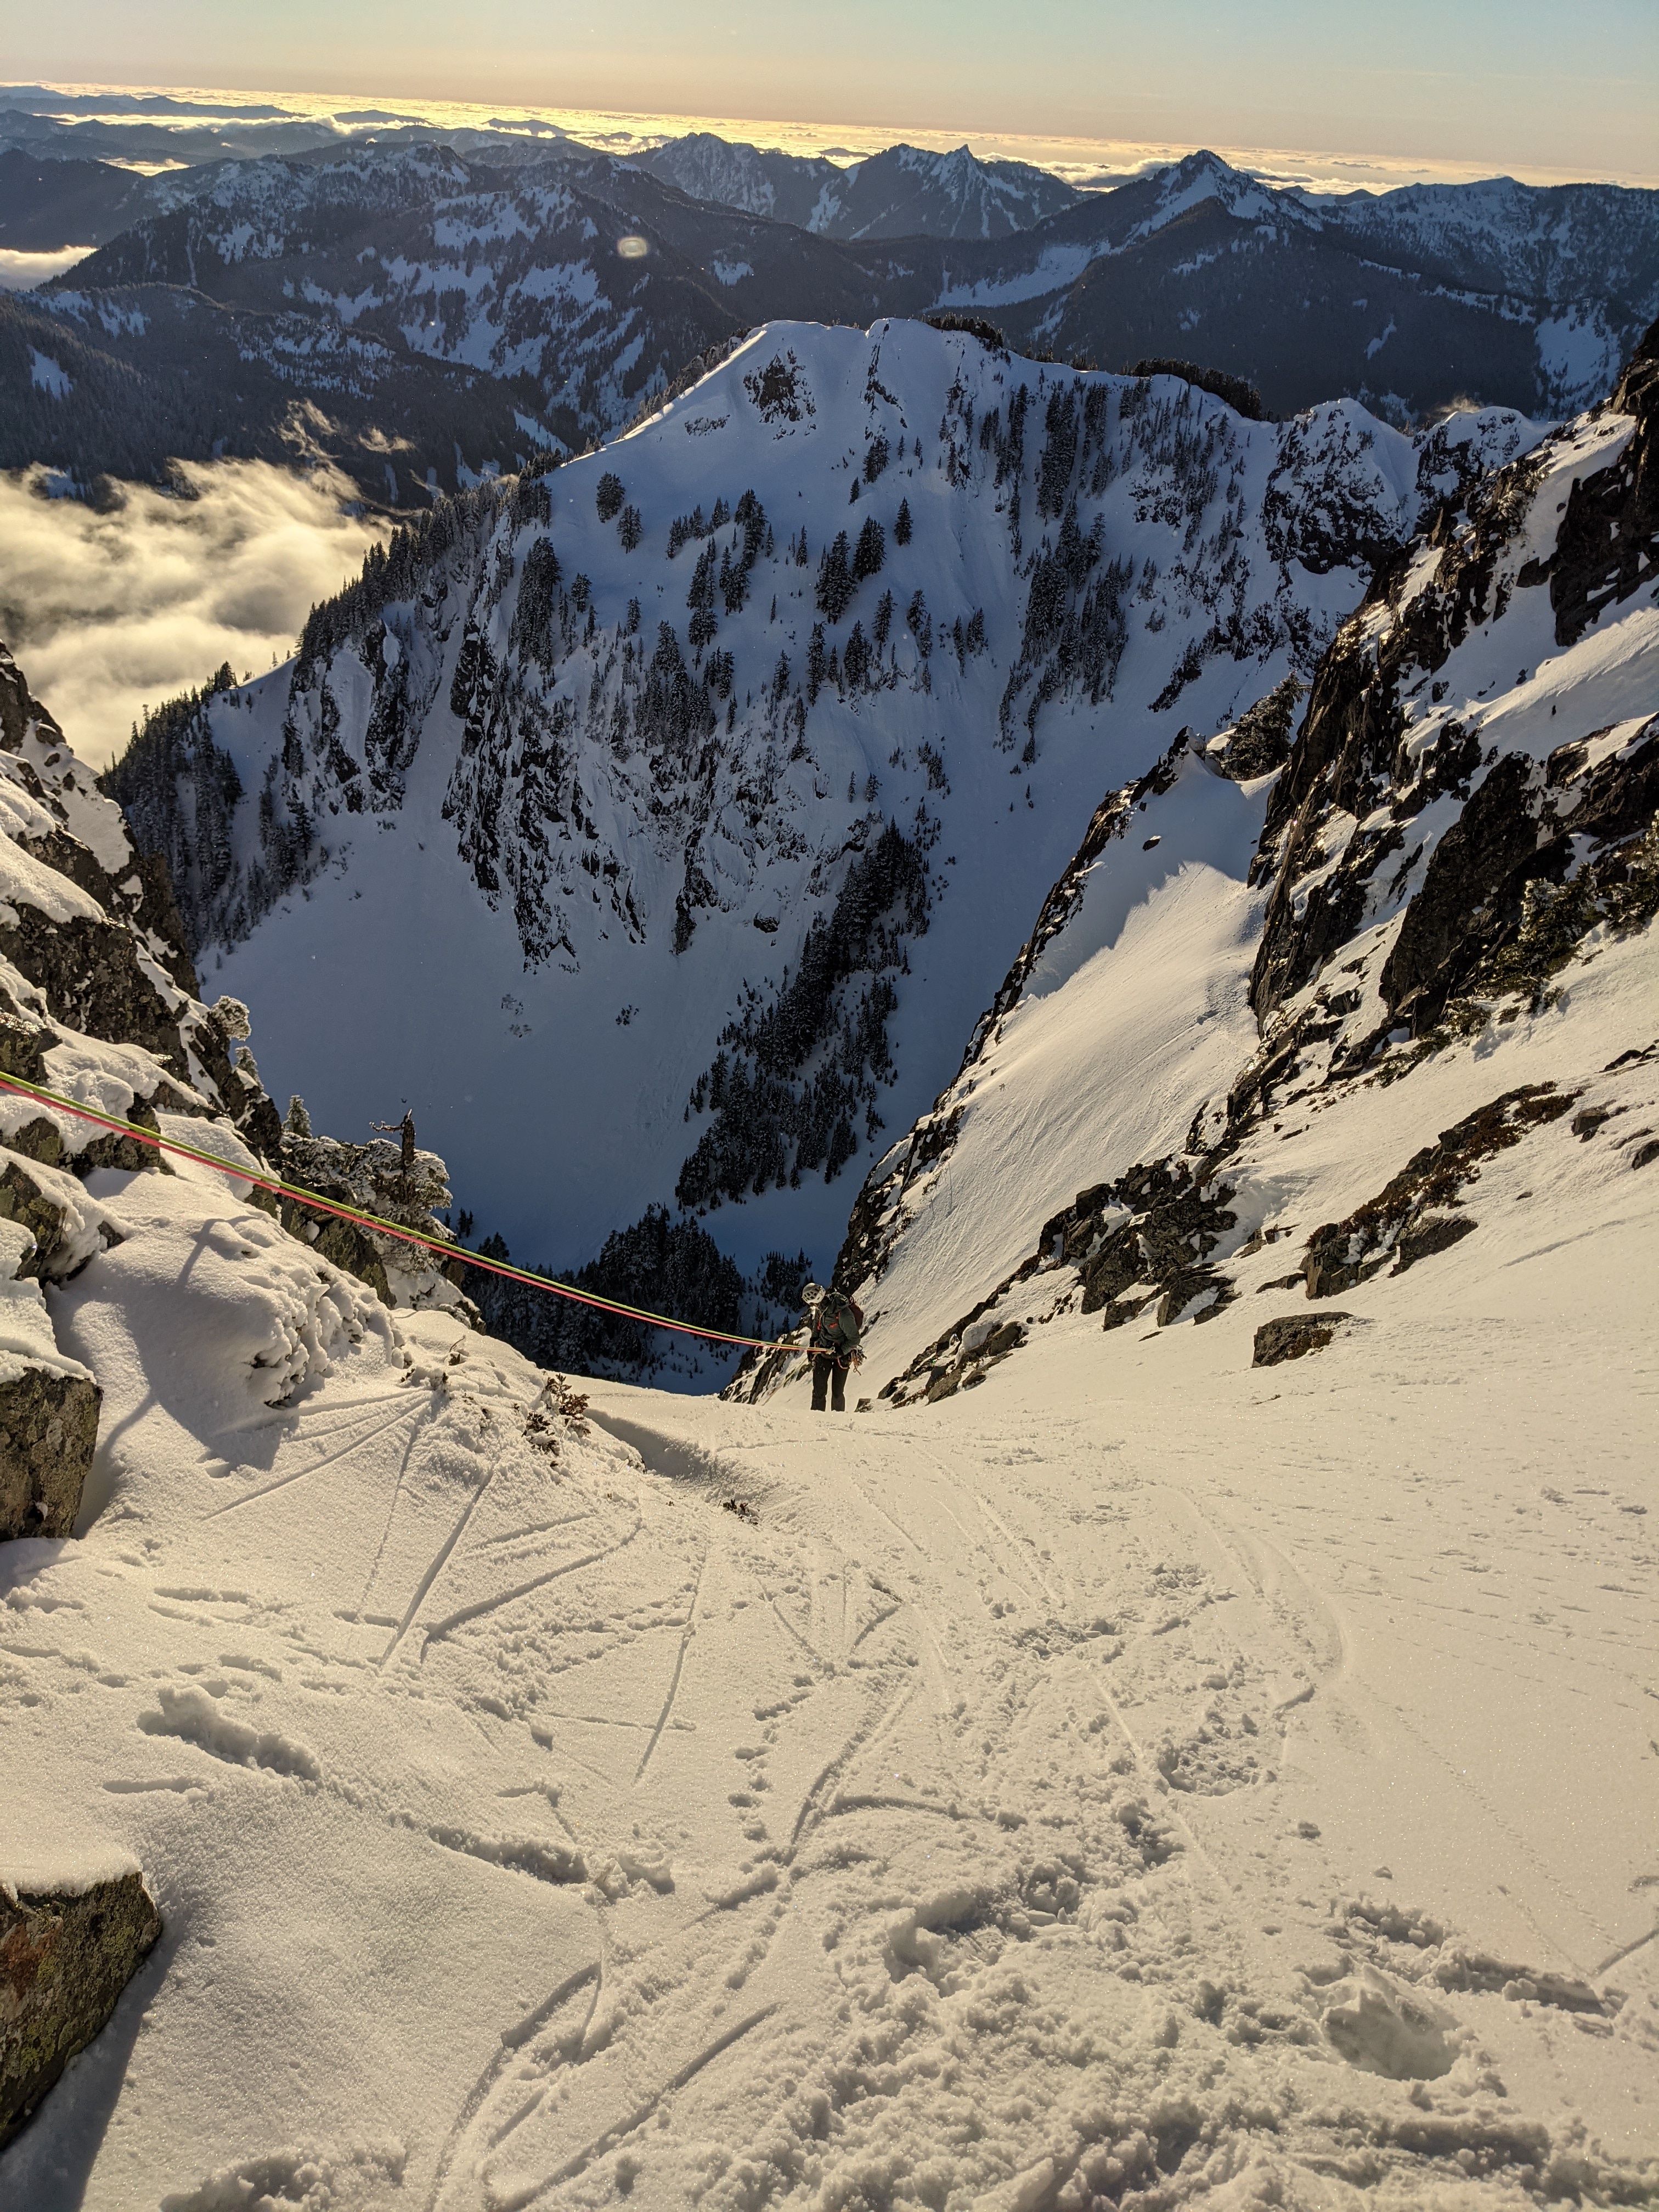
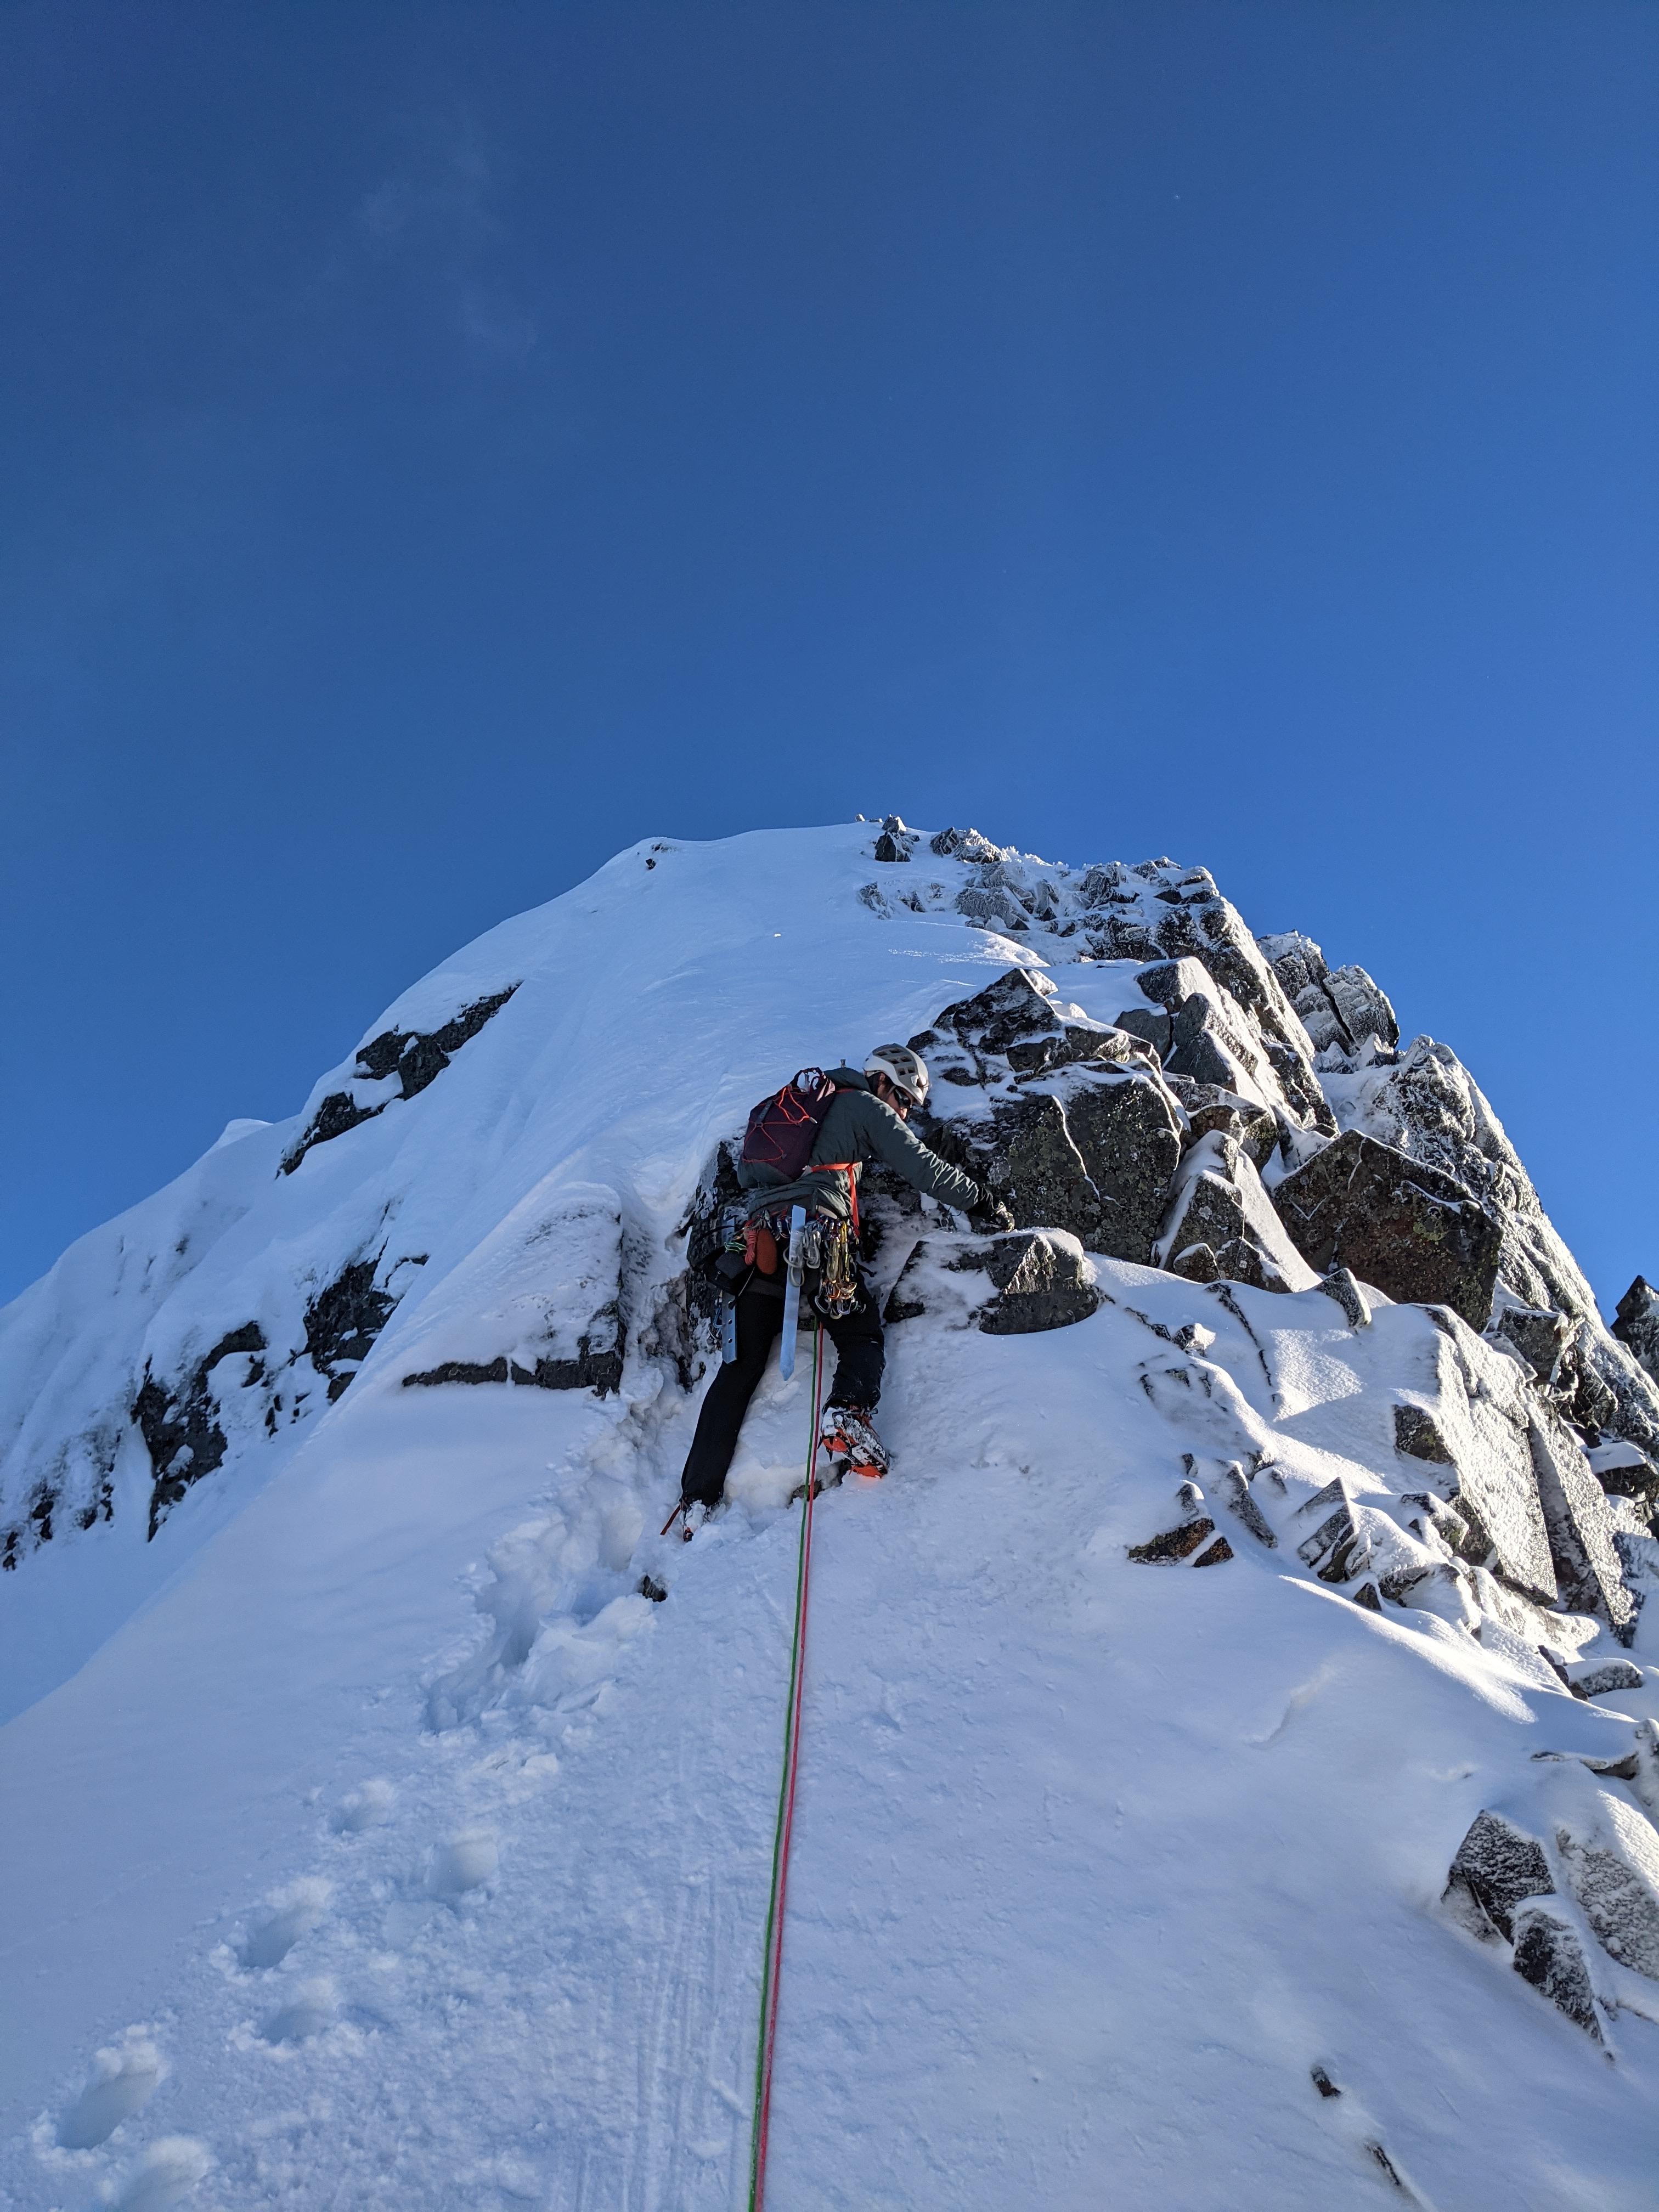
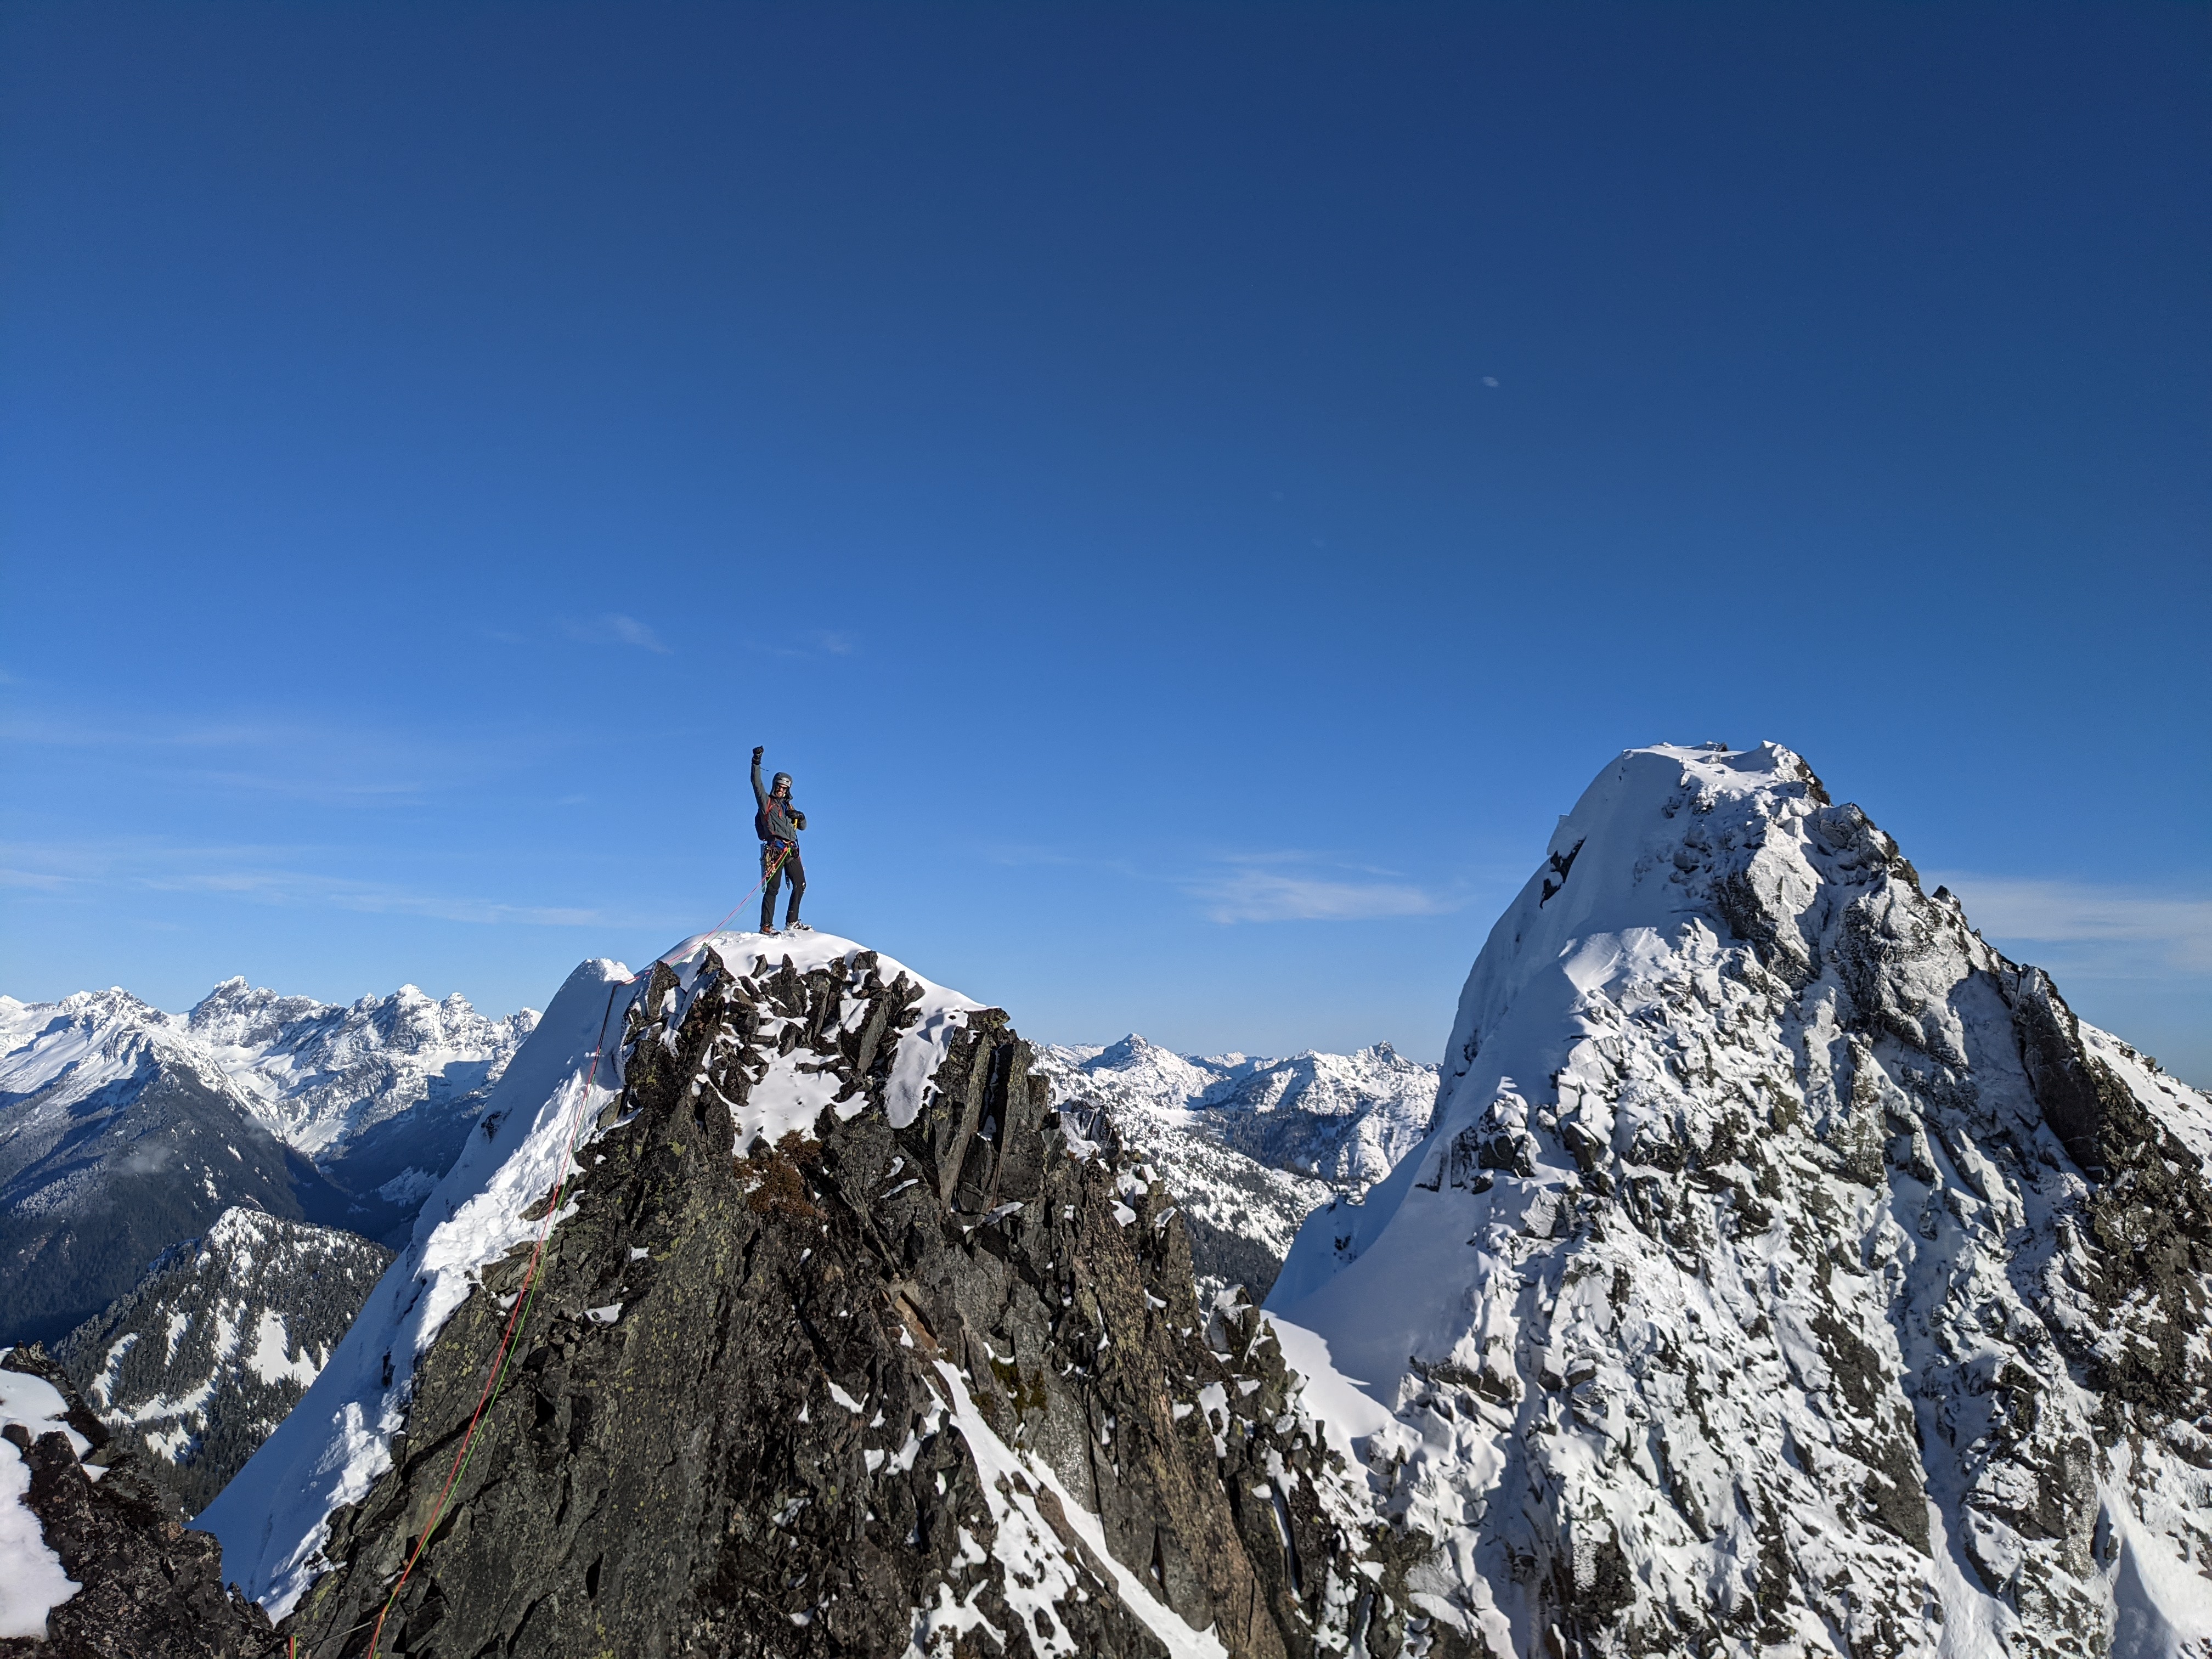
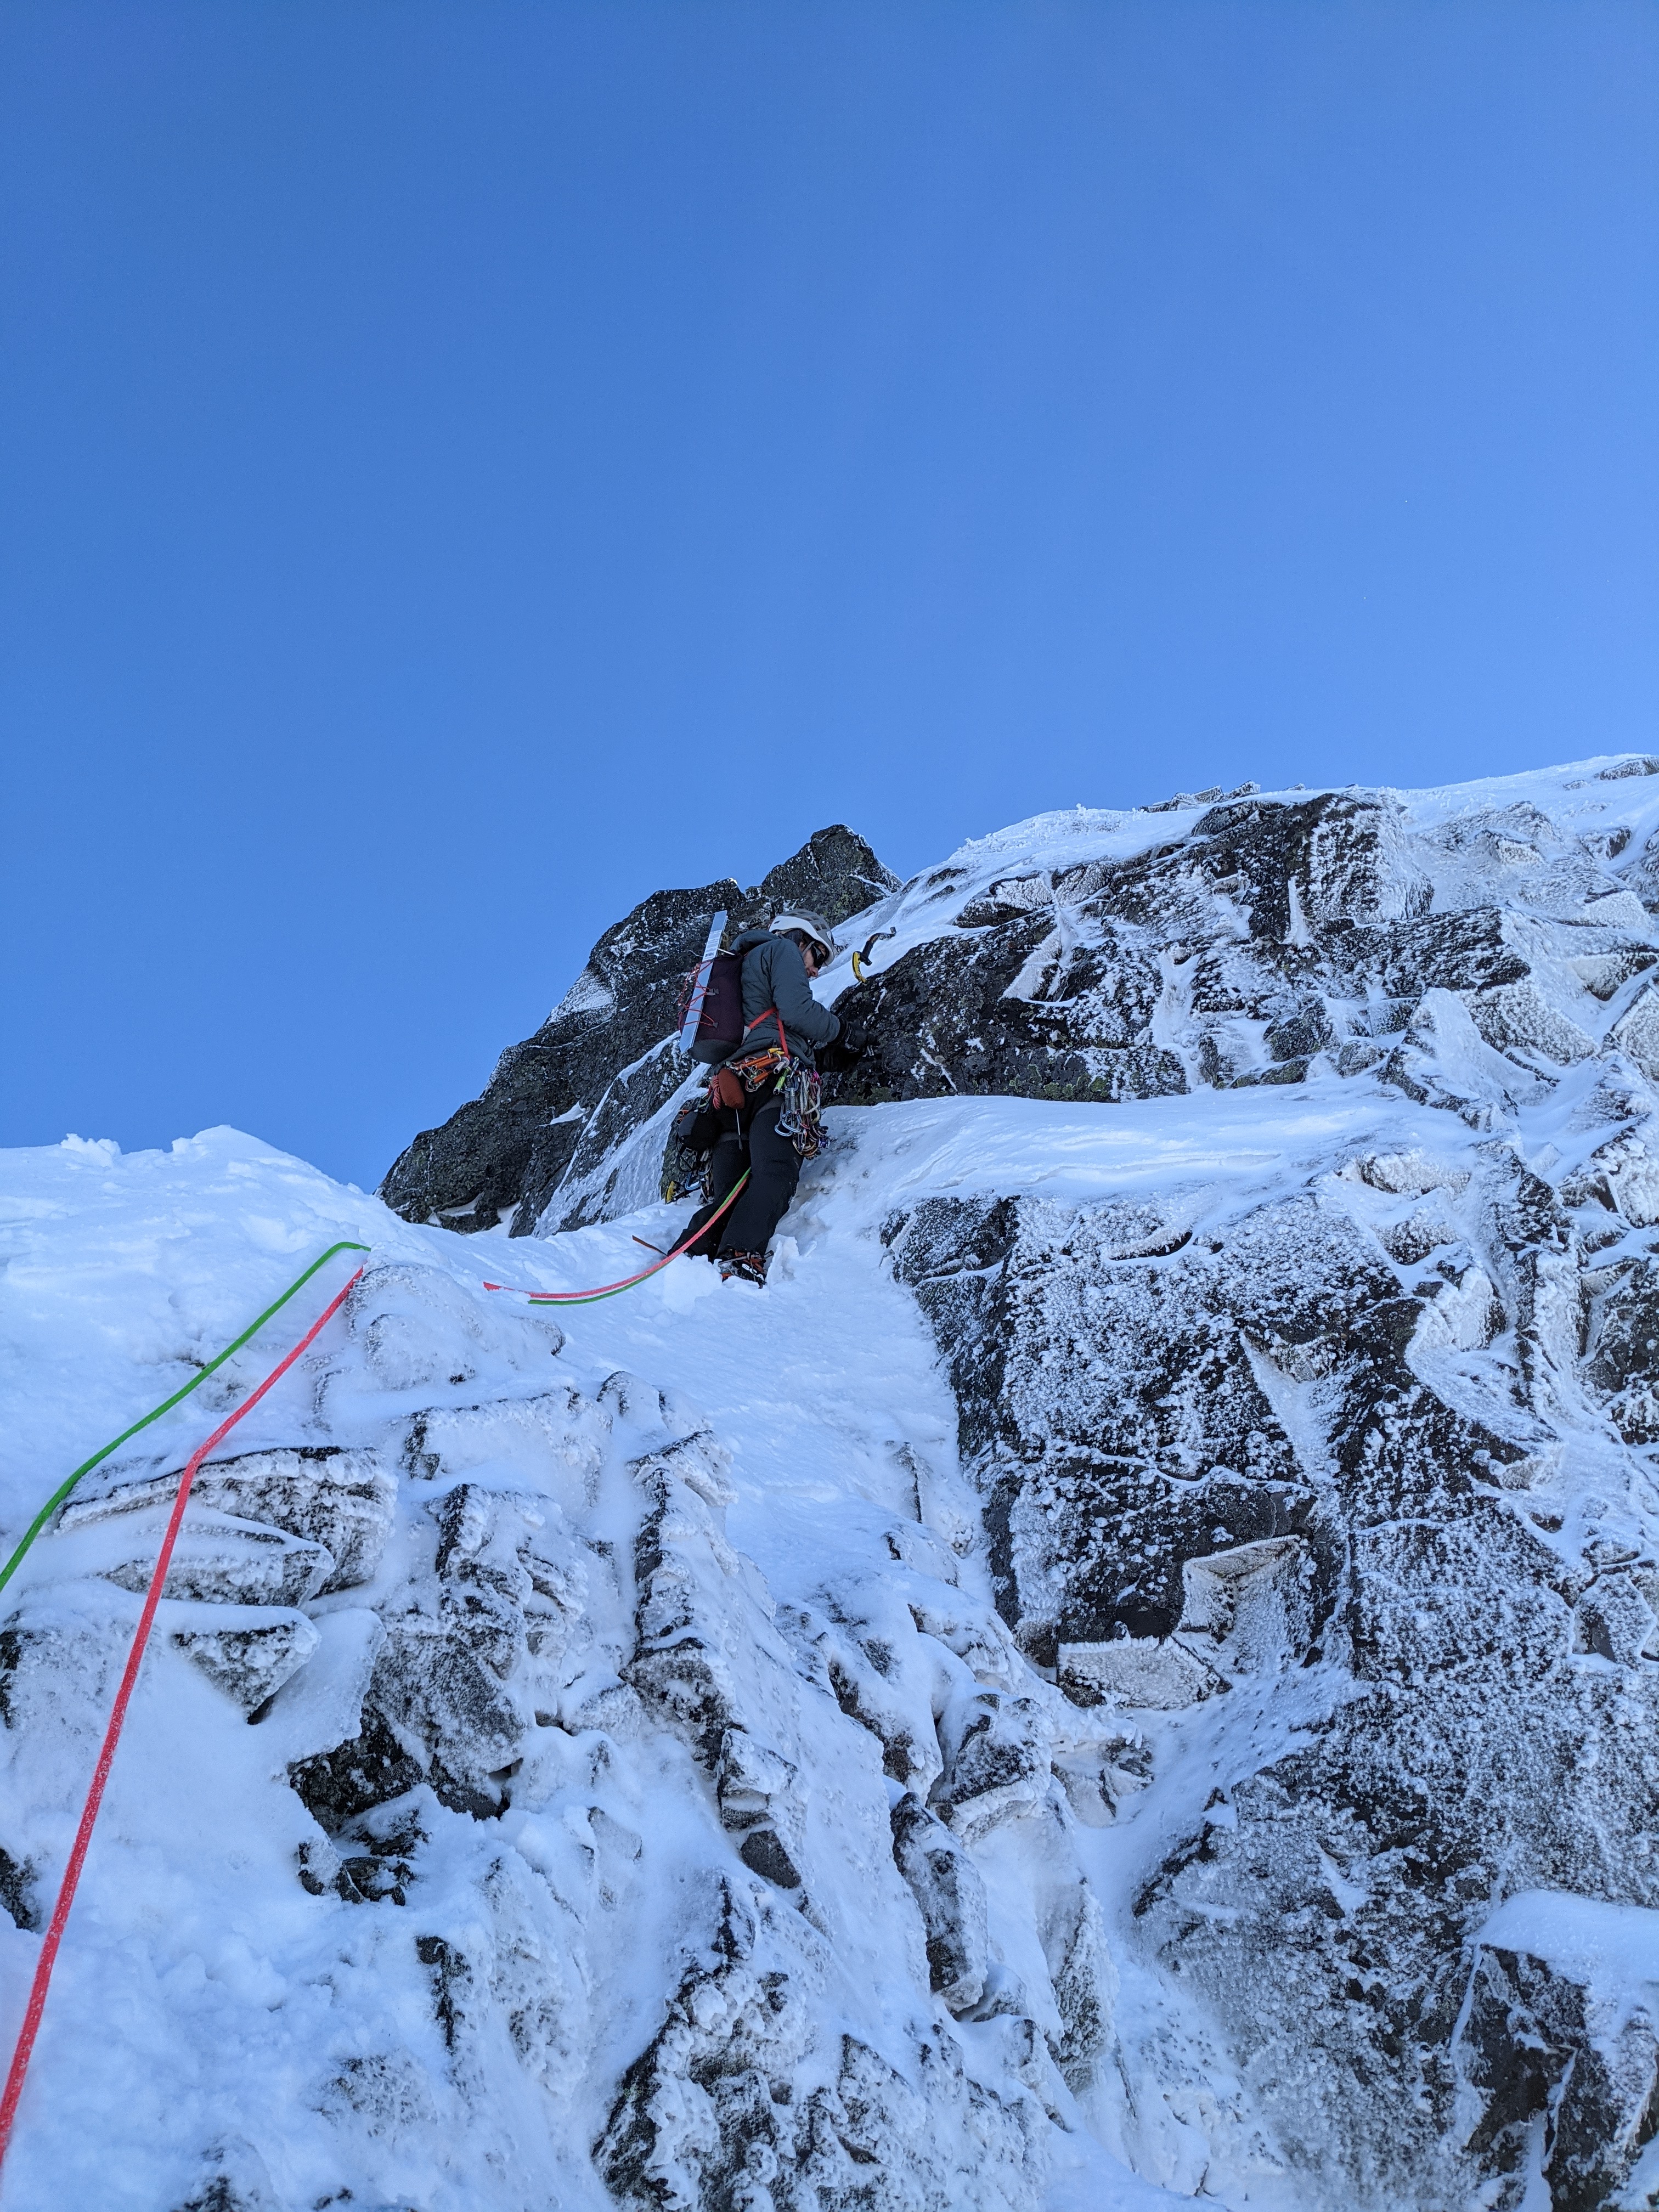
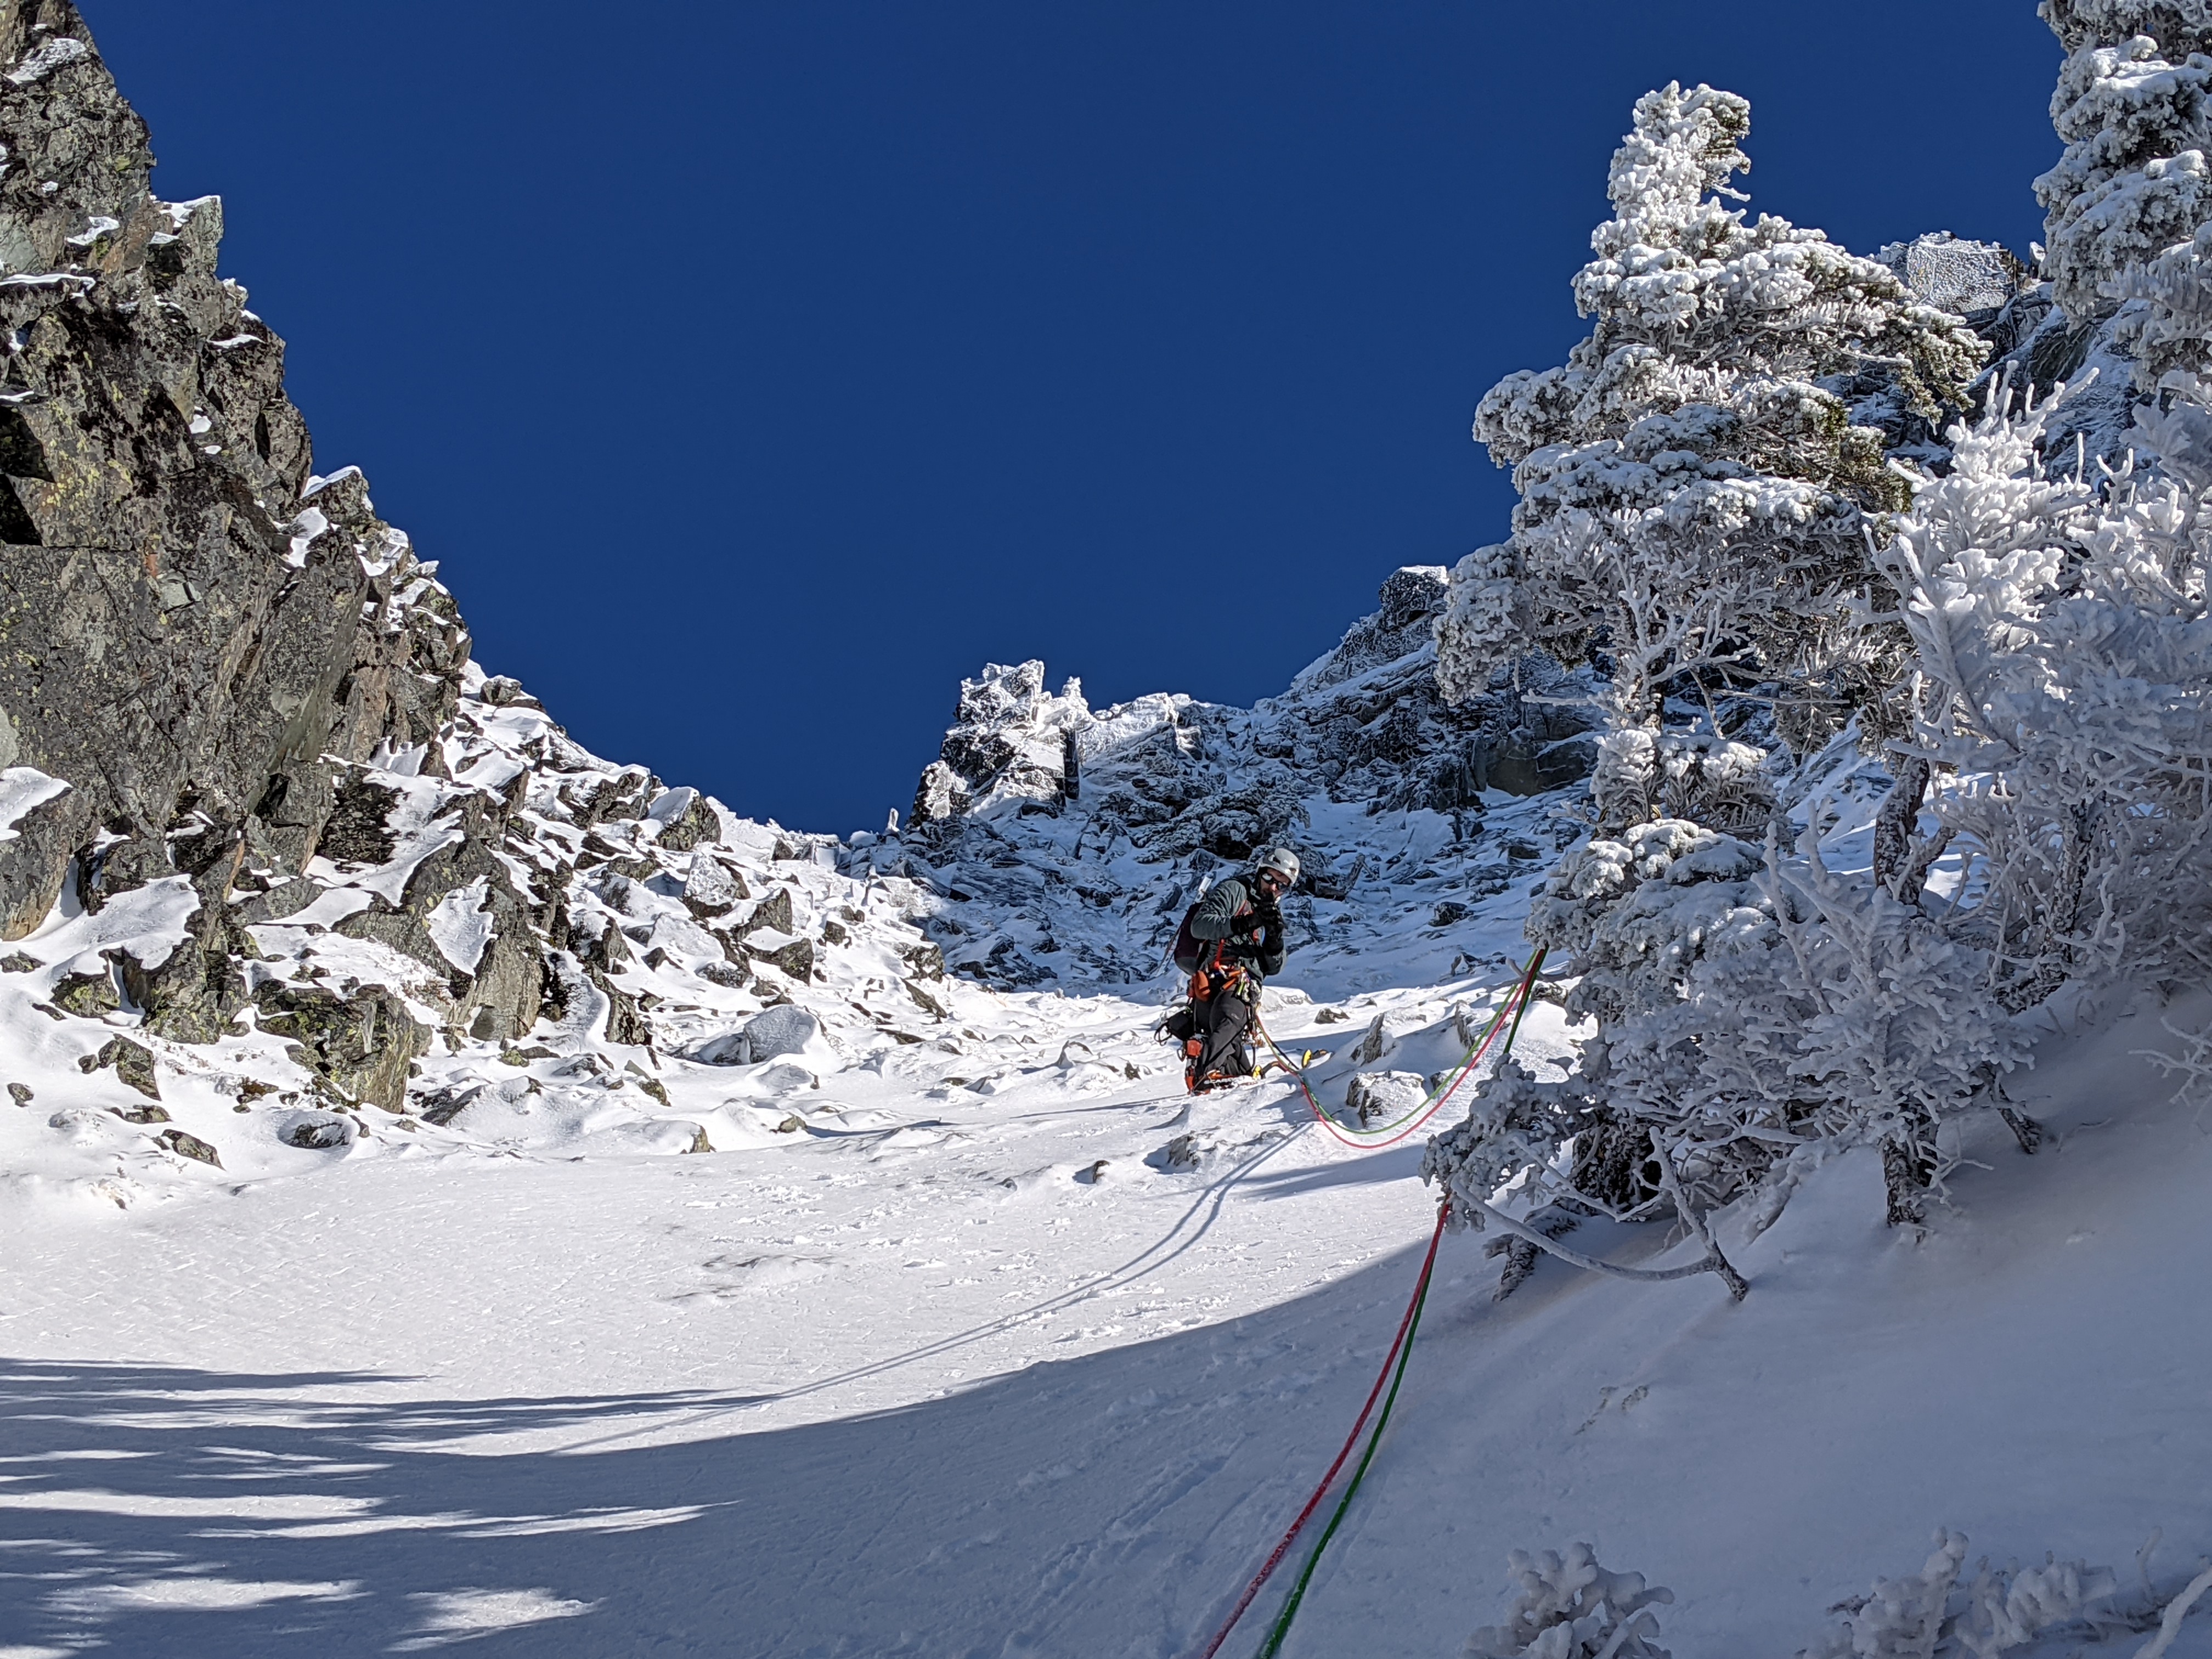
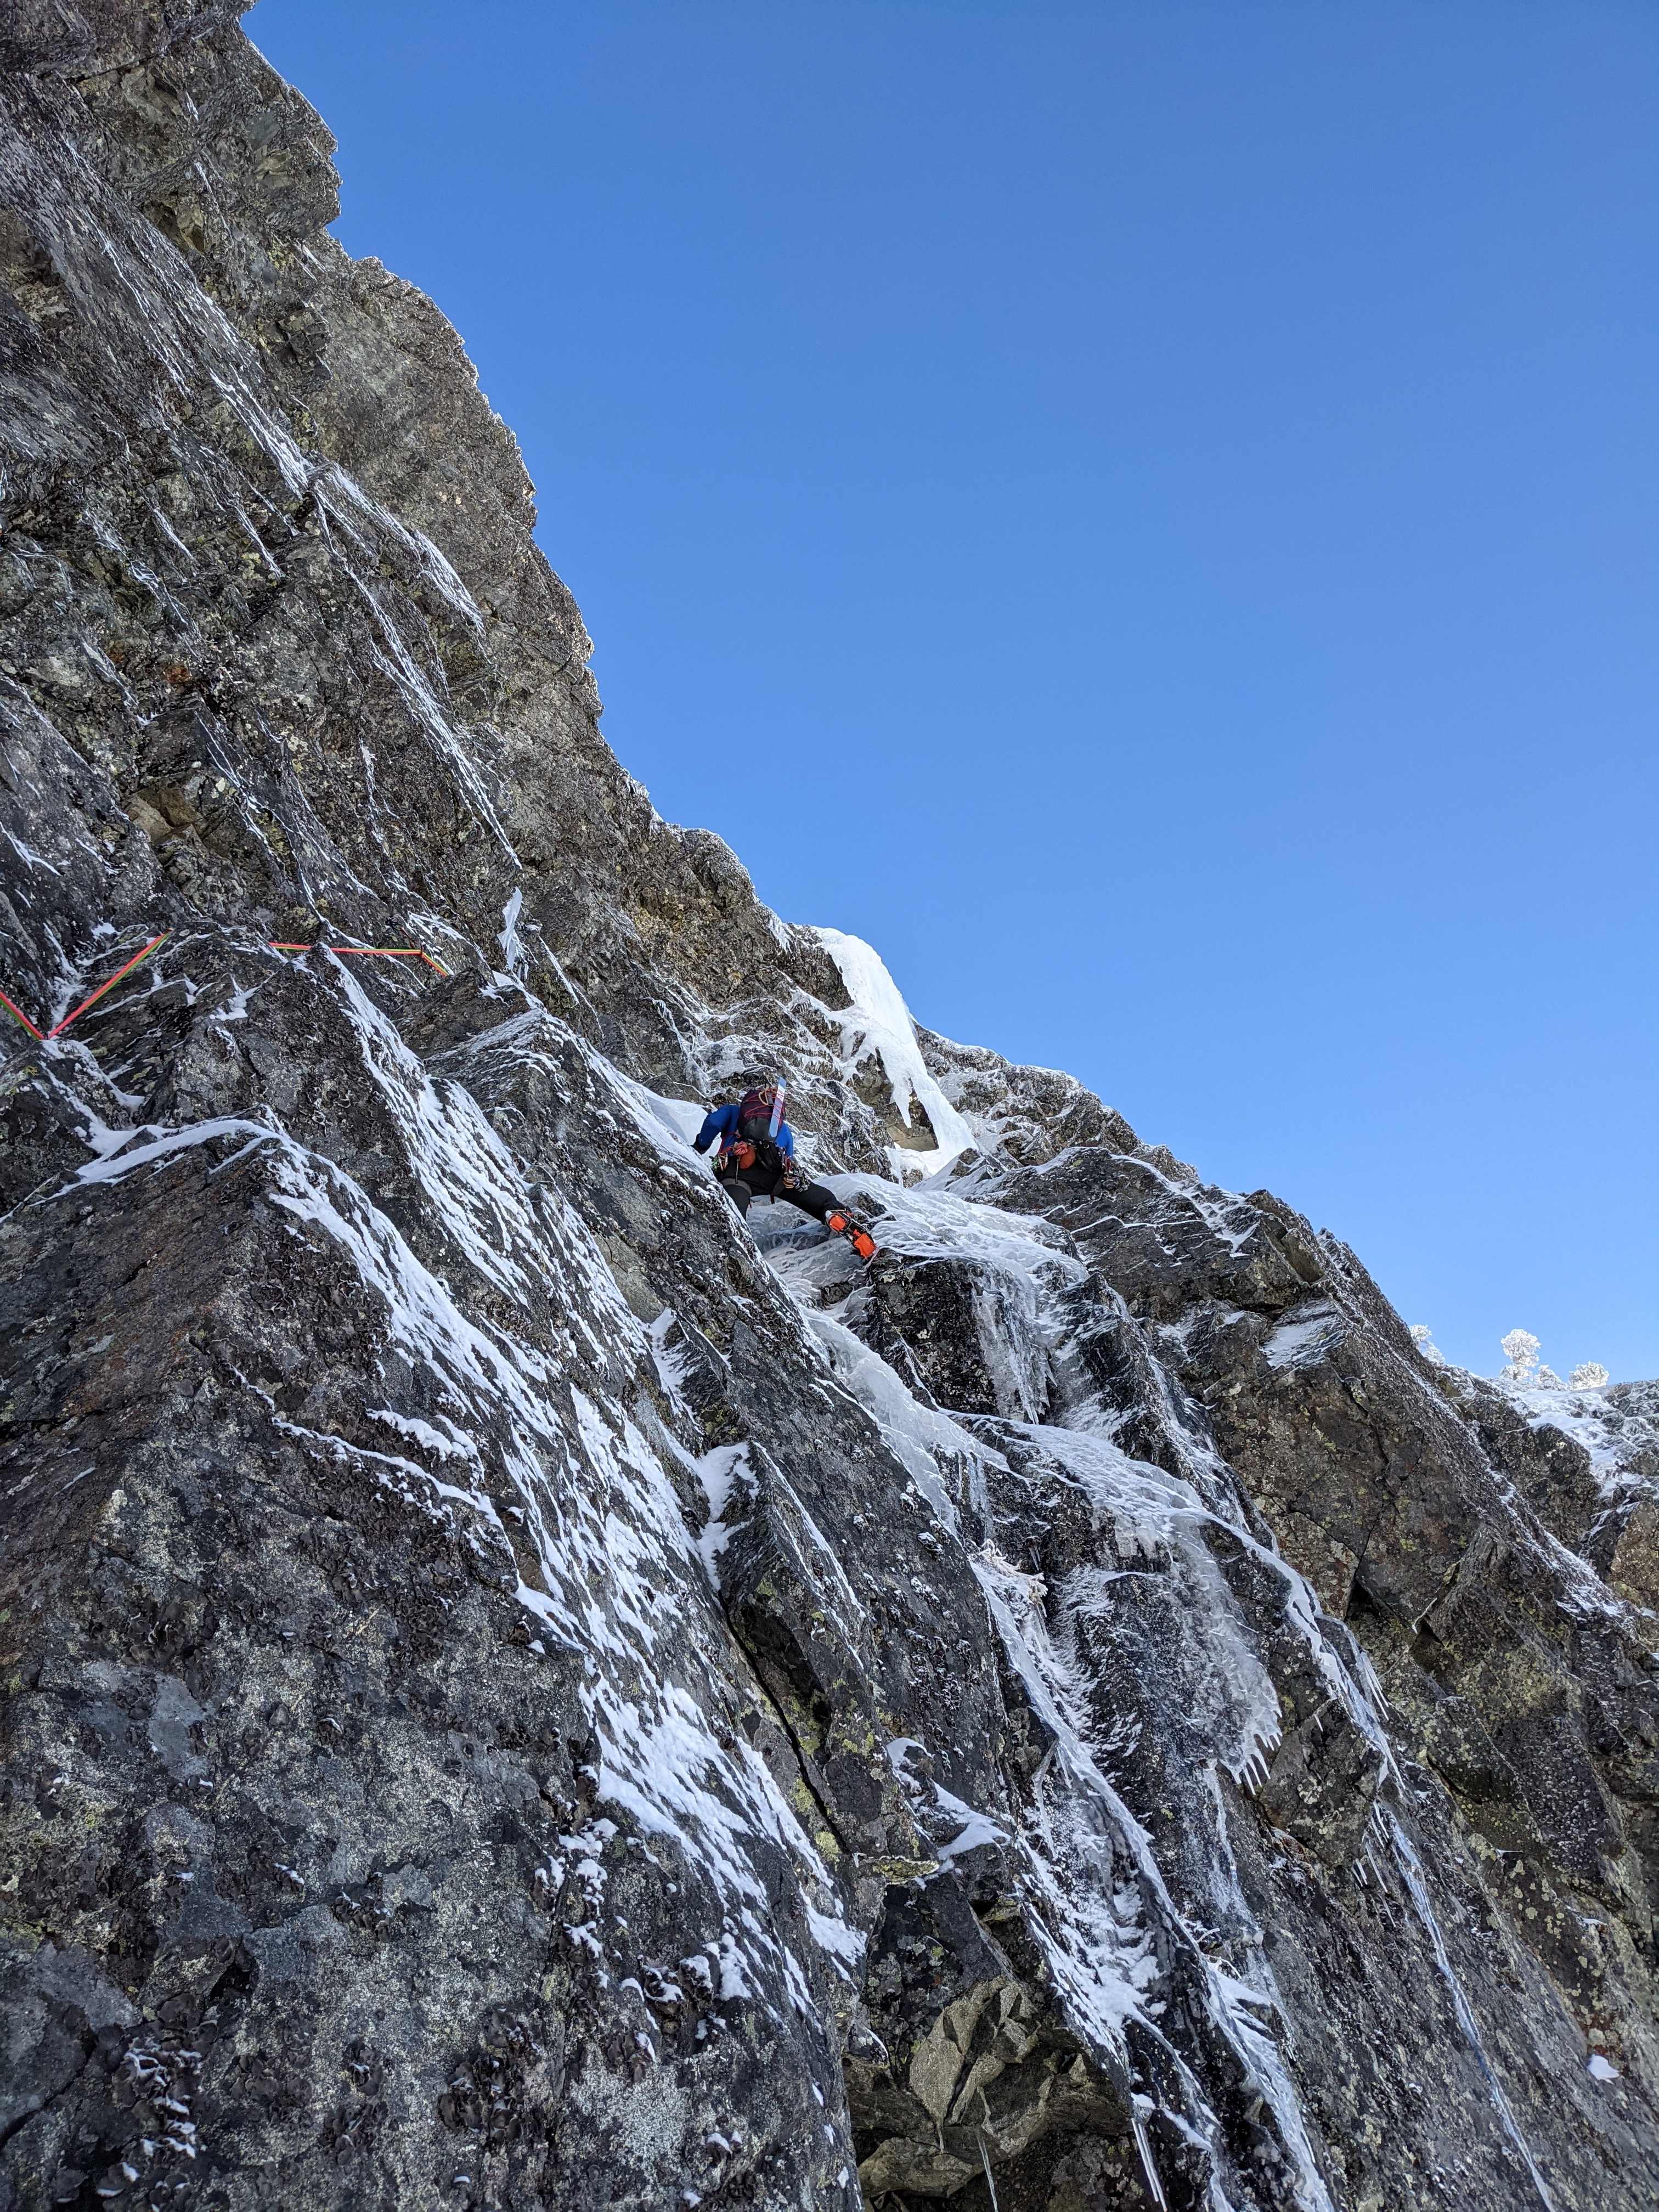
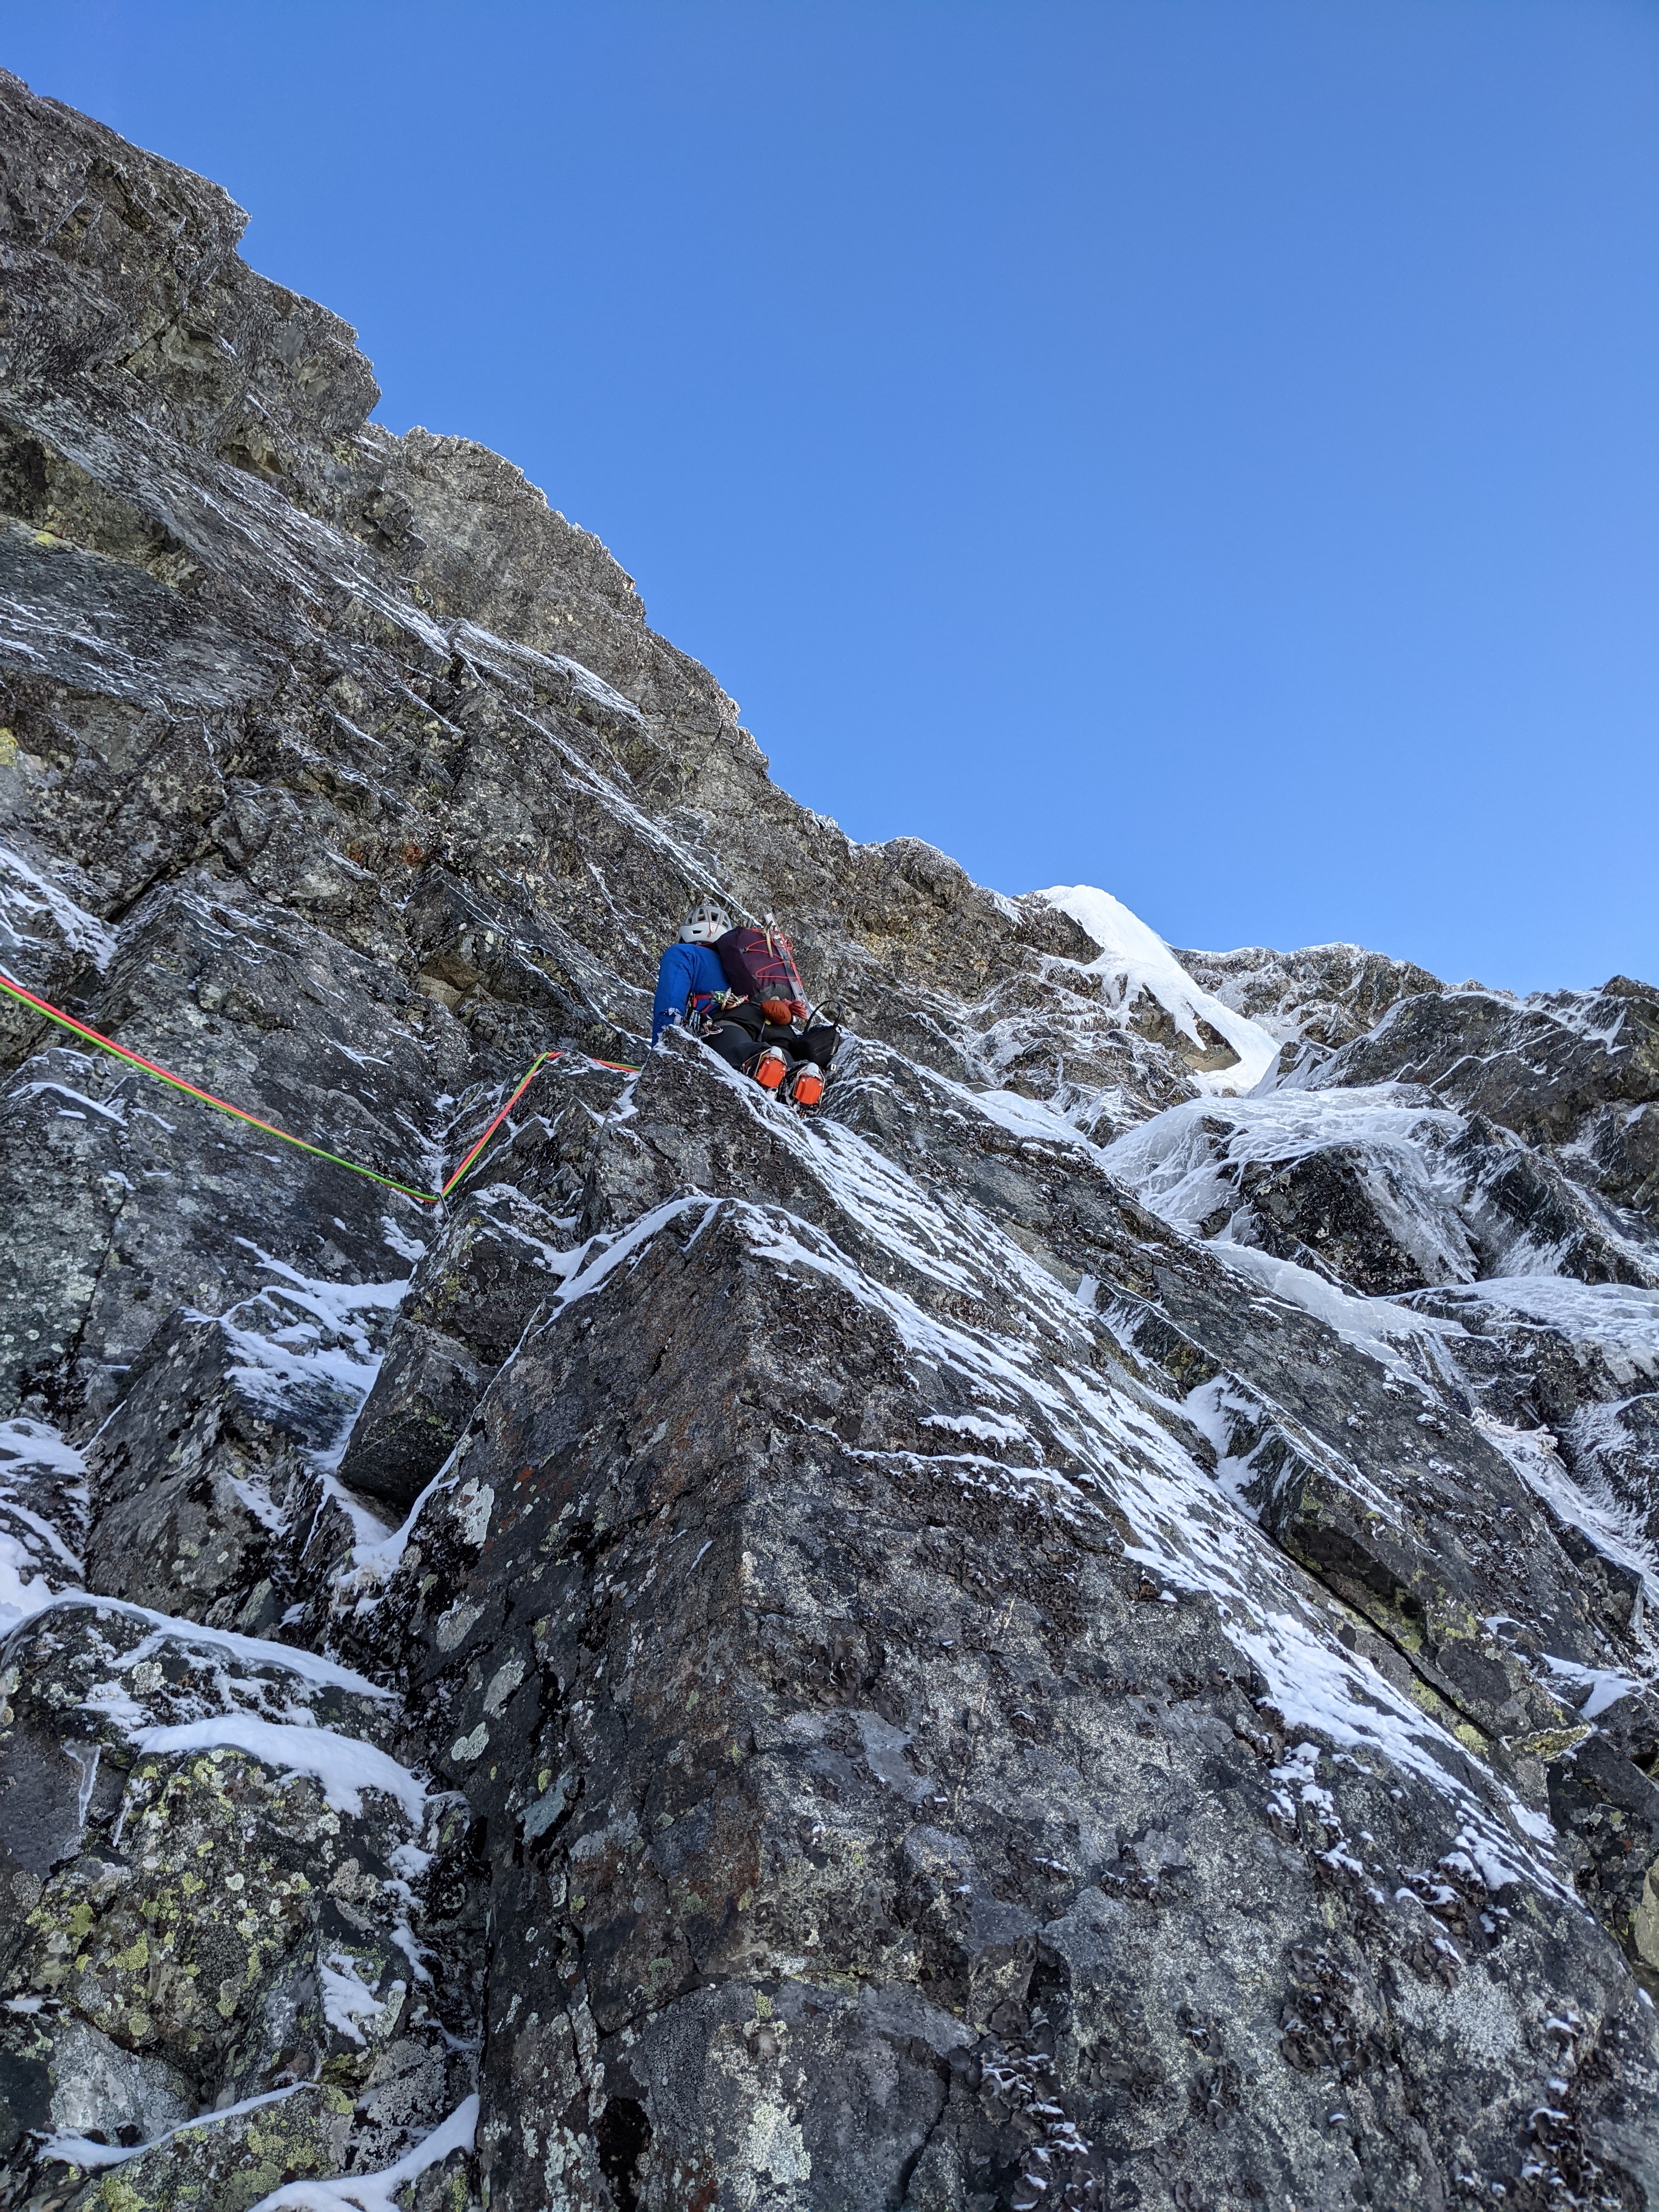
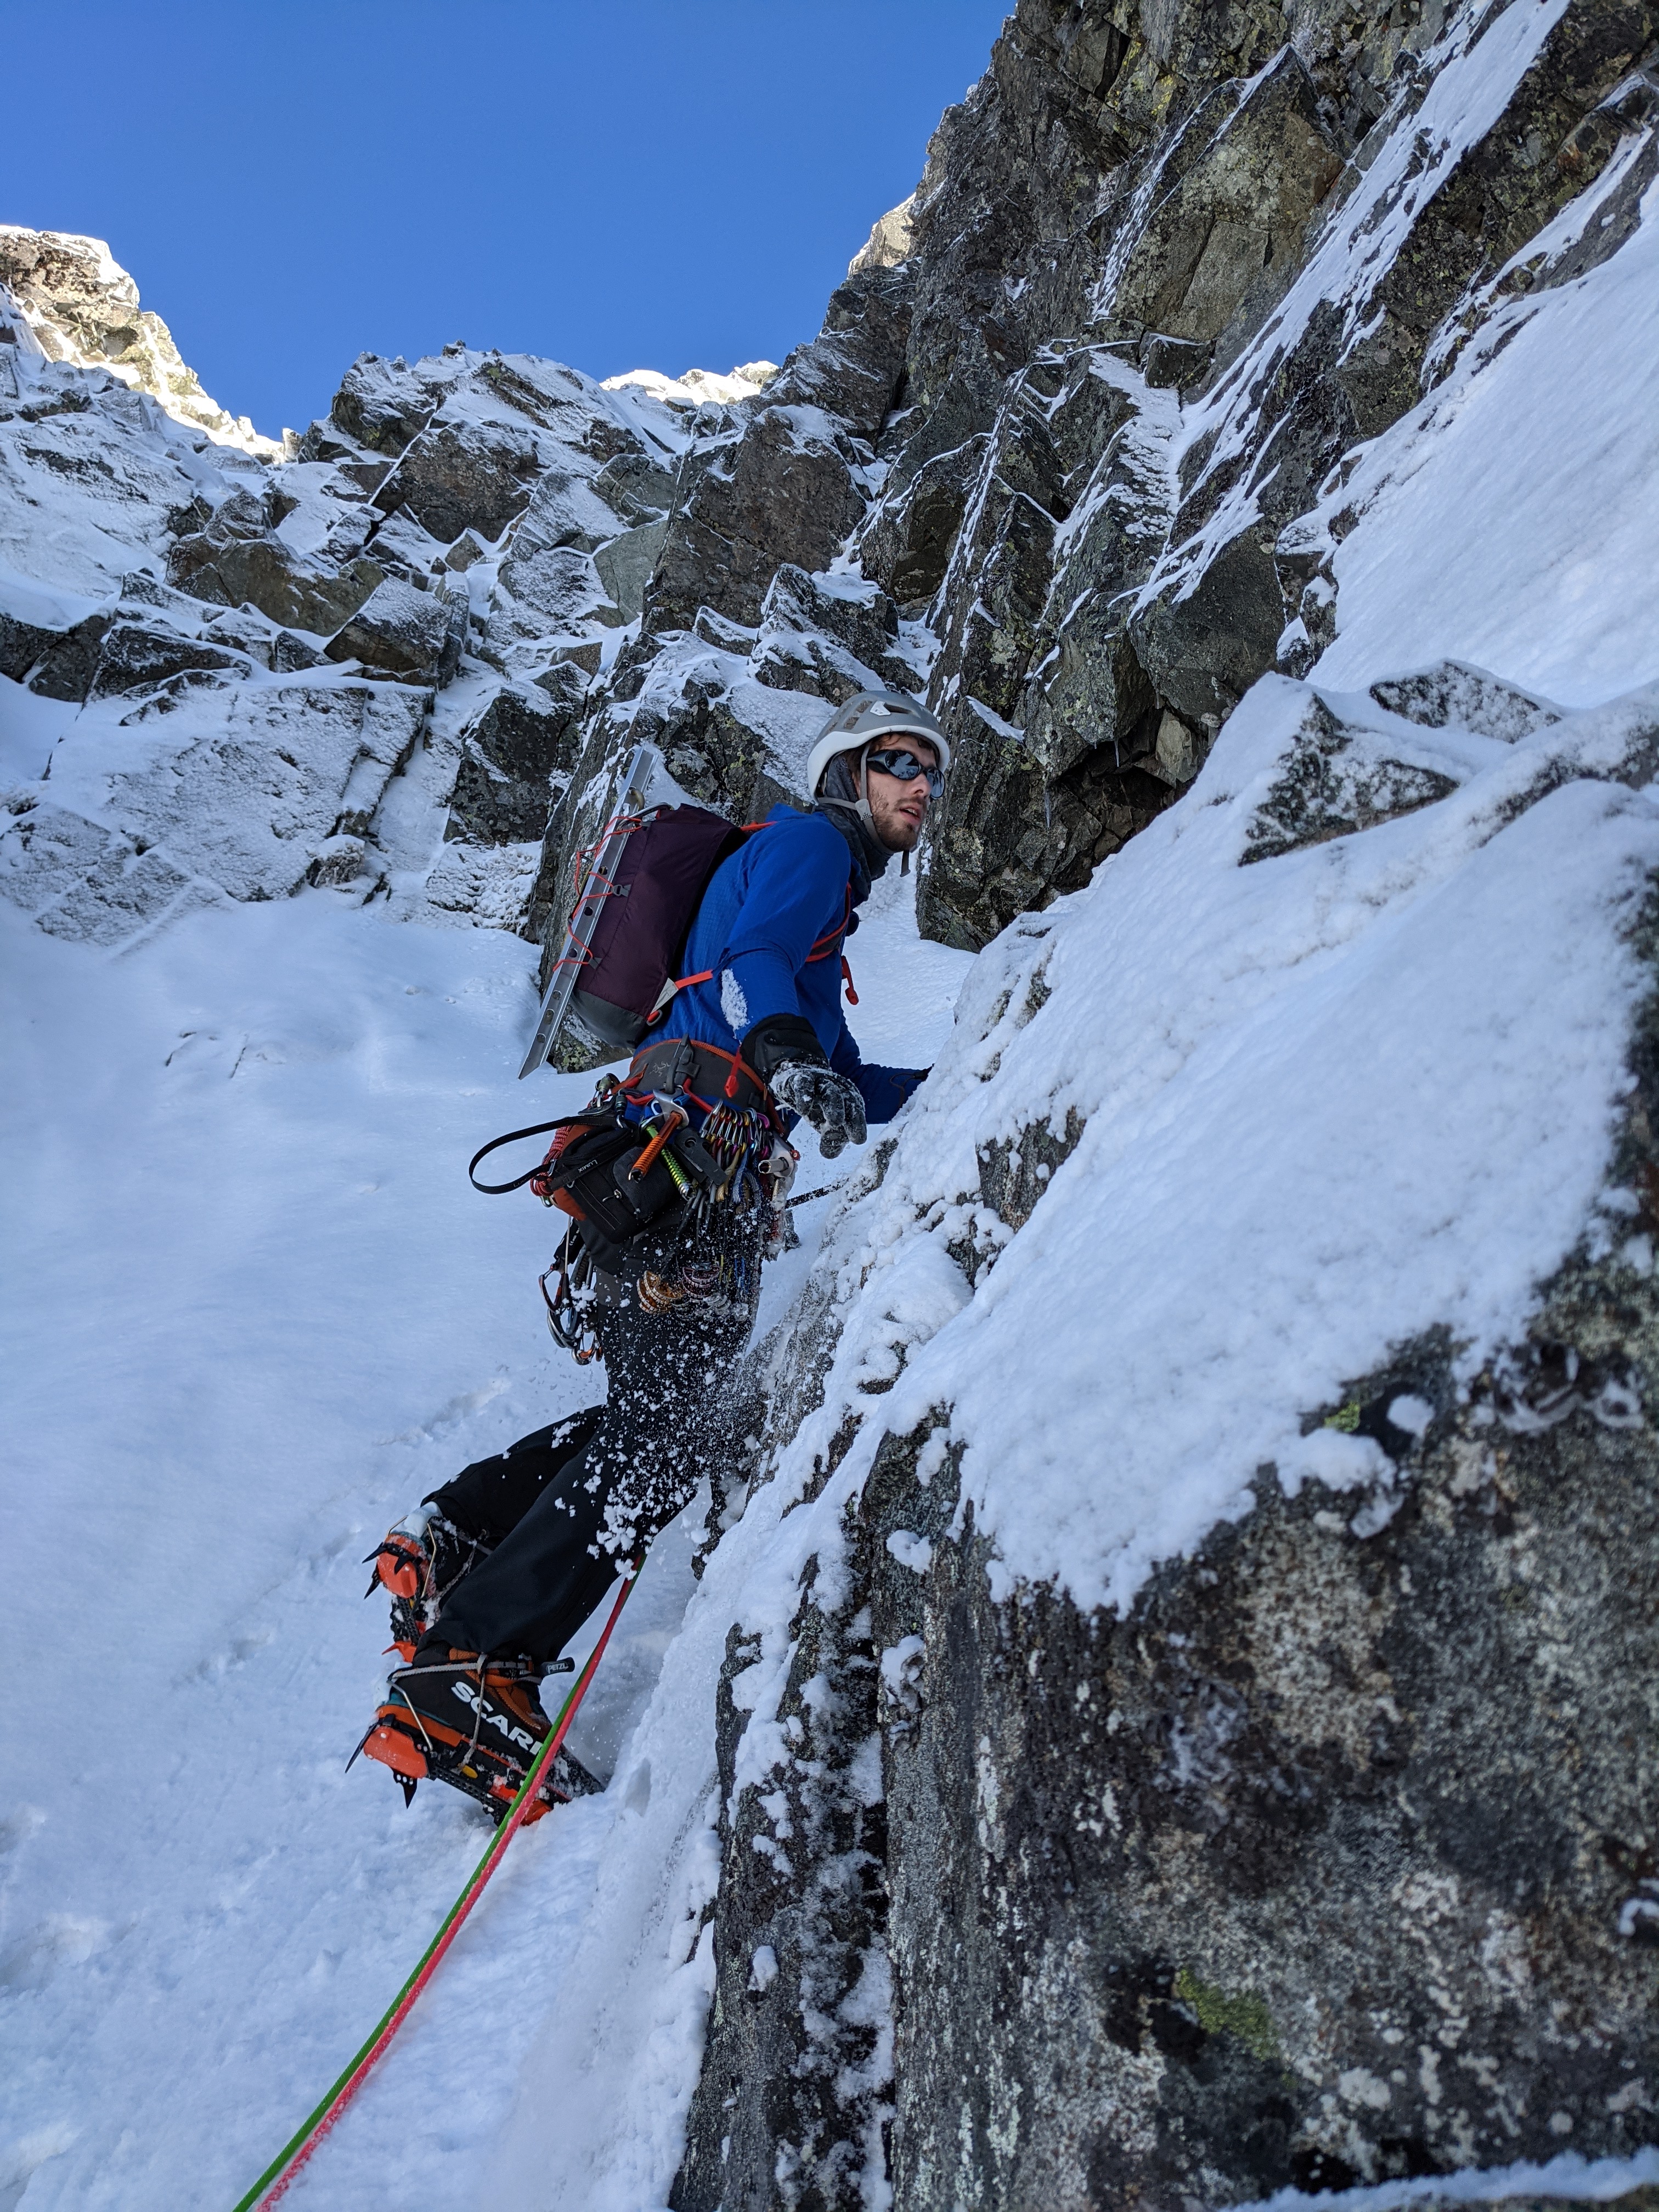
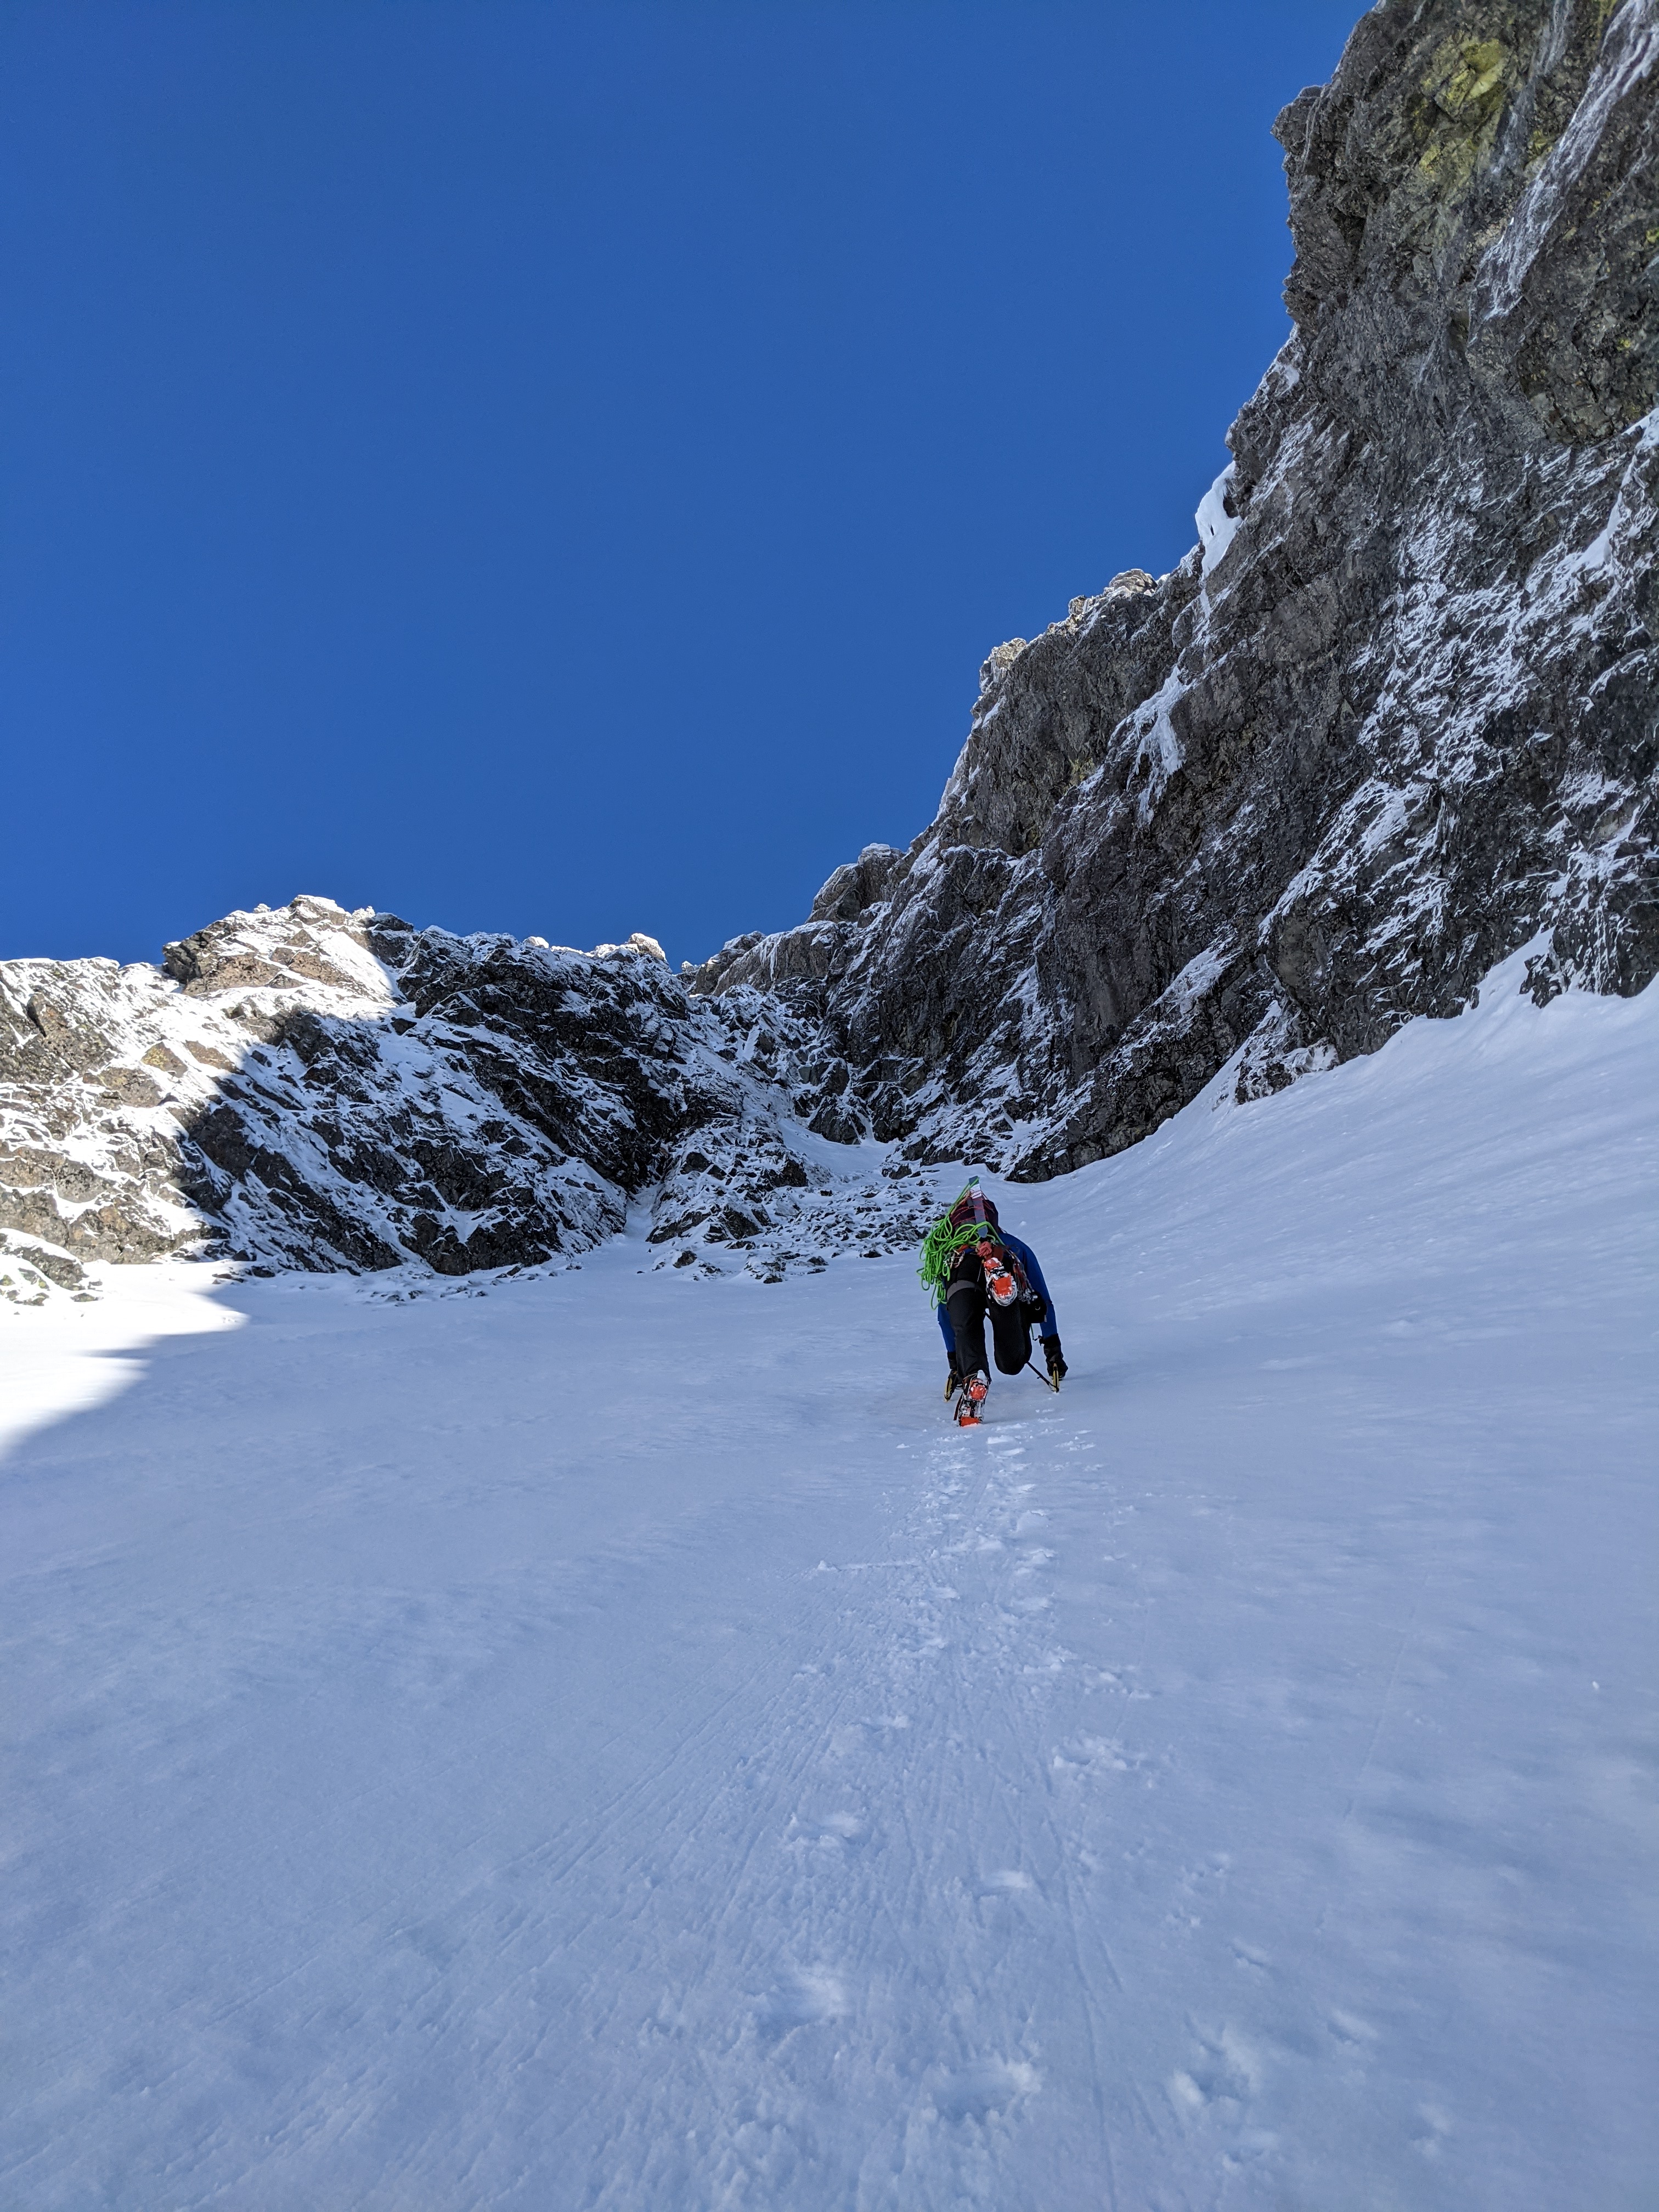
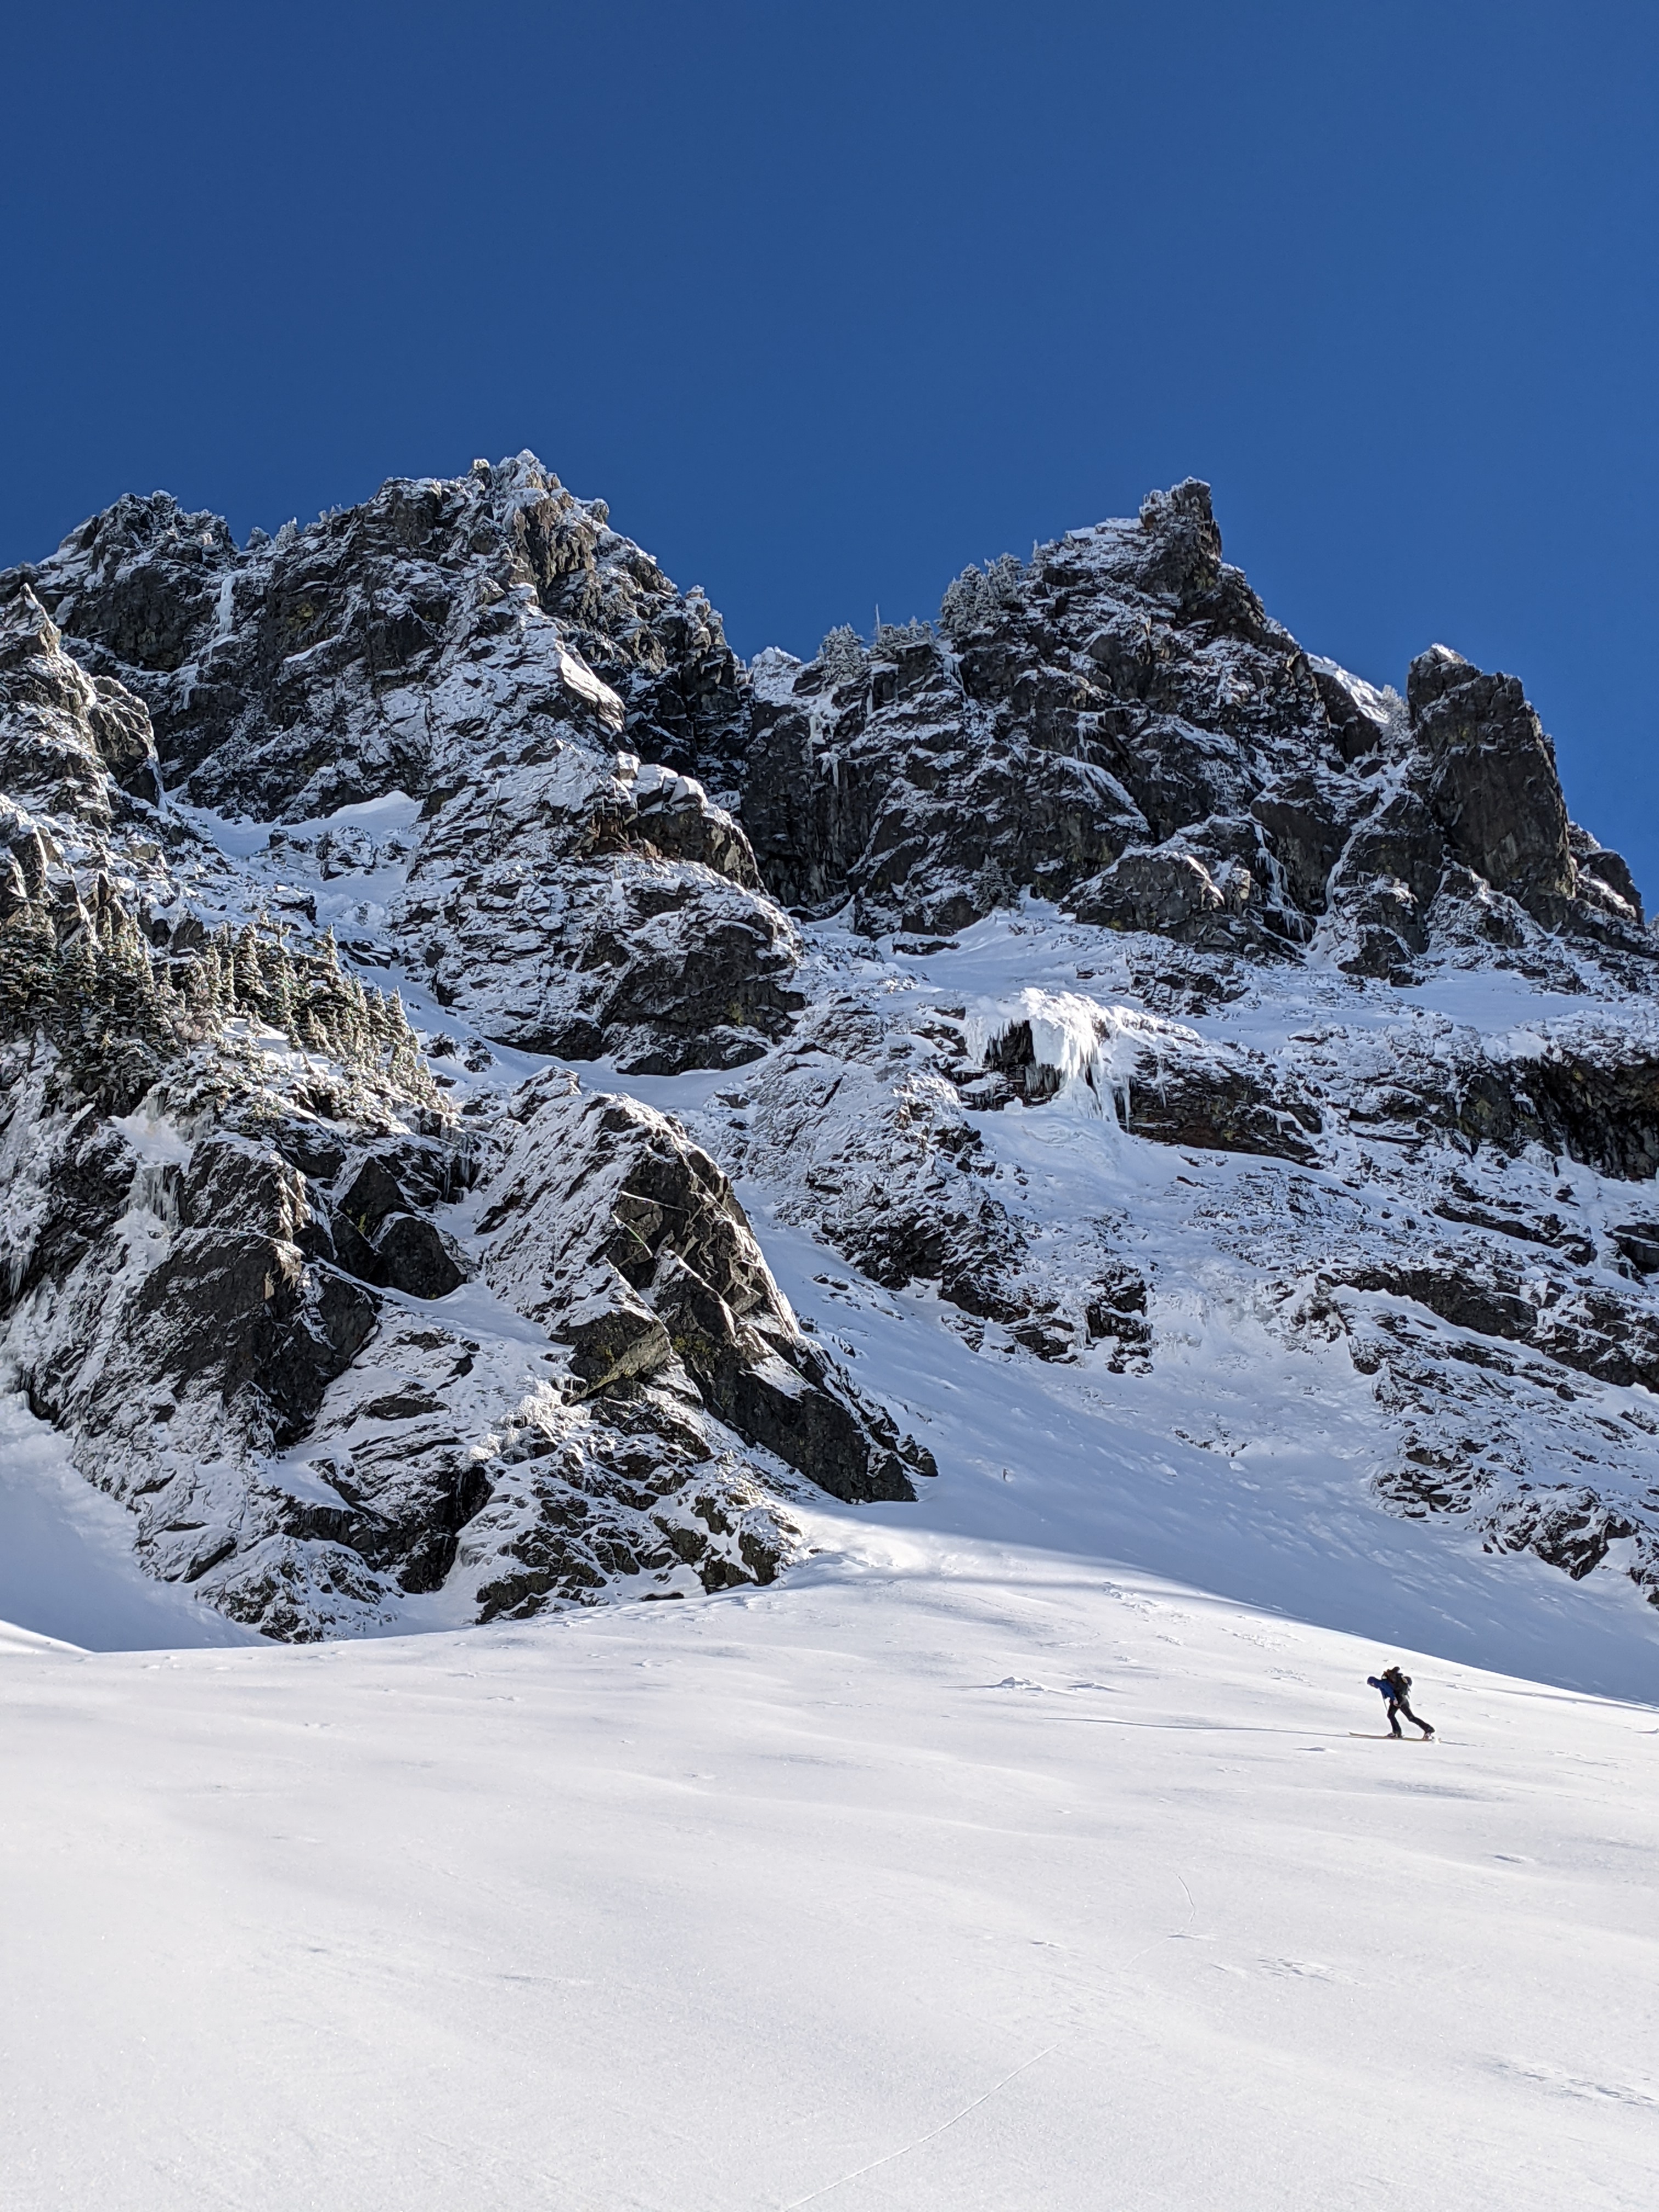
Trip: Chair Peak West Face - [FA] The Upper West Side (WI4+ M4) Trip Date: 01/18/2021 Trip Report: Grade Update: Doug and I agreed to upgrade the route from WI4+ M4, to WI5- M5 when submitting to the AAJ. This decision was made to align more with the grades of the Canadian rockies. Keep in mind that this route is immensely condition dependent. Yesterday @Doug_Hutchinson and I skied out to the west face of Chair with low expectations and too much weight on our backs. As far as I can tell, this face has seen little to no winter climbing activity and was completely off my radar until @Kyle M showed me some photos. Our route started by slogging up ~700ft of steep firm snow with a couple easy ice chokes along the way. Nothing worth roping up for. The sun starts hitting the lower snow slopes around 10am, so I would recommend timing things so you start climbing no later than 10:30. After the slog we arrived at the head of a small alcove where we kicked out a platform and roped up. Gear for a belay is hard to come by, take what you can get. I took the first pitch which ended up being a tricky 20m M4 left facing corner system. Nothing was ever really that hard, but protection was difficult, and the rock quality left something to be desired. A really cool looking super direct mixed pitch can be found just to the right and would probably go at M7. Doug then took the lead on the money pitch. While only about WI4+, this pitch proved to be a pretty serious lead. The crux required climbing into an alcove behind a detached curtain, grabbing a rock hold with your right hand and swinging over a bulge above your head. Not your usual WI4. This pitch took good 10 and 13cm screws, but not always where you want them. One could probably bail back to the snow from here with 2 ropes. Moving forward we climbed a full 65 meters of scrambly snow/rock/ice up to a scottish looking headwall, and up a ramp to the left. Belay off a small tree that may be buried in different conditions. I have a hunch you can go either right or left, not sure which is easier. A short sketchy mixed pitch took us up to the false summit. Not hard, just tenuous and poor pro. ^Placing the only piece on the pitch ^The piece The route finished with a classic Au Cheval alpine ridge traverse with snow and ice on the north side, and warm dry rock on the south. This traverse is VERY poorly protected, and definitely not straight forward. Descent: There are two good options for the descent. The best option by far, is to do this route as a carryover, foregoing the skis and descending the normal route to the east. This requires very firm conditions, but would be much shorter. Since we left our skis in the Melakwa valley, we were forced to descend that direction via a long snow gulley opposite of the standard rappel anchor. The first rappel shares the piton anchor with the standard descent, just in the opposite direction. We left a piton and nut anchor 60M down to the left for future parties. This rappel only got us half way to the next worthy tree, luckily the snow was good for down climbing, but we were well aware of the exposed cliffs below. Two more raps off trees took us to the schrund. Ski back over Bryant col, or for bonus points, continue out via the second half of the Chair peak circumnav in the dark. Link to my Strava track can be found HERE for approach and descent help. Get on this climb! We thought it was pretty classic, and likely not in good condition very frequently. Reach out to me with any beta needs! Thanks to Kyle M for this photo! Green is the route, Red is the descent, and the Yellow dots are rap anchors. The last rap is in a bushy tunnel that may be difficult to find for future parties. Gear Notes: Single rack .2-2, stoppers, KB's and Bugaboos. 6-10 Screws 10-16cm most useful. 2 Pickets brought but never used (per usual). 60m twin ropes. Approach Notes: Ski or boot up and over Bryant/Chair col via pineapple basin. Descend over to Melakwa lake, and up to the base of the wall.1 point


