Leaderboard

Popular Content
Showing content with the highest reputation on 07/14/20 in all areas
-
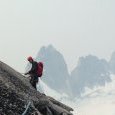
Trip: Pasayten Wilderness - Tatoosh Buttes - Ptarmigan Peak - Lago Trip Date: 07/08/2020 Trip Report: Last week, Anthony Marra Danny Bradley and I ran an incredible 42 mile, 11k gain loop in the Pasayten Wilderness. Took us 14 hours. We started at Slate Pass, ran down the Middle Fork for a long ways, traversed the ridge from Tatoosh Buttes over Ptarmigan Peak to Mt. Lago, then back out. The ridge between Dot and Lago has some class 3, and is very aesthetic and fun. It was the quintessential Pasayten experience, with broad valleys, wildflower meadows, epic ridges, tundra, and a helluva lot of blowdowns. To me, this was one of the most wild and stunning routes I have ever done. Bless that Pasayten magic. The Middle Fork Pasayten trail has a ton of blowdowns past the Fred's Lake turnoff. Tatoosh Butte trail is fine, once you get above the burn. Descent down Lago sucked. https://climberkyle.com/2020/07/08/hart-of-the-pasayten/ Middle Fork Pasayten from Tatoosh Buttes. Cruising along the buttes. Magical trail. Running down Ptarmigan Peak. Dropping off Dot Mountain. Epic tarn on south side of Ptarmigan. Dot Lakes. Final ridge to Lago. Lago summit. Sunset near Slate Pass. Gear Notes: Trail running gear. Approach Notes: 20 ft up to Slate Pass, and then down down down!2 points
-
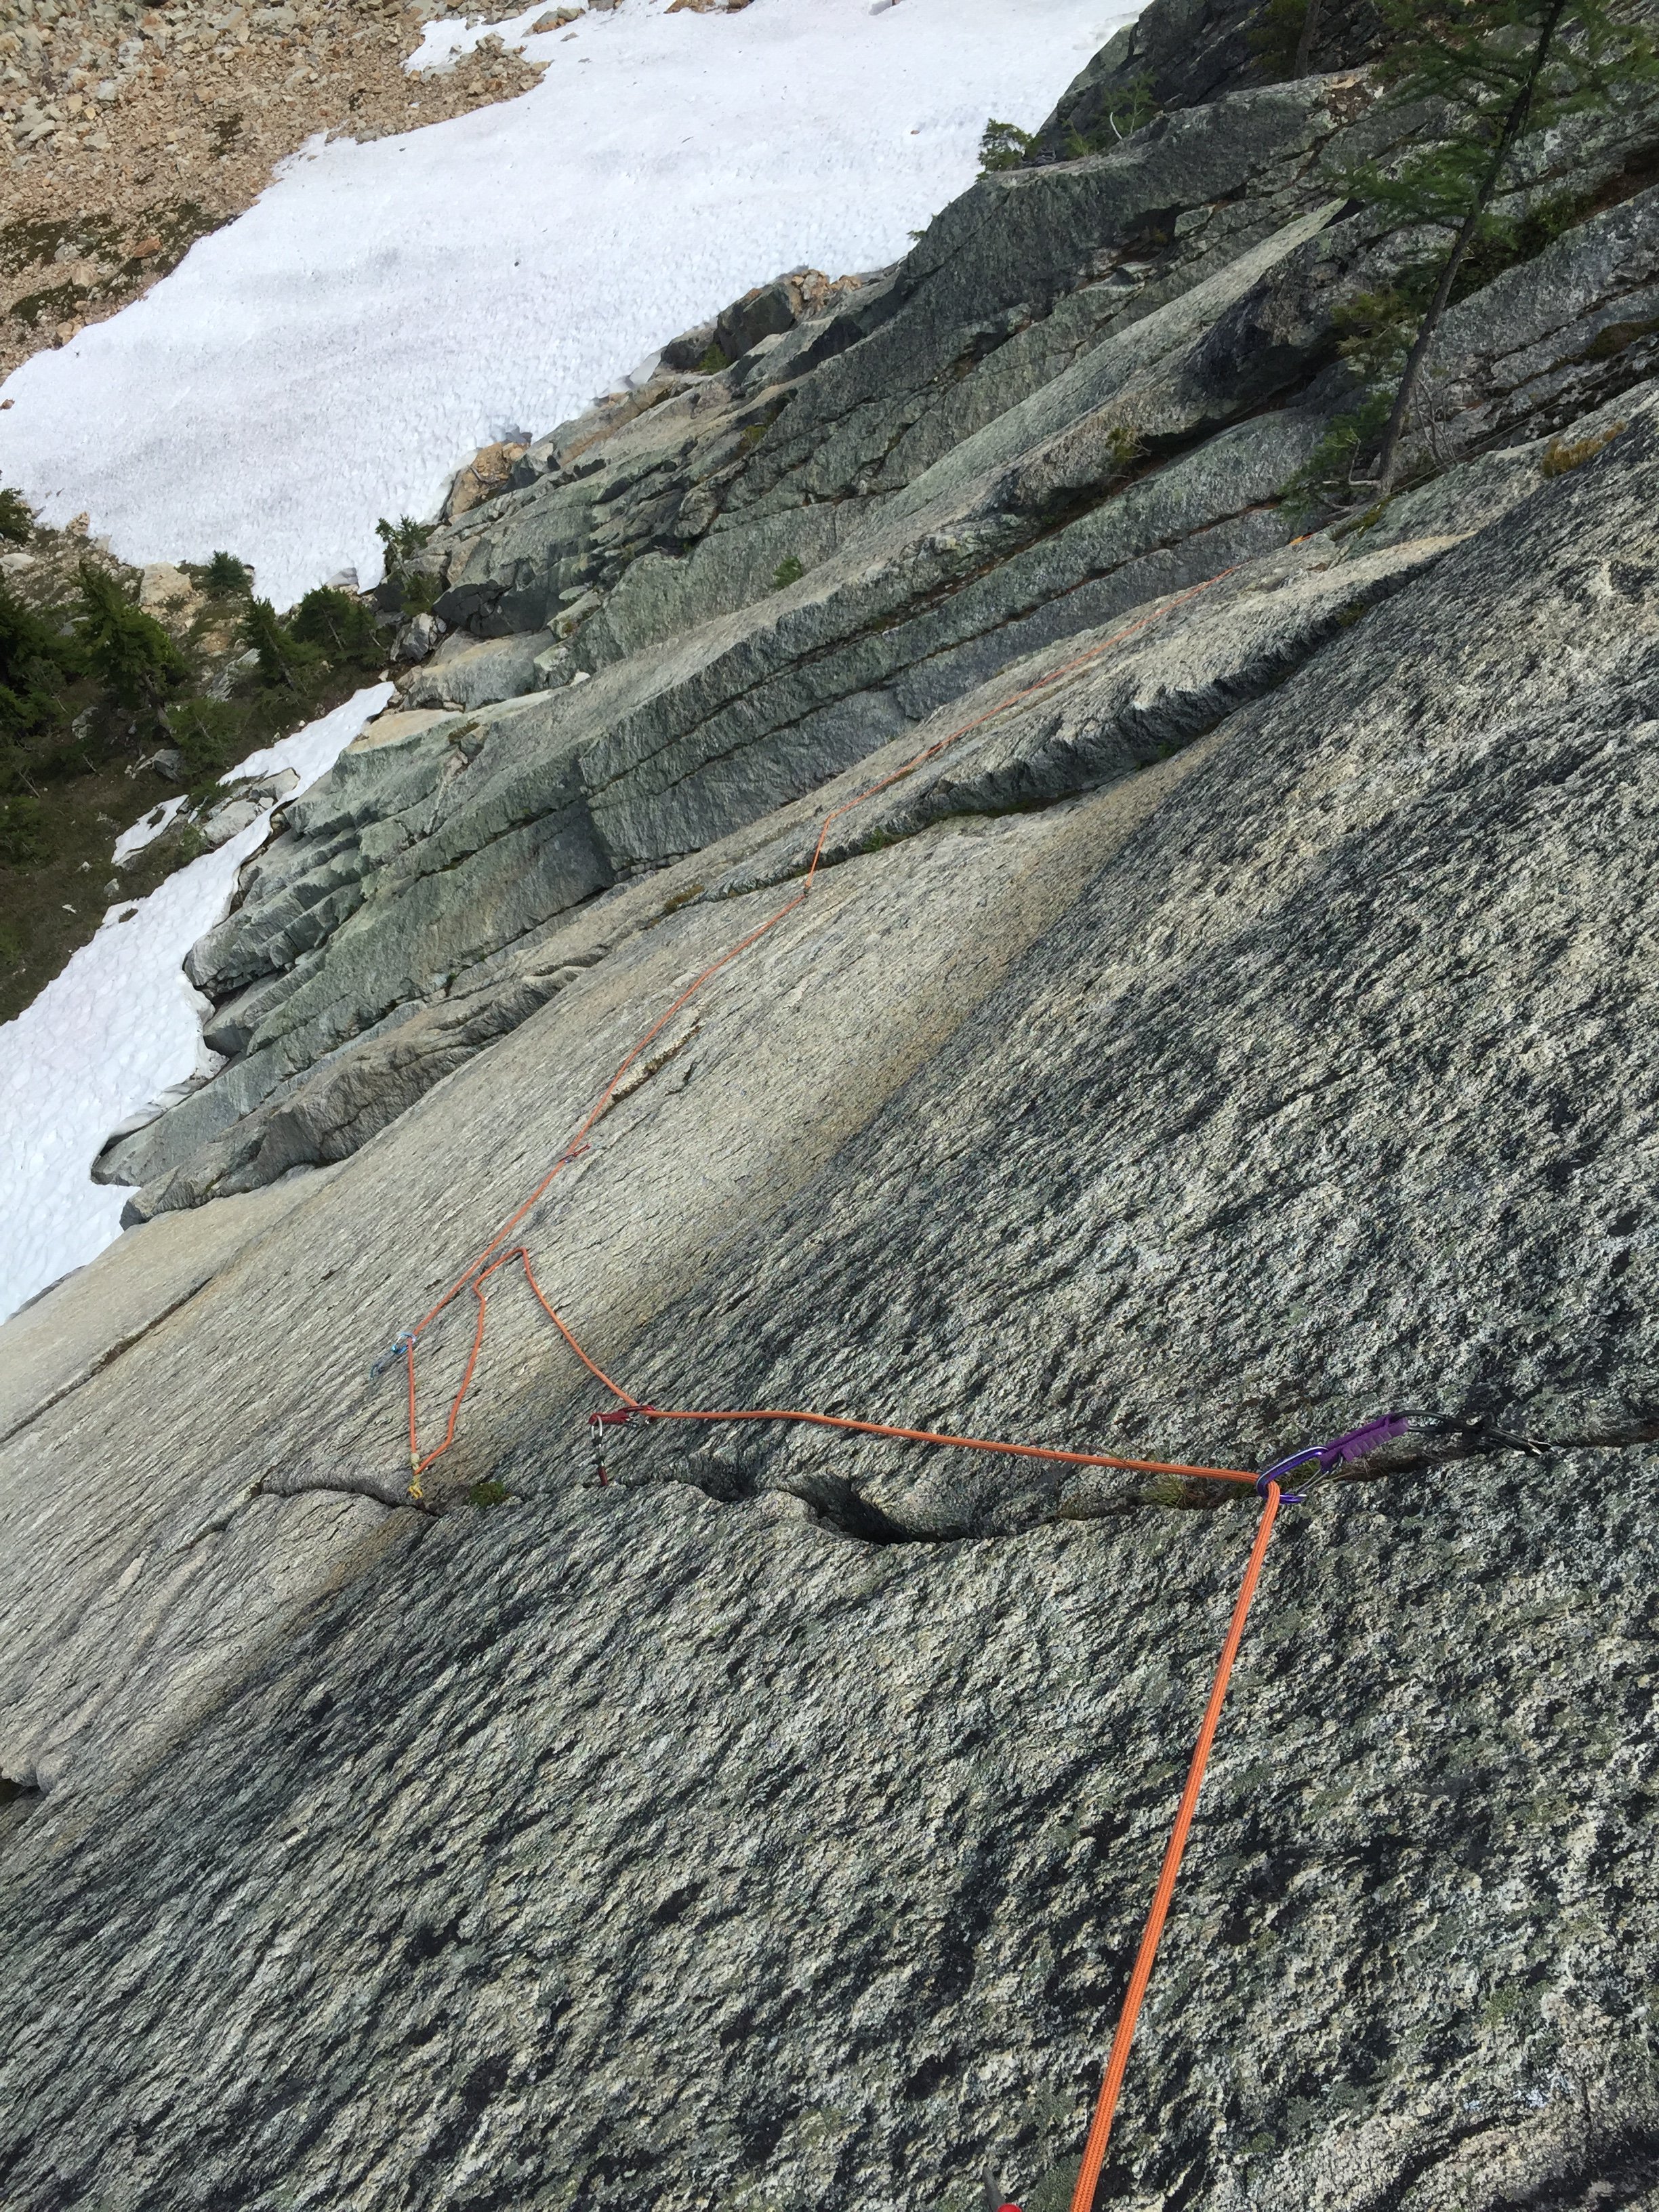
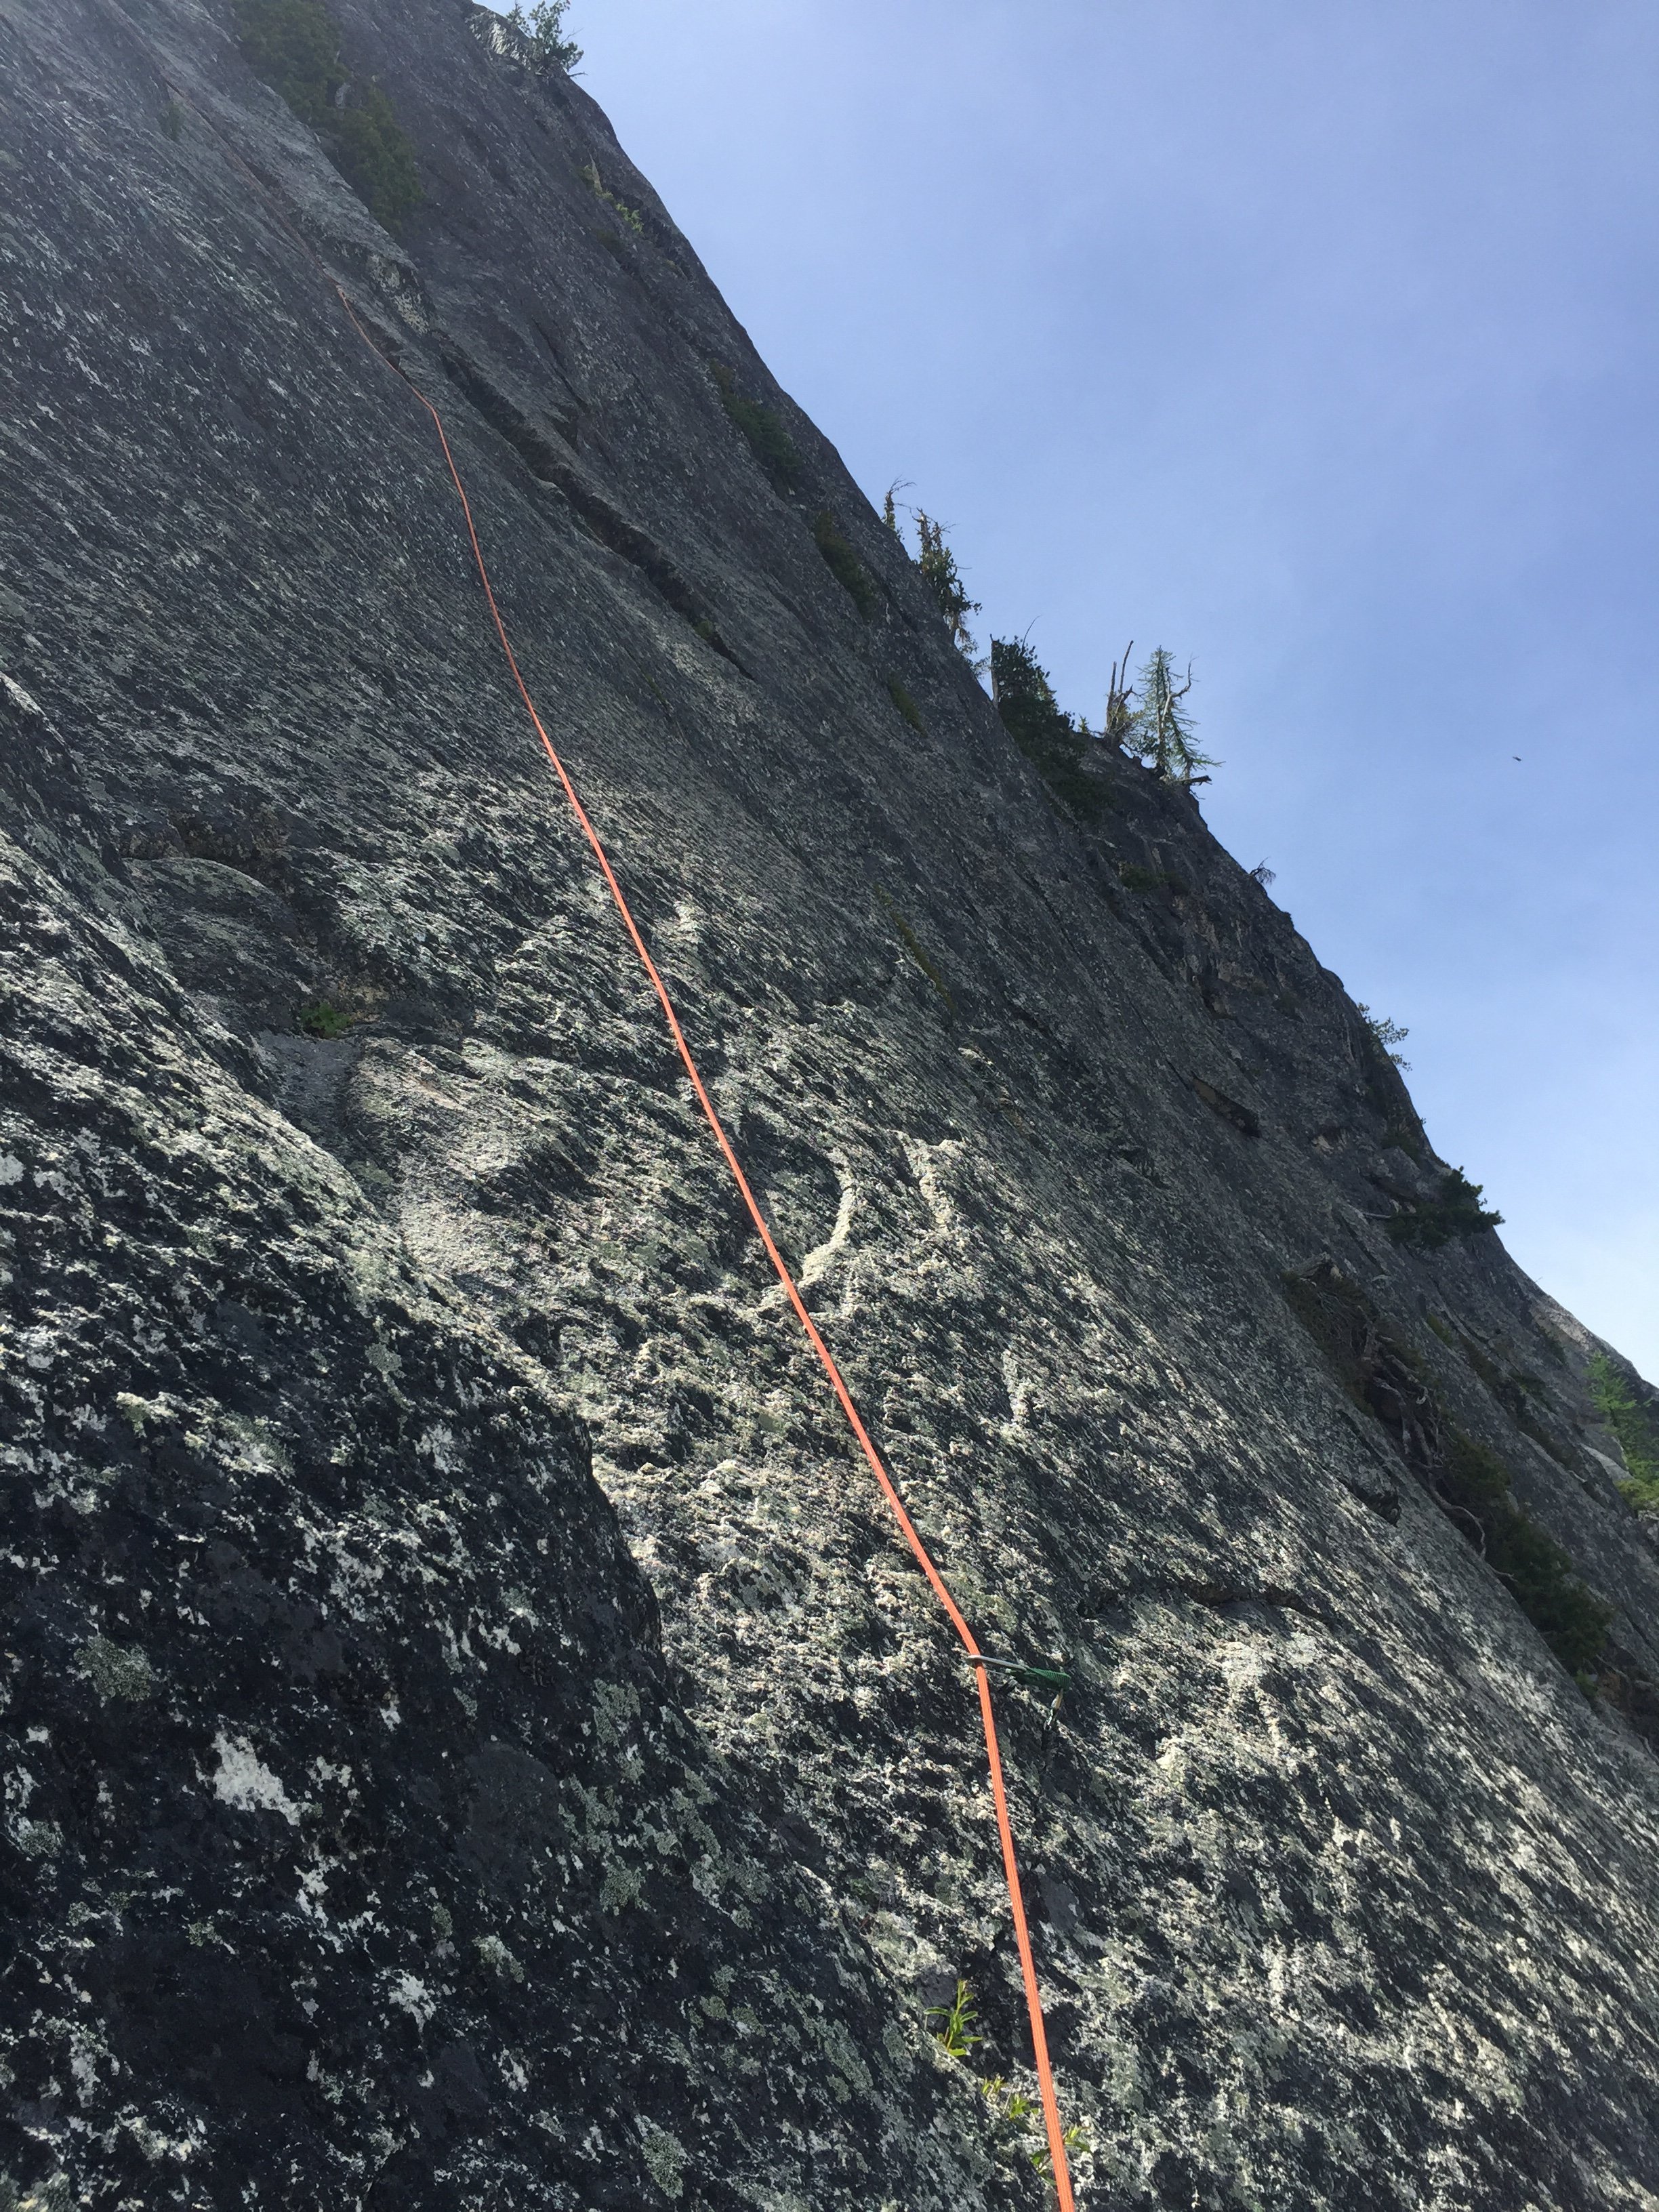
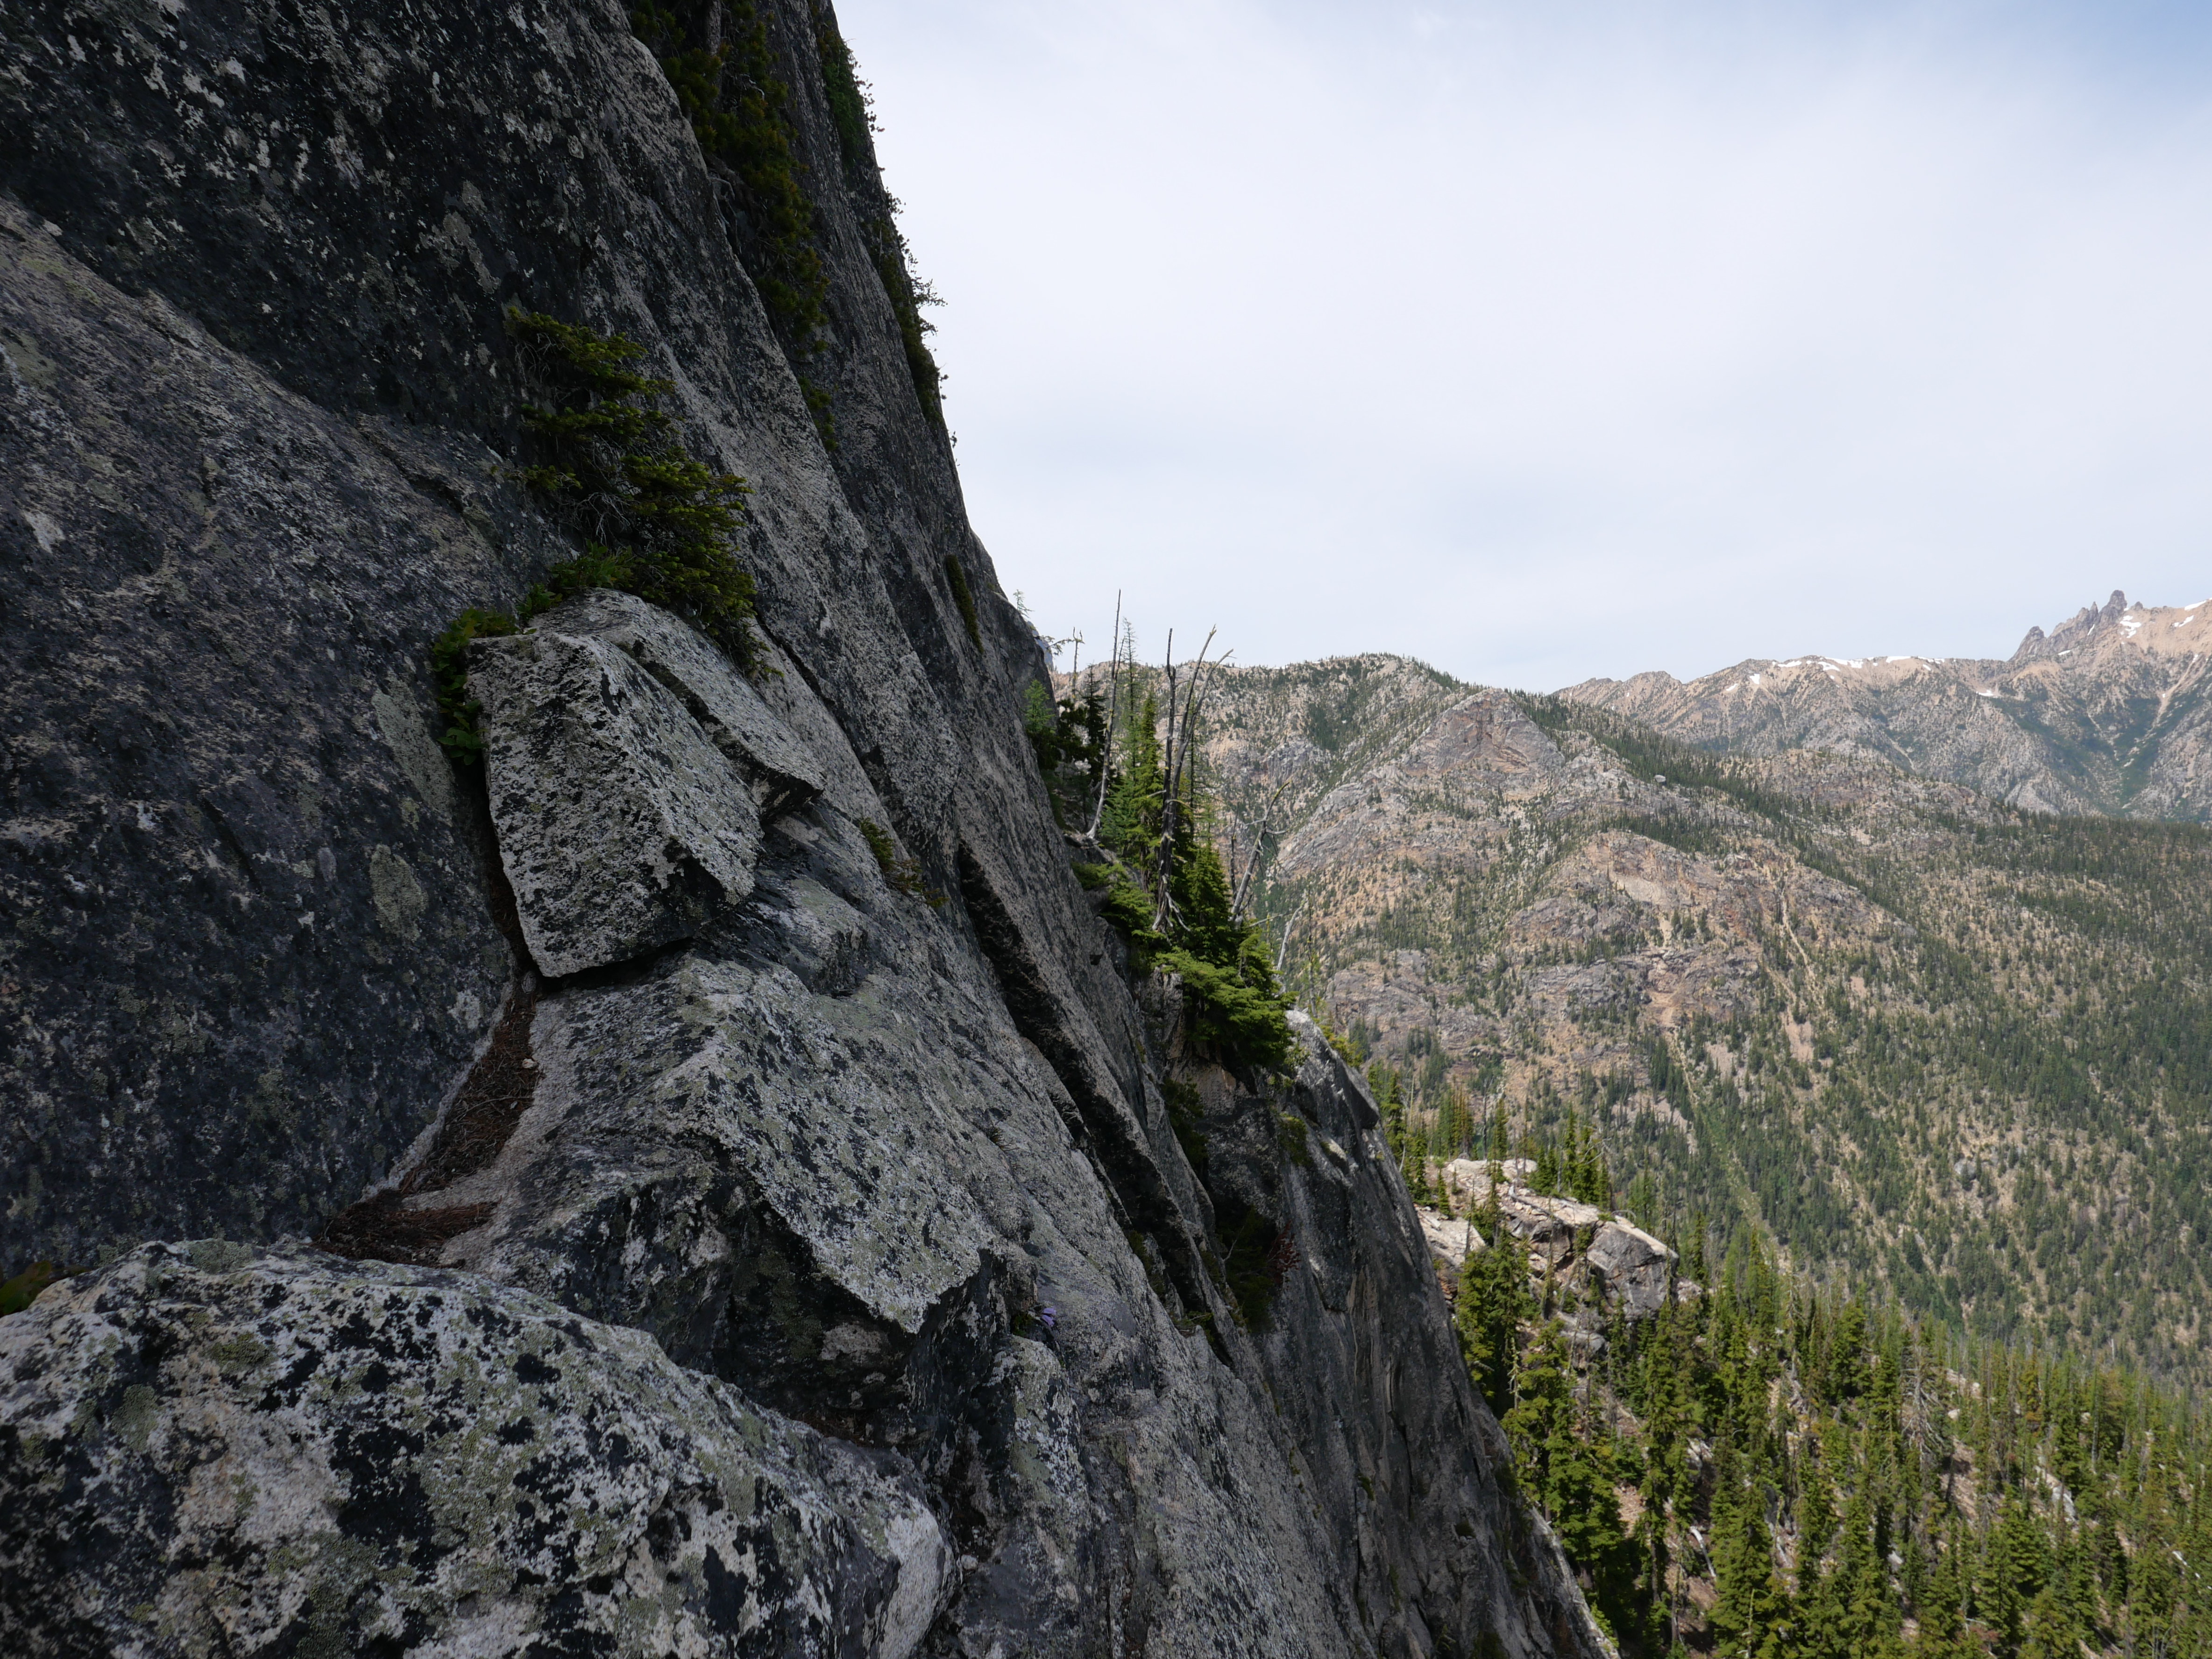
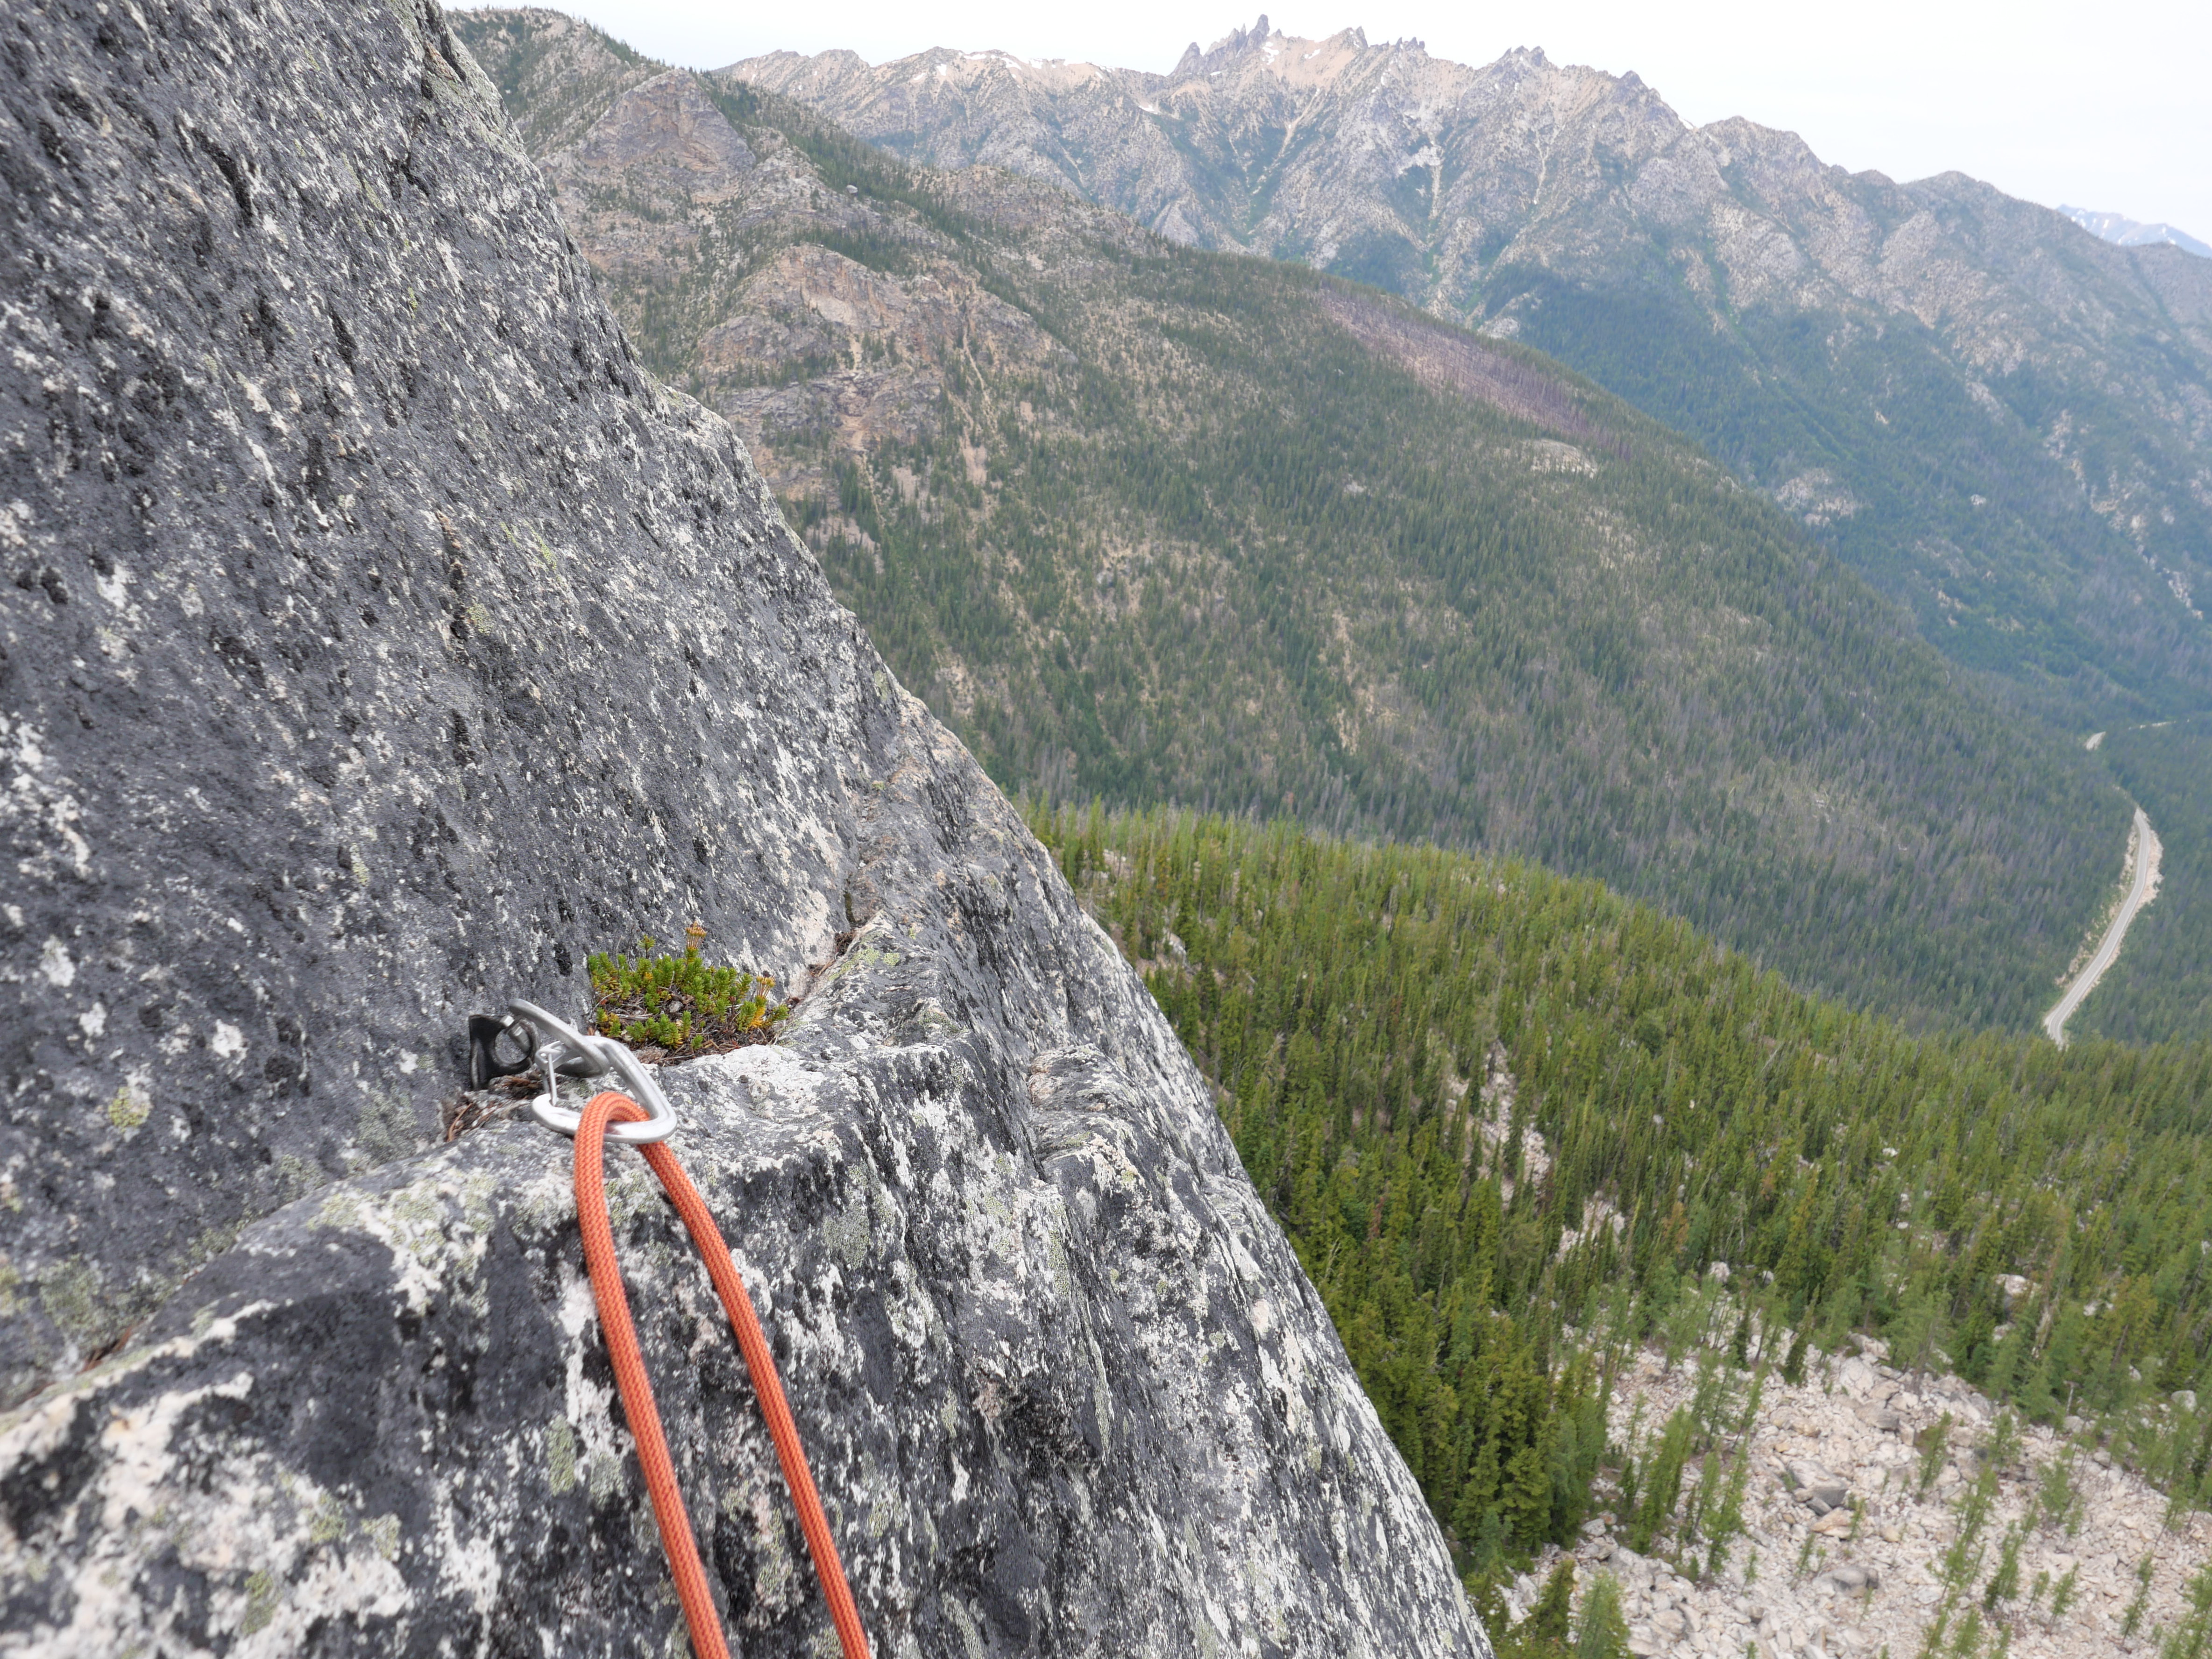
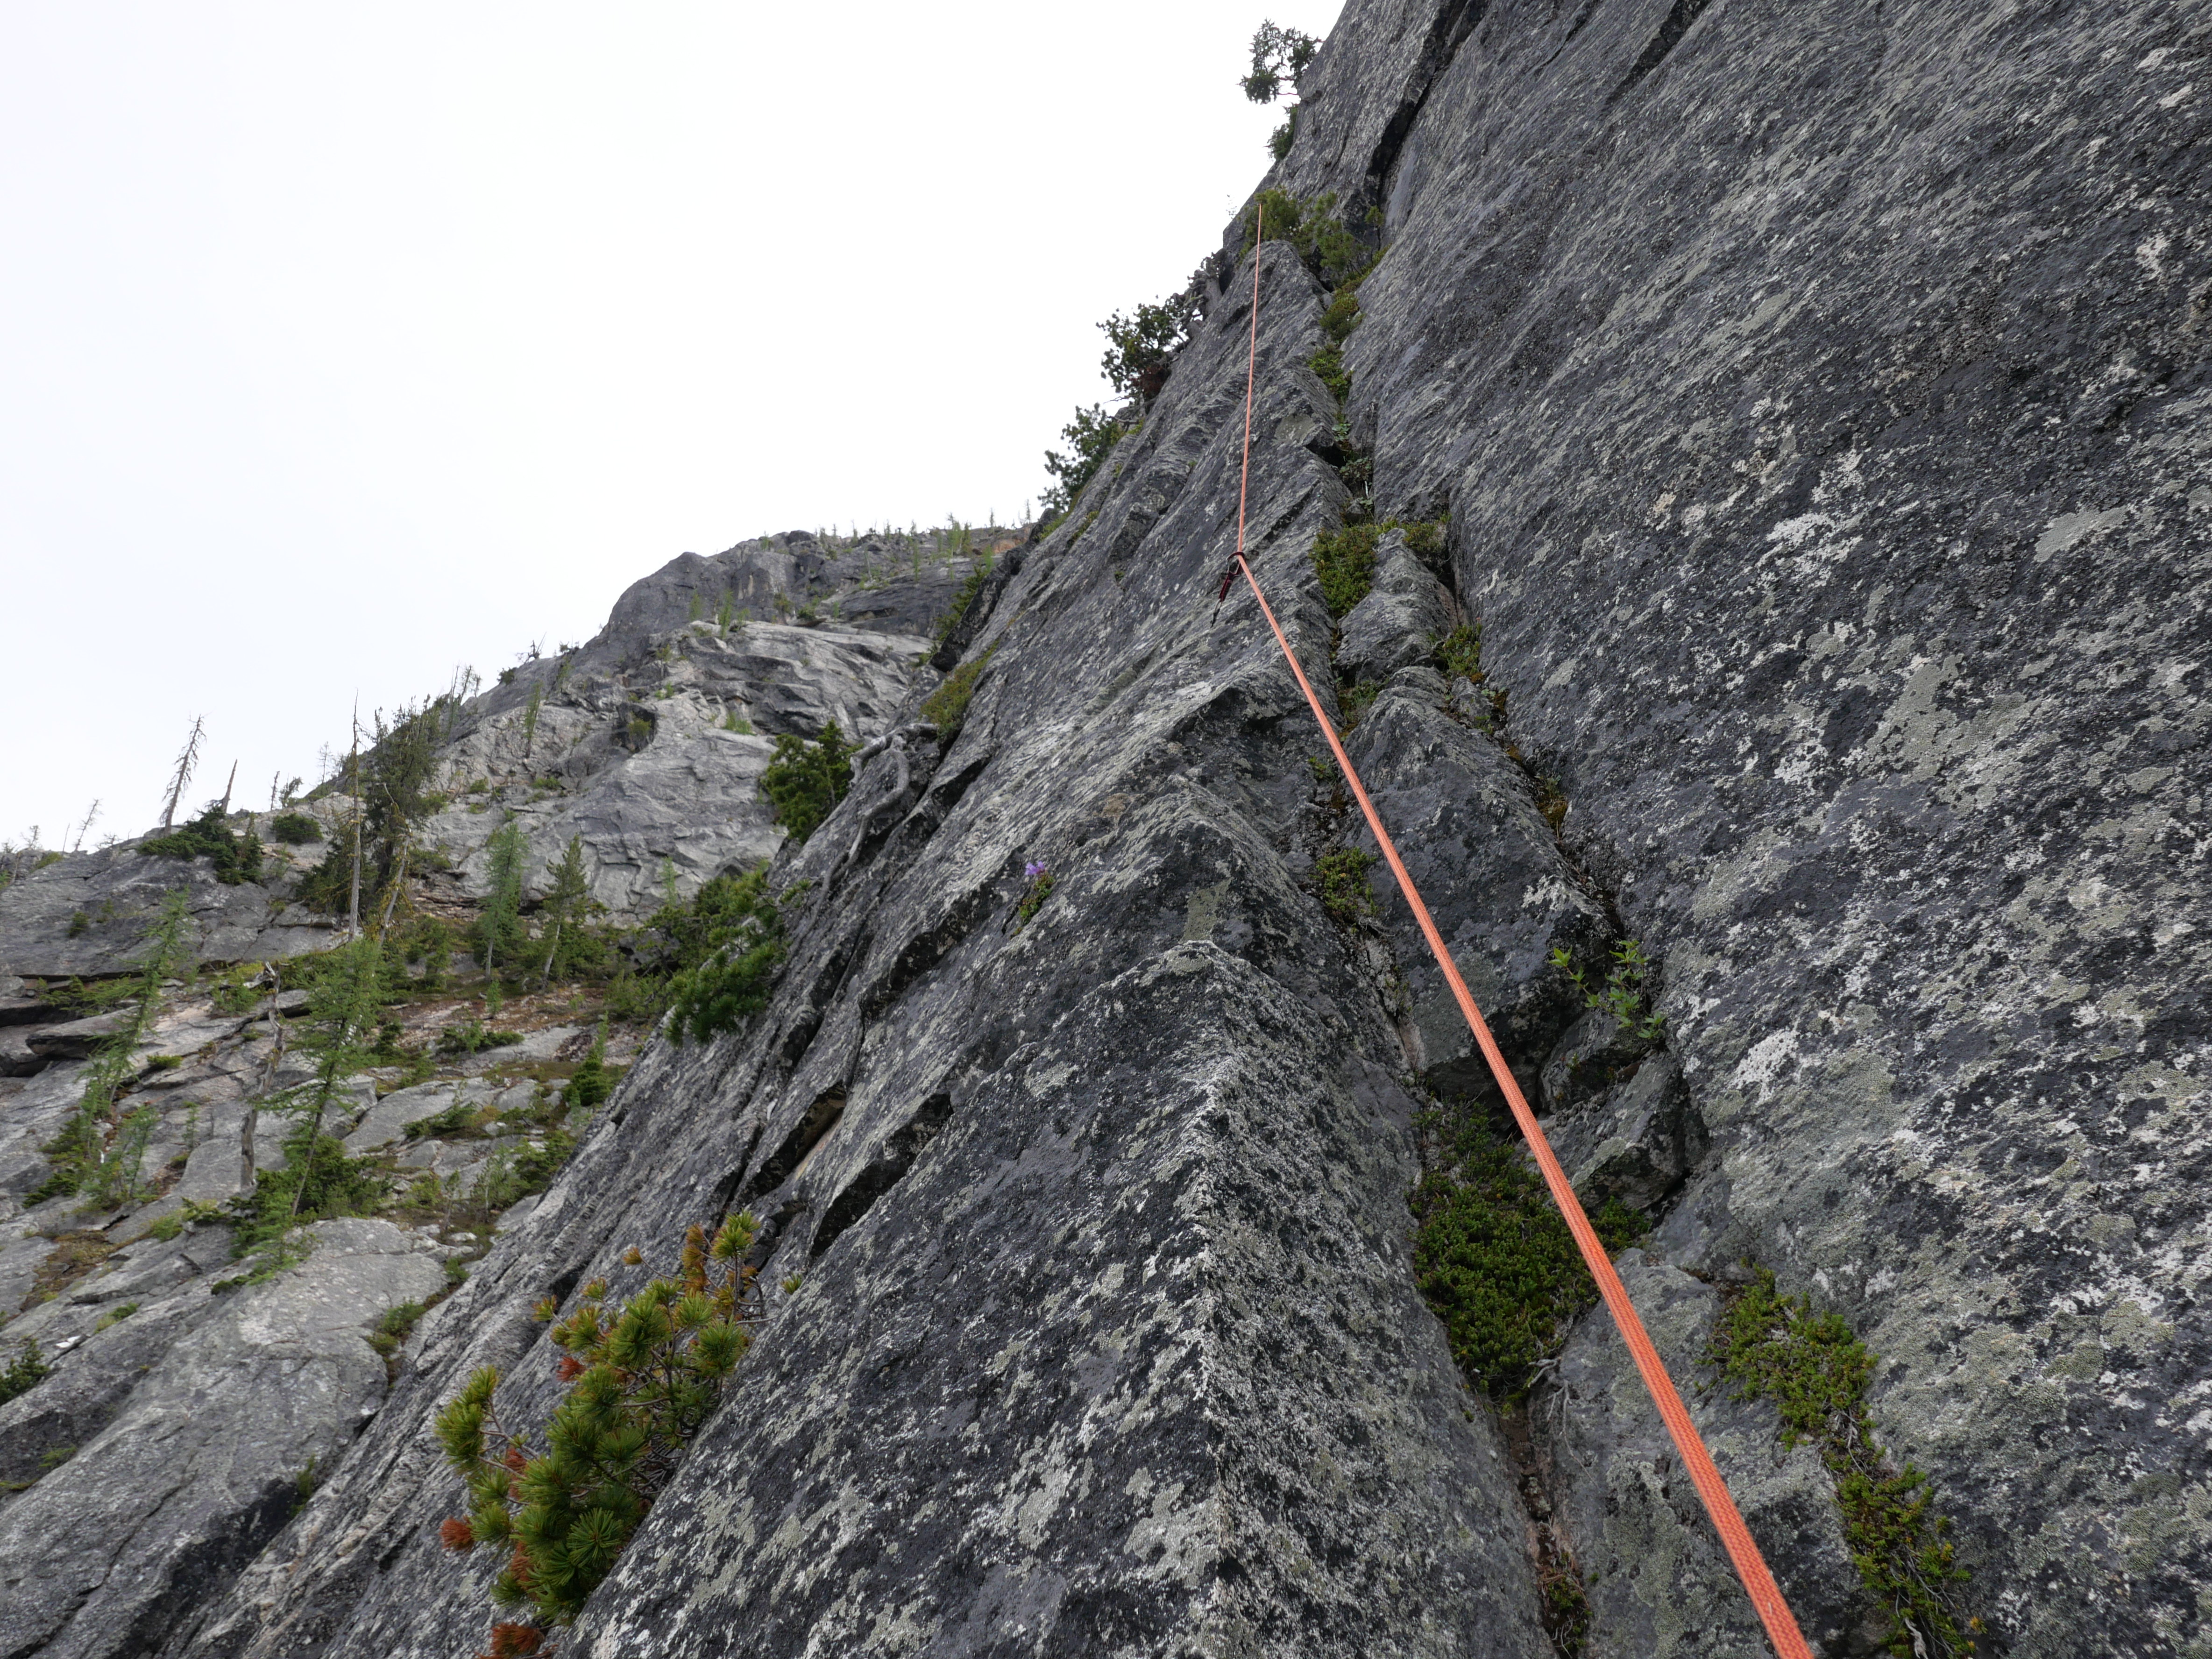
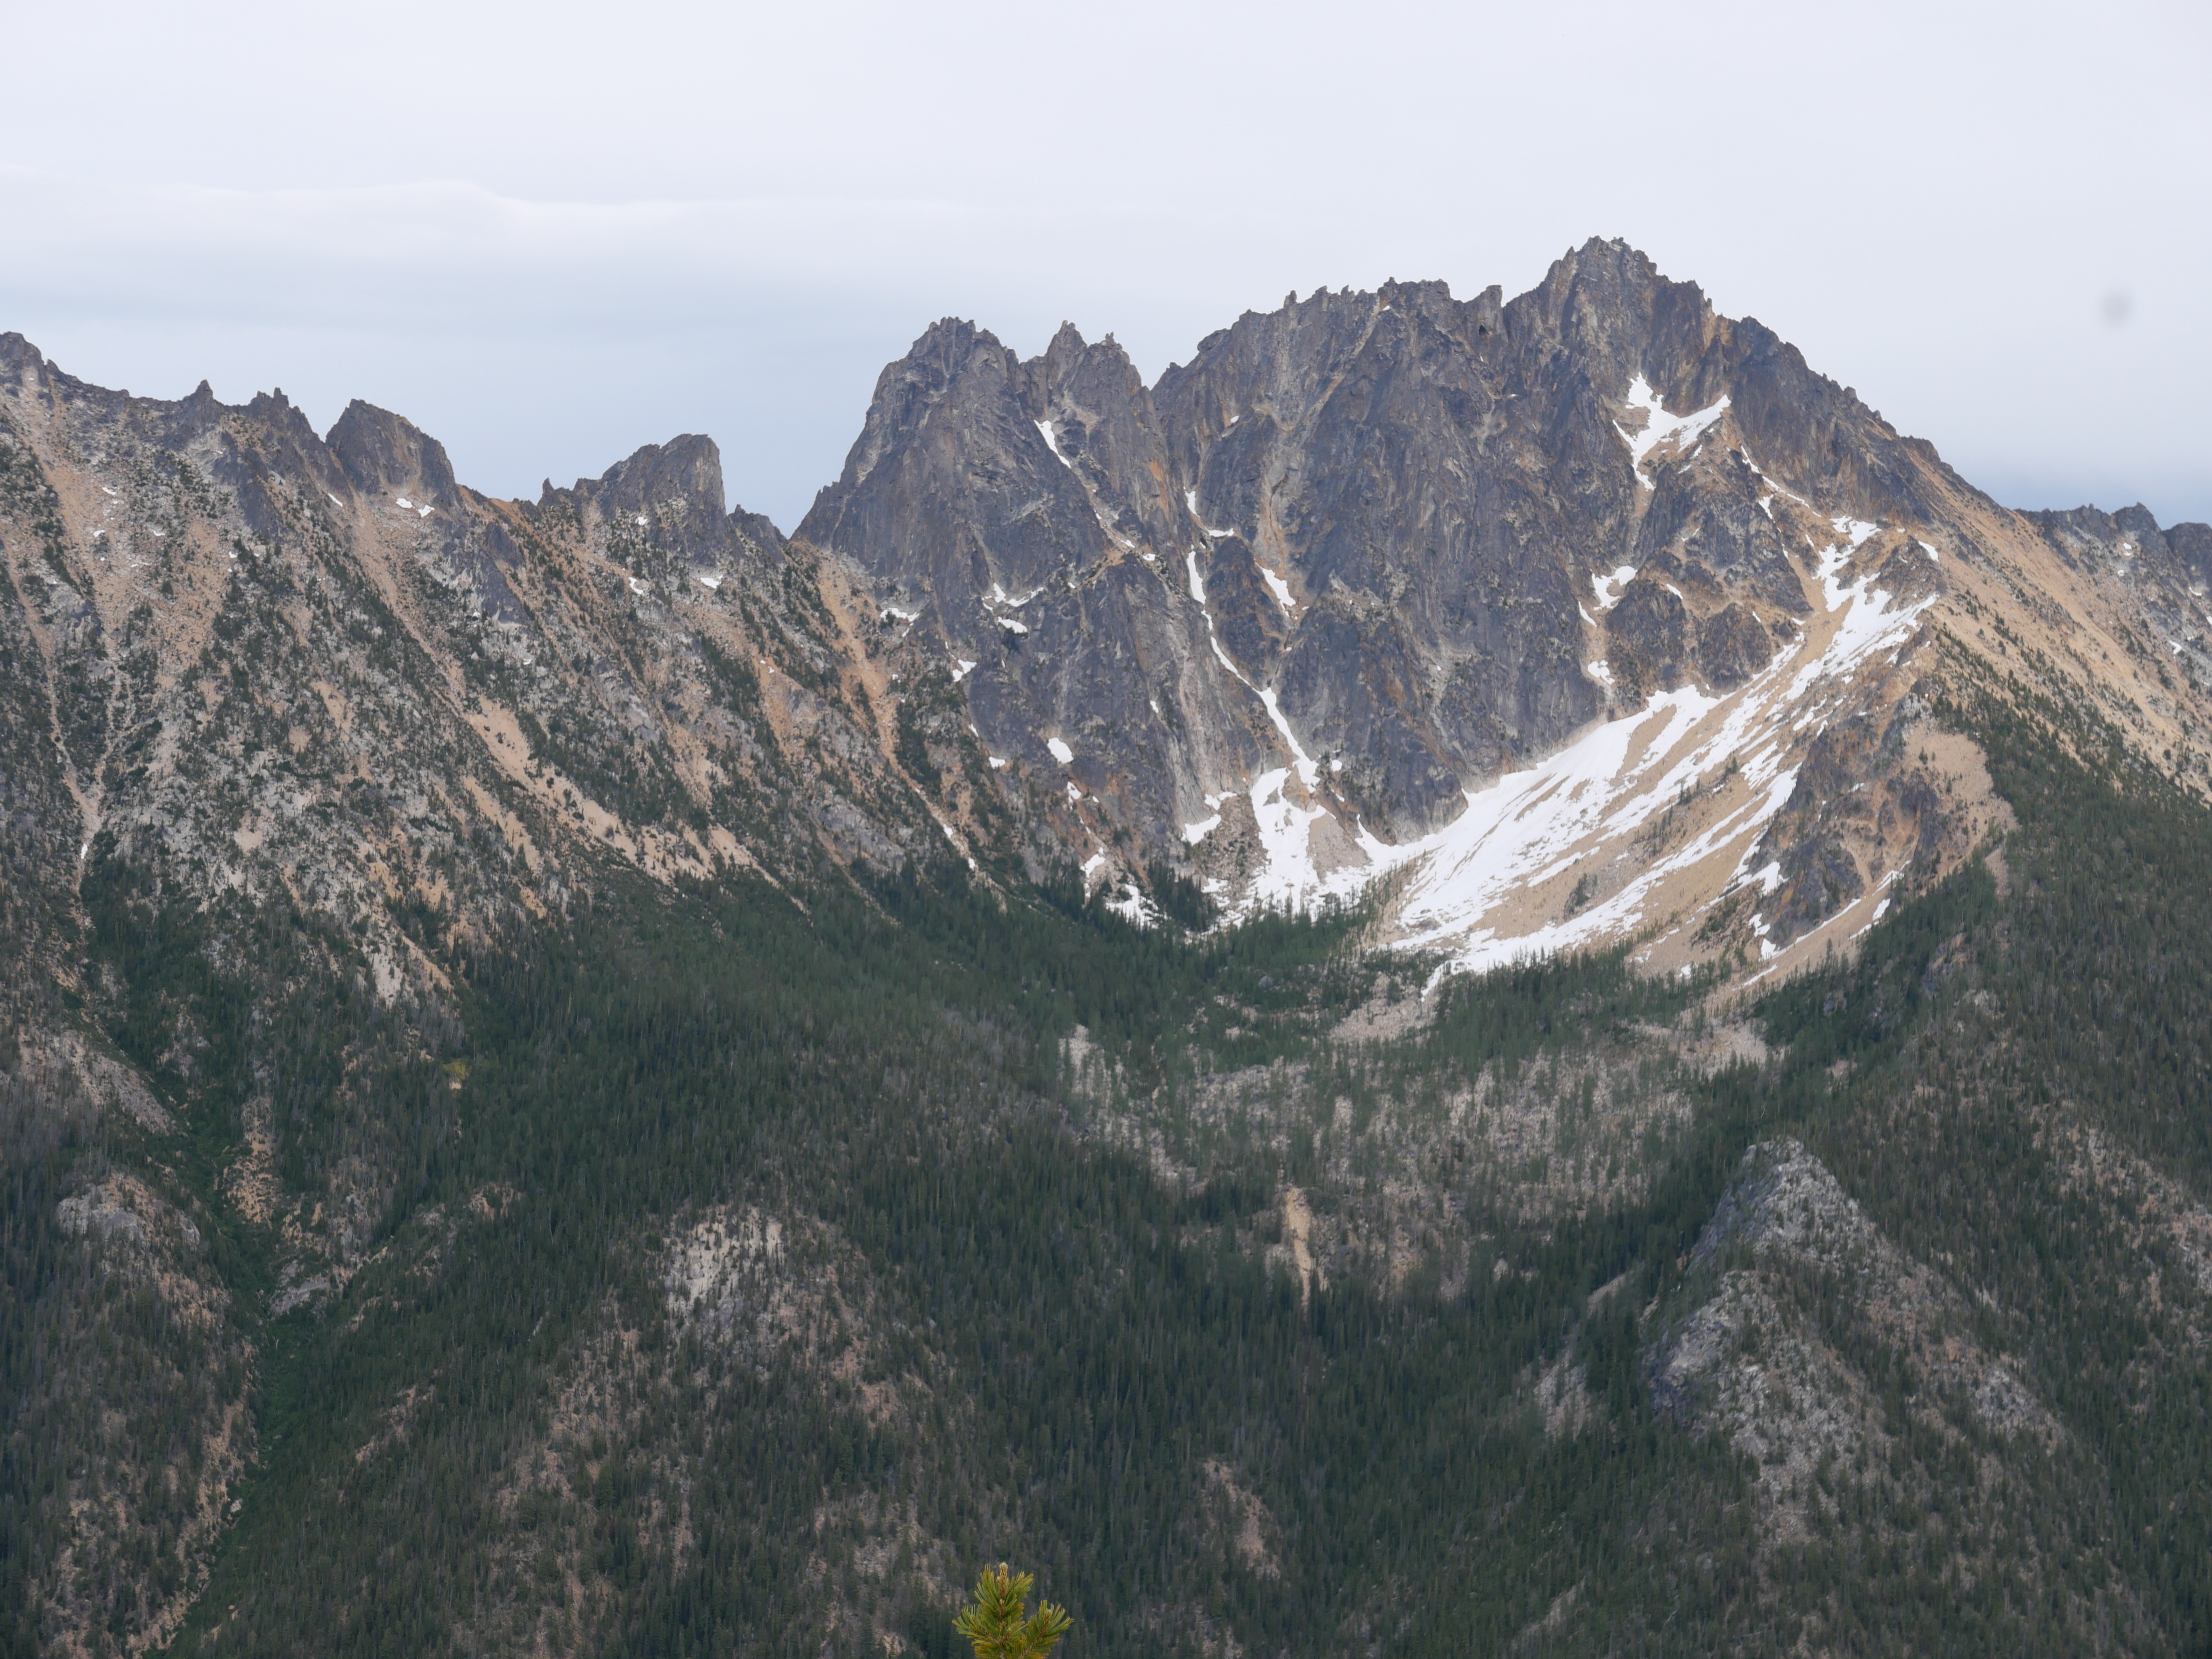
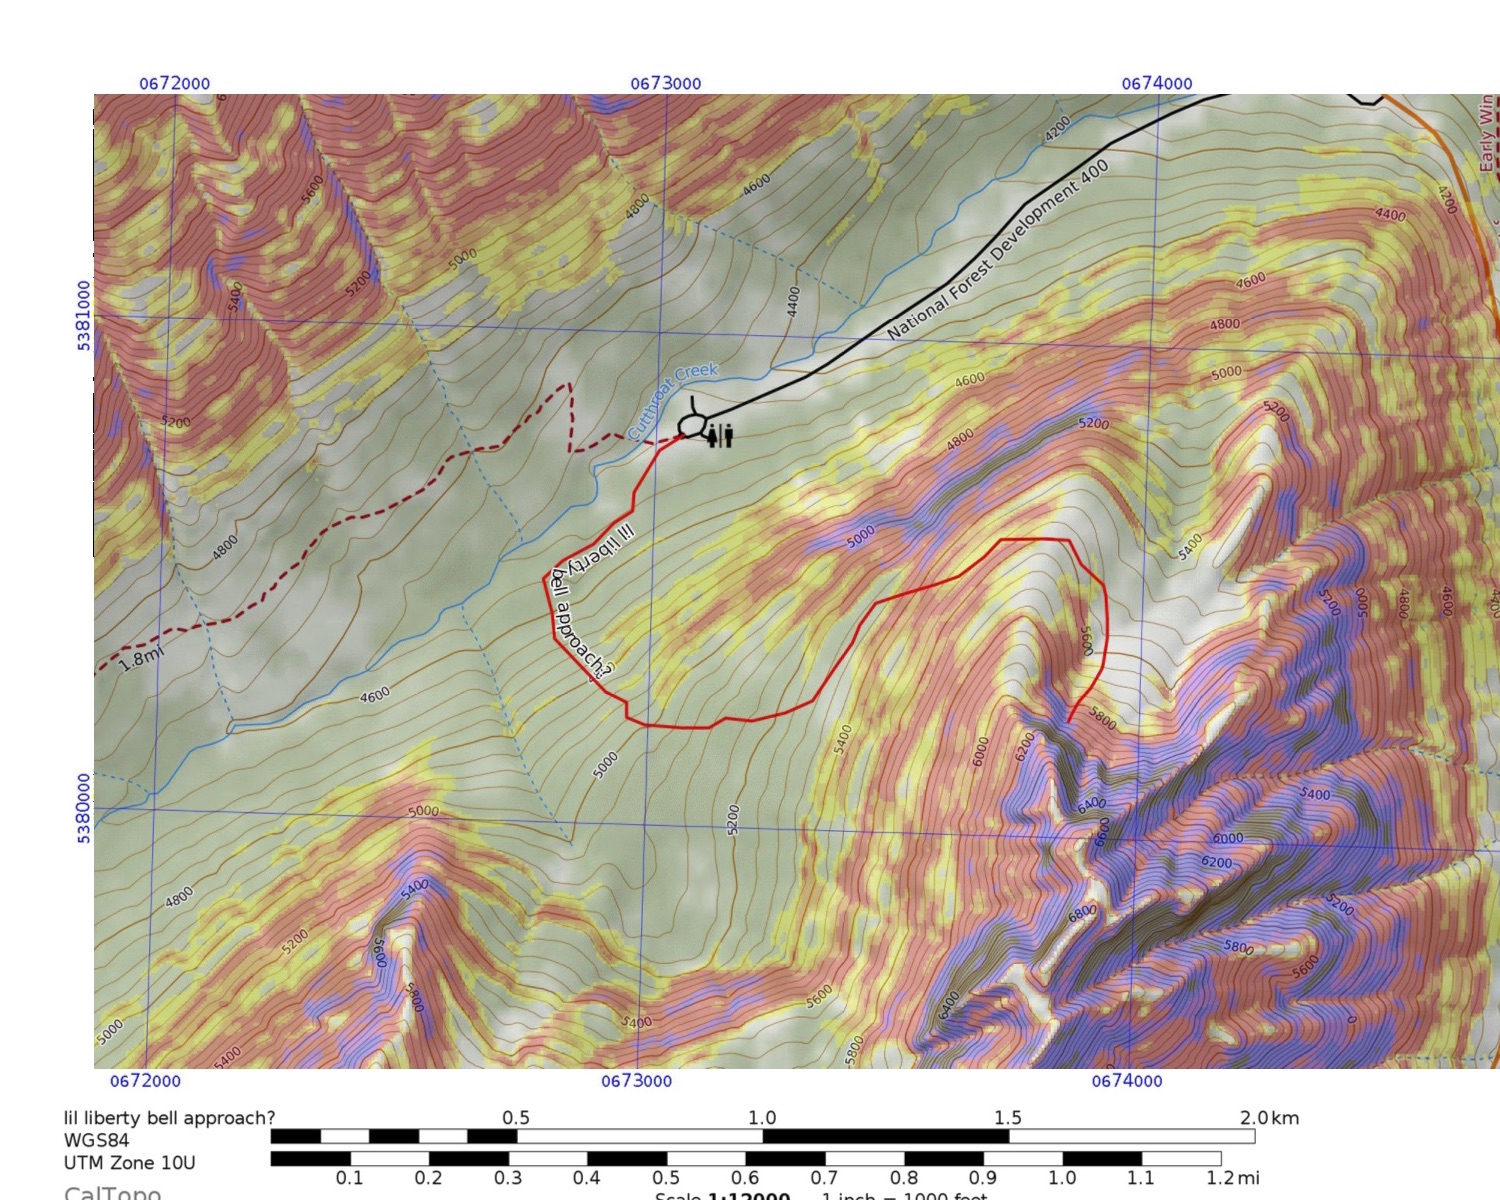
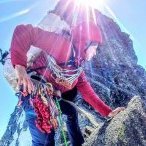
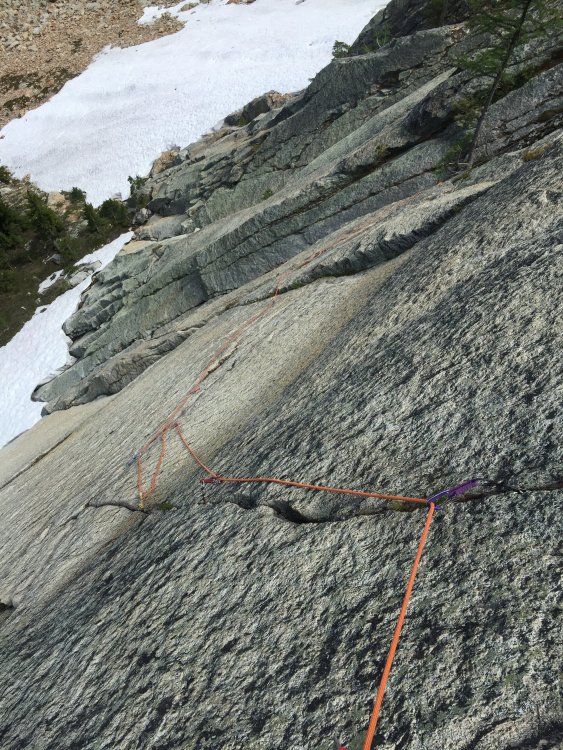
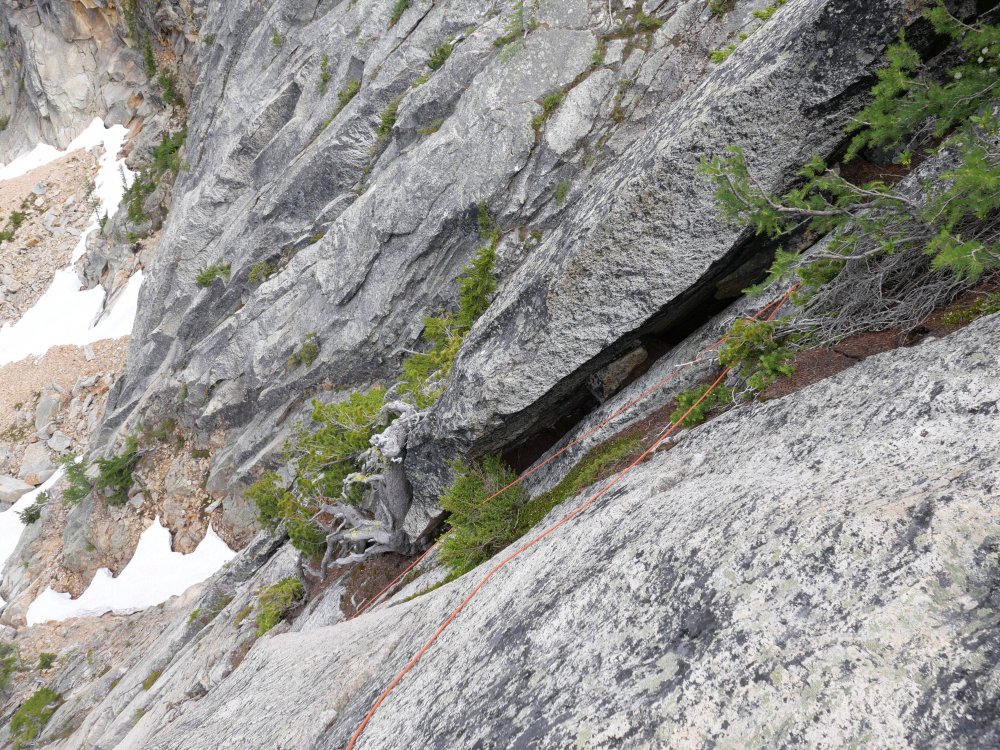
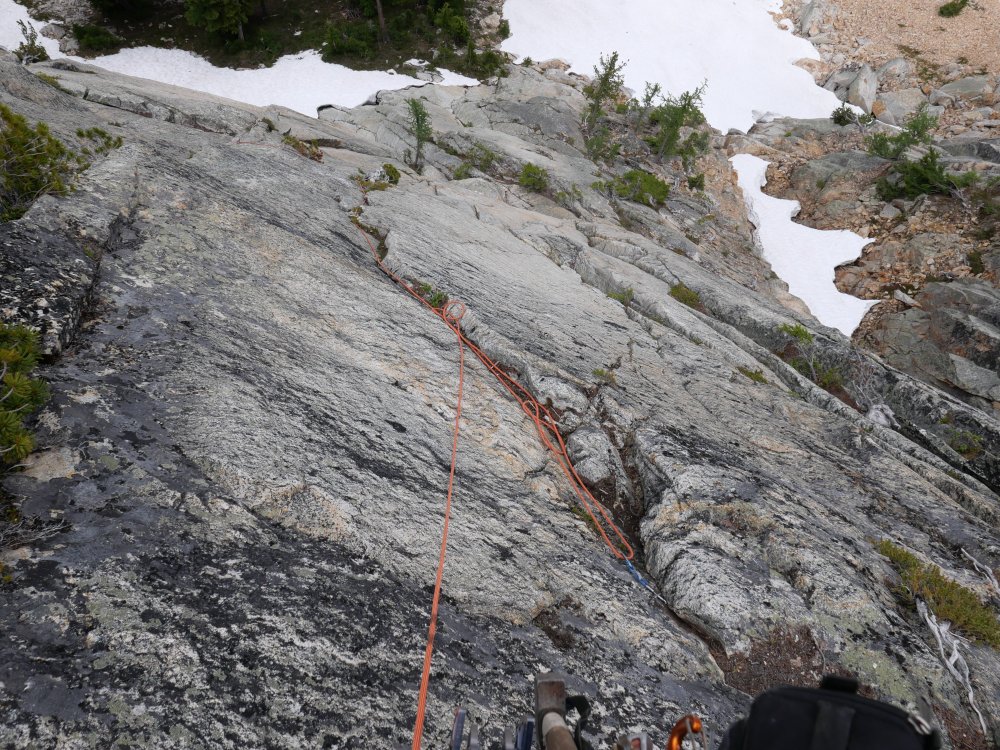
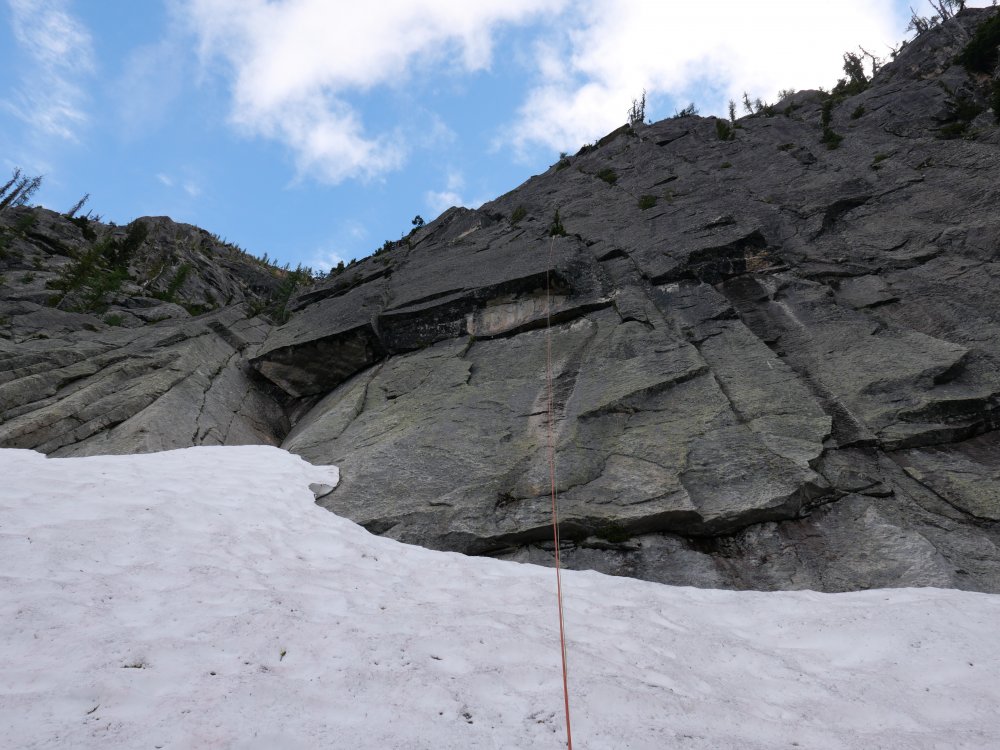
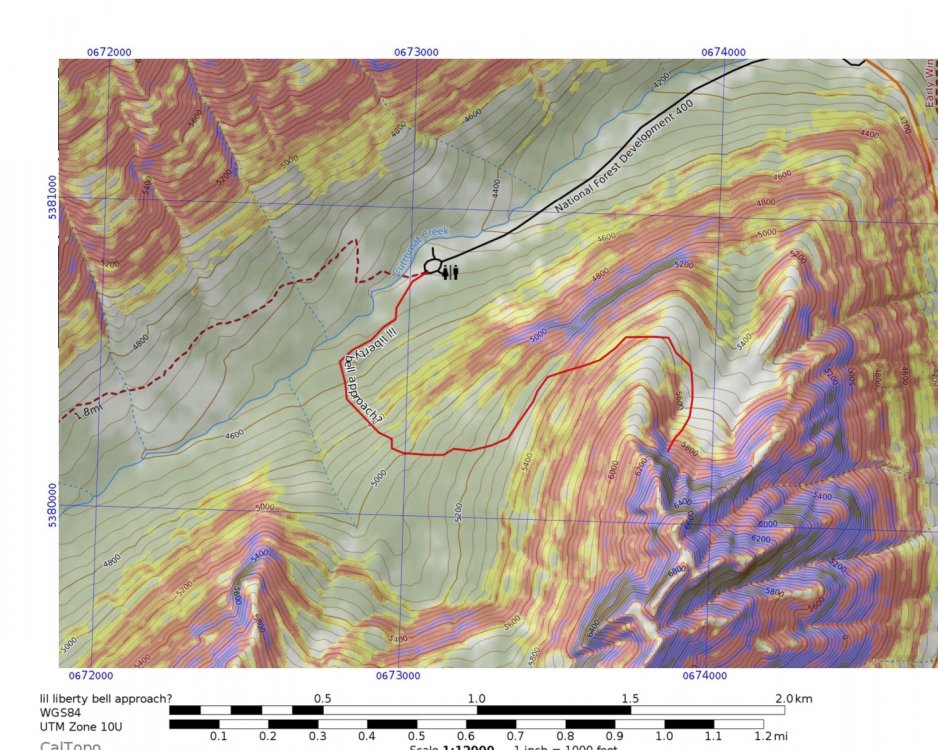
Trip: Little Liberty Bell - (Partial New route) Narcos, 5.9 600ft Trip Date: 07/11/2020 Trip Report: Yesterday I went up to try and do a new route solo on little liberty bell. It’s entirely possible that some or all of this route has been climbed before, I know for sure that the first and last pitch have been climbed, but I really couldn’t tell about the rest of the route. With that being said, I’m calling what I climbed Narcos. I’ll explain the name at the end. You may be able to approach straight up the basin from the road and cut off some distance but add some gain. P1, 5.7+—Start up the clean cracks up the big left trending ramp to the tree. If there is still snow you can climb up small corners and overlaps to the left that meet up about half way. This is what I climbed to avoid snow. Build a gear belay in a 1” horizontal below the tree, this is a much better stance. There were slings on this tree when I got there and some placements seemed to be cleaned out. On the last rappel. P1 follows the cool looking cracks up the ramp on the left. I ended up climbing the flakes to the left of the ramp to avoid the snow. P2, 5.9—Follow the horizontal straight right and up a bit. Follow good edges and cracks until you reach a nice looking finger crack, climb it up to some good ledges. From there follow ledges back left past a small tree (your last pro) and two large loose looking blocks sitting on the ledge, maybe don’t pull on them. Once you reach a good belay ledge, climb up a little further to a solid horizontal. Build your belay here and extend it down to the ledge if you can. There seems to be a more vertical option going straight up and right to a nice looking LFC. I didn’t climb this as I had intended on climbing new ground. It may have been climbed before. It is marked in blue on the topo. Looking up the improbable traverse on pitch 2. There is much more pro than in the picture. This is after cleaning the pitch. The 5.9ish finger crack, it's steeper than it looks. P1 visible below. The blocks I traversed across and tree I slung at the top of P2. P3, 5.7+ PG13—Go up the bush choked corner for about 15 feet until you can step left into good flakes that parallel the larger right facing corner. Follow these up to a series of ledges and a large chimney/flake. Chimney up the outside edge of this flake to avoid lots of pine needles and bushes until you can reach a cleaned out .75 crack, place something there. Down climb a little bit until you can step right onto a series of ledges/ramps. Follow these up the slab passing one Piton (my first pin placement on a route) and up the sharp arete. From the top of this climb back down left to a ledge below an arching right facing corner. Belay here on finger sized gear. This pitch could avoid the runout chimney and arete climbing in the future if the cracks were cleaned out. I had originally tried going straight up some solid cracks on this pitch, but after the cracks petered out and encountered some very hollow rock I left a nut and bailed on this option. Looking up P3. I only followed the bushy corner for a few moves before stepping left. This is after cleaning the pitch on the way down, the red c3 is a directional, not the only piece. Looking down the good flakes in the middle of P3 on the way back down. The runout chimney on P3 My very first pin placement, I had to document. There is no rope drag in the rope solo system, hence my sketch "quick draw" P4, 5.8+ —Climb up the fun arching corner and then right via hollow sounding but fun flakes (place nuts here not cams). Step right around an arete into a nice right facing corner, you are now on the Wright-Pond. Follow this up to a bolted belay. P5, 5.8, 45m—Same as P4 of the Wright-Pond. Description taken from MP. Climb the blocky corner/chimney up past a tree until you gain a low-angled slab. Head left across the slab to a wide hand and fist crack hidden in a left-facing corner. Exit the corner up and right on blocky but easy ground to low-angled ledges. Belay on a tree with slings. From here you can scramble to the summit. Descend via the Wright-Pond with 4 double rope rappels on bolted anchors. Good views of Silverstar & co! I think this route could clean up nicely and be a good 5.9ish option up the feature. It is hard for me to grade it accurately as the dirt, lichen, and self belay results in things feeling harder and scarier at times. I tried to grade it for someone who knew where they were going and had a hand on the break strand of their grigri. On the hike down I got a little off route (there is no route) and ended up in some pretty damn thick brush. While trying to force my way down the hill I stumbled upon a pile of white crystals under a small tree. My first thought was “wow, that’s a weird Fungus”, then I took another step and saw black canvas in the bush in front of me. My heart stopped as my first thought was I had found a dead body of a missing hiker, or murder victim. I got a better look and realized that it was a large black duffle bag, unzipping it I finally realized what it was. A 35lb duffle of crystal meth, street value of about $350k give or take. I dragged the bag to a slightly more visible location and marked the spot on my phones GPS. I drove down to Mazama the next morning to report what I’d found. I ended up leading some heavily armed cops up and helped them carry out the “package”. It’s possible that I made a very big mistake. I could have bought so many new skis! It was either a recent air drop with intent to pick up, or one of the bags from THIS event that happened last year. I will provide a topo/overlay soon if I get permission to use Chris’ photo. I'd be very curious to hear if anyone knows some history of ascents on this feature. Gear Notes: Double rack micro to #2, single #3 and 4. Single set of med nuts. 2 60m ropes. Crack Pipe. Approach Notes: Start as for Cutthroat wall by walking down the old road bed for 1/4 mile until you see an obvious double cairn on the left side of the trail. Enter the woods here and point it straight up until the terrain lowers a little in pitch. At that point you can start arching left to get to the ridge next to the wall. I highly recommend using the slope angle shading map feature on caltopo and trying to stay on lower angle terrain. it’ll make things a little more pleasant. From the ridge it is pretty self explanatory where to go.


 1 point
 -
I feel like I have good endurance. Then I read your TR's.1 point
-
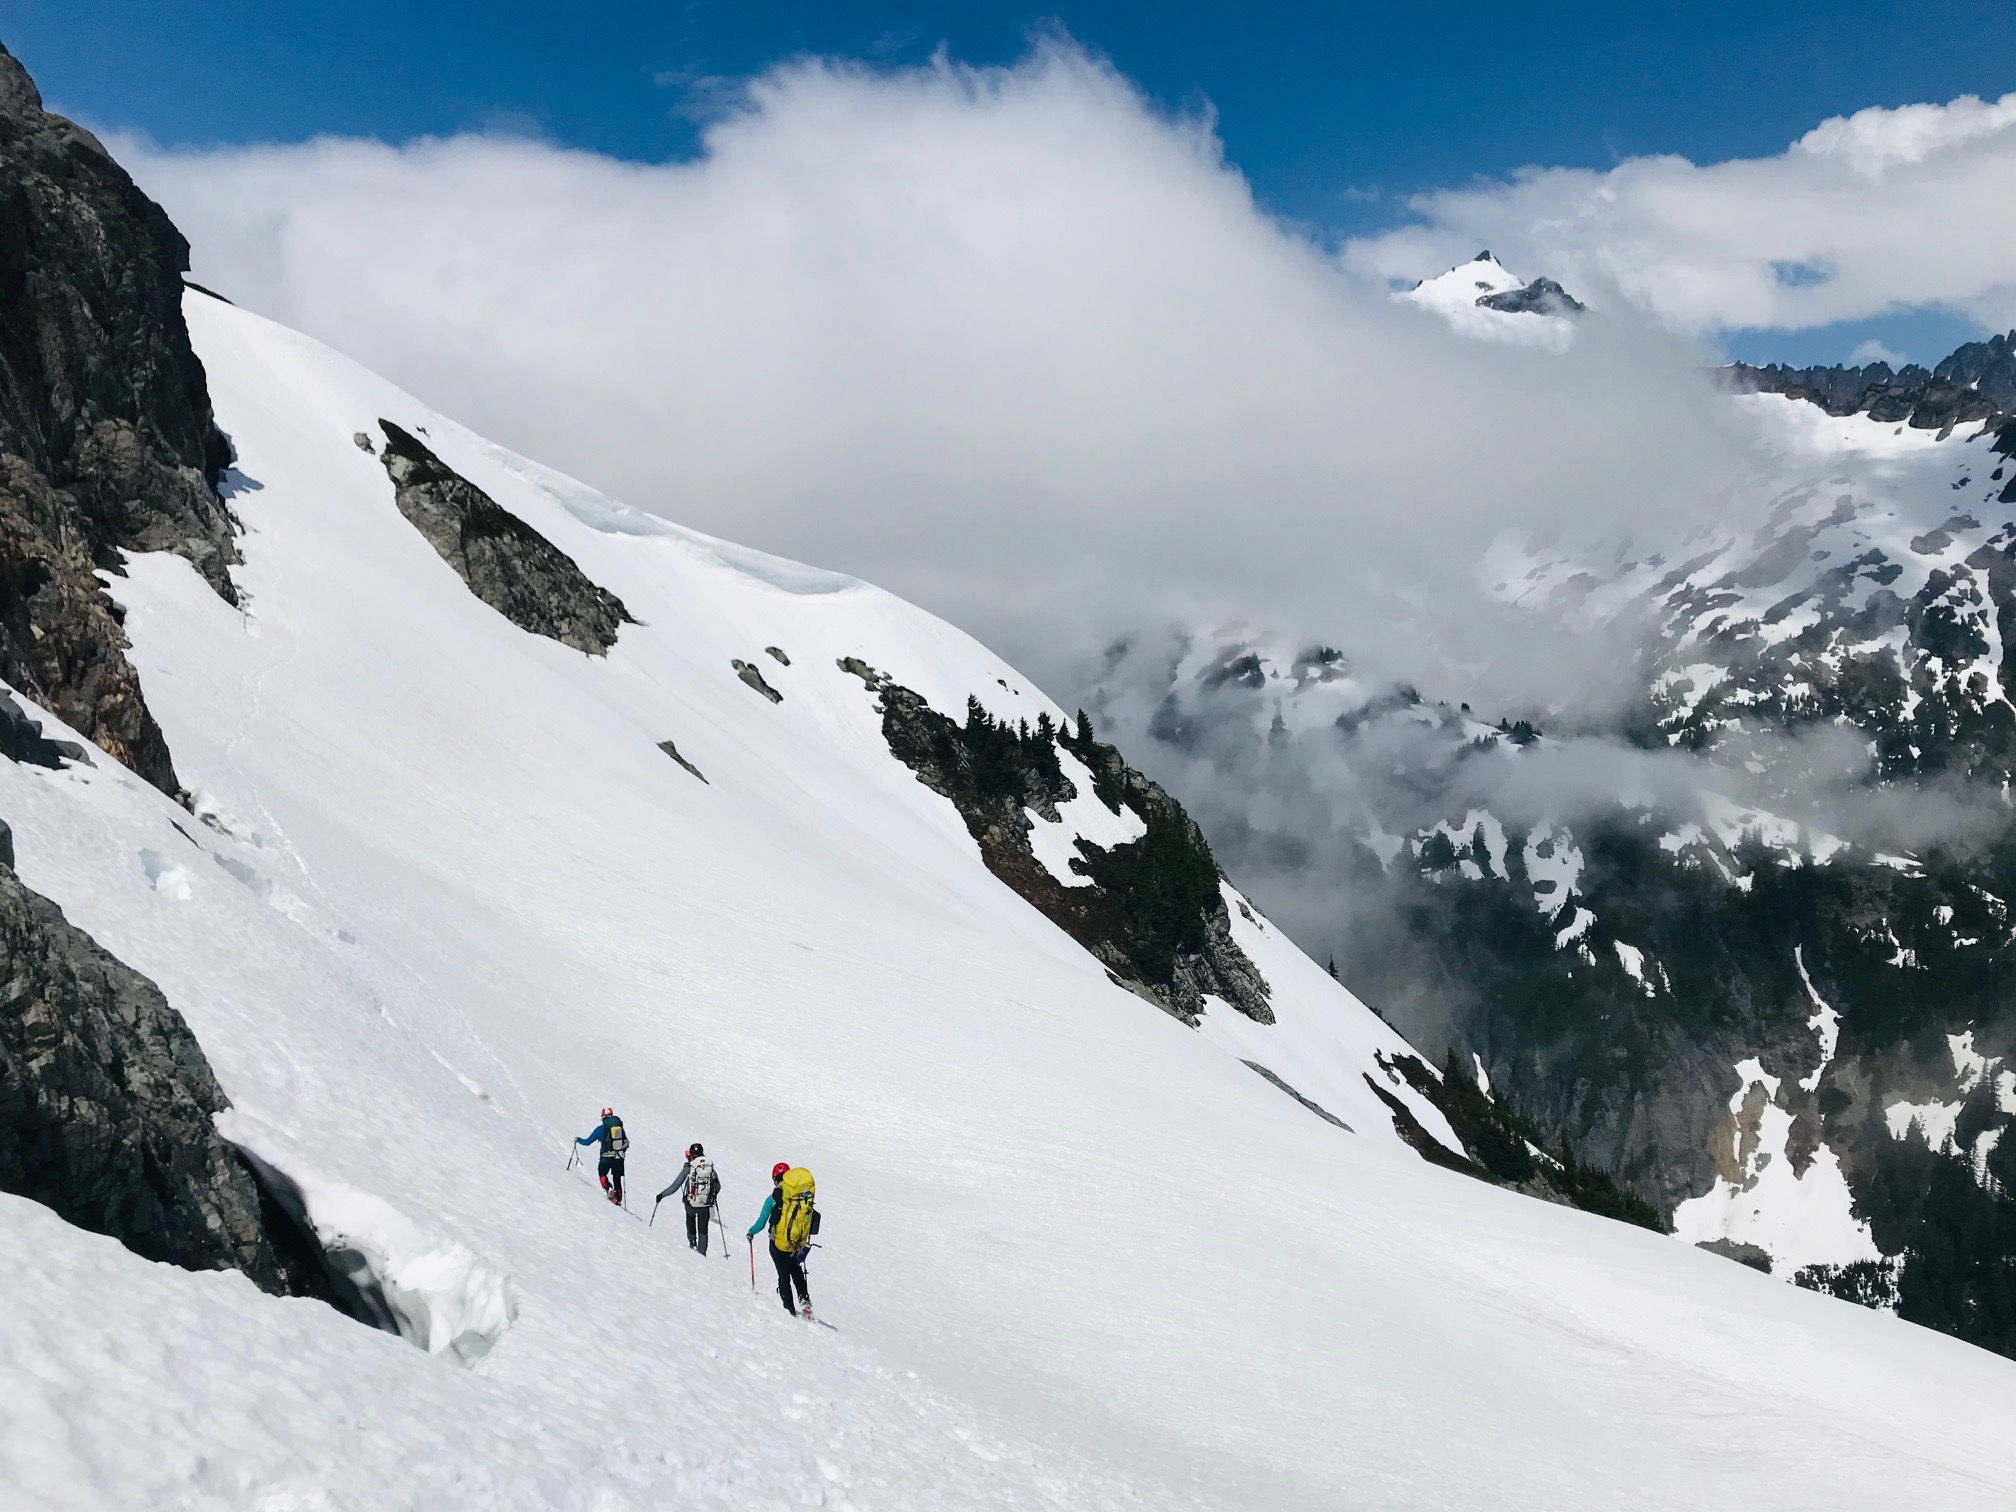
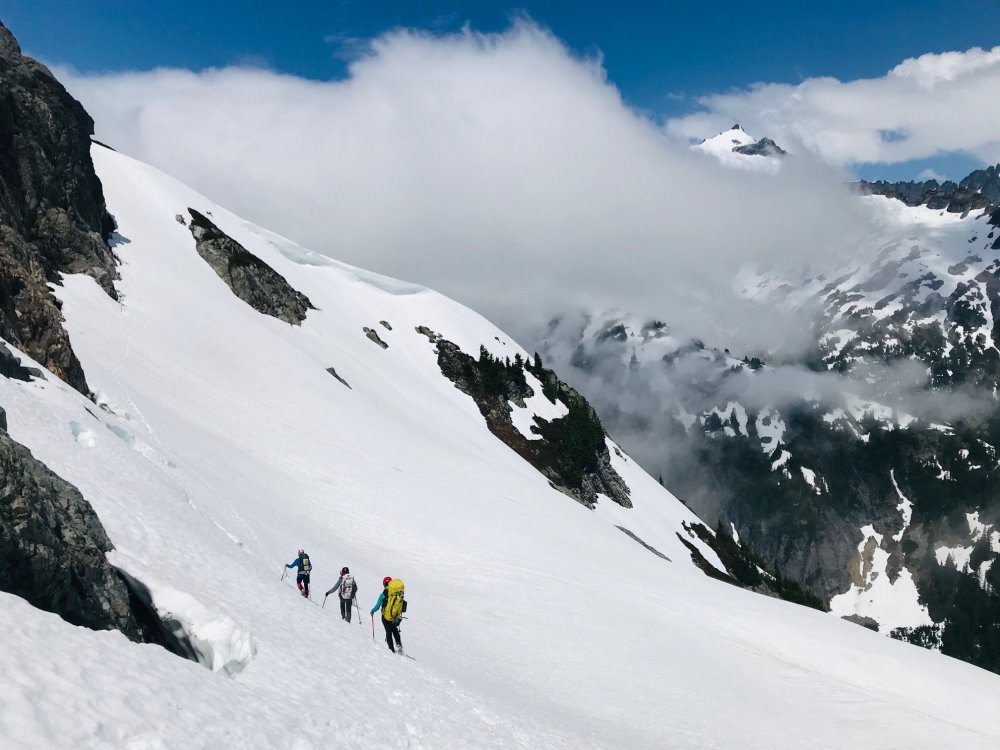
Thanks. The lower cornice wasn't an issue as we went all the way to the top then dropped down next to the rock. Shown here on our return you can see the tracks heading up close to the rocks on the left. At that point it was just a steep slope down without any cornice.
 1 point