Leaderboard
Popular Content
Showing content with the highest reputation on 09/18/22 in all areas
-
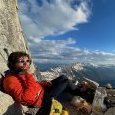
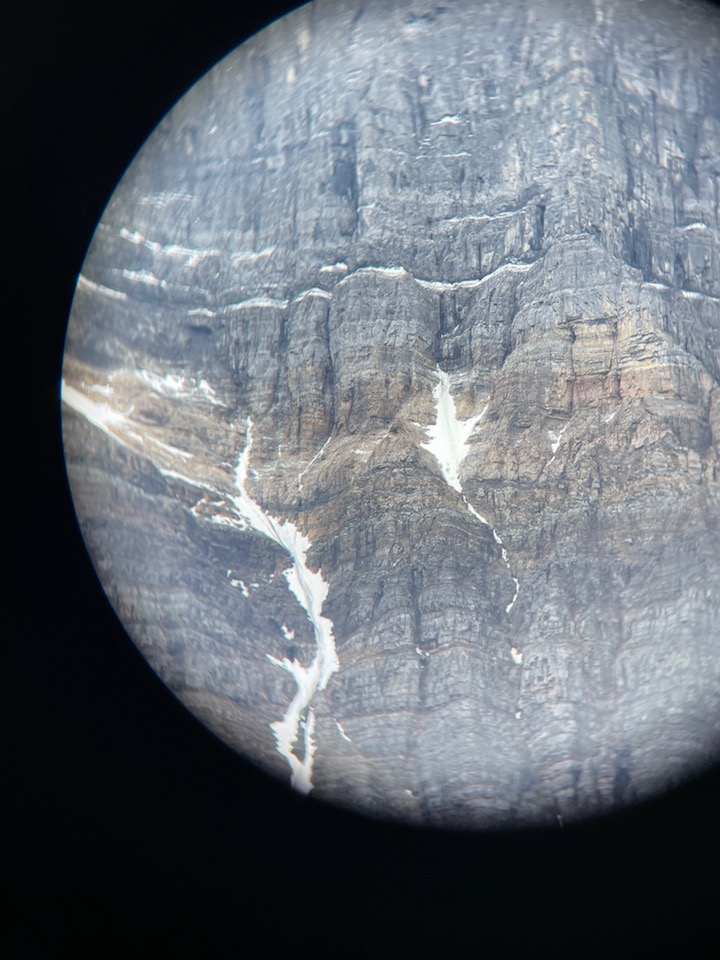
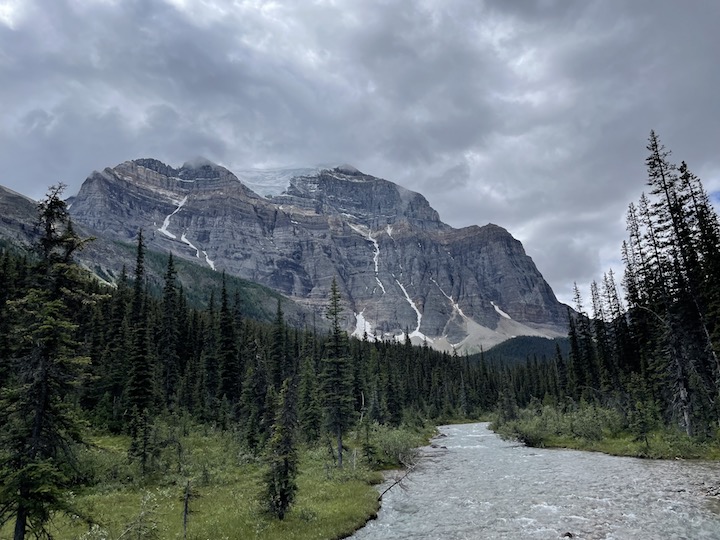
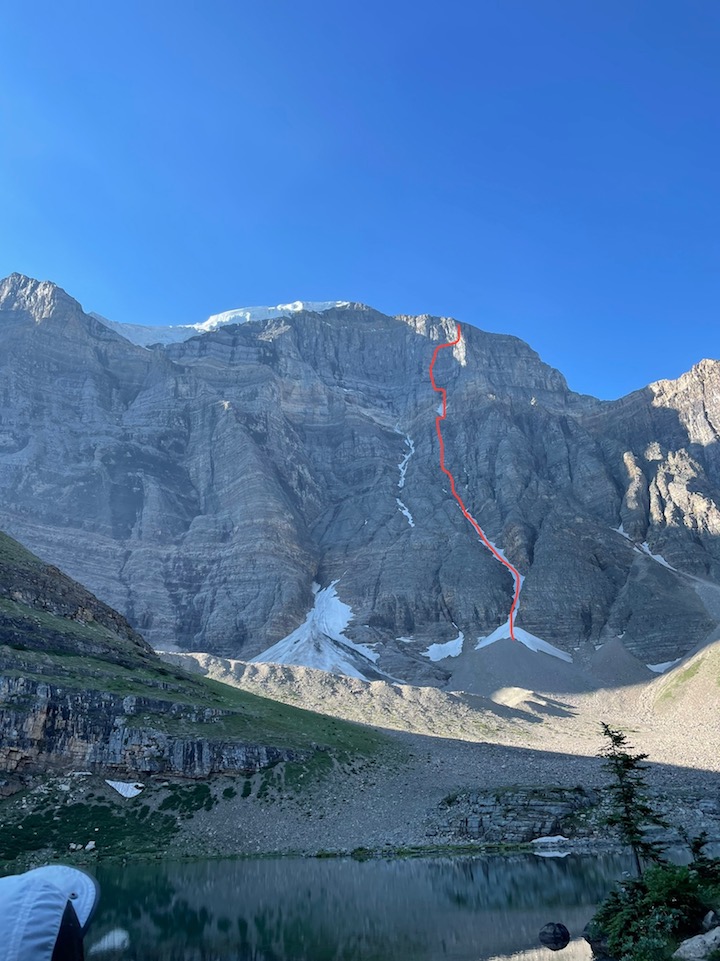
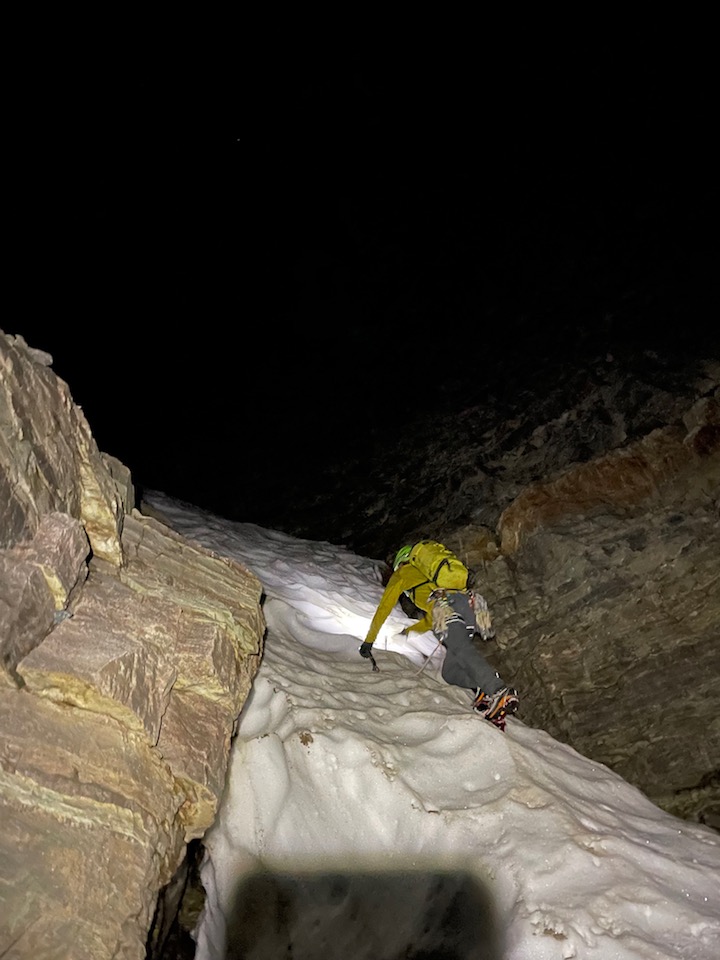
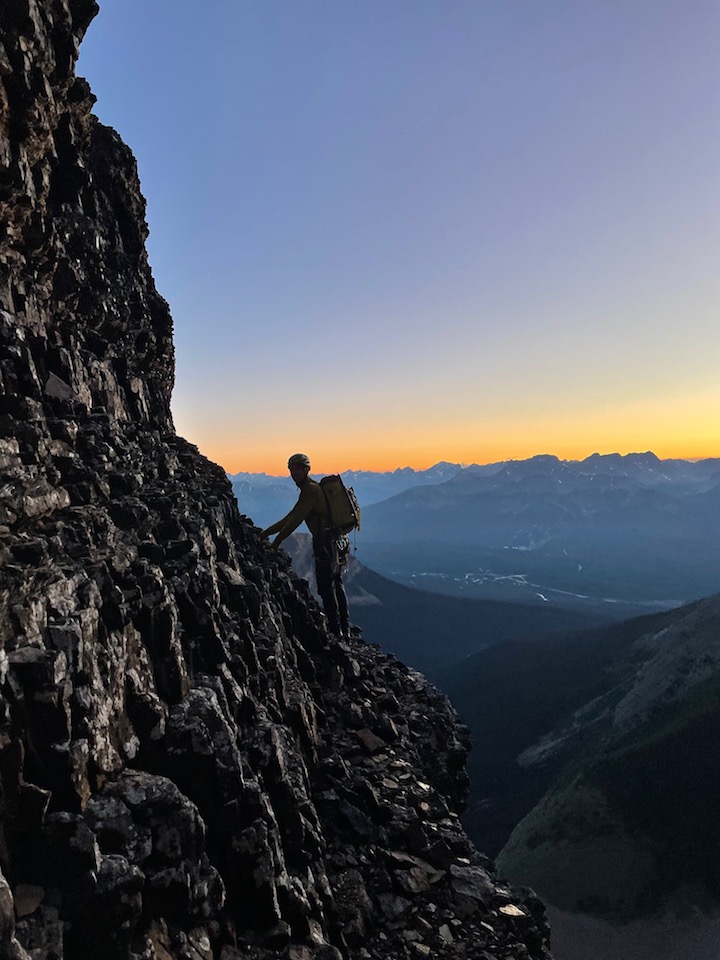
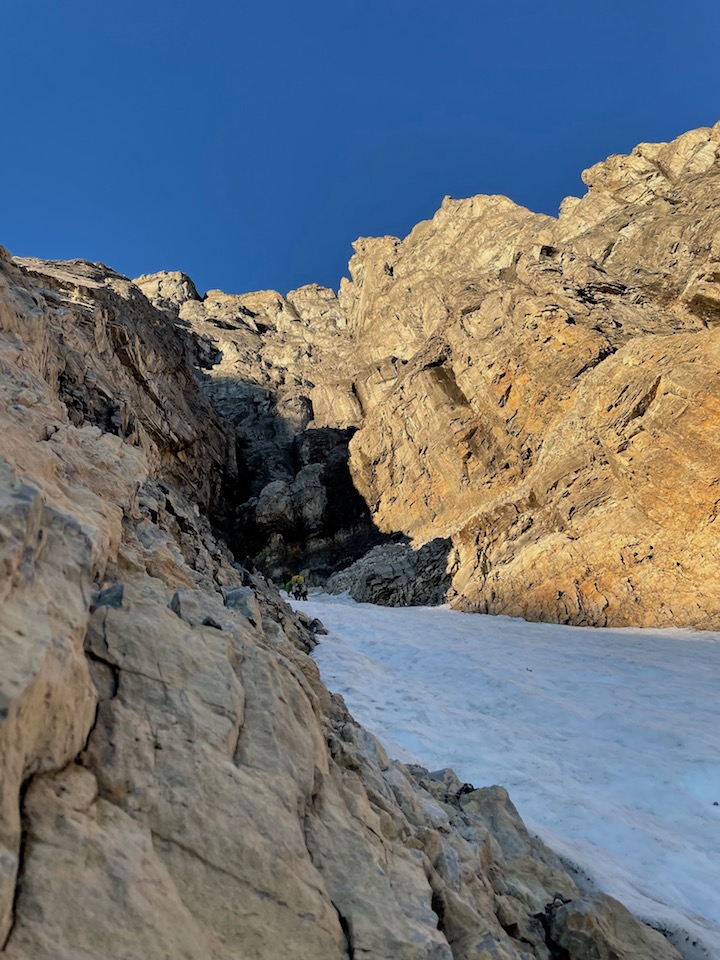
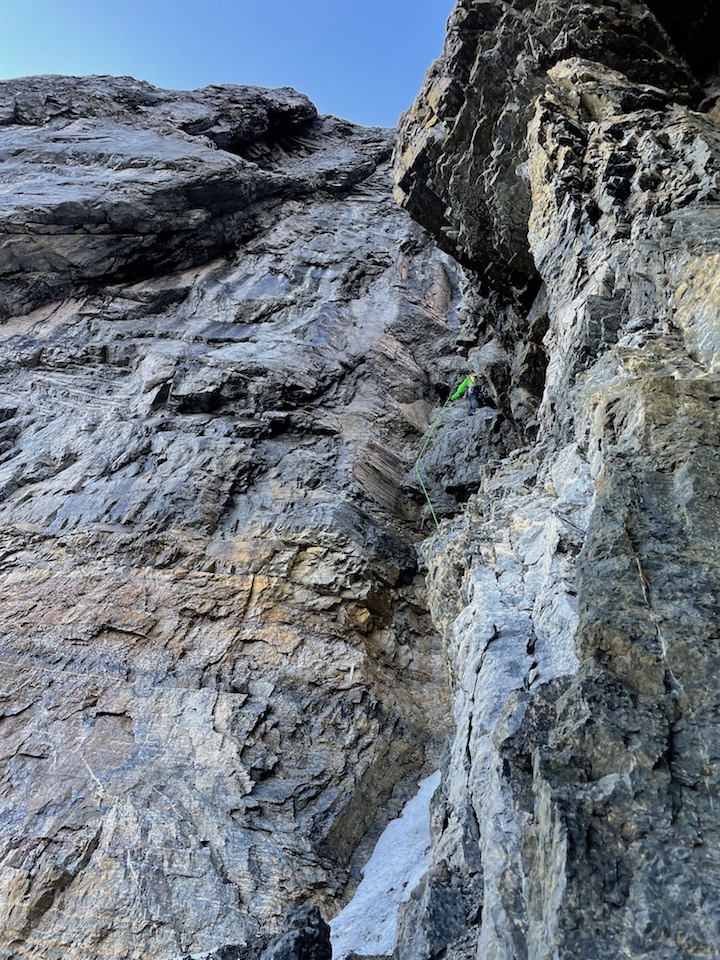
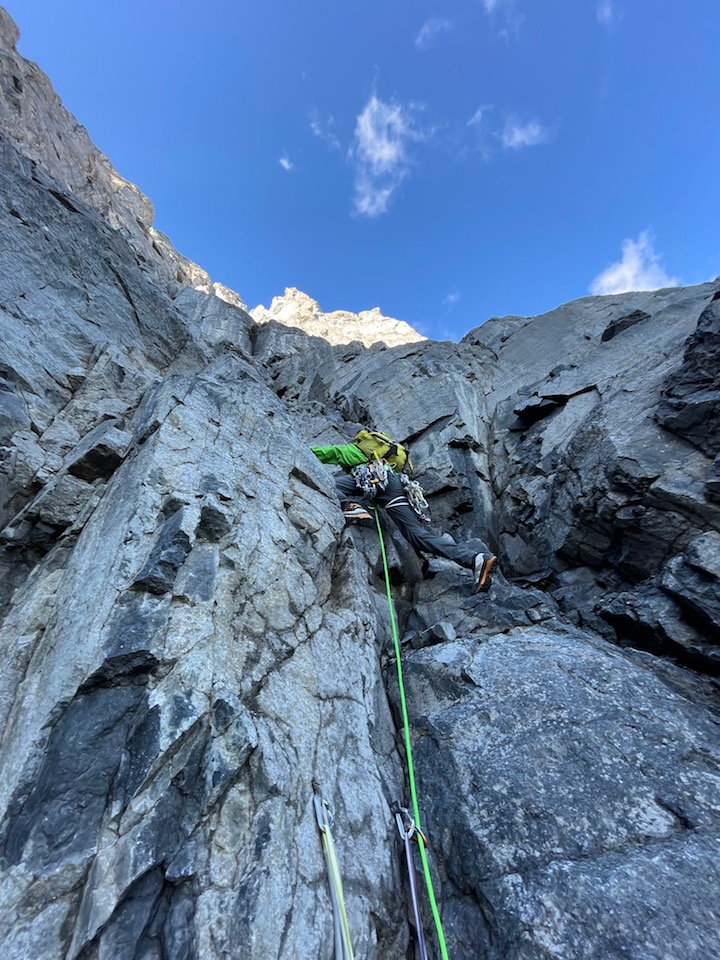
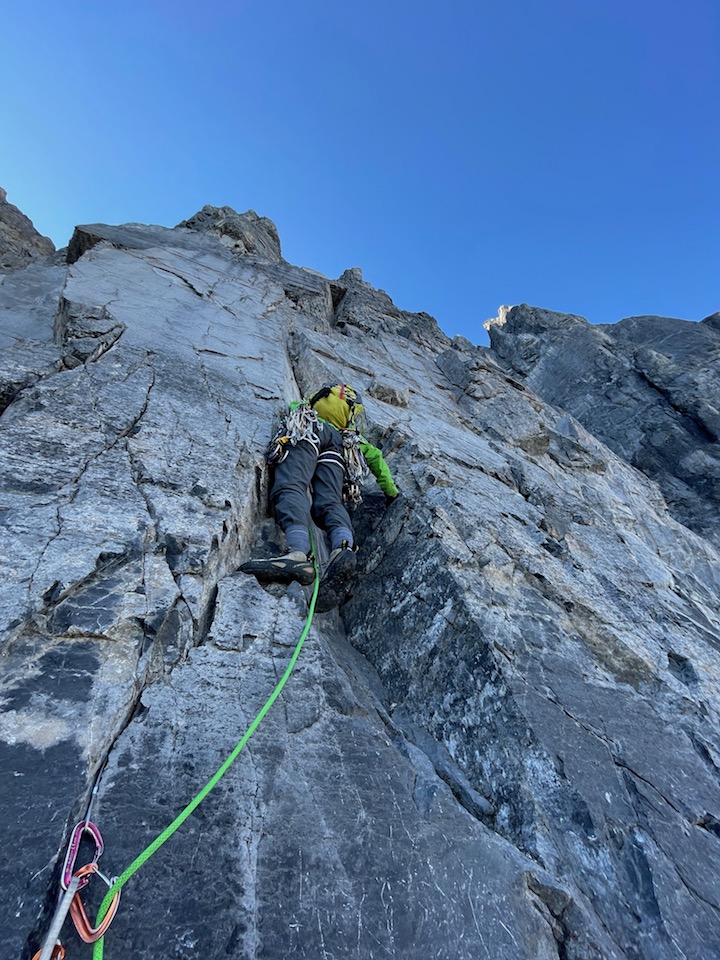
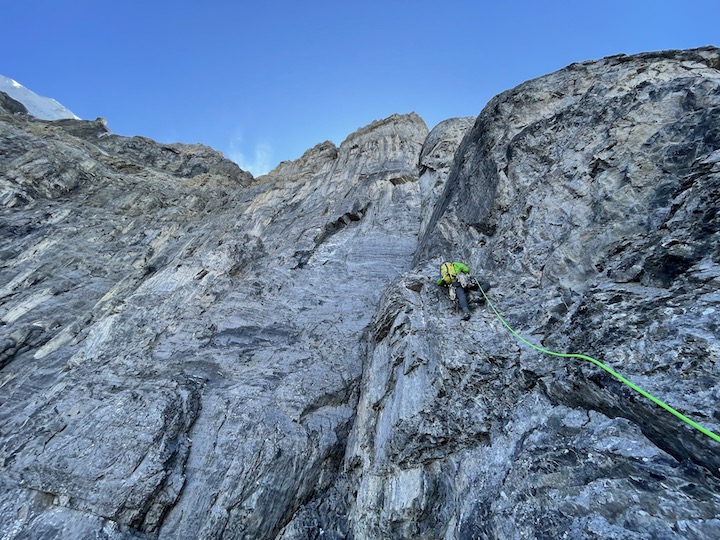
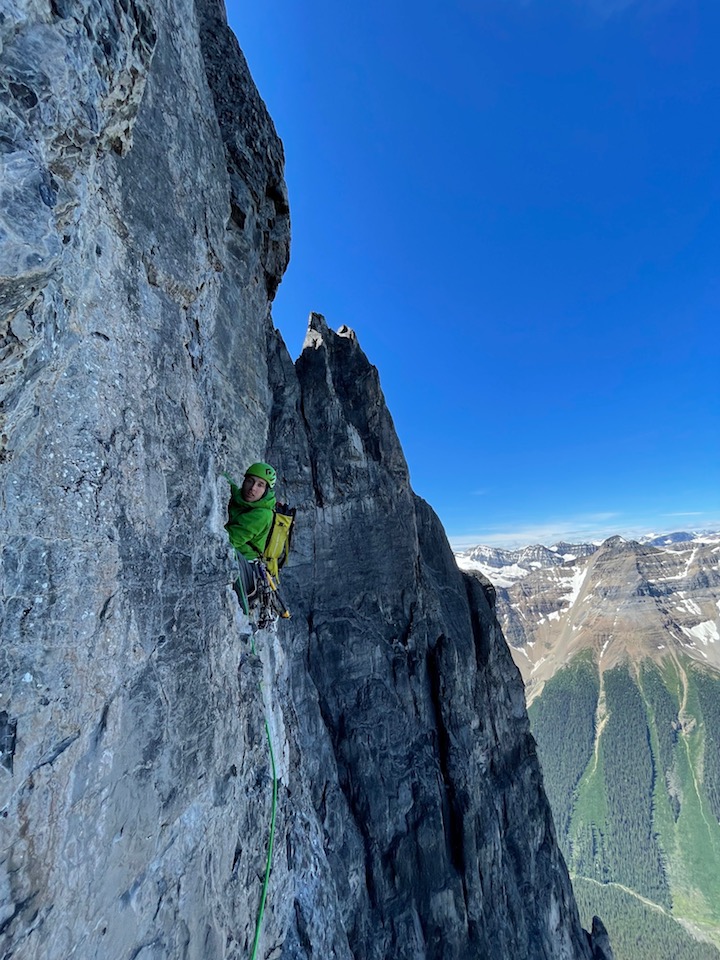
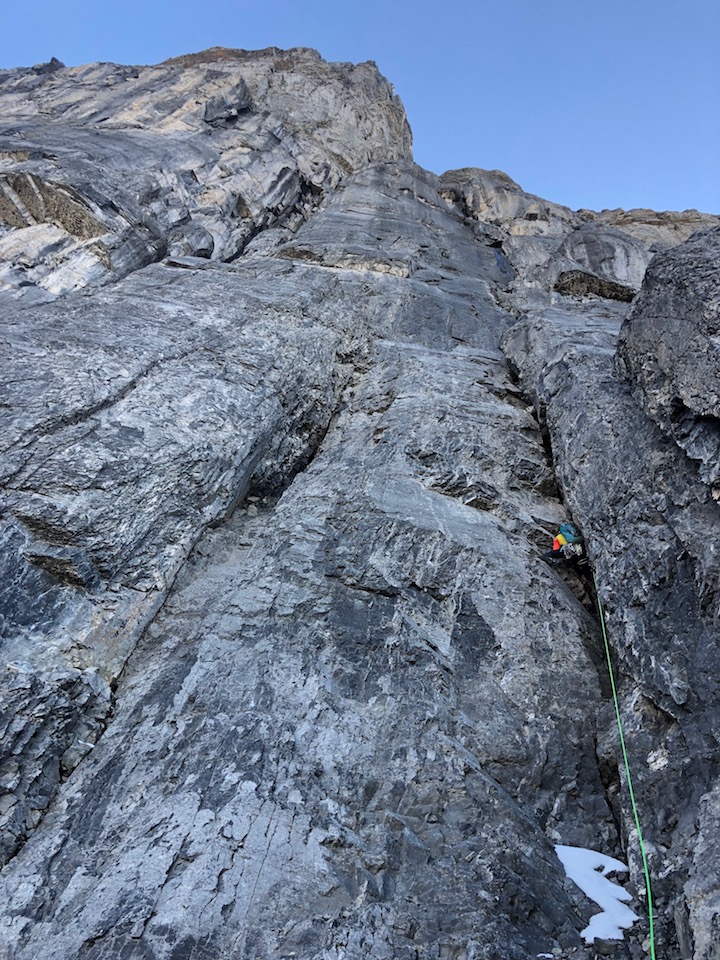
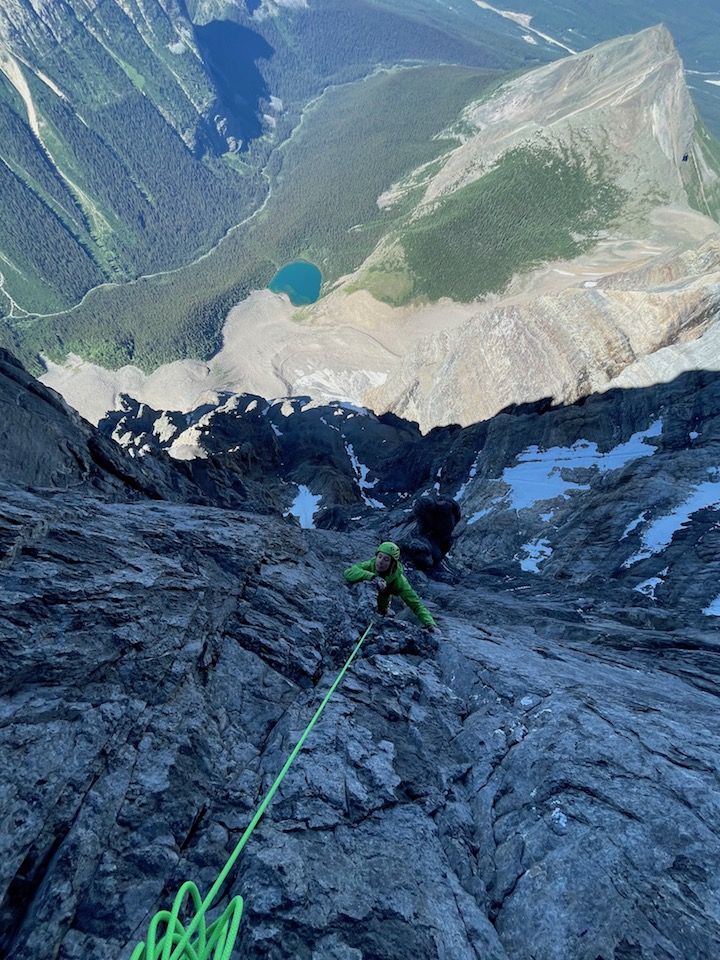
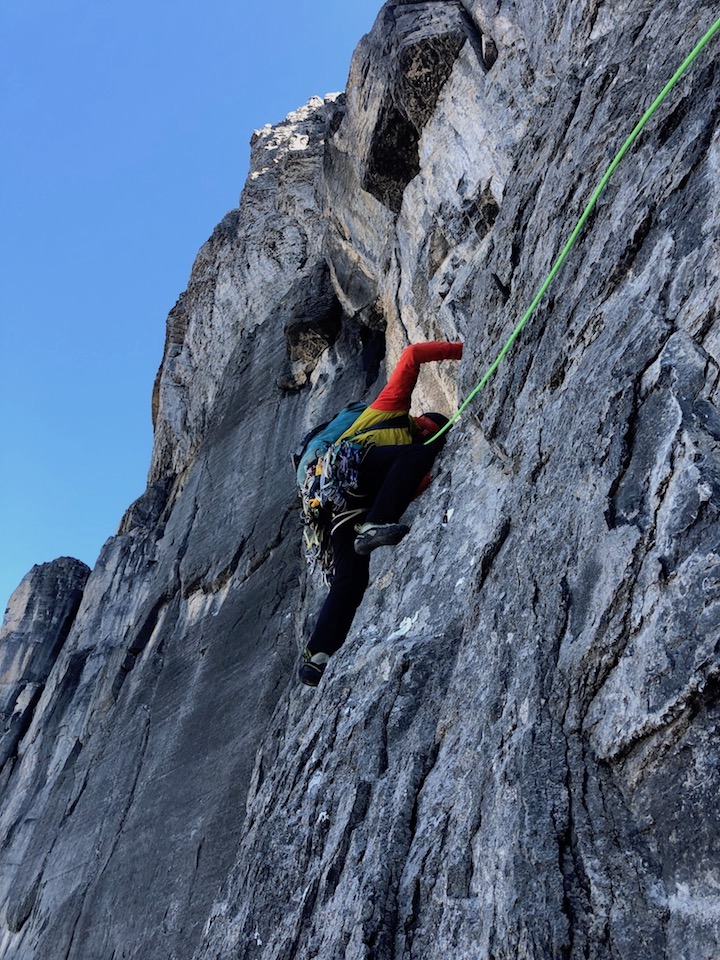
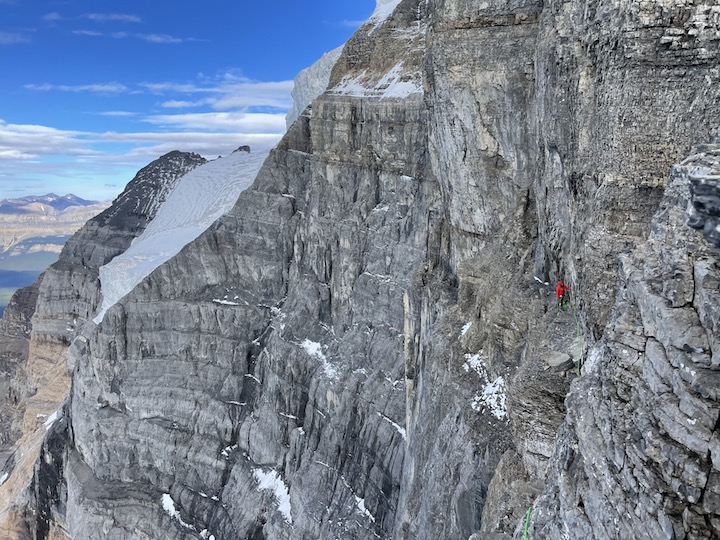
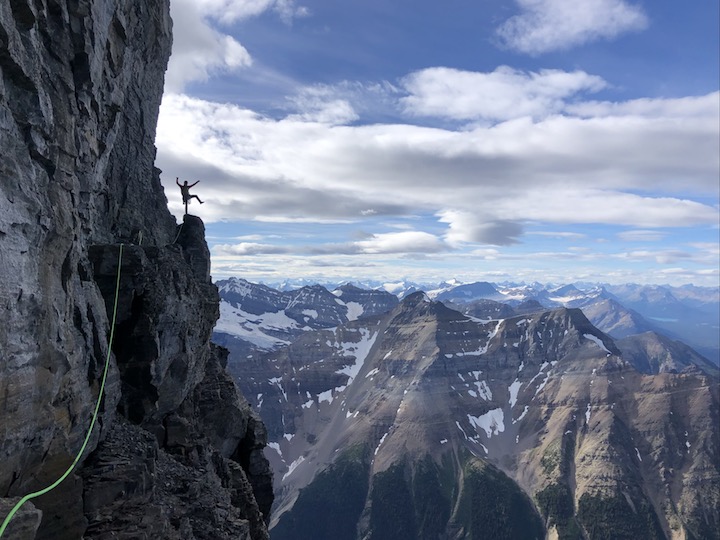
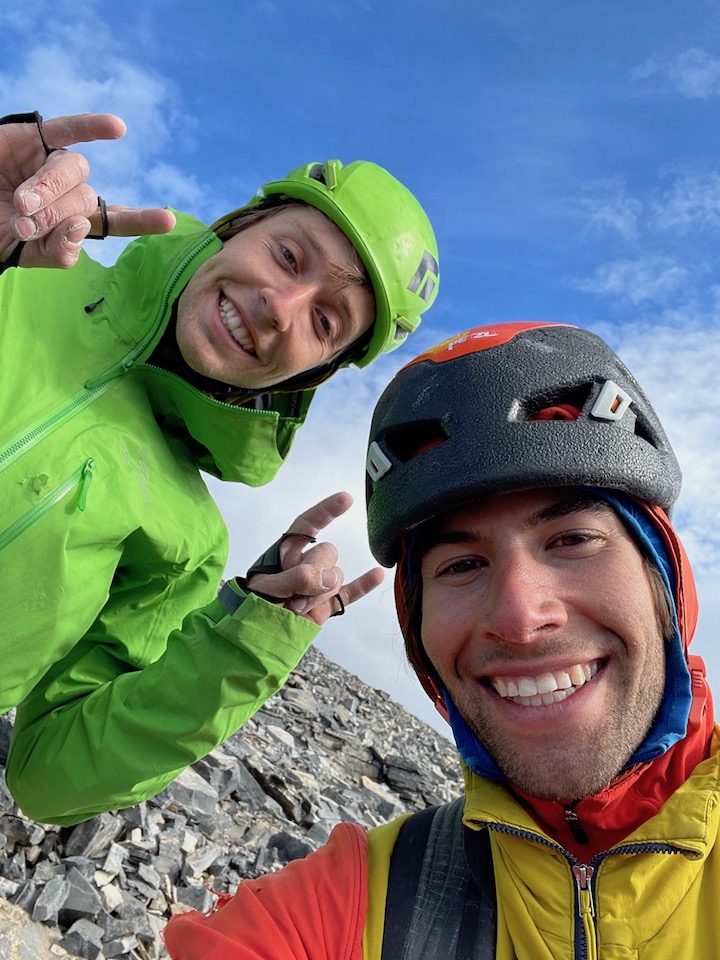
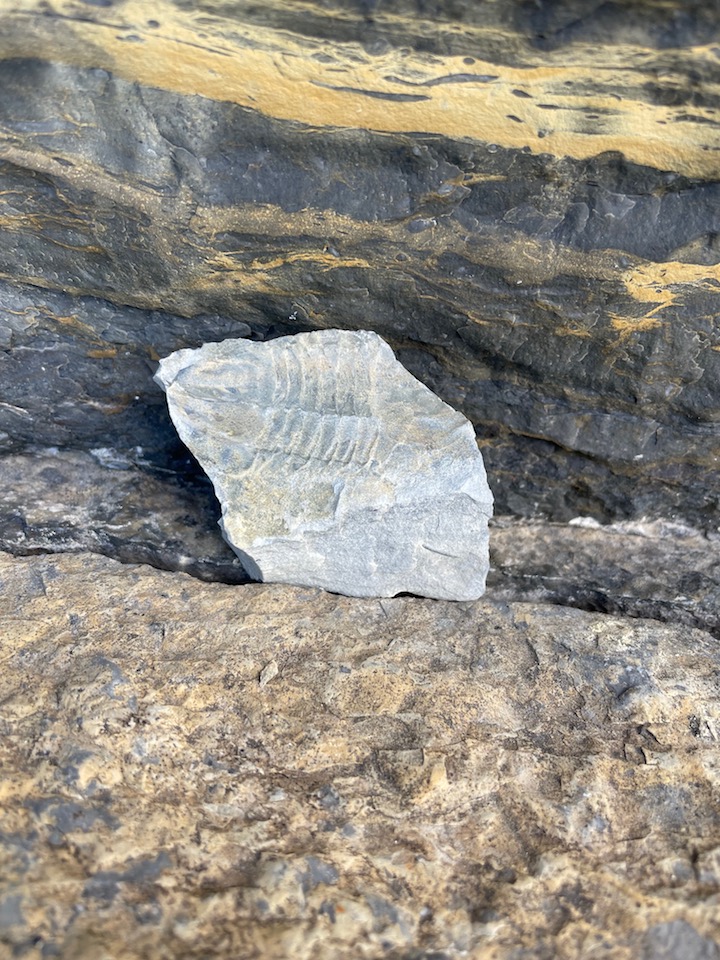
Trip: Mt. Temple North Face, Banff NP, Alberta - Greenwood/Locke Trip Date: 08/06/2022 Trip Report: I have really only written up one TR before and there doesn't seem to be whole lot of TR's on this route so I figured it would be fun/useful to write up some info on Evan's and my ascent of the Greenwood/Locke on the north face of Mt. Temple. Plus it is currently smokey in the mountains in Washington so there isn't a whole lot else to do. On July 16th, Evan and I embarked from Bellingham on a 3+ week climbing trip aiming to climb mountains in Canada. And that we did. After warming up on wet rock in Squamish, we moved to the Bugaboos and spent a week in the East Creek Basin, getting to climb the Beckey/Chouinard and All Along the Watchtower. We then drove to Banff in search of progressively more chossy rock. After spending some time in the Banff area getting used to the Canadian Rockies limestone and glacier ice, and climbing Mt. Fay, Yamnuska, limestone routes in Banff, and getting turned around on Mt. Athabasca from rock fall, we felt ready to try the Greenwood/Locke with impending colder conditions in the forecast. The day before we climbed the route, Evan and I hiked half of the approach to the north face of Mt. Temple from the Lake Annette TH to get a look at the face. We brought binoculars, and scoping the route was incredibly useful for our ascent the next day. A view of the face from our scouting mission. The approximate route we took from Lake Annette. On August 6, we left the trail head early in the morning to make sure we got through the "Dolphin" snow/ice gully's before the sun hit any aspect of the upper wall since there is significant rockfall hazard throughout these gully's low on the route. We climbed much of the Dolphin and several hundred feet of loose 4th and low 5th class rock steps before it got light out. Evan low on the Dolphin Lots of chossy low 4th-5th class steps. Evan climbing the final bit of AI2 up to the base of the "wet chimney pitch". The upper headwall looming above receiving the only bit of sun all day. There was a decent amount of rock fall as soon as the sun hit the upper headwall. Get here early! The "wet chimney" pitch directly above the snow/ice field in the center went at about M5. At the base of the chimney at the top of the final snow/ice field, we broke out the rope and began the "real" climbing. It was necessary to climb this pitch with crampons and tools. We then simuled a long pitch still in our mountain boots up to the big traverse left. The traverse was incredibly loose, and there were a couple fixed pins. We traversed the ledge for just under 200ft until the ledge went around a sharp corner and the wall above undercut right above the ledge. From here, we switched to rock shoes and climbed around 8 more long pitches to the top of the headwall. Evan on one of the early pitches off the long leftward ledge traverse. Many of these pitches were severely runout around 5.8, with several 5.10 pitches. Gear was tricky but usually there were ok cams, pins, and stoppers where it mattered. Nearing the "trickey slab" pitch One of the pitches that is supposedly the crux says to step right into a 10c crack. We found this pitch to be significantly easier and better protected than many of the other pitches on the route. The "ice hose" pitch was thankfully dry, and involved engaging climbing. Enjoying the exposure. A final long pitch of steep rock brought us up to the last ledge traverse and the top of the upper headwall. A chossy but easy traverse right brought us to the top of the wall. Great position! Psyched to be done with the scary climbing. Classic summit selfie. Some sort of fossil I found on the final ledge traverse. The route from the base of the first gully to the top of the upper headwall took us 14 hours. The route is very serious and engaging with significant loose rock. The harder pitches in general had better rock and enjoyable climbing. Gear Notes: We brought a single rack from #000 to #3 with doubles in .4 and .5, a small set of nuts, 1 LA, 2 KB's, 1 Bugaboo, an angle, and two screws. We didn't use the angle and only used 1 screw. We also could have ditched the doubles in .4 and .5 as there are only so many placements per pitch. We each took two technical tools, boots and crampons, rock shoes, and a piton hammer for the leader. Approach Notes: The approach is straightforward and mostly on a trail. Scoping the face the day before made finding our way up the scree and into the correct gully easy in the dark. The descent is also very straightforward. Once topped out, traverse a long scree field maintaining elevation, and then descend a trail on the SW ridge. We hiked to Moraine Lake and then hitchhiked back to our car at the Lake Annette TH.2 points
-
Trip: Mt baker - North Ridge Trip Date: 08/01/2022 Trip Report: This adventure started in the most likely place, Instagram. A guy named Remy, who had worked at the same climbing gym I currently work for sent me a message. My boss had heard from Remy that he was looking for partners that wanted to do a lot of climbing; My boss also knows that I am in the same boat. After some messaging back and forth we decided we would give the north ridge of baker a try! Most would say attempting a long and committing route with a new climbing partner would not be the best idea. Most of the time I would agree. The only reason I am able to make this exception was because of our mutual friend/boss. He has known both of us for a long time, with a good understanding of our experience and comfort level in the mountains. Remy and I planned for a full casual day of hiking up the road, up the trail, and to camp. Then a full alpine start climbing day. Then a full day to sleep and walk out. If the weather and company are equally as good this is my favorite way to approach bigger climbs like this. Making the large approach and distances more manageable physically and mentally. I find this is also how I rap my head around larger technical obstacles; Breaking them down into small chunks that I can easily understand and take one at a time. The small chunk mindset works super well until you need to have any amount of forethought about your objectives but for the purpose of giving me confidence that I have the ability to do larger and harder routes, this mindset helps a lot. Remy and I started out our approach day a little bit late putting the pressure on us to get to camp and get to sleep. Making it worse was the fact that I had forgotten my bike back home in a rush to get ready and out the door early. We put our minds together and decided that strapping the packs to the bike like a mule and both pushing that one bike would be faster than swapping out riding the single bike. This feat of engineering let us push up the hill to the trailhead in less than 2 hours. Putting us right back on schedule. We hoisted our packs and walked up the heliotrope ridge trail with excitement for our next day. After arriving at camp and getting our tent set up, I cooked my usual top ramen with a side of tuna (I am still getting better at backcountry cooking). We talked over at time plan and decided on a midnight start. Our alarms rang and it was time to boogie. I threw my boots on and racked up for the big day to come. We did some traversing to get up out onto the helio trope ridge and then out onto the Coleman glacier. The glacier was surprisingly simple and fast travel. Most of the cracks were completely exposed making them obvious and easy to avoid. Until higher on the mountain we did not find any unstable bridges. We hiked in a timely manner up to the toe of the north ridge. The beta that we had gotten from a month before was that gaining the toe of the ridge was out and traversing to lookers left around the ridge was needed. That turned out to be completely false for the conditions we found but existing in our own little headlamp bubble it was hard to tell that at the time. Moving around the toe of the ridge and accending found us just next to looker's left of the ridge for about a thousand feet. Looking up at the ice step and the steeper snow seemingly right above us we pulled out the rope length and prepared to siml. This was not the case. A little after the above picture was taken I arrived at a nearly 50ft wide crack that the GPS track we had, seemingly cruised right over. With the north ridge not gainable to us to the right and icefall to the left we decided to descend slightly and explore our options to the left. Past some broken blocks the glacier seemed to mellow out and provide access around the crack back to the north ridge. The above photo was taken after traversing around the large crack. beautifully broken glacier. Tomfoolery moving through the north face icefall This portion of the climb is something I am debating still in my head. We had no beta on the icefall we were making our way through. The bridges we were crossing were super solid but would they have been later in the day if we needed to descend? what would the icefall hazard be like after the sun heated everything up? Was I in over my head? I believe that the decisions we made were safe enough for the route and situation we were committed to. Remy and I on the way out discussed every decision we made in detail and the reasons behind them. This type of do-it-as-you-go climbing was new to both me and Remy and it was really fucking awesome. You can see in our GPS track we were finding the best crossings were farthest lookers left but we constantly were moving lookers right to see if there was a route back onto the ridge. Finally, after lots of large crack crossings and zig-zagging, we found an entrance to the north ridge around 600 ft below the ice step. A look at the upper north face icefall from below the ice step. Back on route finally. As we looked down the ridge in the light a clear bootpack and a RMI team moving up it made all the hard work we just put in seem meaningless. But was it? I feel like I had to engage more active decision-making, risk management, and route-finding skills much much more than I normally would have on a well-tracked route like the north ridge. I feel I grew as a climber as well as my personal ethic in the mountains. It was a freeing experience to decide to tread my own route and make it work. The ice step was in super good shape. A short section of pretty high-quality vertical ice then followed by another pitch of low-angle ice. This led to a knife edge ridge to the summit bergy which was a simple crossing with some steep snow to the top. The descent was very simple, just a trot down the Coleman Demming which was in very good shape. Back to camp at 2pm made it a 15-hour day including all the icefall buffoonery. Overall a super fun climb with a super cool person. I hope you enjoyed reading about an adventure and thanks for sticking around! Gear Notes: 6 Screws, 3 pickets (wish we had a few more screws) Approach Notes: Heliotrope (bring two bikes)1 point
-
Trip: Mount Hardy (8038') & Golden Horn (8366’) - Swamp Creek to Snowy Lakes Trip Date: 07/30/2022 Trip Report: Mount Hardy (8038') & Golden Horn (8366’) – Swamp Creek Approach – - JULY 30-31, 2022 (Sat, Sun) It was going to be hot as hell over the weekend, a good excuse to get up in elevation and enjoy the mountains. Mount Hardy & Golden Horn are in the Wilderness area and not in the National Park, so no bullshit permission slips needed to use MY forest. It’s the way ALL forests owned by the people should be. Saturday: I started from the Swamp Creek Turnout past the Easy Pass Trailhead off Hwy 20 at 10:00am. I walked down Hwy 20 past Swamp Creek and started up the hill toward Mount Hardy. The bushwhacking started out very pleasant, with open easy travel through the forest. I knew the longer it stayed pleasant the steeper the upper bushwhack was going to get. You hit a wall of steep thick baby trees around 5200’ and you don’t come out until about 5900’. After 5900’, you come into a burn area with a clear line of sight to the summit of Mount Hardy. The rock to the summit is mostly class 2 with a little class 3 here and there. The challenge is in the elevation gain over the short distance to the summit. I was on the Mount Hardy summit at 2:45pm. A new summit registry was placed on July 24th . There is no water between Swamp Creek and the Mount Hardy summit, so water up at the creek and carry all that you will need until the Pacific Crest Trail. I headed down from the summit and followed the ridge to Methow Pass off the Pacific Crest Trail at 4:45pm. I headed down the trail toward the Snowy Lakes arriving at the Upper Snowy Lake camp at 6:00pm and called it a day. The bugs are out in force around the lakes area right now. Bring your bug repellant and a head net unless you like breathing mosquitoes. I really wanted to swim in the lake to cool off, but I would have come out looking like a pin cushion with a skin tone a shade of grey from all the blood loose. I brought a tarp to sleep under and I was wishing I had lugged up the extra weight of a tent so I could hide from the buzzing swarm of mosquitoes. A beautiful area nonetheless. Sunday: I was up and moving at 5:30am. I headed for the ridge of Golden Horn instead of going through the middle and dealing with all the loose rock. The ridge was nice. I summited Golden Horn at 7:45am. I climbed an extra ridge of 4th and 5th class rock thinking it was the summit. The actual summit requires about 30-40’ of low 5th class to get to the top. The final section to the top was a 6’ vertical section that I pulled myself up over. There is a rappel sling setup off the top if wanted. A 30’ section of accessory cord would probably do the trick if you wanted to go light. I worked my way down back to camp arriving at 9:15am. I went down through the middle, in the loose rock, as it was nice on the feet. I was back to Methow Pass at 11:30am. I climbed up to 7500’ on the side of Mount Hardy to cross back over to the route down to the parking area. I was in this area before and I decided to go straight across from the end of the nice ridge from Methow Pass, probably at around 7000’. That sucked. I ended up hitting a few gullies full of steep loose rock on top of slick rock. It took a long time and one slip would have meant having my ass belt sanded for 100’s of feet. So make sure you cross at 7500’ or higher on the side of Hardy. I made it back to the parking area at 3:30pm. The climb down the steep baby tree section was just as hard going down as up. I could see better going up even though it was more effort. It was a fun trip overall, nothing too technical, beautiful scenery, and most importantly NO BULLSHIT from the green gestapo. Some Tips and Notes: 1. The route going up to Hardy is on the West side of Swamp Creek and splits away from the creek after a little while. 2. There is no water between Swamp Creek and the Snowy Lakes area so plan accordingly. There is snow to melt on route if needed in a pinch. 3. Cross the side of Mount Hardy at 7500’ or higher to avoid nasty gullies. 4. Bring bug repellant or a blood transfusion. Travel Time for reference: Saturday: Trailhead to Hardy Summit to Upper Snowy Lake Camp (6600’) – 8 hours. Sunday: Camp to Summit of Golden Horn & back to Trailhead – 10 hours. Total Mileage: around 12-14 miles Total Elevation Gain: around 7300’ Gear used: Trekking Poles. Mount Hardy from the Swamp Creek Turnout parking area. The views start really kicking in at the burn area. Golden Horn and Tower Mountain from Mount Hardy Summit. Looking back at Mount Hardy on the way down the ridge to Methow Pass. Start of Snowy Lakes Trail from Pacific Crest Trail. Snowy Lakes Area. Sunrise on Mount Hardy. Golden Horn Summit. Final section to Golden Horn Summit. Summit view from Golden Horn, Mount Hardy in the Middle. Gear Notes: Trekking Poles. Bug Net. Approach Notes: Swamp Creek to Methow Pass to Snowy Lakes1 point

