Search the Community
Showing results for tags 'snoqualmie ice'.
-
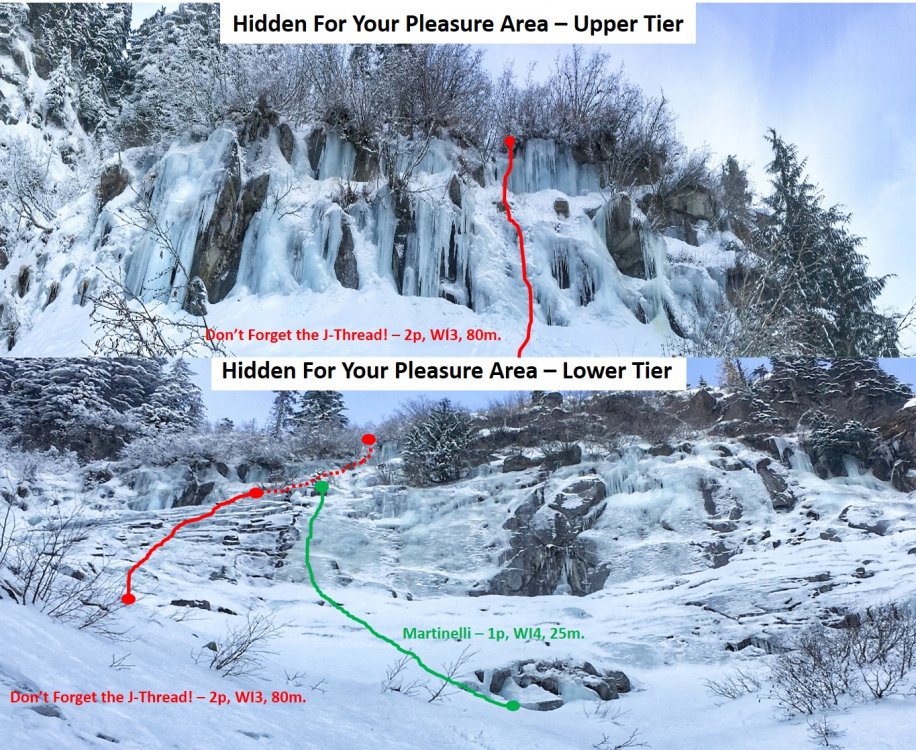
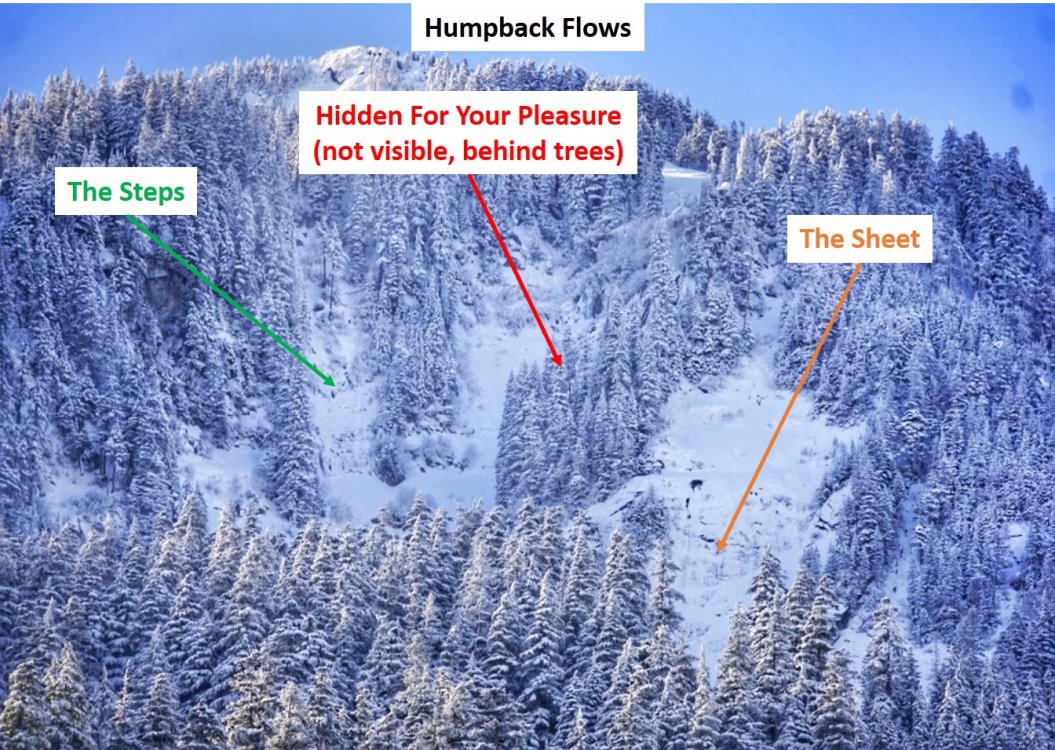
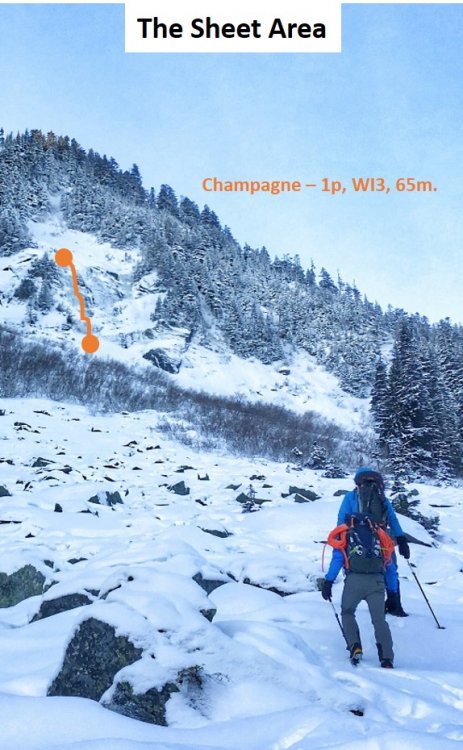
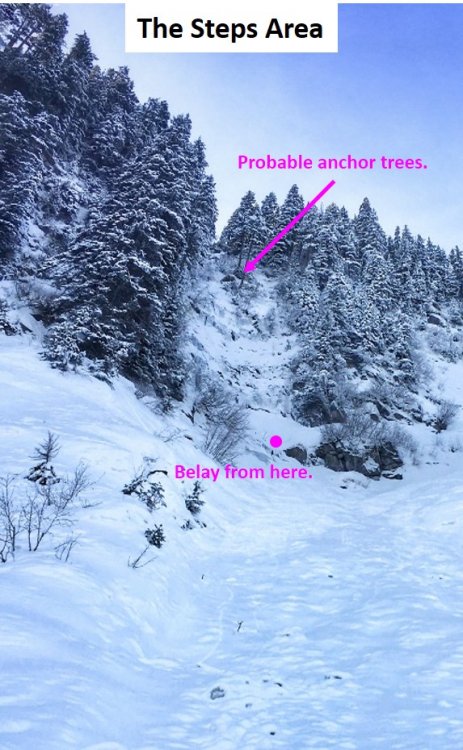
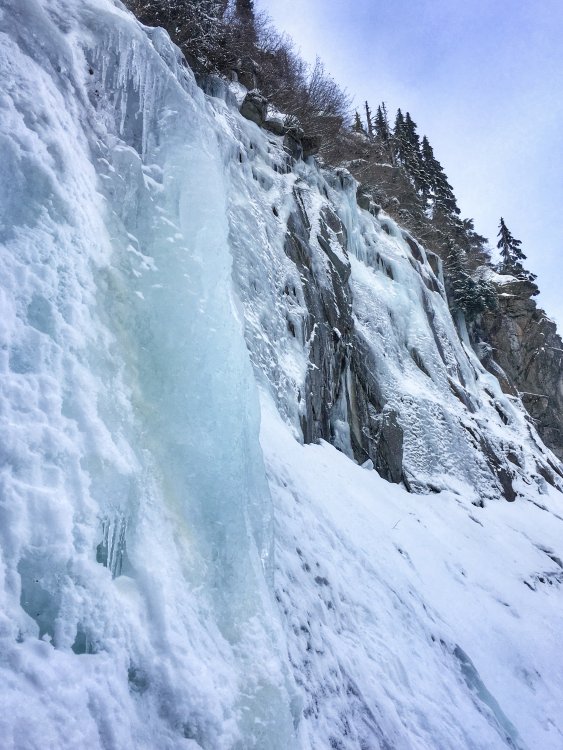
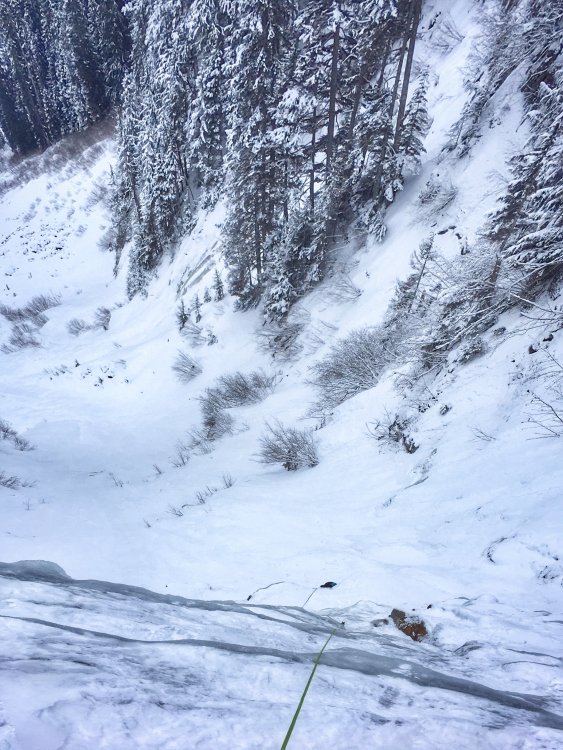
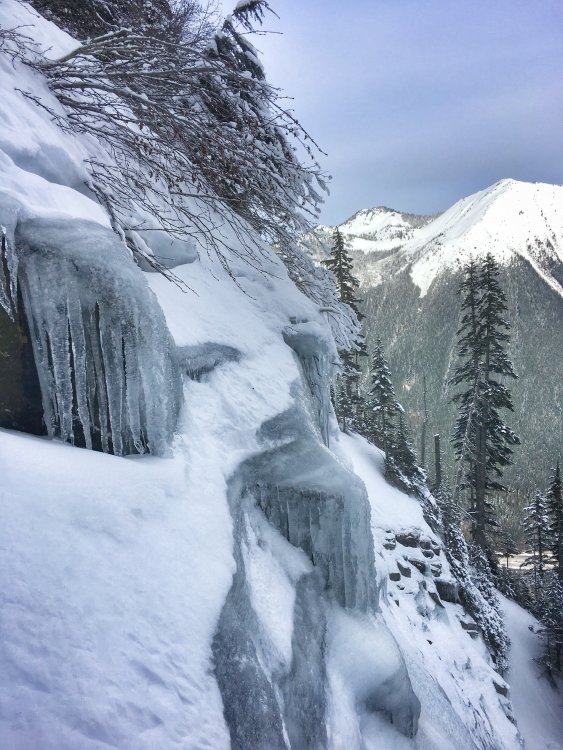
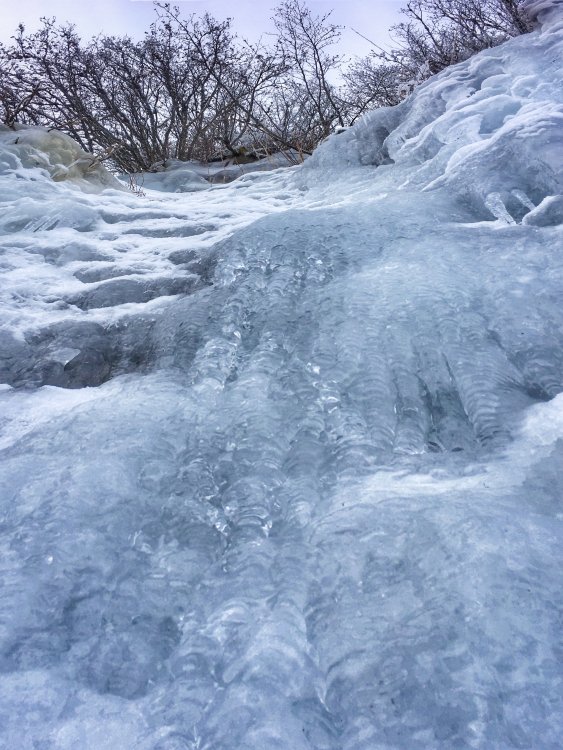
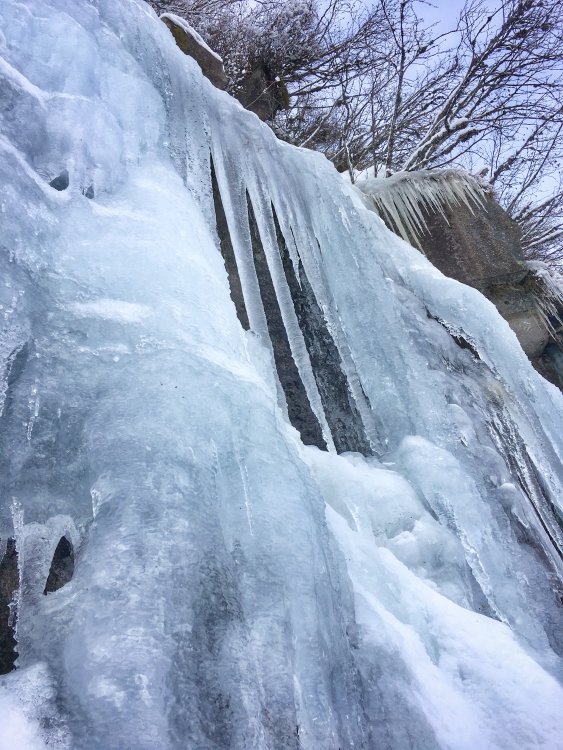
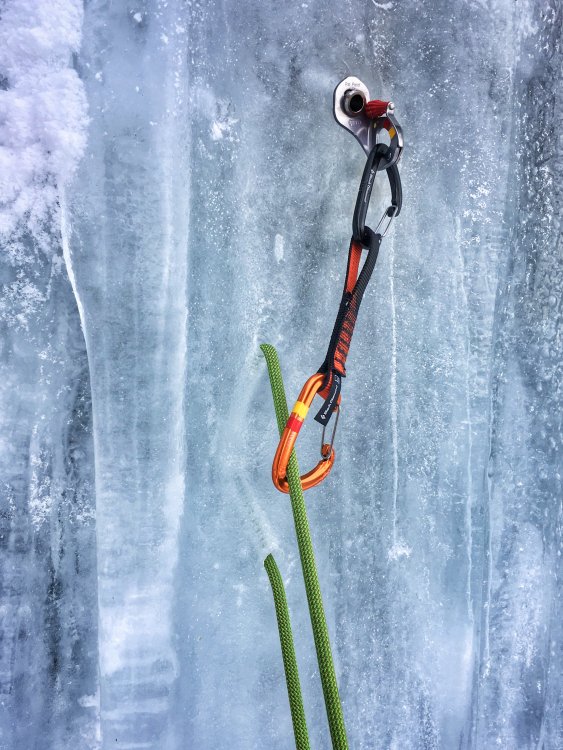
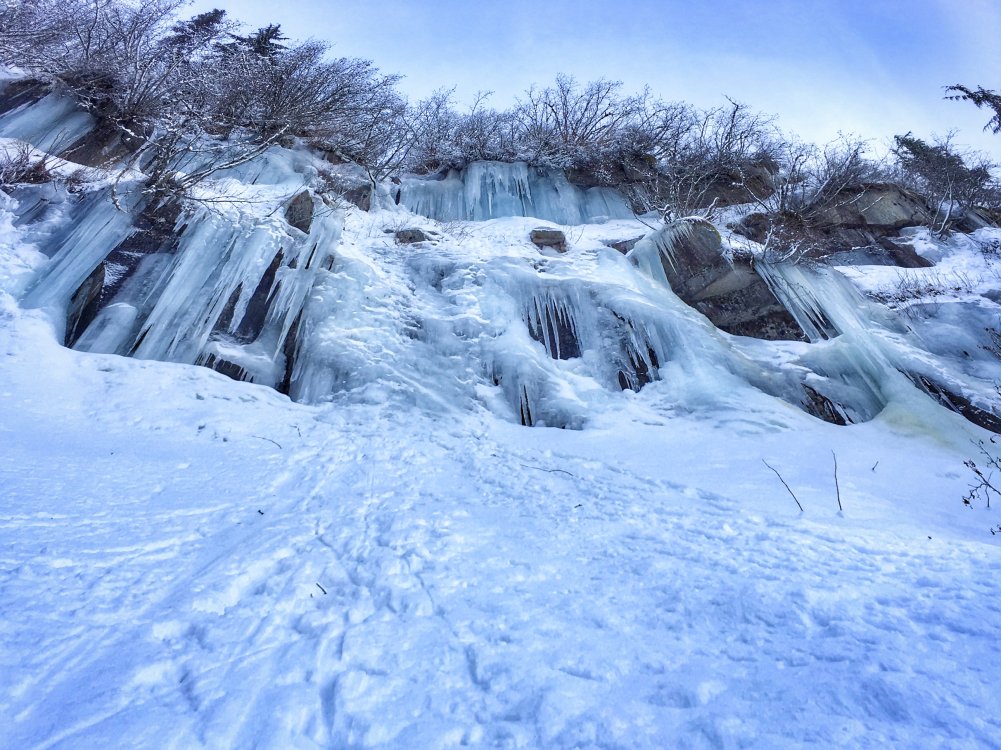
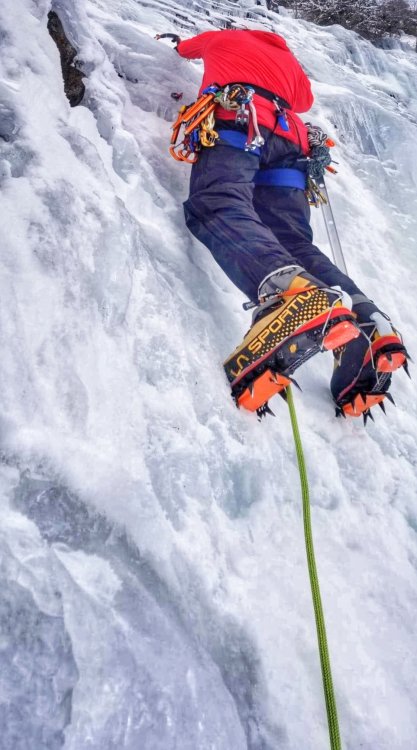
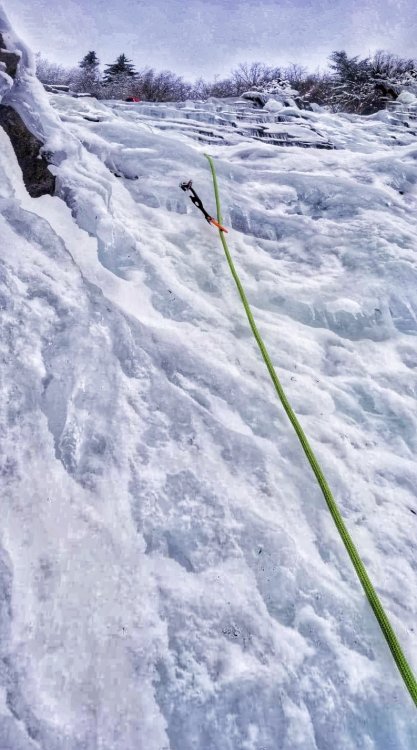
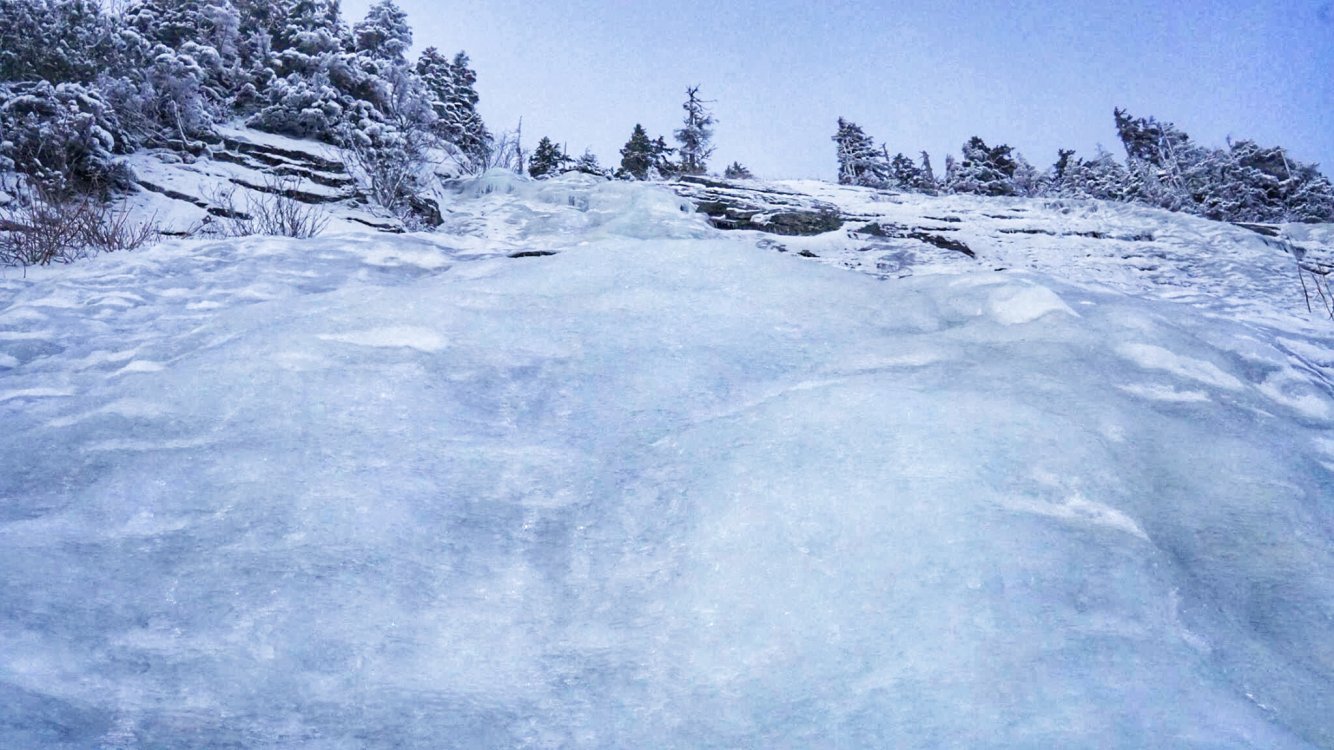
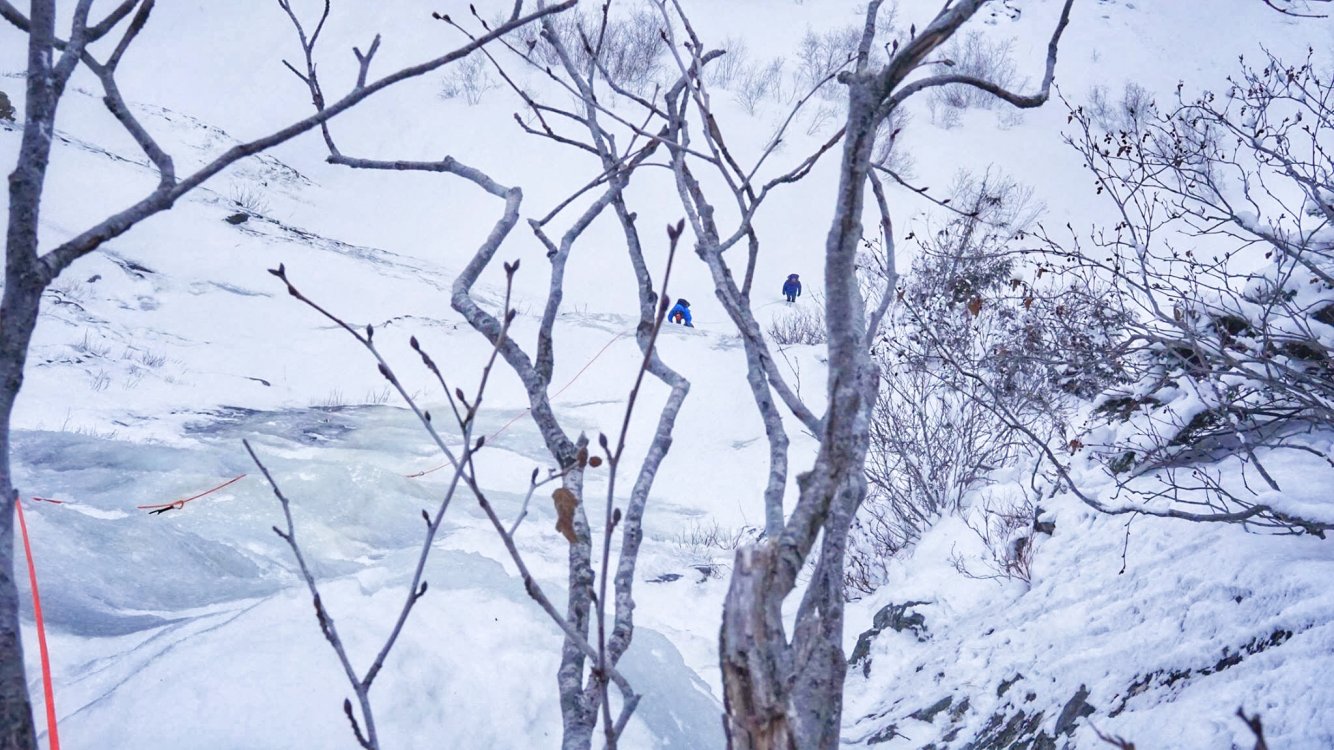
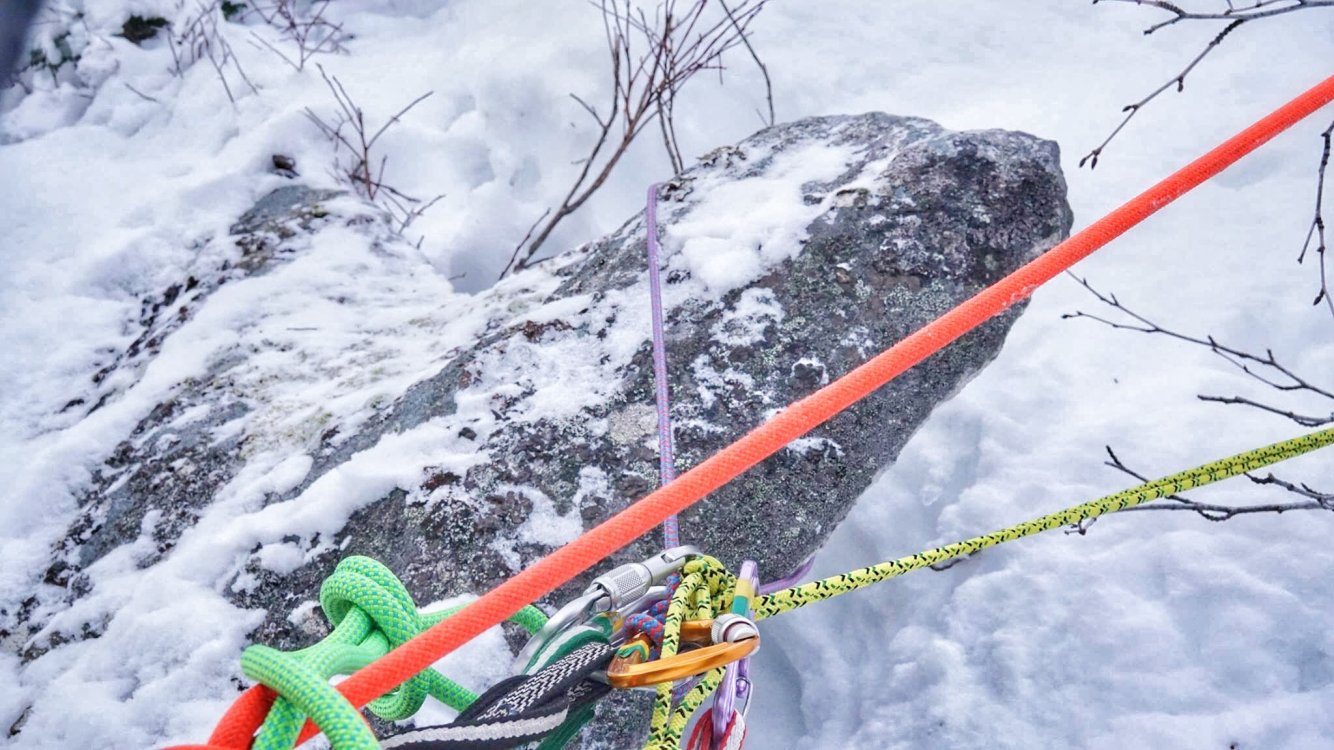
Trip: Humpback Mountain - Humpback Flows. Possible FA's on three ice routes - Champagne, 1p WI3, 65m. Don’t Forget the J-Thread, 2p WI3, 80m. Martinelli, 1p WI4, 25m. Trip Date: 02/07/2019 Trip Report: [TR] Humpback Flows, Possible First Ascents: Champagne, 1p WI3, 65m. Don’t Forget the J-Thread, 2p WI3, 80m. Martinelli, 1p WI4, 25m. Climbers - Raider Rob, Caleb Mallory, Alex Stolpovsky, Jessica Sagnella, Justin Pucci. View of Humpback Flows from I-90 Exit 47. Introduction: On my way back from ice climbing in Hyalite two weekends ago, my friends and I spotted what looked like ice up on the North Face of Humpback Mountain from westbound I-90 at Exit 47. I added this to my list of areas to check out and drove on… A few days later, my friend Chris Patrick posted a picture of the same thing on Facebook and several of us got into a conversation surrounding whether there was anything worthwhile up there. Thursday rolled around and the conditions appeared to be perfect, so my partner Jessica Sagnella and I decided we’d give it a try. Friends Raider Rob, Alex Stolpovsky, and Caleb Mallory were also planning a trip, so we decided to team up and lay siege to Humpback Mountain in the hope that we’d find something worthwhile to climb. We got to the Asahel Curtis parking lot off of Exit 47 at 7AM, geared up, and began the approach. There are no trails up this side of Humpback so it was a fun and interesting trailblazing and bushwhacking exercise to get to the ice. Climbing Area Descriptions: To get to The Steps or Hidden For Your Pleasure, ascend the avalanche path directly. This approach is approximately 600-800 vertical feet of steep no-fall zone snow up to 60 degrees, so please assess conditions as you go and use your best judgement. About midway up the avy path, you’ll see The Steps on the left and now the full lower tier of Hidden on the right. At this point, it becomes clear that The Steps is considerably steeper than the approach photo represents. It consists of a 15-meter wide gully with two nearly-vertical 5 to 8-meter ice steps separated by a snowfield. The top out appears to be protectable via anchoring to a large tree directly up the center of the gully. To get to The Sheet, traverse right from the tops of the bushes with very little additional elevation gain, but be weary of the final portion of the traverse to the base of the ice, as it is a no-fall zone on steep snow. The Steps Area from half way up the avy path. The Sheet Area from the lower boulder field with Champagne highlighted on the left. The Hidden For Your Pleasure Area showing the lower and upper tiers and the two lines we put up. The Sheet Area Champagne – WI3, 65m, possible FA by Alex Stopolvsky, Caleb Mallory, and Raider Rob. Avalanche danger: Serious. Approach: Traverse right from the tops of the bushes with very little additional elevation gain, but be weary of the final portion of the traverse to the base of the ice, as it is a no-fall zone on steep snow. Route: Climb the major flow on the right along the left side of the slab. There is a possible variation starting left up the first step and then traversing to the far right to what looked like fat ice. For a top belay anchor, sling the horn on a large slab just left of the route at the end of the pitch. Another 20 meters above the anchor is a protected cave with plenty of level ground. Descent: Rappel from the anchor or from here, you can get to the right side of the lower tier of Hidden For Your Pleasure by traversing 60-degree snow through the trees climbers left of the cave. Looking up Champagne from the base. Caleb following Alex on Champagne. The belay horn at the top of Champagne. The entrance to the flat and comfy cave another 20m above the top of Champagne. The Hidden For Your Pleasure Area Don’t Forget the J-Thread! – 2p WI3, 80m, possible FA by Justin Pucci and Jessica Sagnella. Avalanche danger: Serious. Look for signs of wind slabs as you ascend the lower section of the approach and loose dry surface snow in the upper section. Approach: Climb 50 to 60-degree snow up the avalanche path to the belay station tucked away in a shallow cave under the large rock outcropping on the left. Route: P1 - WI2+/3-, 40m: Start up climbers right from outside of the belay cave on a short step of near-vertical ice. Continue up the ice steps from here and look for spots to place stubbies (at best) as you progress. There are a couple of variations here depending on ice conditions and how you’re feeling. The left side of this line is thin and stepped with a couple of mixed moves off of a large flake (WI2+/3-) and the right side has interesting and fun blobs (WI3-/3). Be careful of knocking down the large, dinner table-sized ice sheets that look more like “snow patches” from below. Reach an obvious and wide shelf where you can build a screw anchor on the ice blobs and prep for the next pitch. P2 - WI3, 40m: Start up the blobs that make up the top of the belay shelf onto a small, but steep snowfield. You’re aiming for the curtains directly above you. Again, there are a couple of variations – the main line has a small slab of ice leading to a steep gully on the left or a steeper step with a large bulge at the top on the right. Both variations lead to a final 5-6m curtain of beautiful and featureless ice. The top-out can be tricky in the snow above the curtain. Anchor off of the trees or on the ice bulge above. Descent: Rappel both pitches via threads. We used naked threads on both raps. Looking out from the belay cave at the start of Don't Forget the J-Thread. Justin getting started with the first screw above the first step on p1. Justin reaching the belay ledge at the top of p1 on Don't Forget the J-Thread. The characteristic blobs toward the top of p1. Jessica getting ready to follow on p1. Looking up p2 of Don't Forget the J-Thread. Left variation on p2. Right variation on p2. A naked thread in beautiful and clear ice at the top p2. Martinelli – WI4, 25m, possible FA by Alex Stopolvsky and Caleb Mallory. Avalanche danger: Serious. Look for signs of wind slabs as you ascend the lower section of the approach and loose dry surface snow in the upper section. Approach: Climb 50 to 60-degree snow up the avalanche path to the belay station tucked away in a shallow cave under the large rock outcropping on the right or traverse climbers left through the trees from a top-out on The Sheet area. Route: This is the obvious line to the right of Don’t Forget the J-Thread and runs right up the middle of the wall. Climb a brief section of steep snow to the base of the wide ice sheet. Climb the sheet toward the small pine tree above. The top-out can be tricky in loose snow. Sling the small pine tree at the base for an anchor. Descent: Rappel off of the small pine tree (we left a sling on it). Caleb following Alex on Martinelli. Summary: The stoke was high on this trip and I have to say that it ranks as one of the best days I've had in the alpine in a while. Not only did we have an awesome adventure with friends, but it resulted in finding some amazing ice climbing that is so close to home! Between the three areas I have discussed in this report, we believe there is potential for another 15-20 lines to be put up depending on creativity and the conditions. The Sheet has lots of fat ice with plenty of interesting features to play around on. The Steps appears to have at least two or three obvious lines to the anchor trees at the top of the gully. The lower tier of Hidden offers from mild WI2 to thin and delicate WI4 with some mixed climbing potential too. Finally, the upper tier of Hidden is a real gem...some of the most beautiful and clear blue ice I've seen anywhere. It can be combined with some of the lower pitches as we did on J-Thread or you can climb to it, set up home base and choose which of the gullies, curtains, and pillars you want to send. Who's ready to get some?! Gear Notes: We brought 70-meter ropes, screws from 10-21cm, a set of tricams, and a few 24” pickets. While we didn’t use the pickets, I could see them being handy for the steep upper sections of the approach or on a couple of the steep snowfields depending on the snow conditions and how comfy you are in that kind of terrain. There were a couple of spots for tricams that I found, but didn’t end up using them. Aside from when we had the luxury of thick anchor ice, 10’s and 13’s were the screws of choice. An avy kit is absolutely mandatory in this area. Approach Notes: From the Asahel Curtis parking lot, follow the forest road past the gate and up to the hairpin turn. Go west beyond the turn up a rougher bit of road for another few hundred feet until you see a big tree stump (4-5 feet in diameter) on the hillside and enter the forest. Now just go up! After 400 vertical feet of steep moss, devils club, and other fun bushwhacking, you’ll hit the Palouse to Cascades State Park Trail. Use this as a good stop for layer checks and snacks and then continue up through another 600-700 feet of the same stuff until you hit a boulder field. Stay west of the obvious and large gully on climbers left and you’ll break out of the trees and into the lower basin where you’ll start to get a view of the ice. The next 200-300 vertical feet is on snow covered boulders and begins to steepen as you hit the big patch of bushes above the trees. From the top of the bushes, the terrain steepens substantially. You’re now standing at the base of a large avalanche runout from above and need to carefully assess conditions from this point forward. Looking around you from left to right, you’ll see a large rock wall followed by The Steps – a steep, two-step ice gully, then a small bit of ice way up high that is the second tier of Hidden For Your Pleasure, and finally, on the far right is The Sheet, a wide slab of ice topped by a steep snowfield. In total, the approach from the parking lot covers about 2200 vertical feet over one mile of ground distance. We hit this in perfect bluebird conditions…clear skies, temperatures in the teens, a slight breeze, and with very little snow on the ground down low. Once we got into the upper sections of the approach near the ice, the snow ranged from kick-steppable styrofoam to an icy crust perfect for fast mid-dagger climbing with patches of softer and deeper powder that allowed for kicking out a bit of a rest stop.
- 12 replies
-
- 5
-

-

-
- first ascent
- snoqualmie ice
-
(and 2 more)
Tagged with:
-
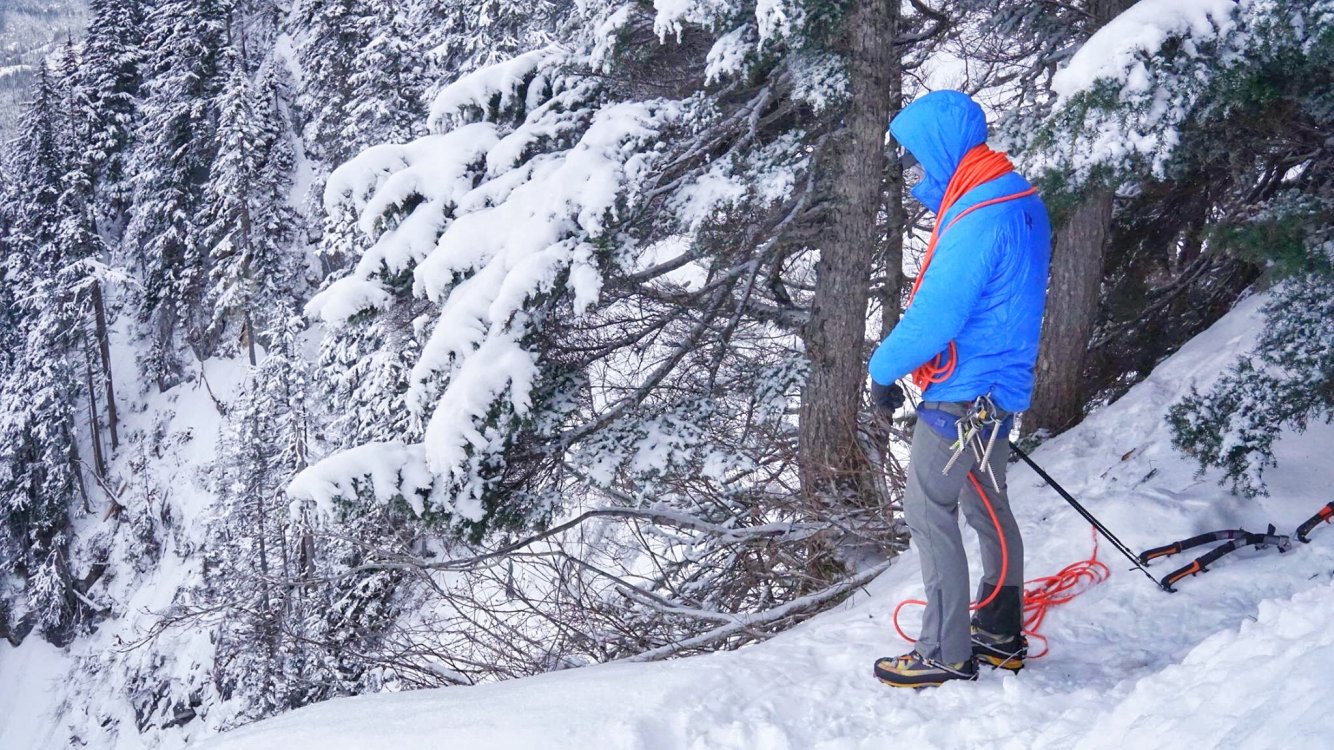
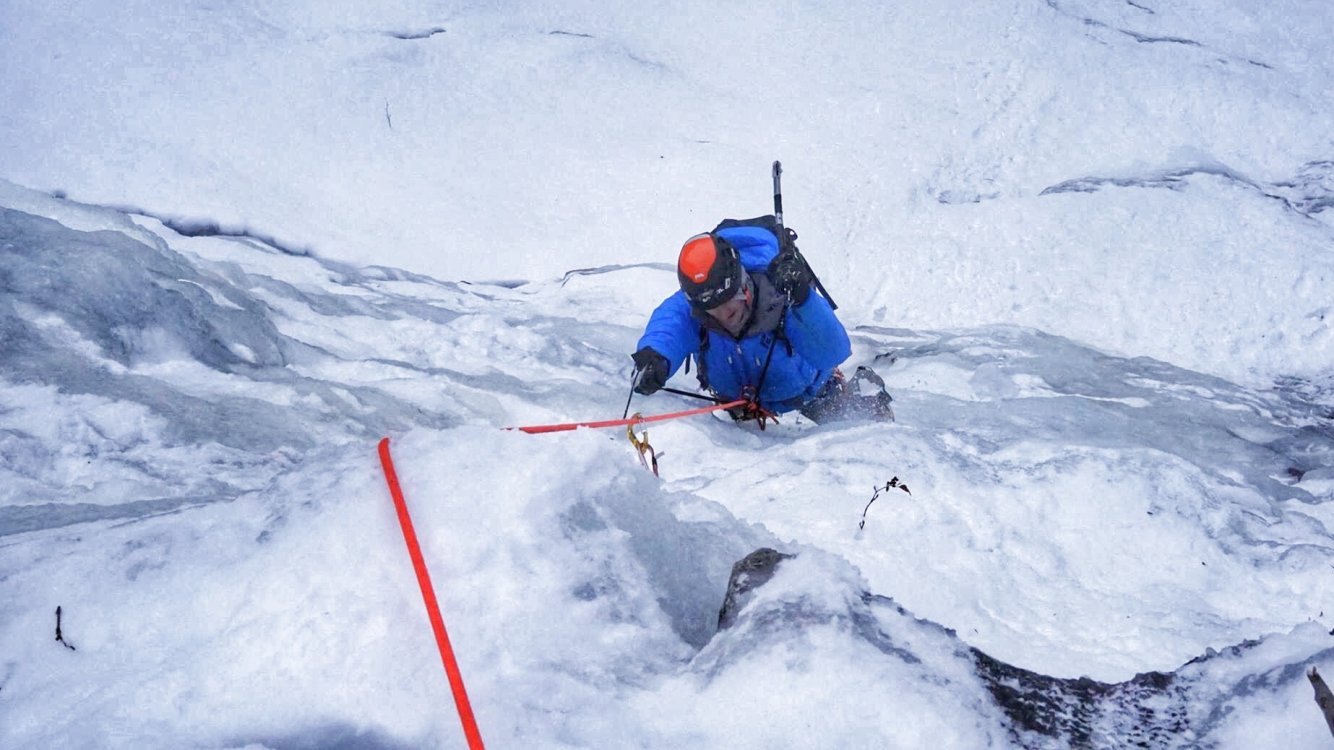
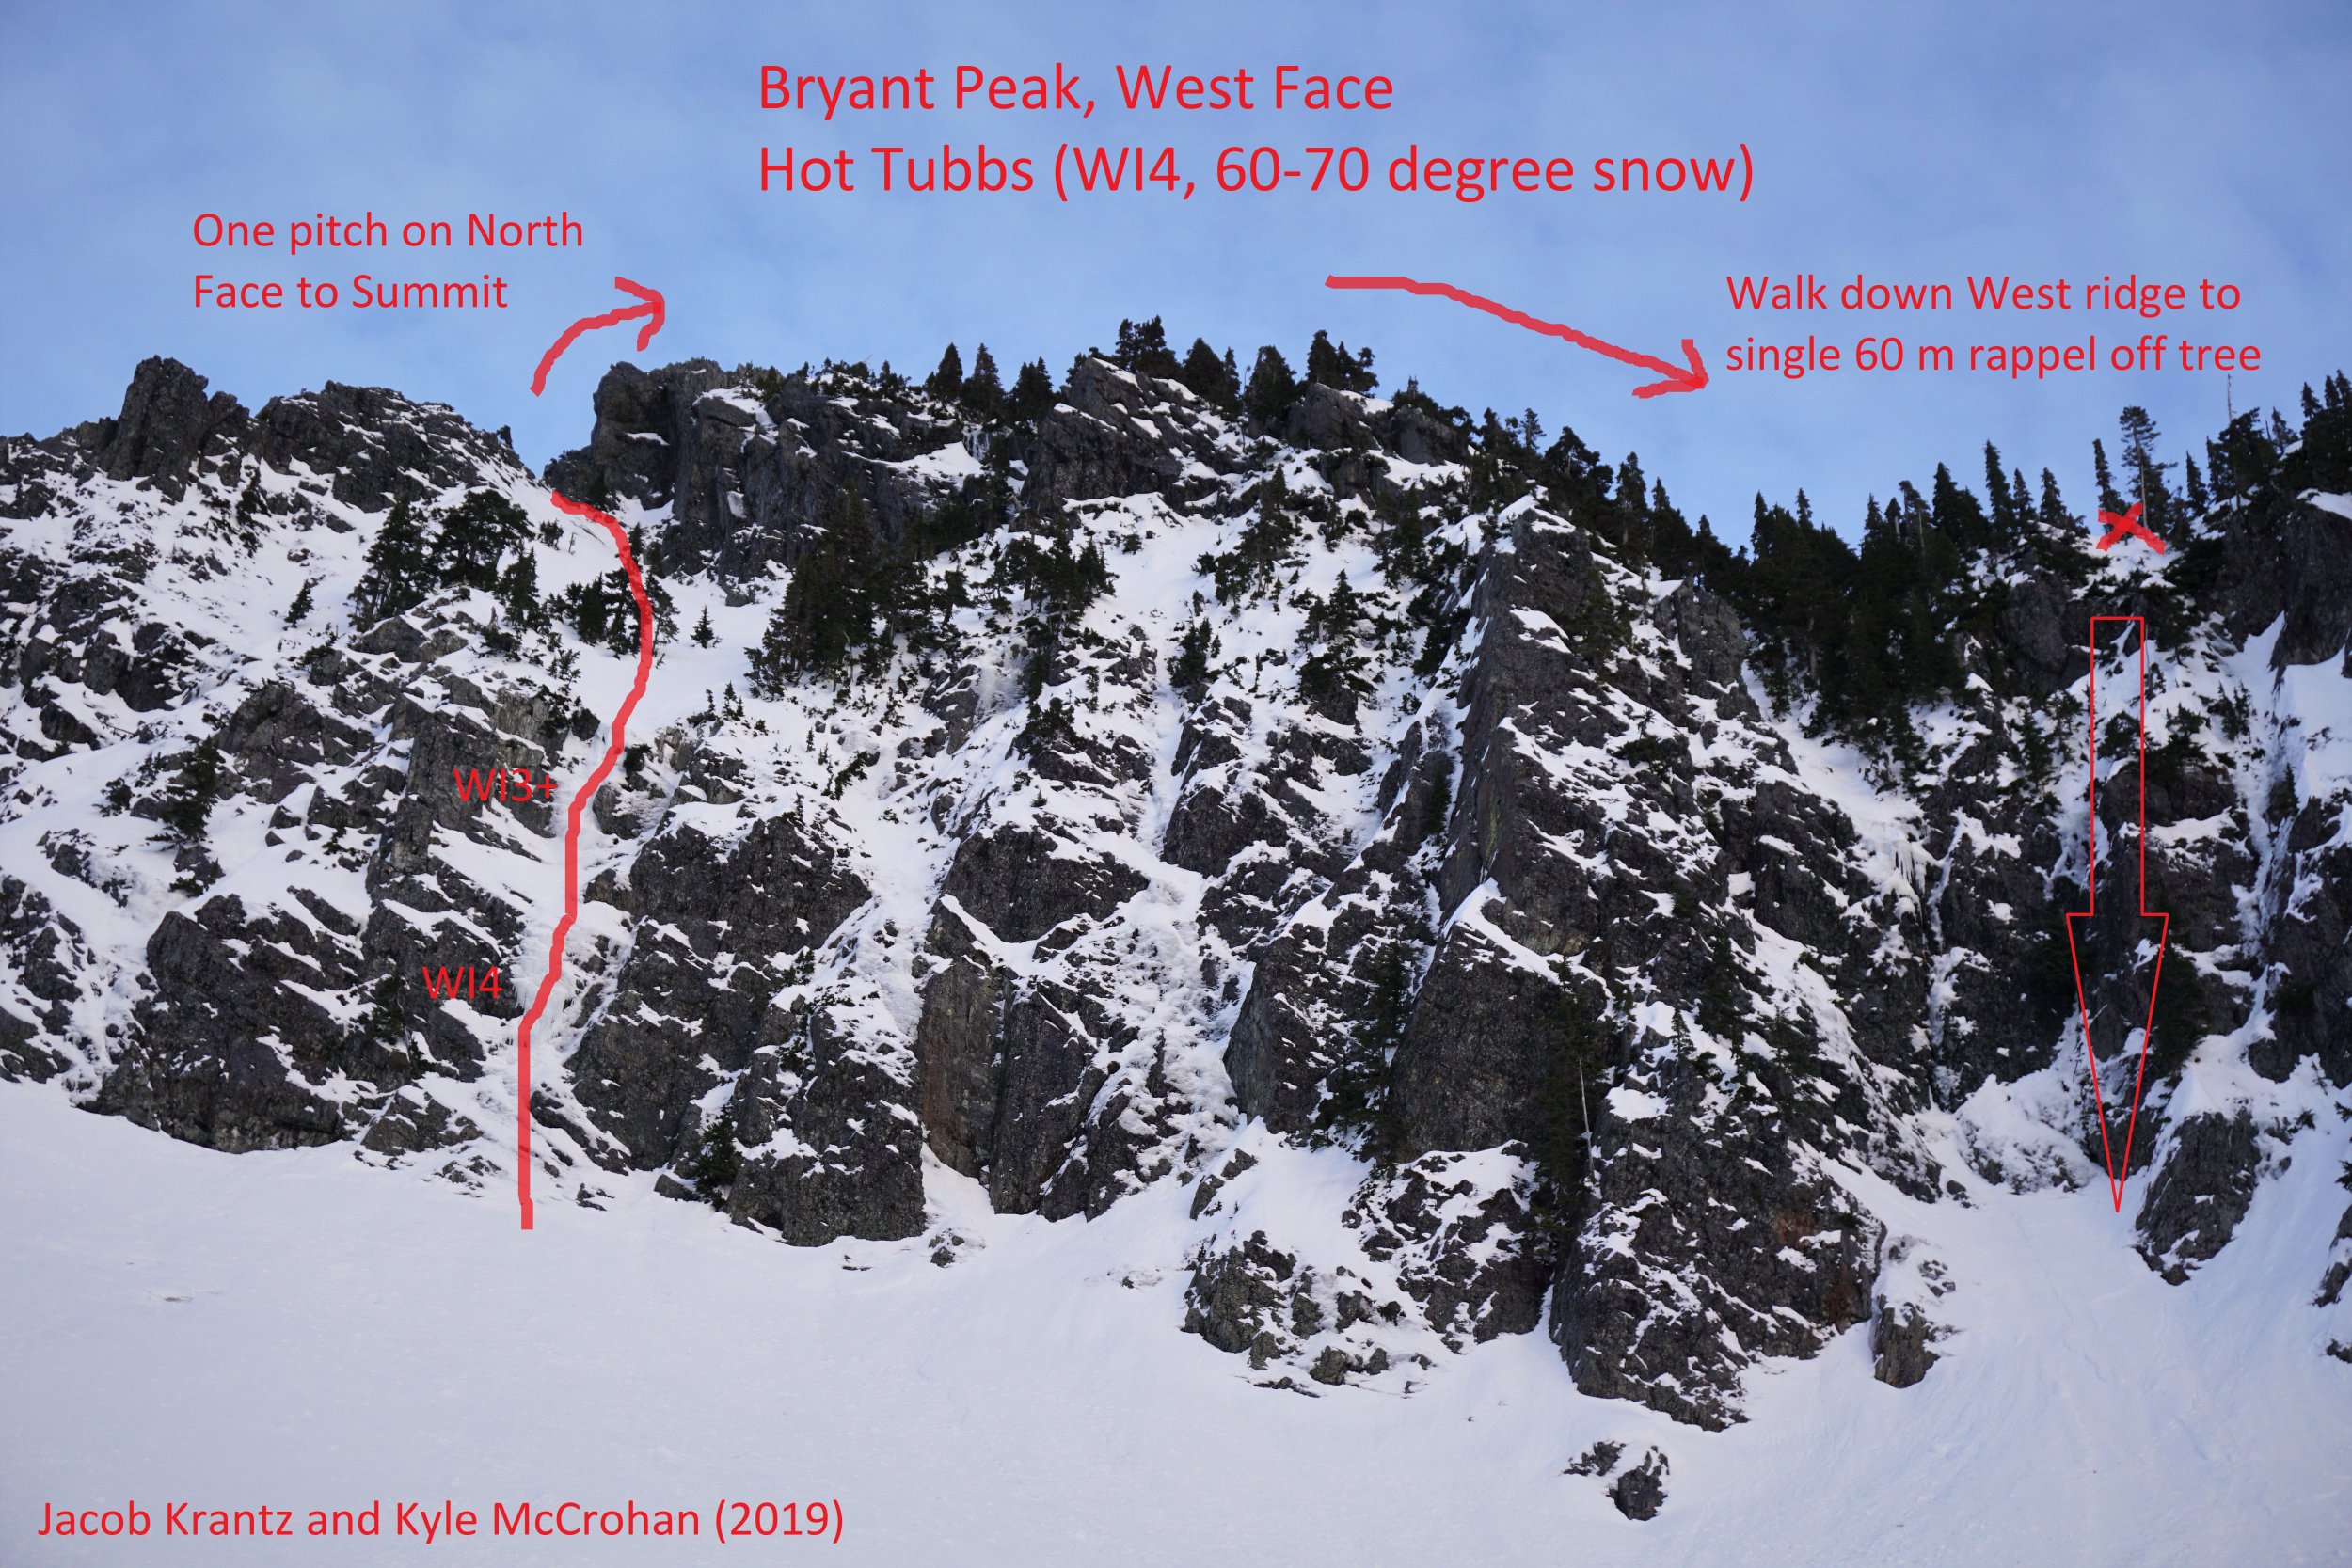
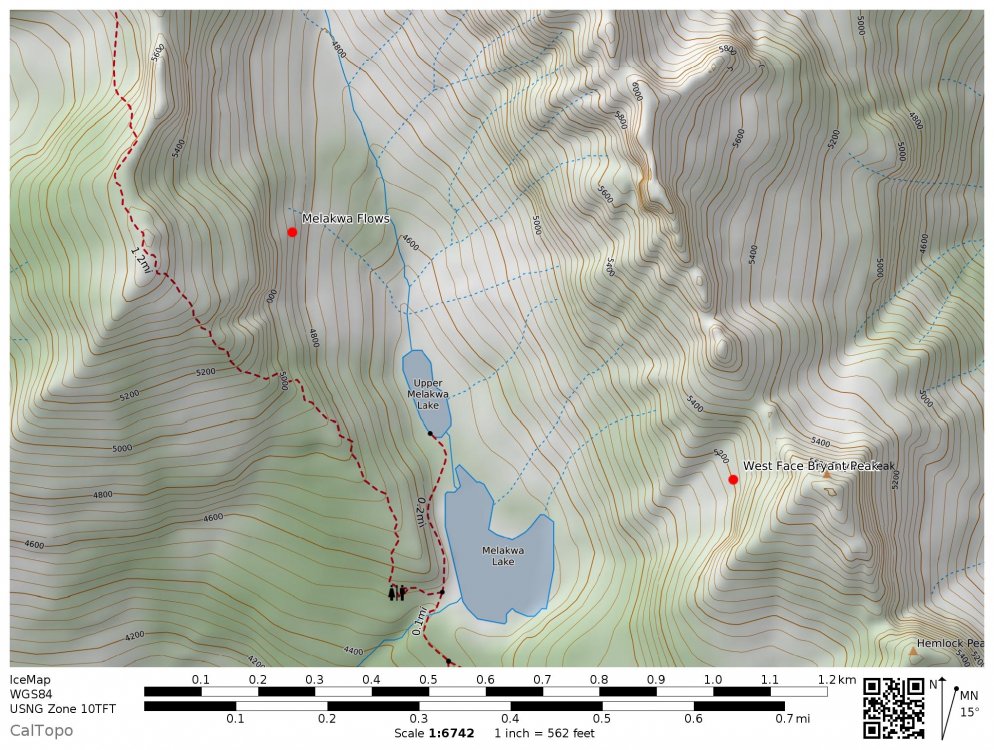
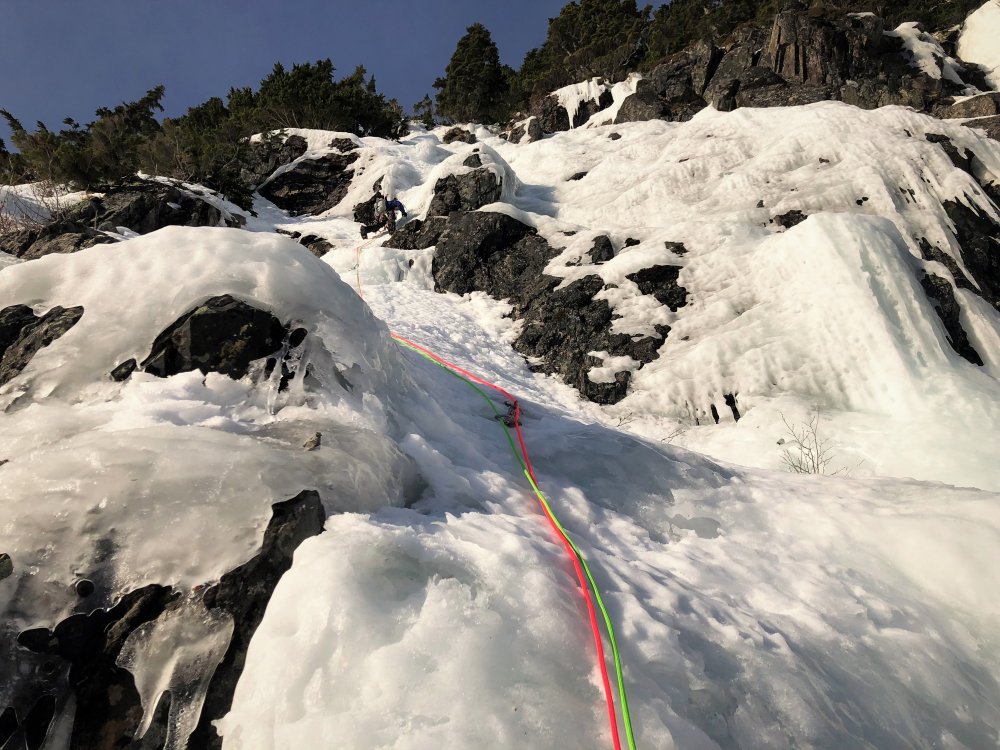
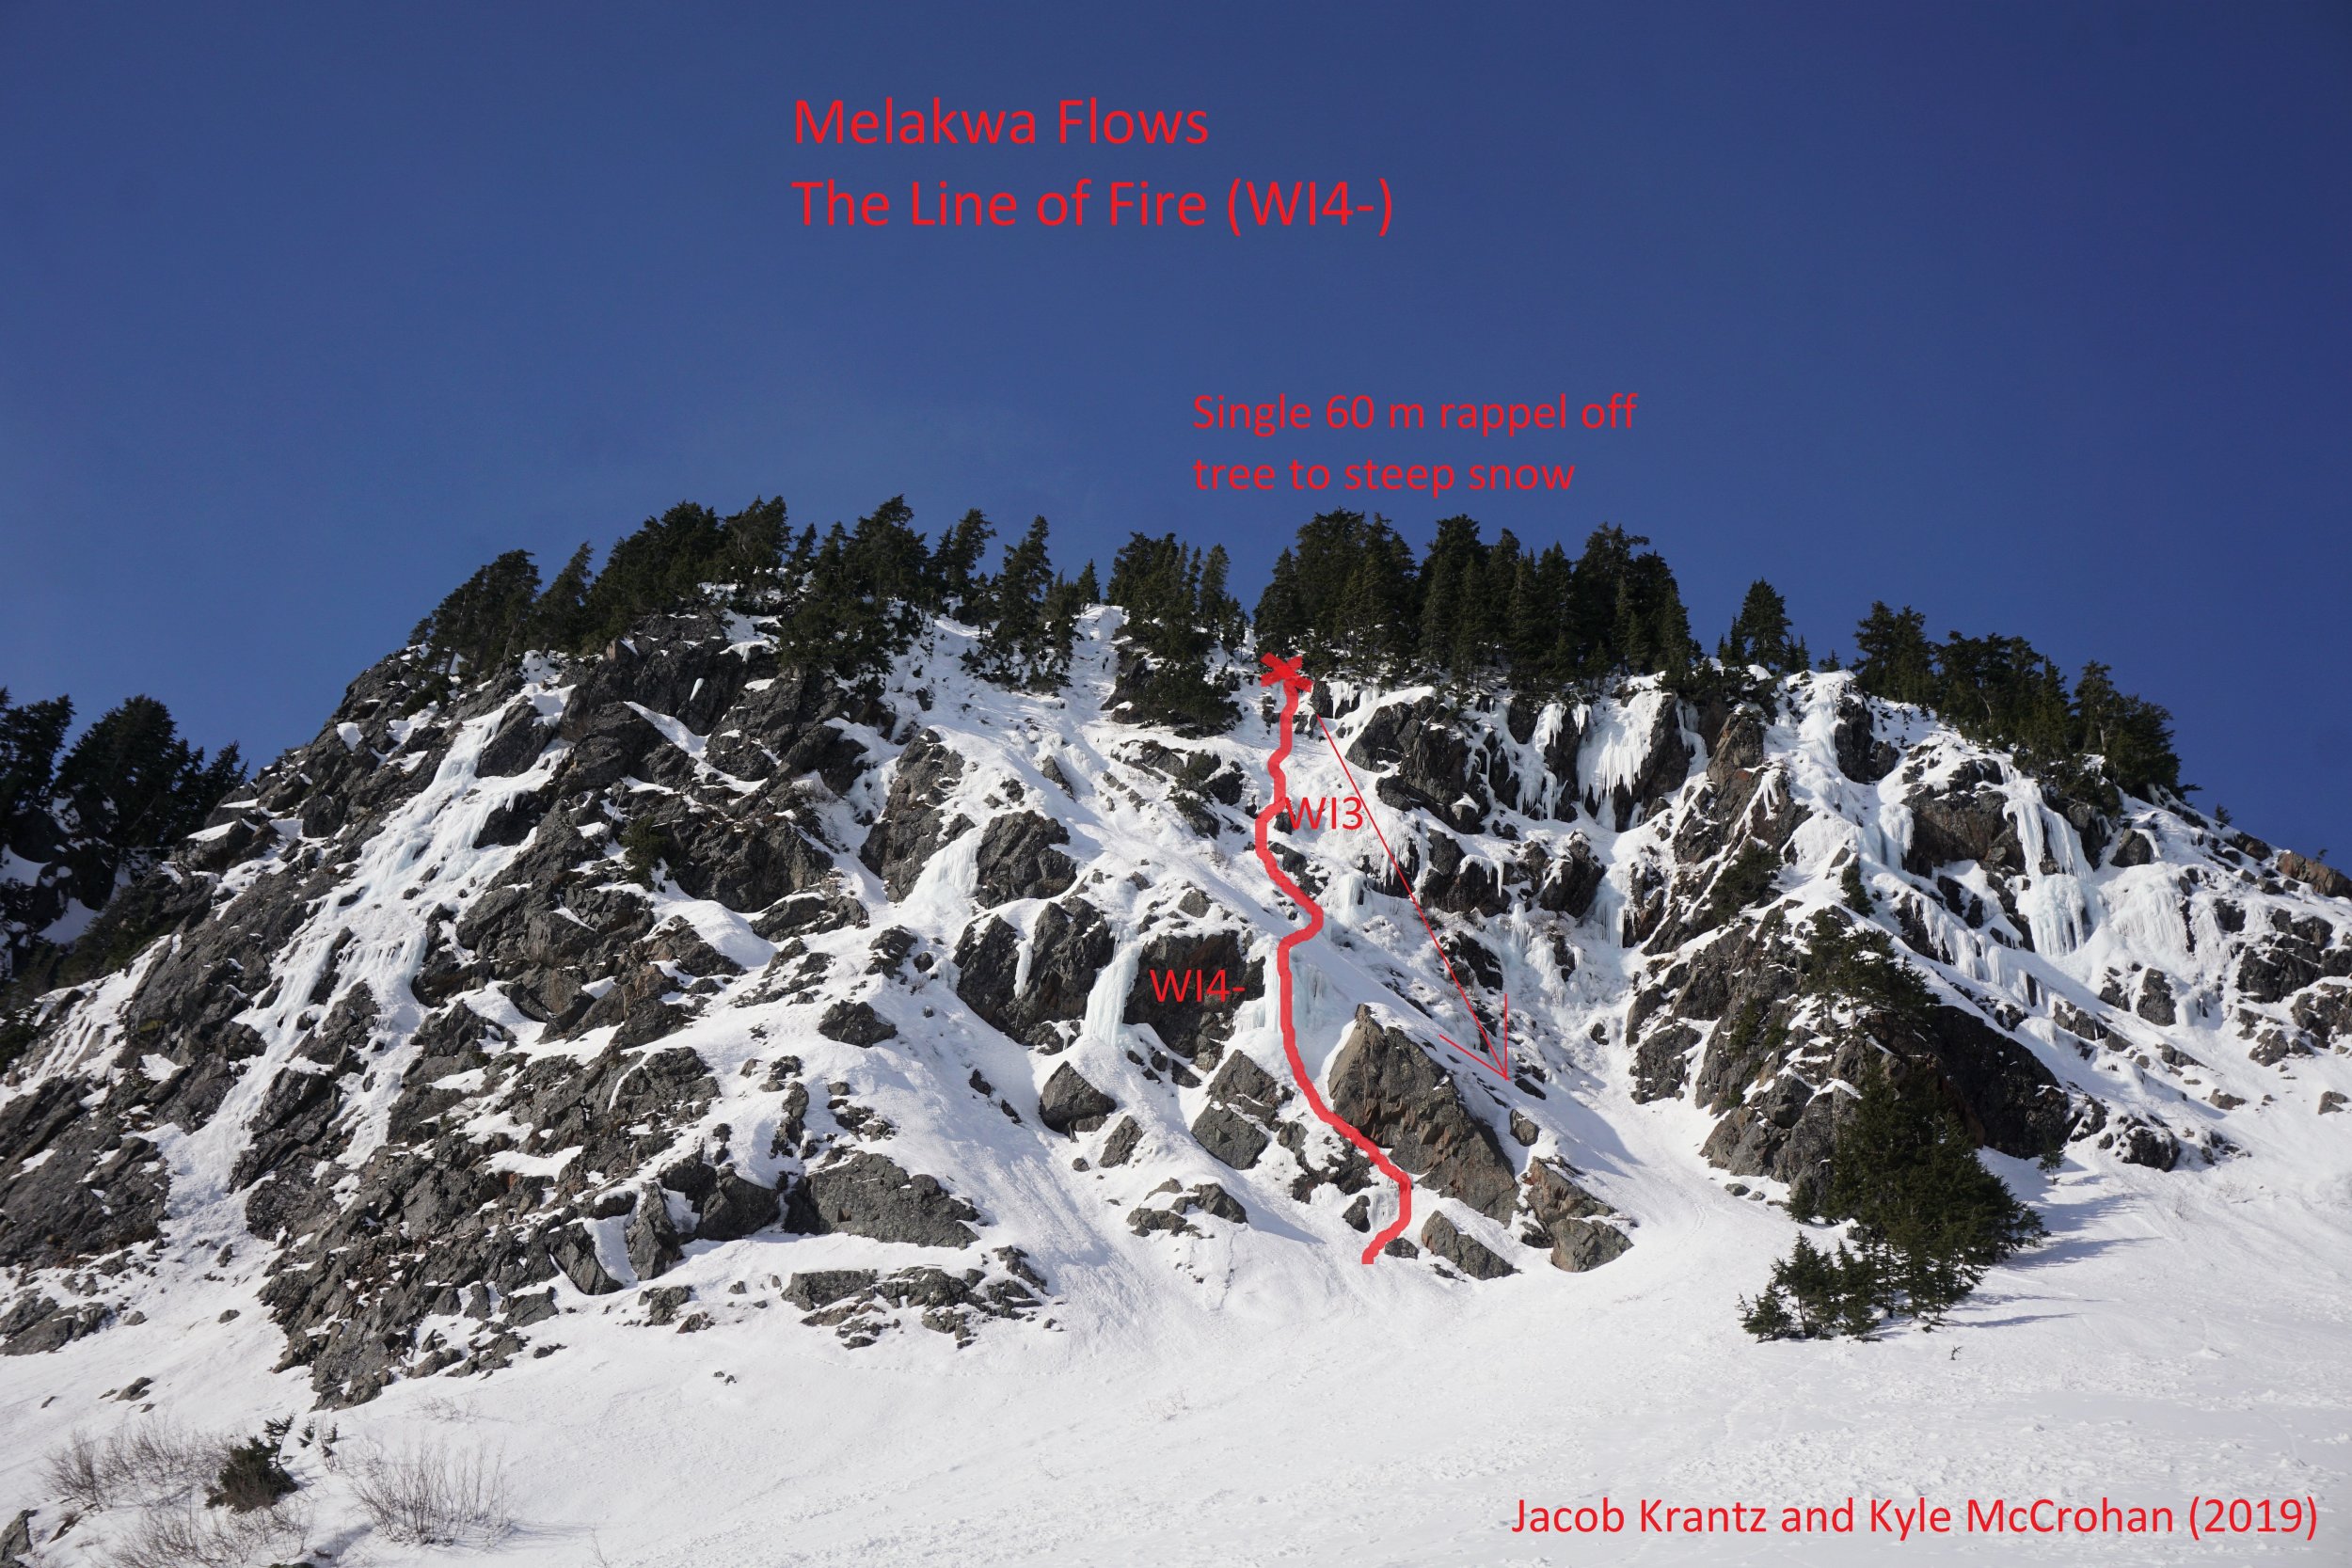
Trip: Bryant Peak, Melakwa Flows - Possible FAs: Ice routes on West Face Bryant Peak (WI4, 60-70 degree snow) and Melakwa Flows (WI4-) Trip Date: 01/27/2019 Trip Report: On the warmest weekend of a warm winter here in Washington, Jacob Krantz and I set out to explore some undocumented ice lines near Snoqualmie Pass I had spotted earlier in the winter. We did some research on the internet, Beckey Guide, and WA Ice guidebook but found nothing about these climbs, so these are possible FAs or FRAs at least. We climbed an awesome 4 pitch route on the West Face of Bryant Peak to the summit and a fun 2 pitch route in an area I've been calling the Melakwa Flows. The Melakwa Flows are an incredible group of ice flows of varying grades near Melakwa Lake. It's mind boggling to think we could not find anything about climbs in the Melakwa Flows, considering they are probably one of the densest concentration of reasonably accessible ice climbs in WA, especially impressive considering the warm temps lately. Hot Tubbs (WI4, 60-70 degree snow) West Face Bryant Peak Although only 4-5 pitches, we thought this route was awesome, offering a substantial amount of moderate ice, steep snow, and wild exposed summit pitch. It packed a lot of punch for such a short and accessible route. We also managed to stay in the shade the whole time, starting around 10 am. We'd love to see others get after it and some other possible ice lines on the west face! P1: Climb thin low angle ice to the vertical WI4 curtain. Send the curtain then continue up easier terrain to set a belay in fat ice. P2: Climb up progressively steepening fat ice to a WI3+ bulge. Above, continue up another 20-30m on 45 degree snow to a group of trees for the belay. P3: This is a long pitch (~80 m). Simul climb up snow, trending left as the cliffs force you. Establish a belay on a snag at the notch on the spine of the North Ridge. Watch cornices here. P4: Traverse right across wildly steep and exposed snow (60-70 degrees) on the north face, using trees for protection. At the third and tallest tree, make a few thin ice or mixed moves up a slab and continue straight up another 10-20m to the summit ridge. Descent: hike down the west ridge a few hundred feet until it flattens a little, then make a single 60 m rappel off a big tree down to the bottom of the west face. Approaching the first pitch. Top of the flow is part of the second pitch. Jacob crushes the WI4 crux. Looking up at the second pitch. Navigating between the two pillars at the top felt like WI3+ to me on lead. The ice here was FAT! Simulclimbing bomber snow on the third pitch. Steep exposed snow traverse to start pitch 4 out onto the north face. It was super unconsolidated and unsupportive. Would have been terrifying if it wasn't for all the trees! Jacob finishes the last bit of steep snow to the summit ridge. Walking along the wonderful summit ridge of Bryant, Kaleetan and Chair in the background. The Line of Fire (WI4-) Melakwa Flows These routes are on a cliff band just north west of Upper Melakwa Lake, easily visible from the upper lake. They look like they have considerable avalanche danger above, so beware. Even though we approached in the dark from our camp Sunday morning at Melakwa, we still only got in one two pitch route before this face got blasted by the sun and snow started coming down. The ice was often pretty soft to take screws, but I imagine if you hit this area in a cold snap or even just normal temps it would be incredible! It is a total ice playground, with easily a dozen routes 150-300 ft long ranging from a rambly WI3 to free standing WI5 pillars! There were incredibly fat sections of ice by WA standards. We hope this inspires others to go explore this gold mine of WA ice climbs! P1: find your way through mixed terrain or thin ice up to the base of the FATT pillar. The pillar is vertical or near vertical for 15 feet and super bomber, WI4-. Make a belay in some thick ice across the snow ramp above. You could skip this first pitch by ascending the snow ramp to the right. P2: A long pitch (~150ft) of rambling WI2-3 terrain, with at least half a dozen WI3 steps one to two body lengths in height. It's choose-your-own-adventure here. Total type 1 fun. Except for at this point, I was on lead getting pummeled by huge clumps of snow. It was still awesome. We ended at a big tree anchor. Descent: Single 60 m rappel down to the steep snowfield ramp, down climb as quickly as possible to get out of the line of fire. Climbing steep snow to the base. We took the pillar in center right of the photo. Jacob led up this thin section to gain a ramp leading to the pillar. We don't recommend this start. There were other options to the left. Approaching the beautiful pillar. So big and wide. An abundance of options on the second pitch. There's even more rambly ice to the left out of this photo. Me leading some awesome WI3 fun. This was right before I started getting pummeled I believe. Looking down from the top of P2. It looks like mostly snow, but you cannot see all the little ice steps from above. It was very high quality. Approximate location of the flows. As temps cool down next week, I think these climbs will just get better and better. If there's awesome WA ice on a blistering hot weekend like this, it ain't so bad! So get out there and send, WA ice climbers! Want more beta and photos? Check out my full trip report at https://climberkyle.com/2019/01/27/new-snoqualmie-pass-ice-climbs/. Gear Notes: We used 9 screws of varying lengths (much of the ice is quite thick actually, but still bring the stubbies), 1 picket, 8 slings, a few nuts. Double 60 m ropes are nice for the rappels, but there are walk off options also. Prepare to make you own rap anchor if you don't fine ours. We brought cams and pitons also but never really used them. Approach Notes: Either approach up the Denny Creek Trail to Melakwa Lake or over Bryant col (north saddle of Bryant) via Great Scott Basin from Alpental like we did. It took us 3 hours with overnight packs from Alpental to the West Face of Bryant, and about 3 hours from the Melakwa Flows back to Alpental with similarly heavy packs. Note there is considerable avalanche danger on these approaches, so proper gear and training is recommended.
- 10 replies
-
- 5
-

-

-
- first ascent
- snoqualmie ice
-
(and 1 more)
Tagged with:

