


christophbenells
-
Posts
285 -
Joined
-
Last visited
Content Type
Profiles
Forums
Events
Posts posted by christophbenells
-
-
maybe they werent porters...thats why they didnt want to carry my shit!
-
i think dissapointment cleaver on rainier, or emmons winthrop would be right up your alley.
big, glaciated, but not too hard, lots of people, rangers and guides around so it is not too intimidating. still you will need to be self sufficient though.
no wands, gps maybe, map and compass yes, 2 pickets is fine.
it also resembles a bit of expedition climbing, with ladders spanning crevasses, fixed lines and fights with porters.
-
oh, and dchromey, good luck and its awesome to see someone as young as you hungry to get experience. sorry for bringing you down at the beginning of the thread, its not what i meant just the context was wrong.
-
Skiers, STAY OFF our climbing routes.
this is 2013 man, shasta is no longer a climbing route, its a ski run.
get with the times or get left behind.
-
that looks like a really cool climb!
-
did this happen in the last week?
we drove to 2.7 miles of the trailhead a week ago...where a snowbank stopped driving.
there was a big washout though that we camped next to that looked pretty unsafe...
-
you gotta get a skiers start for sure.
instead of planning on being on top at 8 am plan on 10:30
the trick is to get up the chute right before the sun hits it, hang out for a bit and let it soften, then ski it around 11:30 or even later could be better. the climbers will mostly be out of the way.
or if you dont really care about the "summit" you can ski a great run from the crater rim down the "wyeast face" and through mt. hood meadows. no crowds and a better run!
-
i use old burton race plates on top of some voile slider plates. they rip pretty hard. the absolute connection to your board give you awesome edge hold on steep/icy/rough terrain.
you just have to drill new holes into the voile plate to fit the burton race plate pattern.
voile makes a similar binding called the mountain plate, but the sit very high off the board, they suck.
ryan there is using phantom bindings, which are the bees knees and are hand made by a guy named john keffler in colorado.
-
not that steep, just longer. a few degrees steeper but thousands of feet more of exposure.
-
Trip: Mt. Baker - North Ridge
Date: 5/9/2013
Trip Report:
Climbing makes a man out of you quickly. It's kind of like the army, except you get to make your own decisions.
We started 2.7 miles from the trailhead at a large snow drift. We contemplated trying to dig it out for a bit, but decided to just hoof it. After a 1/2 mile of road walking we were able to skin up and start skiing. I believe this was at about the 2,700 ft. level.
All pictures c/o ryanirv
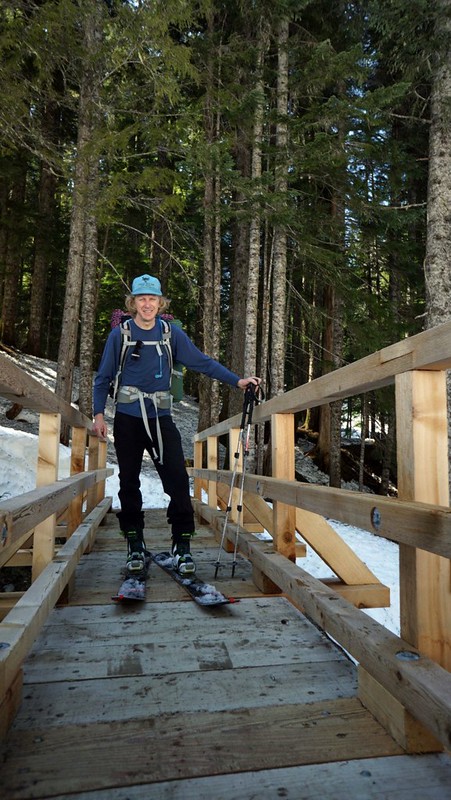
I had to take a minute to do some mountain safety research on this bridge.
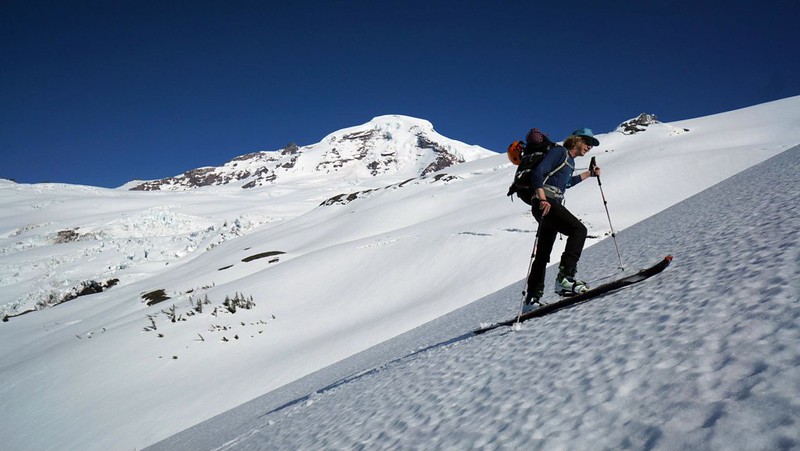
TLT-5's and mohair skins. I cannot go back to g3's or voile's. Gotta have the glide!
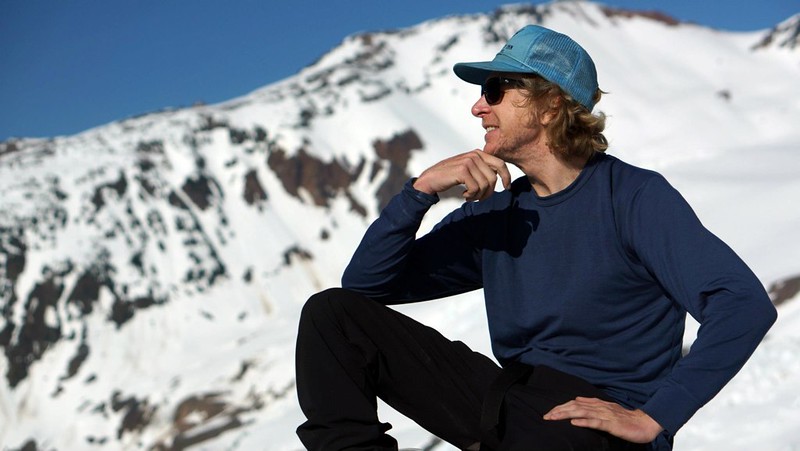
Take another moment to absorb the surroundings, meditate, get sticky fingers.
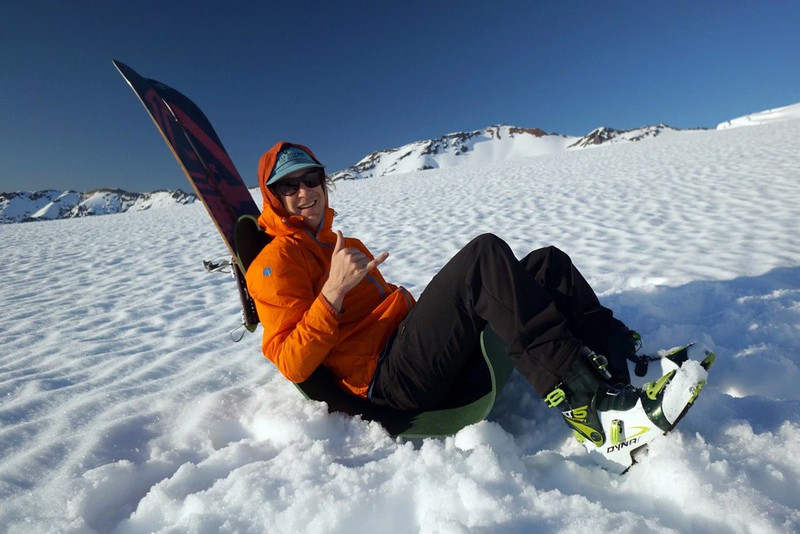
Alpine lounger, more mountain safety research.
While relaxing in the alpine loungers, we felt the glacier shift about 1 inch. I've felt glaciers move before, but every time it happens it gets your attention.

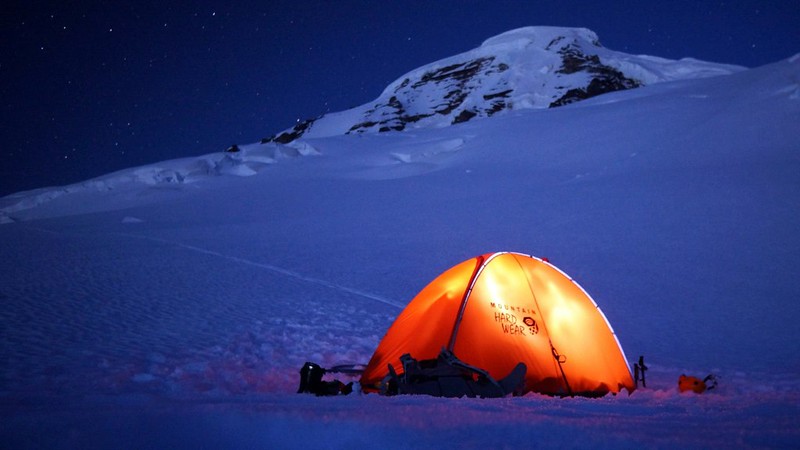
Camp on the coleman glacier. the Direkt 2 is the tent de jour'.

The north ridge is the left sky line, with the ice step about 1/2 way up, and the final serac wall near the summit. Coleman headwall is the steep face in the middle of the mountain. The CD (coleman-deming) descent is the right side sky line.
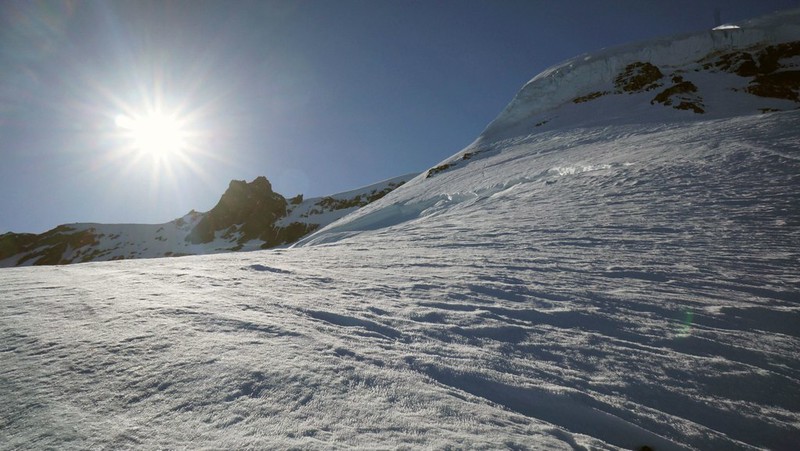
We started the climb a bit after 4 am on firm neve' that was perfect for cramponing. We weaved in and out of crevasse fields, roped up with rescue coils over our shoulders. Crossing the glacier did not take too long, and we unroped at the base of the gully heading up to the north ridge.
Ryan expressed some concern about the bergschrund crossing at the bottom. We decided not to belay it mostly because we didn't bring pickets, and it wasn't hard enough for ice screws to be reliable.
Ryan popped his leg through and dangled from firmly planted axes for a quick minute.
When we crested the north ridge, we met the rising sun. A full-on view of the ice step commanded our attention. After discussing the logistics for a minute, we decided Ryan would lead the first section, that included a 35 foot vertical section, cresting over left with a pseudo heel hook, and then continuing up a 55-60 degree glacier ice slab to a belay at a small ledge.
I would follow 1st pitch, clean and rack the gear, and lead the 2nd pitch, for a combined 100 meters of hard frontpointing.
Each belay consisted of the scariest, but most comfortable moments of the climb, hanging belays off of ice screws.
We didn't get too many photos on the technical portion of the climb for all the usual reasons, too pumped or scared to let go of your axes, or it was too cold to take gloves off for a long period of time.
Following the 60 degree ice slab.
At the belay contemplating the next pitch.

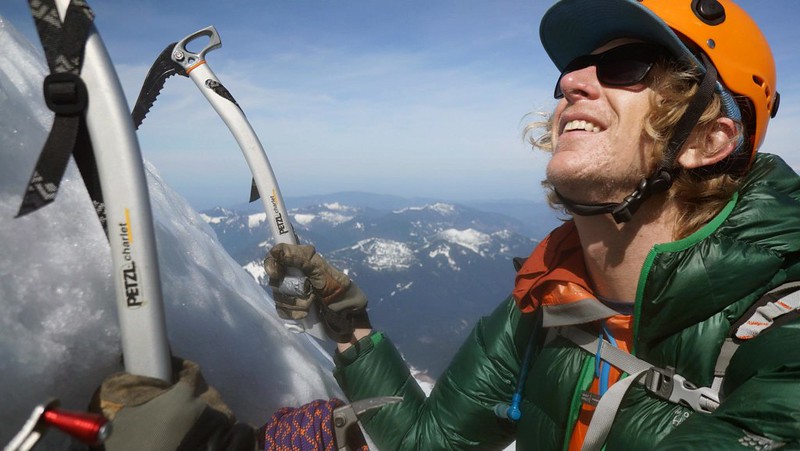
Ryan and his solar shields.
The next pitch went fairly easy, except the bulge immediately above the belay. I quickly made my way to the last reliable ice patch and set up a three screw belay, hung back into my harness, and brought Ryan up.
From there one pitch of easy simul-climbing with occasional ice screws on unreliable ice blocks brought us to more mellow terrain leading up to the upper serac wall.

Storing the rope after the simul-climbing pitch.

At the upper serac wall you have three choices. Option #1, go left under the seracs and traverse around them, this is the preferred method. Unfortunately, the snow was fresh wind slab, and with no protection a small pocket sliding would send you over a large ice wall 20 feet below, to sure death. Option #2, go right around the seracs and traverse above the coleman headwall, a few thousand foot drop down to the coleman glacier. Option #3, climb the seracs.
We chose option 3 mostly because we knew there would at least be solid ice to anchor us to the mountain.
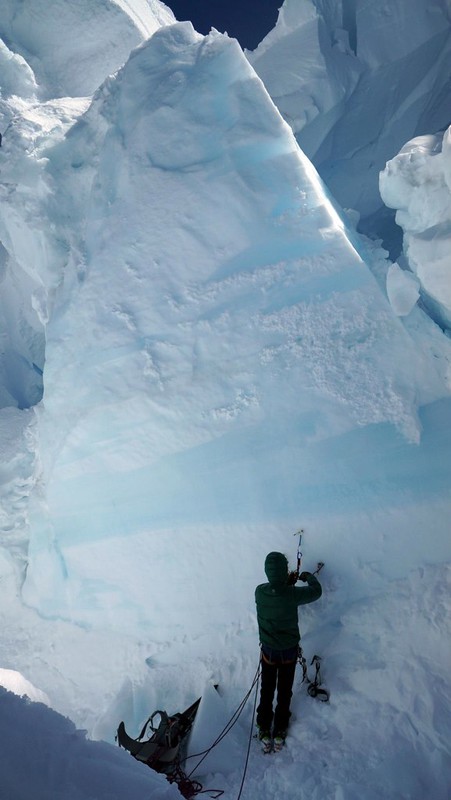
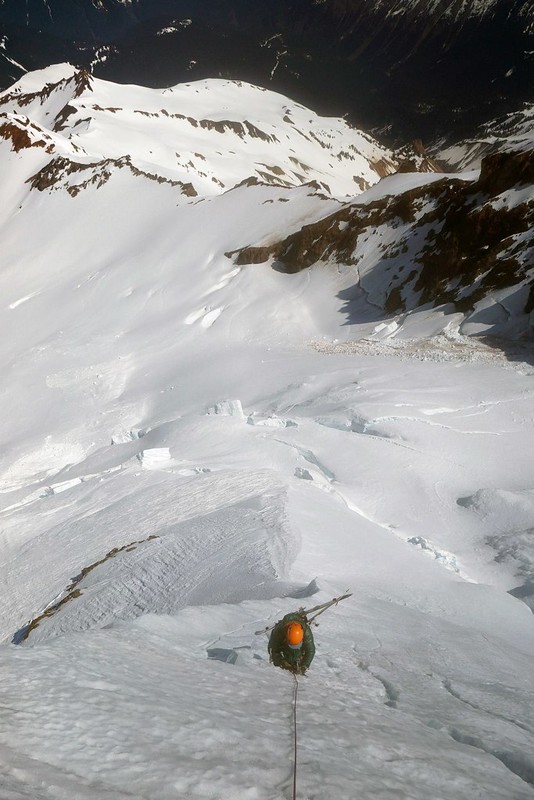
I anchored in, downclimbed into the crevasse and set up a belay on the serac on the other side. We would climb right up this ice feature. Alpine ice bouldering at 10,000 feet!
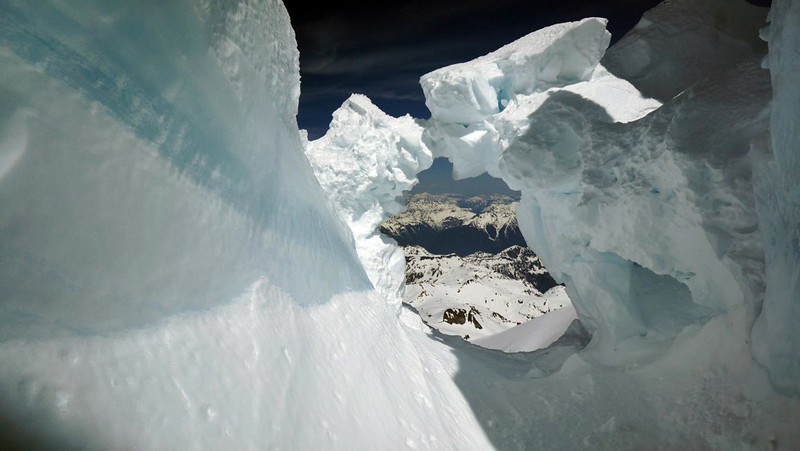
Ice arch and view of north cascades from the belay.
Ryan led the ice boulders, stemming from one serac to another, and mantling out onto a final ridge that revealed the summit. I followed with ice cold hands, and got the screaming barfies after the mantle move to get on top of the serac wall.
The belay at the top consisted of two planted ice axes, and skis x-ed up and shoved in the snow with webbing slung around them. Just like Aspen Extreme!
From here there was only one more obstacle. A 30 foot wide, 100 foot deep bergschrund sat about 50 vertical feet down from the summit plateau. There was a snow bridge though, about 10 feet thick and 10 feet wide, that spanned the giant void.
Ryan belayed me across on the ice ax-ski anchor, and when I was safely above the crevasse I set up a similar anchor and belayed him up.

AAHH the summit. Now for the fun part!
We didn't get too many photos on the descent of the coleman-deming for all the usual reasons, too much fun too stop, or the snow was too good to stop.
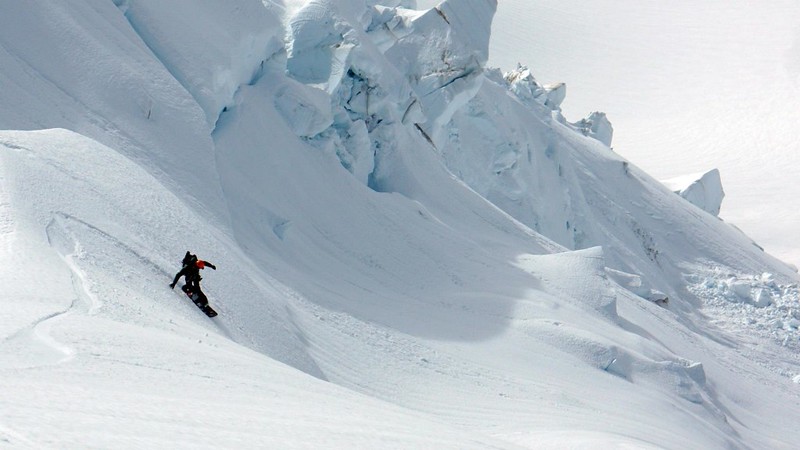
Slashing on the glacier.

Air off of a small serac.
We made it back to camp so stoked. Much more research was conducted. We loaded up, shredded to to the snowline, fixed our flat tire, and got the hell out.
Gear Notes:
splitboards, tlt-5's, ice screws, 8.4 mm 60m rope
Approach Notes:
Grouse creek, not the heliotrope trail.
-
Yeah inside my pack
-
The pad I have does not let any cold through at all. Maybe it is something different maybe ensolite?
Much warmer than a ridge rest.
So 5 r value compared to totally blocking cold is the question.
-
I trust my foam pad, it's kept me real warm up on many a mountain.
I want something I can put inside my bag though...
Any thoughts on the warmth difference between closed cell foam and. The neo air 4 season pad?
-
Hey buddy!
Sw chutes is an awesome ride and I highly reccomend it.
If you make your way into Portland, look me up. I work at next adventure here in the rental/ ski tune area. we've got some rentals with flexible bars that will fit your snowboard boots well. 8$ for three days.I have also climbed and snowboarded that several times.
We also have several Splitboard rentals that are super high quality, venture- sparks- g3 skins setup.
-
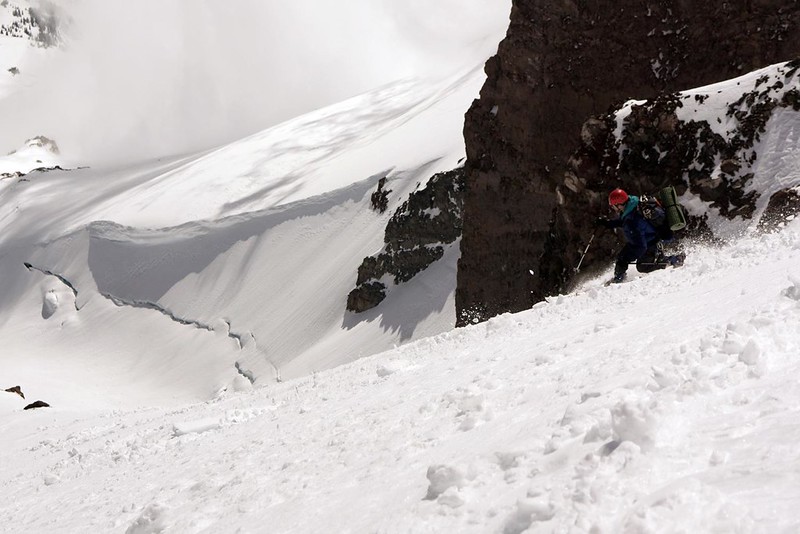
Trip: Mt. Rainier - Fuhrer Finger
Date: 4/26/2013
Trip Report:
I wasn't going to trip report about this one but, i'm bored and it seems like some people are wondering about rainier this weekend.
There are not many good action shots due to several reasons, violent winds and altitude sickness up high, too good of snow to stop in the middle, and fog in the lens on the glacier. If you want a better idea of the run check Ben and Saign's report from a month ago. They had better snow and a go pro, Ben even throws a (BS) 360 with the overnight pack!
http://www.splitboard.com/talk/viewtopic.php?f=5&t=15332
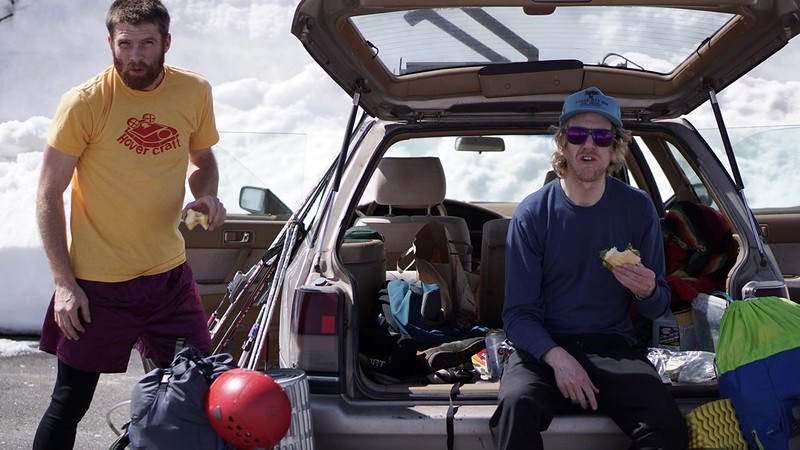
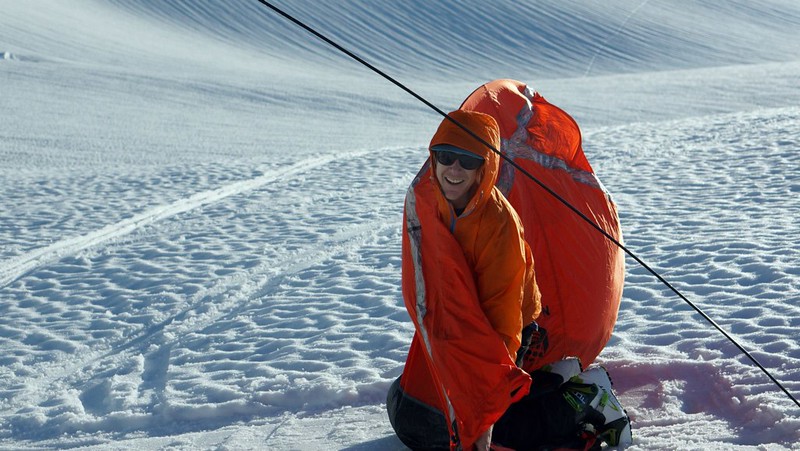
We got to the Paradise parking lot, dazed and confused with blurry eyes, (cause the sun was so bright) at 2pm on the 25th.Trad Brad, in a classic Tele skier move forgot his poles. Tele skier's and people from his native land of Idaho, are crafty folk. he fashioned ski poles out of bamboo wands, duct tape and orange peels.
Photos by Ryanirv
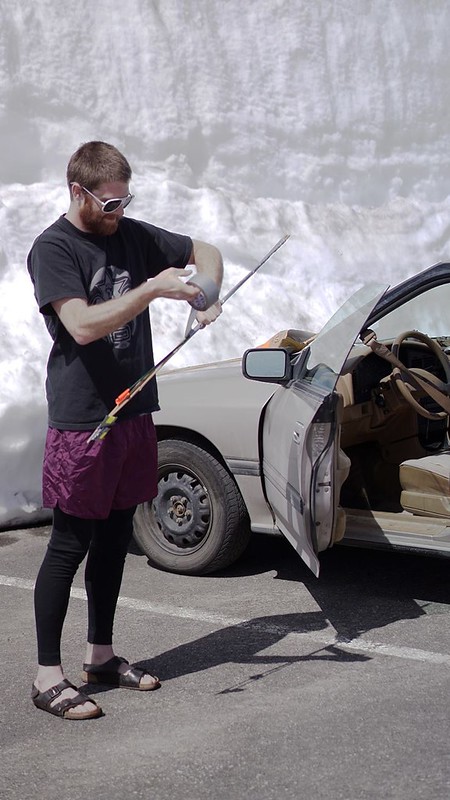
Polypro and shorts, He was also a member of the much loved climbing club the Mountaineers.
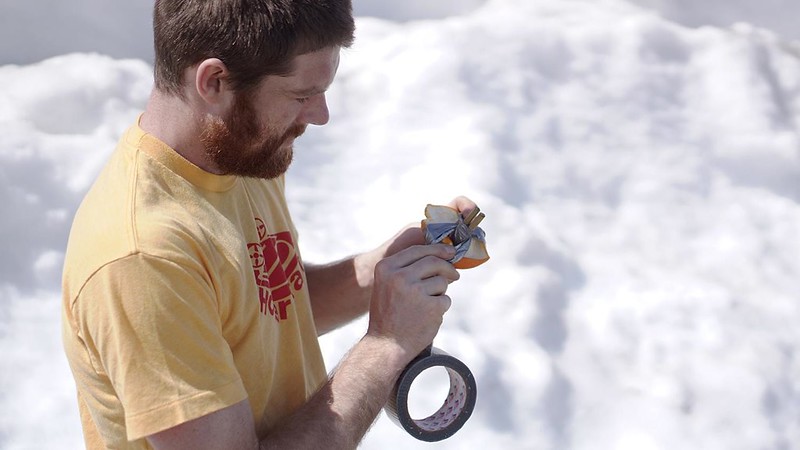
The poles broke after 5 minutes.
We crossed the nisqually glacier in scorching hot conditions, avalanches poured in a constant stream from both sides of the basin. A huge serac tumbled off the Nisqually ice cliff and produced a huge cloud of white.
We decided it would be best to wait until the sun went down a bit to ascend out of the basin.

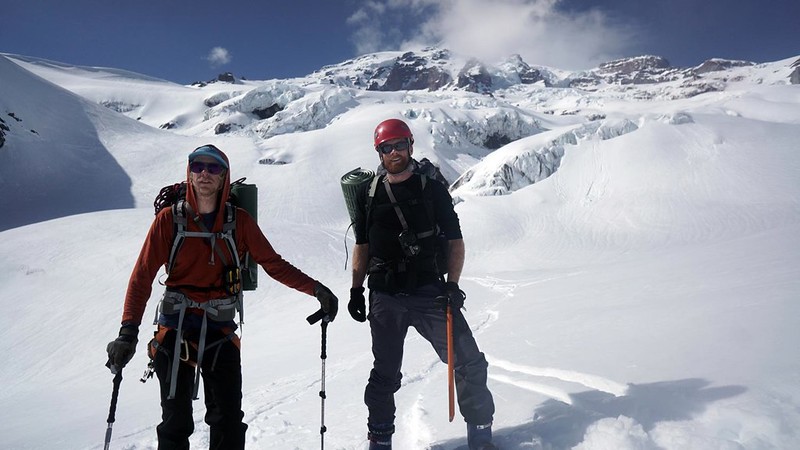
We had a nice little bivy around 9,000 feet, drank a rainier beer, relaxed and melted alot of water.
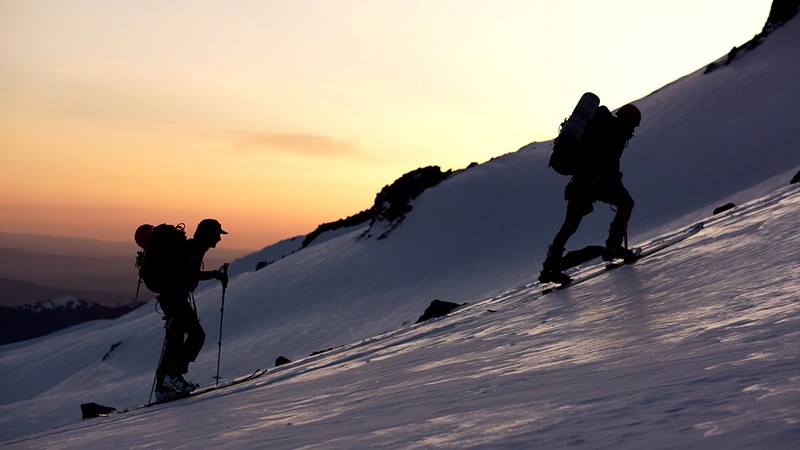
A 4 am start, and a beautiful full moon.
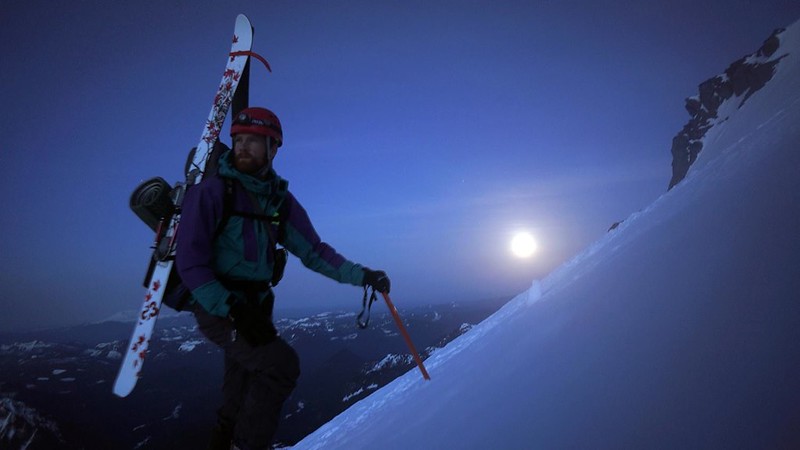
The mountaineers would be proud.
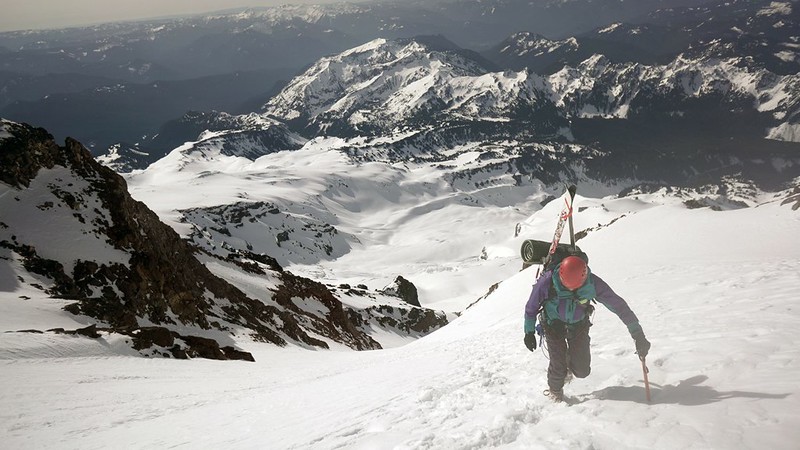
At 13,000~ feet ryan got some altitude sickness. he huddled in a bivy while me and Brad went up the upper Nisqually. It was some slow moving up there.
We finally decided to turn around about 200 feet away from the crater rim. the violent 60-70 mph gusts and the quickly forming lenticular cloud scared the crap out of me. The weather report called for increasing clouds, followed by days of low pressure. The top of rainier is no place you want to be in conditions like that. The decision for me was easy, turn around now, get an awesome 9,000 foot run, and not have to huddle in a snow cave for days with nothing but a foam pad and some gel packets.
Snow conditions were pretty tiring for climbing,and hard for skiing up. The crust was sometimes too firm to ski, but in boots you would punch through deep.
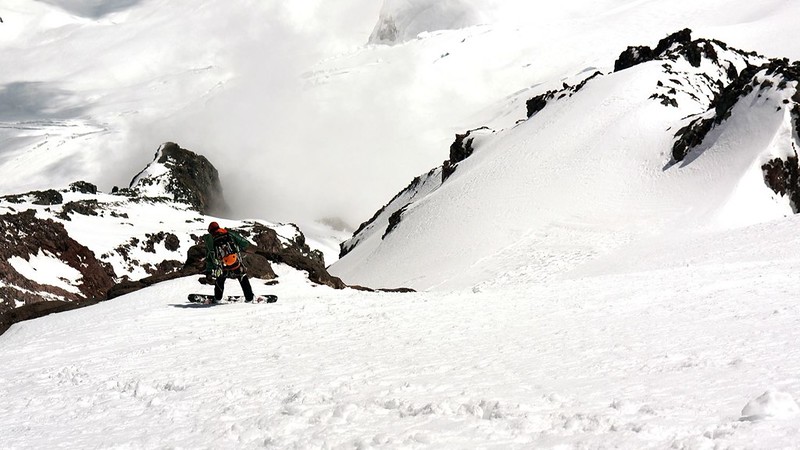
Coming down it softened nicely in the coulior, the top was smooth,firm but edgeable windbuff.
I gave brad my poles for the way down. tele skiers and splitboarders CAN get along. We are all one in the mountains.
The snow down at 6,000 feet was sticky and wet. even though there was enough snow to get the 10,500 foot run, it would not be worth it. we skinned up and ascended out of the Nisqually basin and then completed the ride back to the paradise parking lot.
There we were bombarded by tourists. Where did you snowboard from? What are the ropes for? How long did it take you? They were dumbfounded.
Thanks for reading folks.
-

of course now its totally wasted though
-
Hate to be that guy but if you weren't up skiing in the alpine on weds you blew it.
NWAC telemetry showed 13" new snow over the previous 2 days with winds no greater than 20mph.
Some of the best snow I've ever seen up above treeline on hood.
-
bump up for reduced price!
-
hey guys-
thanks for the responses and the compliment on my video!
i work on the weekends but if you've got weds/thurs off jrex i down to get out.
erik- were going down to bend area on weds to ski broken top. i'll shoot you a text.
-
the reason go-lite gear is so inexpensive is because they sell it themselves, instead of selling it to shops which then resell it for a profit.
they started doing this about a year ago, same gear as it was before-just the consumer is basically paying wholesale.
it is this same reason you will not find any of their new product in shops anymore. they cut out the middle man (gear stores)
i've had several golite packs for summer backpacking, they are good.
-
http://www.backcountry.com/images/items/large/SCR/SCR0149/MAN.jpg
boots have been used one time on this trip
http://cascadeclimbers.com/forum/ubbthreads.php?ubb=showflat&Number=1093543
they're just a bit too big. dang.
PM me mang!
-
ive been using the nikwax skin proof all season and it does pretty well, and you can apply it on site
-
you'll never know until you go,
but to me the weather doesnt look very promising.
i would just go skiing on friday if i were you
-
the blades are made out of different types of steel...
10$ knife with chinese steel will dull quicker than you can sharpen it
70$ knife made with american steel will stay sharp for a long, long time, and hold a nice smooth edge (pretty important as you'll be banging it up against rock grains and burring it up)
CRKT, Kerwshaw and gerber are all pacific NW companies in oregon.
they all offer free sharpening at their headquarters in the tualitin area
40% off MHW trango 3 and 4, wraith -20
in Local Gear Shops
Posted
Next Adventure in portland oregon currently has several trango 3 and 4 tents at 40% off. would be a great deal for anyone looking to go on some expedition climbs, maybe Denali?
Also a Wraith -20 sleeping bag at 40% off.
FULL DISCLOSURE
i am affiliated with Next Adventure, i am the ski tech there. We dont have a reputation for carrying high end expedition equipment, but when we get it i'd like to see it get into the right hands. (today i sold our trango 2 at a ridiculously low price to a backpacker!)
HAPPY CLIMBING Y"ALL