Search the Community
Showing results for tags 'twin sisters'.
-
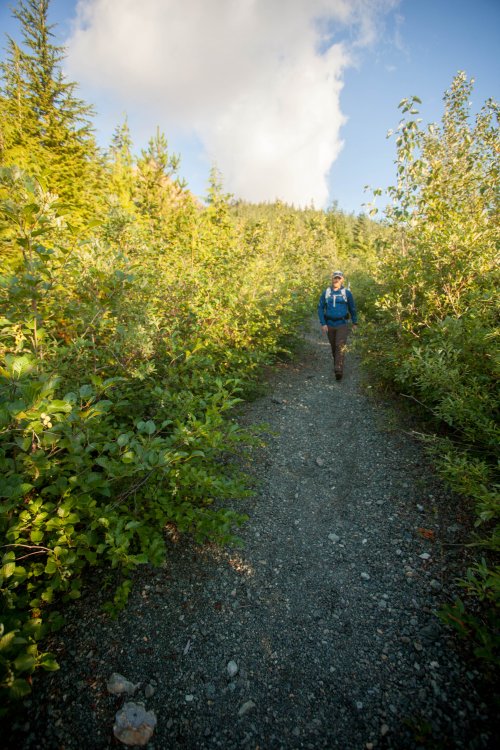
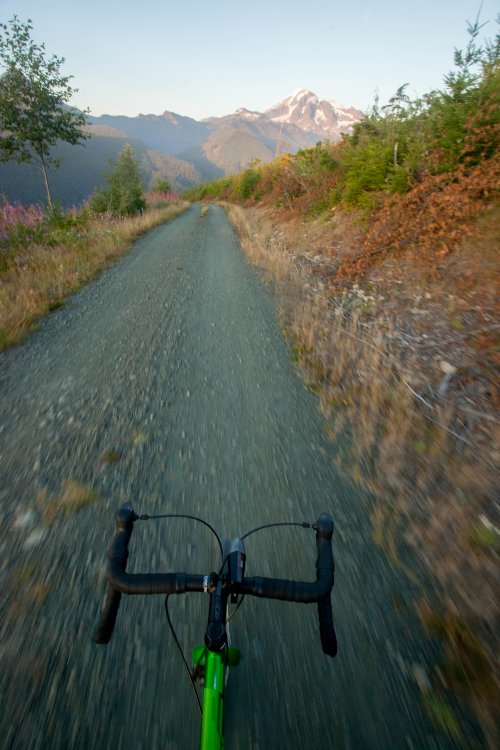
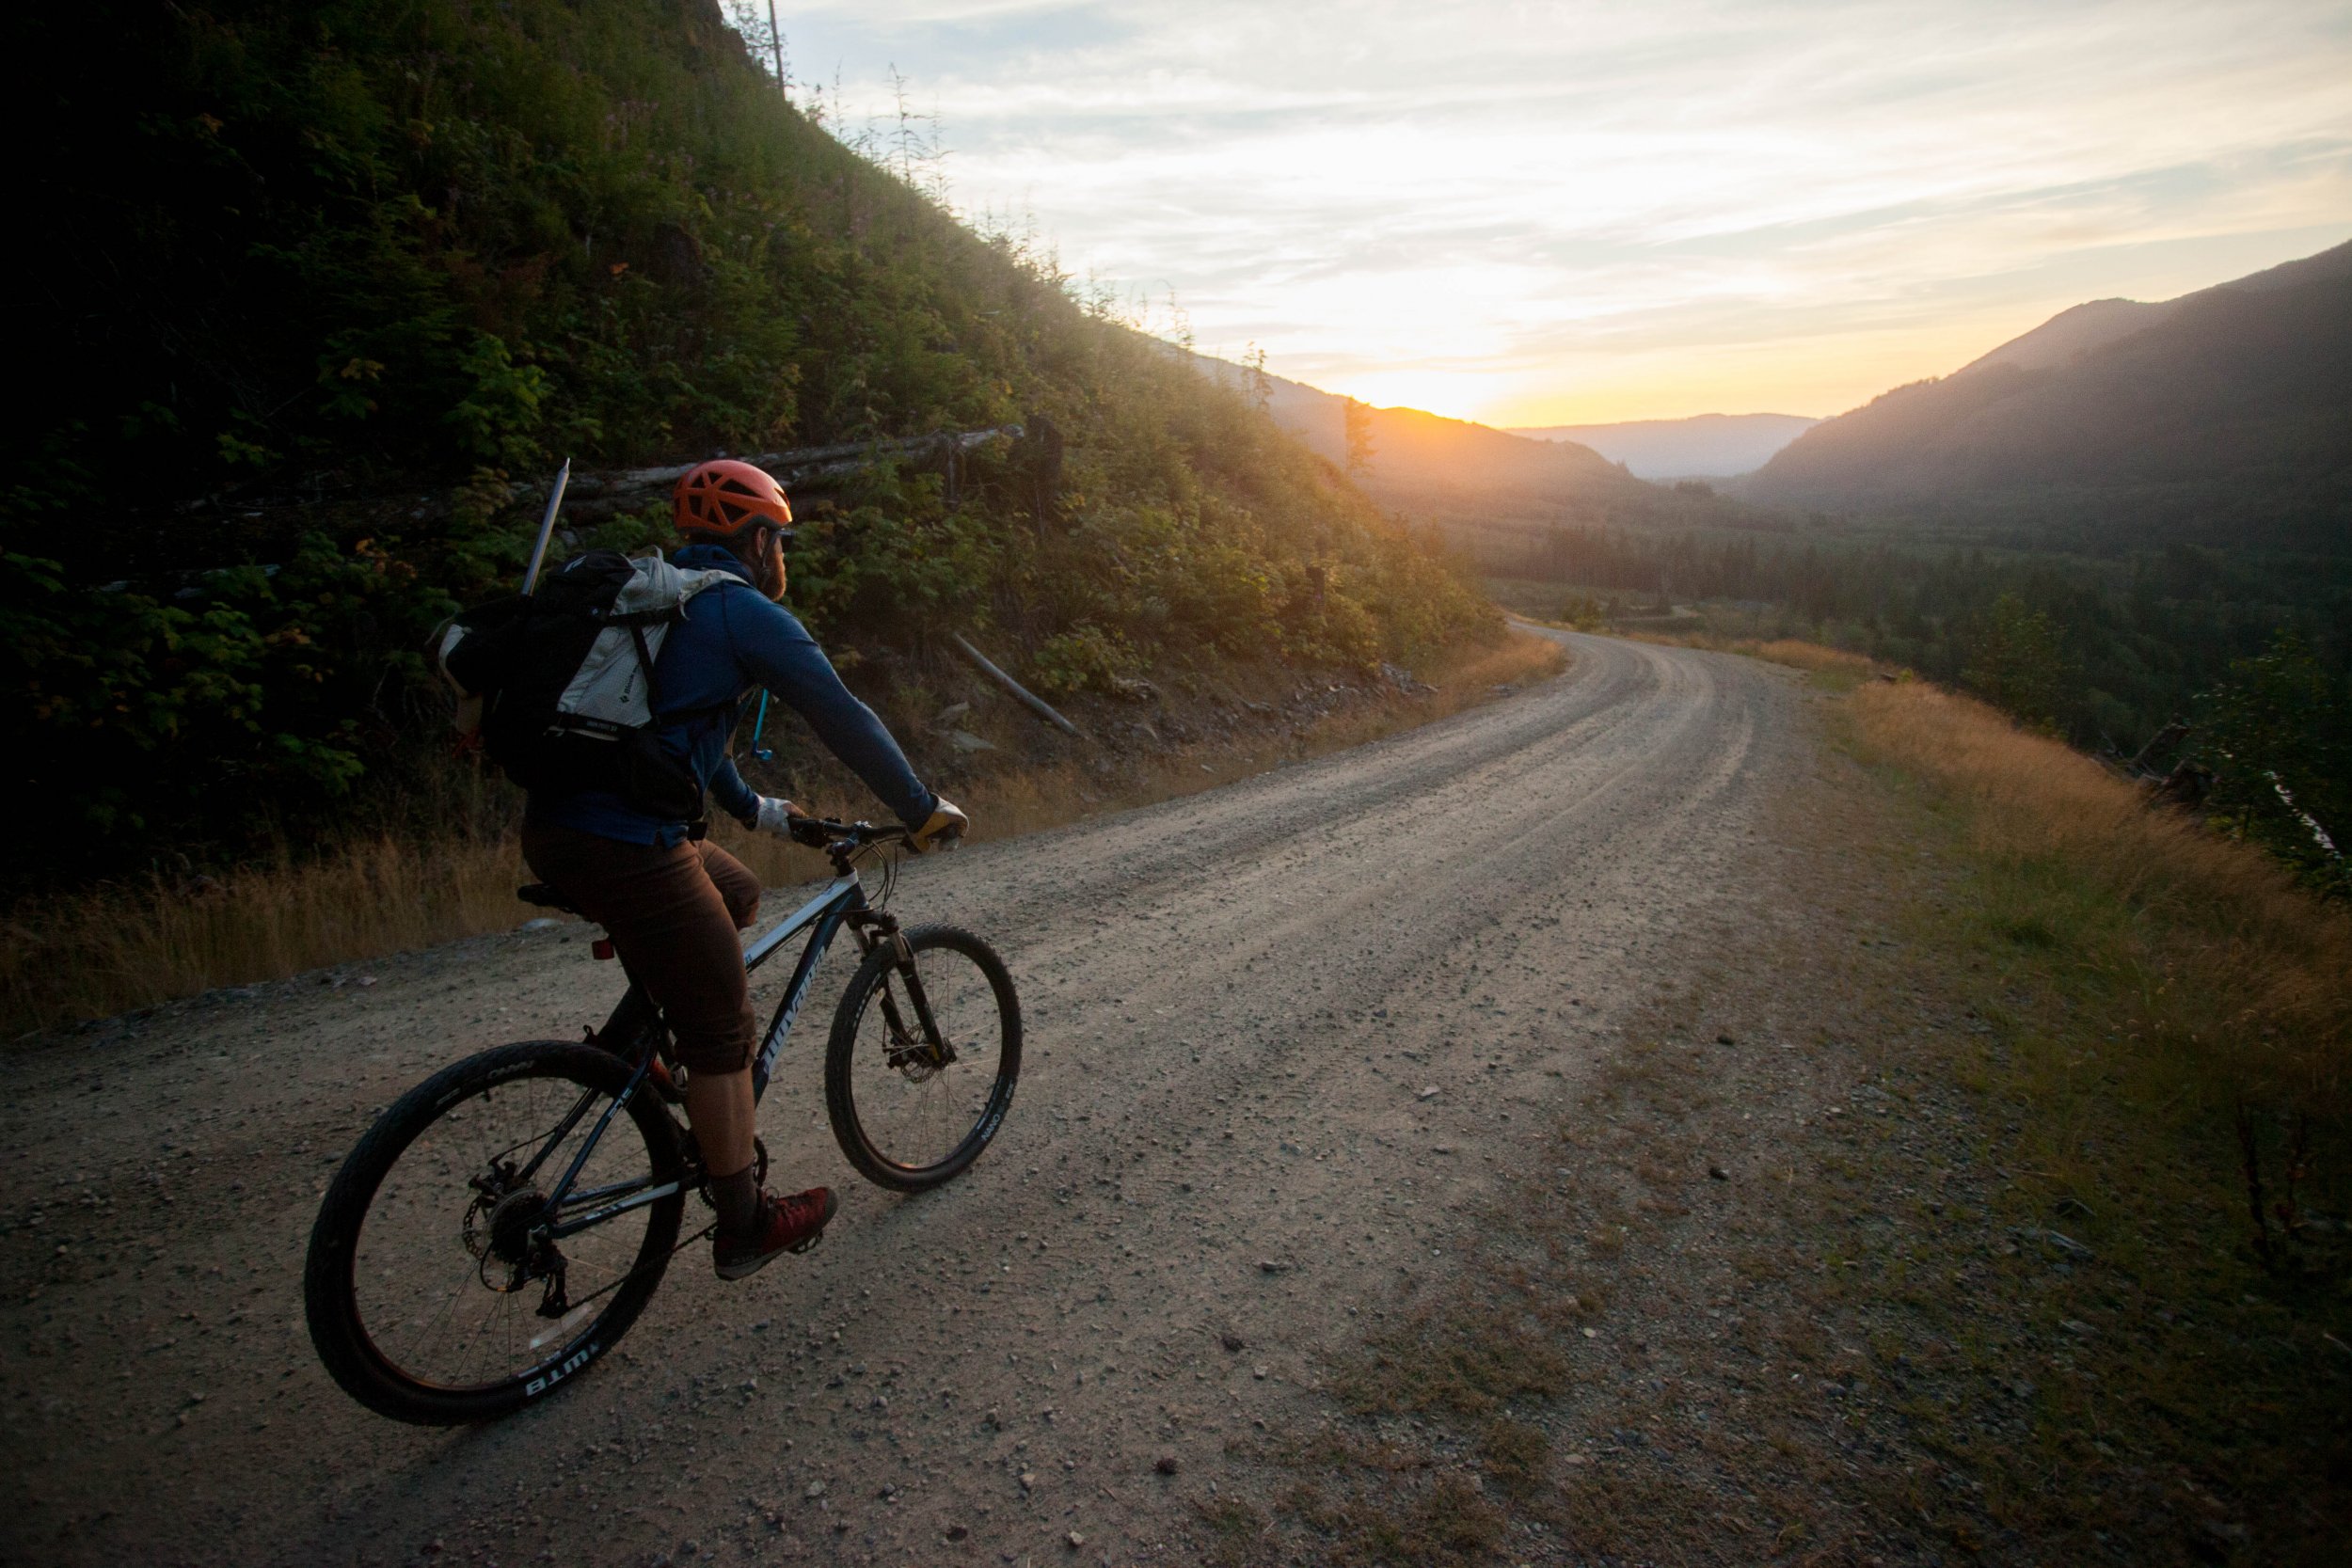
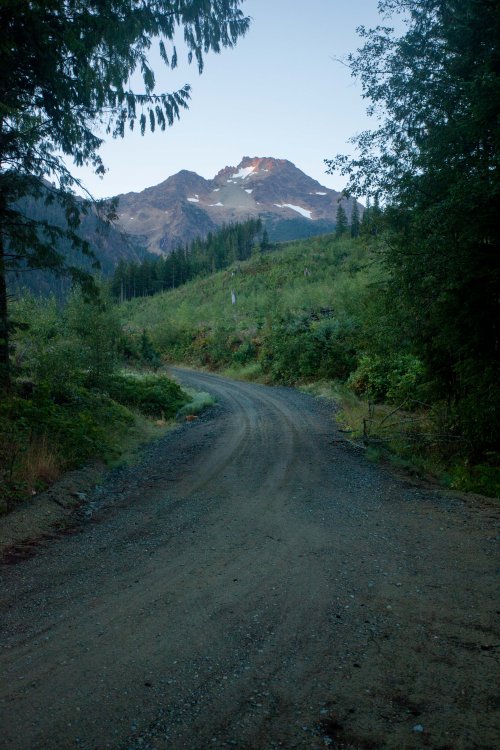
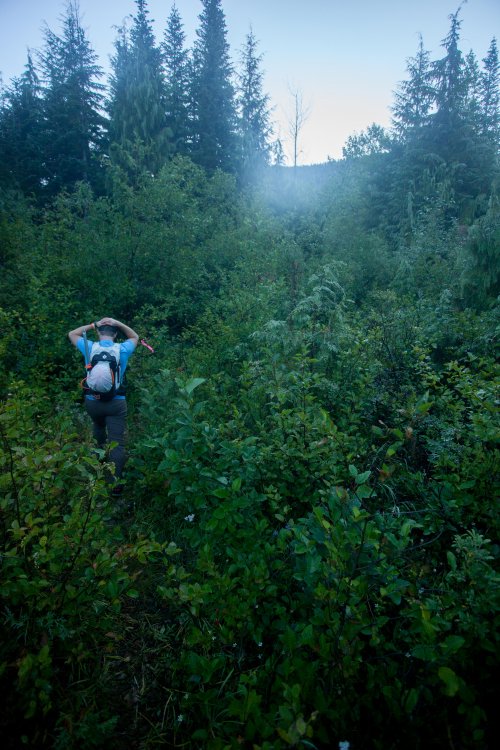
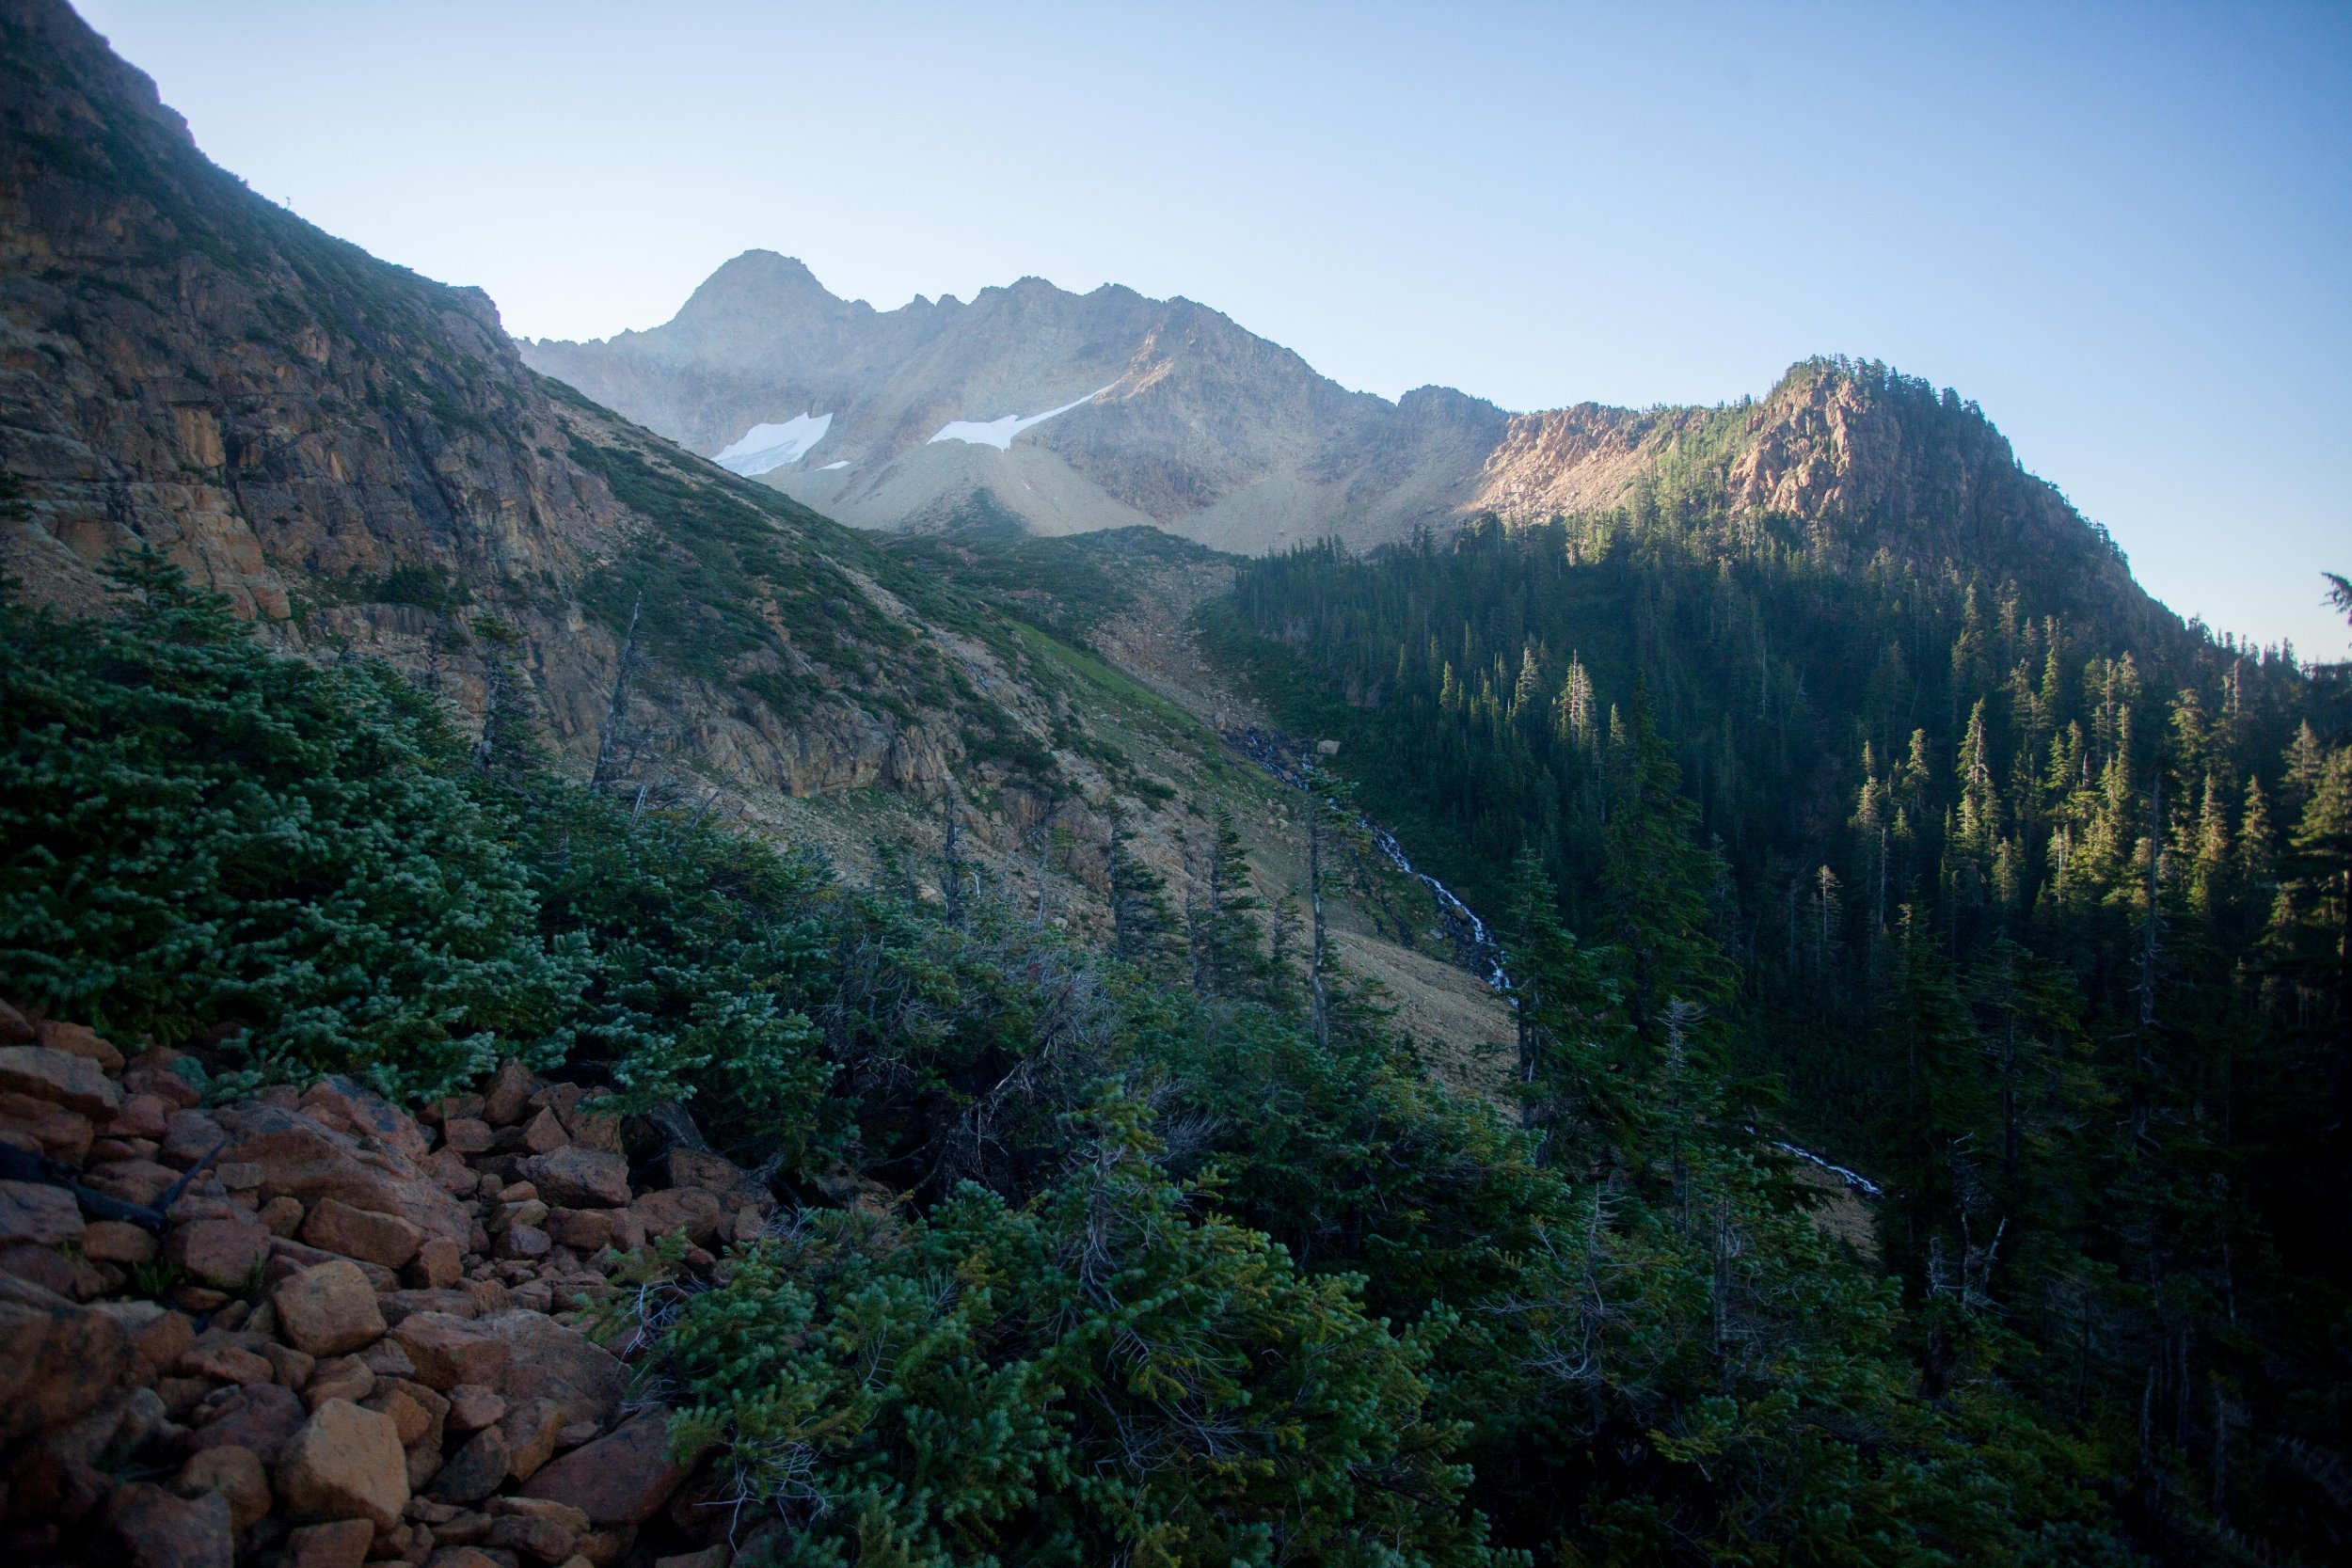
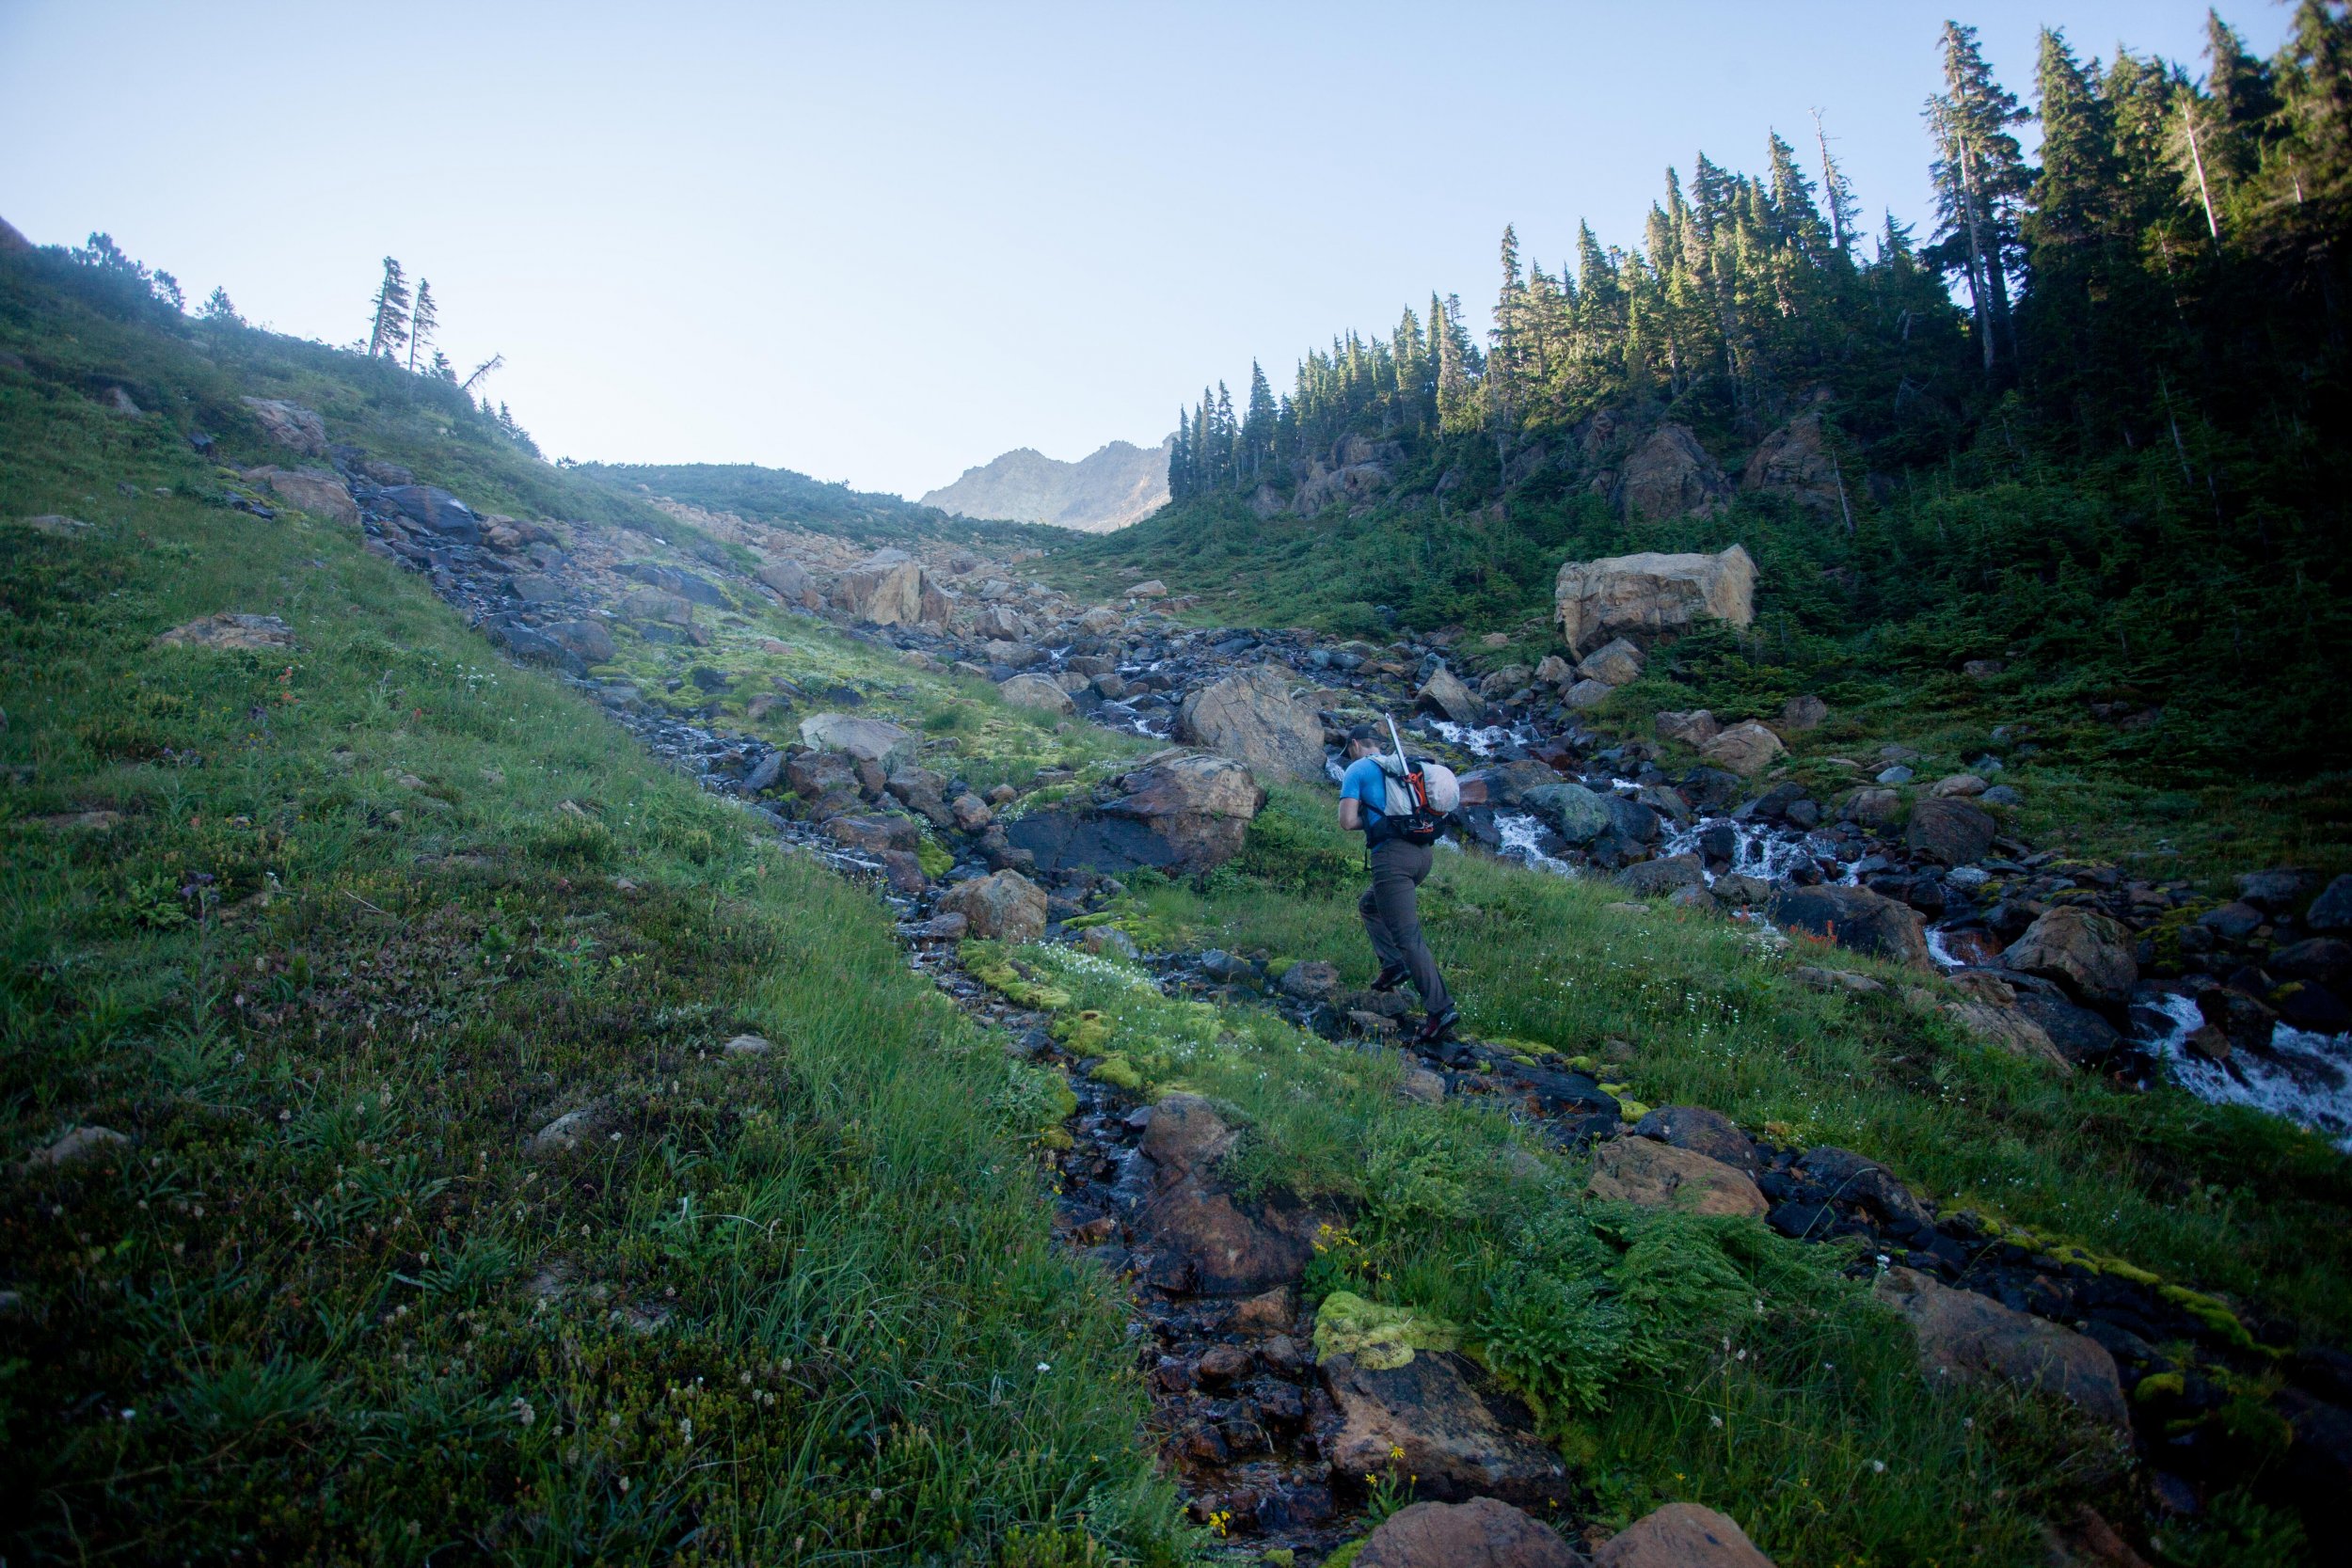
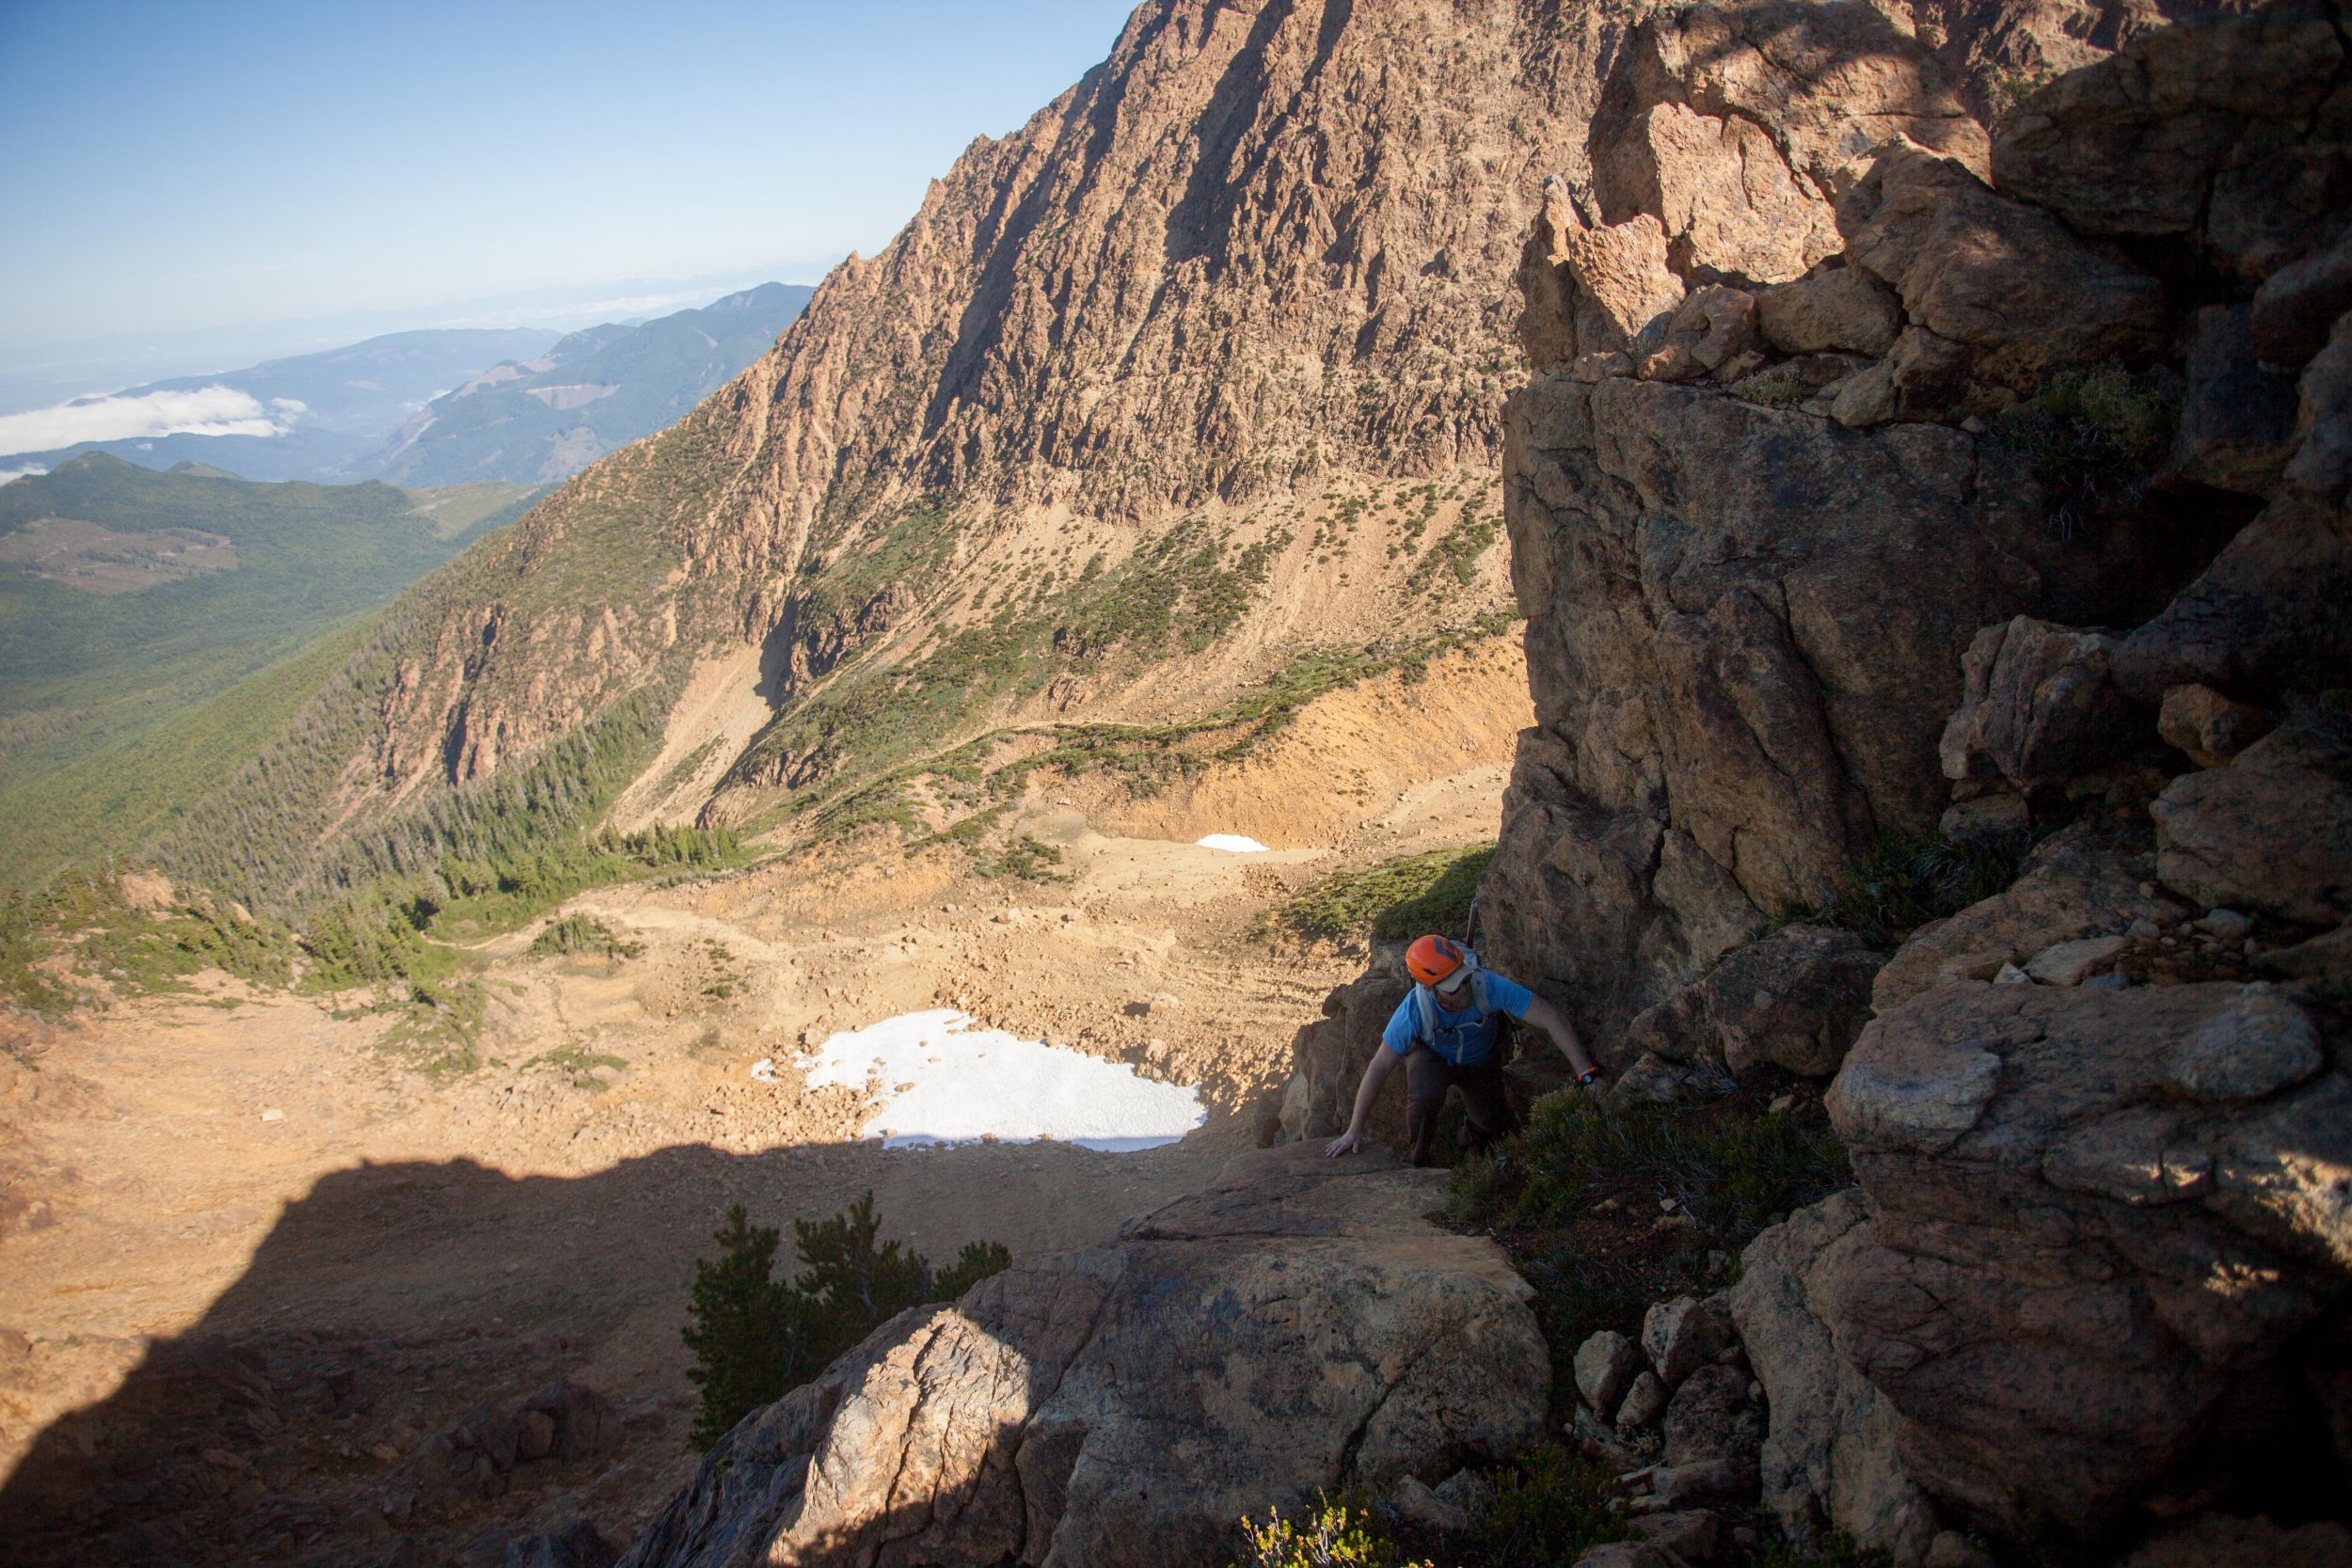
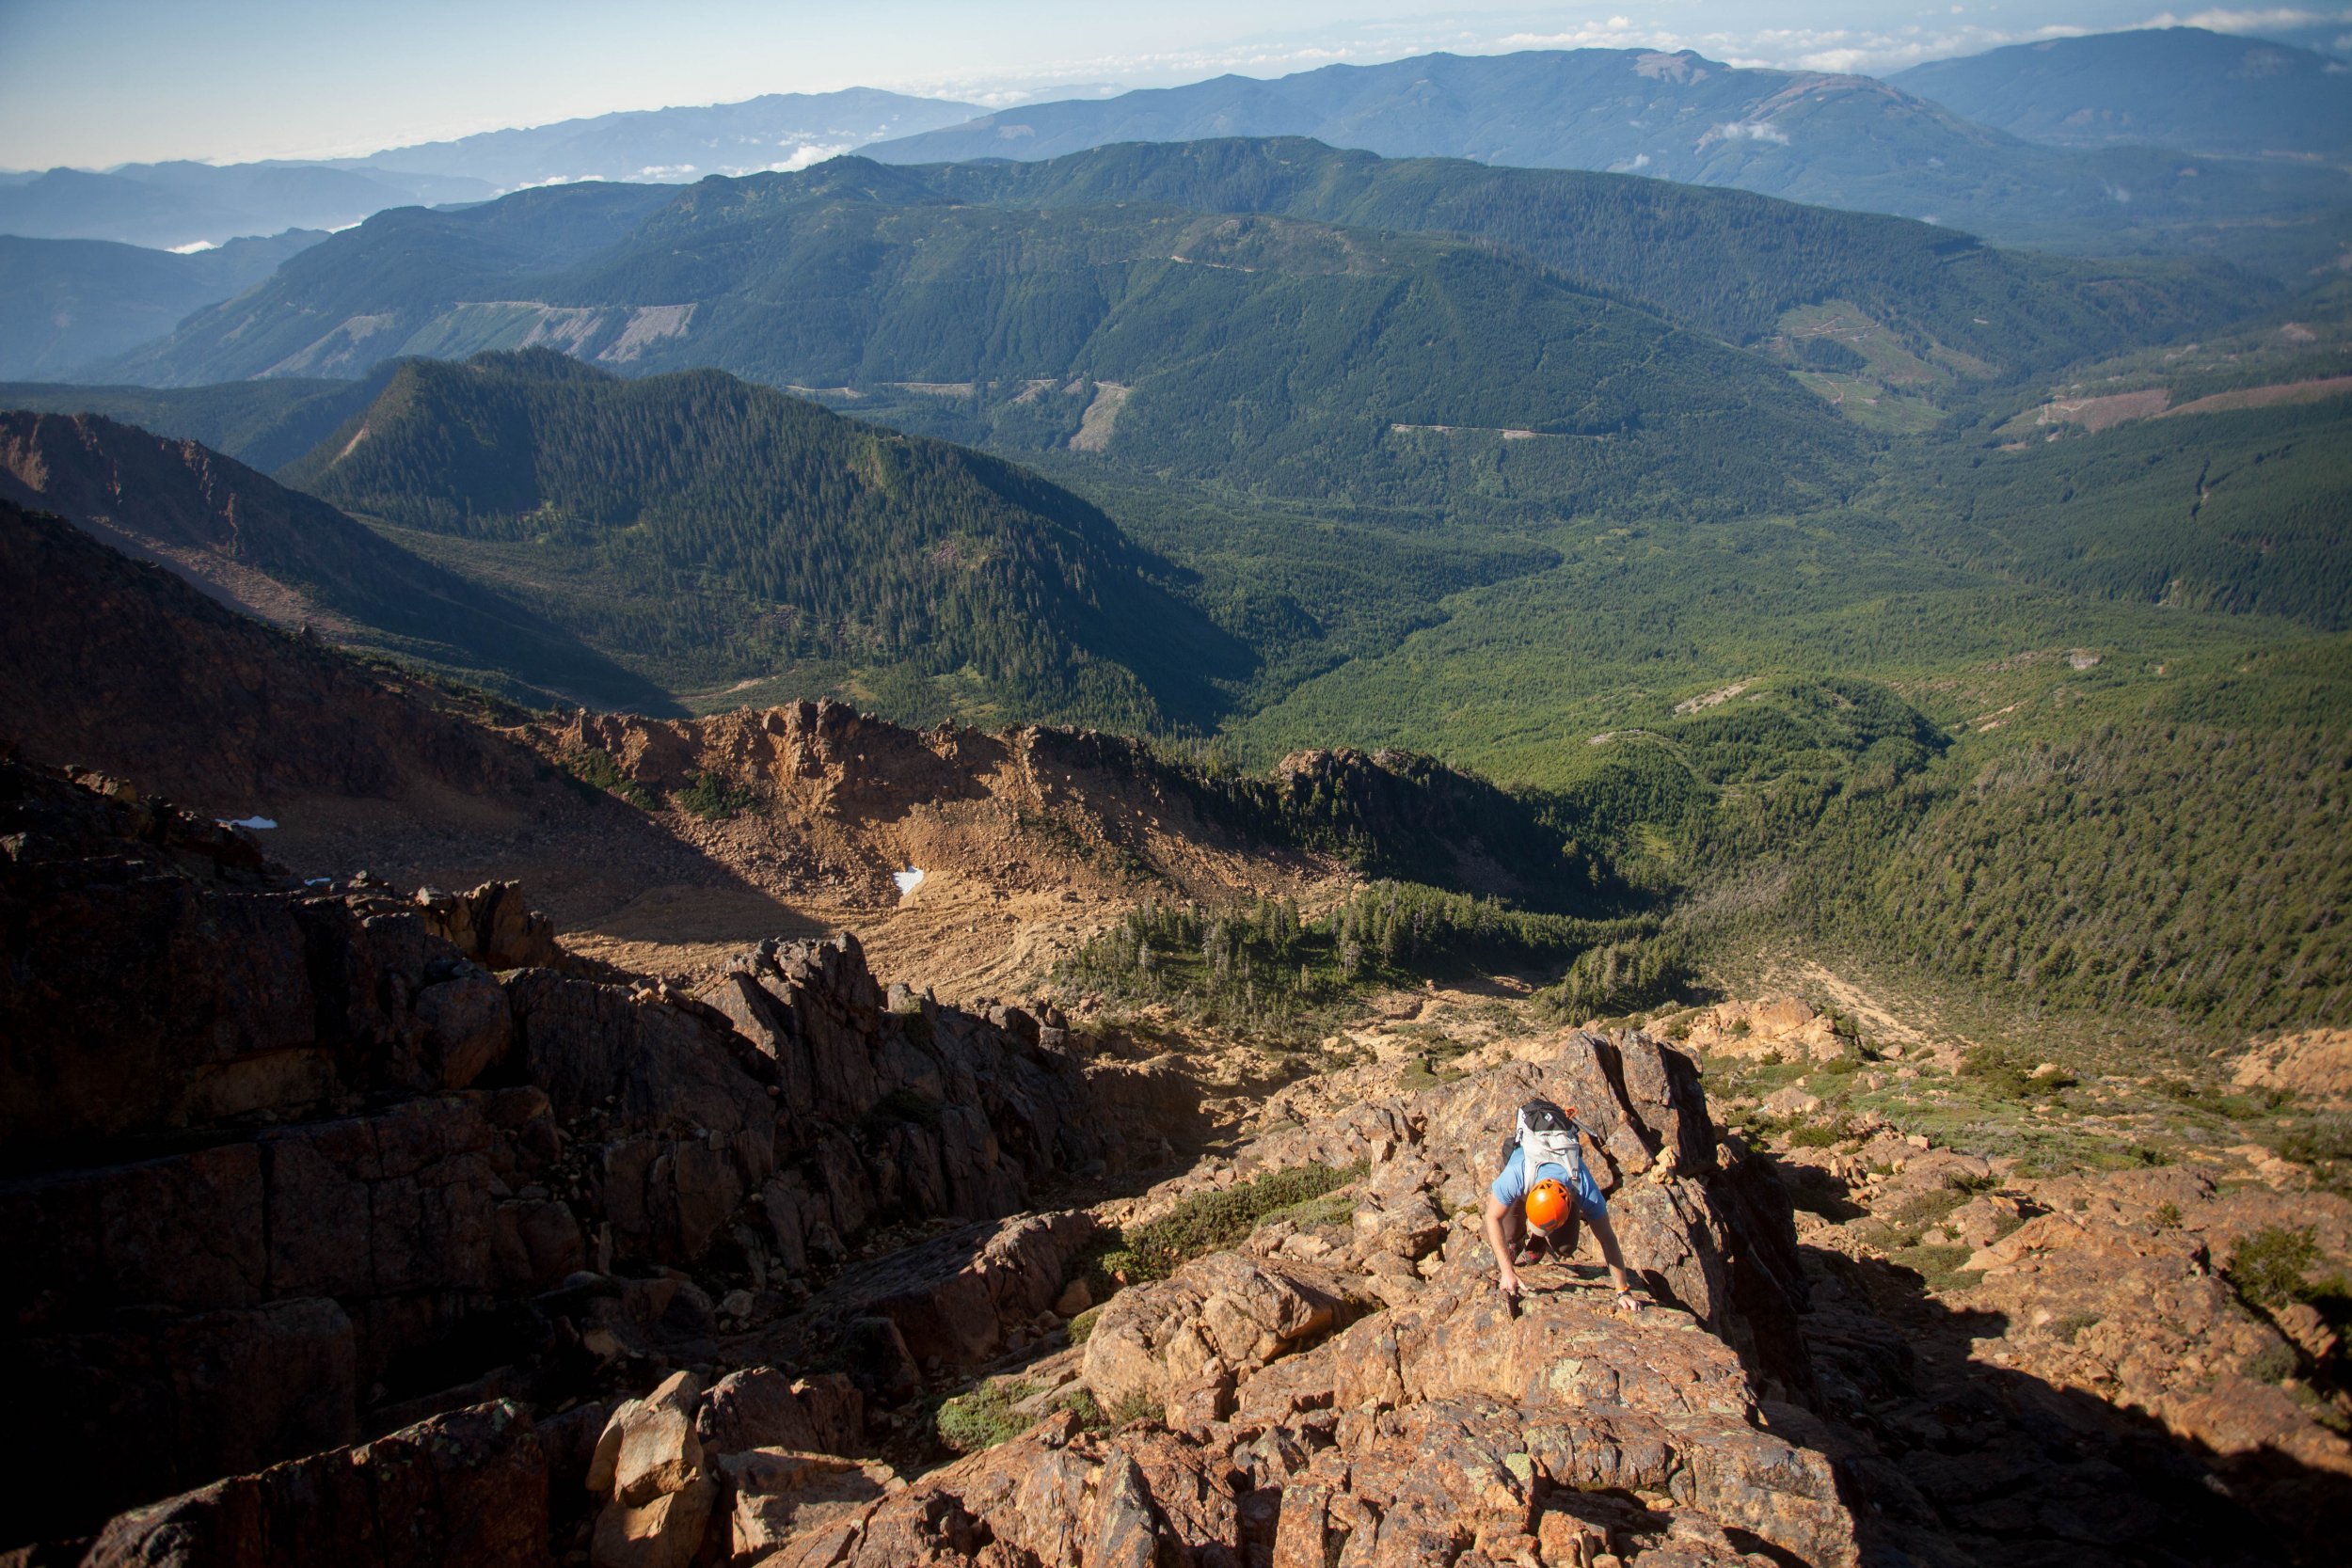
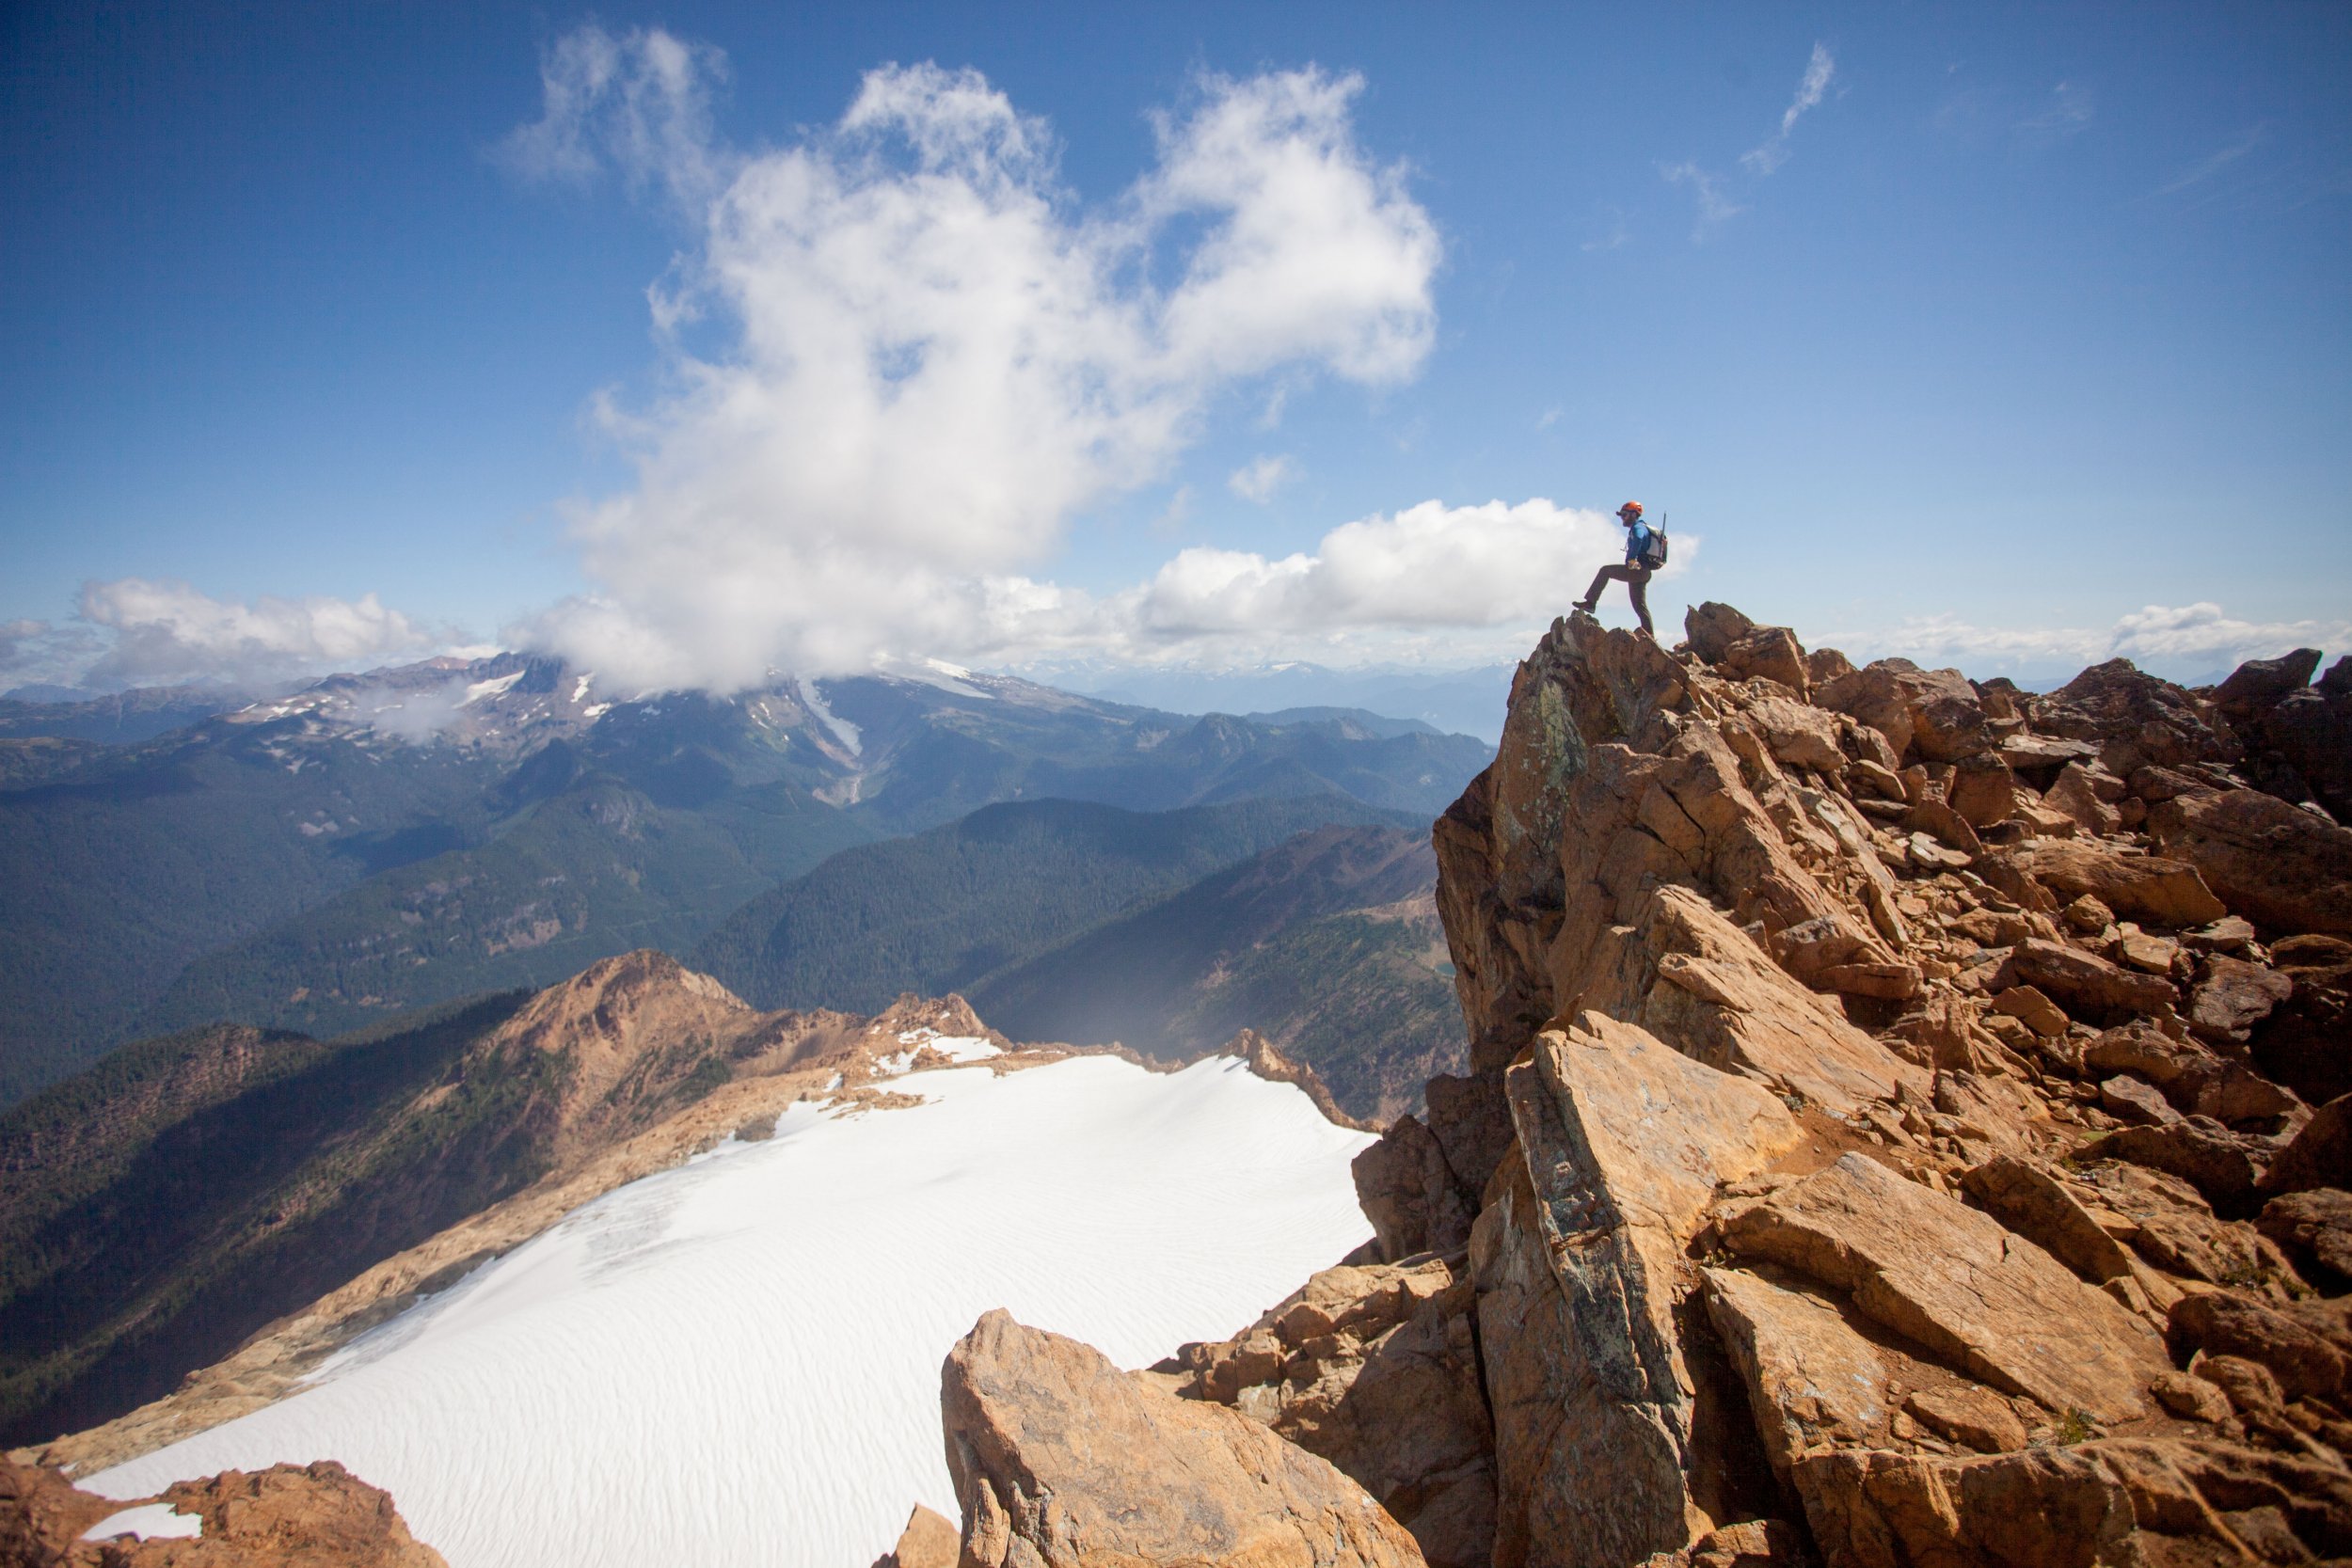
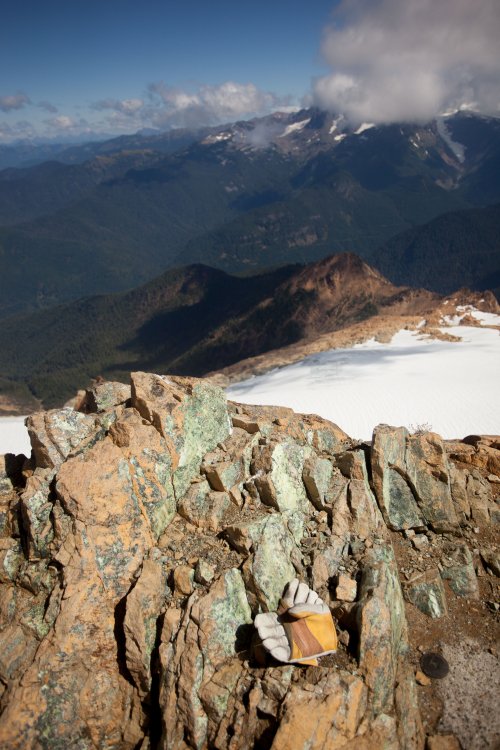
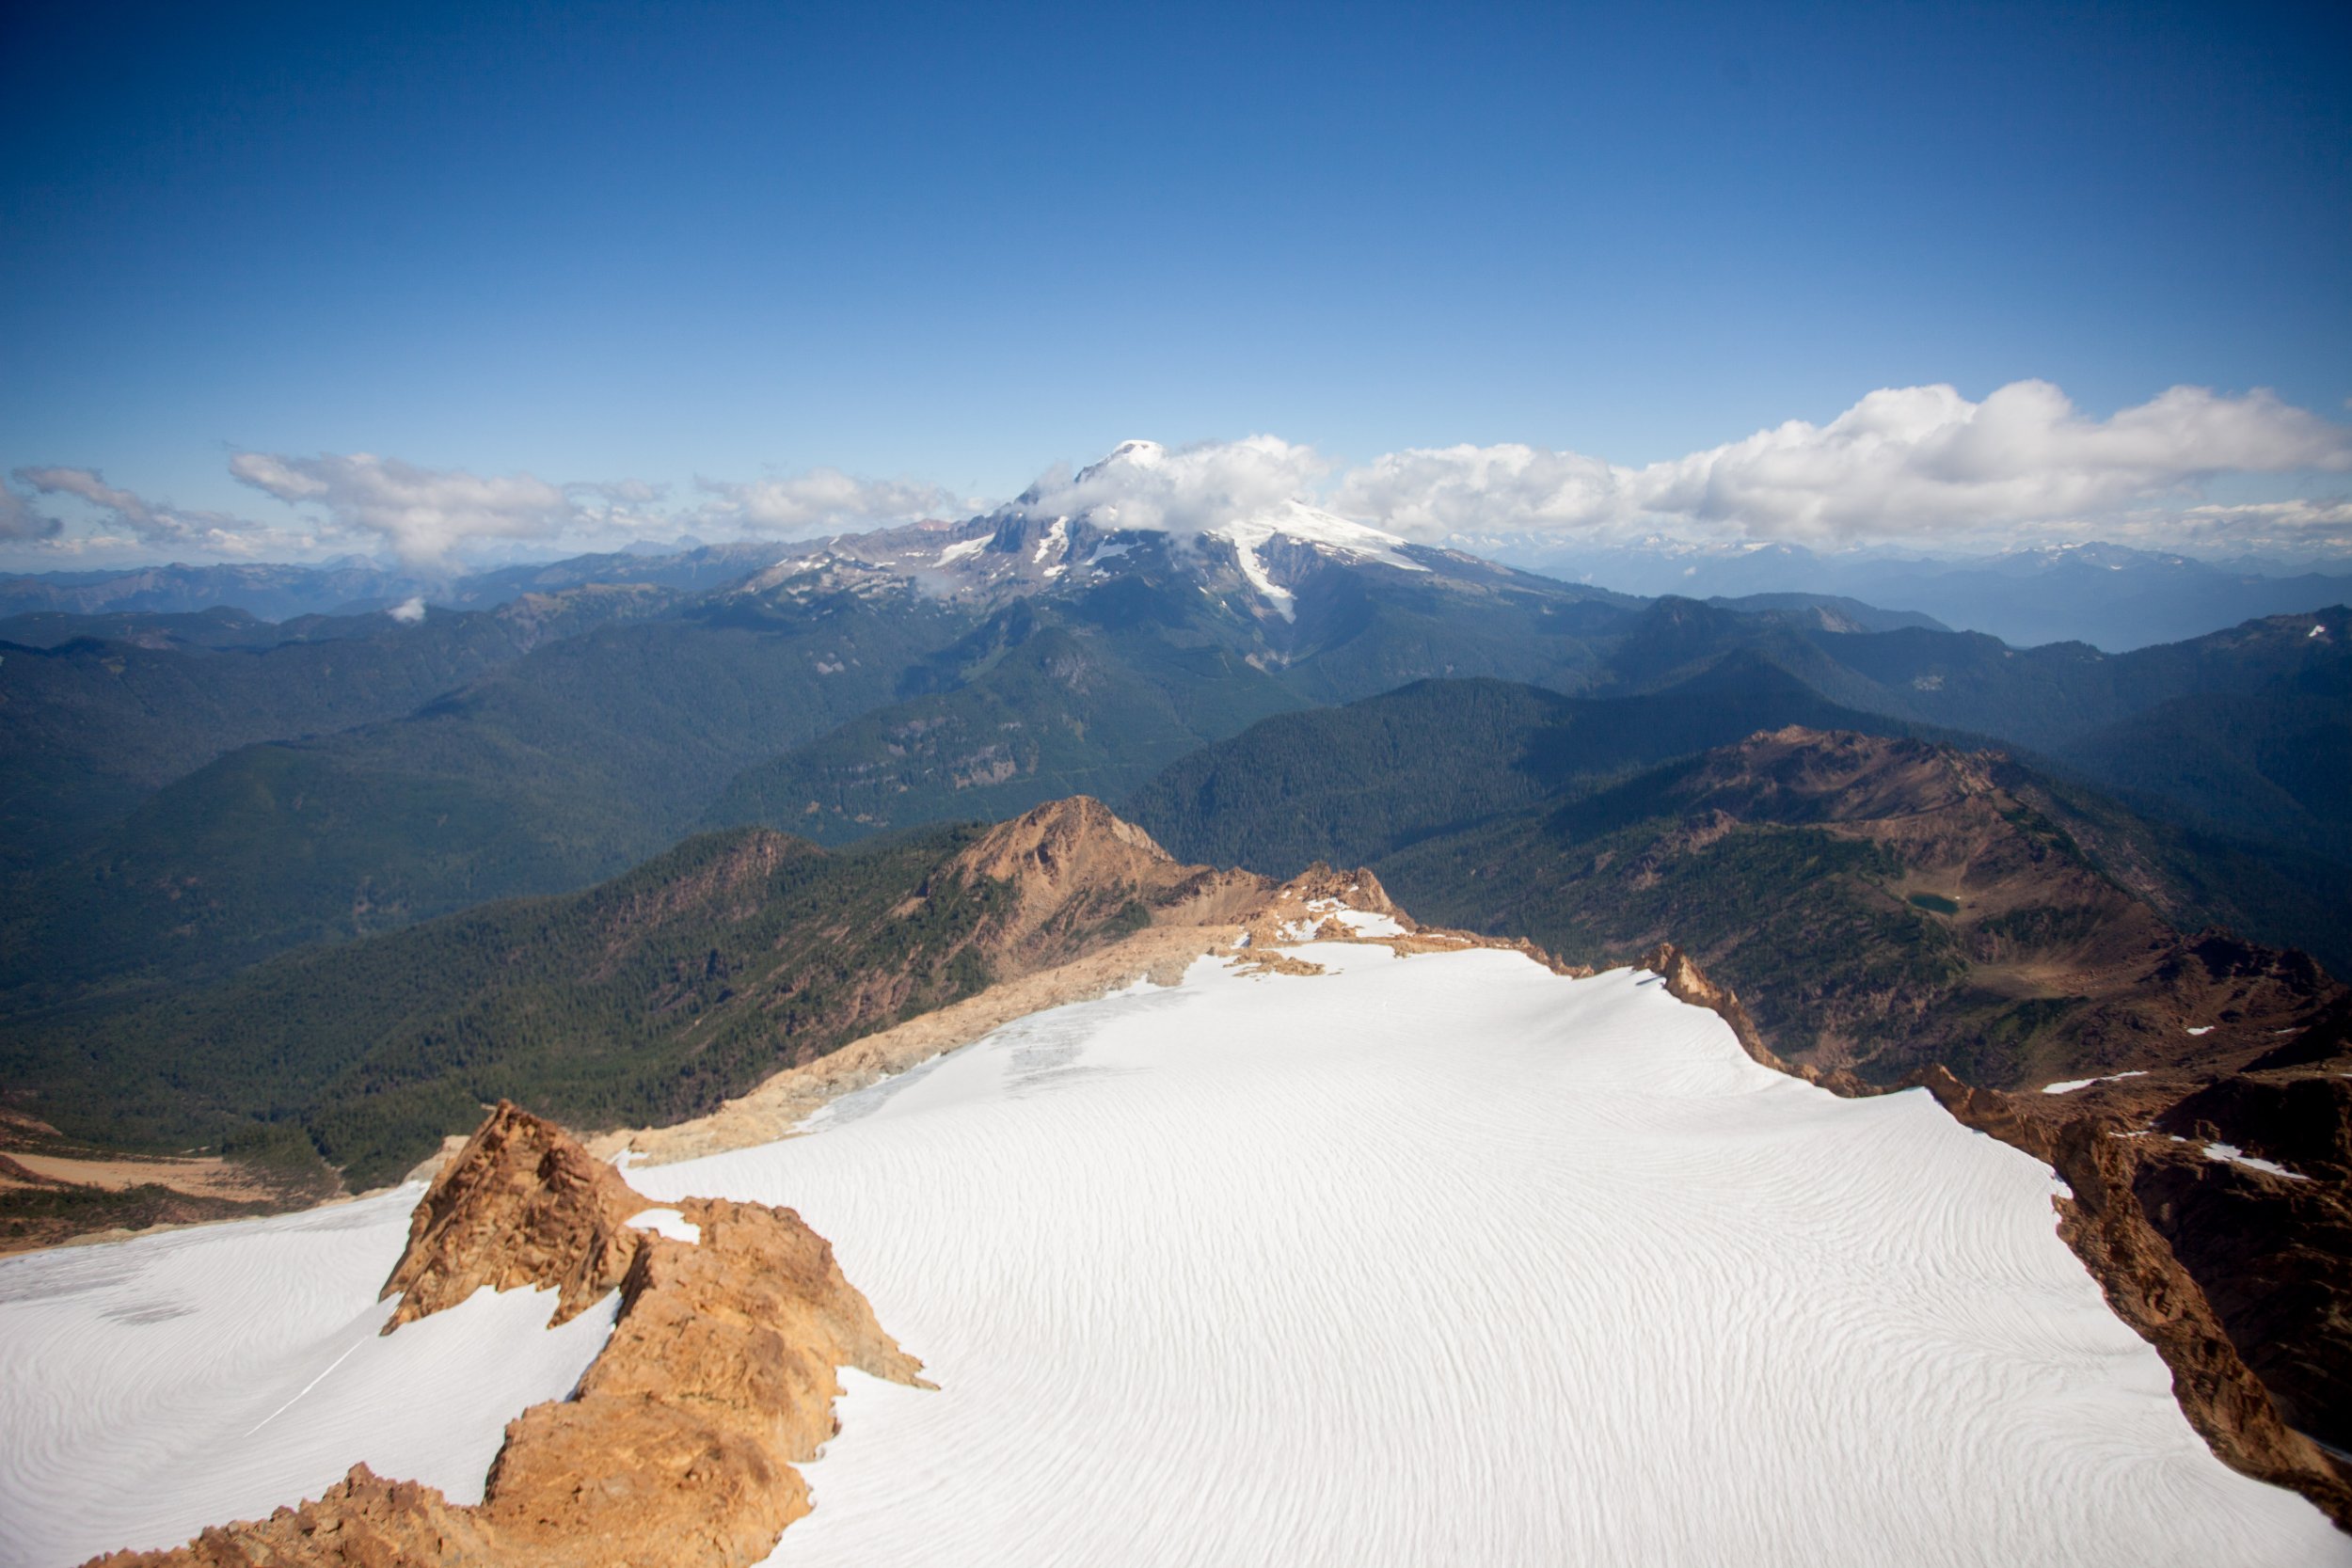
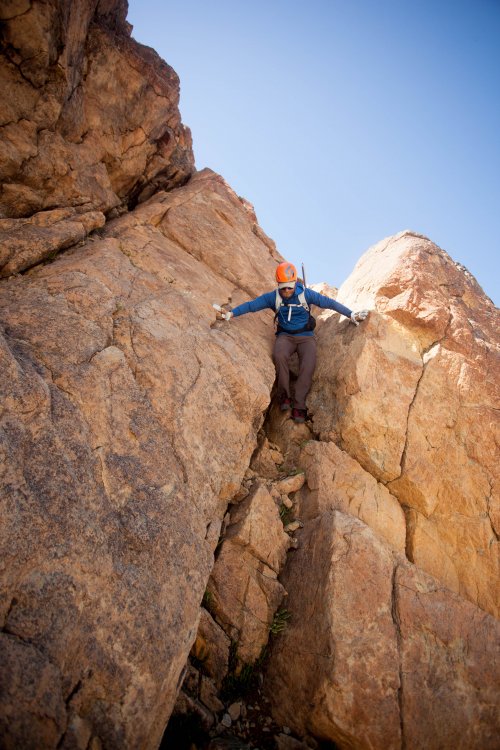
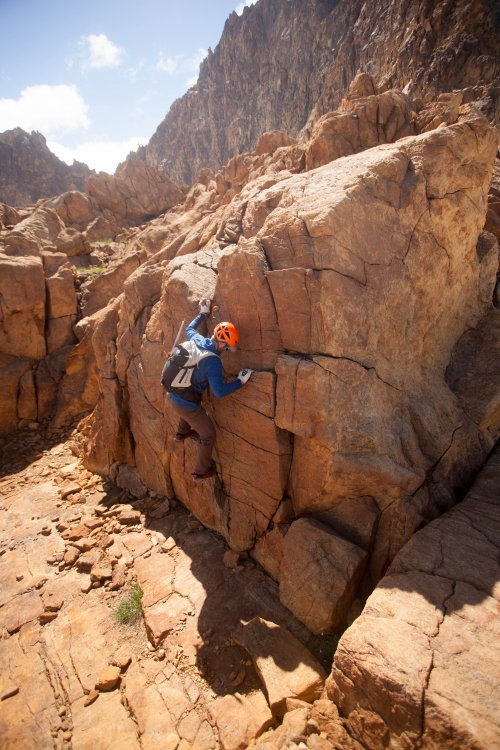
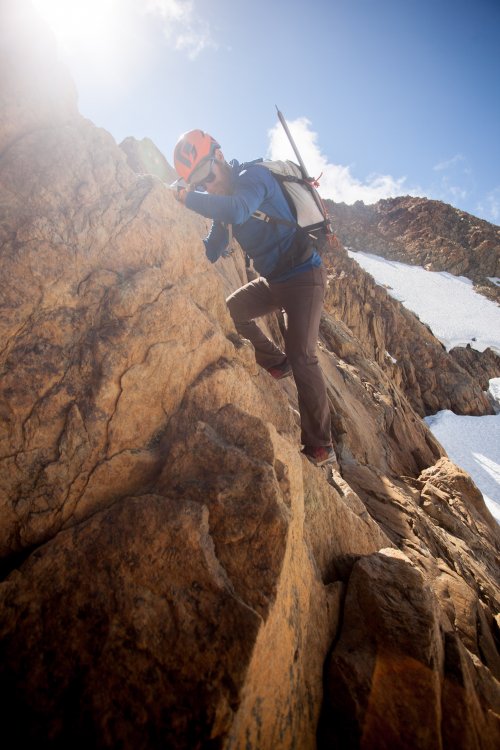
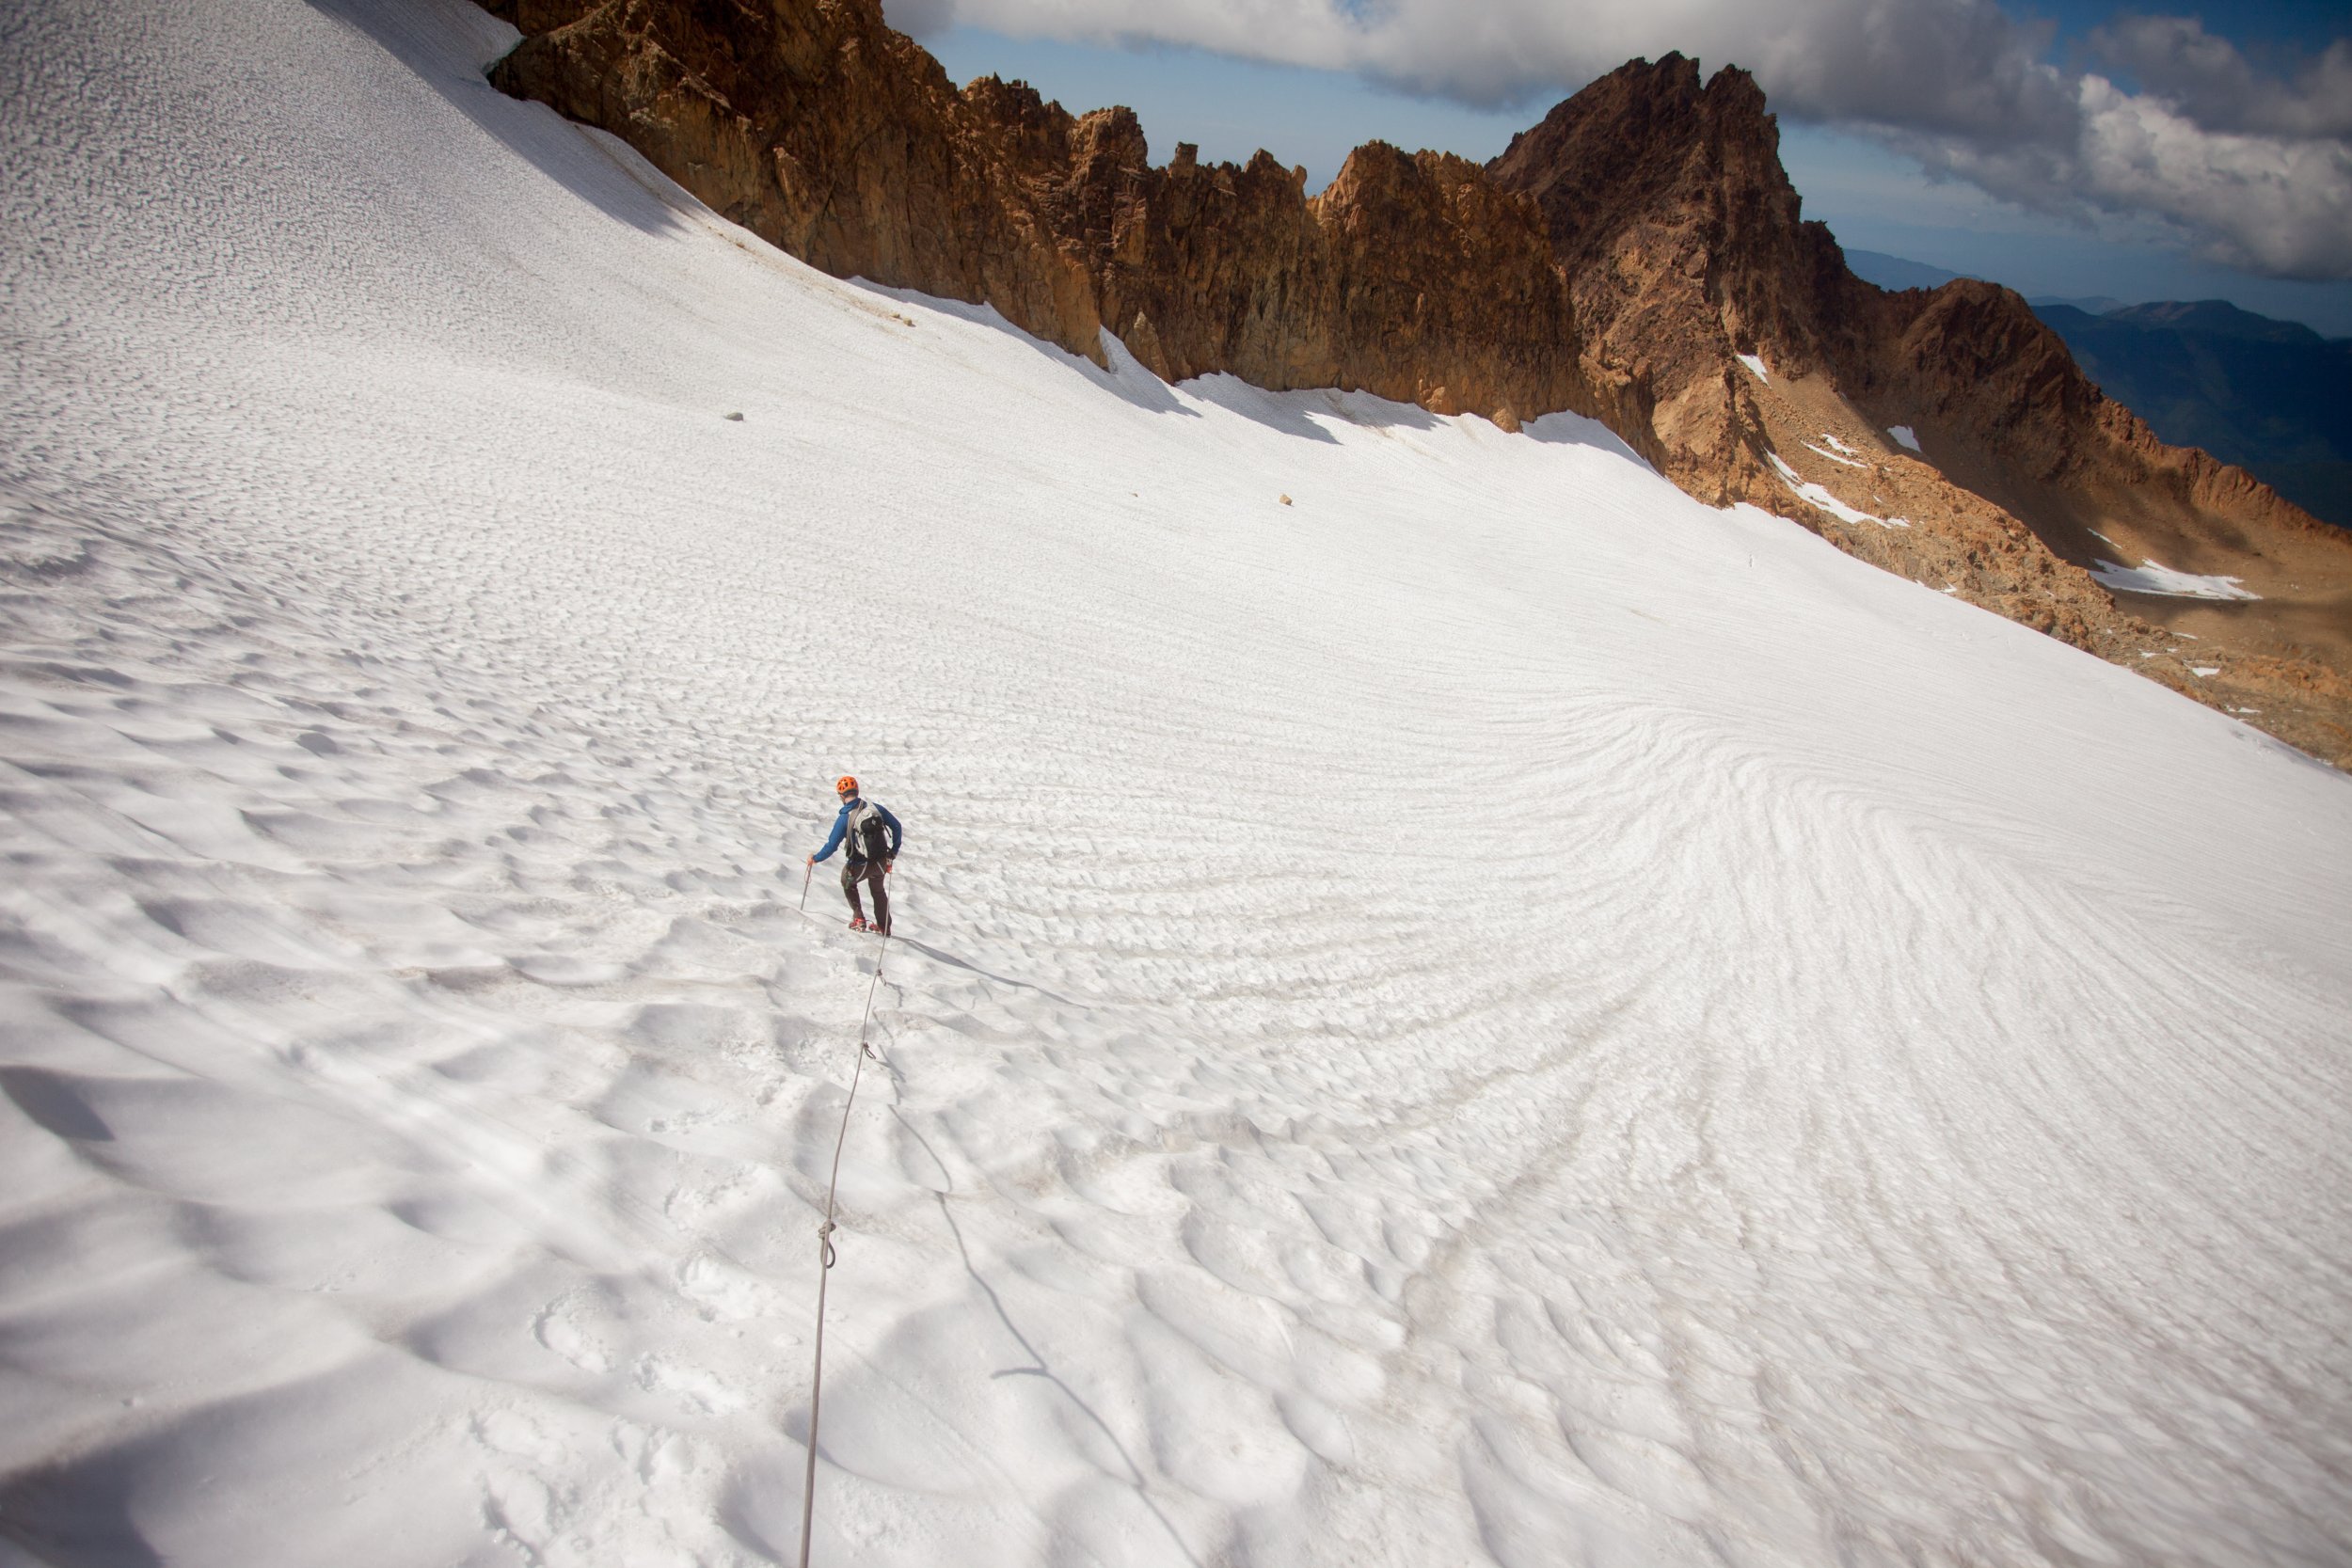
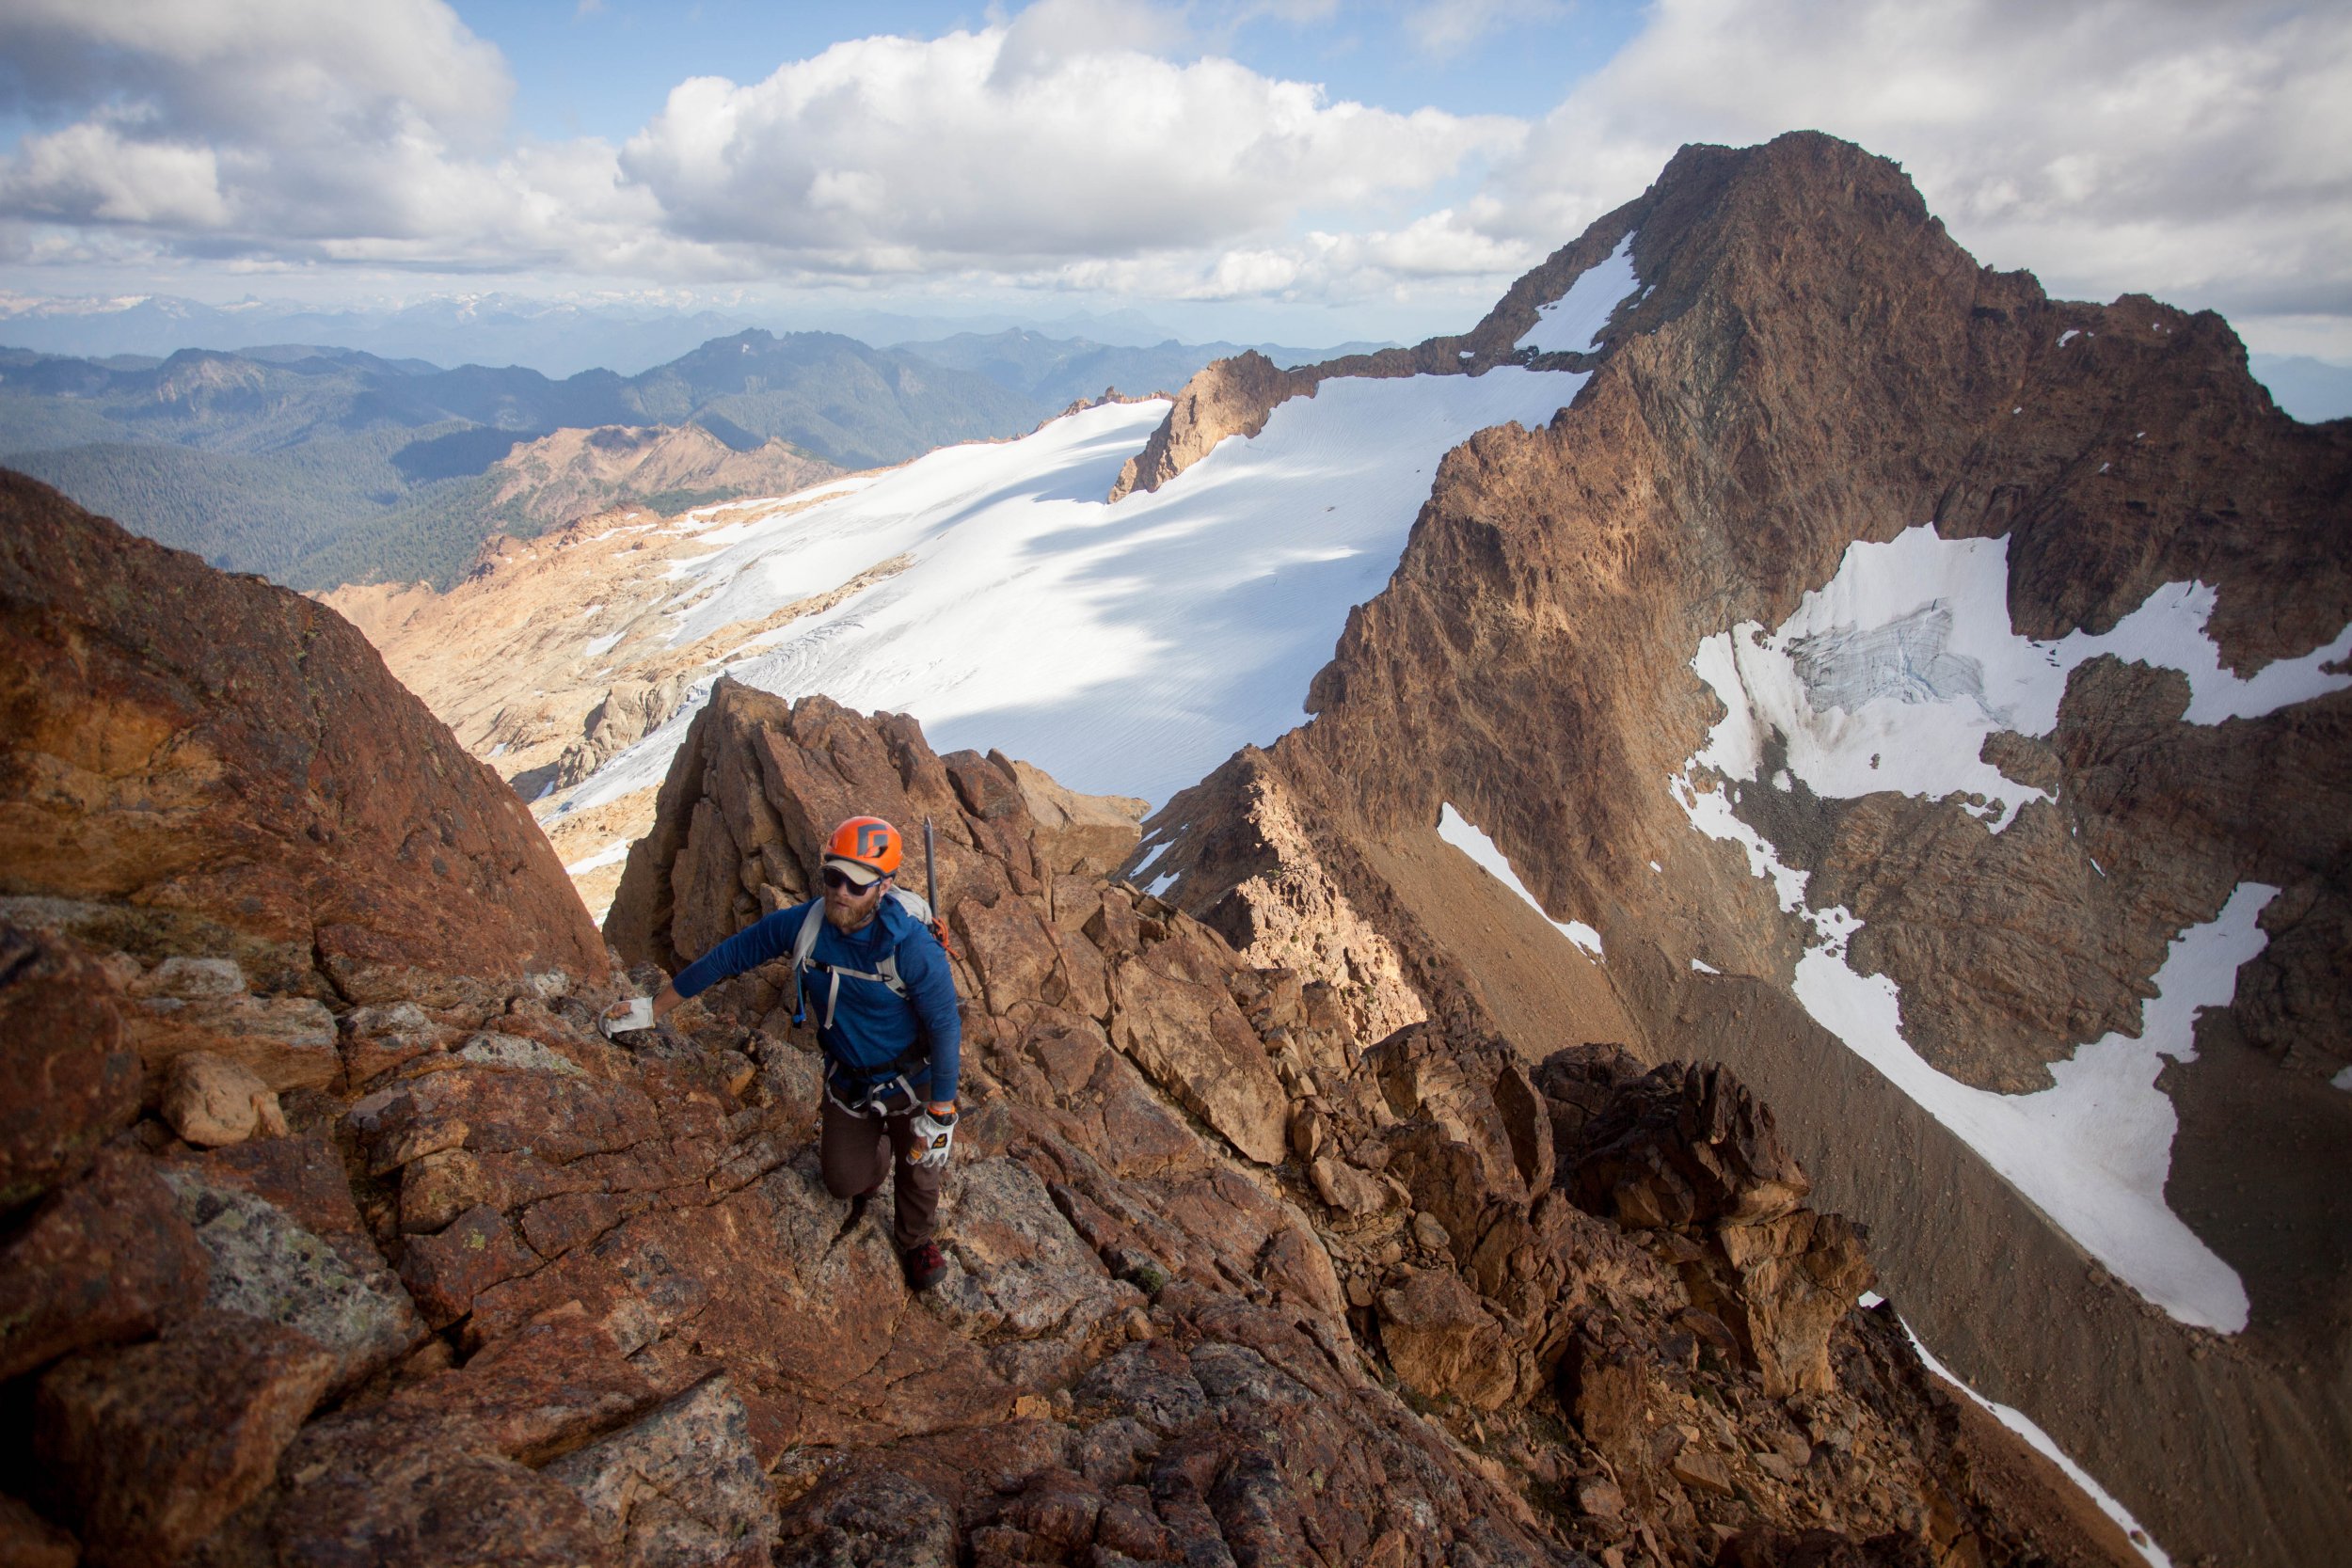
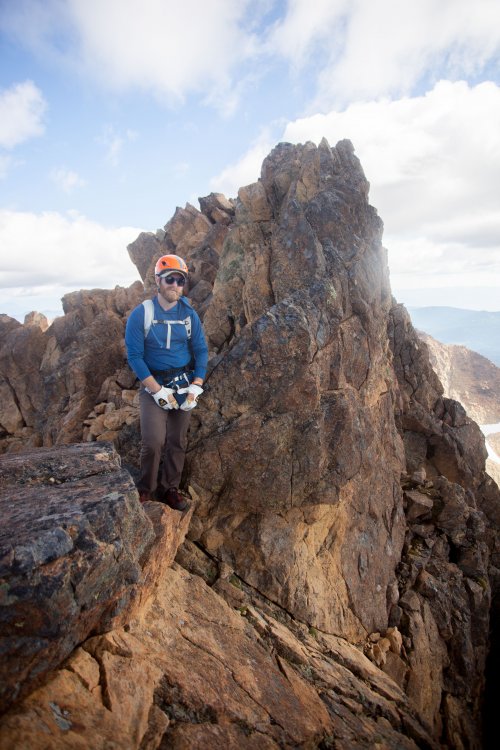
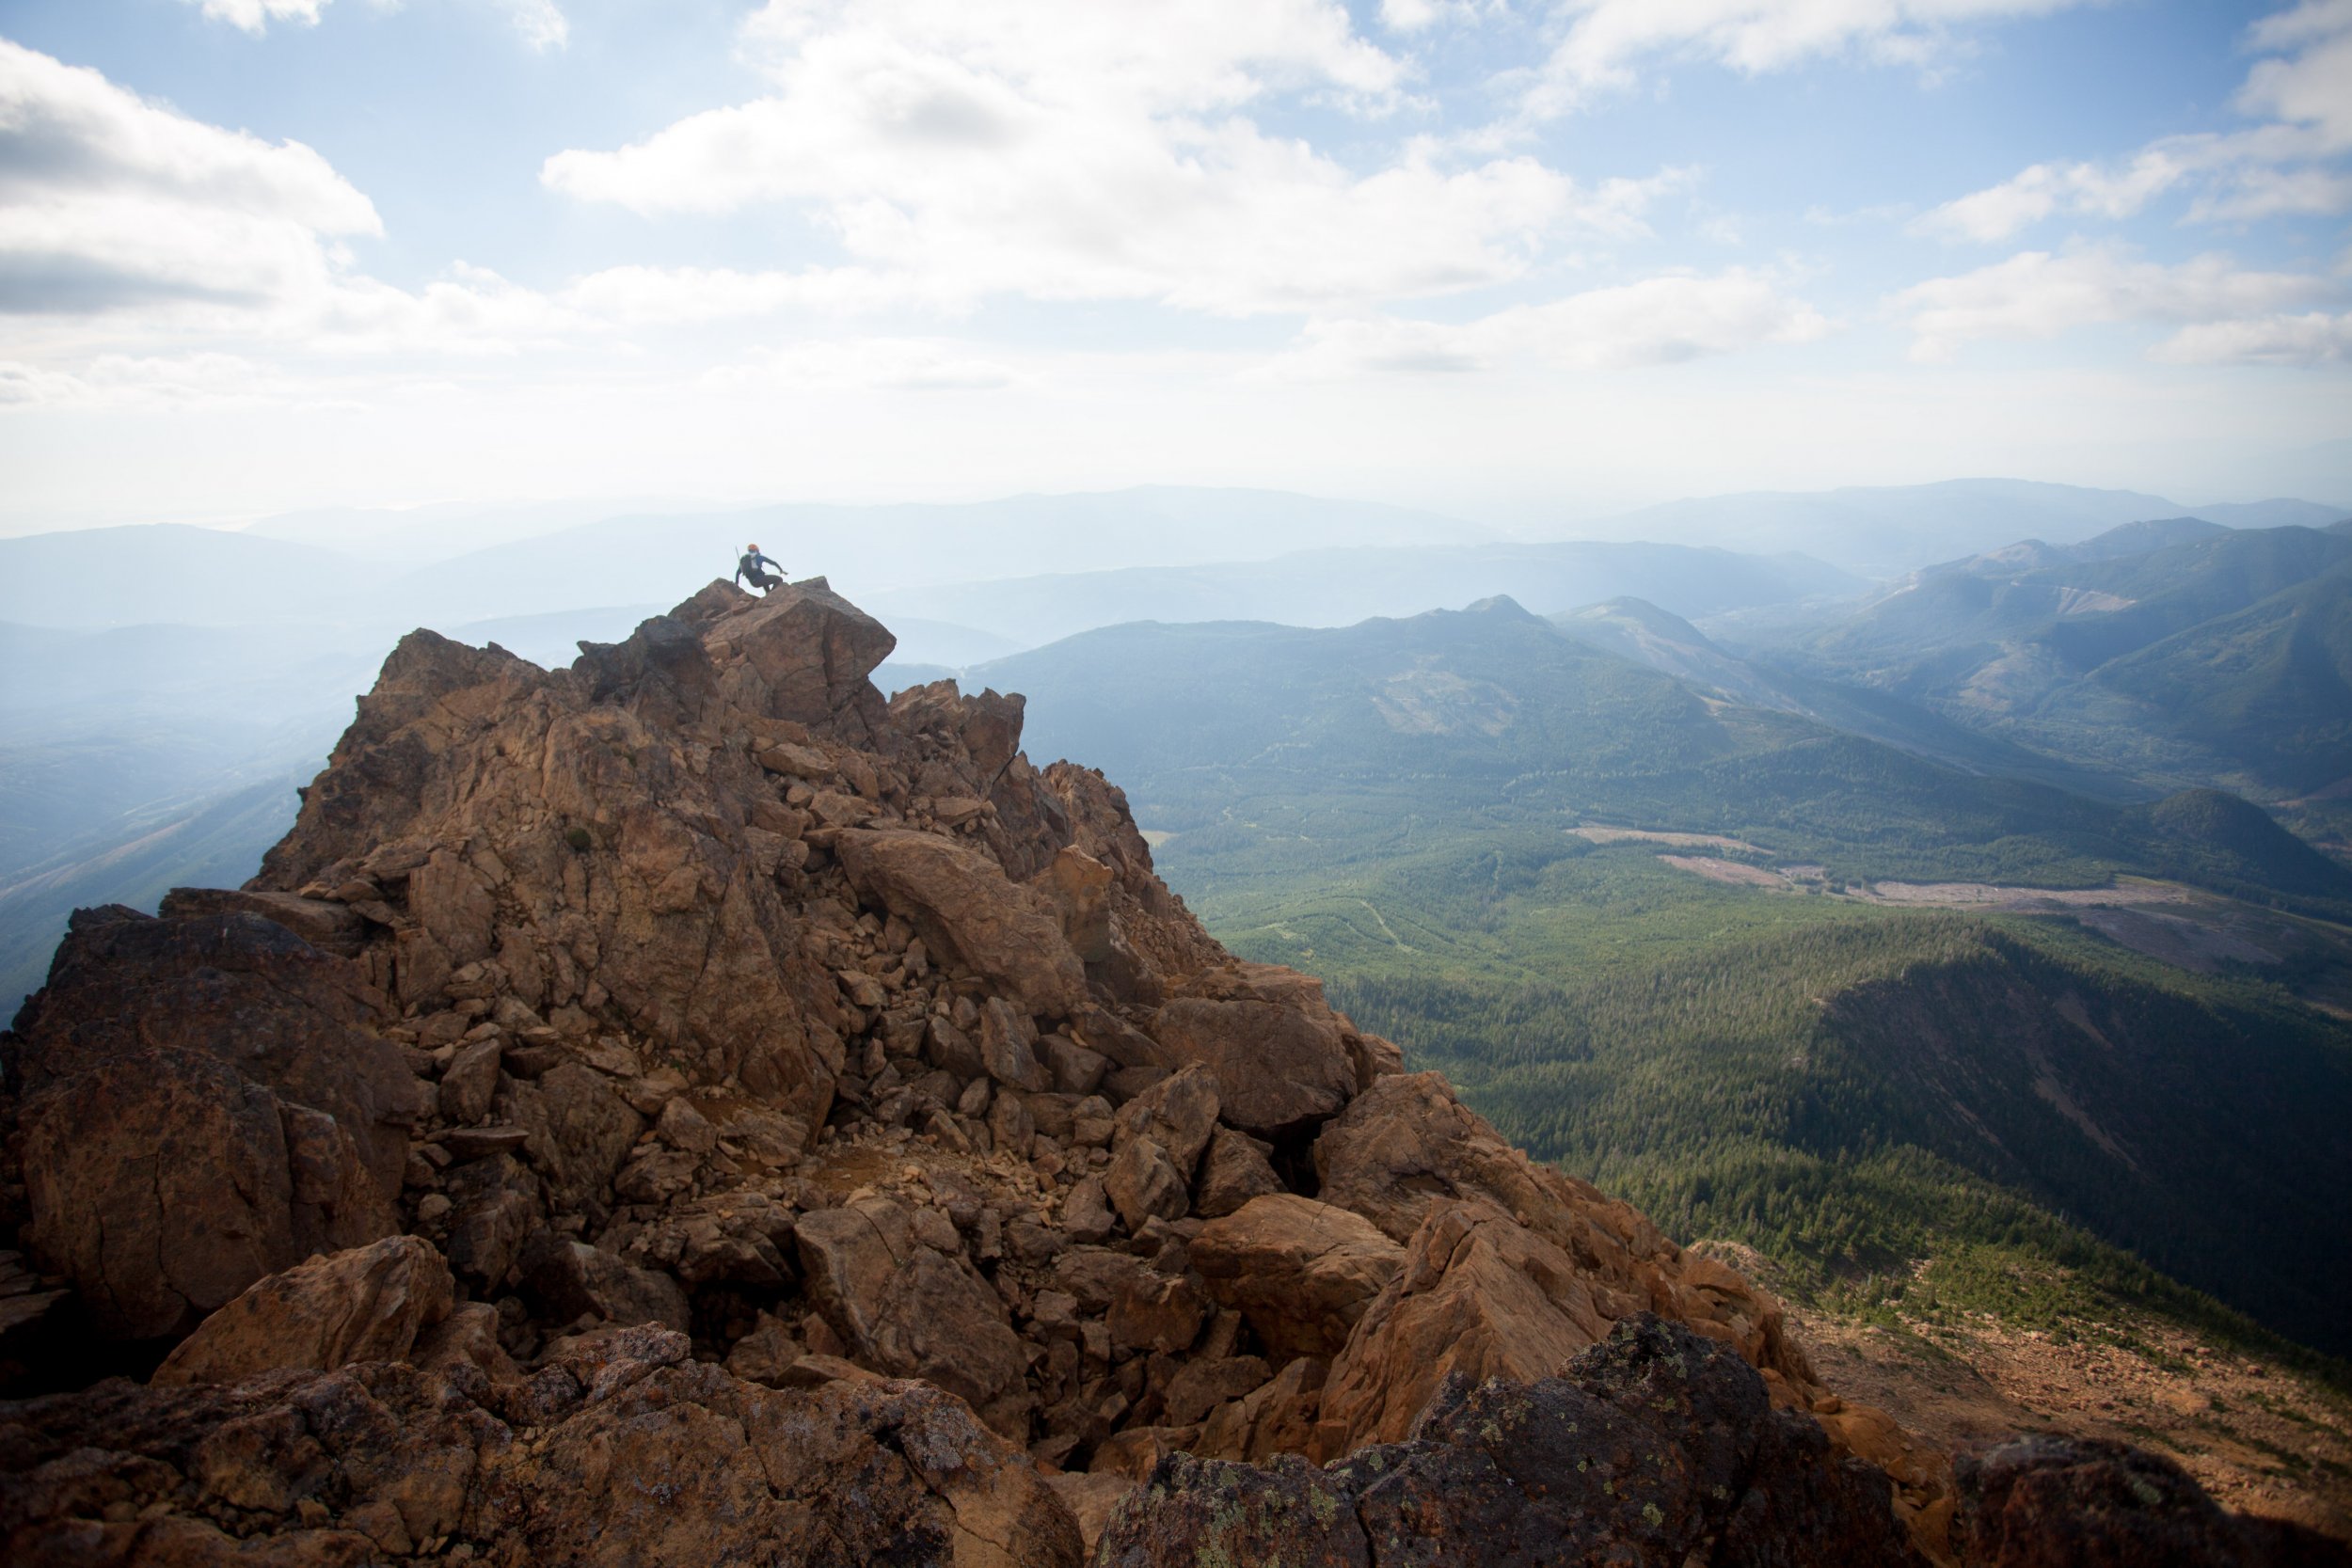
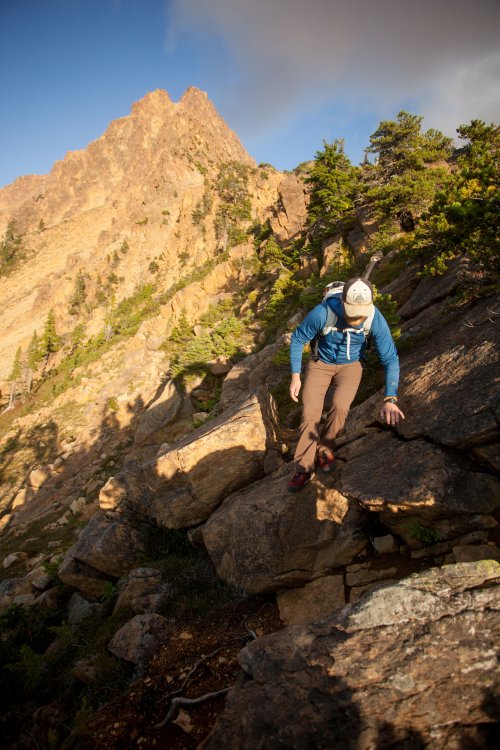
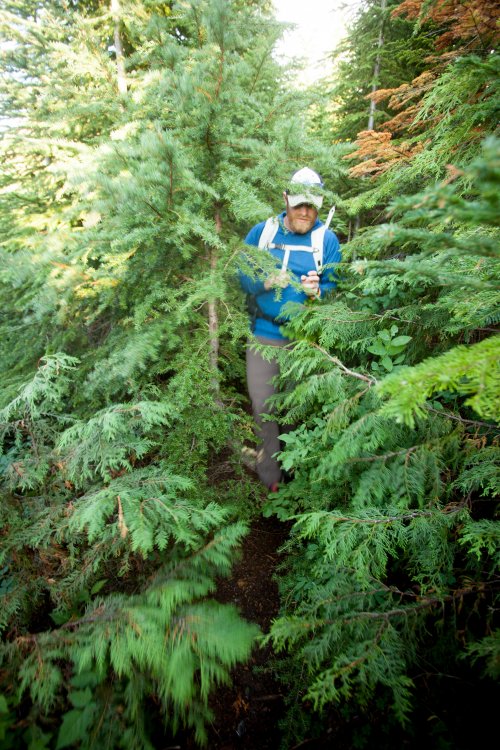
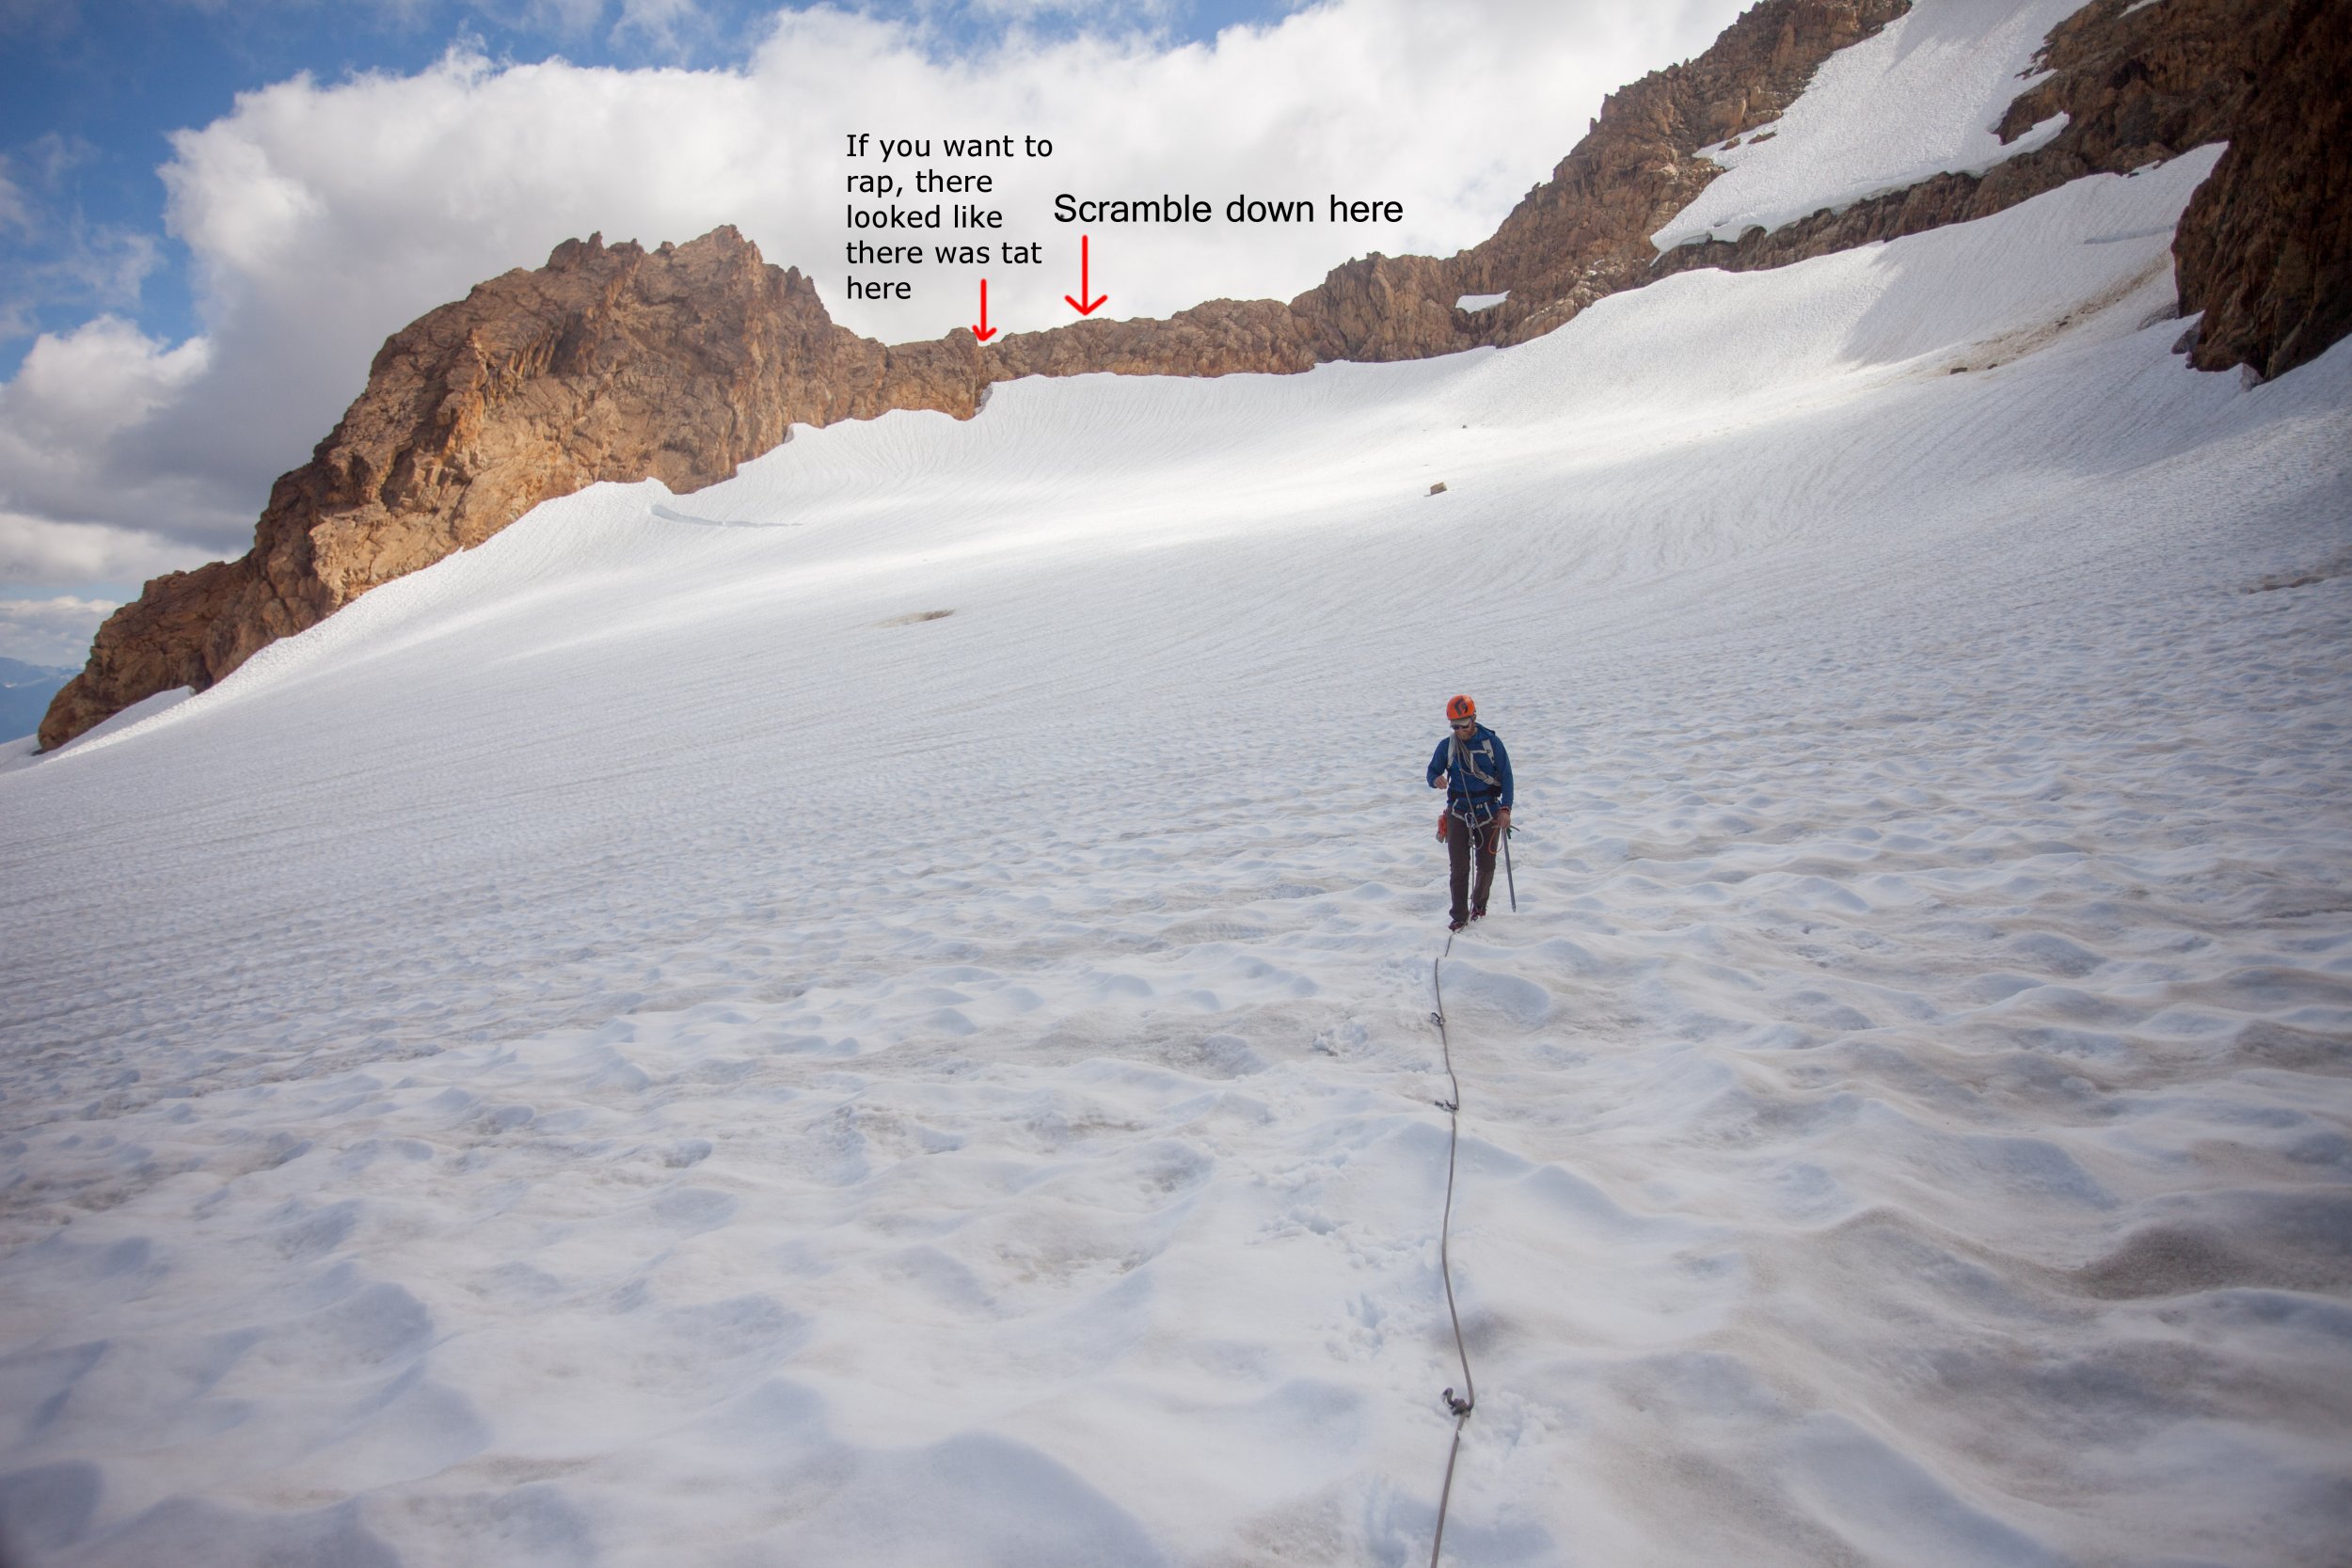
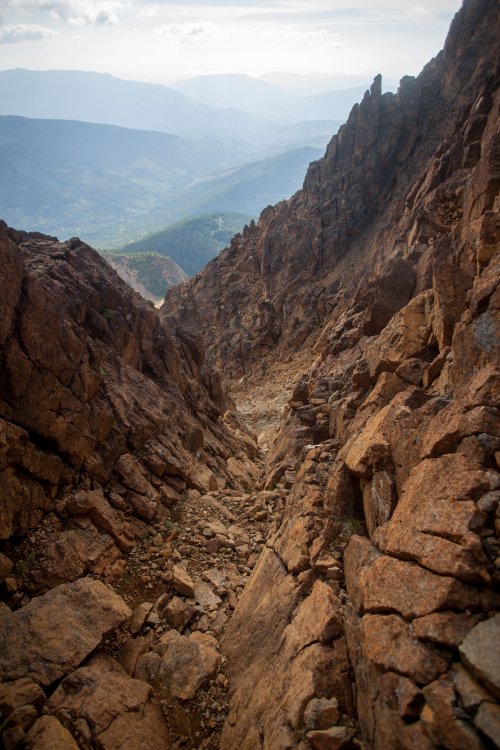
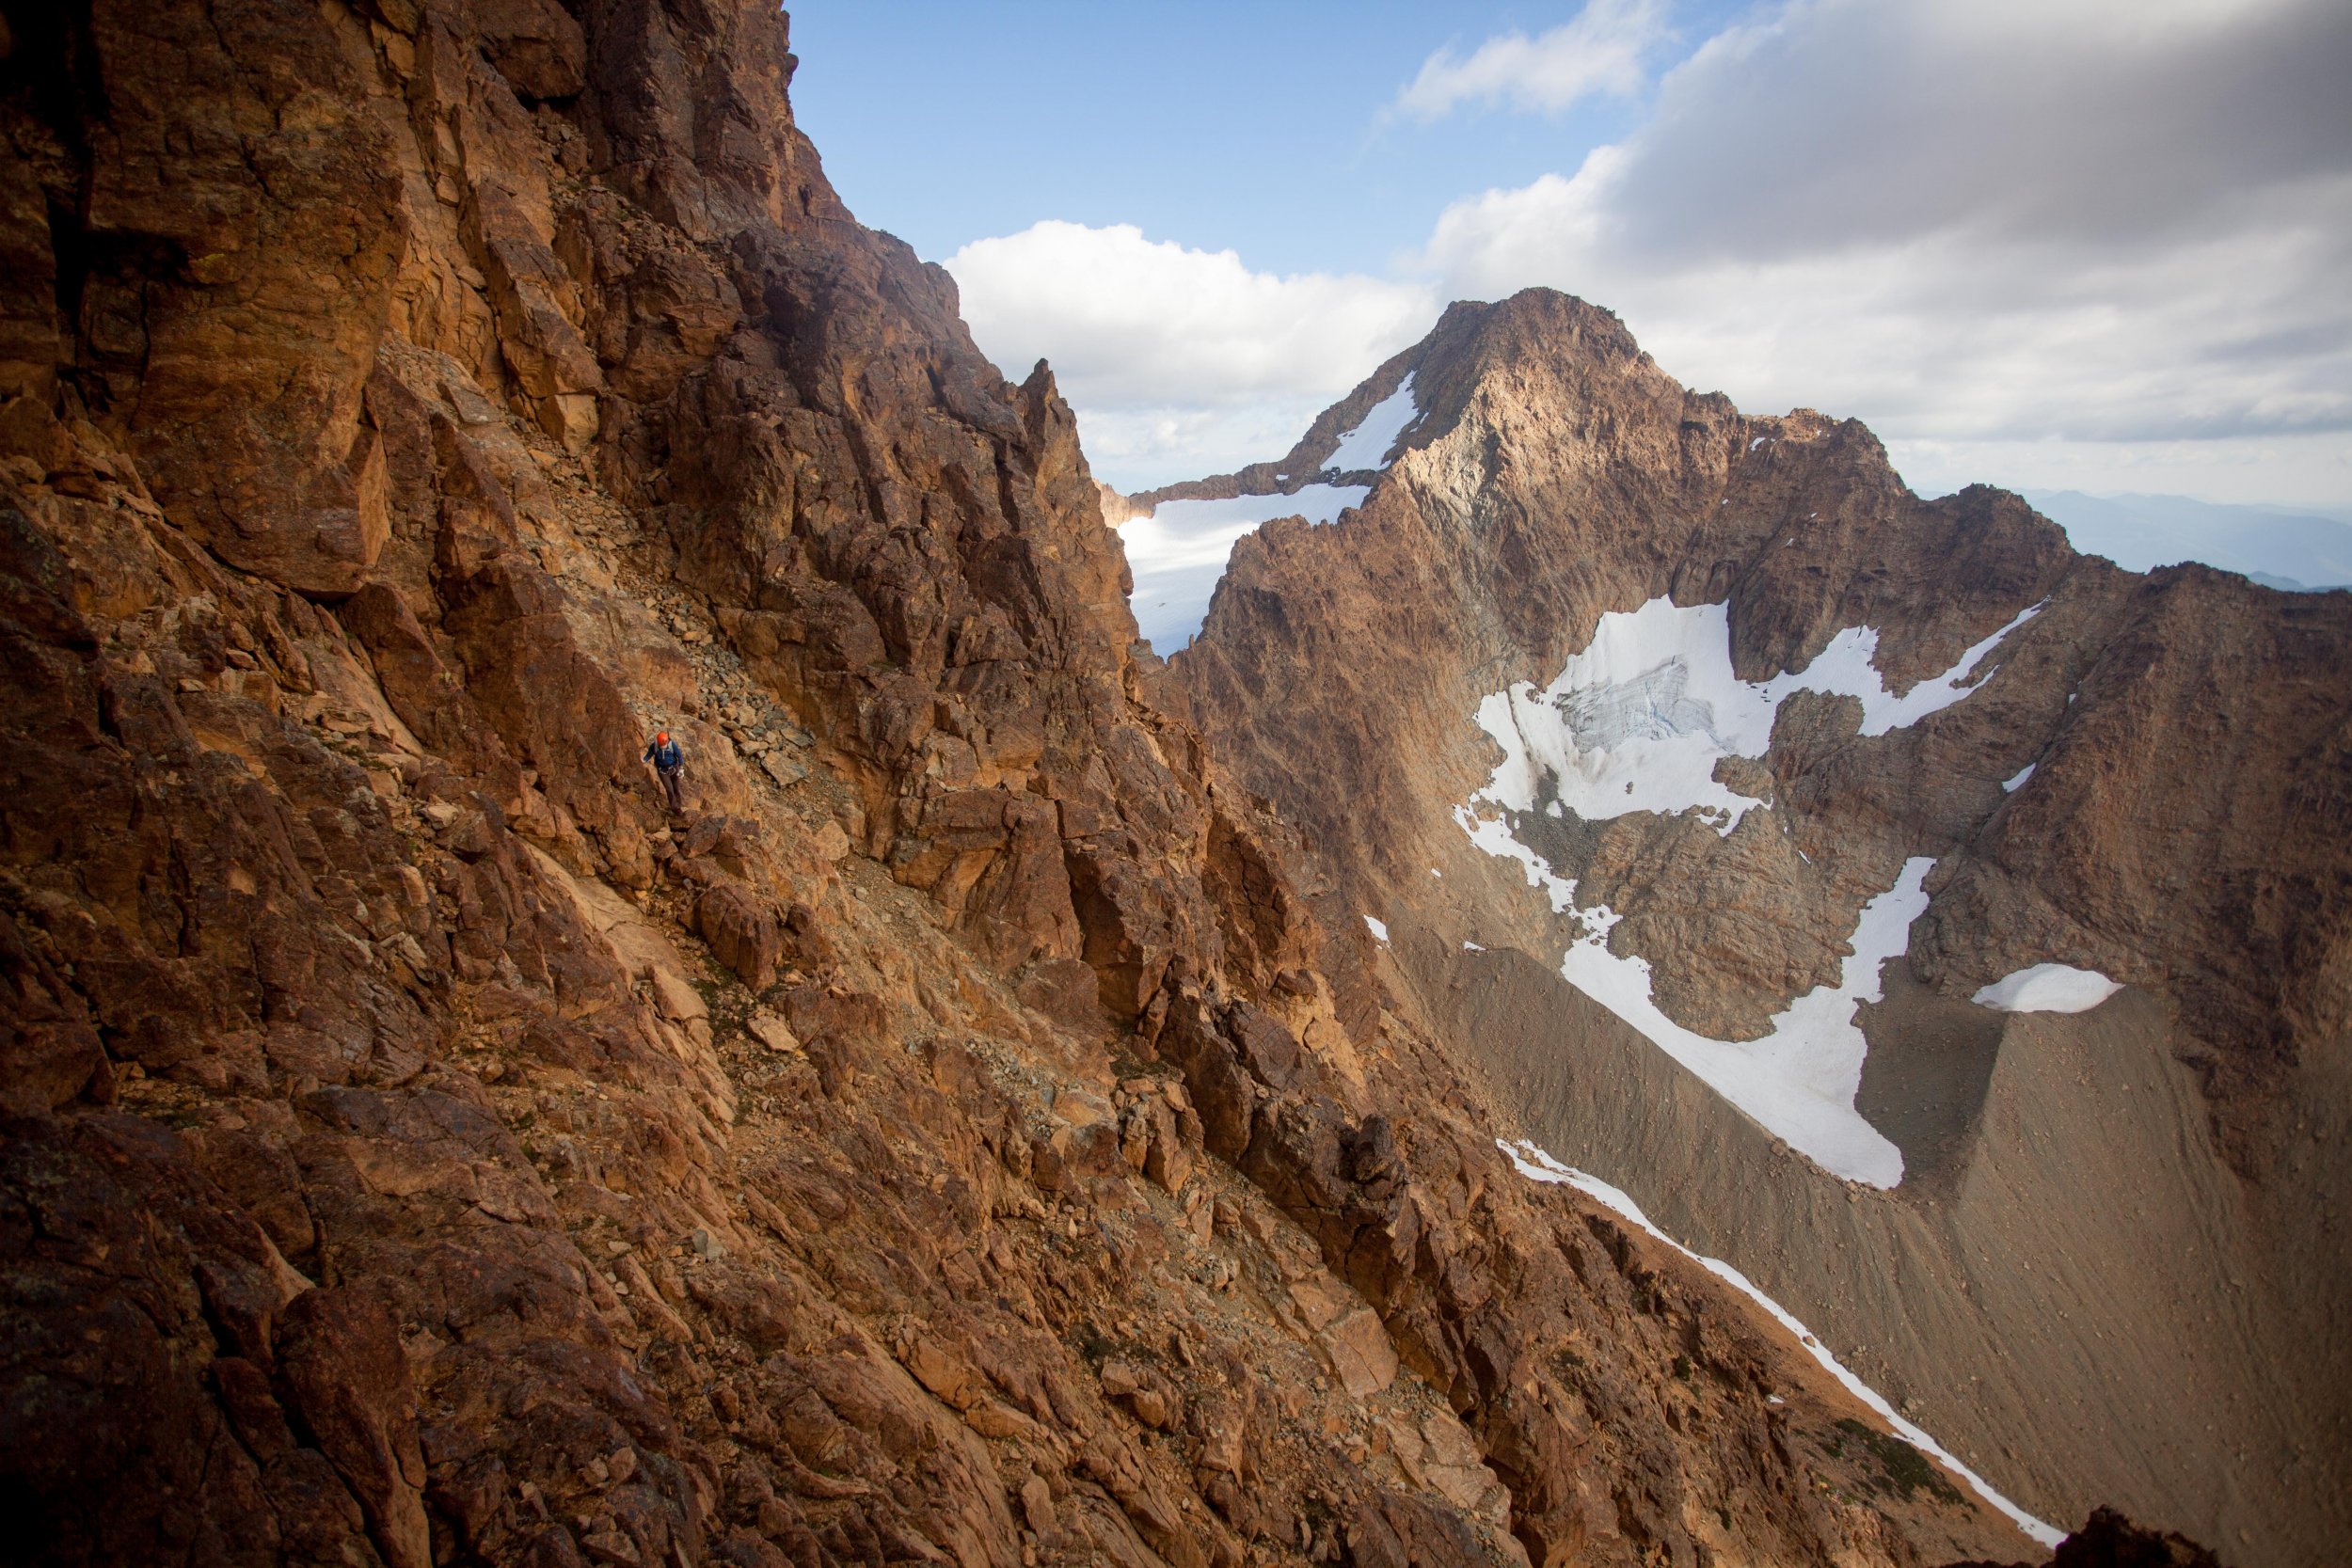
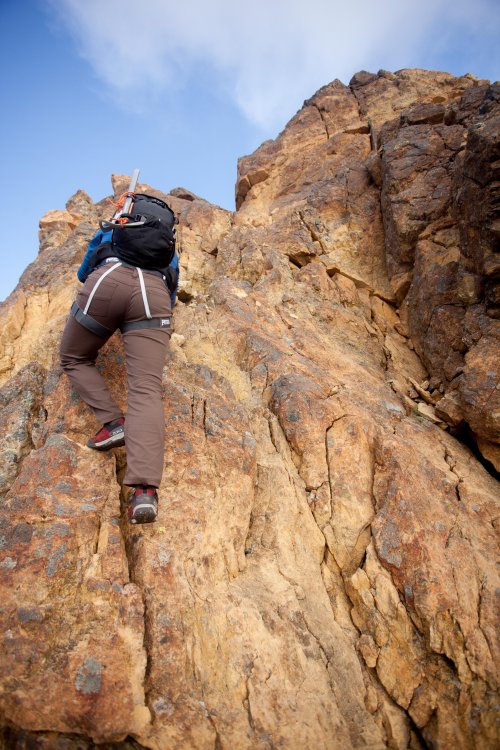
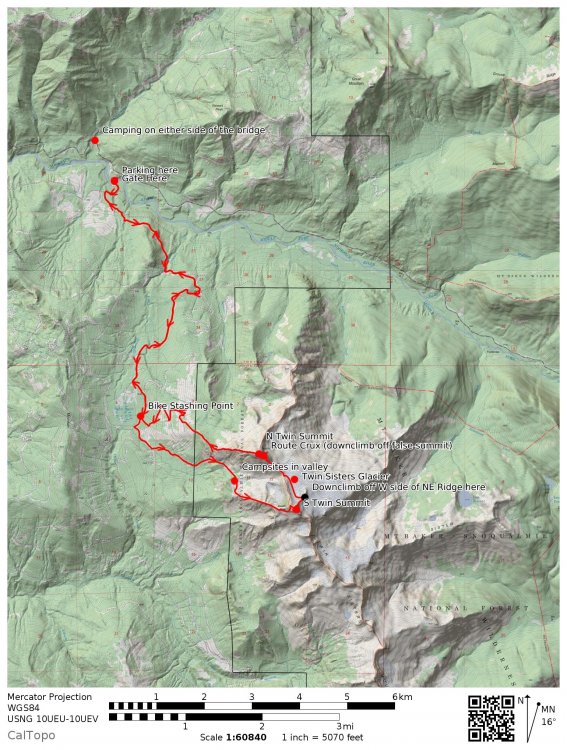
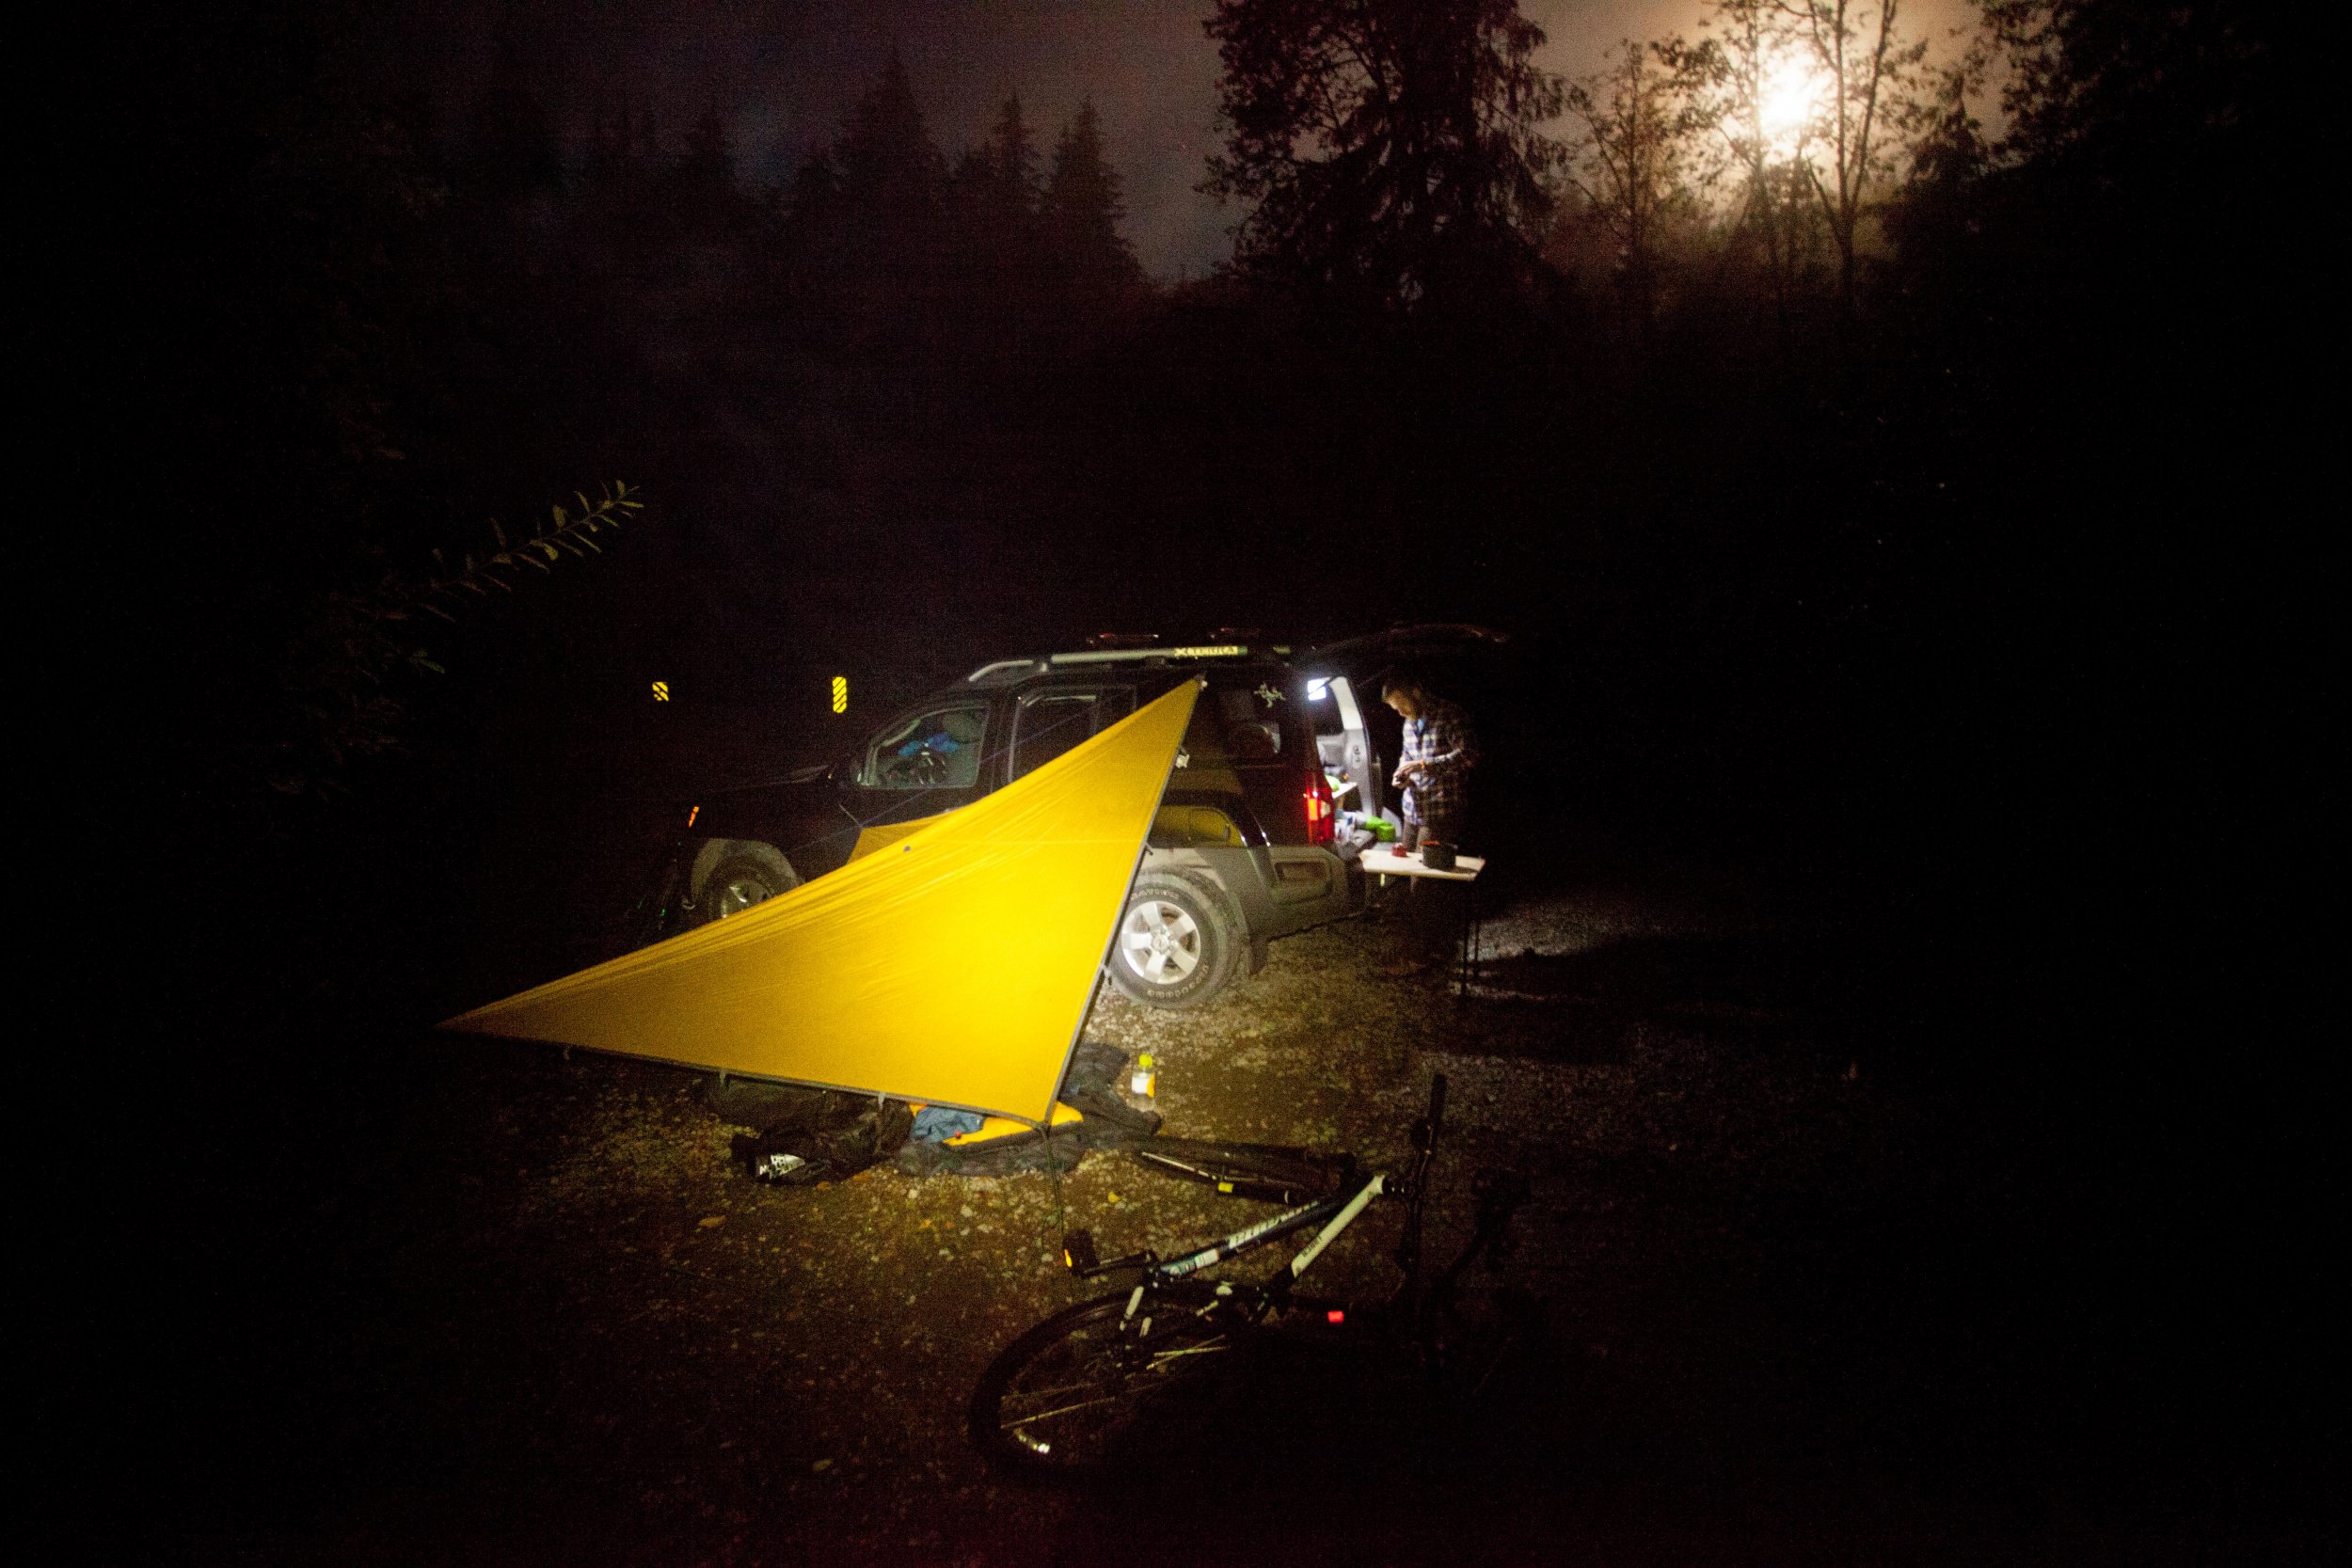
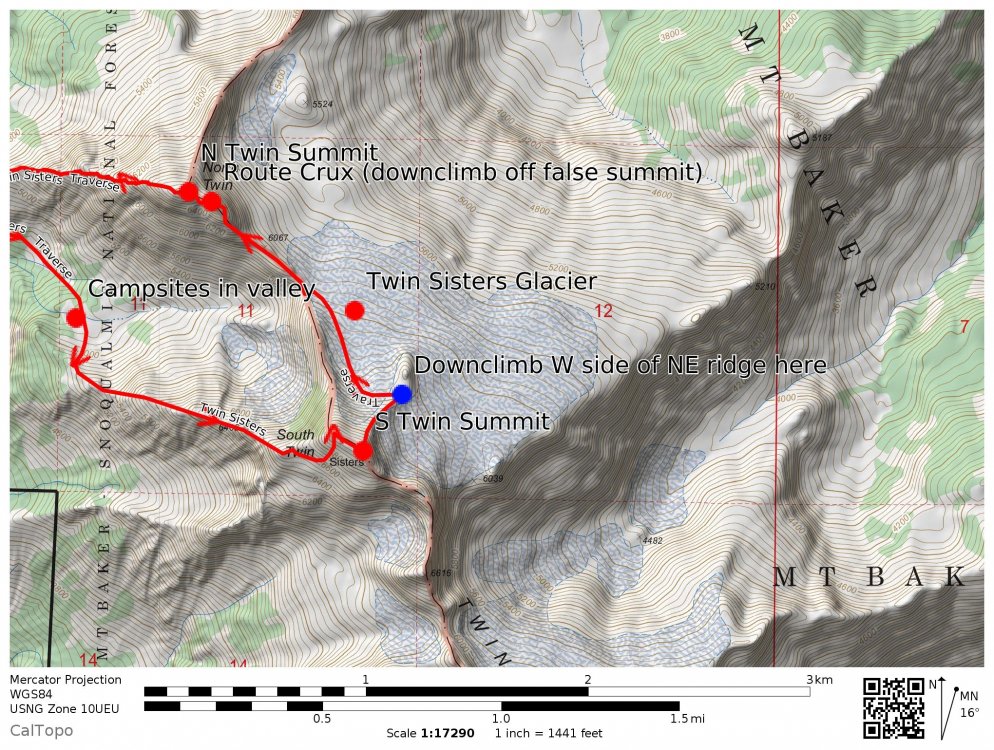
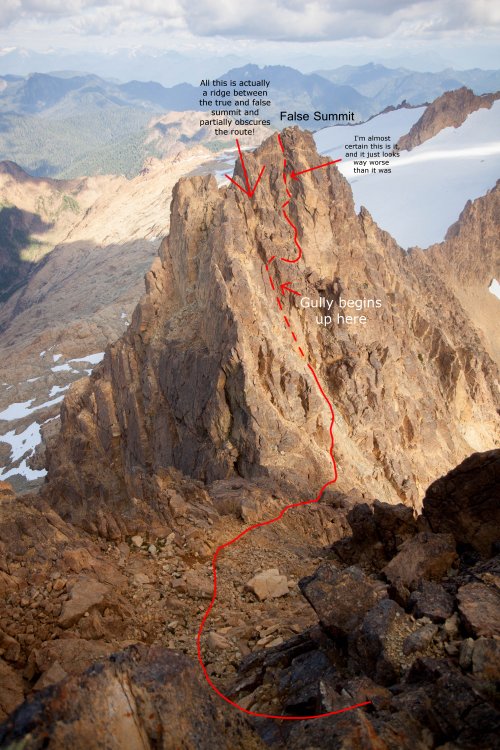
Trip: Twin Sisters - Twin Sisters Traverse Trip Date: 08/27/2018 Trip Report: Hey all, I've been reading trip reports on CC forever and wanted to submit my first! My climbing partner and I traversed the Twin Sisters on 8/27/18 after being inspired by kuhar's incredible trip report a few weeks ago. If you're gearing up for this traverse and haven't read it, it's definitely worth the time. Since his report is so comprehensive, I'll only go into detail to describe where we used a different route or where I think his could use a little more detail. But I took a bunch of photos, so it'll mostly be a photo story. Overview Here's our route from the summit of N Twin. This is drawn as accurately as I can! and here are some maps: And with more detail: GPX here - Twin_Sisters_Traverse.gpx. To be clear, I used kuhar's gpx as a base, then drew our route in on Caltopo. Gear - gravel bike (for me) and mountain bike (for my partner) - essential - 35 meter rope - if we hadn't roped up for the glacier, we wouldn't have needed this at all - good approach shoes - essential! - harnesses + basic belay/crevasse rescue gear + rap tat - ice axes - essential - crampons - essential - helmets - essential - capacity to carry at least 3 liters - there's no liquid water on the route after you leave the stream below the camping area in the valley, though there is plenty of snow on the glacier - gloves - the rock is incredibly rough and I spent the whole day in fingerless gloves with leather palms Ratings? These are hard because they're so dependent on your experience and head game, but here goes: W Ridge of S Twin - 3rd class with short sections of 4th NE Ridge of S Twin - 3rd and unexposed 4th class SE Ridge of N Twin - 3rd to 5.5ish, depending on your route W Ridge of N Twin - 3rd class, though you could make it harder if you wanted to Rough Distances based on the Caltopo: 6 miles biking to the stash point 1.6 miles hiking to the W Ridge of S Twin 1 mile on the W Ridge of S Twin .2 miles on the NE Ridge of S Twin .4 miles on the glacier .4 miles on the SE Ridge of N Twin .6 miles on the W Ridge of N Twin 1.7 miles hiking back to the stash point 6 fast miles biking down Total Time: 5:30 am to 7:52 pm - 14:22 hrs Trip Report The stars are out and the moon is up, time to go! We headed up Sunday night, and crashed by the gate for a few hours in the misting rain. Overnight, the skies cleared and by 5:30 am we were headed out under clear skies. The gate was open in the morning, and we thought about driving in, but it was closed when we got back to the car, so we're ultimately glad we didn't try it. First views of N Twin from the road - The approach took us 1:30. The road was in great condition but just steep enough to be consistently exhausting. And with the pre-dawn start came lots of wet underbrush. We got soaked, and I spent the rest of the day in slowly drying shoes. The trail can be somewhat hard to follow but just keep an eye out for the flagging and cairns and you'll stay on track. Here's the view from the approach to S Twin. Once you get up here, there are less cairns, but just head across the valley to the campsites and then up to the ridge. This is the last liquid water you'll find all day. There are some small tarns below the glacier (E of N Twin) but they're not easily accessible. We did pack our droms with snow from the glacier, which got us through the rest of the day. From the sites, we pushed straight up to the ridge ,then began scrambling. The olivine rock is just as grippy as everyone says! The W ridge of S Twin reminds me of the W ridge of Stuart (which I did just a few weeks ago). The route somewhat generally follows the ridge but constantly swings around to the south, where you traverse for a bit, then climb back to the ridge. The W ridge is generally 3rd class with a few heady moves that some might call 4th or 5th. It all depends on your scrambling comfort level though - it wasn't as heady as the W Ridge of Stuart. Obligatory summit shot looking over Baker, except Baker won't cooperate... Is this why it's called olivine? We descended the NE Ridge of S Twin because it didn't look too bad (bottom left of this picture), and let us cut some distance off our glacier crossing. This descent was pretty good - while it constantly looked like it would cliff out, we always found a good route down. Maybe a few moves of 5th class? but it all felt reasonable. This was more or less what it looked like, with some exposure but not as much as the next ridge. Extra-credit downclimbing! We didn't need to rap off the NE Ridge - we found an easy 3rd class scramble on the W side of the ridge down to the glacier, where there wasn't even much of a moat. I can't say for certain, but I don't think you'd need a rope for this descent unless it was a significantly lower snow year? I was expecting a lot more crevasses, but we only saw four or five, and only passed one. If you're more confident on glaciers than I am, you might not even need a rope on here. Here's a view back towards the NE Ridge. The downclimb is pretty obvious - if you've managed to get here, you'll find it, but I also marked it on the map. Once you're on the glacier, just aim for the notch on the left side and head straight there (avoiding the one obvious crevasse). The snow was harder than I was expecting, despite the warm sunny weather. The SE ridge was (as reported by kuhar) the hardest of the whole trip, with a lot of notches and spires. When in doubt, swing climber's left when you get stuck. The rock quality wasn't horrendous, but was noticeably looser than the other ridges. And there's definitely some 5th class on this ridge, though I soloed all of it. I did throw my partner a handline once. Once you get up to the false summit, it gets trickier. Here's my partner in the small notch on the false summit. He's not stoked about the next few moves, but it looks worse than it is... Downclimbing off the false summit. This view is from the summit of N Twin, but there's a ridge between the false and true summit, so this obscures parts of the route... The crux of the entire day was the descent off the false summit of N Twin. Basically you top out the false summit, find the small notch a few feet to the north of the top, and then scramble down a heady section before swinging skier's right into a loose gully. Send people down this one at a time - no matter how careful we were, we sent a lot of choss down below us. Then swing right under a finned (if you look back at it) buttress. Take a breather, then push up to the summit. Looking down the loose gully - it's really not too bad. Skirting around to the base of the true summit block. Once you're down the gully, everything gets better! Scramble up over broken rock to an easy dihedral, then up into a low-angle loose gully to the summit of N Twin! From here, head down the W Ridge! There are infinite options here and you can make it as easy or hard as you want. I generally stuck to the top of the ridge, which almost always worked out well. There are lot of cairns scattered all over, most of which weren't too helpful. If you've gotten here, you'll figure it all out - just keep going down along the ridge. Looking back up the ridge from near the finish After a long time, the ridge will peter out into a trail. It gets pretty tight at points, but just keep following the obvious boot path. The final mile or so is what I assume to be an overgrown forest service road. We ended up running down this section, trying to get out before sunset. Once we got back to our bikes, it took us 20 minutes to get down, and we could have gone faster, but Baker finally revealed herself and I had to take photos A fast downhill bike ride is the best way to finish up a long day! Thanks! Richard Gear Notes: See TR Approach Notes: See TR
- 1 reply
-
- 1
-

-
- twin sisters
- north twin
-
(and 2 more)
Tagged with:


