


Matt Kidd
-
Posts
256 -
Joined
-
Last visited
Content Type
Profiles
Forums
Events
Posts posted by Matt Kidd
-
-
Trip Report: Every published topo I have seen for this was off in some way compared to the actual experience of the climb. Here is my own take on it (based on observed conditions August 2002).
Approach via climbers trail stating from east end of concrete divider ~ 400m east of Zopkios Ridge parking lot/pullout.
Hike flagged trail to base of route - 20 minutes or so.
There are various ways to start - don't try directly up the lower corner as it blanks out and is hard (we saw a bumbling party try this and end up bailing). One way that works is to solo up corners (5.2) to the ledge and block below Reality Check start then traverse left to the bolt belay at p. 1 of Yak Crack.
P1 - make 5.7ish moves left from the belay up a flake to gain the hand crack on the front face of the flake (small pro). Climb 5.6 crack to a belay out right at a slung pinnacle on the arete. ~55m
p2 - climb crack to a slung block in a chimney. 5.6 60m rope stretcher. can split this pitch in two at a slung tree half way up.
p3 - climb crack to top of pinnacle (Lunch Ledge), belay 10 feet higher at bolts. 25m 5.6
p4 - climb sometimes crumbly rock left at first, then up and right (some pro behind flakes and a fixed piton) to a bolted stance. 35 m 5.7. can link 3& 4 with 60m rope and long slings on gear to avoid rope zigzags.
p5 - an obvious vertical wall can be climbed via a corner on the left side (5.8) or a series of face holds to a vague hairline crack on the right (5.8+) then follow cracks and ramps up and right to a two-piton belay (back up with cams) 50m
p6 - move right from belay and climb a left facing 5.8 corner for about 10m then step right around arete at big hold (can also step right of corner at bottom but you miss out on the cool layback). climb up flakes, pass tree, up to two overlaps at a roofy feature. place gear then move thru overlaps into crumbly, easy groove, climb to bolt belay c. 55m 5.8+ (junction of Yak Crack and Reality Check)
p7 - You are now leaving Yak Crack for Reality Check. Climb up 5m from the belay on rock resembling oatmeal, then move left on a solid horizontal dyke until you encounter many flakes. undercling left, then up at end of first flake, climb more flakes to highest undercling at roof. move left (5.9) awkward under roof, to corner "Cave". there is a possible belay here under roof on a fixed nut and piton. HOWEVER, despite topos, it is best to go right here on to the arete of the cave and climb up about 10m (5.9 face) to a big ledge with bolted belay on the right. this avoids the spelunking tunnel thru the flake done on the FA which is awkward with a pack on, and avoids belaying on sketchy fixed pin and nut tied off with a single webbing chunk. ~50m 5.9
p8 - traverse ledge (top of through-flake) to a bolt belay on left. 30m 3rd class.
p9 - climb flake and ramp up and right for a pitch ~40m 5.8
p10 - supposedly one of the two 10a pitches. face climb up 3m to a bolt, move up and right 3m to another bolt, then back left and up 5m to a corner (bolt on left arete) climb right of the corner up the face on dishes and flakes then move up and right on a nebulous line past more boltsd and gear under flakes to a bolted belay on a small right facing corner/ramp (cant see belay until 5m below it). ~45m, easy 5.9 face, total of 5 bolts on the pitch plus gear
p11- climb up flake above belay and either climb directly where it goes right, or move left and up good cracks on the face, to a ledge. above this is a low angle slab with 3 bolts. originally graded 9/10a by the FA party, subsequent ascents have cleaned holds on the slab of lichen making it more secure - now feels like an 5.8/9. belay at bolted stance on ledge above. ~40m 5.8/9 this is where you would rap from if you planned on rappelling.
p12 - 4th class up low angle slab (no pro) for full pitch to trees above. 45m 4th class. Can escape into trees lower down if you want to.
From here, hike and scramble up towards the top, pass the subsummit on the right side on a good ledge (exposed) - see below:
put on your shoes and walk down - faster than rappelling and you do not have to trust rusty bolts and bleached out webbing. Takes c. 1 hr to descend climbers descent trail to the base. Follow cairns up to a ledge on E side of S. peak, then easily down to saddle with main peak. A seasonal snow patch at the saddle between main and south peak can be tricky to descend in approach shoes and with no ice axe. It is possible to rappel over this snow patch off a slung boulder. Descend east into meadows and follow trail down through forest and granite slabs, where trail becomes vague, cut left to base of Yaks SE face and descend edge of face to base, then hike back 10m west to pick up approach trail.
Our time to do this route was 6 hrs climbing and 8 hrs car to car. We were a pretty experienced party (I was with Don Serl who had done just about every route on the face already...) but I've heard of parties doing the route in 4 hrs. On the other hand there is evidence in the form of cleared pads and fire rings of people having to bivi, so... be prepared for changing weather conditions and take a headlamp.
The technical grades on this climb are pretty soft, in my opinion. There is nothing as hard as, say, the roof traverse on Snake (Squamish Apron), or the crux polished slab of Sparrow (also on the Apron). There are about 4 pitches that have short sections that feel like hard 5.8 or easy 5.9 climbing. About 2-3 more pitches are easy 5.8 and the rest are 5.6/5.7
Gear wise, having doubles of the cam sizes from #0.5-1.5 Friend (= yellow, orange and red TCU) is important. The biggest cracks are fist size, and there are some thin flake cracks, so gear from purple TCU up to #3 Camalot or 3.5 Friend is used. Take one set of wires, maybe a few Tri Cams will help. Double ropes, 60m is best, you could get away with 55m.
-
Trip: Yak Peak - Yak Check
Date: 7/10/2010
Trip Report:
Fun day on Yak Check today. Got at it early so we didn't roast. Props to Mr. Brayshaw for opinionated route description on Bivouac. Kept us on route for the most part and sans-spelunking.
Will throw in a couple pics in a bit.
Gear Notes:
Standard rack.
Approach Notes:
Well flagged trail.
-
Actually that's exactly what I had sewn on my pack. It's not bad, but if I were doing it over I would probably do the slot. When your pack is really full you have to really stuff the tools in, and I wouldn't want to make it more loose for all the time that they aren't on my pack at all. Works though, and I couldn't get the slot sewn on my pack because the crampon pouch comes to low.
-
Anyone have an opinion on tool holsters (with buckles) vs traditional ice axe loops? (Remember, I want to be able to haul all my packs without too much trouble ie. stuff breaking or getting caught on ledges/trees, etc.)
Probably the traditional loops are less likely to get damaged while hauling, but if you have curved tools like Nomics you'd like to carry on the outside of your pack the trad loops won't work for you... Those straight tool slots with buckles on the bottom never seemed that sensible to me - extra material and no versatility IMHO. Better the slot in the center that catches the picks with the buckles to pin them in. At least they can carry any tool and are low profile... Dane has a CCW pack with this system, pic?
-
How did Nemesis look?
-
Seems like everyone is taking this a bit seriously.

Myself, I enjoy reading a review whether I trust the reviewer's opinion or not because they might have thought about some manner of usage or gear combination or alteration that I haven't. It is, after all, up to us to decide what works for us on any given trip (as was mentioned above). One review might be more useful than another for me depending upon what I can take from their insights, but generally they all get me thinking about what gear will be good for me.
I know when I started climbing I bought loads of gear, and a good percentage of it was crap and ultimately went unused. Now when I buy a peice of kit it almost always sees consistent usage and I almost always like it. That of course is because I have gotten out there and figured out what works for me and what doesn't, and learned what I can and cannot buy before I have tried out the kit for myself. I think it is fair to say that an experienced and discerning climber can figure out what are generaly effective features for gear and what aren't. I also think that it should be pointed out that Dane has been reviewing belay jackets here, not ice tools. I would read a review casually of ice tools when the reviewer hadn't placed them, but would take any conclusions with a large grain of salt. I will take more from a review on jackets because the utility of the peice if mostly obvious (put each side by side and compare cut, cuff, zipper, hood, pockets, etc), though without usage fabric innovations and such things and can't be evaluated.
It's funny, having just gotten back form a trip with a pile of new clothes and new crampons, I loved the clothing system I put together for myself, and was dissatisfied with the crampons. And I think if I'd looked harder at the crampons I would have figured that out without even putting them on my boots. Fortunately they won't be a waste because I can change what I don't like about them, and even this mentality I have only in the last few years developed. That's why I read reviews.

-
The clearest picture I can get from this thread is that skill seems to matter more than equipment choice, because the highly skilled climbers are climbing stuff on a pretty broad variety of gear.
I guess I'll just try to get more skilled with the crampons that I have.
This vid the EastCoastBastard linked a while ago I think proves your point. We could all afford to work on our footwork I think.
-
Wow Dane, you've been typing up a storm! Looks good. Planning those 'pon alterations this week, I'll send you some pics...
-
Simond makes, or made, a metal racking doohickey:
http://www.backcountry.com/outdoorgear/Simond-Ice-Screw-Rack/SMD0022M.html
Interesting idea. Curious how it would sit on gear loops and how wide apart the biners are spaced. Seems like the gates shouldn't go as low as they do...
-
Think that weather is the crux as has been mentioned. Spoke with the Ranger who has worked there 20+ years and said that the vast majority of the successful summits come between the 6th and 20th of August. A really strong Canmore climber I was talking to said that the ledges scared the hell out of him, which is saying something. The mousetrap on the Robson Glacier side is apparently getting worse and worse. Looked like there might be a way the traverse it out but it looked convoluted.
-
-
Just saw his Echo Wall and E11 movies. Never seen so many huge falls on gear as on E11!

-
Not my type of humour for sure
 He had me onboard with the Daffy clip though.
 -
MEC makes some outstanding gear. Haven't seen the $62 piece and it may compare well to the R1 which retails for the silly price of $150!!! Even at the typical $90 on line sale price the R1 is no steal.
But I do like the style of pull over. MEC hoody is a must see. Thanks for the link Drew.
Got one myself, really happy with it.
-

WTF man. Whatever you think of the question that's a pretty fucked up thing to post.
-
Balfour Wall on the Parkway is a really good beginner area, too far from Canmore?
-
Canmore ACC can be a good place to hook up with people.
-
Nice! My first time ever roped up was on Kings Peak. Long time ago now that I think of it.
Nice views from up high around there, and an easy approach by Island standards... -
Nice lookin route Dane. Getting hungry for some Rockies ice? Sounds like from your upcoming spring adventure that some mixed wouldn't be a terrible idea.
Sending a PM.-Matt
-
Anasazis probably gone
-
Presumably this gear is with you in Australia and not here in Vancouver?
-
Ha - I rocked it right before I bought by Nomics and then they got relegated to the sidelines.
Looks like the Rages are sold. Thanks all for the interest.
Edelrid probably gone, Koflachs probably gone.
-
I'll give it a couple days but otherwise I'll post them for you. Would like to see them get used is all...
-
Various items to let go. Prefer local sale unless someone can teach me to use paypal.
Prices + shipping. If you are a poor student or something we can talk, but I am trying to finance my own gear expenditures... Responses via PM please. Thanks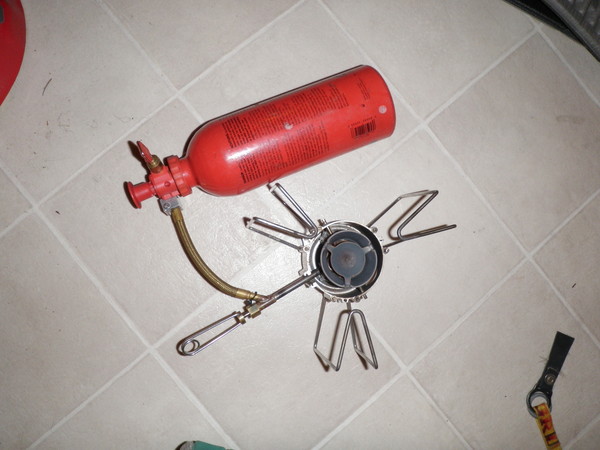
MSR Dragonfly, used but works perfectly. $50
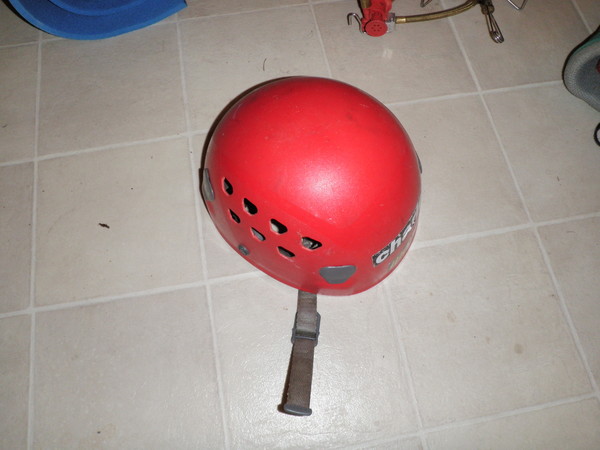
Ecrin - $35
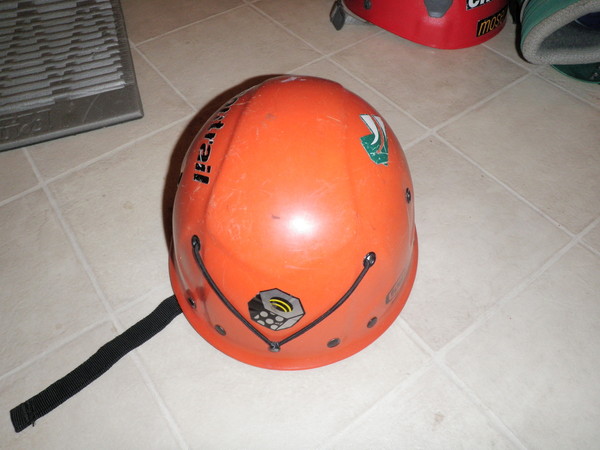
Edelrid - free but I won't ship it...
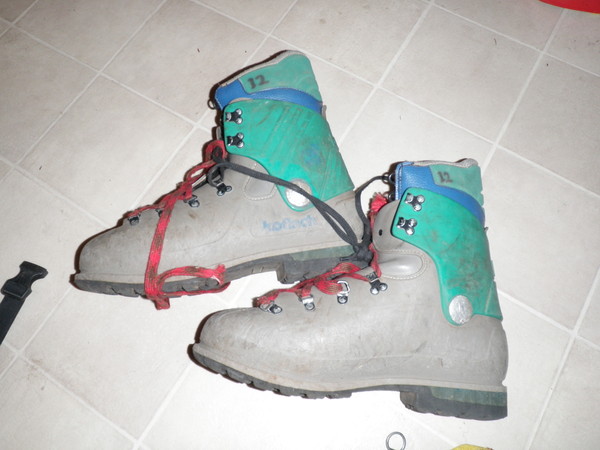
Koflach Plastics - size 12 Free but again you pick up
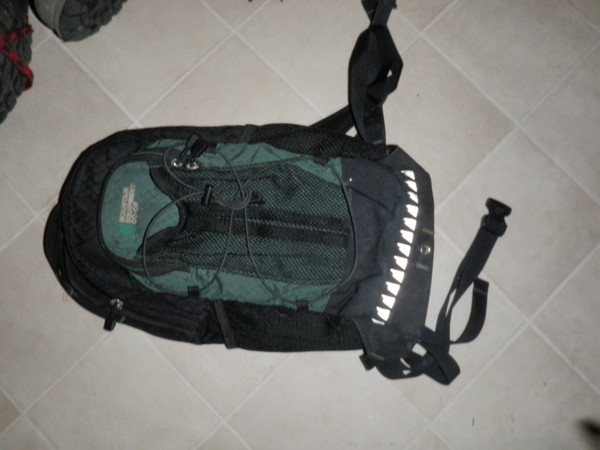
MEC Camelback sans bladder - Free to the poor or $10 +shipping to the rest of us
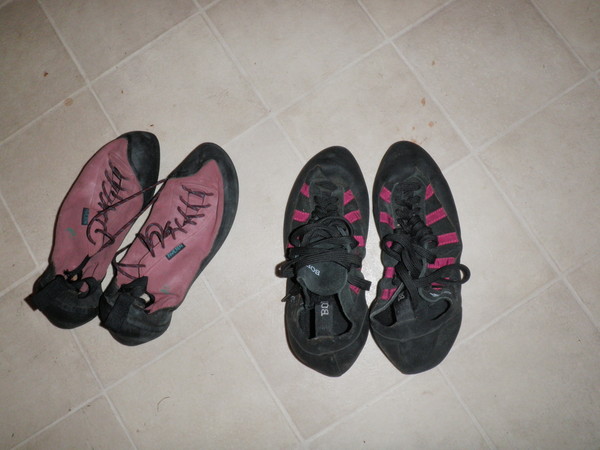
Anasazi lace ups seen very little climbing. size 46 $35
Boreal lasers - all day shoe for me at size 12, can't see actual size - $30
Ridgerest for $10 and a blue foam sleeping pad for free.
Also OR Supergaiters size XL near new save the closet dust. $25 Will haul them out and take a pic if necessary...
 :tup:
:tup:
[TR] Yak Peak - Yak Check 7/10/2010
in British Columbia/Canada
Posted
This is it because the photo uploading is being difficult.