JuanBelay
-
Posts
16 -
Joined
-
Last visited
-
Days Won
1
Content Type
Profiles
Forums
Events
Everything posted by JuanBelay
-
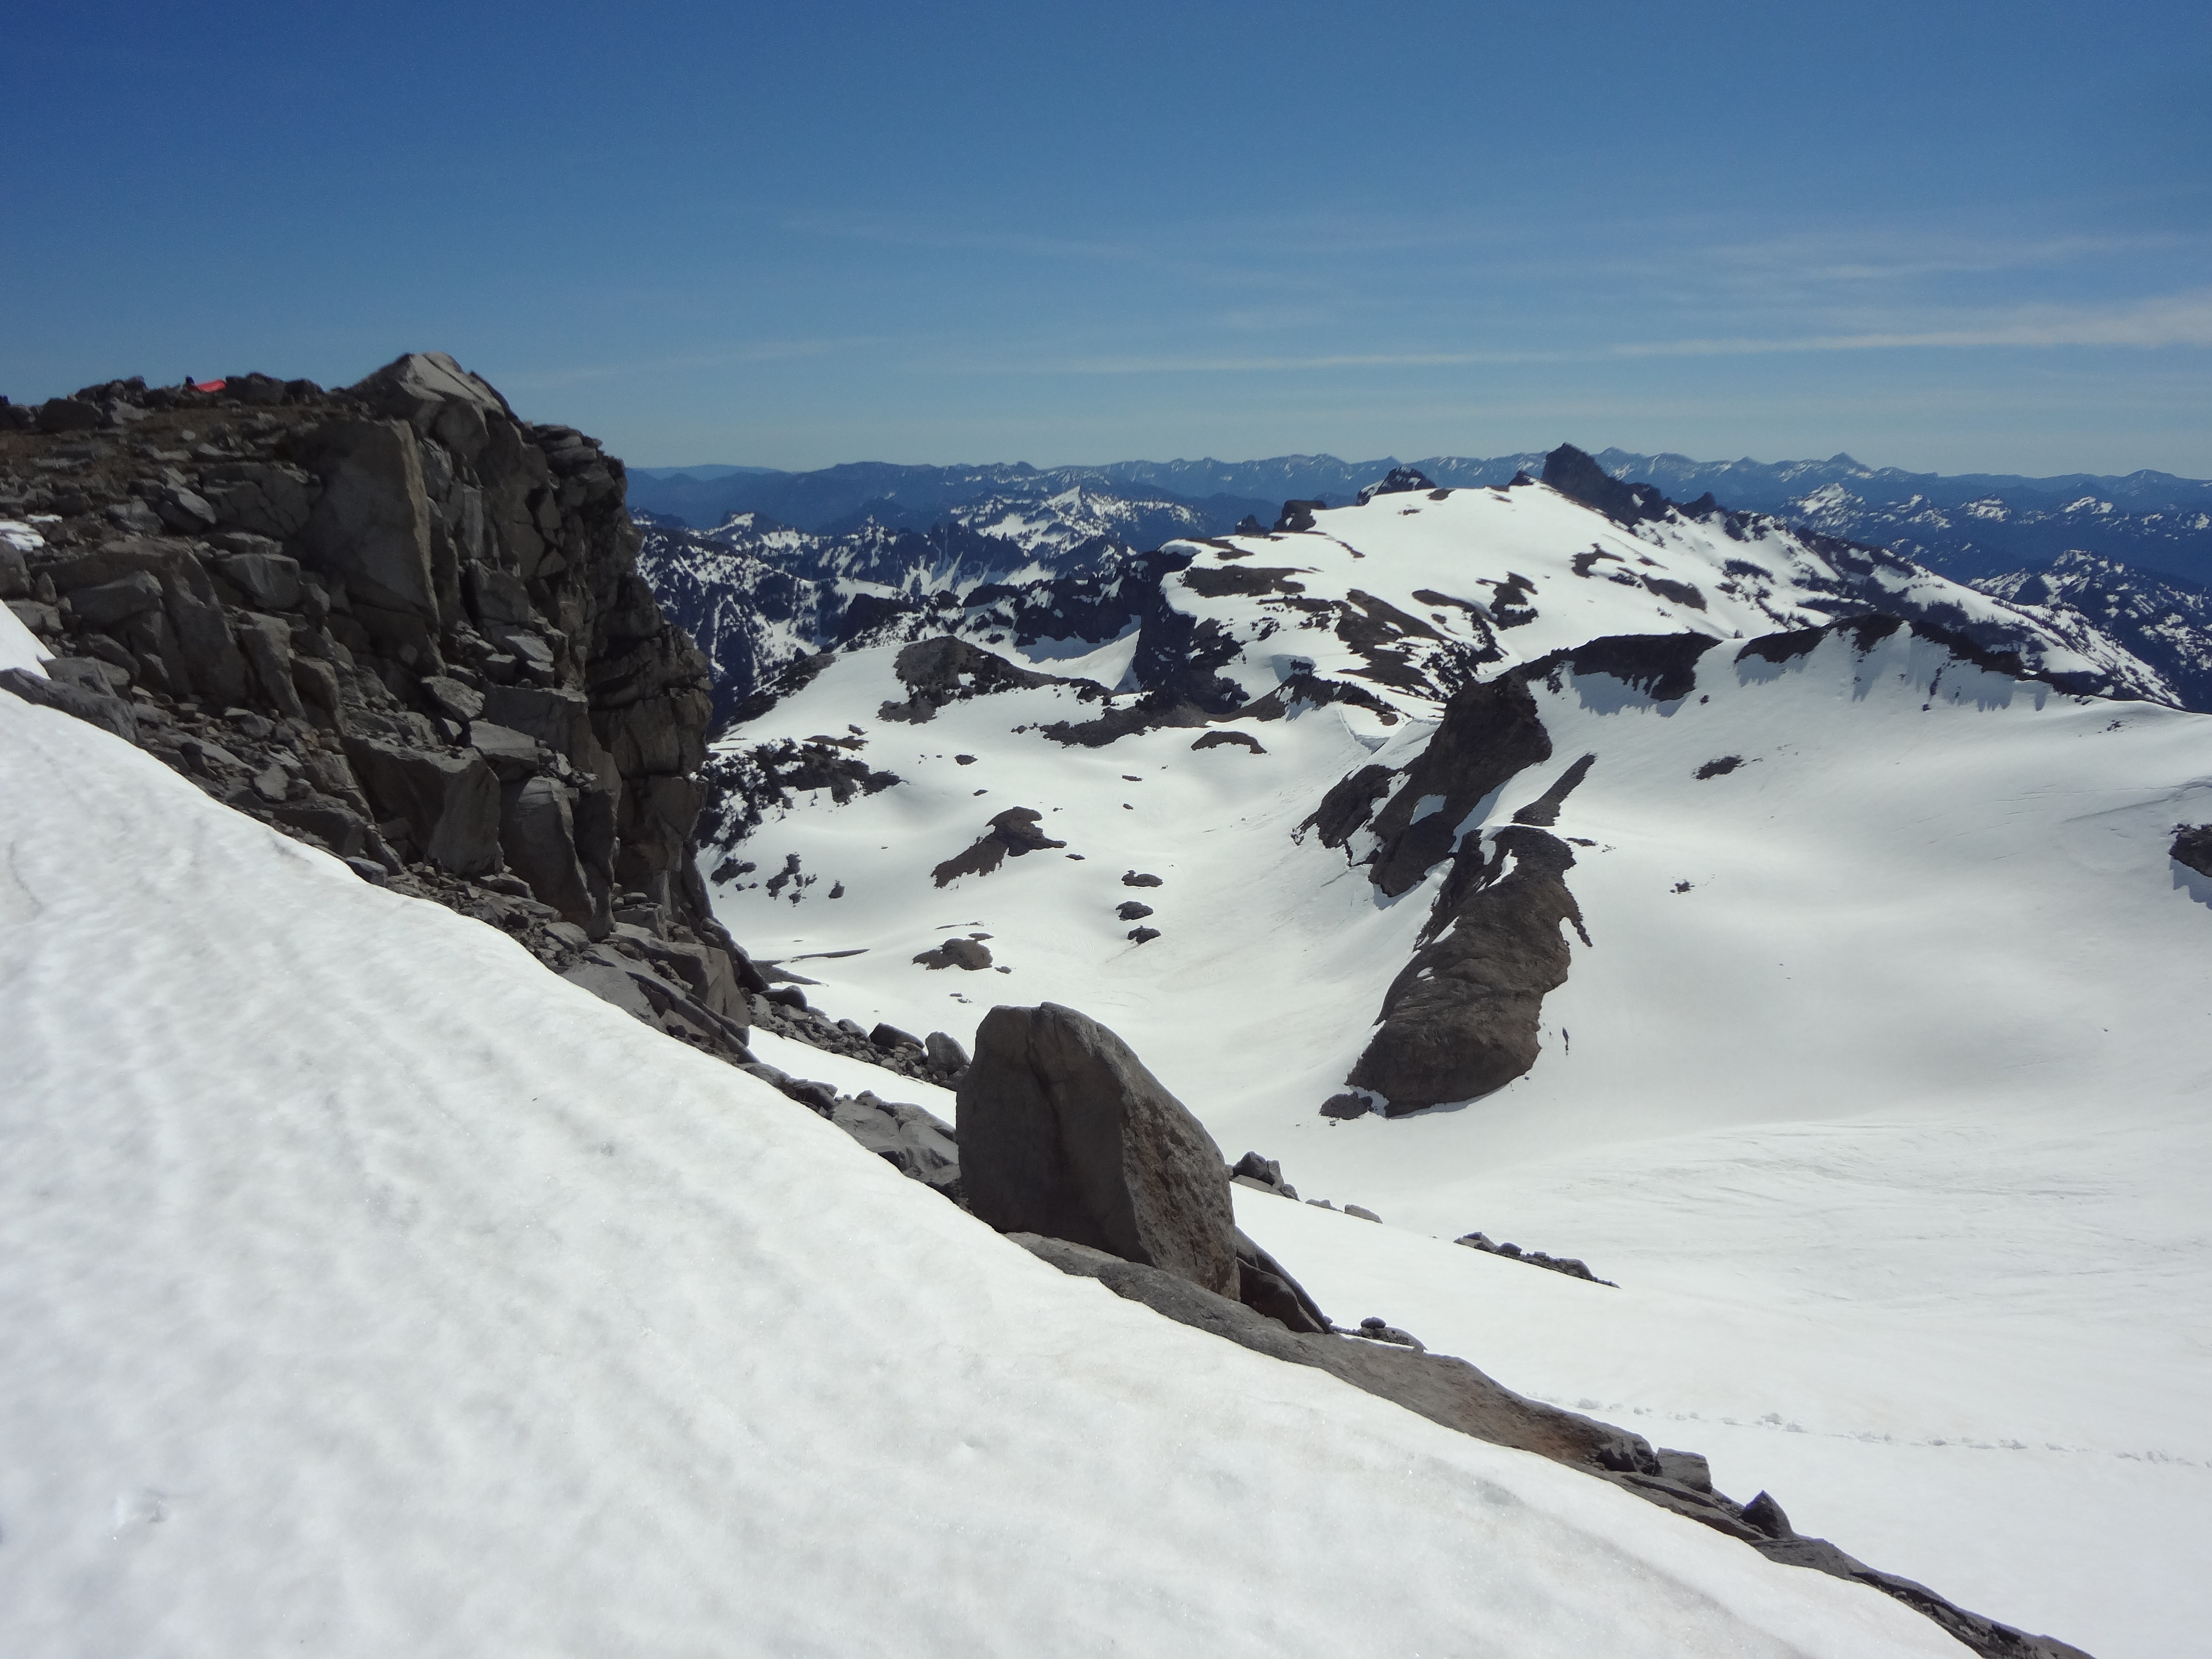
Trip: Cashmere - West Ridge Trip Date: 07/07/2018 Trip Report: Quick trip up Cashmere's West ridge on 7/7/18. Nice scramble with great views of the Wenatchee Mountains Start at the 8 mile trailhead. At about 2.2 miles, turn uphill towards Lake Caroline - junction is marked with a sign. Trail switches back through a burn loaded with wildflowers. At 5 miles you reach Lake Caroline. Continue around the right side of the Lake and then follow the trail up towards Windy Pass. At 6700 feet leave the trail and angle up and to climbers right toward the West Ridge. The spot to leave the trail is recognized by a large yellow boulder directly above. Angle across meadows to the 8000 foot level on the ridge to climber's right of the West Summit. Alternatively you can go to Windy Pass, but you'll save yourself about a mile of walking if you angle off. Run along the ridge to the prominent saddle at 8000 feet. You'll see a trail going up the ridge from the saddle if the ground is snow-free. Ascend to 8200 and then traverse left around the North side of the peak. Continue traversing to a gully (see my picture below of the gully to identify it - there are several that go up the North side), and then ascend the gully trending left to a notch at the true summit. Times were 4.25 hours to summit and 3 hours to return 2 hours to Lake Caroline 2.25 hours from Lake Caroline to summit. 17 miles round trip This is the gully you can ascend to avoid harder climbing on the ridge. Note the position of the rock tower above, it will help you identify the spot to go up. Gear Notes: Helmet for the scramble. Brought crampons and ice axe but they were not needed. Approach Notes: Approach is in great shape. Clear trail over easy terrain
-
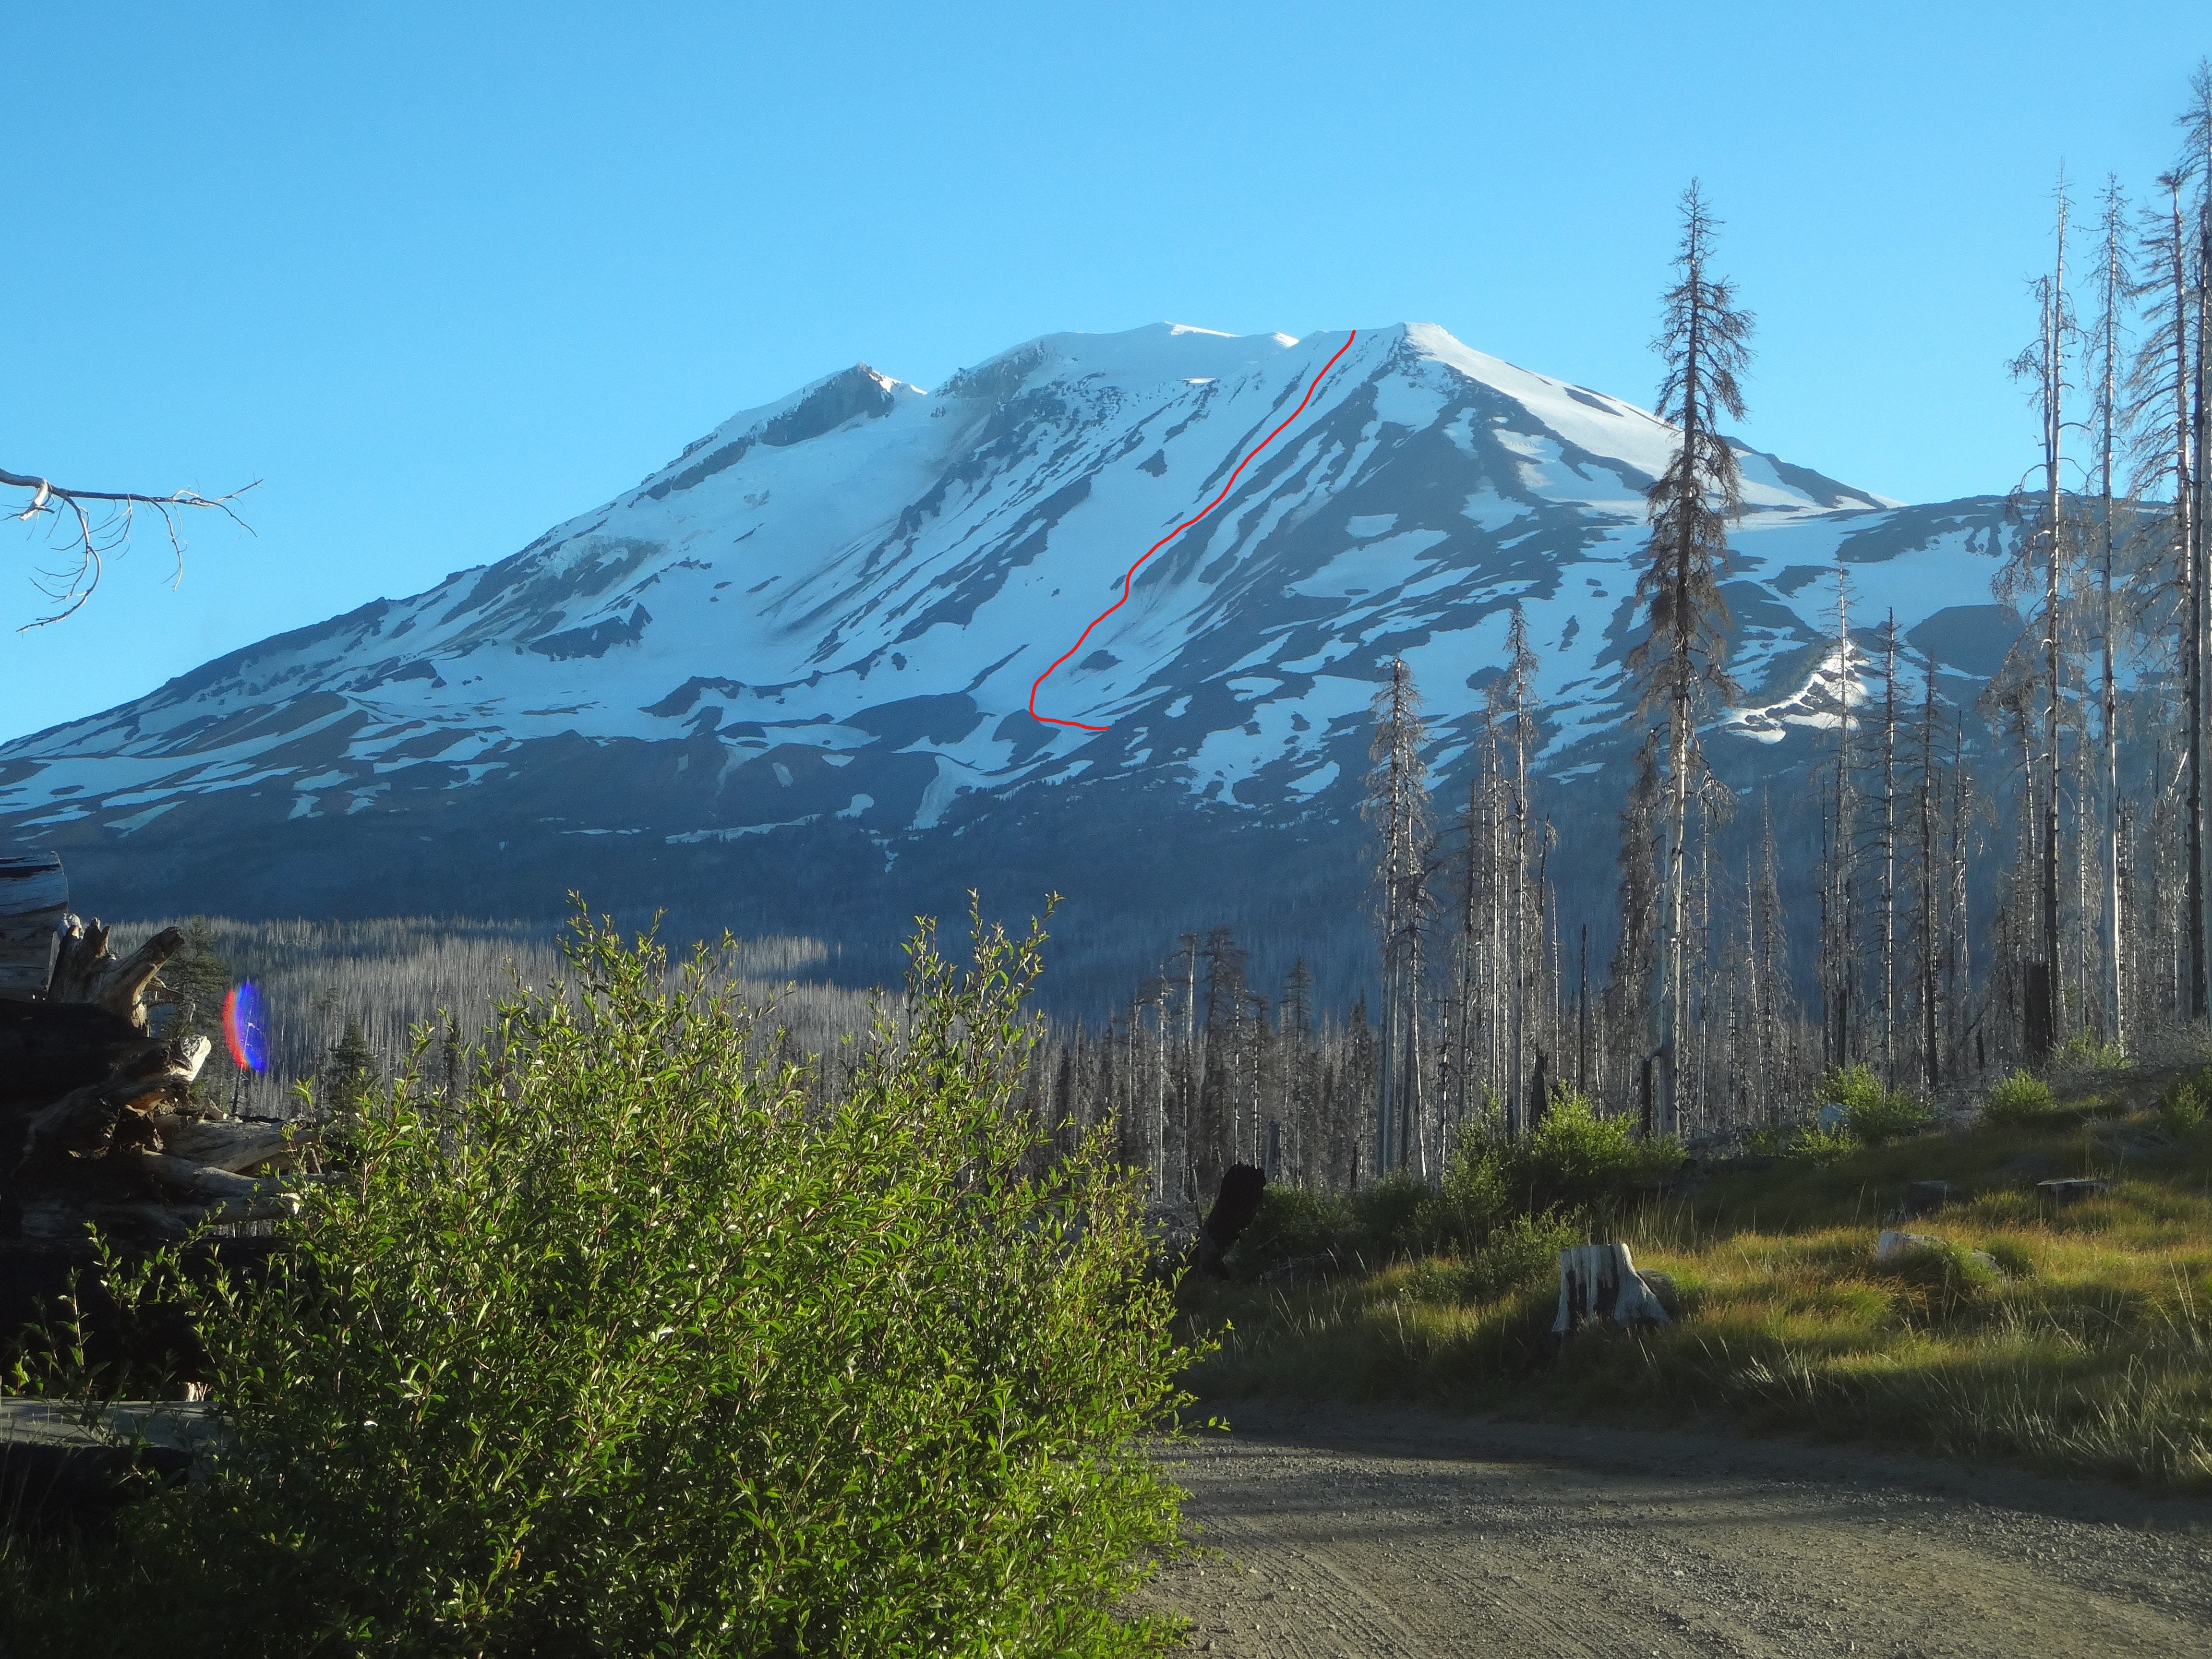
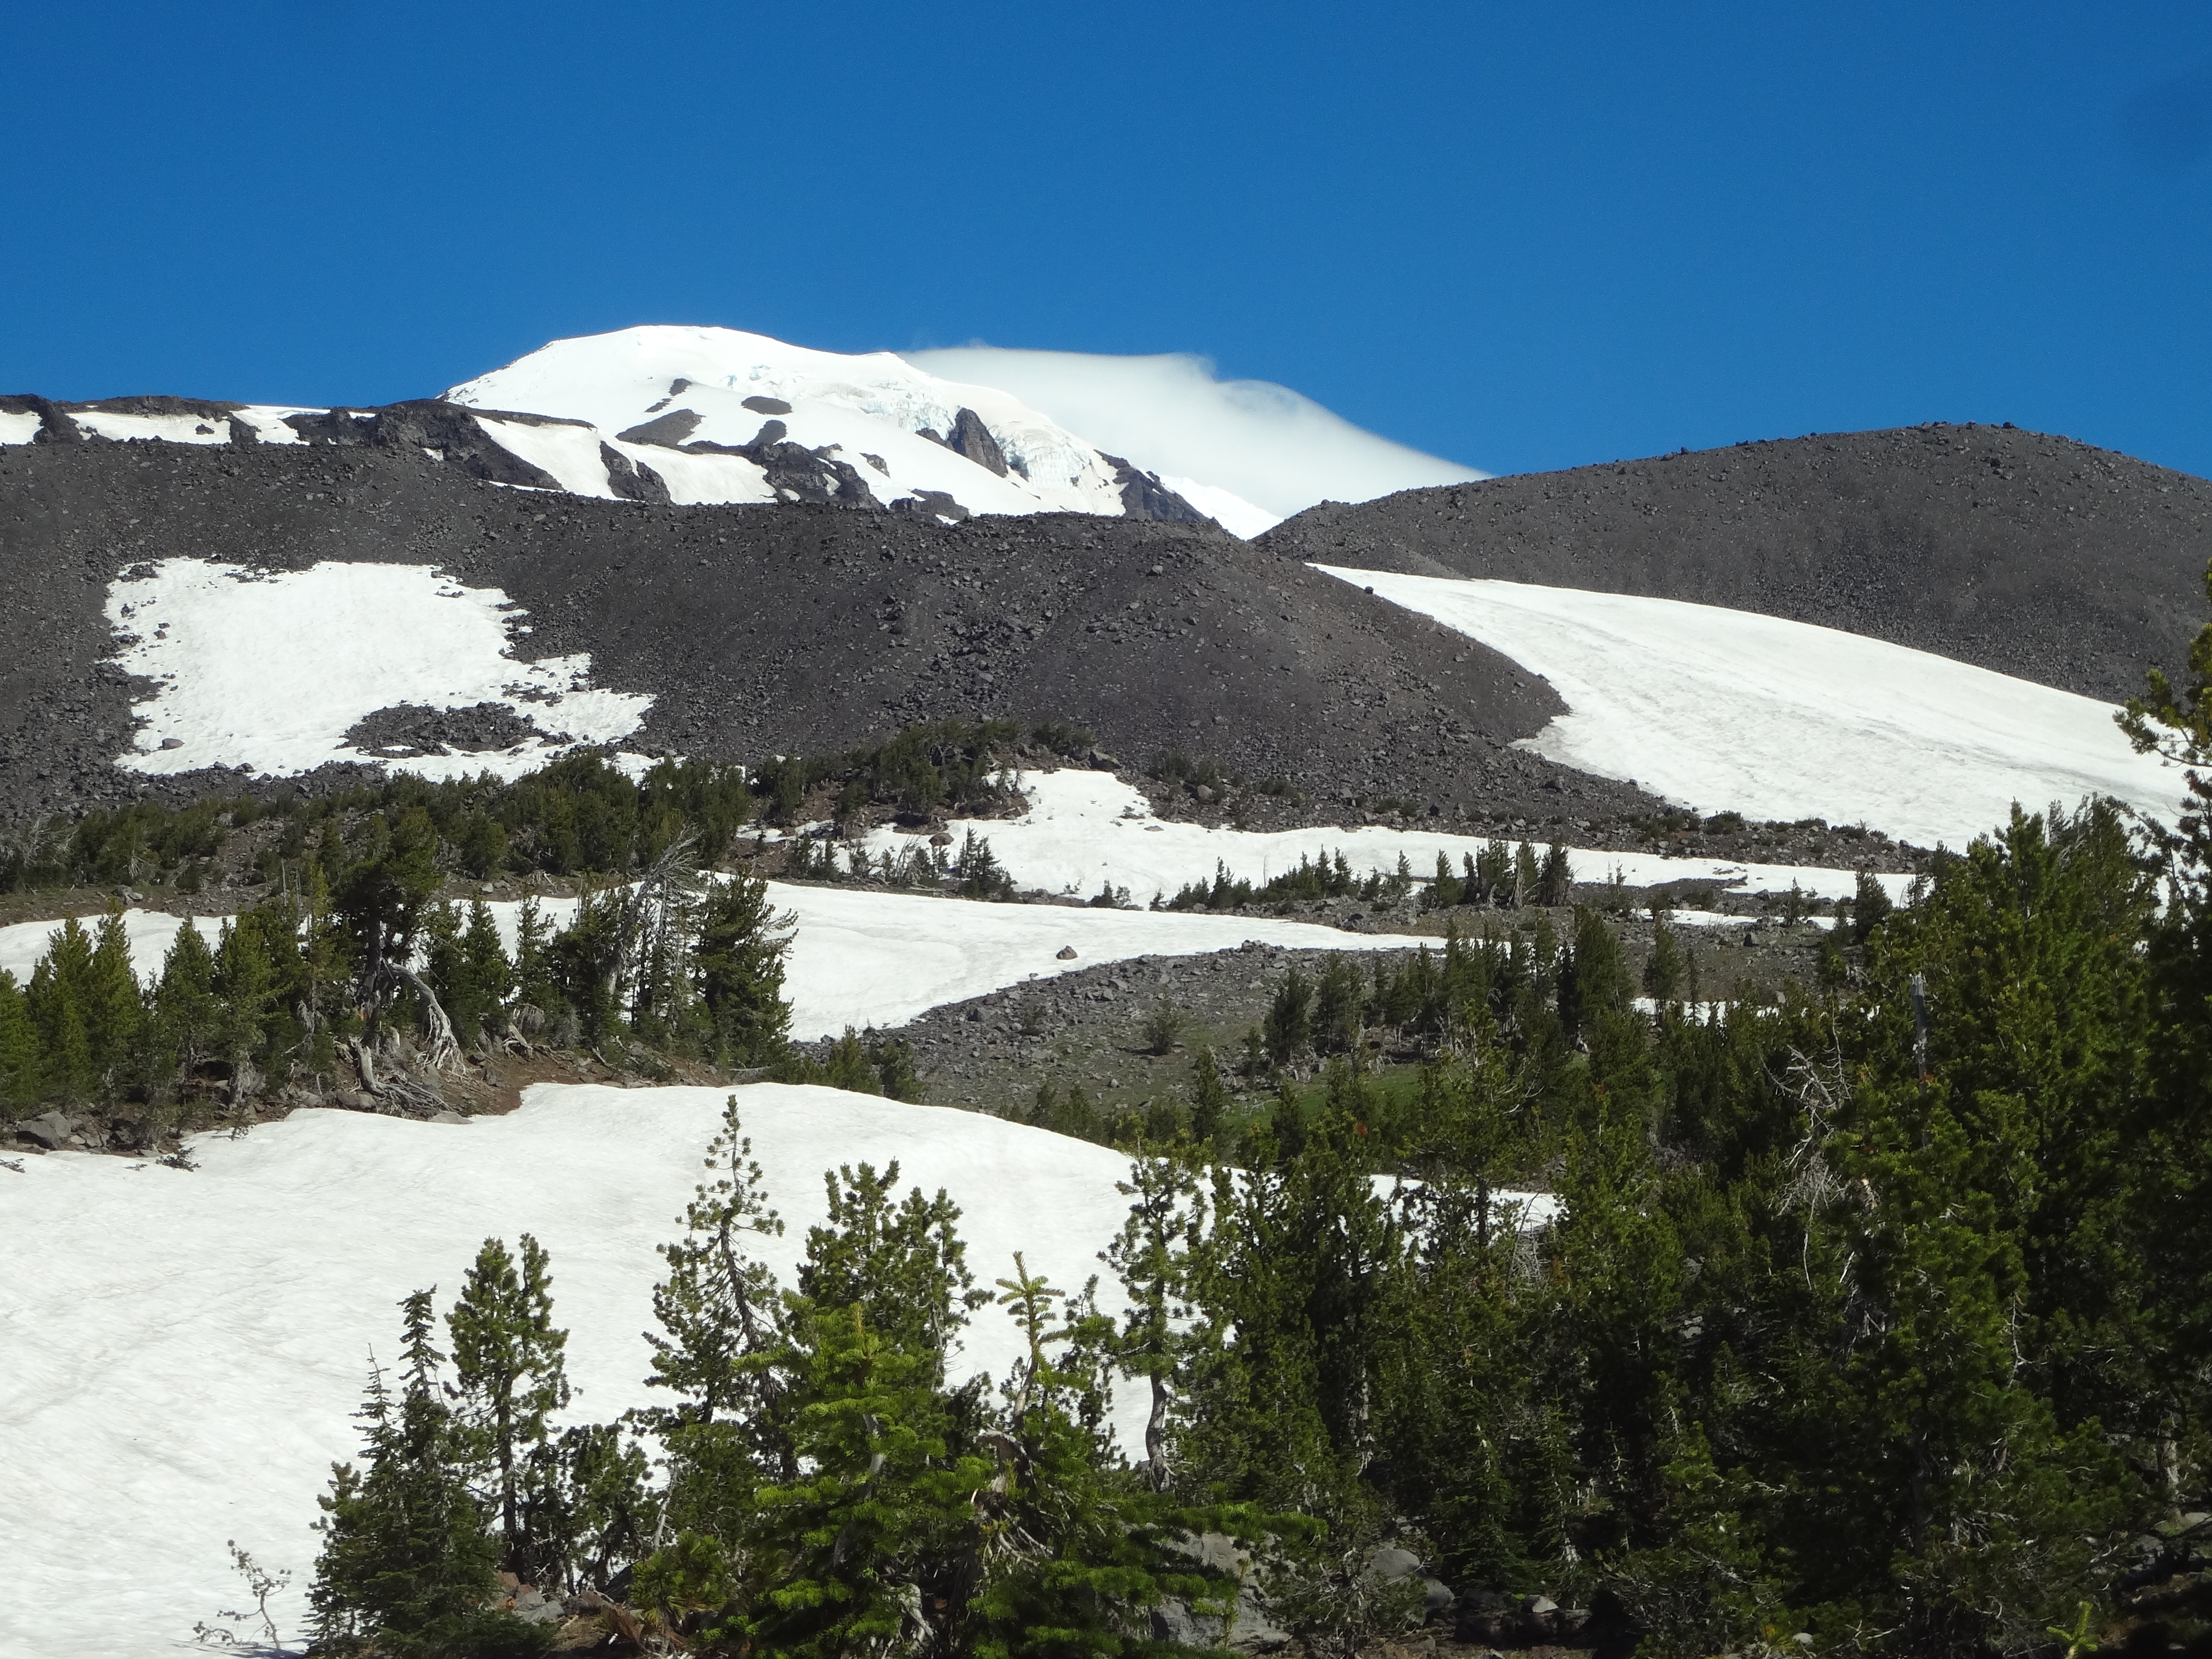
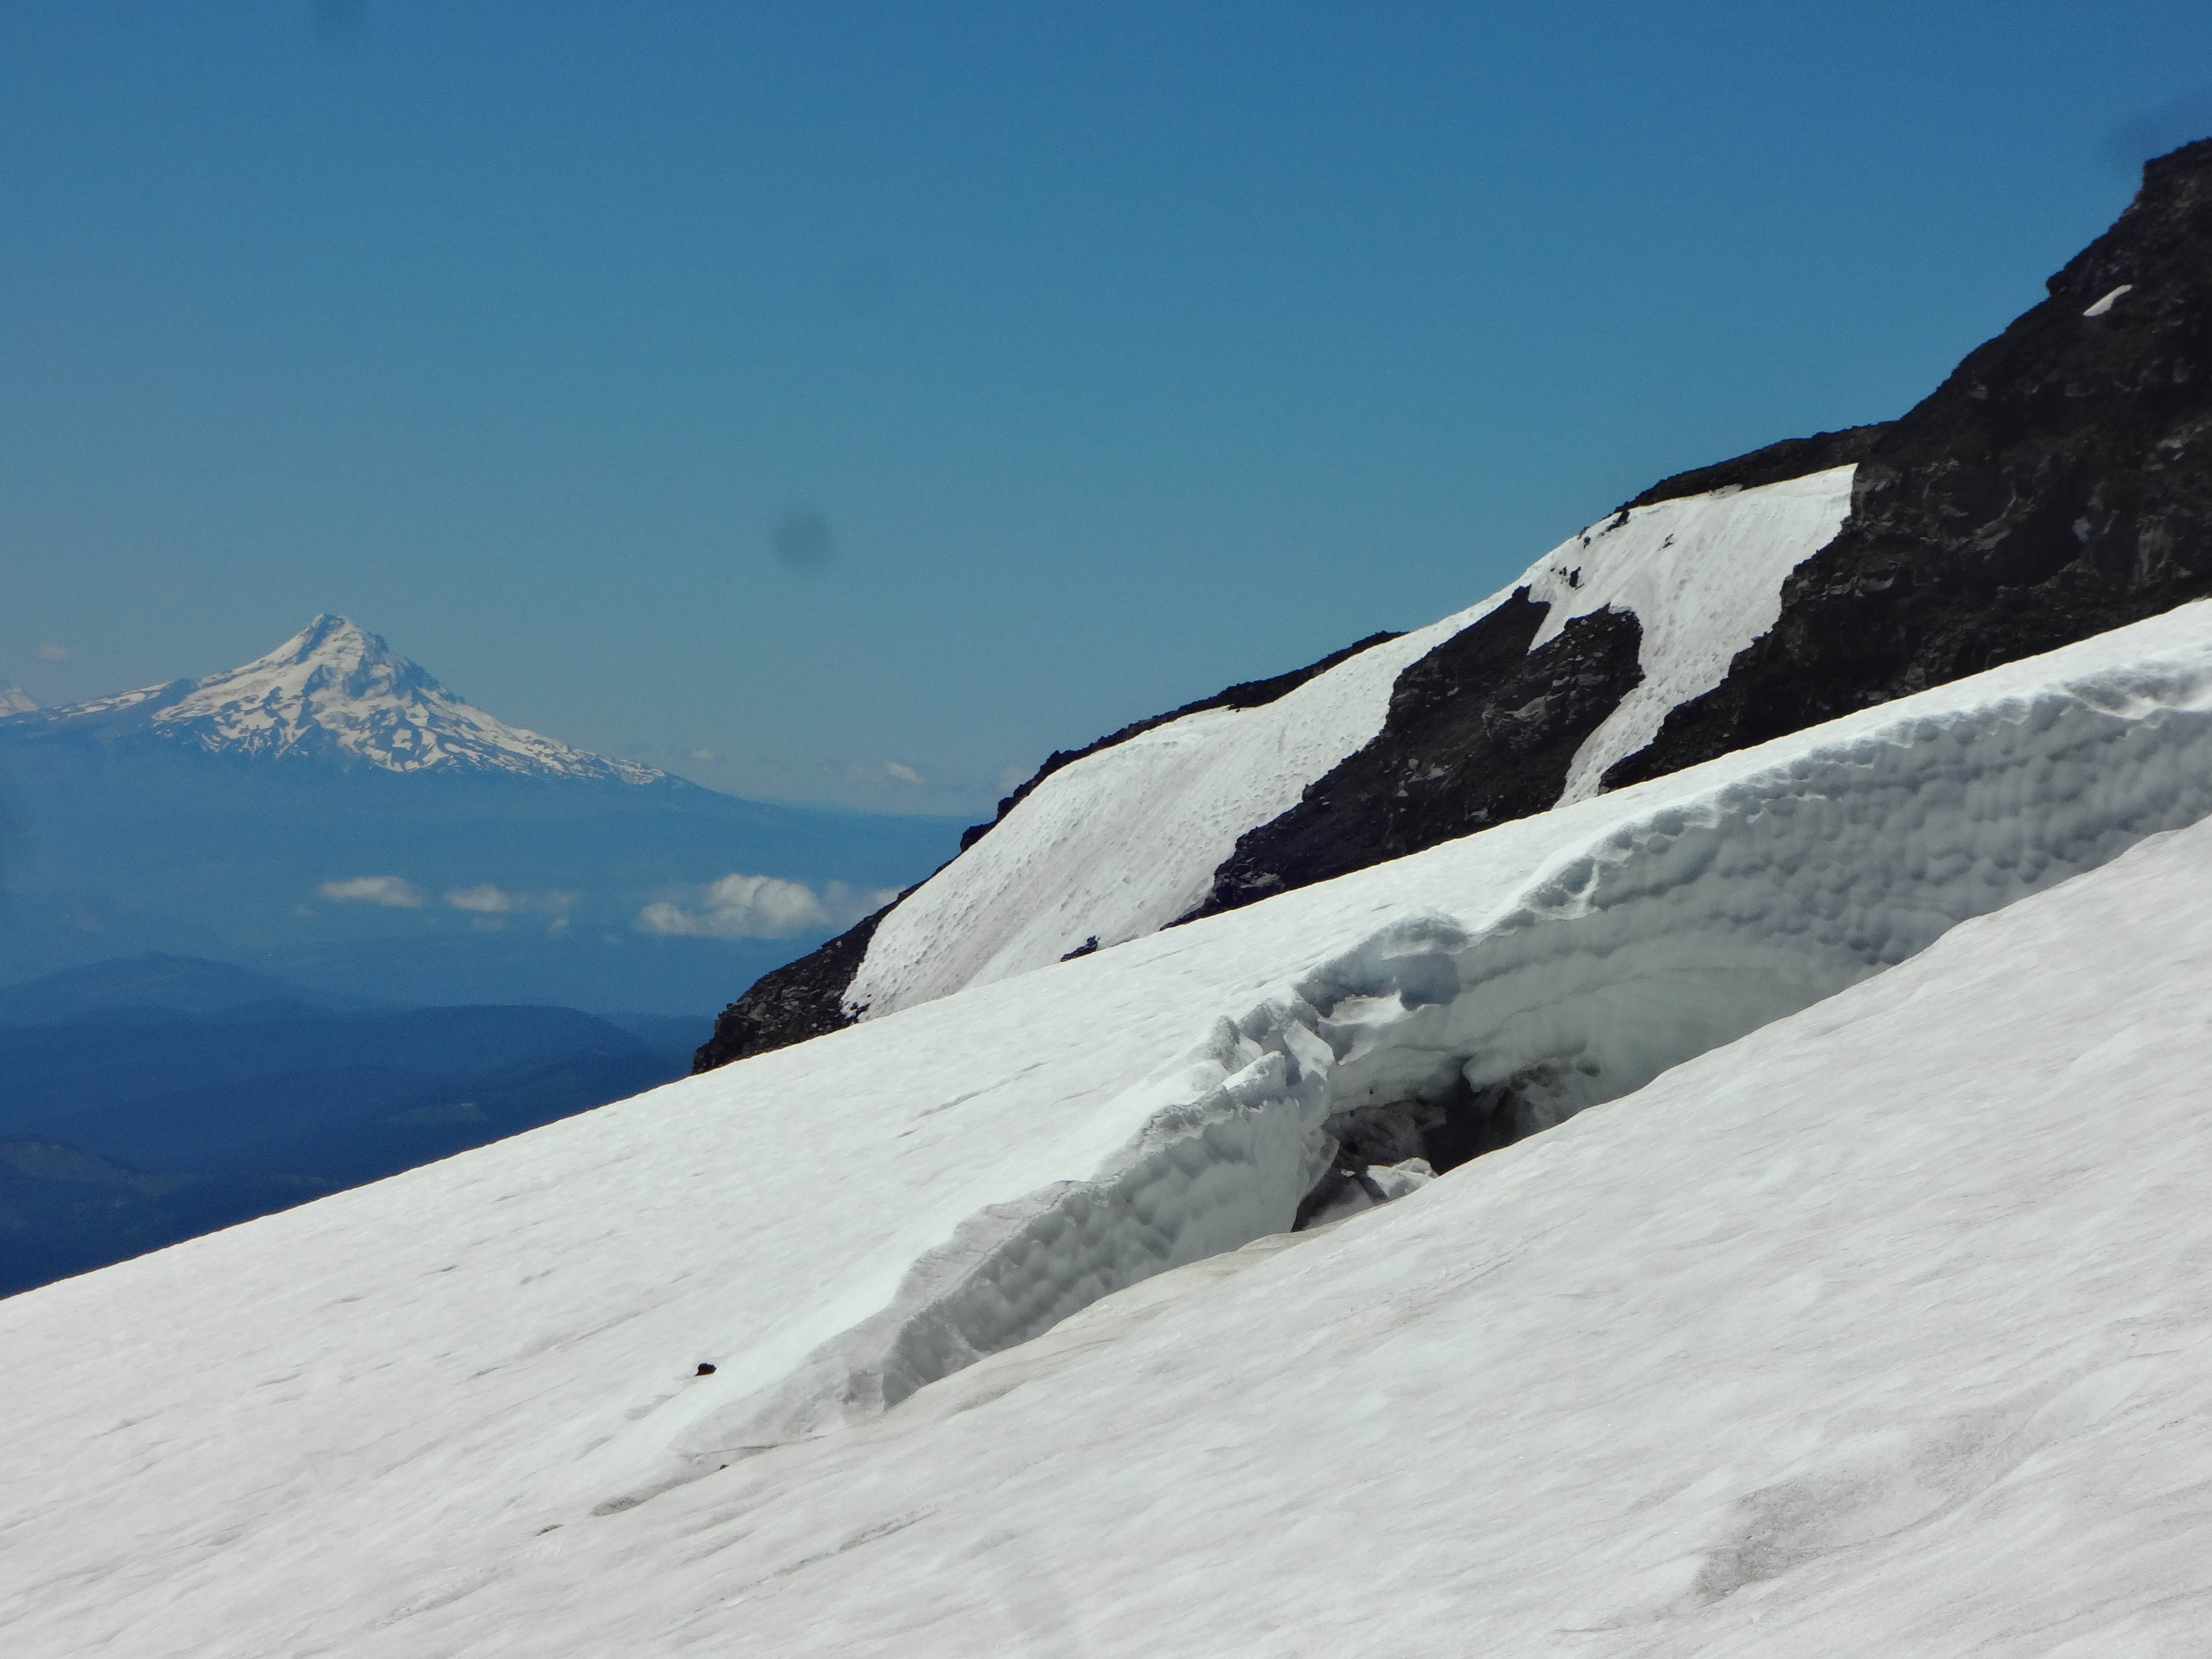
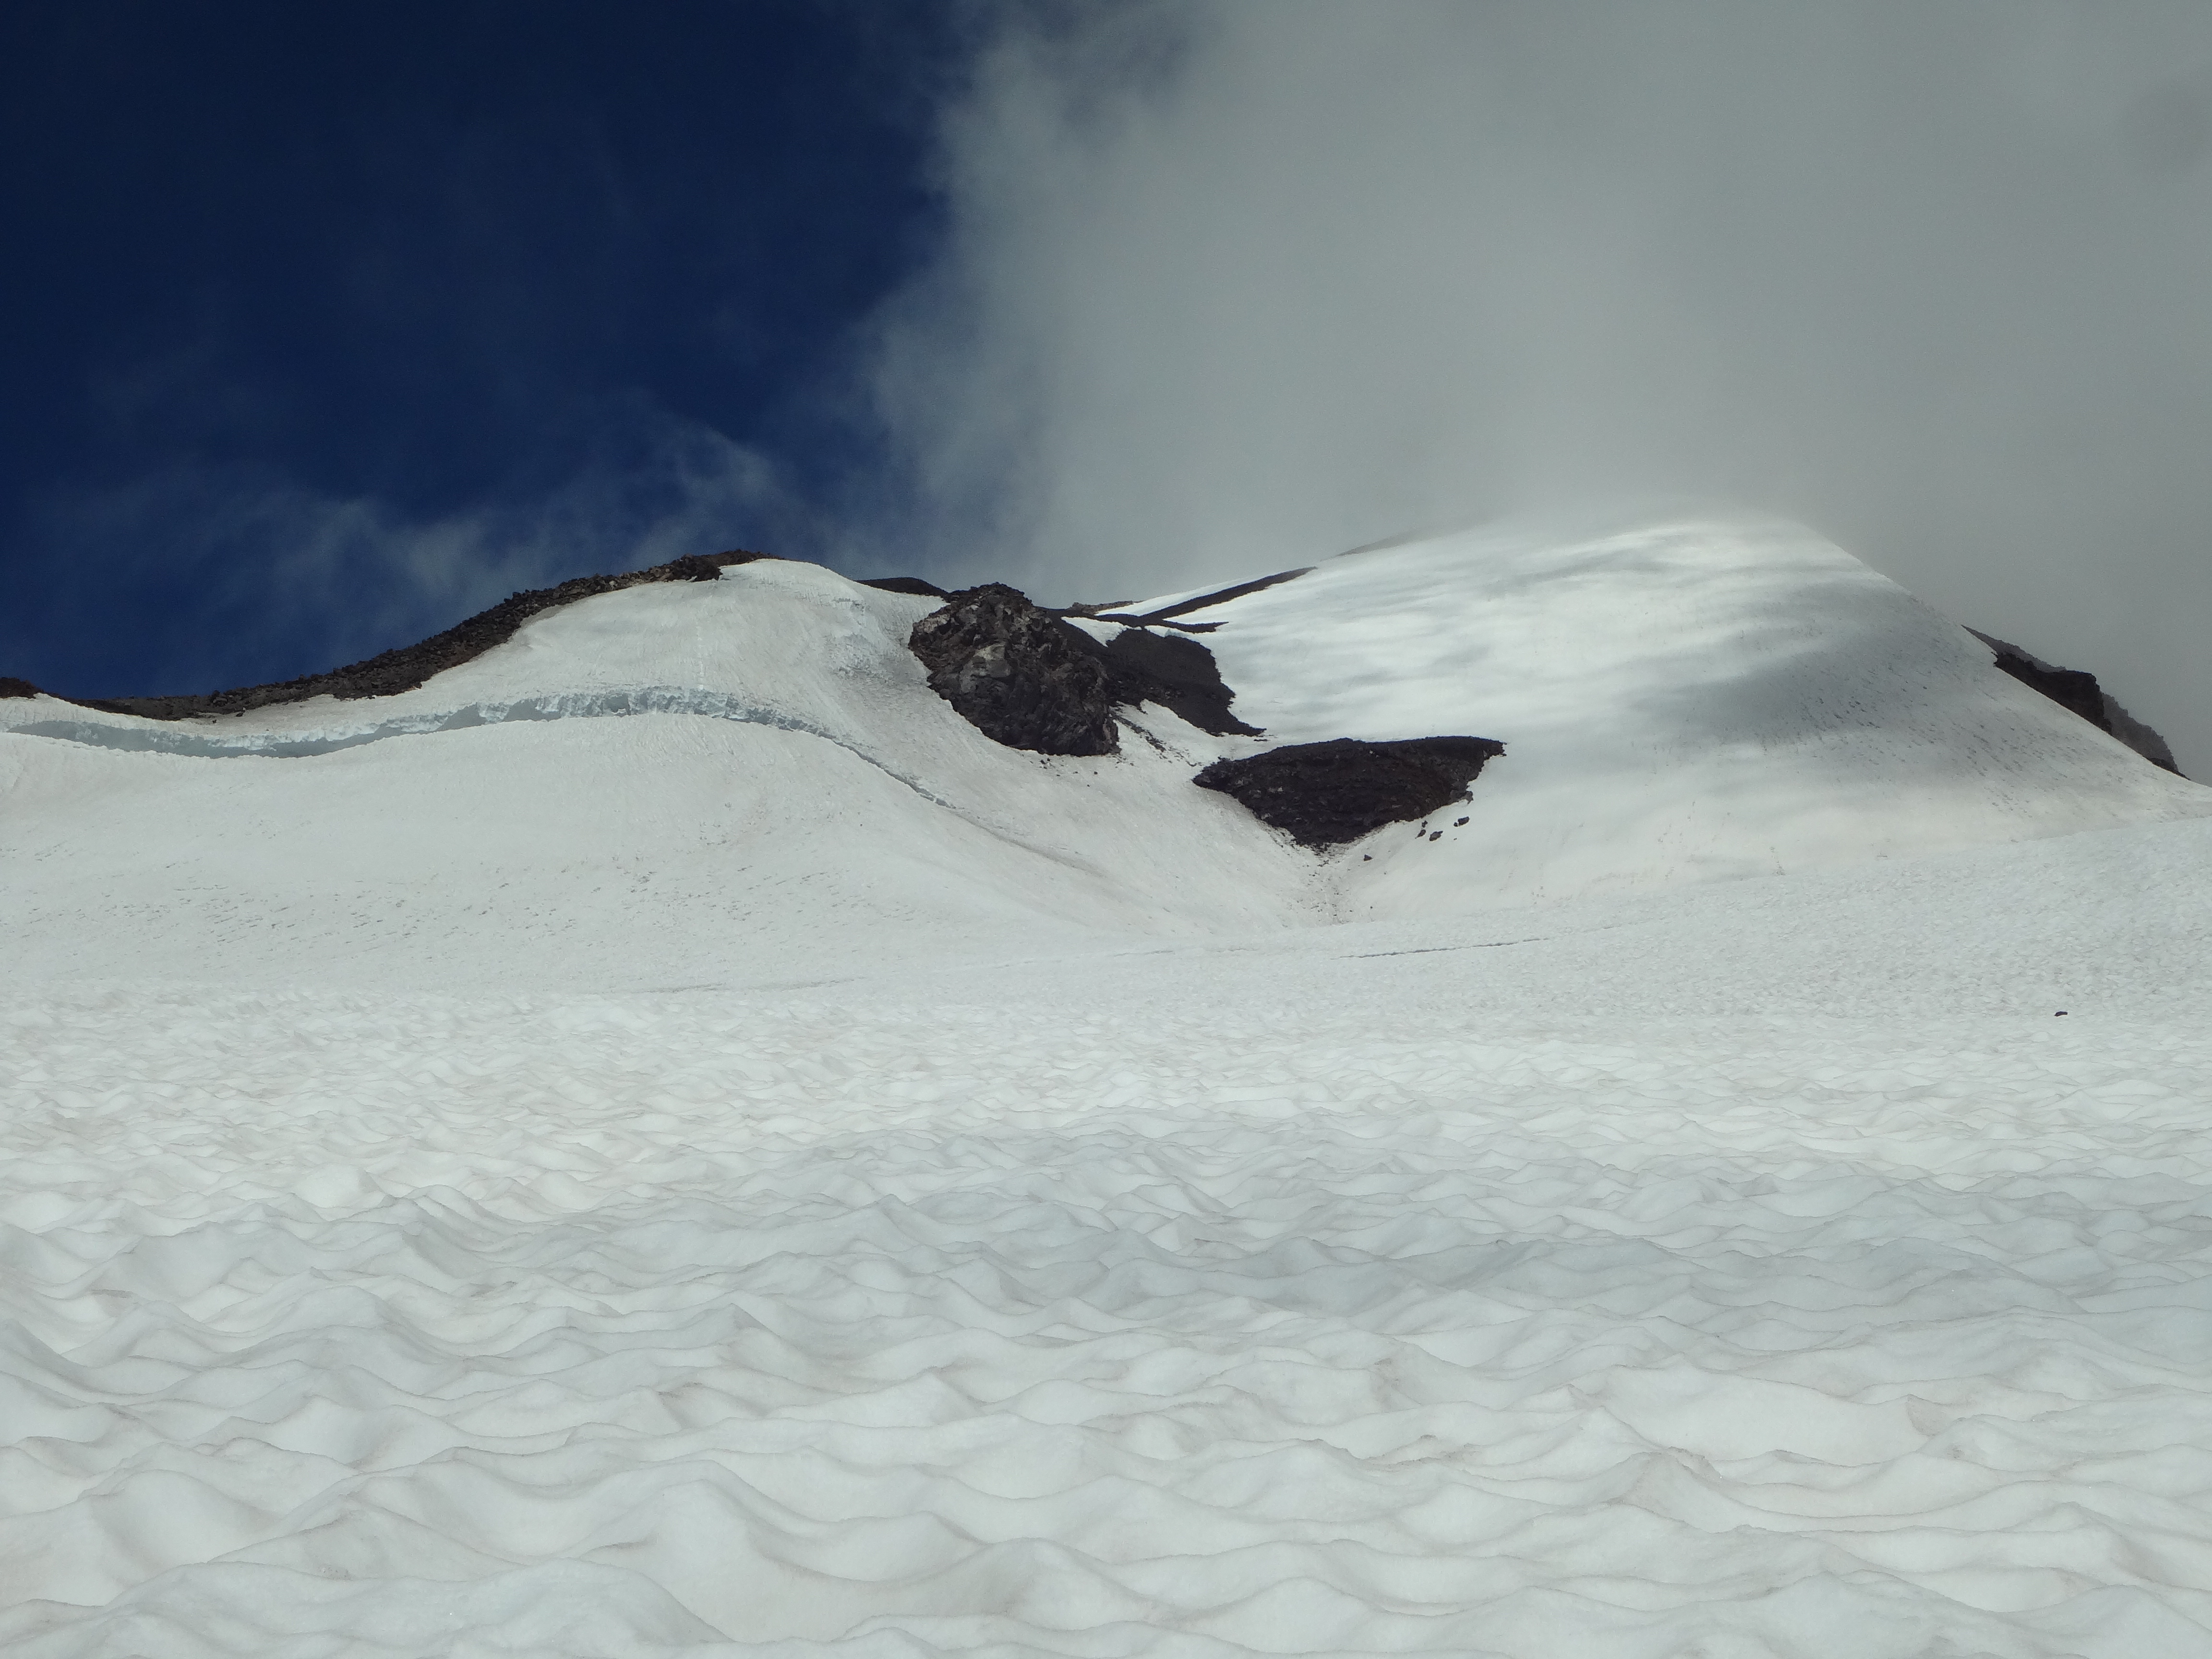
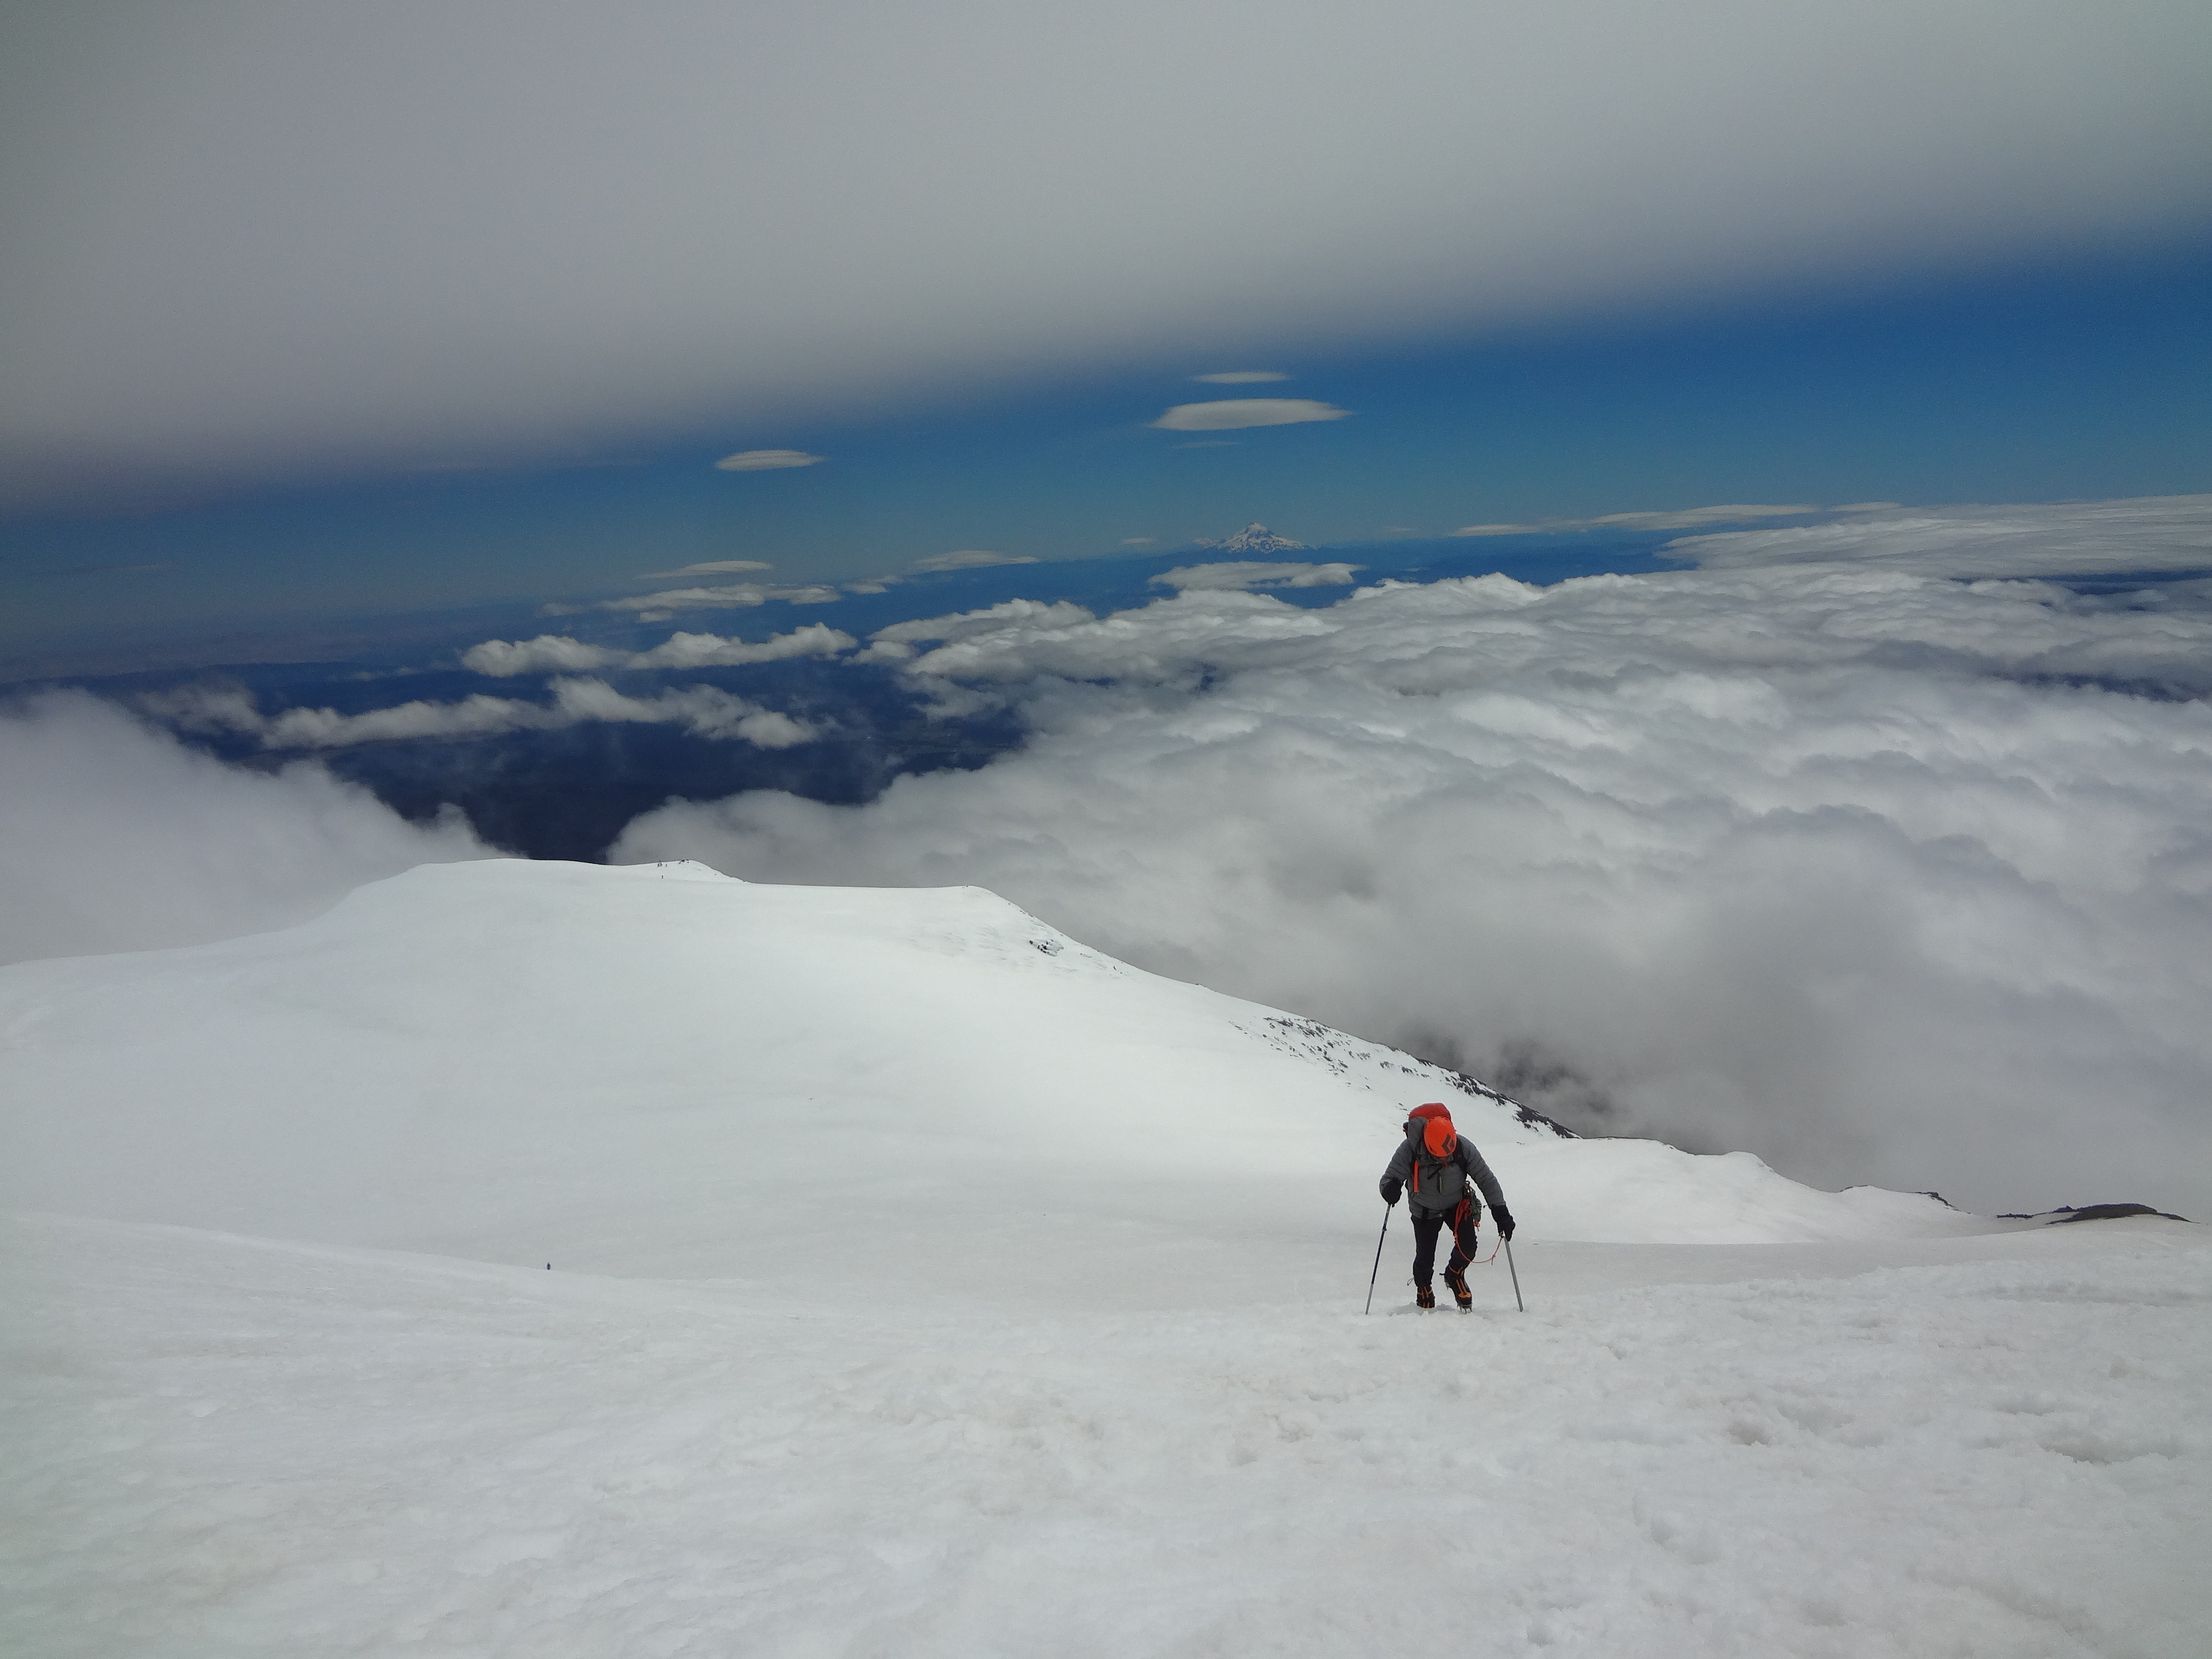
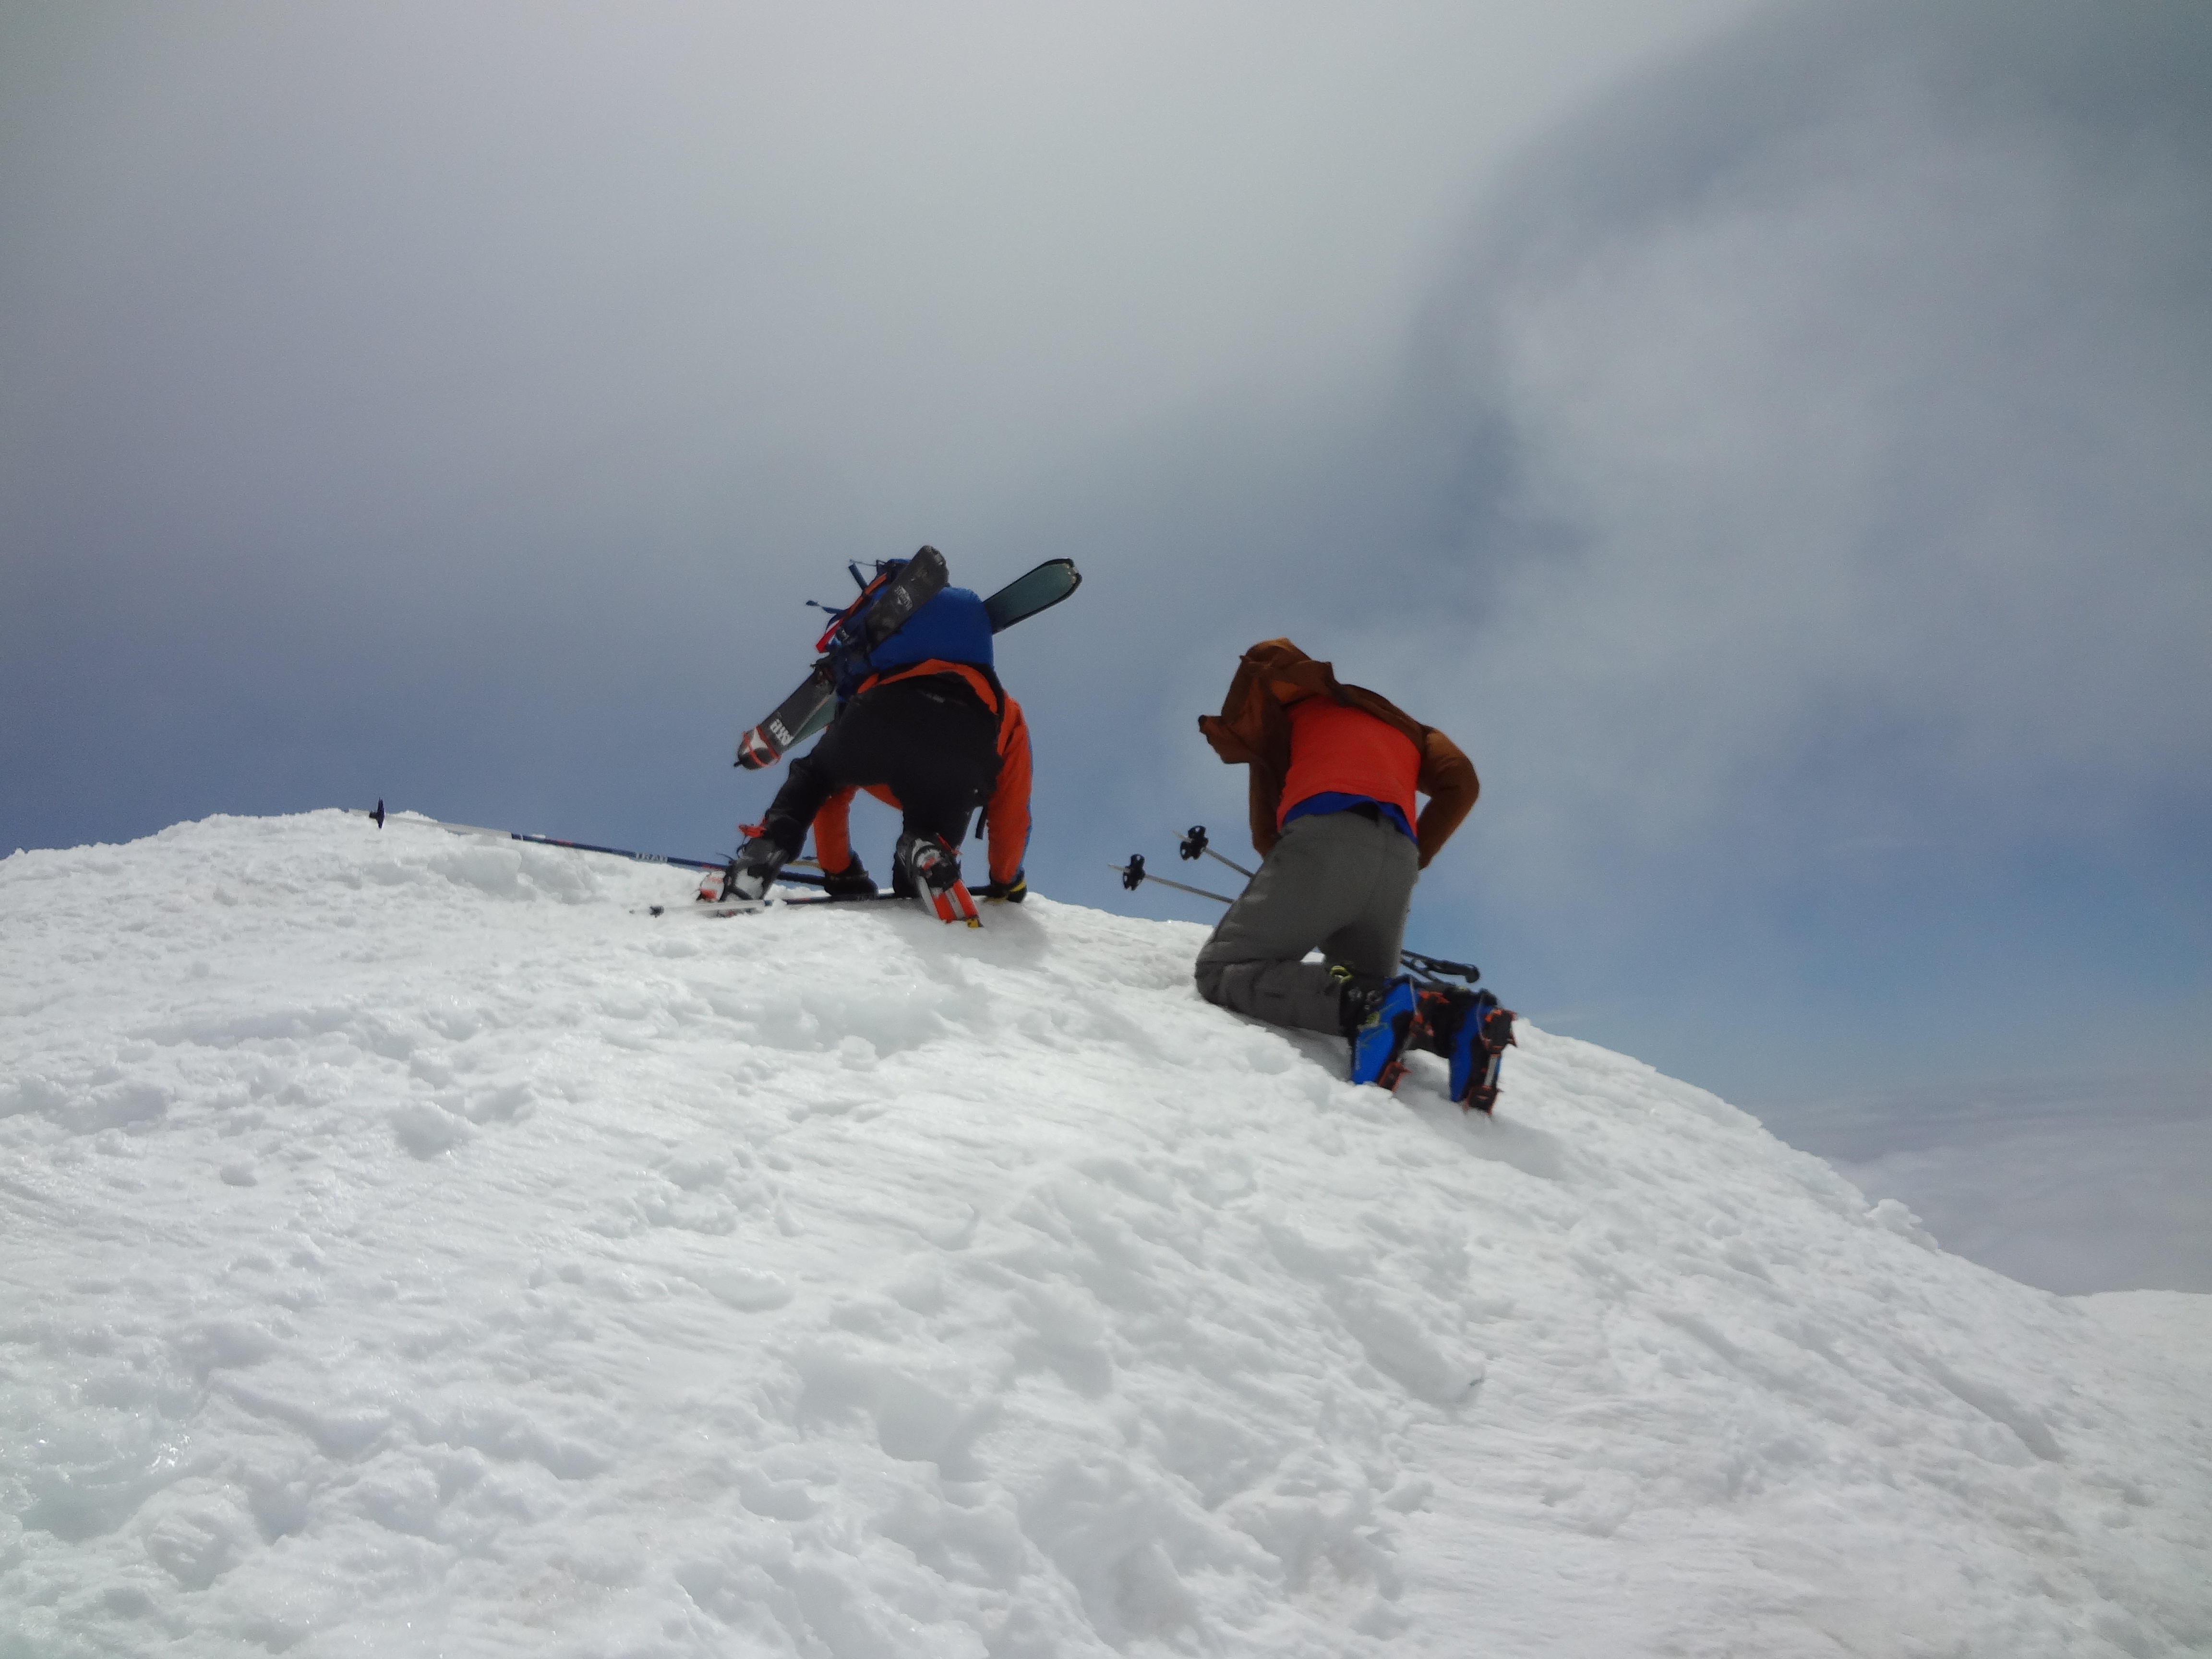
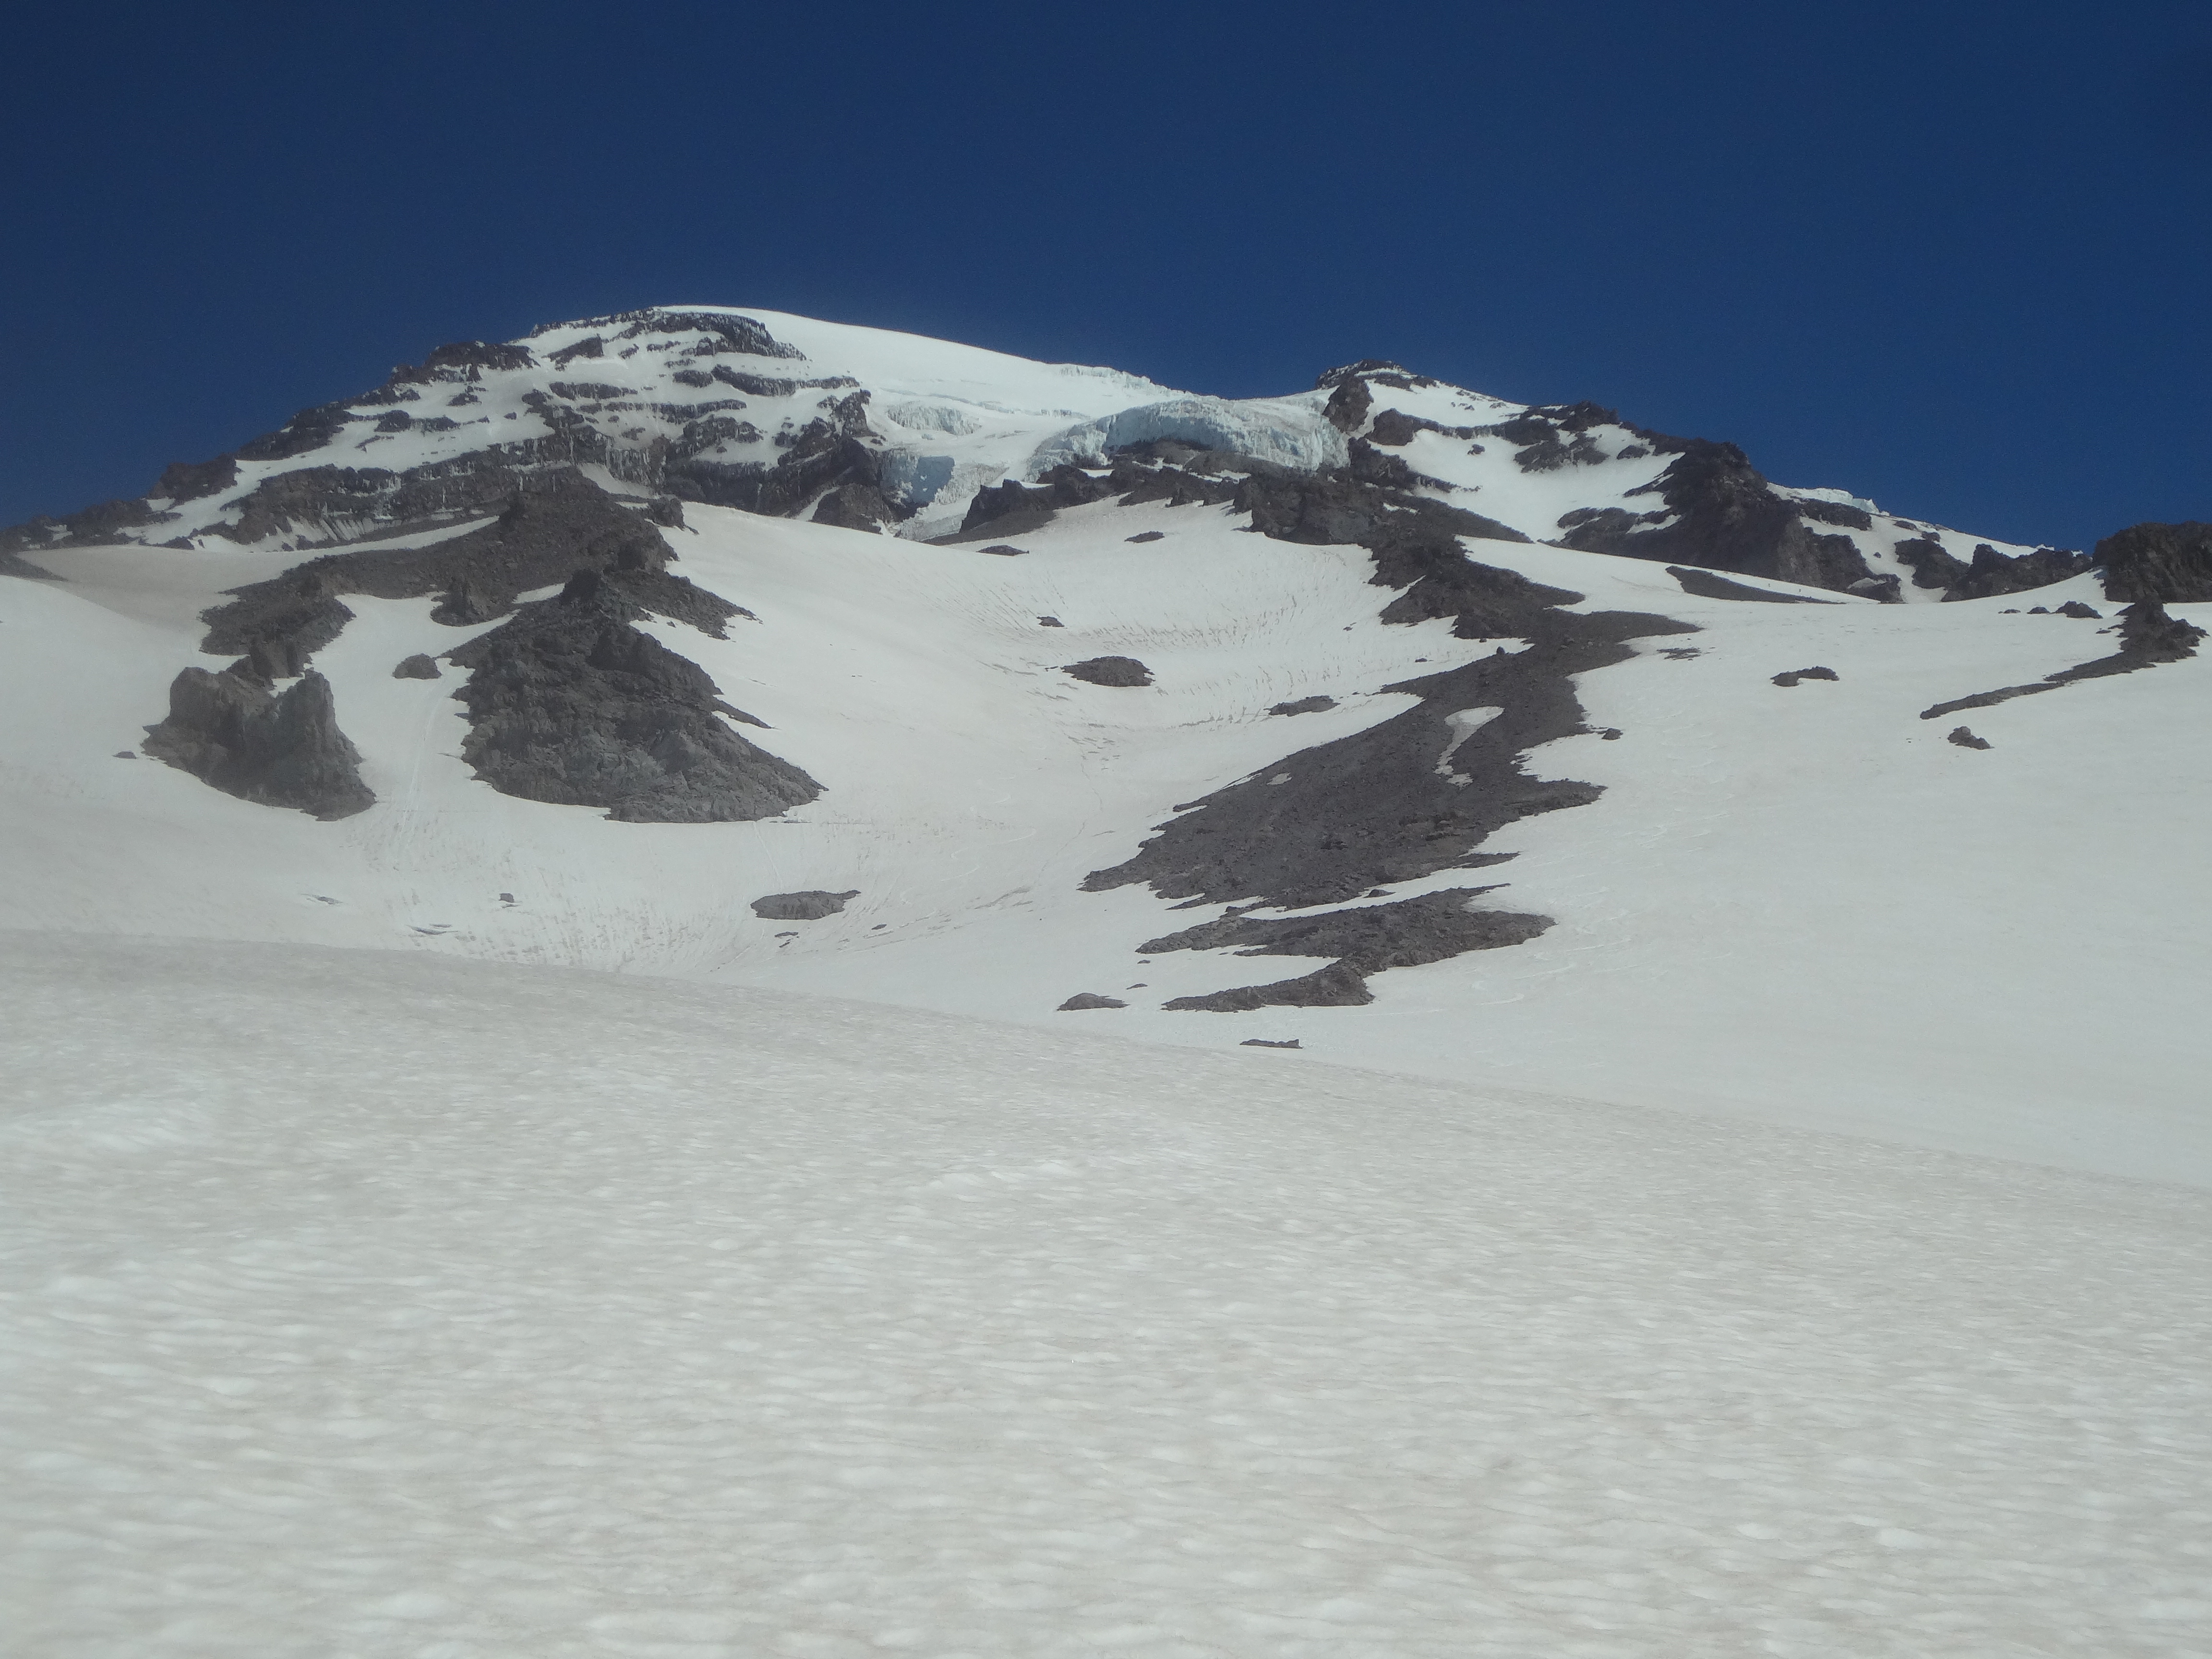
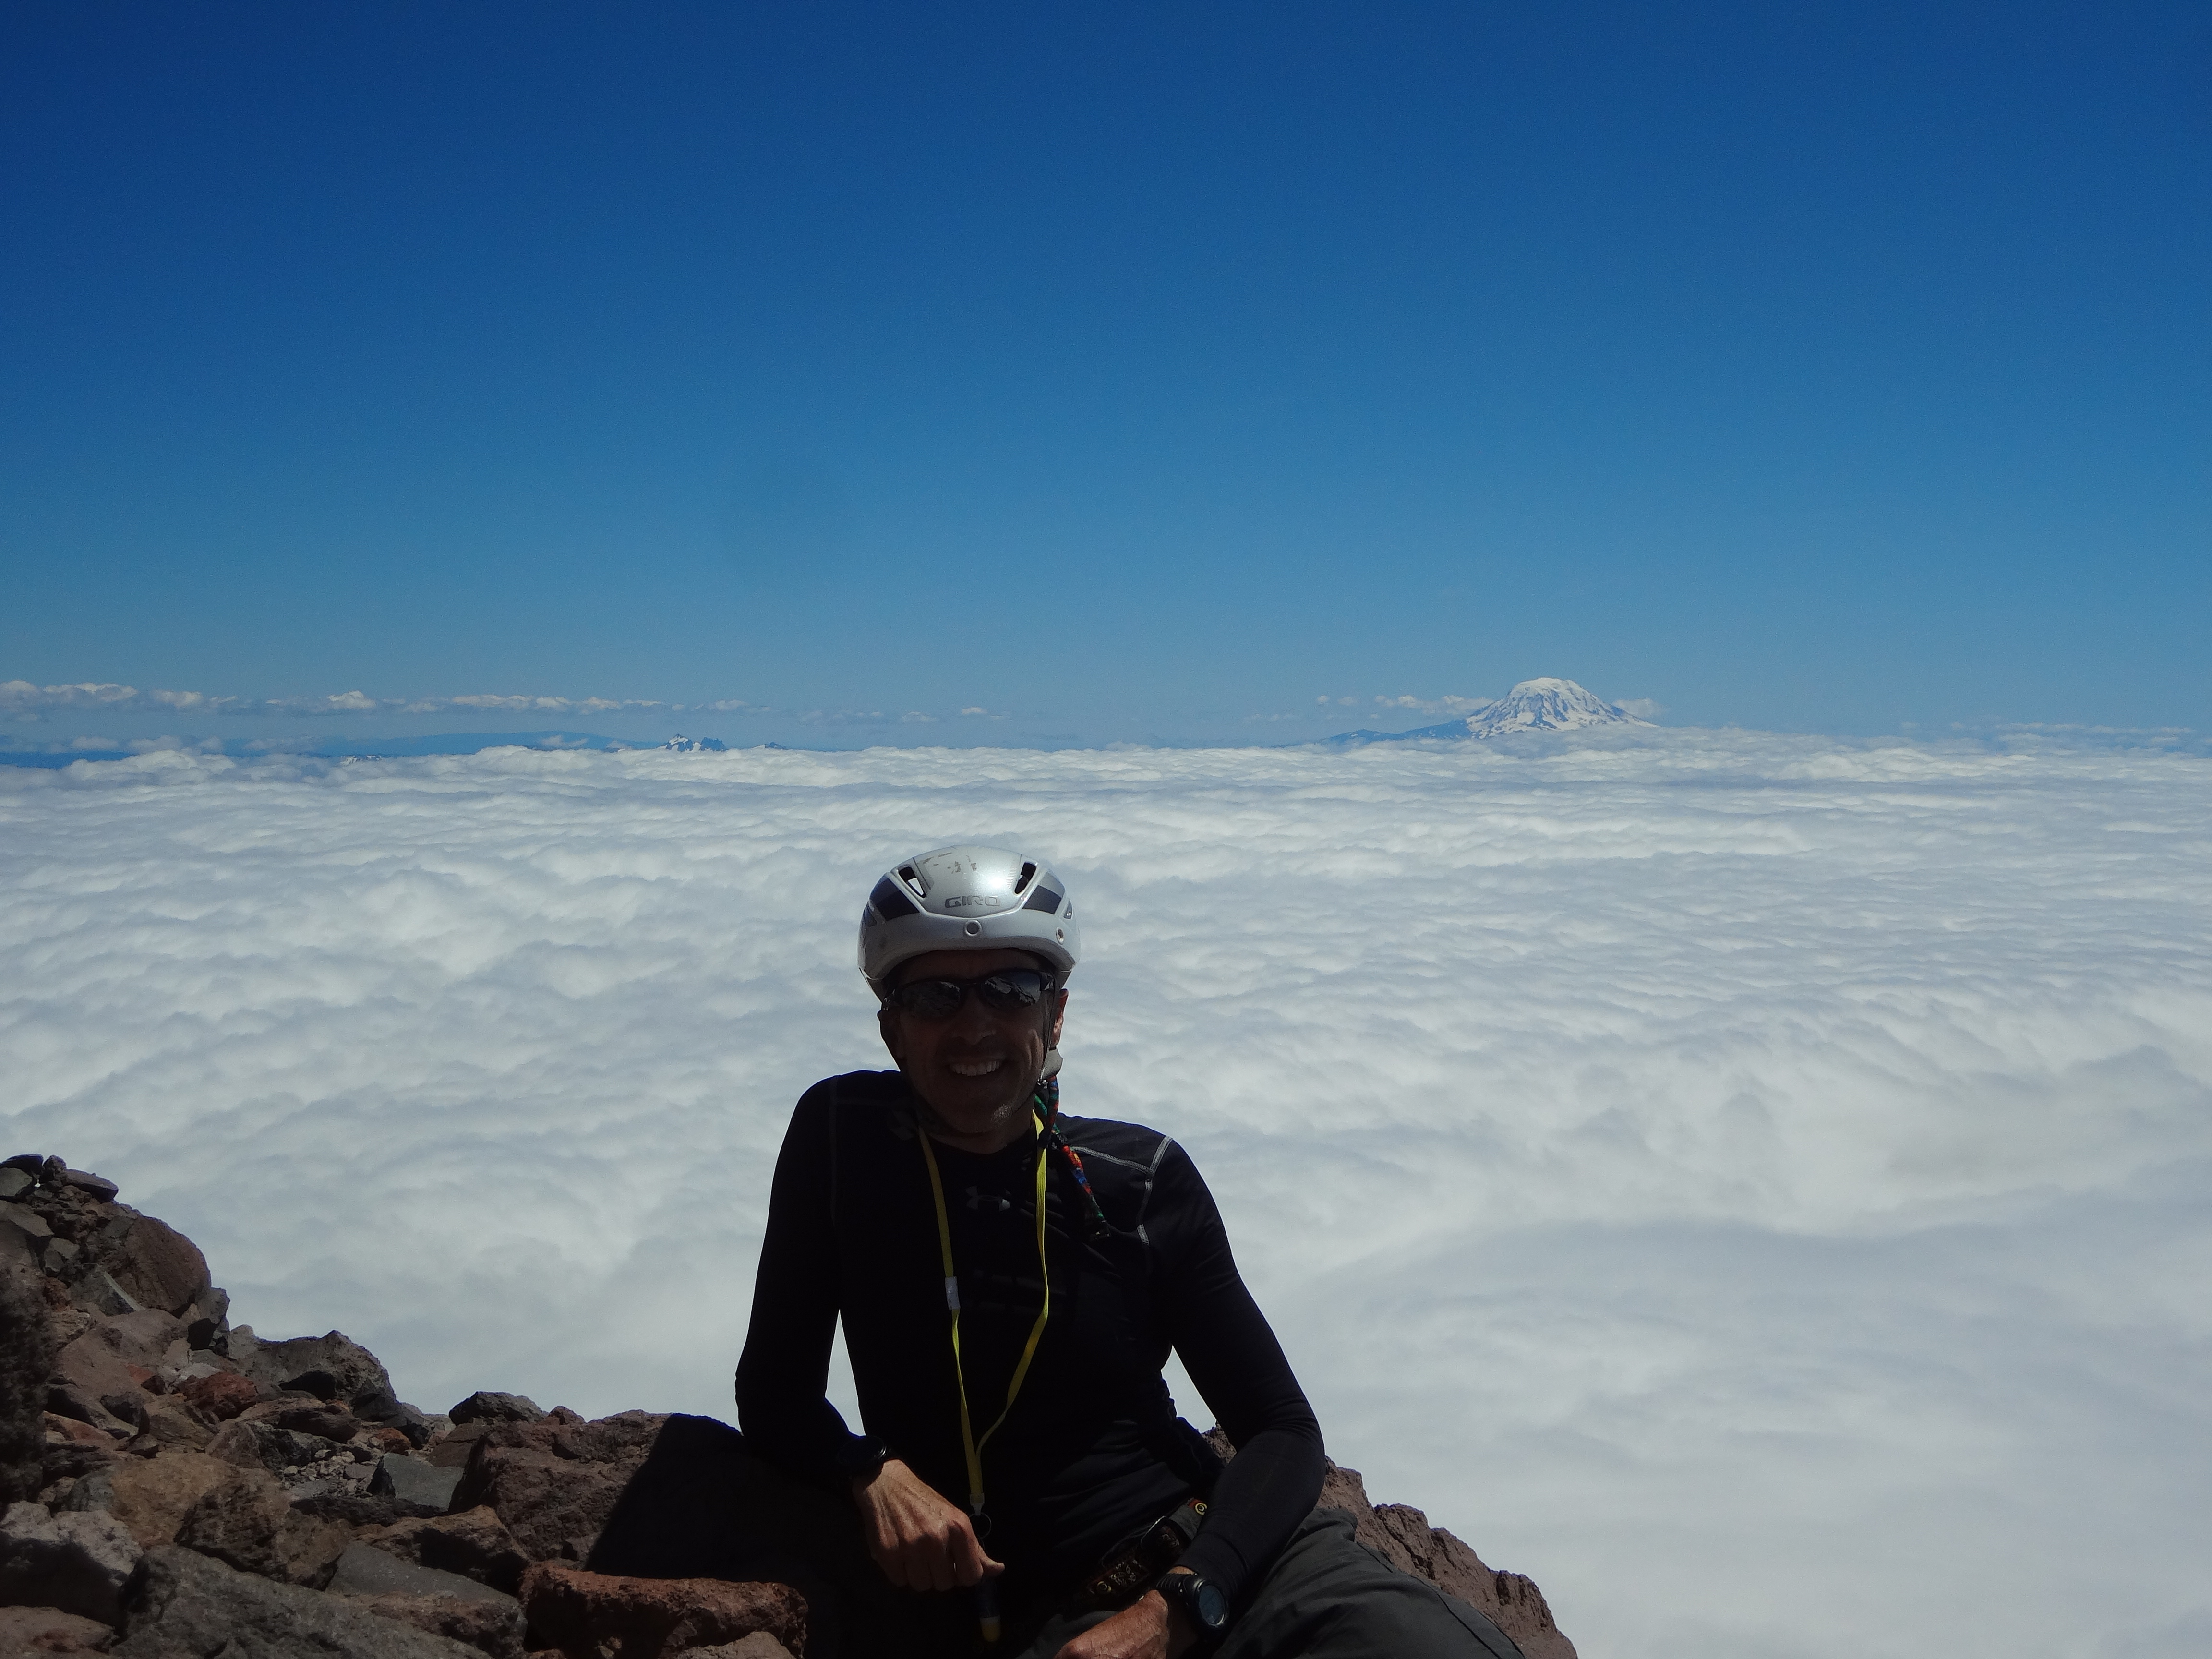
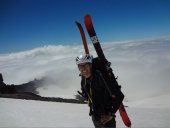
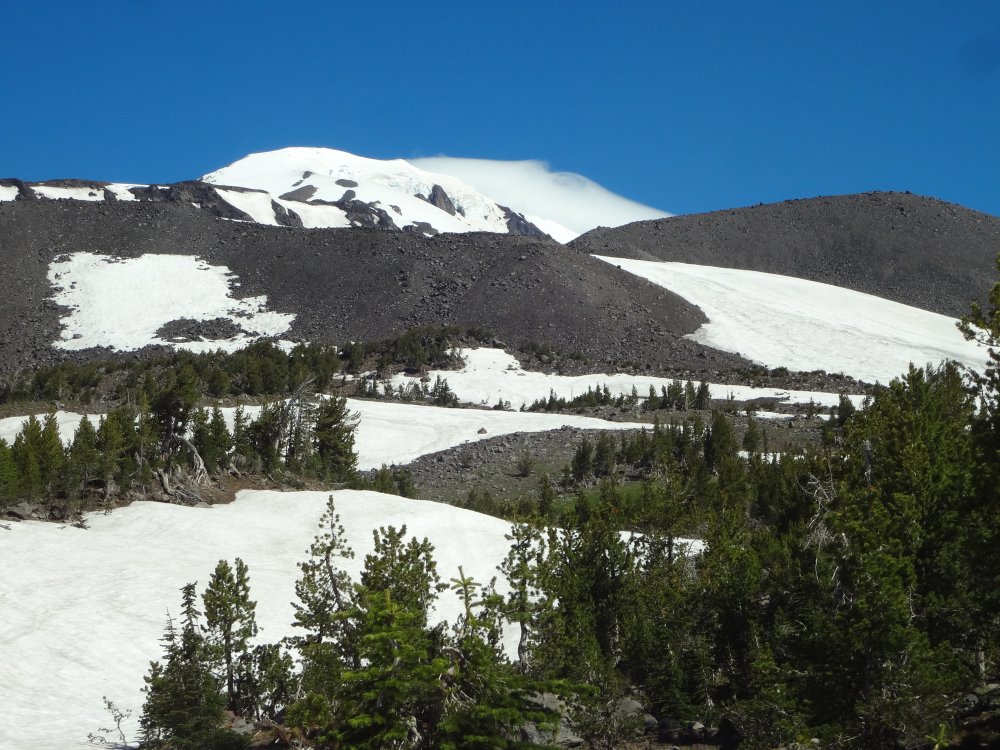
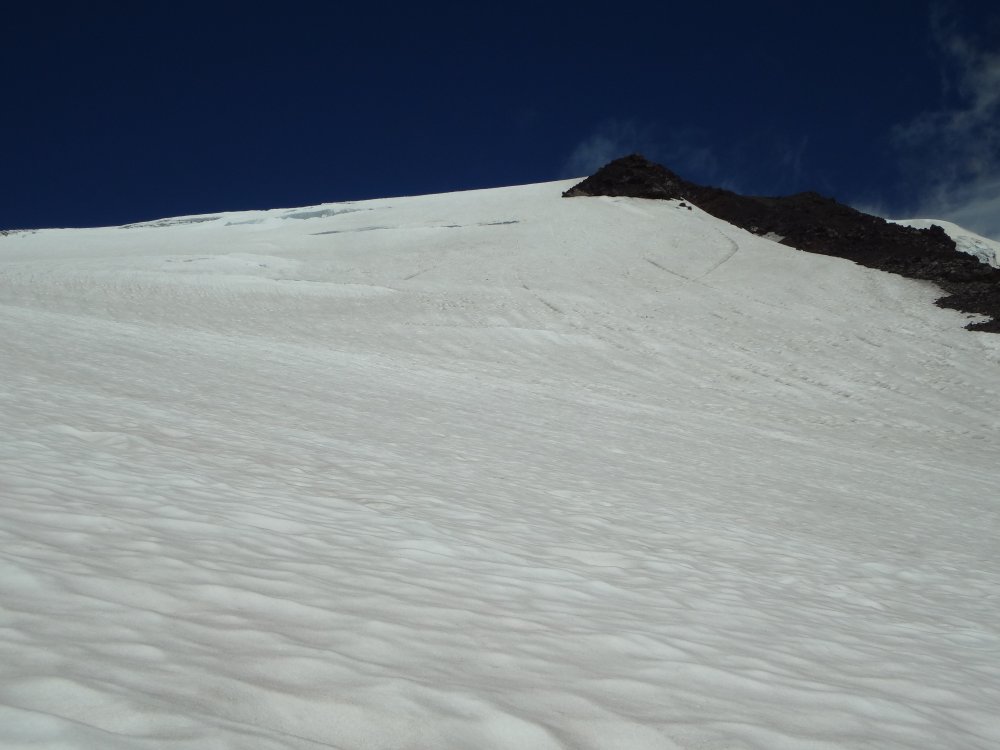
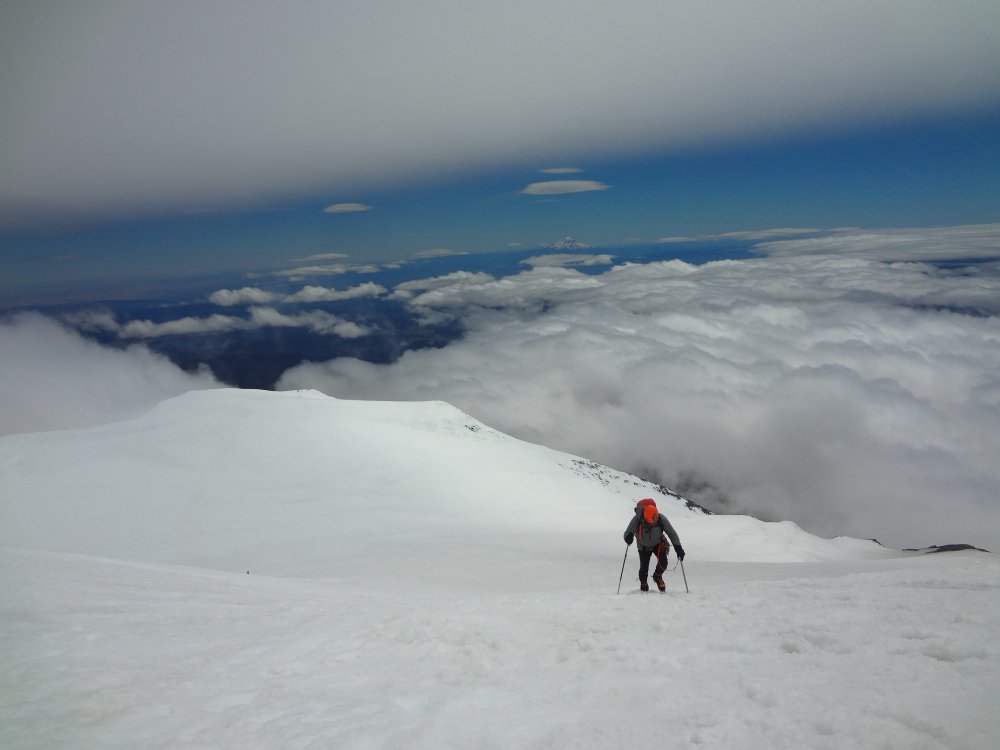
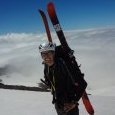
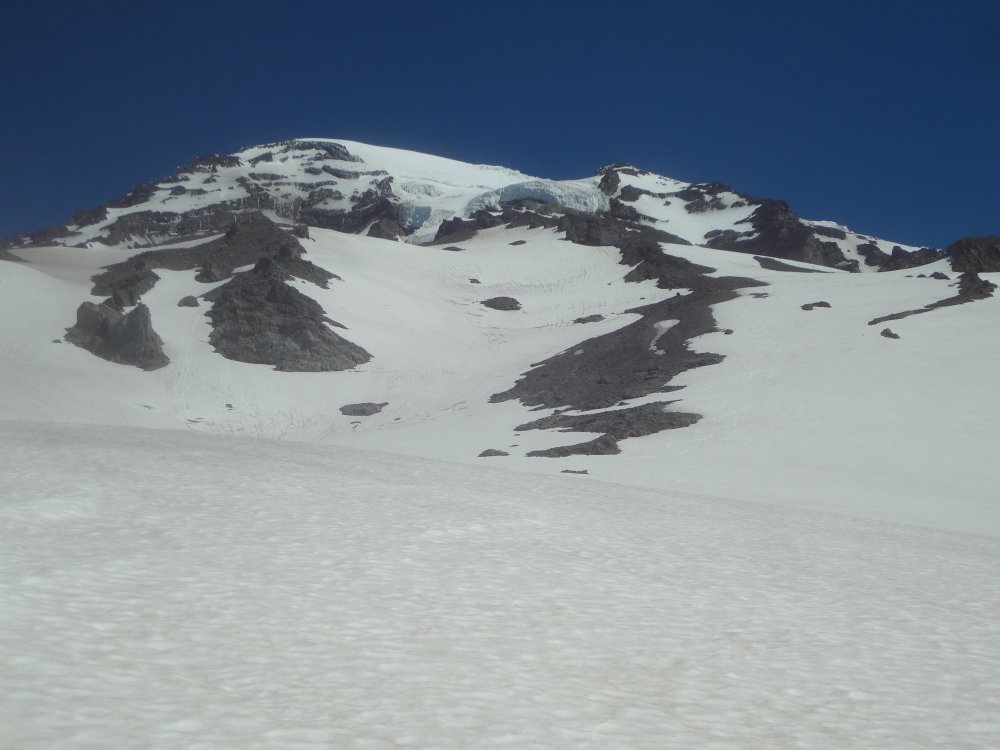
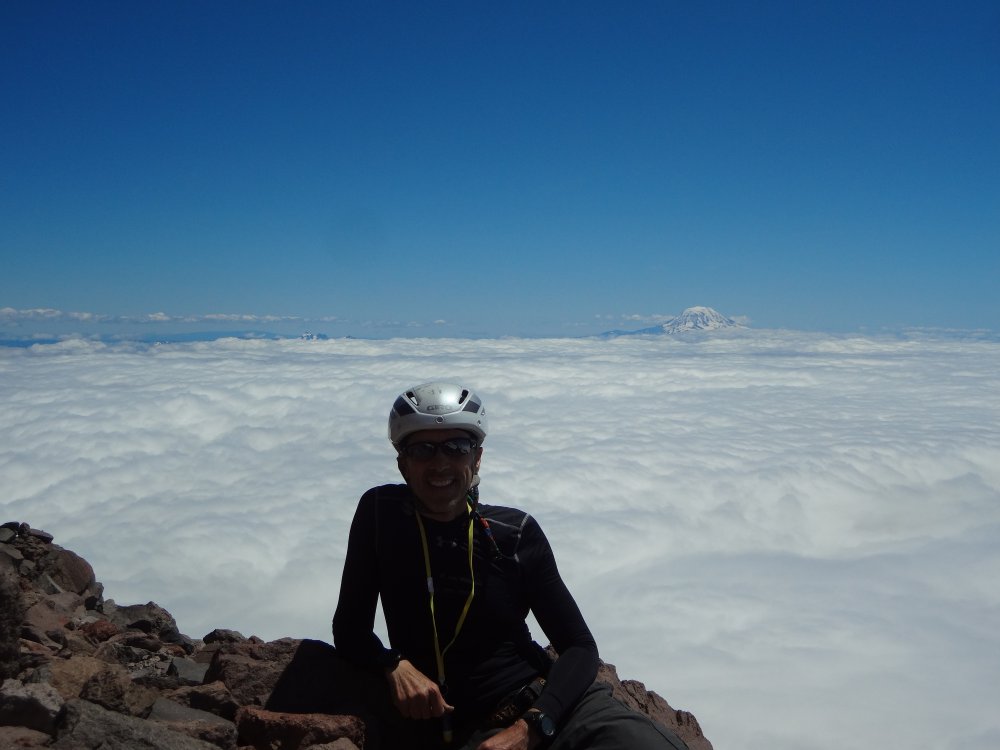
Trip: Mt Adams - Mazama Glacier Trip Date: 06/30/2018 Trip Report: Great trip up the Mazama Glacier. Had intended to ski down the SW chutes on the way down, but high winds out of the SW made that a challenge. I was blown off my feet several times above Pikers Peak. Wound up skiing the S Route instead because there was more wind protection. Winds were so high that it took crampons and ice axe just to hold onto the summit without being blown off! Serious sun cupping on the lower half of the South route made it more of a combat ski descent. Times were: 3:45 from Home to TH 3:15 from TH to Camp Sunrise 2:15 from Sunrise Camp to Pikers Peak 0:45 from Pikers Peak to Summit 2:00 from summit to TH A little over 9 hours total car to car Mt Adams with SW Chutes drawn in On the approach to Sunrise Camp. Traverse to where the morraine on the right converges with the slope. Don't go through the snow gap like i did Mazama Glacier from Sunrise camp Mt Hood from Mazama Glacier Snow ramp up to Pikers Peak Climbing up to the summit Holding onto the summit to avoid being blown off Gear Notes: Ice axe, crampons, skis Approach Notes: Road is a pain for the last couple of miles. I had a 4Runner with moderate clearance and saw others up there with cars so I know you can do it, but having some clearance makes it much nicer. Trail is snow free until about 6300 feet. People are using the summer approach up the S Route. Round the mountain trail is in great shape and quite beautiful. I left the trail just after entering the reservation and angled uphill toward the moraine. I wasn't completely sure of the route, but a notch in the moraine with an easy snow slope looked like it would go. In reality, you want to traverse to the end of the moraine and cross there where it's not very tall. Since i had ascended the moraine, I wound up descending a hundred feet of so of loose pumice to get down to the glacier and the traverse over to Sunrise Camp. Sunrise Camp is snow free and I have to say is one of the nicest high camps I've ever seen. It's flat and sandy, and has lots of windbreaks. And nobody was there! The glacier itself can be easily climbed on the right to avoid any slots. Stay right out of camp and ascend the first steep part. After 800-1000 feet the glacier mellows out and is pretty flat. A snowy ramp gets you to the top of Pikers Peak. The ramp is in great shape. Care should be taken because the ramp narrows as you ascend. On the right is a cliff dropping to the Klickitat Glacier. From the top of Pikers Peak, cross the flats and climb the final 800 feet to the summit. Lots of traffic here so route finding is easy. Forest Service had even placed wands.


-
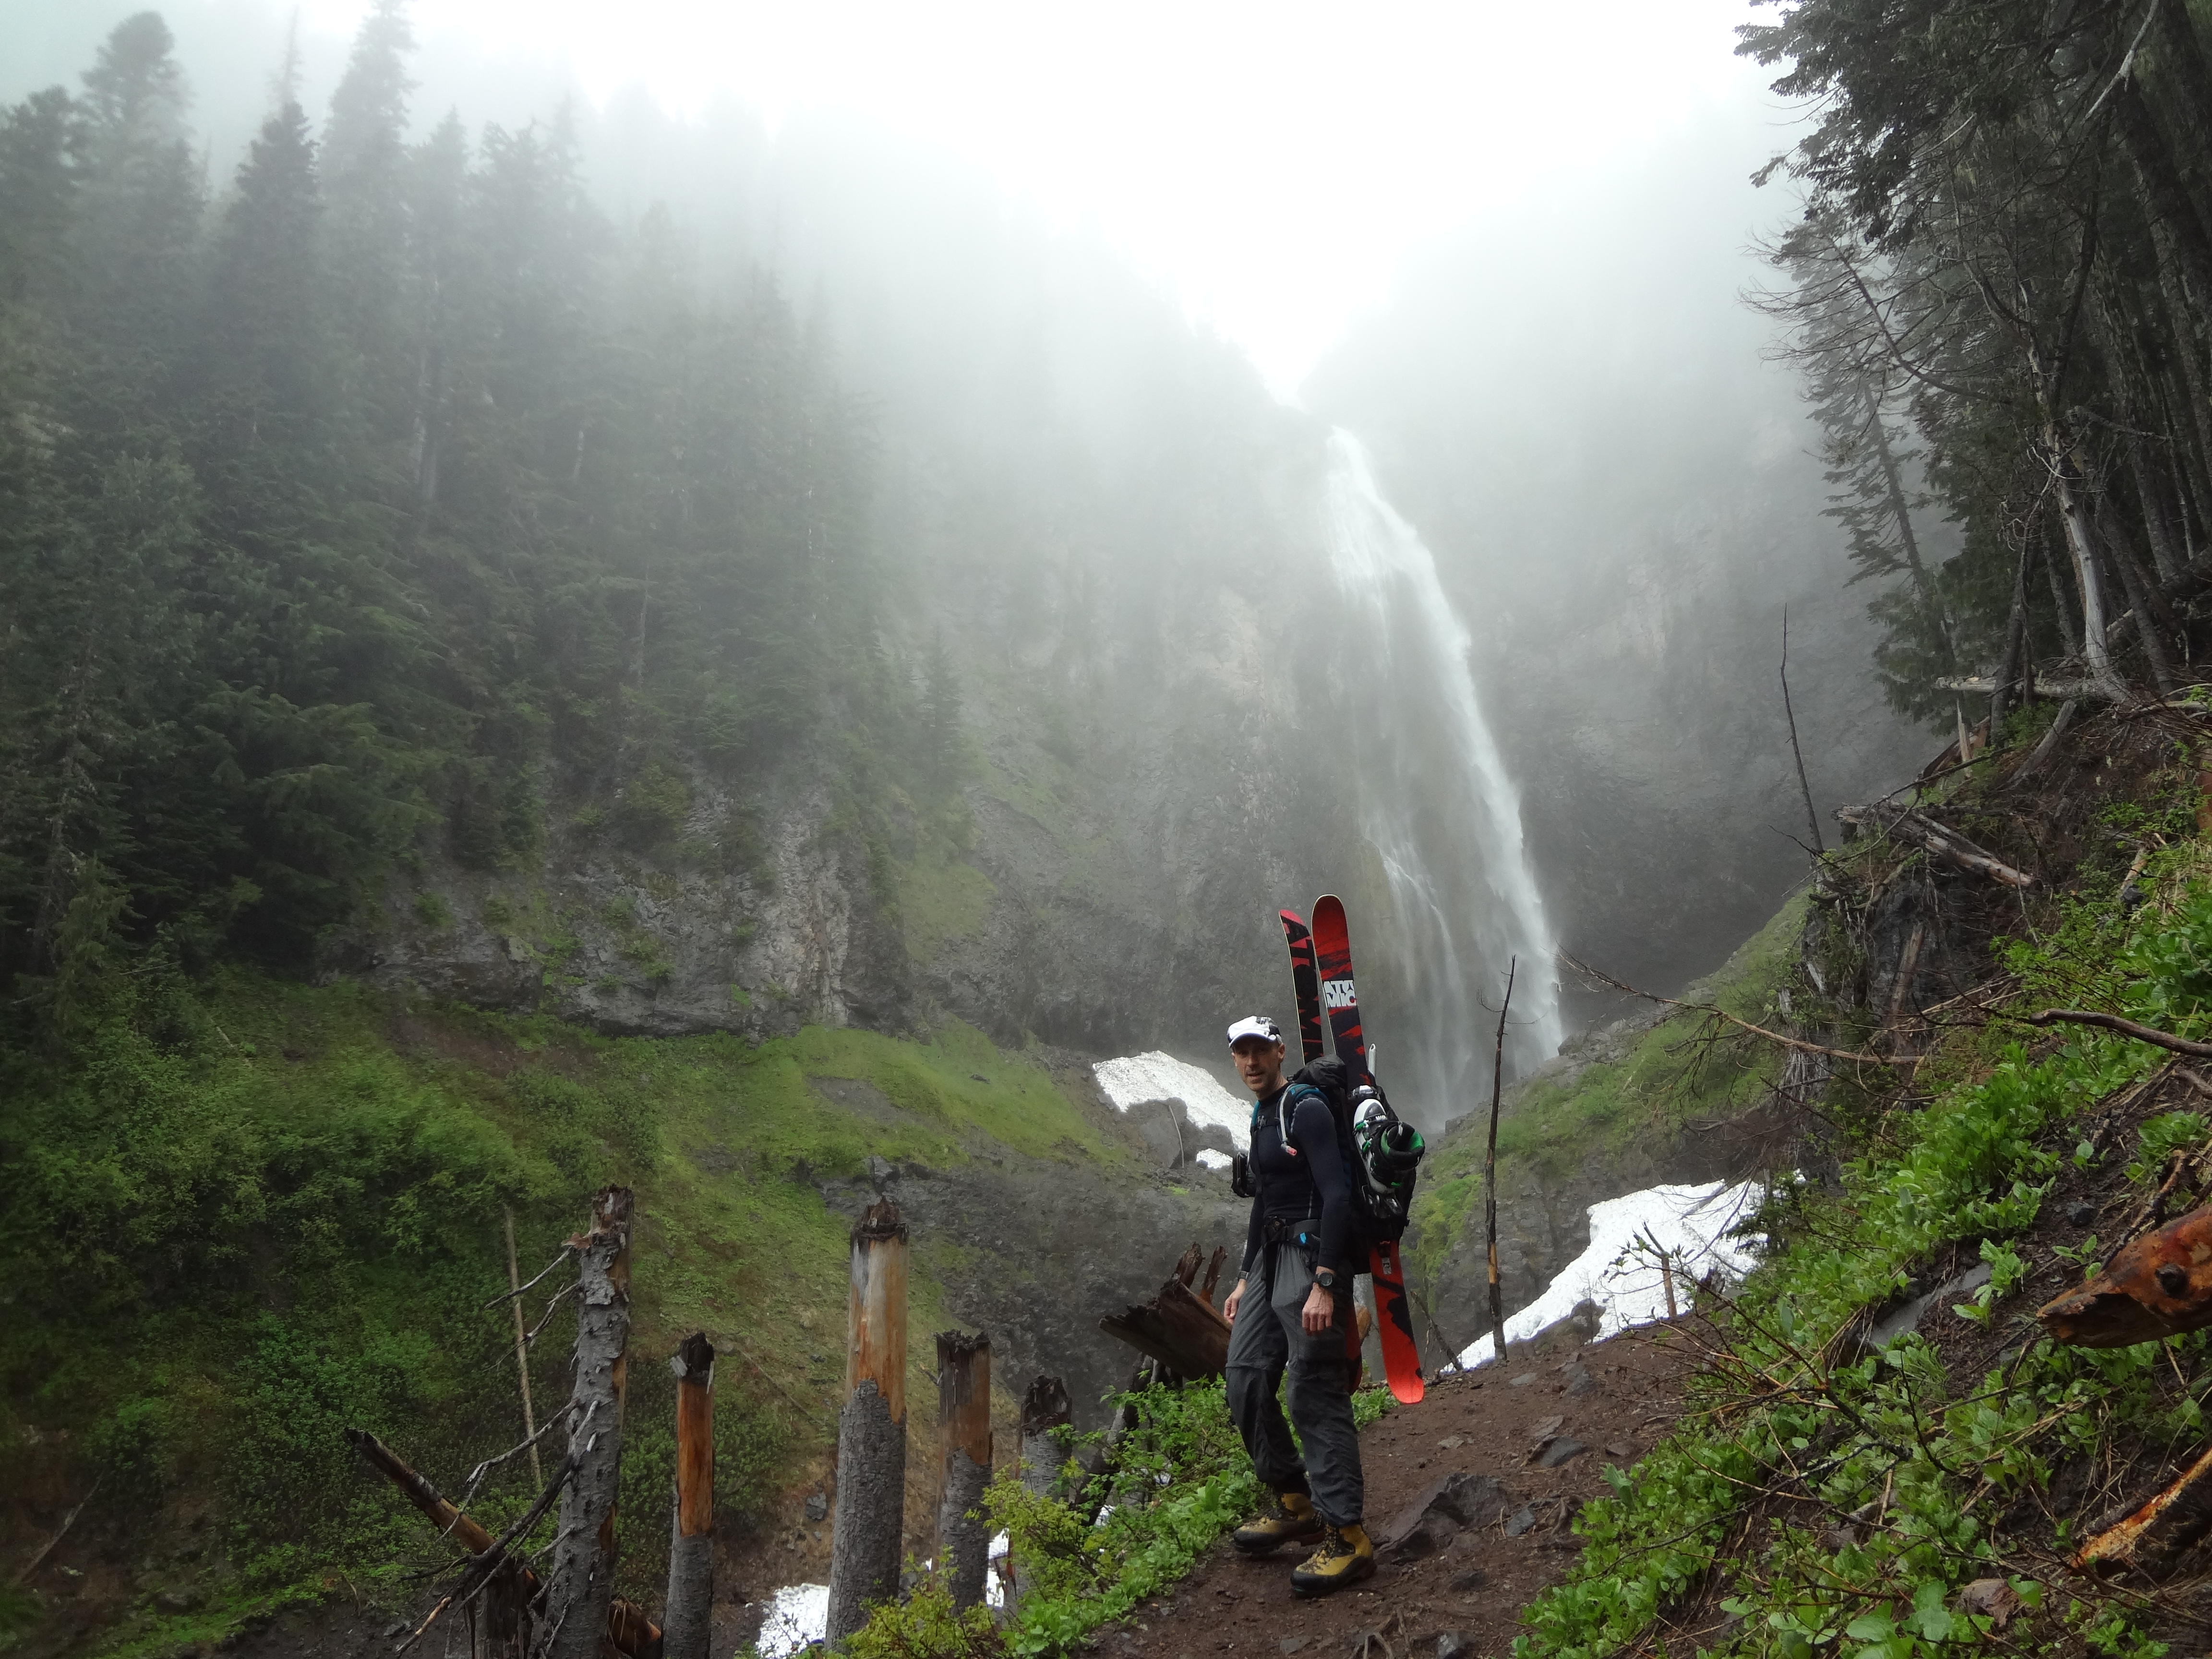
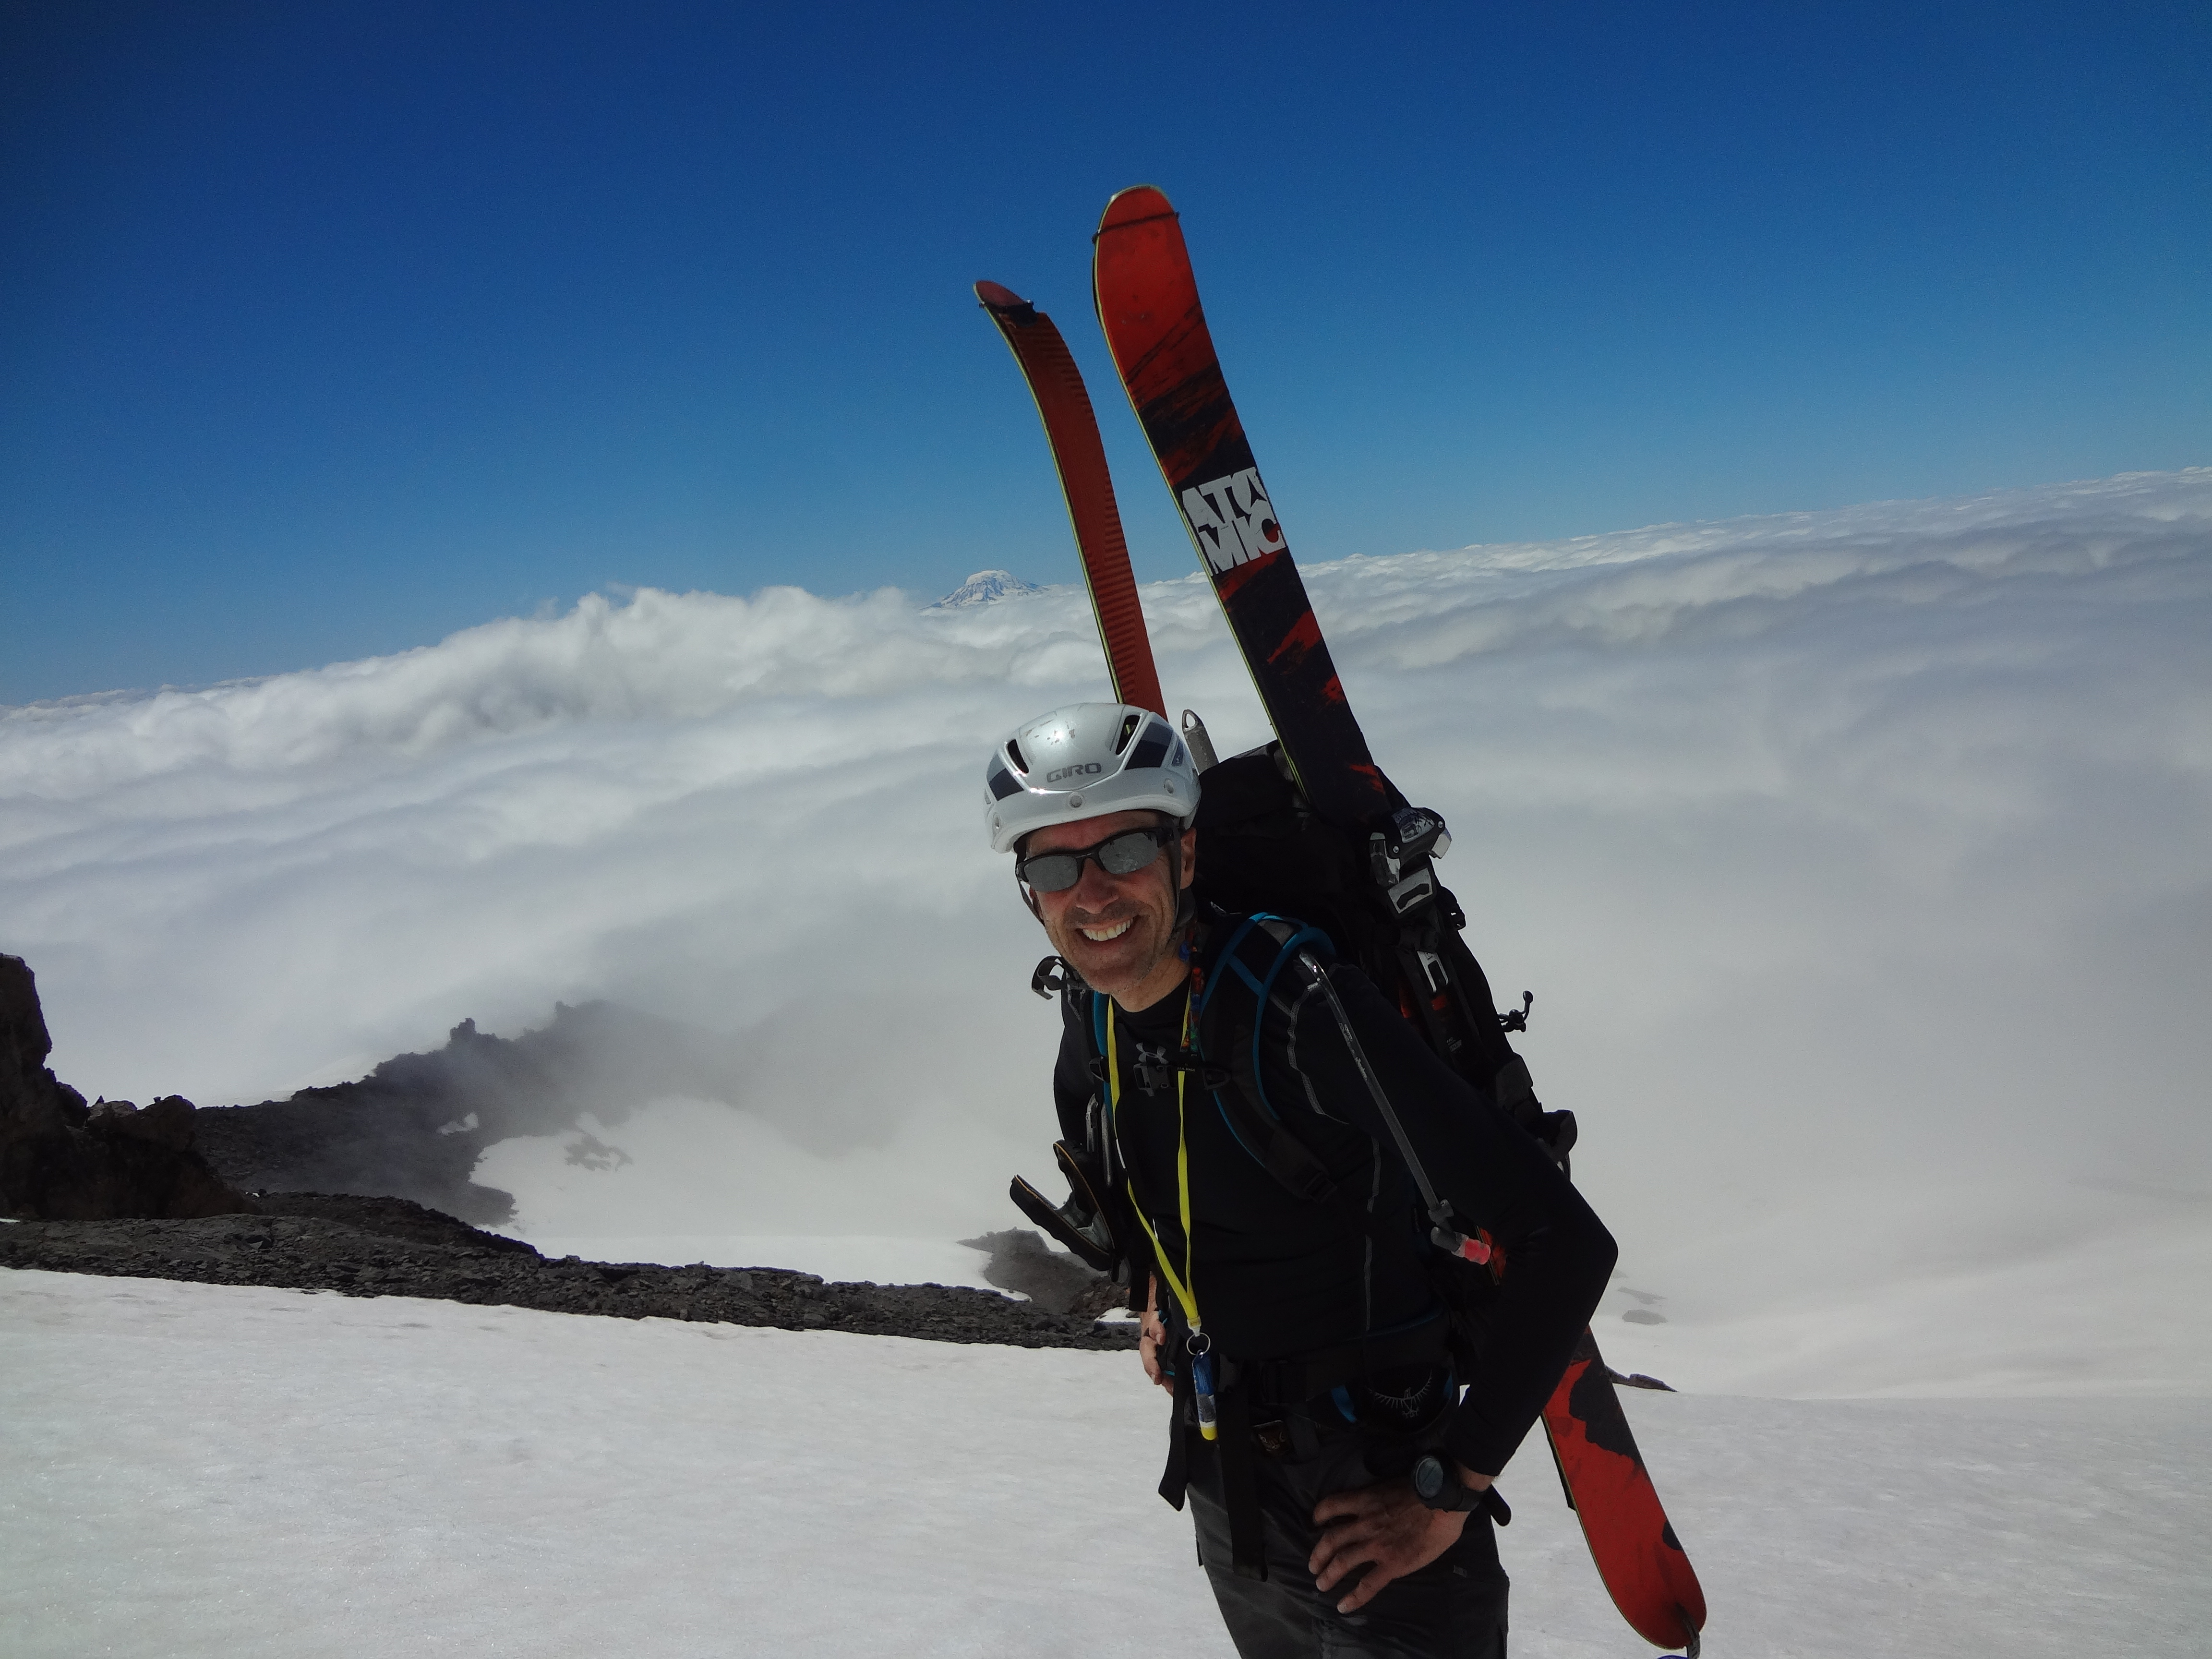
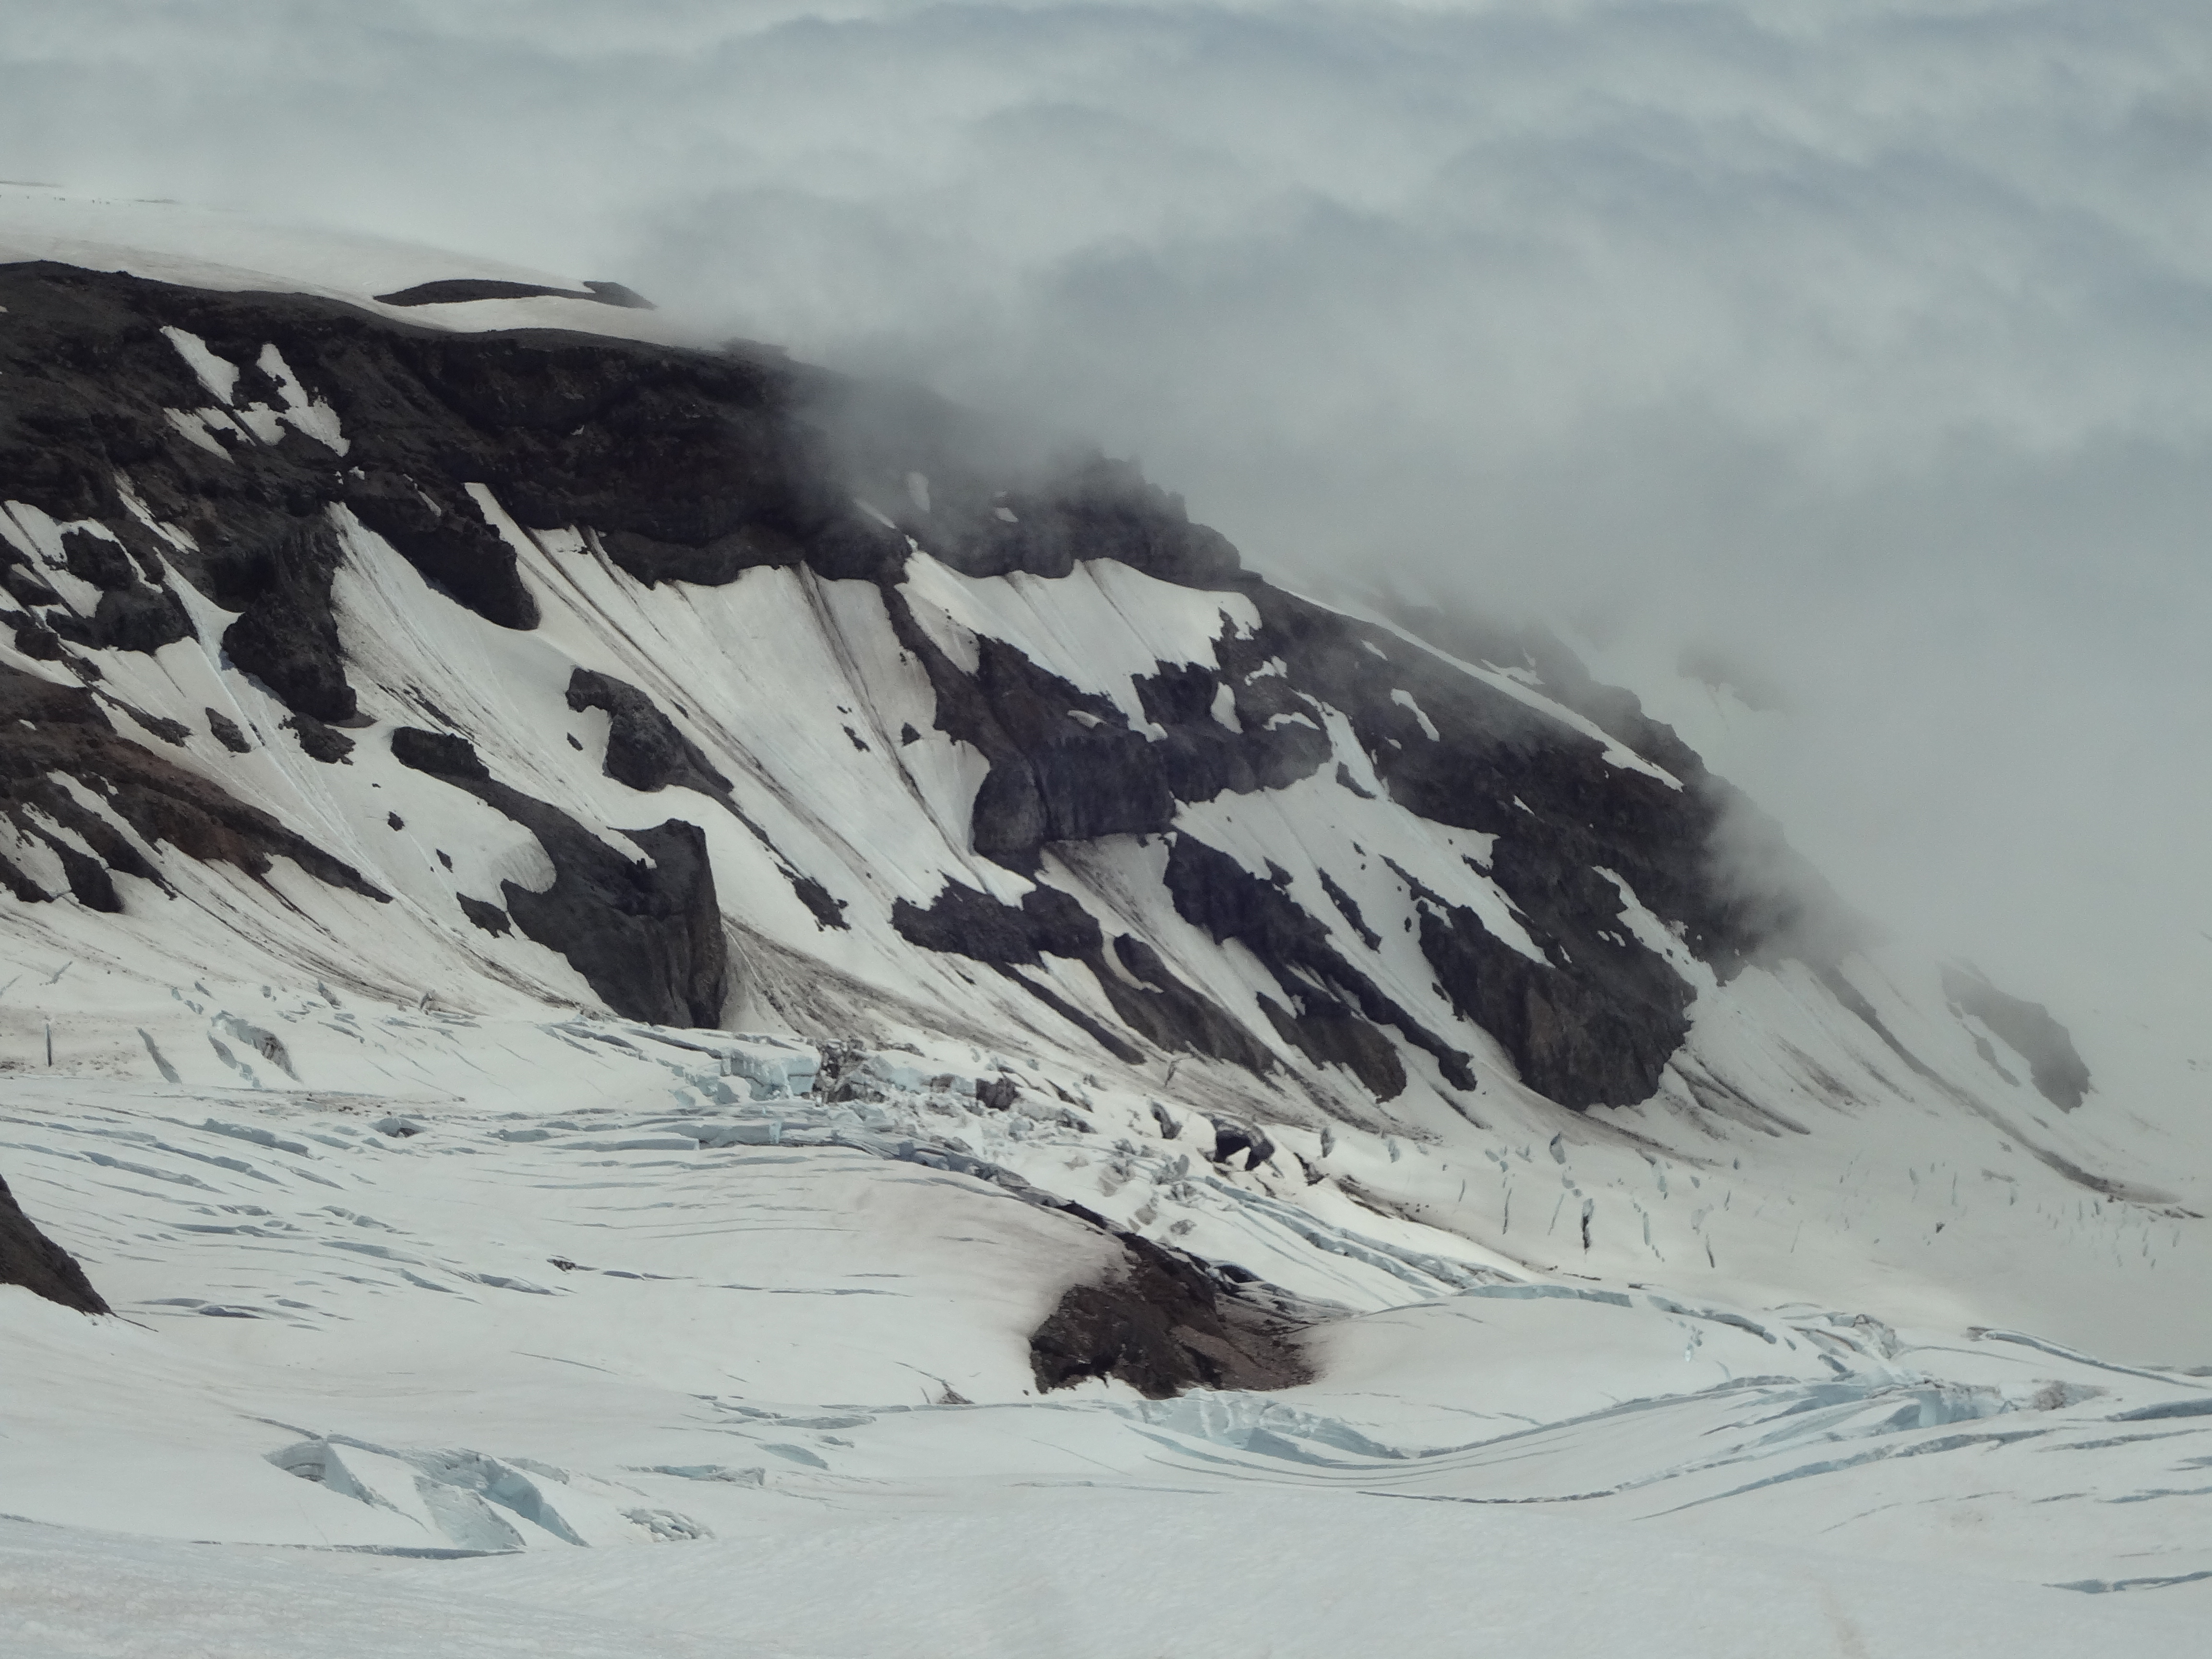
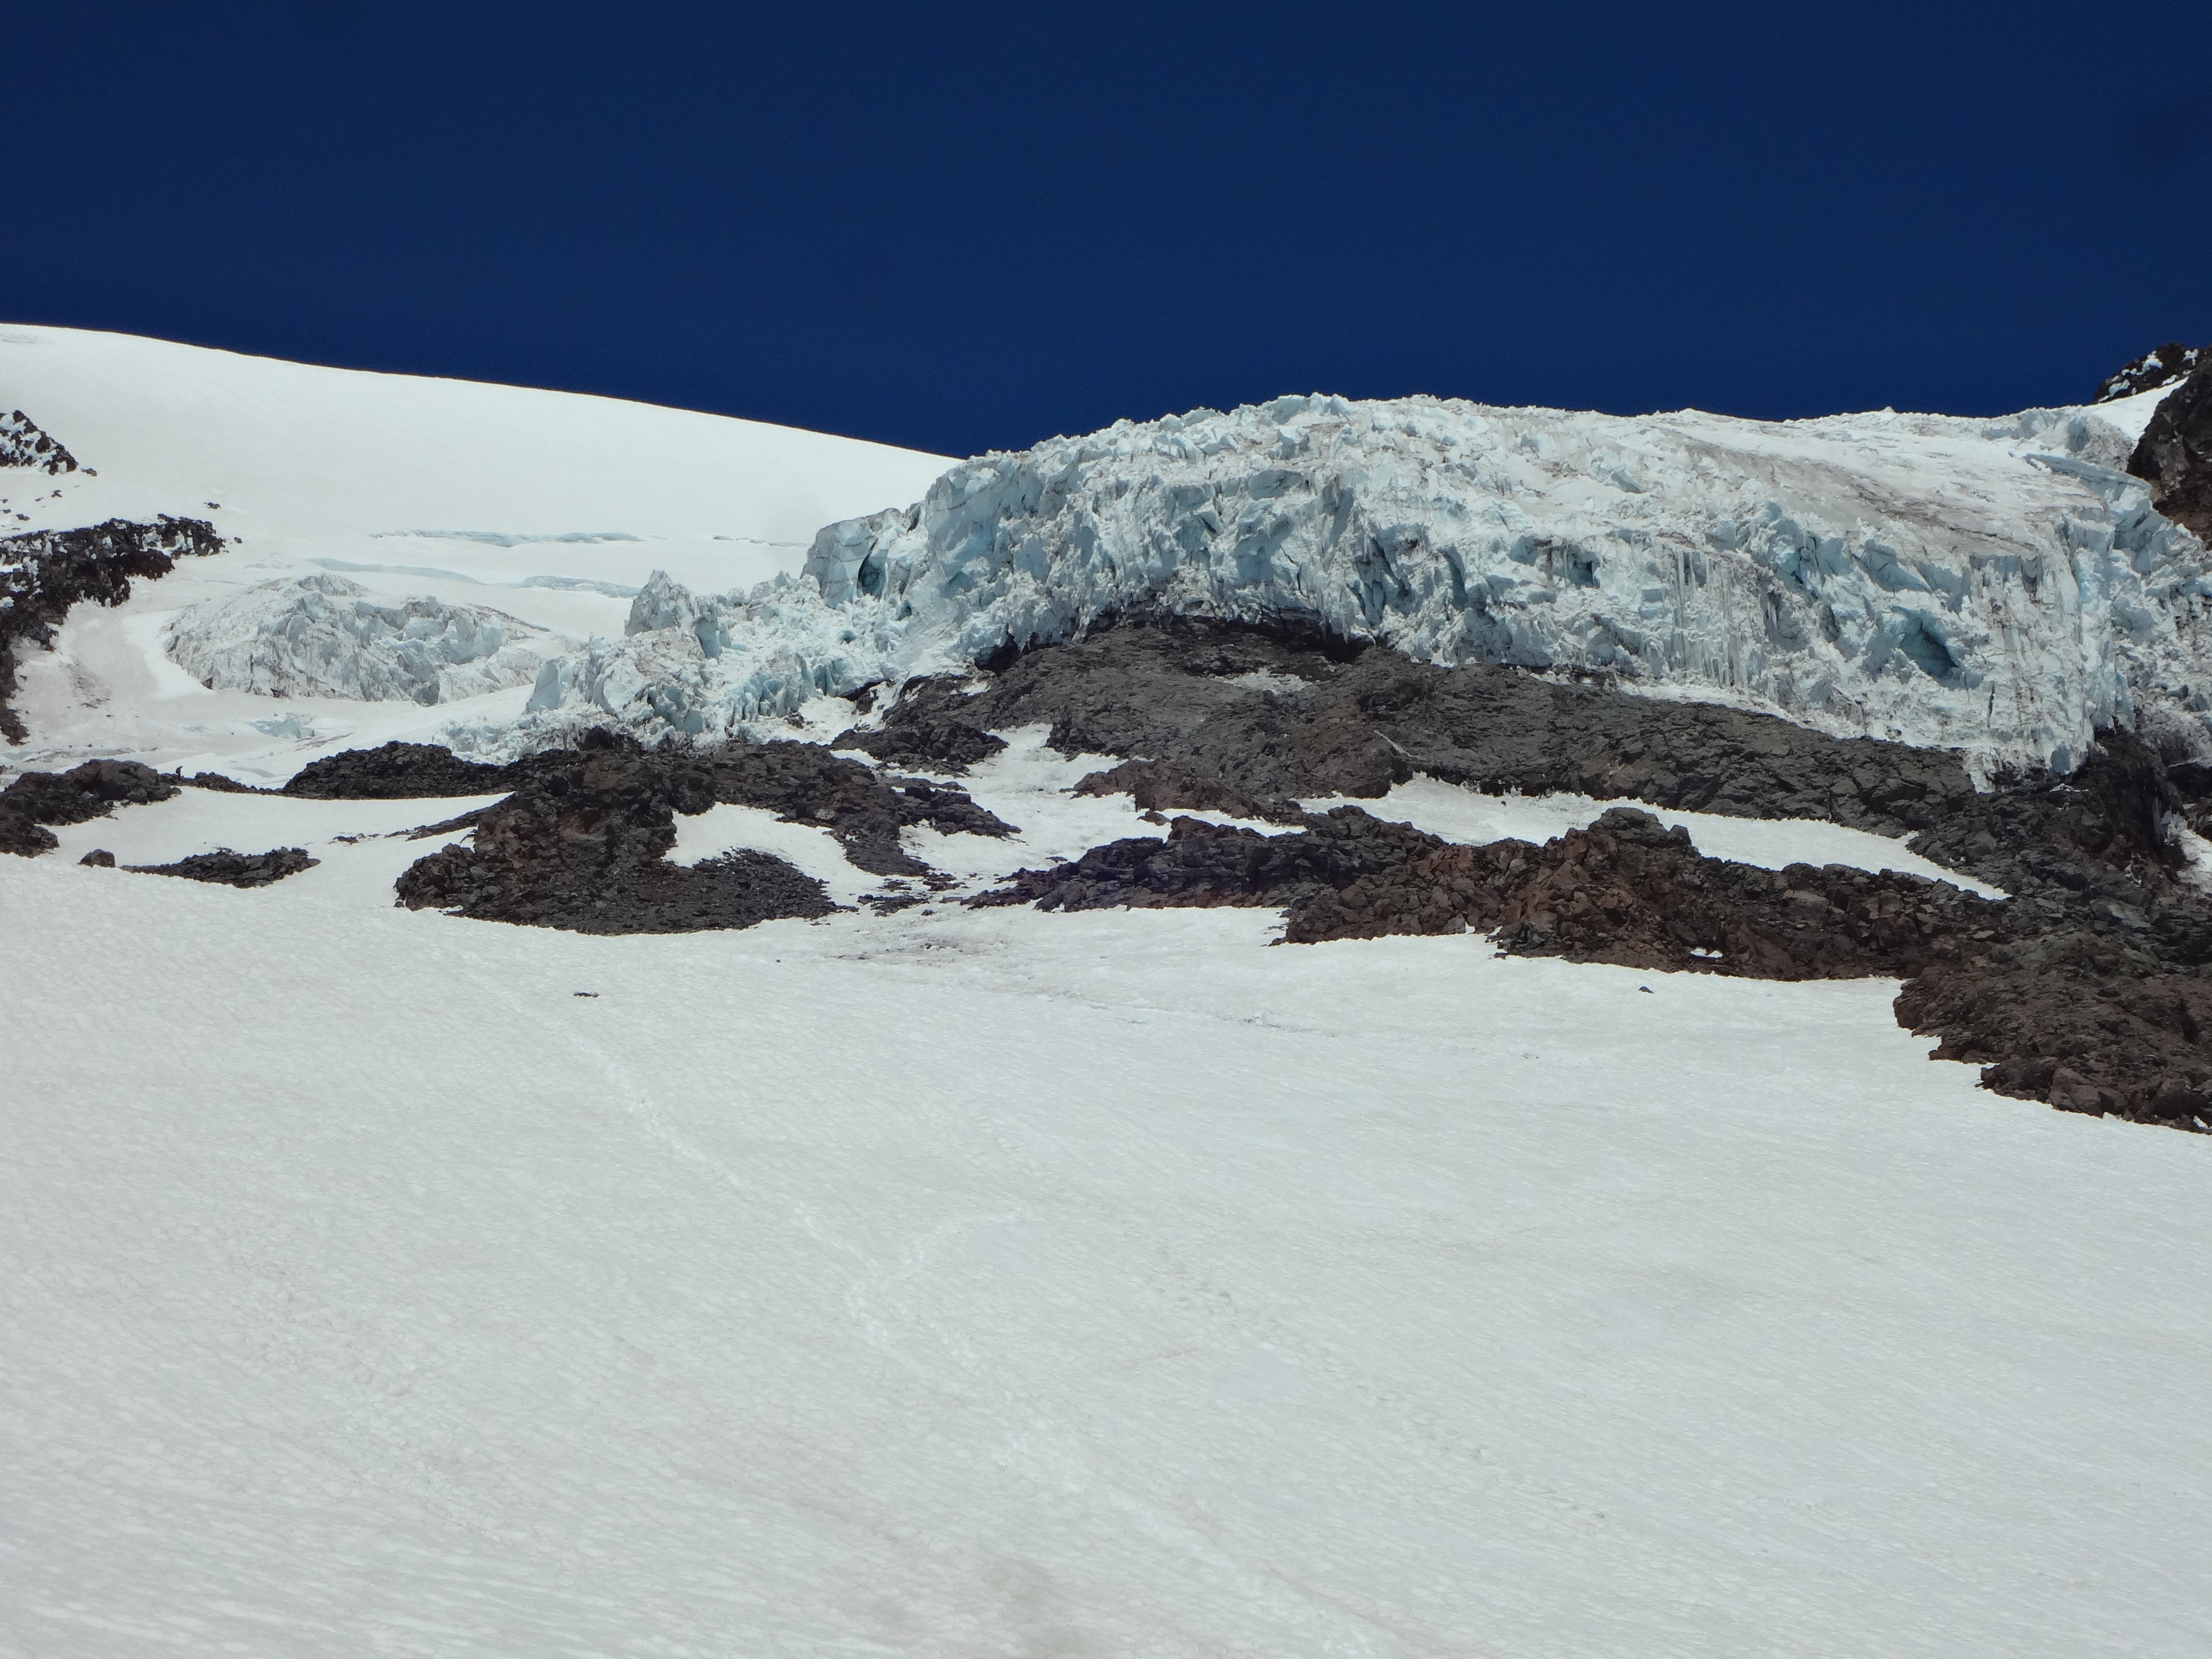
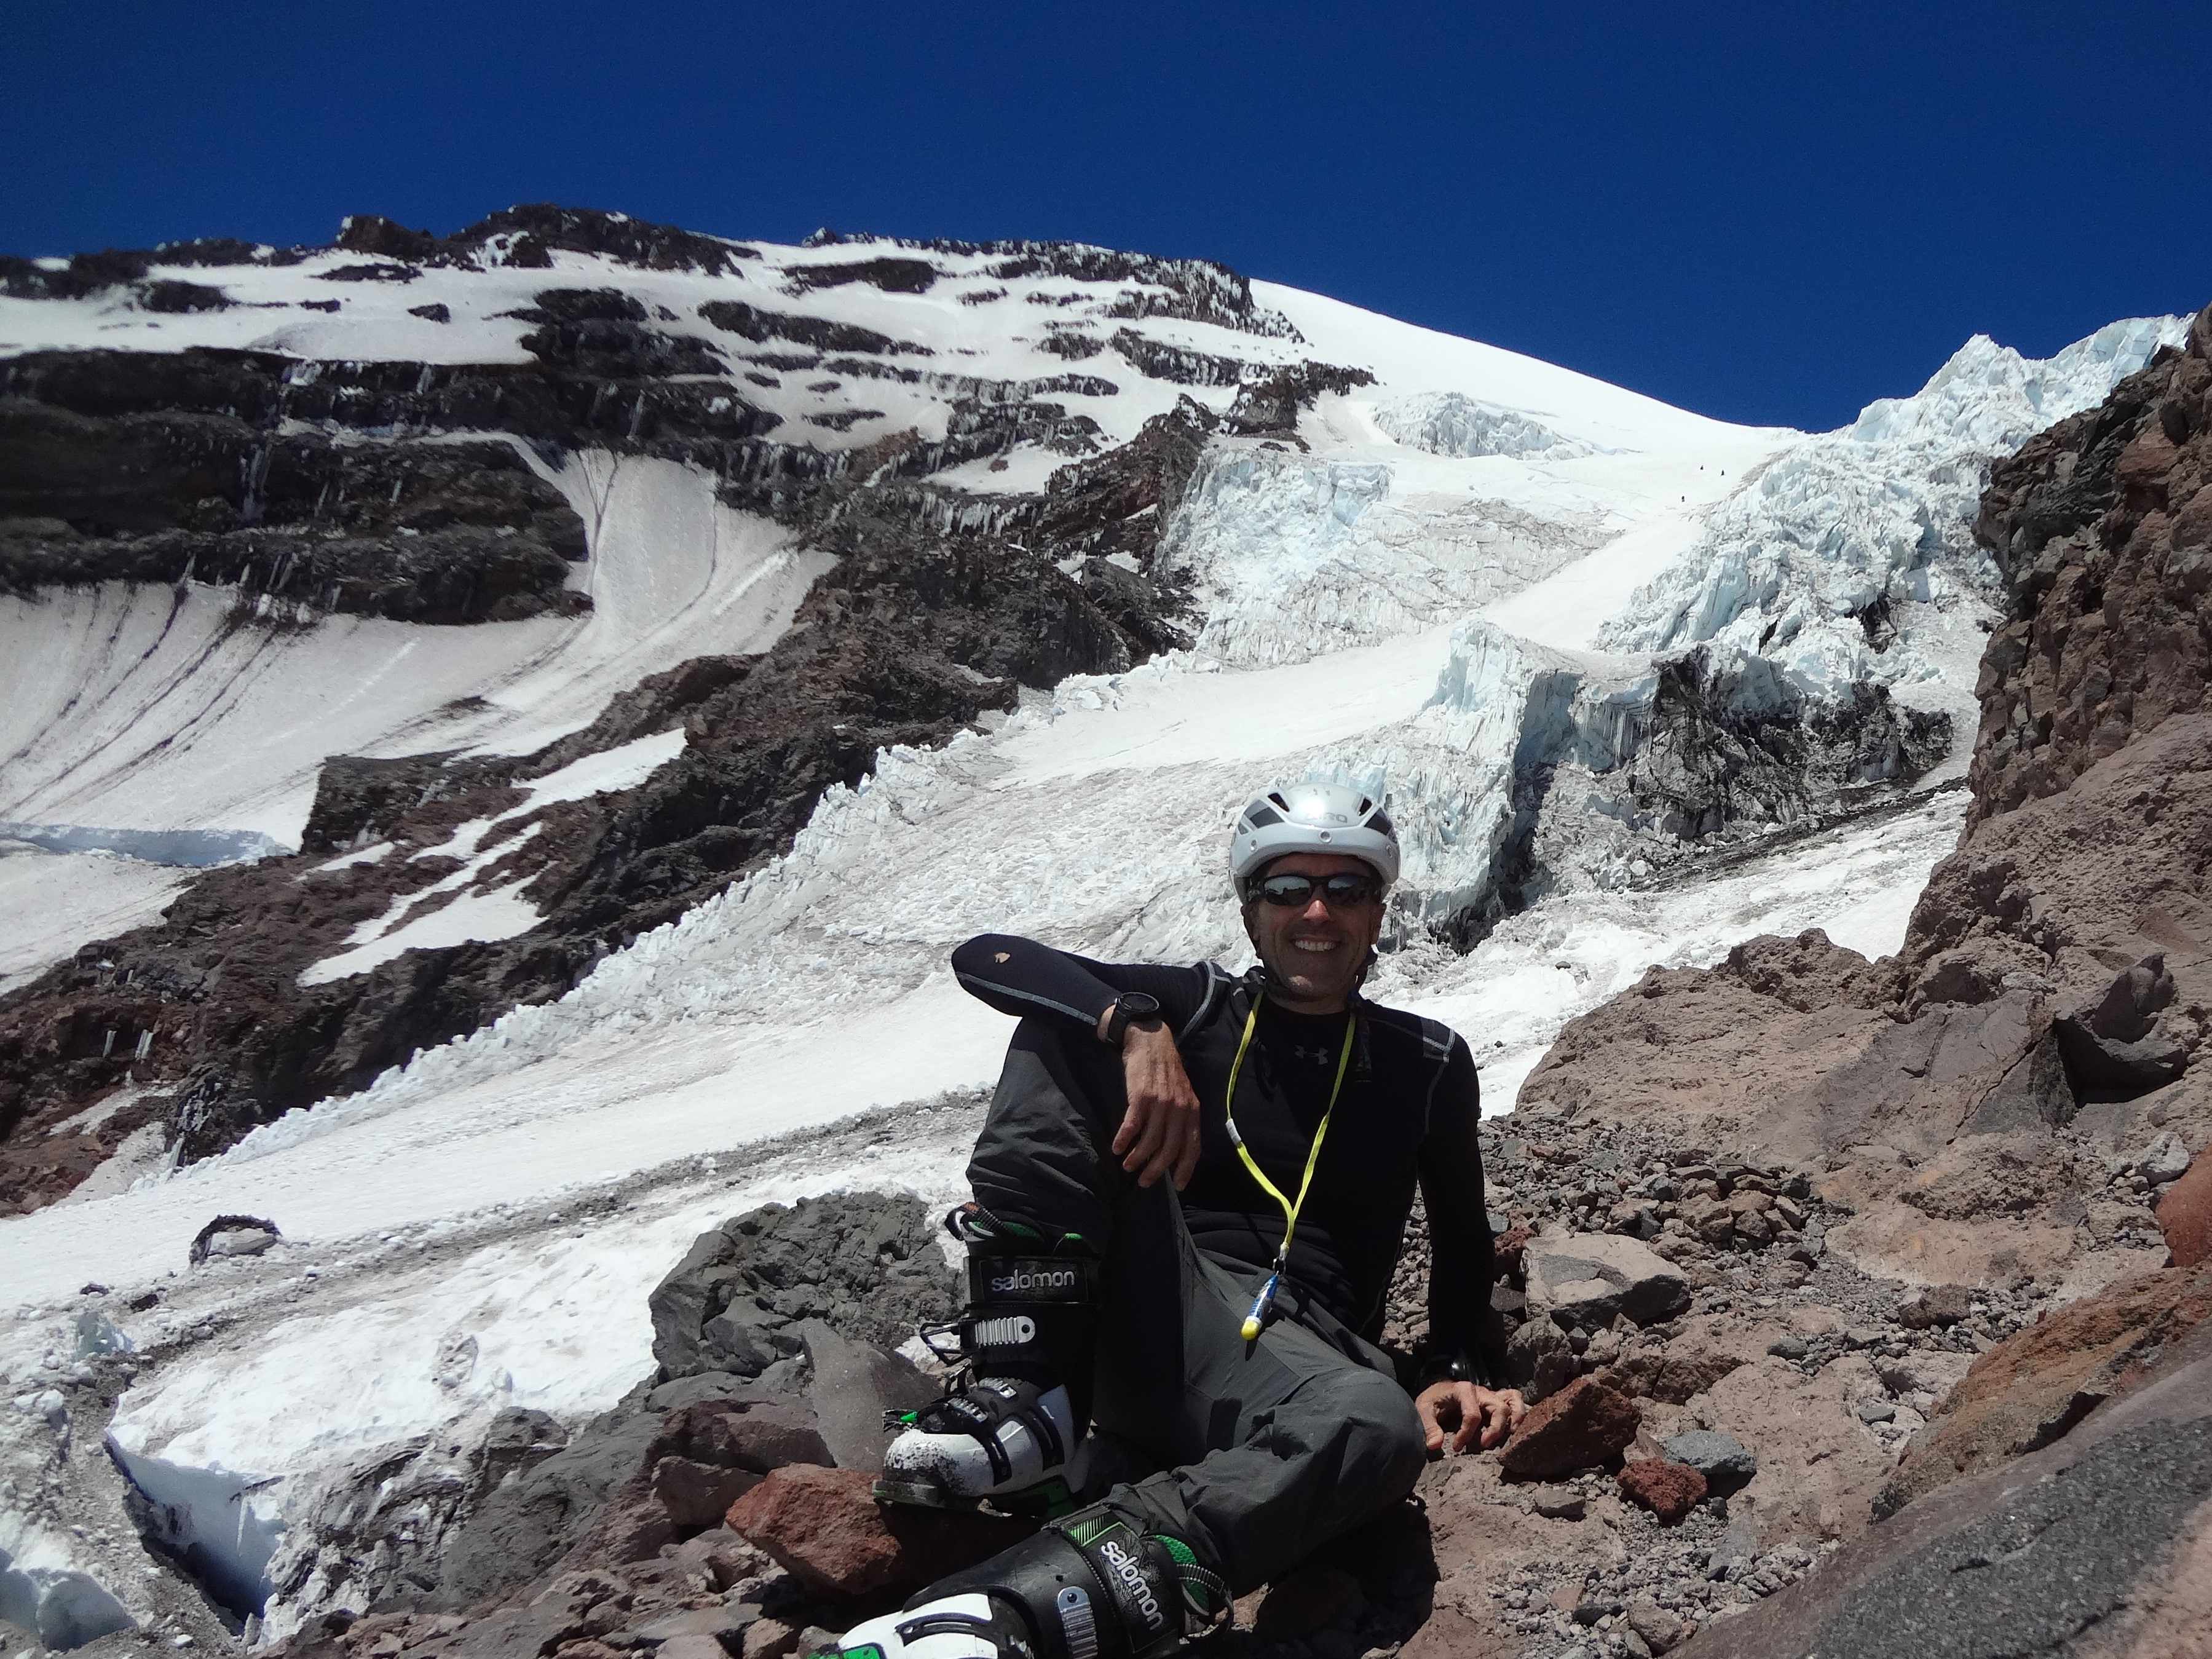
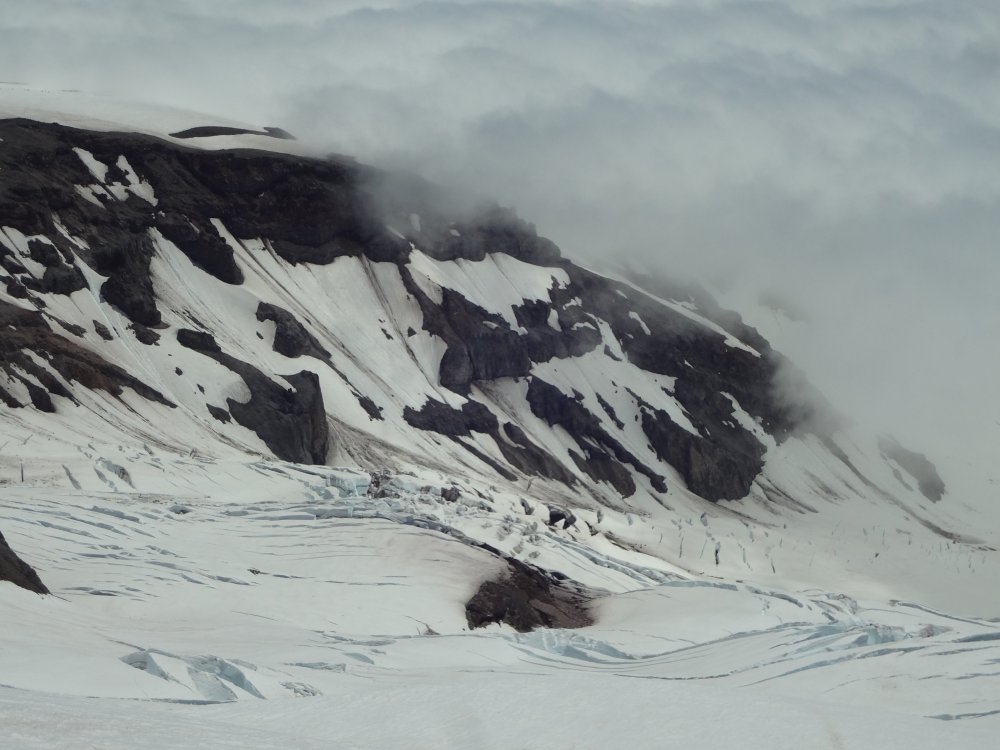
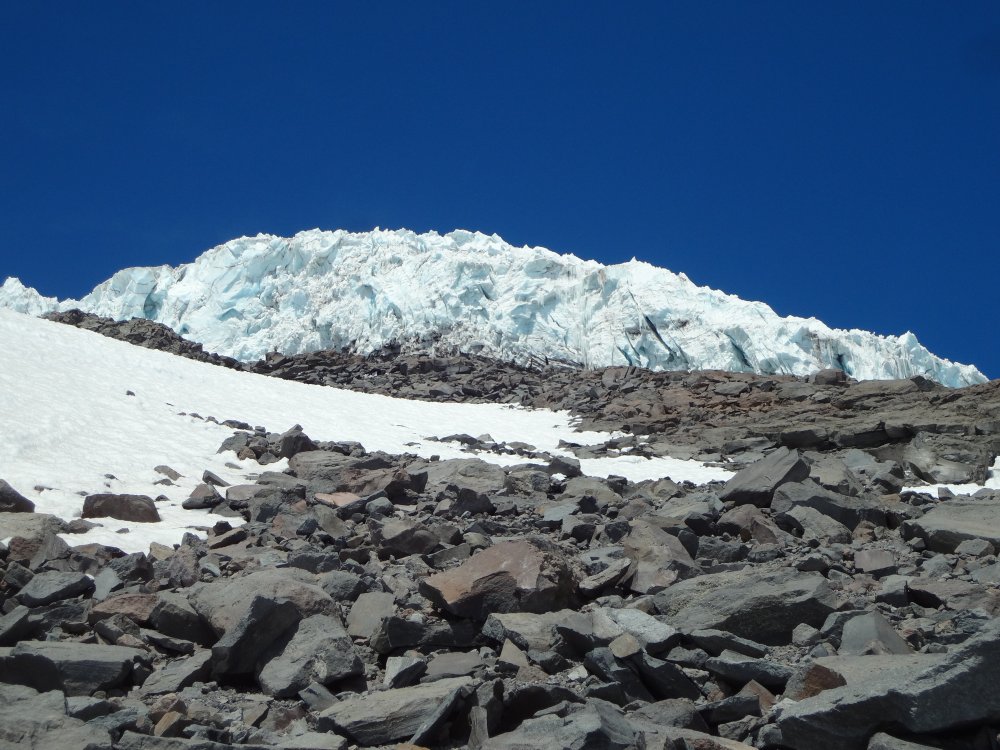
 Trip: Camp Hazard - Comet Falls / Van Trump Glacier Trip Date: 06/23/2018 Trip Report: Climbed up to Camp Hazard and Skied the Turtle yesterday via Comet Falls and Van Trump Park. I've never been up to Camp Hazard this way before because it looked longer than Paradise / Nisqually. In reality I think it's about the same elevation because you don't have to drop down, and it's less hassle because there's no glacier to cross. Go in at comet fall trailhead. Comet Falls is reached in 2 miles from the TH. Ascend up into Van Trump Park. At 6000 feet things open into a meadow. Ascend the ridge separating Van Trump Creek on the right and Comet Creek on the left. Ascend to flats at 7100 feet. From the flats, ascend the right side snowfield to the crest of Wapowety Cleaver and a flat spot at 9000 feet. Water was available here. Turn left and ascend the Turtle below the Kautz Ice cliff. Camp Hazard sits below the ice cliff, but has been moved lower to offer protection from the receding glacier. Running water is available at Camp Hazard. Snap on the skis and WAHOO! 8000 foot descent to the car. 6.5 hours to Camp Hazard, 2.25 hours to the car. Here's the Relive: https://www.relive.cc/view/1657881348# Comet Falls Van Trump / Wapowety Cleaver Niscqually Glacier Camp Hazard / Kautz Ice Cliff Kautz Chute looks to be in good shape - thre climbers descending on rappell Looking down the Kautz glacier Kautz Ice Cliff Gear Notes: Skis. Crampons and axe if you think there will be hard snow Approach Notes: Great trail. Snow free until 5400 feet


-
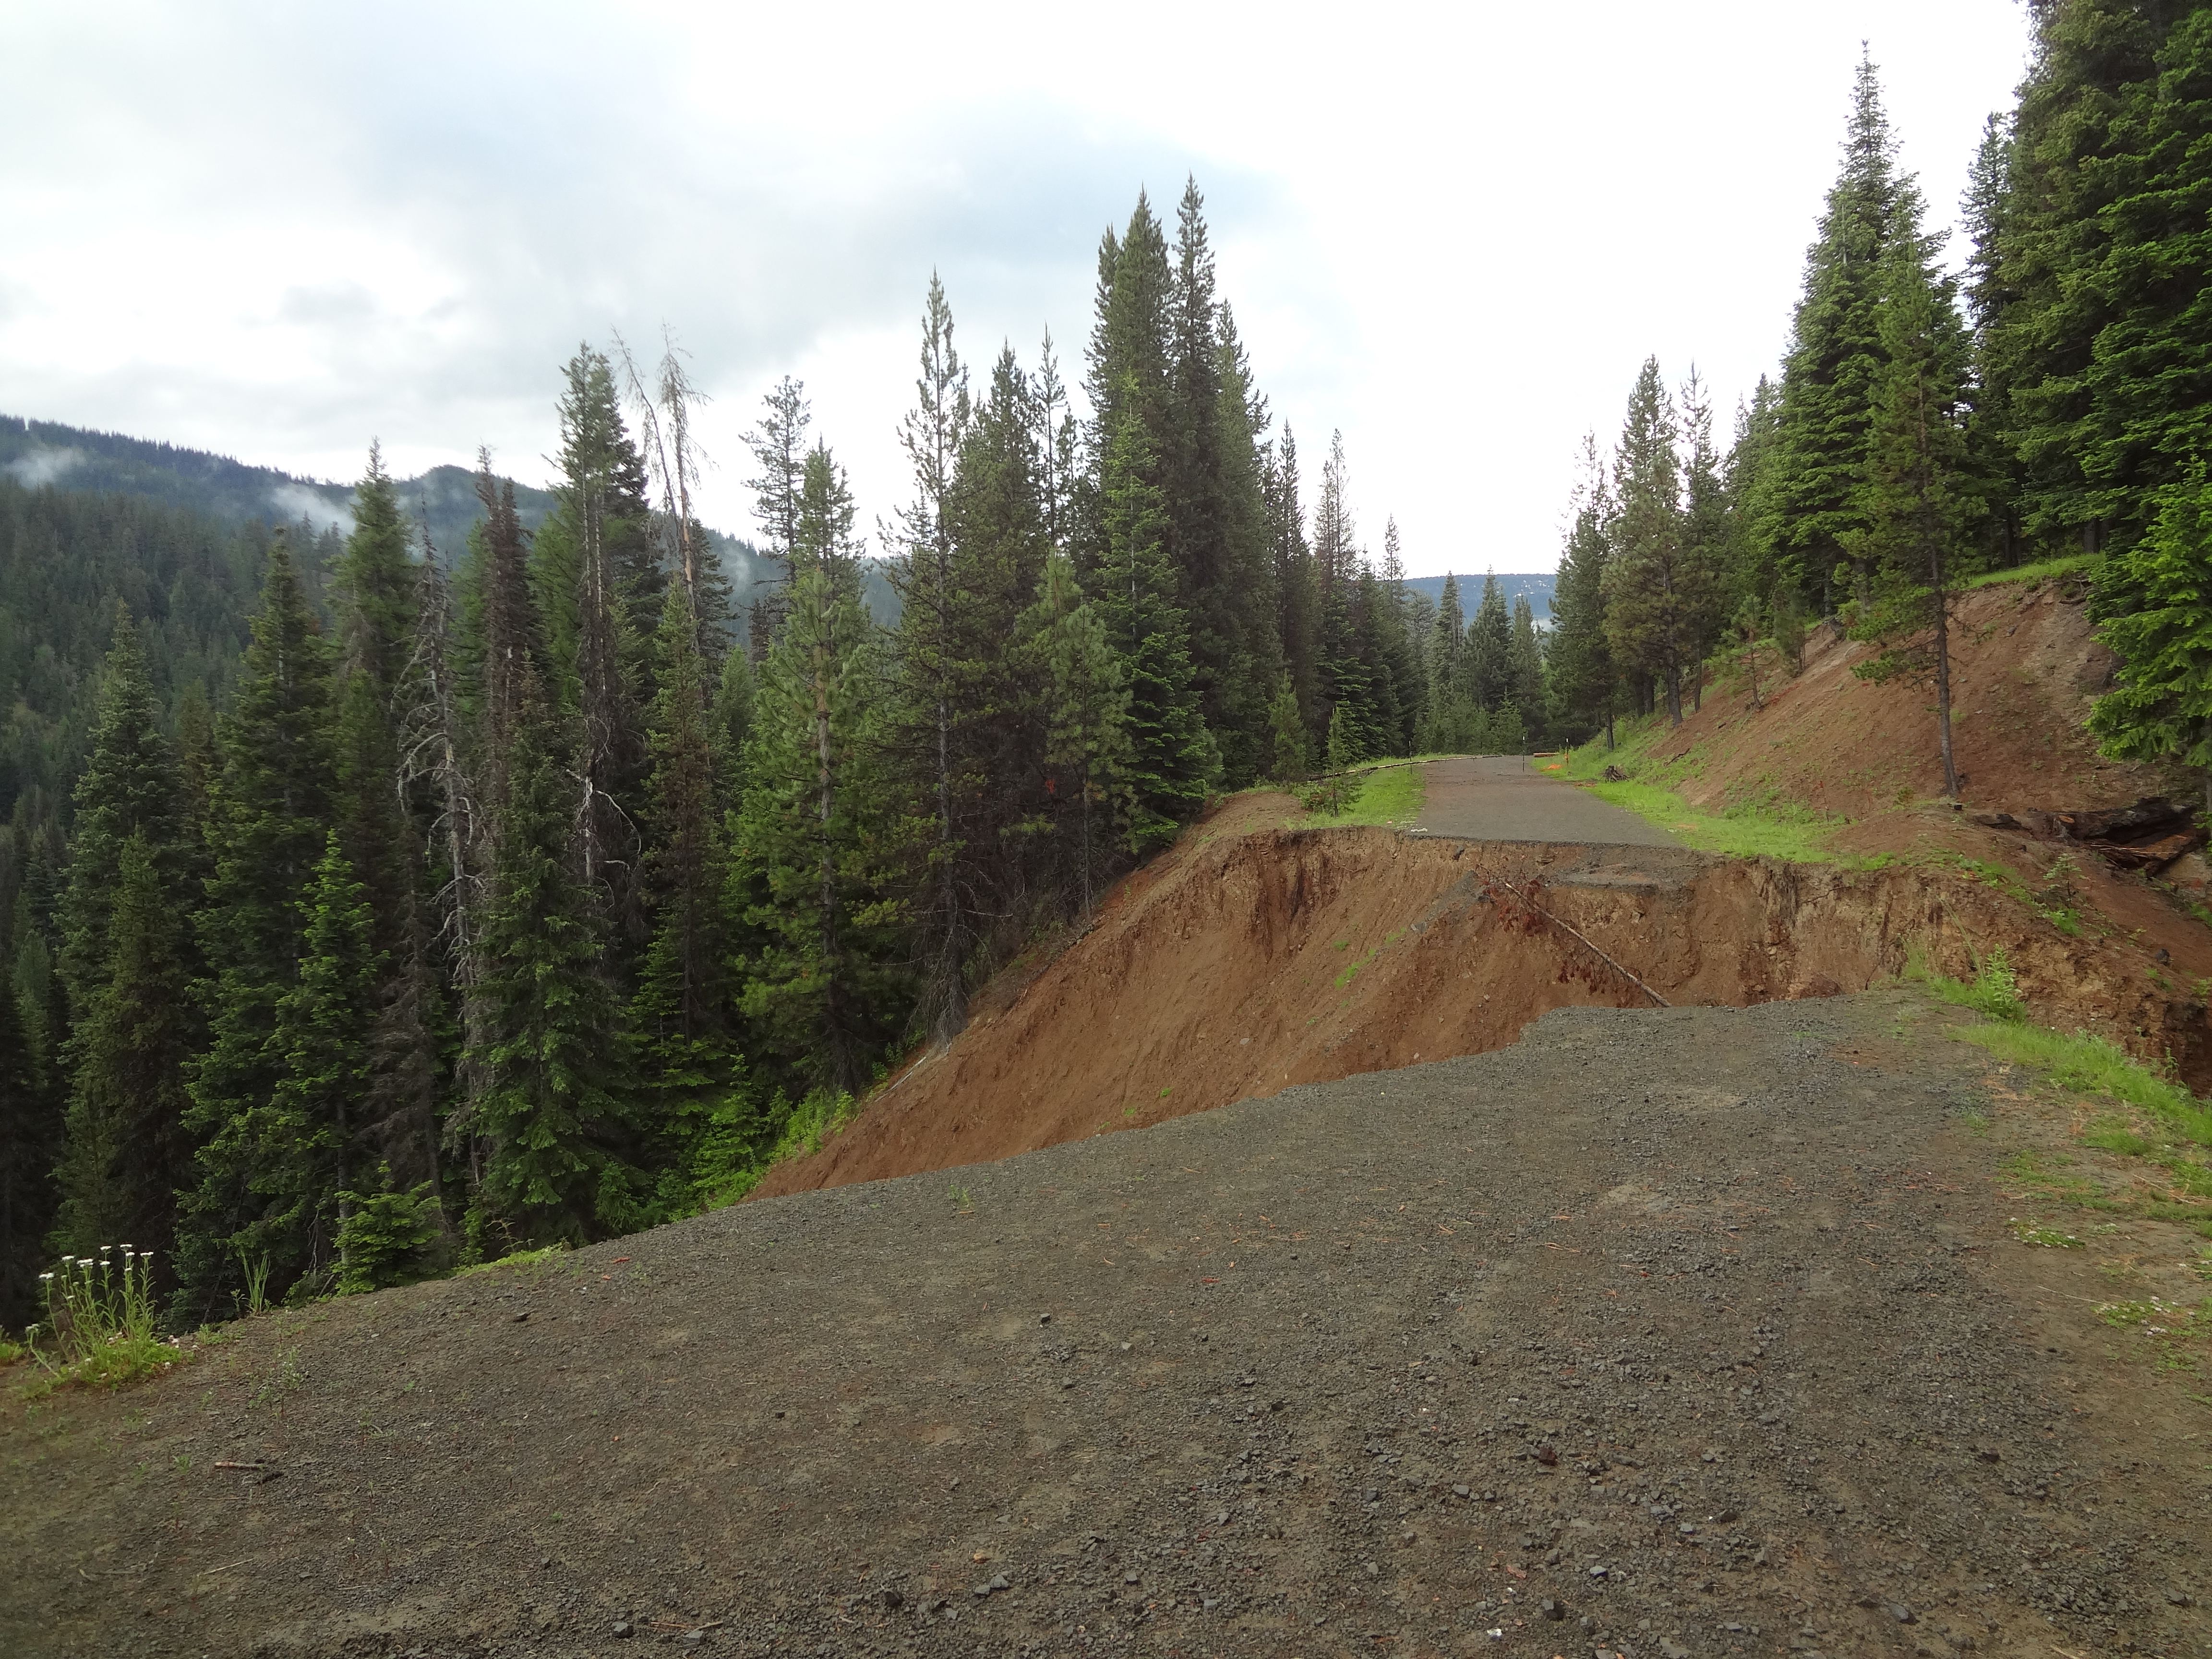
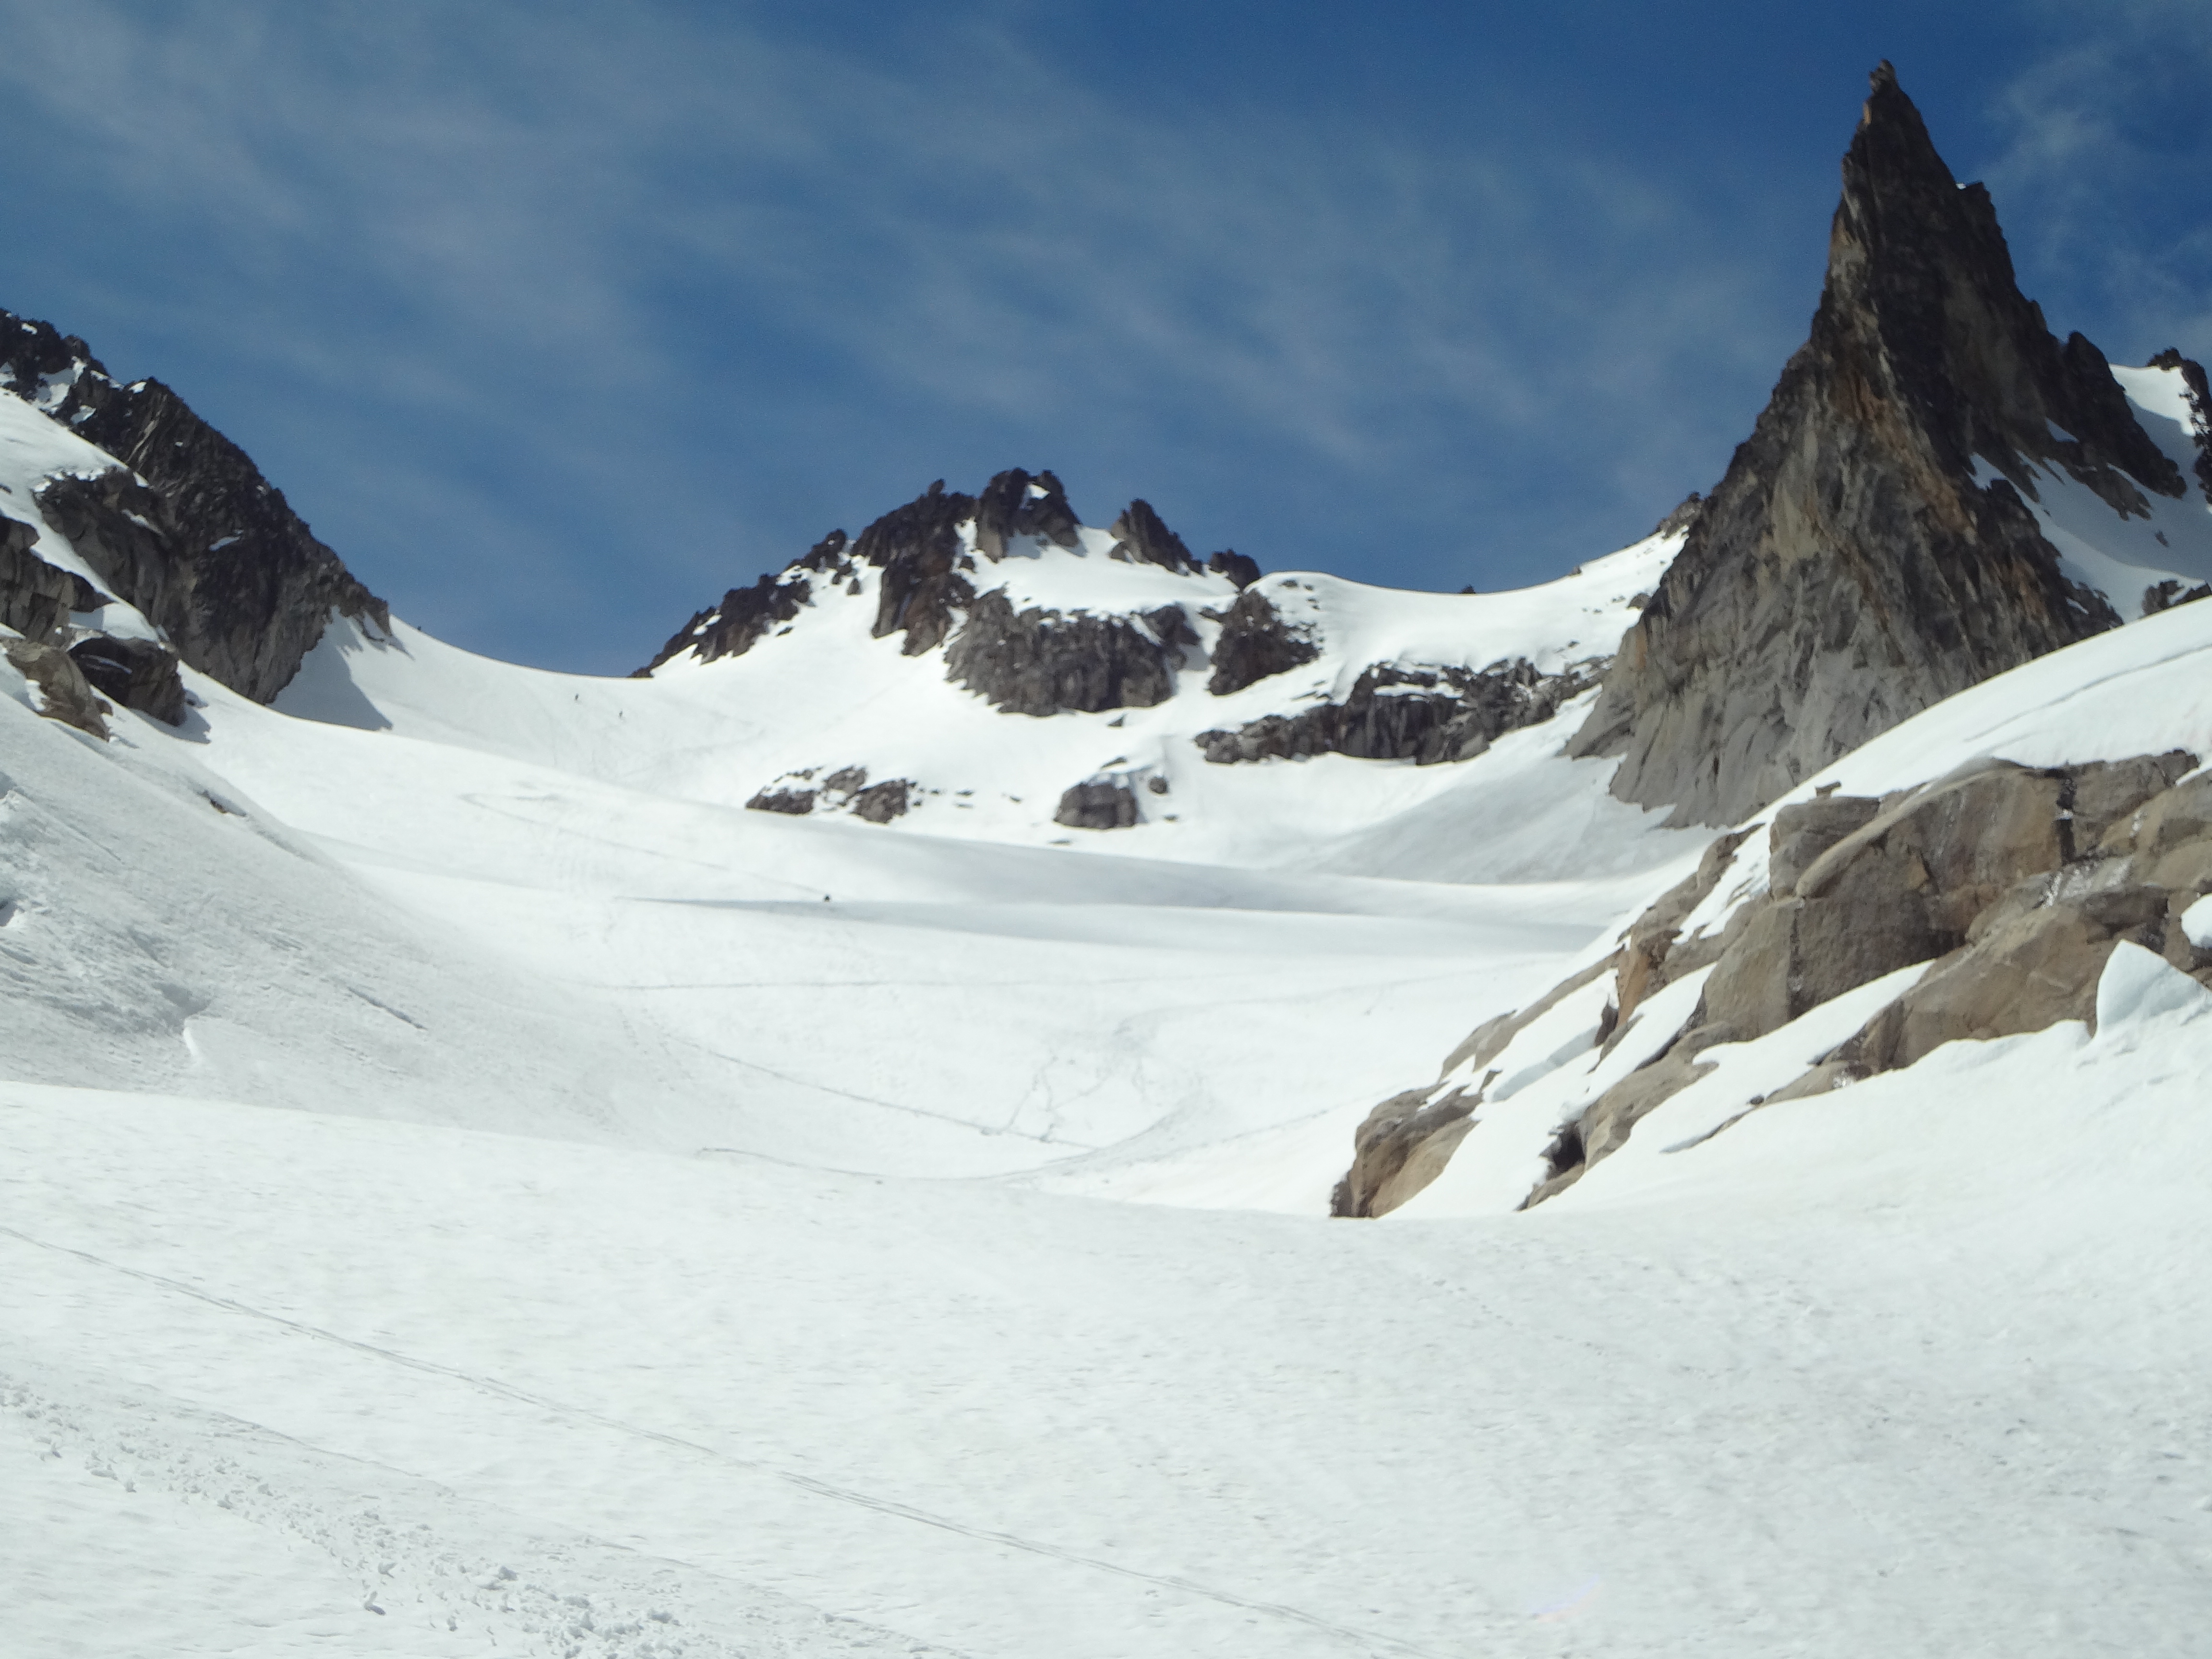
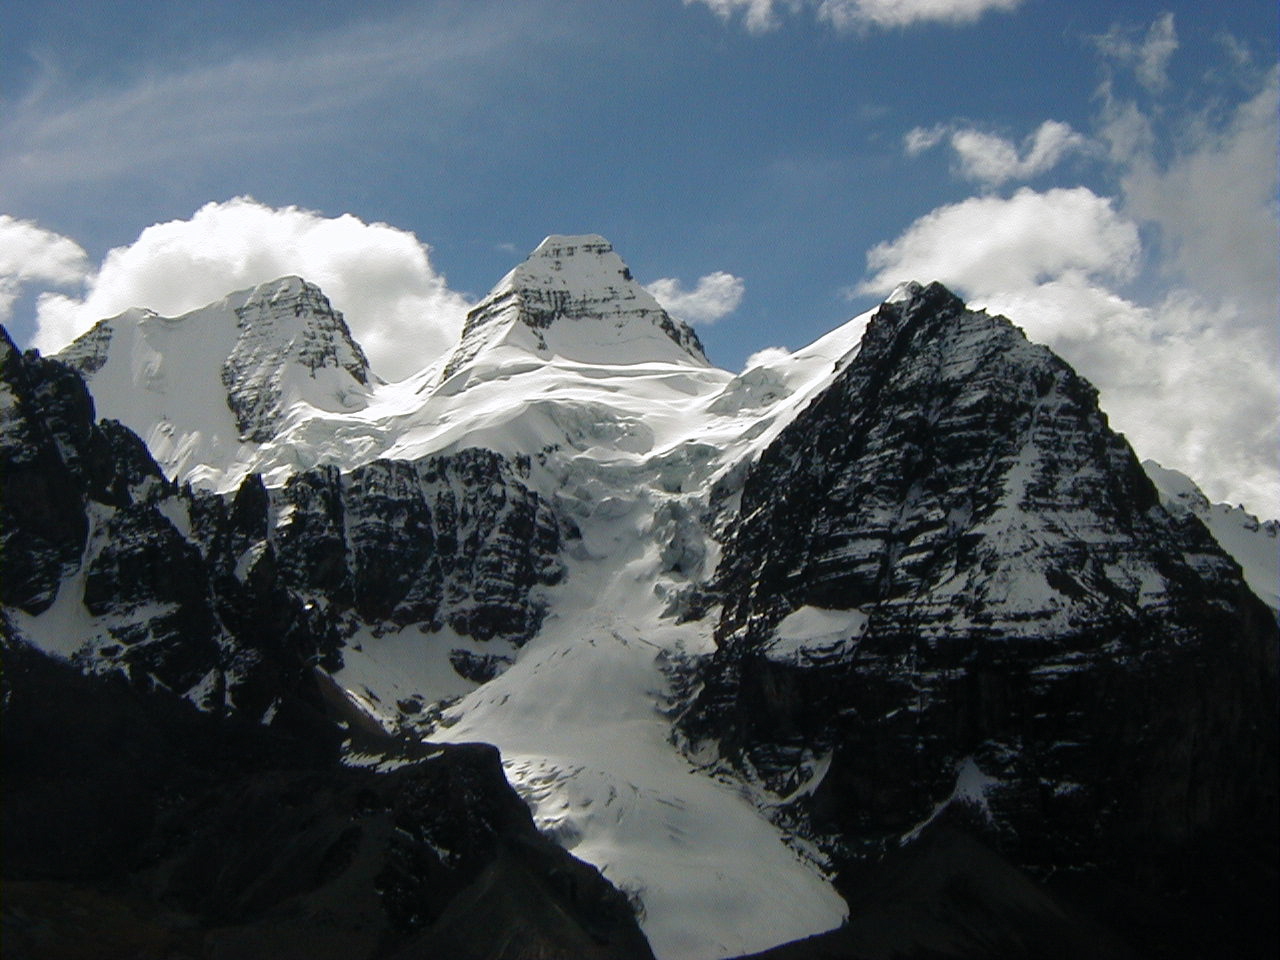
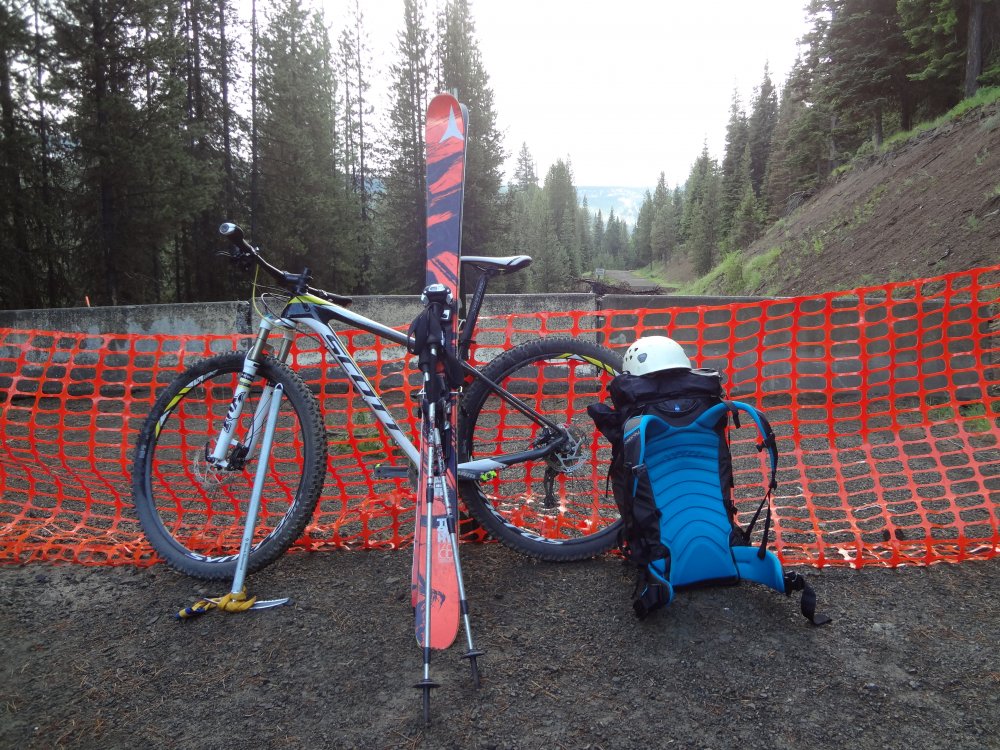
Trip: Curt-Gilbert - Meade Glacier Trip Date: 06/16/2018 Trip Report: Made a quick trip up Curtis Gilbert to ski the Meade Glacier yesterday (6/16/18). Route was fine, but really only skiable from from 7,700 feet to 6,250 - so a long walk for a few turns. It might be a better ski earlier season, but so much of the trip is up a flat river valley and wooded ridge that you'll never get a lot of vertical from a single run. If you're going to do CG, I definitely suggest doing it as an overnight so you can score a few more runs. Plus, it's a long way back in there. Car to car was like 24 miles (not completely sure because my garmin died - but I think it's a good bet). Snow starts at 6'000 feet Gear Notes: Ice axe, crampons, skis, Mt Bike (see approach notes) Approach Notes: South Fork Tieton road is washed out 1.2 miles before Conrad Meadows CG. From the CG, it's another 2 miles to the trailhead. I brought a Mt Bike and was able to cycle up the road, saving myself about 6.5 miles of walking in total. A note about navigation - I was using some older maps that showed trails allowing shortcuts to trail 1120. I don't recommend these. There are all kinds of trails snaking around from hikers, game, and livestock. 1120 is barely maintained, and the others not at all. I had numerous times in my day even on 1120 where I lost the trail in blow-downs and had to backtrack and search - super annoying on a long day. Also - the trails are not marked so take care to know where you're going or you'll find yourself floundering in blow-down hell. If there is snow all the way to the meadow, overland travel would not be a big deal, but if it's melted out you'll want the trail. Take trail 1120 from the trailhead. There is a passable bridge over the Tieton, but it's not in great shape. After about two miles the trail forks. It's unmarked. Take the right fork. If you take the left fork and come to a bridge after which the trail starts ascending - you've gone too far. Go back and try again. Ascend the ridge via trail. At about 5600 feet the trail forks again - it's easy to miss. You'll be able to see the cliffs of point 6250 above you and to your left. Take the right fork and ascend to the ridge top at 6000 feet. Stay on the climber's left hand side of the ridge and follow a faint path until the ridge broadens out and meadows appear (6,250'). Hike the meadow West dropping up and down until you get to a steep moraine/cliff. Ascend snow to a large bench at 6,350'. Fabulous camping here. From 6,350 ascend the glacier - for me on the right hand side and the traverse to the obvious notch at 7,700 feet just to the left of the summit pyramid. Scramble to the top and ski on back down Everything you need for a trip on the Meade Washout 1.2 miles before camp ground. It's passable on the right Meade Glacier on Curtis-Gilbert - snapped it from the bench at 6,350 during a rare moment of visibility. Most of 6/16/18 was fogged in

- 1 reply
-
- 2
-

-
[TR] Silver Star - Silver Star Creek 06/02/2018
JuanBelay replied to JuanBelay's topic in North Cascades
I would say that once the road opens up you're better off going over the col and dropping into Silver Star. If you're there to ski, go up the Silver Star Creek approach. As of the weekend i posted, I'd say it's not worth hauling skis in there this year. There isn't enough snow left. -
[TR] Silver Star - Silver Star Creek 06/02/2018
JuanBelay replied to JuanBelay's topic in North Cascades
Matt - Thanks for the steps! They made my climb much easier at the top -
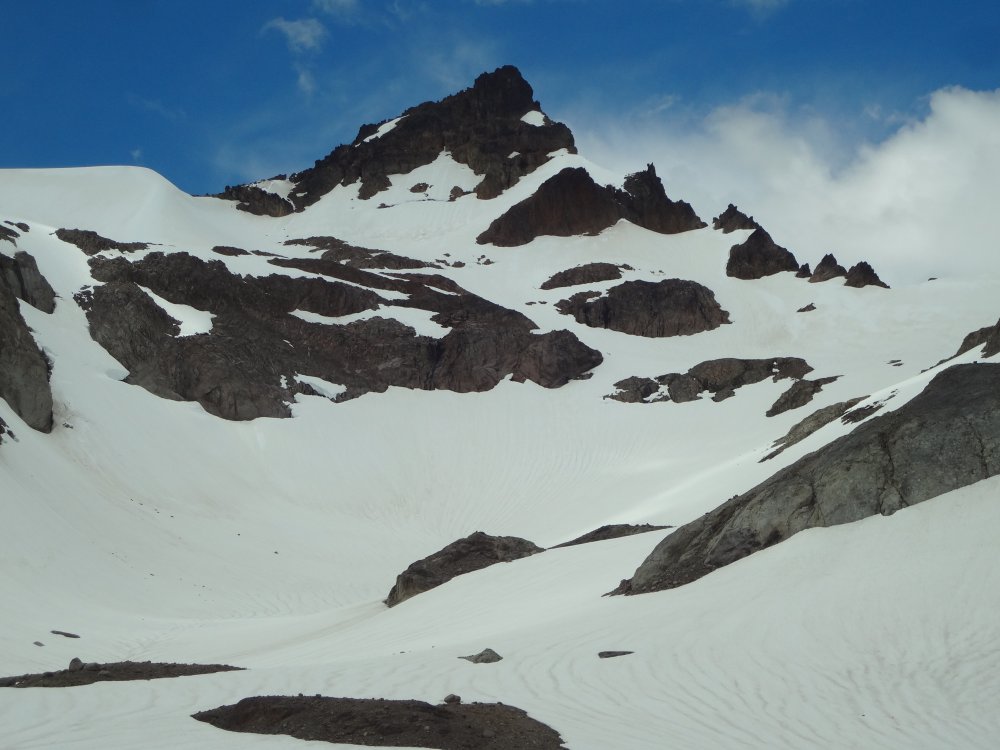
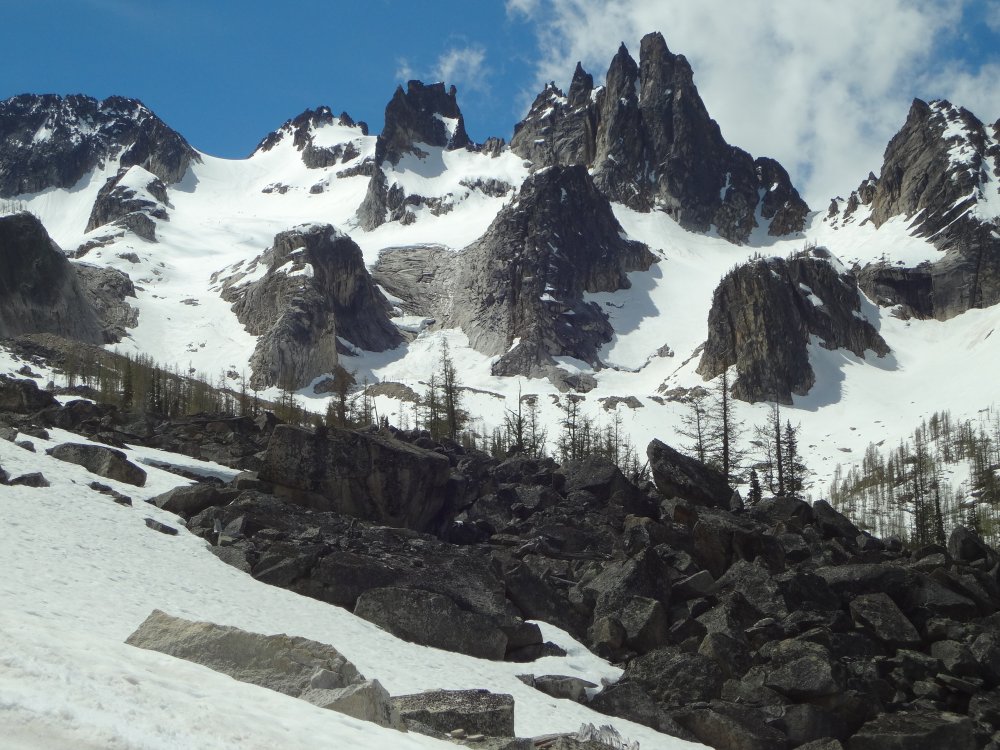
Trip: Silver Star - Silver Star Creek Trip Date: 06/02/2018 Trip Report: Did a ski tour of silver star via Silver Star creek. Beautiful day in the North Cascades, but I was probably 2-3 weeks late for any real skiing. I carried my boards to the col because it was early in the day and snow was still hard enough for crampons. Continuous ski-able snow did not start until about 6800 feet. A whole lot of work for just a few turns! Ran into a couple of Mountaineers groups (one listed climb and one private). Looked like everyone was having a great day in the mountains! Route is effectively snow free until about 4900 feet. After that, there is spotty snow as you find your way through the woods. ski-able snow did not really start until about 6800 feet at the terminal moraine below the glacier. From Silver Star creek ascend climbers path to approximately 4400 feet where things level off slightly. Route finding is fairly easy, though there is a lot of blow-down to go over and under Continue up at a mellow incline on the East side of the creek. The climbers path is very faint, but if you keep East of the creek and below the Eastern ridge, you'll be fine. Several cairns and a bit of pink tape mark the way. Emerge from the woods in the basin below Silver Star. Marsh and slide alder are to climber's right. Turn left (East) and ascend through first scree and then steep slide alder and woods to emerge on a bench. Ascend bench trending toward terminus of Silver Star glacier. Ascend glacier to the col and then scramble through snow and rocks to the summit. There are a couple of exposed moves toward the summit but they are naturally protected in chimneys and a couple of hand lines have been placed to assist. Times were: Trailhead to meadow 2 hours Meadow to glacier terminus 1 hour Glacier terminus to col 1:15 Col to summit 15 minutes Summit to car 3 hours Gear Notes: Ice axe, crampons, skis, lots of patience for carrying skis through the blow-downs Approach Notes: Approach is via climbers path. Very faint with lots of blow-downs. See above for more info


-
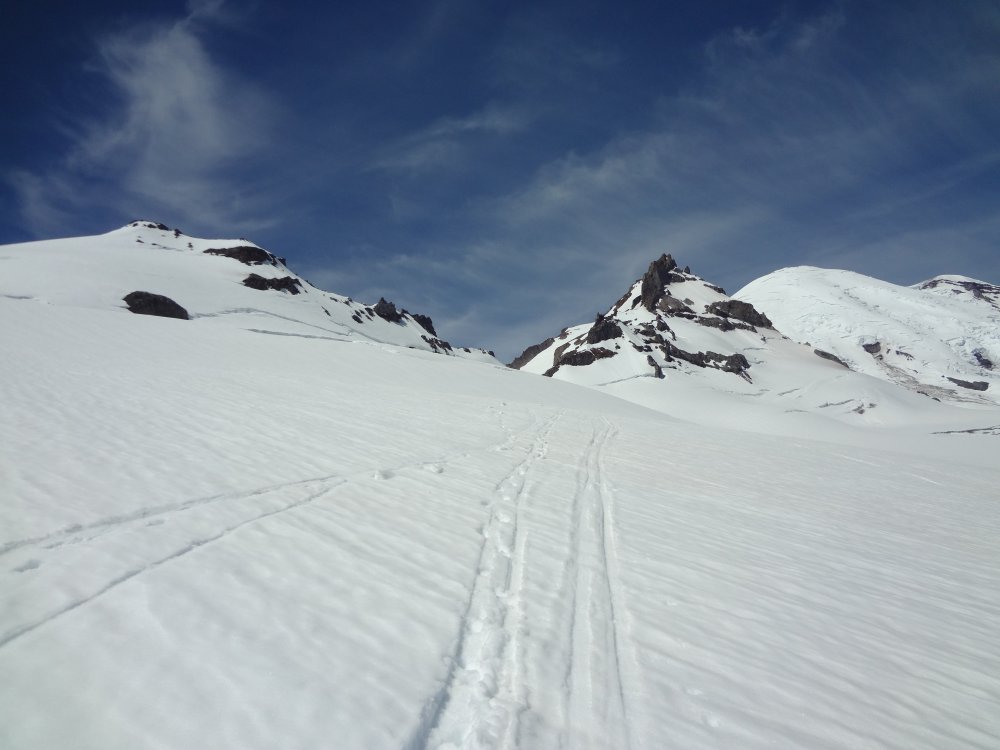
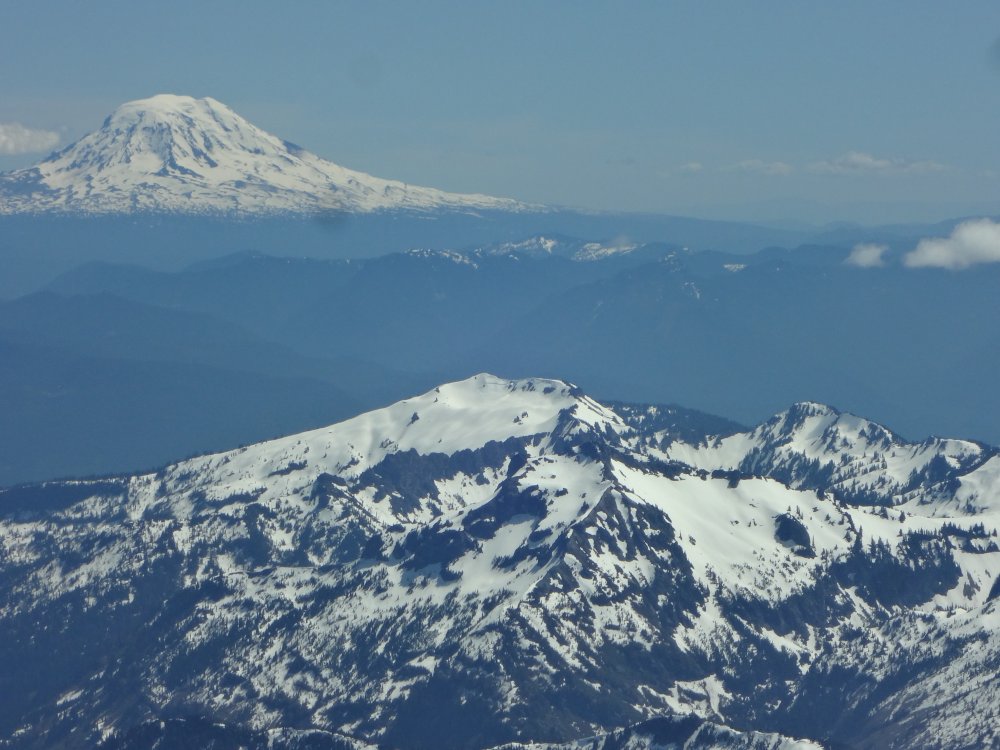
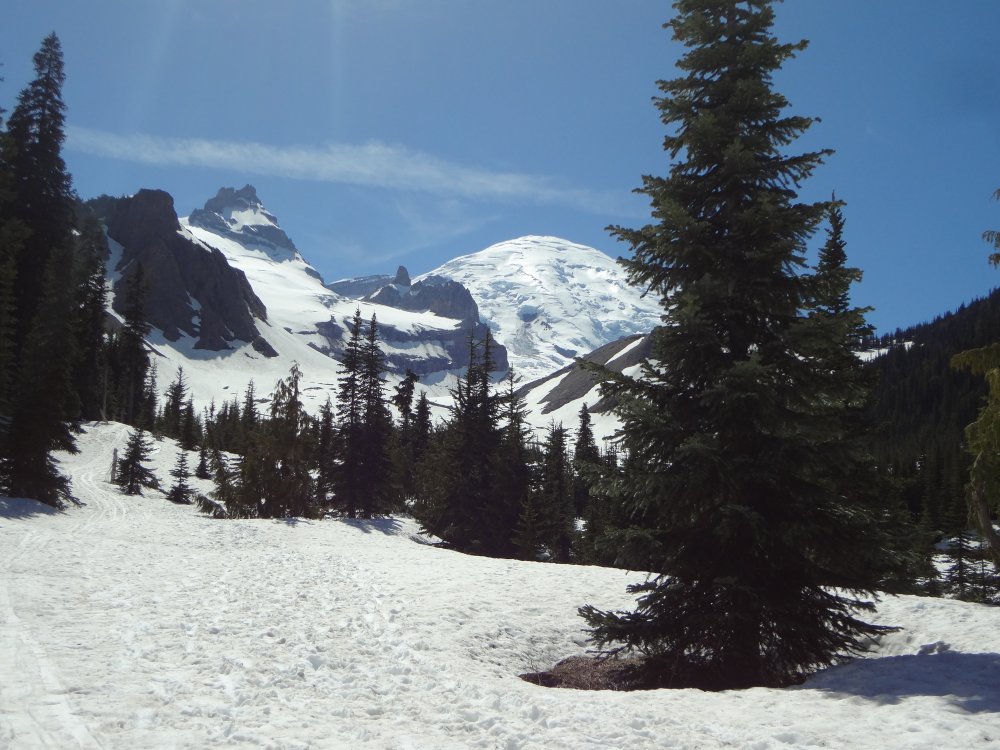
Trip: Little Tahoma - Fryingpan Glacier Trip Date: 05/27/2018 Trip Report: Did a ski tour of Little Tahoma on Sunday, May 27 on one of the most spectacular May days I've had in a while. Thought I'd post so information for those considering making the trip. Approach via Summerland trail is basically snow-free for the first mile and then switches to snow with sections of dirt thereafter. From the final bridge, snow is continuous. On the ascent I booted and did not bother with skis. From the flats beyond the bridge it's a straight shot up to the left to gain Meany Crest. Meany crest is snow free and lots of good camping available. No running water at this point, so plan to melt. I booted to Meany Crest and then skinned up Fryingpan keeping to the right of the glacial bulge. Crevasse problems are minimal, though there is one crossing that could probably be avoided by trending to climbers right and downhill. Despite the warm weather and soft snow, I skinned the bridges without issue though I could see where someone had punched through earlier in the day. From Fryingpan kicked steps up to Whitman Crest and then set out across the Whitman Glacier. There are two open crevasses on the Whitman that can be avoided by skirting them to the right. Whitman is ~30 degrees up to a bench on the ridge at 10,300 feet. From there you can ascend on steeper snow (~40 degrees) either to the left or right of the ridge. If you go right, expect steep, crappy, downward sloping rock at the exit onto the ridge. Descent was same as ascent, but on skis. Yay! Travel Times: Left car at 7:15 AM Meany Crest at 10:45 Summit at 2:00 PM Car at 5 PM Gear Notes: Ice axe, crampons, helmet. Glacier gear if desired Approach Notes: All snow after the last bridge Meany Crest Camp Fryingpan Glacier Mt Adams from Whitman Crest Little T and Big T from just past the final bridge

-
Trip: Dragontail and Colchuck - Colchuck Col Date: 6/18/2011 Trip Report: Climbed/Skiied Dragontail and Colchuck via Colchuck Col. A few things of note: - Snow on the trail starting 500 feet below the lake with bare spots. - Snow around the lake with very few bare spots, but skinning does not start until the lake shore below the Colchuck Glacier - Colchuck is ski-able, but snow is thin and rotten - Dragontail is a fantastic ski through Asgaard Pass. - The top of Dragontail requires about 50 feet of exposed class three rock. Can be done in ski boots - Time round trip car to car was about 13 hours
-
Ahh! Very Nice! I was going to ask how you got the permission to put music on the video. Mystery solved!
-
Great job on the video, I really enjoyed it. And congratulations on your climb. I saw the note about the cameras used, but what software did you use to produce the video itself?
-
[TR] Mt Rainier - Emmons Glacier 6/4/2011
JuanBelay replied to JuanBelay's topic in Mount Rainier NP
Yep, very straightforward. Just ascend to about 8,900 feet on Steamboat Prow and angle down to the left onto the Emmons. There should be a very well worn path. Attached are a couple of pictures. Julie and Mary heading up to Camp Schurman from Steamboat Prow On the way back, heading to Steamboat Prow and Camp Curtis. We did this with our skis on and the slope is gentle enough that we got up the hill without skins. -
Trip: Mt Rainier - Emmons Glacier Date: 6/4/2011 Trip Report: Ascended Rainier via the Emmons Glacier this past weekend and skiied down with a couple friends. Hilariously, these self-described "old ladies" at 50 and 55 were concerned that they would be lagging behind me. Simply put, they put me to shame both in their climbing pace and their skiing ability. Time to get outside more! The approach to from White River camp ground was mostly on snow with only a few bare patches on the trail. I would imagine this will be changing rapidly though. There was no running water above Glacier Basin. Above Glacier Basin, there are huge amounts of snow. I have never skiied the Interglacier and was impressed at the quality of the terrain and the snow. Time to Camp Schurman was about 7 hours on skis the entire way. Left camp at a little after 4 AM under clear skies, warm air, and no wind. Unbelievable conditions really. Watched the sun rise at about 5 AM with the start of some cloudiness. We paced with a group from Colorado who charitably kicked steps to the summit from about 10,500. The route was very straightforward with few crevasse issues. It was almost a direct line up the corridor to the summit. After a brief rest at the summit, we donned skies and headed down. I have to admit, the first 1500 feet were quite nerve racking for me considering the variable snow conditions, my level of fatigue, the fact I've only skiied three times this year, and the intimidation of the runout (more psychological than actually dangerous I think). Four and a half hours after leaving the summit, we were back at the car having a beer. This includes a stop at camp for more than an hour to pack up and chat with the Rangers.
-
Trip: Mt Hood - Leuthold Couloir Date: 2/22/2010 Trip Report: Sorry there are no pictures: I left my camera in the car yesterday! On the morning of 2/21 I summated Mt Hood via Leuthold Couloir. Weather and snow conditions were about as excellent as one could hope for this time of year. I started from the car at shortly before 6 AM with mighty winds blowing out of the SE. My thermometer registered 12 degrees F, so with what I suspect was around a 30 MPH sustained wind (my car literally rocked back and forth all night from the wind), it was quite cold. I almost bagged it at the parking lot thinking it would be too cold for the gear I brought, but decided I had come all this way and may as well at least give it a go. As it turned out, it was cold, but manageable. I fought my way up against the wind over hard packed snow to Illumination Saddle at 9,300 feet, reaching it at 8:30. By then the sun had come up and I was sheltered from the wind, so I hung out for 45 minutes while I decided whether or not I would make the descent to the Reid Glacier. I knew from later season pictures that a couple of schrunds were buried in the snow and I would be crossing them without a rope. Conditions seemed good for it though with the snow being very consolidated, so I decided to go for it. After making the descent to the glacier, I crossed to the base of the couloir. I had heard that it could be difficult to identify, but with the clear weather I had, it was no problem. It is huge and obvious. On the left side is the pyramidal buttress of Yokum ridge and a tall narrow tower on the right. From below, the couloir appears to form a deep “V” on the ridge skyline. I used the following picture for reference. http://www.skimountaineer.com/TR/Images2004/HoodReidGlacier062104-1200.jpg. I ascended from the Reid Glacier kicking steps up what I would guess was 35 degree snow to the entrance of the hourglass. From there things steepened a bit, but not nearly as much as expected (in fact it’s no steeper than the Old Chute on the standard route – though this may change later in the year when there’s less snow in the couloir). After a short dodge to the right and then back to the left, I was back out on widening slopes that were less steep. From the exit of the hourglass, continue straight up to the ridge top. I had great, consolidated snow sometimes kicking steps and sometimes cramponing. Never did I encounter water ice or bare spots. I reached the Ridge top at 10:30 and was feeling the altitude badly. After resting on the ridge, I turned and continued up another few hundred feet to the summit ridge. From the summit ridge, it’s an exposed traverse to the true summit. The traverse is not too bad except for a short section where you either need to walk on top of the snow or get out on the North face. This section can be avoided (and maybe should be during windy conditions) by descending about 50 feet to the old chute and then back up to the ridge and a short walk to the true summit. After reaching the ridge above the couloir, I was really feeling the cold and fatigue set in slowing me considerably. I stopped and rested and then headed up, not reaching the summit until just before noon. The summit was sunny and nearly wind-free so I hung out and chatted with some skiers before heading back to the car via the South route. I left the summit a little after 12:30 and got back to the car at 2:30. I had been trying to climb the couloir for several years, but had always been turned back by bad weather. I was glad to have persevered through the morning wind to get the summit. Gear Notes: Helmet, axe, and crampons are needed
-
Trip: Sawhorse Tower (Approach Only) - SW Face Date: 8/24/2009 Trip Report: On Saturday August 22, 2009 I made an attempt on Sawhorse Tower in the Monte Cristo group of peaks in Washington's North Central Cascades. The climb was listed as a Mountaineers basic rock climb so that my partner could get rock credit, but the primary objective was to get a rock climb in and learn a little more about the Monte Cristo area. I was hoping that Sawhorse Tower may turn out to be a good alternative to some of the more often climbed Mountaineers basic rock climbs like The Tooth, Ingalls Peak, and South Early Winters Spire. I also wanted to get a better look at East Wilman's Spire, an objective that's been on my list for a while. As such, this was somewhat of an exploratory outing. In researching the climb, I checked Beckey's Cascade Alpine Guide Vol. 2 where Sawhorse Tower is listed as four pitches of fourth and low fifth. However the notes are spare and the approach notes did not make a lot of sense to me considering virtually none of the geographic features are listed in my mapping software or any of the other planning resources available. I also checked for trip reports on-line and found one from a pair who had done the climb a few years back, but had taken a bit harder line (http://cascadeclimbers.com/forum/ubbthreads.php?ubb=showflat&Number=51381). Since they had done something entirely different from both an approach and climb standpoint, it was good reference material, but left me with some questions. We decided to take the Beckey approach, and while the outing was a great alpine traverse, we did not make the summit. By the time we got to the rock, it was a little before 3 PM. We had decided to exit a different way than we had approached and expected some route finding challenges as a result. Since the days were getting shorter, we decided to bag the climb at the base and head out. However, I thought a trip report may be useful to provide a record of some details about the approach and some pictures of the climb. In the end, I think this would be a very worthy objective as a basic rock climb for a strong group of beginning climbers interested in a true alpine rock climb. It involves everything including mountain biking, route-finding, off-trail traverses, steep scrambling, glacier travel, and four pitches of alpine rock climbing – all in a very beautiful setting, and all with the historical point of interest of the Monte Cristo ghost town. Gear Notes: Ice Axe Crampons Harness, Rope, Rack for a route of class 4 and easy 5 Approach Notes: Getting There To get to the climb, drive to Barlow Pass on the Mt. Loop Highway (Seattle to Everret, Highway 2 to Lake Stevens, Lake Stevens to Granite Falls, and then 28 miles from Granite Falls on the mountain loop highway). Parking is available and plentiful. A trail Park Pass is required. From Olympia, the drive is 2.5 hours so from Seattle I would suspect a 1.5 hour drive. Approach The first step in the approach is getting to the Monte Cristo townsite from Barlow Pass. This four miles is best done on mountain bike as it's an old road. There are several washouts along the away and sections with river rocks, so a bike with full suspension is most comfortable. I would expect the average rider to cover the four miles into the Townsite in 45 minutes and the trip out in 25 minutes. This saves 2-3 hours of walking overall. Once at the townsite, a bike rack is provided to lock bikes up. From there, the approach is on trail. There are essentially three ways to approach Sawhorse Tower. Two options involve getting to Glacier Basin, the third option involves heading to Poodle Dog Pass and Twin Lakes. To get to Glacier Basin, follow the obvious signs from the Townsite. Ascend on steep trail for two miles and 1500 feet to Glacier Basin. Once in Glacier Basin, hike up the basin a short way and then begin an ascending traverse to climbers left. The traverse can be done via a snow filled gully which get you above cliffs. If moats prevent you from exiting snow at the top of the gully, a ramp exists to climber's left about 2/3 of the way up the gully. This ramp can be traversed to stubby evergreens. These evergreens can be scrambled (near vertical but easy) to get above the cliffs. This is a bit of a bushwhack, but it's fairly easy. Once above the cliffs, begin an ascending traverse of scree and then snow, and finally granite blocks to get to the toe of the Glacier. In early season, the glacier should be a simple walk up. However, later in the season, the glacier bulges in the center, is reasonably broken up, and consists of exposed blue ice. Crampons are recommended. Instead of ascending the glacier directly, one can ascend the toe of the glacier on the right hand side, and then get back on the rocks. Pleasent scrambling on blocky granite gets you almost above the bulge. A short ascent of snow gets you on the flat part of the glacier above the bulge and easy climbing to the obvious Wilman's Gap. At the top of the glacier, downclimb vertically 8 - 10 feet into the moat between the glacier and the rock of Wilman's Gap. Ascend a shallow gully on the left hand side of the gap for 30 feet (class 3). The rock here is mostly just consolidated mud, so hand and foot holds should not be considered reliable when getting to Wilman's Gap. In early season, this is probably easier going due to snow covering the gap. From the gap, descend 150 feet of very loose scree. Care should be taken here due to extreme rockfall hazard. Ascend the '76 Glacier to the base of the Tower (10 - 15 minute walk once on the glacier). Sawhorse Tower is the last tower on the ridge before Columbia Peak. It is wider at the base and taller than the towers to it's left. Allow 5 - 6 hours to get to the base of the route. As an alternative to approaching via Glacier Basin, an approach can be made via Poodle Dog Pass. While we did not come in this way we did exit this way. It's longer, but is mostly on trail. Based on our time out, I would expect the approach from this direction to take 4 - 6 hours. You could possibly save a little time compared to the Glacier Basin approach, but it's not quite as interesting. Some notes about the approach from this direction: At the point in the approach where the trail rounds a tree covered knob to descend to Twin Lakes, find a climbers trail to the left which ascends the SW ridge of Columbia Peak. Use this trail to ascend the ridge to where accessing the '76 Glacier is possible. Descend about 200 feet on the glacier and traverse/ascend to the base of Sawhorse Tower. Wilman's Glacier with Wilmans Gap on the far right Moat at Wilmans Gap Sawhorse Tower SW Face Sawhorse Tower and '76 Glacier Ascending Blocks Beside Wilmans Glacier Approach from Glacier Basin is up the snow gully on the left. If moats prevent exit, a ramp and then evergreens lead through the cliffs from about 2/3 of the way up the snow.
-
Trip: Buckner, Goode, Logan - SW Face, SW Couloir, Fremont Glacier Date: 8/1/2009 Trip Report: The Dirty Dozen – Four Climbers Times Three Peaks From August 1, 2009 through August 8, 2009, four members of the Olympia Mountaineers made a traverse of the Southern North Cascades from Cascade Pass to Colonial Creek. Along the way each member summited three 9,000 foot peaks in their pursuit of the Mountaineers 18 Cascade Classics (thus the dozen). The peaks were Buckner, Goode, and Logan. For a series of blogs and pictures of the routes, refer to http://colincorbin.spaces.live.com/blog/fakehandlerpage.aspx?sa=882508814 Scroll down to find Day one and then scroll up to read through the trip