


Greg R
-
Posts
13 -
Joined
-
Last visited
Content Type
Profiles
Forums
Events
Posts posted by Greg R
-
-
Yes, at 2 AM I did turn off the SOS and sent the "I'm OK" signal. The OK message did go to SPOT headquarters. I spoke with the Sheriff the next day and he said he got the "I'm OK" message before sending out the Helo. He did not question my use of the SOS. There was communication between the Sheriff and my family during the night.
-
Thanks for the input. Point taken about the SPOT. I did send out the "I'm OK signal" when I reached the bottom. Thanks for the pointers about double rope rappels. I assure you, I will do EVERY possible precaution if I ever have to double rope rappel again. What I learned to do:
1. Bring the 10 Essentials up the rock. (bring a small pack for the person who follows)
2. Time management.
3. Research the rappel. (I did speak with someone who had done this rappel but I should have pressed him more for details.)
4. Carry a headlamp for each dude.
5. Take every precaution to make sure the knot won't catch.
6. Extend the belay ring over the edge. ( I did have a belay ring on me)
7. Use the double overhand knot (EDK )instead of the double fisherman's knot. See Mountaineering, The Freedom of the Hills, 7th edition, page 192. ( I had read that section by the way).
8. Put the smaller rope through the belay ring instead of the larger one.
9. I like your point about having first rapper trying to pull the ropes before the other two go. Also, the last dude can stop at first ledge and test pull.
10. Consider doing a single rope rappel instead of double rope rappel.
11. Practice ascending two ropes on your home crag and carry Purcell prusik cord.
12. Practice all this stuff extensively at your home crag.
-
Here is the "epic story" you requested. Perhaps someone can learn from my mistakes. This is the story as I wrote it on Aug. 25.
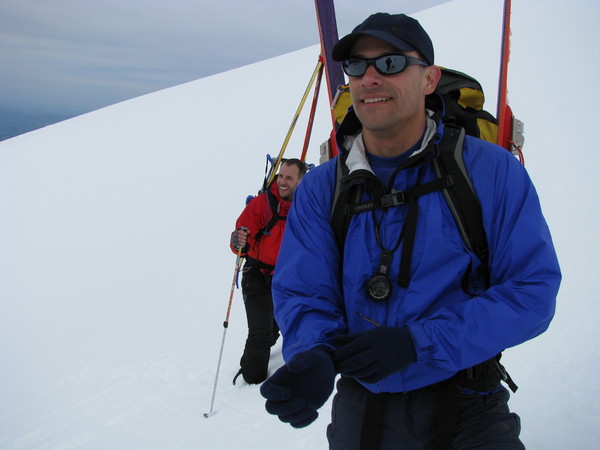
Ryan, Bradley and I have safely returned from climbing Prusik Peak. I thought I would share the story because some of you heard that I set off my SPOT on the Peak. At Ryan's suggestion we focused on climbing Prusik Peak several months ago. Our preparation included some practice at our local crag. Ryan, Bradley and I practice the technique of Trad climbing with three people. I wanted to make sure they knew how to place protection, set anchors, equalize anchors and all that stuff. We would take two 60 meter ropes. I was also very focused on the double rope rappel which would be needed on Prusik Pk. I decided to use the double fisherman's knot for this. We would also each use an autoblock when we rappel. We practiced this also.
The West Ridge of Prusik peak is a multi pitch rock climb. It is about a six pitch climb. We started on the rock around noon on Friday. The climb went well. We are not that speedy because we are methodical and careful. The group of three can also take more time. The guys each did some leads and we had no falls. We reached the summit just after 7 PM.
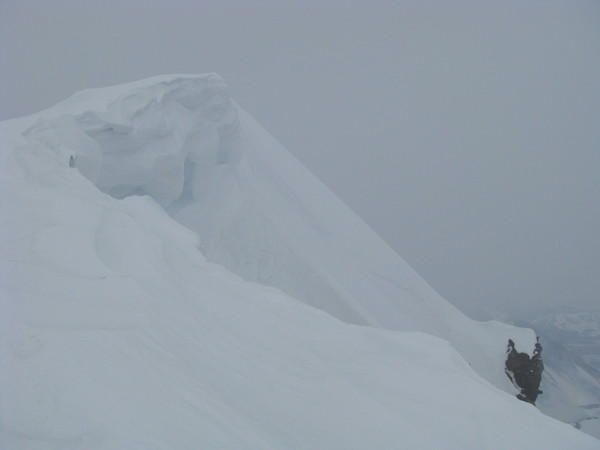
The rappel off the summit goes down the north face which is very steep. I set up the double rope rappel threading the blue rope through the rappel ring and tying it to the orange rope. The means that we can rappel 60 meters. The ropes are tied together at the top just next to the rappel ring. The rappel ring sits on a table top like rock on the summit. The ring was about a foot from the edge. I rappelled first. I was able to free up one end of the rope which was caught. I passed an anchor off the the right at 25 meters. I kept going and stopped at the next anchor at 50 meters. Then the guys each followed. When we all three reached the anchor at 50 meters it was time to secure the end of the orange rope and pull it. We were unable to budge the rope. This struck a fear in me. I had Bradley try pulling from another angle. Nothing. After several attempts I suggested that Bradley climb a gully using an prusik on the blue rope. Bradley suggests that we have a prayer. I am sending him up to cut the orange rope, giving us as much length as possible. He does so and makes a cut which gives us about 32 meters of the orange rope. ( a 8.5mm rope). This is all we will have to work with to get down the face. Darkness if falling. We have one headlamp.
About five meters below is a ledge. I rappel down to have a look. Over the fall line is darkness. to the left is an arete. To the right is a ramp going downward. It appears to me that to the right is a large gully in the mountain. I suggest that we try this way. The guys agree. I also tell them that I am considering setting off the SOS on my SPOT. Bradley suggests this a good idea. I go ahead and set off the SPOT. Then I explored the ramp. It ends in a drop off but I can see a ledge 8-10 meters below. We decide to rappel down to the next ledge. Of course we don't know what lies beyond but I am hopeful for more ledges because of the gully impression. I also feel that if we keep moving we stay warm. I find a horn and a good placement for a nut and we rappel off these two pieces. From this ledge I am able to see another so we repeat the process. I reach the next ledge and set up anchors. Each time the guys have to set up their rappels in the dark. After four or five reiterations Ryan observes that the terrain is changing, becoming less steep. Finally I see a tree. Using the tree as an anchor we rappel over a final rock about 25 feet. We reach a mountain goat trail. We are off the north face. From here we traverse back to the West ridge where our packs are. It is 2 AM. I set off an OK message on my spot.
We then hike 4 miles back to Cochuck Lake on a beautiful starry night through the Enchantment basin. The sun rises as we reach Aasguard pass.
Thanks for your prayers and support. And thanks to the Sherif for sending out a helicopter at daybreak.
-
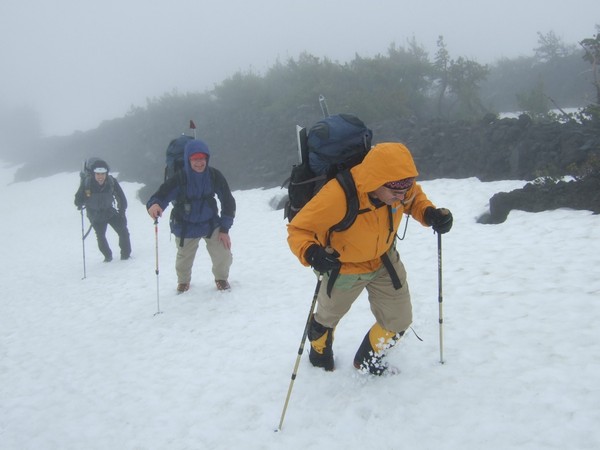
yes, cross country. The round the MTN trail is snow covered. snow level is about 6000'. The approach we took was an adventure.
-
Trip: Mt Adams - Mazama Glacier
Date: 7/5/2008
Trip Report:
We spoke with the ranger at Trout Lake. She discouraged us from using Rd 82 to Bird Lake Meadows. Said the road is gated. So we chose to start at Cold Springs (5600'). This turned out be some interesting route finding. If I was doing it again I would print out the map from google maps/terrain.
South Butte (7800') is 2 miles NNE of Cold Springs. We made our way there. Encountered some light rain up higher.
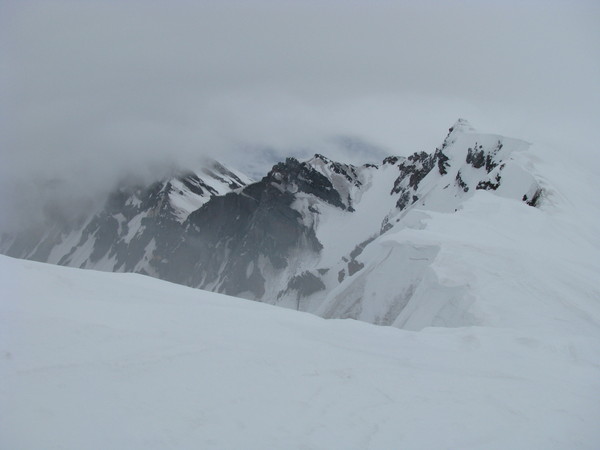
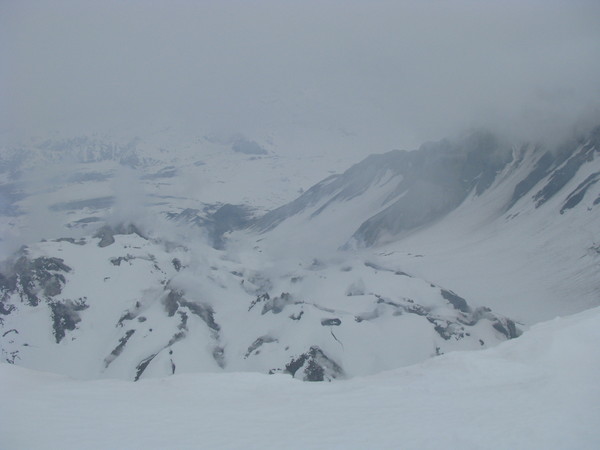
This is the view N from South Butte. Gotchen Glacier is in the lower right. We travelled ENE to the Gotchen.
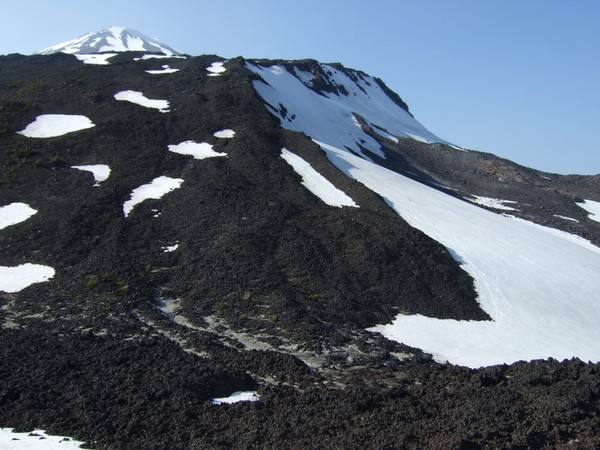
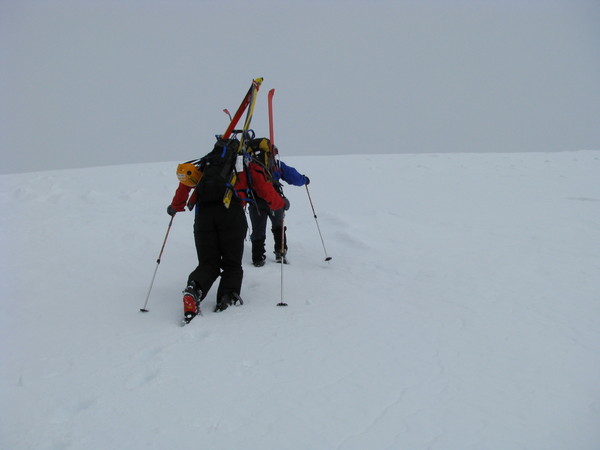
We followed the Gotchen N to 30-40 degree snowfields which connect to the Mazama Glacier.
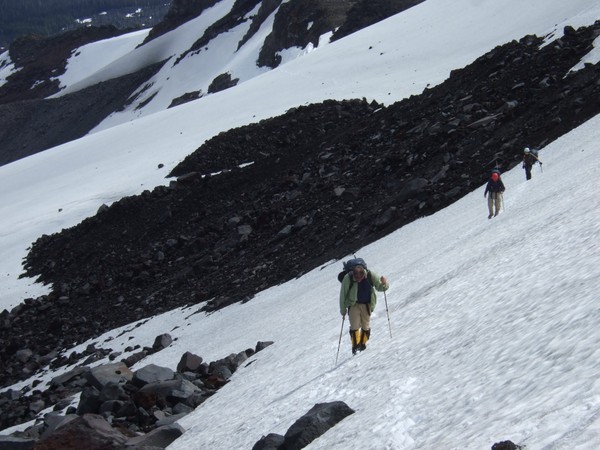
Finally reaching the Mazama, Lake at the bottom of glacier.
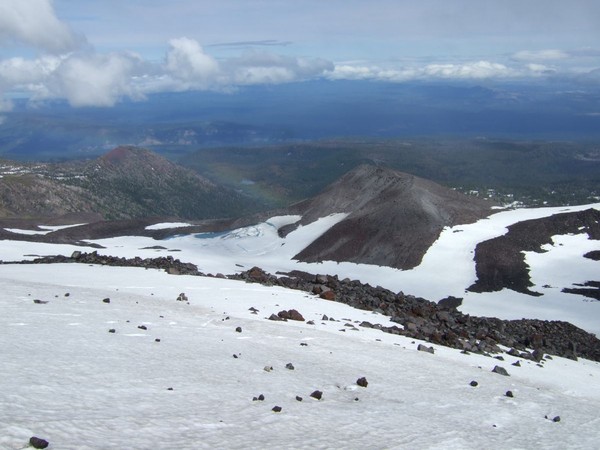
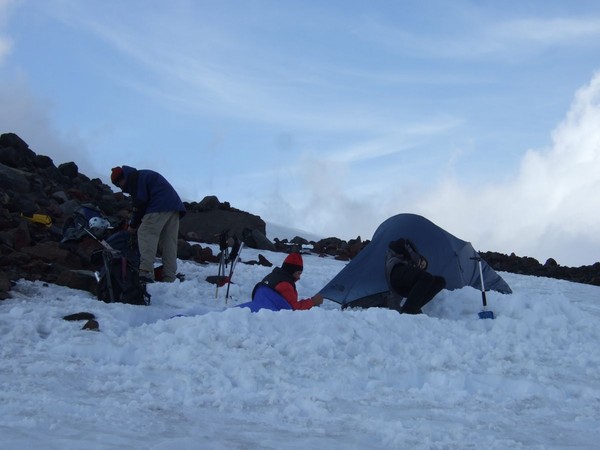
Made camp on the Mazama at 8200'. There is running water to be found in the rocks there.
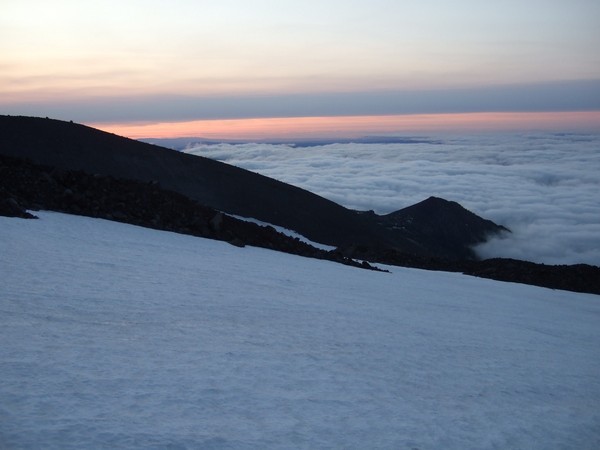
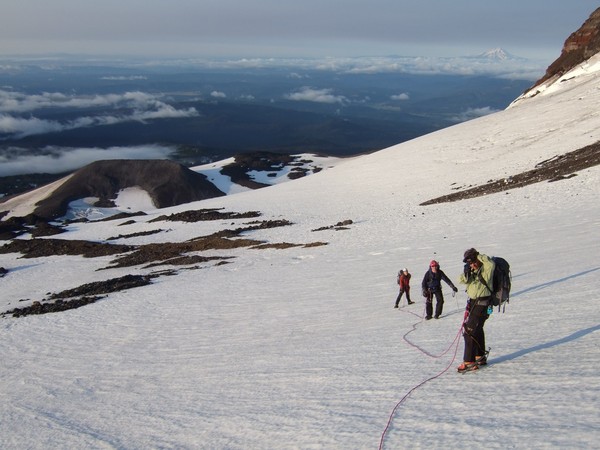
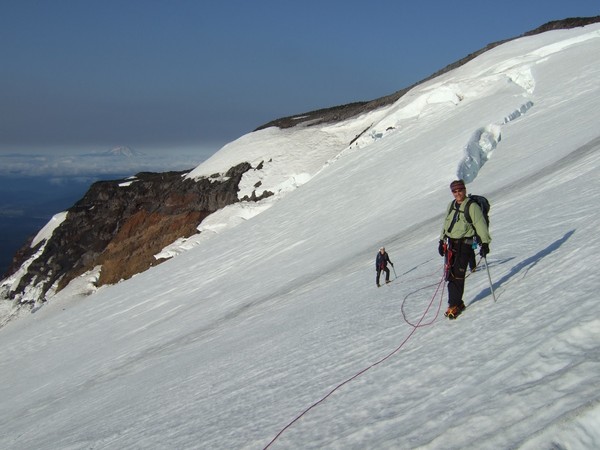
Awoke to clear skies and climbed the Mazama to 10,000' where we crossed Suksdorf Ridge to get onto the Dog Route. (Could have stayed on the Mazama to about 10'500' in retrospect)
If you are considering this route please be aware of rockfall danger while traversing below Suksdorf ridge. I am sure this is not the easiest way to get on the Mazama. Enjoy.
Gear Notes:
glacier travel gear, 120 ft rope. crampons,helmets,ices axes. should have had some ice screws for crevasse rescue.
-
I recommend starting at Marble Mtn snow park. You have probably checked out my TR. You will need snow shoes or skis and ave gear. No ropes. Consider hiking in to 3500 to 4000' to camp. The camping there was quite pleasant. You'll be on snow. Check out a Green Trails map and follow the "winter route" which is marked on the map.
-
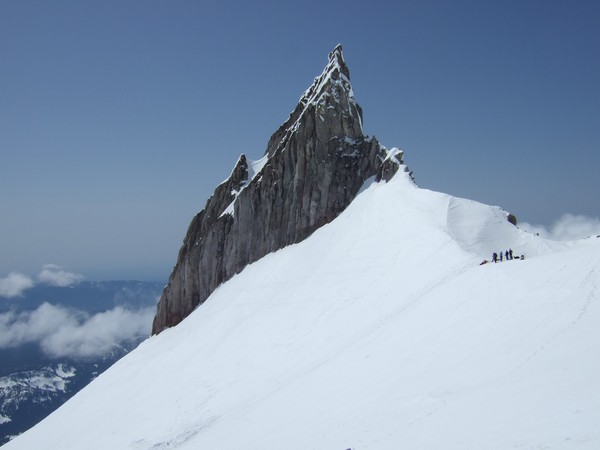
Trip: Mt Hood - Illumination Saddle
Date: 5/9/2008
Trip Report:
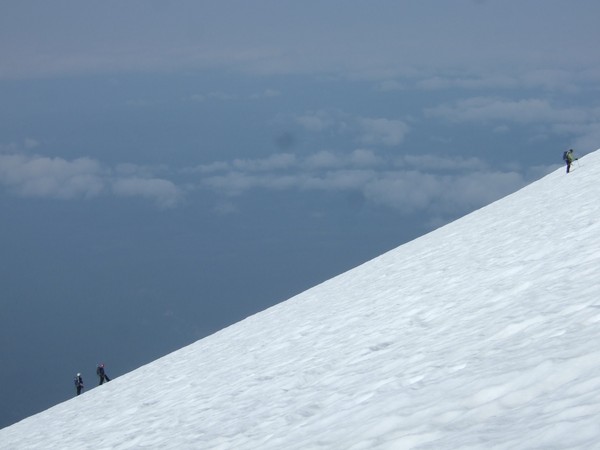
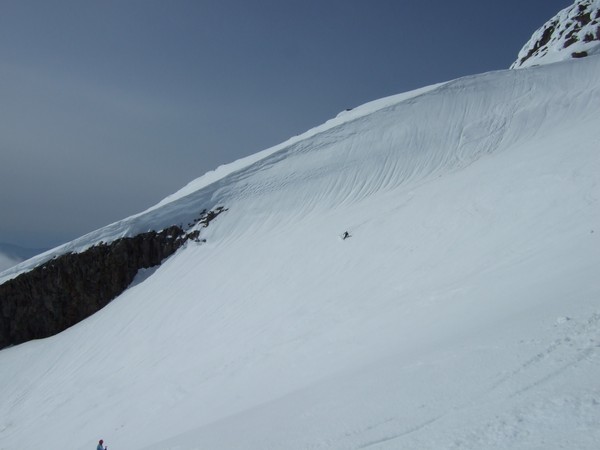
We enjoyed a blue bird day at Illumination Saddle. I thought I would share the sick pix.

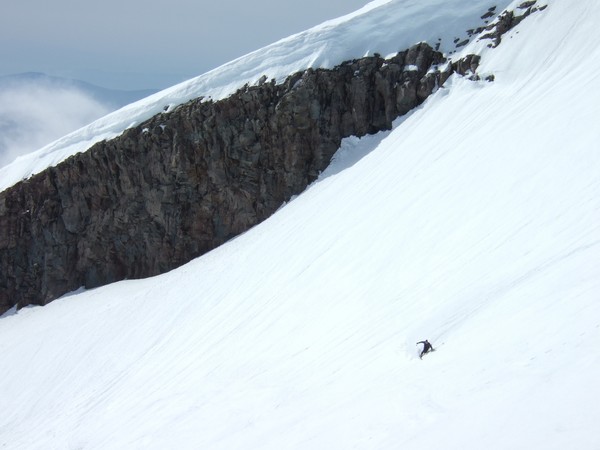
Dave finds a nice line.
-
Trip: Mt St Helens - Swift Creek
Date: 4/27/2008
Trip Report:
A friend and I picked last weekend for a two day climb of Mt St Helens. Road 83 is currently closed 1.1 miles up from the junction with 90. There was about a million snowmobile rigs and trailers parks on this stretch. The first 1/4 mile is pretty ugly, mostly bare pavement and chewed up trees. Once we reached good snow we put on AT skis and skins.
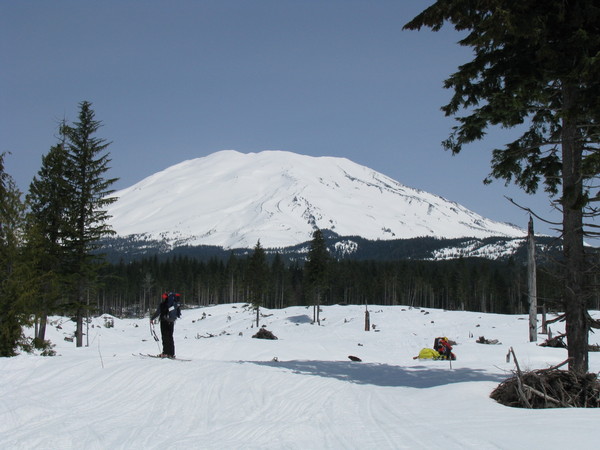
After three hours of skinning we reached Marble Mtn. snow park.
There is a marked trail up to timberline. It is 1.5 hrs from Marble Mtn. to timberline. We camped at 3500' out of the wind. We started out at 6AM on Sunday. The route starts out on the small ridge to climbers left of the swift creek gully. Posts mark the lower part here.
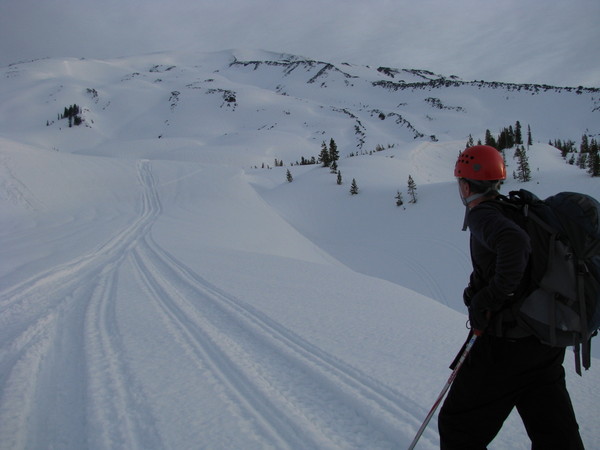
At this point my climbing partner bailed. My bad for underestimating the demand of this trip. Anyhow, I met up with Carlos and John from Tri Cities, WA. I want to credit Carlos for the rest of the trip as he led the way from prior experience.
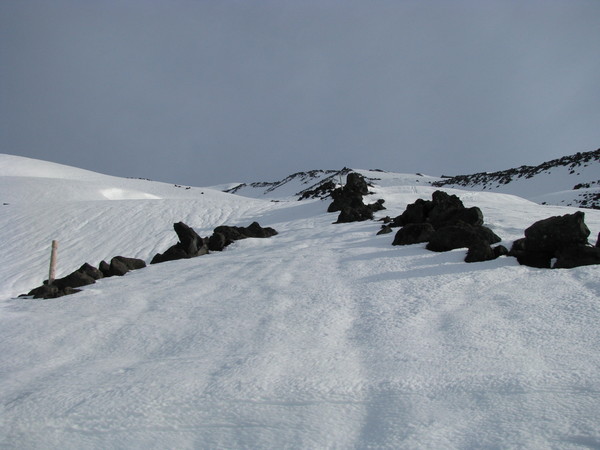
We ascended directly up the Swift Glacier. At 7700' we put skis on packs and footed the rest of the way. Slope angle measured at 31 degrees. Snow still fairly firm with cloud cover.
Summit reached at 10:45
Now for the fun part! The skiing was better than I expected. We skied the fall line down Swift Glacier. Snow did become fair to poor below 7000'. We went to skiers L of Swift Creek which was a good line.

Gear Notes:
AT Skis and skins, tent, stove, Avalanche transceivers, probes, shovel.
-
Impressive! What camera and lens are you using?
-
Thanks, How do I post pics in my TR?
-
thanks for the help!
-
I would like to post a trip report. I am new to cc.com Can anyone help me?
[TR] Tatoosh Range, The Castle / Pinnacle Peak - West side of north face/East Ridge 9/19/2012
in Mount Rainier NP
Posted · Edited by Greg R
Trip: Tatoosh Range, The Castle / Pinnacle Peak - West side of north face/East Ridge
Date: 9/19/2012
Trip Report:
My son and I decided to climb The Castle and Pinnacle Peak before he headed off to college. We found a good climbers trail that headed up to the basin just north of the two peaks. The basin offers great views of the two peaks and Mt. Rainier.
We went for the West side of the North face of the Castle as mentioned by pac man on his 3-20-2010 post. We climbed an easy gully until we could see the summit ridge. We picked the route as shown and came out just west of the summit. (Class 4-5).
There was a good belay spot there. Then we traversed the narrow ridge to the East and found the rappel station. We rappelled off the South side and then went over to the East Ridge of Pinnacle Peak.
We ascended 200' feet up the ridge. That is where we took a left and found a gully leading upwards. The pro was sketchy in the gully. Most of the rock was solid. The gully led to easier climbing to the summit.
Gear Notes:
Cams to # 3, hexes #6-8, and a set of nuts.
Approach Notes:
We took the Pinnacle Peak trail, going up 10 mins before going off the trail.