jstluise
-
Posts
129 -
Joined
-
Last visited
-
Days Won
1
jstluise's Achievements
")
Gumby (1/14)
11
Reputation
-
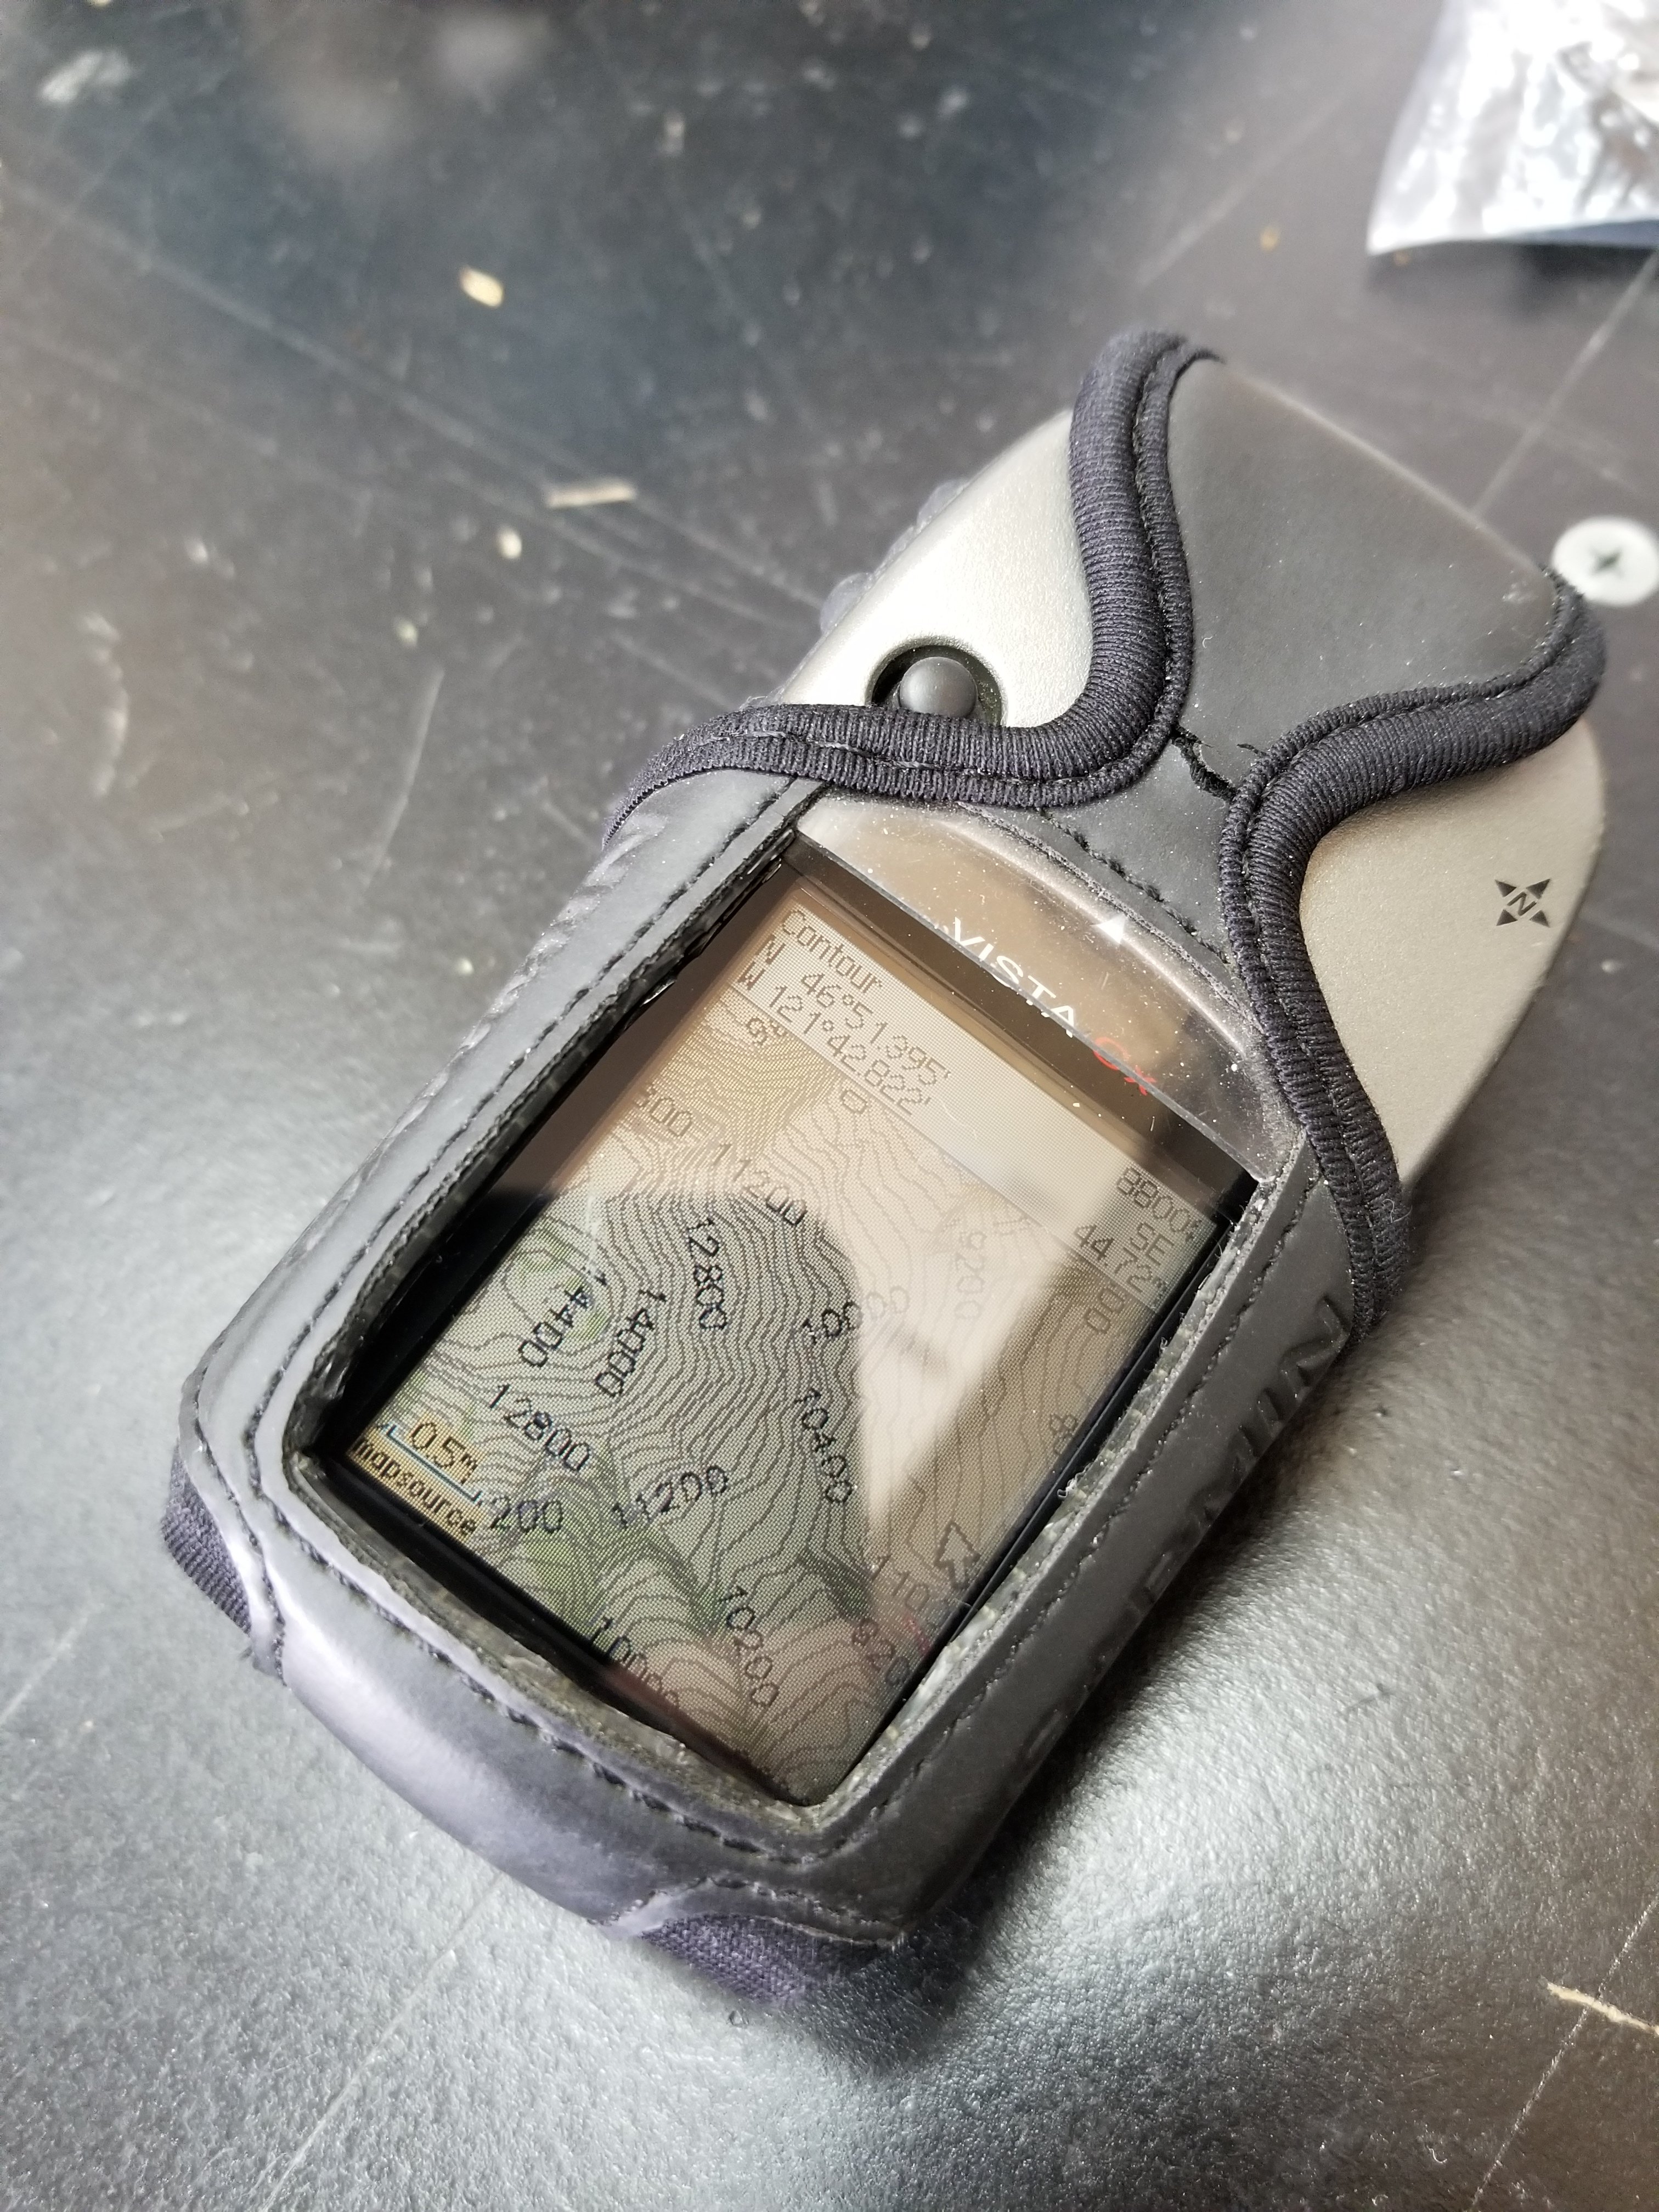
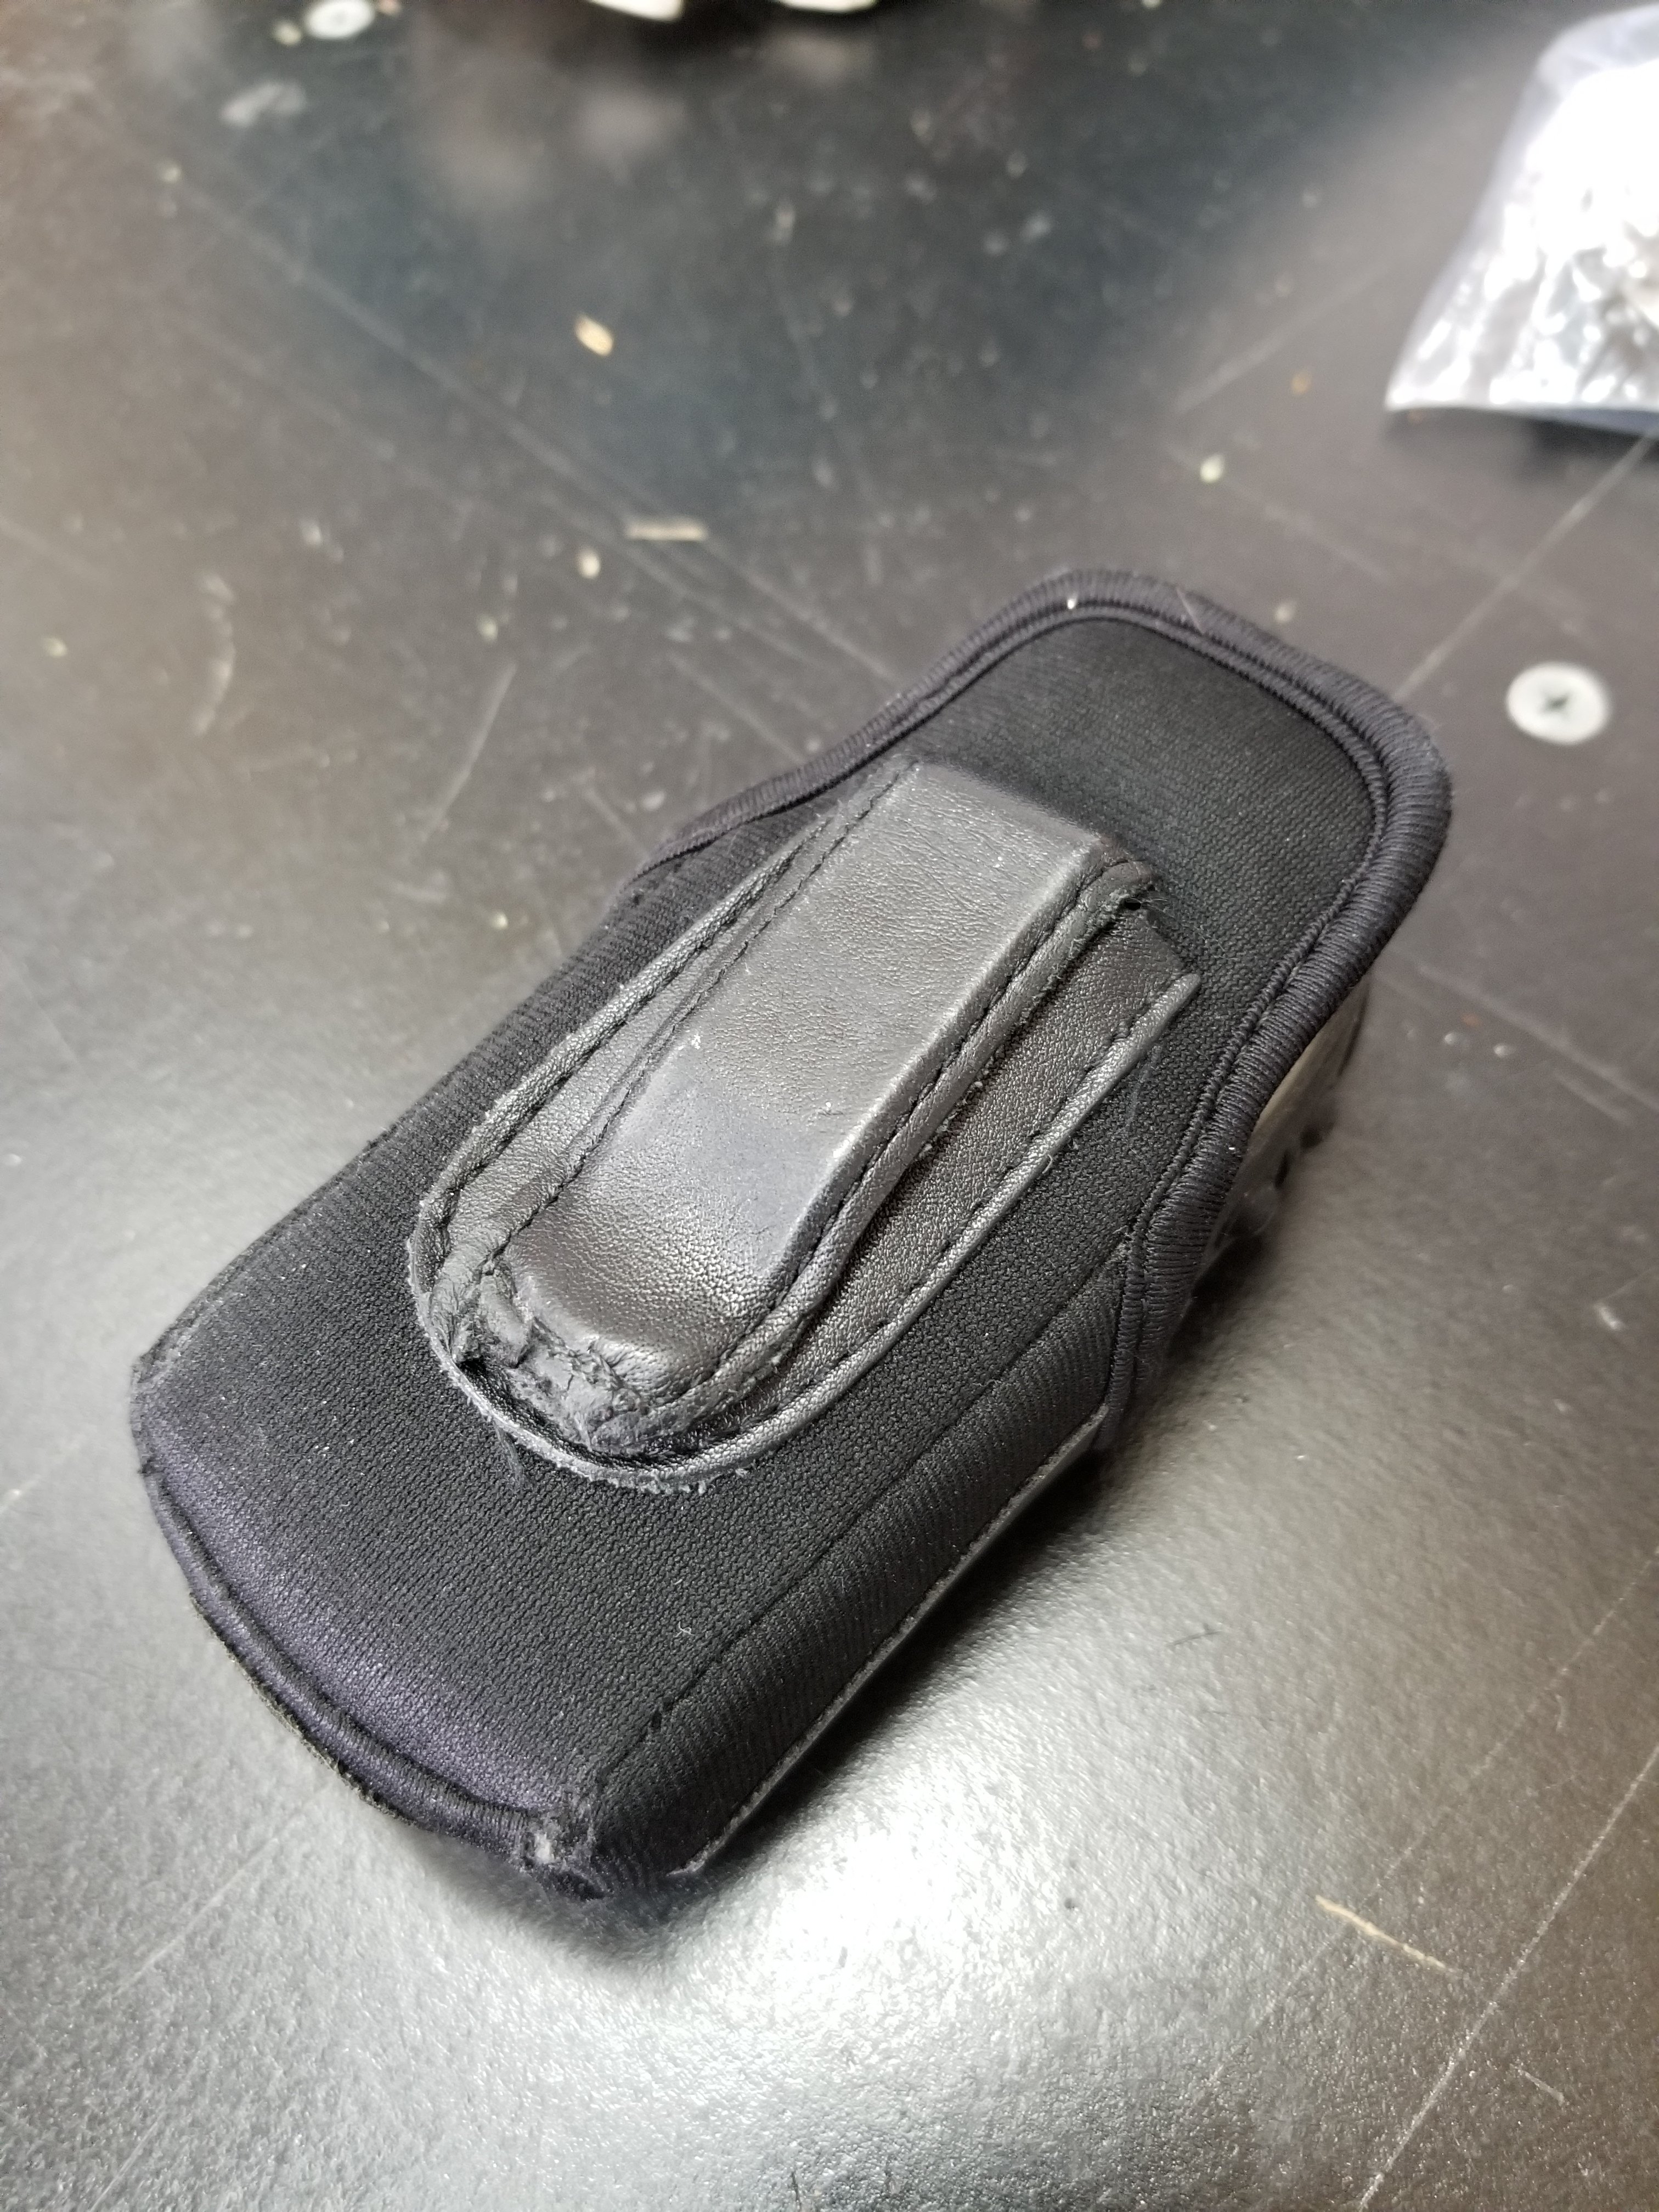
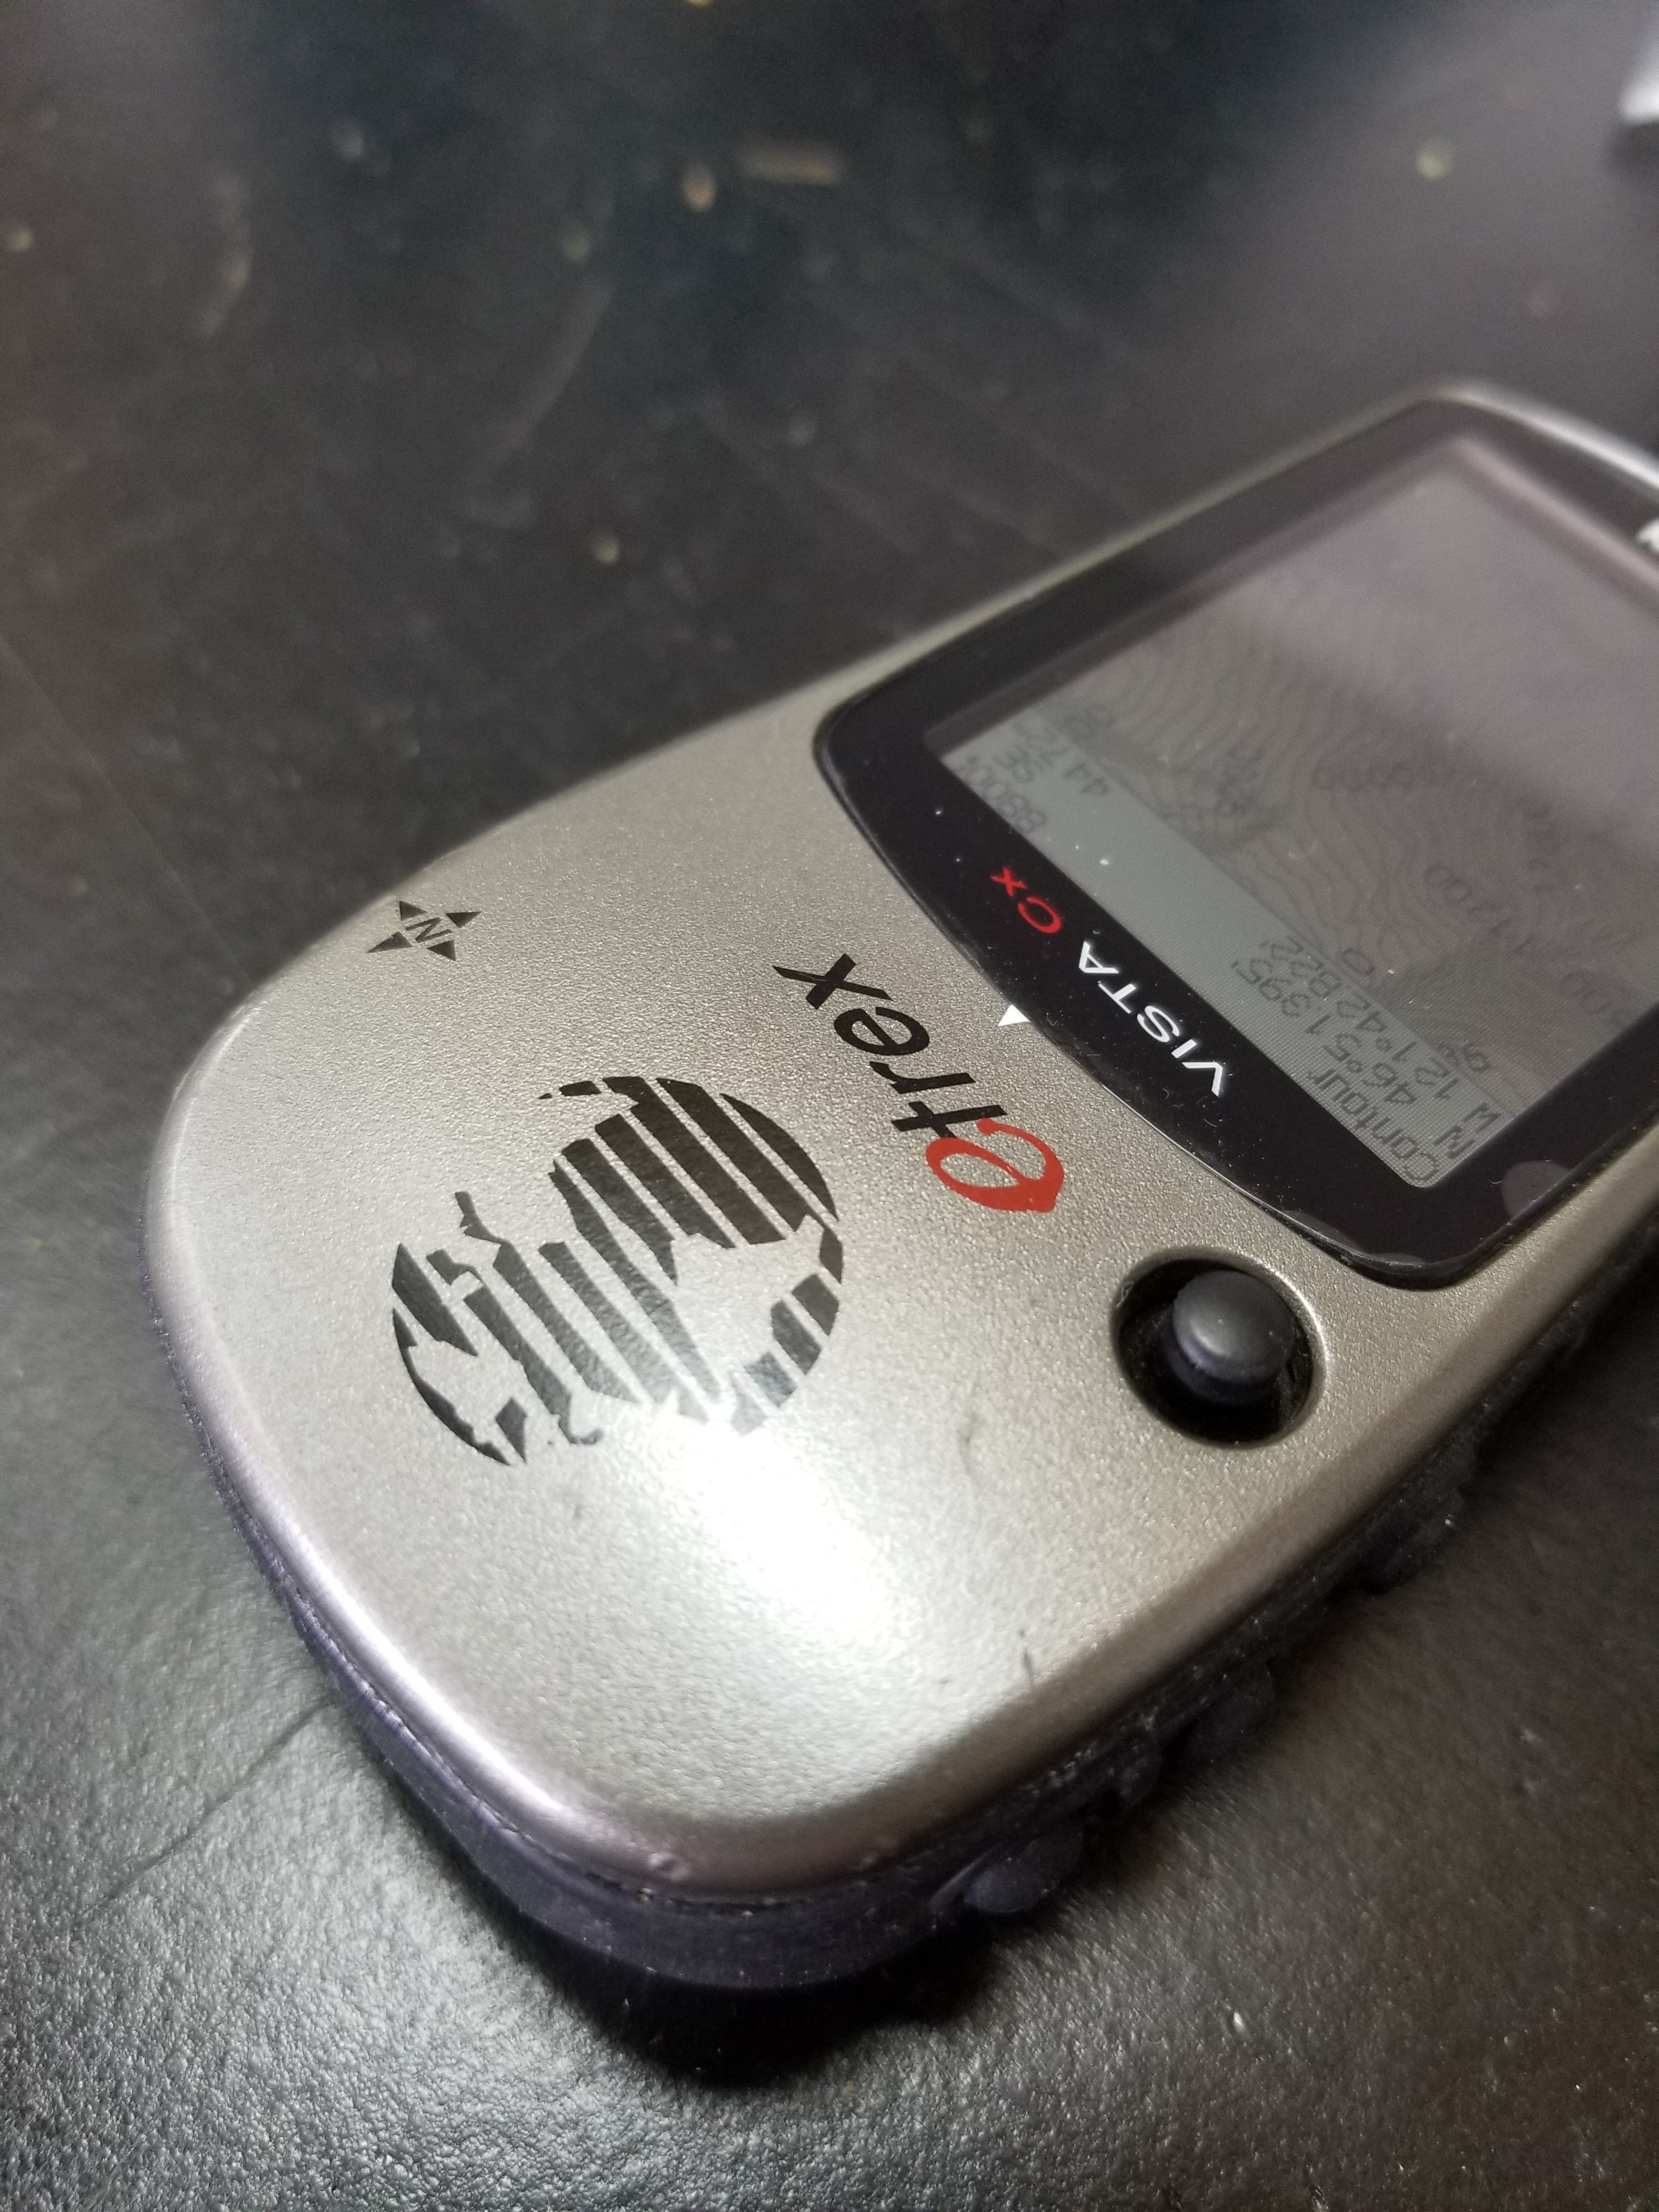
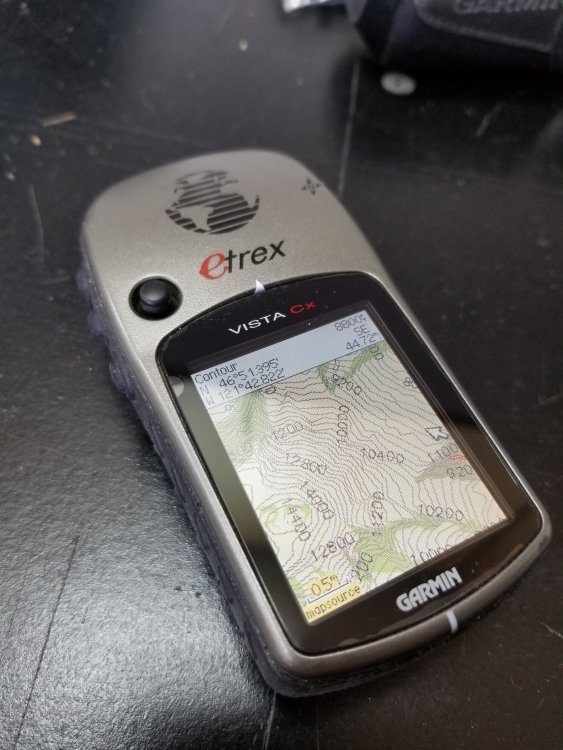
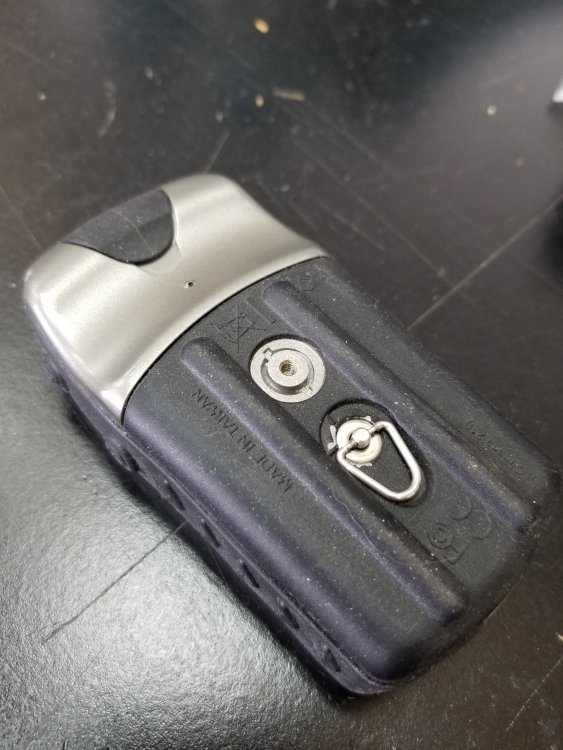
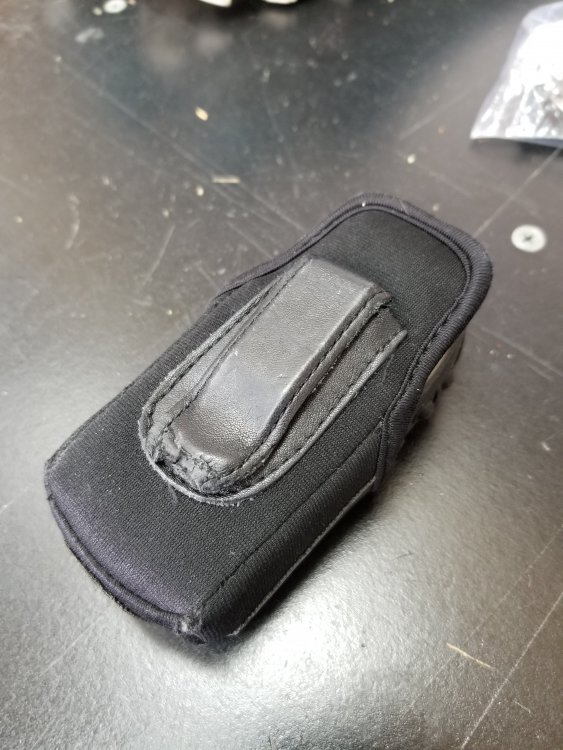
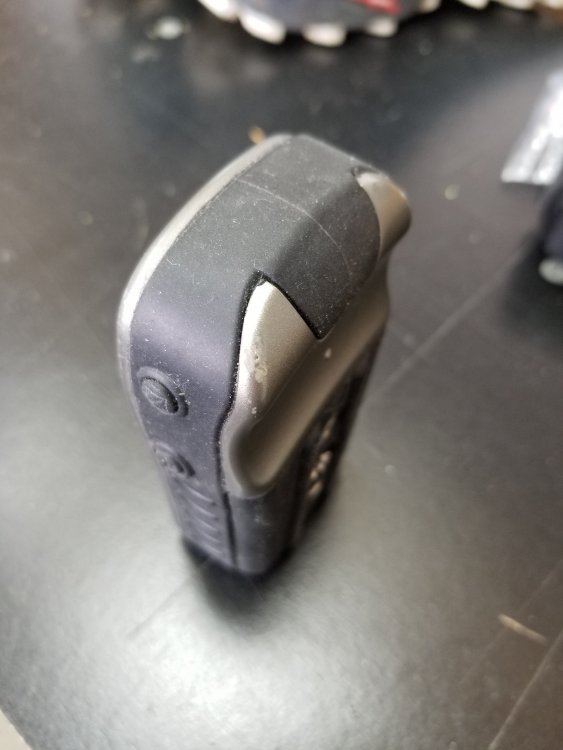
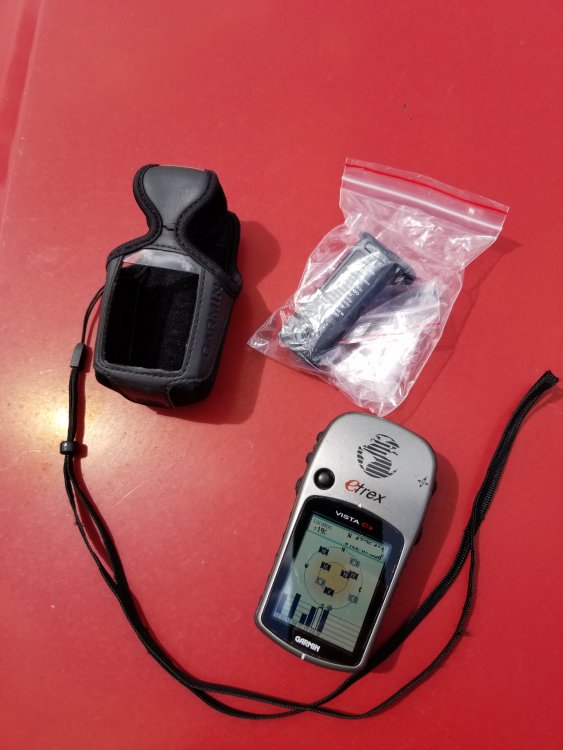
Selling my old eTrex Vista Cx GPS. Still works great, I just haven't used it in the last few years. The only issue is there is a software issue with these older units where it now displays the wrong time/date (https://support.garmin.com/en-US/?faq=zWQY6Z2kFiAuY9kDnDBgZ6). Kind of annoying, but doesn't affect anything important like positional accuracy or tracking. Great condition, normal wear. It was kept in the carry case most of its life. The screen has a protector on it; you can peel it off and replace it, or use it as-is. Included is a carrying case (fair condition but still does the job), lanyard, and belt clip. I'll dig up a USB cord if you need it. I'll wipe the unit before selling which will remove all the maps. But I have Garmin topo maps to share if you're interested (100K U.S. and 24K U.S. West, and 24K National Parks West) $50 OBO, located in the Renton area.


-
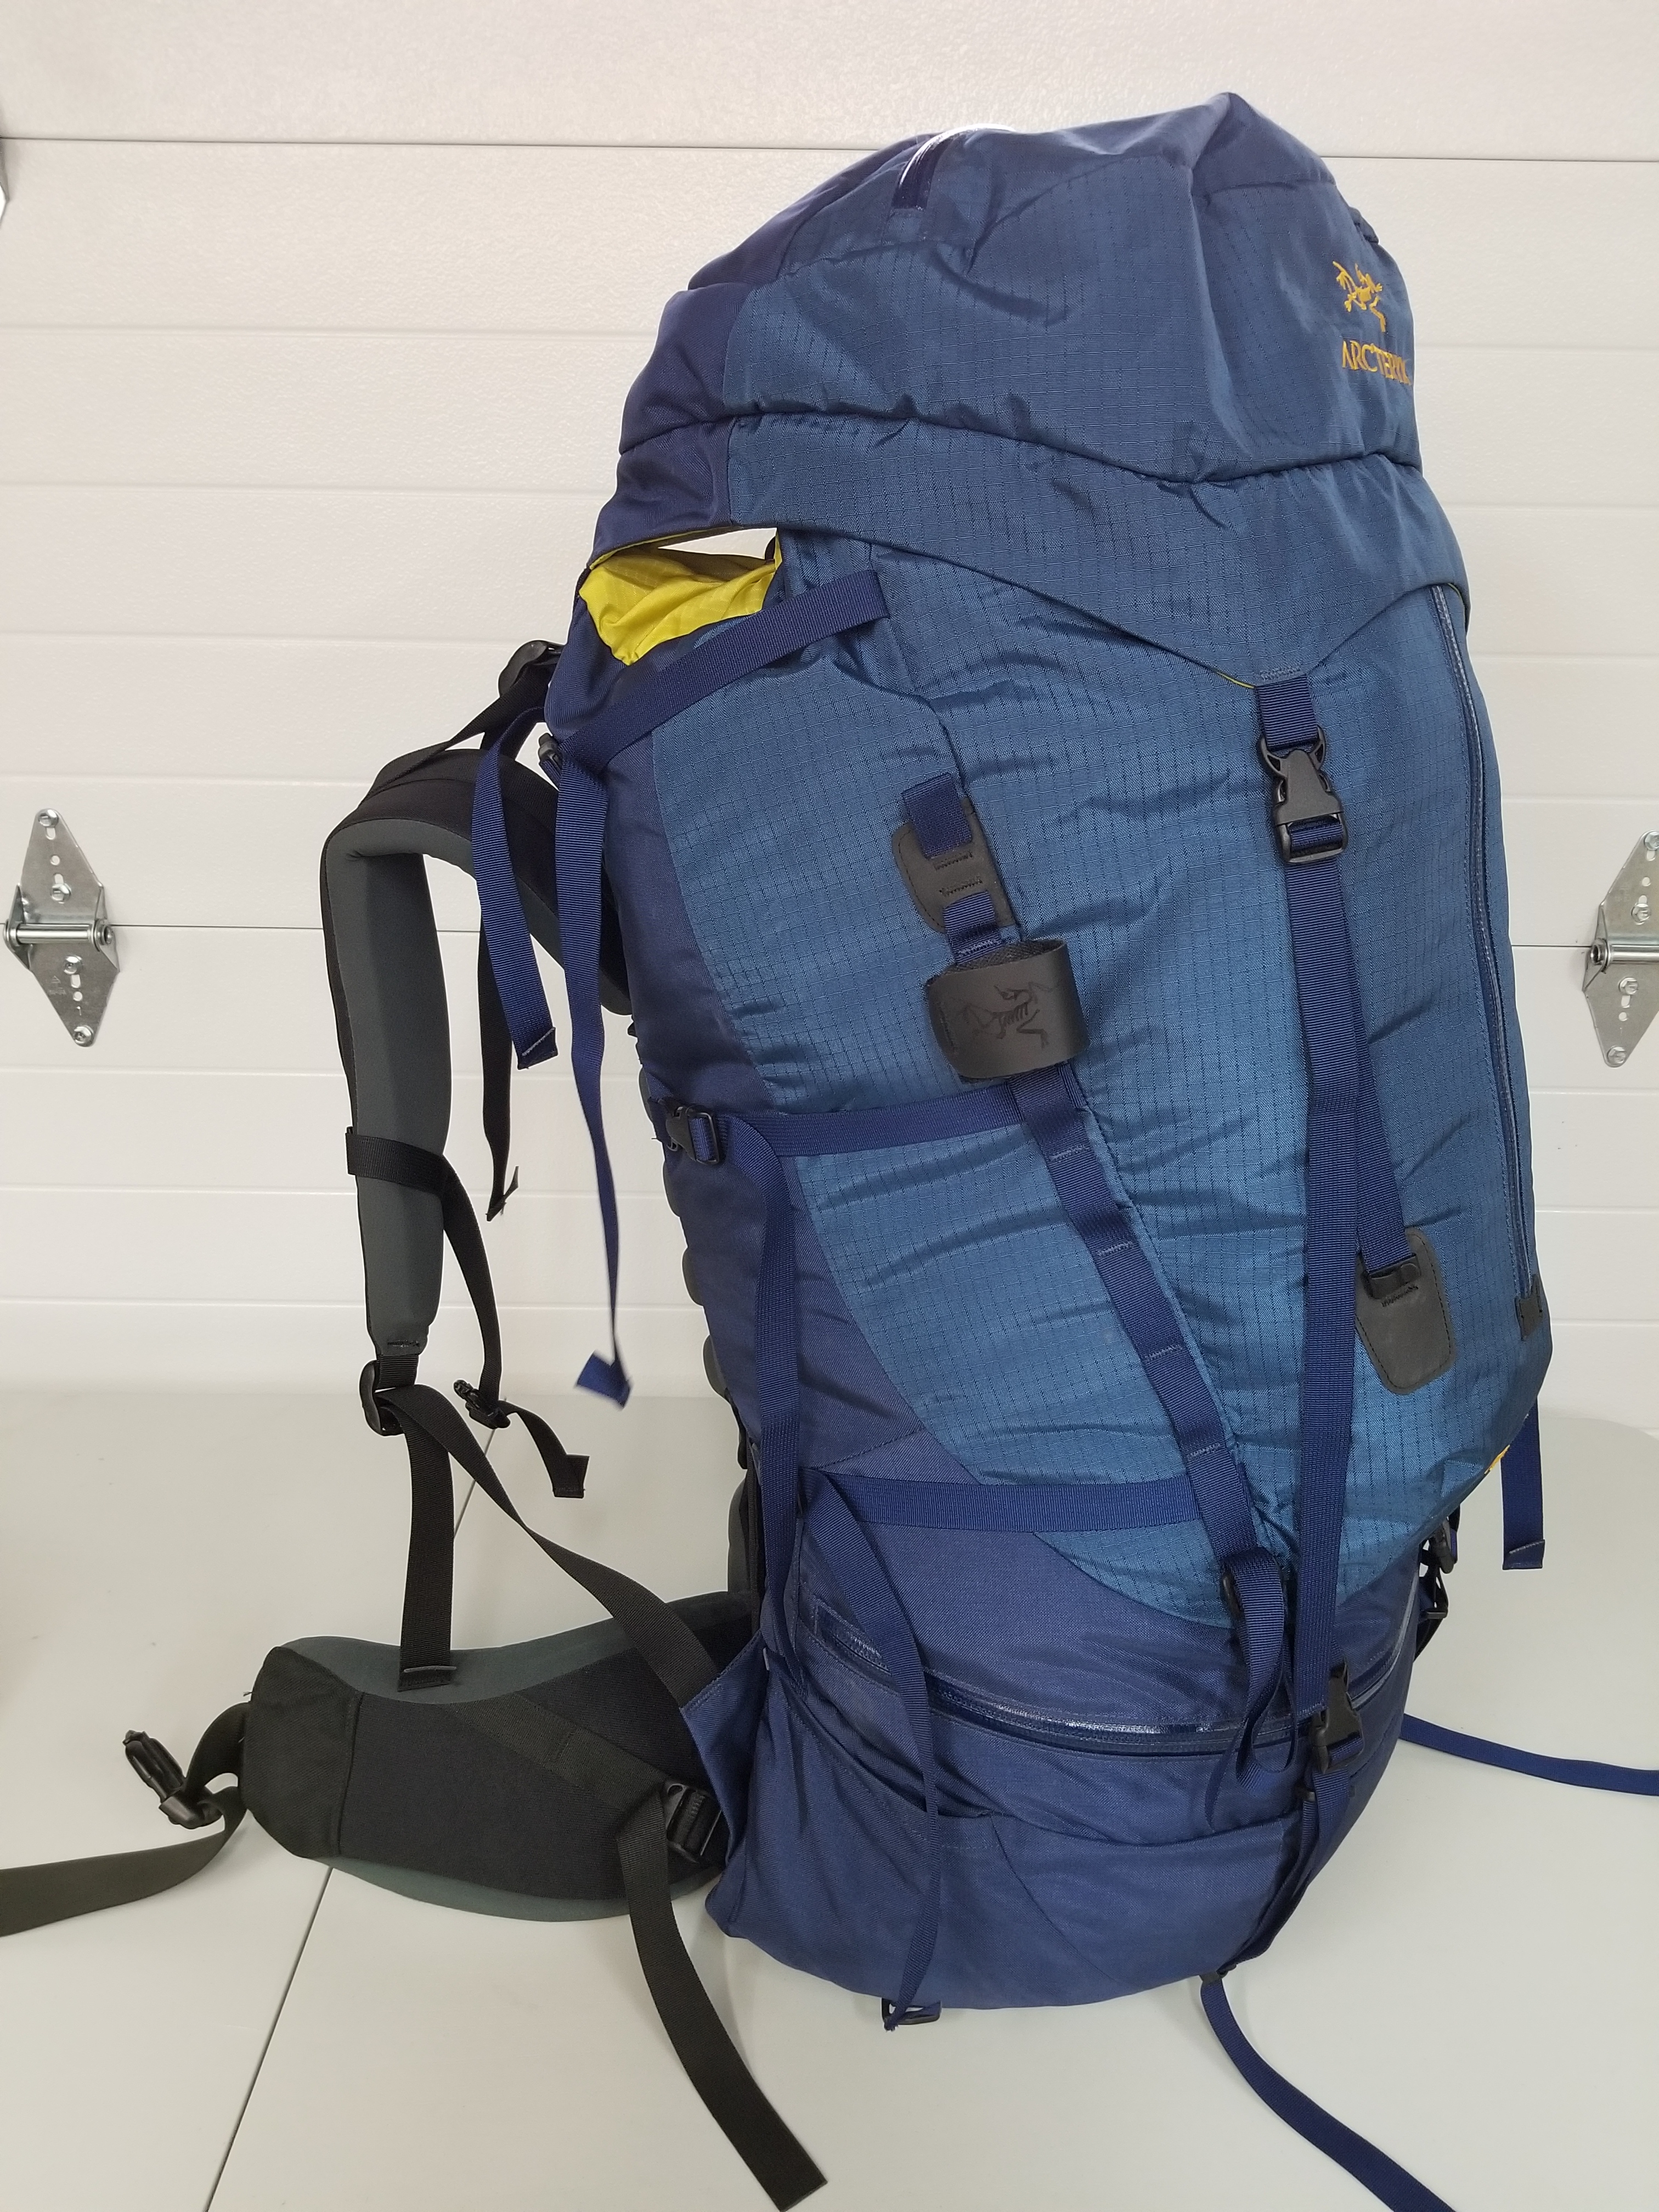
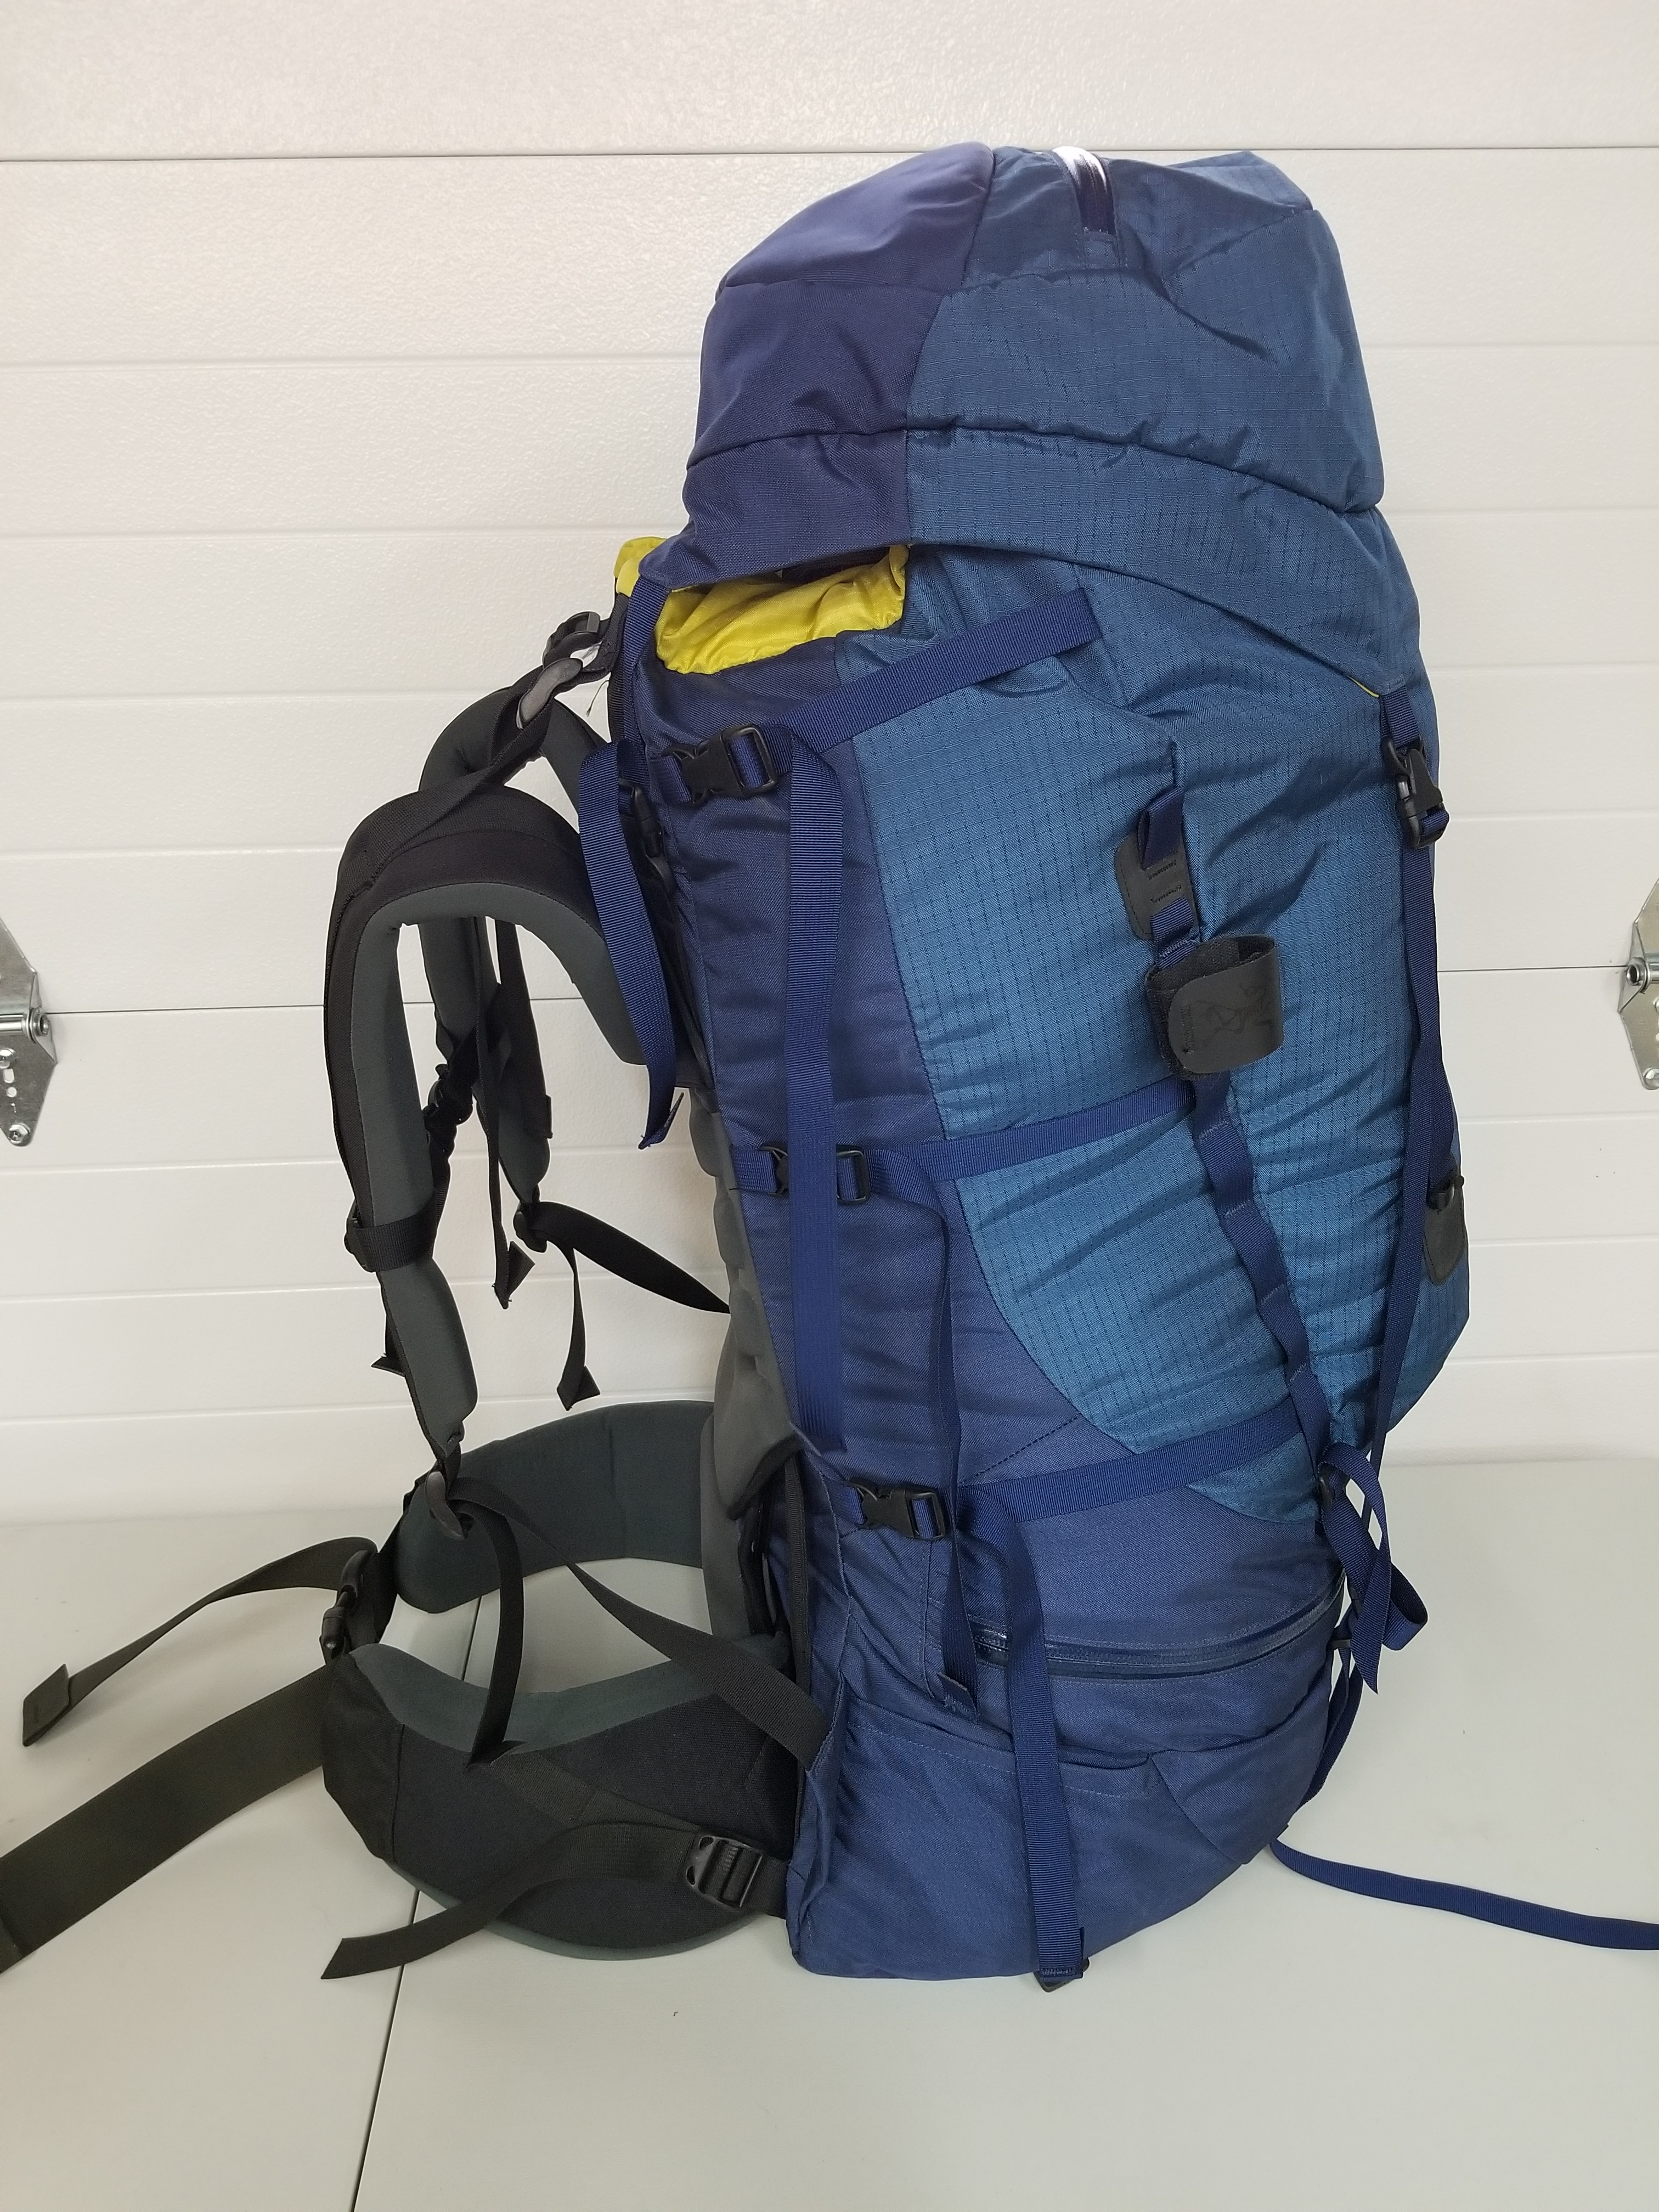
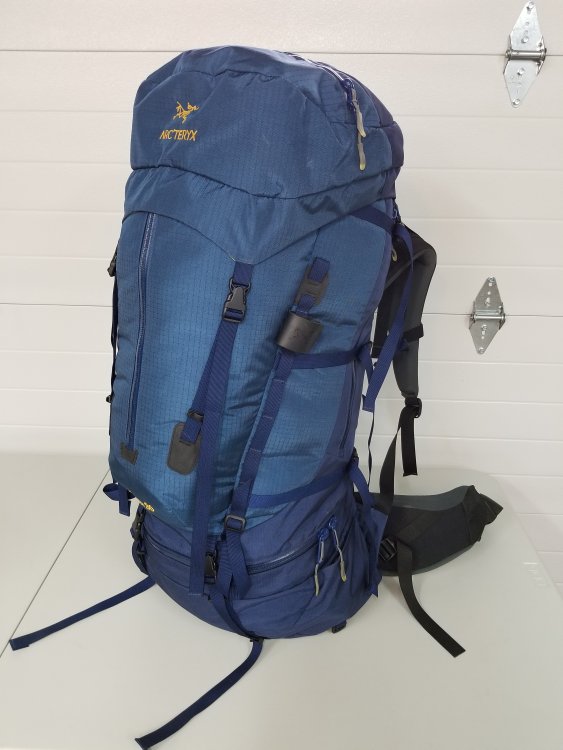
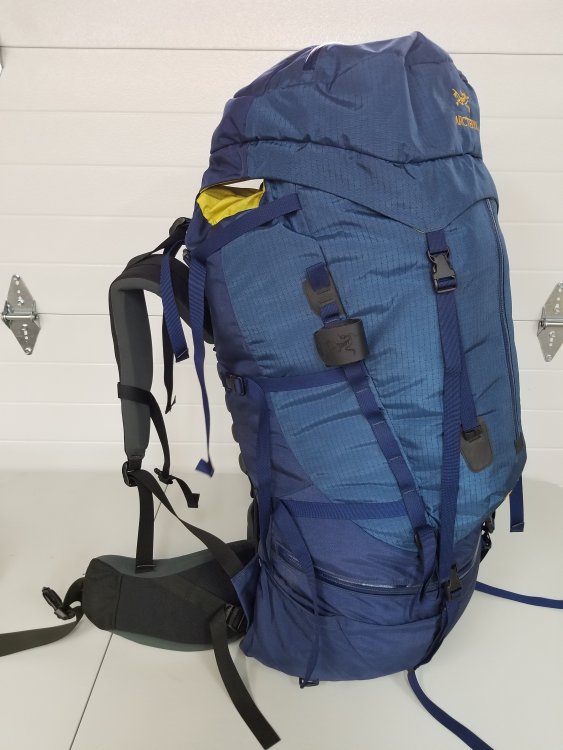
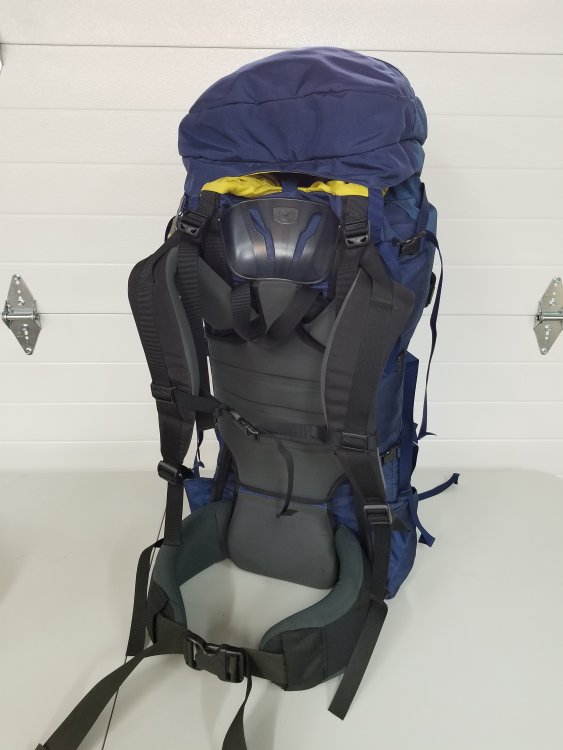
Arc'teryx Bora 80 backpack, size Regular (18-21" torso), 77 Liters. Excellent condition! I bought this pack shortly after getting into mountaineering, around 2009. I only used it on a few trips over a couple years before I realized it was just too large for my needs. I've held onto it because it's an awesome pack, but I haven't used it in years so I think it's time clear some space in the gear closet. $300 OBO Located near Seattle.

-
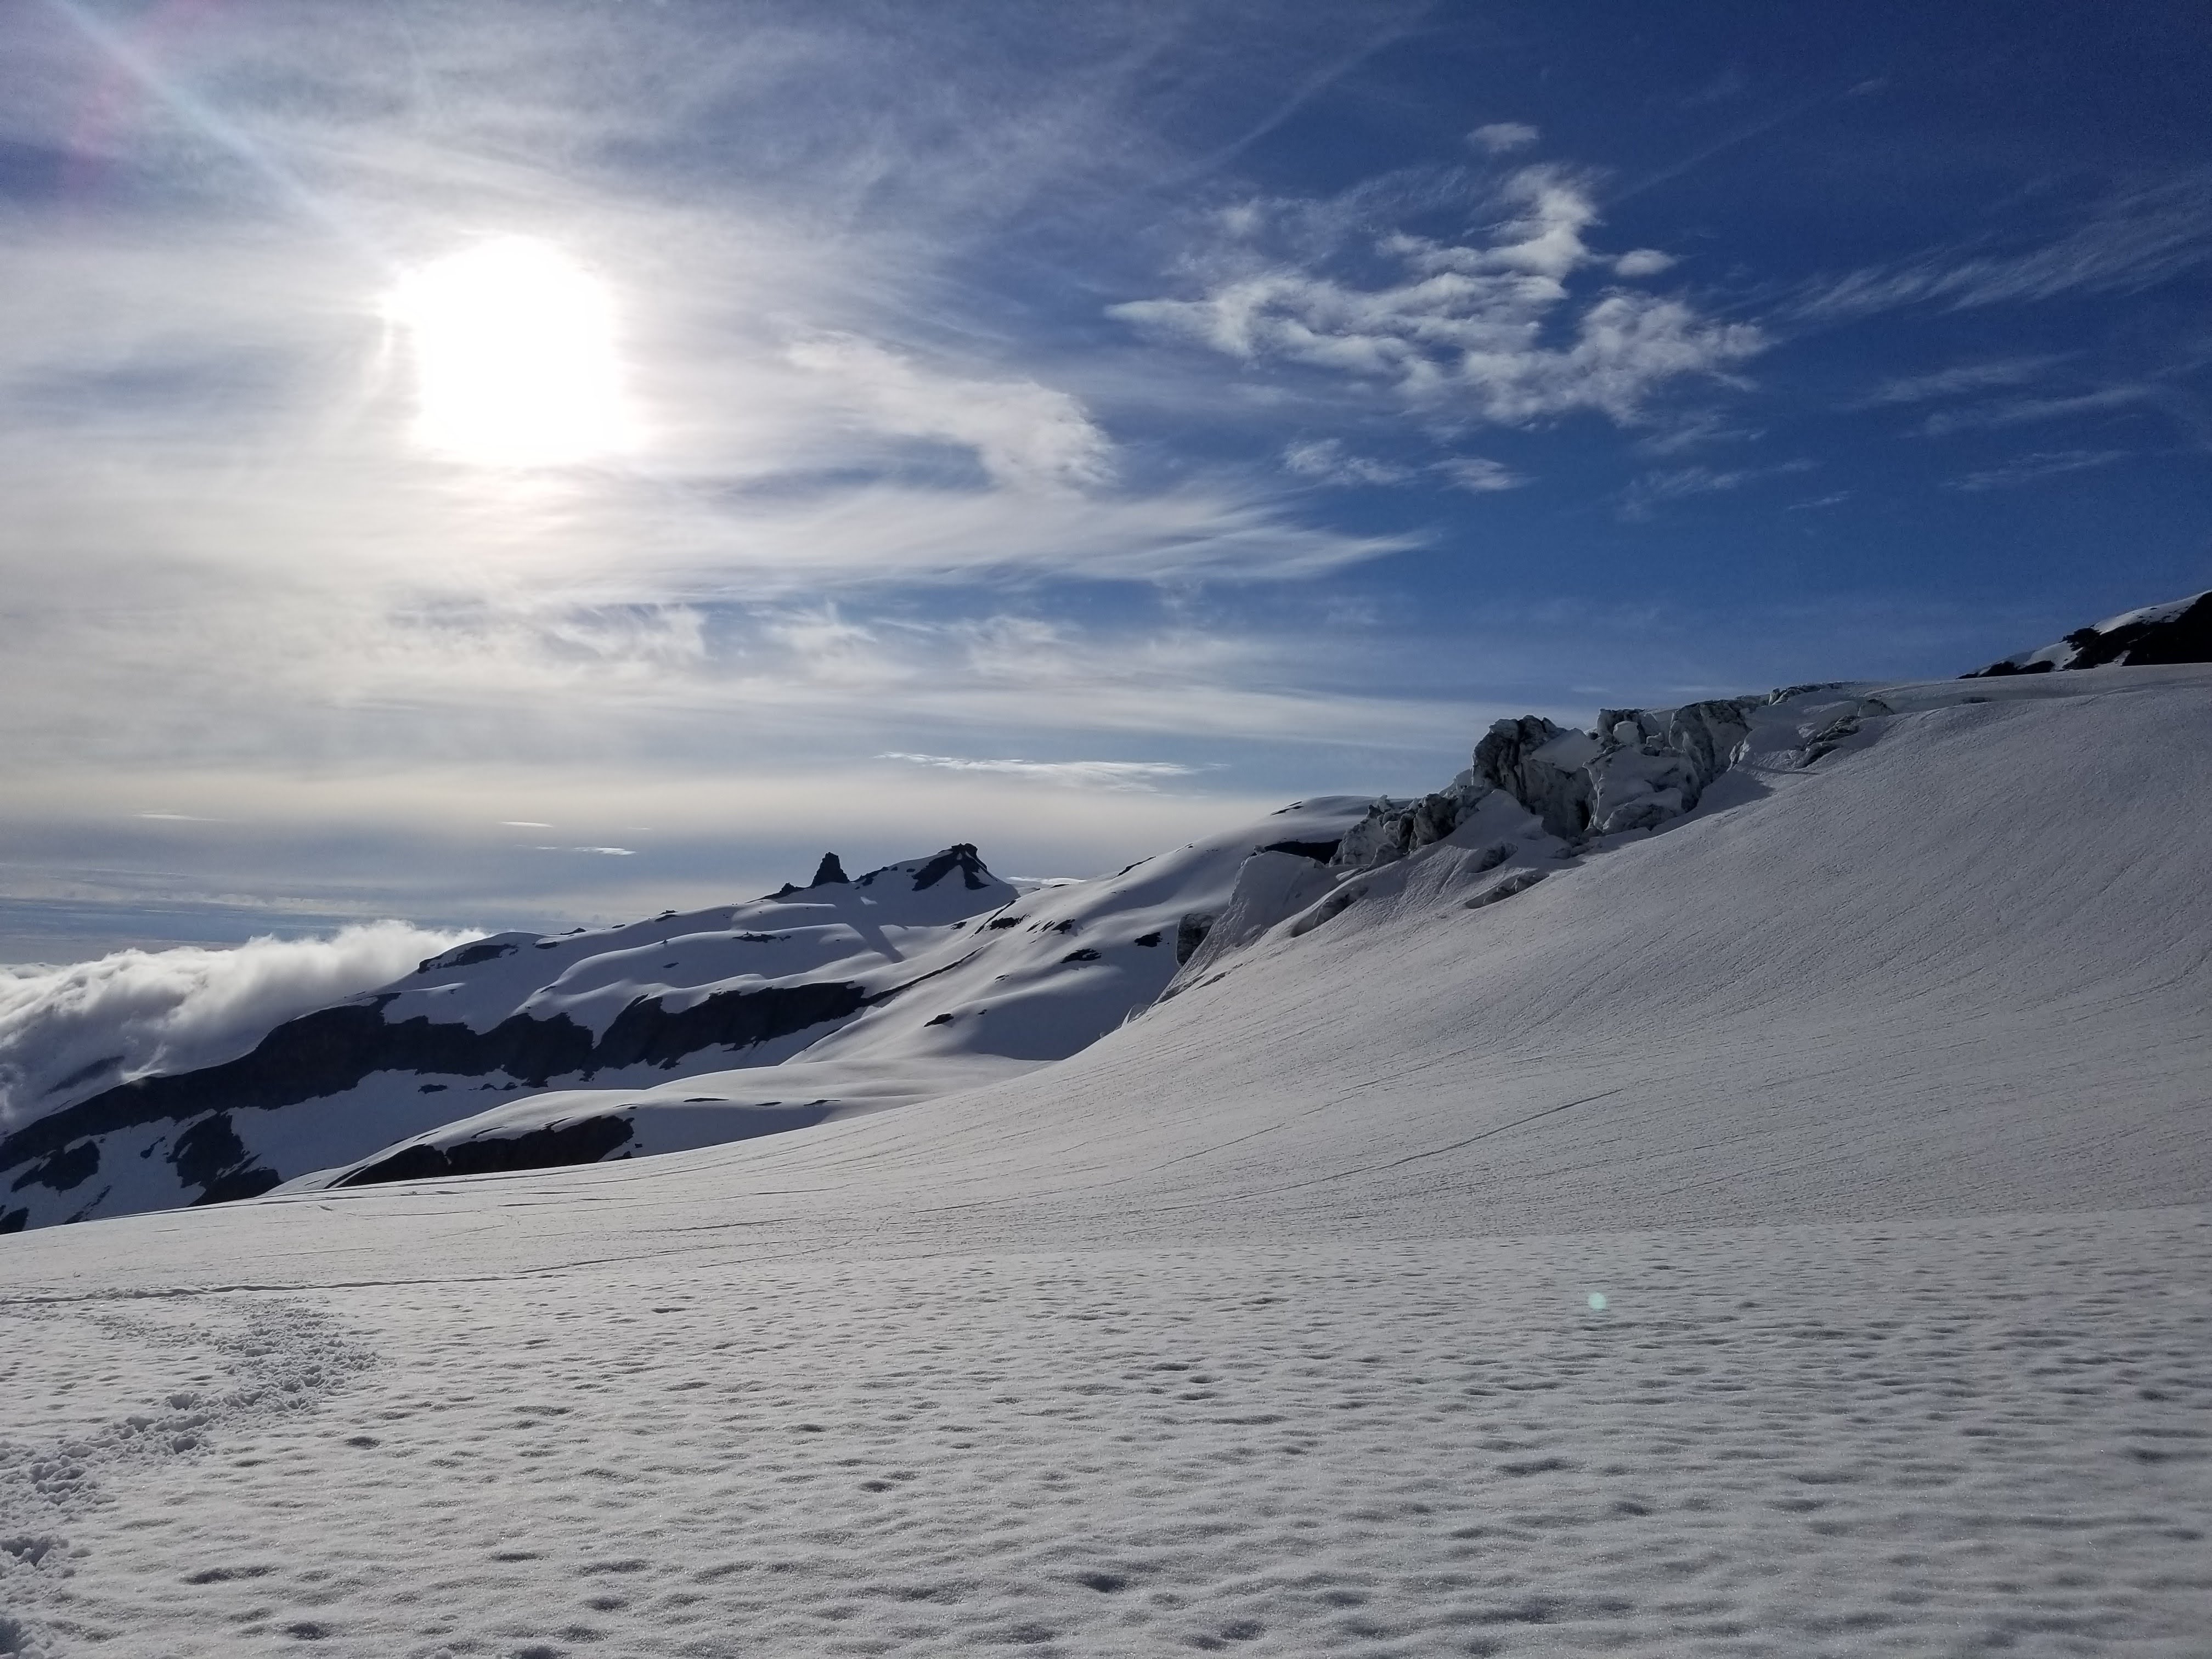
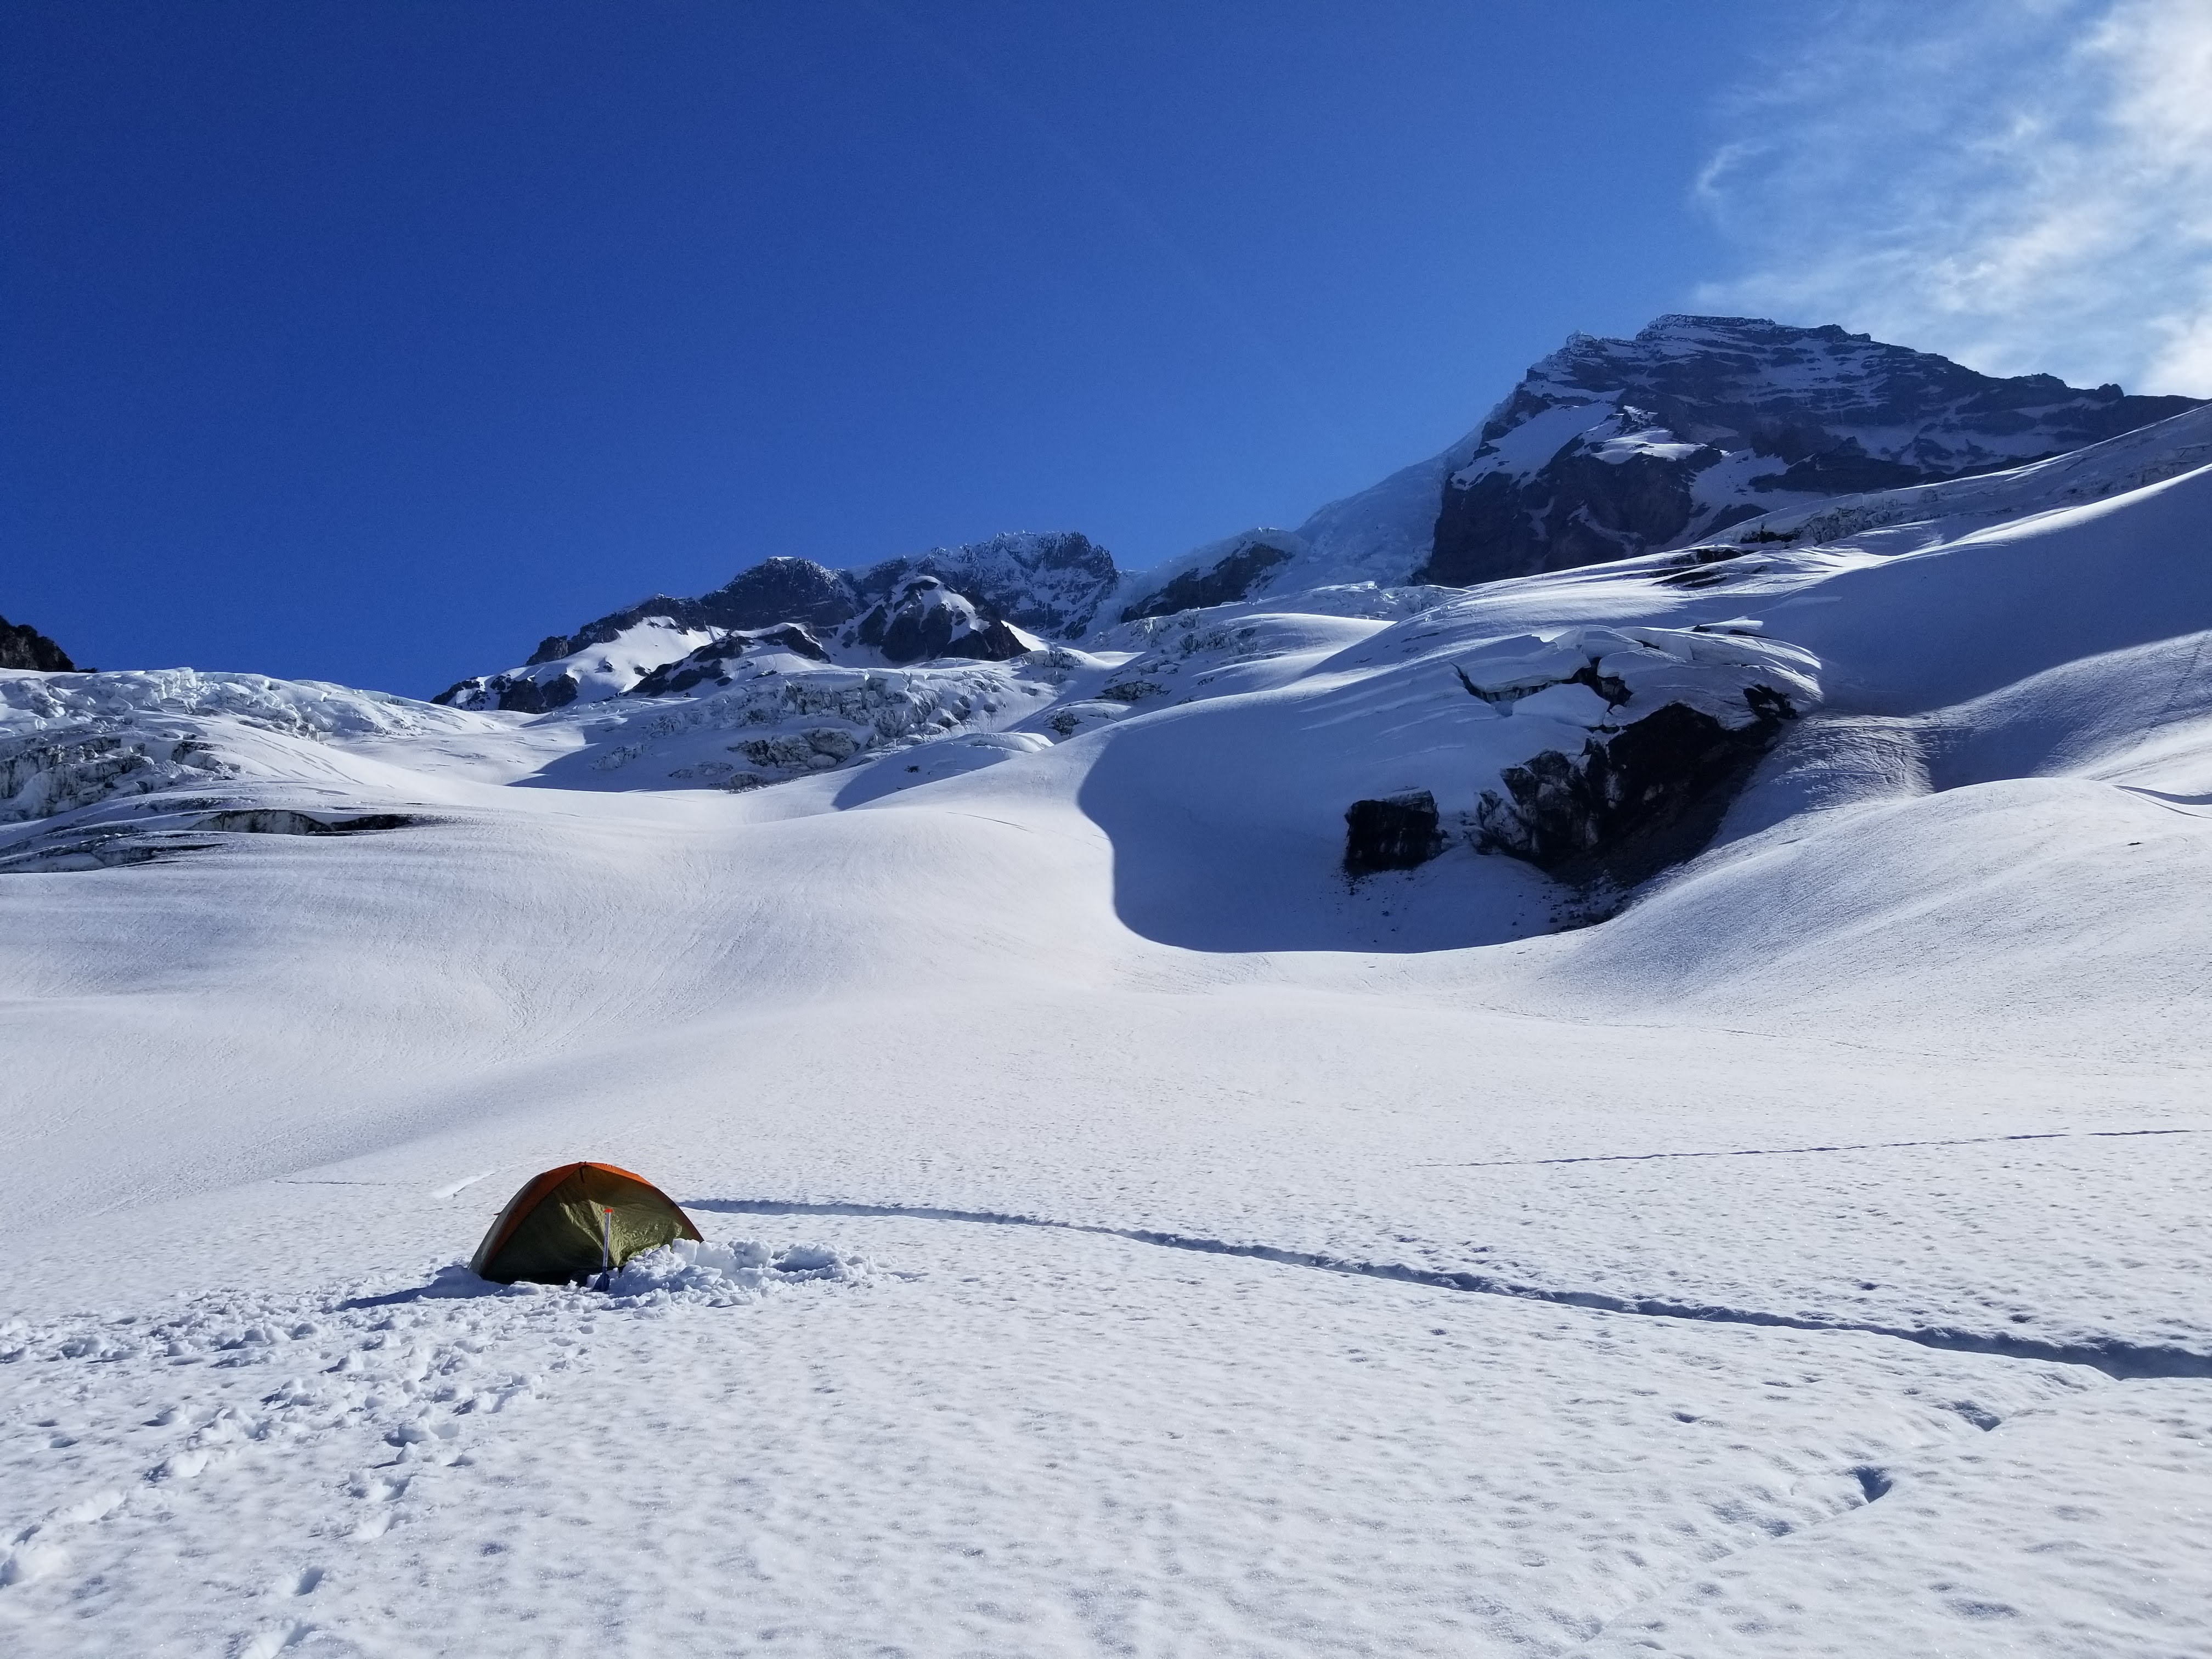
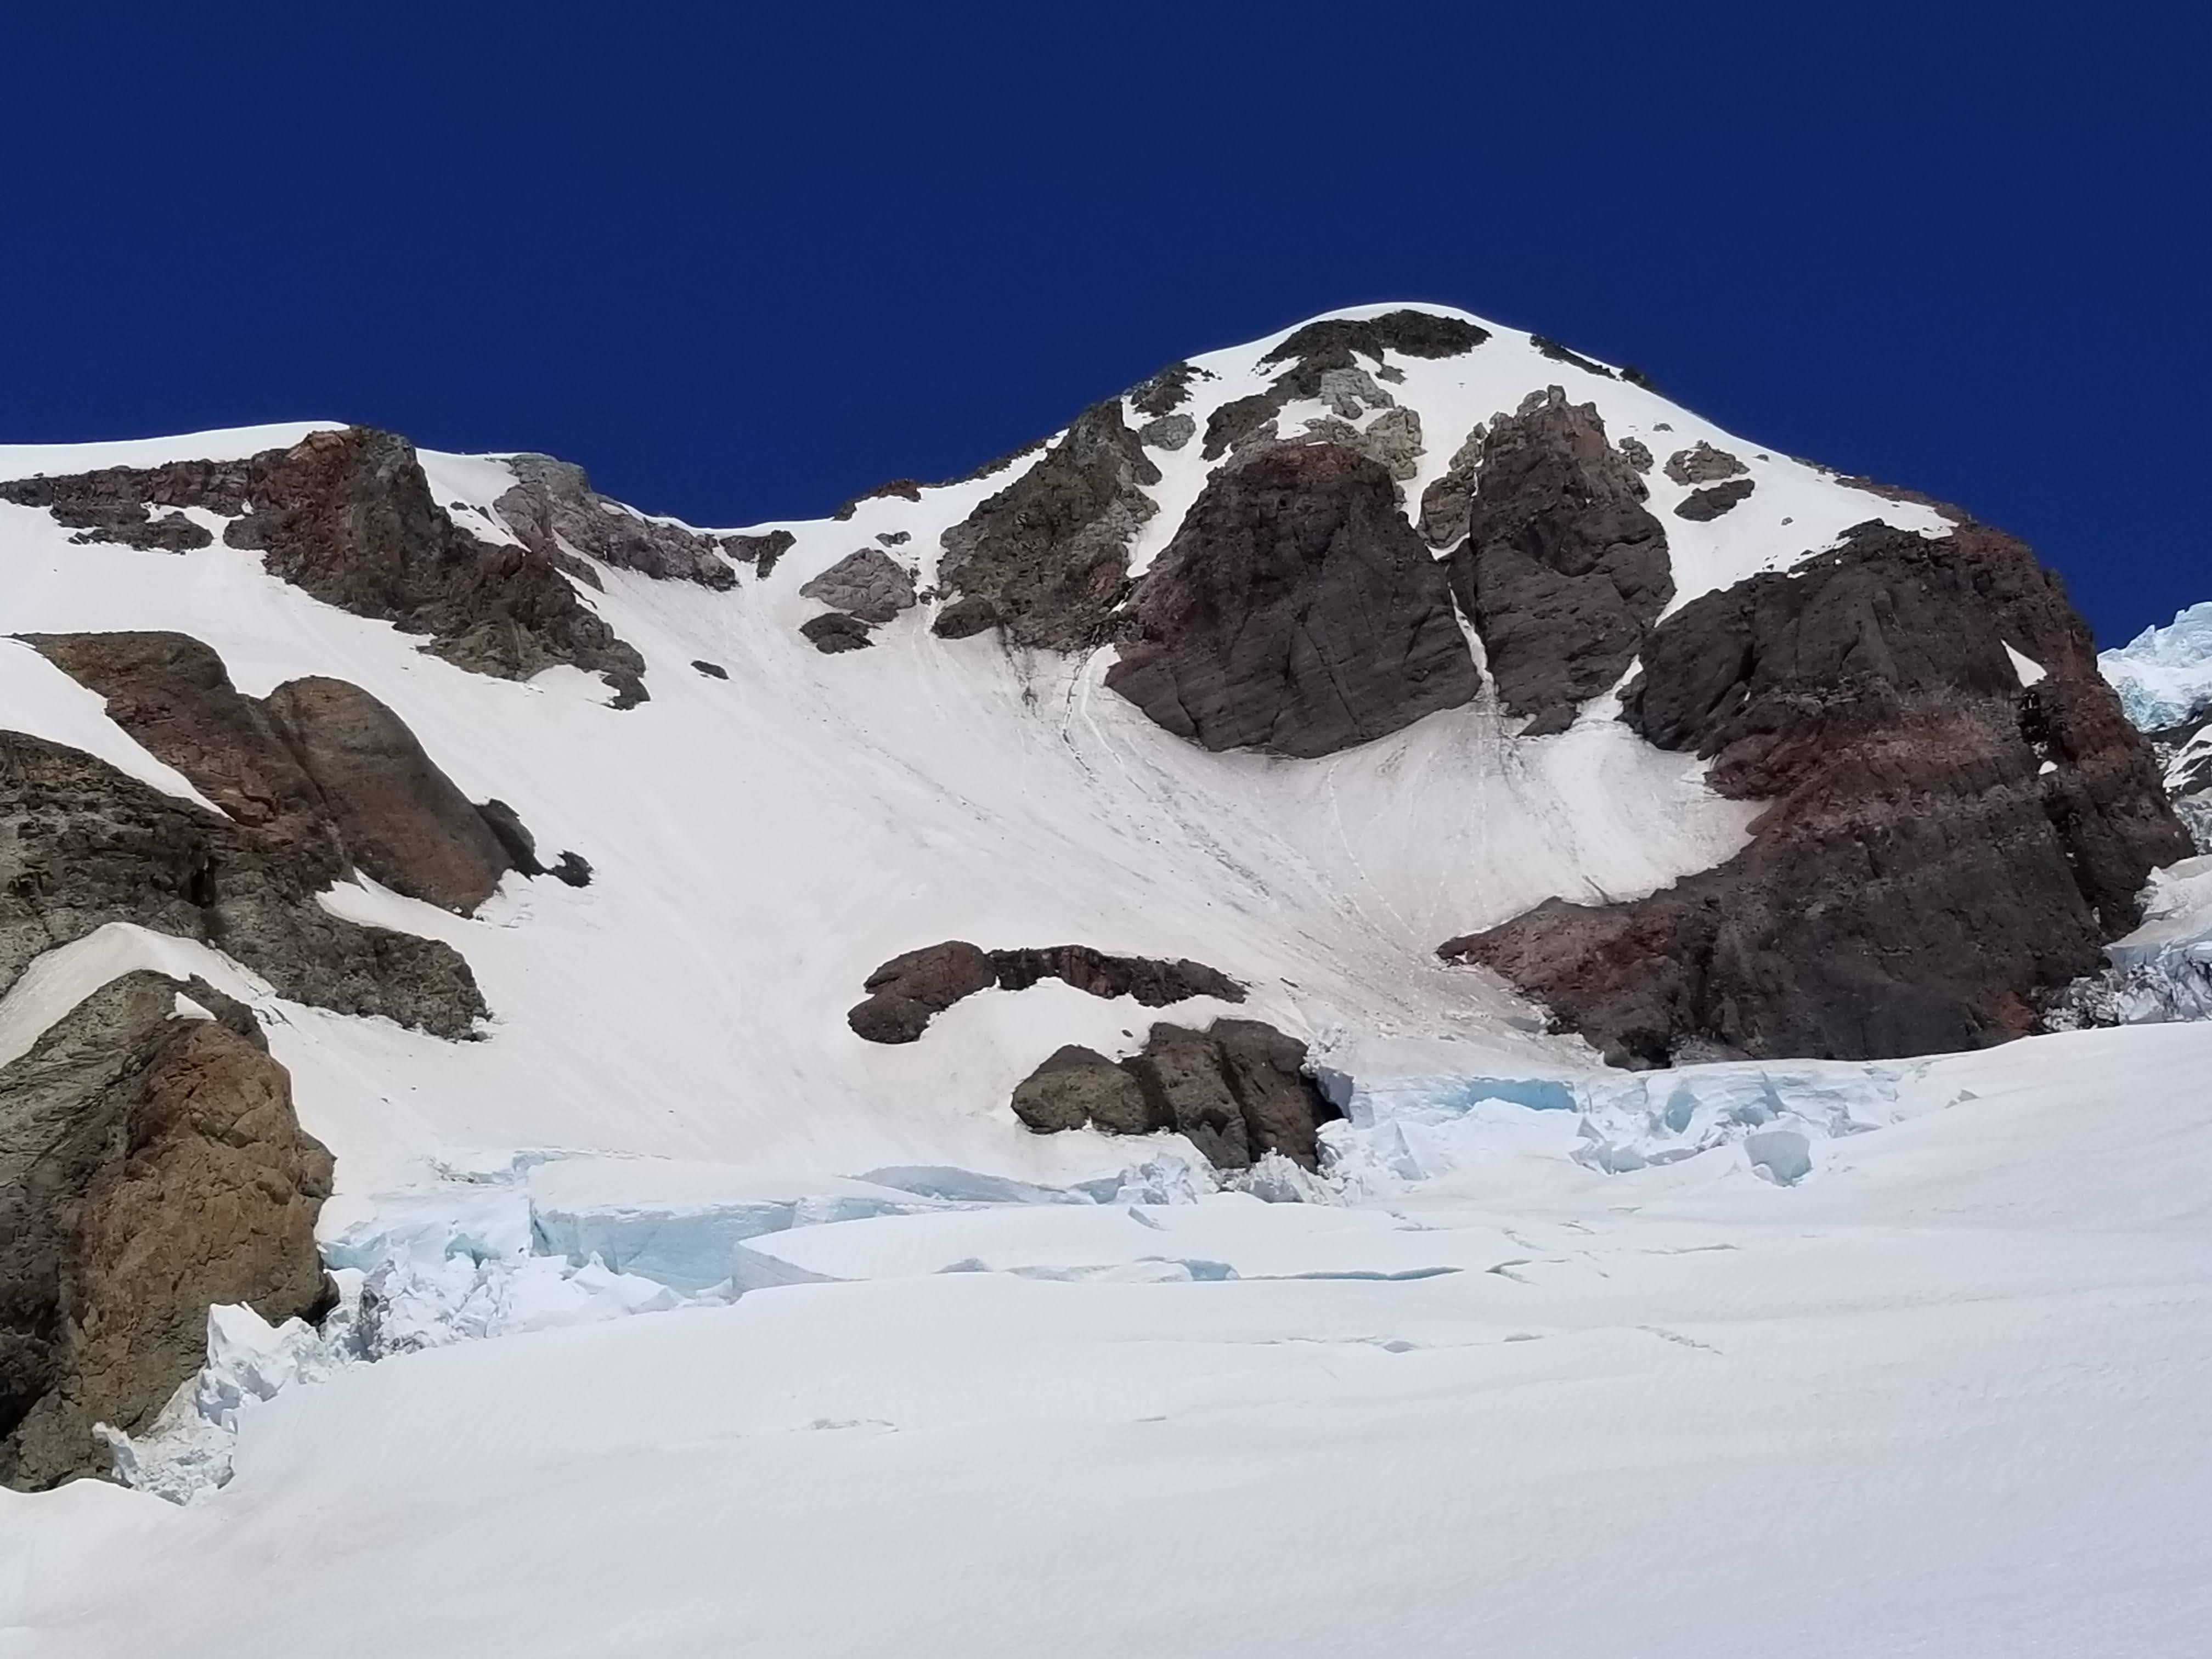
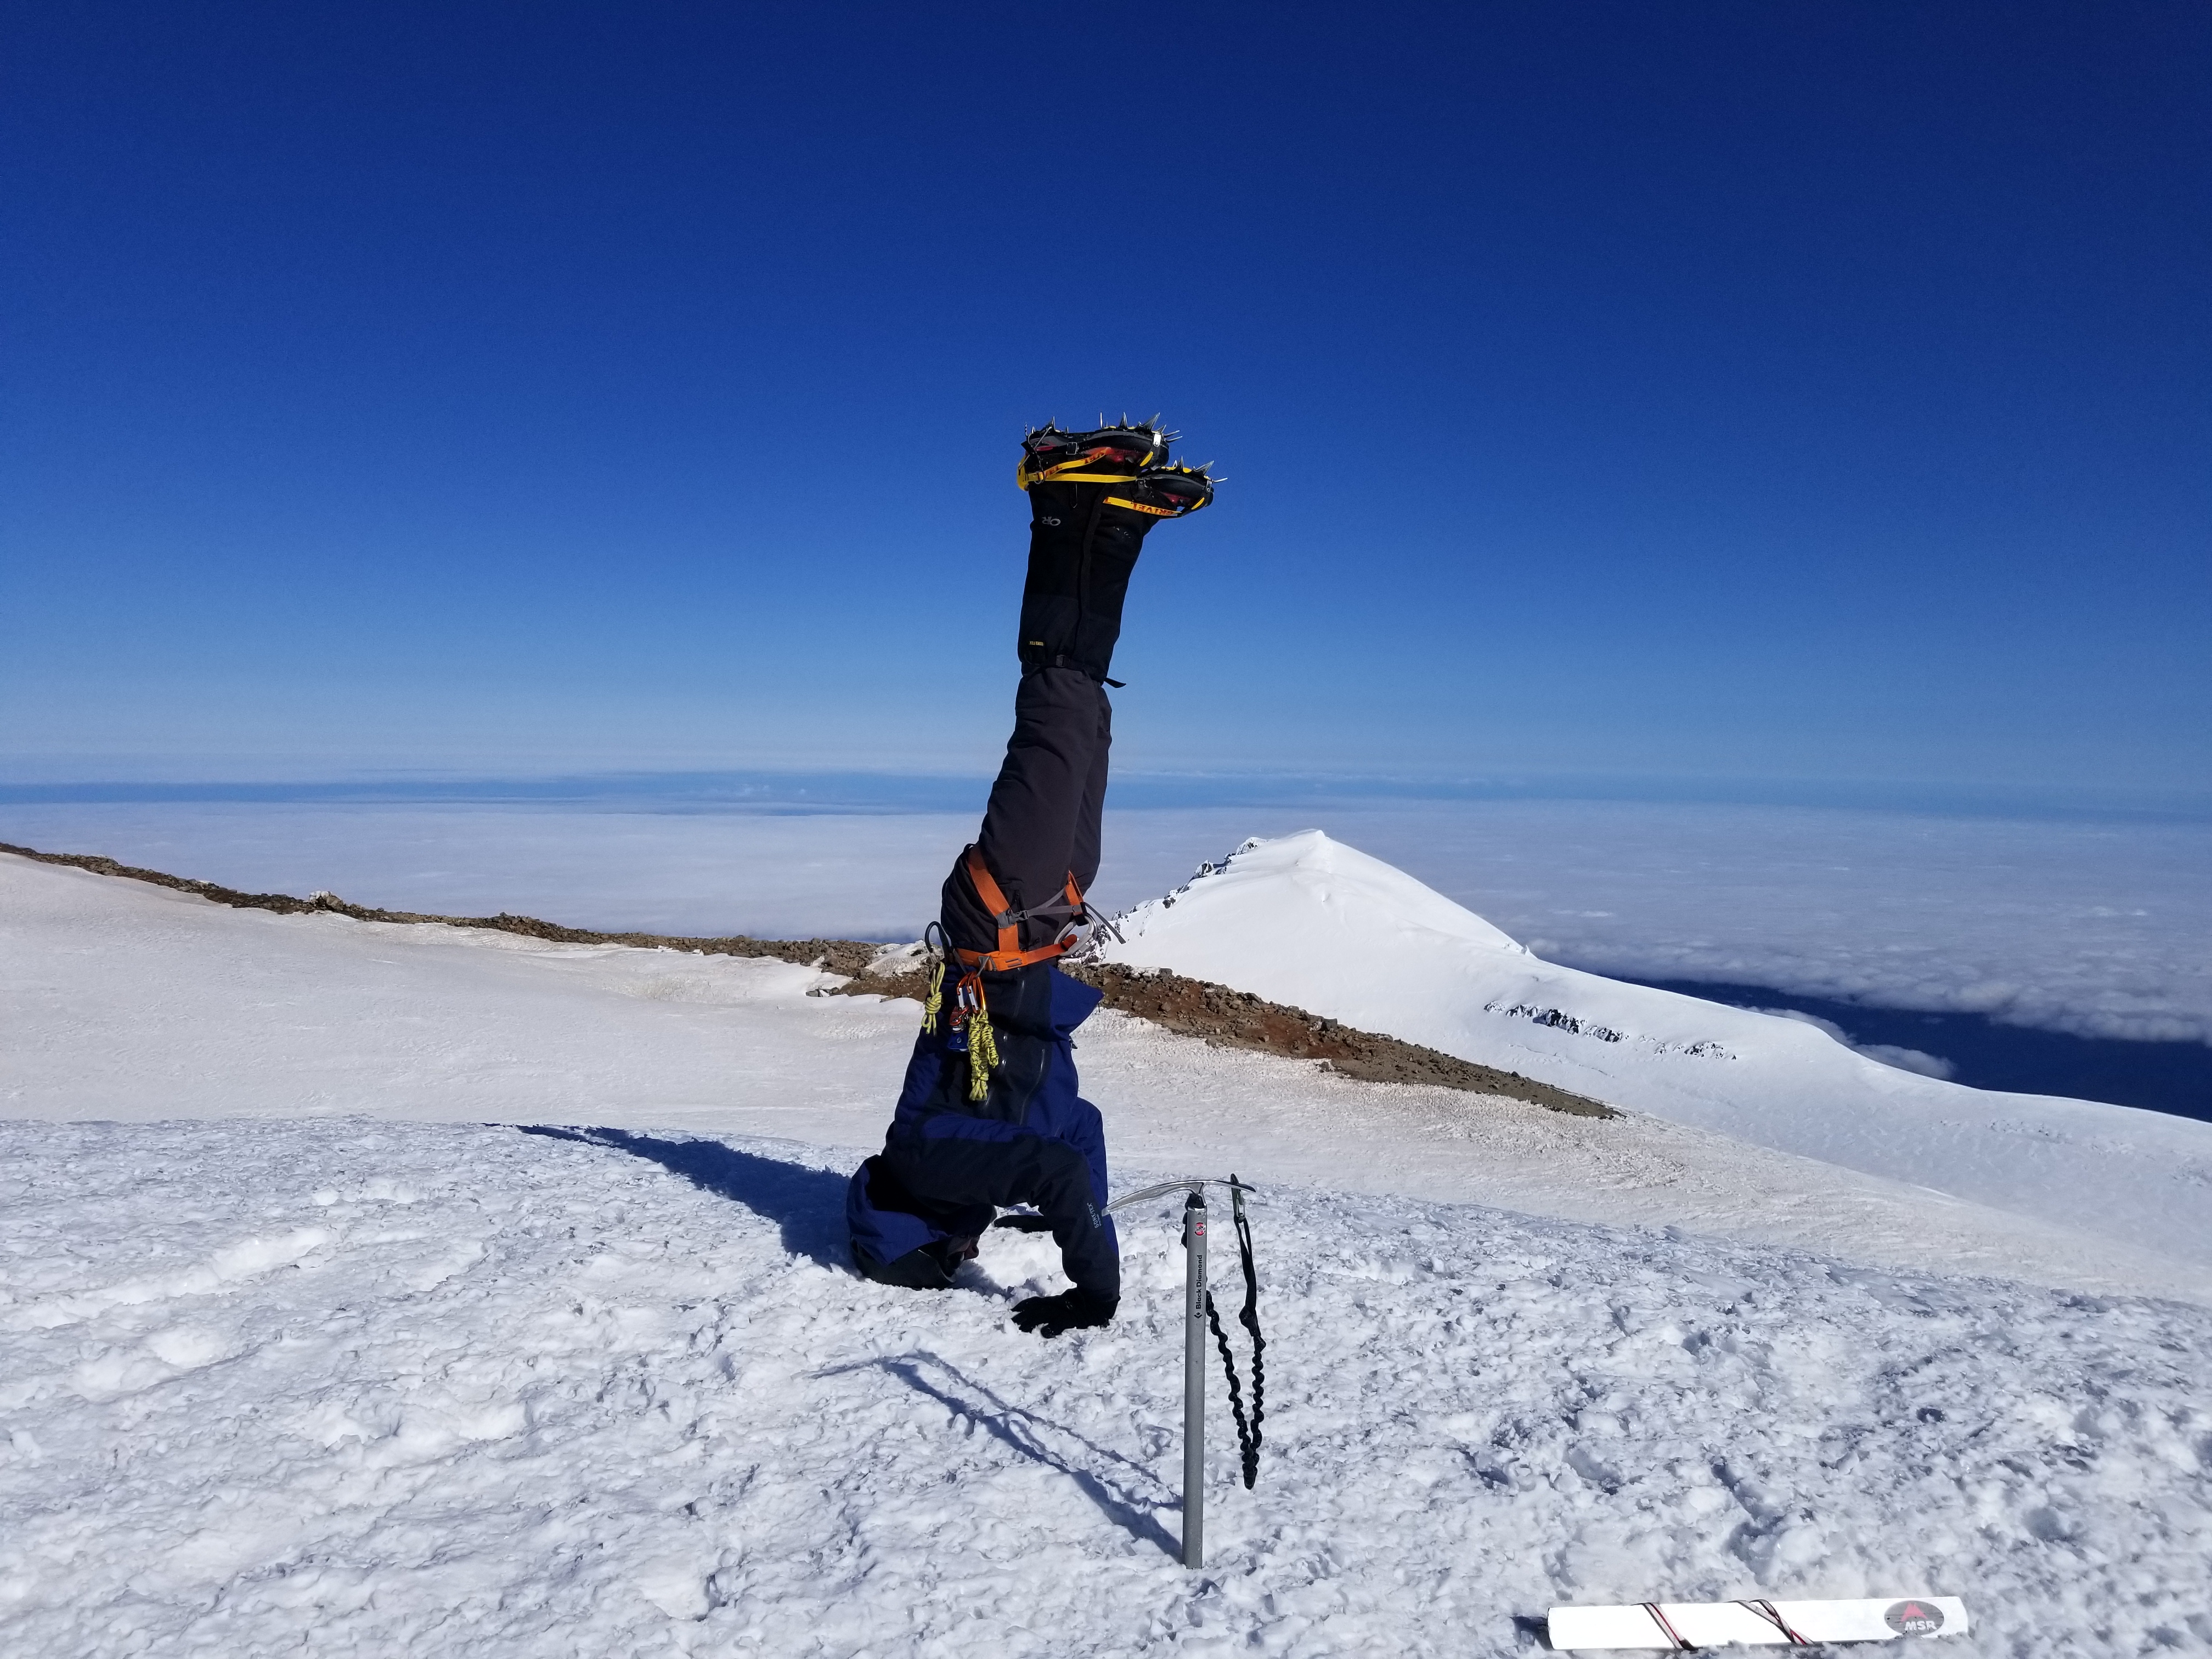
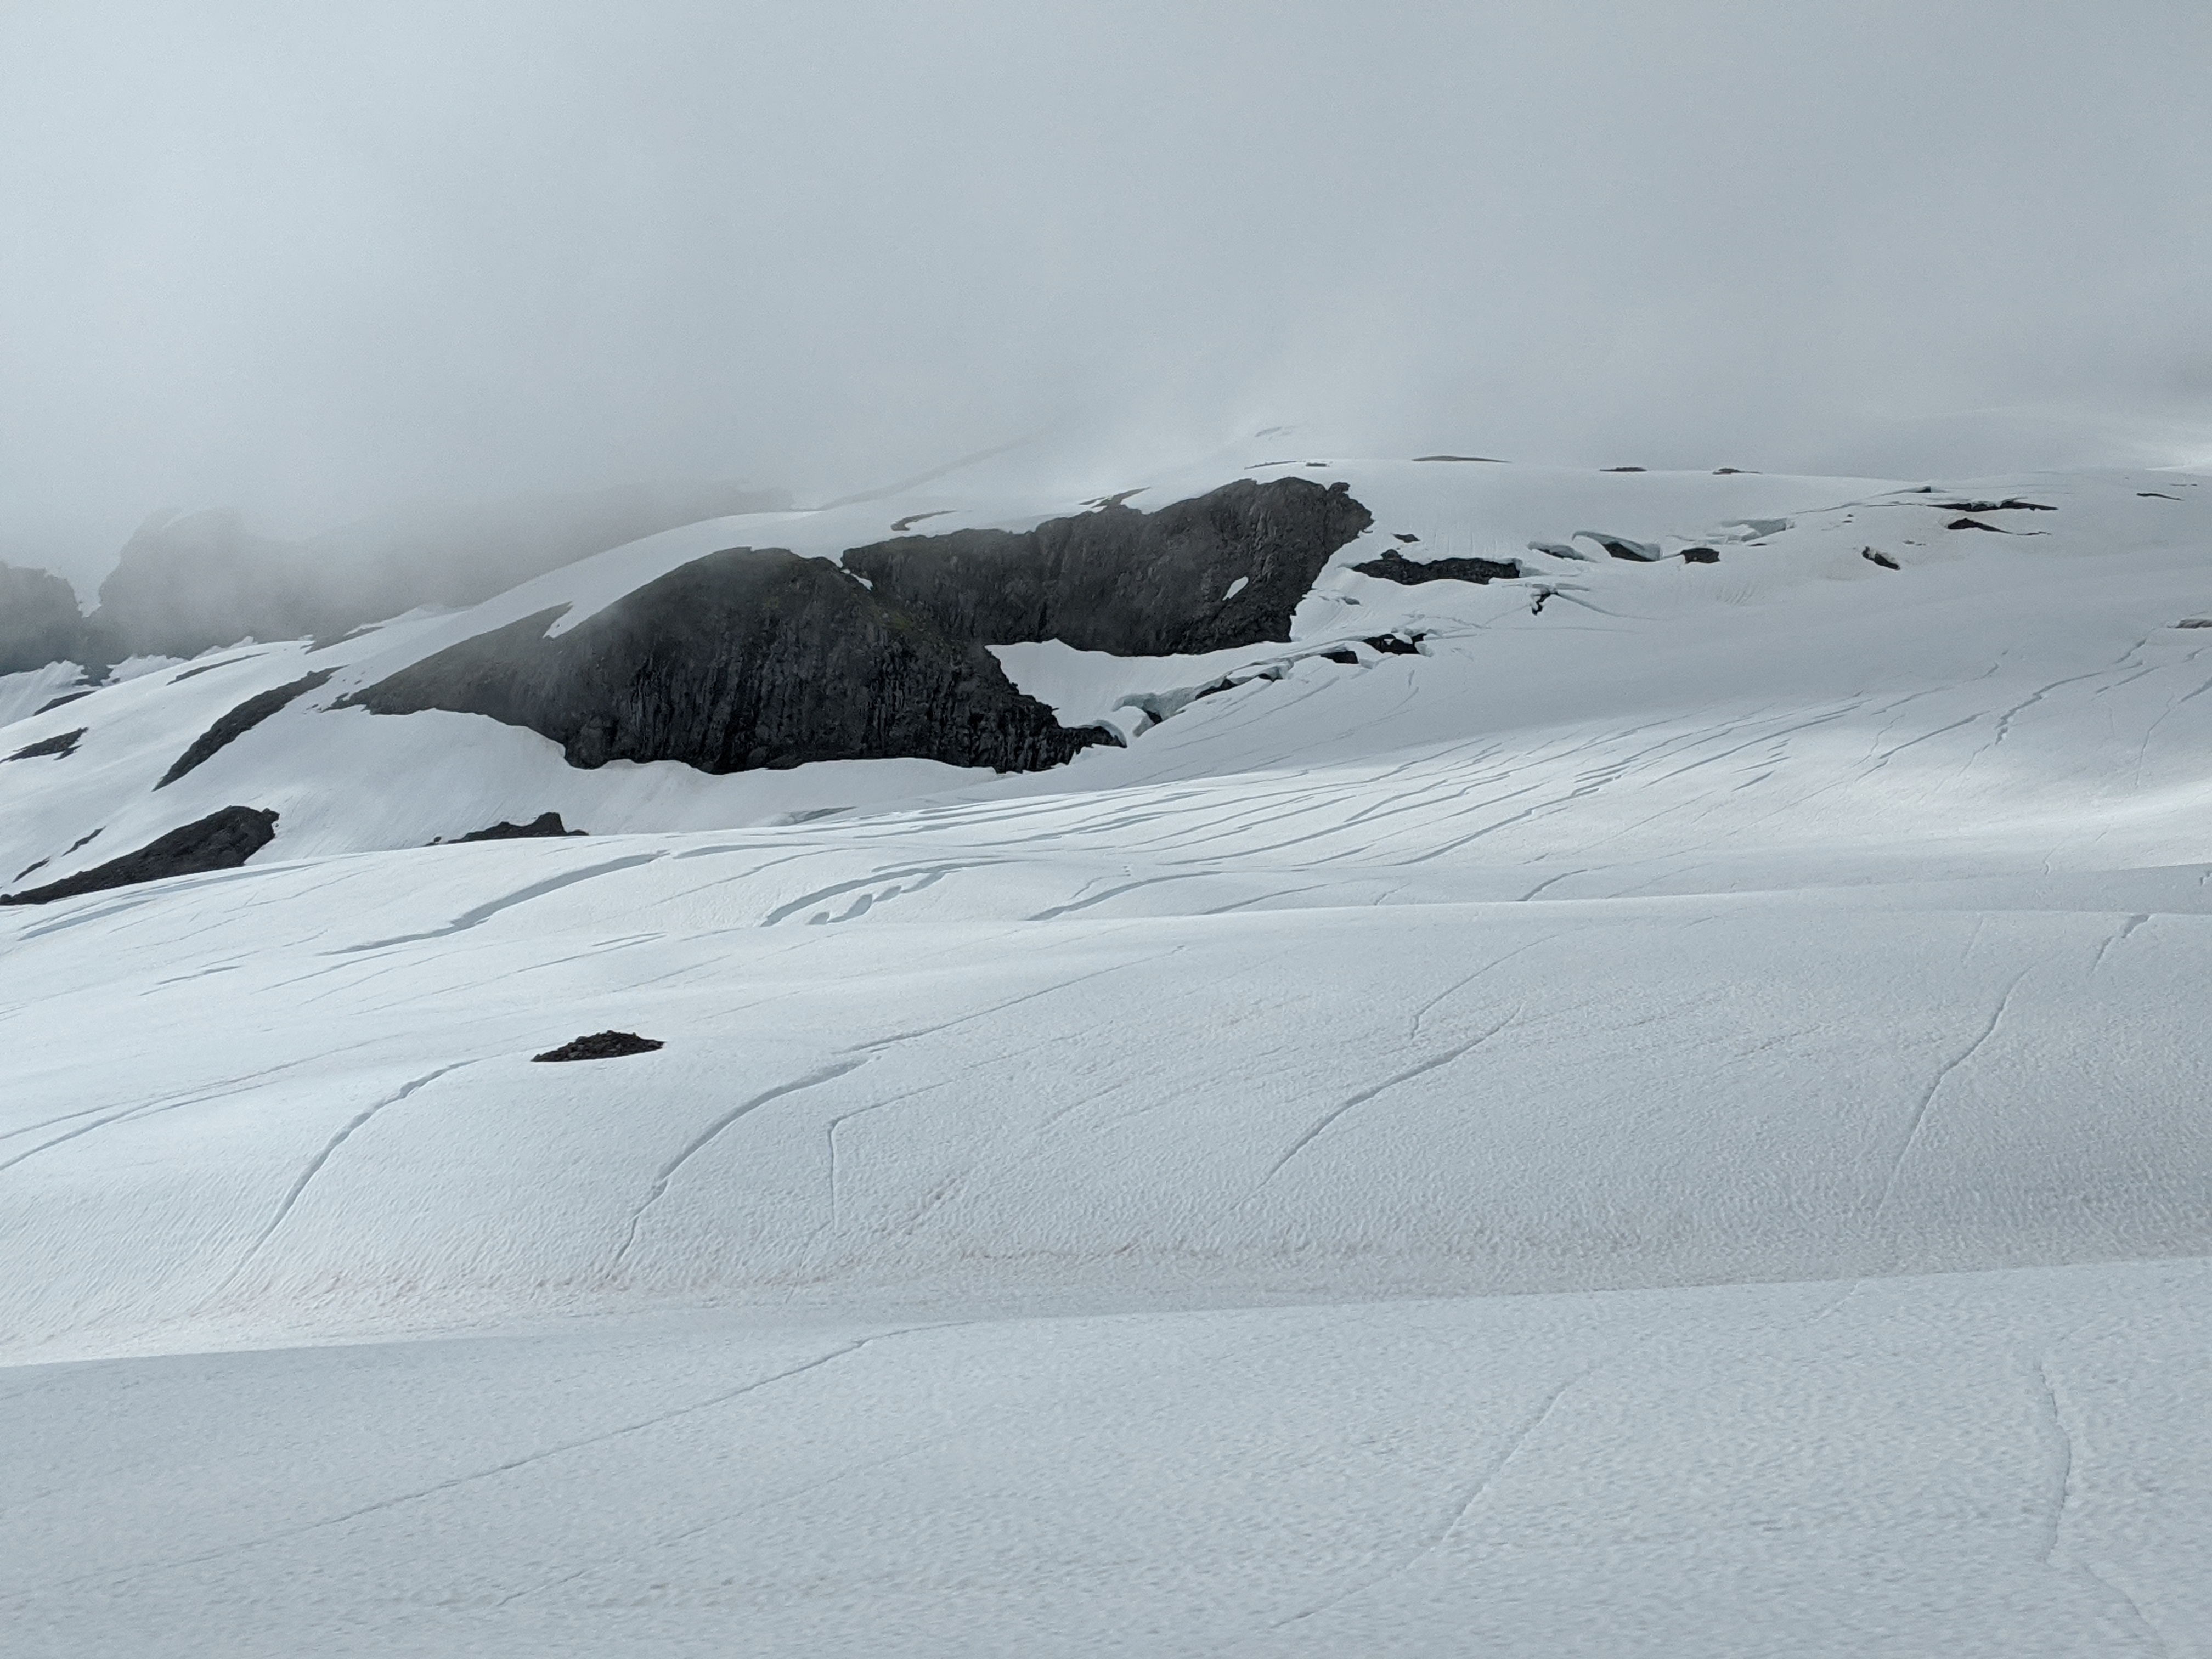
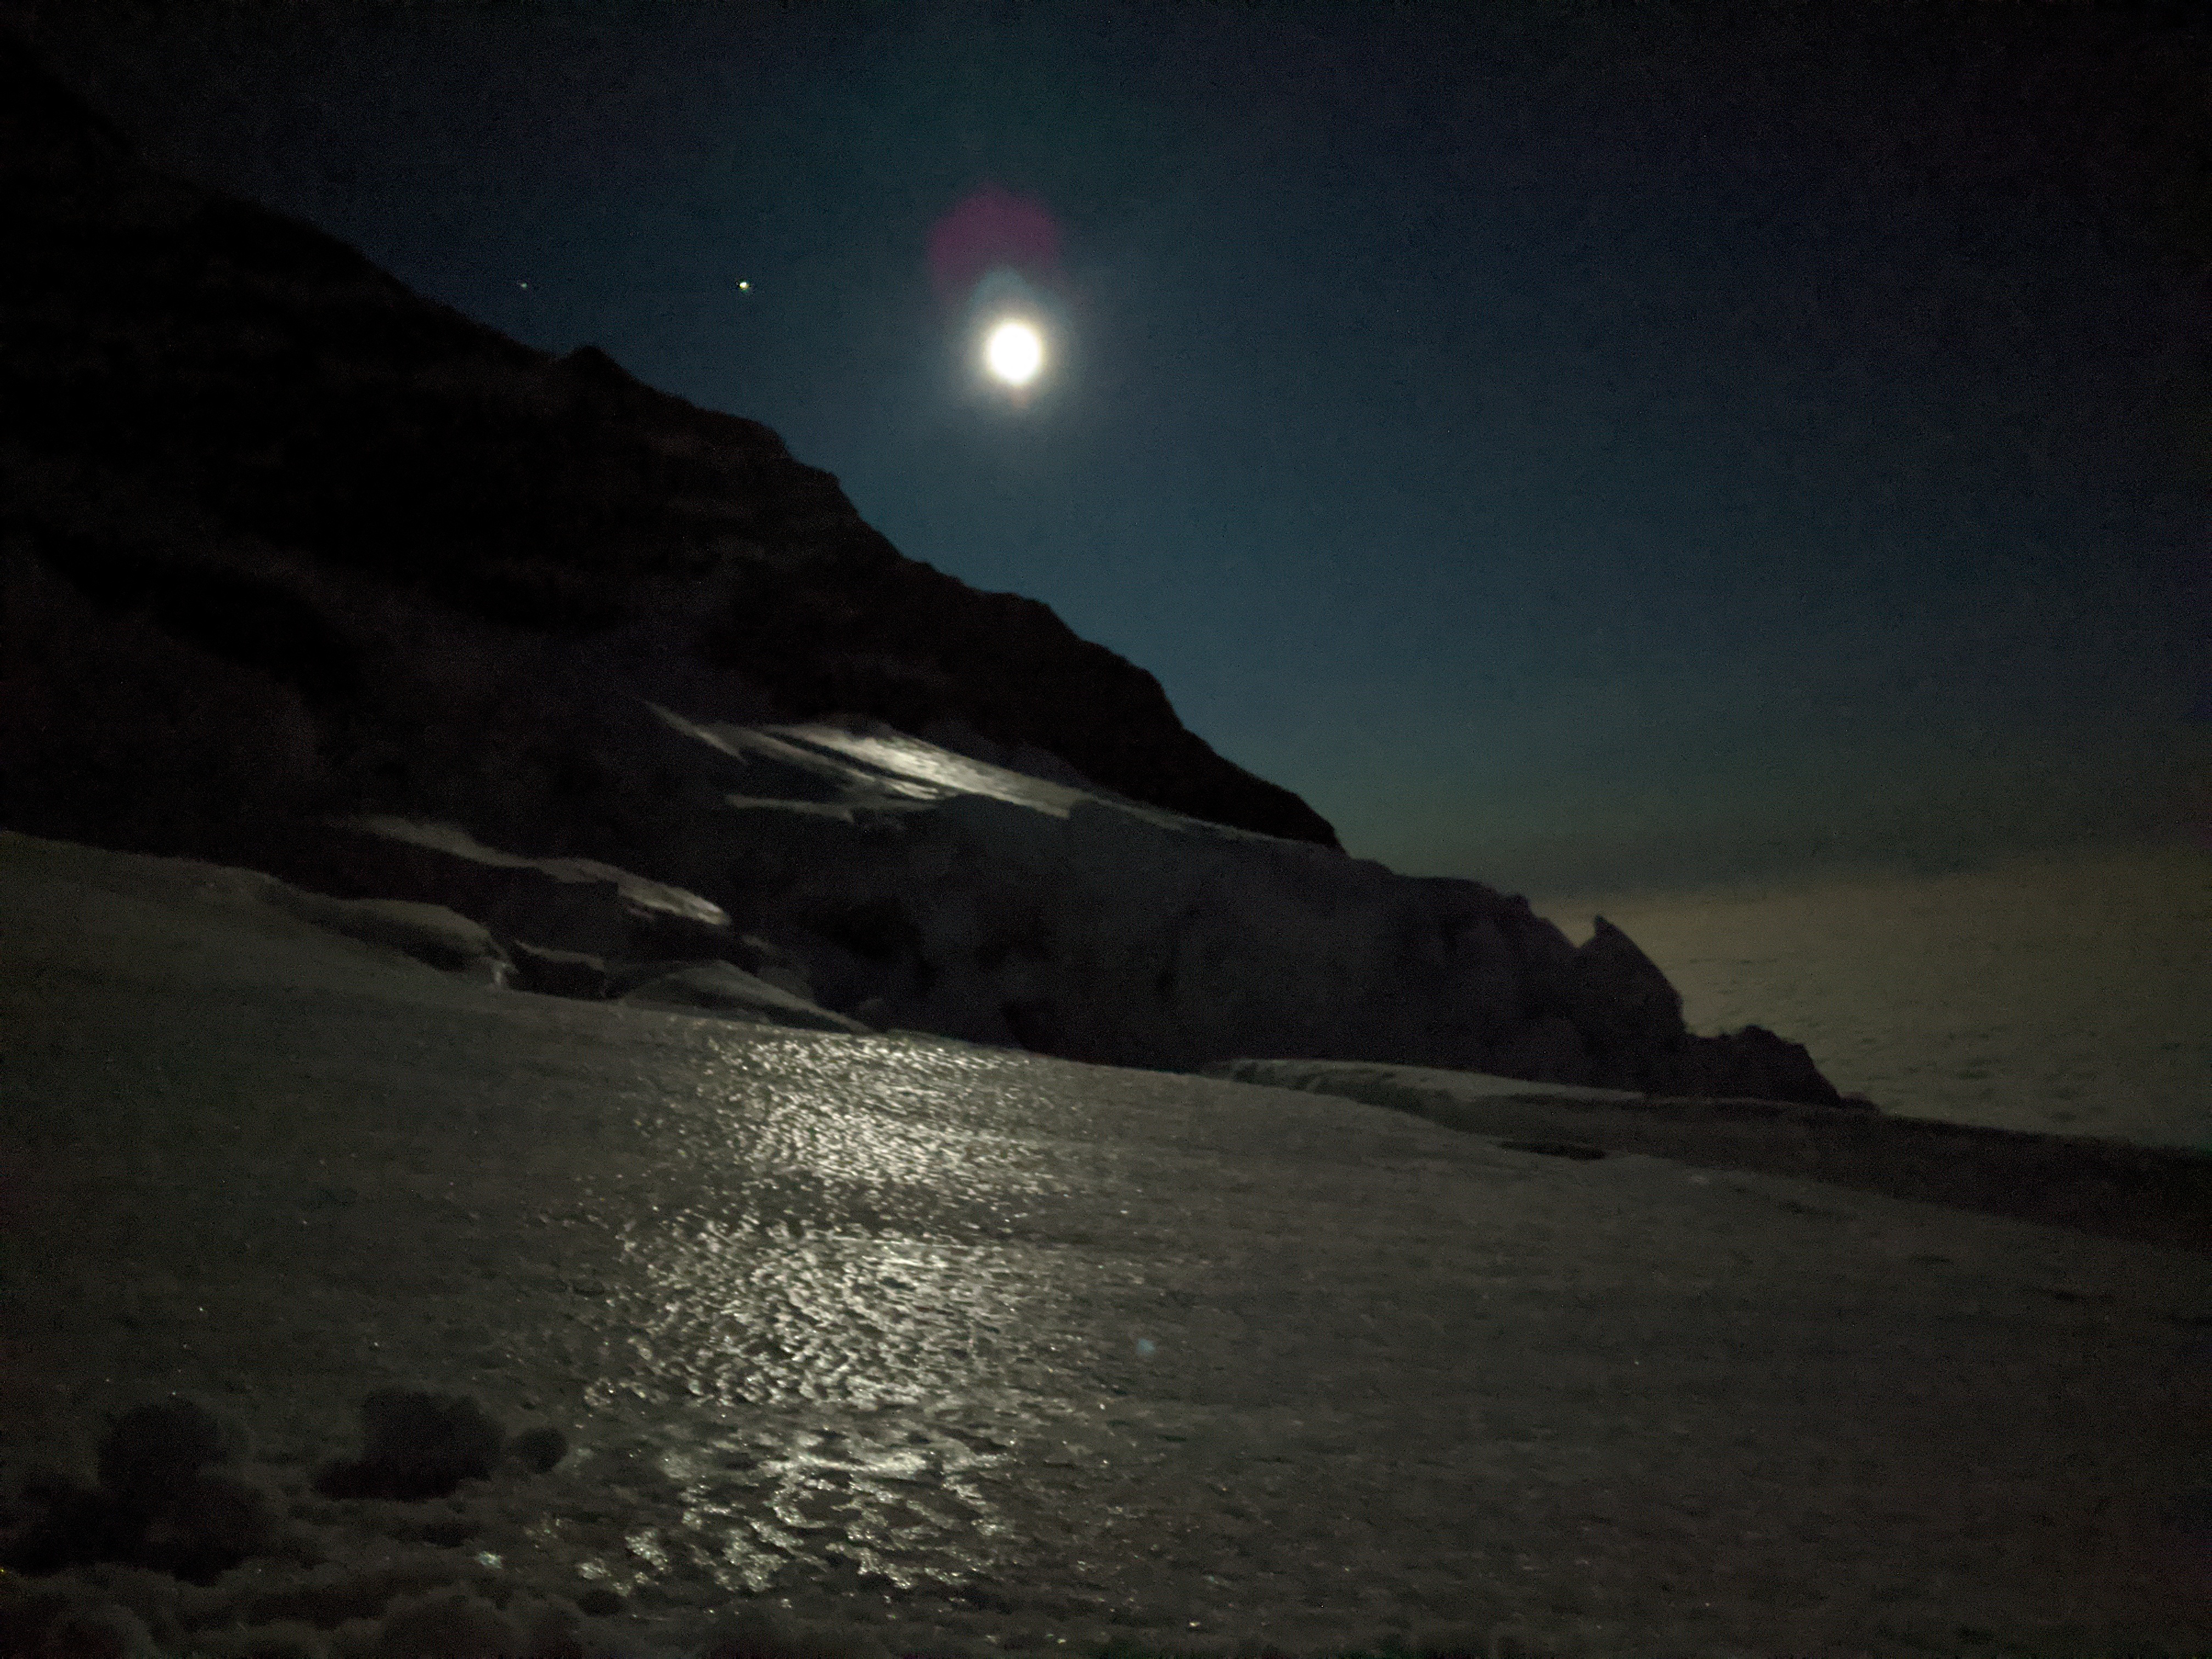
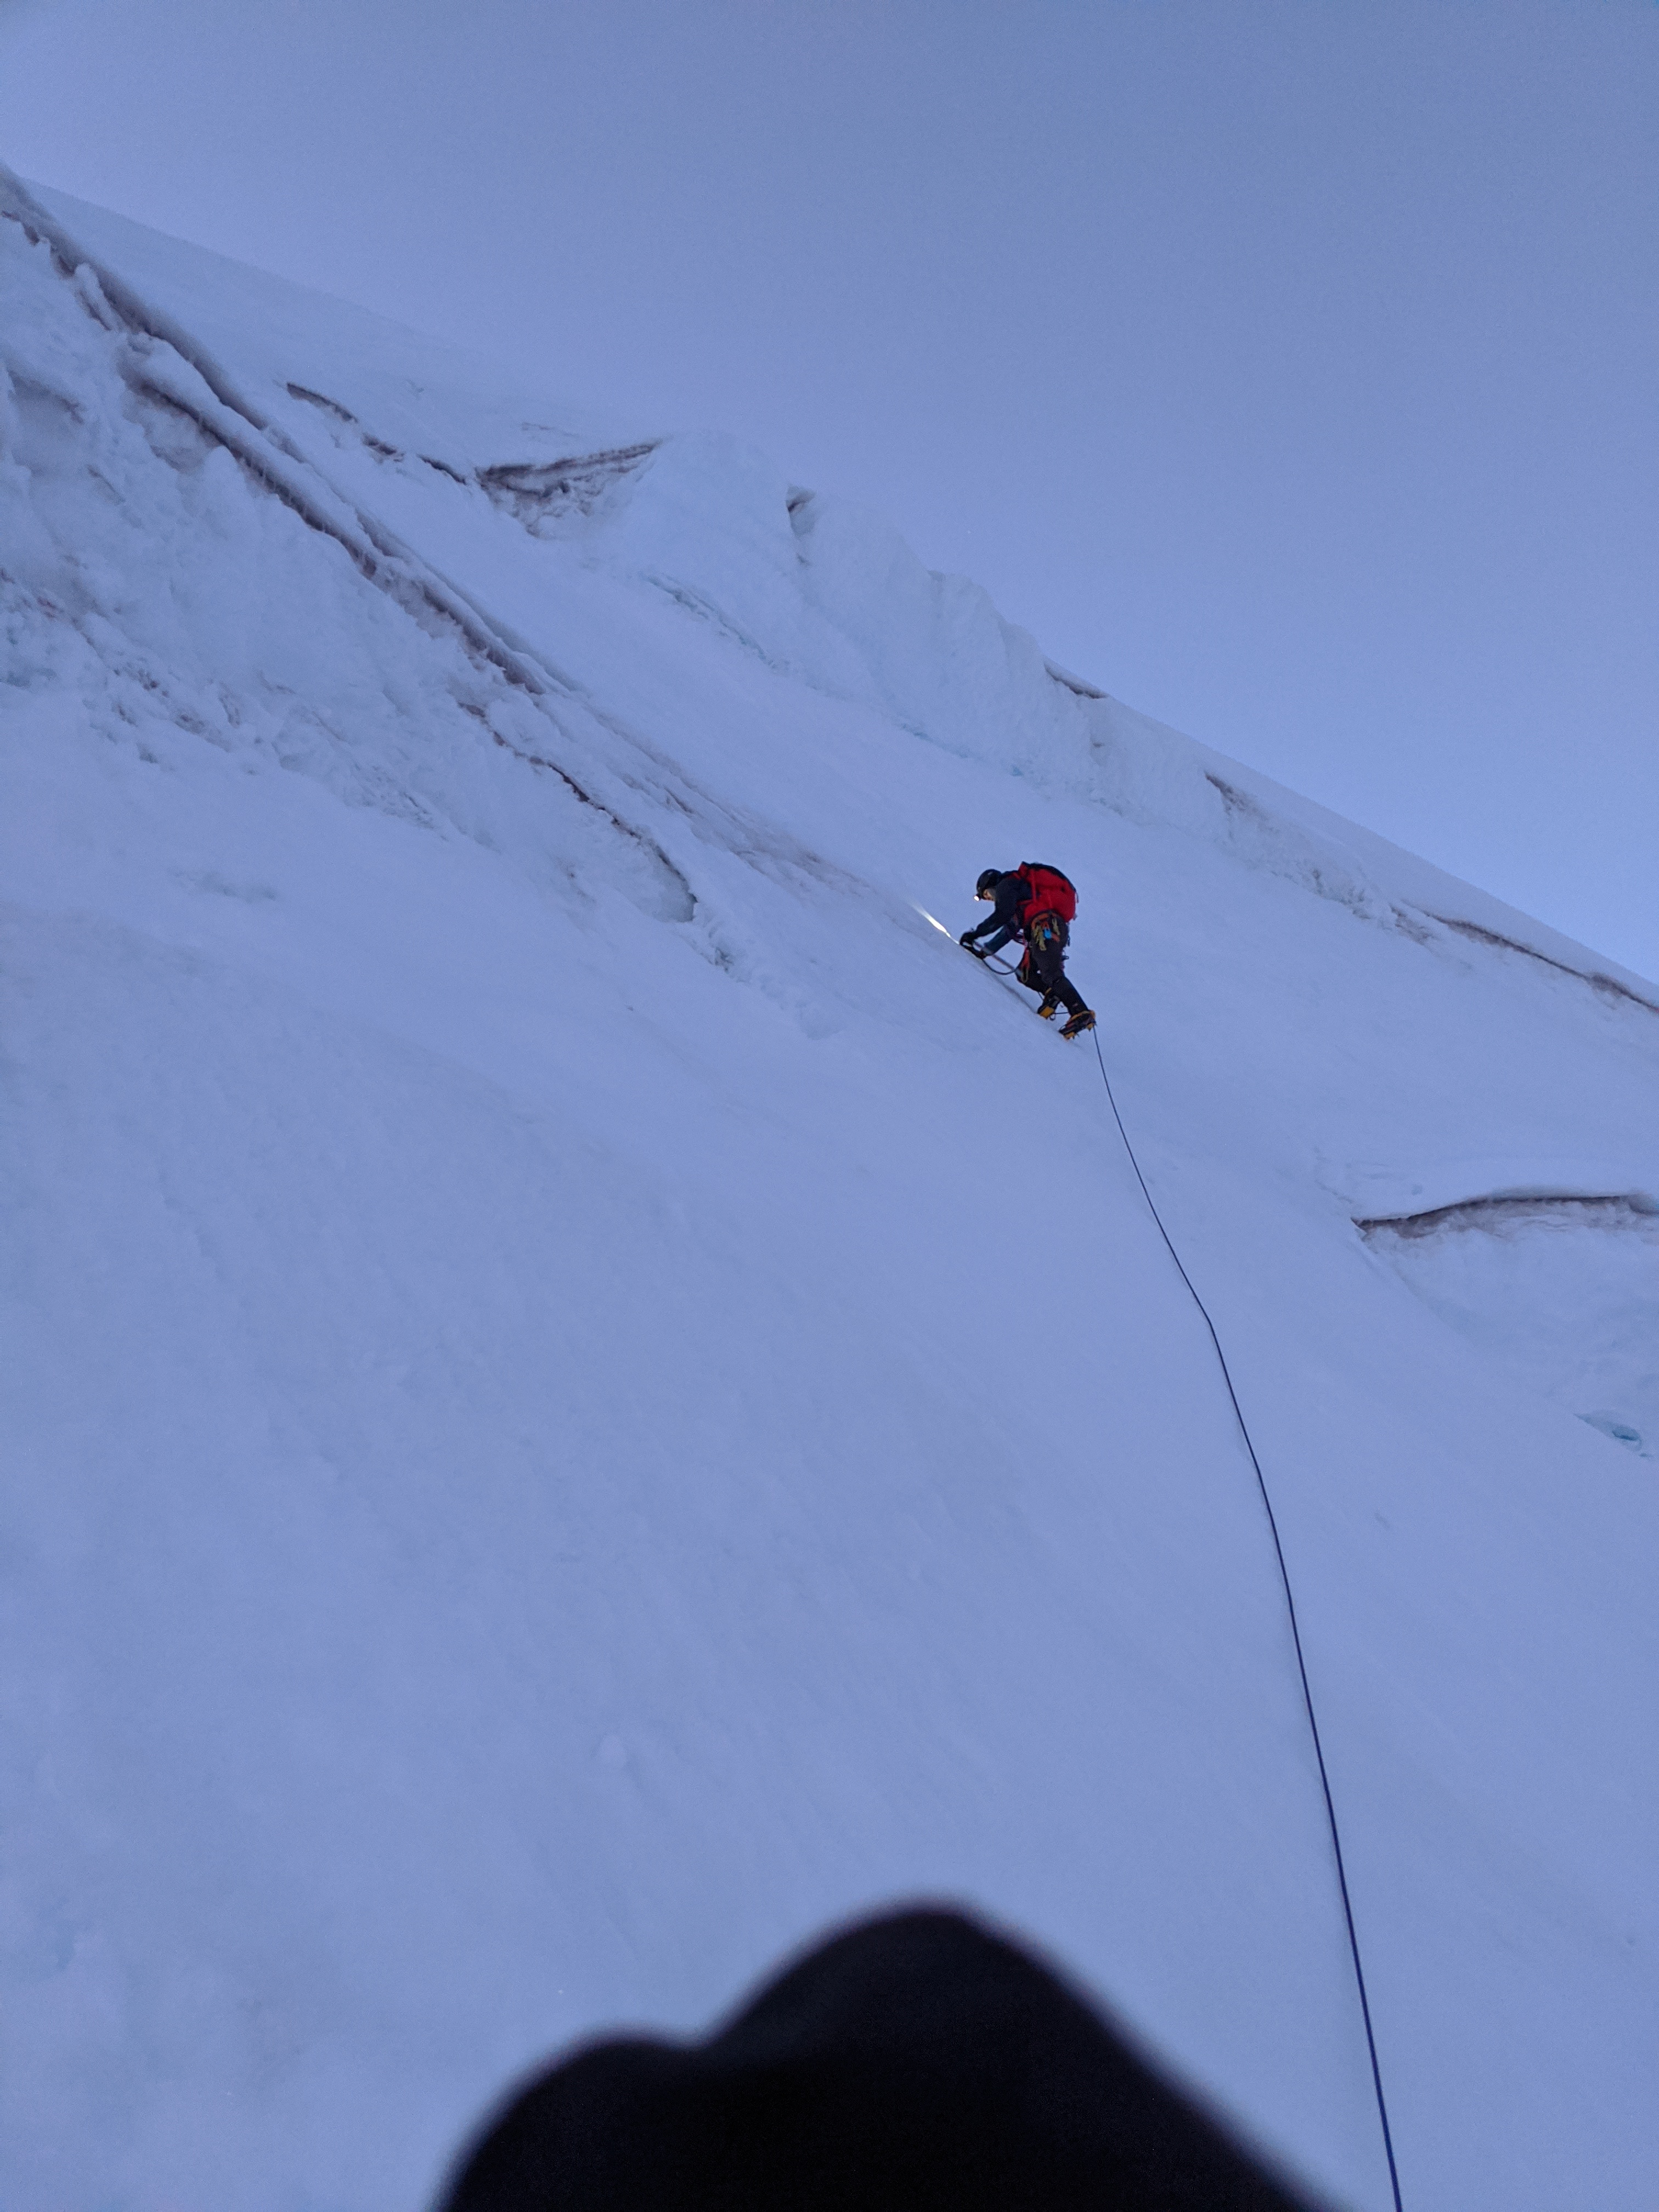
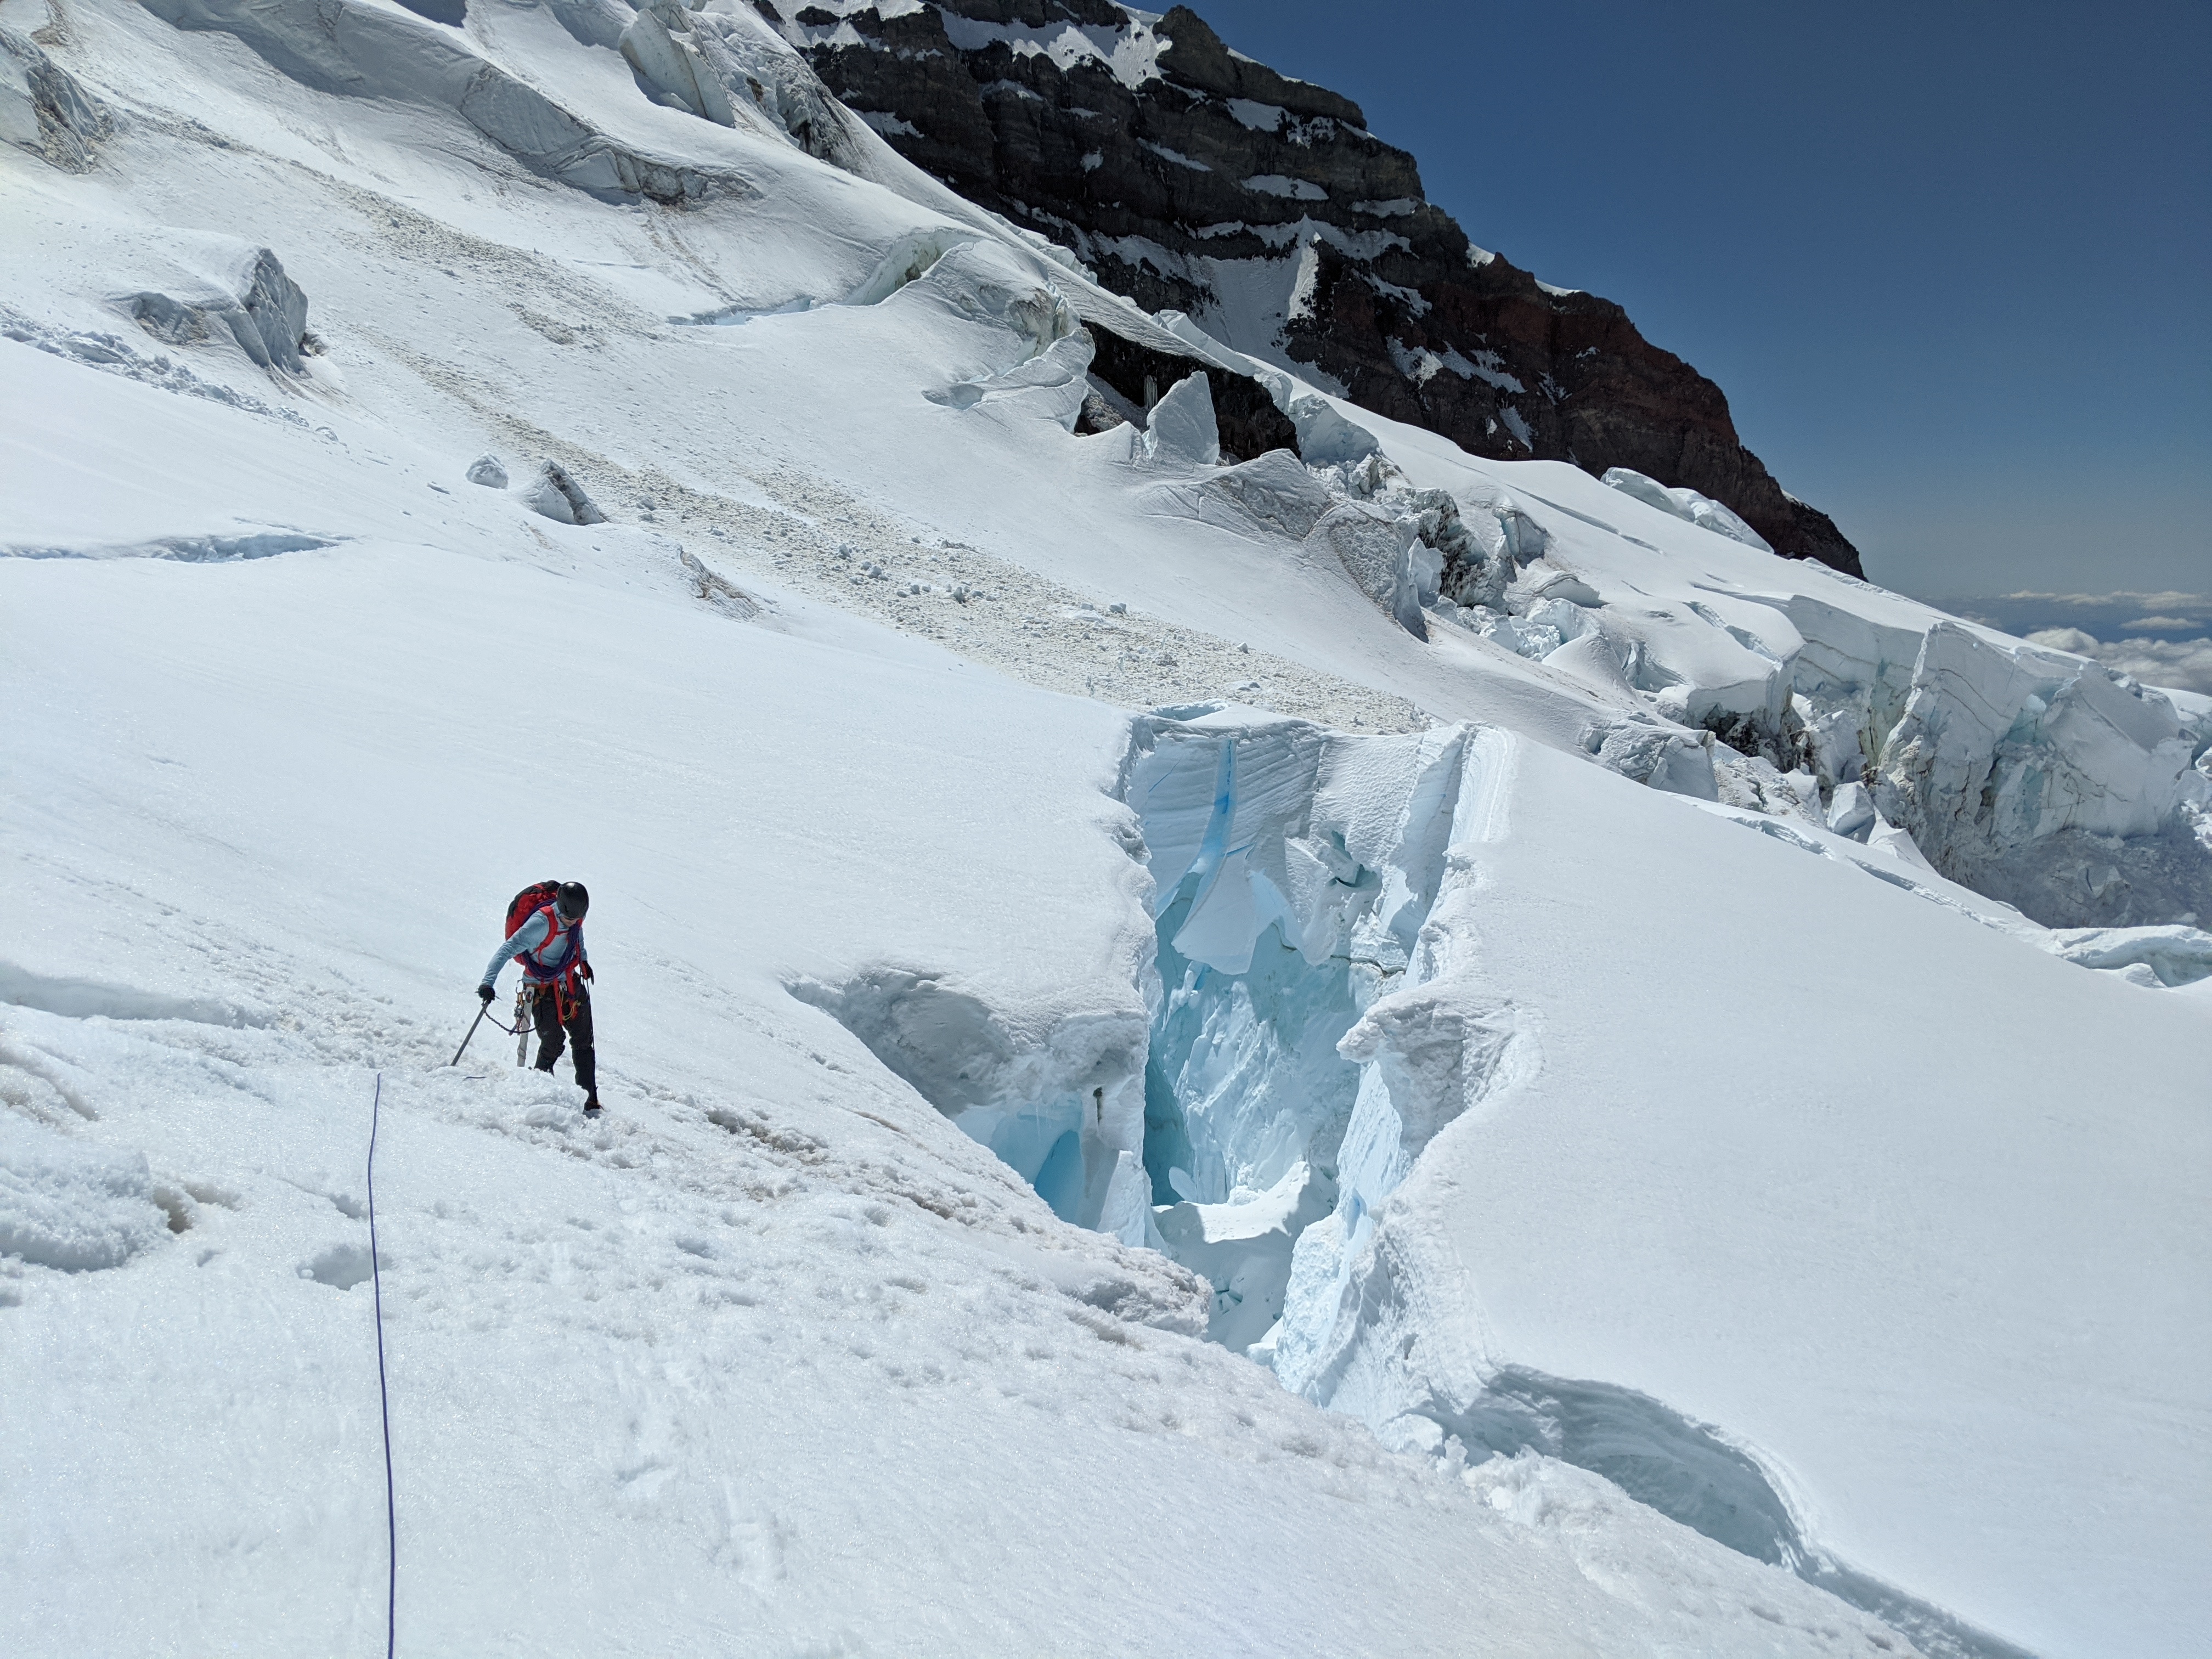
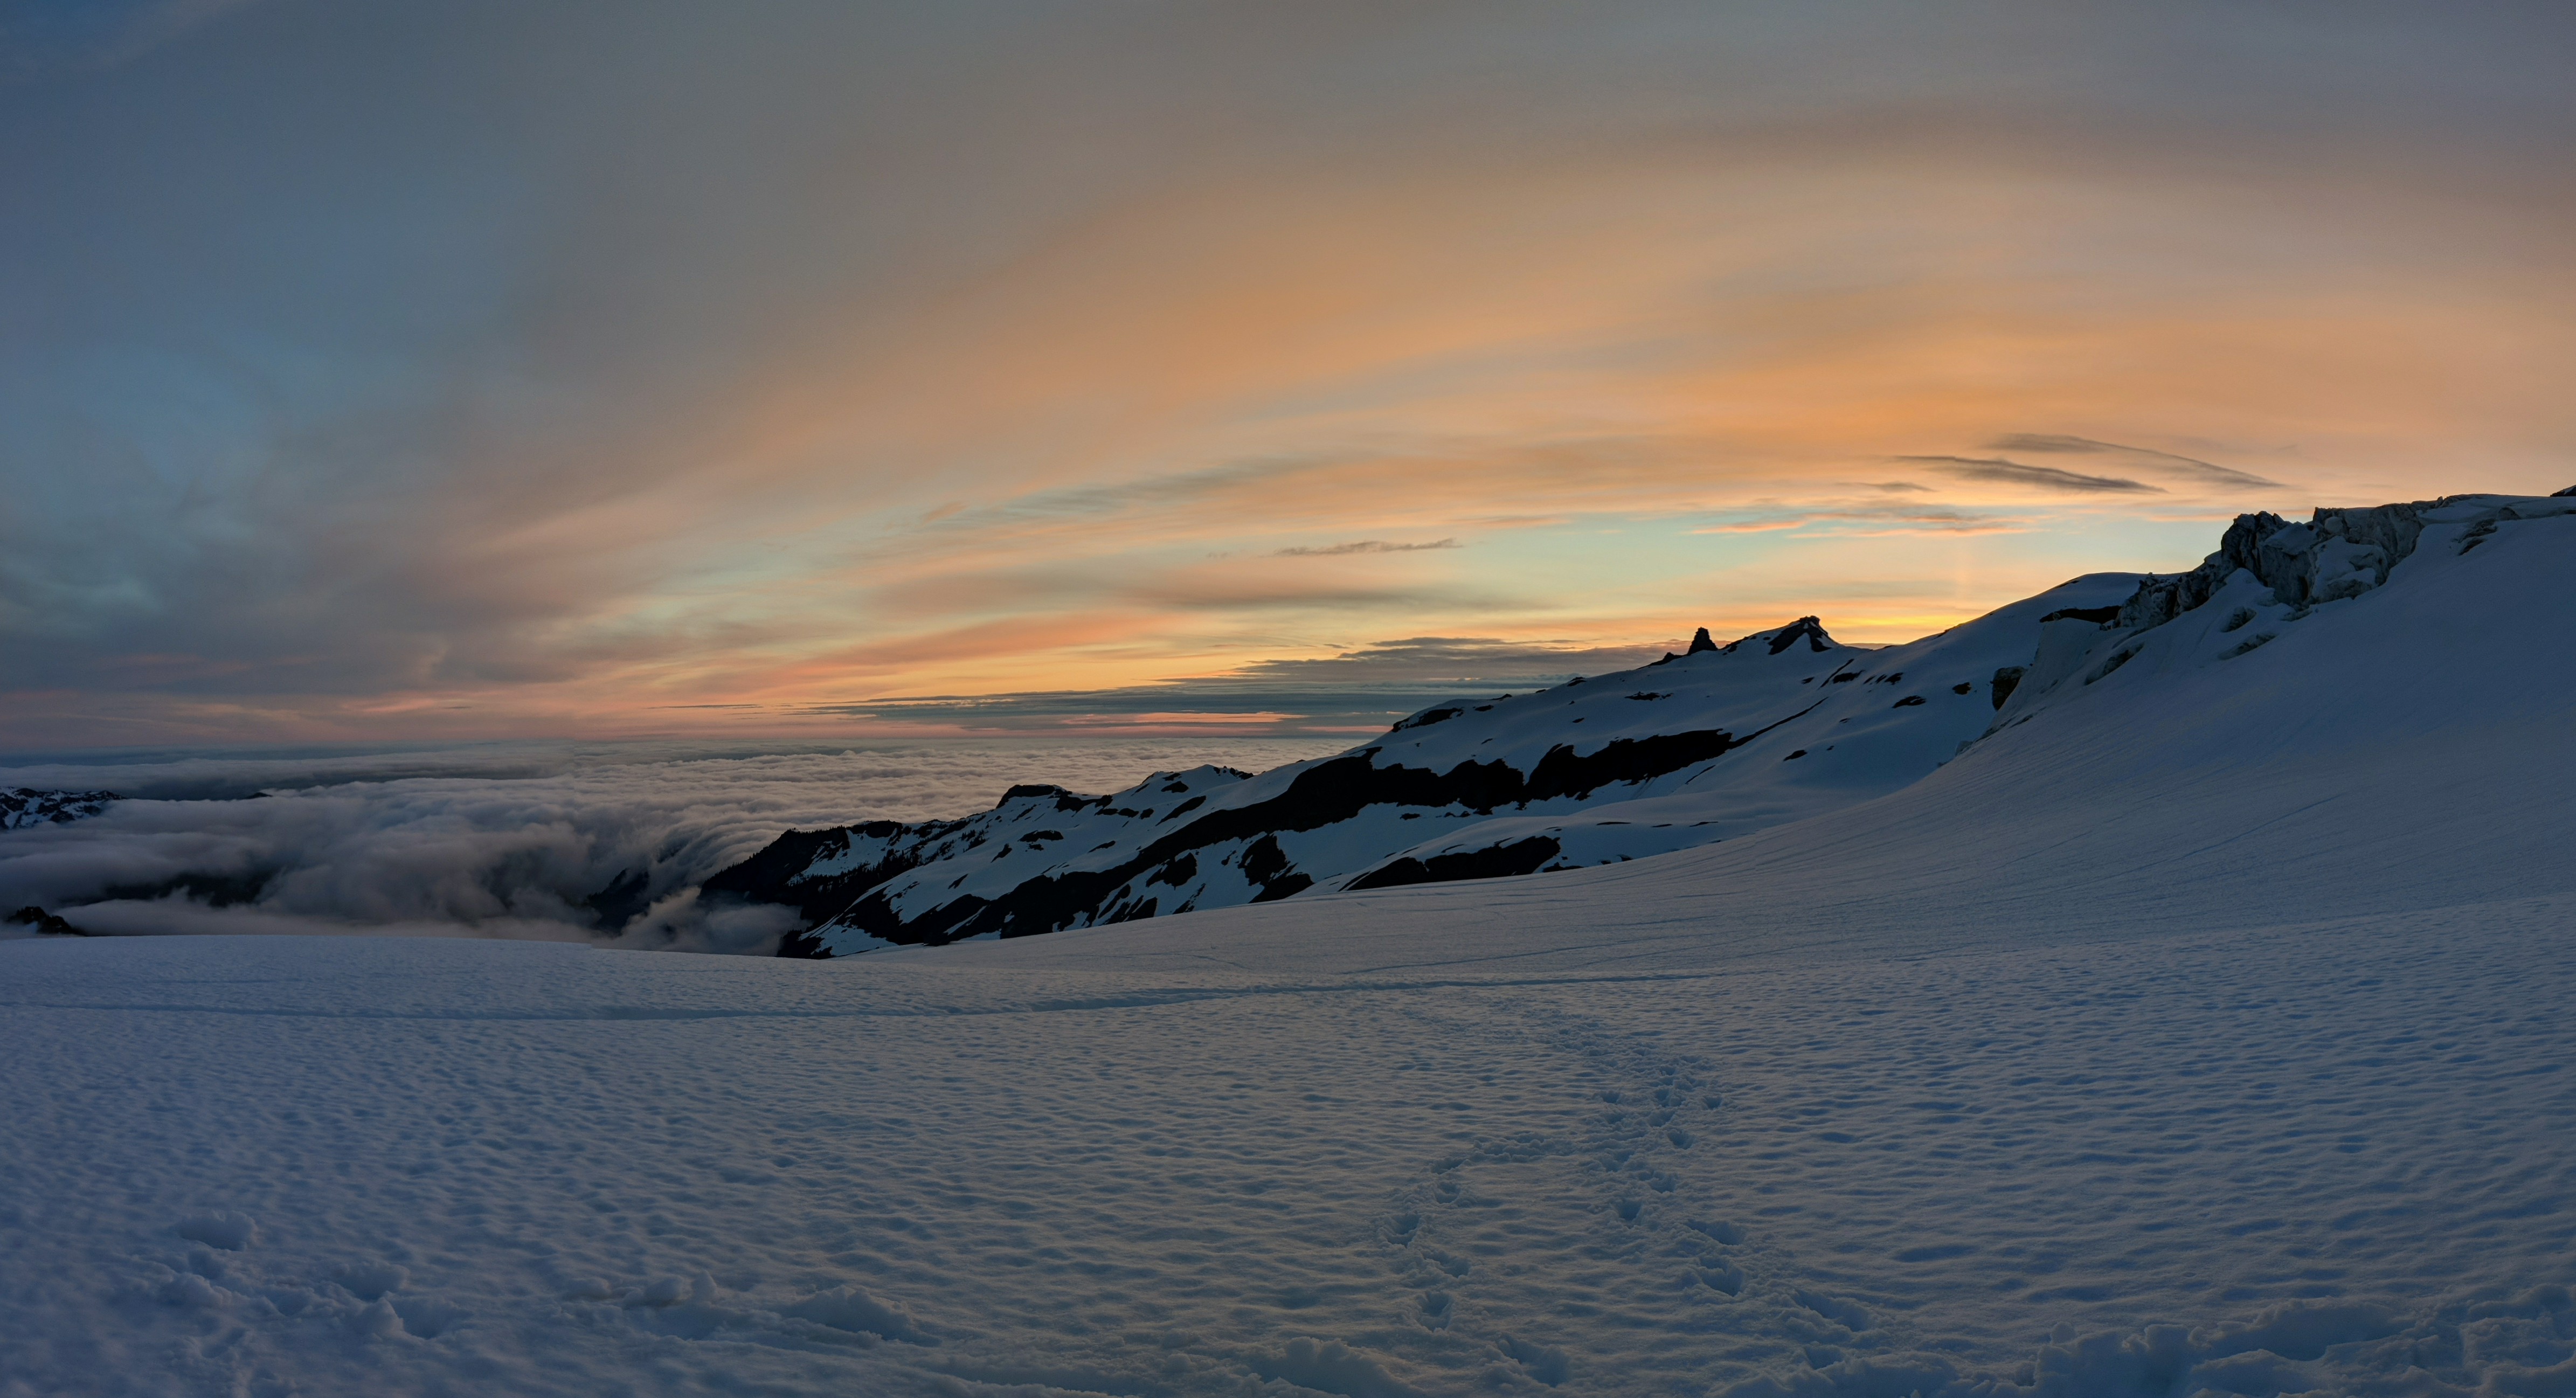
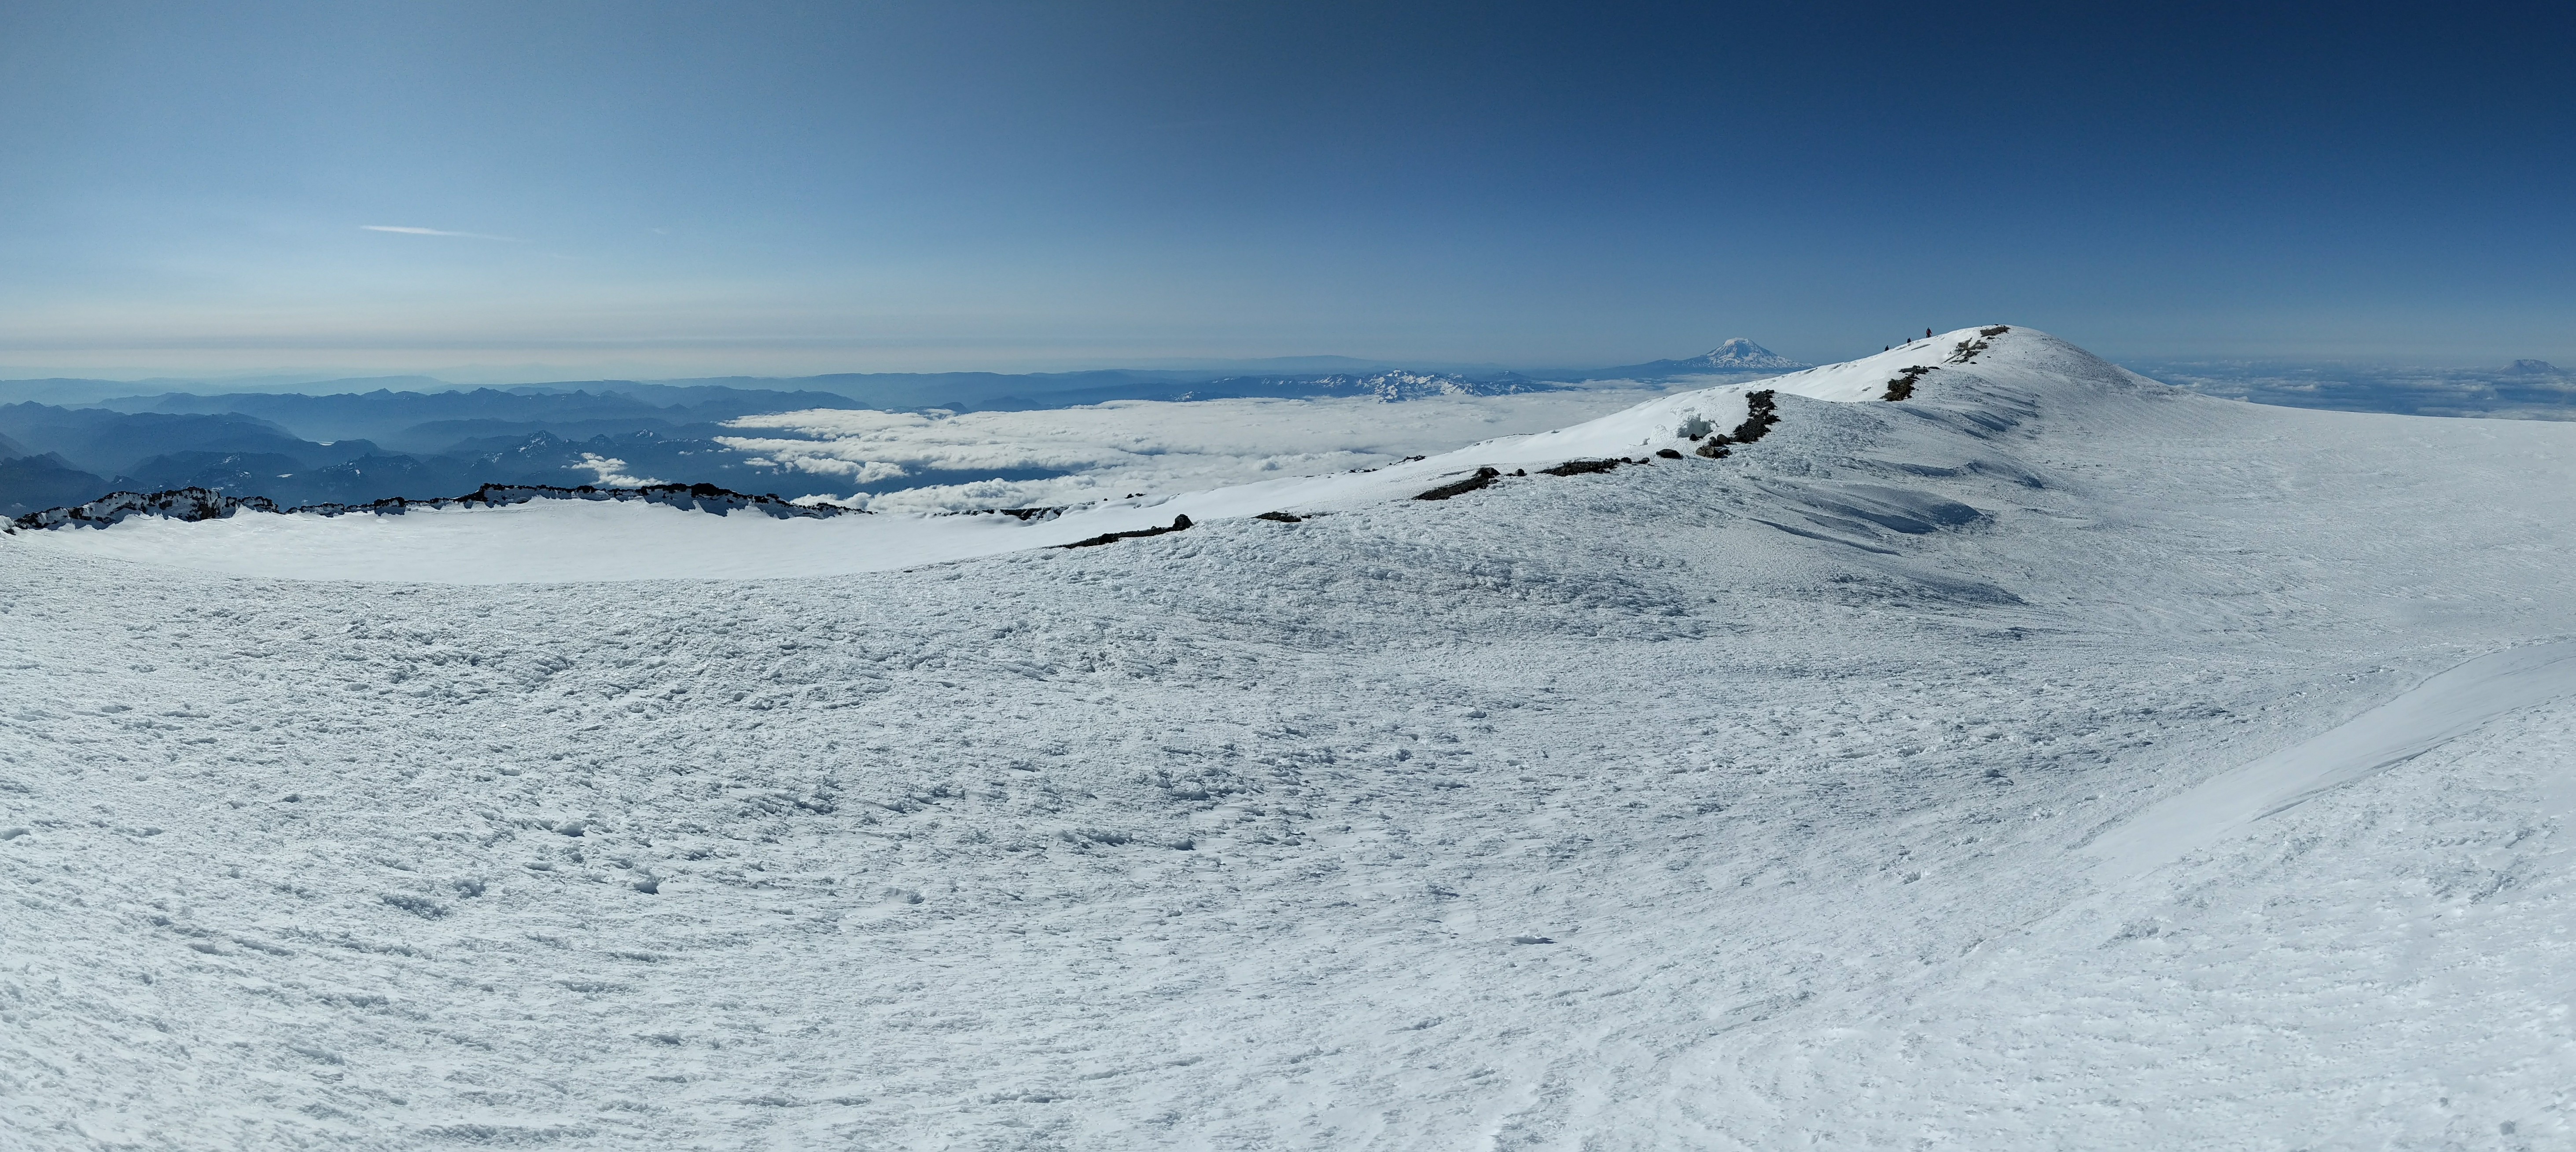
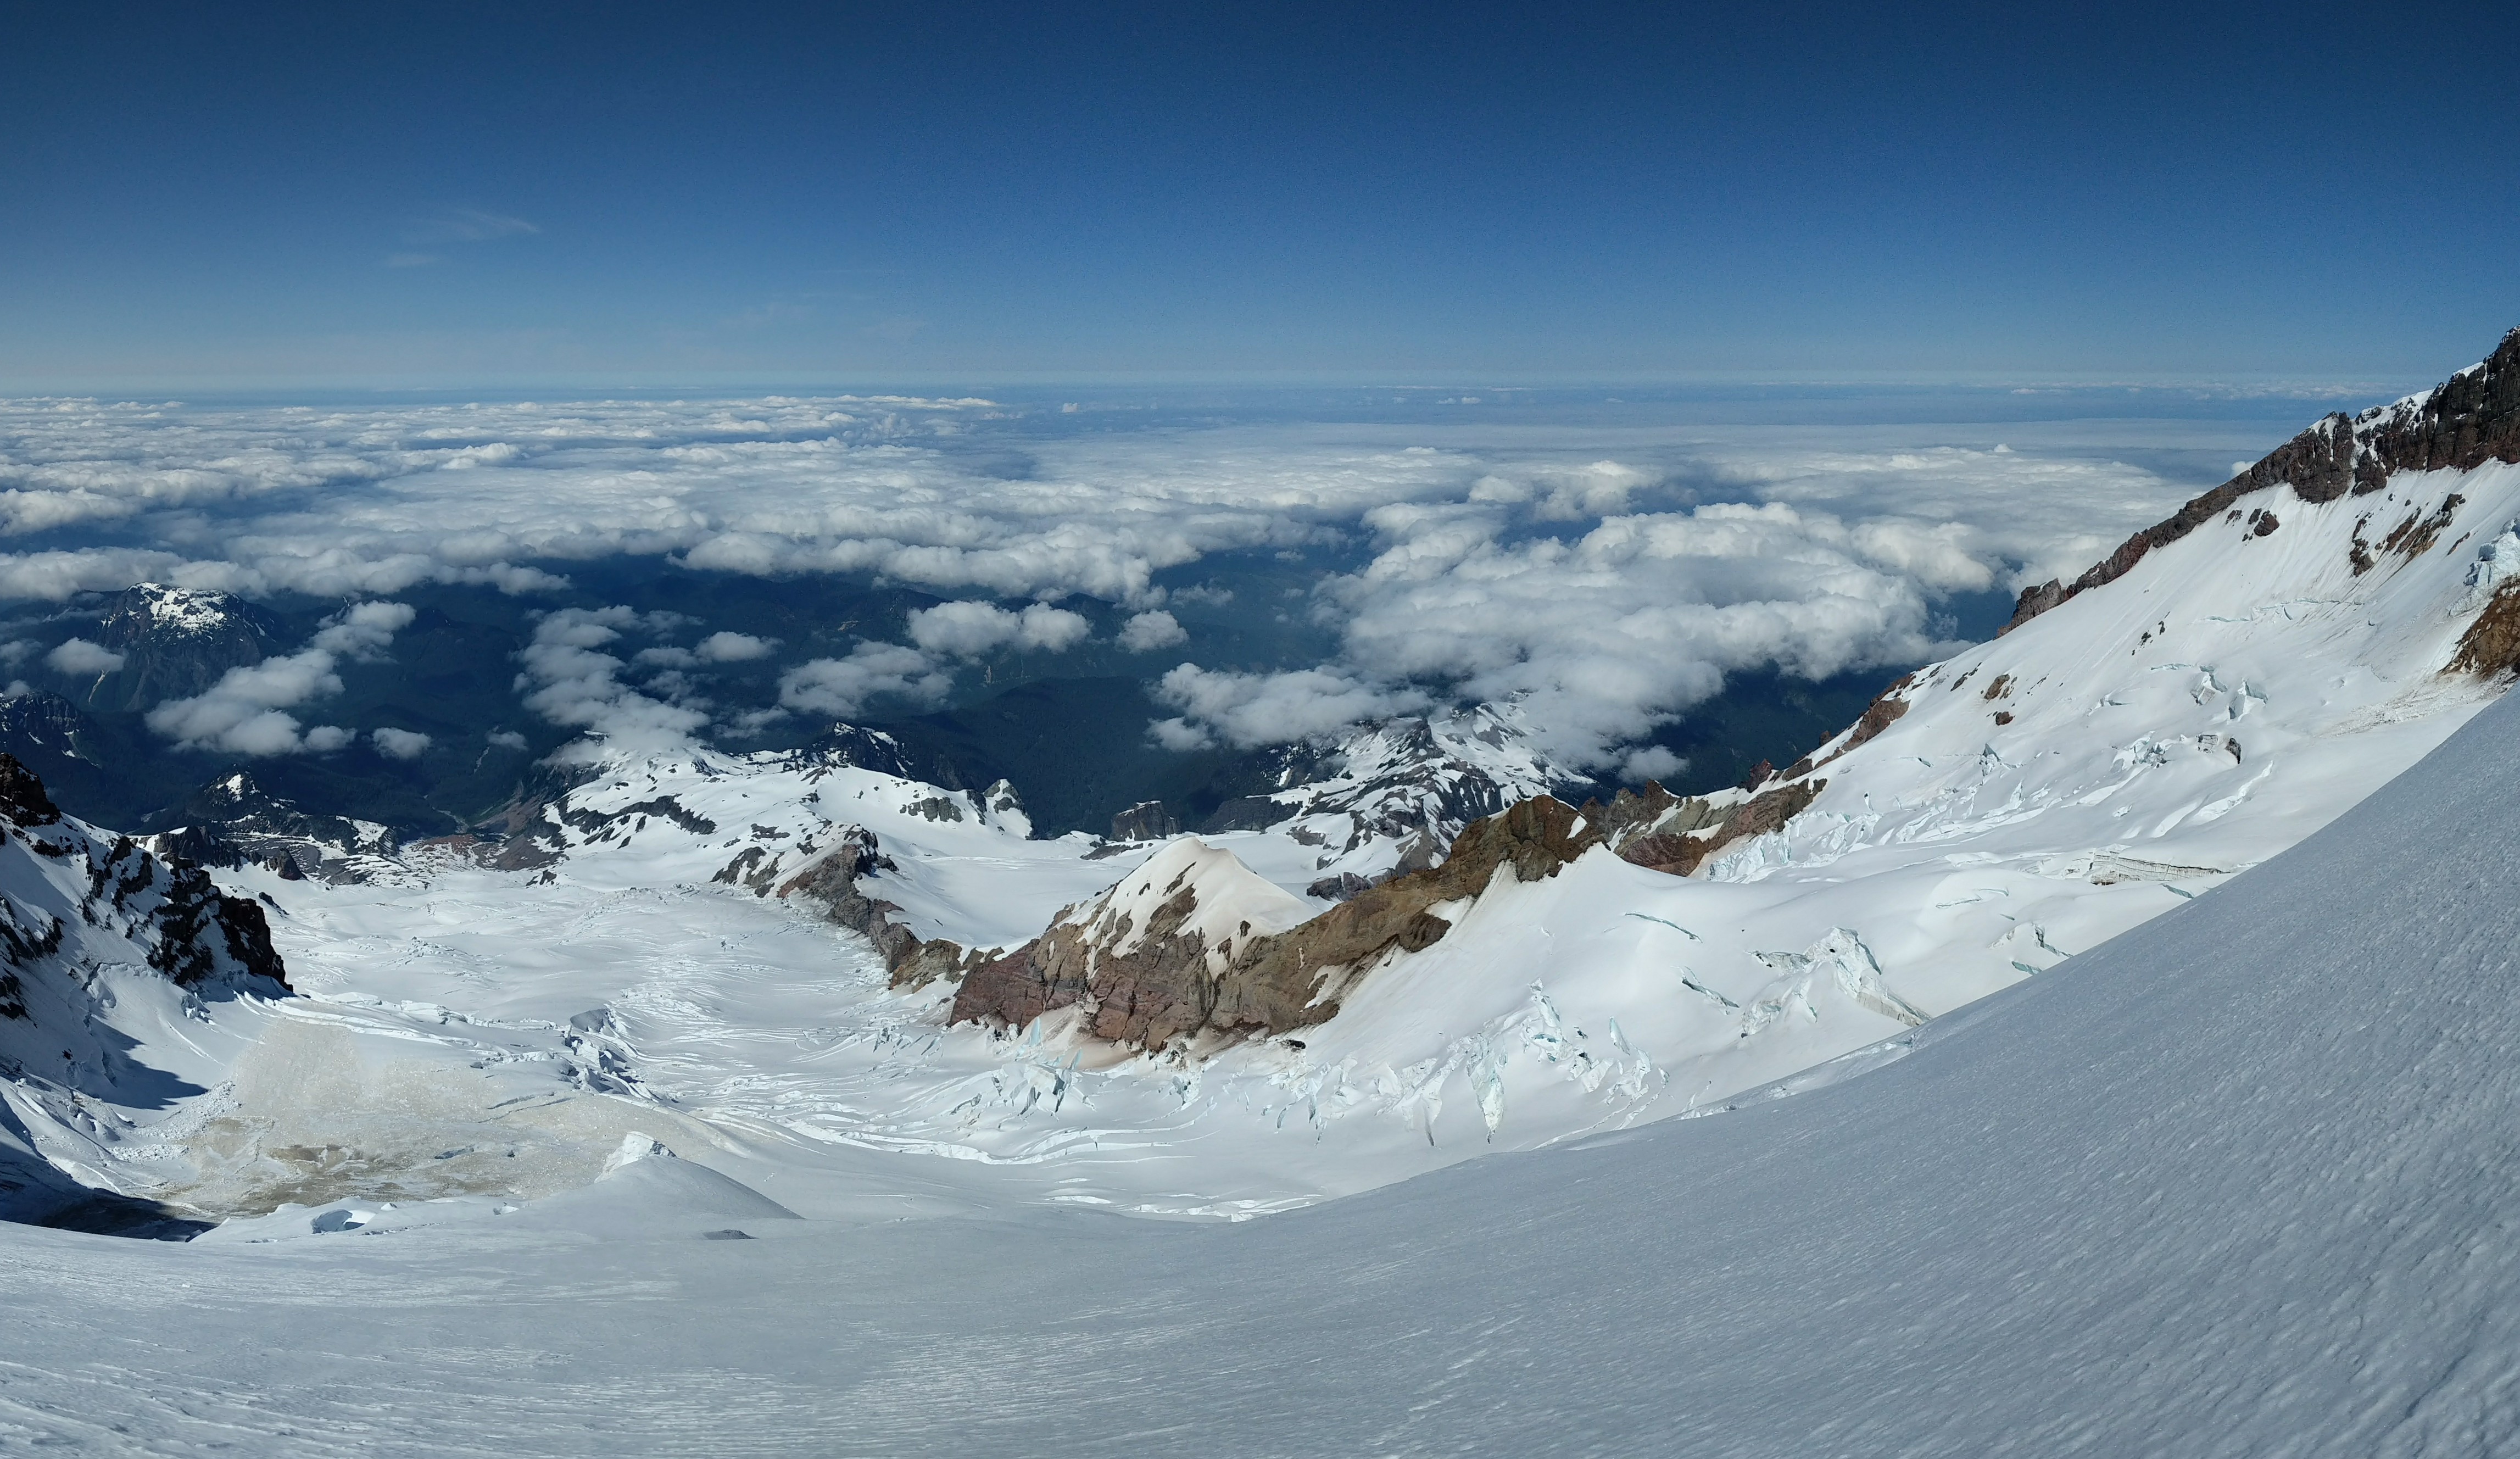
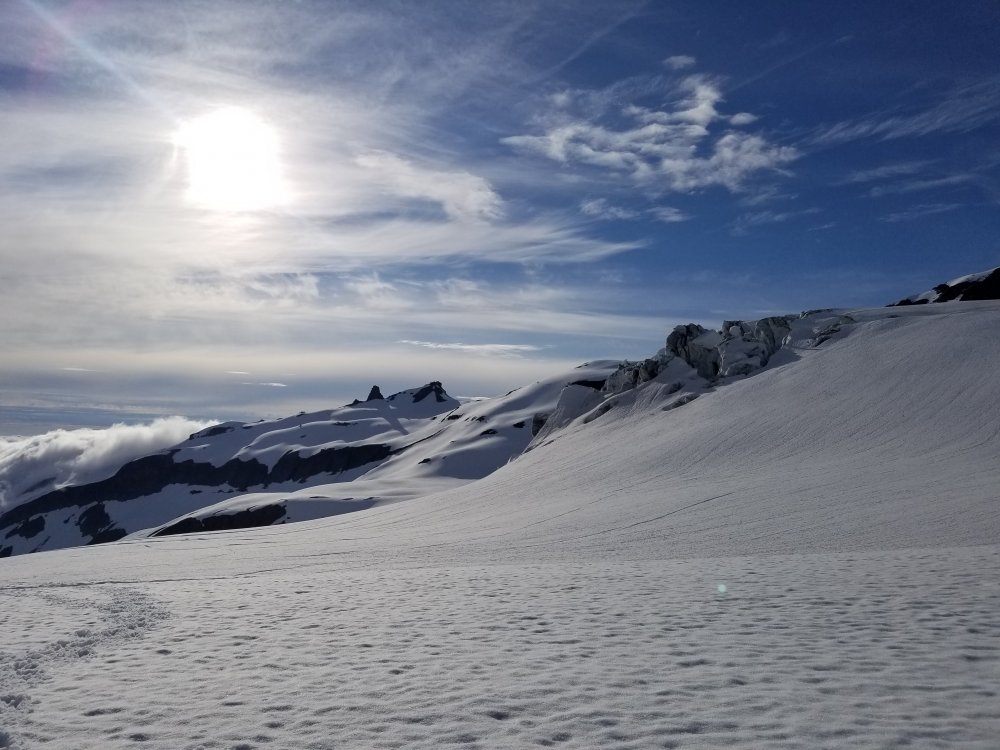
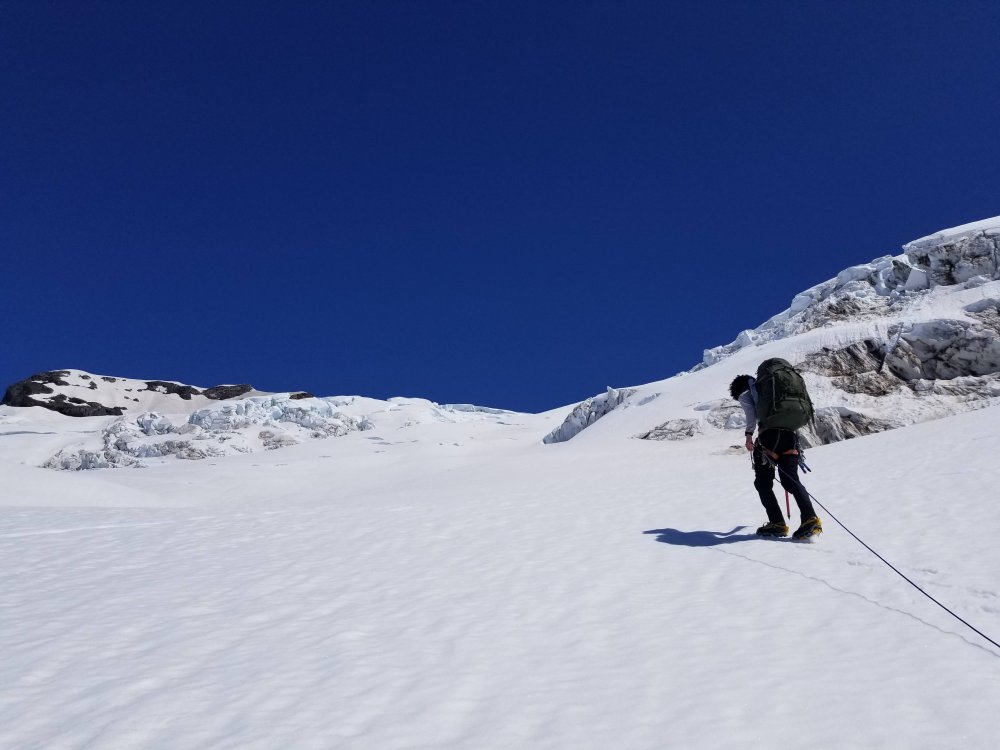
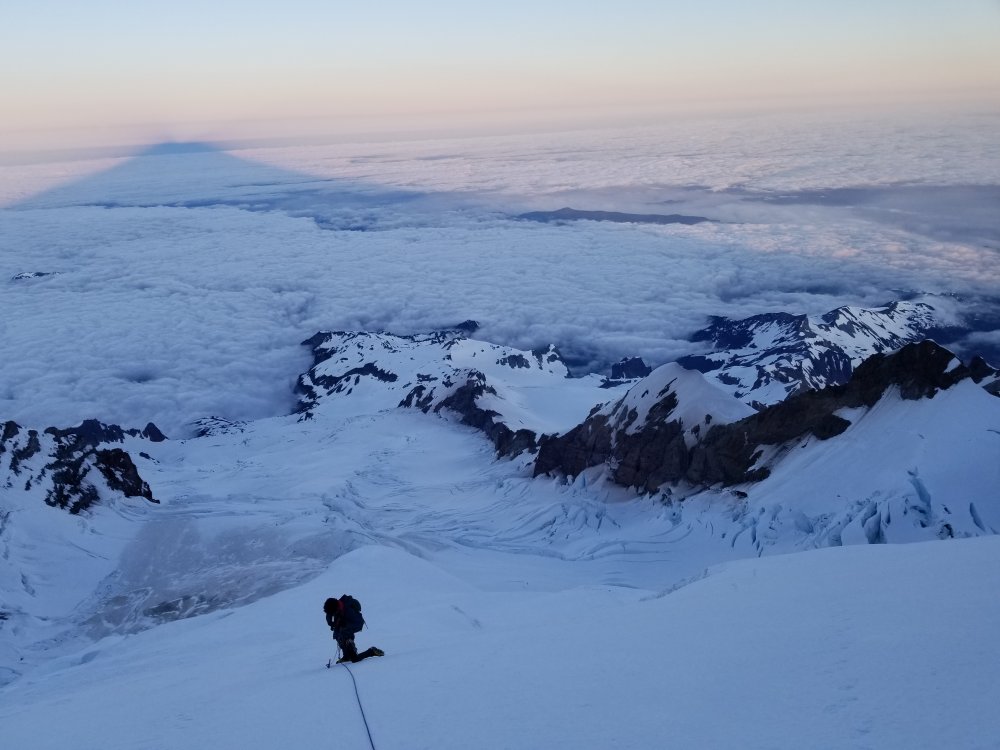
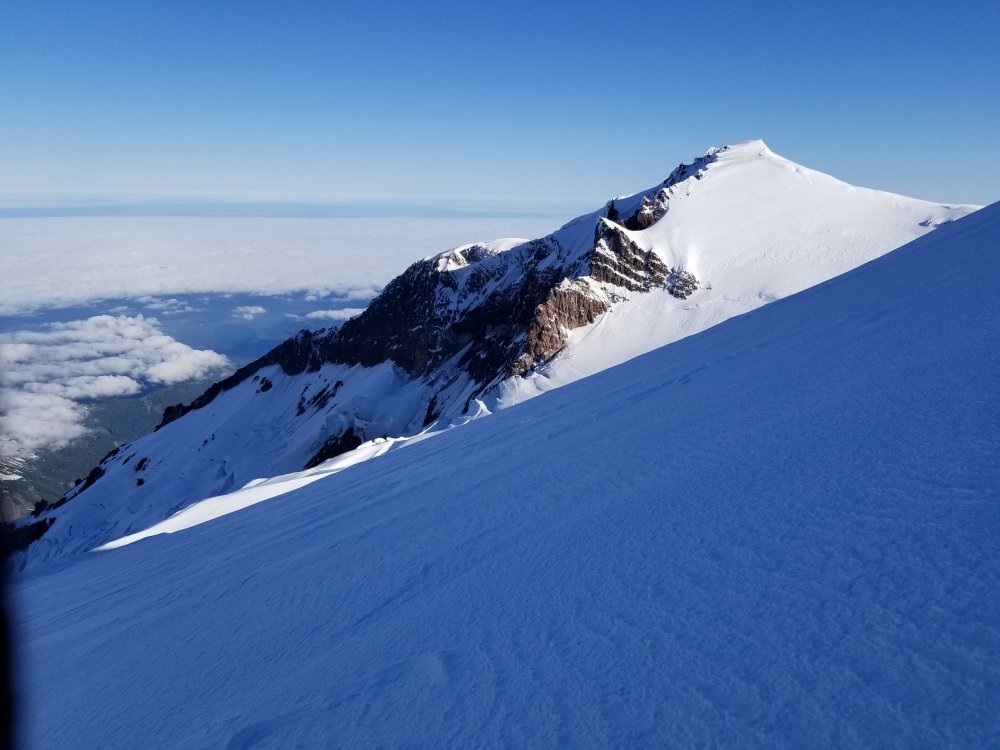
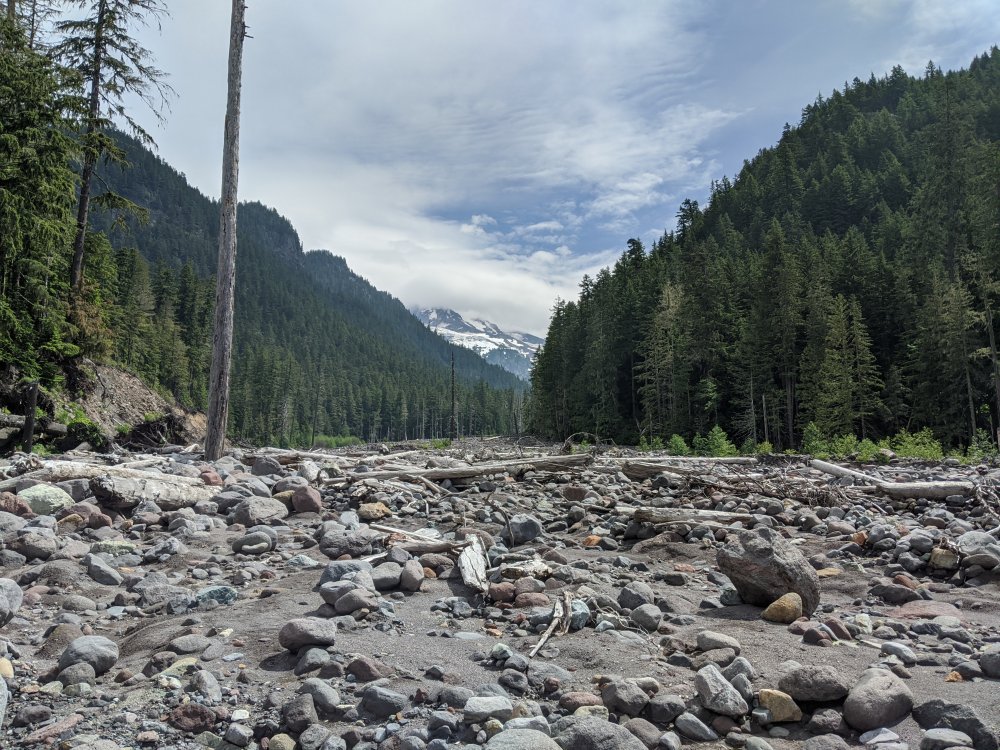
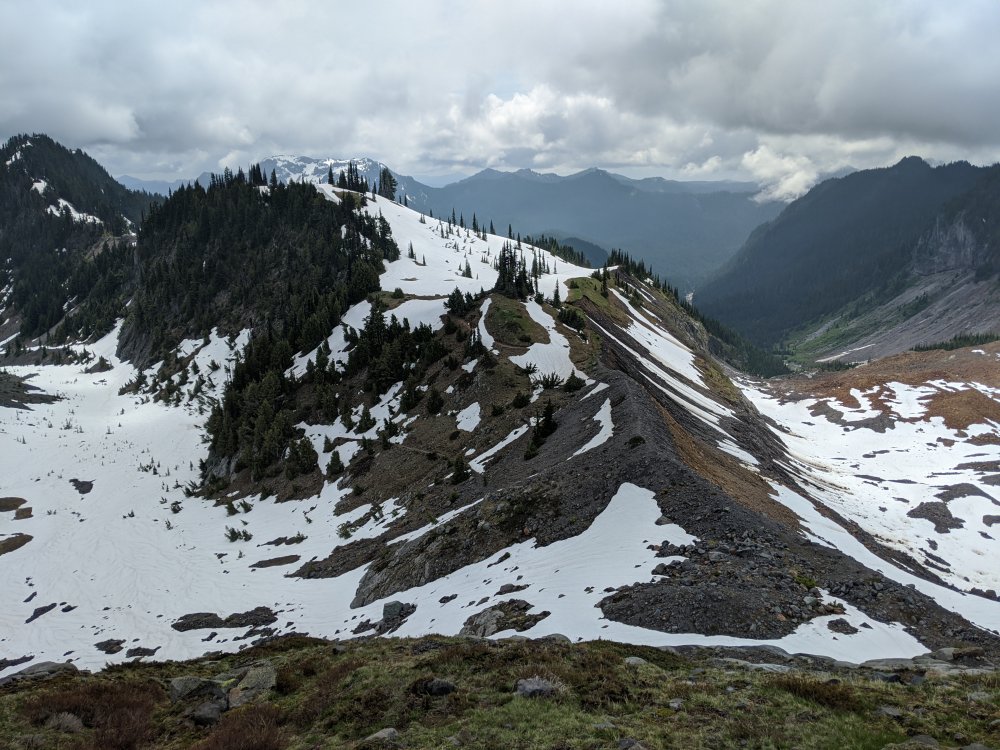
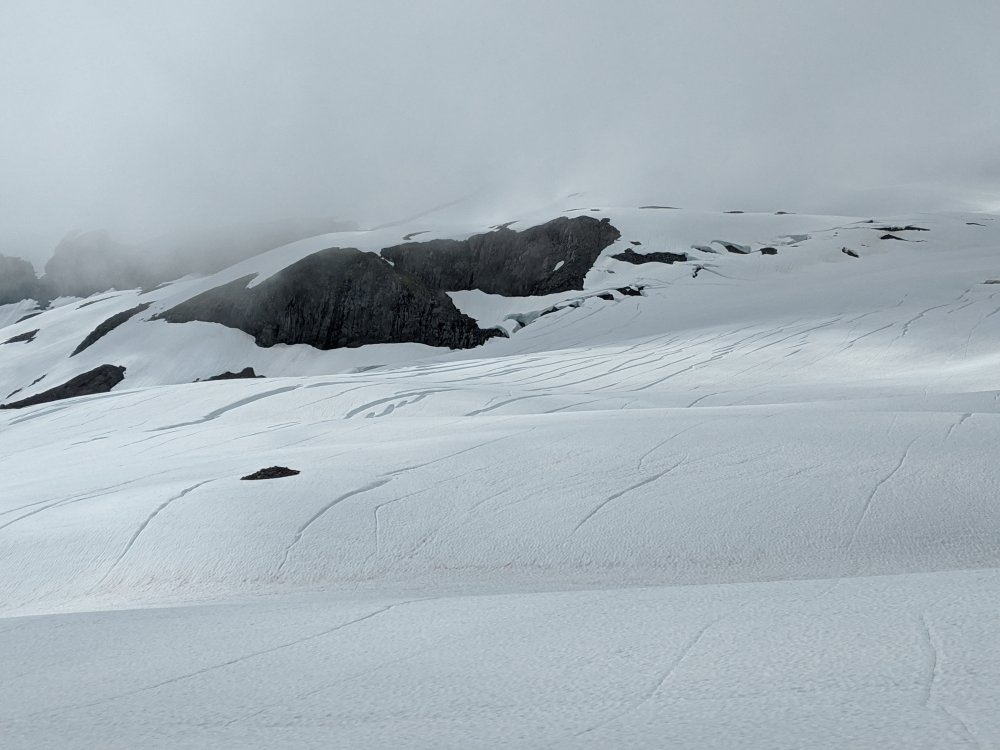
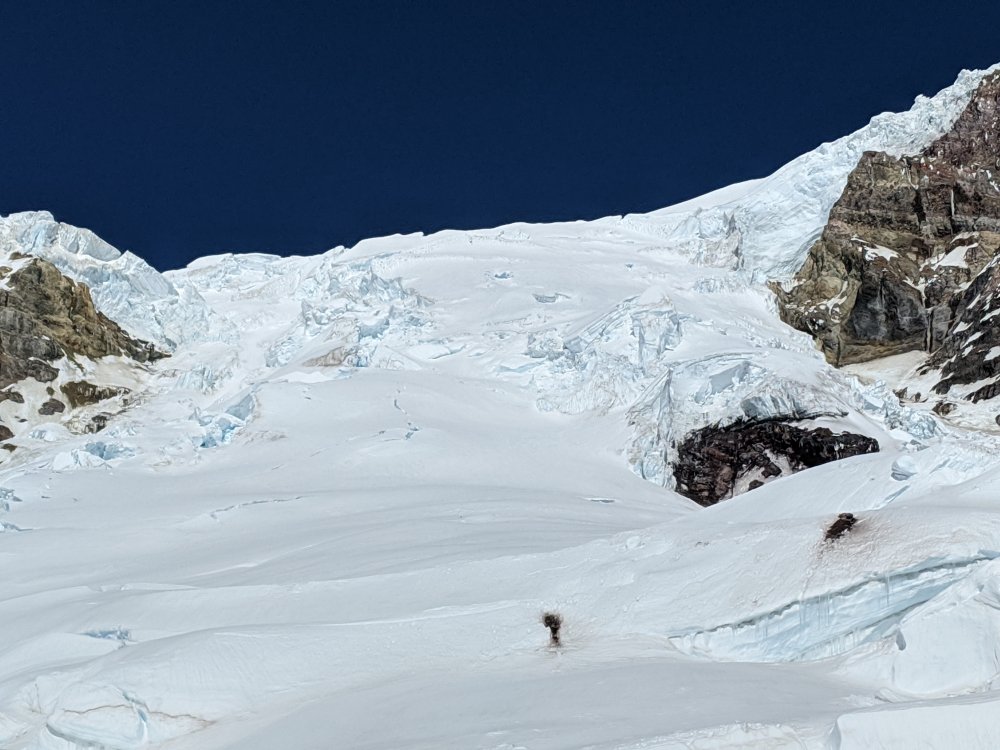
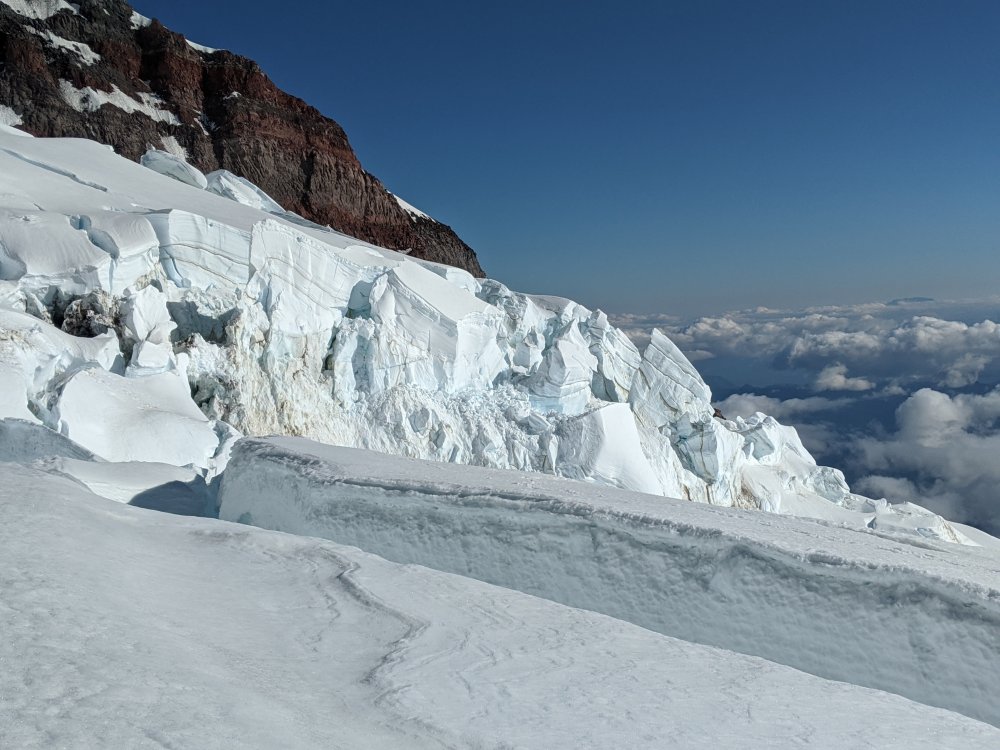
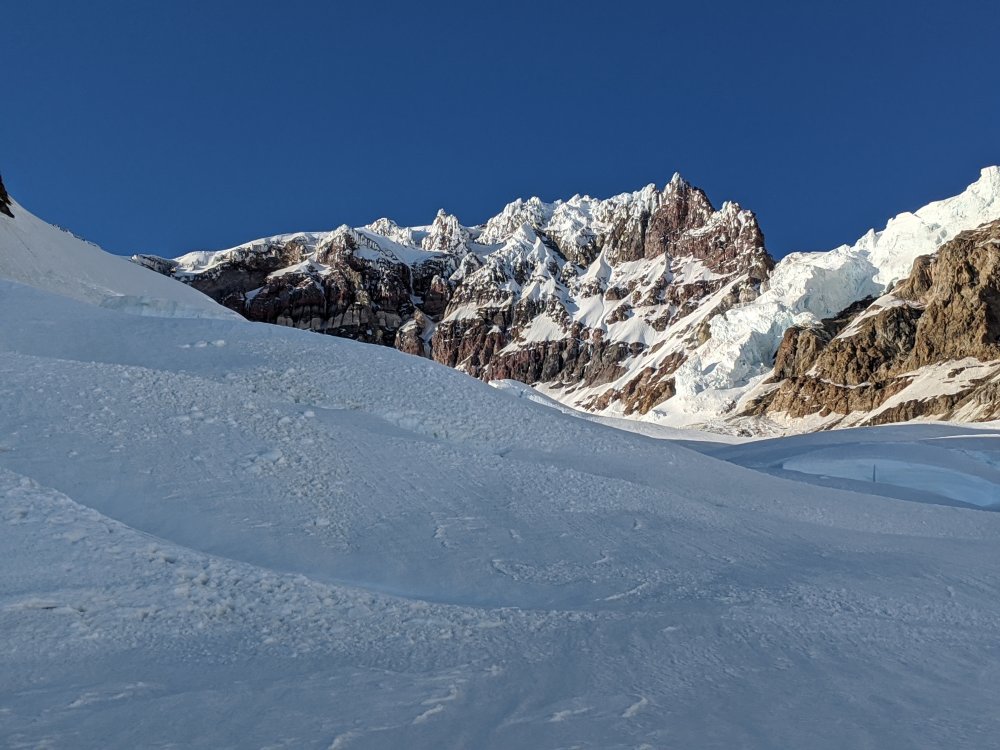
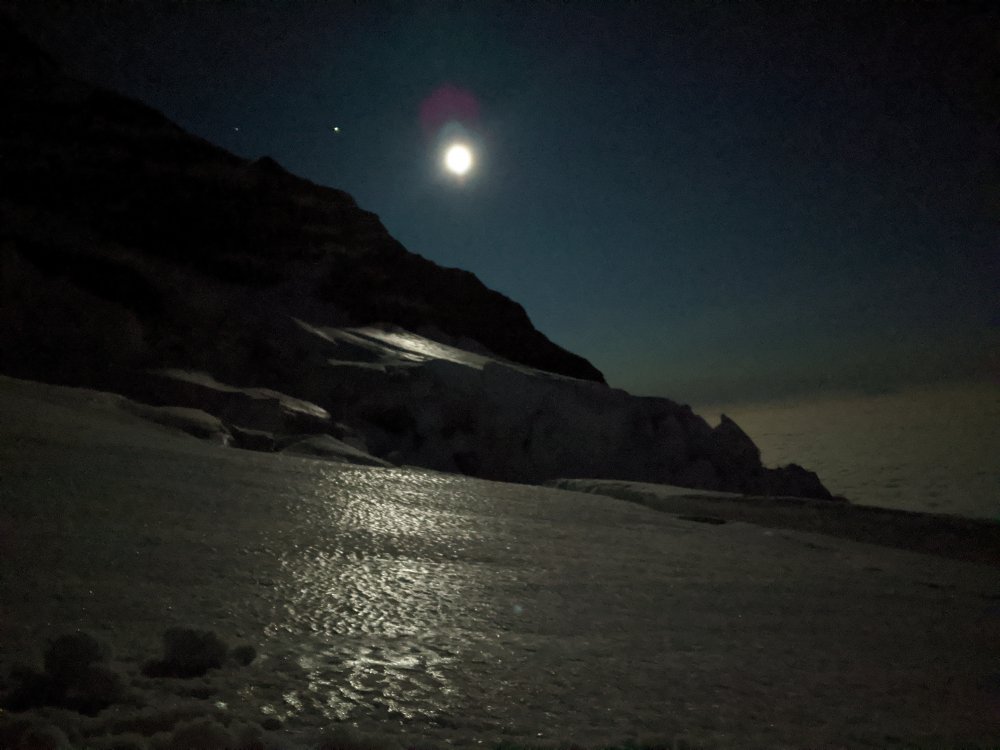
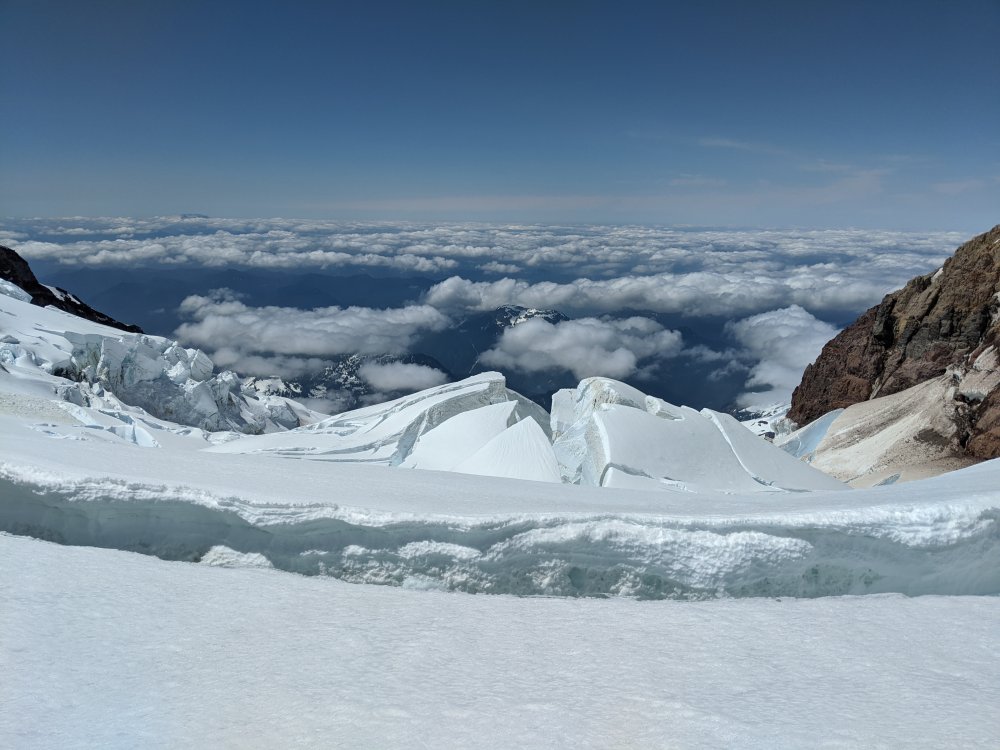
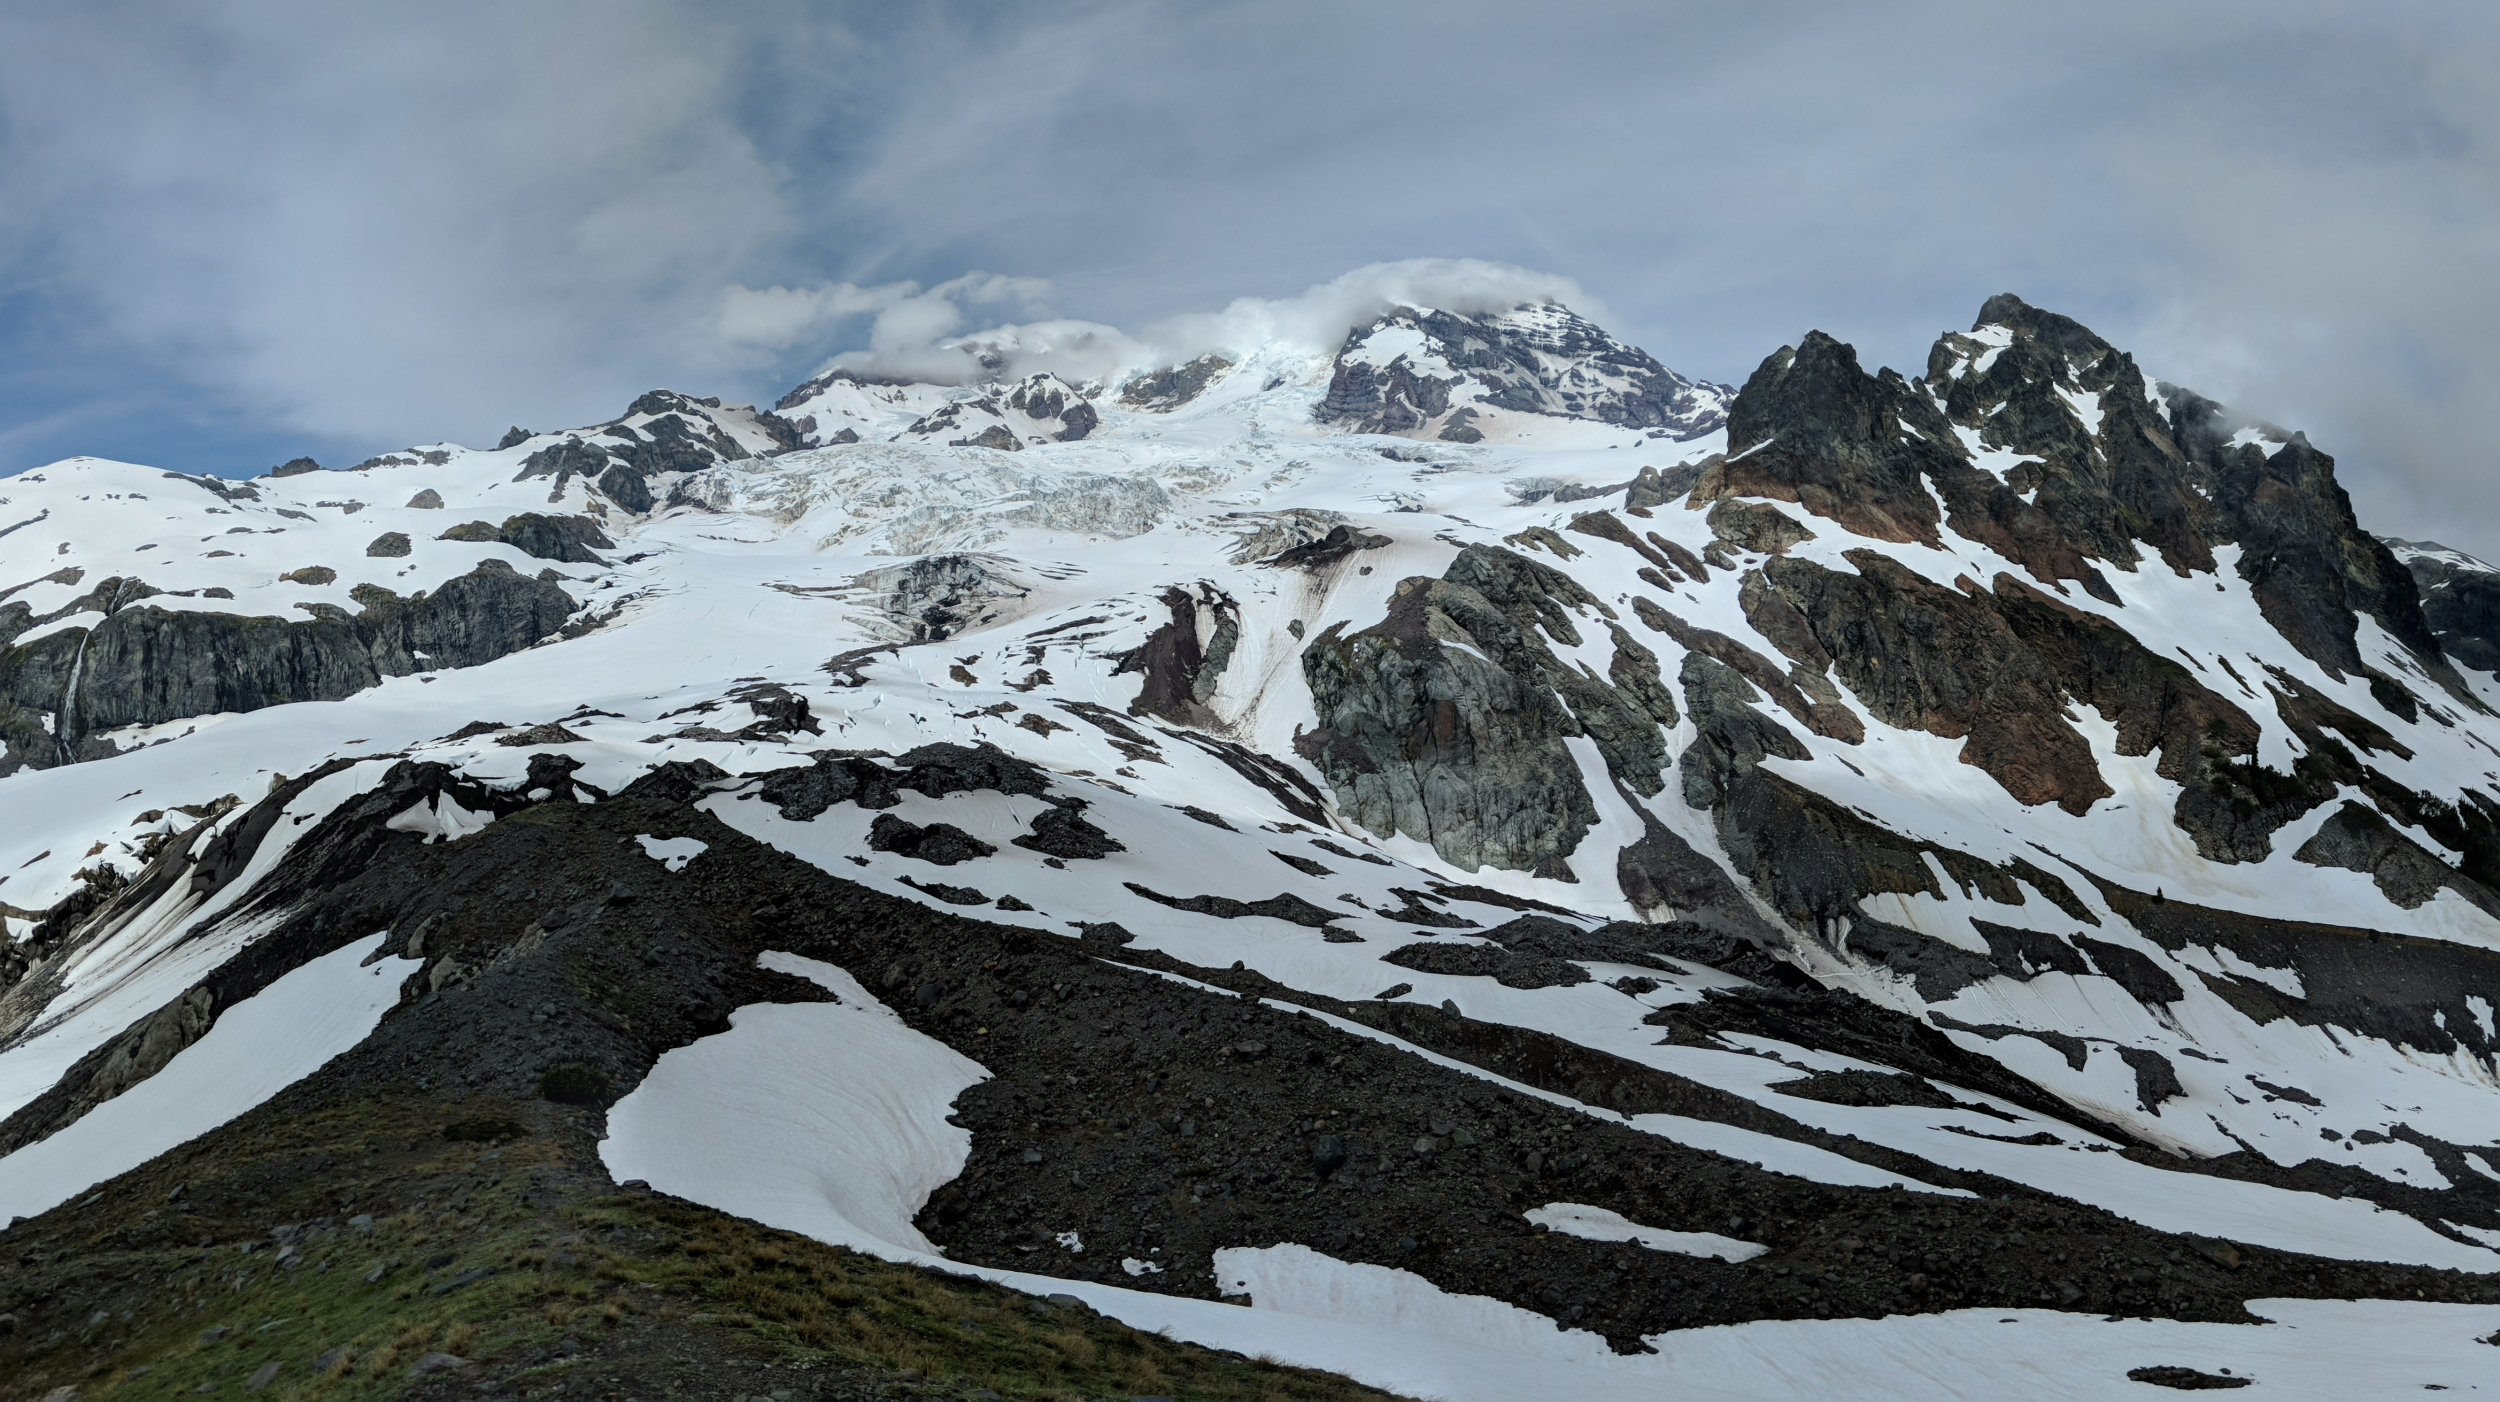
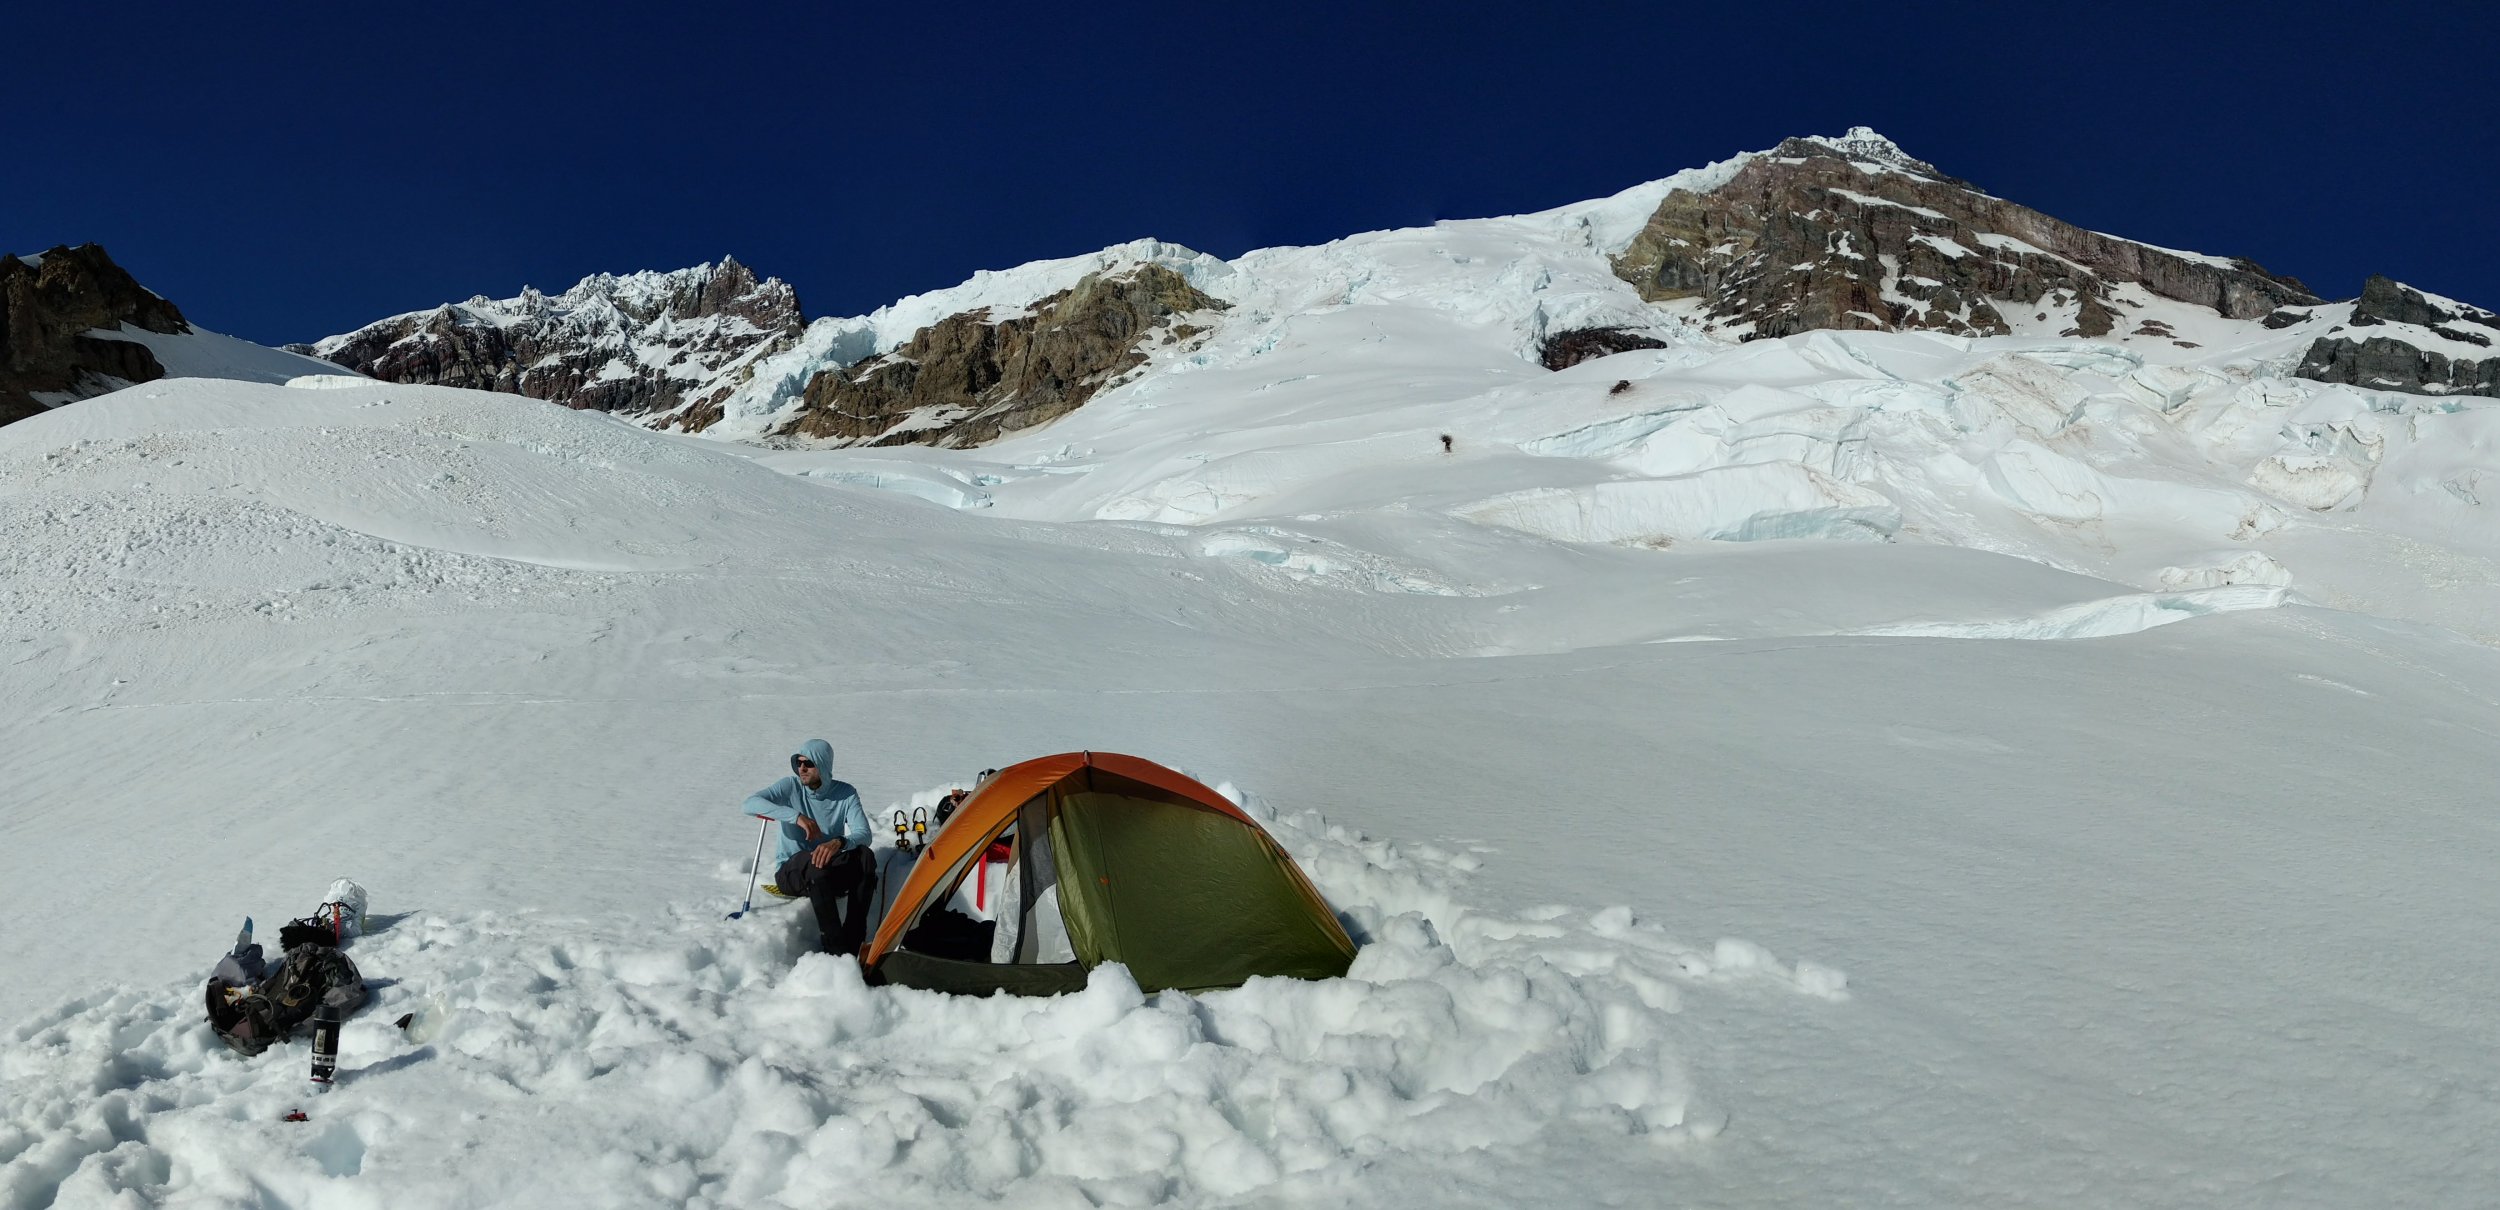
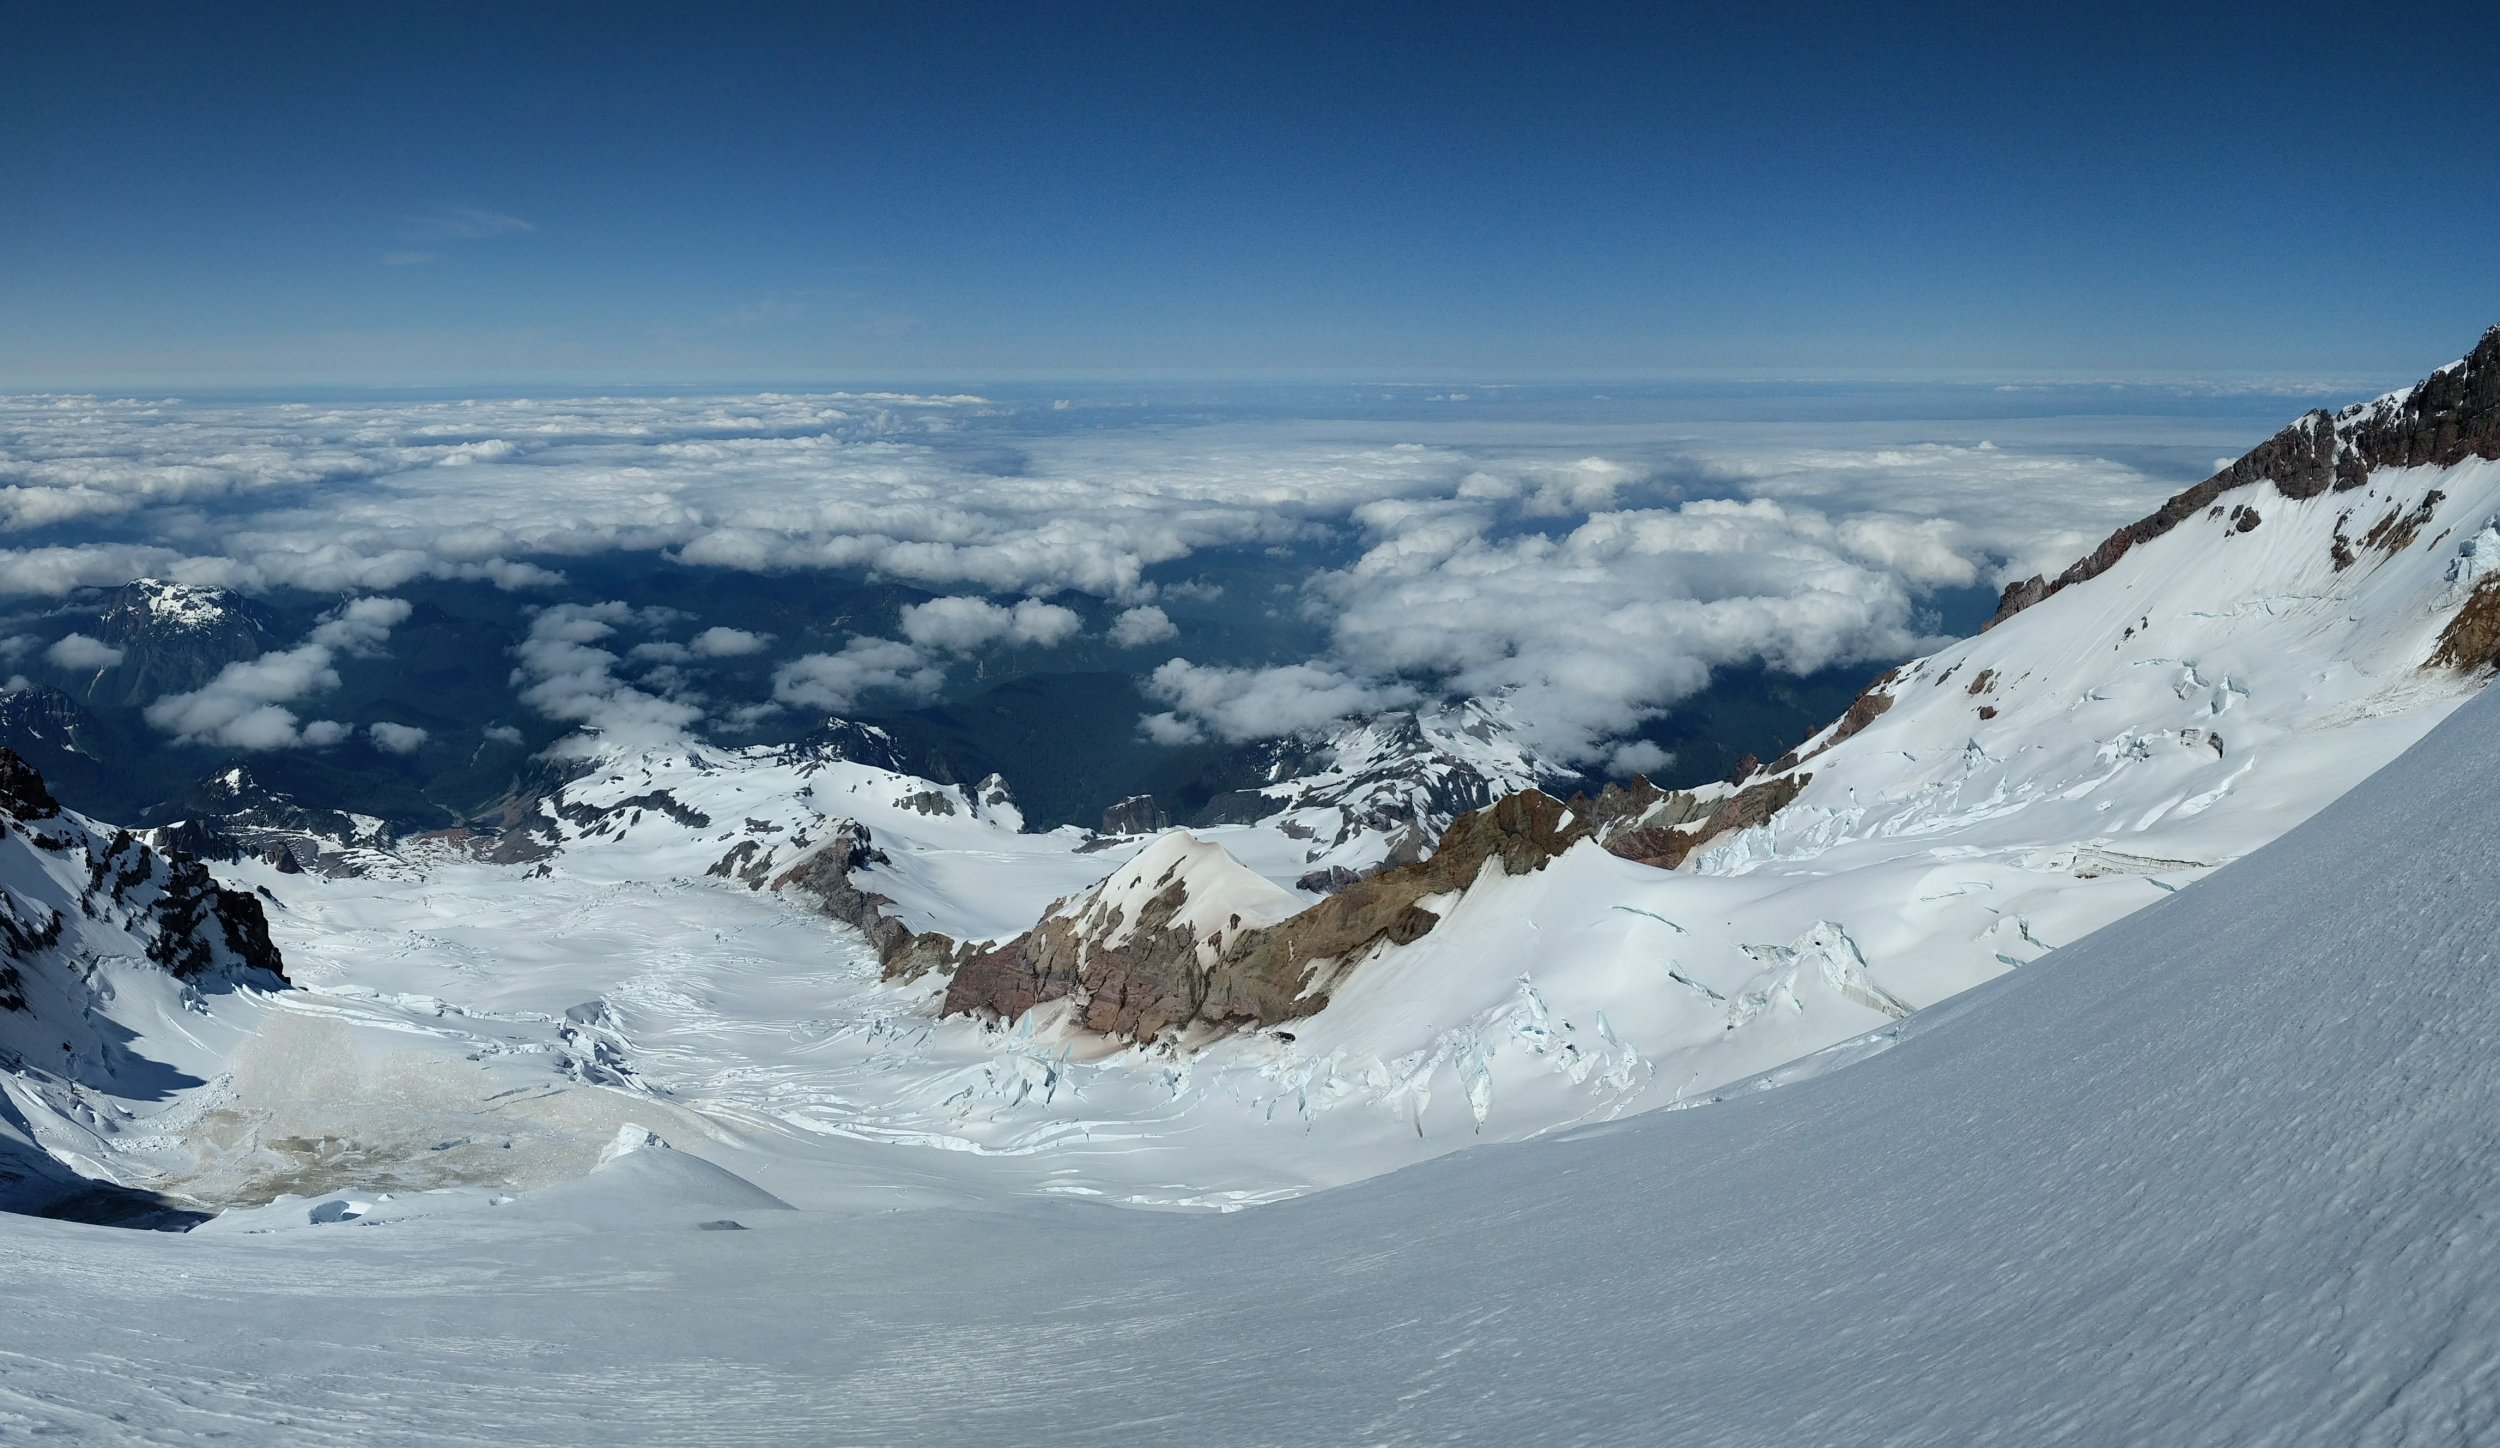
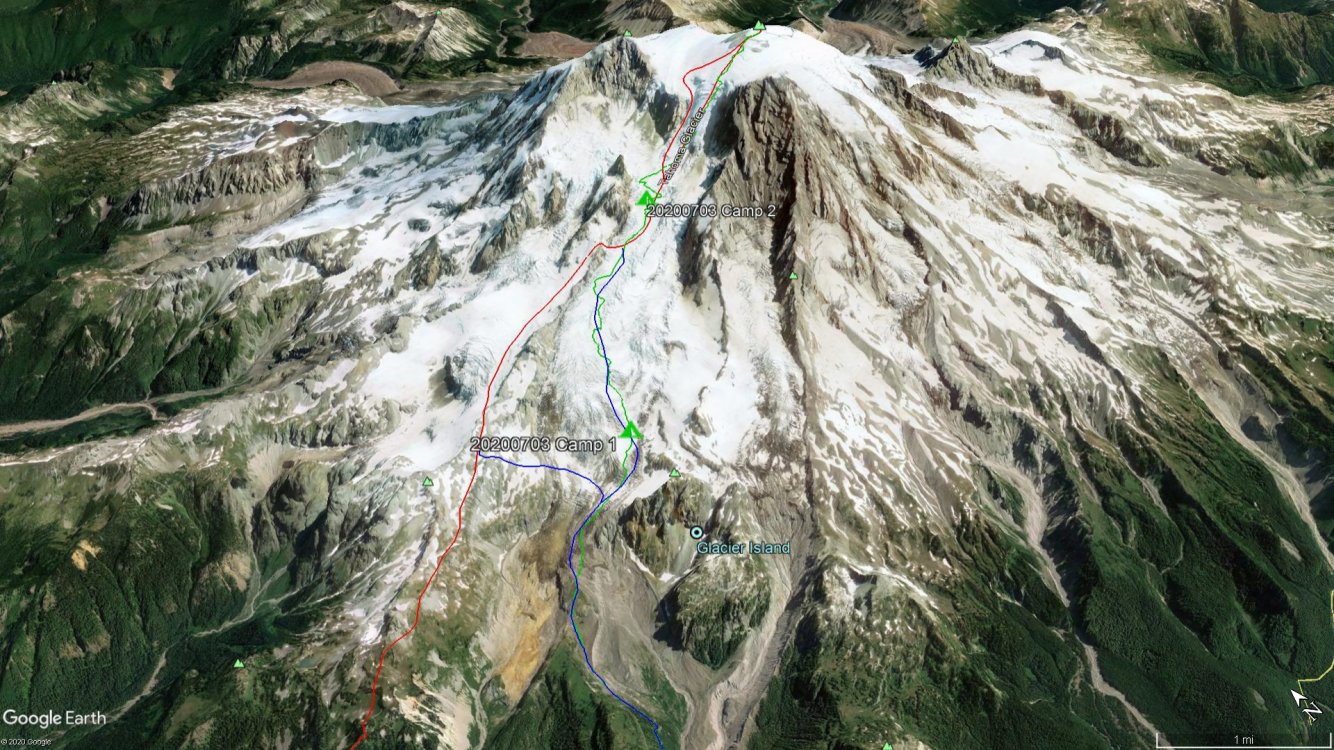
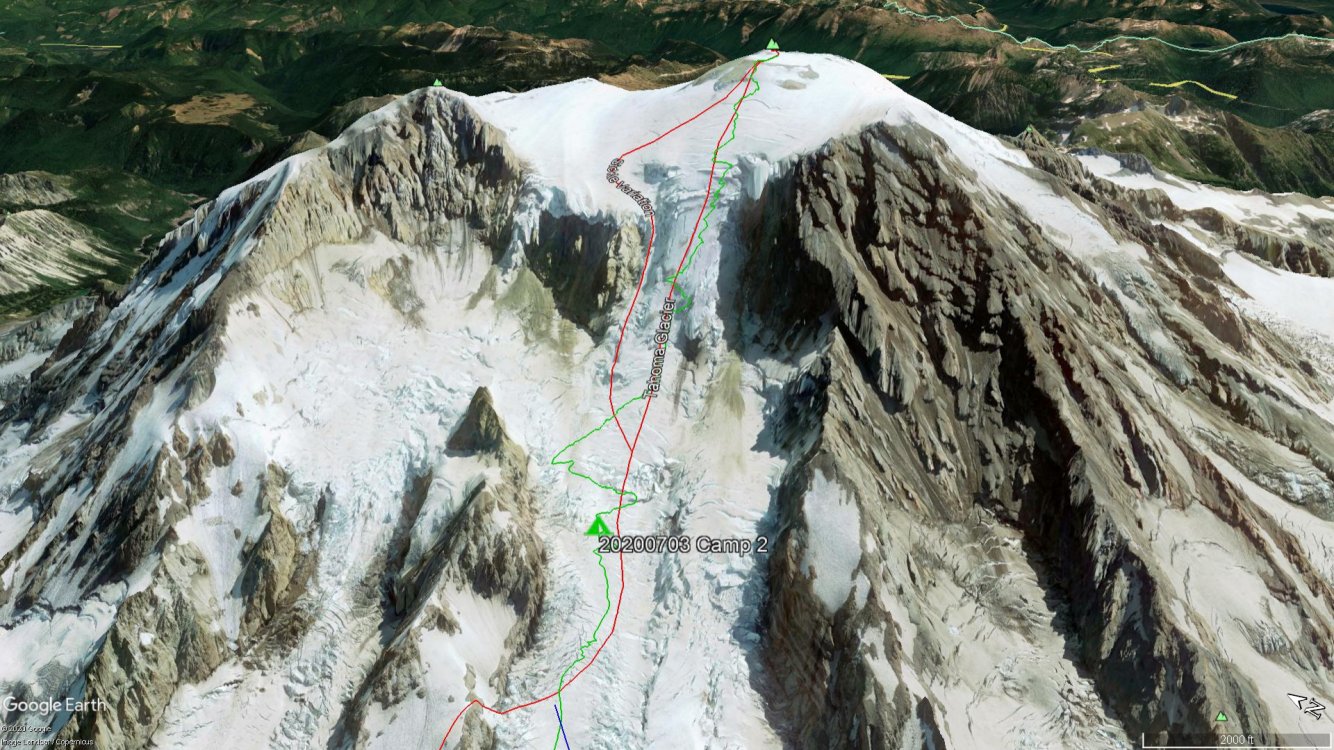
Trip: Mt. Rainier - Tahoma Glacier Trip Date: 07/03/2020 Trip Report: The Tahoma Glacier piqued my interest the last couple seasons as I explored new routes for my next Mt. Rainier climb. The low starting elevation, long approach, and remoteness of the route was especially appealing to me. Covering that distance and elevation on a route that receives very little traffic would be a fun challenge and great test of mountaineering skills. I was also excited to experience the mountain up close from a different perspective since I had only been on the west side of the mountain once before during a Wonderland Trail hike. However, with the park shutdown due to COVID-19 we were uncertain if we would get a shot at the Tahoma Glacier before it was too late in the season. We planned the climb for the weekend of June 19th and were excited when MRNP announced they would reopen that very weekend. Unfortunately, as the date approached the weather was not looking too promising. Reluctantly, we postponed the climb to the 4th of July weekend when we both had time off work. This time the weather forecast was looking stellar: clear, light winds, and cold (~11000' freezing level). And we would have a full moon. Game on! Our plan, which we later learned would be a bit ambitious, was to reach high camp (~9600') on day 1 (Friday), summit Saturday morning, and either exit the same day or stay one more night and hike out Sunday morning. For the approach, we decided on the more direct Emerald Ridge/Tahoma Glacier approach over the St. Andrews Park/Puyallup Cleaver approach. We knew we were getting into the tail end of the season for the route, but with our good snowpack this year we were optimistic that we could navigate the lower Tahoma without too much trouble. Also, there seemed to be an option to bail to the Puyallup Cleaver shortly after gaining the Tahoma Glacier if we found the glacier to be too broken up. The two of us set off from the West Side Road parking lot (2850') at 10:30a with cool temps and a partly cloudy sky. After a short hike on the road we arrived at the beginning of the Tahoma Creek Trail, marked by a drum for disposing of blue bags and a "trail closed" sign not far off the road. The Tahoma Creek Trail follows the Tahoma Creek until it joins with the Wonderland Trail at the impressive suspension bridge across the creek at 4200'. From there, you continue on the Wonderland Trail to the top of Emerald Ridge where you can gain the lower Tahoma Glacier. We followed the Tahoma Creek trail and other tracks the best we could, but with parts of the trail washed out we eventually lost it and ended up hiking along the edge of the floodplain. We kept our eyes peeled and in time we saw some cairns and orange marking tape at around 3500' which led us back to the proper trail. From then on, the trail remained intact and joined up with the Wonderland Trail where we continued on to the top of Emerald Ridge, passing by the occasional Wonderlander. Consistent snow began around 5200' which is where we stashed our trail runners and booted up. Tahoma Creek Floodplain: We parted ways with the Wonderland Trail at 5600' and made the short scramble to the top of Emerald Ridge and the toe of the Tahoma Glacier (6000'). Here we took a break and donned our glacier gear while taking in the views of Glacier Island and the true size and length of the Tahoma Glacier. Getting onto the glacier was straightforward and the cracks were small and manageable all the way up to a flatter area of the glacier at 7200'. Top of Emerald Ridge, looking back at the Wonderland Trail: Toe of Tahoma Glacier, Glacier Island on the right: At 7200' we stopped to assess our progress. It was already 6:00p (7.5 hours from the car) and we still had a good amount of glacier to cover to get to high camp. We were also low on water so we would need to melt some snow to replenish our bottles before continuing. At our pace, it didn't seem feasible to reach high camp that night at a reasonable hour and be ready to summit the following morning. We discussed our options and ultimately decided to establish a low camp at 7200' for the night, move up to high camp the next day, and summit on Sunday morning instead. We were due back home Sunday night, so that would leave us with a long hike out after summiting Sunday morning, but this plan would give us the best chance for success and make the trip much more enjoyable. Luckily the weather for Sunday was supposed to be just as good as Saturday. We set up camp and called it a day. Lower Tahoma Glacier: View from Camp 1, looking toward Tokaloo Spire: Sunset from Camp 1: On Saturday we woke up to clear skies and a great view of the upper mountain that was covered in clouds the day before. We took our time getting going and scoped out a route up the lower glacier. It was definitely more crevassed than what we had already traveled and the best looking route was in the direction of the Puyallup Cleaver and the looker's left side of the glacier. We broke camp and set off around 10:30a. Morning view from Camp 1, looking toward the summit: On the way up to Camp 2: The crevasses we encountered on the way up to high camp were growing in size but were still easy to cross with a short hop or snow bridges. Nothing too sketchy even with the sun beating down and snow quickly softening up. Our route did meander a bit as we searched for the most efficient way up the glacier, so it did take longer than expected. We reached 9400' at 2:00pm where we thought about setting up camp. This is where we would have joined the Tahoma Glacier had we taken the St. Andrews Park/Puyallup Cleaver approach; however, the ramp to get off of the Puyallup Cleaver did not look to be in the best shape. There was likely a path off the ramp onto the glacier, but we were glad we chose the approach that we did. Ramp at 9600': After a long break we pushed on a bit further through ankle and shin deep slush up to 10400' where we found a good spot for a high camp. I had read about other parties camping at this location as well. It was 4:30p at this point, 6 hours after leaving camp 1. From here we finally got a really good view of the upper glacier and the potential routes. Earlier in the day we saw that the looker's right side of the glacier may be a good option, but now we could see right up the center of the glacier and the Sickle variation. The Sickle looked to be in good shape with not a lot of evidence of icefall, but the seracs at the top of the route were intimidating. We decided against the Sickle and to attempt one of the other routes. We would make that decision in the morning under the full moon light once we gained some more elevation. We set up camp, ate, melted snow, and tried to get to sleep as the sun was setting. I fell asleep to the very faint sounds of 4th of July fireworks way off in the distance. Upper Tahoma Glacier: Camp 2: Sunset Amphitheater: Tahoma Glacier: The next morning we set off at 2:00a under a very bright full moon that lit up the mountain. It was right around freezing with no wind and the snow had firmed up nicely. We were excited to start the journey up the main route, but less than 30 minutes out of camp we thought the trip was over. We found ourselves on an island of ice with a pretty sporty jump to continue on. We contemplated it for a while but just didn't want to risk it, especially on the descent when the snow would soften up. Damn! That jump seemed like the only way, but we backtracked some and skirted around where we got stuck and luckily found a crossing! Phew! We wondered if this was going to be the theme of the entire ascent. We continued on and at this point chose to continue right up the center of the glacier rather than traversing over to the far right side option we saw. Full moon: Contemplating the jump.: The snow conditions were great and took crampons very well which made for very efficient stepping. We took the path of least resistance and just crossed our fingers it would go. There had to be at least half a dozen times when we thought our luck ran out, but a lone and thinning snow bridge (which probably wouldn't last another week) was there to let us continue on. Besides the first obstacle we encountered we didn't have to do much backtracking, but we did have to snake our way around the crevasses to find acceptable crossings. We each carried a traditional axe and had a few screws and two pickets between us. We contemplated bringing a tool, but from all the beta we could gather a tool wasn't really necessary on this route. Turns out that was the right call. We did encounter a couple short sections of solid ice compared to the rest of the route which was a nice sun crust. Front pointing and a low dagger axe took care of the ice sections, but we did protect them with a screw and picket while simul climbing. Short ice section: Soon we found ourselves at the top of the glacier where the slope begins to ease up at around 13000'. With the main part of the climb behind us it was just a slog up to the summit! We ascended directly up the west side onto the summit plateau and reached on Columbia Crest at 8:30a, 6.5 hours after leaving camp. Sunrise: Liberty Cap: Summit Crater: Summit Headstand! After getting some pictures on the summit and saying hello to a party of 4 that came up the Kautz, we dropped off the summit for a break and then took off back down the mountain at 9:15a. Being western facing, the Tahoma Glacier doesn't get sun right away in the morning which is good since we wanted to be down off the bulk of the upper glacier before it started to warm up. The descent went well and we followed our tracks down. We did downclimb one of the ice sections with some protection, but other than that we moved fairly quick down the glacier. We returned to camp at 12:15p, 3 hours after leaving the summit. Tahoma Glacier, Puyallup Cleaver, St. Andrews Rock: Tahoma Glacier: Tahoma Glacier: It would have been nice to take it easy and stay another night, but we still had a long road ahead to get back to the car that day. We made some water and packed up camp, then took off down the glacier at 2:00p following our tracks from the day before. The hike out was uneventful and we covered the 9 miles and 7500' back to the car in 5.5 hours, descending a total of 11500' for the day. Success! What a climb! We both felt really proud to do this route. It was a true test of our endurance and mountaineering skills, especially with navigating the very crevassed glacier. Oh, and we had the entire glacier to ourselves...we didn't see a single person between leaving the Wonderland Trail and the Summit. Being on our own without any tracks to follow made the trip even better. Day 1, Car to Camp 1, 6.7 miles, +4400', 7.0 hrs Day 2, Camp 1 to Camp 2, 2.5 miles, +3200', 6.0 hrs Day 3, Camp 2 to Summit, 2.8 miles, +4000', 6.5 hrs Day 3, Summit to Camp 2, 2.8 miles, -4000', 3.0 hrs Day 3, Camp 2 to Car, 9.0 miles, -7500', 5.5 hrs Total Mileage = 23.8 miles Total Elevation Gain/Loss = 11500' GPX track can be found here: https://caltopo.com/m/7M3P Gear Notes: Light glacier rack, a couple screws. Used screw and picket on icy section. No need for a 2nd tool. Approach Notes: Approached via Emerald Ridge/Tahoma Glacier.


-
lost LOST Climbing Helmet on the Inter Glacier (MRNP)
jstluise replied to jstluise's topic in Lost and Found
Helmet found and returned! -
I made a trip up to Steamboat Prow today and unfortunately, during my transition at the top, a gust of wind sent my helmet flying down the slopes of the Inter Glacier into the basin. I thought I might find it on my way down, but no luck! If you find a helmet let me know!
-
Just did a quick look around and there is a trip report from a couple days ago that says the road is passable: https://www.wta.org/go-hiking/trip-reports/trip_report-2020-05-27-0675102672 Out of curiosity, can you point me to the webpage where it says the road is closed? I wasn't able to find anything. We were planning to climb Glacier Peak last weekend but we postponed because of the weather. I wasn't aware of the possible closure, that would have been a surprise!
-
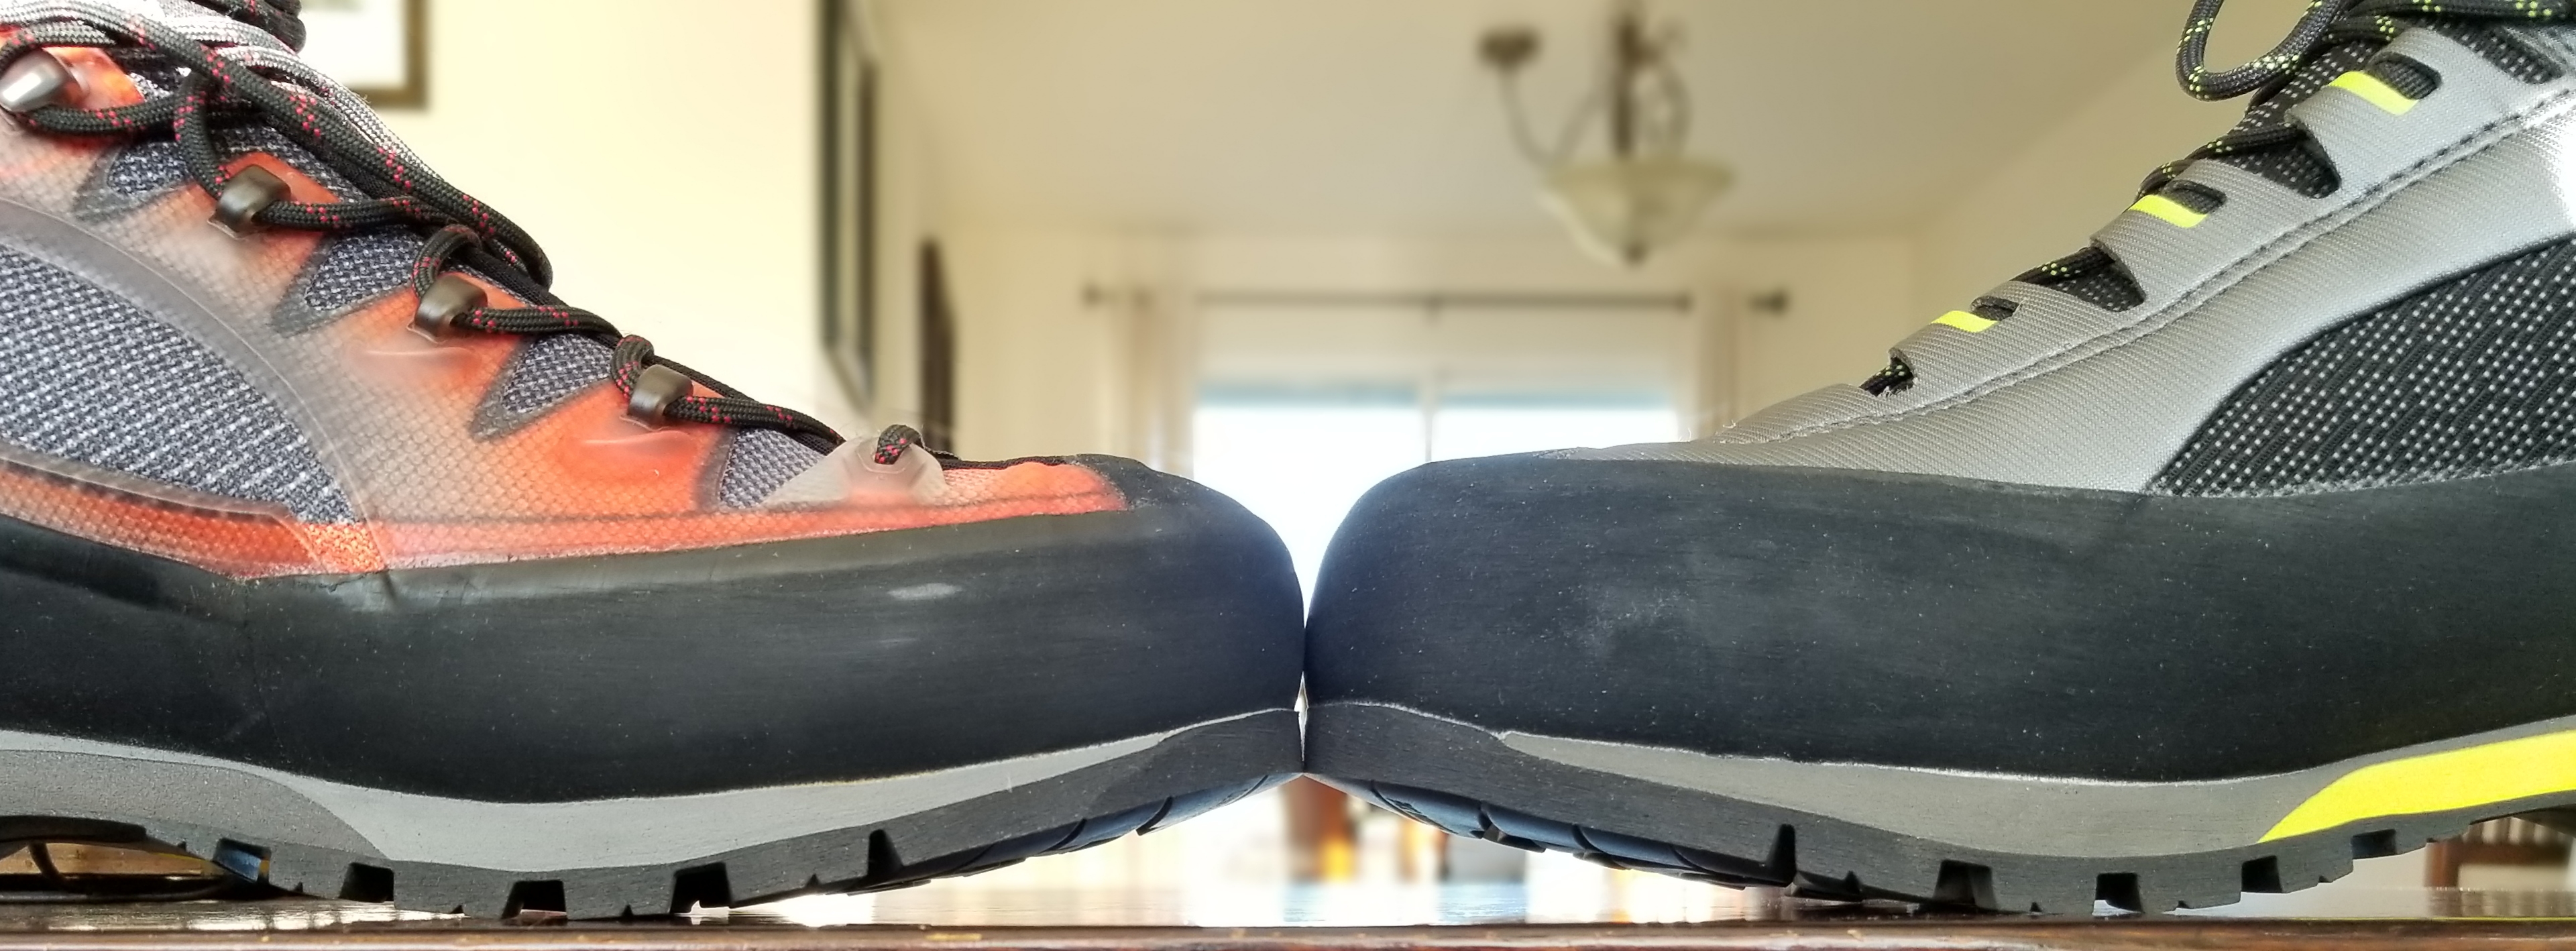
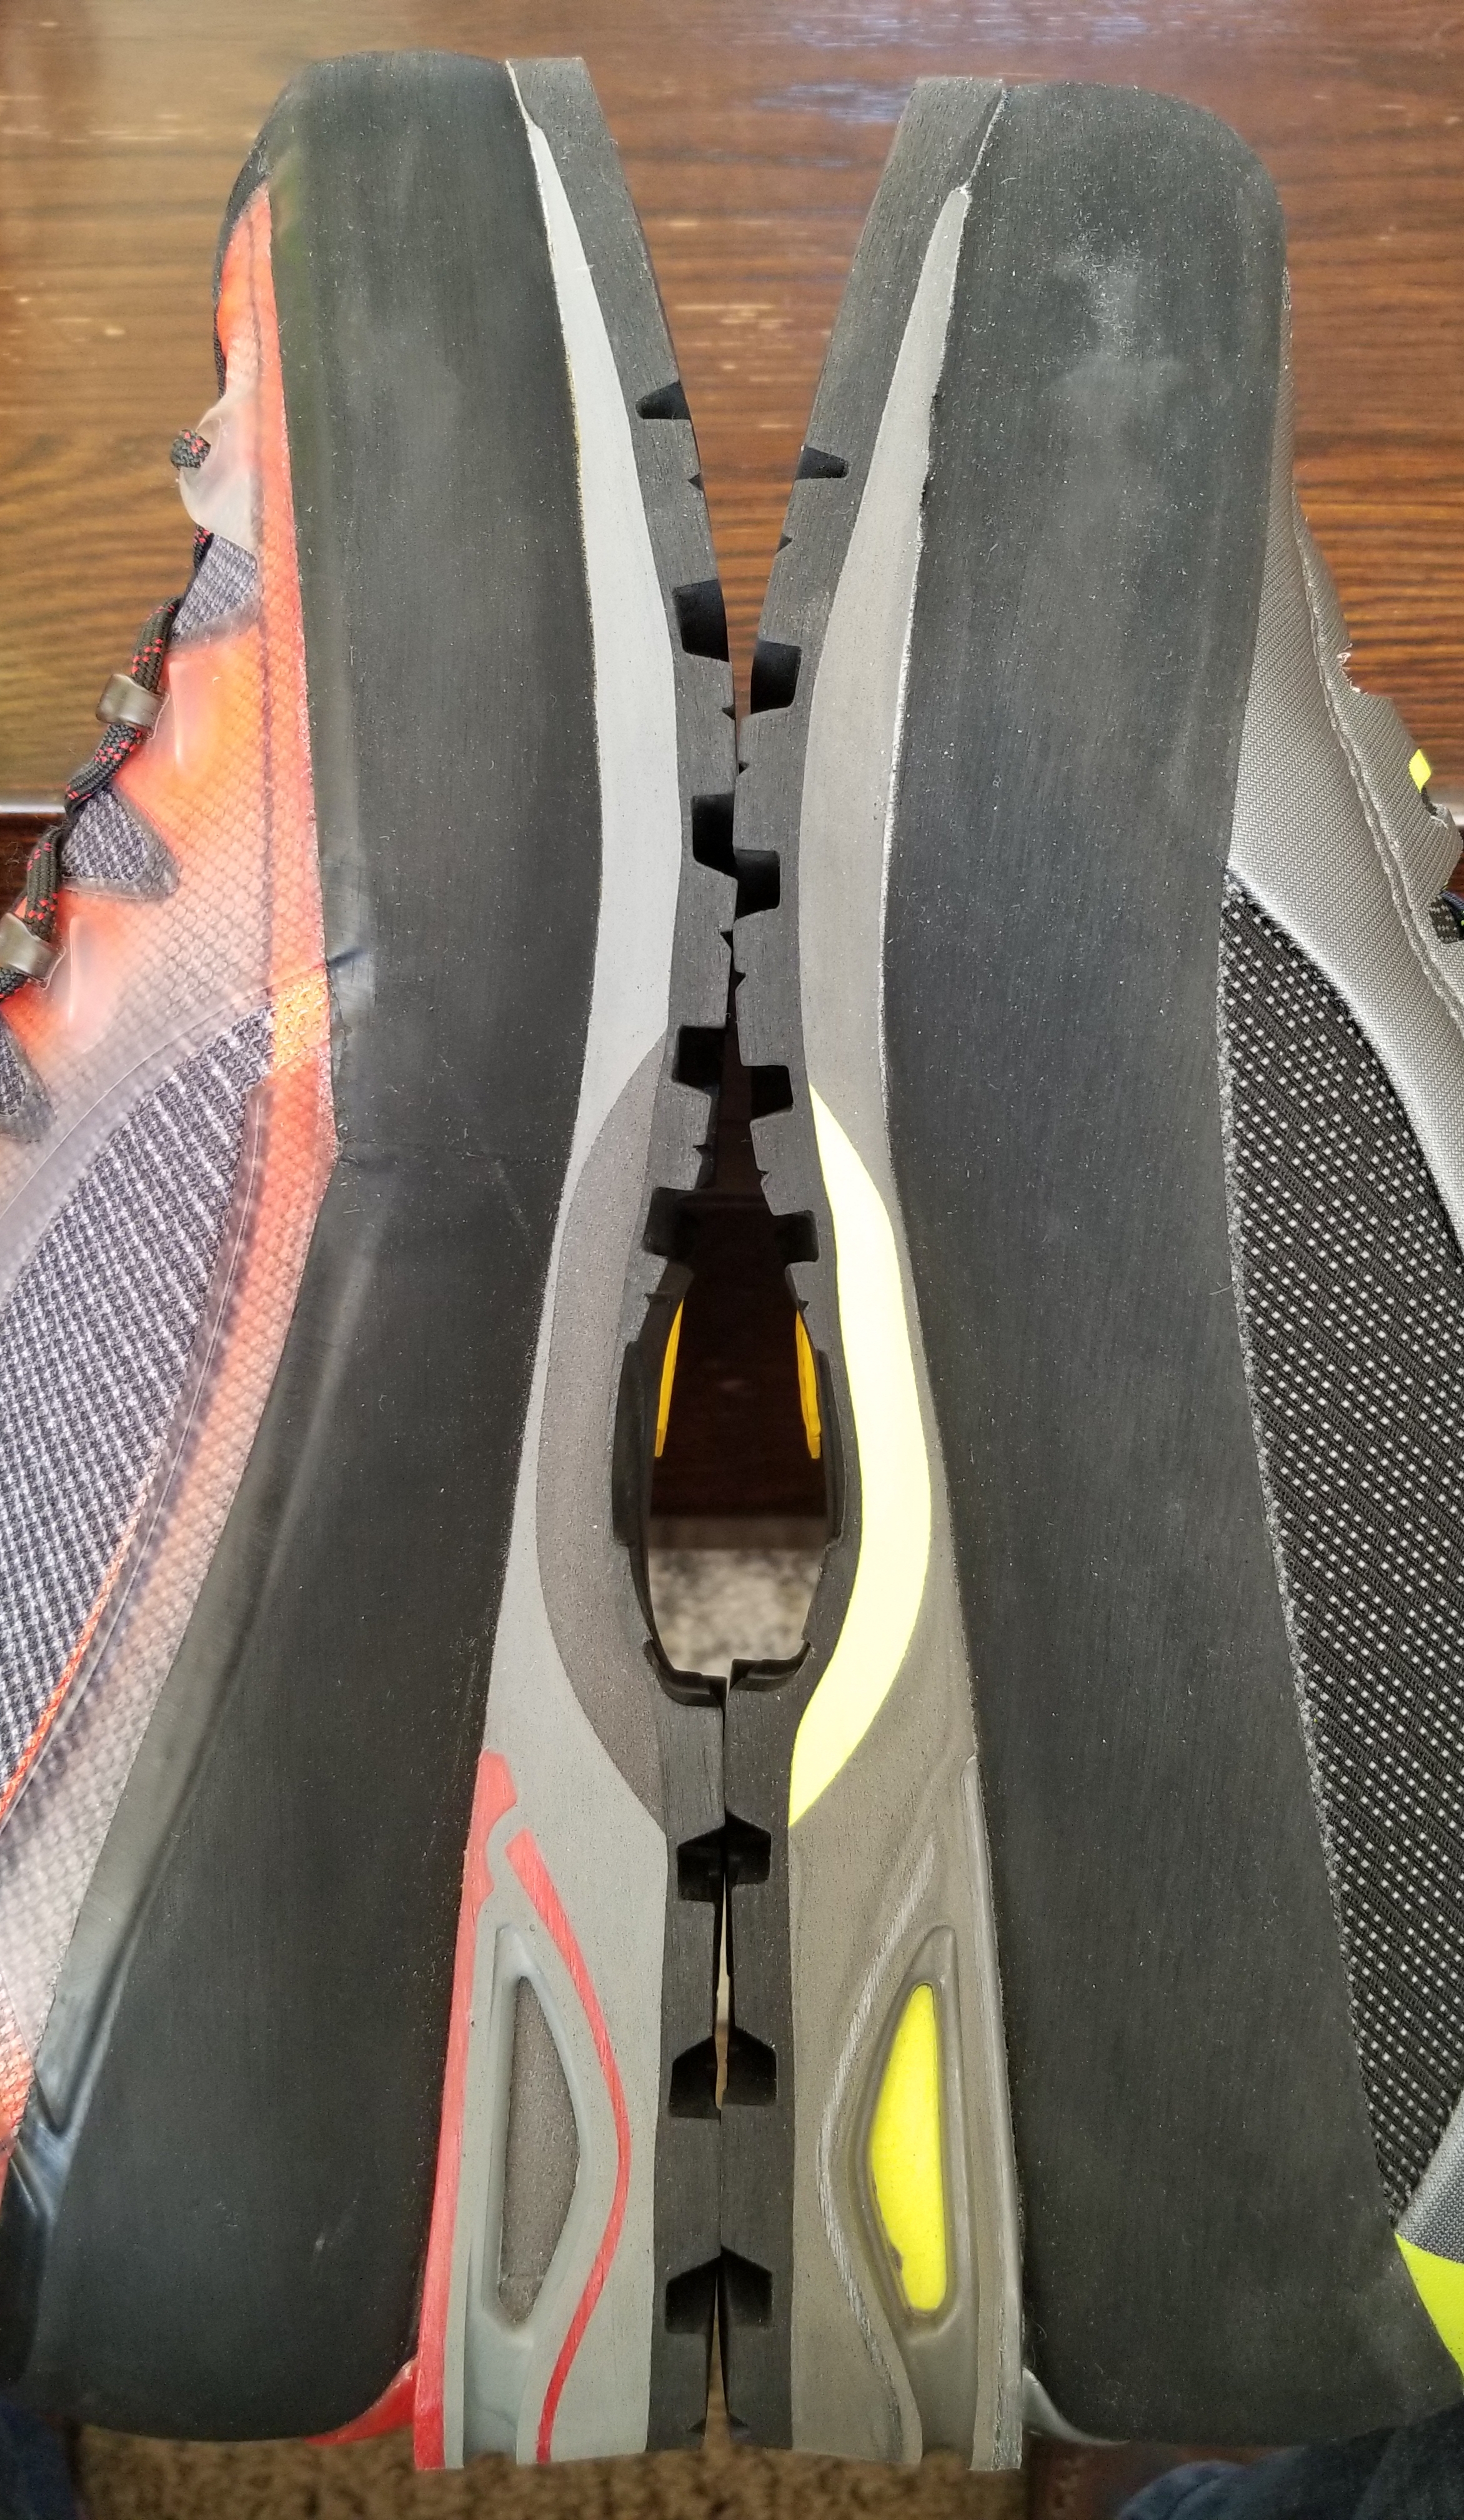
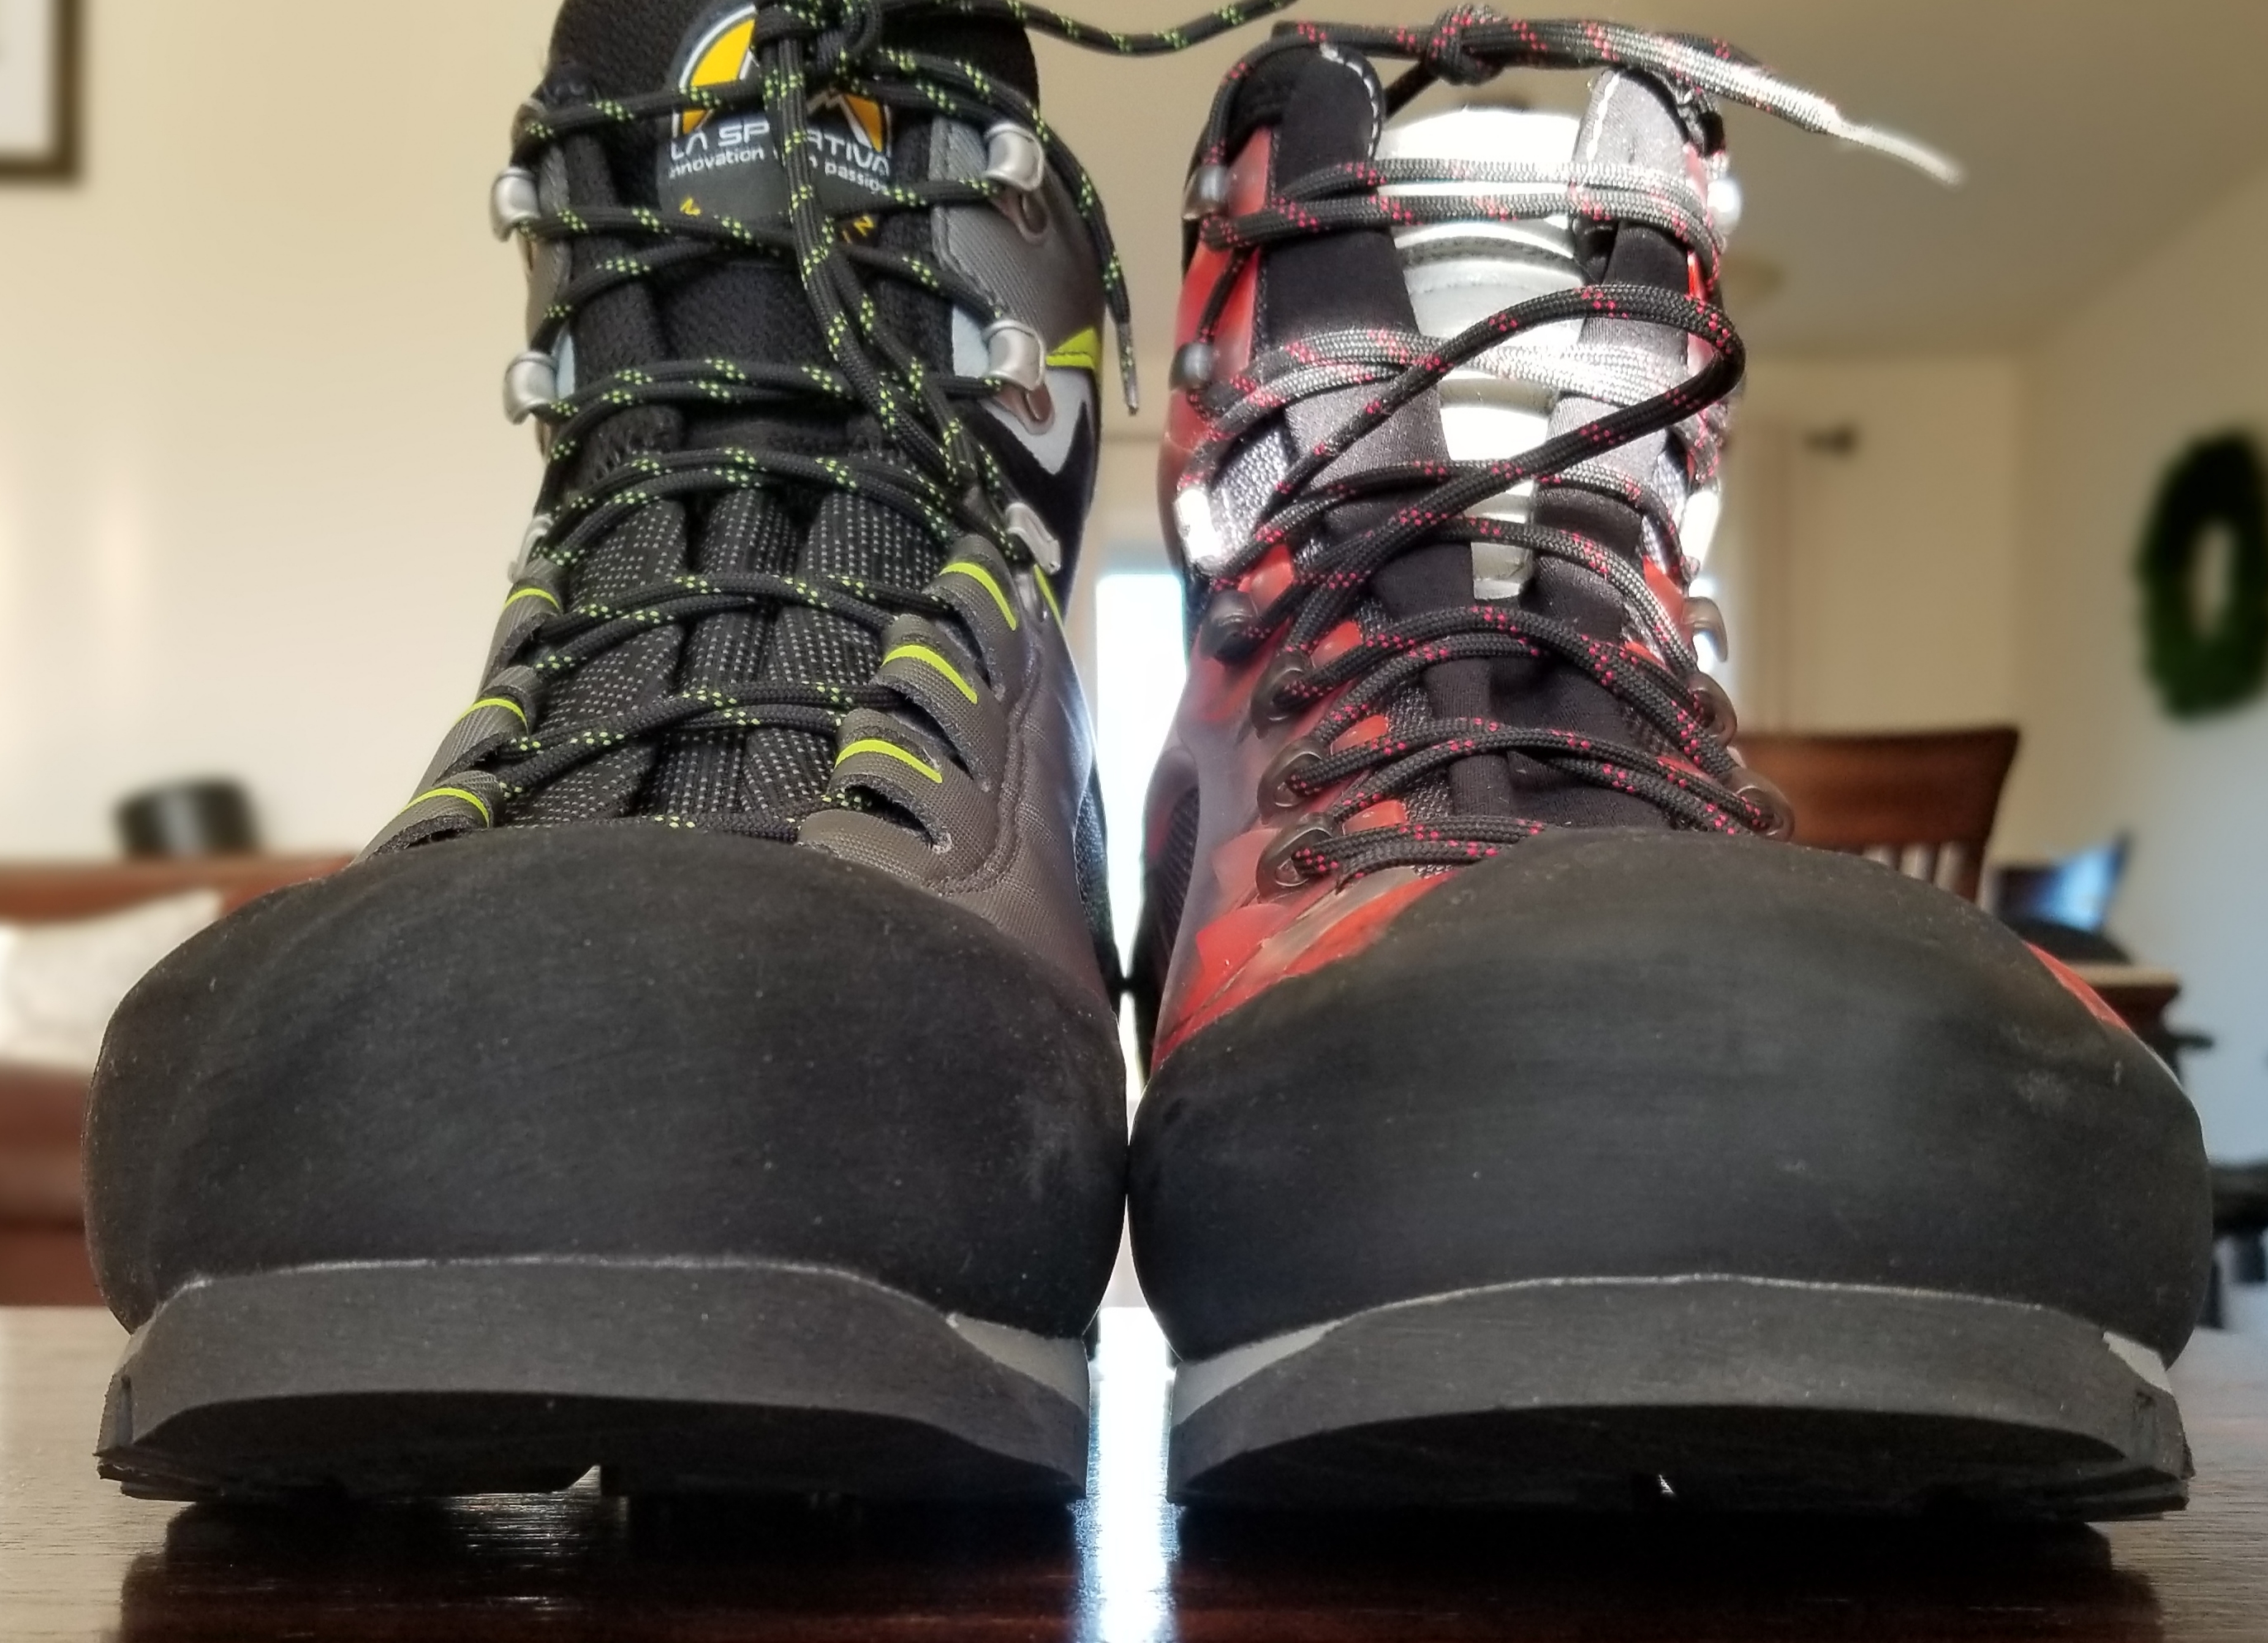
question La Sportiva Trango Tower vs. Trango Cube Boots
jstluise replied to jstluise's topic in The Gear Critic
Welp! I had a change of heart! I switch to the Cubes and that's gonna be my final decision. After my test of the Towers, I continued to wear them both around the house and the Cubes grew on me. They seem to fit my foot/ankle better without any pressure points across the top of my foot and most importantly lock my heel down better without really cranking on the laces. I think a lot of it has to do with the Cube's upper being more flexible out of the box, and I suspect the Towers will fit similarly after some break-in. But, because the Cube's feel good now I'll play it safe and go with them. I took them out on the trail yesterday and they felt really good, no heel lift at all. My one minor gripe with both shoes is the "climbing zone" toe when hiking on a damp trail. The toes are slippery! Just something to get used to and be aware of I guess depending on the trail, so overall not a big deal. I'm sure the toe is great on rock! -
question La Sportiva Trango Tower vs. Trango Cube Boots
jstluise replied to jstluise's topic in The Gear Critic
Leukotape is awesome! I was introduced to it a few years ago and quickly added some to my first aid kit. I've been fortunate over the years to not have many blister/hot spot problems but I'm glad I had the Leukotape last year when we climbed Jefferson. I wore my mountaineering boots on the long approach and due to my laziness of not stopping to tighten/readjust the boots, I ended up with some hot heels by the time we got to camp. Threw on some Leukotape and my heels were happy all the next day. First time I used the stuff and was definitely impressed with how well it stuck and stayed in place. -
question La Sportiva Trango Tower vs. Trango Cube Boots
jstluise replied to jstluise's topic in The Gear Critic
After much deliberation and wearing the boots around the house, I decided to go with the Towers. I took them out for a few miles on a nearby trail and they felt okay. I did get some heel rub, but I kind of expected that with new stiff boots on mostly flat trail. They did feel a bit looser across my foot than what I'm used to, but it wasn't like they were sloppy. Still, this likely contributed to the heel rub. In my OP I mentioned the toe box size. I realize now that I should have been talking more about the midfoot. While the Towers might have a touch more room in the toe compared to the Cube, a lot of the difference I was feeling was across the midfoot. After the hike I played with the lacing and I was able to get them feeling better across the midfoot, similar to the Cubes. The area around the tongue on the Towers are just a bit stiffer because of the traditional tongue, so it takes a little more effort to snug them down. Easier to do on the Cubes with the different tongue. So I'm hoping with a little break-in the Towers will get better across midfoot. Not sure what the point of this post was. Maybe just to say that shopping for new boots is the worst! -
question La Sportiva Trango Tower vs. Trango Cube Boots
jstluise replied to jstluise's topic in The Gear Critic
Interesting! Are we talking during each trip or over the life of the boot? With my Lowas the toe box is always a bit snug at the start of each trip but loosen up as the day goes on. Rinse and repeat for the next day or trip. But they're leather. -
question La Sportiva Trango Tower vs. Trango Cube Boots
jstluise replied to jstluise's topic in The Gear Critic
Thanks for the input. I agree they both seem like great options for climbing around the PNW. Looking forward to using one of these on long approaches...I've done way too many trail miles in my Lowas I suppose the Cubes may have have better durability in the upper with protection from the exoskeleton, but there still is some exposed mesh like on the Towers. This will be my first synthetic boot so I'm interested to see how they hold up. The best part is I'll be saving 19 oz. over my Lowas and 8 oz. over my Asolos! As far as the rocker goes, I'd say they are pretty much identical. I wore one of each at the same time around the house and didn't notice a difference besides the slight volume difference in the toe box I mentioned before.


-
I'm looking for a new boot to bridge the gap between my Lowa Mountain Expert mountaineering boot and my Asolo Powermatic 200 backpacking boots. I've had the Lowas for 10+ years and only use them a few times a year. They're nice but overkill most of the time for when and what I climb. Everything else I've managed to get away with using the Asolos. With something in between I could wear them for pretty much everything I do. At first I tried out the Trango Tower Extremes, Trango Tower, and Scarpa Charmoz. Extremes were more than I need. Charmoz were nice, but the Towers felt the best. Was ready to settle on those, but decided to try the Trango Cube as well. The Tower and Cube feel very similar, which was kind of expected because the outsole/midsole are similar. The Towers do have slightly more room (height) in the toe box. The difference is in the uppers, with the Cube having the unique seamless upper with rubberized exoskeleton. Pretty neat. The Cube also has the adjustable tongue which I guess is cool, but I didn't notice too much difference in playing with it. I've read a couple accounts of the eyelets pulling out of the exoskeletons, but other than that a majority of the complaints for both boots come down to wear of the outsole and rand. So it seems both boots are also pretty similar in terms of longevity. I'm still leaning towards the Towers because of the slightly larger toe box, but just wondering if anyone else has experience with either of these boots that could sway me one way or the other. Same sole stiffness. There's only a 1/2 oz difference in weight between the two pairs. The Cubes have a slightly higher price tag. Thanks! -------- Oh, and if someone runs across this looking for sizing info, I can confirm the Cubes run small like all the reviews say. The Towers are true to size for me. I bought the Towers in 43.5 and 44, and Cubes in 44 and 44.5. In terms of size comparison, Tower 43.5 = Cube 44, and Tower 44 = Cube 44.5. The outsole/insole lengths match up exactly for those sizes. Not sure why La Sportiva did this...maybe so they can say a 44 Cube is lighter than a 44 Tower, which is true, but when you compare models of the same length they are nearly the same weight.
-
Really interested in skiing Fuhrer Finger this year if anyone else wants to plan something or already has plans and is open to adding another person. Happy to just climb to the top of the Finger or Wapowety Cleaver and ski from there, but totally game for making a run at the summit and skiing off the top! Background: multiple Rainier summits (several DC, a couple Emmons, Gib Ledges, Kautz) along with plenty of other similar climbs. Strong skier. Avy 1 and WFA. Let me know!
-
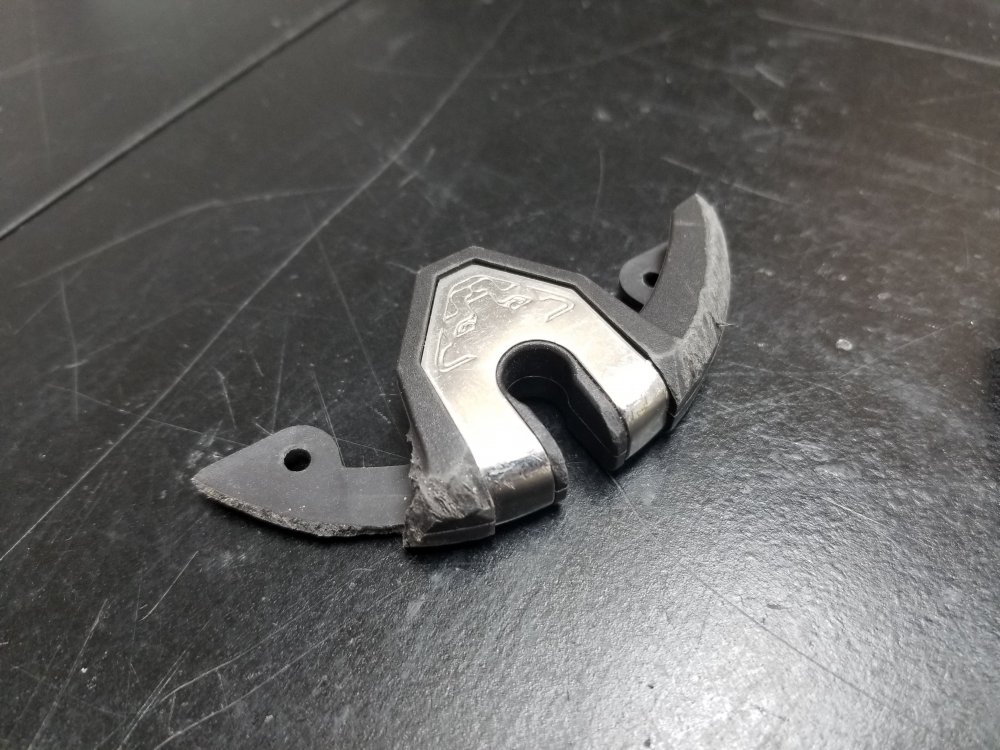
These came off my 2010ish Dynafit Manaslu skis. Thought I would throw them up here in case someone is looking...I'm not sure if they were used on any other Dynafit skis. The plastic bits are trashed (one is okay, partly broken but still has screw holes intact) but the metal pieces are good which someone might be needing. Just send me a few bucks for shipping and they're yours.

-
[TR] Mount Jefferson - Jefferson Park Glacier 07/05/2019
jstluise replied to jstluise's topic in Oregon Cascades
I've found the historical snowpack data to be useful when planning trips, particularly spring ski tours when there is a question of road/trail access and if a route is in or not. After reading a trip report I'll just compare that year's snowpack data to the current year. If anyone else runs across this thread the snowpack data can be found here: https://climate.washington.edu/snowdepth/